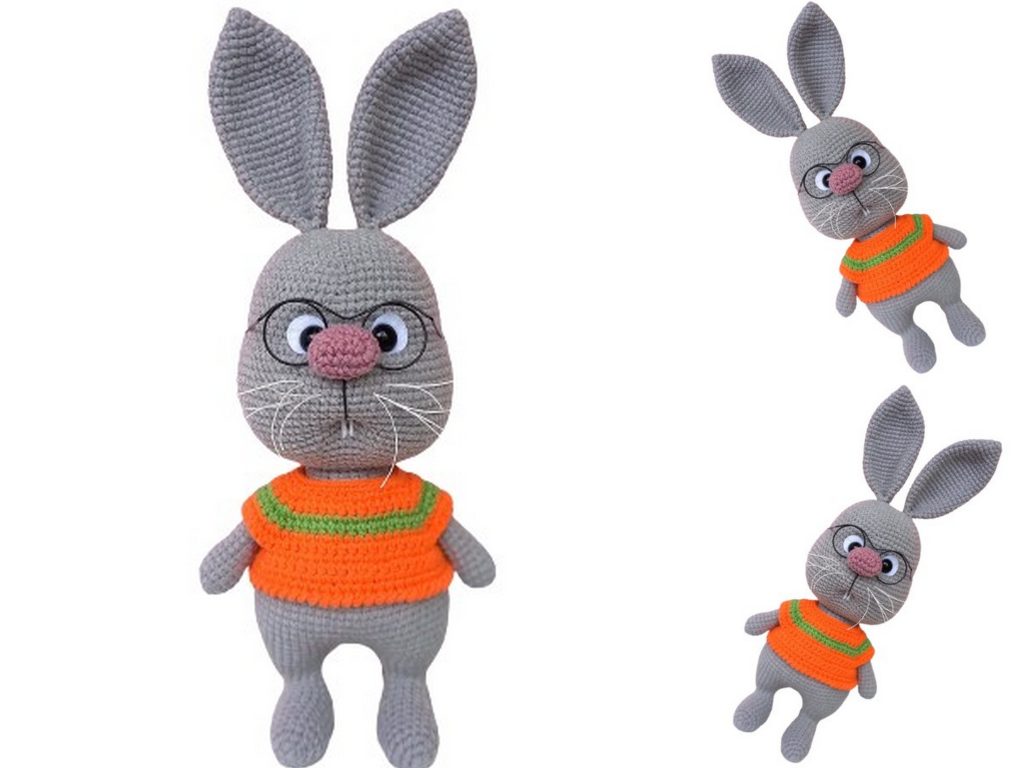
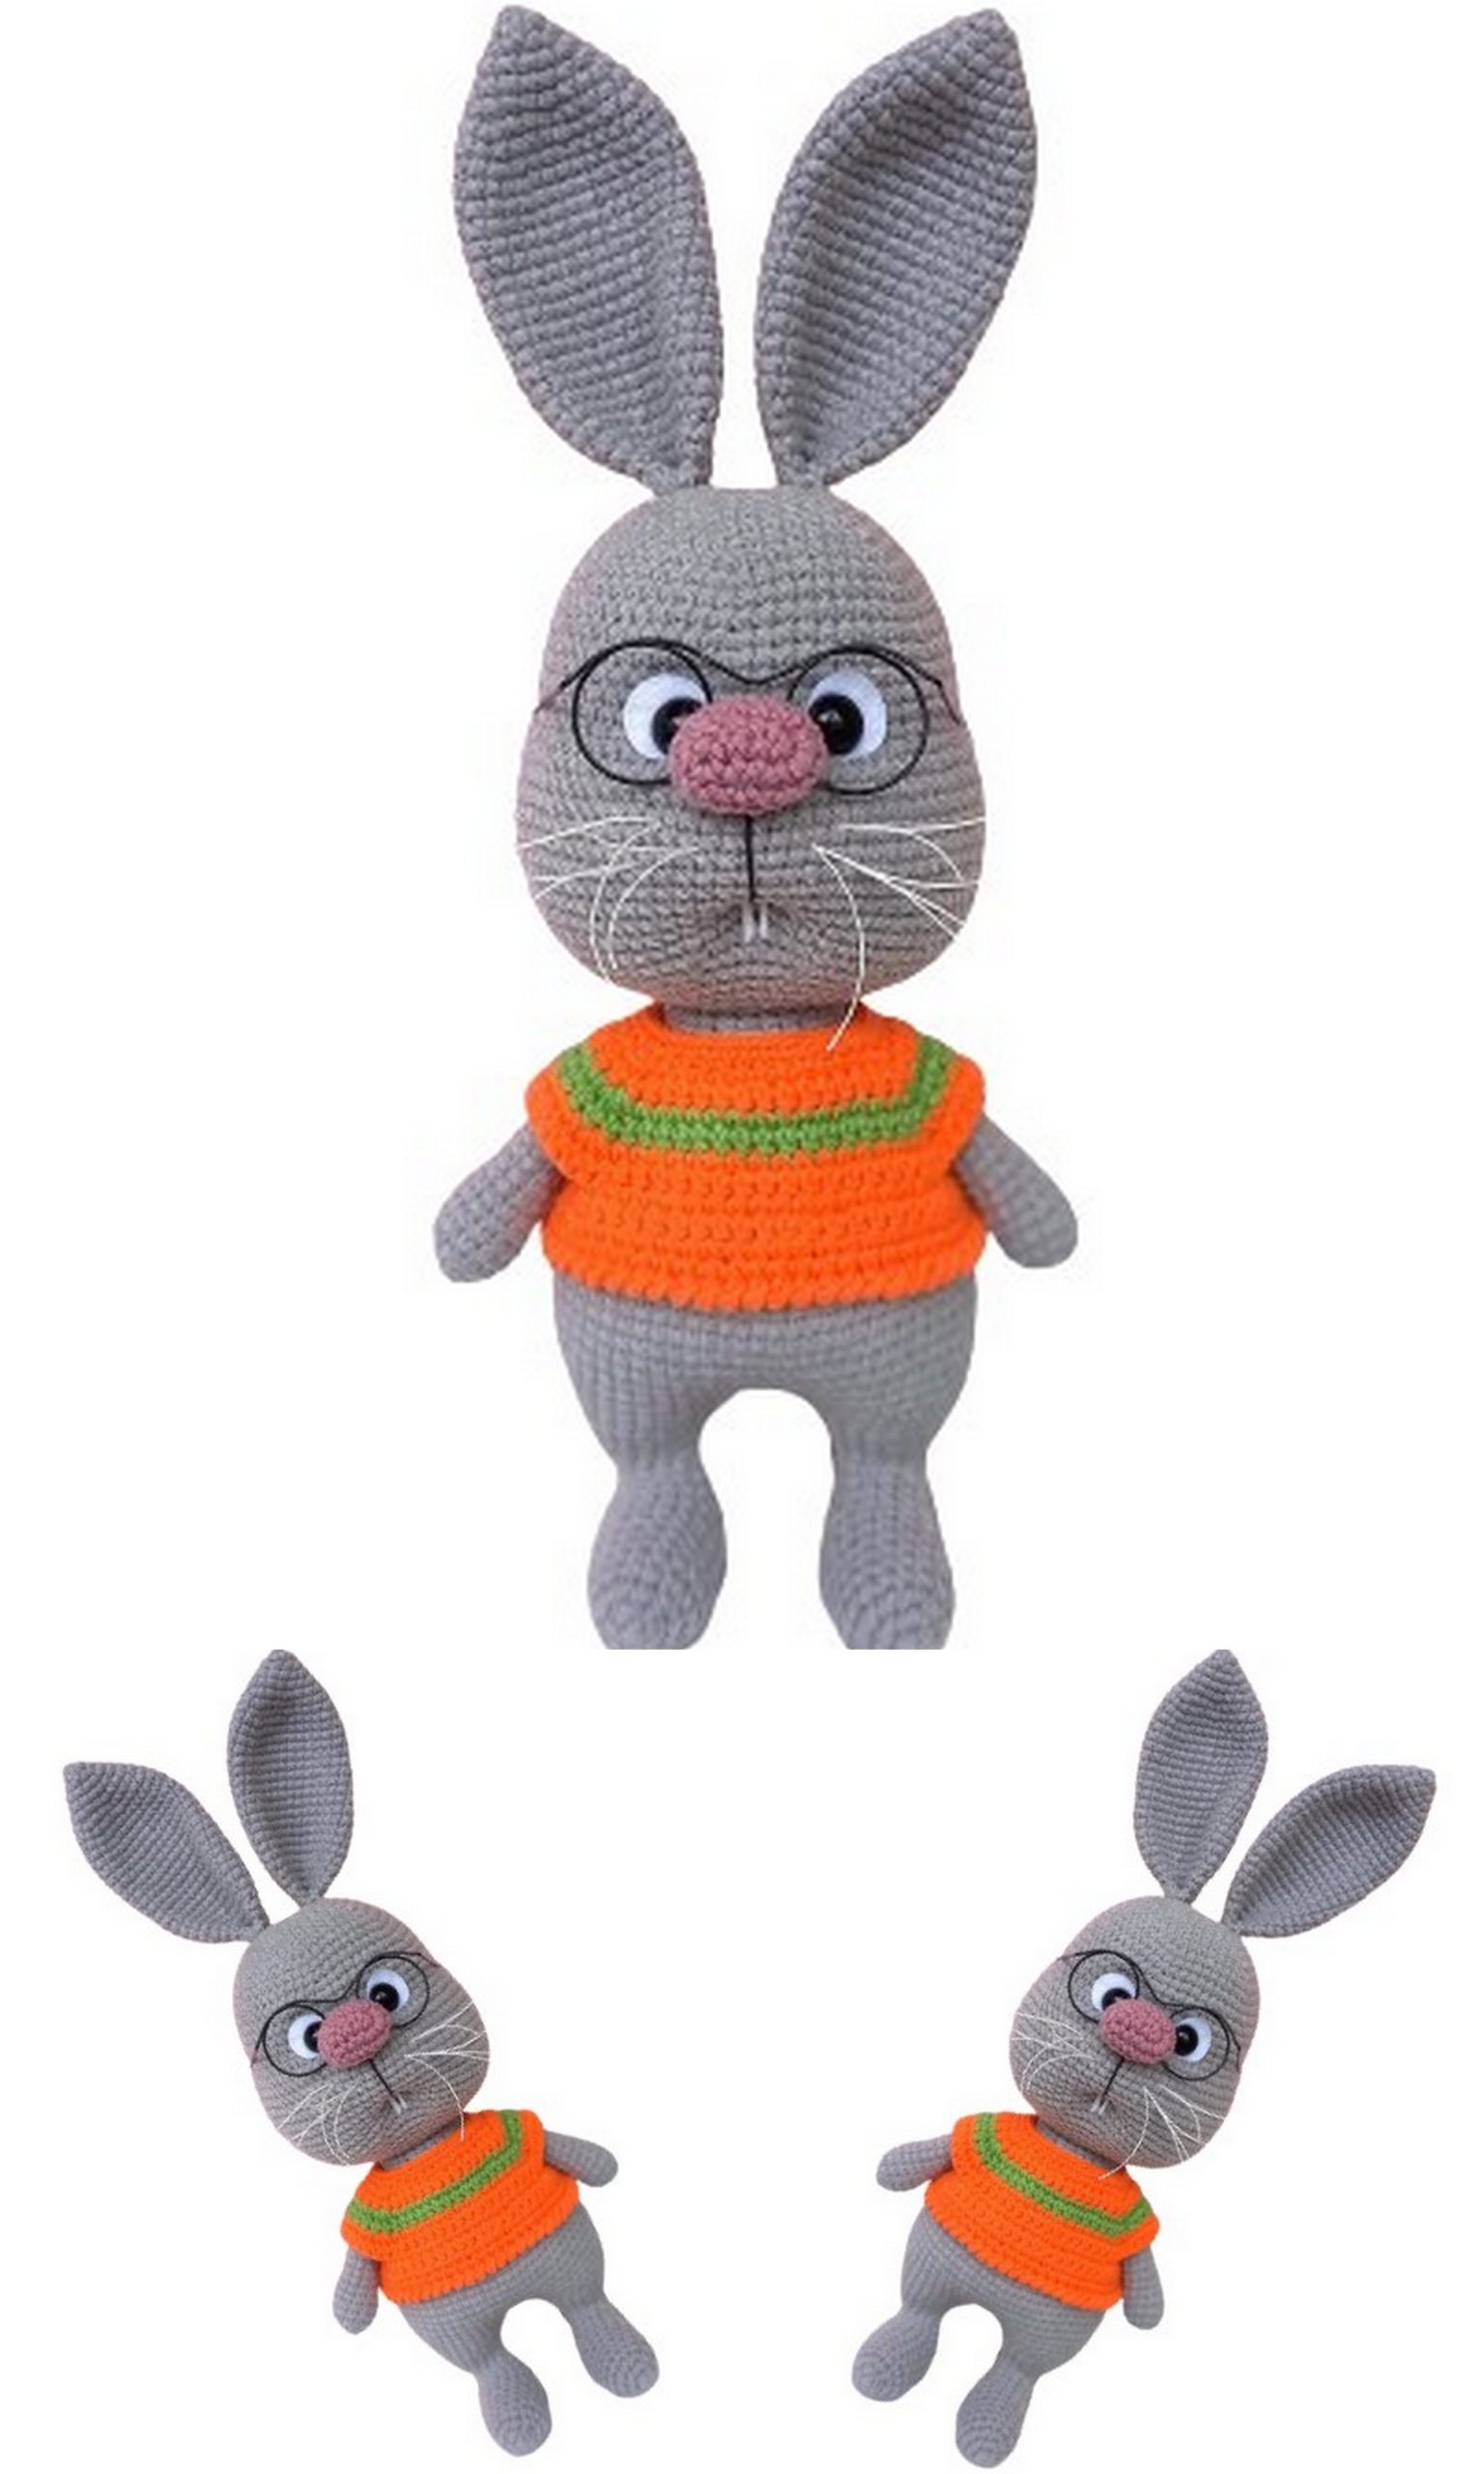
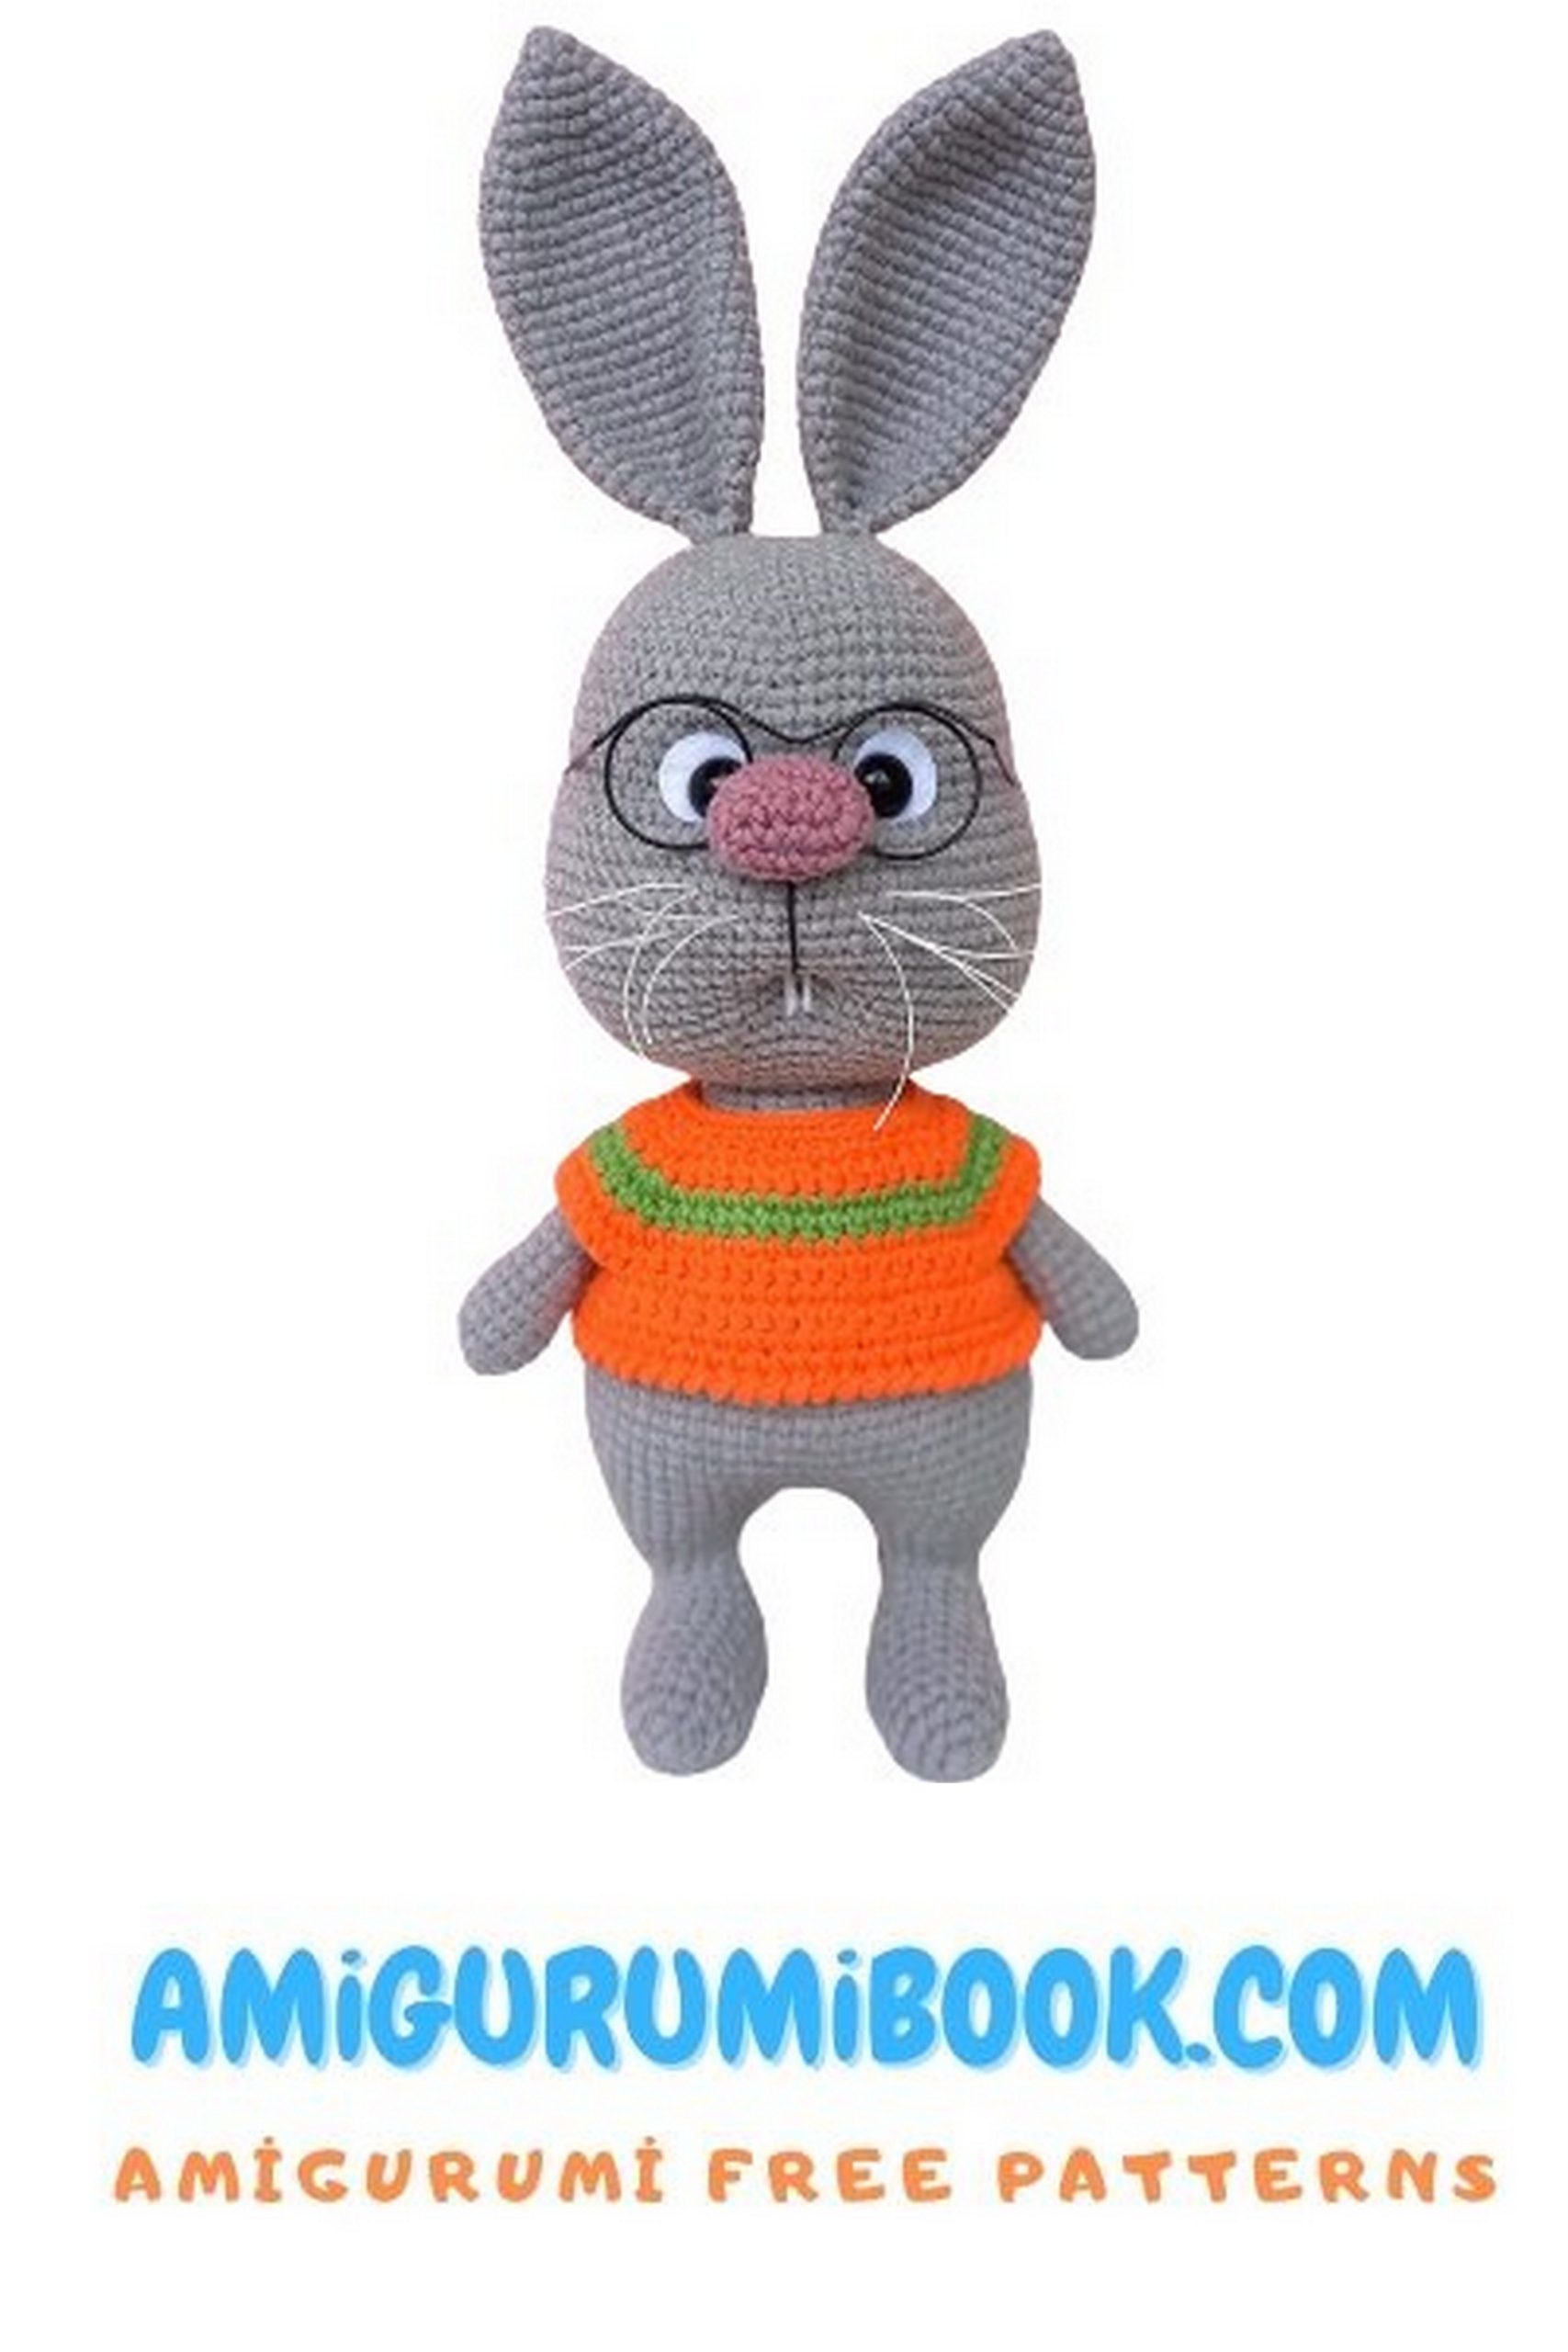
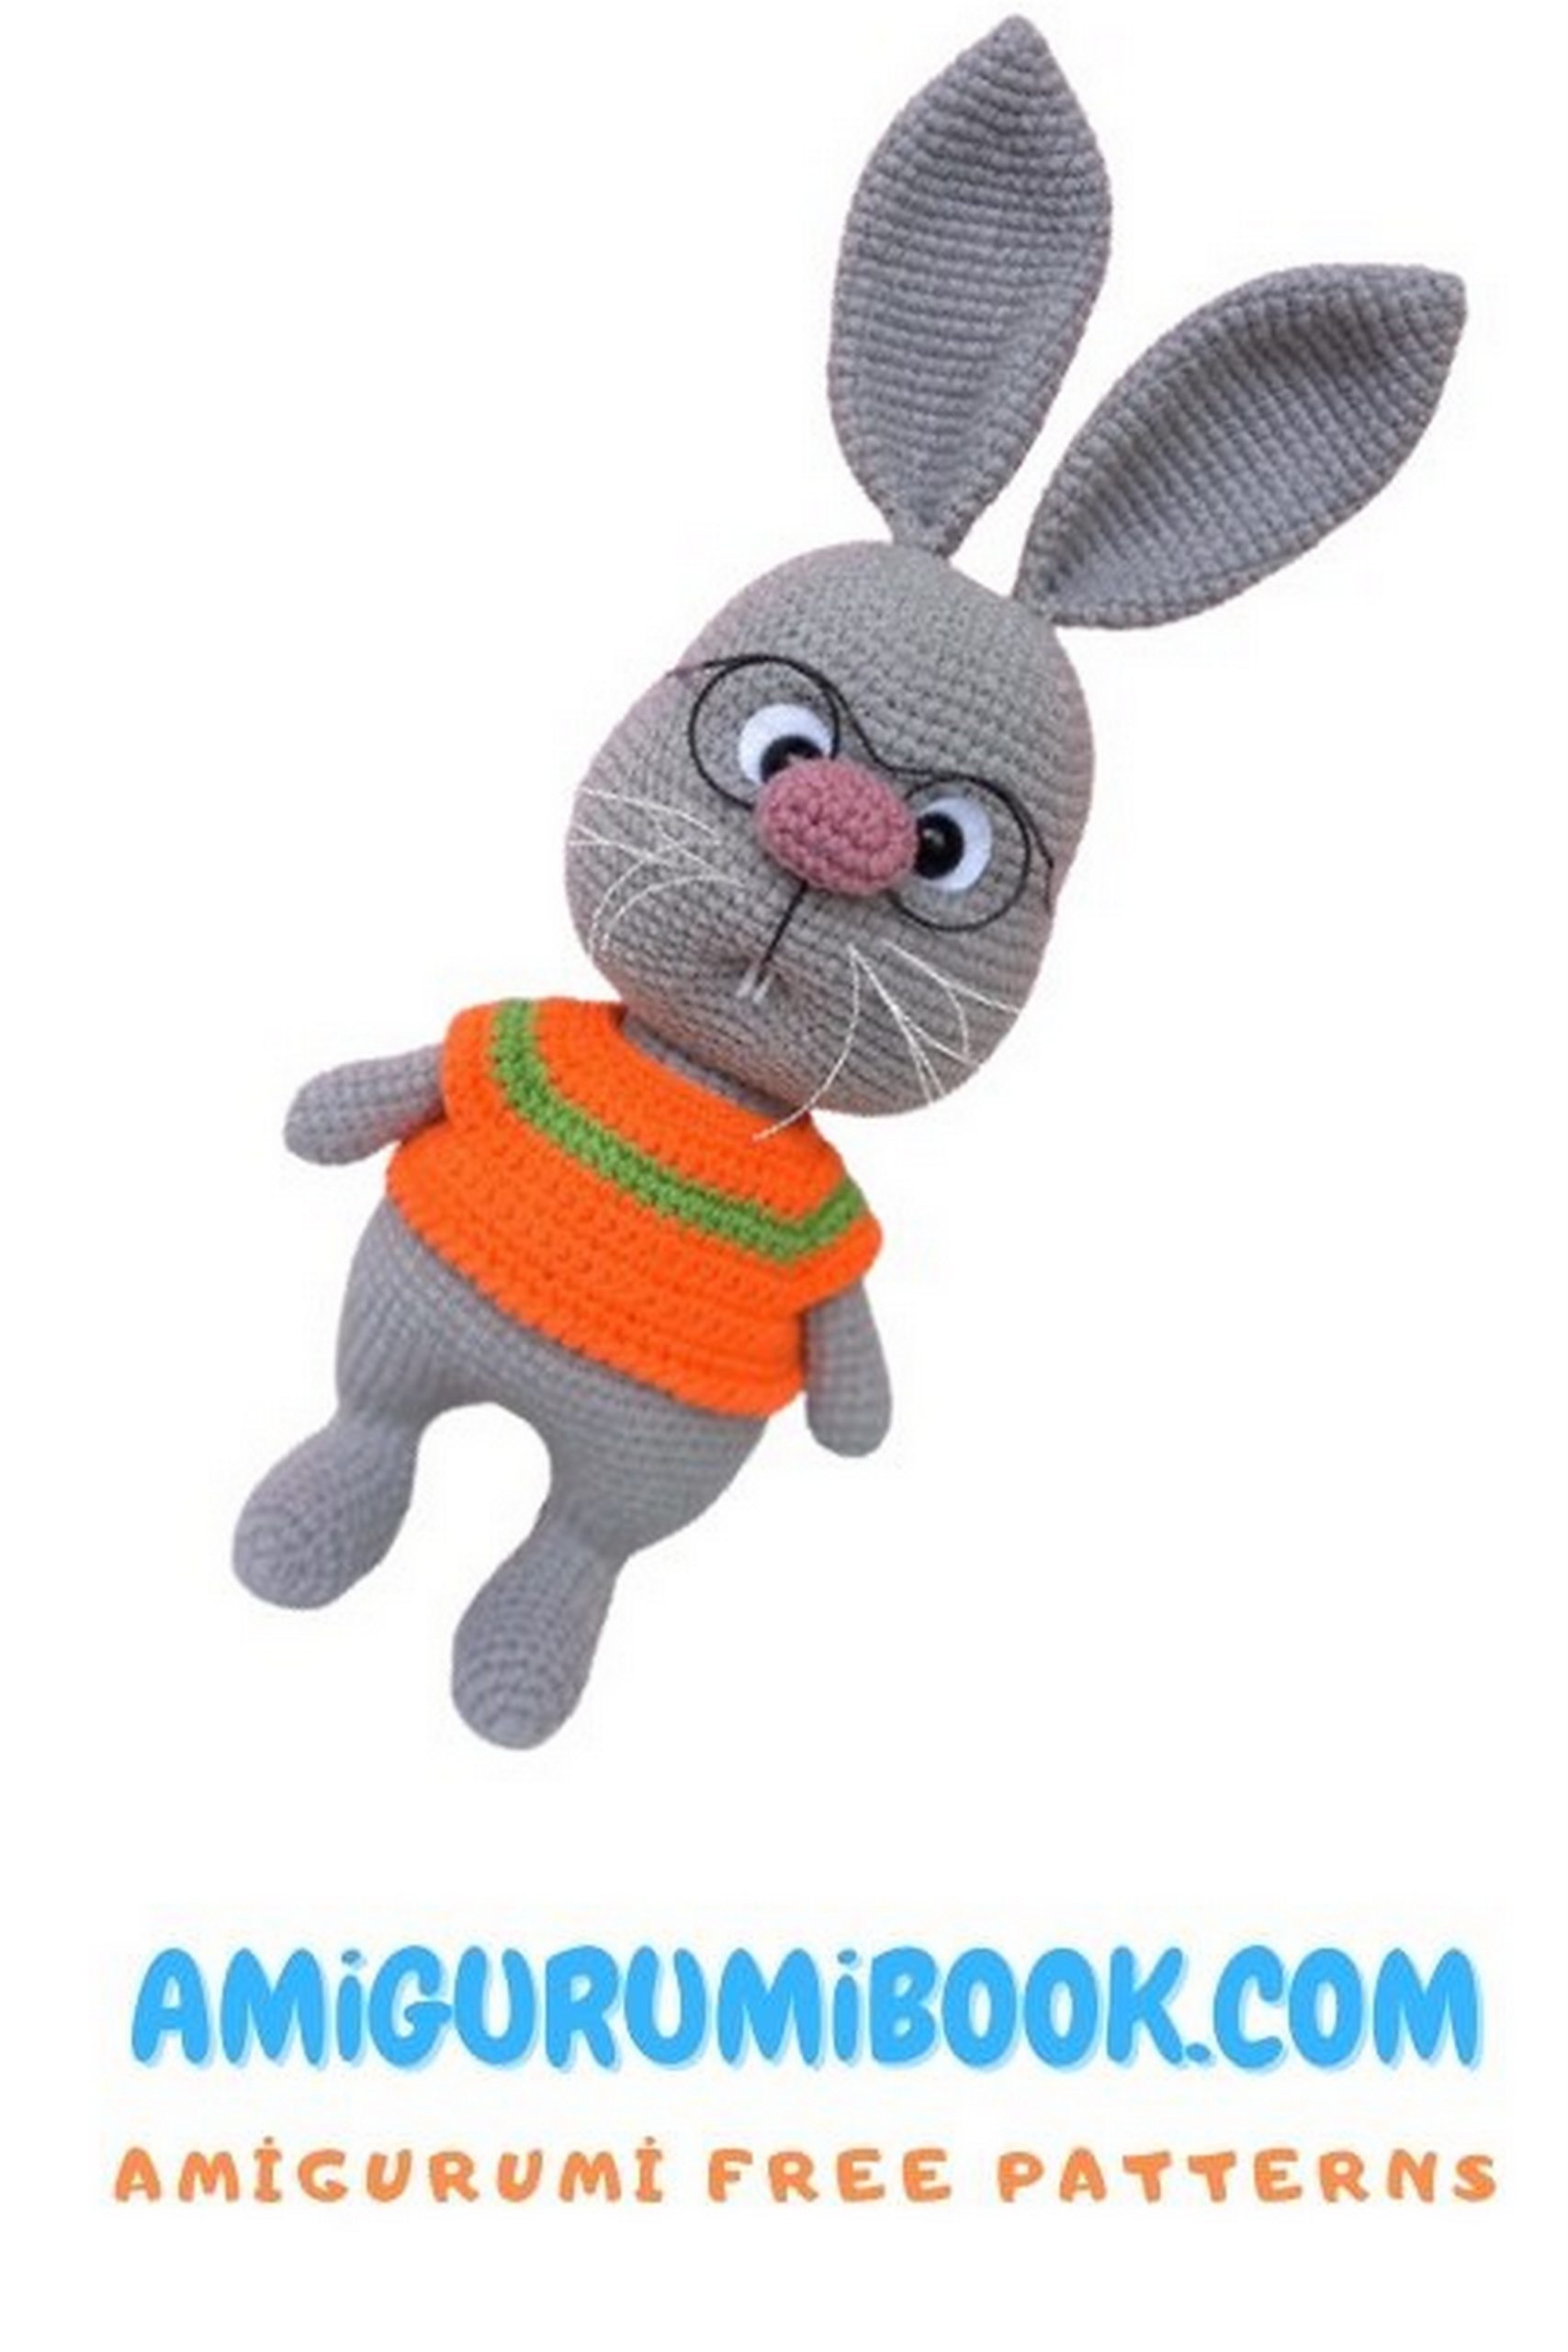
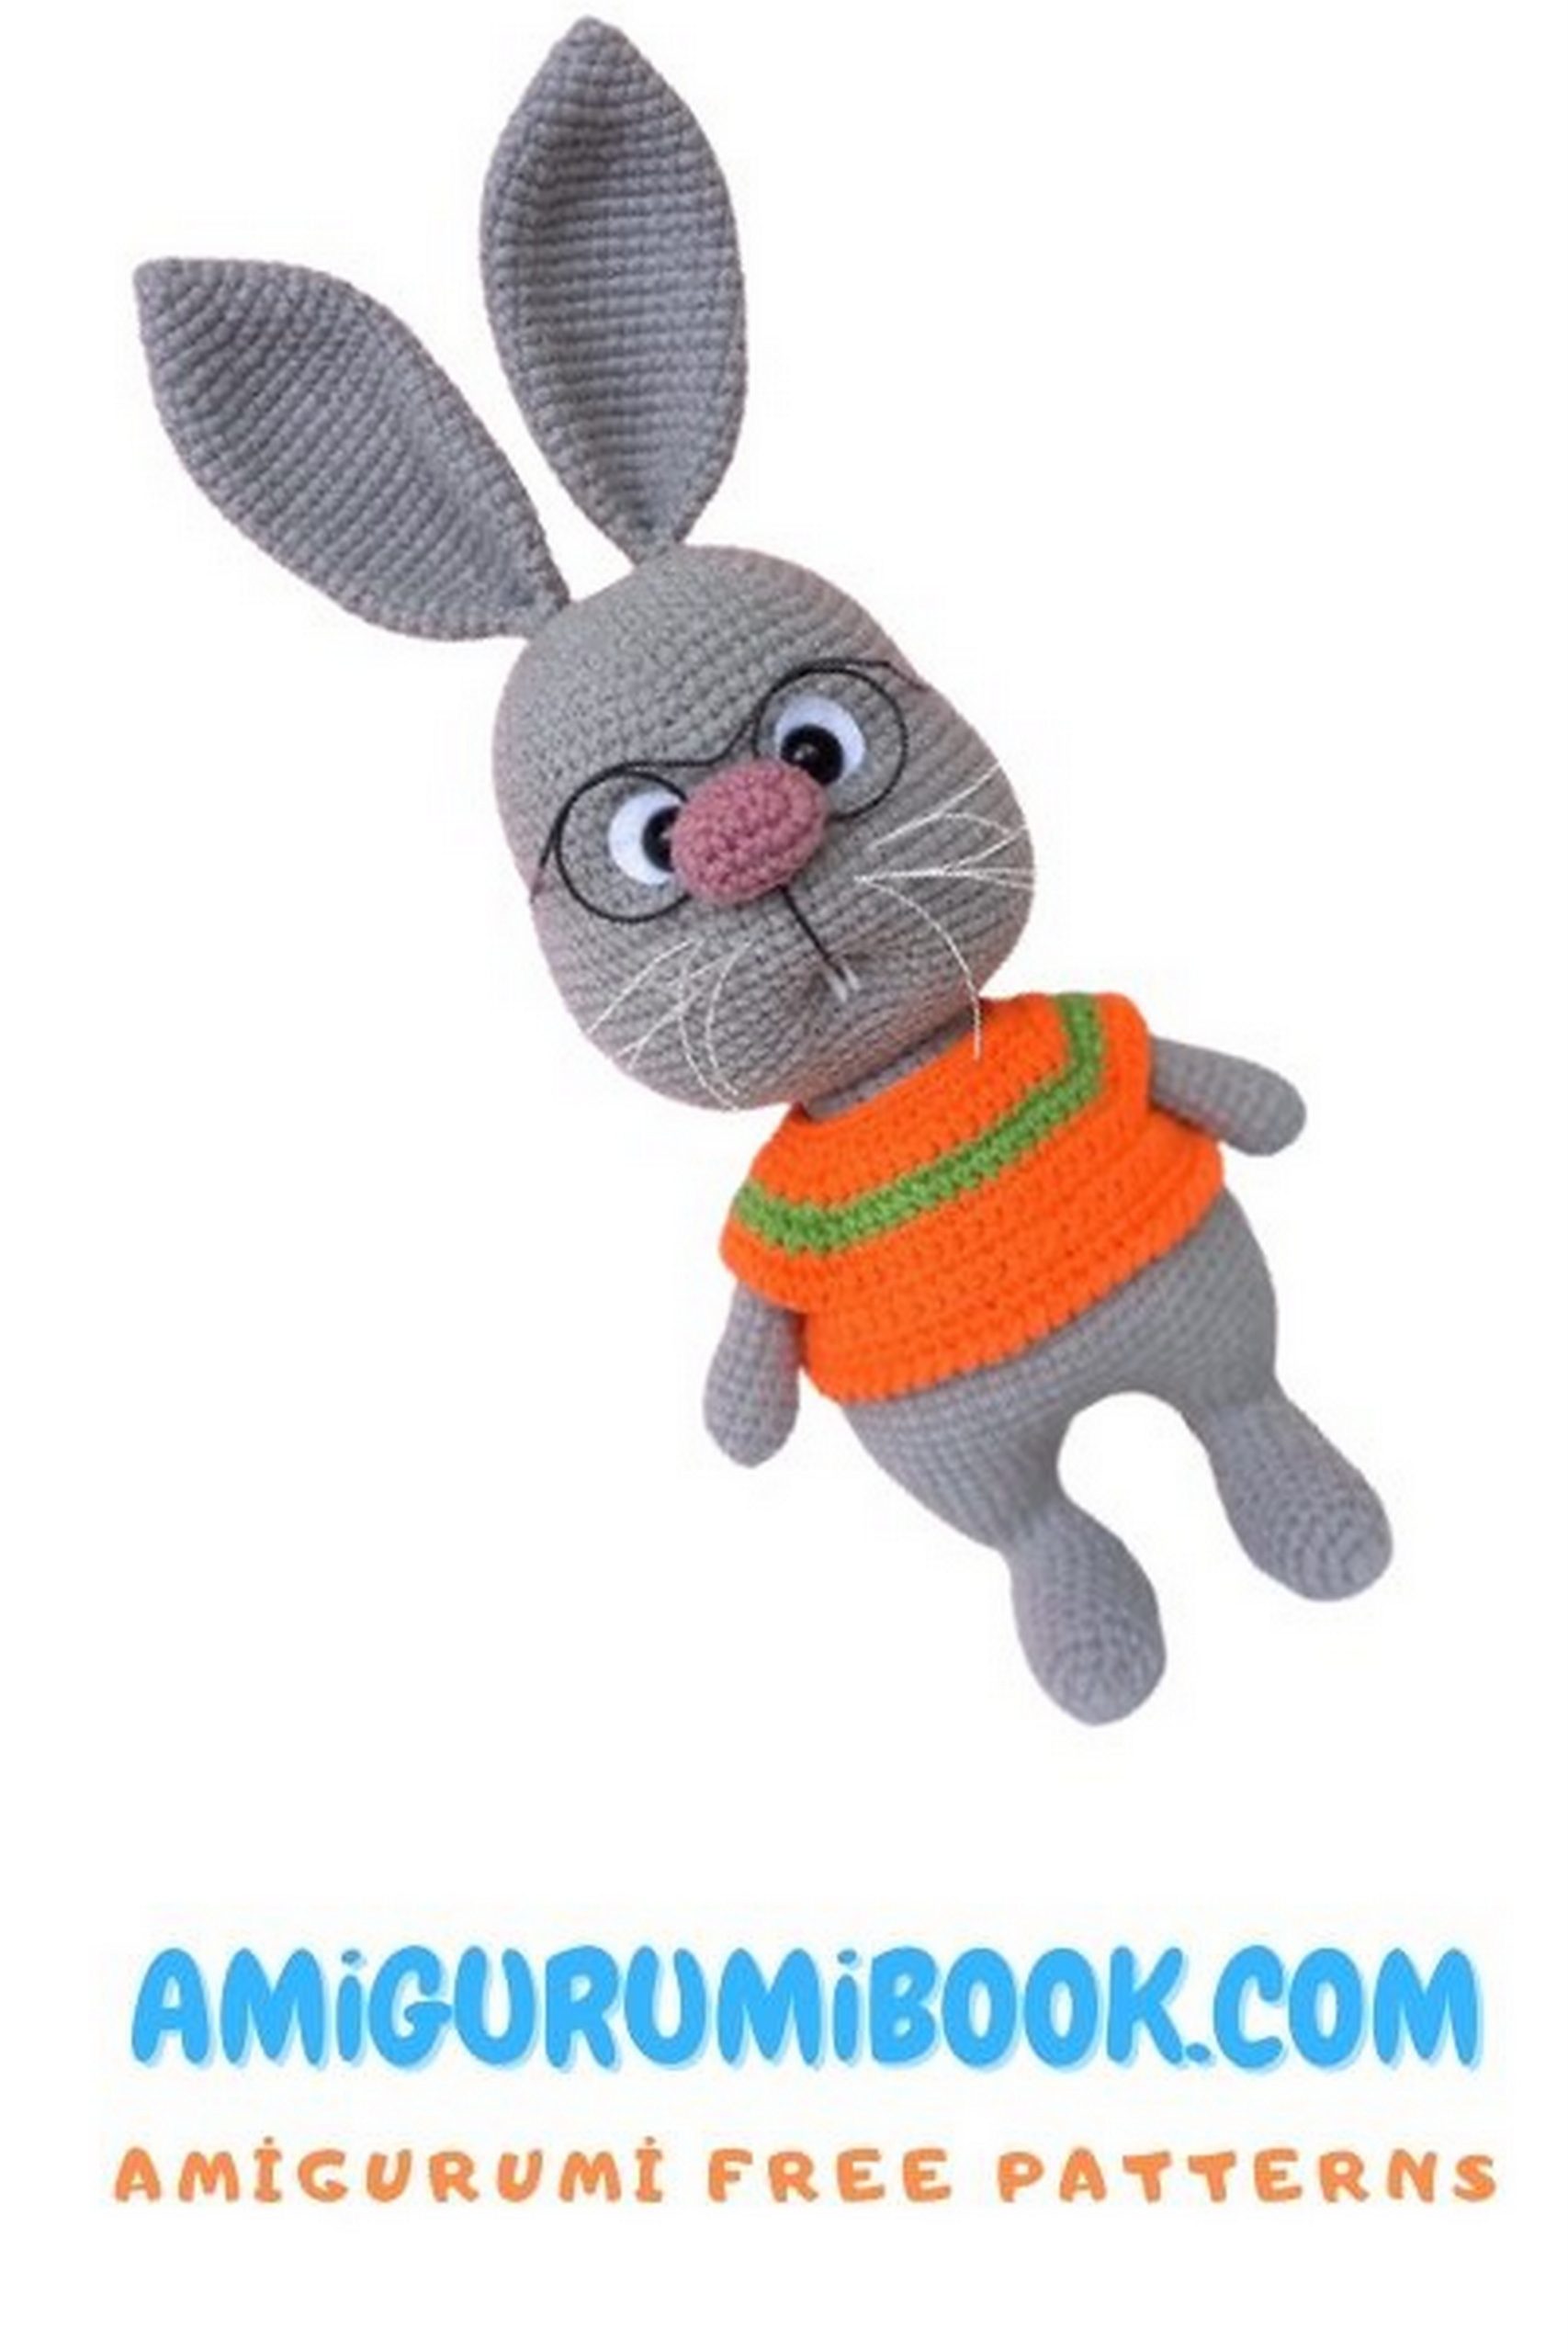
Discover the charm of a handmade companion with this free pattern for a crocheted glasses-wearing bunny amigurumi. Perfect for both beginners and experienced crafters, this adorable bunny adds a touch of whimsy to any collection. free crochet patterns
You may also like more amigurumi patterns.
In this free crochet pattern, you’ll find step-by-step instructions to create an adorable amigurumi bunny with glasses. This charming bunny combines the art of amigurumi with a touch of whimsy, making it a delightful project for both beginners and experienced crocheters. Whether you’re an avid amigurumi enthusiast or just starting out, this pattern offers an enjoyable crafting experience. Follow along to bring this cute glasses-wearing bunny to life with your crochet skills!
Introduction:
This tutorial provides a comprehensive description of the process of crocheting an amigurumi toy. Intermediate photos of details are included. Additionally, there is a description of crocheting the toy’s shirt. The toy is crocheted from the bottom up using “half-crosses” in a spiral (unless otherwise specified). The shirt is crocheted using “check marks.” The top paws, nose, and tail are worked in, while the head and ears are sewn on. Using the specified materials, the finished toy’s height is approximately 27 cm.
Note for Beginners:
Mark the beginning of each row with a contrasting thread thinner than the one used for crocheting the toy. This tutorial assumes basic crochet skills.
Materials and Tools:
Crochet hook suitable for your yarn.
YarnArt JEANS yarn in various colors of your choice. Main color: No. 46, Nose color: No. 65.
Small amount of black and white thread for facial details. Use thinner black thread than the main yarn. For example, “Azhurnaya” from “Pekhorka” No. 02 (black 280 m/50 g). White yarn for teeth: YarnArt JEANS No. 62. Use waxed thread with a round cross-section, diameter 0.5 mm, for whiskers.
Stuffing.
10 mm safety eyes, or sew-on/glue-on beads or half-beads.
White felt circles with a diameter of 15 mm for the whites of the eyes.
Needle for attaching parts, scissors, pins, marking thread, sturdy thread for tightening.
For the shirt: Yarnart Jeans No. 77 and No. 69.
Optional: ready-made glasses, 57-60 mm in width.
Abbreviations:
Mr. – magic ring
sc – single crochet
ch – chain stitch
st – stitch from the previous row
inc – increase
dec – decrease
sl st – slip stitch
(…)*X – repeat X times as indicated in parentheses
Number after “=” sign indicates the final stitch count in the row.
Upper Paws:
Row 1: 6 sc in MAGIC RING
Row 2: 6 inc = 12.
Rows 3-17: 12 sc each row.
Stuff the lower part of the paws lightly. Fold in half and crochet 6 sc through both walls. Secure and cut the thread. The paws will be inserted later.
Nose:
Ch 5, starting from the second ch from the hook:
Row 1: inc, 2 sc, 4 sc in 1 st, 2 sc, inc = 12.
Row 2: 2 inc, 2 sc, 4 inc, 2 sc, 2 inc = 20.
Rows 3-4: 20 sc.
Row 5: dec 10.
Secure and cut the thread. The nose will be inserted later.
Head:
Row 1: 6 sc in MAGIC RING
Row 2: 6 inc = 12.
Row 3: (1 sc, inc)*6 = 18.
Row 4: (2 sc, inc)*6 = 24.
Row 5: (3 sc, inc)*6 = 30.
Row 6: (4 sc, inc)*6 = 36.
Row 7: (5 sc, inc)*6 = 42.
Row 8: (6 sc, inc)*6 = 48.
Row 9: (7 sc, inc)*6 = 54.
Row 10: (8 sc, inc)*6 = 60.
Rows 11-12: 60 sc.
Row 13: (9 sc, inc)*6 = 66.
Rows 14-18: 66 sc.
In the next row, create the cheeks and insert the nose.
Please note that this is a partial translation of the given text. If you would like the full translation or if you have any specific questions about certain parts of the tutorial, please let me know!
Ears:
These parts are not stuffed.
Row 1: 6 sc in MAGIC RING
Row 2: (1 sc, inc)*3 = 9.
Row 3: (2 sc, inc)*3 = 12.
Row 4: (3 sc, inc)*3 = 15.
Row 5: (4 sc, inc)*3 = 18.
Row 6: (2 sc, inc)*6 = 24.
Row 7: 24 sc.
Row 8: (3 sc, inc)*6 = 30.
Rows 9-23: 30 sc.
Row 24: (3 sc, dec)*6 = 24.
Row 25: 24 sc.
Row 26: (2 sc, dec)*6 = 18.
Row 27: 18 sc.
Fold the ear in half and crochet together through both walls with 9 sc. Leave a thread for sewing.
Tail:
Row 1: 6 sc in MAGIC RING
Row 2: 6 inc = 12.
Row 3: (1 sc, inc)*6 = 18.
Rows 4-5: 18 sc.
Row 6: (1 sc, dec)*6 = 12.
Secure and cut the thread. The tail will be inserted later. It can be slightly stuffed now or after insertion.
Lower Paws:
Row 1: 6 sc in MAGIC RING
Row 2: 6 inc = 12.
Row 3: (1 sc, inc)*6 = 18.
Rows 4-9: 18 sc.
Continue with the heel.
Row 10: ch 1, turn, skip 1 sc, 9 sc, dec.
Row 11: ch 1, turn, skip 1 sc, 7 sc, dec.
Row 12: ch 1, turn, skip 1 sc, 5 sc, dec.
Row 13: ch 1, turn, skip 1 sc, 3 sc, dec.
Continue until the marker, then work 4 sc in the edge stitches.
Row 14: Continue with 18 sc, including the heel stitches = 18.
Row 15: 18 sc.
Row 16: (1 sc, dec)*6 = 12.
Rows 17-18: 12 sc.
Row 19: (1 sc, inc)*6 = 18.
Row 20: 18 sc.
Row 21: (2 sc, inc)*6 = 24.
Row 22: 24 sc.
Secure and cut the thread on the first leg. On the second leg, do not cut the thread. We will join it with the first leg and continue crocheting. Place the legs side by side. Determine the symmetrical connection point. If your stitch count alignment matches mine, count back 11 stitches on the first leg and connect to the 12th stitch on the second leg.
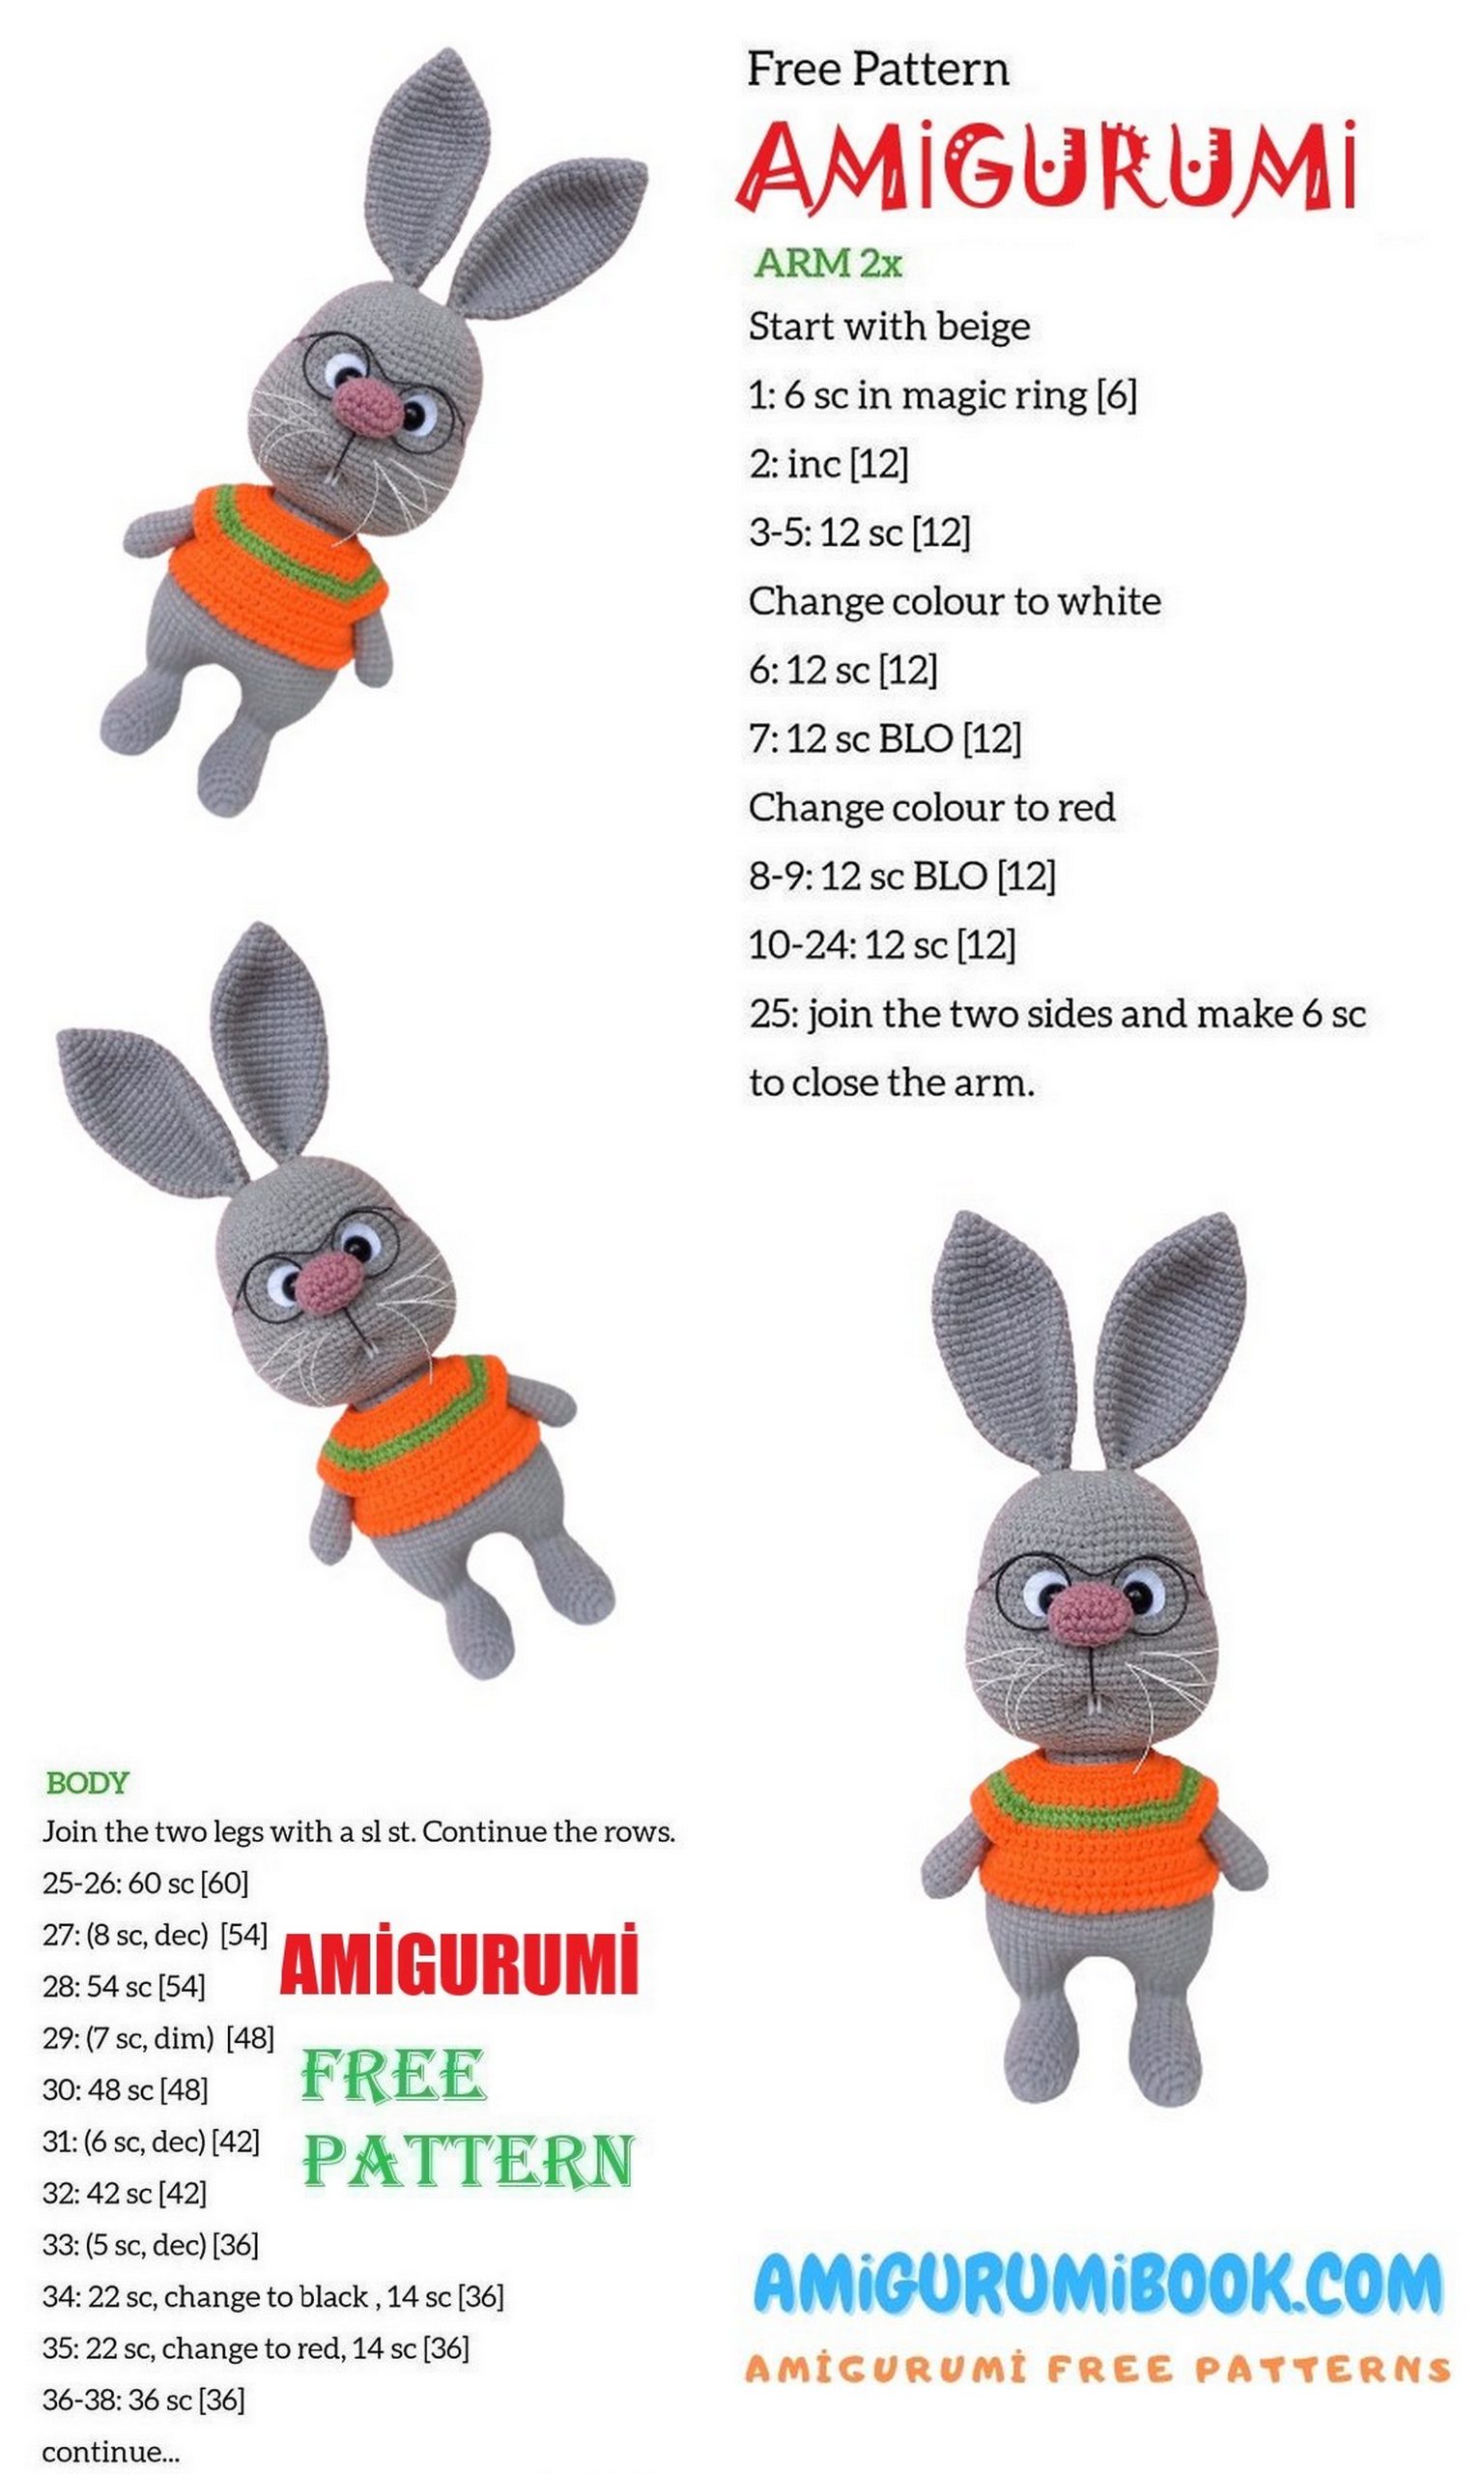
Body:
Stuff the body firmly during crocheting.
Crochet a chain of 3 ch, and join the legs.
Row 1: 24 sc on the first leg, 3 sc in the ch chain, 24 sc on the second leg, 3 sc in the ch chain. Total stitch count = 54. Place a marker thread.
Row 2: (8 sc, inc)*6 = 60.
Row 3: 60 sc.
Row 4: (9 sc, inc)*6 = 66.
Rows 5-7: 66 sc.
In rows 8 and 9, crochet the tail.
Row 8: 61 sc, then crochet 6 sc together with the tail, including the next row’s loop = 66. Place the marker in row 9 after the 66th stitch, and the stitch count doesn’t change. Note that the stitch alignment might differ. Position the tail centered at the back.
Row 9: = 61 sc, 6 sc in the remaining tail loops, including the next row’s loop = 66.
For convenience, pull out the marker thread and place it again before the first stitch of row 10 (after the 5th tail stitch). After row 10, stuff the base of the tail.
Rows 10-11: 66 sc.
Row 12: (9 sc, dec)*6 = 60.
Row 13: 60 sc.
Row 14: (8 sc, dec)*6 = 54.
Row 15: 54 sc.
Row 16: (7 sc, dec)*6 = 48.
Row 17: 48 sc.
Row 18: (6 sc, dec)*6 = 42.
Row 19: 42 sc.
Row 20: (5 sc, dec)*6 = 36.
Rows 21-23: 36 sc.
In row 24, crochet the upper paws. Stuff the main part of the body quite firmly, leaving about 1 cm to make it easier to insert the paws without the stuffing getting between the stitches. Determine the insertion points strictly on the sides: crochet 6 sc together with the paws, and between them, crochet 12 sc.
Considering my stitch alignment, I have:
Row 24: 8 sc, 6 sc together with the paw, 12 sc, 6 sc together with the paw, 4 sc = 36.
Row 25: 36 sc.
Row 26: (4 sc, dec)*6 = 30.
Row 27: (3 sc, dec)*6 = 24.
Row 28: 24 sc.
Crochet a few more stitches (I have 1 sc and a slip stitch in the next loop), secure the thread at the back center of the back. Leave about 50 cm for sewing the head. Remove the marker thread. Stuff the part firmly. When sewing the head, remember to push the stuffing into the neck area. For convenience, you can fix the head to the body with a knitting needle.
Shaping and Features:
Use the tightening technique to shape the mouth and eye sockets. Place markers on the face at 6 points. Determine the center of the face by applying a thread, knitting needle, or needle down from the center of the nose. Mark between rows 29 and 30. There should be 2-3 sc between the markers.
Between rows 18 and 19, mark 4 points on the outer and inner corners of the eyes. The inner corners are the start and end points of the crocheted nose. There should be 2-3 sc between the inner and outer markers.
Insert the needle into point 1, leave the thread end about 25-30 cm, and pull it out at point 2. Continue to point 3 and pull out at point 6. Adjust the thread so it’s under the eye and the felt circle, tighten, and tie in 2 knots. Without cutting the thread, insert into point 6, pull out at point 5, then insert into point 4 and pull out at point 1. Tighten and tie a couple of knots. Hide the threads inside the head. You can apply a small amount of transparent glue to secure the final knots and thread entry/exit points.
Attaching Ears:
Fold the ear in half and sew both sides together.
Crocheted Shirt:
Crochet in turning rows with a chain lift. You can combine colors, use melange yarn or variegated, textured, woolen yarn. The main thing is that it matches in thickness.
Chain 37, working in the opposite direction from the 2nd loop from the hook:
Row 1: 6 sc, 3 sc in 1 st, 4 sc, 3 sc in 1 st, 12 sc, 3 sc in 1 st, 4 sc, 3 sc in 1 st, 6 sc = 44; ch, turn.
Row 2: 44 sc; ch, turn.
Row 3: 7 sc, 3 sc in 1 st, 6 sc, 3 sc in 1 st, 14 sc, 3 sc in 1 st, 6 sc, 3 sc in 1 st, 7 sc = 52; ch, turn.
Row 4: 52 sc; ch, turn.
Row 5: 8 sc, 3 sc in 1 st, 8 sc, 3 sc in 1 st, 16 sc, 3 sc in 1 st, 8 sc, 3 sc in 1 st, 8 sc = 60; ch, turn.
Row 6: 60 sc; ch, turn.
Row 7: 9 sc, chain of 6 ch, skip 12 sc, 18 sc, chain of 6 ch, skip 12 sc, 9 sc = 48; ch, turn.
Row 8: 8 sc, sc, 6 sc in ch loops, sc, 16 sc, sc, 6 sc in ch loops, sc, 8 sc = 52; ch, turn.
Row 9: 52 sc; ch, turn.
Do not cut the thread, do the edging (3 sc in corner loops):
Up the side, around the neckline, down the side (don’t forget about the loop of 4-5 ch, depending on the diameter of your button), and at the bottom, create a false “crab stitch.” Alternatively, crochet the bottom with regular stitches.
Secure the thread, hide all ends, and cut. The shirt is ready.
Glasses:
I used ready-made glasses. I slightly spread them around the bridge of the nose, gently bending them. Due to the curved ends of the temples, they attach firmly to the fabric. You can make glasses yourself using wire, pliers, and any suitable object for the diameter. You can crochet around them or wrap them with wire. The photo shows white, but they come in various colors. Glasses without temples can be attached to the bridge with a couple of stitches. Thanks to the lifted nose, it will be inconspicuous.
And there you have it, our bunny is ready! I sincerely hope that you enjoyed both the process and the result.