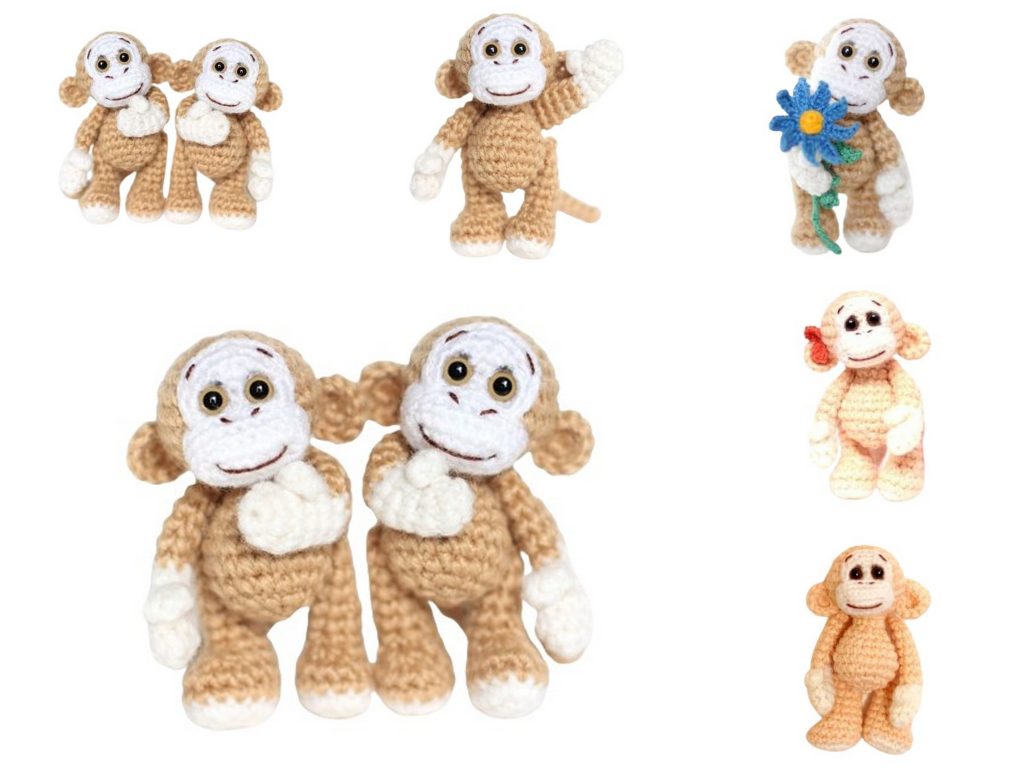
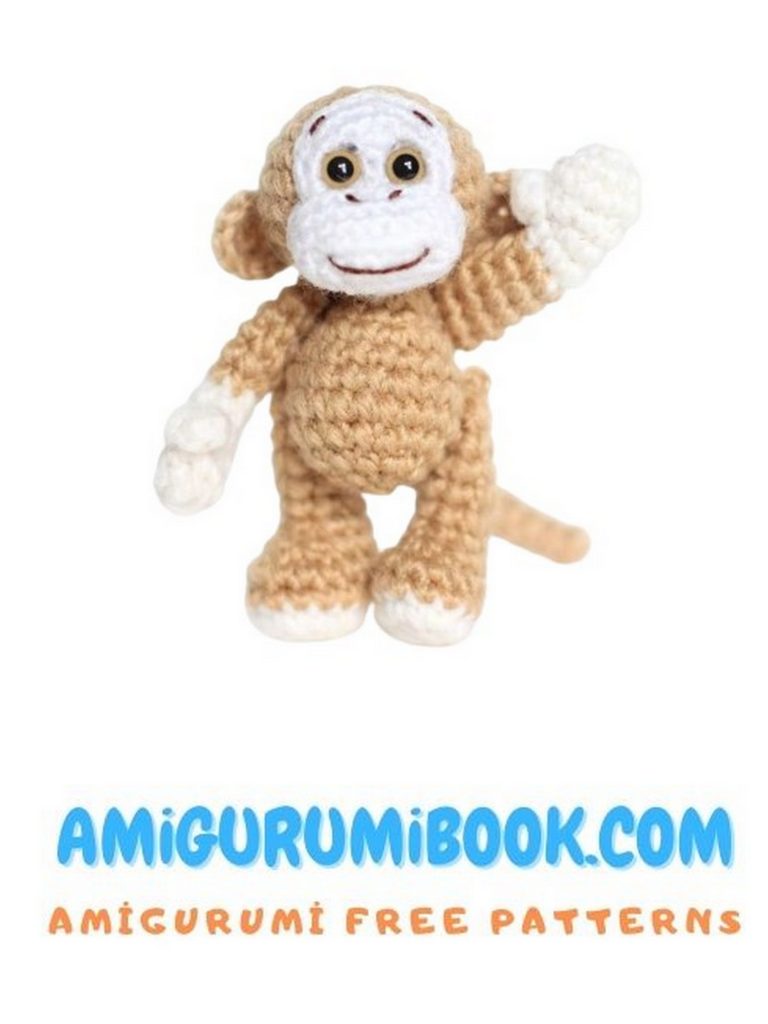
Welcome to the wonderful world of crochet! Delve into the art of amigurumi with our free pattern for a little cute amigurumi monkey. Whether you’re a novice or an experienced crocheter, this pattern offers endless crafting possibilities. With detailed instructions and helpful visuals, creating this adorable monkey is a joyous experience. Unleash your creativity and bring this playful design to life. Get ready to crochet your way to cuteness!
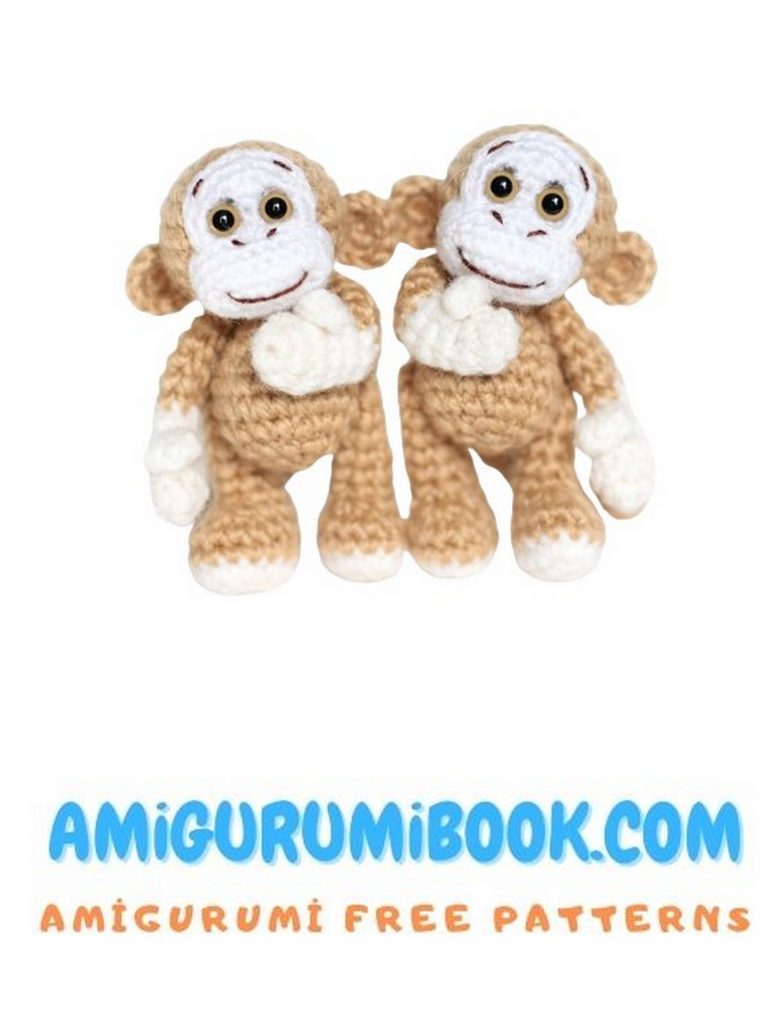
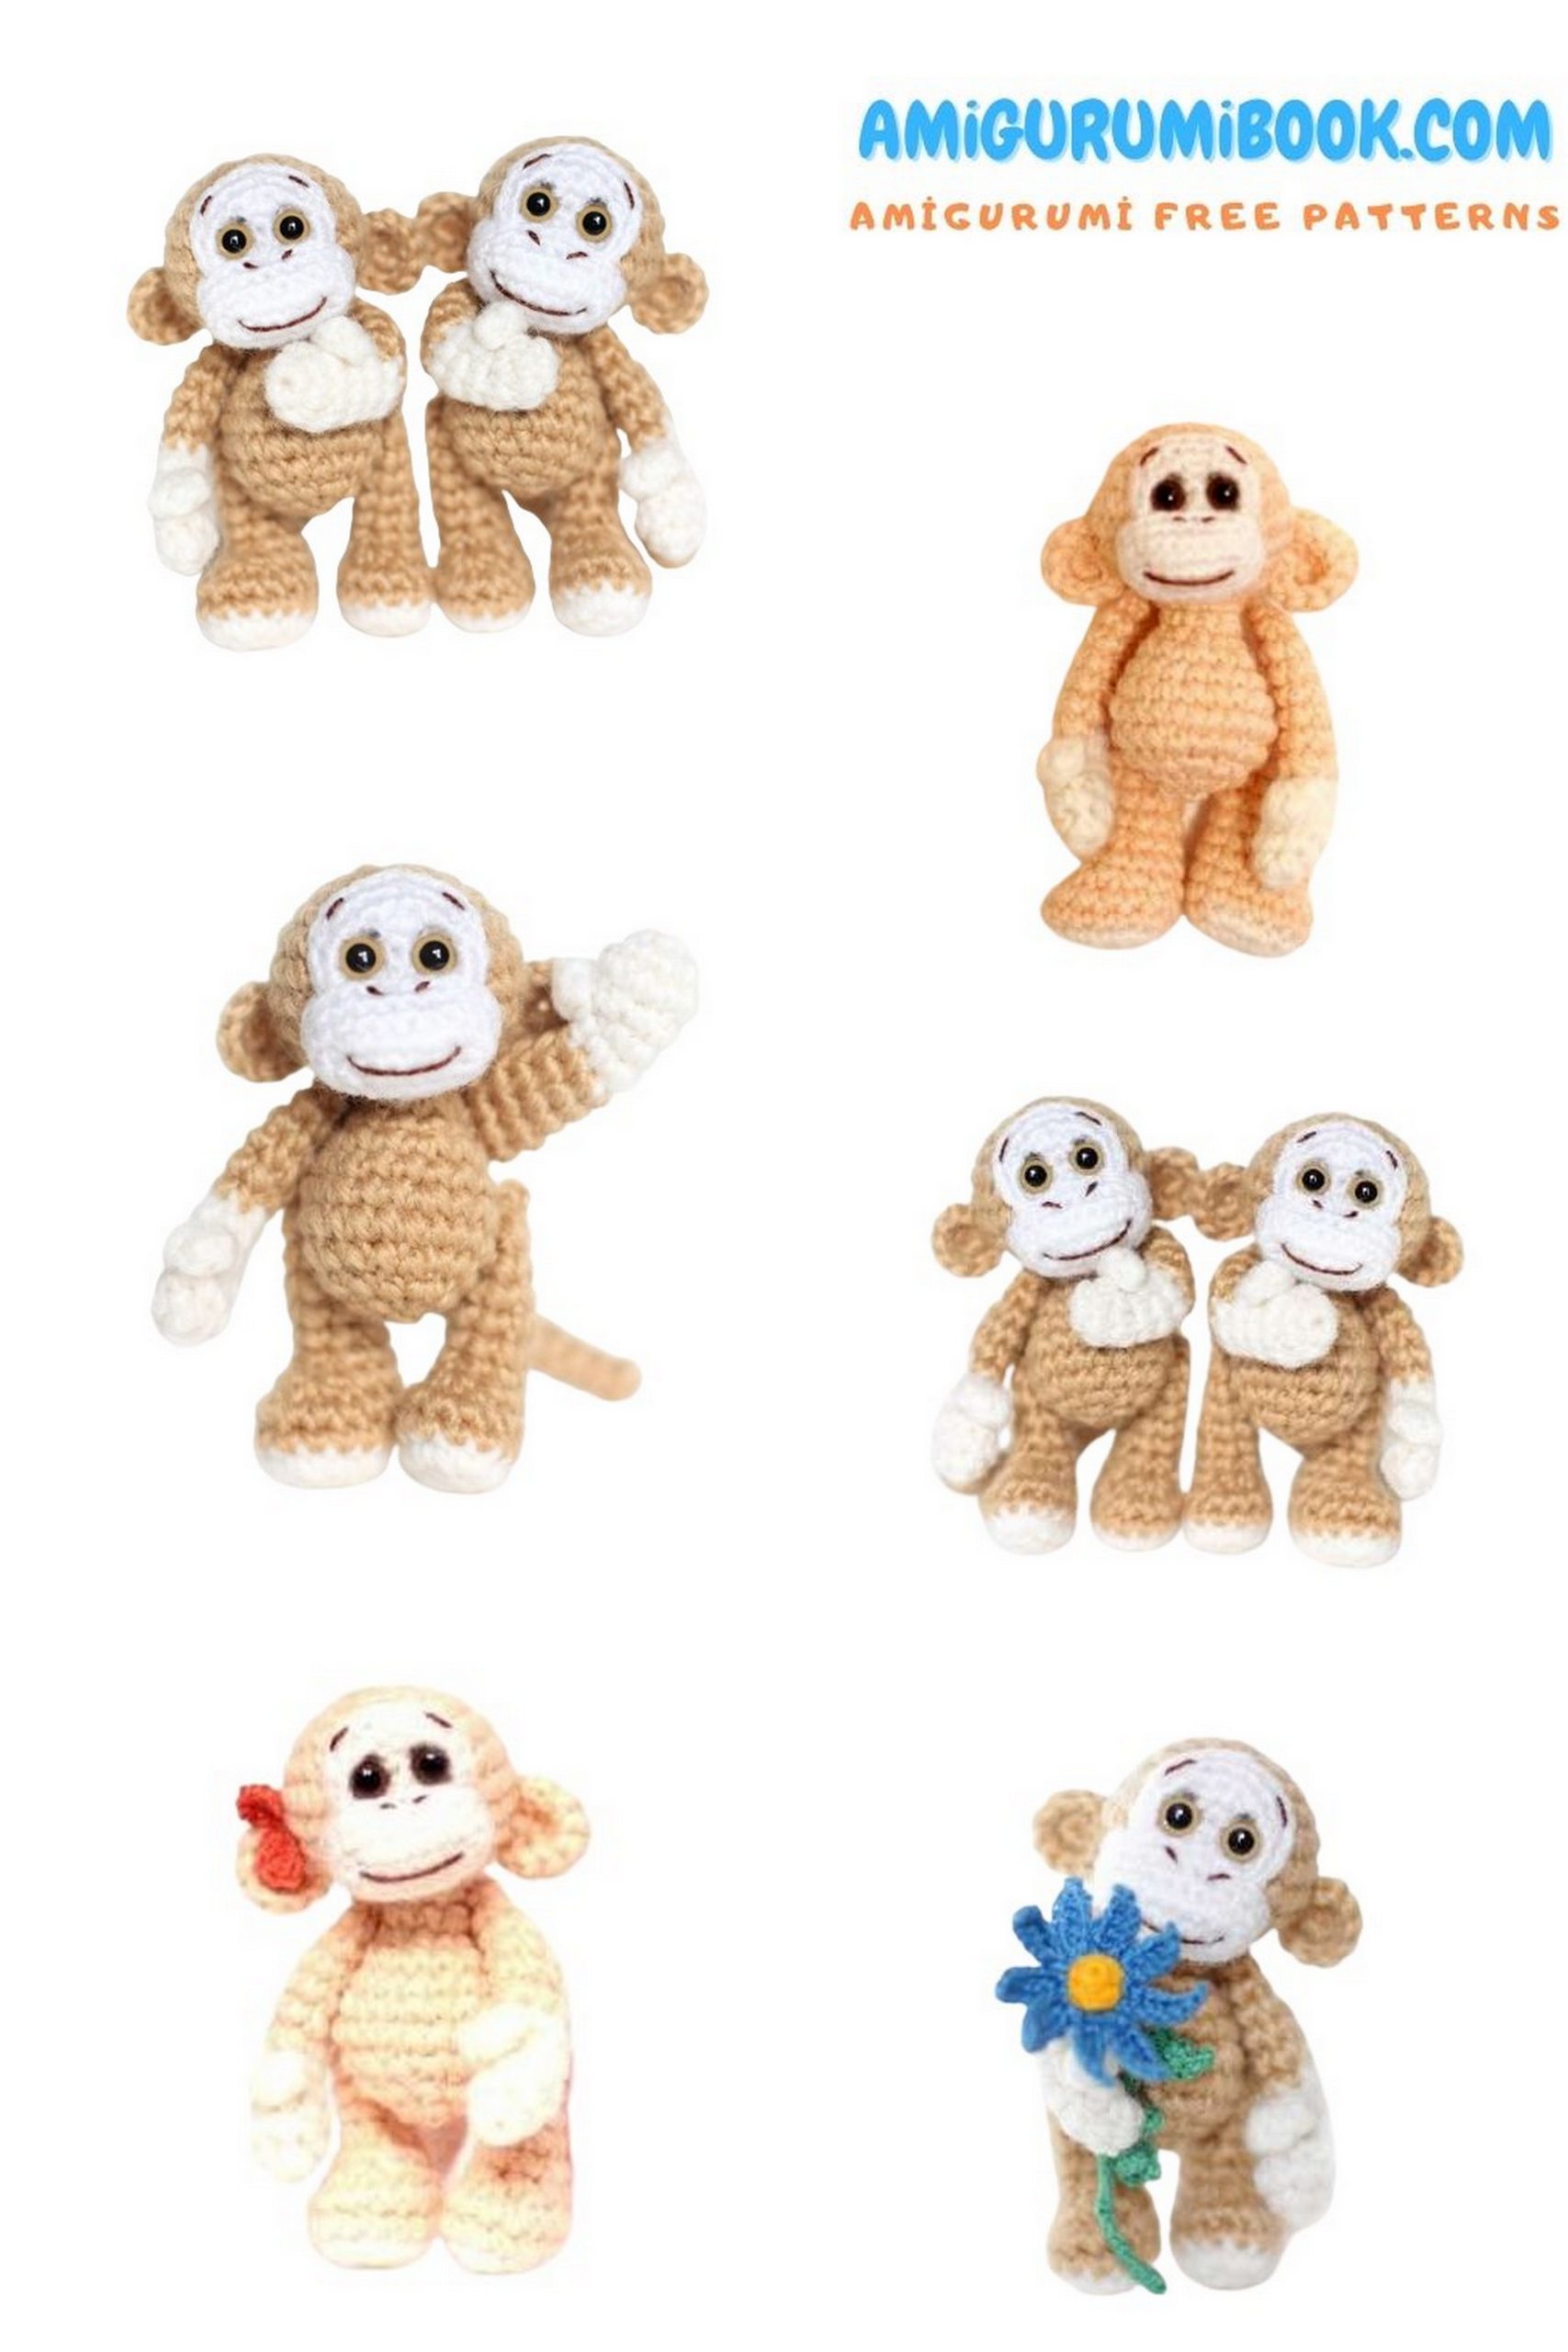
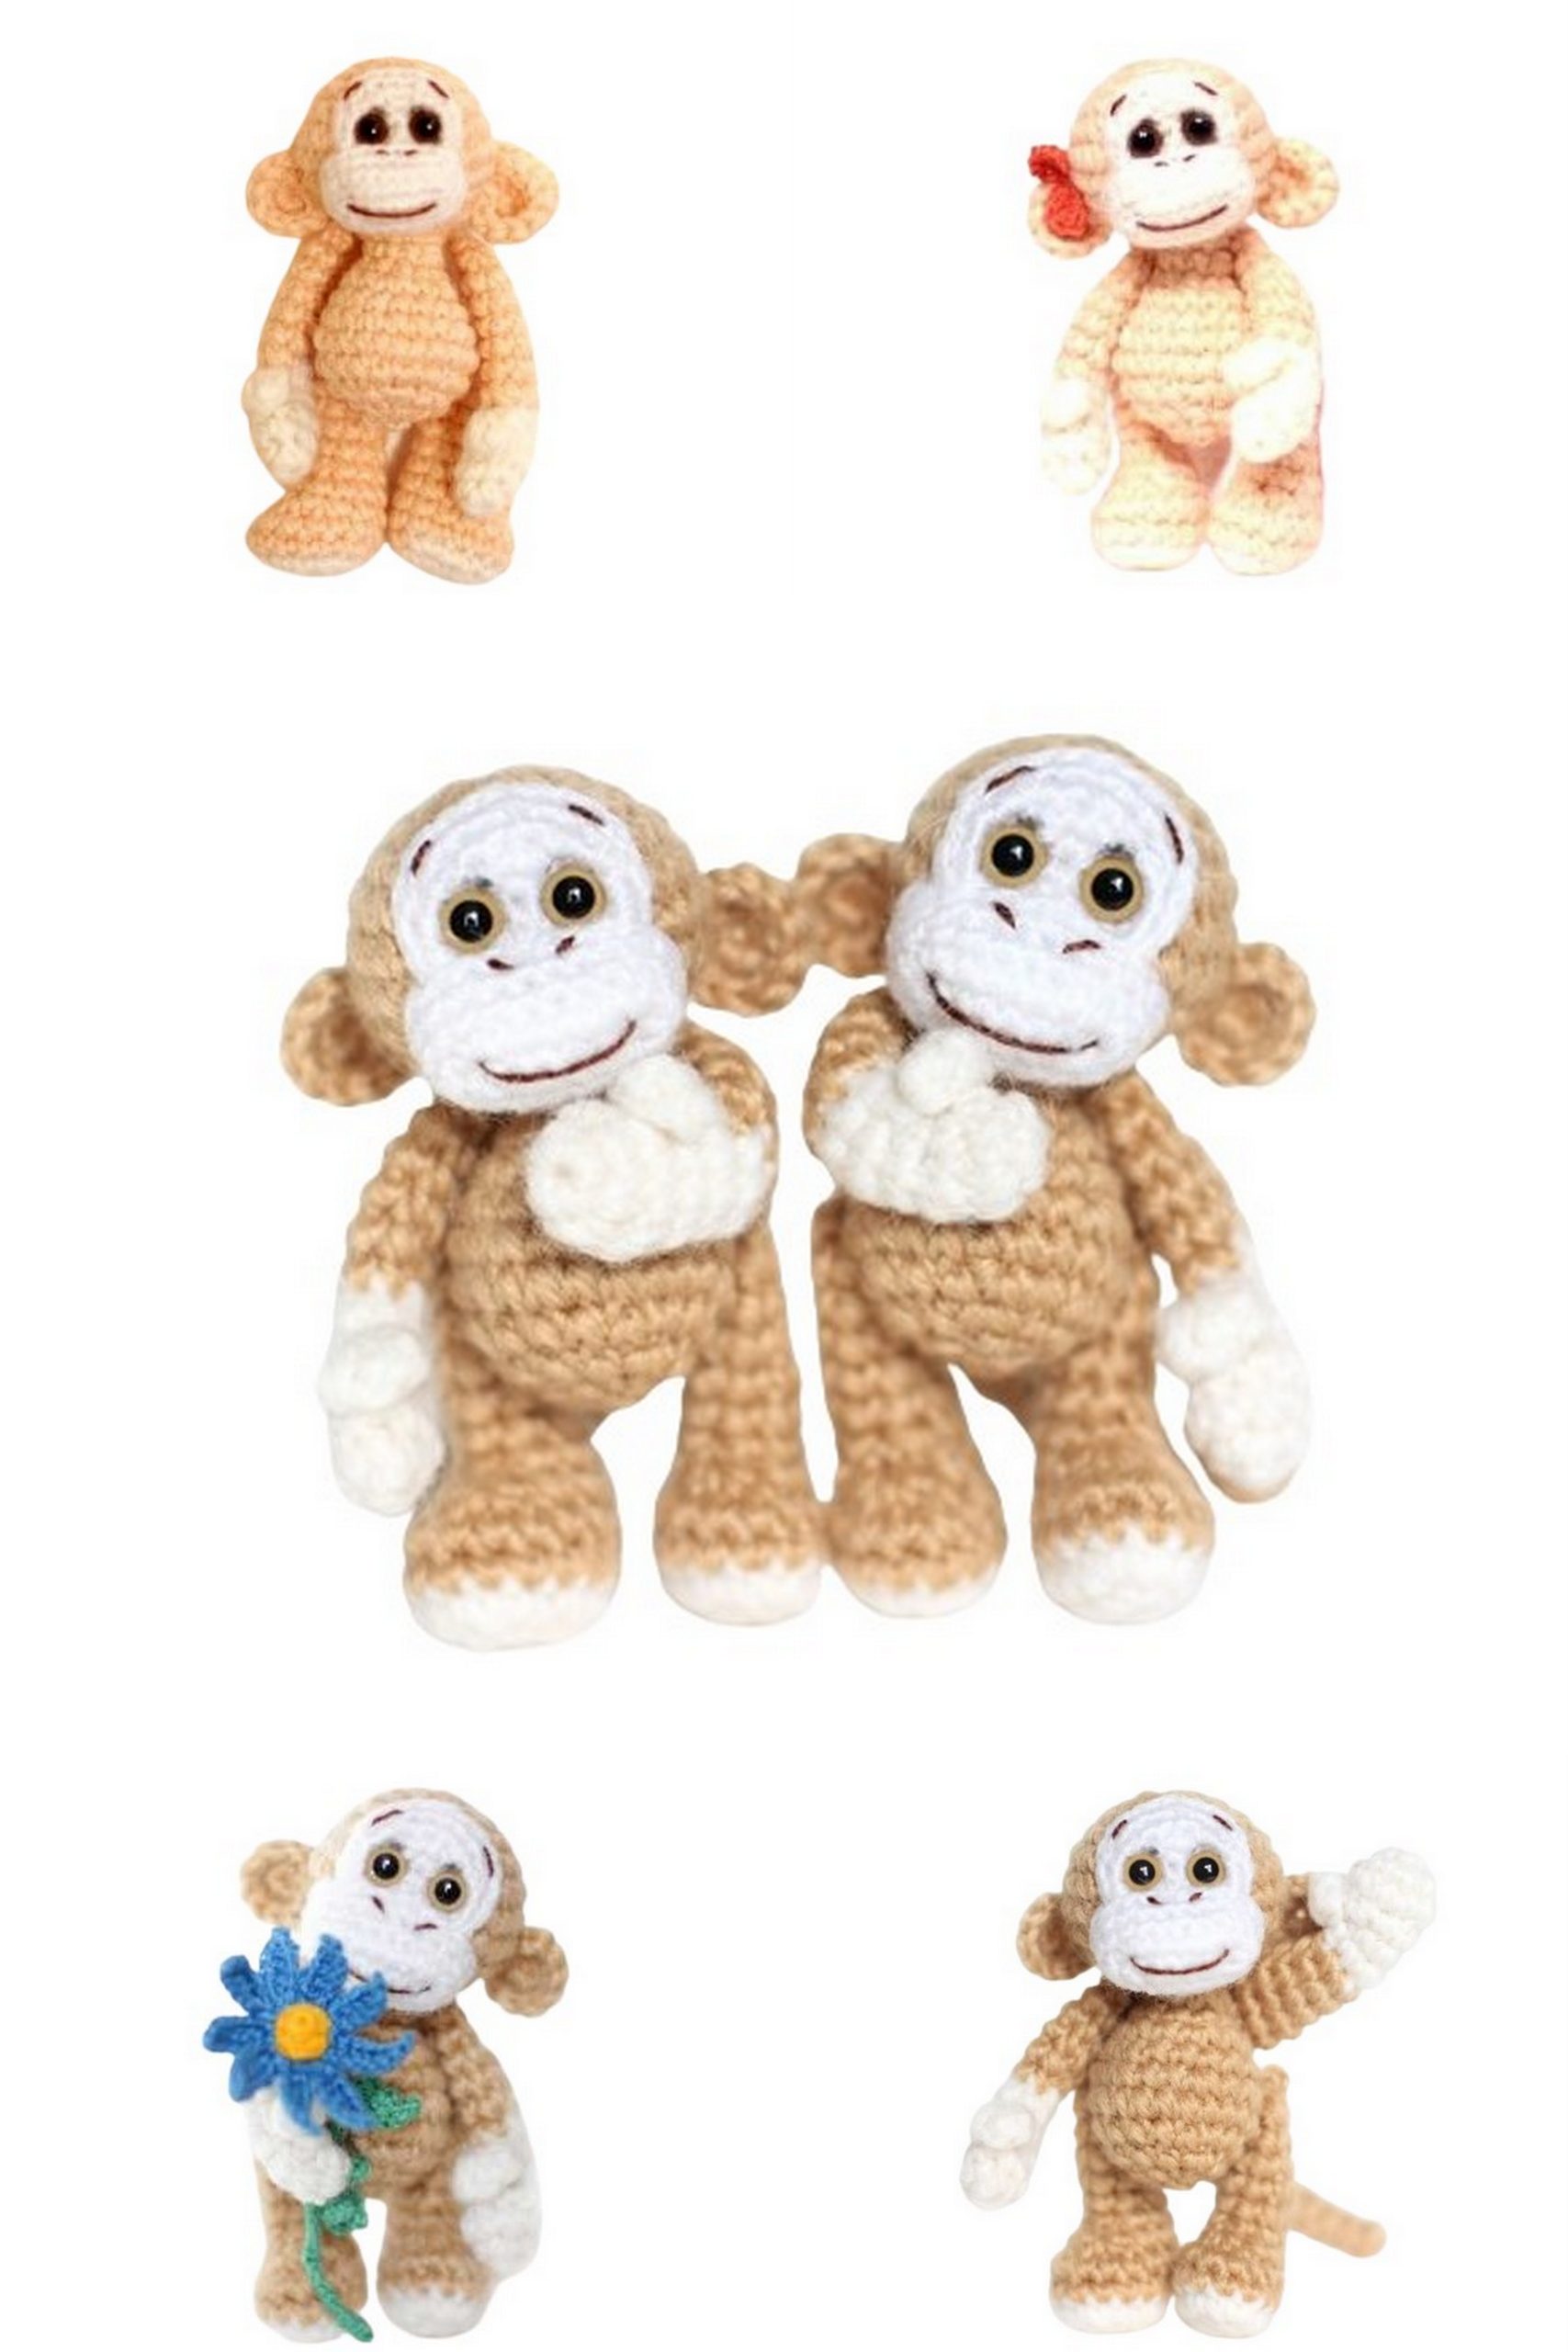
Hello! I suggest making such cute monkeys.
If you want to access 1000+ free amigurumi patterns, you can download our application from this link!
Little Monkey Materials:
Yarn in 2 colors (main color and white), approximately 300m per 100g
Fine white mohair for the muzzle
Safety eyes with washers (or sew-on eyes)
Stuffing (polyester fiberfill)
Small piece of brown iris (for the smile and eyebrows)
Crochet hooks size 2mm and 1.5mm
Scissors
Needles (larger ones for sewing parts together and smaller ones for facial features)
Marker for marking the beginning of a round
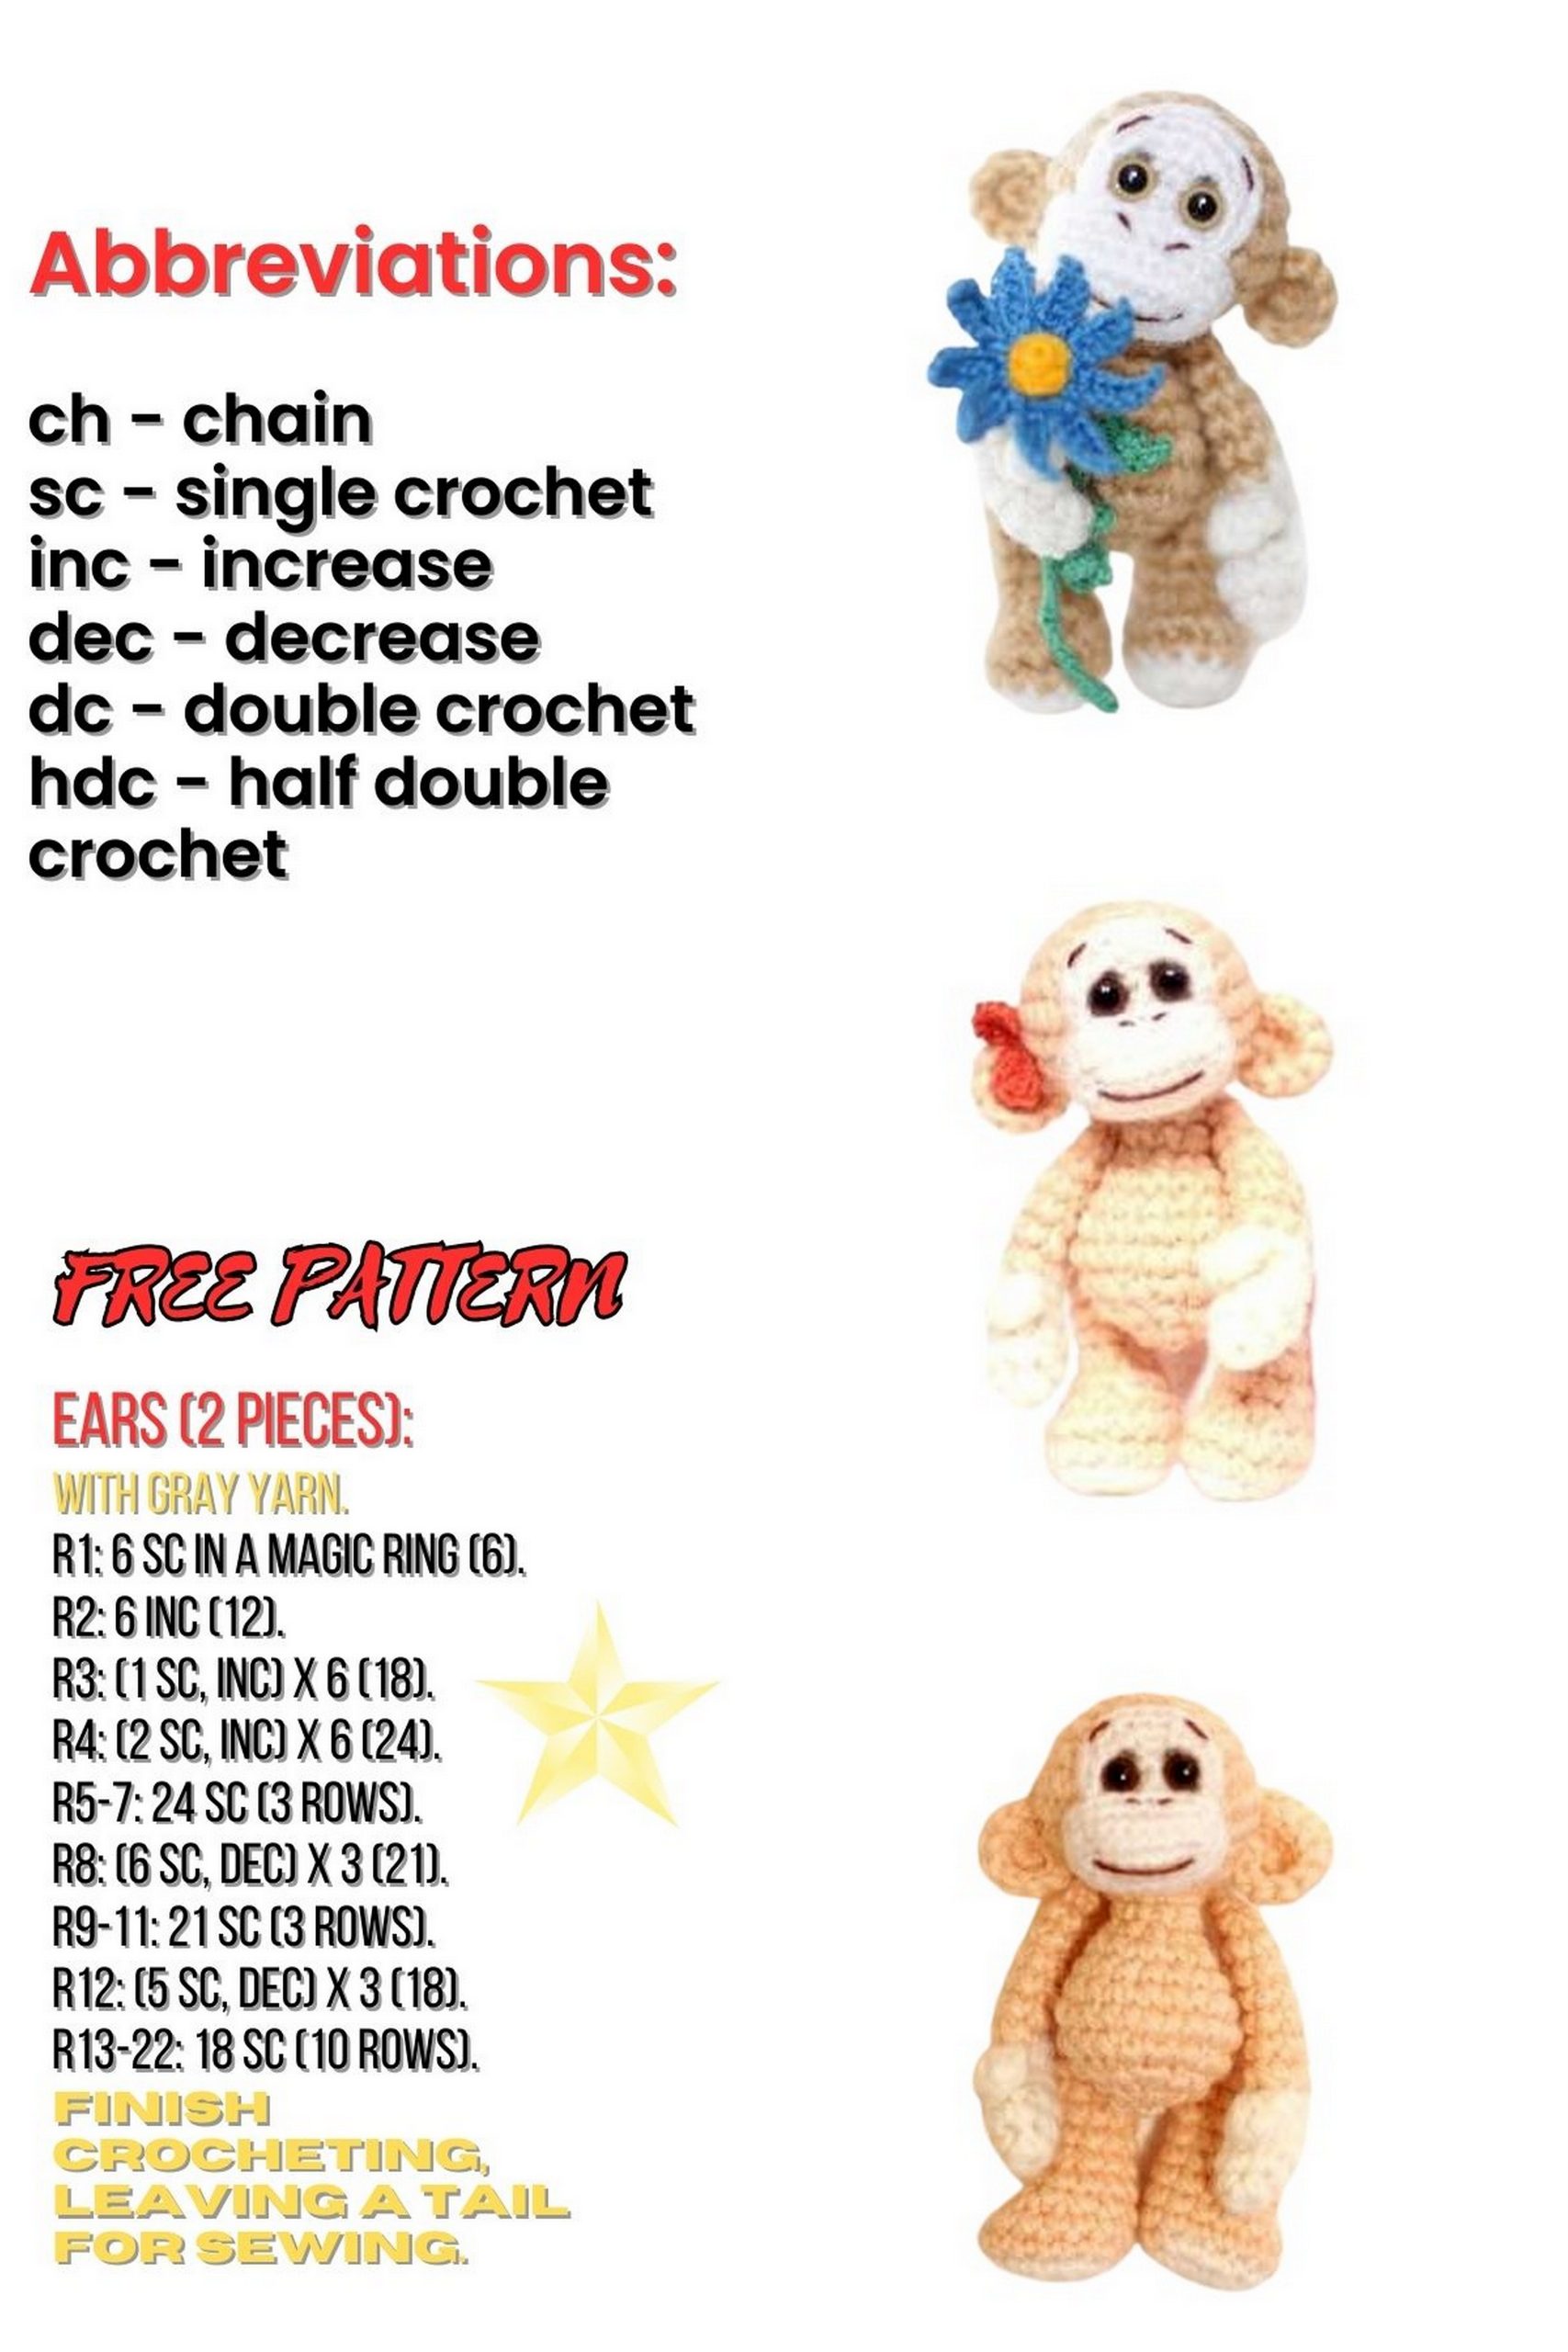
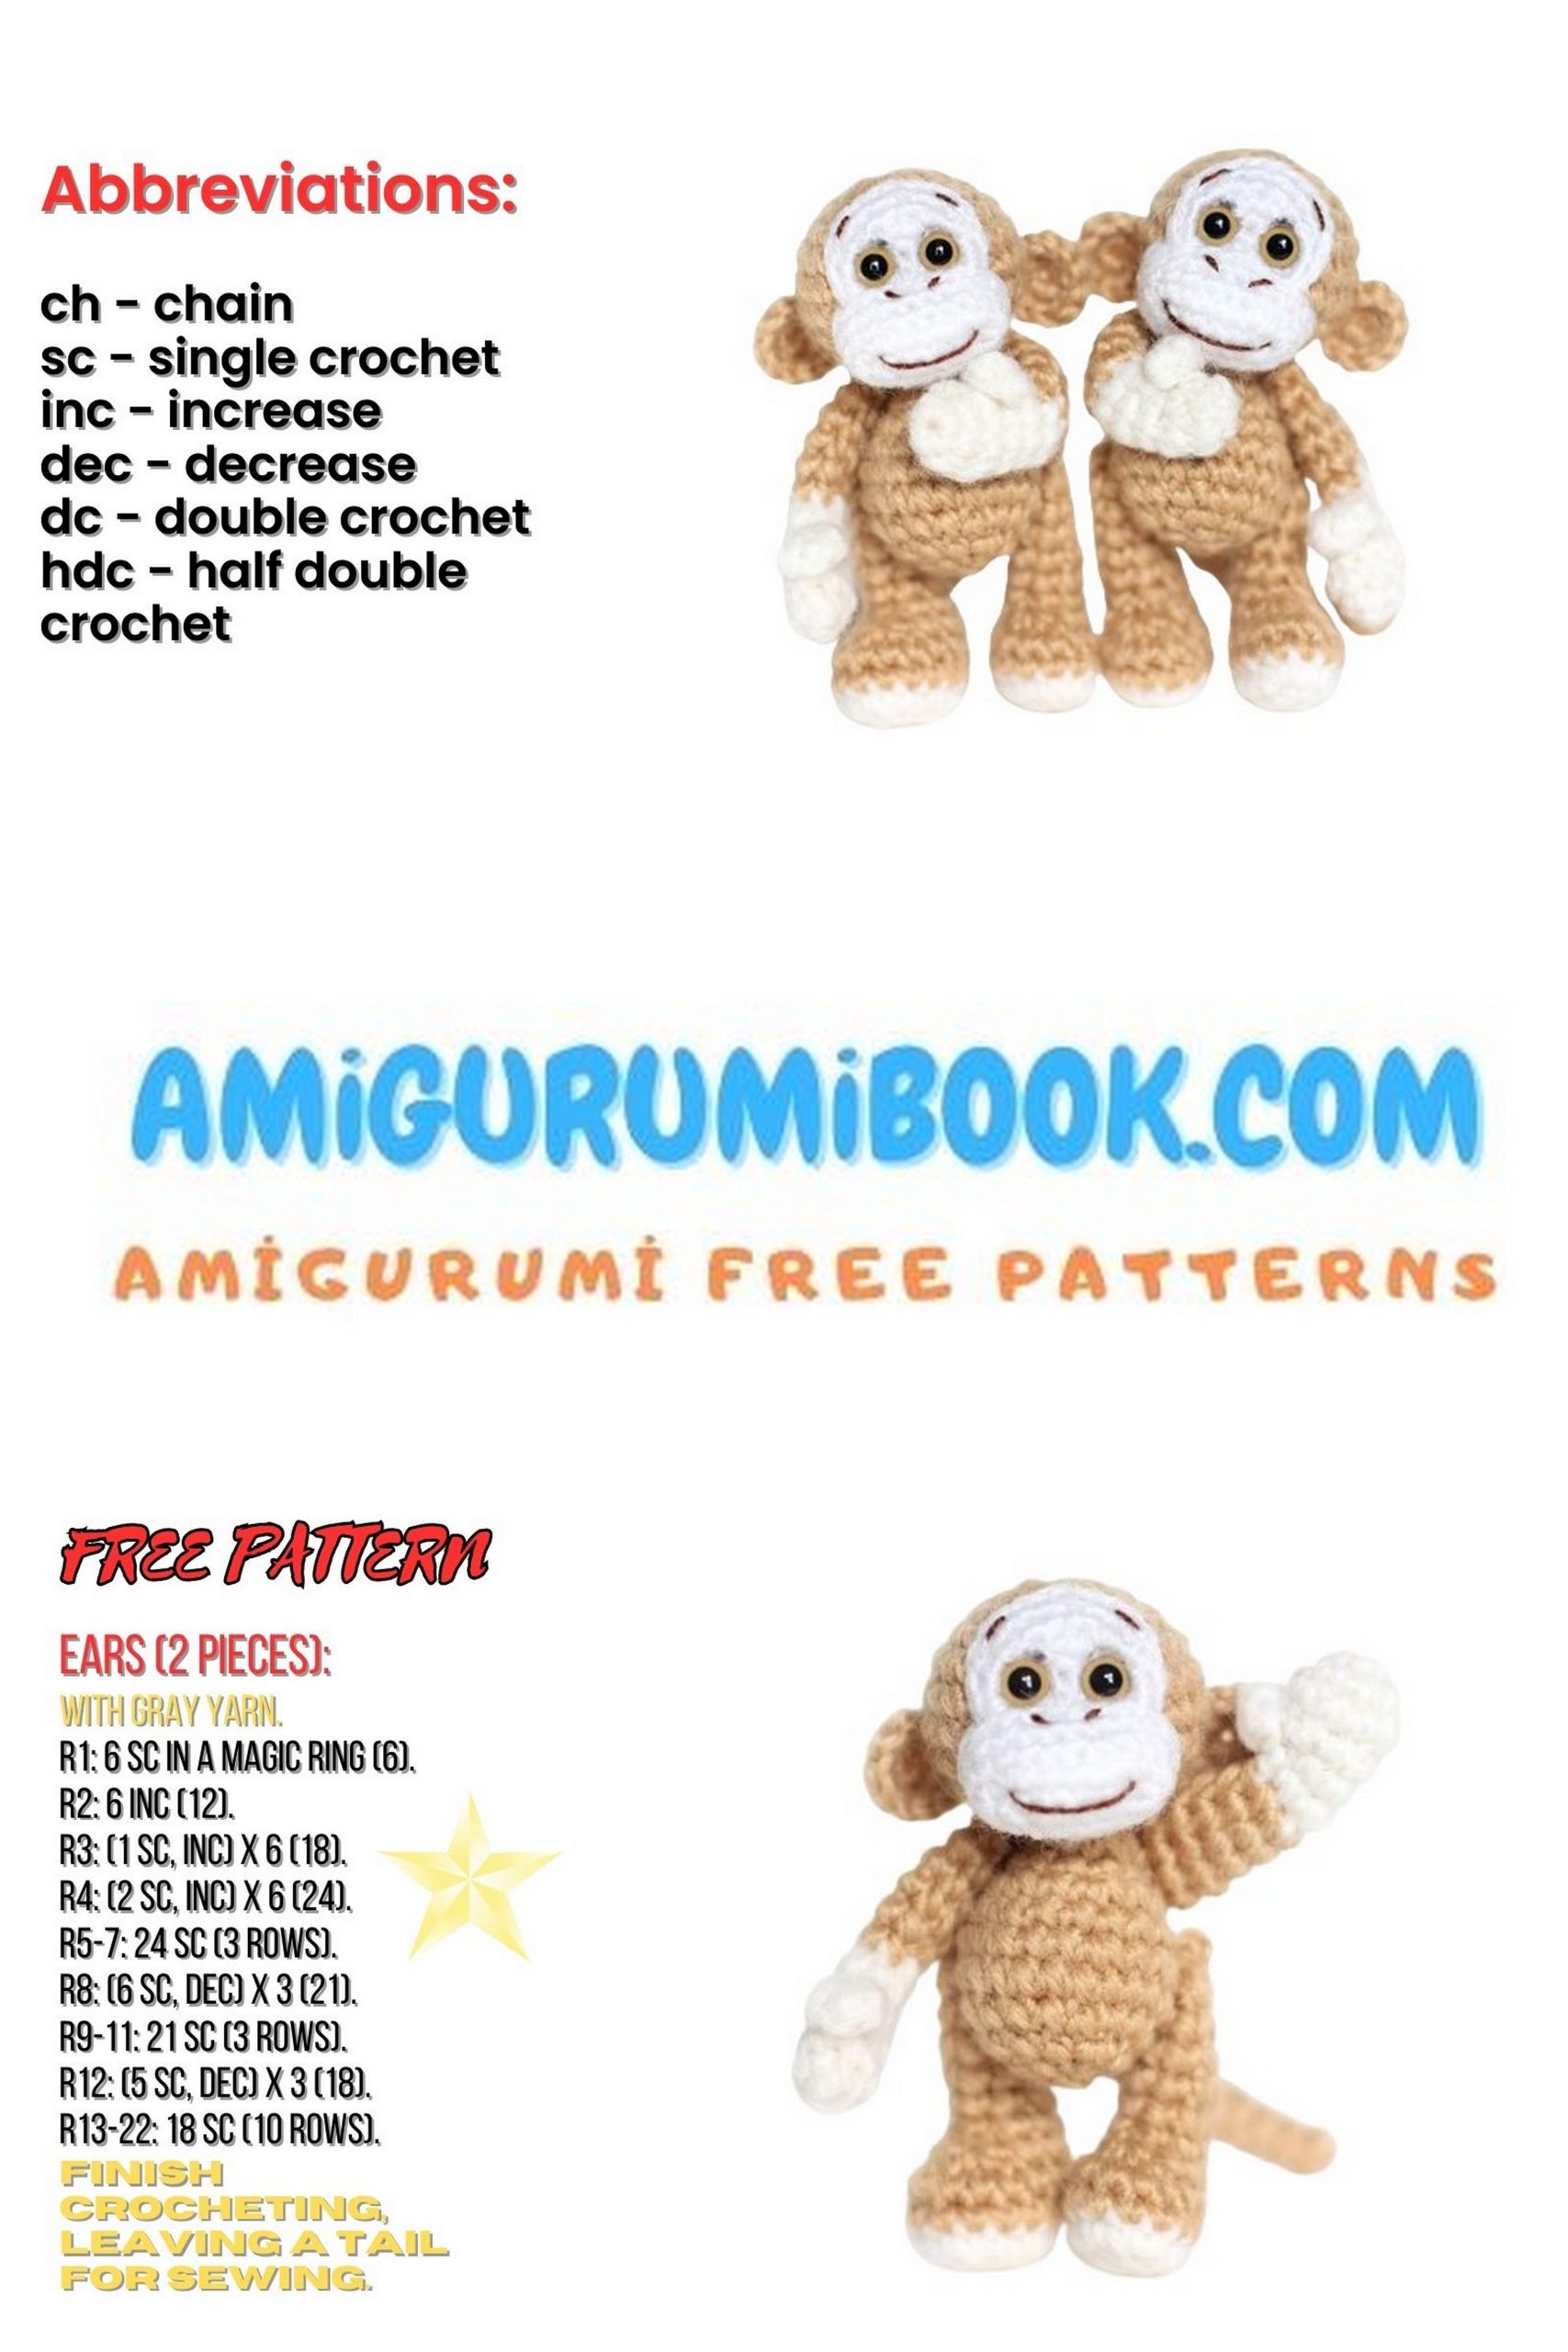
Abbreviations:
sc – single crochet
inc – increase (2 sc in one stitch)
dec – decrease (crochet 2 sc together)
magic ring
ch – chain
sl st – slip stitch
Let’s get started!
Begin with the muzzle. Crochet two pieces using white mohair:

Little Monkey Pattern
Around the eyes part:
1: 6 sc in magic ring
2: inc around (12 sc)
3: (sc, inc) around (18 sc)
4: (2 sc, inc) around (24 sc)
The muzzle itself:
1: Chain 8, starting from the second chain from the hook: sc, then 5 sc, 3 sc in the next chain, and 6 sc in the remaining 6 chains, resulting in 16 sc.
2: 2 inc, 5 sc, 3 inc, 5 sc, inc (22 sc)
3: 22 sc
4: Crochet a partial round of 14 sc, sl st.
Now, switch to the main color yarn and crochet the head:
1: 6 sc in magic ring
2: inc around (12 sc)
3: (sc, inc) around (18 sc)
4: (2 sc, inc) around (24 sc)
5: (3 sc, inc) around (30 sc)
6-7: 30 sc
8: (3 sc, dec) around (24 sc)
9: (2 sc, dec) around (18 sc)
10: (sc, dec) around (12 sc)
11: (2 sc, dec) three times (9 sc)
Without cutting the yarn, begin forming the muzzle, as we’re using safety eyes. Insert the eyes into our crocheted circle, then the whole construction into the head, and secure the eyes with washers from the inside. Attach this assembly to the head. Stuff the head lightly. Attach the muzzle, also stuffing it lightly.
Now, make eyelids to give expression to the eyes.
Embroider eyebrows, nostrils, and a smile. Slightly tighten the edges of the smile.


Next, continue crocheting the body:
1: 9 sc
2: (2 sc, inc) three times (12 sc)
3: 12 sc
4: (sc, inc) six times (18 sc)
5-6: 18 sc
7: (2 sc, inc) six times (24 sc)
8: 24 sc
9: (2 sc, dec) six times (18 sc)
10: (sc, dec) six times (12 sc)
11: 6 dec, stuff the body, and close the crochet.
Little Monkey Ears (2 pieces):
1: 6 sc in magic ring
2: (sc, inc) three times (9 sc)
I prefer to finish decorating the head entirely when not all parts are ready yet, so I sew the ears at this stage.
Little Monkey Arms (2 pieces):
Start with white yarn (same thickness as the main one):
1: Chain 2, sc 5 in the second chain from the hook (5 sc)
2: 5 inc (10 sc)
3: 10 sc
4: (sc, dec) twice, 2 sc, dec (7 sc)
5: For the thumb – sl st in the first stitch, 3 sc with chains, and another sl st in the same stitch as the first sl st, sc in each of the remaining 6 stitches (11 sc)
6: Sc in the first stitch, skip the thumb, 6 sc (7 sc)
7: Join the main color yarn and crochet 7 sc
8: inc, 6 sc (8 sc)
9-12: 8 sc each
13: dec three times and fasten off. Do not stuff.
Little Monkey Legs (2 pieces):
1: With white yarn, chain 4, sc 2 in the second chain from the hook, sc, sc 3 in one chain, sc, and sc 2 in the last chain. Result: 8 sc.
2: 2 inc, sc, 3 inc, sc, 2 inc (14 sc)
3-4: Continue with the main color yarn, 14 sc each
5: 3 sc, 4 dec, 2 sc (10 sc)
6: 3 sc, 2 dec, 3 sc (8 sc)
7-11: Rows of 8 sc each
12: Stuff the leg, then crochet 4 dec and fasten off.
Crochet the tail as follows: sc 5 in the second chain from the hook, then crochet 10 rows of 5 sc each through the back loop. You can make the tail shorter if you prefer.
Now, all parts are ready; let’s assemble our monkey!
Attach the legs and arms using the yarn attachment method to ensure they are movable.