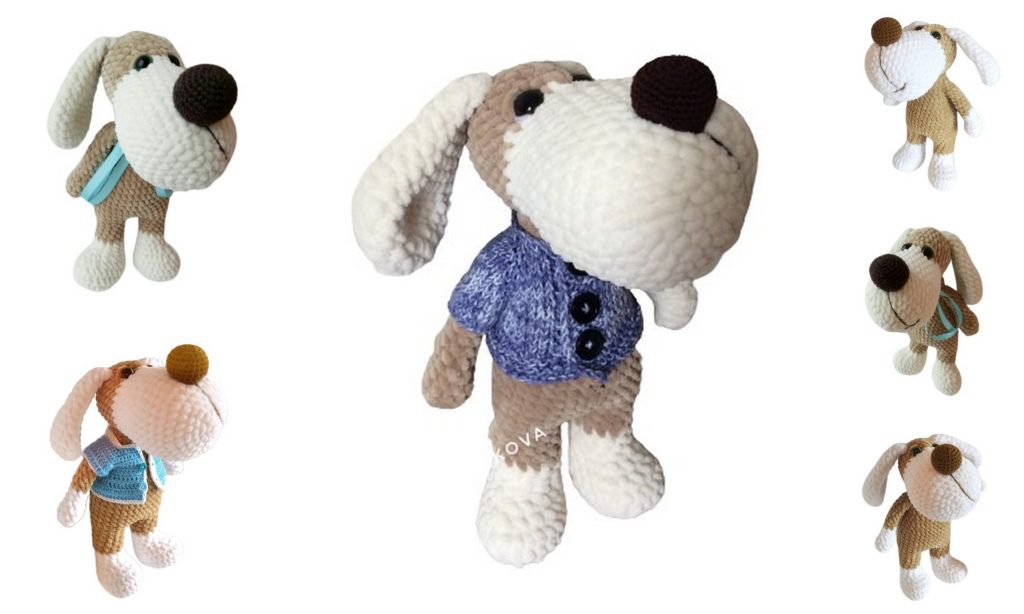
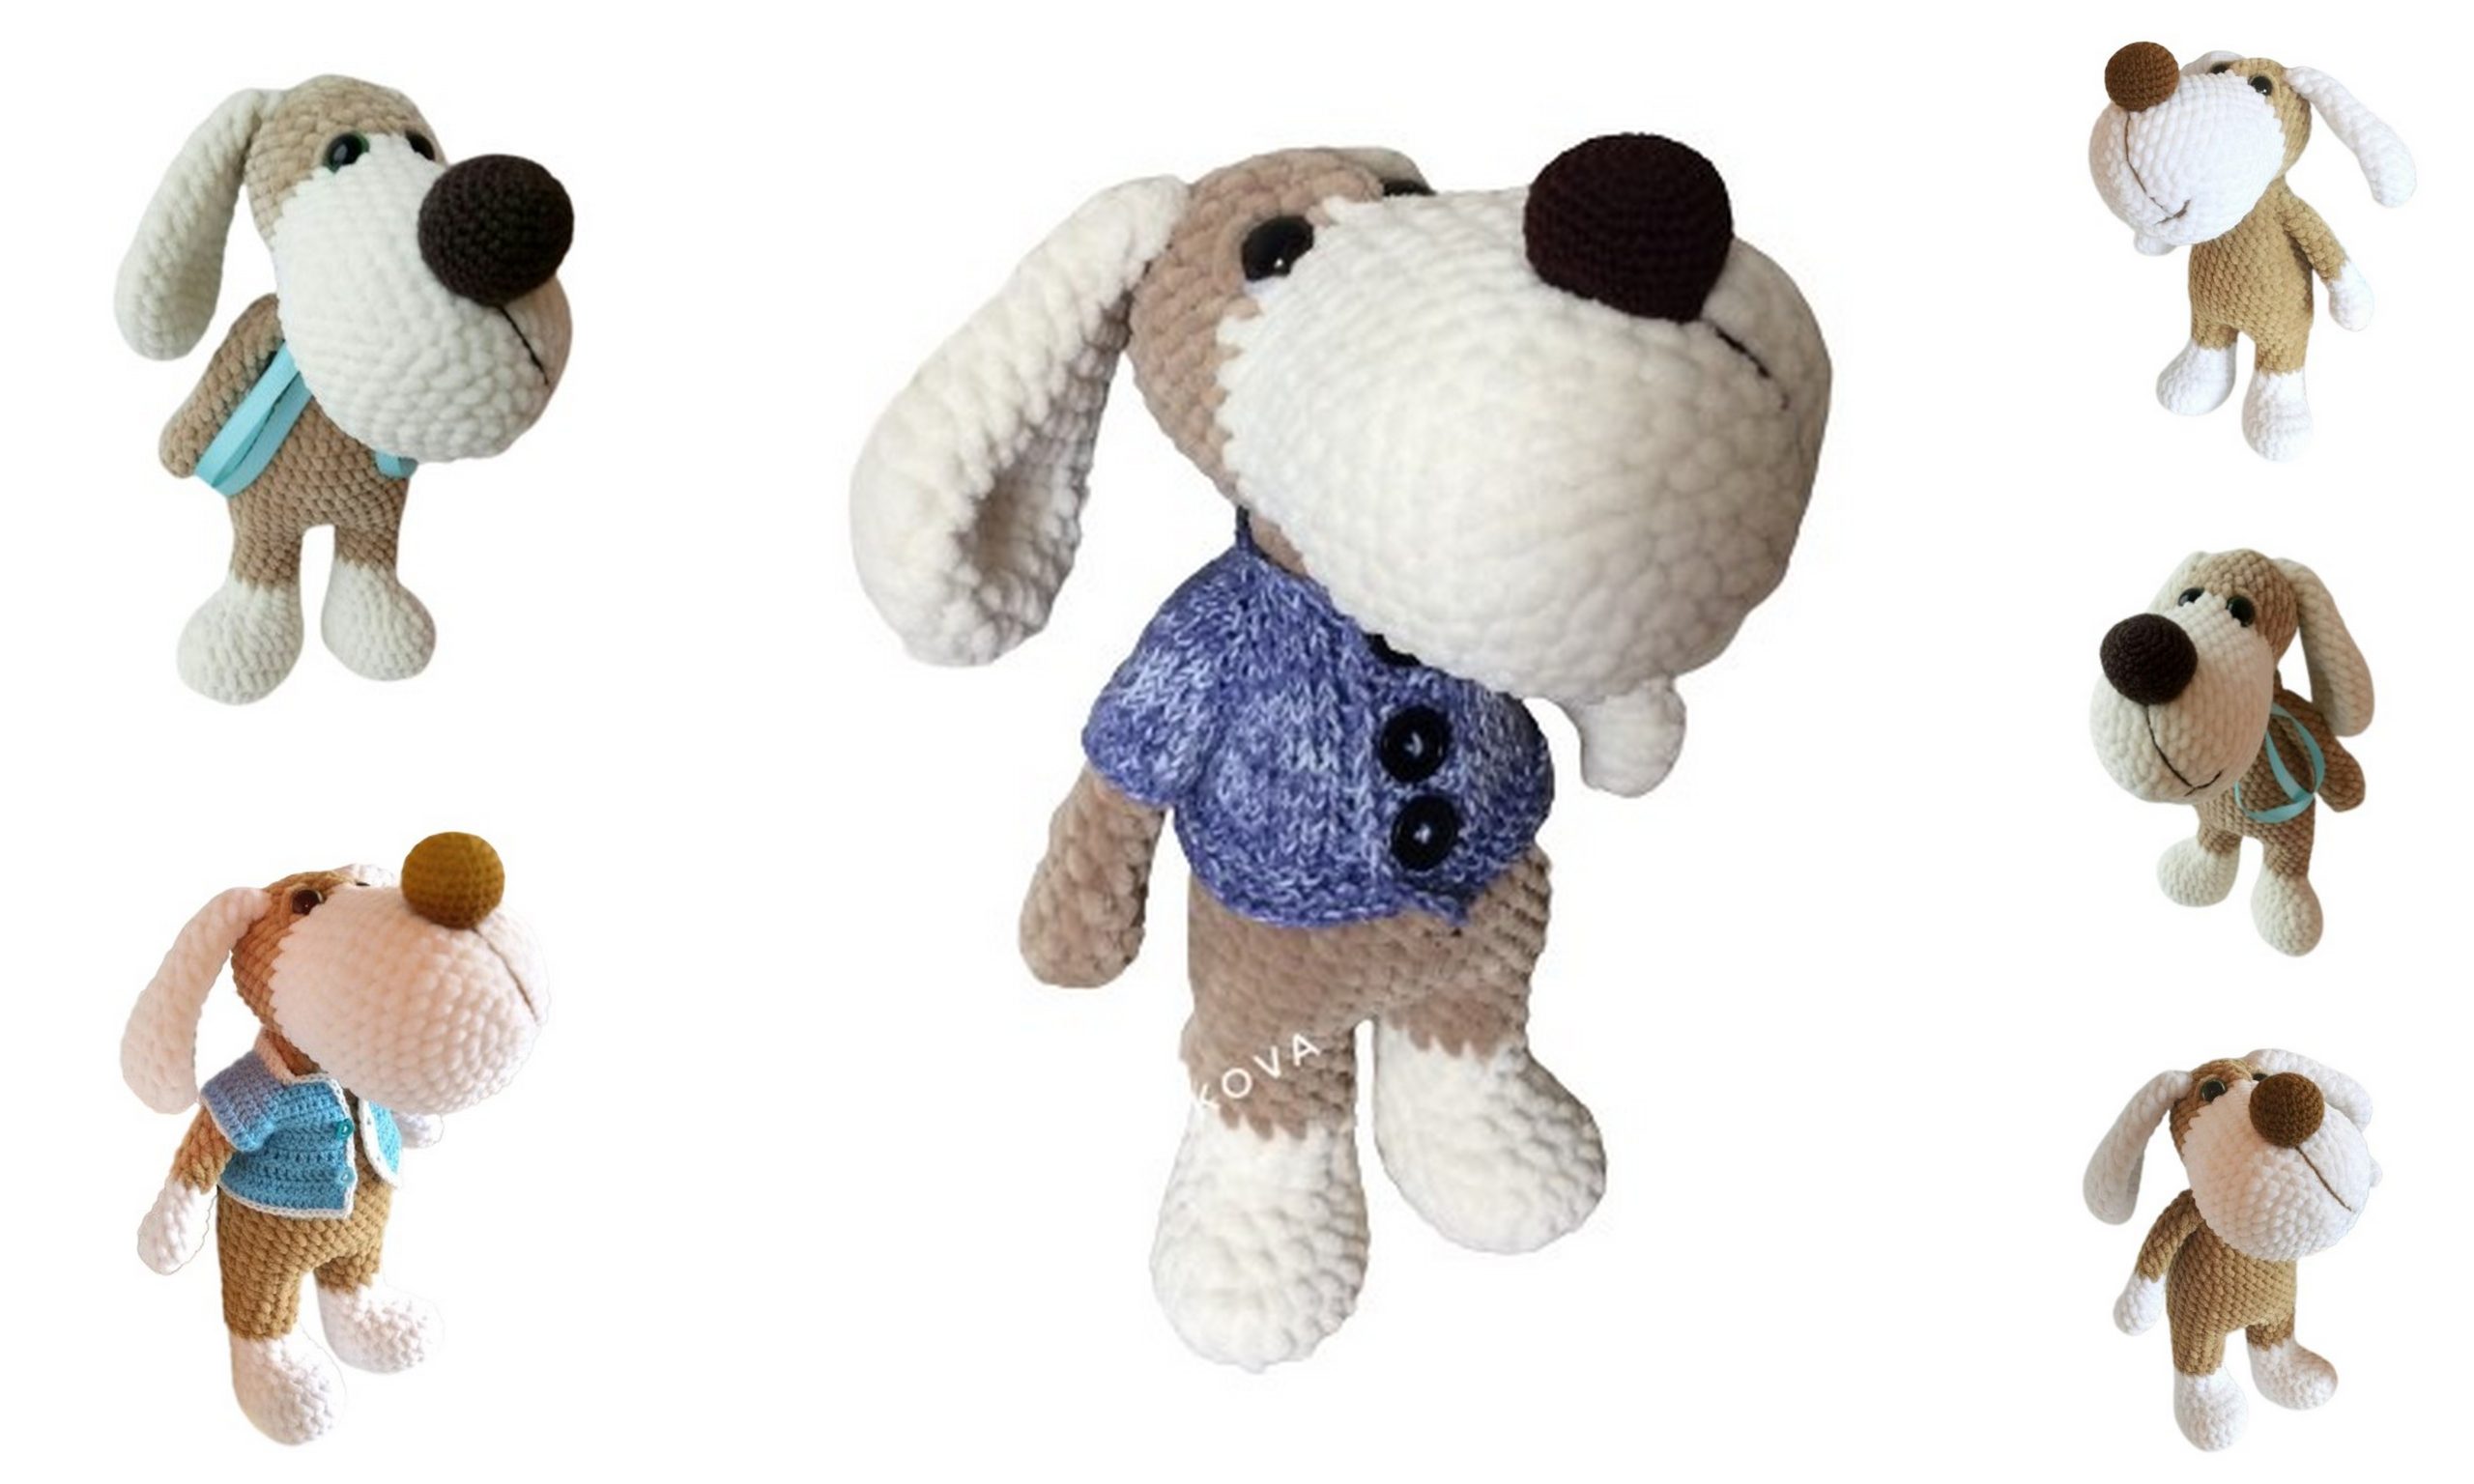
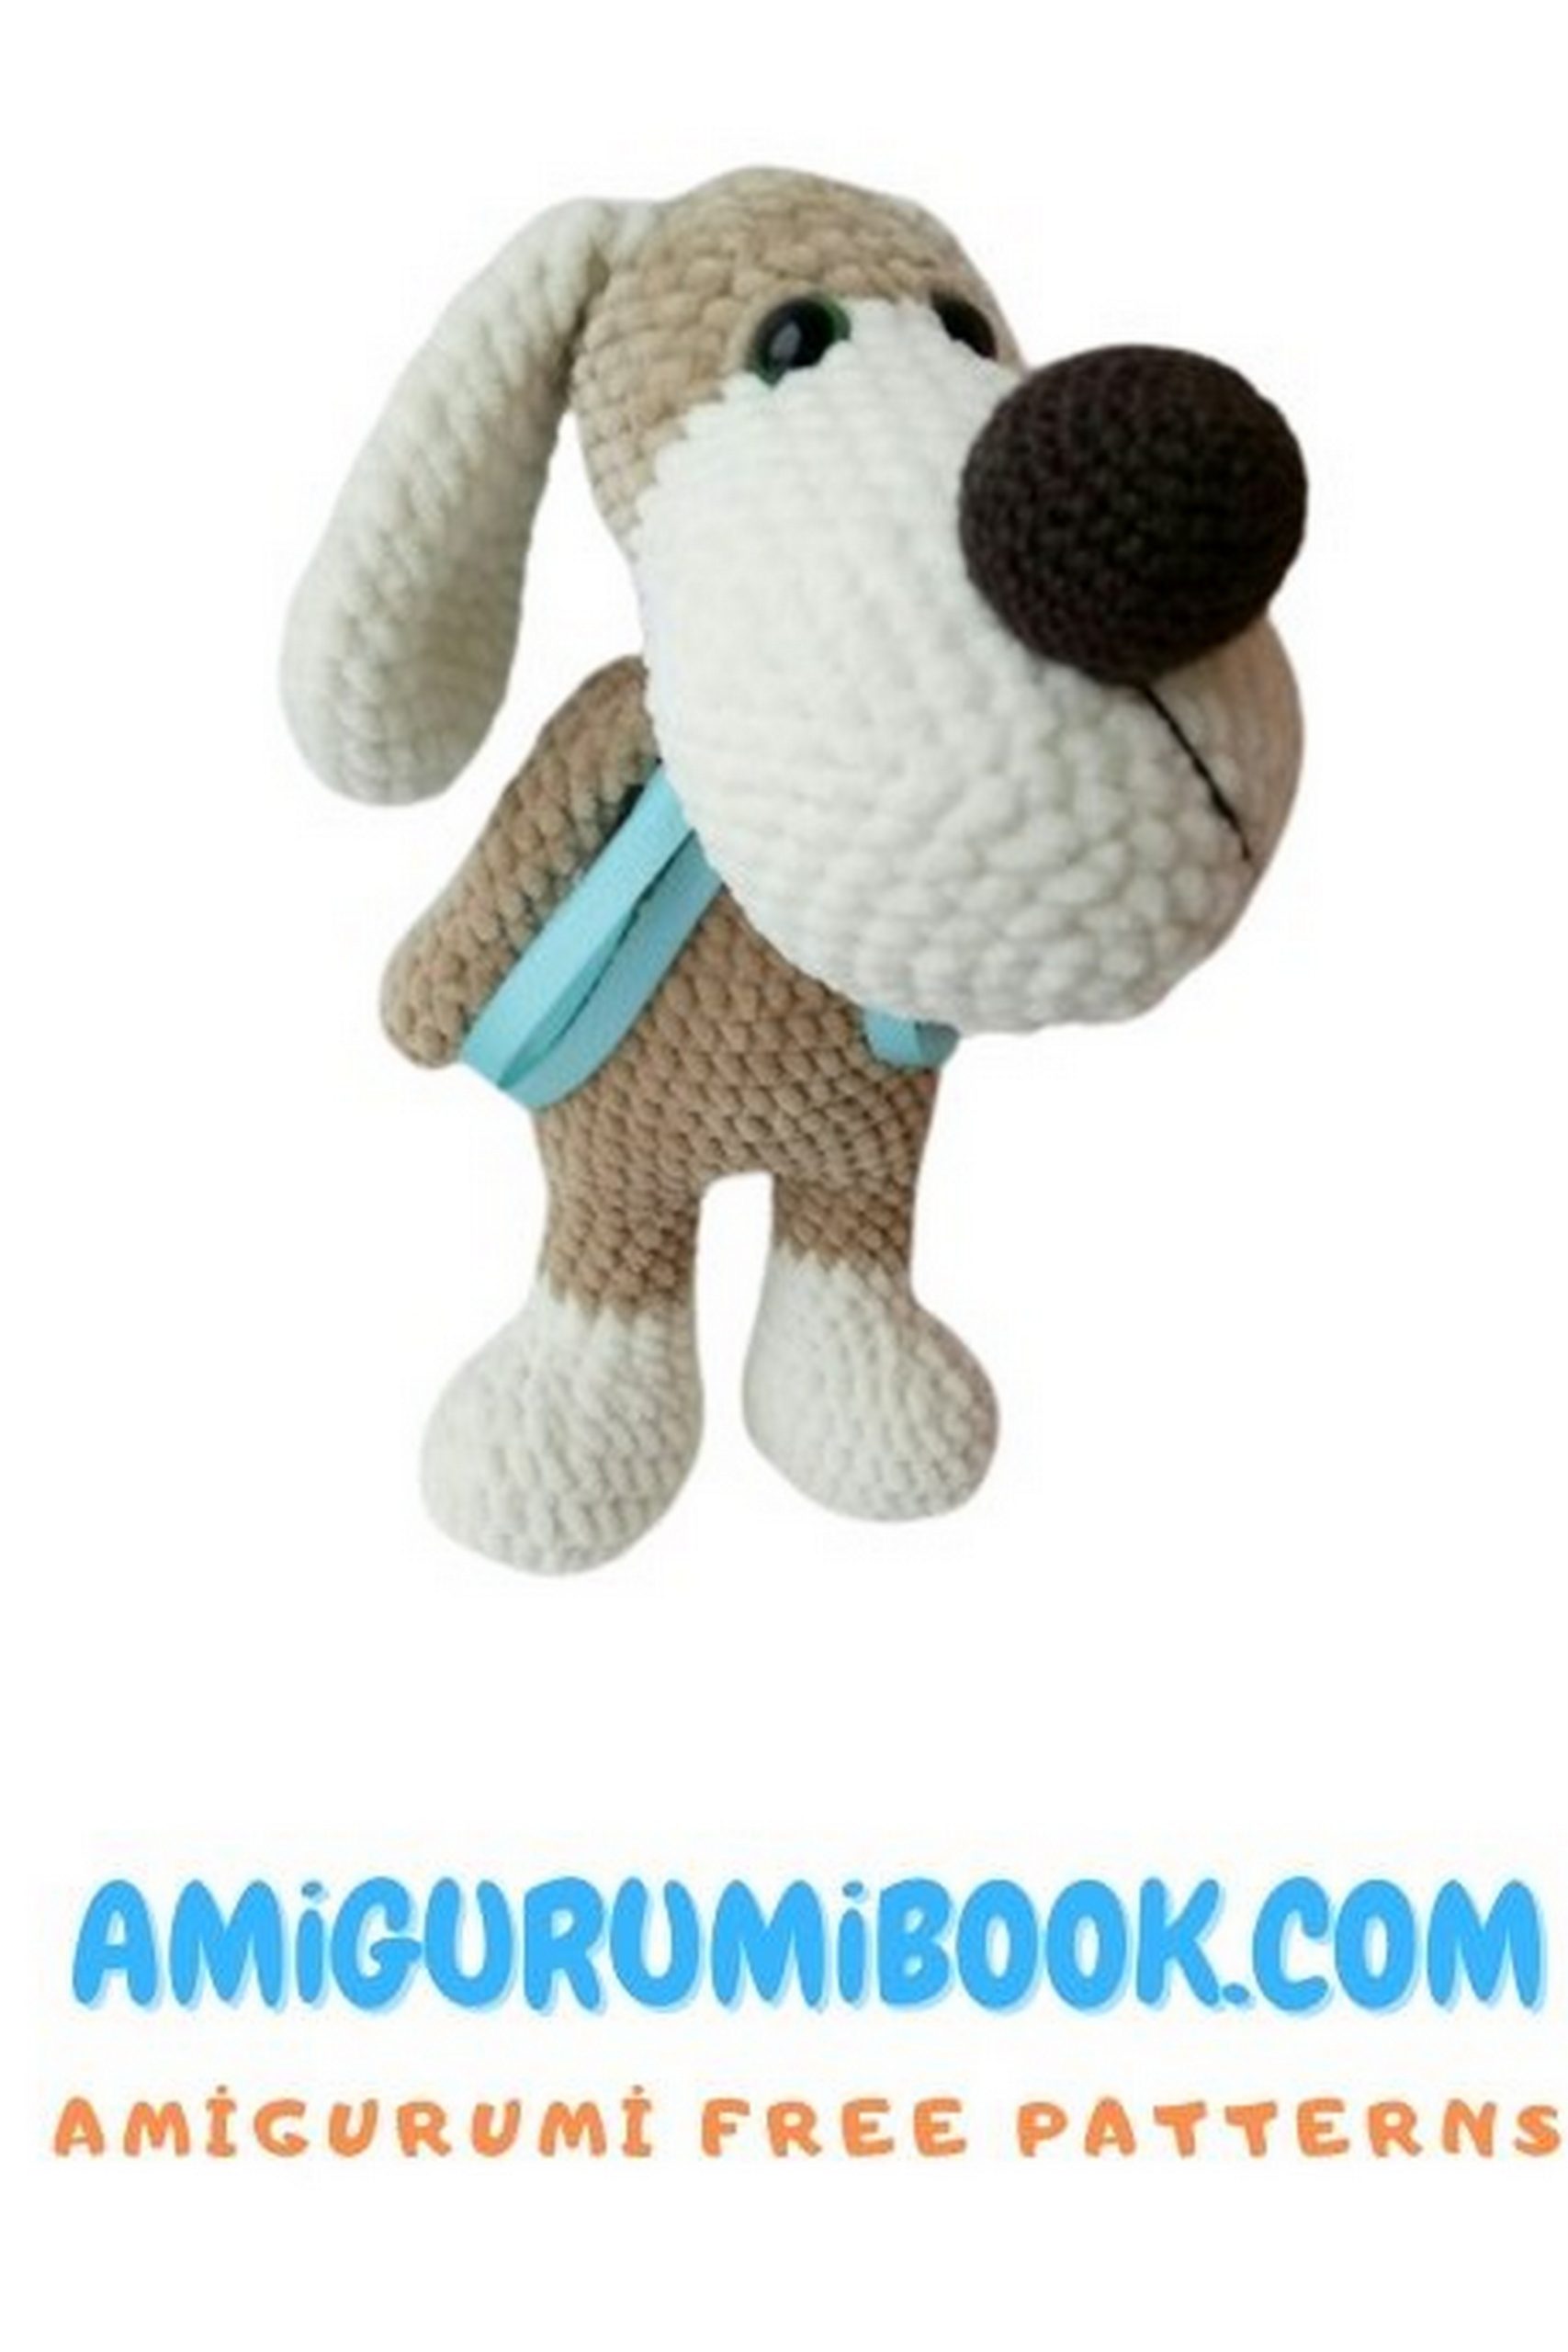
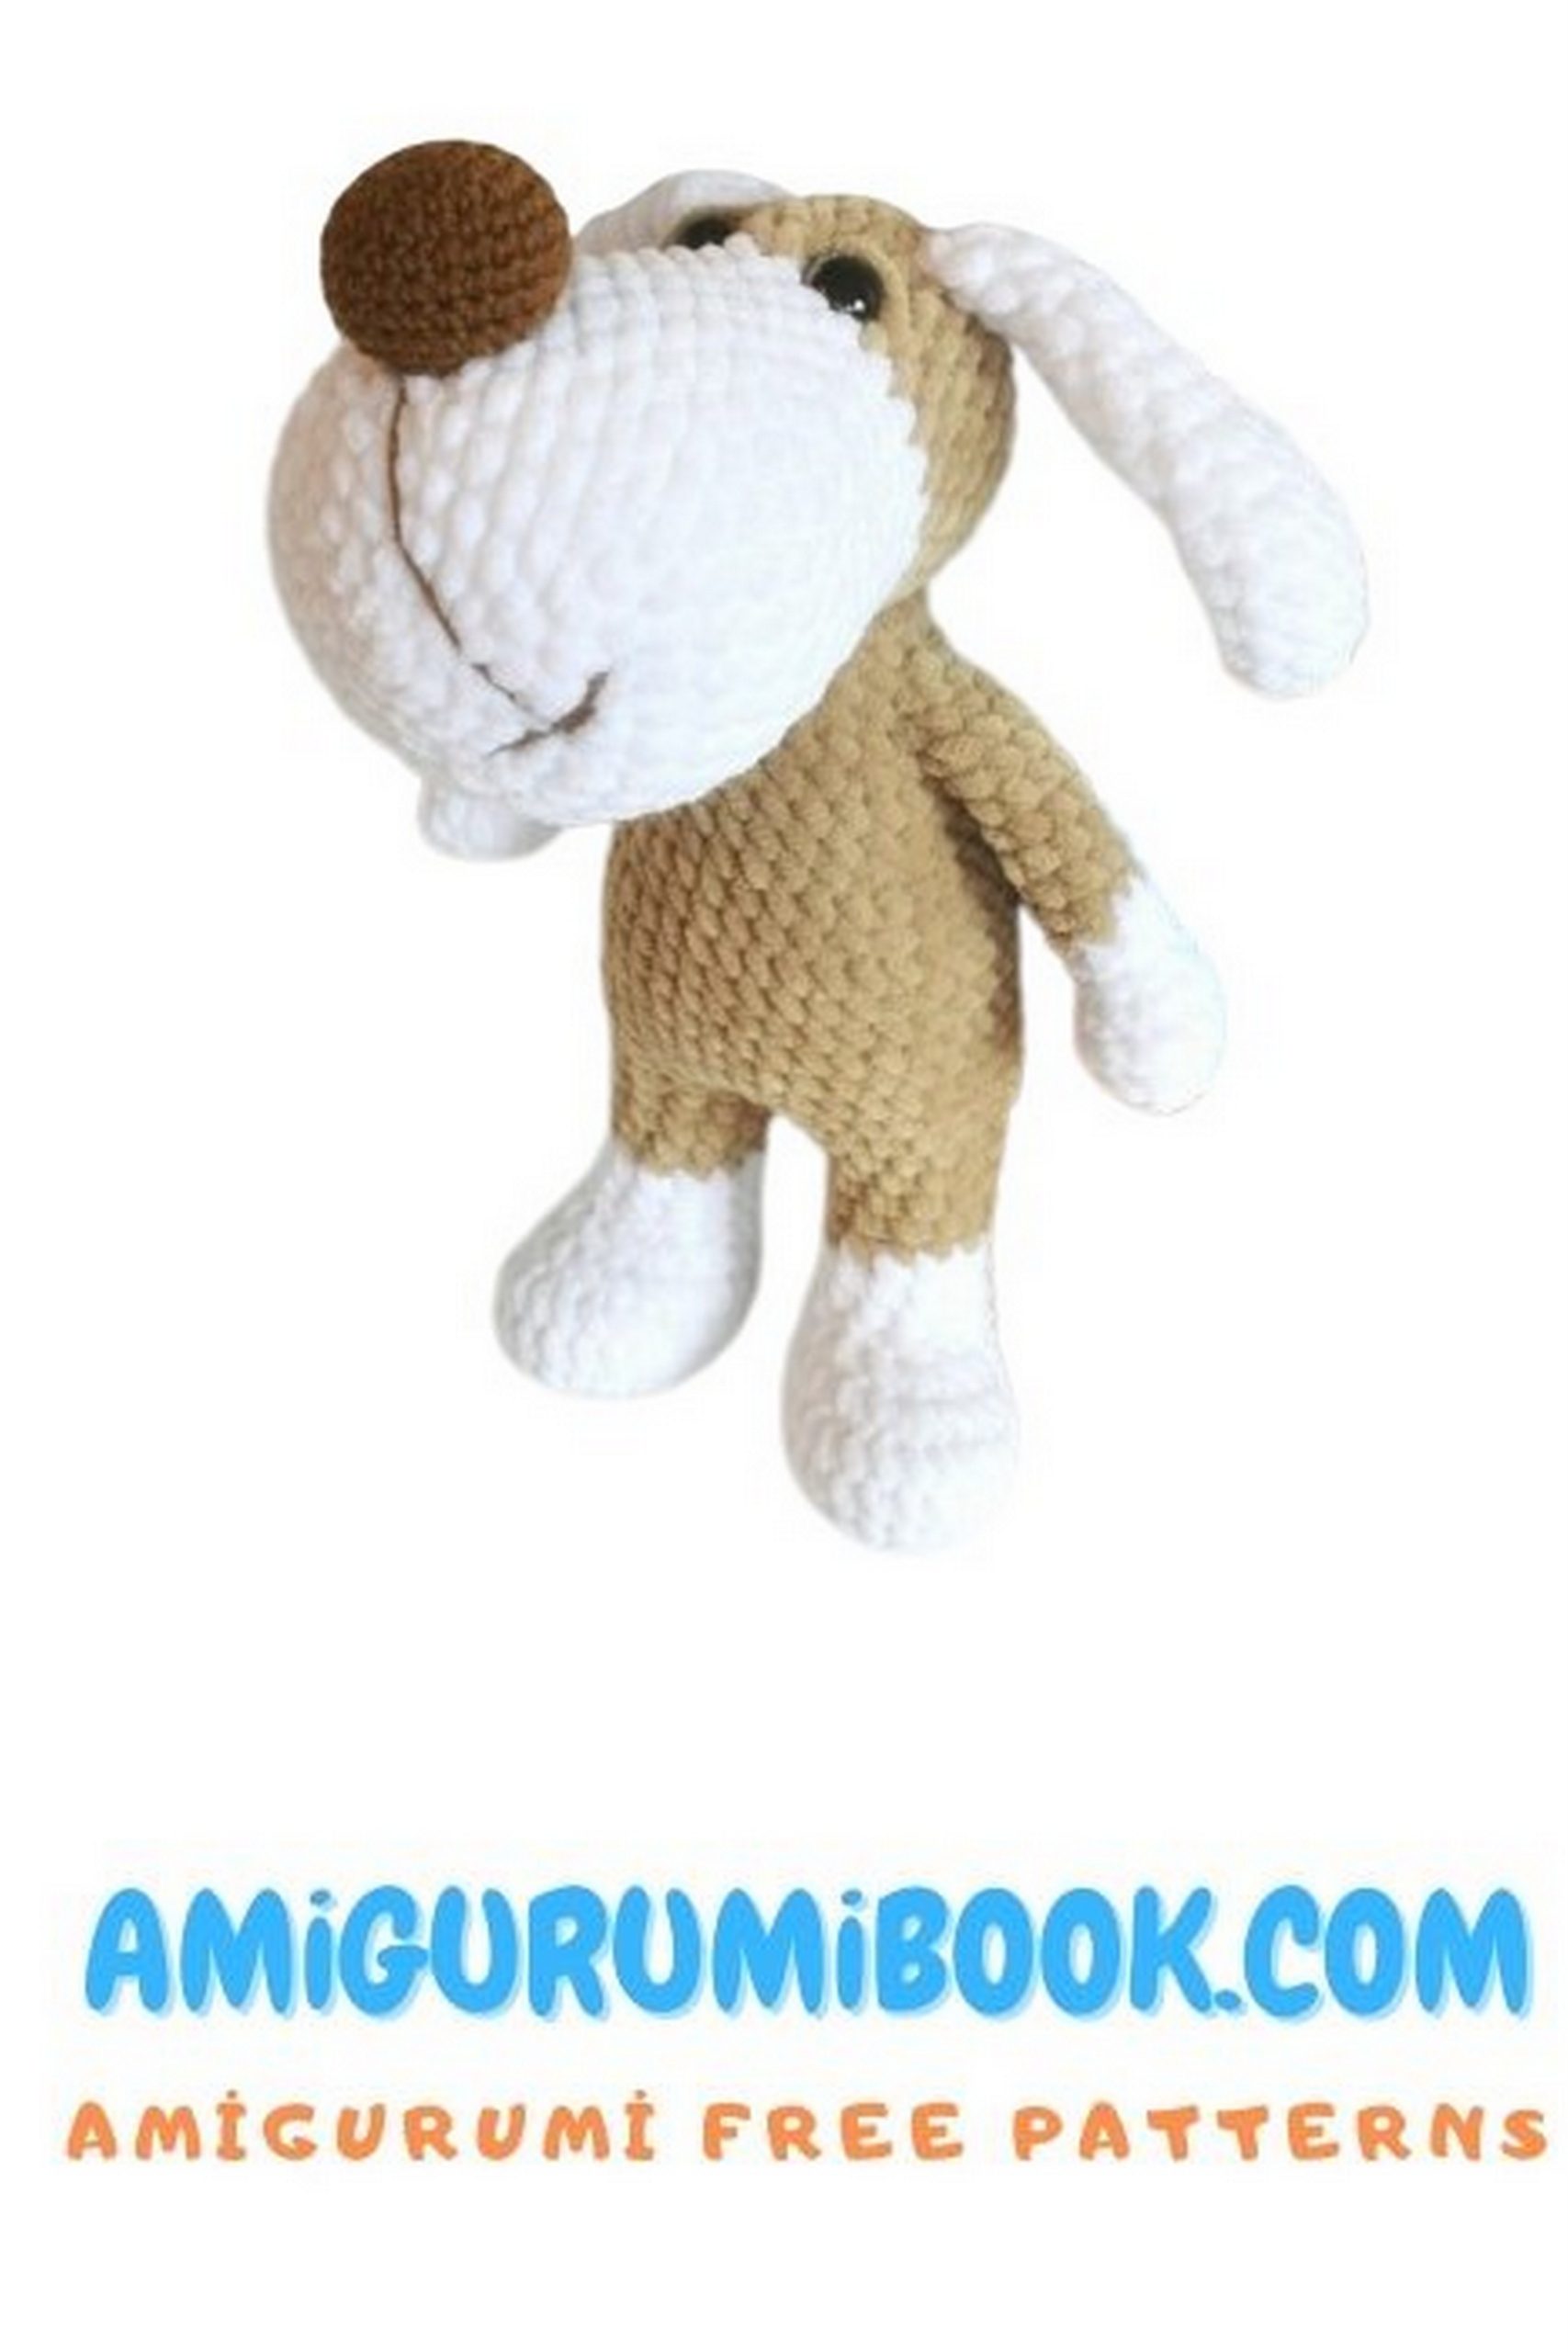
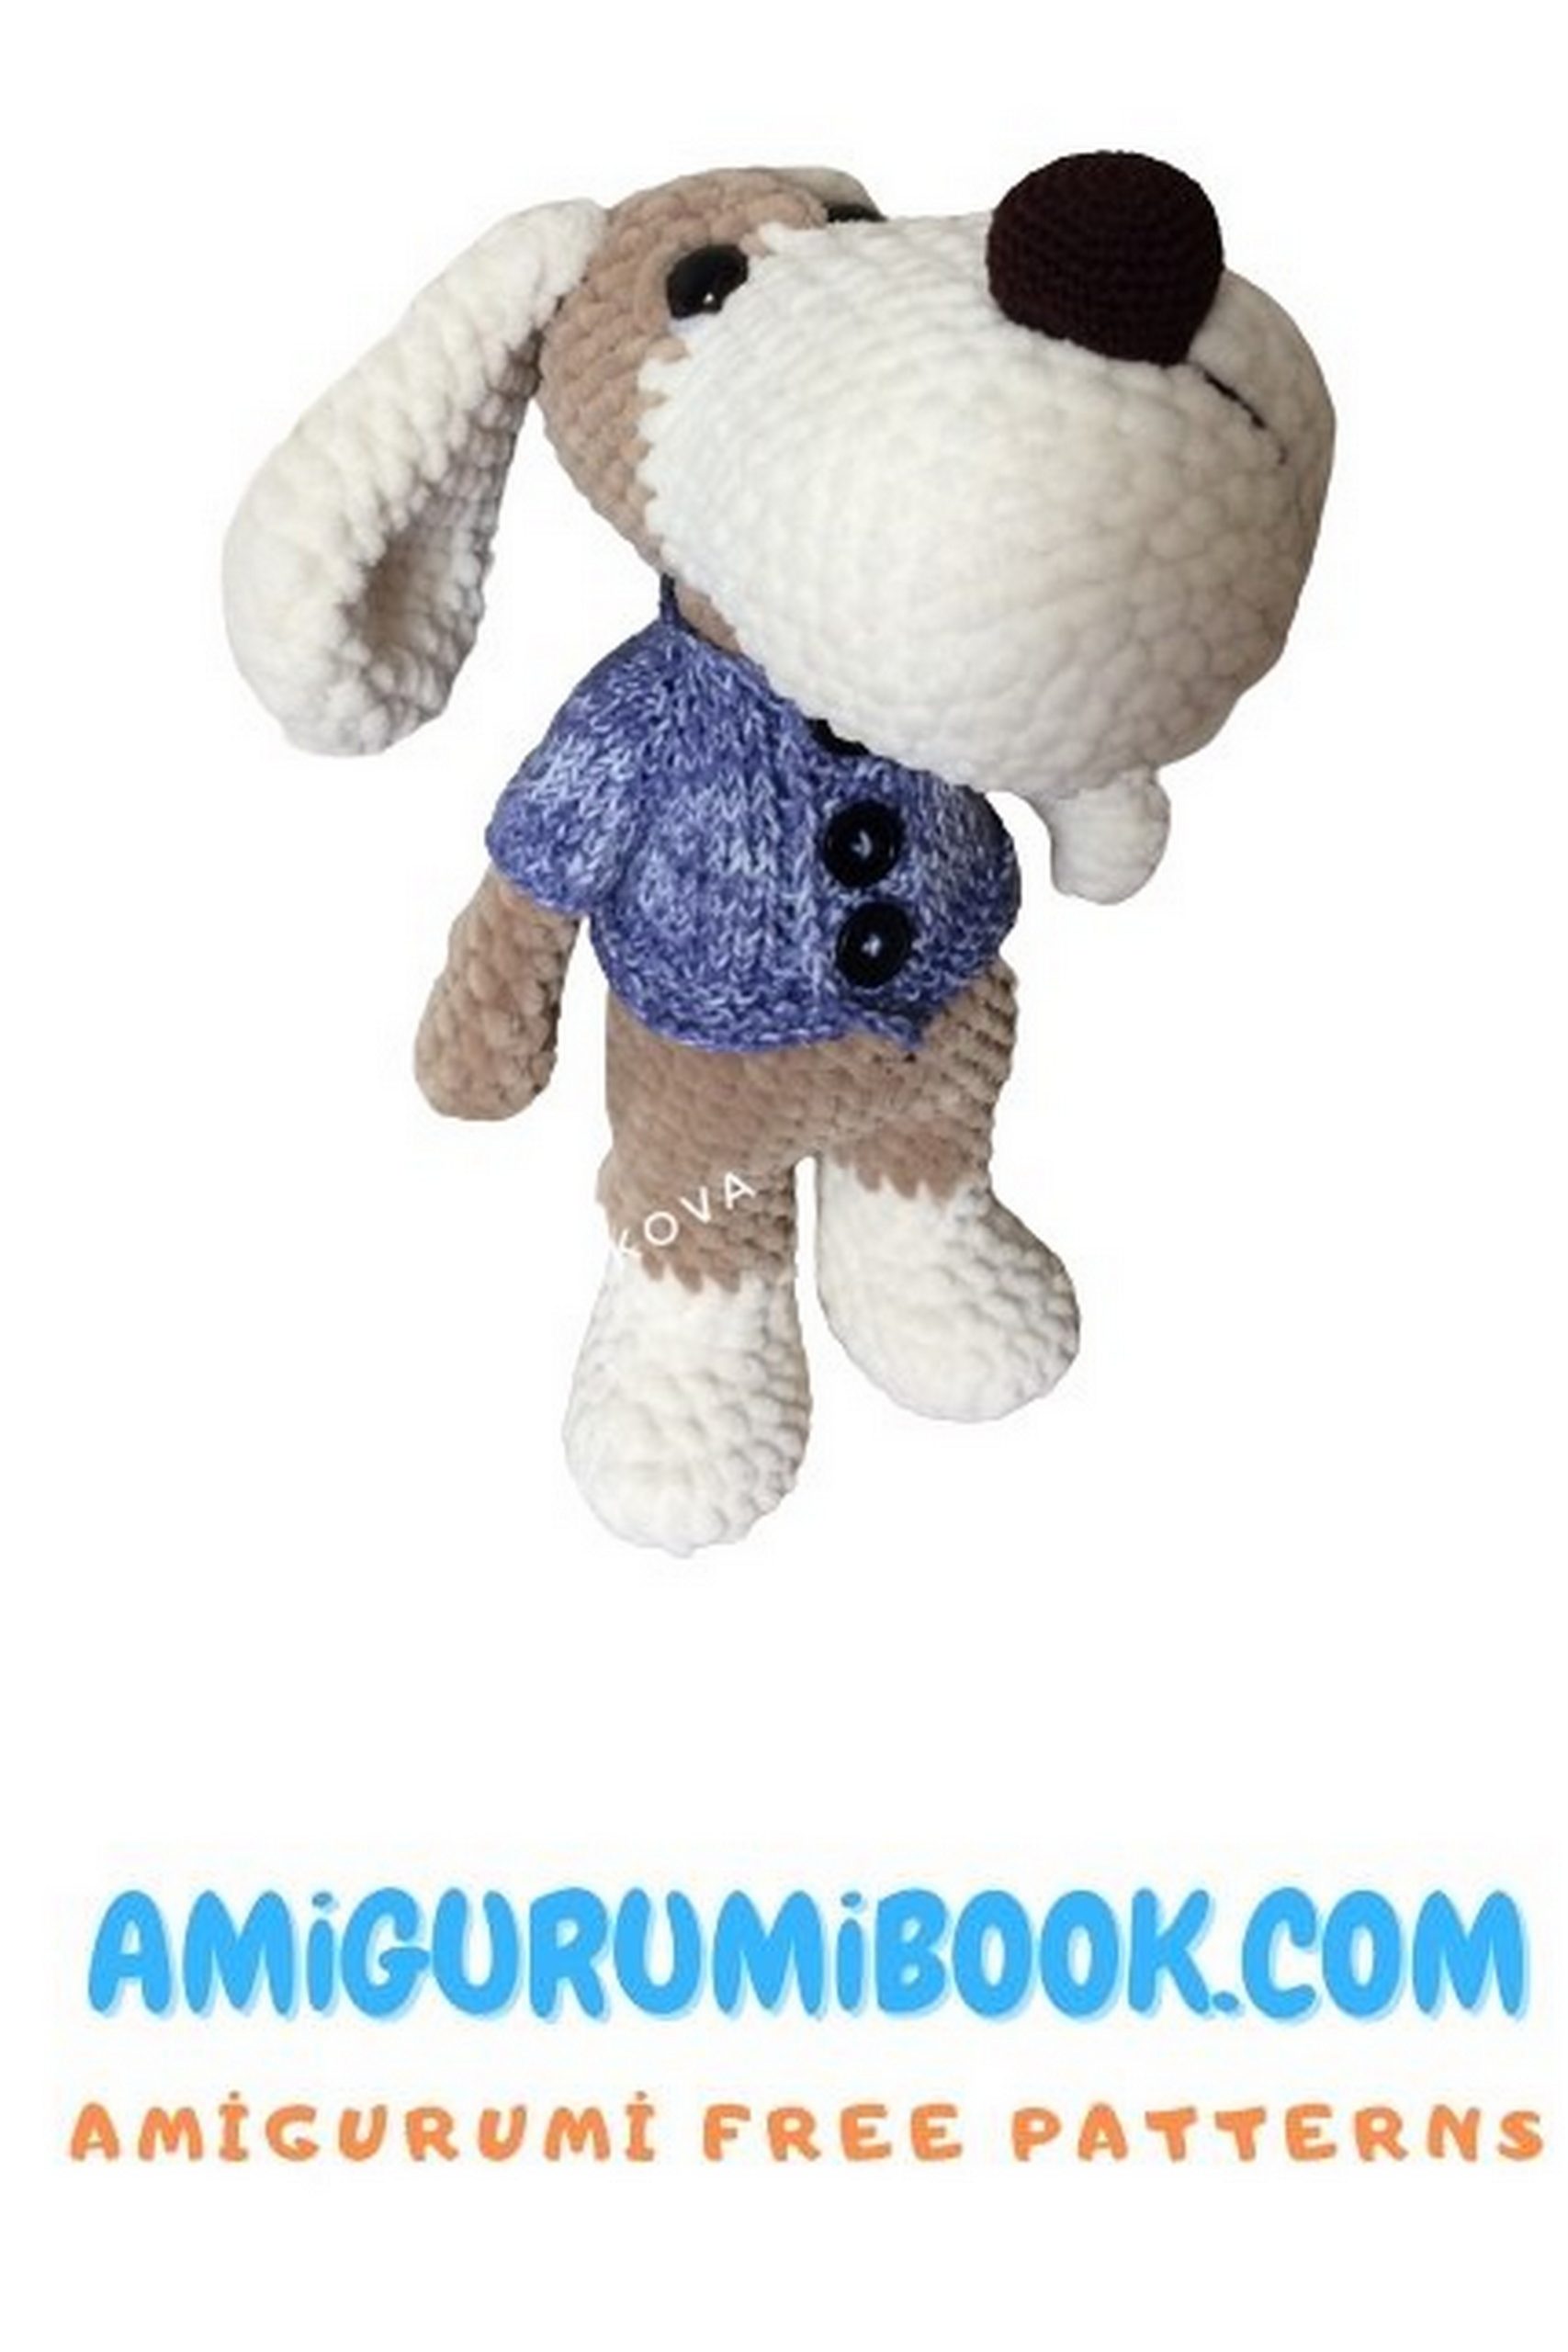
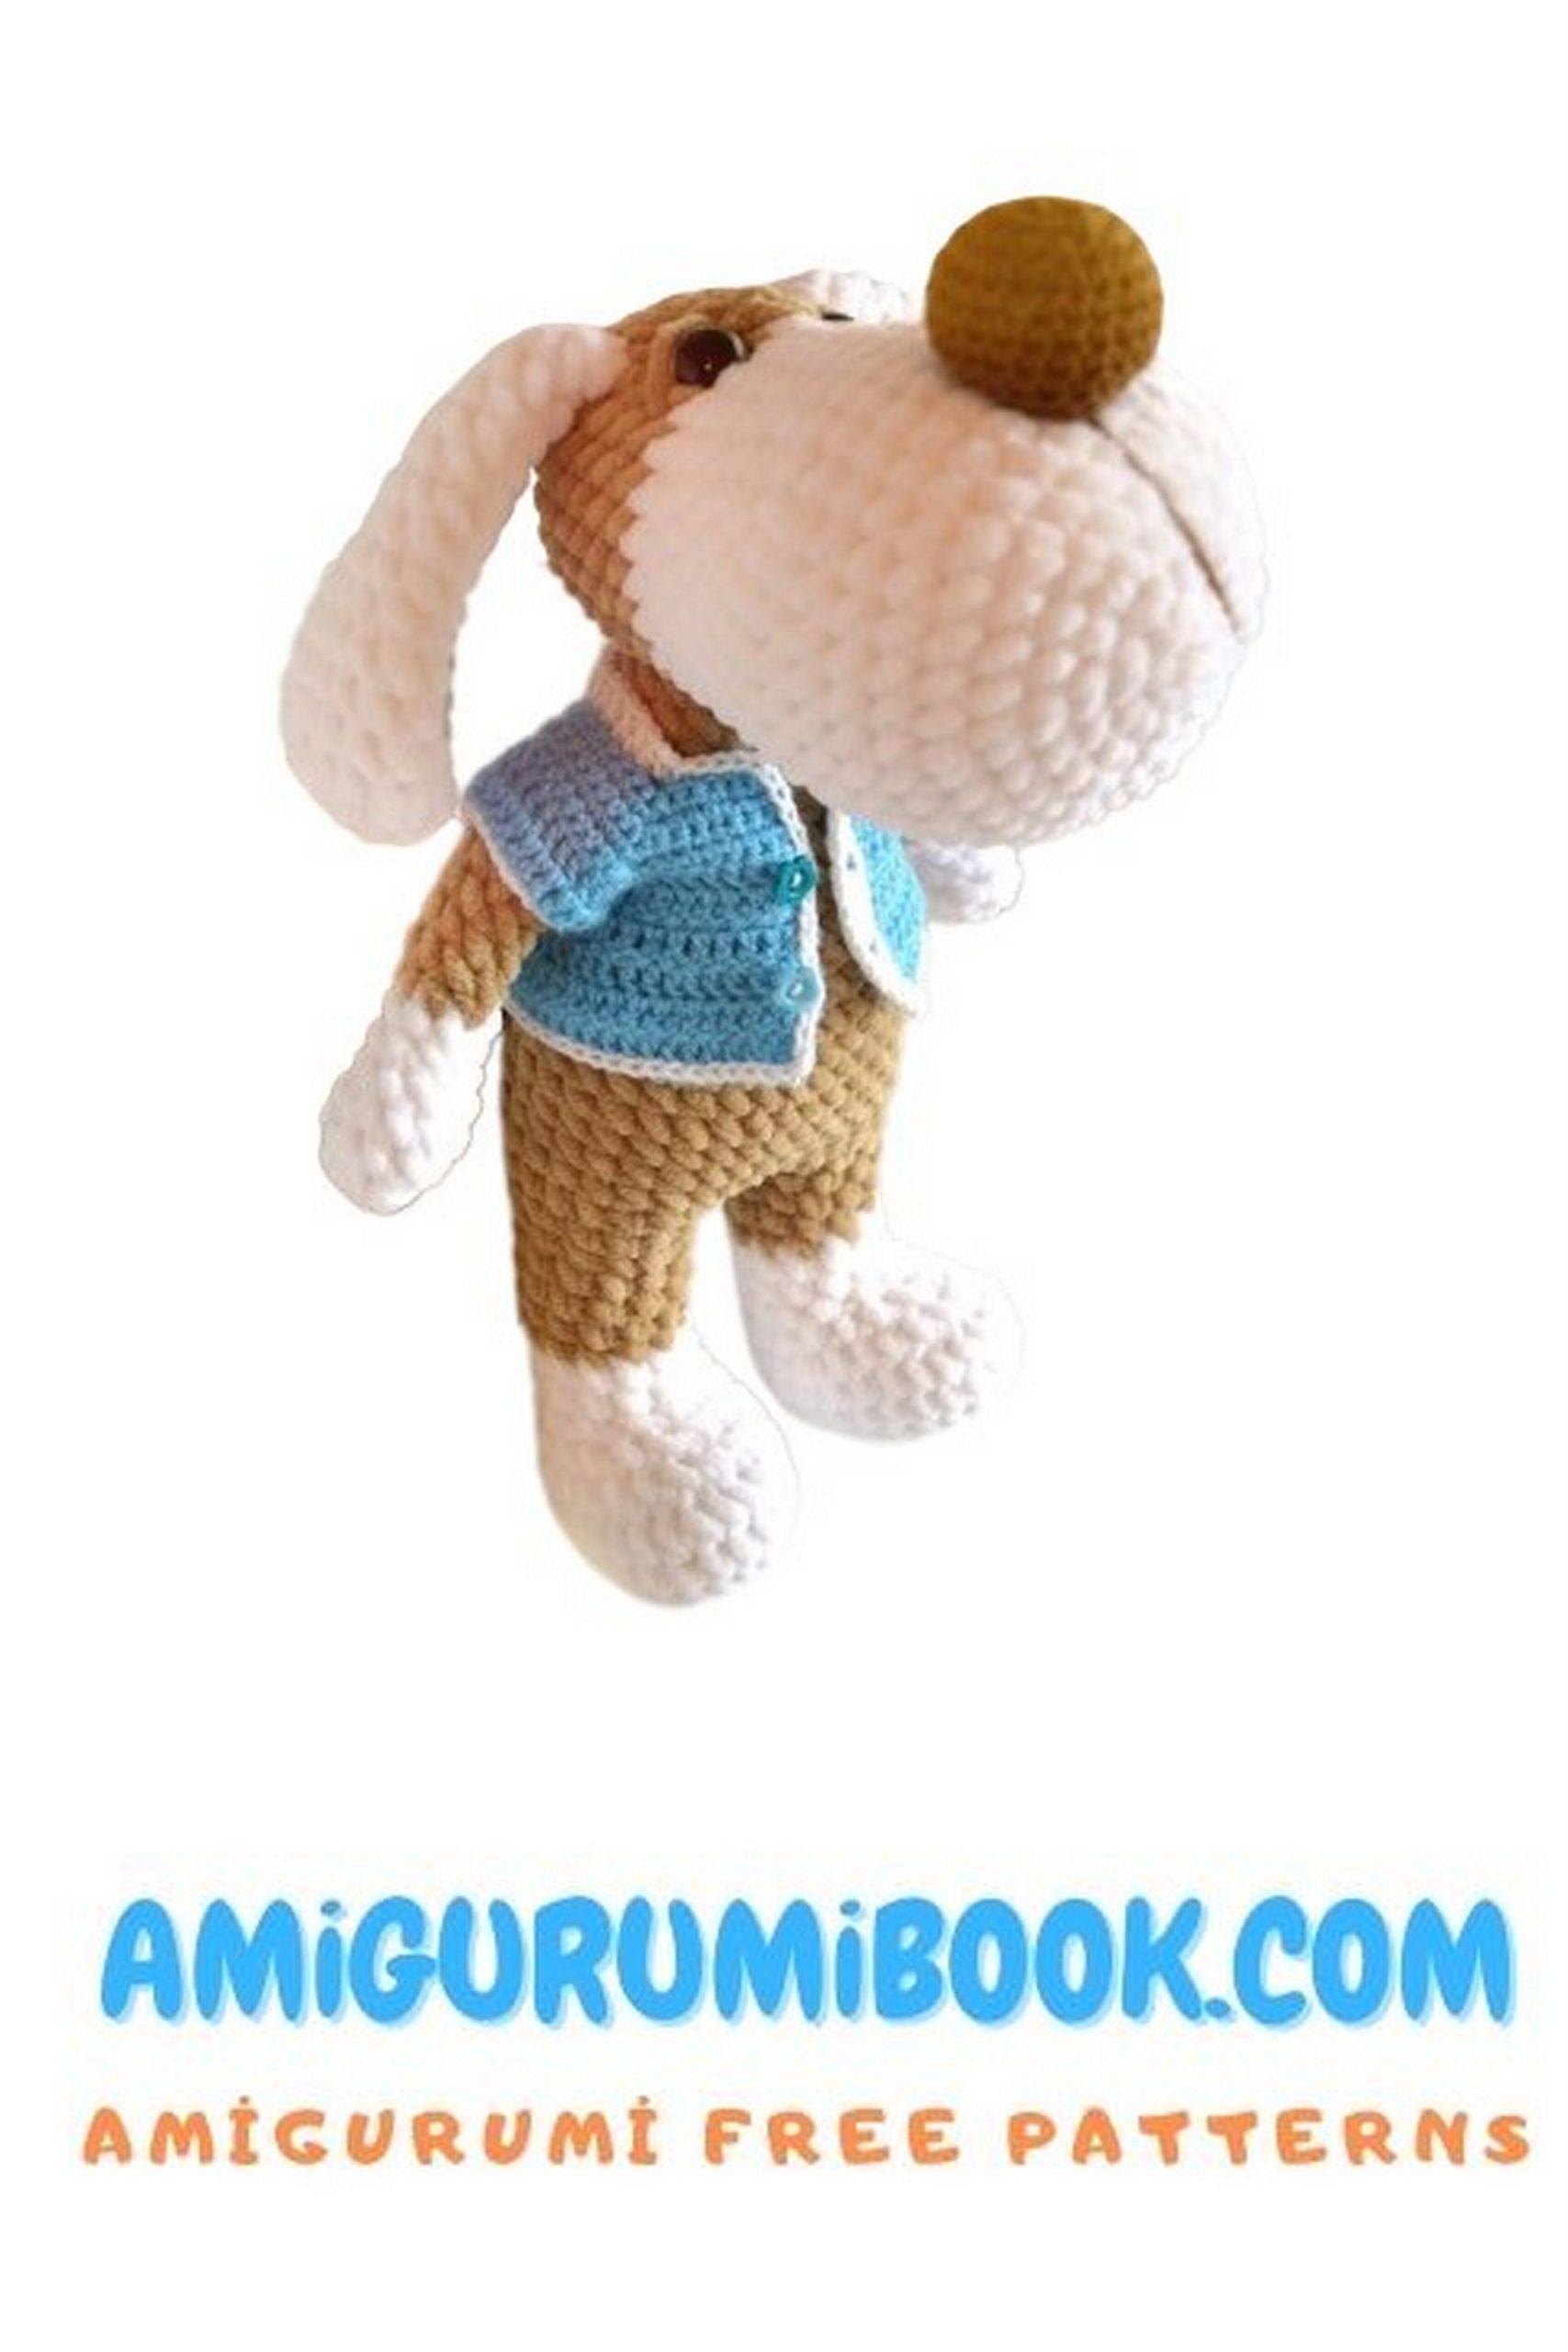
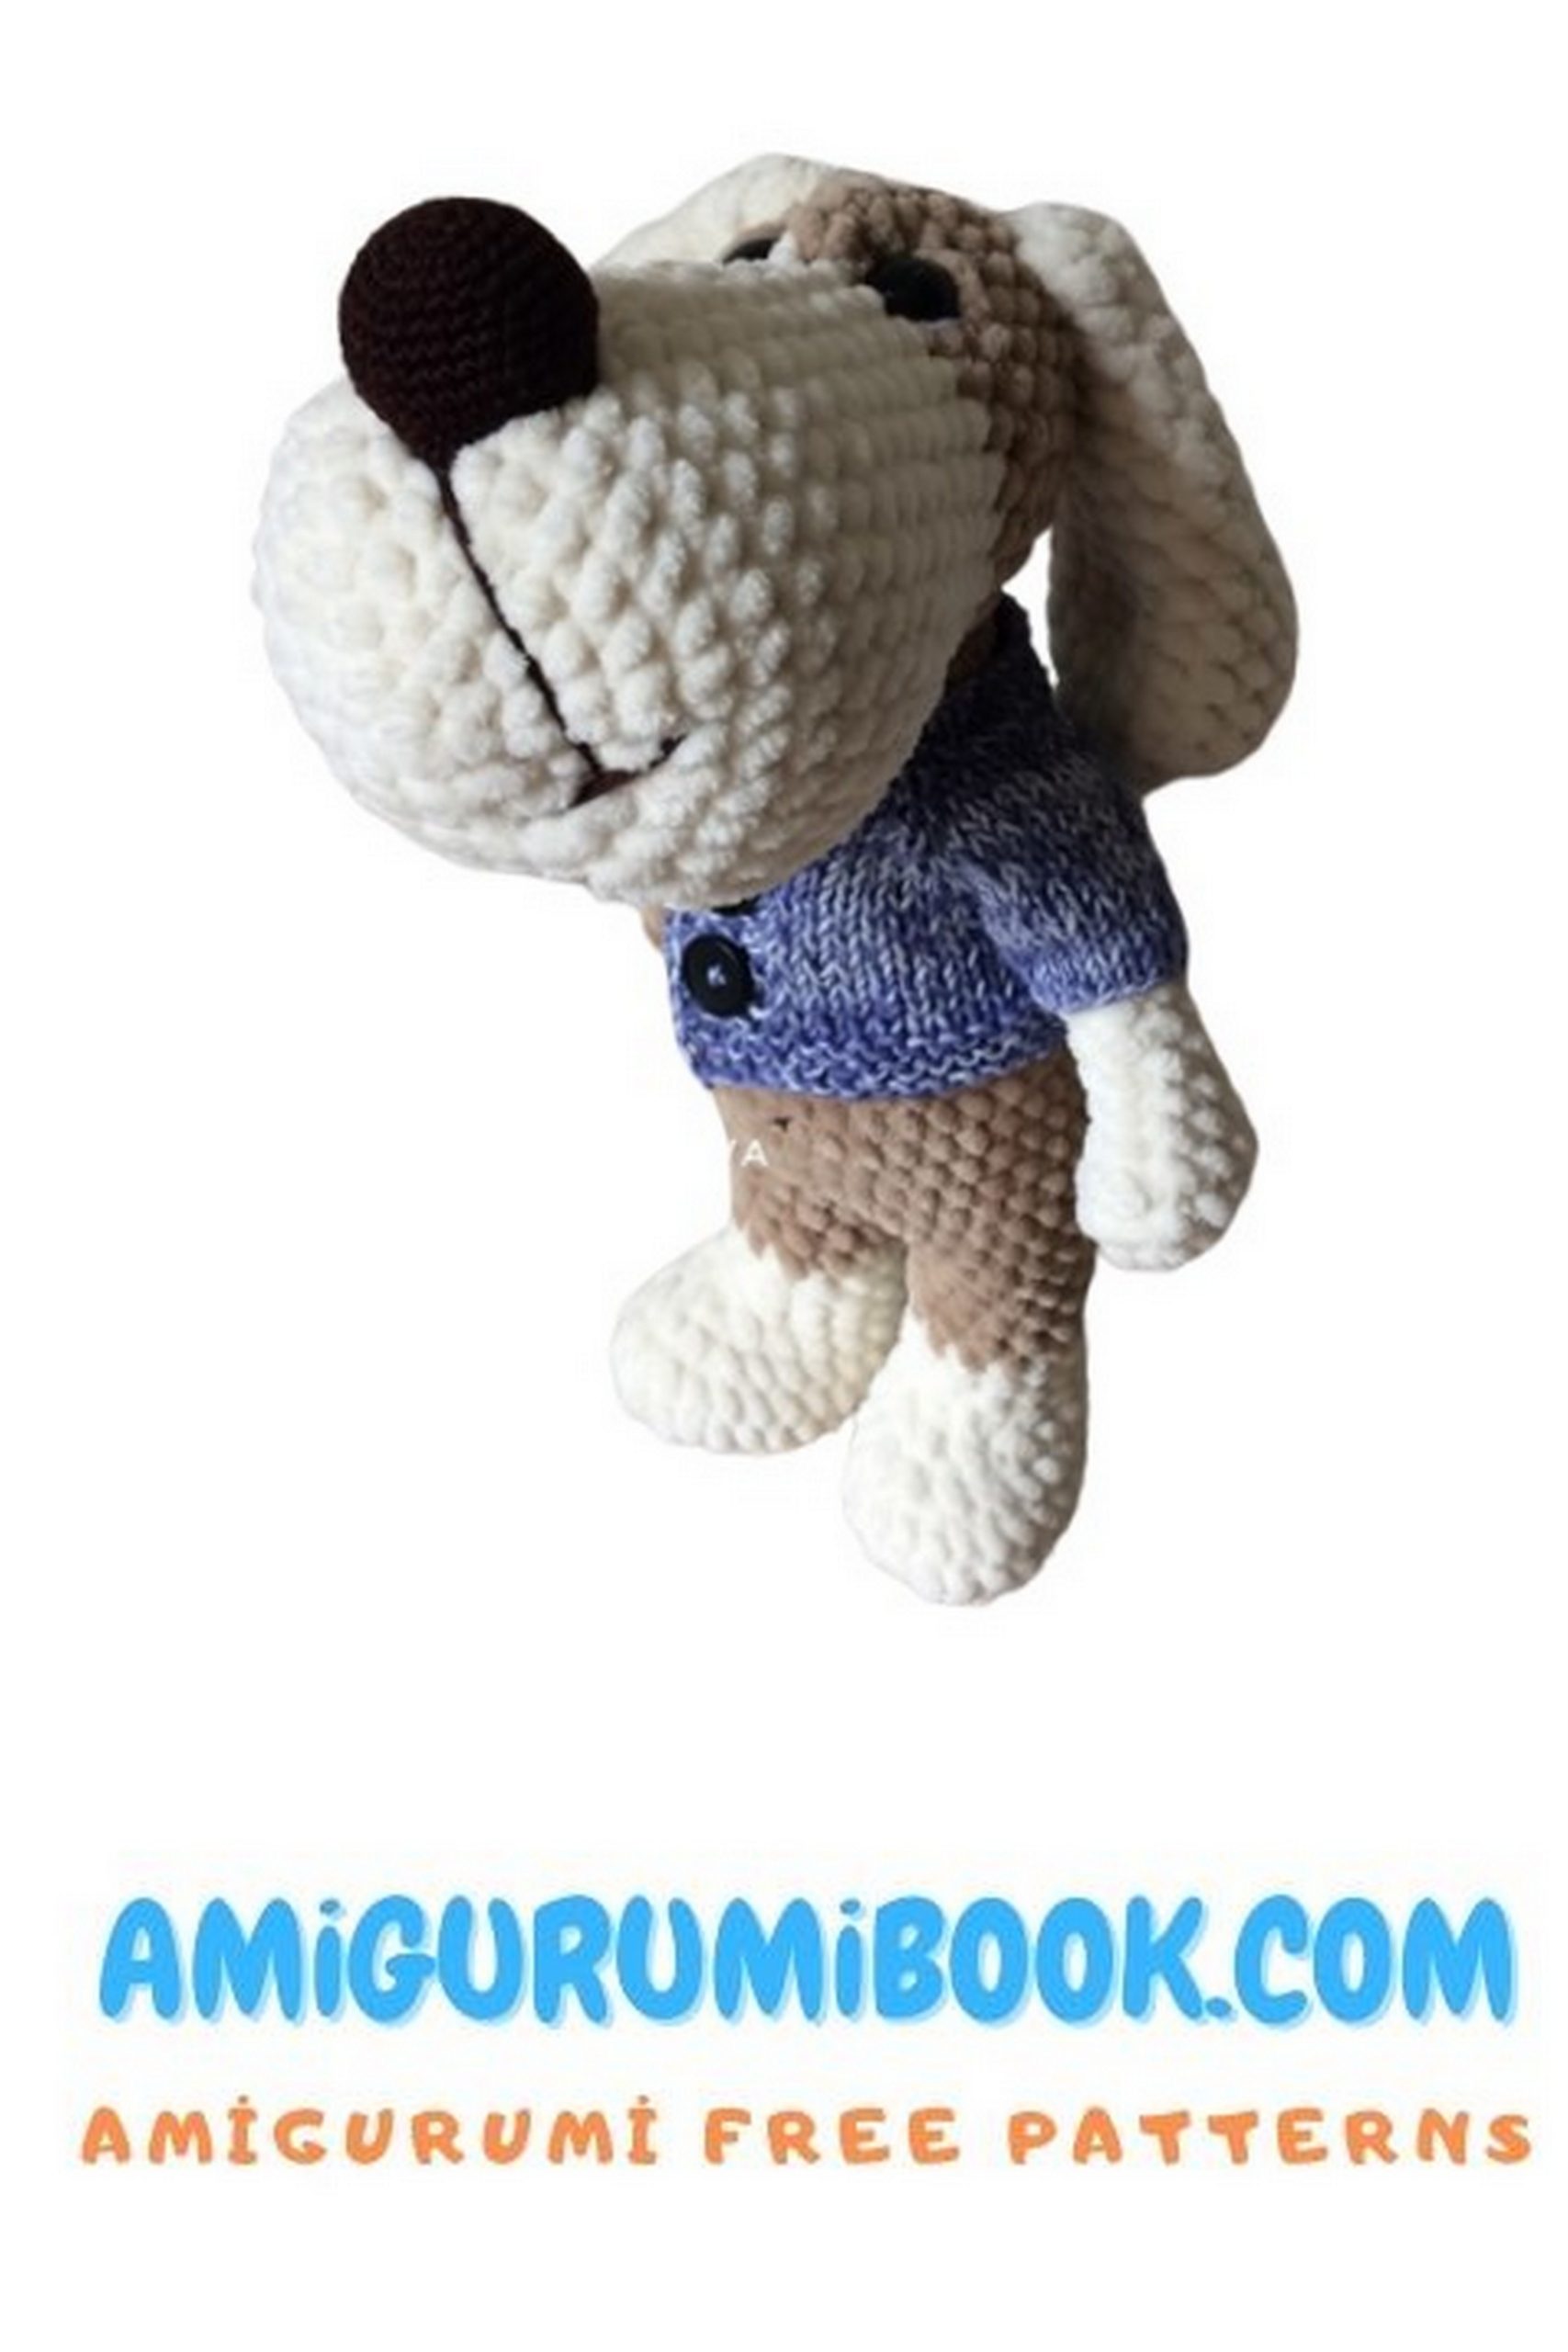
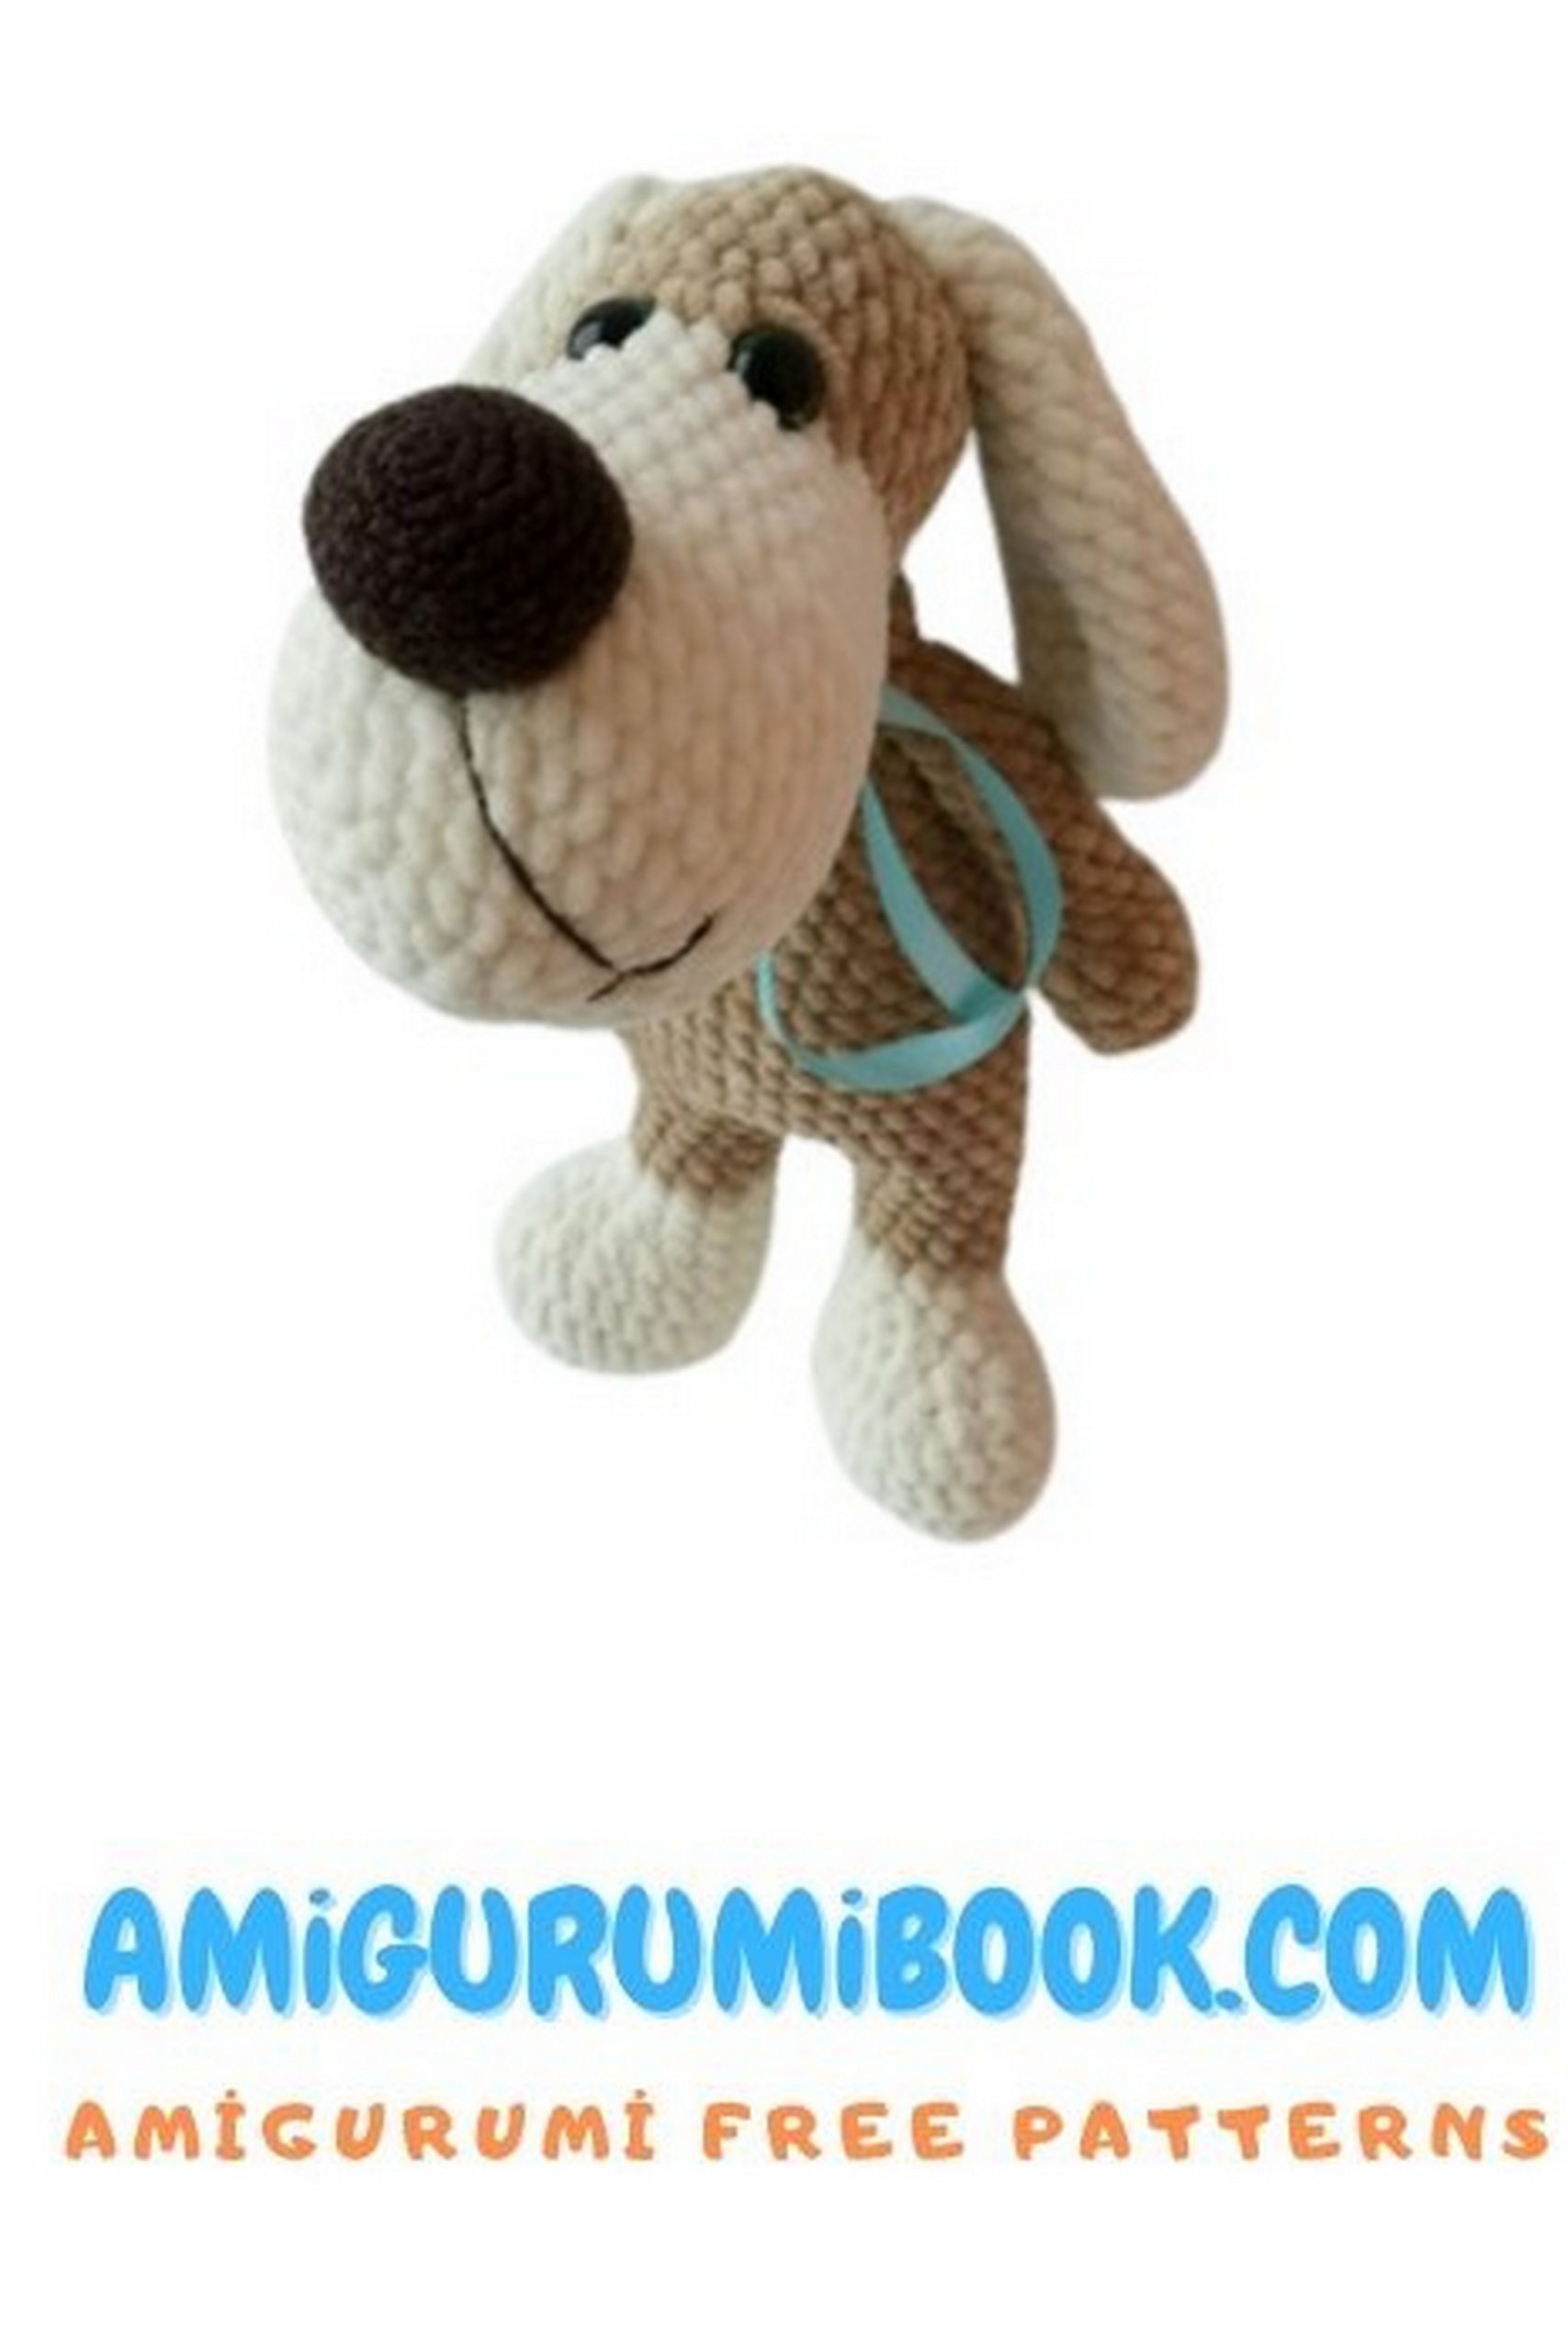
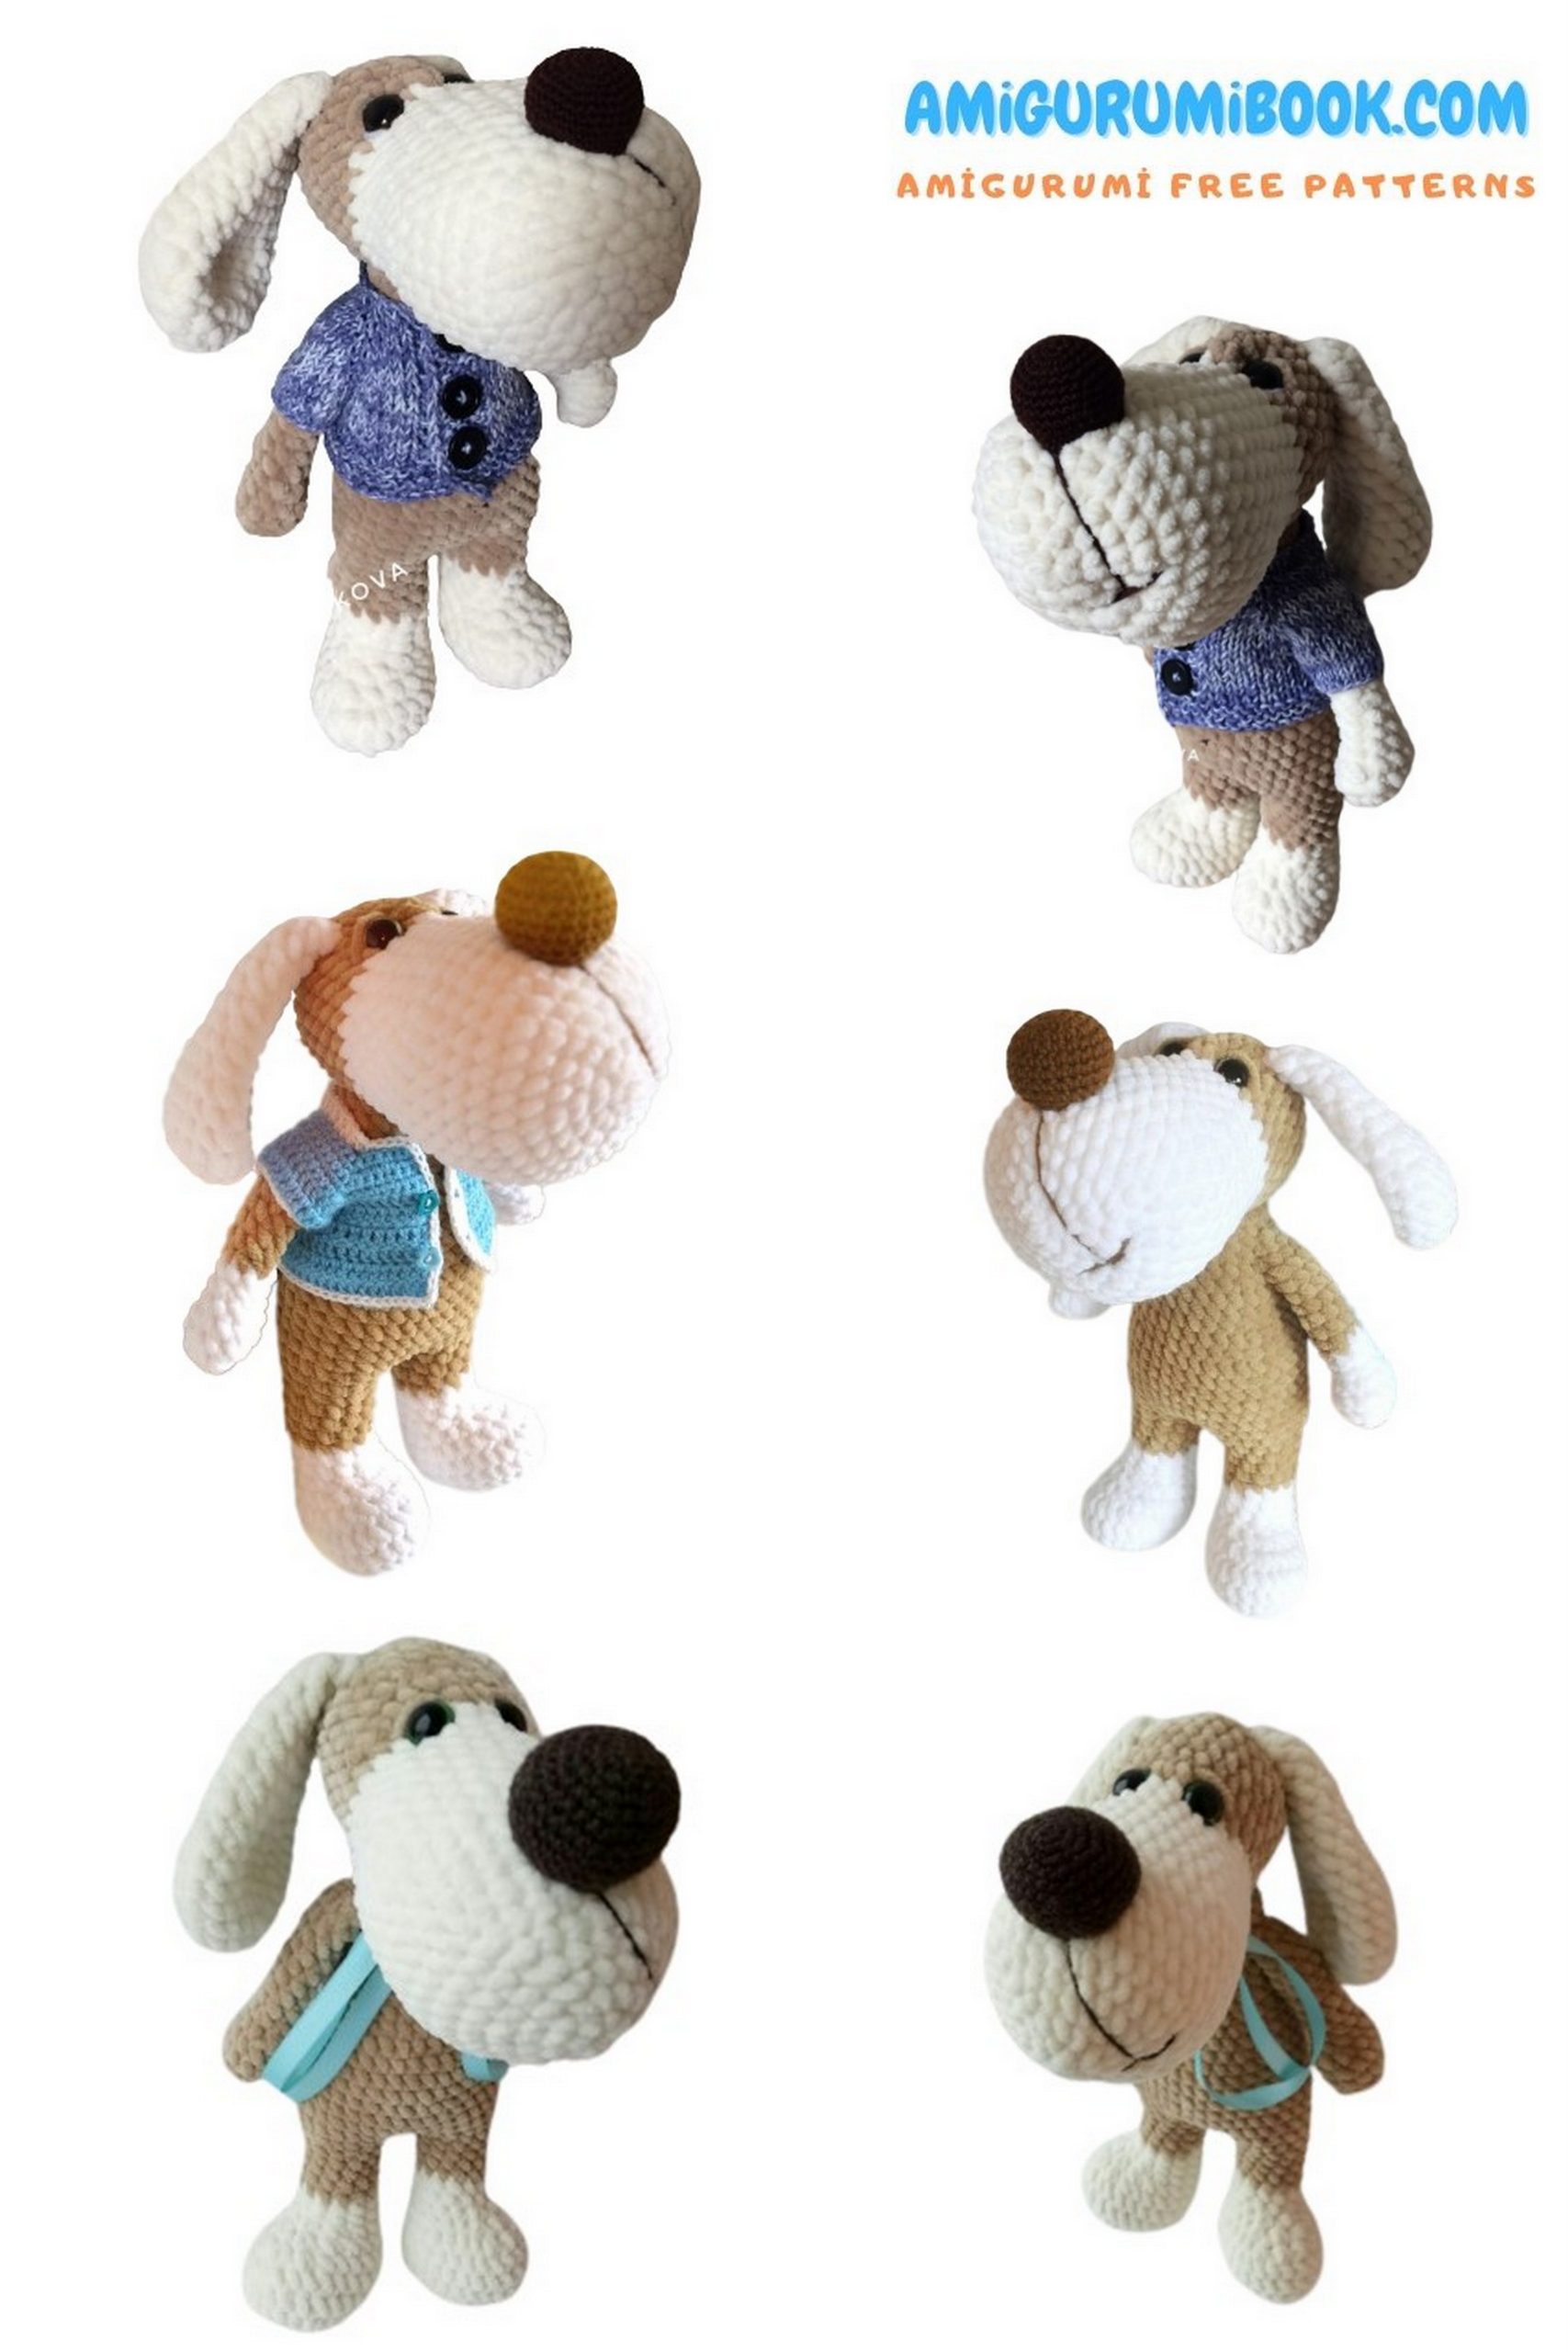
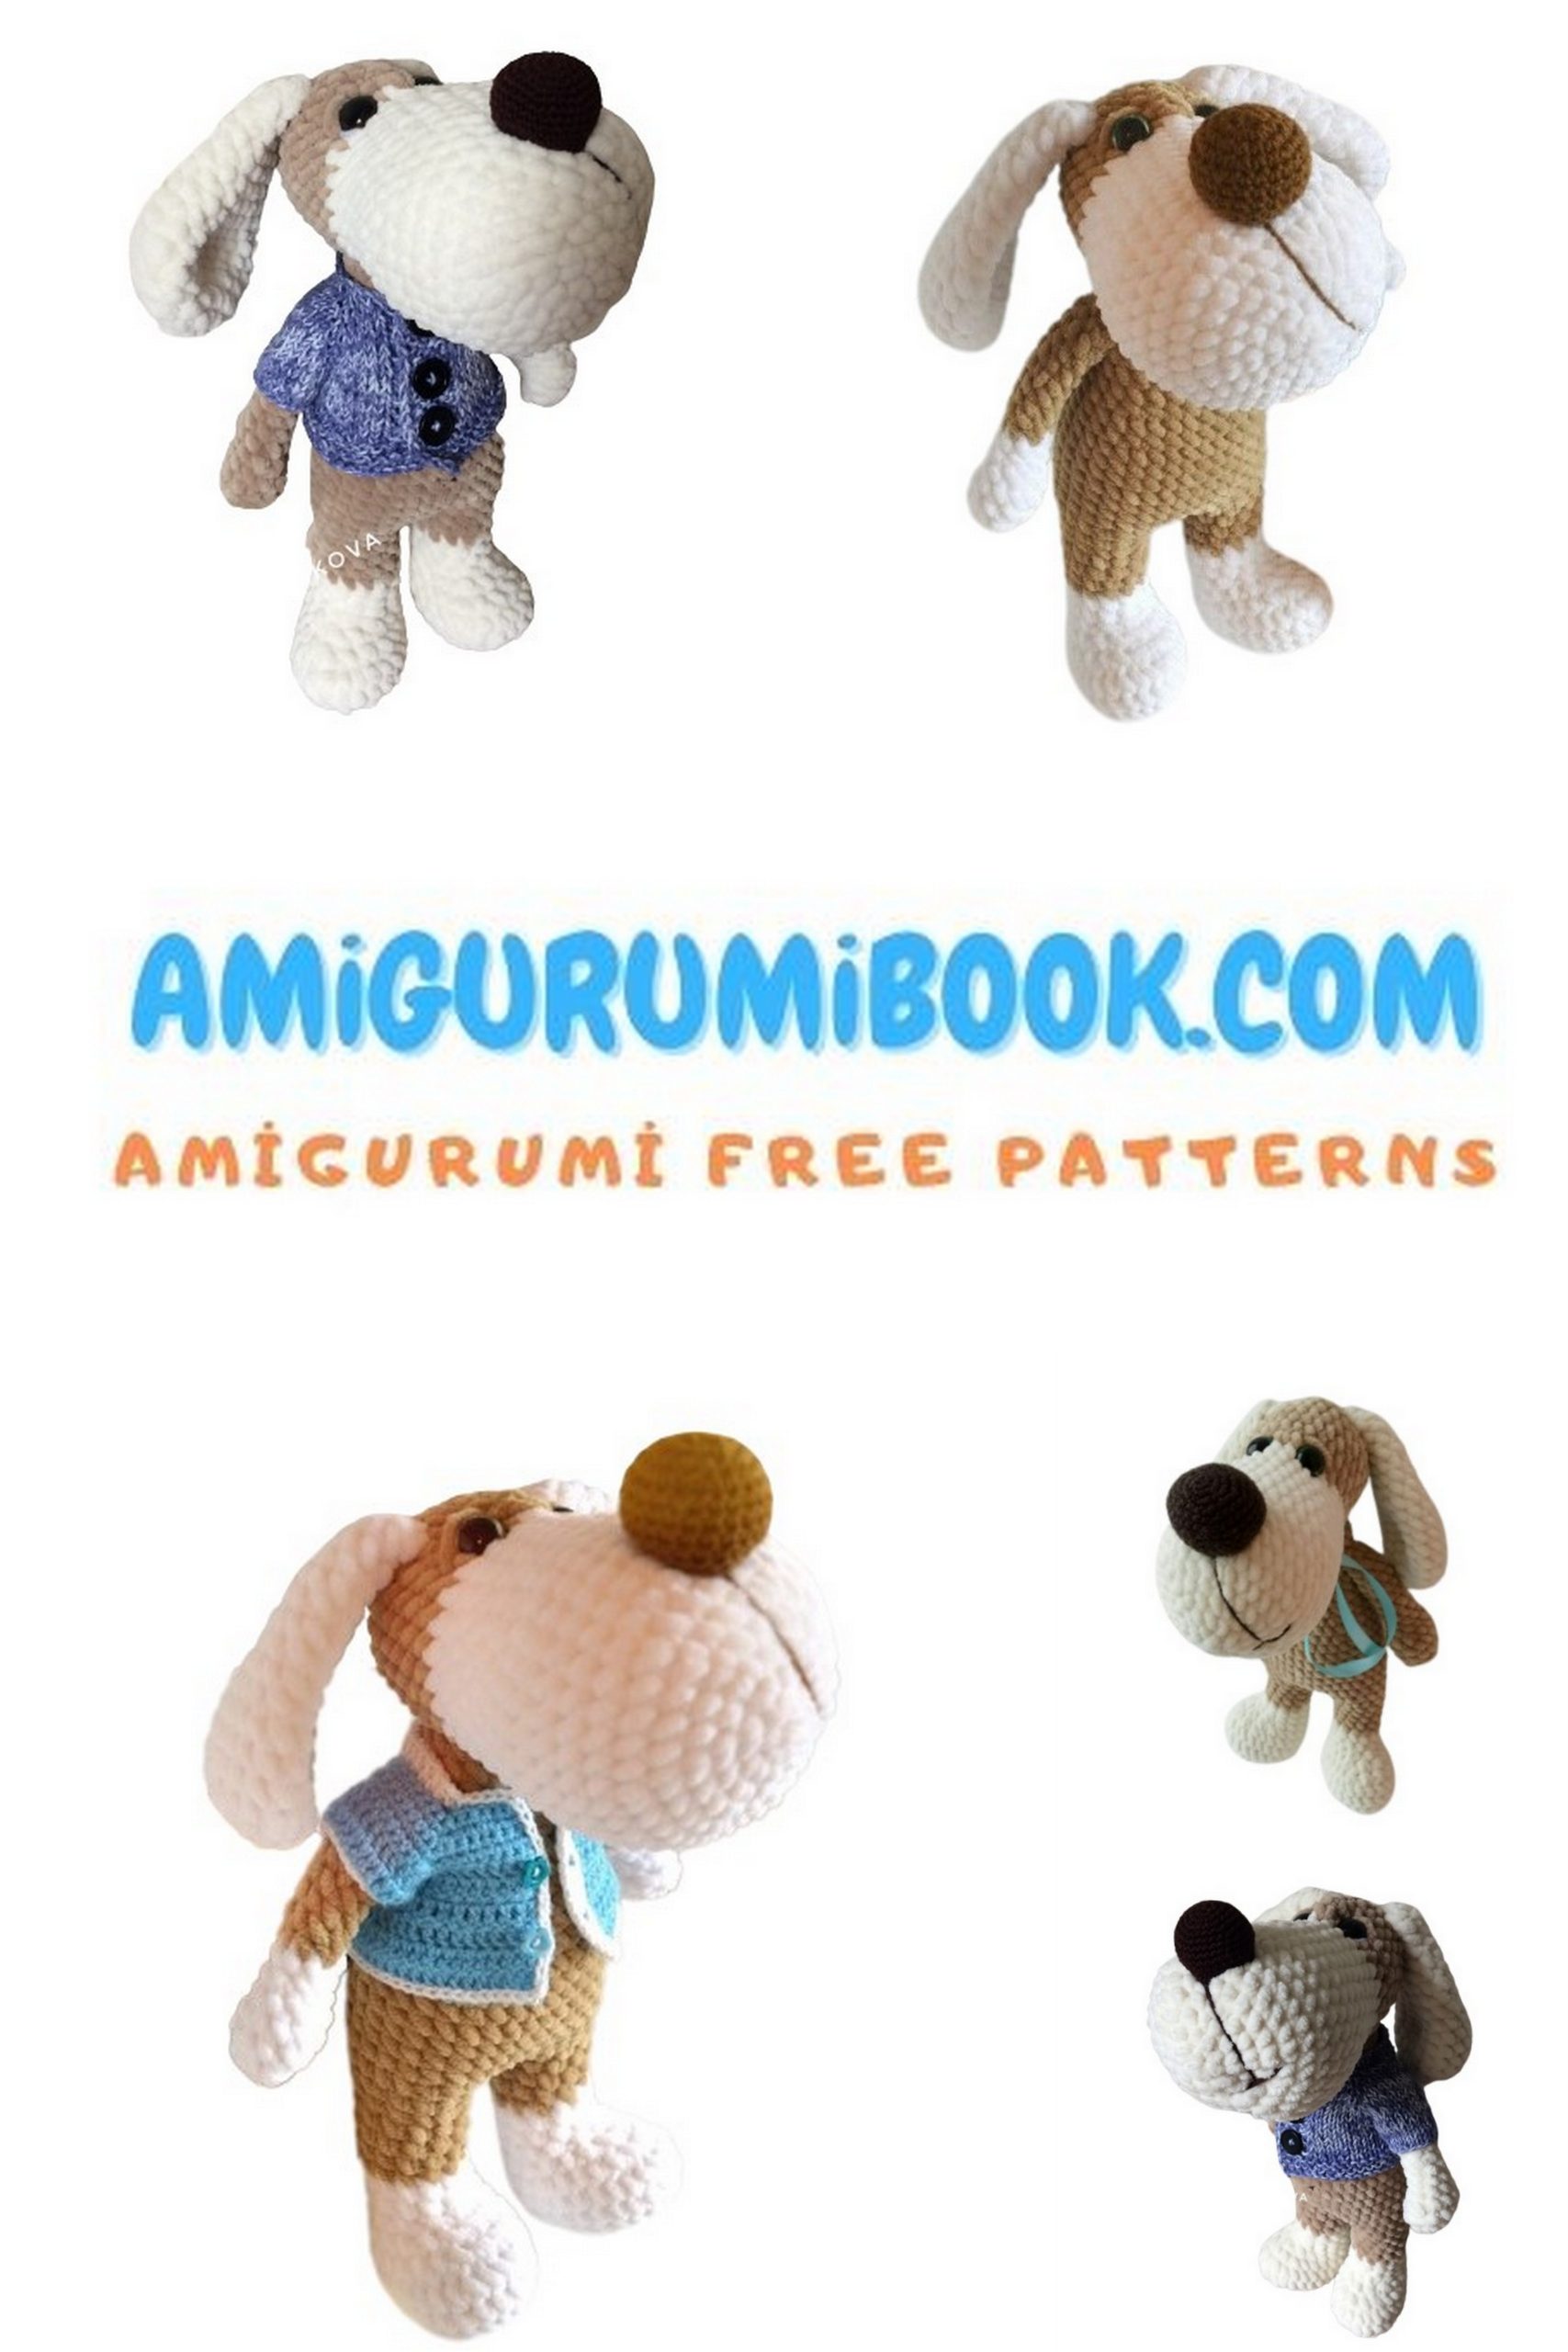
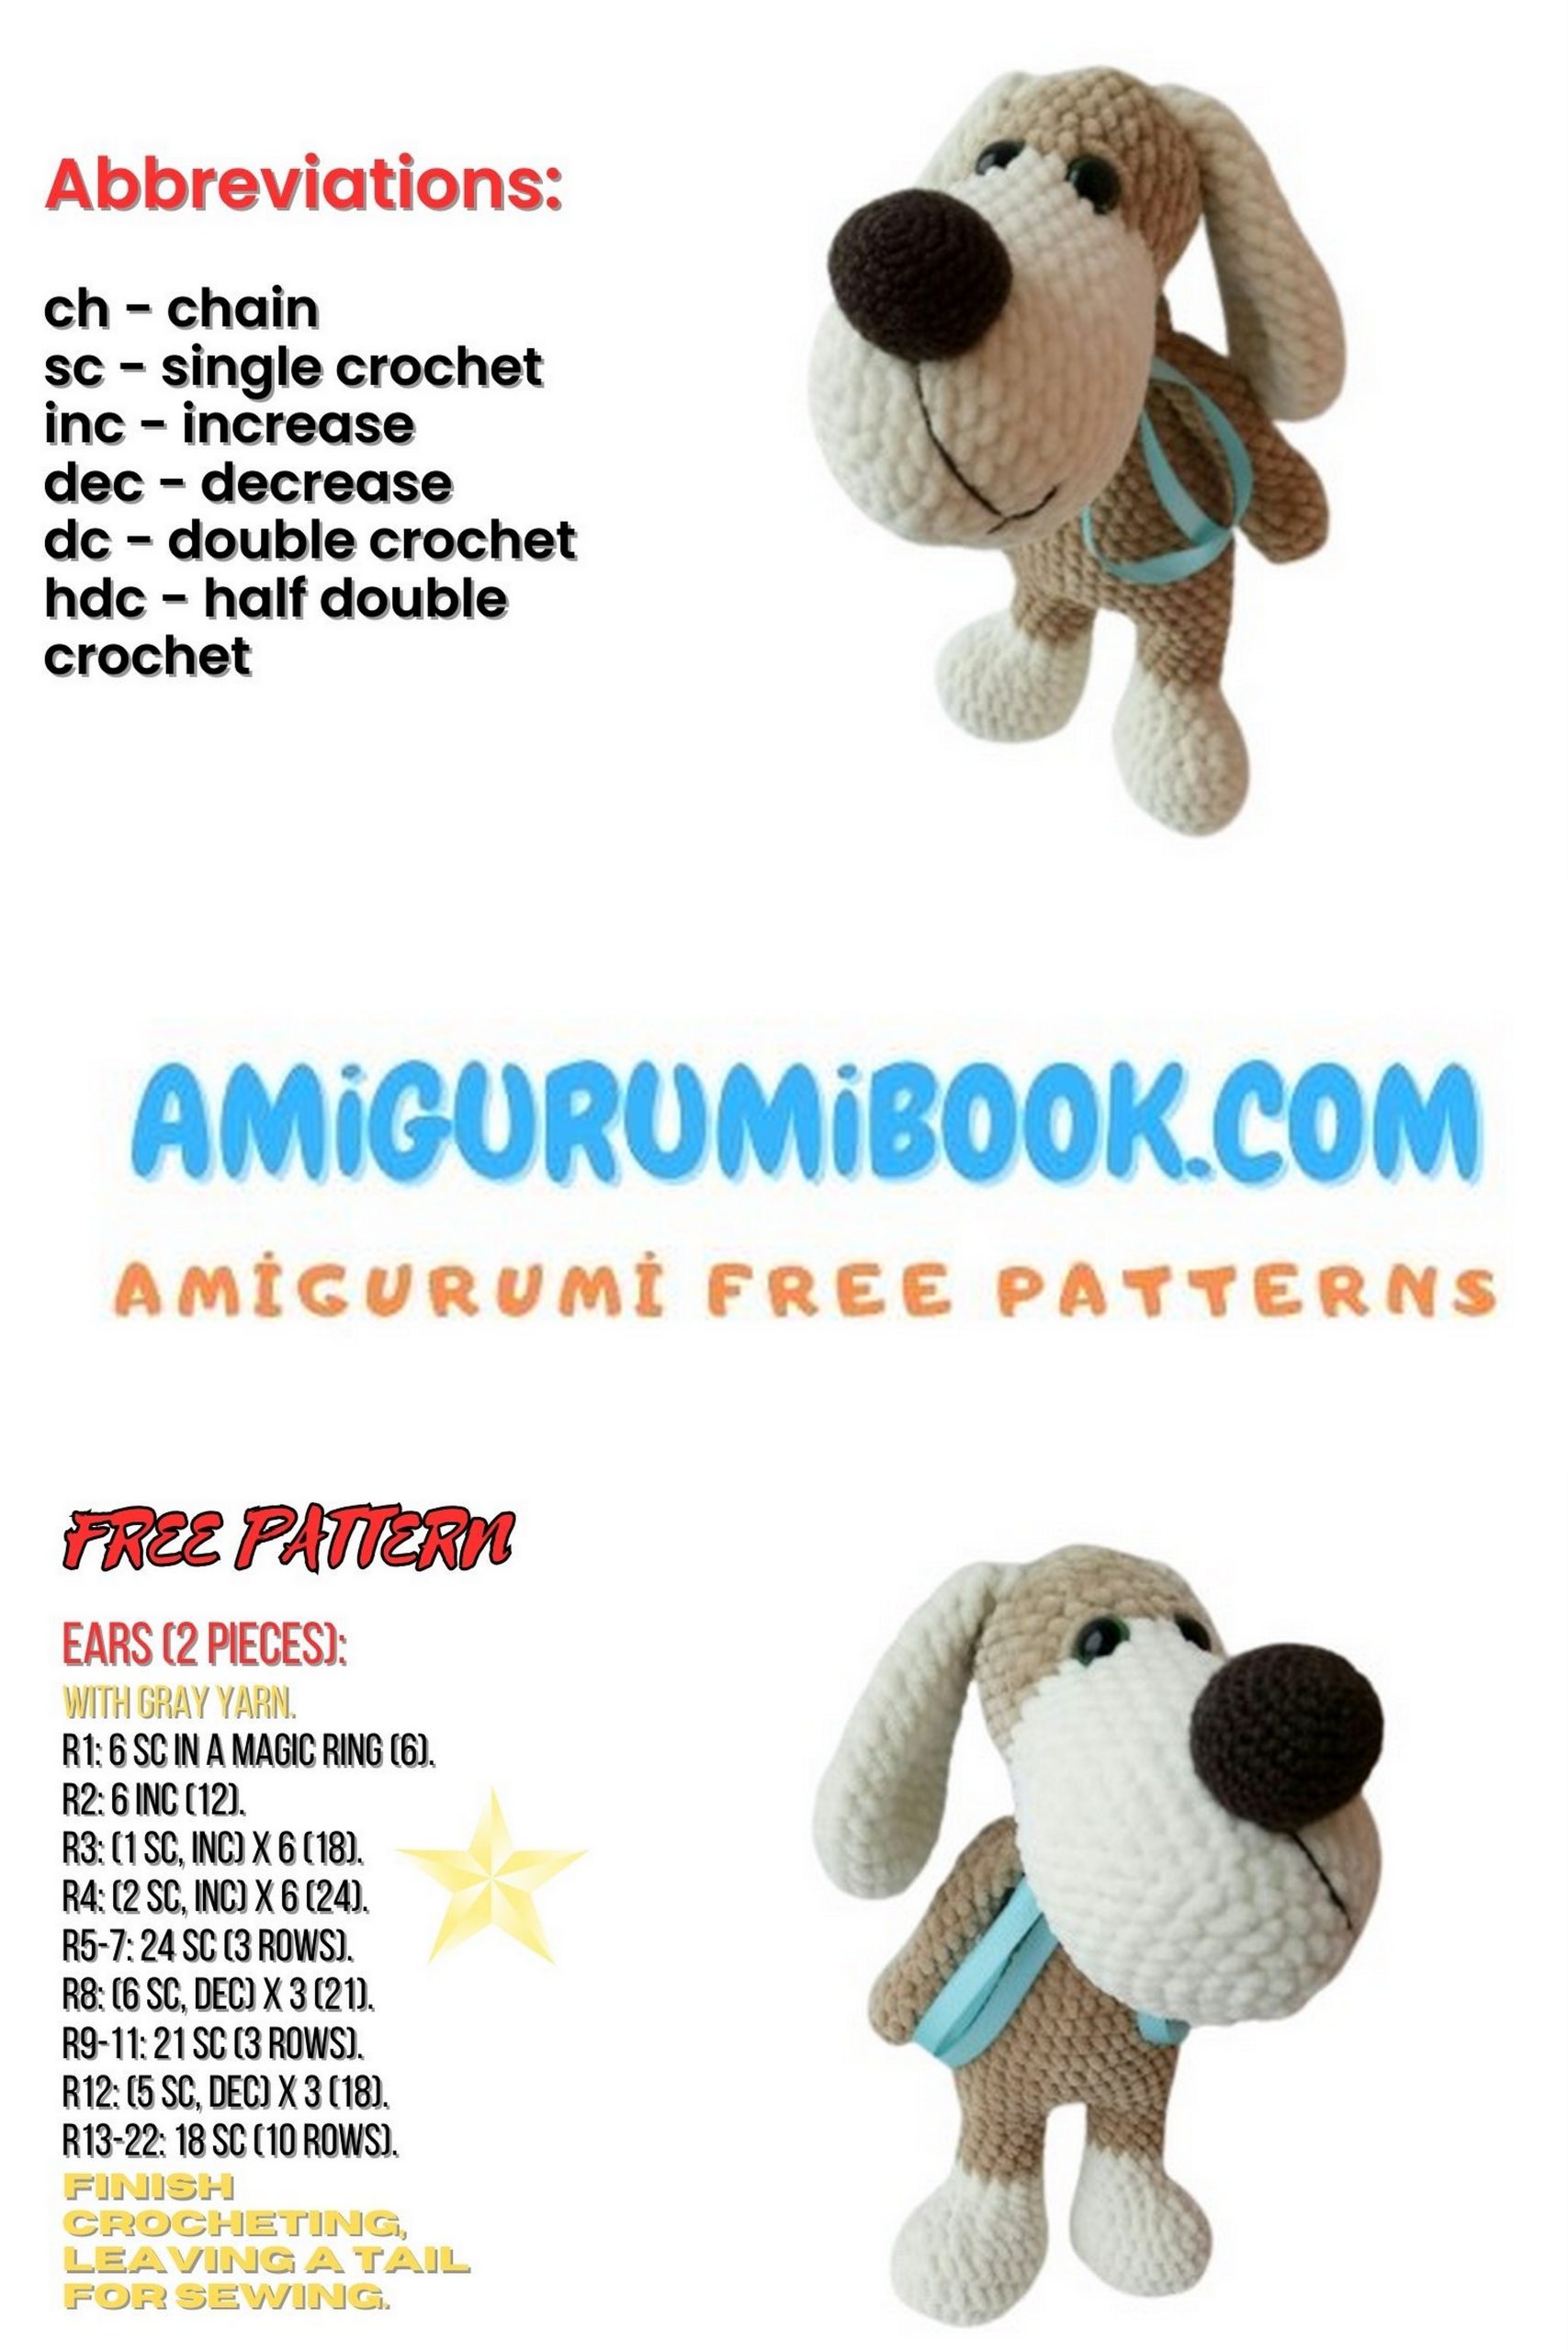
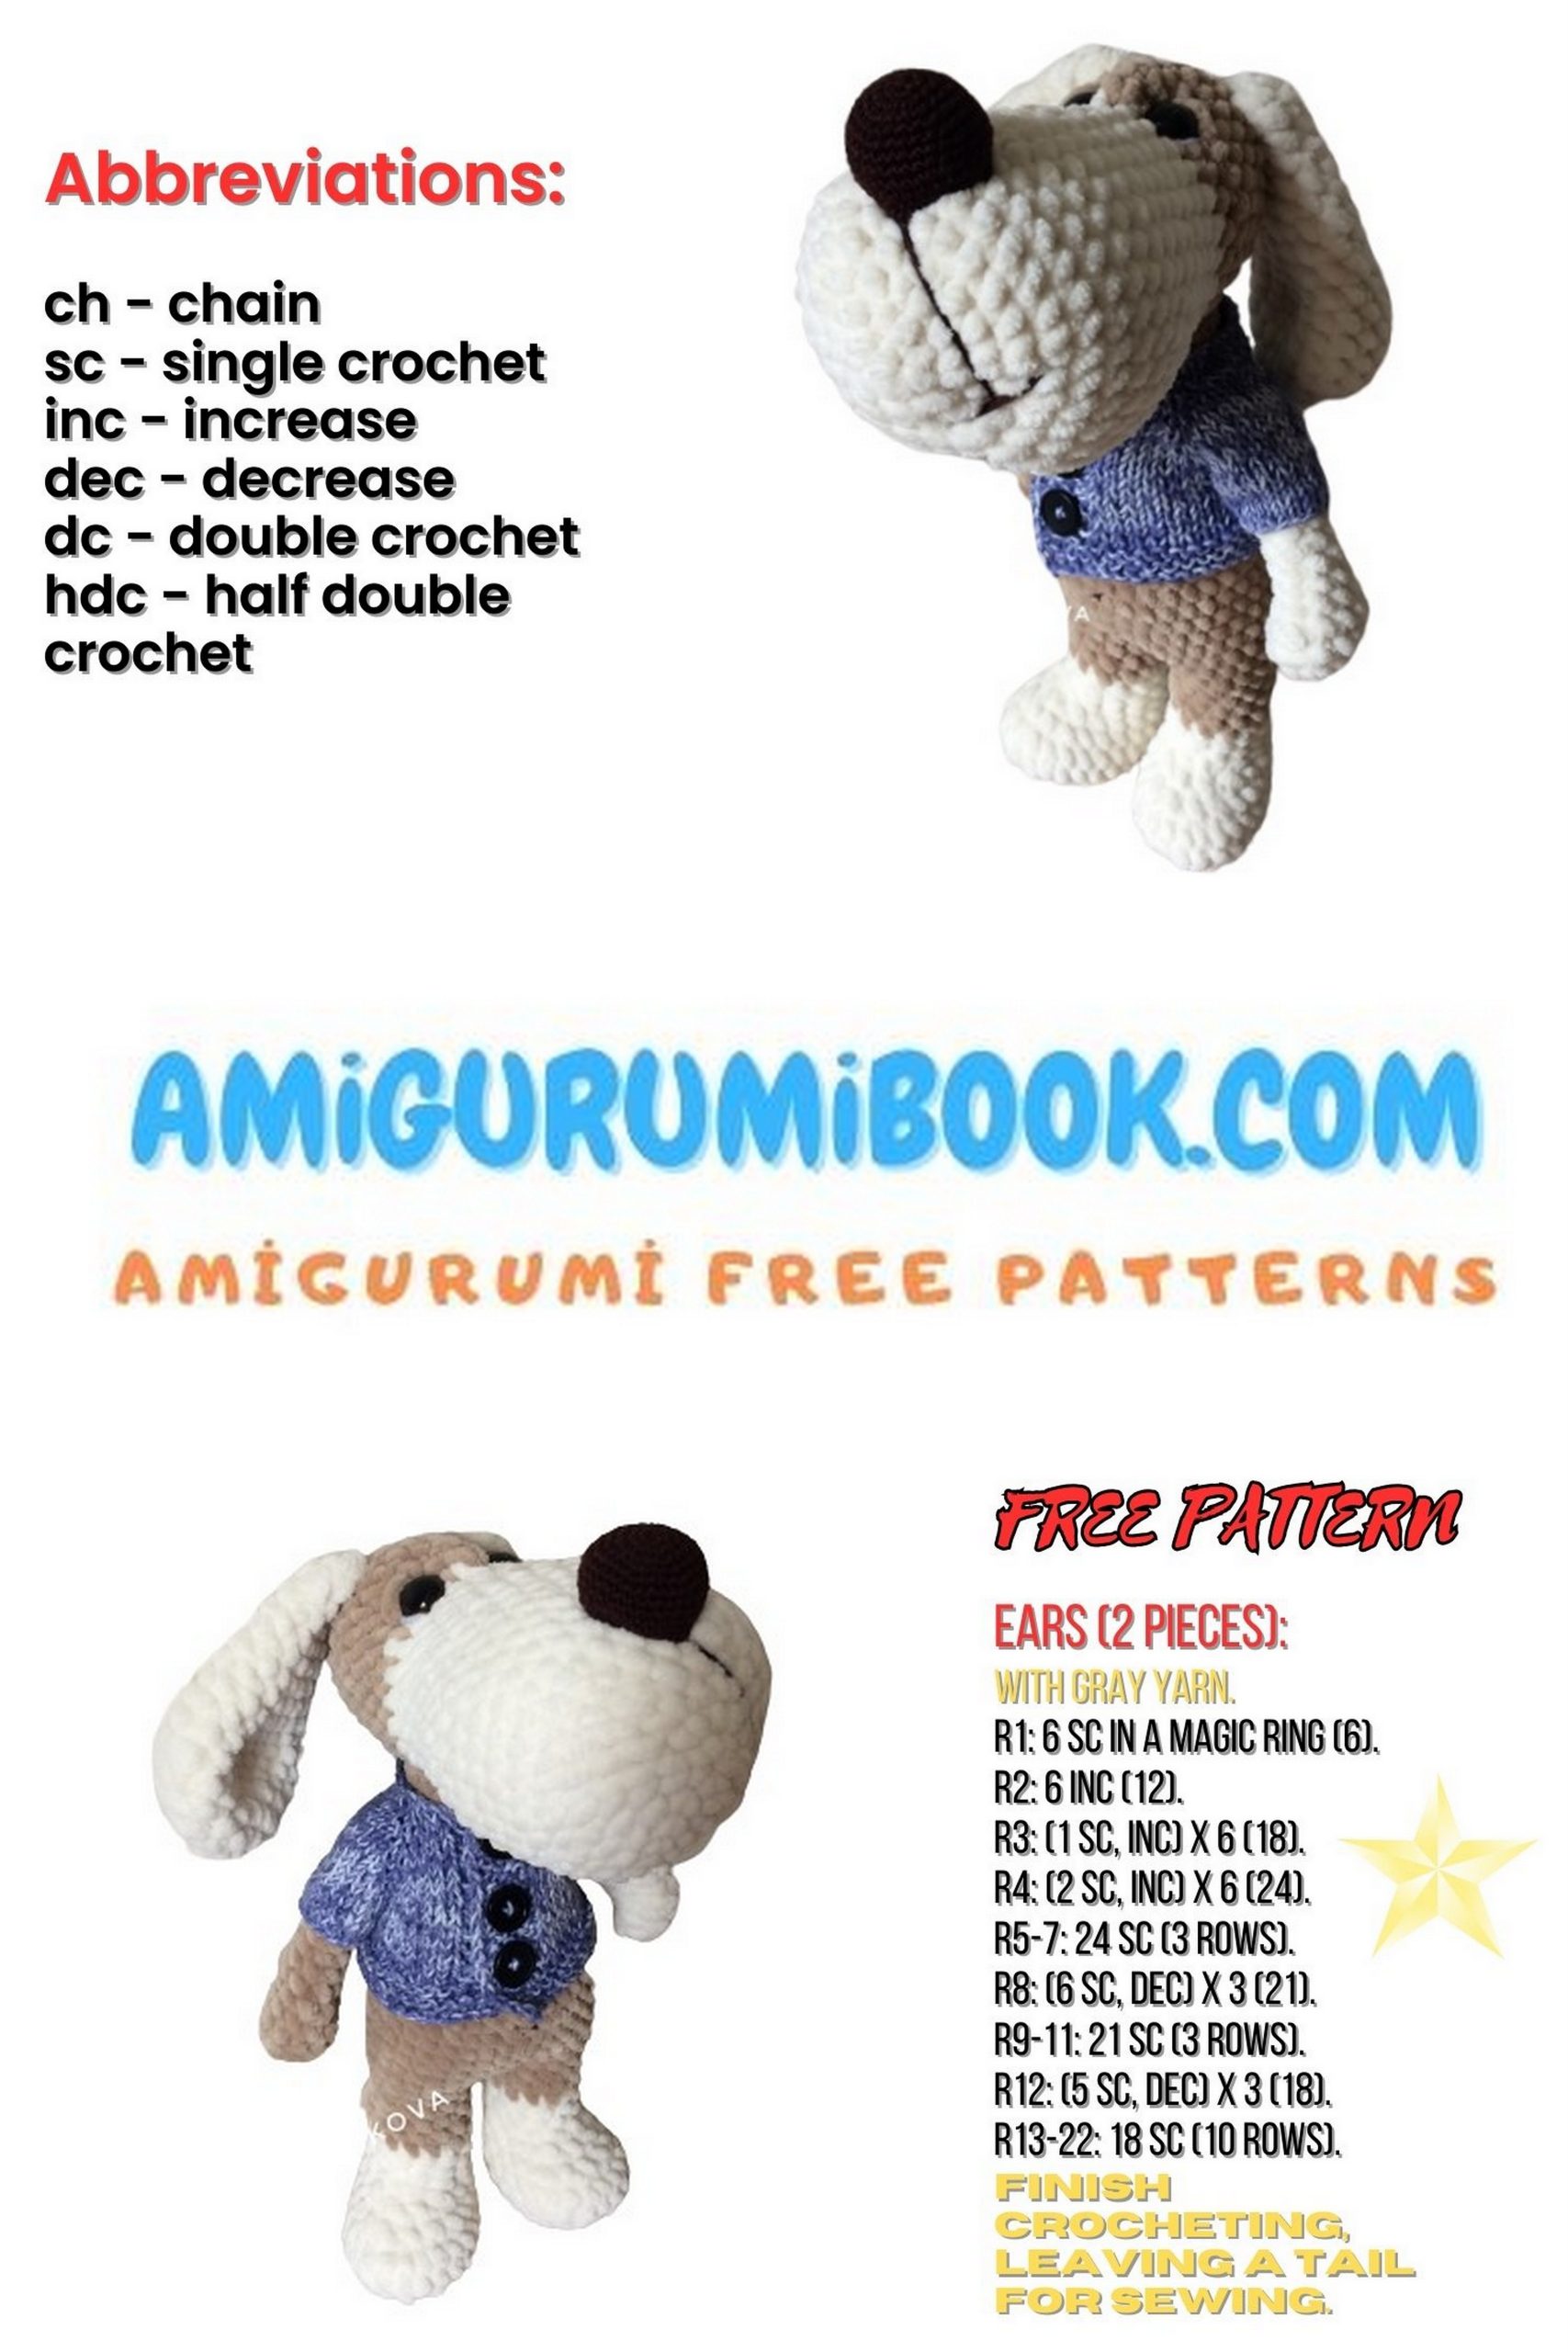
Discover the joy of creating your own adorable Velvet Dog Max with this free amigurumi crochet pattern. Perfect for crafters of all skill levels, this cuddly companion makes a charming handmade gift or a delightful addition to your collection. free crochet patterns
You may also like more amigurumi patterns.
Welcome to our world of amigurumi crafting! If you’re a fan of crochet and love creating cute, huggable creatures, you’re in for a treat. In this post, we’re excited to share with you a free pattern for making your very own Velvet Dog Max amigurumi.
Amigurumi is the art of creating stuffed animals or dolls using crochet or knitting techniques. These charming little creatures have captured the hearts of crafters around the world, and today, we’re focusing on crafting a Velvet Dog Max, a soft and lovable companion that you can make entirely by yourself.
Our amigurumi free pattern comes with step-by-step instructions, including materials needed and detailed stitches, making it suitable for both beginners and experienced crocheters. You’ll be amazed at how quickly your Velvet Dog Max comes to life with your creative touch.
Not only is crafting amigurumi a fun and satisfying hobby, but it also allows you to personalize your creations, making them unique gifts for family and friends. Whether you’re a seasoned crocheter or just starting your crochet journey, this pattern is sure to bring joy and a sense of accomplishment.
So, let’s get started on this delightful crochet adventure! Scroll down to find the free Velvet Dog Max amigurumi pattern and follow along to make your very own cuddly, velvety friend.
If you want to access 1000+ free amigurumi patterns, you can download our application from this link!
Materials
- YarnArt Dolce yarn or equivalent – 50 g of two colors
(example: art. 745 milk, 747 beige) - Dark brown cotton yarn for nose
- Thin cotton yarn for sewing (matching color)
- Safety eyes 14–16 mm
- Crochet hook 4.0 mm or 5.0 mm
- Thick needle for sewing
- Polyester fiberfill
Finished size: approx. 30 cm
Note: Yarn consumption depends on individual crochet tension.
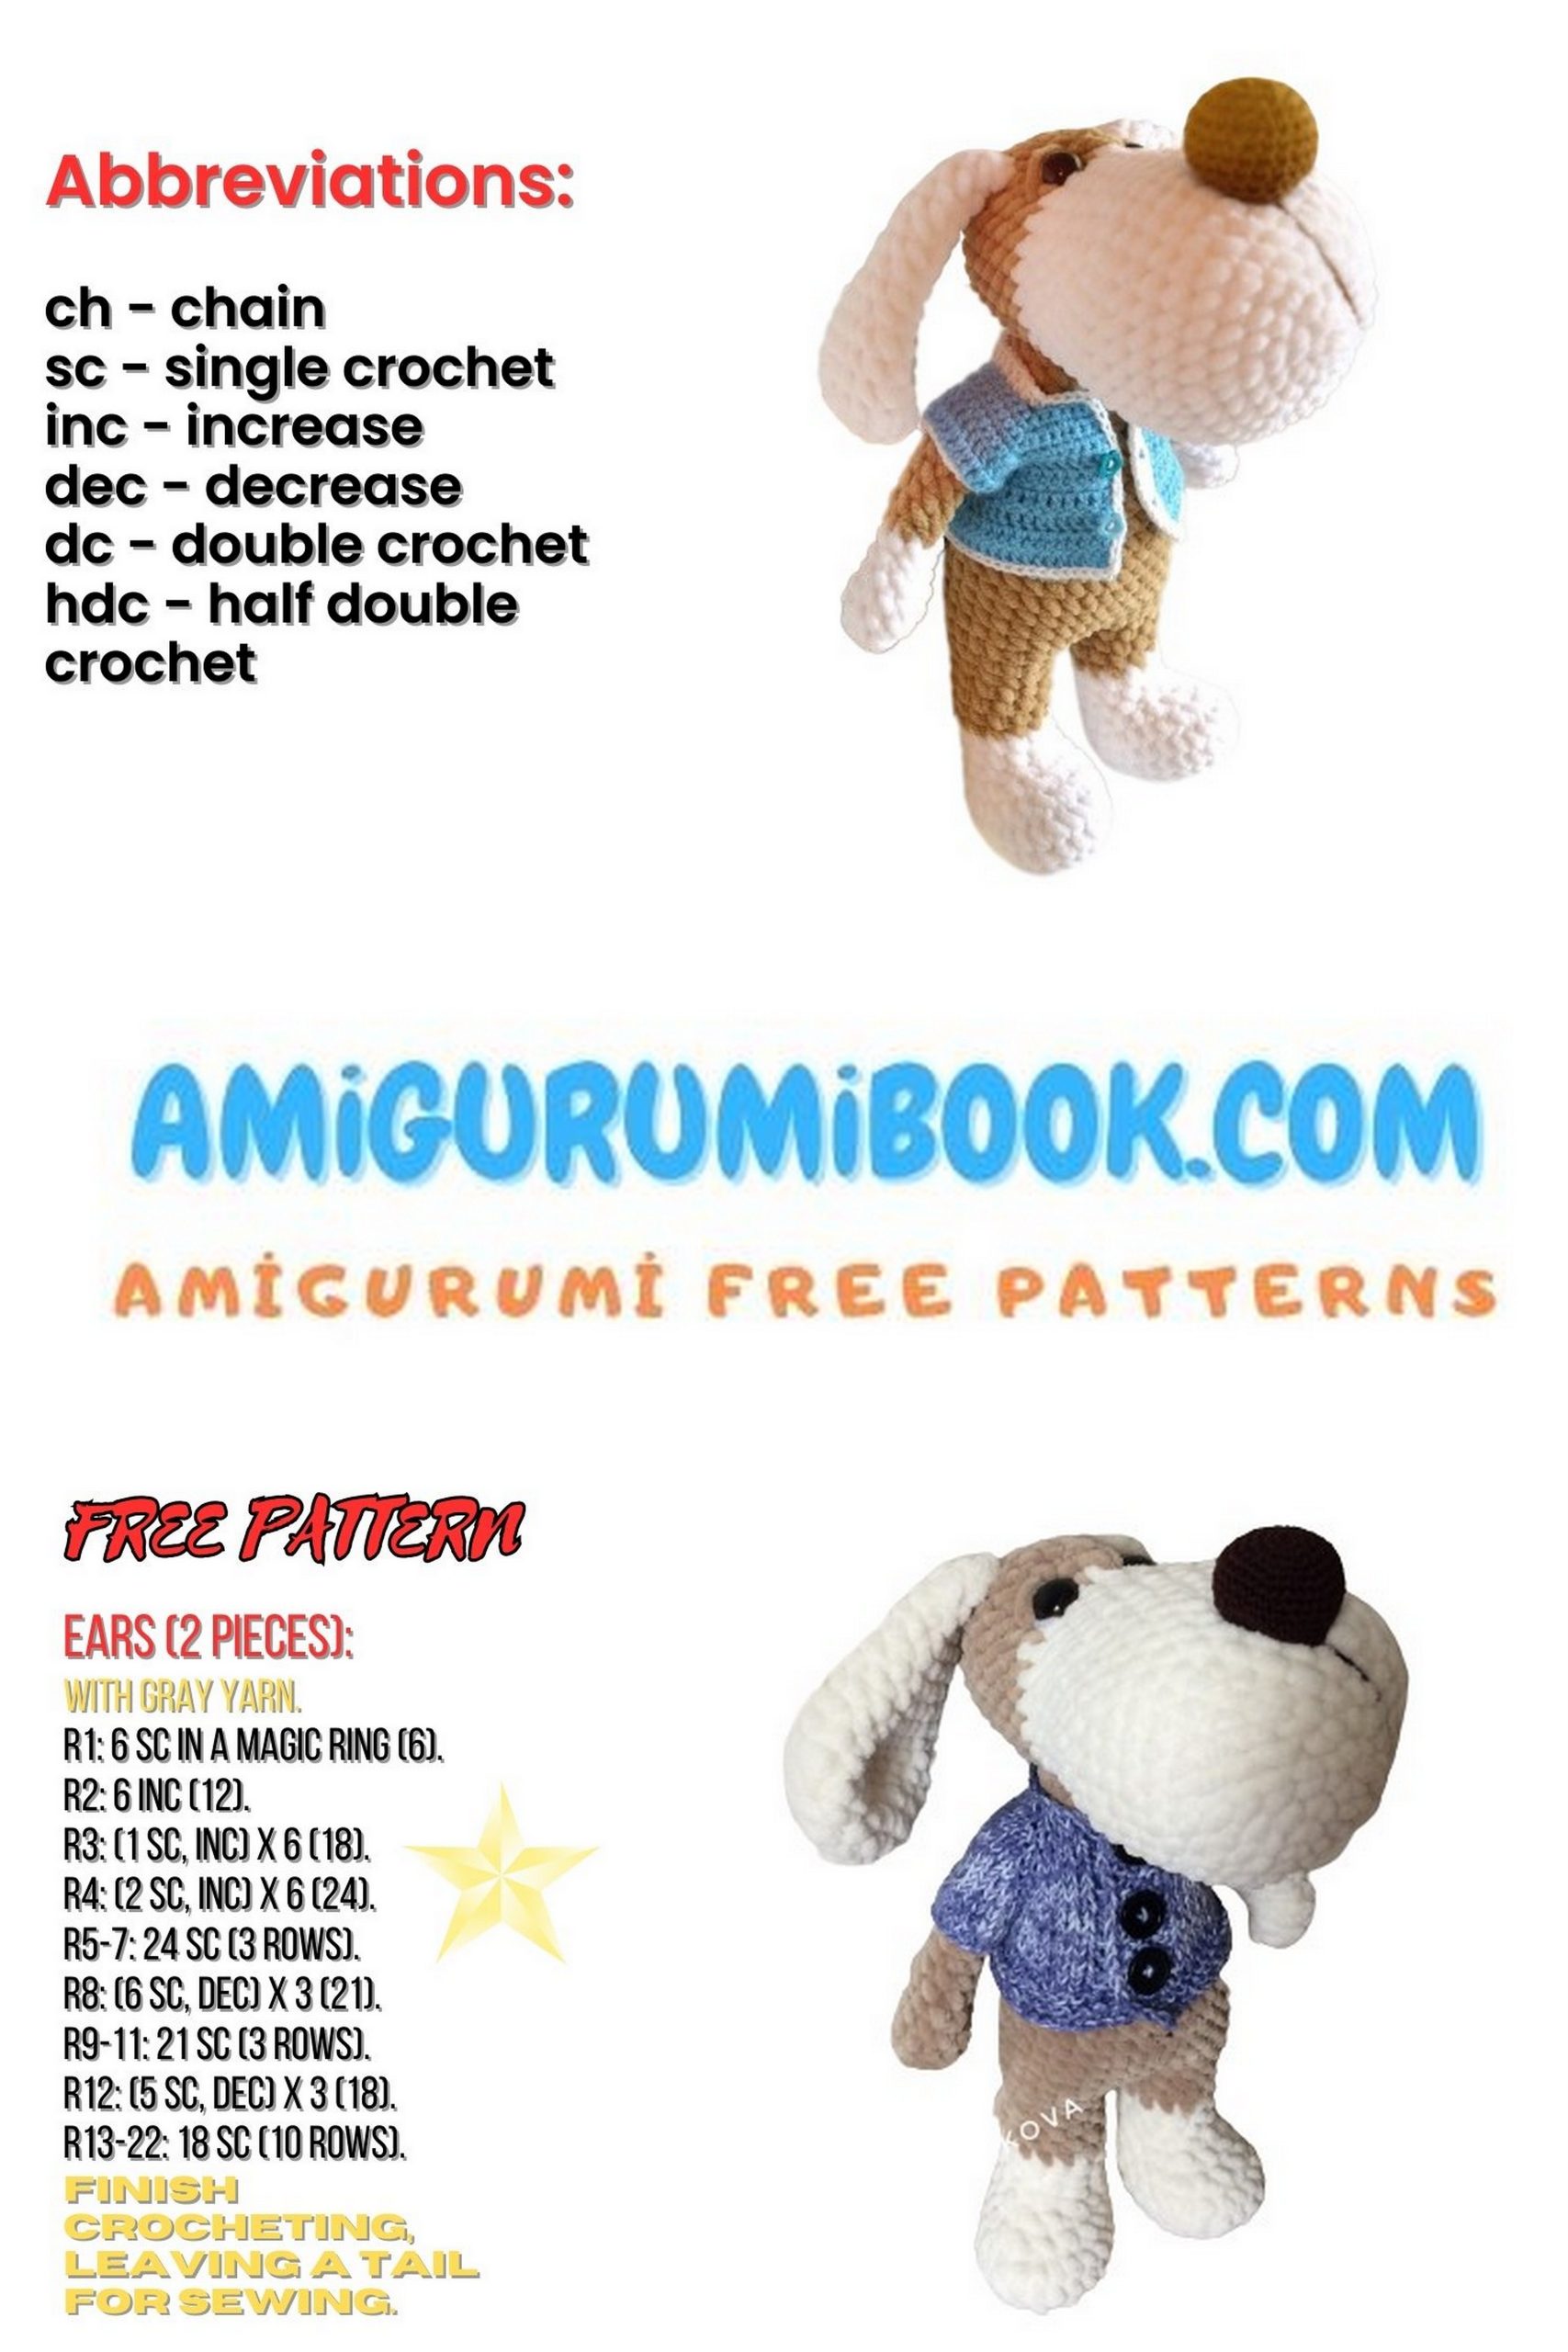
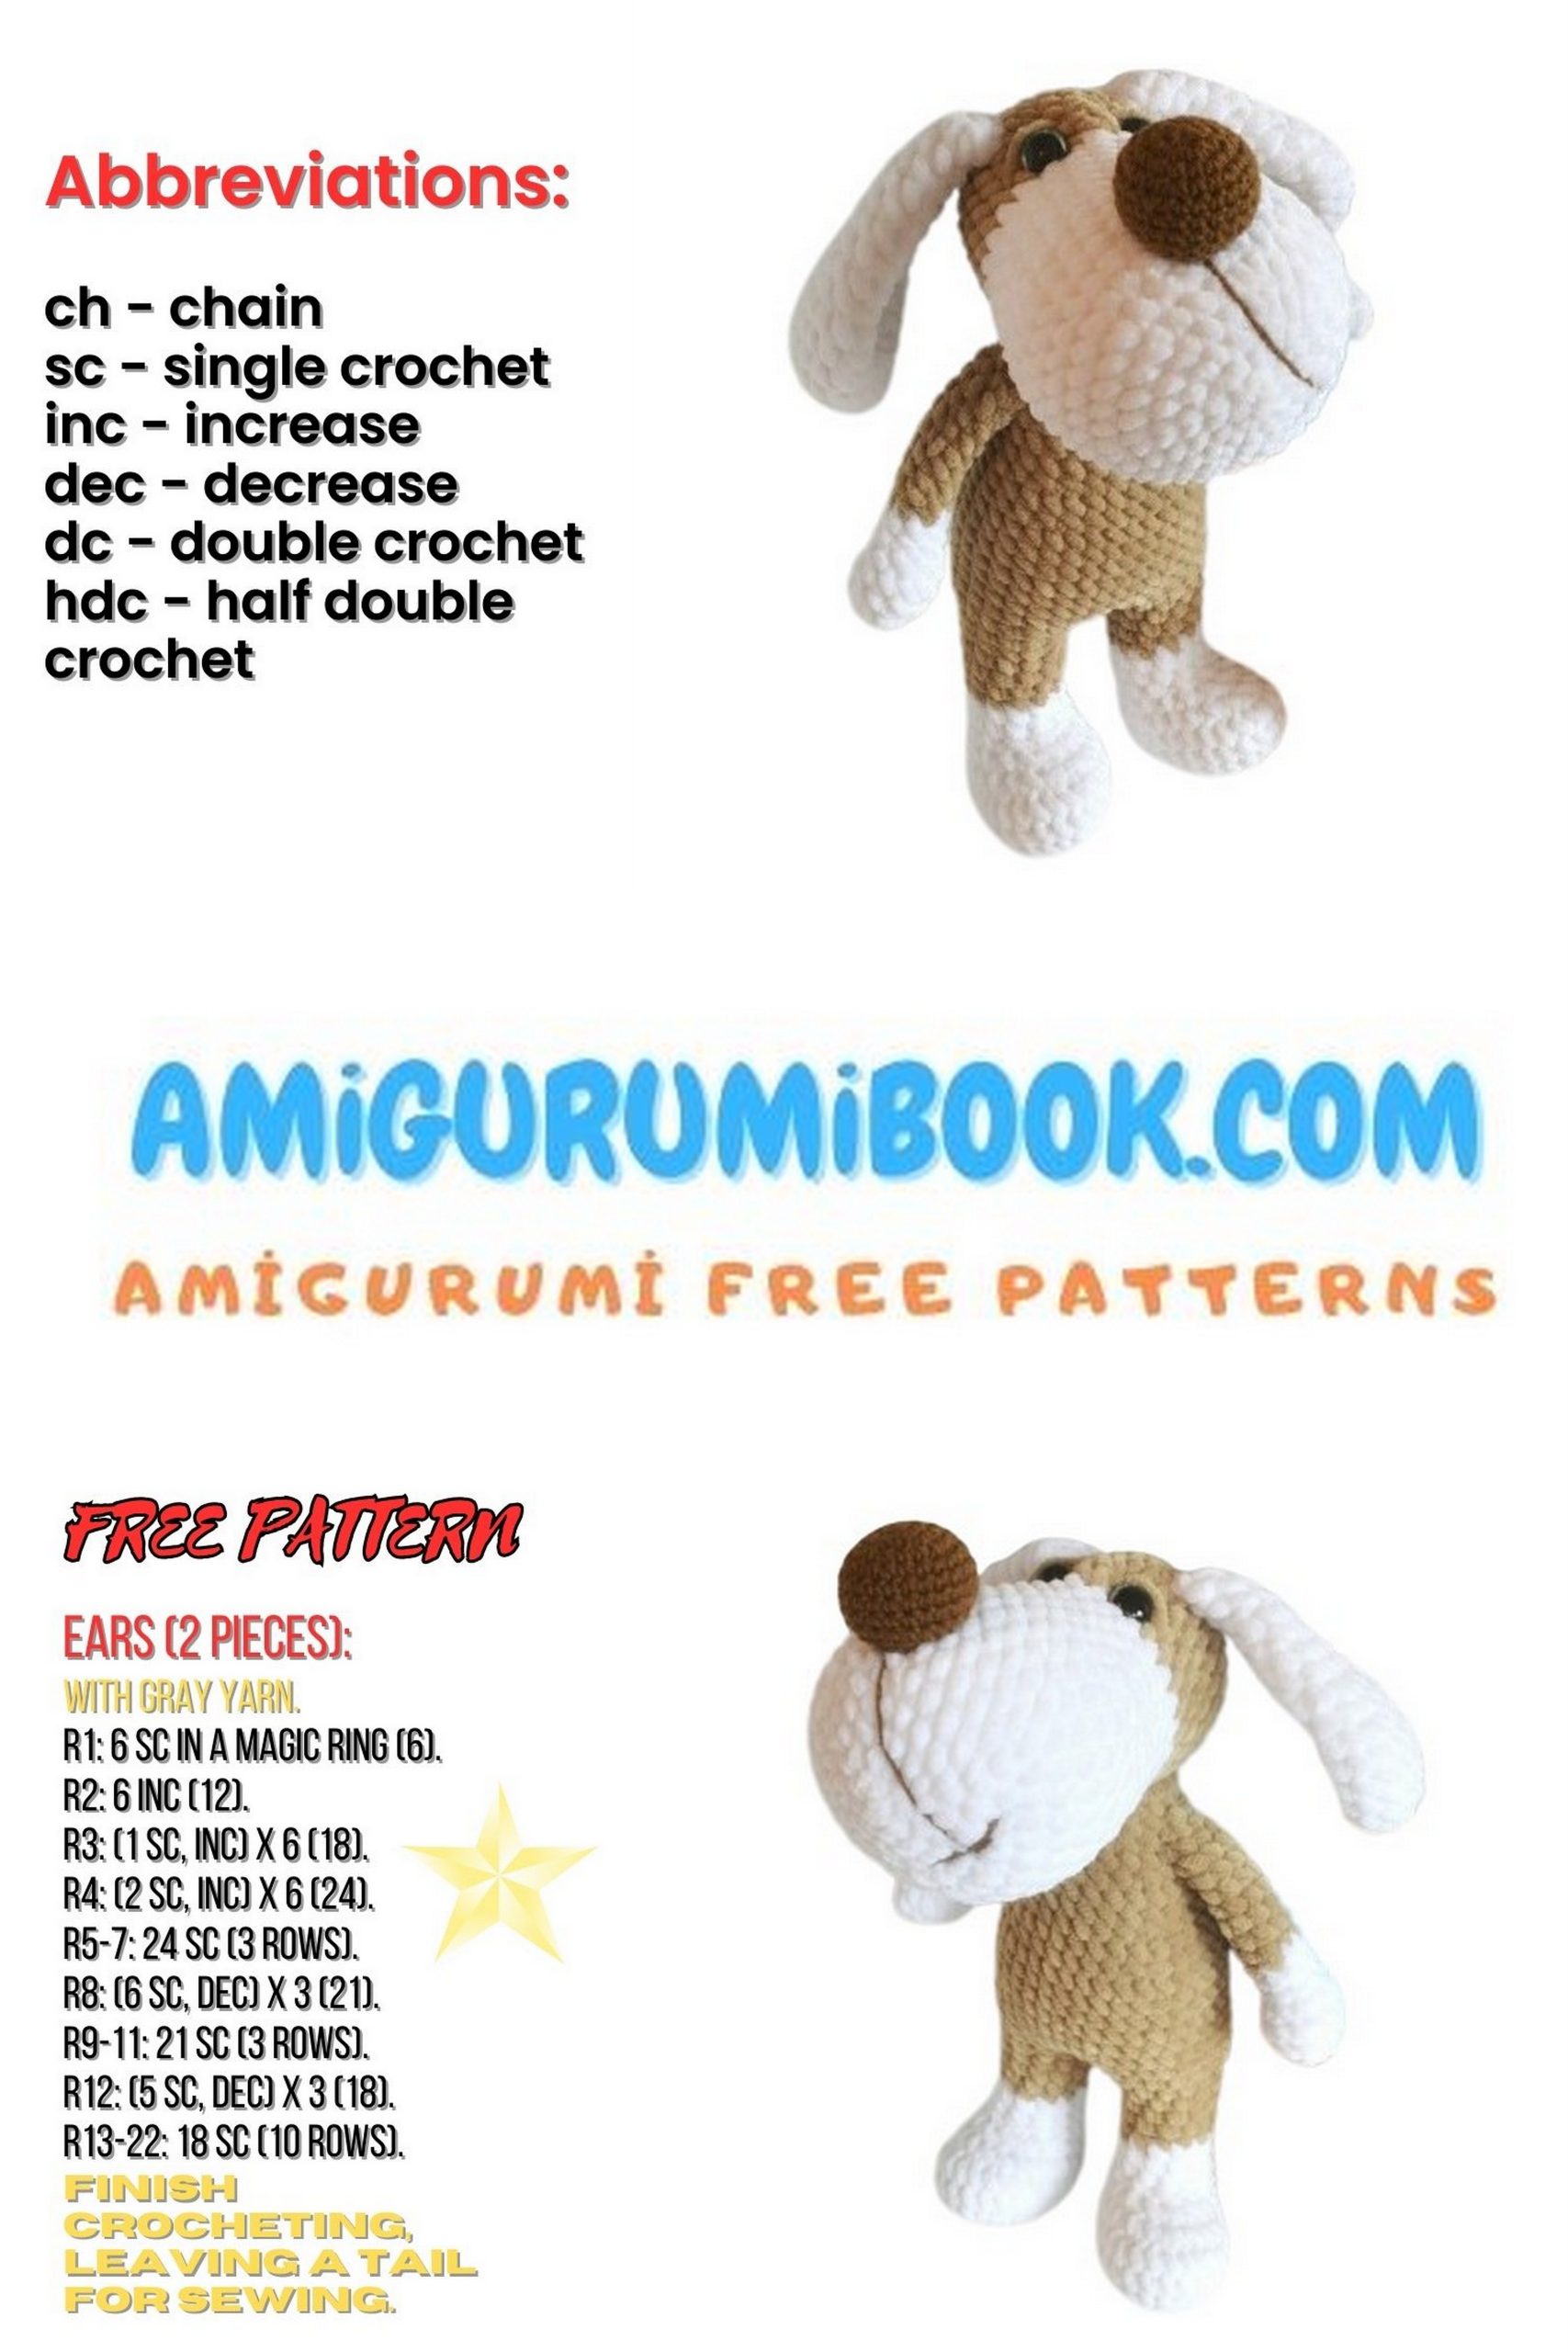
Abbreviations (US Terms)
- MC – magic circle
- sc – single crochet
- hdc – half double crochet
- inc – increase (2 sc in one stitch)
- dec – decrease (sc 2 together)
All parts are crocheted in a continuous spiral.
MAIN PARTS
Body and legs are crocheted as one piece
RIGHT LEG
Milk-colored yarn
1: 6 sc in MC (6)
2: inc in each st (12)
3: (1 sc, inc) × 6 (18)
4: (2 hdc in same st, 6 sc) × 2 (24)
5–6: 24 sc
7: 4 dec, 14 sc, dec (19)
8: 3 dec, 11 sc, dec (15)
9: 2 dec, 11 sc (13)
10: 13 sc
11: 10 sc in milk color, change to beige, 3 sc in beige
12–15: 13 sc
sl st, fasten off and hide yarn inside the leg.
LEFT LEG
Crochet the same as the right leg.
Do not cut the yarn.
BODY
Place a marker at the beginning.
1: 7 sc on left leg, ch 2, 13 sc on right leg, 2 sc into chains, 6 sc on left leg (30)
2: (4 sc, inc) × 6 (36)
3–8: 36 sc
9: 27 sc, 3 dec, 3 sc (33)
(decreases shape the buttocks – keep them centered on the back)
10: 27 sc, 2 dec, 2 sc (31)
11: 7 sc, dec, 6 sc, dec, 10 sc, dec, 2 sc (28)
12: 25 sc, dec, 1 sc (27)
13: 7 sc, dec, 6 sc, dec, 7 sc, dec (24)
Start stuffing legs and lower body.
14: 24 sc
15: 22 sc, dec (23)
16: 7 sc, dec, 5 sc, dec, 7 sc (21)
17: 21 sc
18: 6 sc, dec, 7 sc, dec, 4 sc (19)
19: 18 sc, dec (18)
20–22: 18 sc
sl st, leave a 30 cm tail for sewing.
HEAD + MUZZLE (one piece)
Milk-colored yarn
1: 6 sc in MC (6)
2: inc in each st (12)
3: (1 sc, inc) × 6 (18)
4: (2 sc, inc) × 6 (24)
5: (3 sc, inc) × 6 (30)
6: (4 sc, inc) × 6 (36)
7–11: 36 sc
12: (dec, 10 sc) × 3 (33)
13: 33 sc
14: (dec, 9 sc) × 3 (30)
15: 30 sc
16: (dec, 8 sc) × 3 (27)
17: 27 sc
Change to beige yarn.
18: 11 sc, inc, 1 sc, inc, 1 sc, inc, 11 sc (30)
(first and third increases mark eye placement)
19–23: 30 sc
Insert safety eyes between 18–19.
24: (dec, 3 sc) × 6 (24)
25: (dec, 2 sc) × 6 (18)
Start stuffing muzzle and head.
26: (dec, 1 sc) × 6 (12)
27: 6 dec (6)
Tighten opening, leave long thread for eye sculpting.
EARS (2 pcs)
1: 6 sc in MC
2: inc in each st (12)
3: (1 sc, inc) × 6 (18)
4: (5 sc, inc) × 3 (21)
5–7: 21 sc
8: (dec, 5 sc) × 3 (18)
9: 18 sc
10: (dec, 4 sc) × 3 (15)
11: 15 sc
12: (dec, 3 sc) × 3 (12)
13: 12 sc
14: (dec, 2 sc) × 3 (9)
15–16: 9 sc
Fold in half, join with 4 sc.
Attach at 23–34, 6 sc apart.
NOSE
Cotton yarn
1: 6 sc in MC
2: inc in each st (12)
3: (1 sc, inc) × 6 (18)
4: (2 sc, inc) × 6 (24)
5: (3 sc, inc) × 6 (30)
6–10: 30 sc
11: (dec, 3 sc) × 6 (24)
Leave a long tail.
Sew nose between 5–8 of muzzle and embroider.
ARMS (2 pcs)
Beige yarn
1: 6 sc in MC
2: inc in each st (12)
3–4: 12 sc
5: (dec, 2 sc) × 3 (9)
6: sc, dec, 6 sc (8)
7–14: 8 sc
Do not stuff.
Fold and join with 4 sc.
Attach between 3–4 from the head.
TAIL
ch 7, from 2nd ch from hook:
hdc, sc, hdc, sc, hdc
Sew to 7th stitch of body from the back.
FINAL ASSEMBLY
- Sculpt eye sockets
- Create eyelids
- Sew head to body
- Hide all threads inside
🐶 Your plush dog amigurumi is finished!