
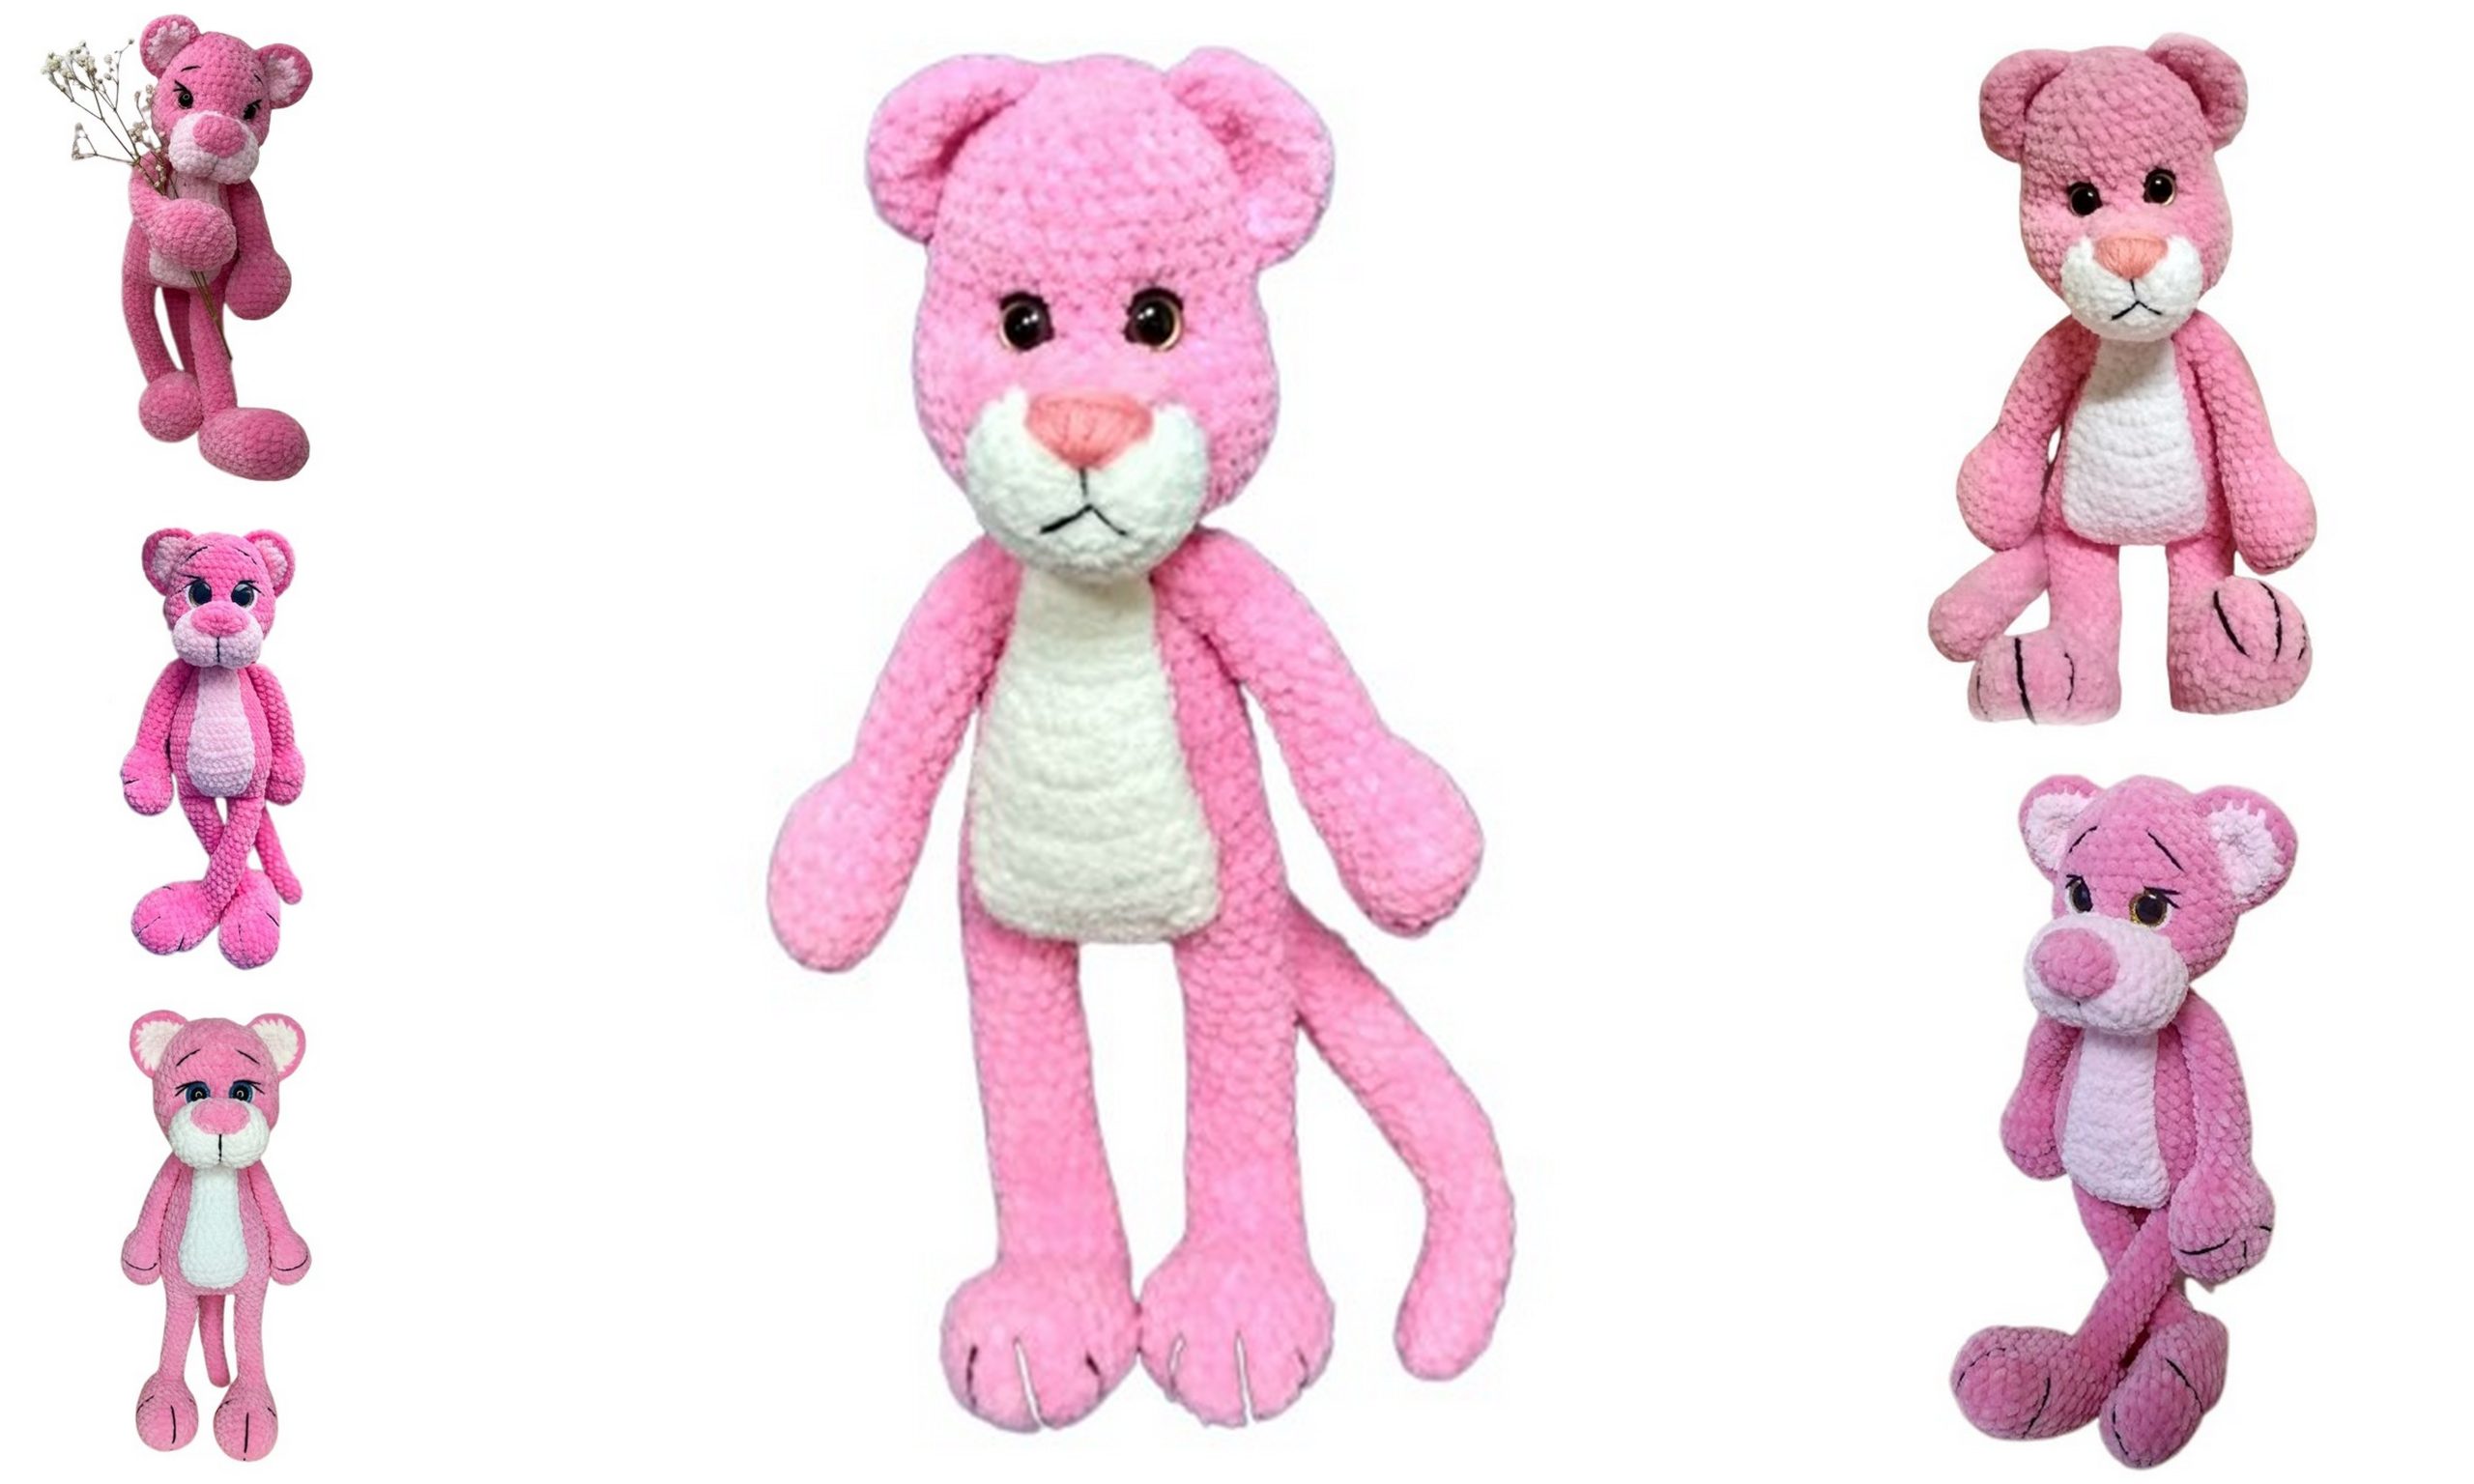
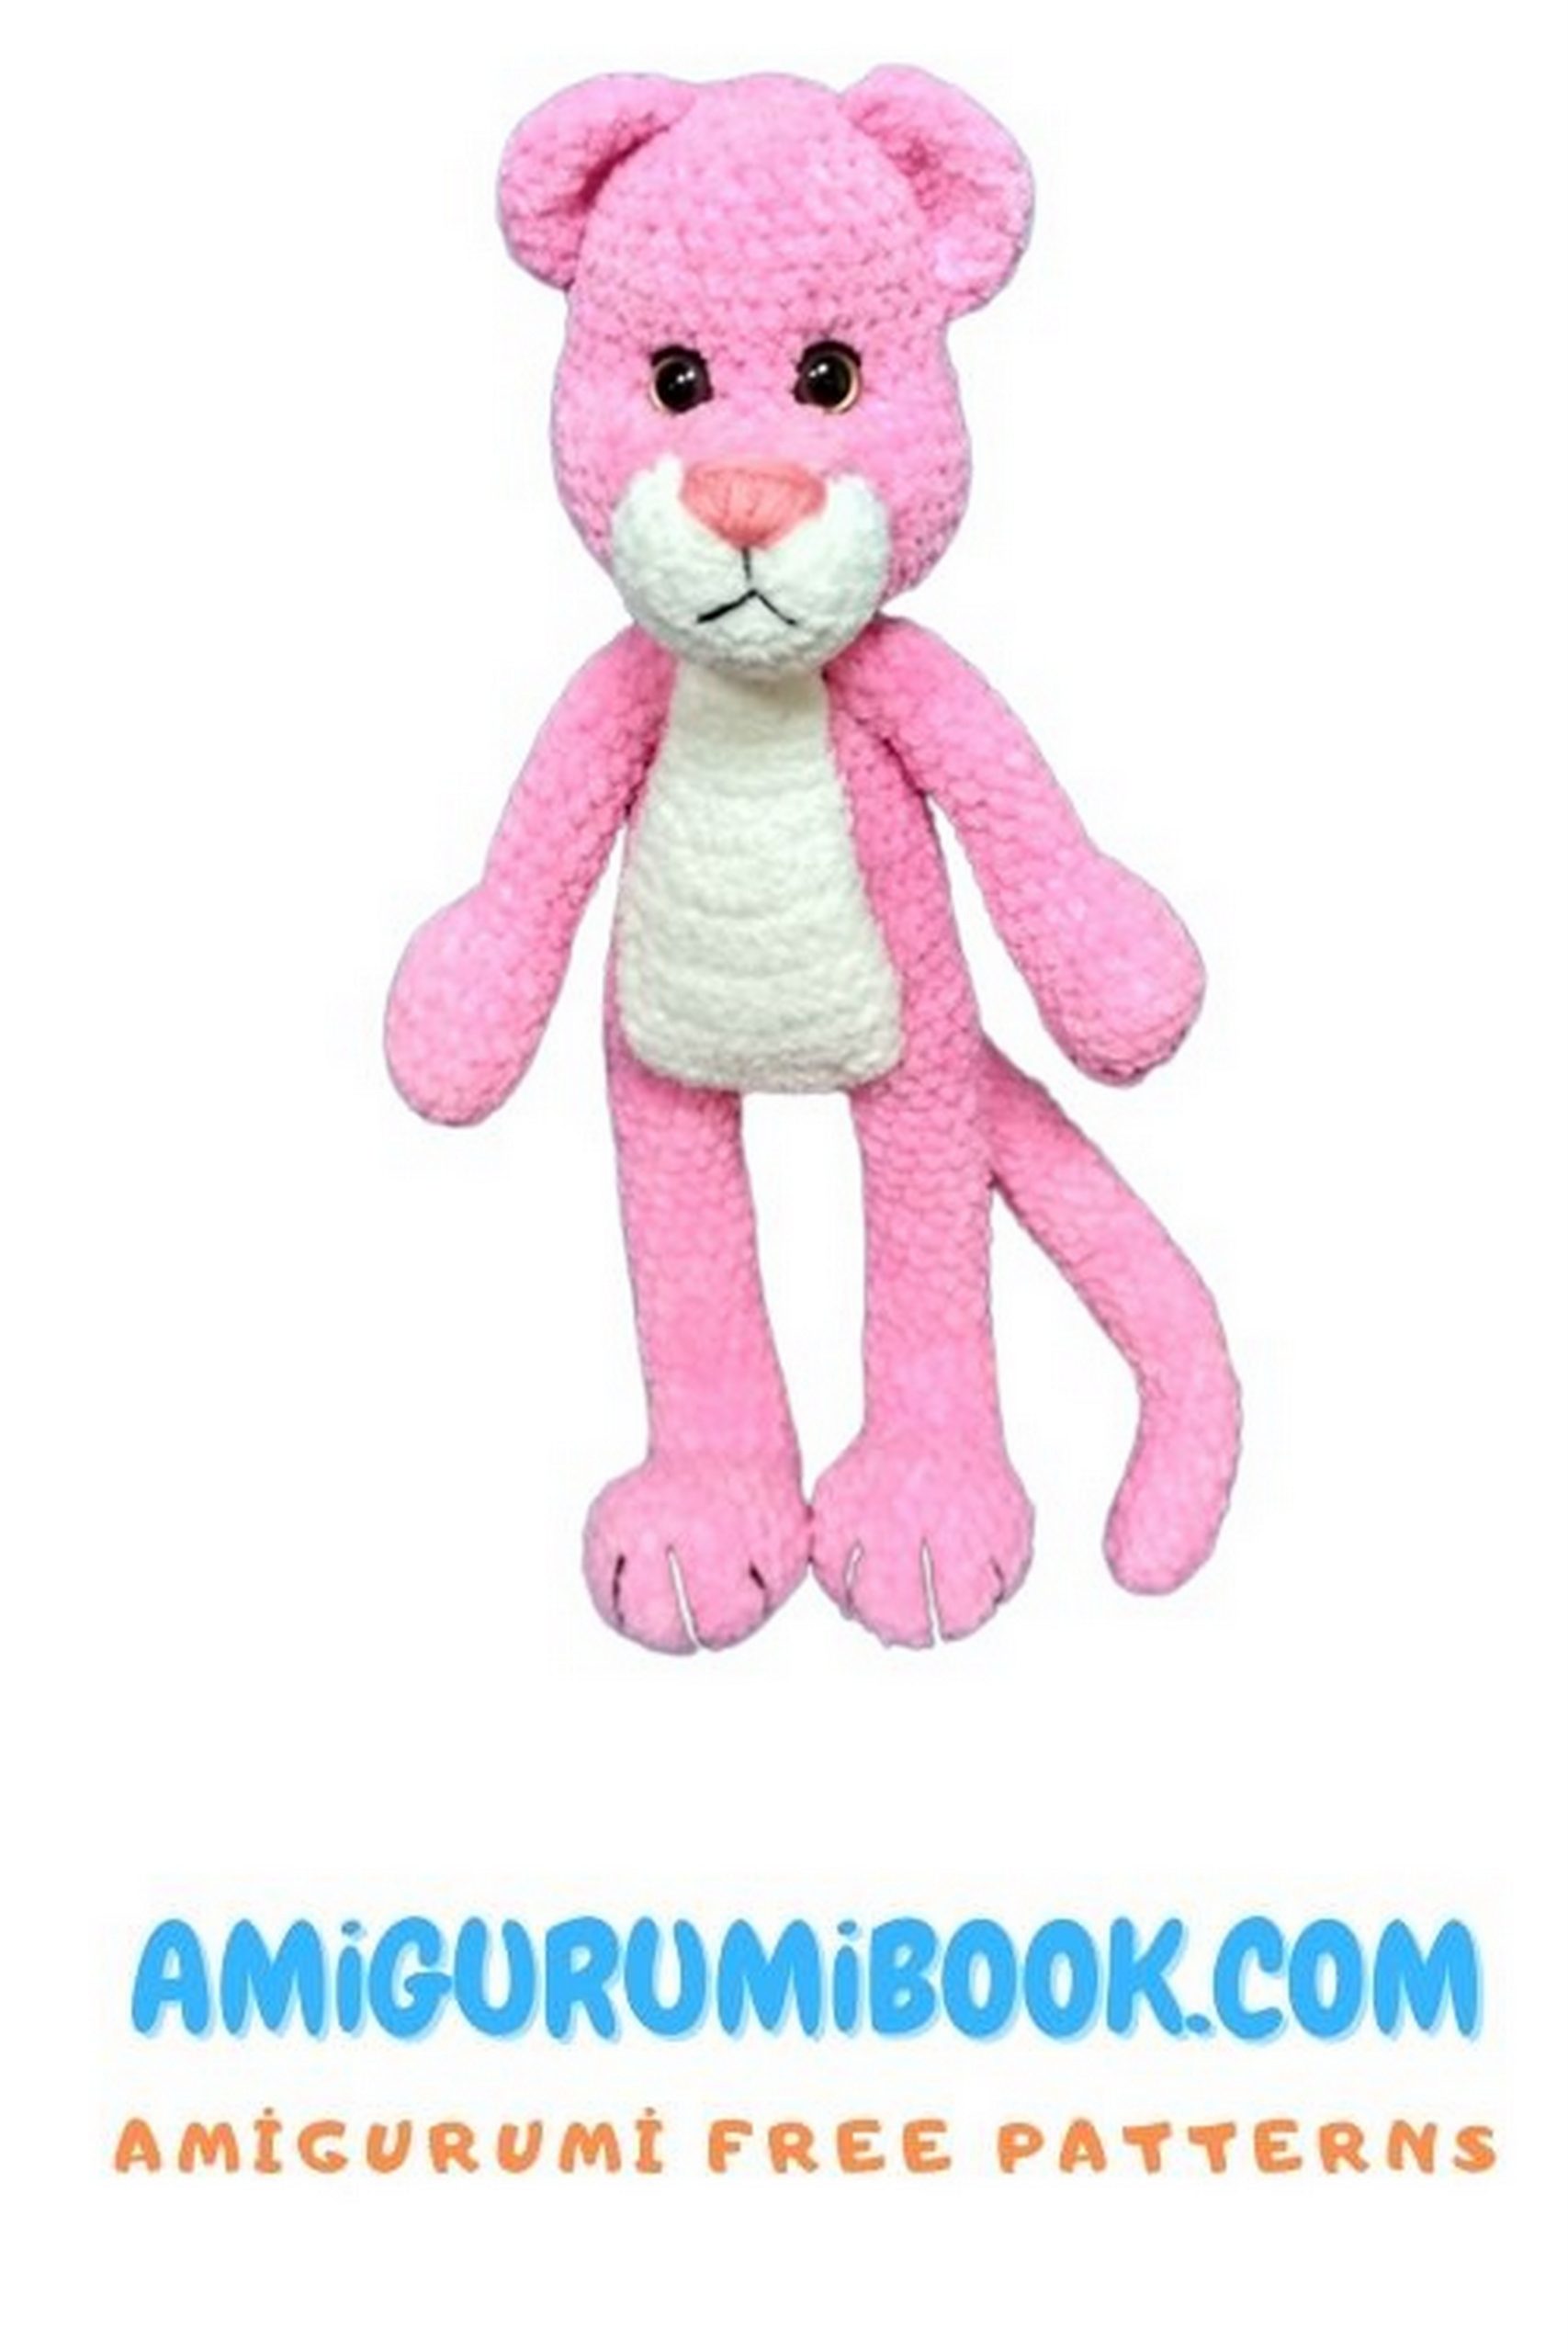
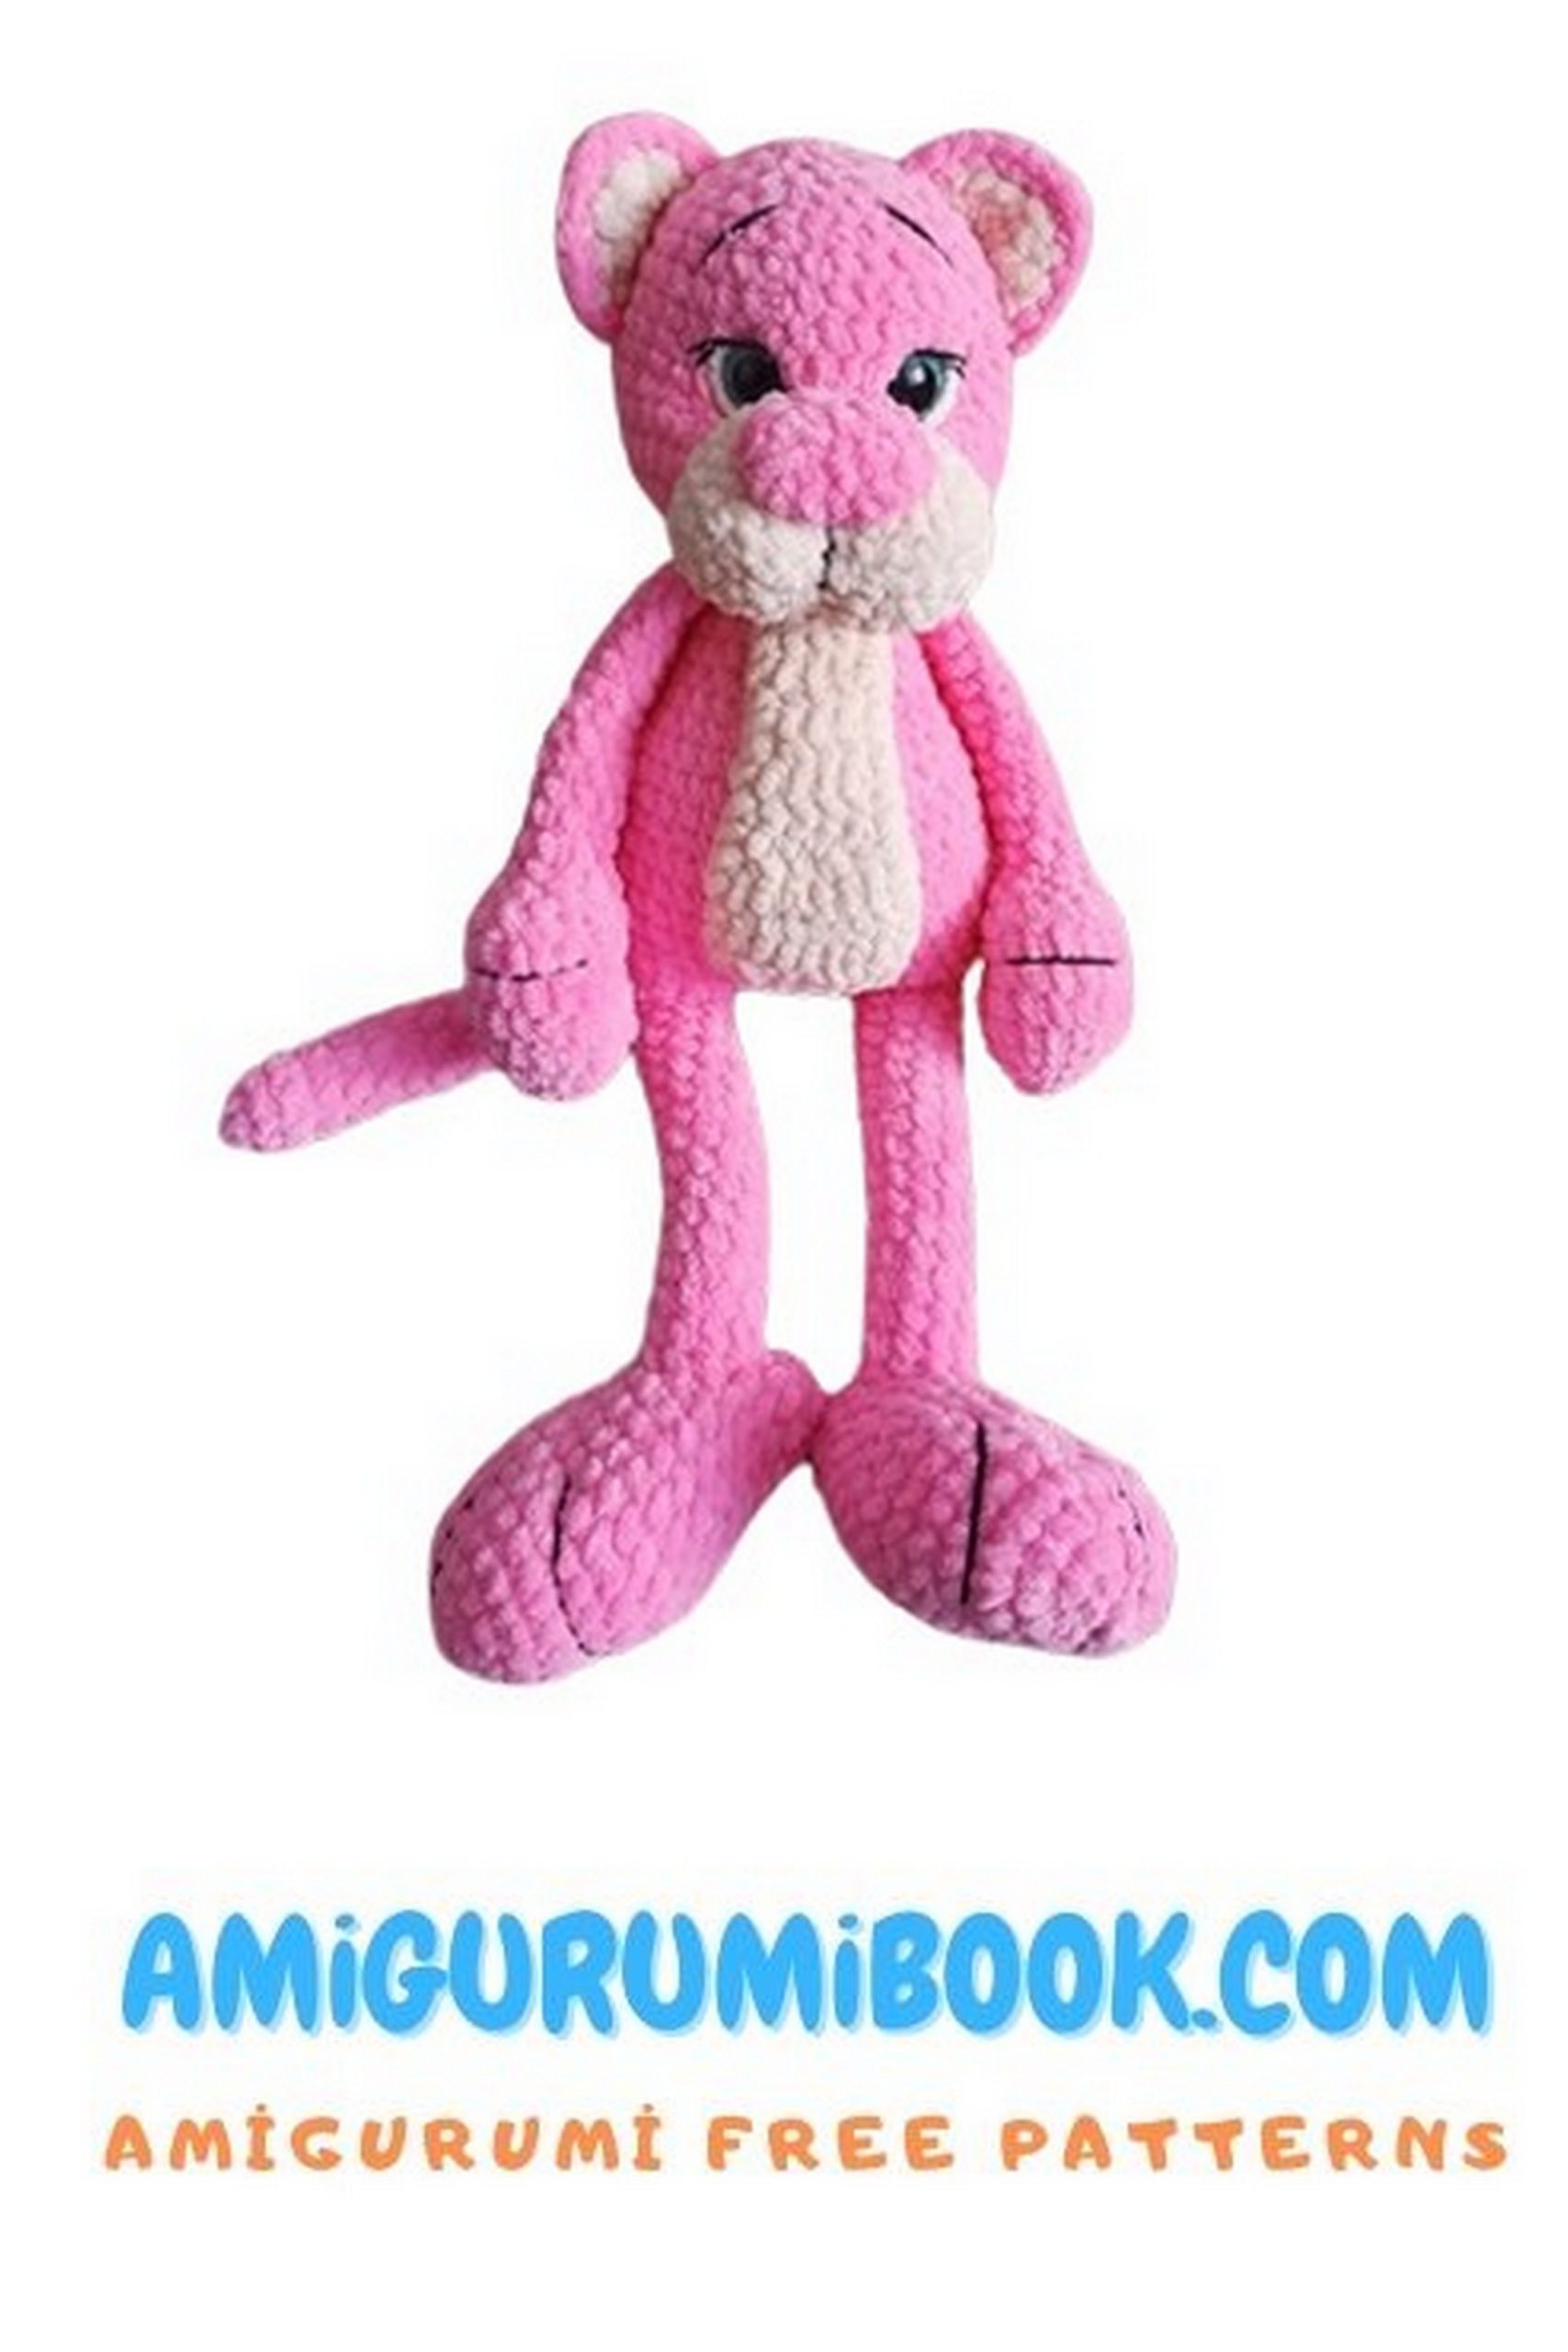
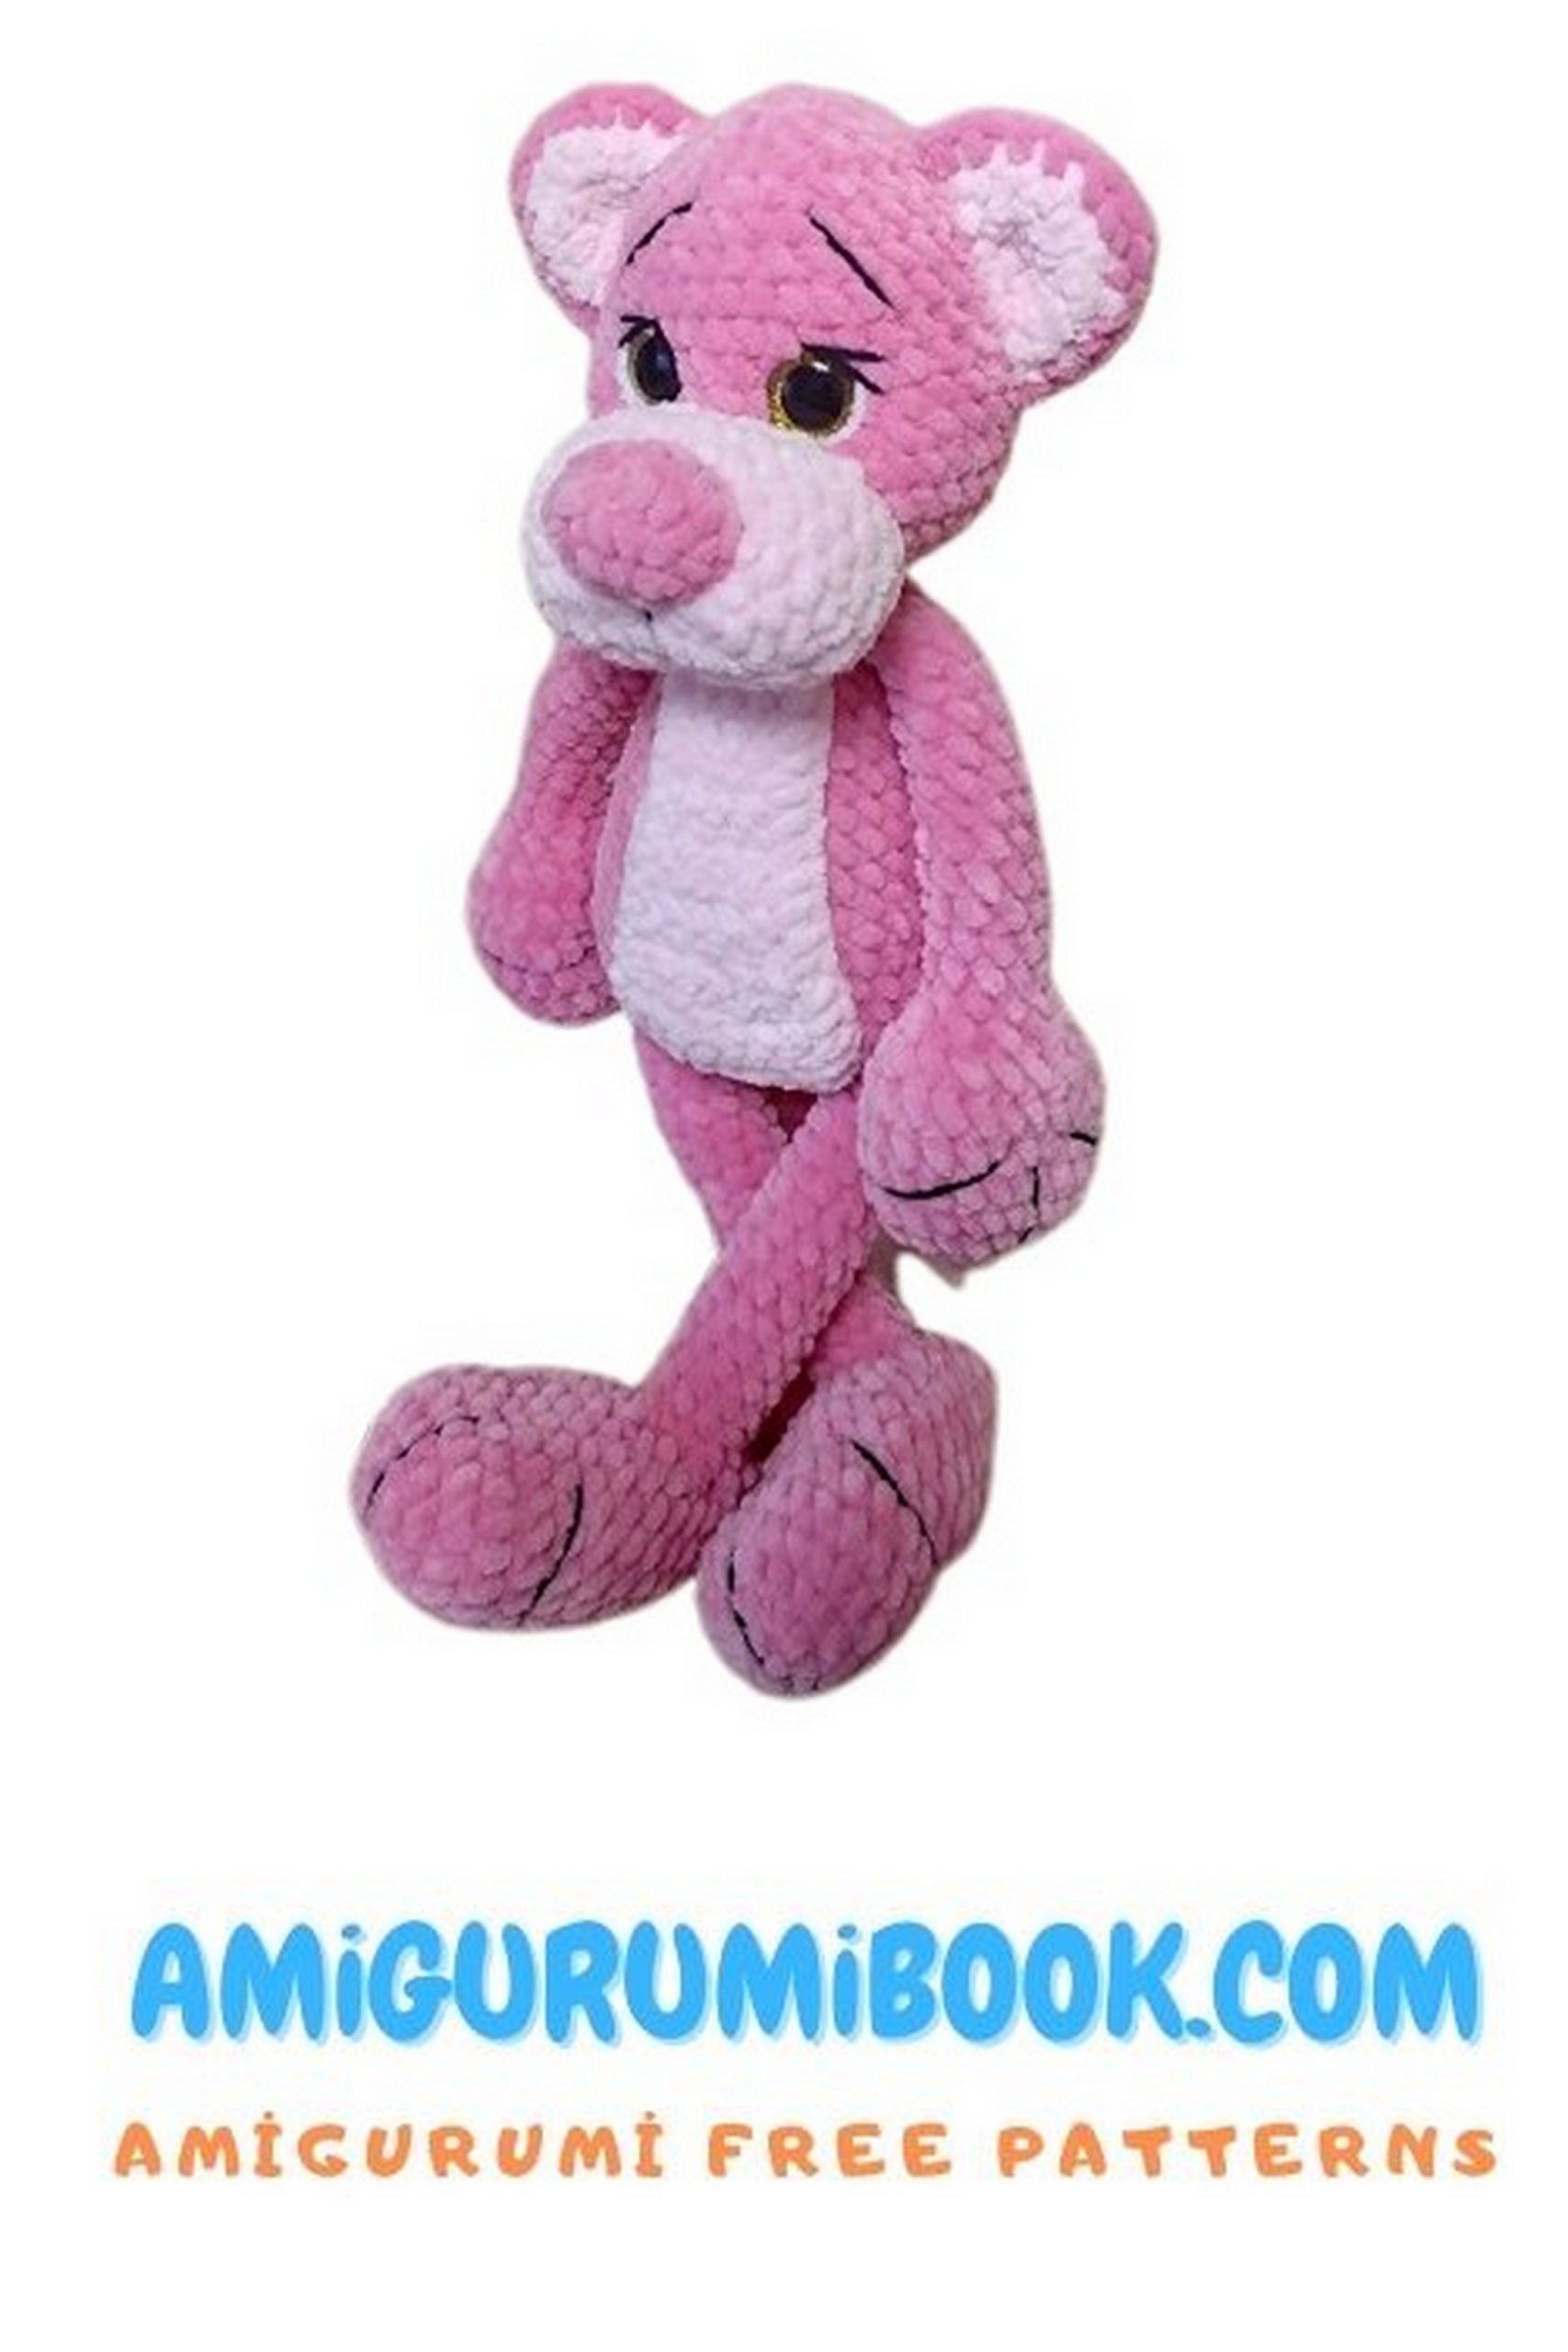
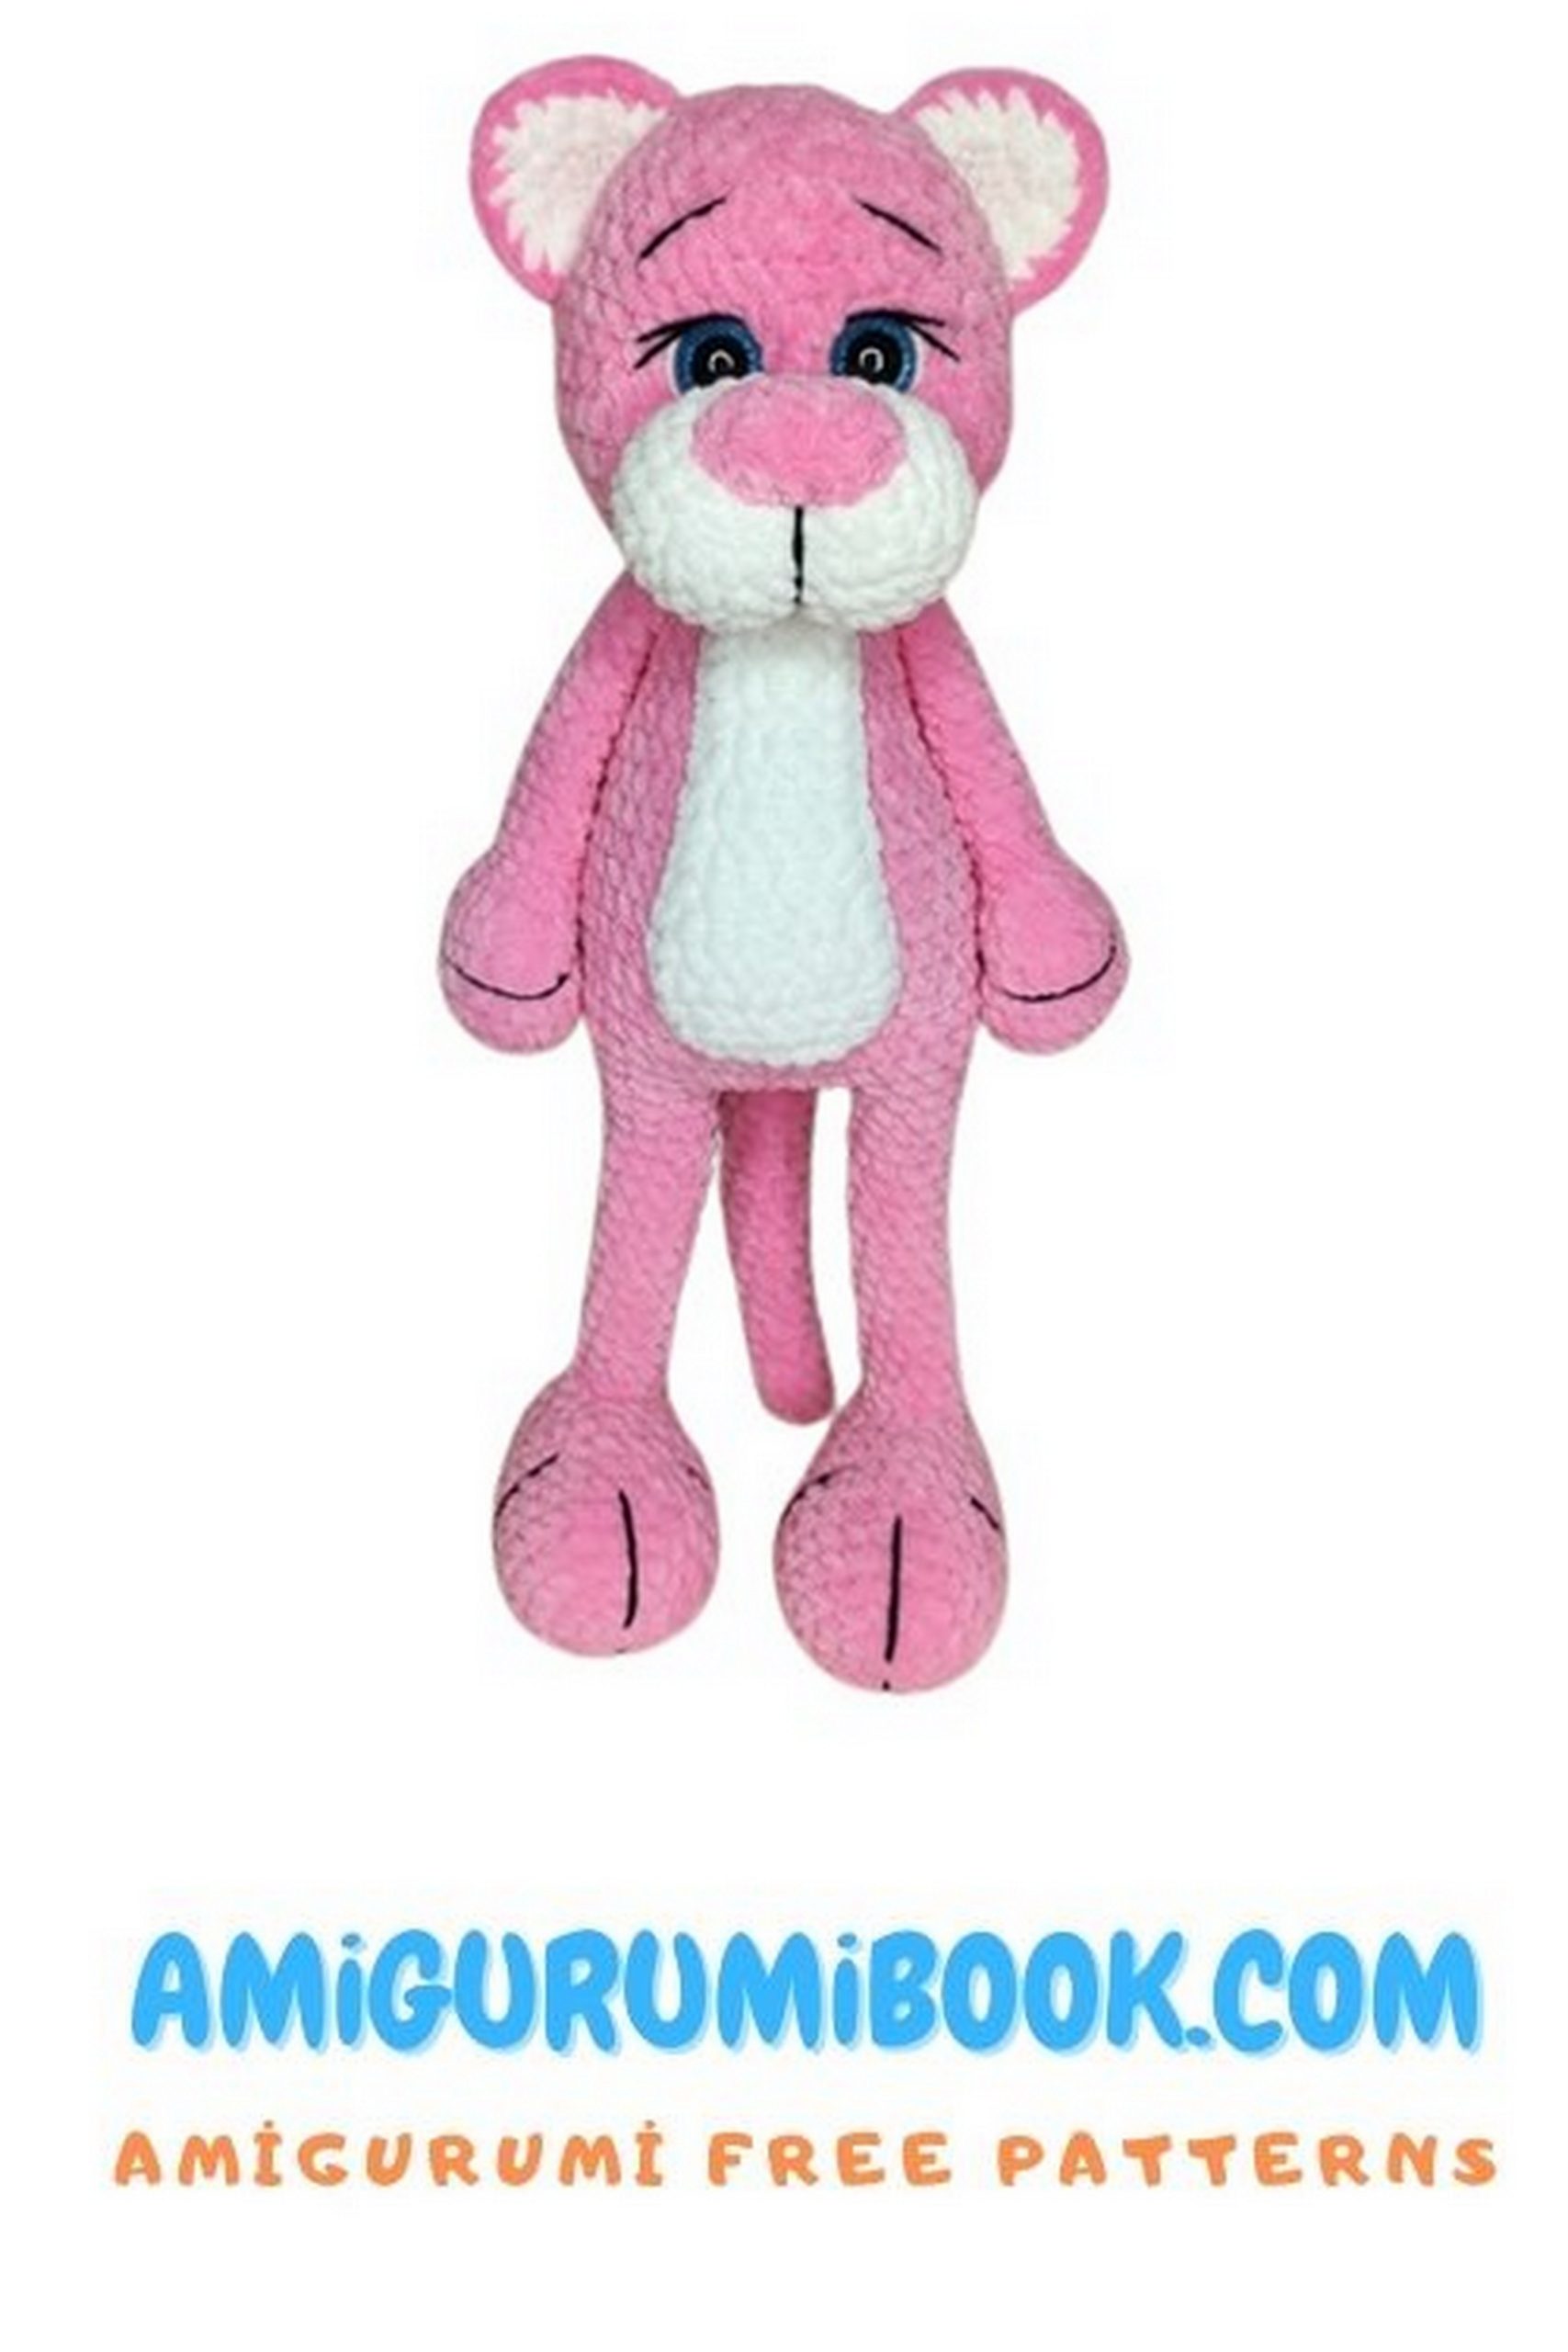
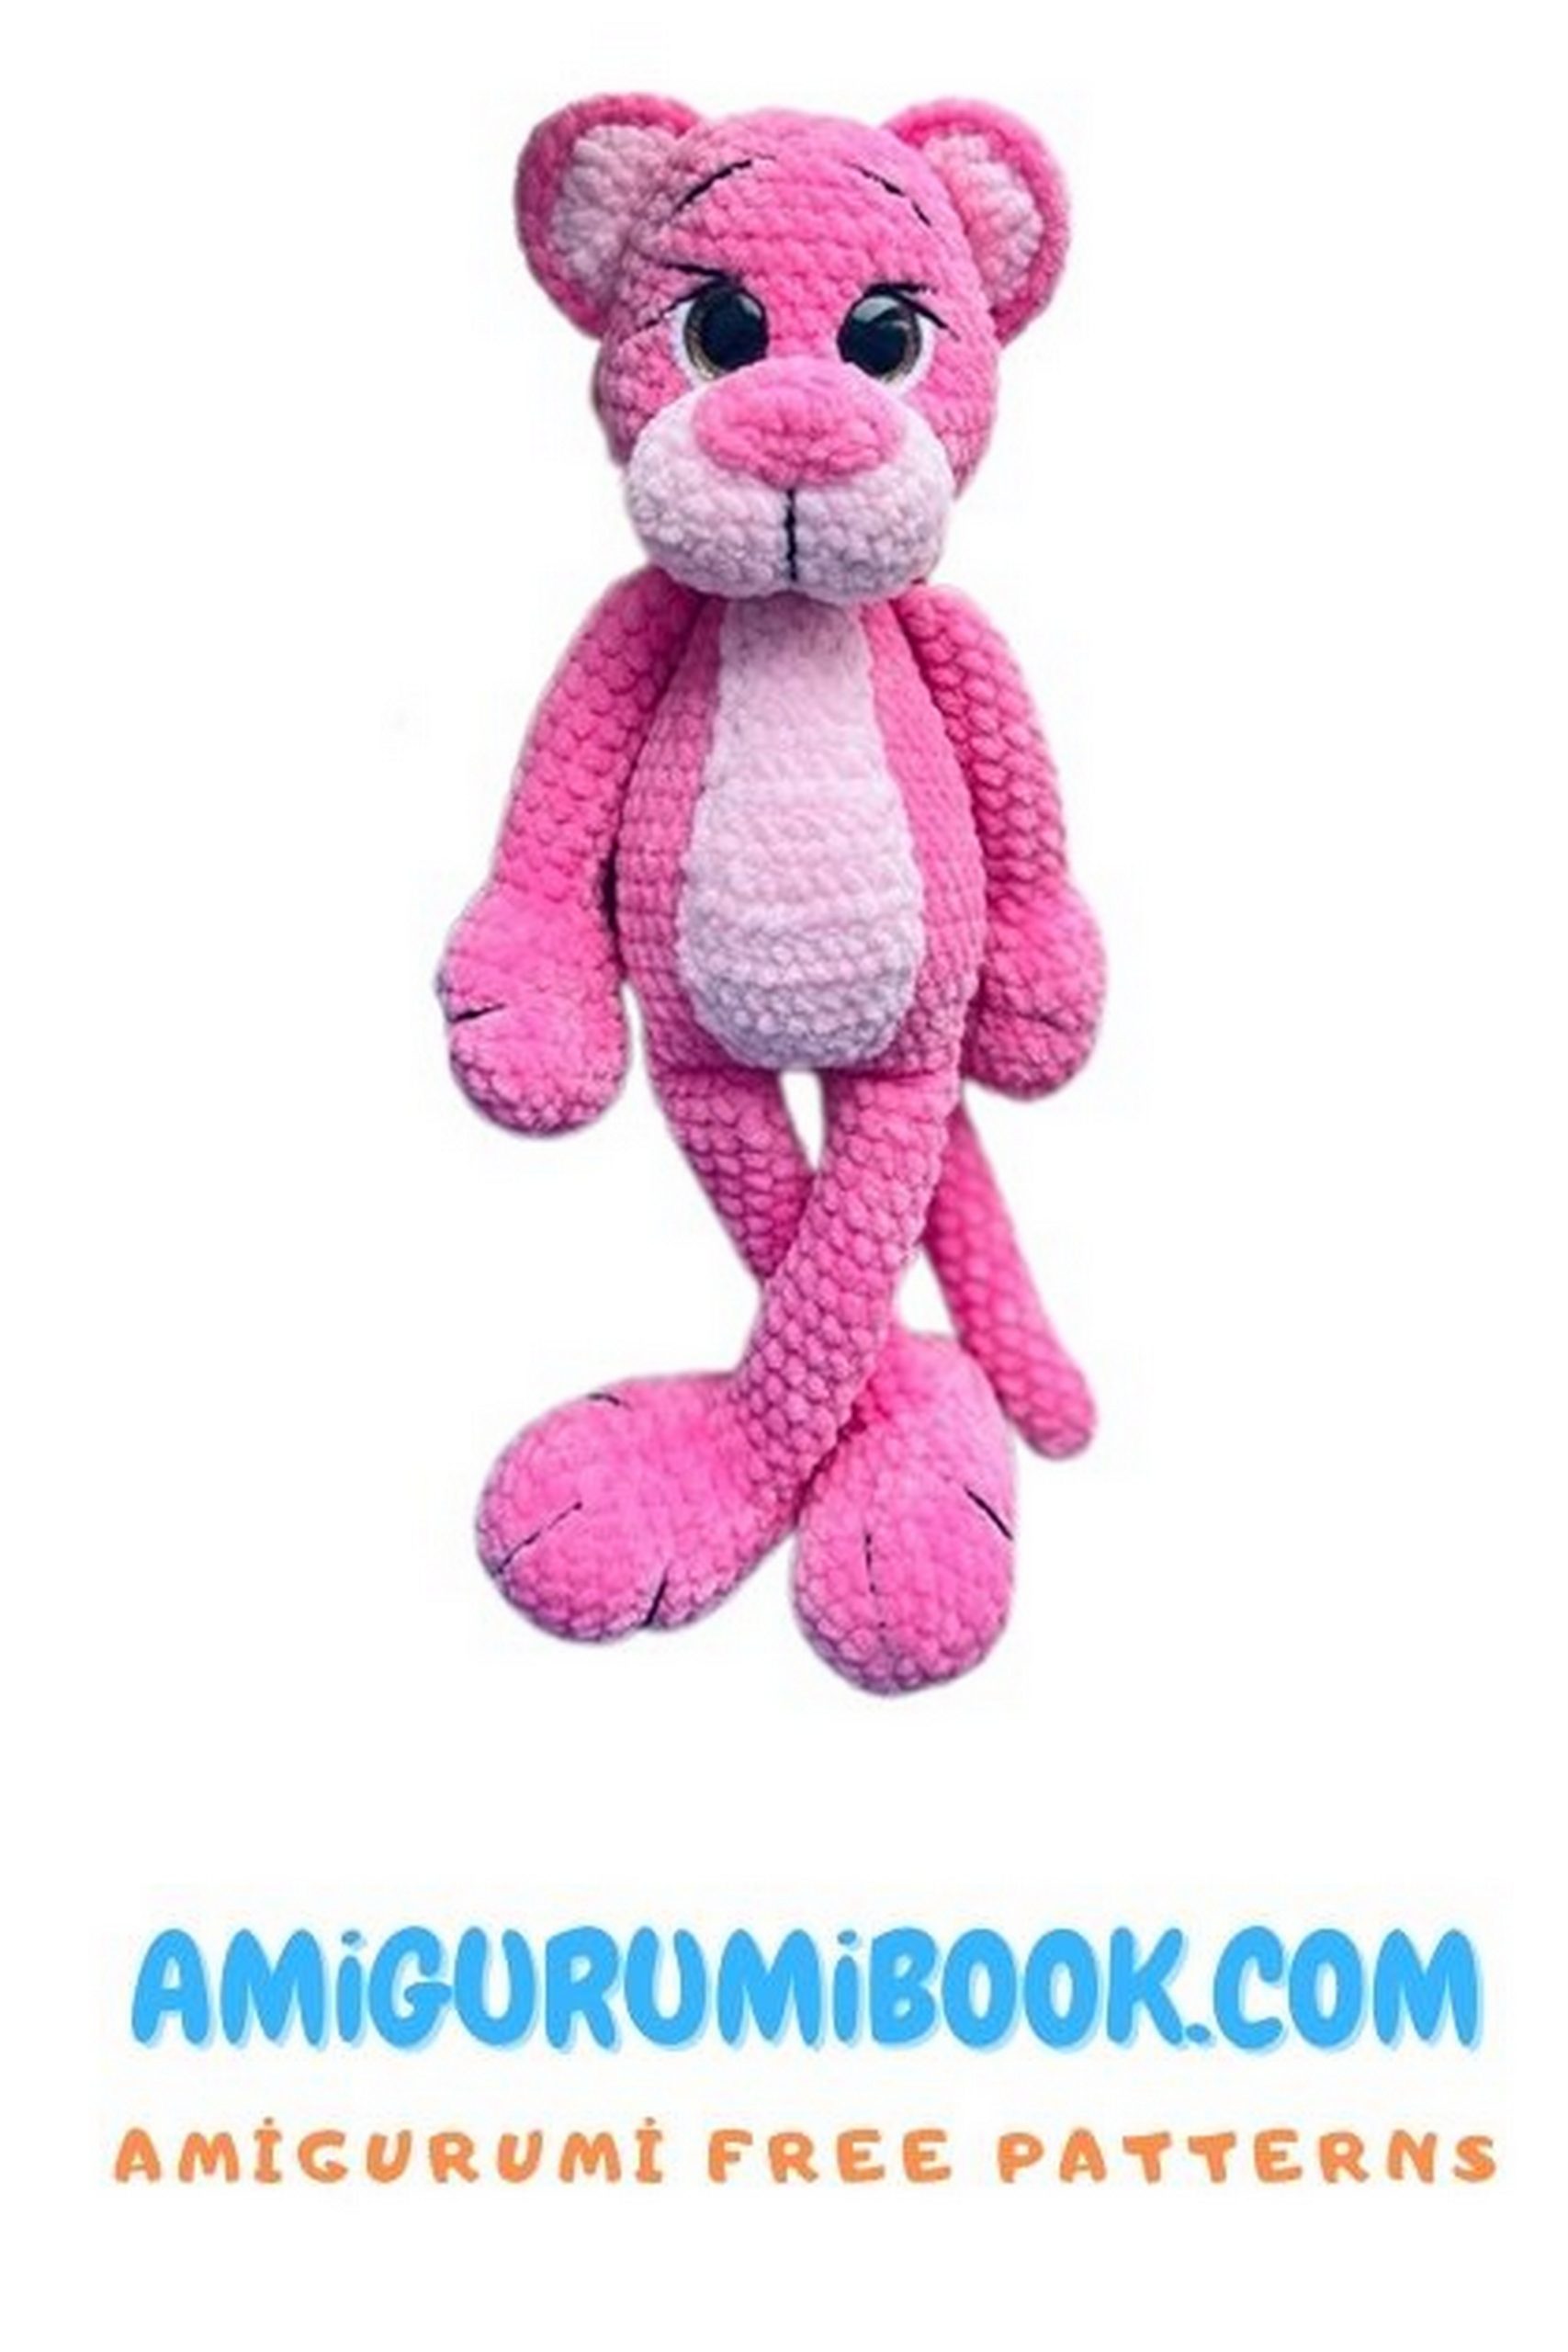
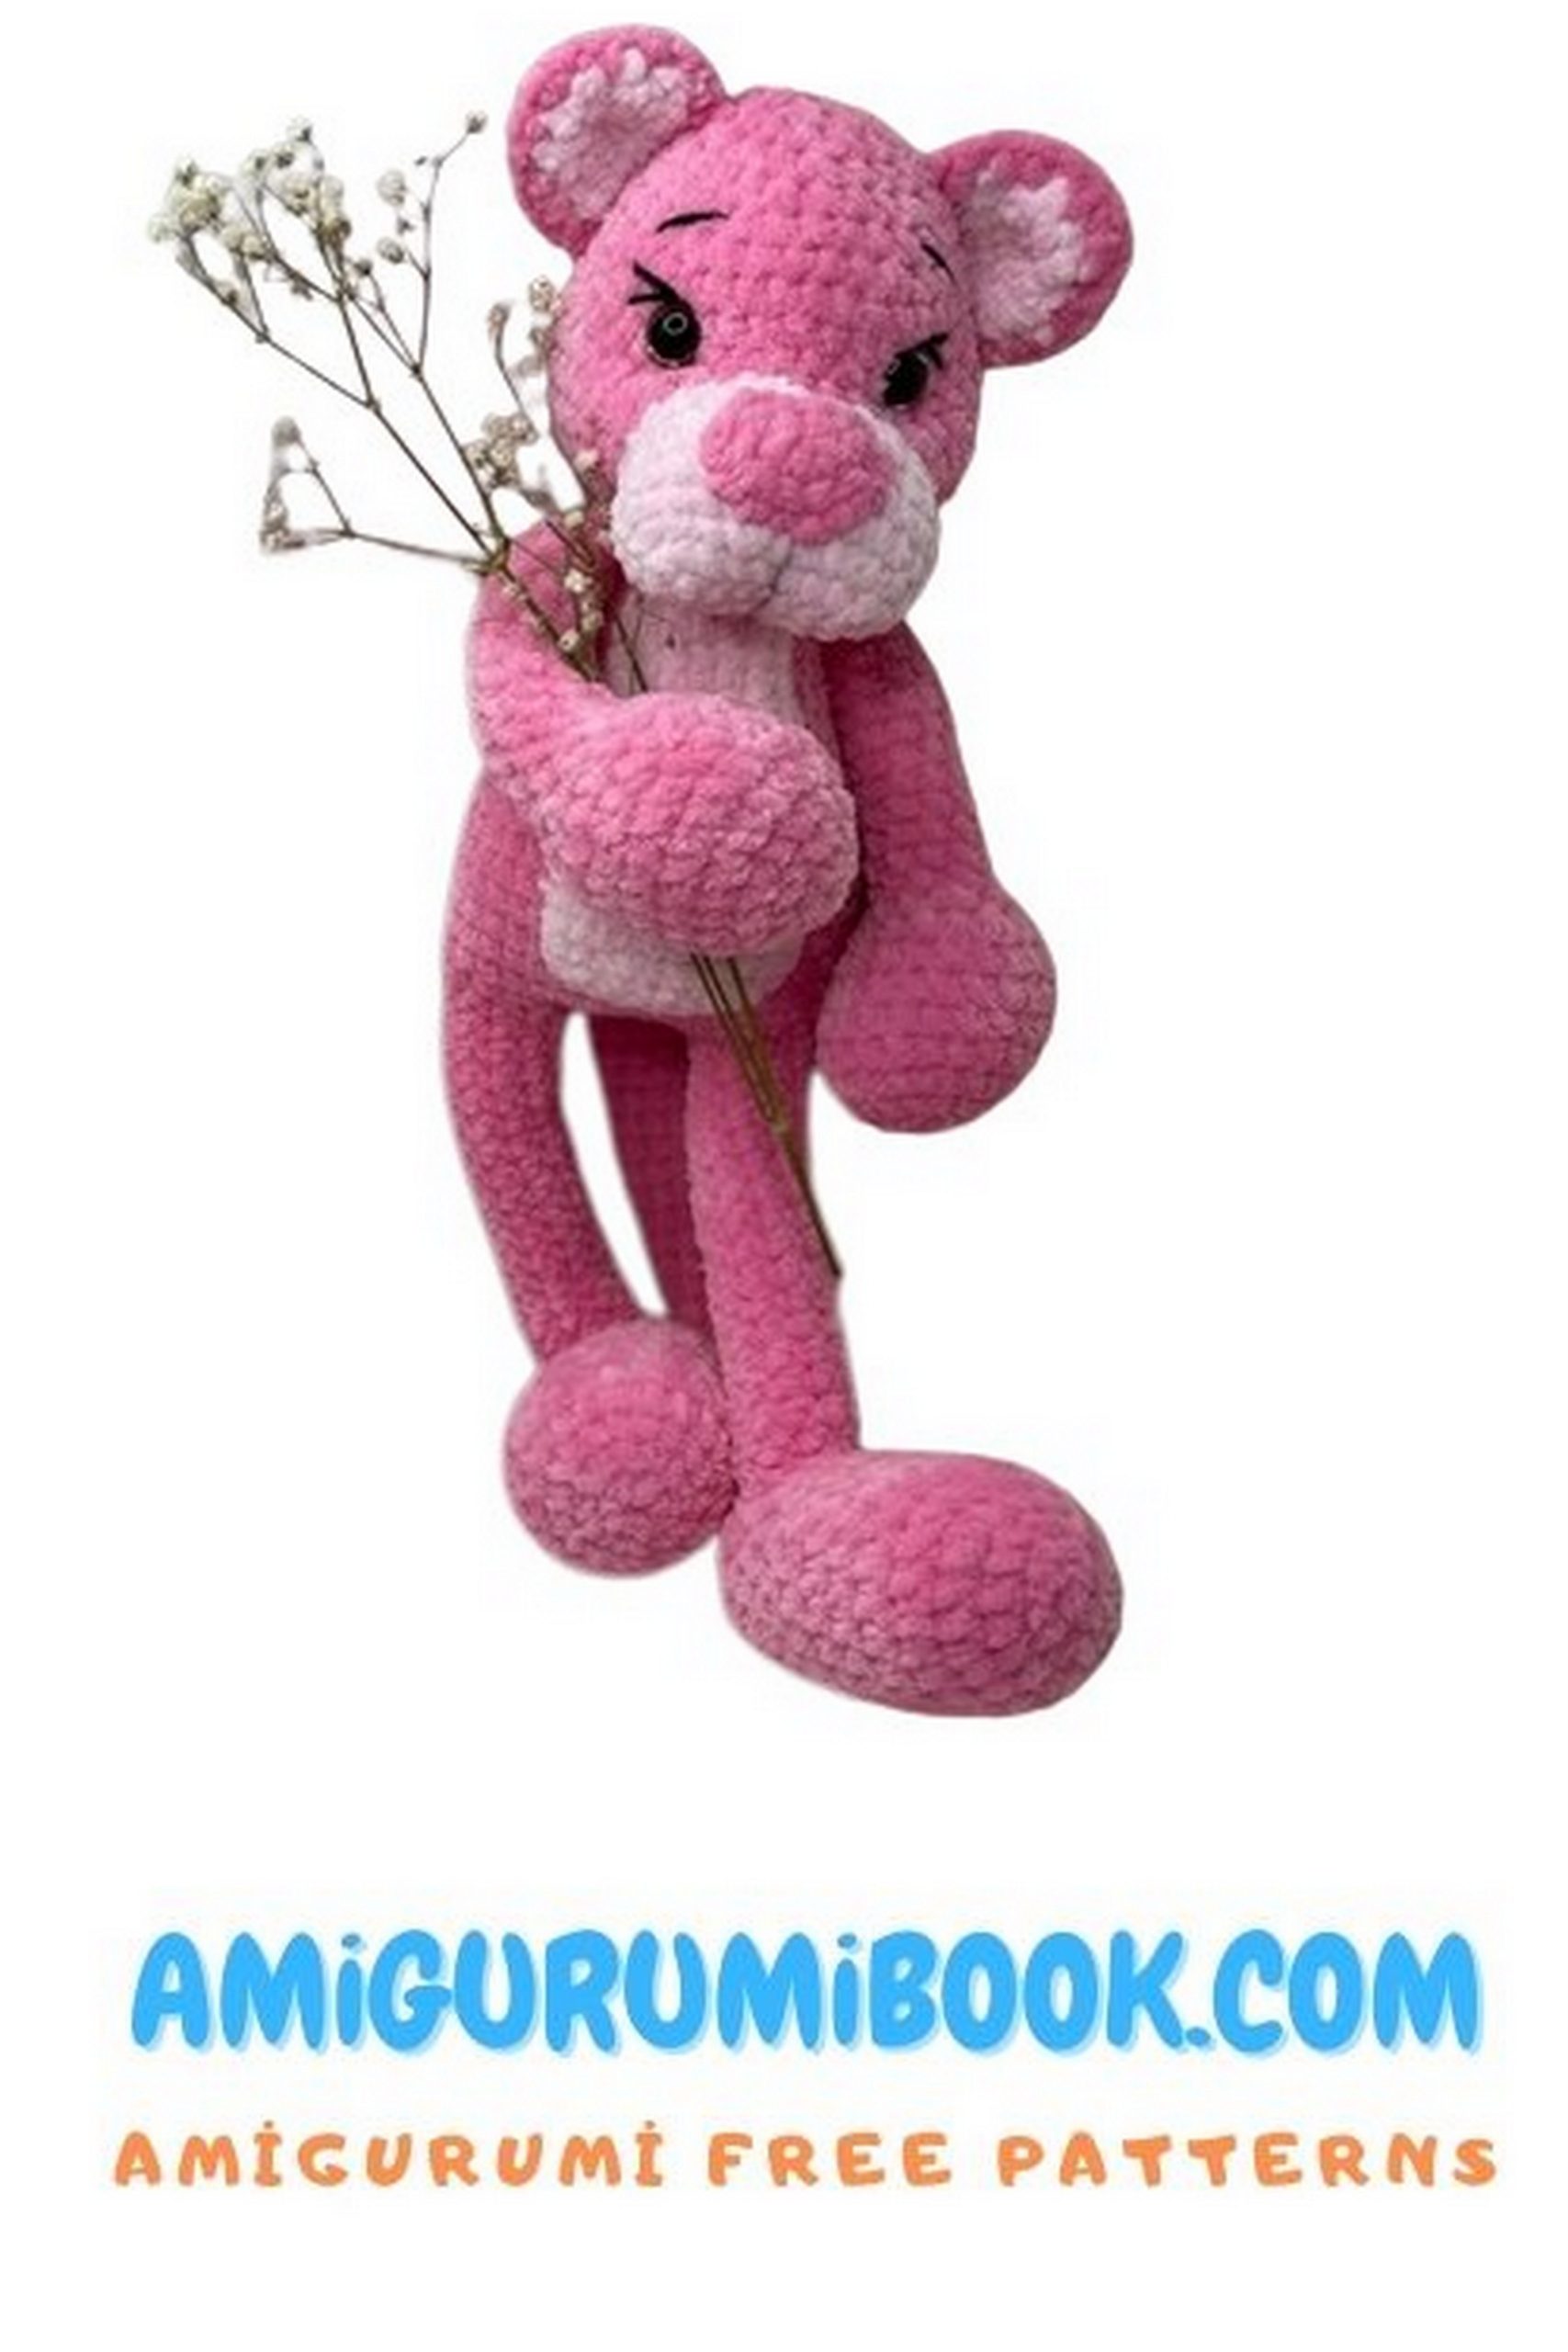
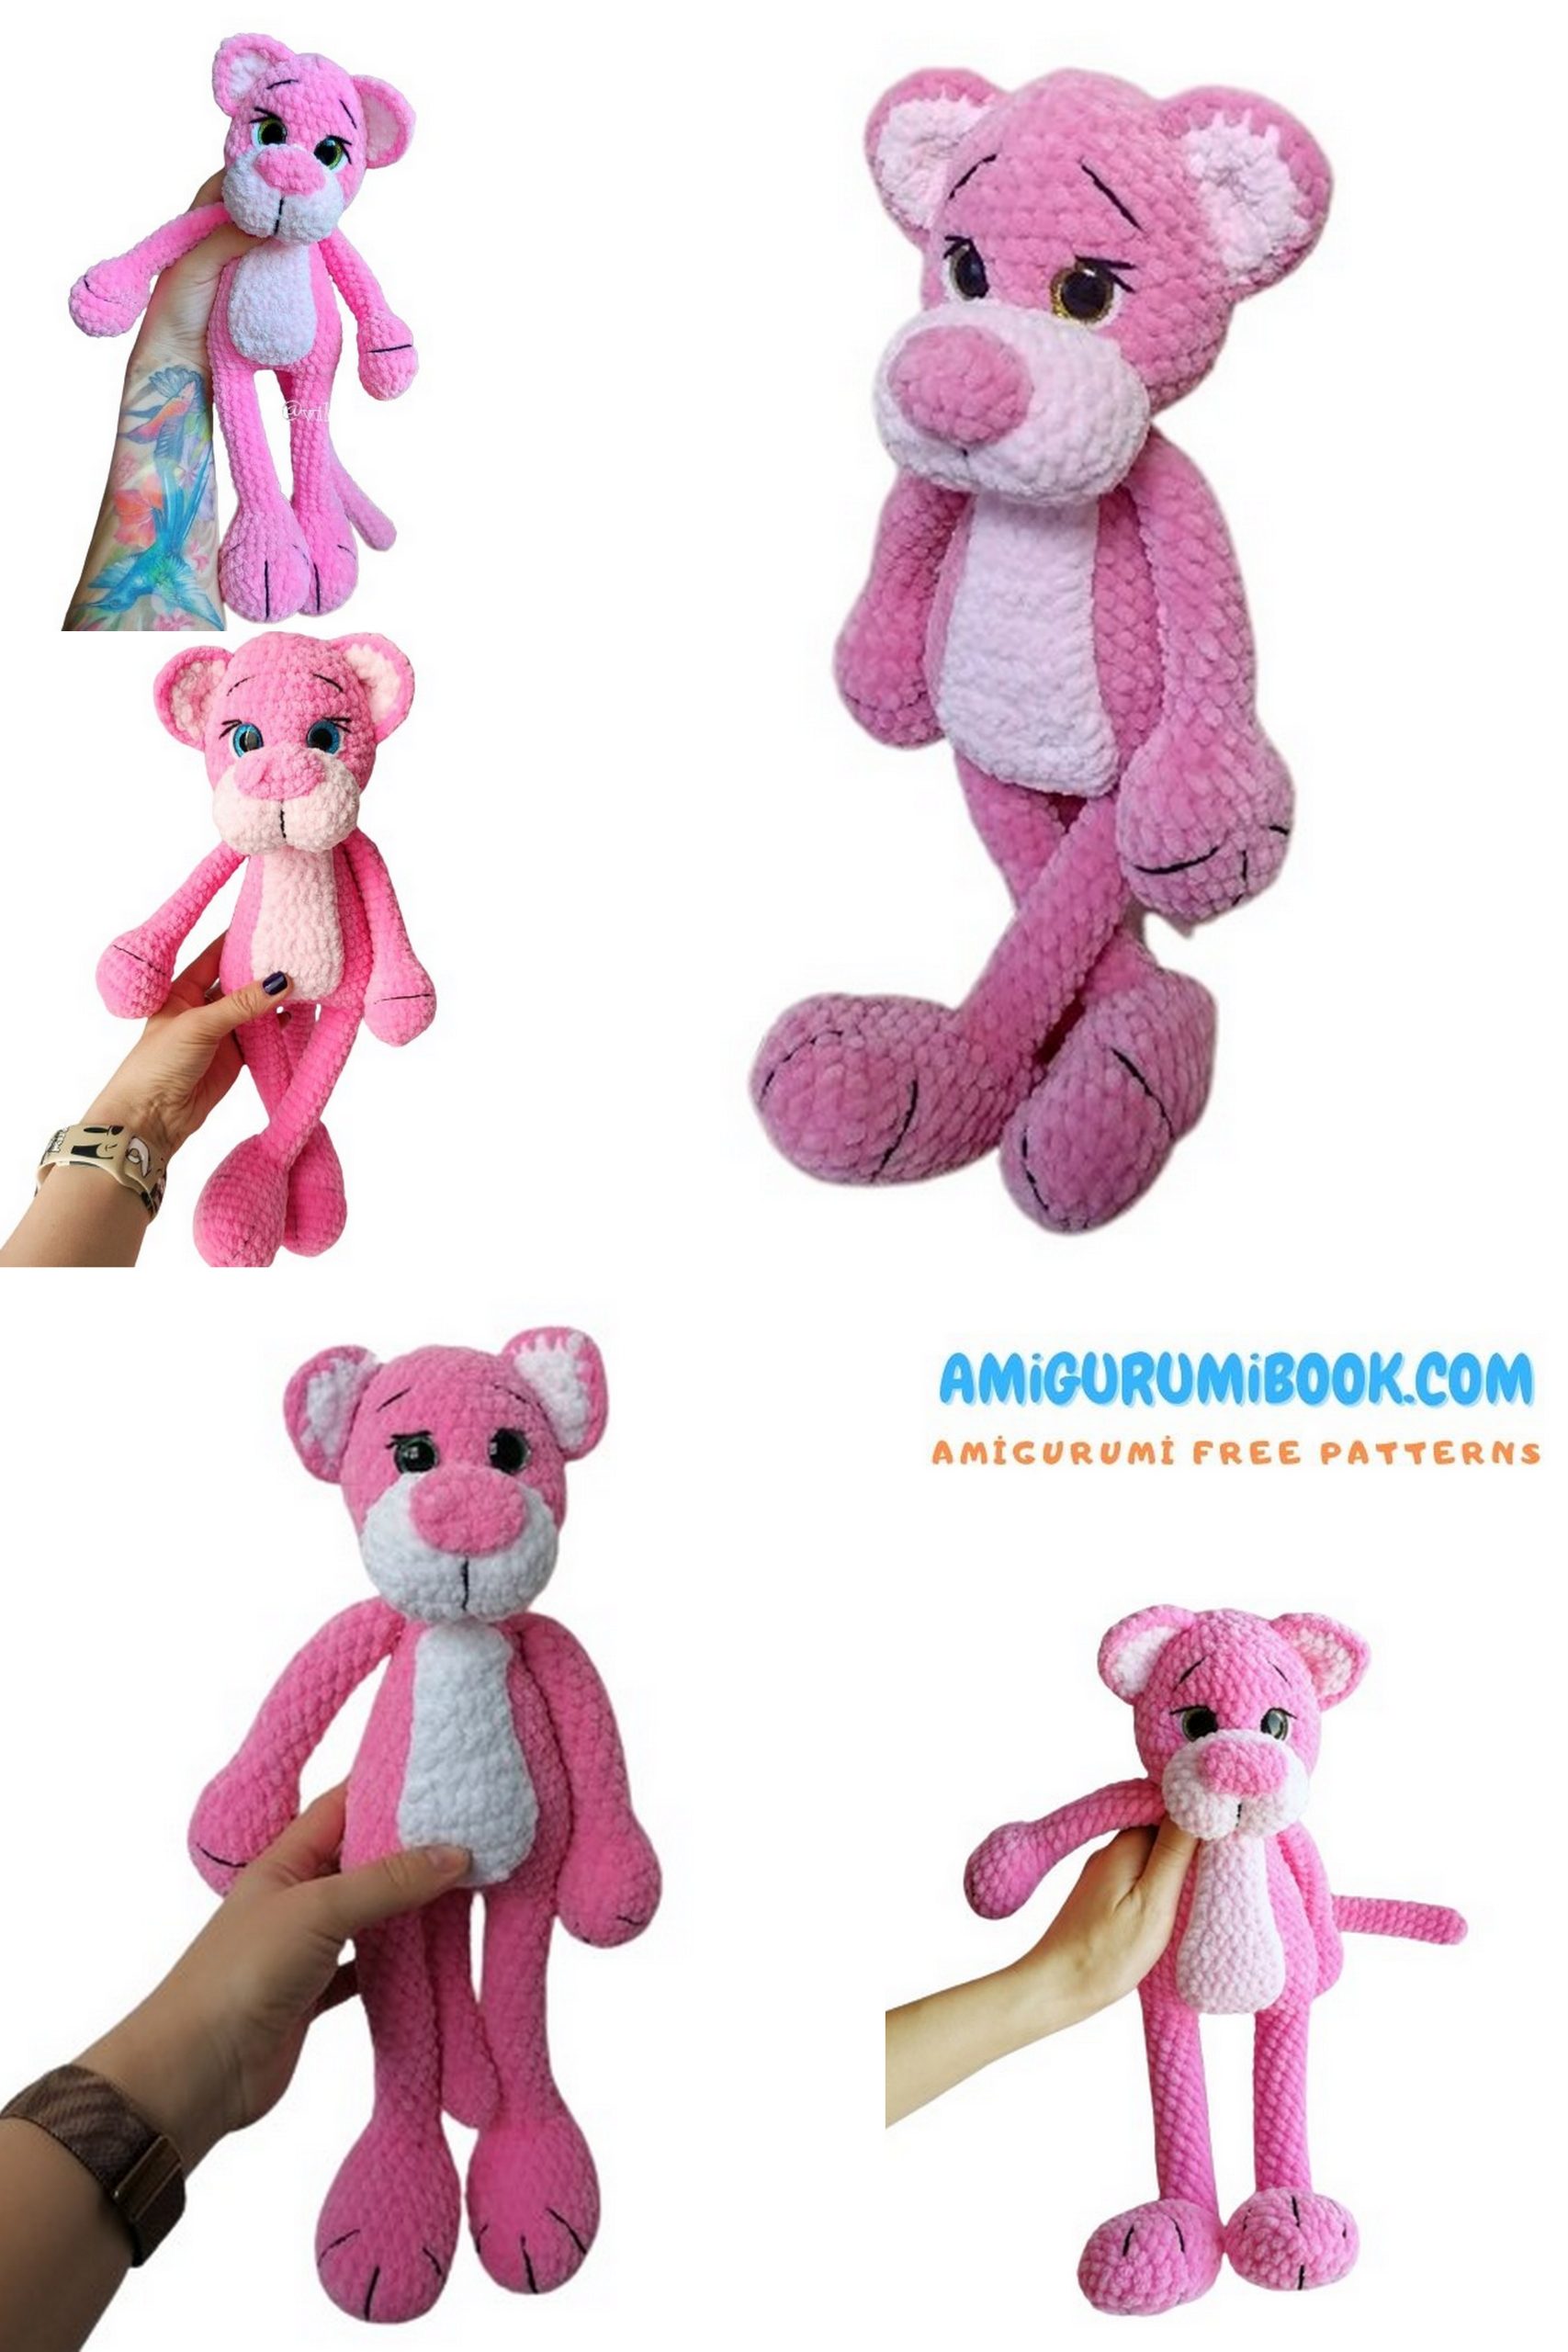
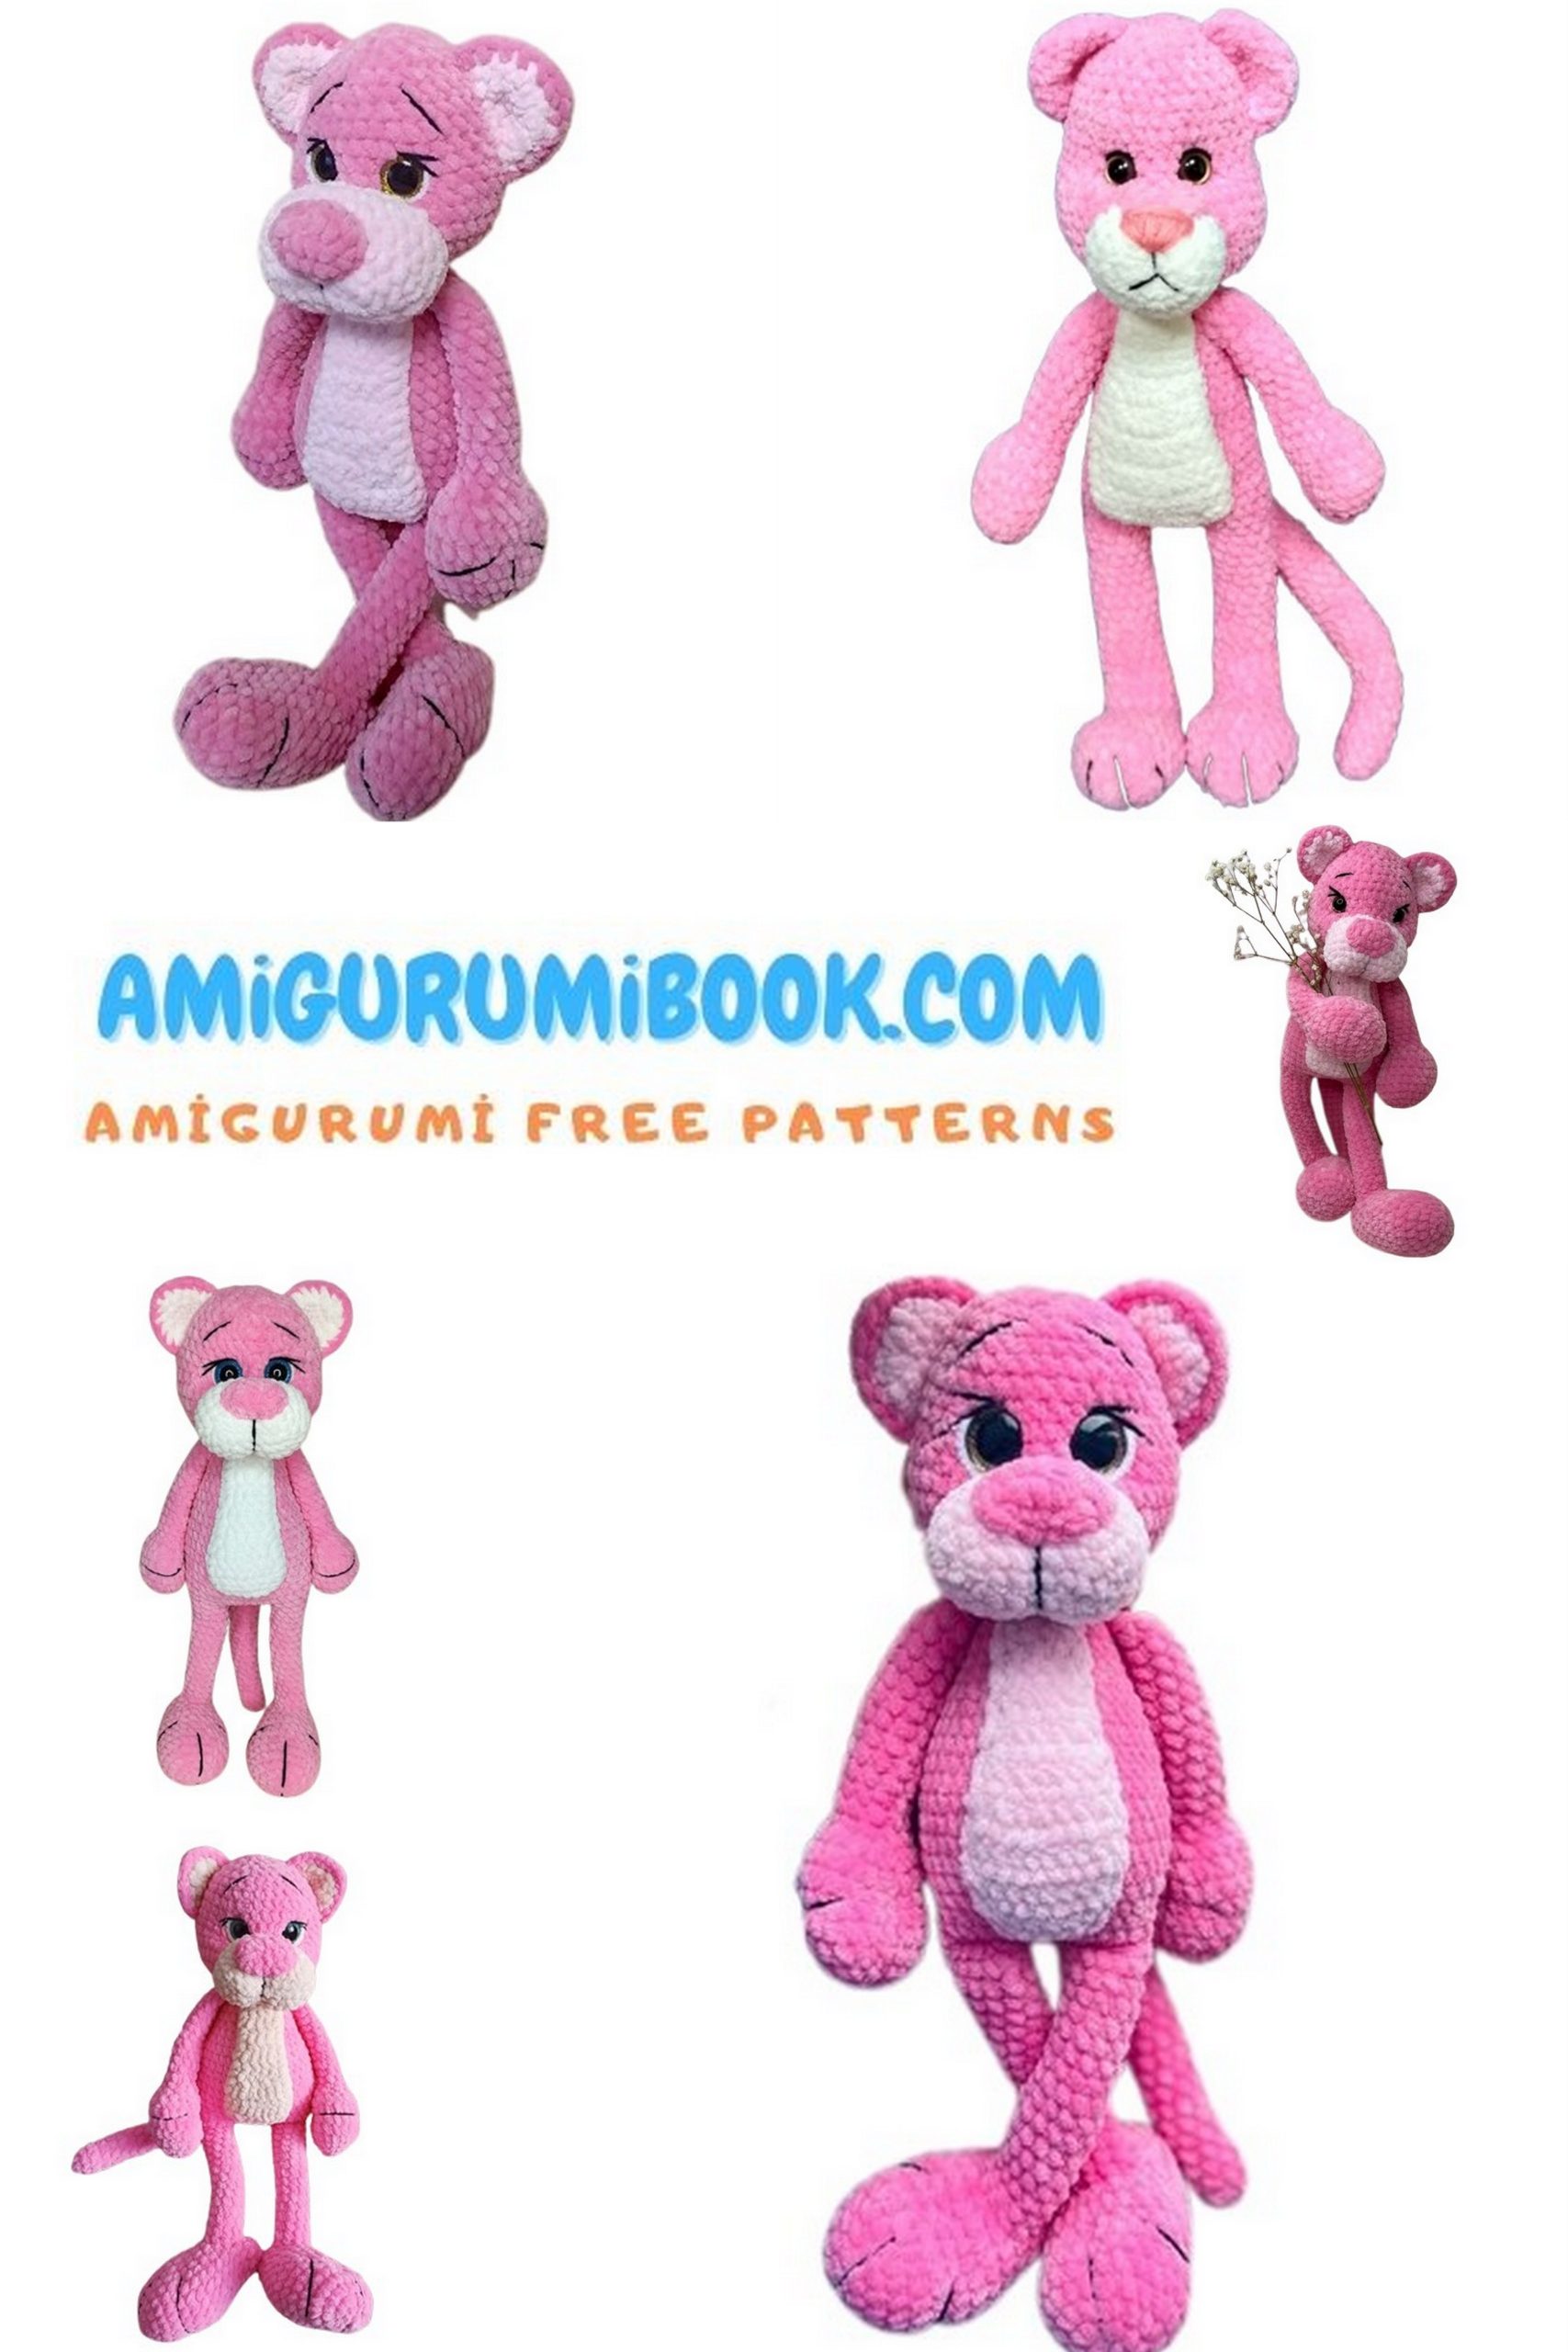
Discover the charm of creating your own Velvet Pink Panther with this free amigurumi pattern, perfect for both beginners and experienced crafters. This delightful project combines soft velvet yarn and simple stitches to bring the iconic character to life in a cuddly, handmade form. free crochet patternsYou may also like more amigurumi patterns.Welcome to our free Velvet Pink Panther Amigurumi pattern! If you’re a fan of this iconic feline character and enjoy crocheting, you’re in for a treat. In this tutorial, we’ll provide you with step-by-step instructions and tips to create your very own Pink Panther amigurumi using soft velvet yarn. This cuddly creation makes for a fantastic gift or a delightful addition to your amigurumi collection. Whether you’re a seasoned crocheter or a beginner, this project is perfect for you. Let’s get started on your amigurumi adventure!
If you want to access 1000+ free amigurumi patterns, you can download our application from this link!
Materials Needed
- Yarn (main & white): Himalaya Dolphin Fine or Himalaya Velvet (pink – more skeins, white – fewer skeins)
- White yarn: Alize Softy
- Pink yarn for nose (children’s novelty yarn)
- Thread for tightening (e.g. “Soso”)
- Black & brown yarn for facial details
- Crochet hook 3.5 mm and 1.5 mm
- Needle (for assembly)
- Toy stuffing
- Safety eyes 14–16 mm
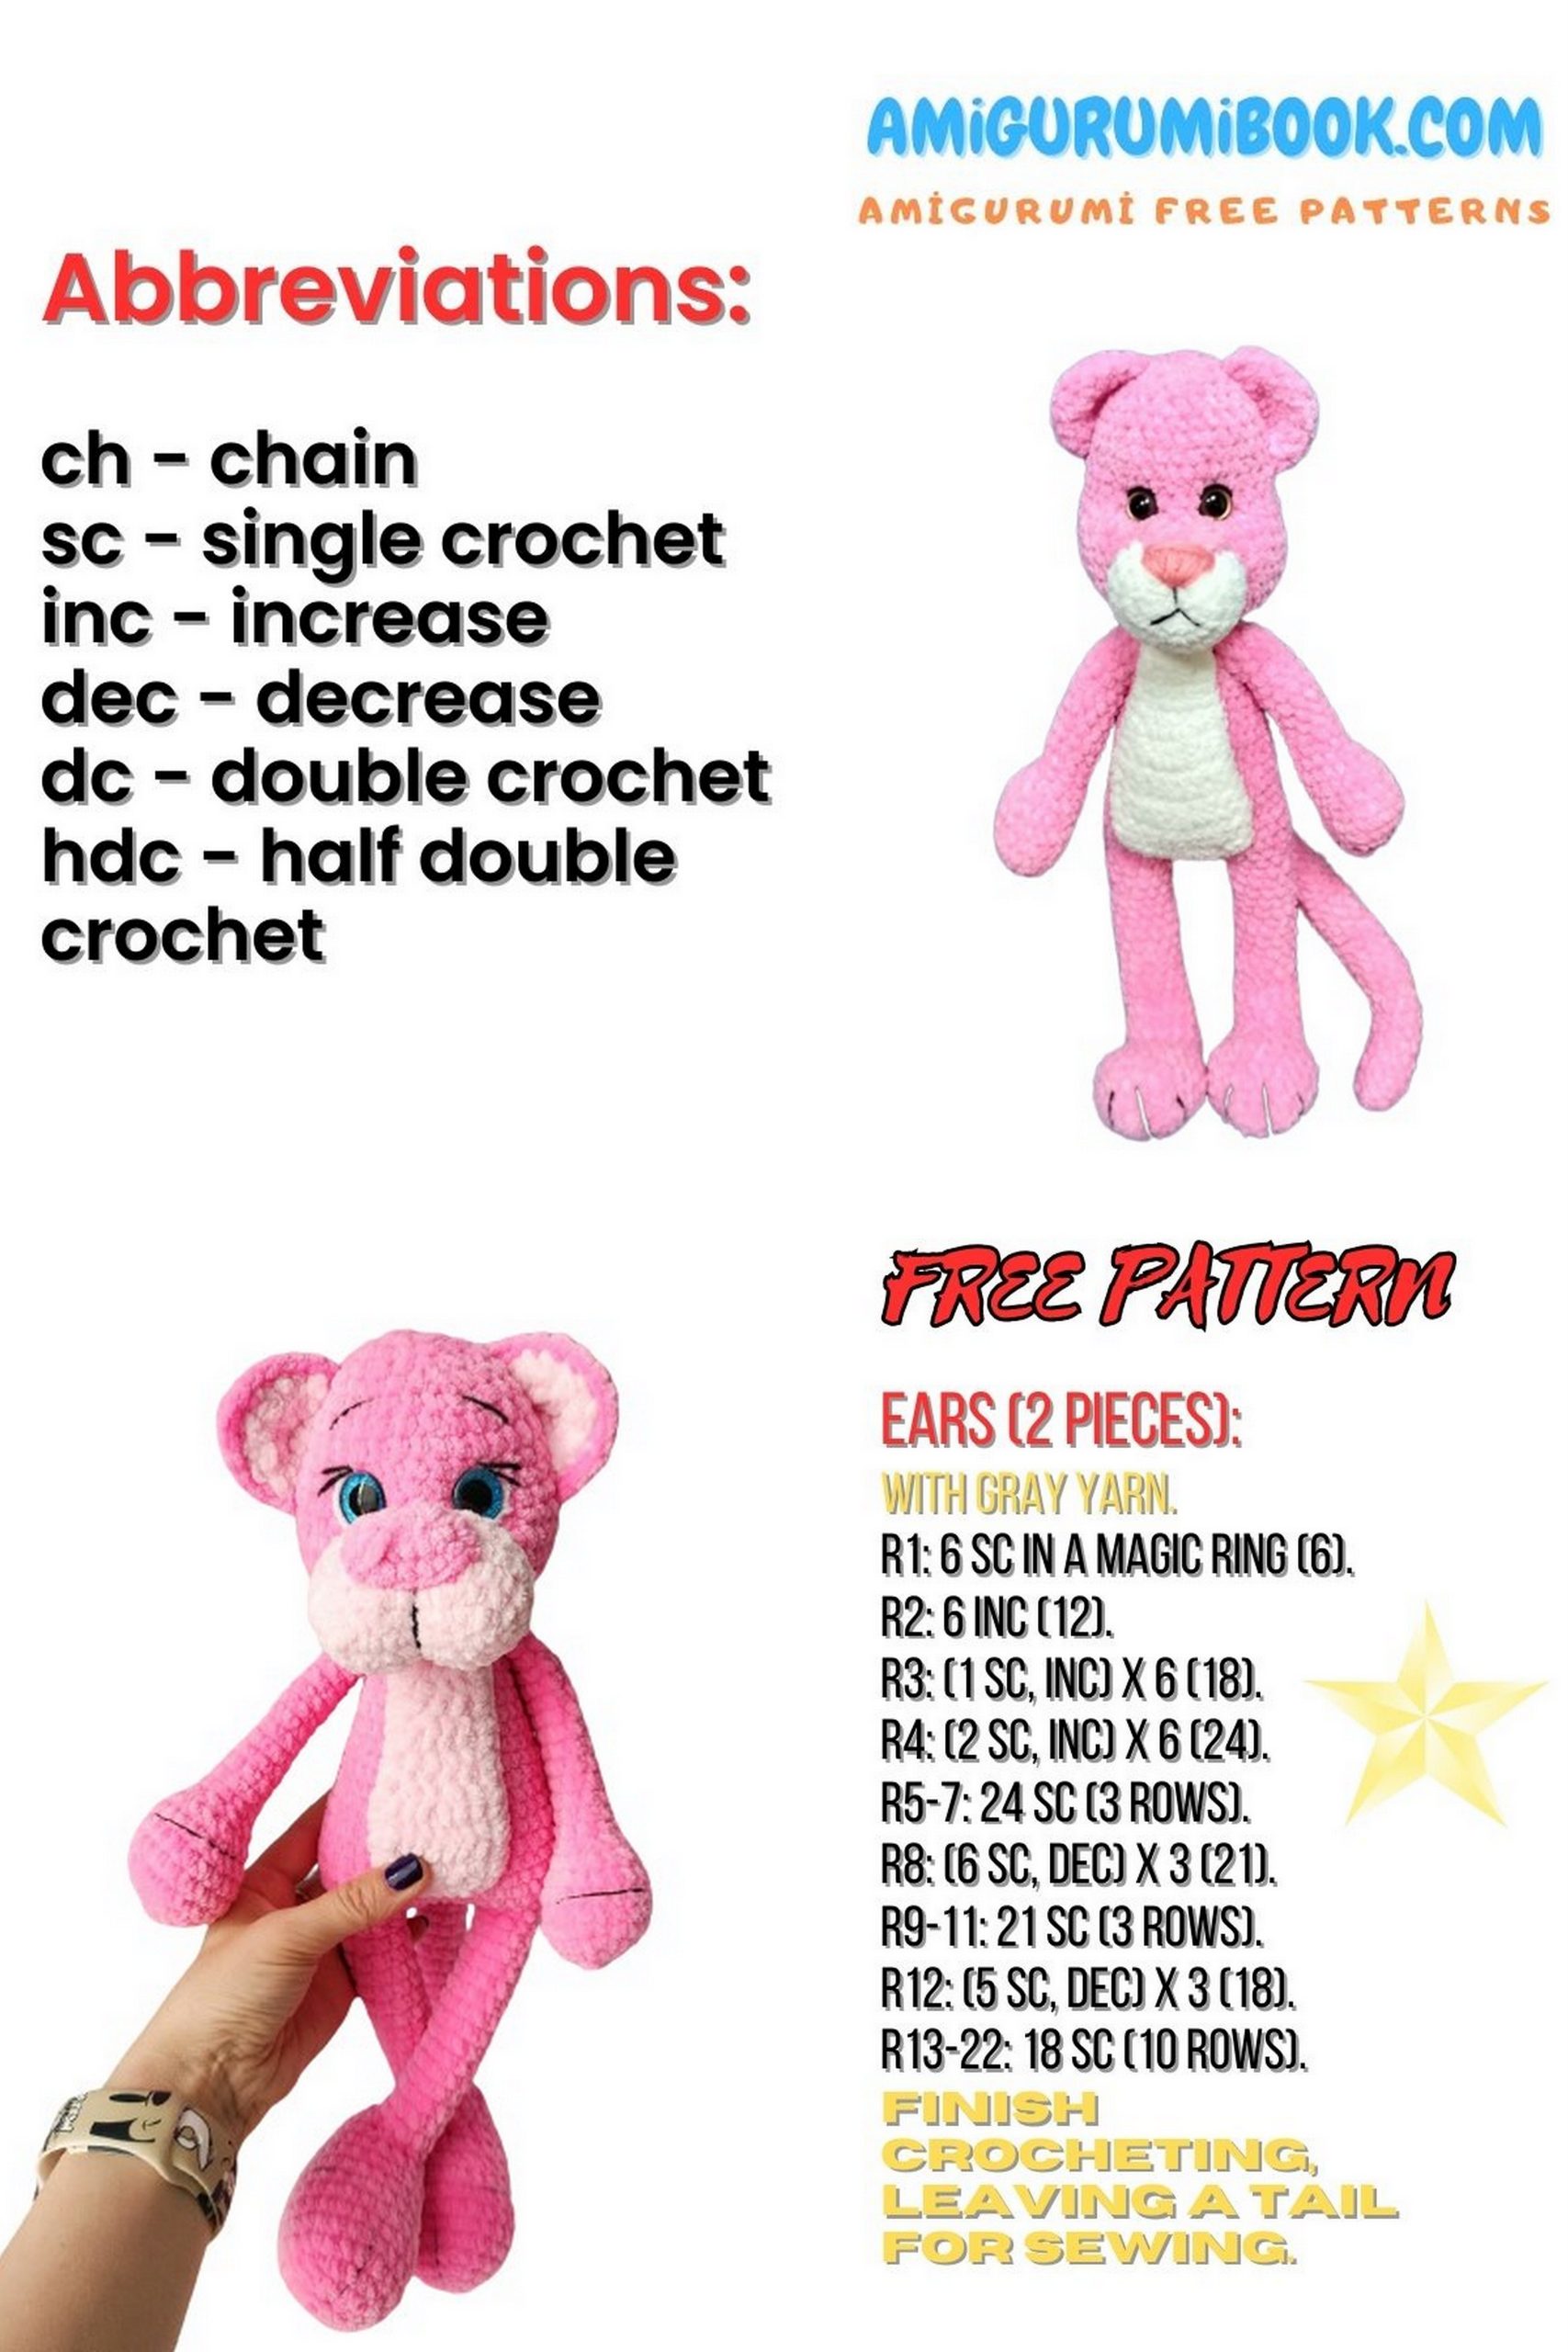
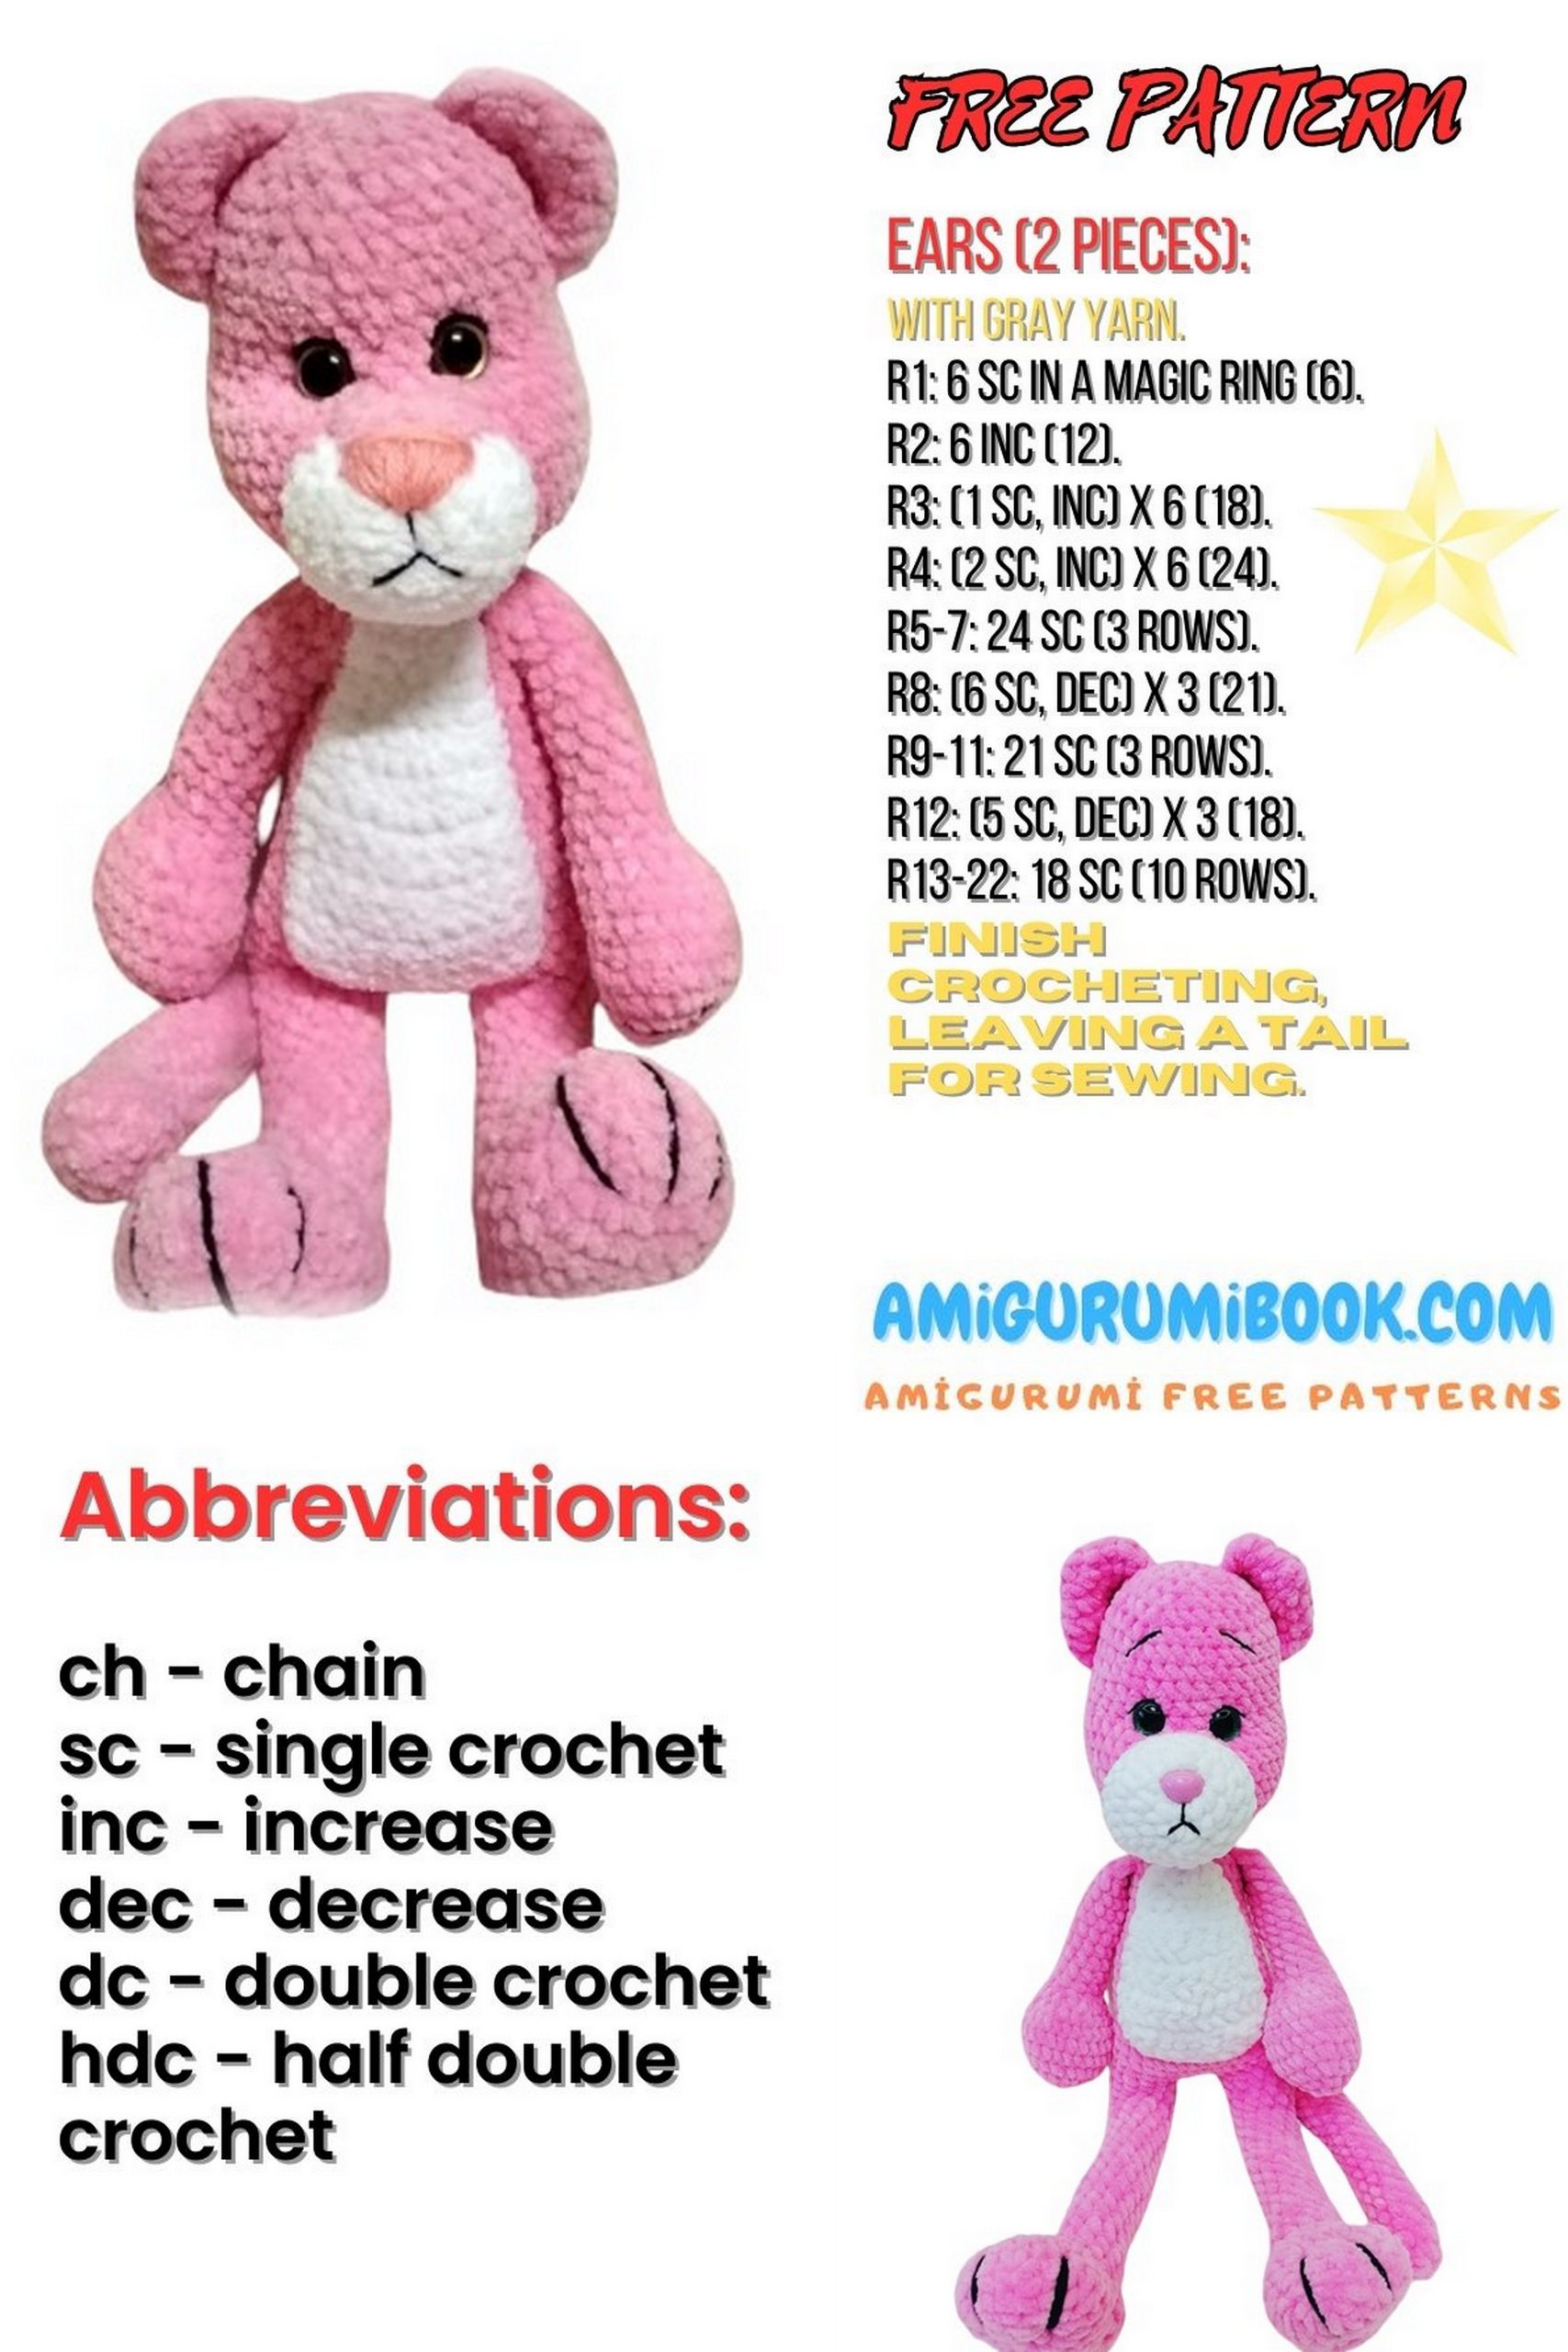
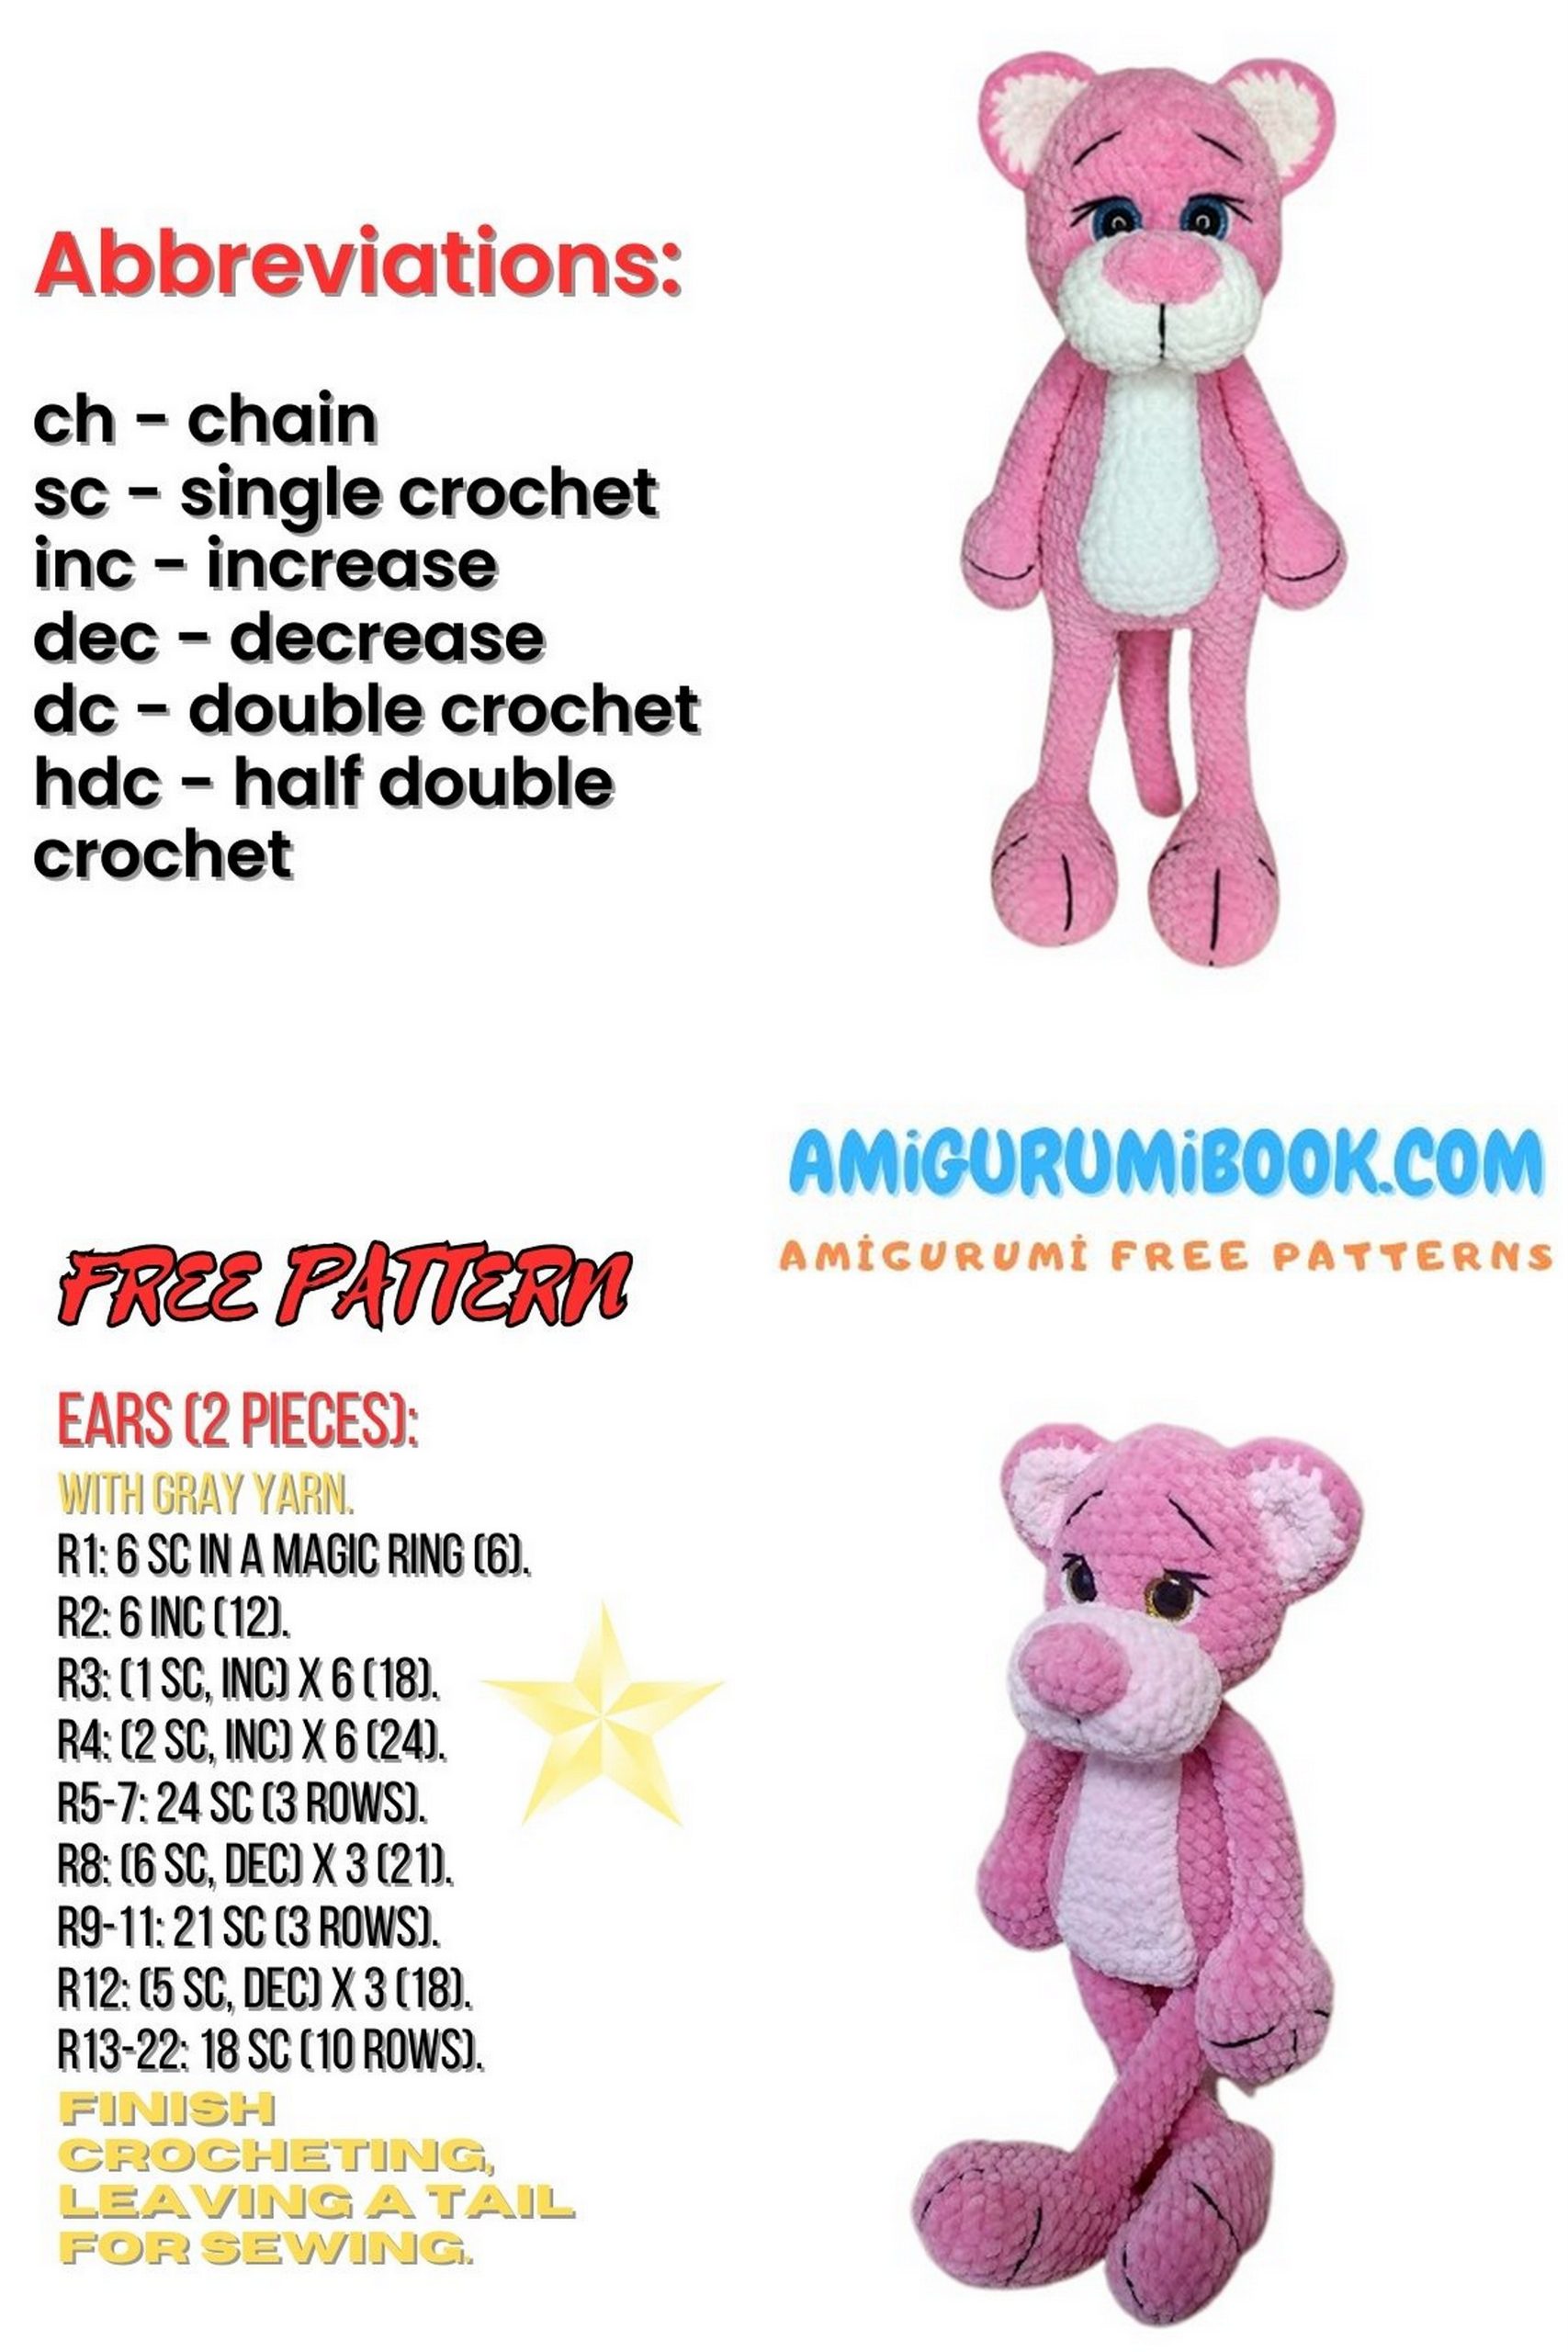
Abbreviations
- MR – Magic Ring
- sc – Single crochet
- inc – Increase (2 sc in one stitch)
- dec – Decrease (sc 2 together)
- hdc – Half double crochet
- BLO – Back loop only
- FLO – Front loop only
- sl st – Slip stitch
- ch – Chain
- st – Stitch
- FO – Fasten off
Note: The entire body is crocheted in one piece. Stuff firmly as you go.
ARMS (Make 2)
1: 6 sc in MR (6)
2: inc x6 (12)
3: (sc, inc) x6 (18)
4: 8 sc, (inc, sc) x5 (23)
5: 23 sc
6: 23 sc
7: 23 sc
8: 8 sc, (dec, sc) x5 (18)
9: 8 sc, (dec, sc) x3, sc (15)
10: 7 sc, dec x4 (11)
11–21: 11 sc (11) — 10 rows
FO. Stuff lightly.
LEGS (Make 2)
Ch 4.
1: 2 sc, 3 sc in one st, sc, inc (8)
2: inc, sc, inc x3, 2 sc, inc (13)
3: 7 sc, (inc, sc) x3 (16)
4: 7 sc, (inc, 2 sc) x3 (19)
5: 7 sc, (inc, 3 sc) x3 (22)
6–15: 22 sc (22)
On the second leg, crochet 3 extra sc, then ch 4 and join to the first leg.
BODY
1: 12 sc around first leg, 4 sc in ch,
12 sc around second leg, 4 sc in ch (32)
2: (5 sc, inc) x5, 2 sc (42)
3: 14 sc, inc, 5 sc, inc, 16 sc (47)
4–9: 47 sc (47)
10: (3 sc, dec) x4, 2 sc (38)
11–15: 38 sc (38)
👉 Insert safety eyes between rows 11–12, with 6 stitches between.
16: (6 sc, dec) x4, 6 sc (34)
17: (5 sc, dec) x4, 4 sc, dec (27)
18: (4 sc, dec) x5 (22)
19: (3 sc, dec) x5 (17)
20: (2 sc, dec) x5 (12)
21: (sc, dec) x5 (7)
22: dec (6)
FO, close opening, tighten body.
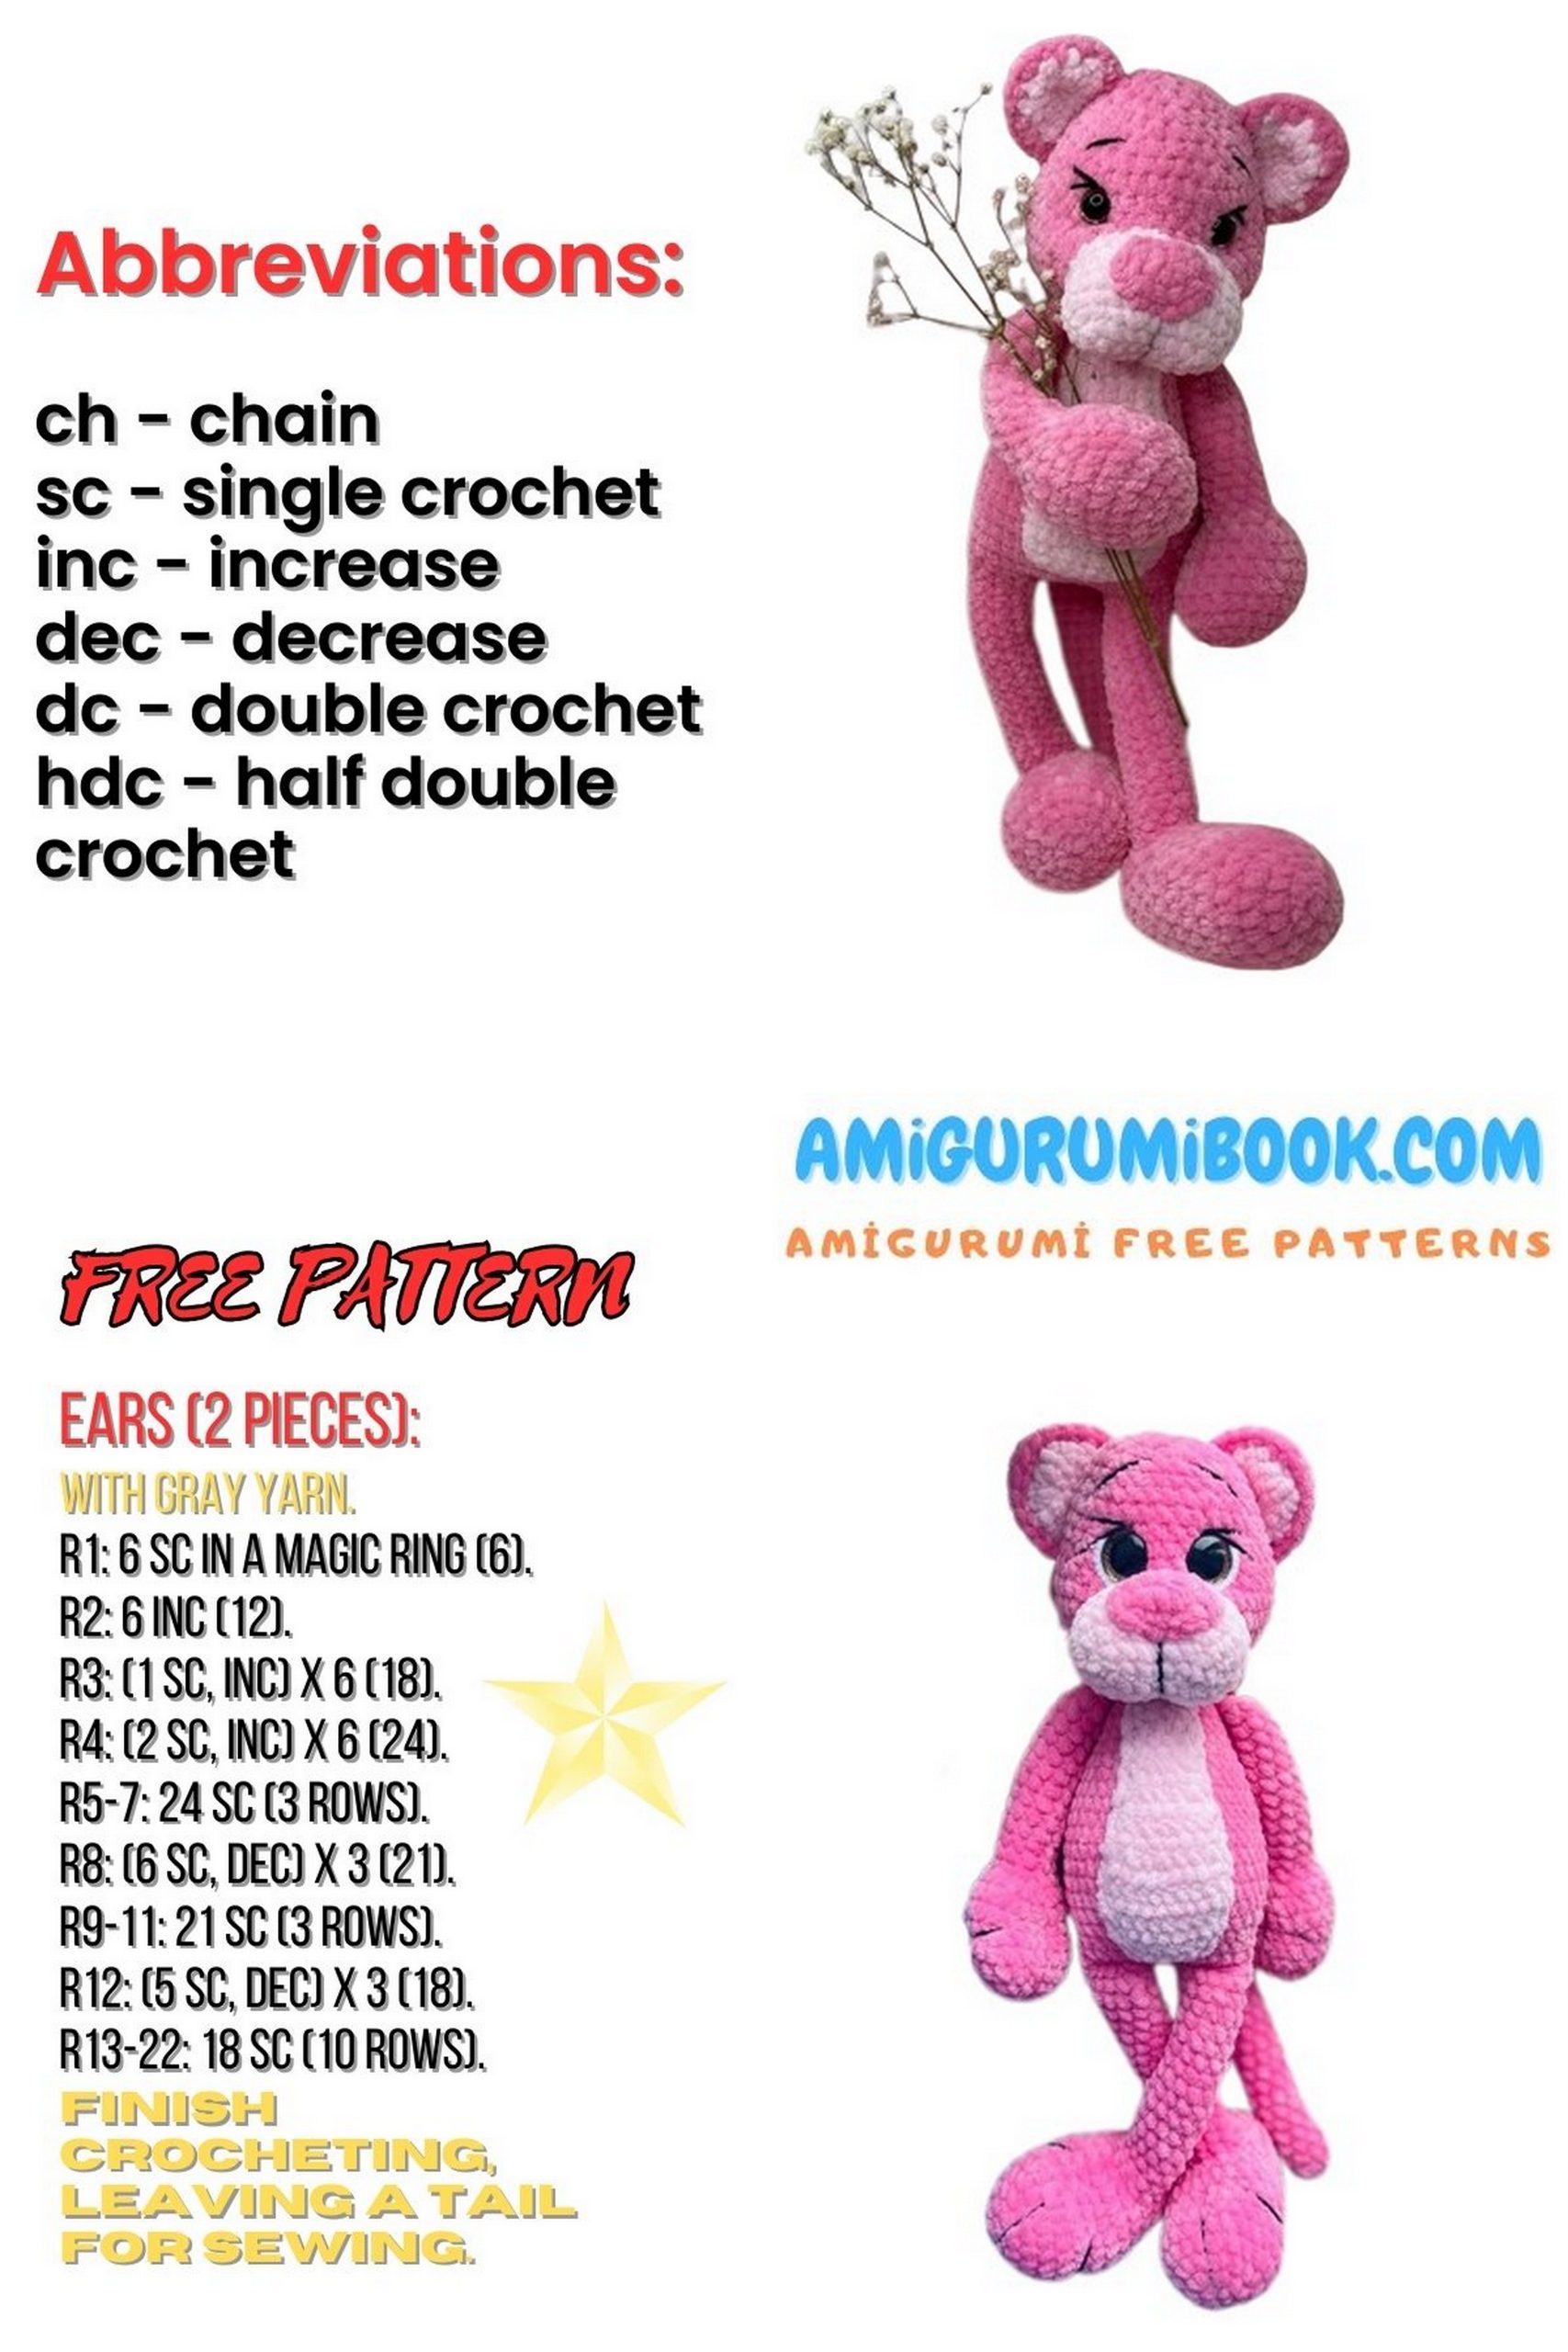
EARS (Make 2)
1: 6 sc in MR (6)
2: inc x6 (12)
3: (sc, inc) x6 (18)
4: (2 sc, inc) x6 (24)
5: 24 sc
6: Fold in half, crochet through both sides, FO leaving long tail
TAIL
1: ch 7
2: (sc, inc) x3, sc (10)
3–30: 10 sc (10)
FO, leave long tail.
MUZZLE (White)
1: 6 sc in MR (6)
2: inc x6 (12)
3: (sc, inc) x6 (18)
4: (2 sc, inc) x6 (24)
5–6: 24 sc
7: Change to pink yarn, 24 sc
FO, leave tail for sewing.
NOSE OVERLAY (Body Color)
- Ch 5
- 4 sc in 2nd ch from hook
- Turn, 4 sc
FO, leave long tail.
TUMMY OVERLAY (White)
Ch 4.
1: 3 sc, inc, turn
2: sc, inc, sc
3: 4 sc
4: 2 sc, inc, sc
5: 5 sc
6: (sc, inc) x2, sc
7: 7 sc
8: 3 sc, inc, 3 sc
9: 8 sc
10: 4 sc, inc, 3 sc
11: 9 sc
12: 4 sc, inc, 4 sc
13: 10 sc
14–15: 10 sc
16: dec, 6 sc, dec
17: 8 sc
18: sc edging around
FO, leave tail.
ASSEMBLY
Embroider paw details
Tighten body shaping
Sew muzzle and tummy overlay
Attach ears and tail
Embroider nose and mouth