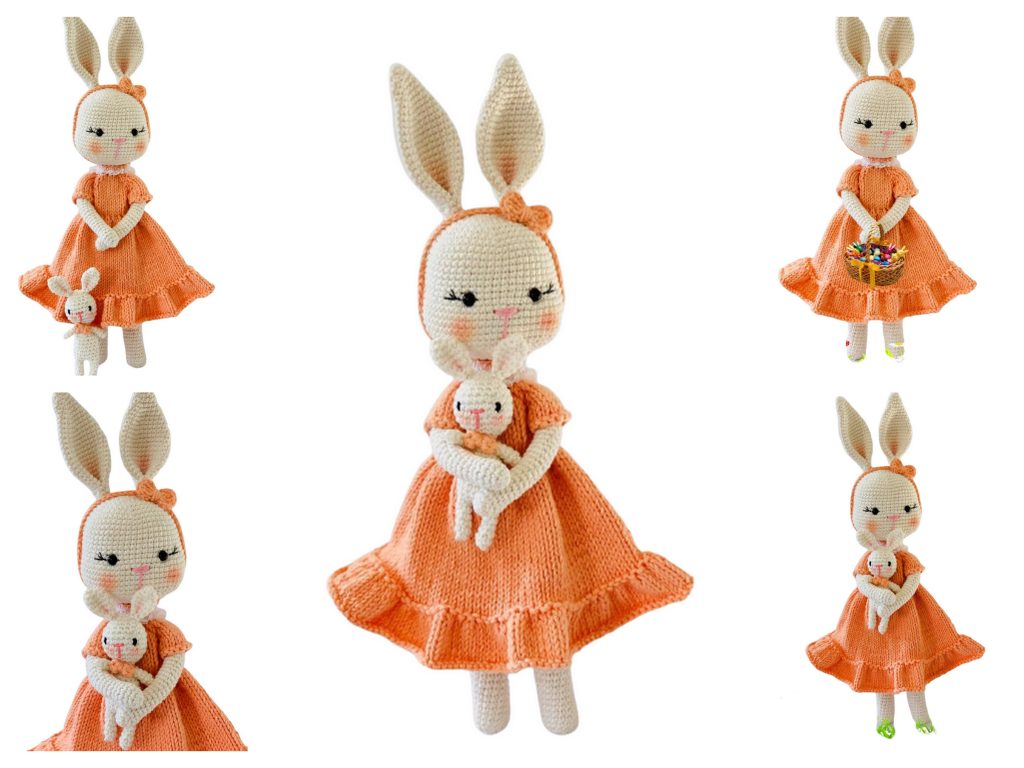
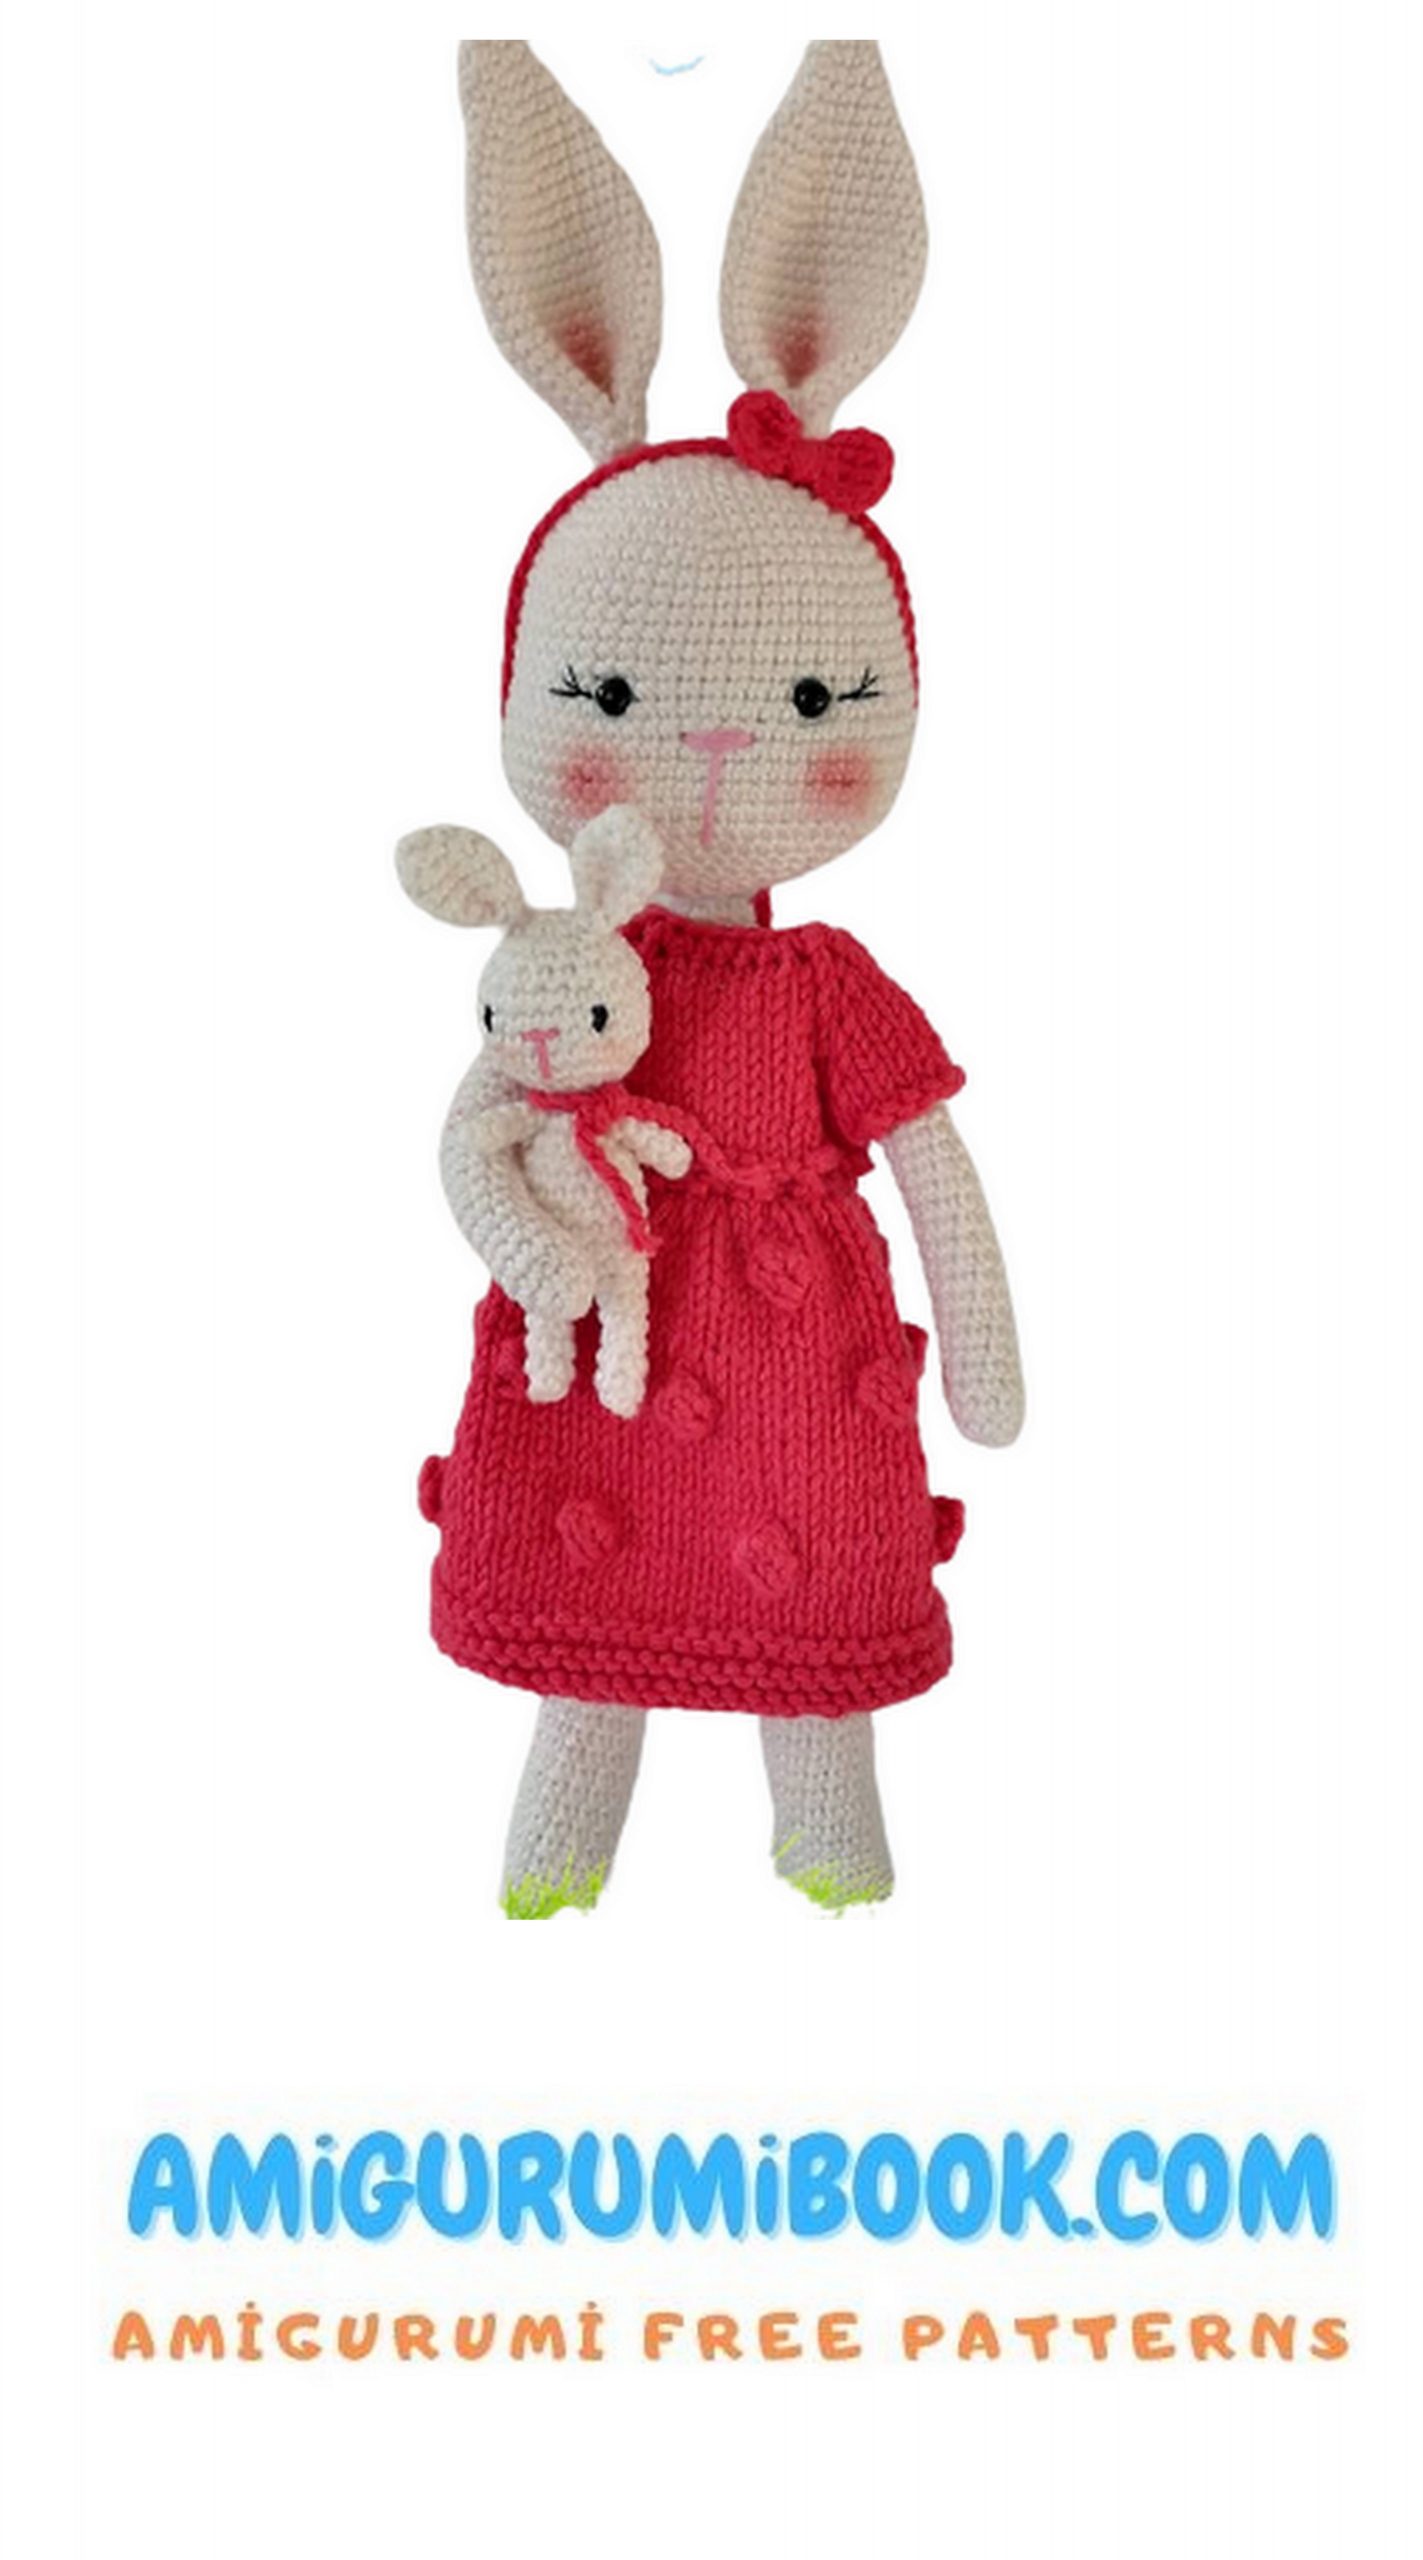
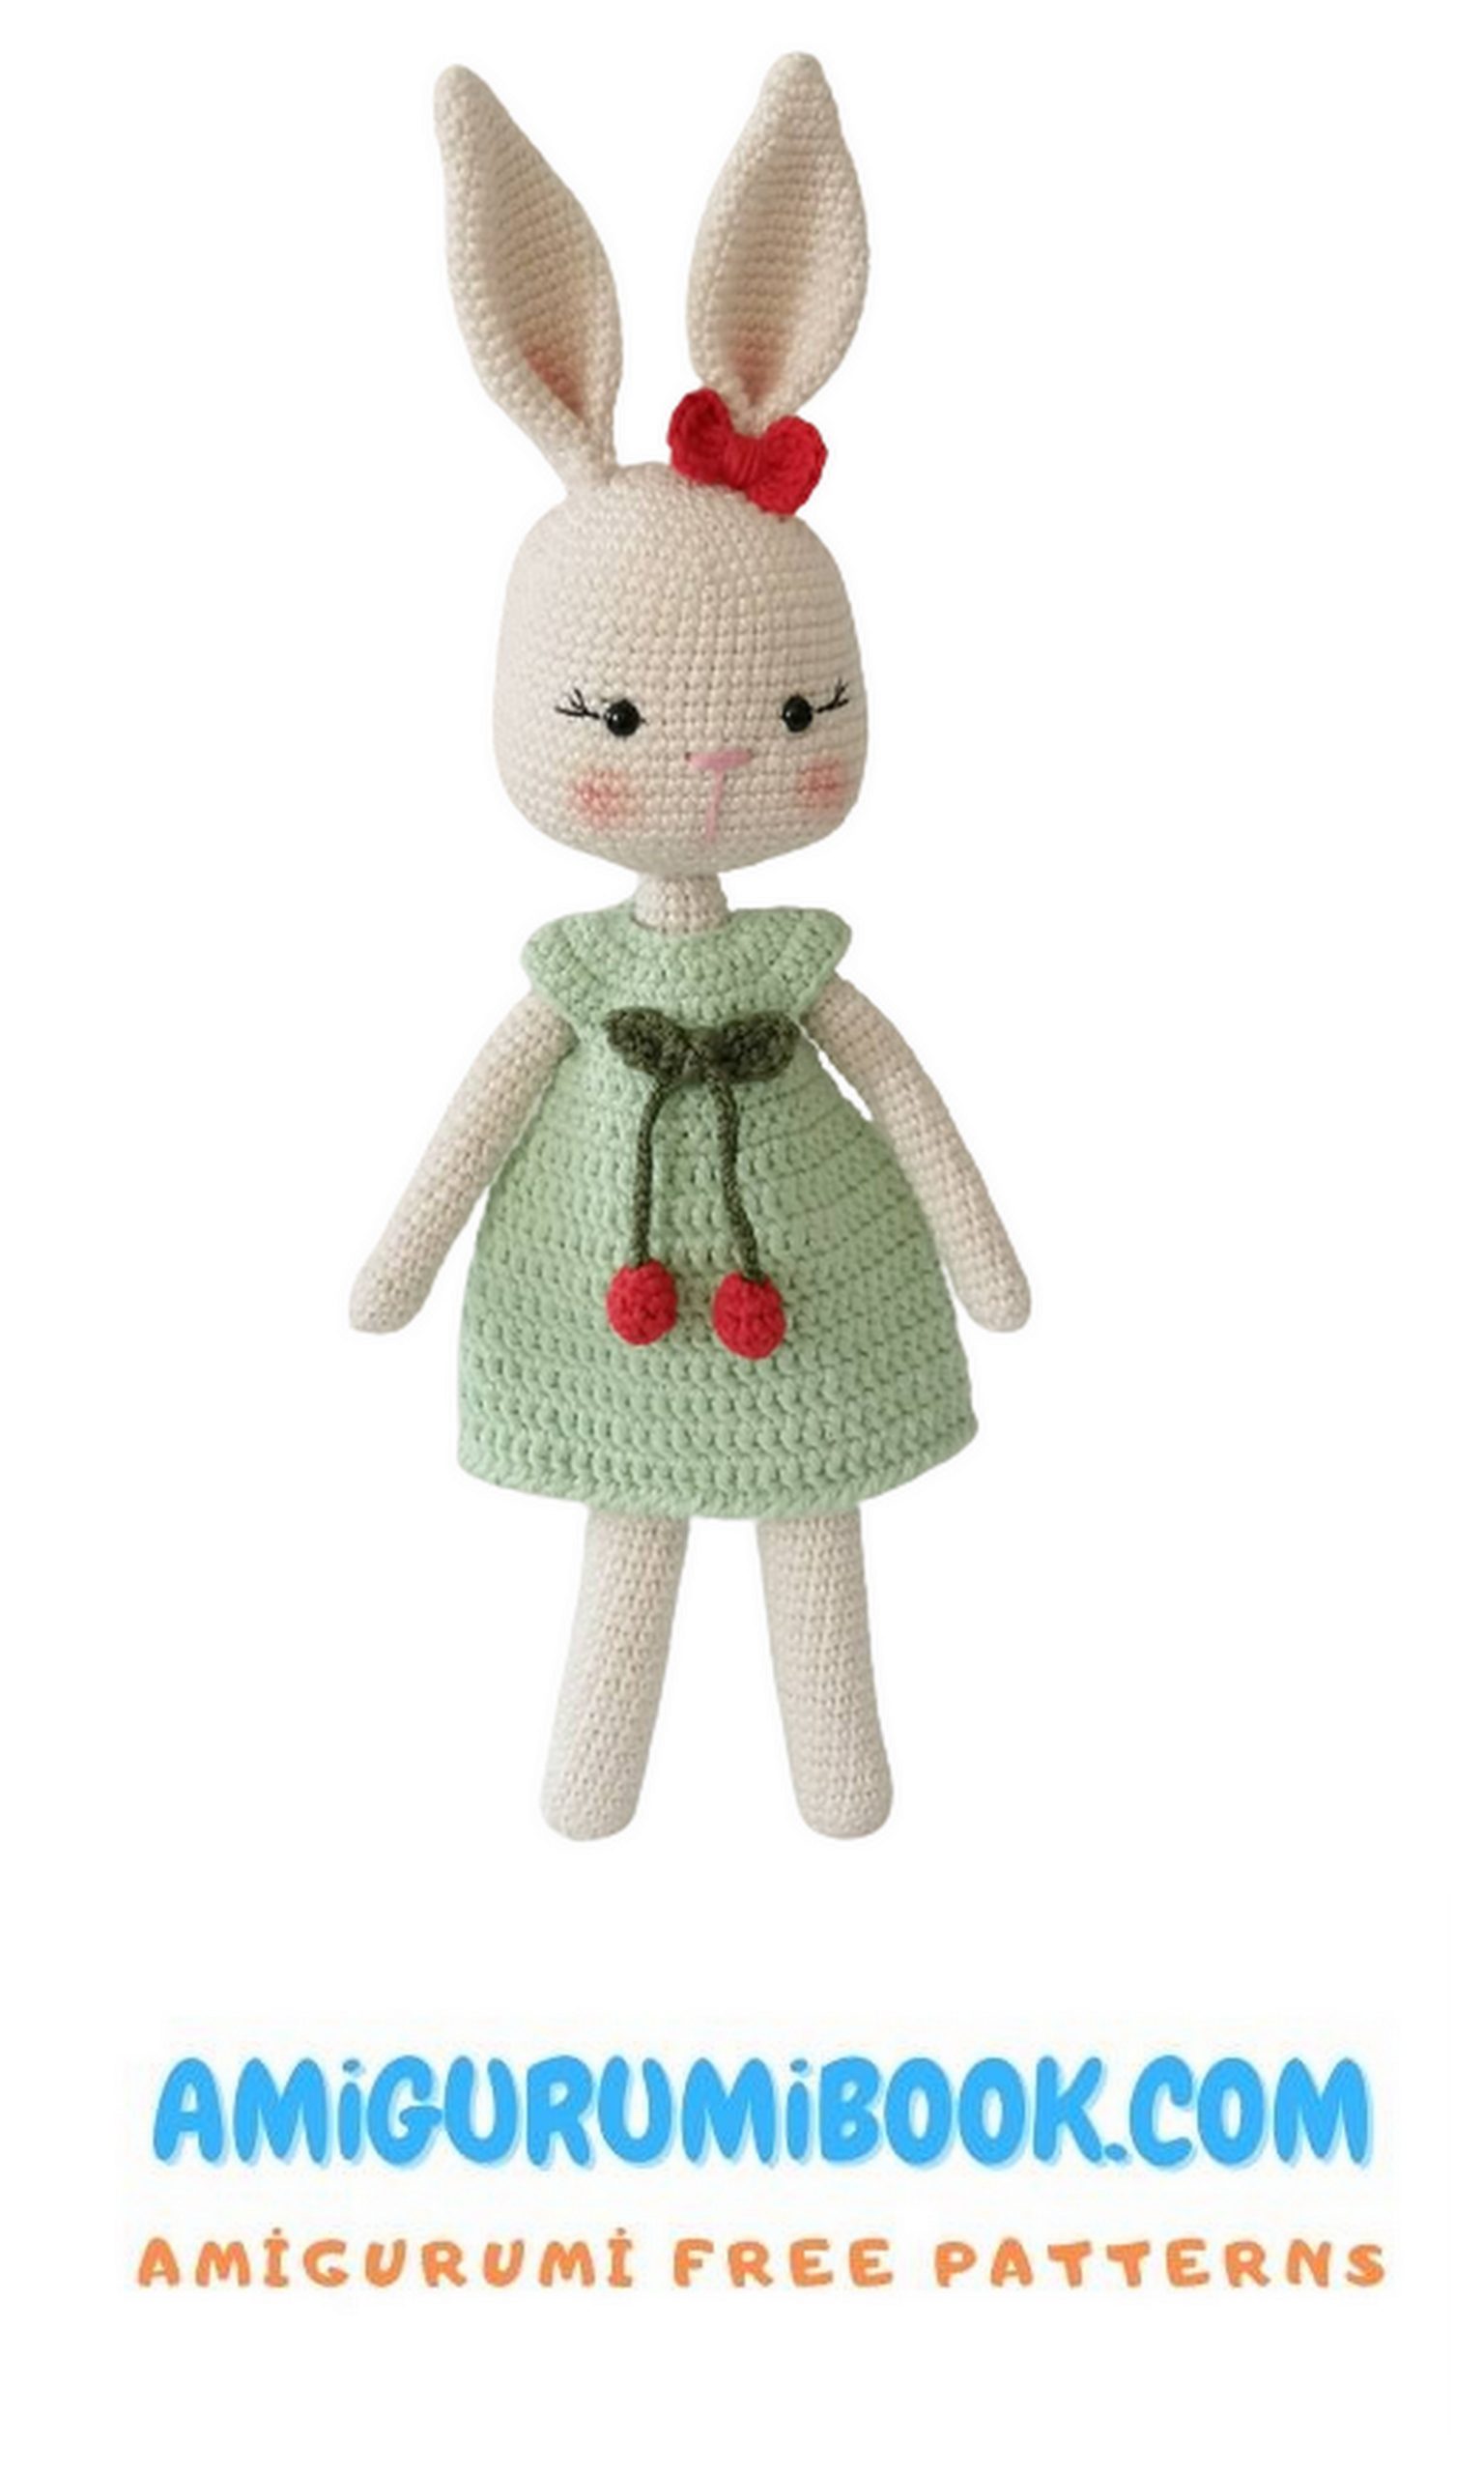
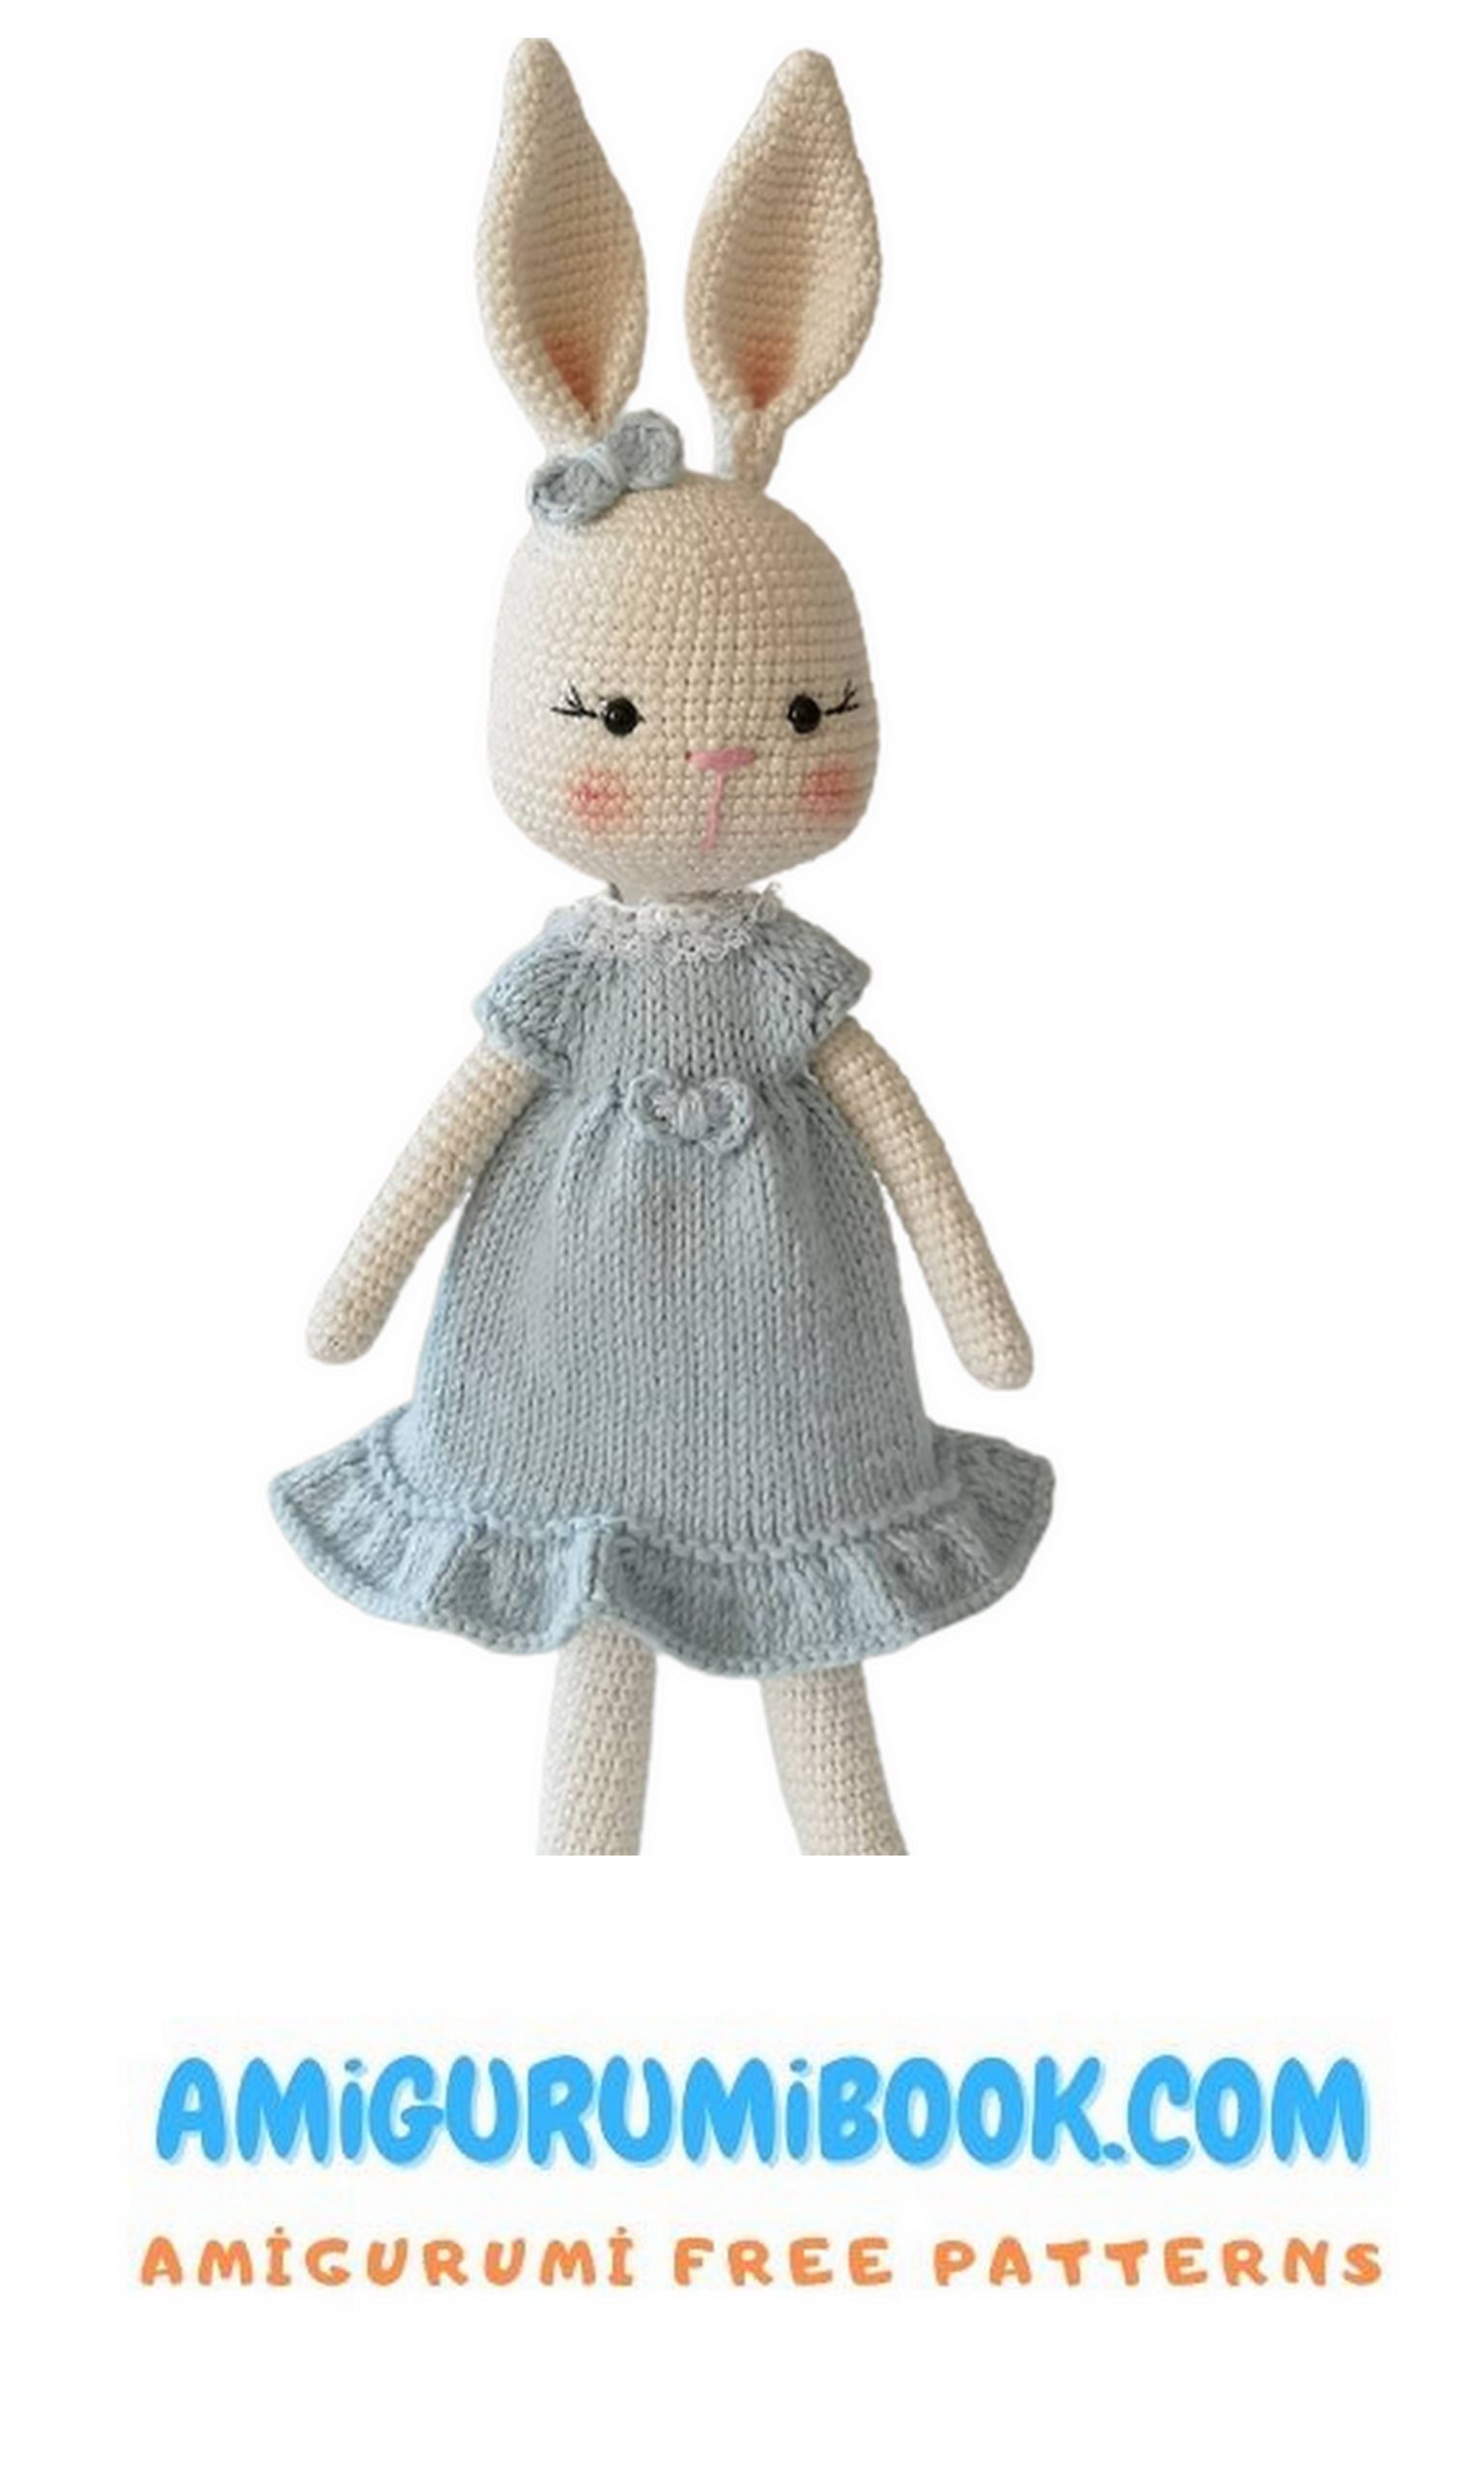
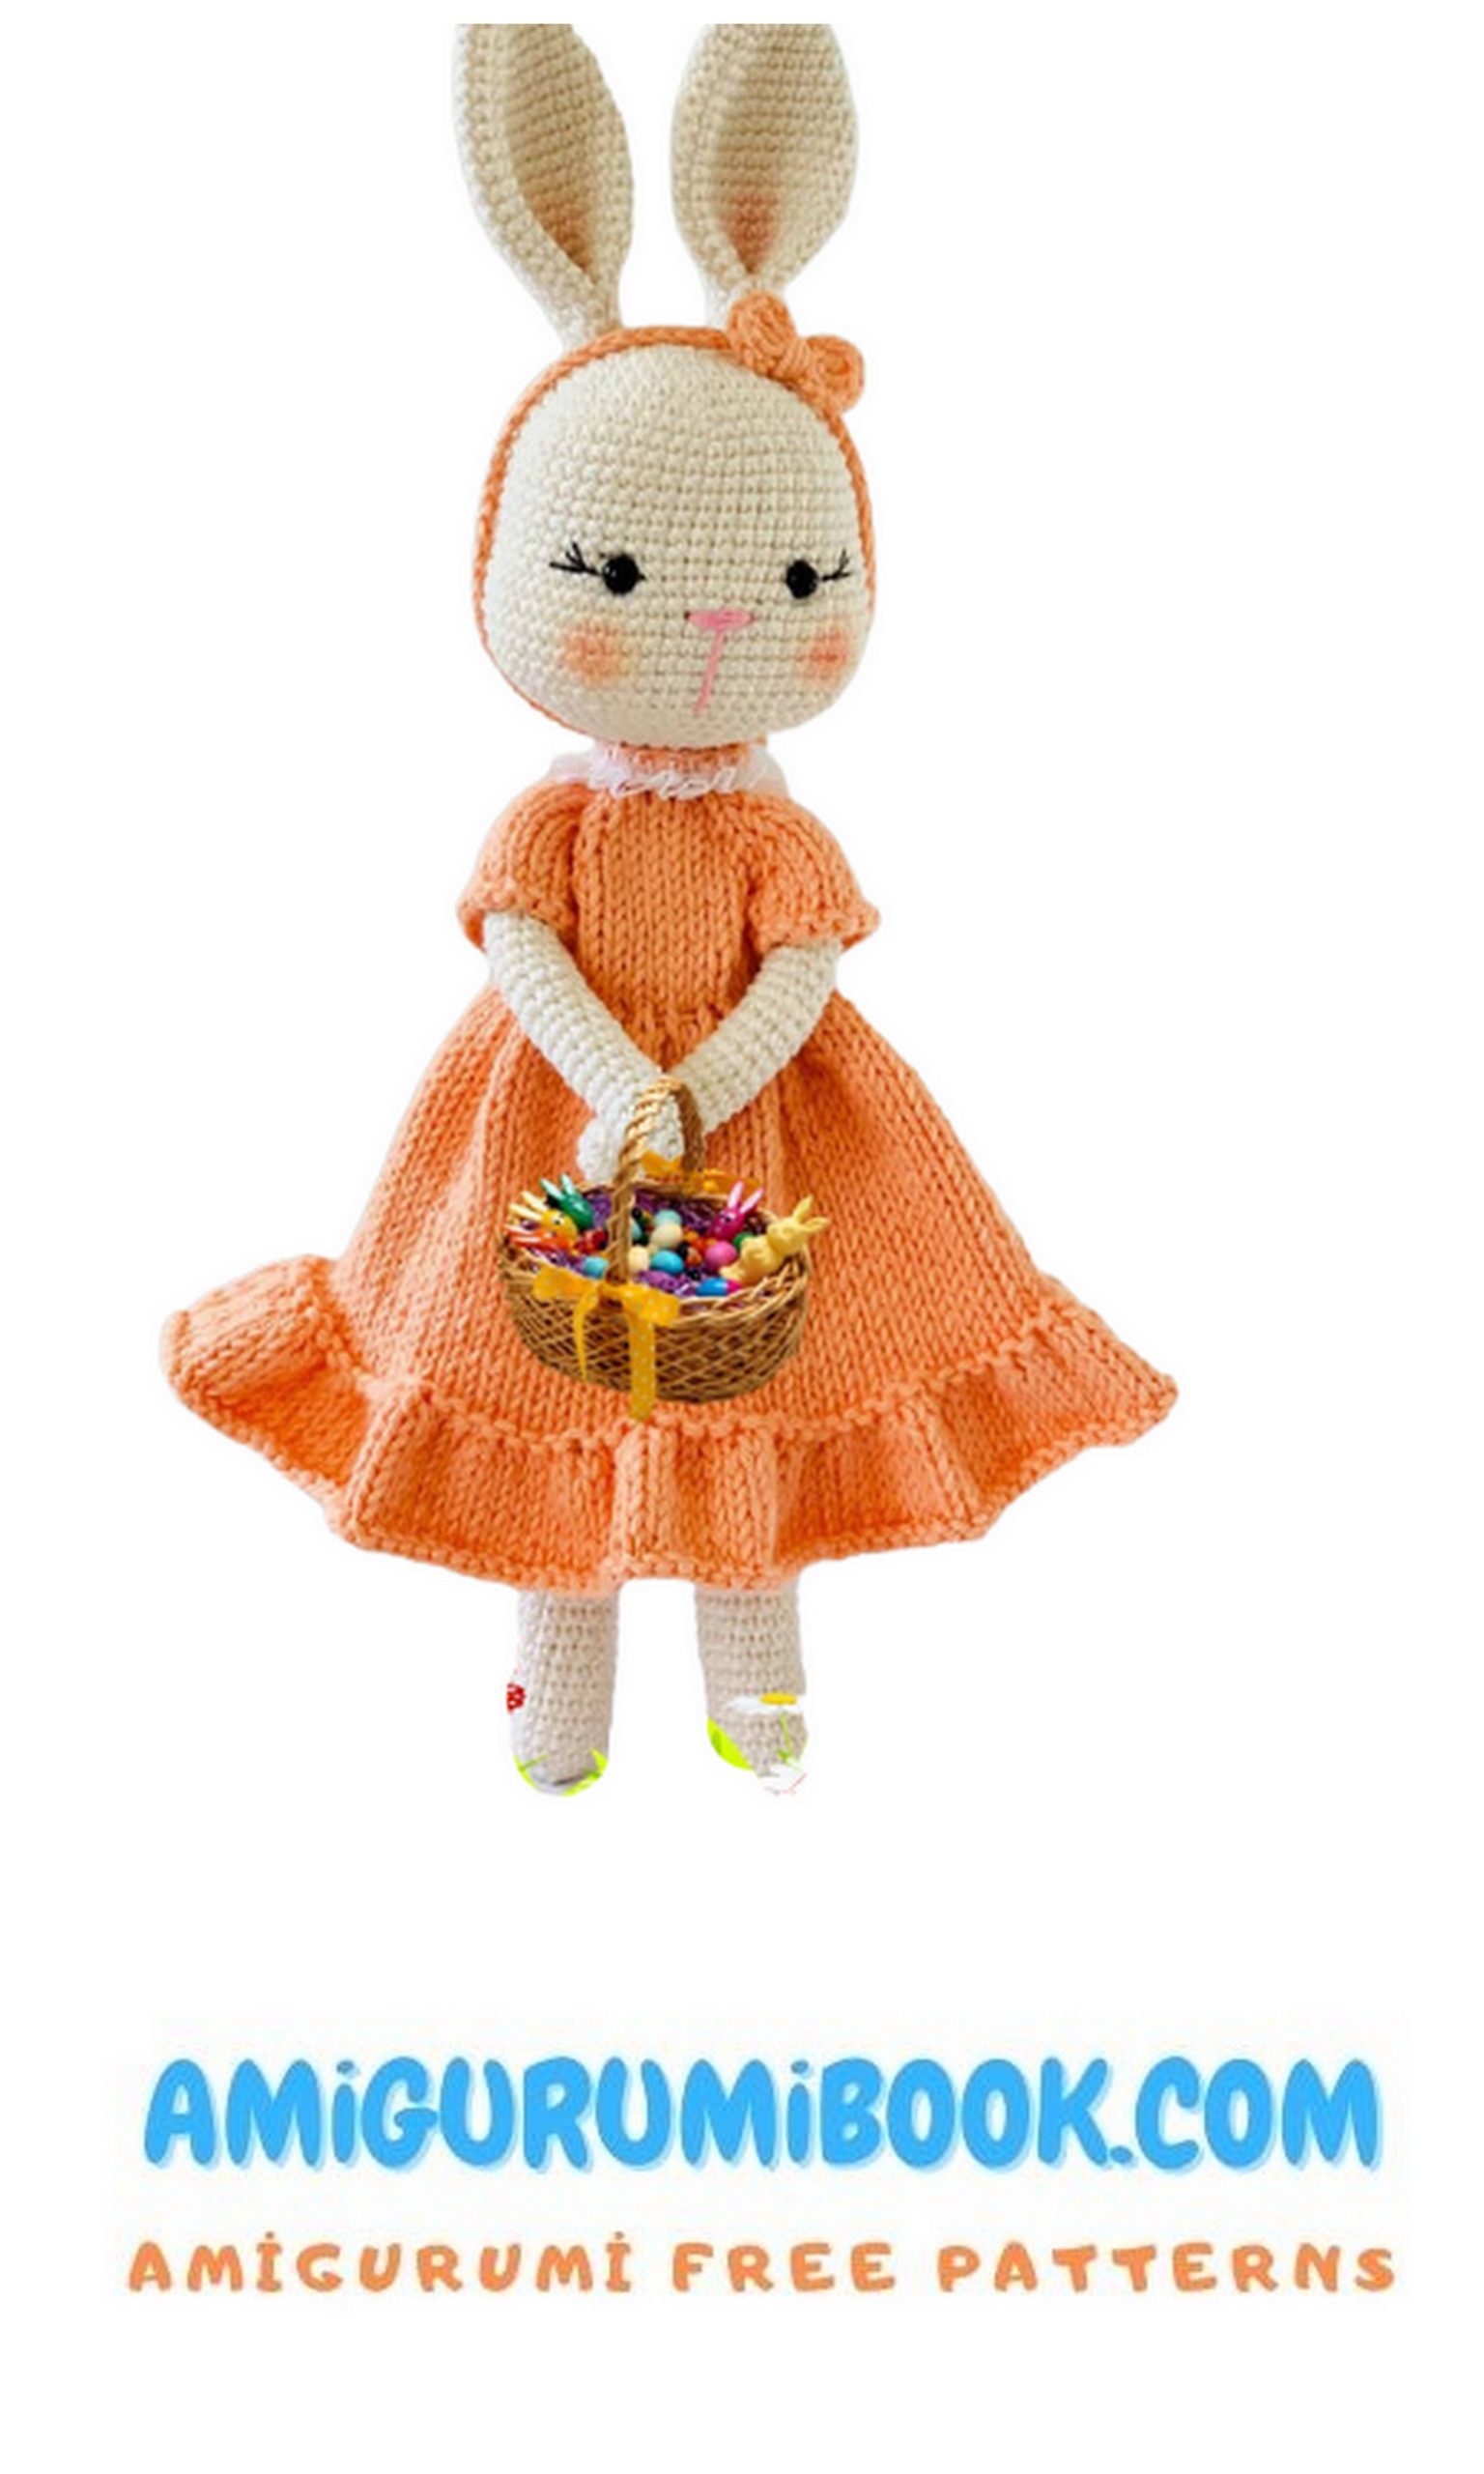
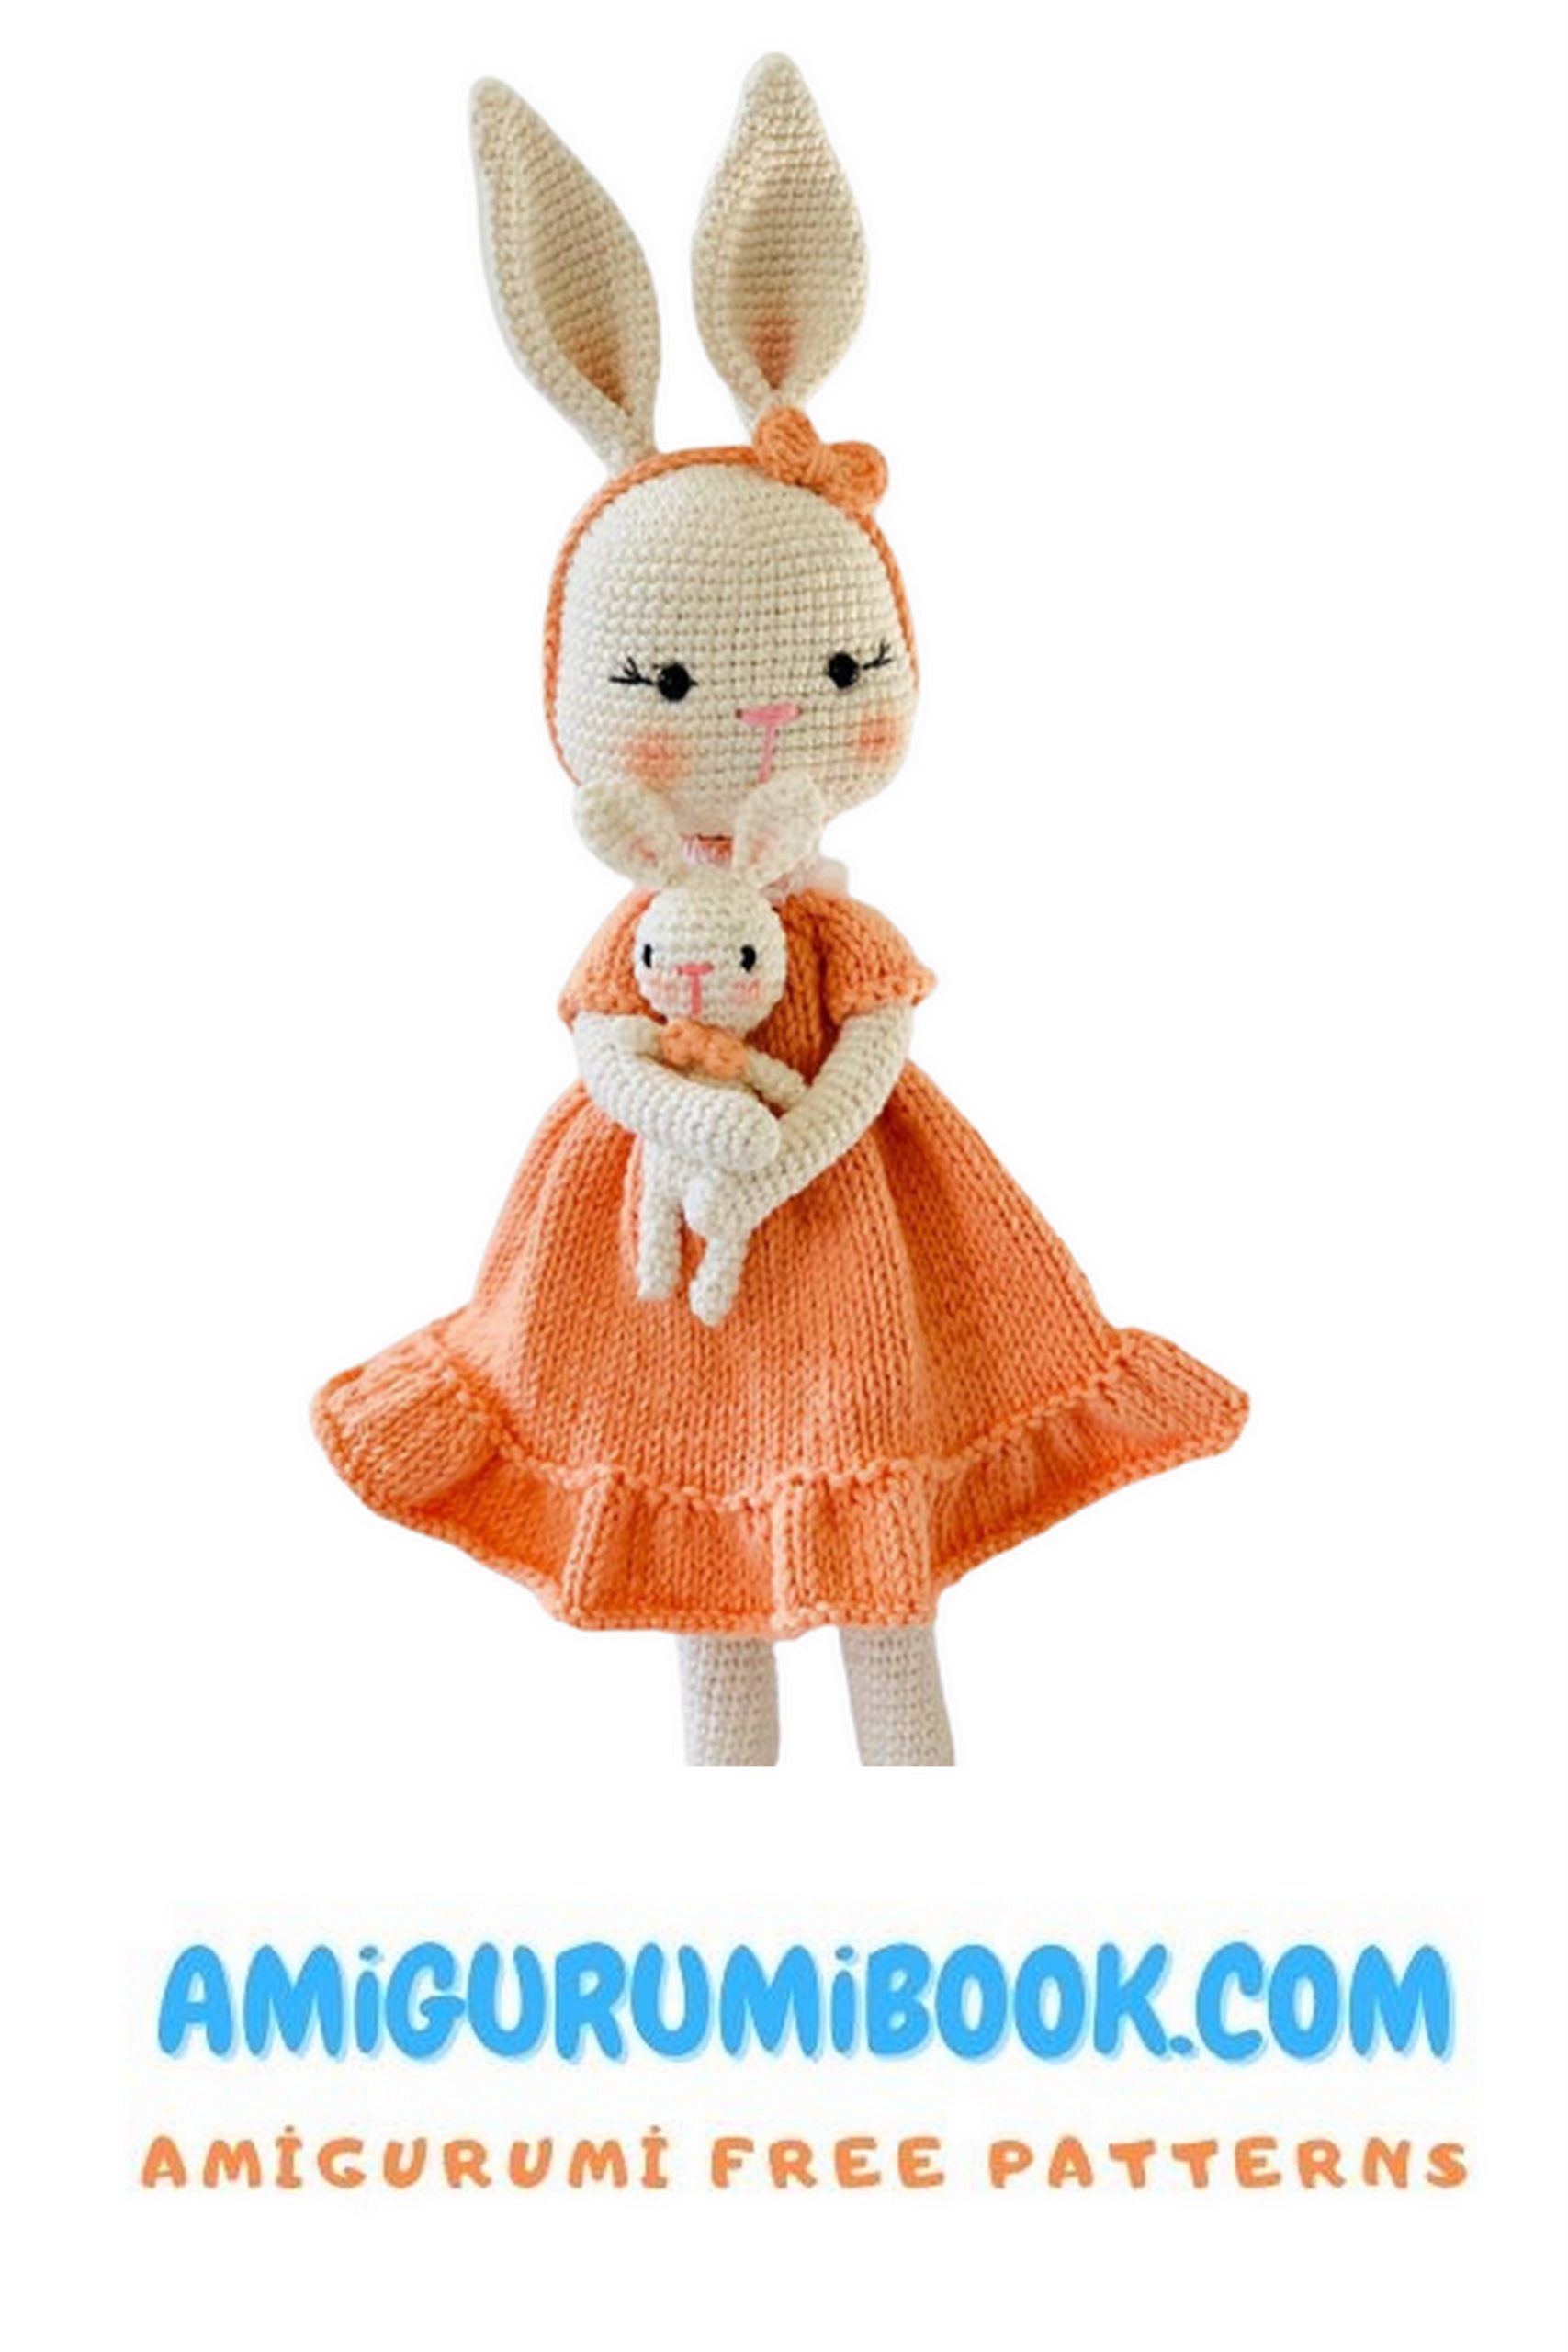
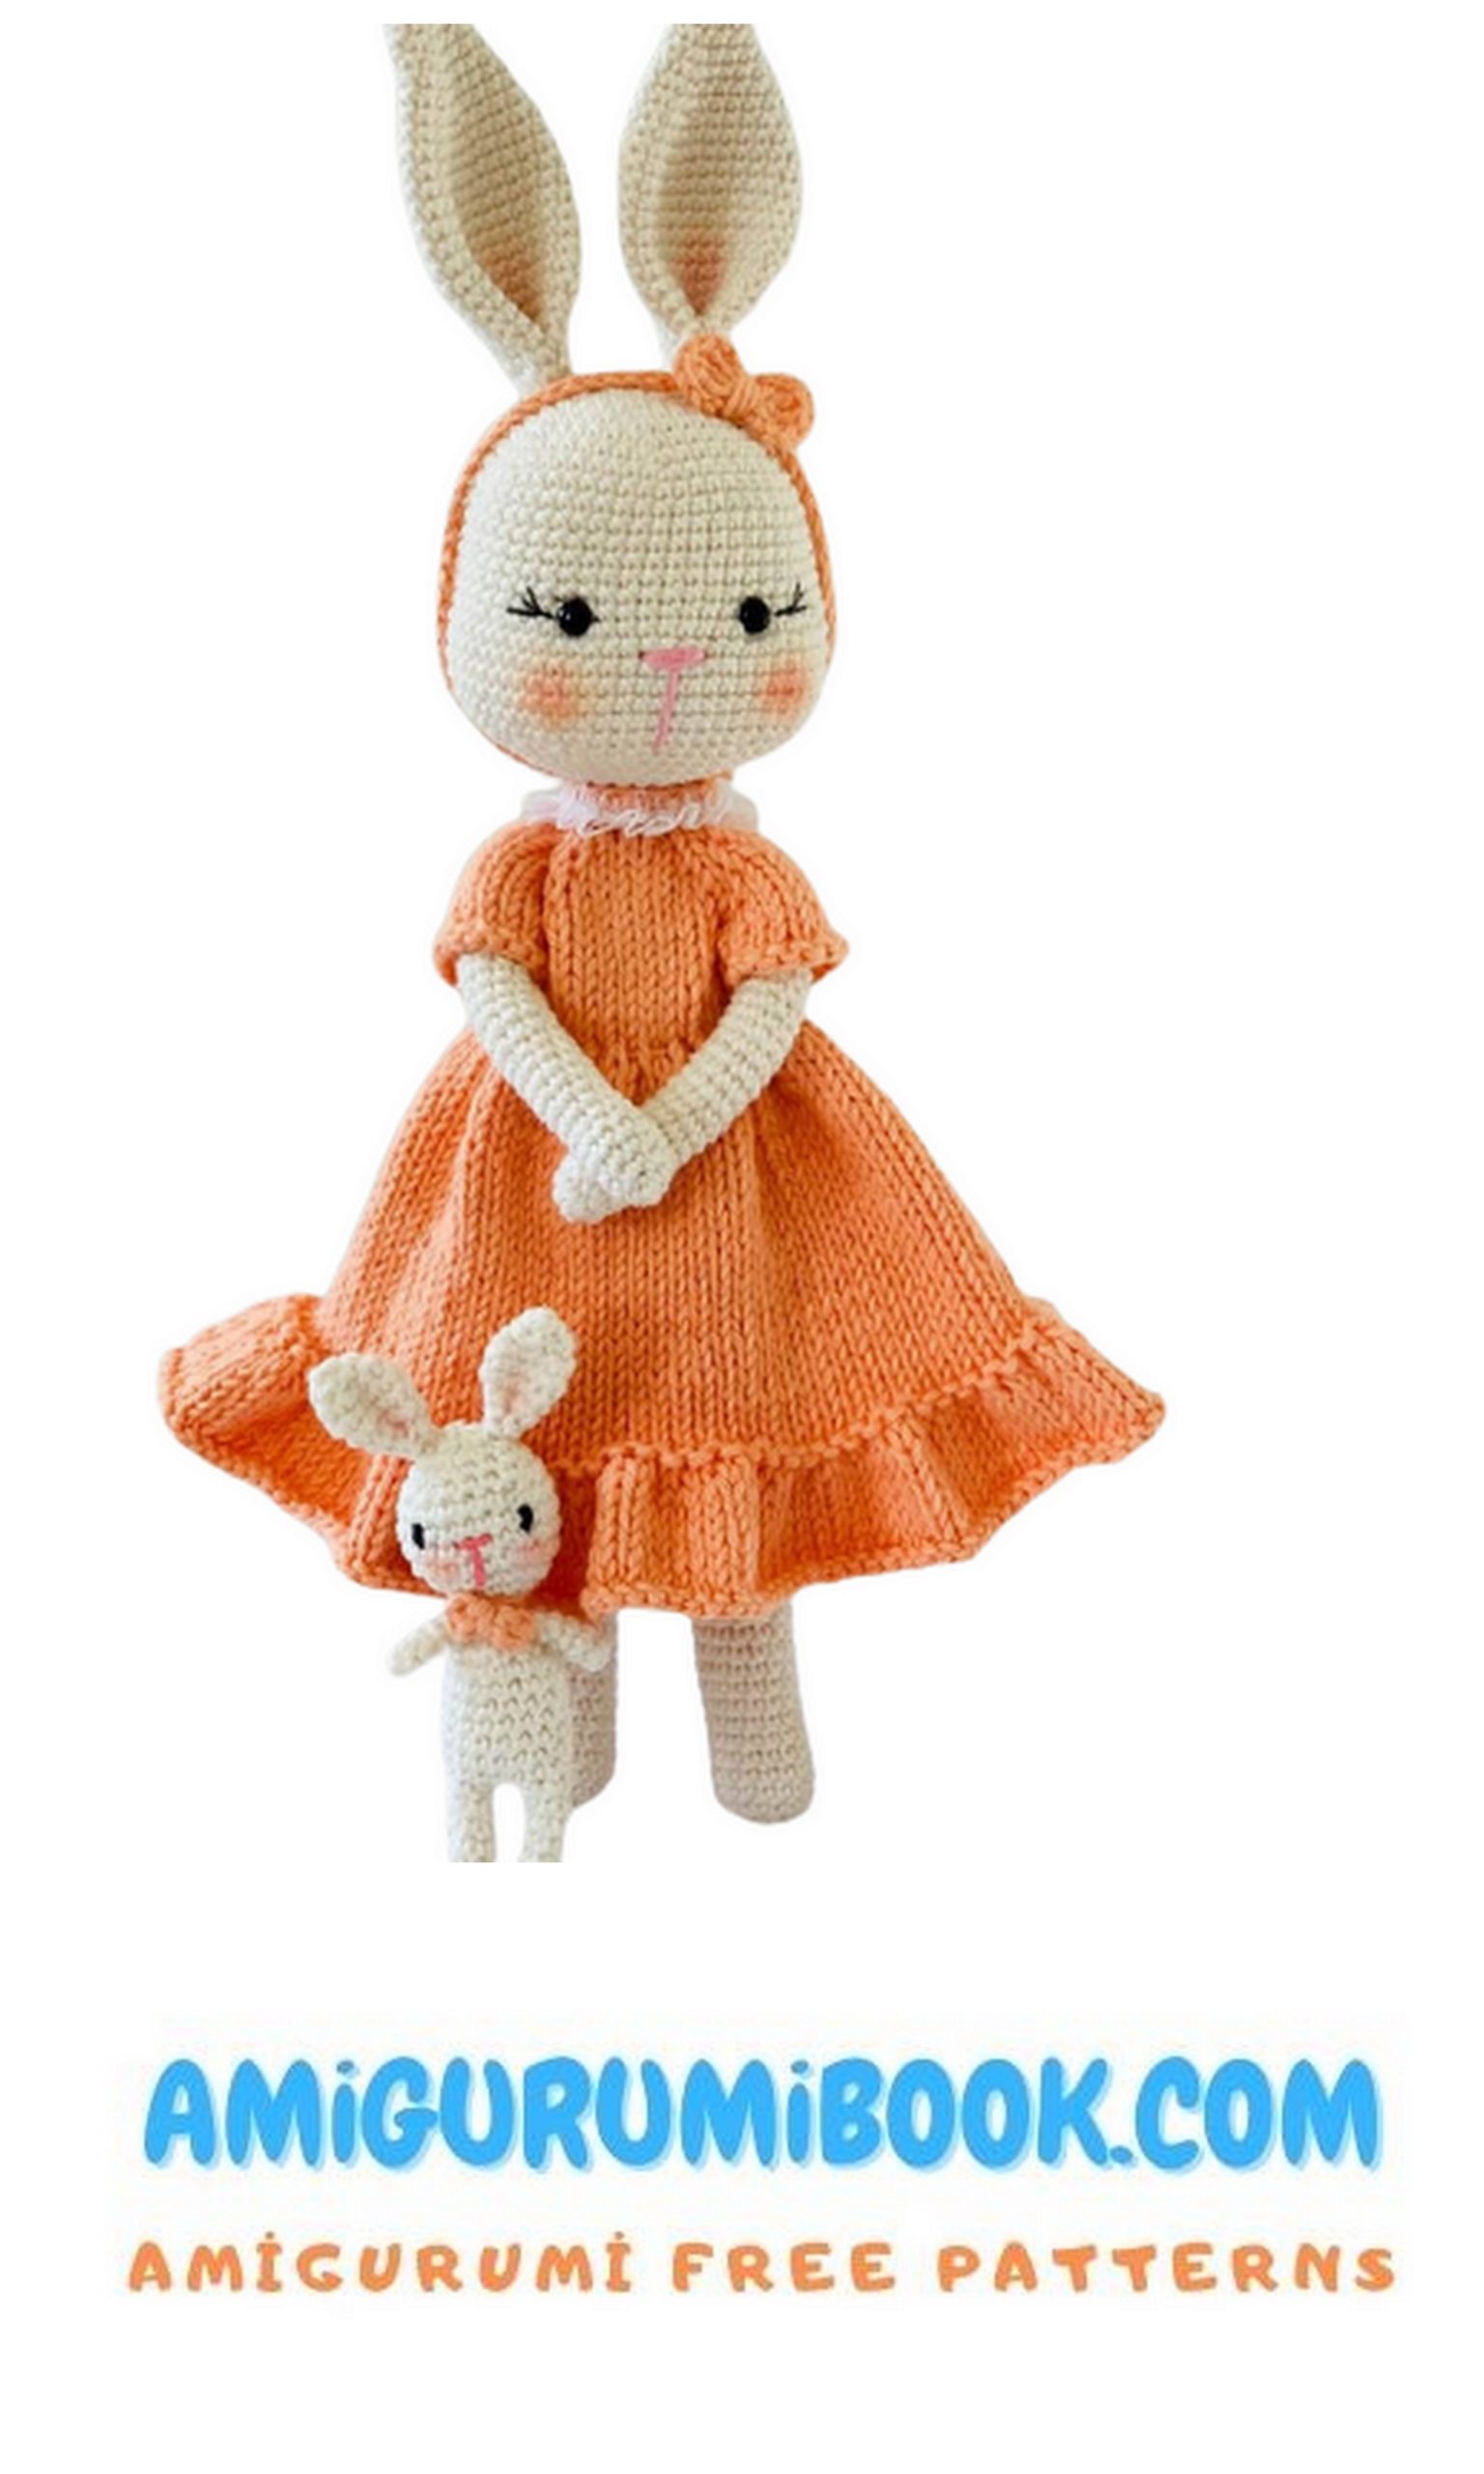
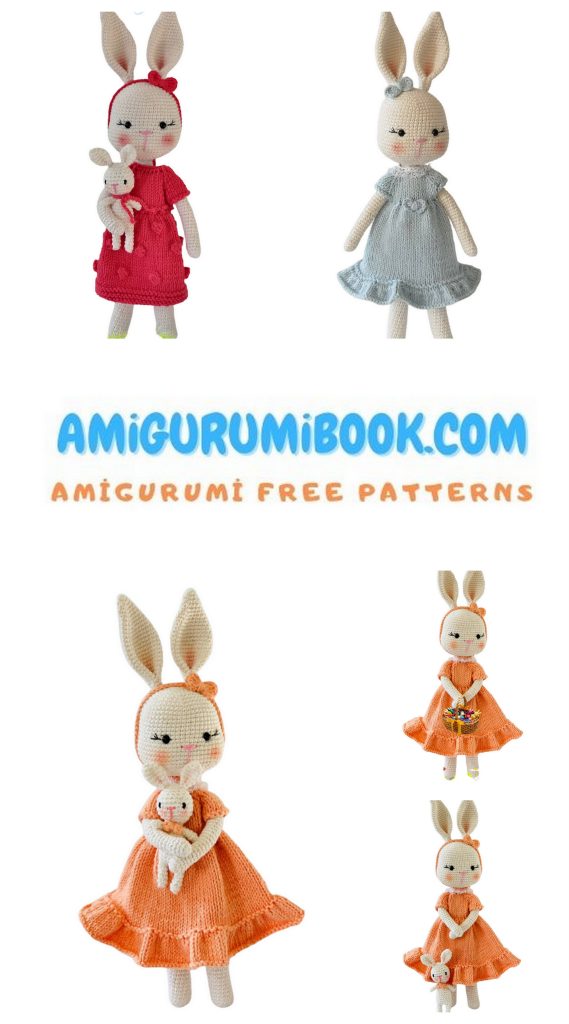
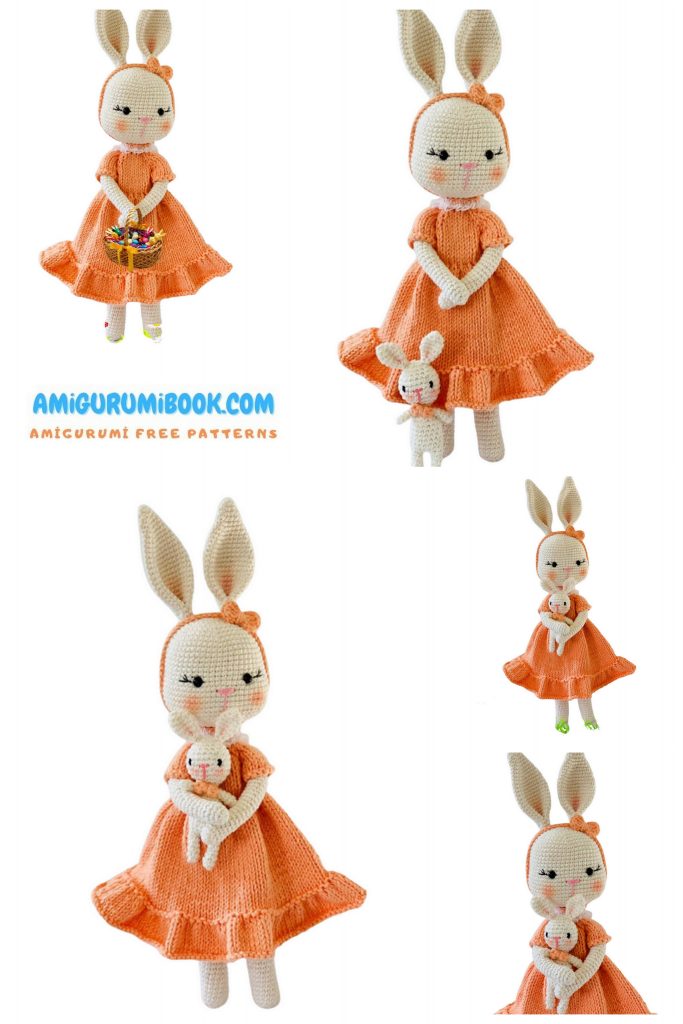
Creating a Girl Bunny Amigurumi is a delightful and rewarding project for crochet enthusiasts of all skill levels. This free pattern provides clear instructions to help you craft an adorable handmade bunny that makes a perfect gift or charming decoration. free crochet patterns – Cute Blue Bunny Amigurumi Free Pattern
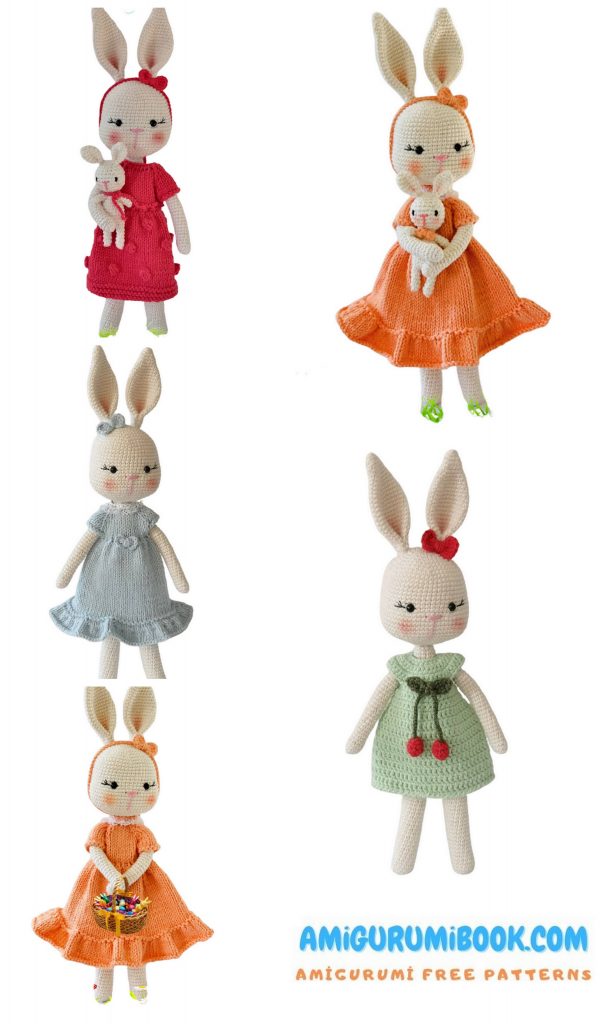
You may also like more amigurumi patterns.
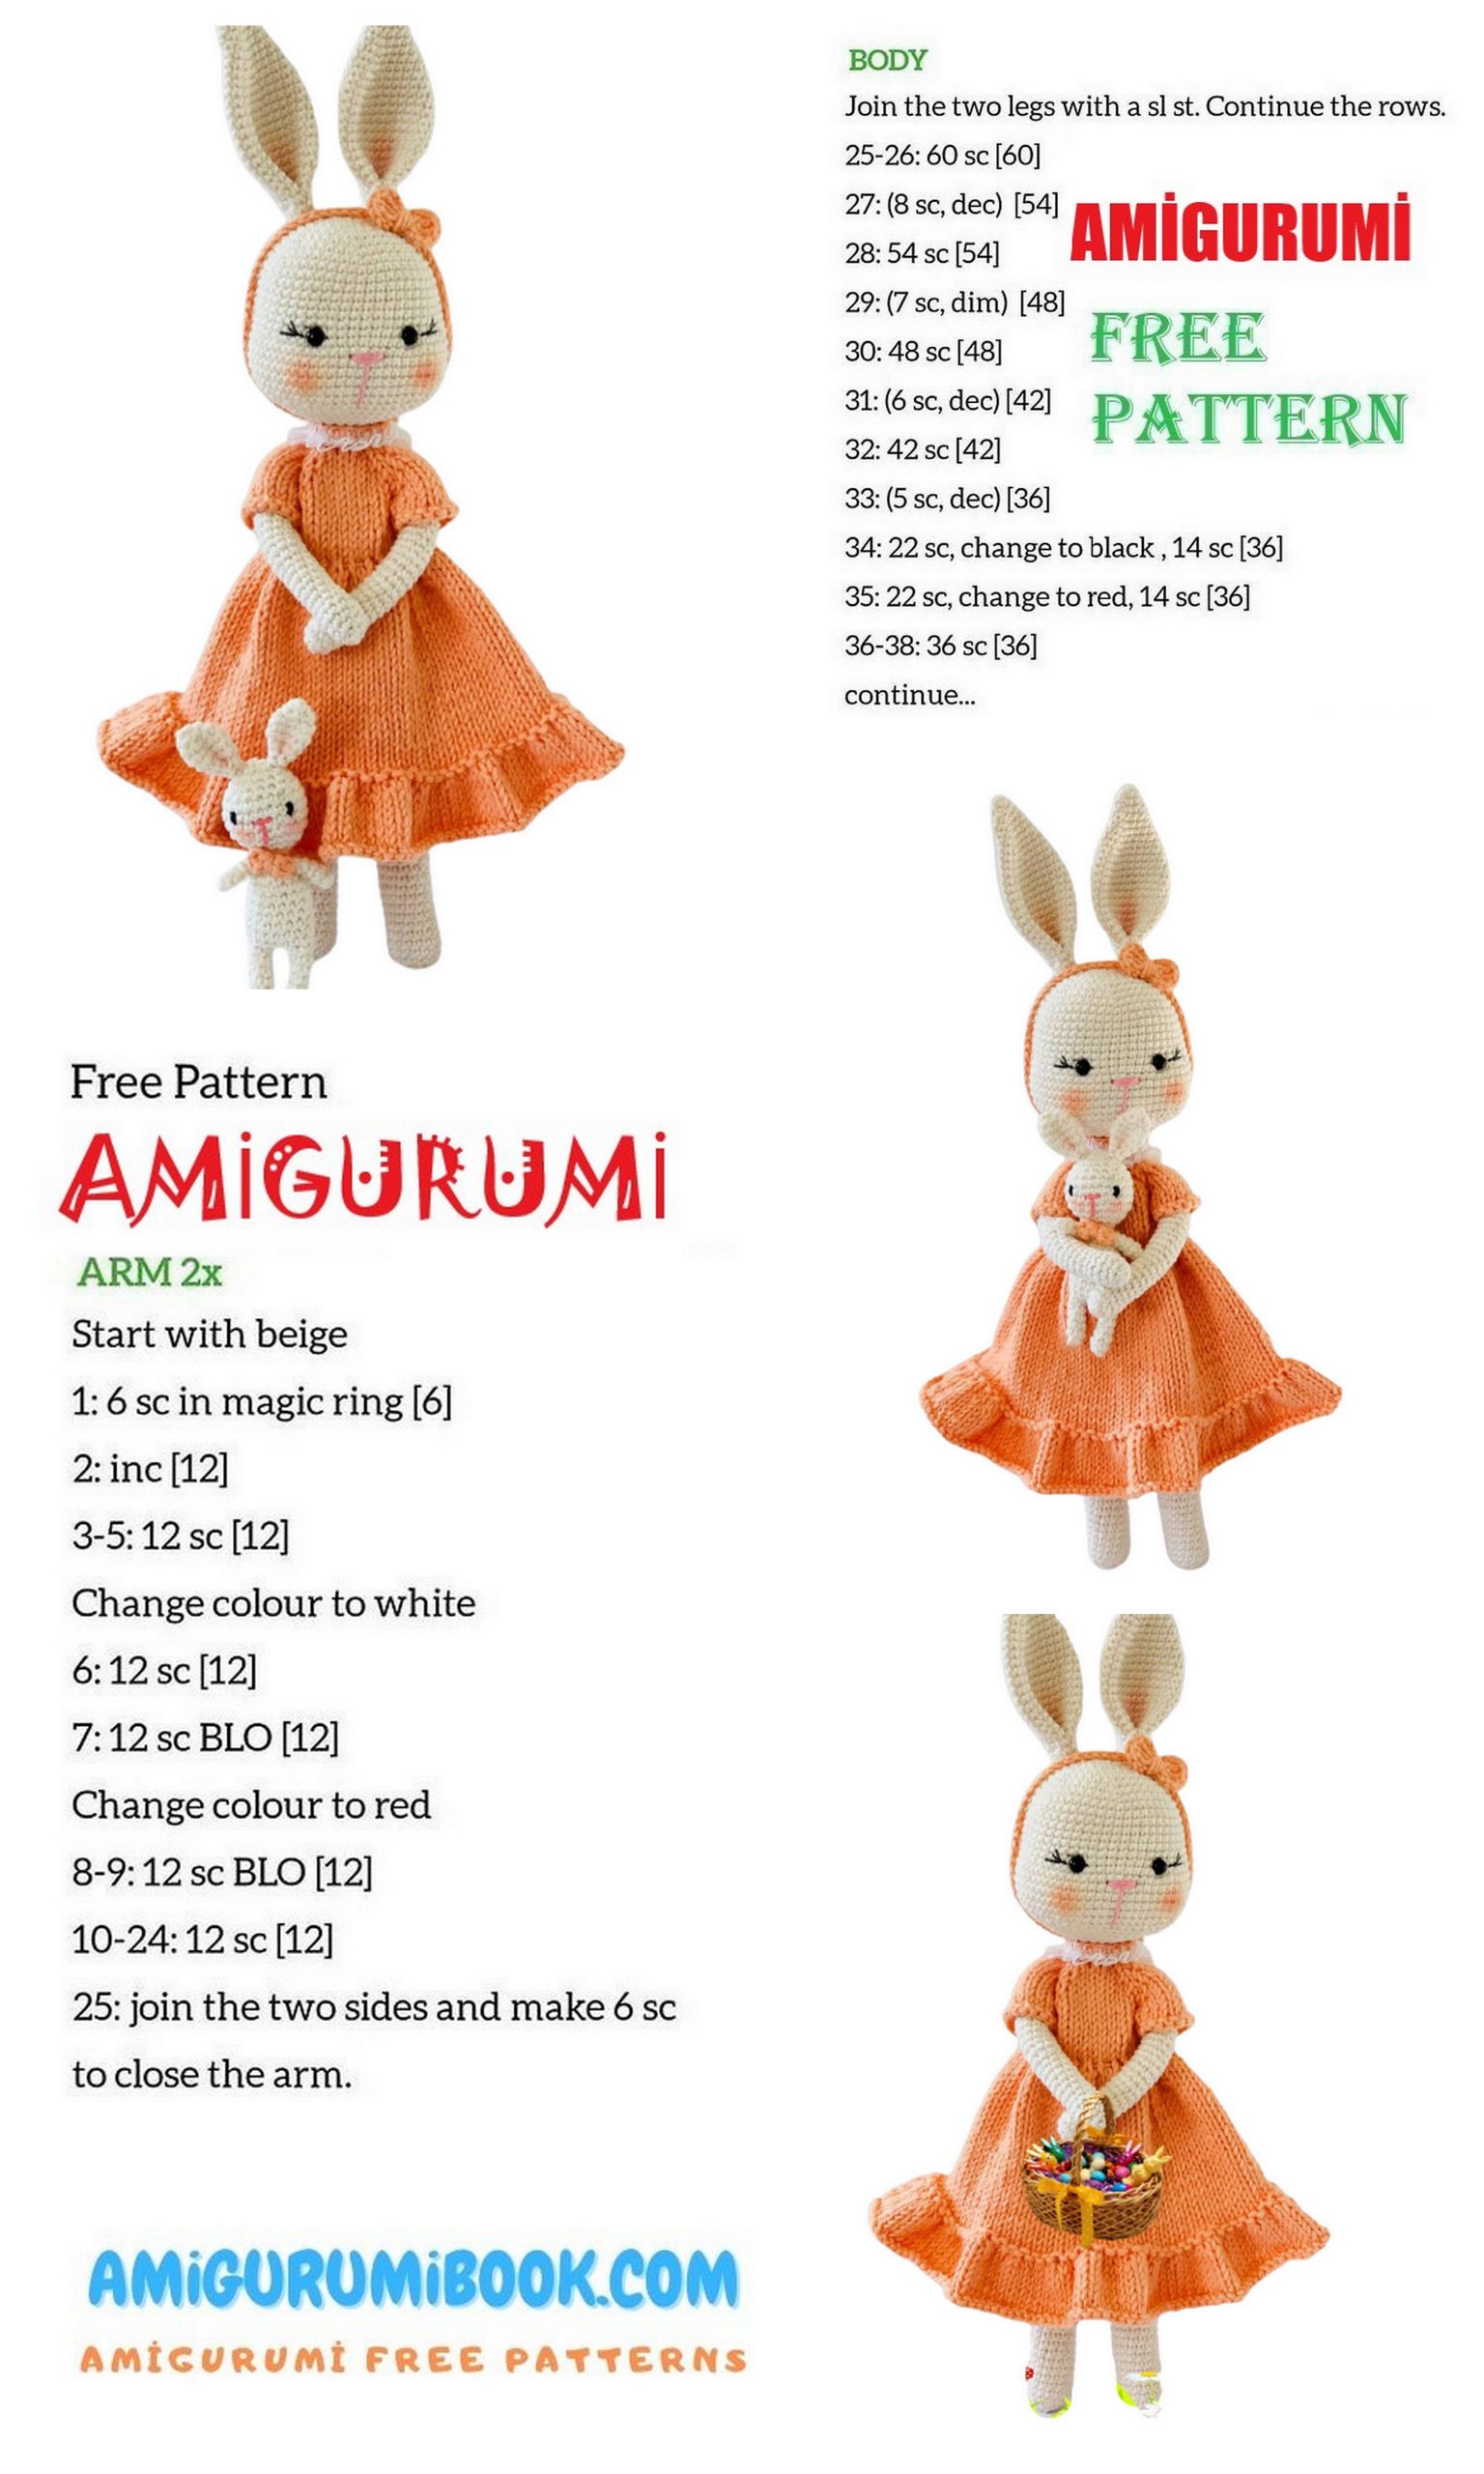
I am sharing the latest Amigurumi free patterns with you. Girl bunny amigurumi free pattern is waiting for you in this article.

Abbreviations
ch: chain
sc: single crochet
dec: decrease
inc: increase
sl-st: slip stitch
Pattern
Head
1) Magic ring into 6sc
2) 6inc. =12
3) 1sc1inc =18
4) 2sc1inc =24
5) 3sc1inc =30
6) 4sc1inc =36
7) 5sc1inc =42
8) 6sc1inc =48
9) 7sc1inc =54
10-18 54sc
19)13sc, 1sc1inc*5.7sc,1sc1inc*5.14sc
20-24) 64 SC
25) 13sc 1sc1dec *5, 7sc, 1sc1dec*5,14sc
26) 7sc1dec=48
27) 6sc1dec=42
28) 5sc1dec=36
29) 4sc1dec=30
30) 3sc1dec=24
31) 2sc1dec=18
32) 1sc1dec=12
33)12sc
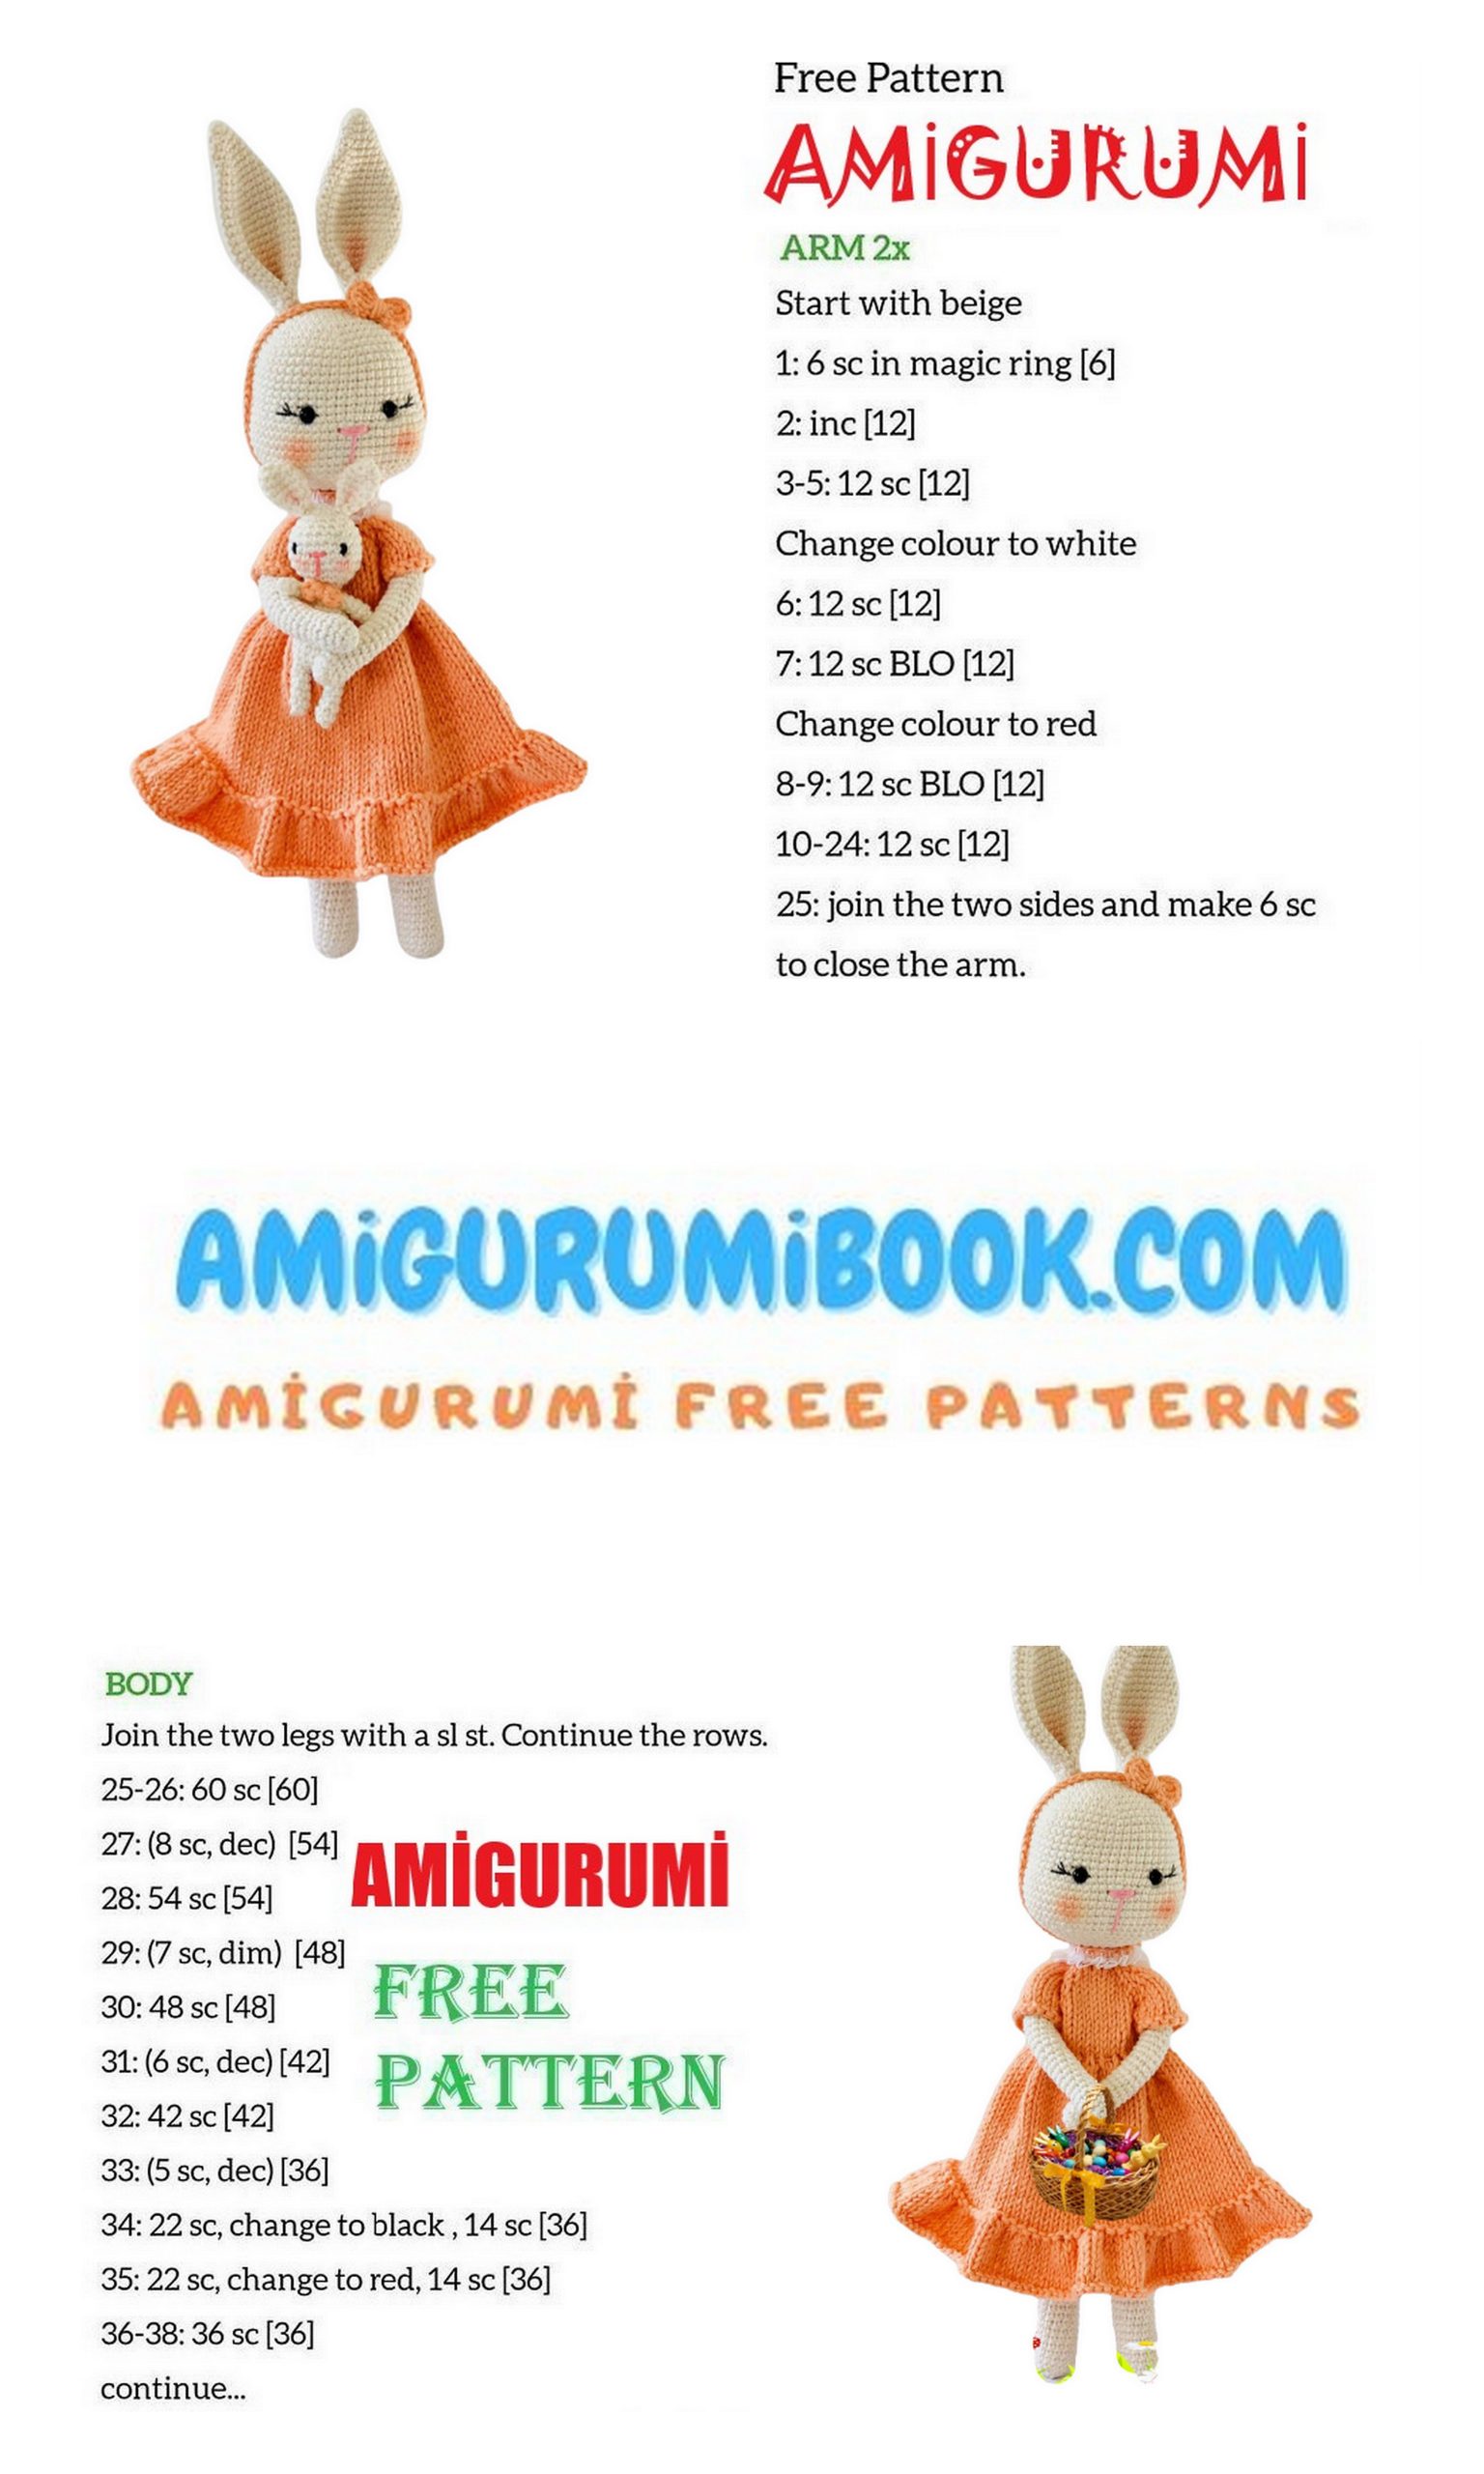
Arms (2 pcs)
1) Magic ring into 5sc
2) 5 inches=10
3-27) 10sc large size, small size 3-24
28)4sc1dec*2=8 Finish, fill upper arm
Leg and Body
1) Magic ring into 5sc
2) 5 inc. =10
3) 1sc1inc = 15
4) 33 rows 15sc large 30 rows for medium size
Body.
1) Combine with 3 chains
3-4)36 sc
5) one decrease from the sides, front and back, 32sc
6-14)32sc
15) one decrease from each side = 30sc
16-20)30sc
21) 3sc1dec=24
22)2sc1dec=18
23) 1sc1dec=12
24 12sc
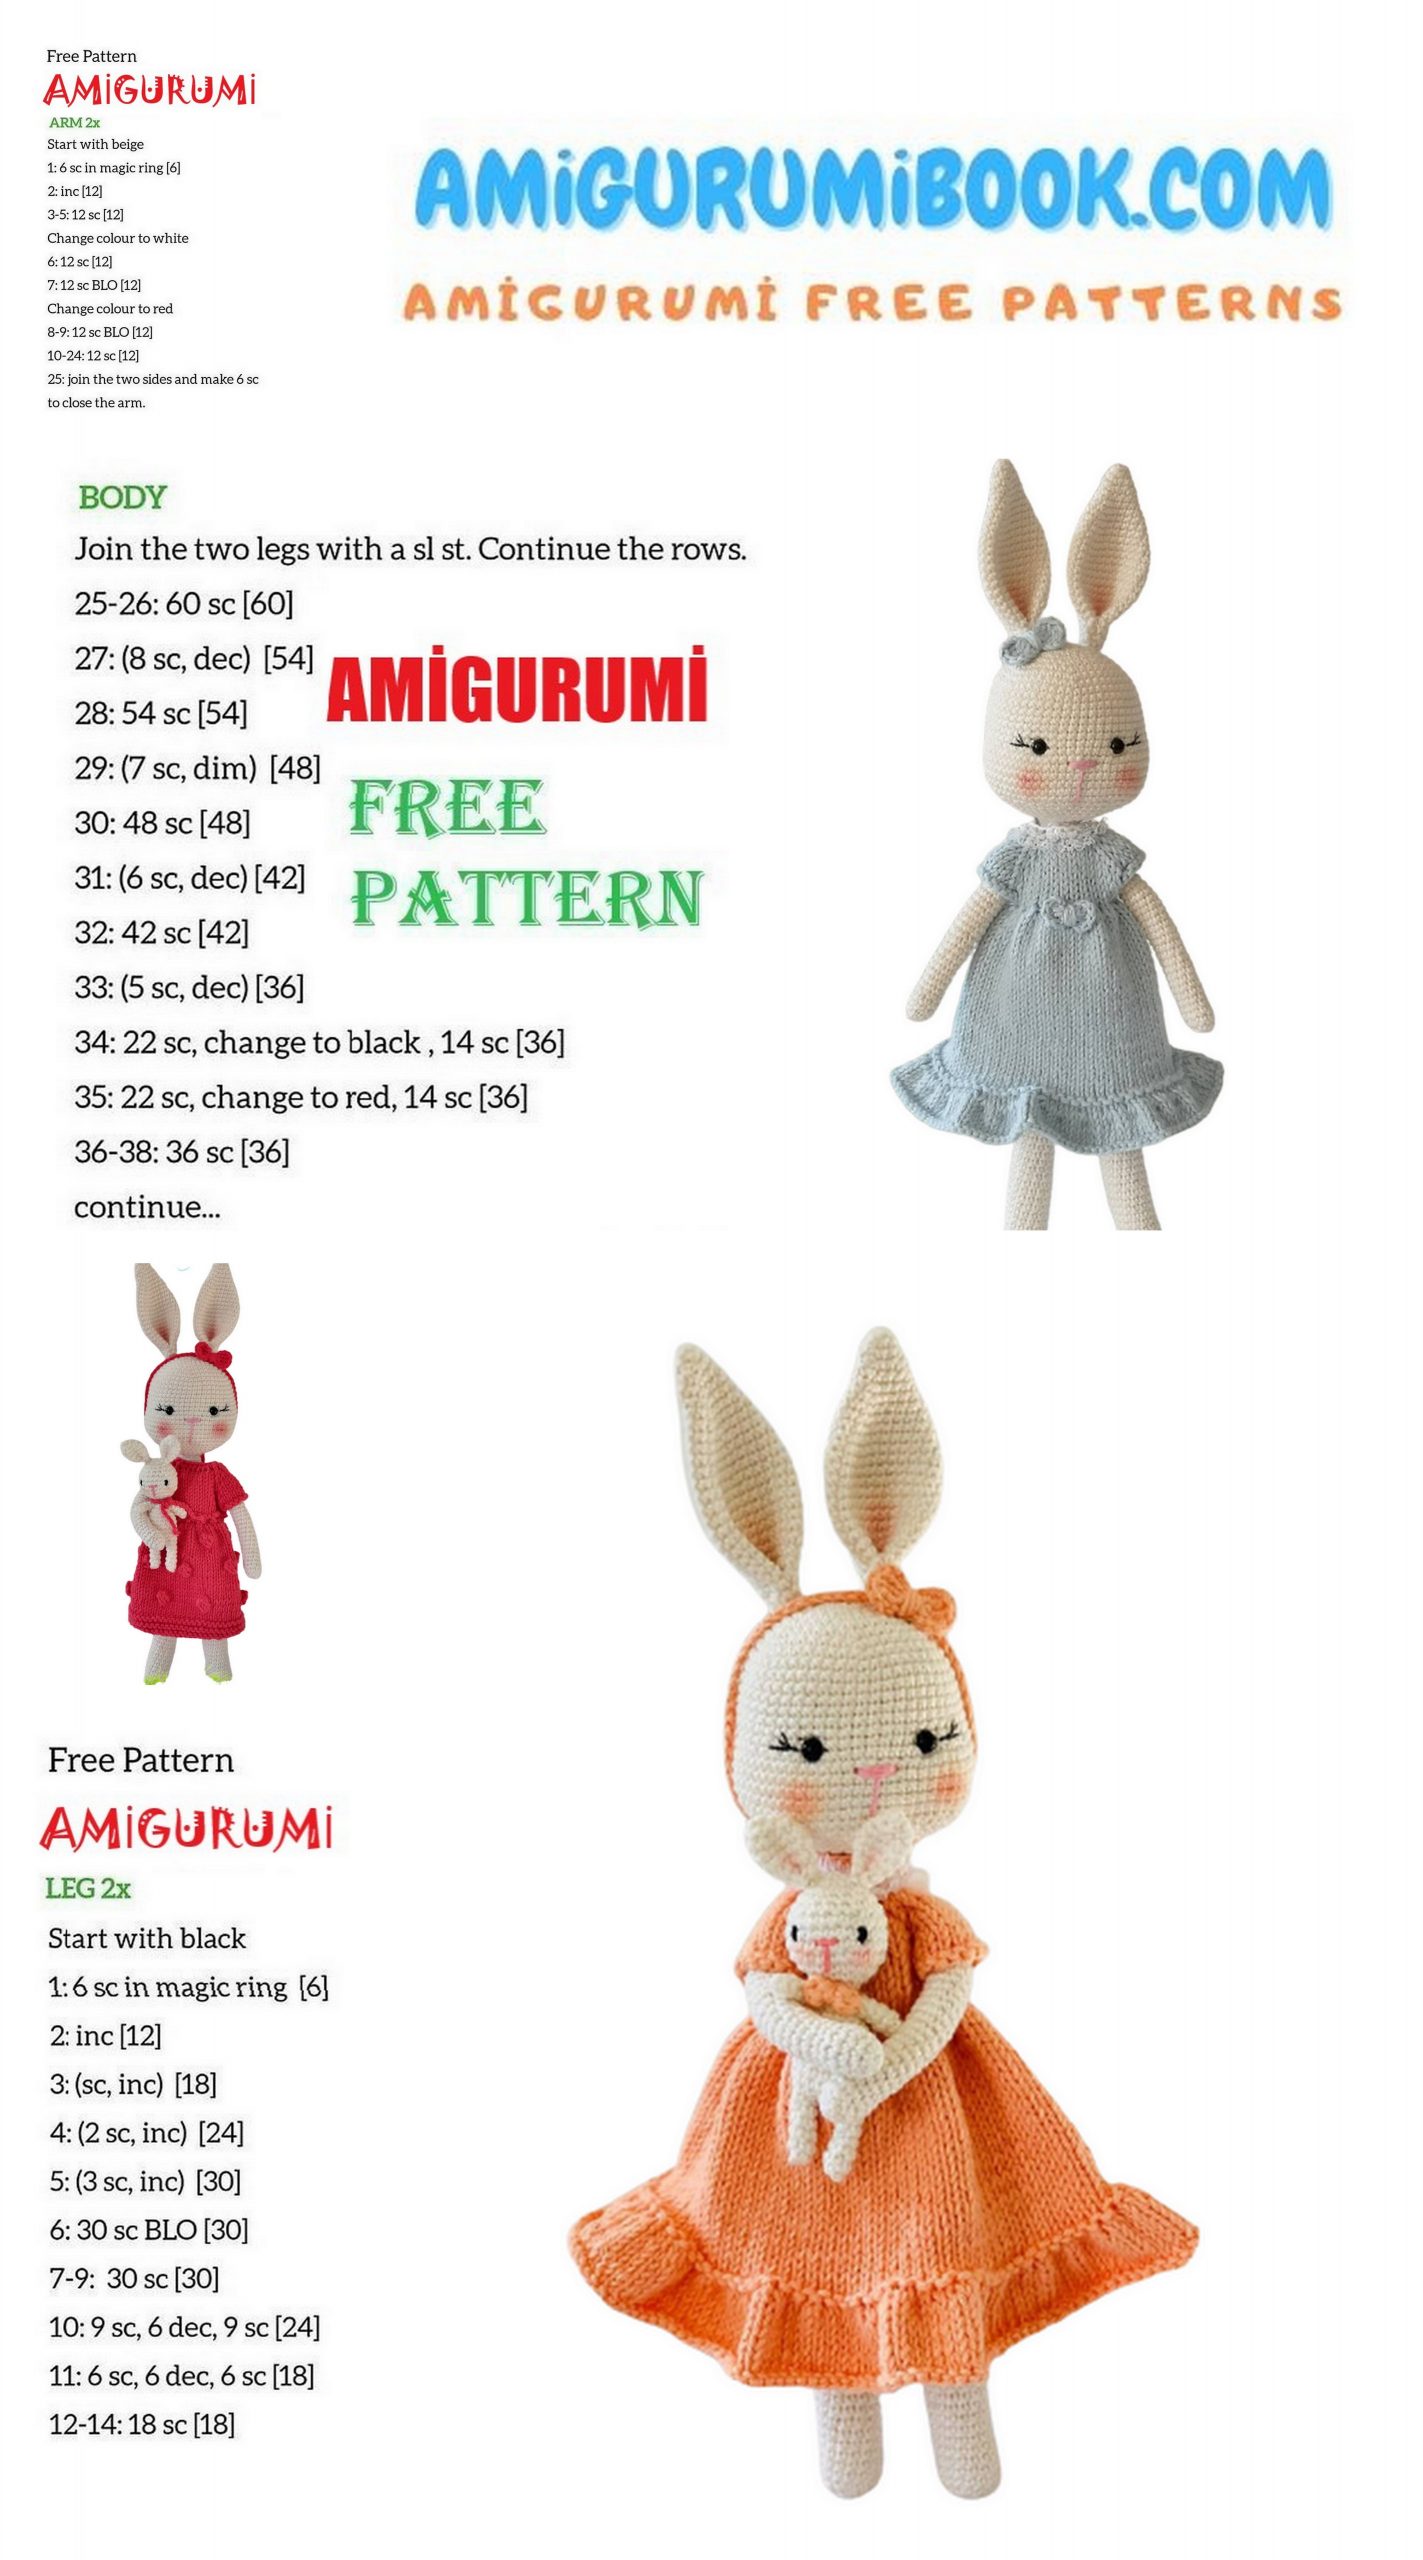
Ears (2 pcs)
1) Magic ring into 6sc
2) 6sc = 6
3) 1sc1inc =9
4)2sc1inc =12
512sc
6) 3sc1inc = 15
7) 4sc1inc =18
8)18SC
9) 5sc1inc =21
10) 21sc
11) 6sc1inc = 24
12) 24sc
13) 7sc1inc=27
14-18)27sc
19) 7sc1dec=24
20-21)24sc
22) 6sc1dec=21
23-24)21sc
25) 5sc1dec=18sc
finish it.
Note. Eyes, attach 10 or 8 mm, leaving 9 loops between 17-18th rows.
Do not forget to draw the eyes and make them soft. Fill in the cheek part more when filling in the cheeks.
I use wire for the neck part so that it does not shake. And I knit 3 more rows of the neck part
Dress
1) Let’s throw 22 stitches
2) Let’s knit 1 row of purl
3) Let’s knit a loop and attach a loop marker to the places shown in the sky 3/1/3/1/6front/1/3/1/3, increase is made in places with a total of 22 marks. Increases are made on the right and left of the loop markers
4) Turn the loops you have knitted purl and knit so that there are no holes
5) Repeat 3 rows (increase by looping)
6) Repeat the 4th row, turn the loops you have knitted.
7) repeat the increments until you have a total of 62 loops
8) arm cut on the front side, knit 9, 13 cut (sleeve), 17 knit, 13 cut, (sleeve) 9 knit
9) purl on the back, knit 3 stitches, (under the arm) 18, knit 3 stitches, (under the arm) 9
10) Remove 3 stitches from 1 stitch on the front side and continue until the end of the row.
11) Knit flat on the front and purl on the back until the dress is the length you want.
12) we are at the hem, knit 1 row of knit on the back side, this ensures that the front is harosha
13) knit 1 on the front, remove 3 loops from 1 loop and continue in this way until the end of the row
14) When the skirt frill is 2.5cm, 1 sl-st, 1 chain with crochet… The whole row is finished.