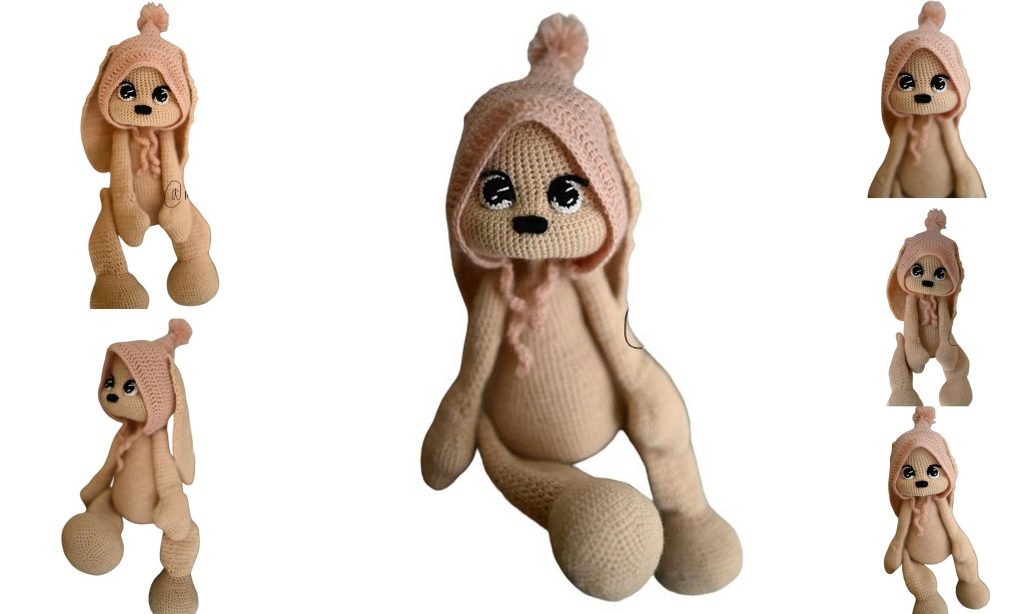
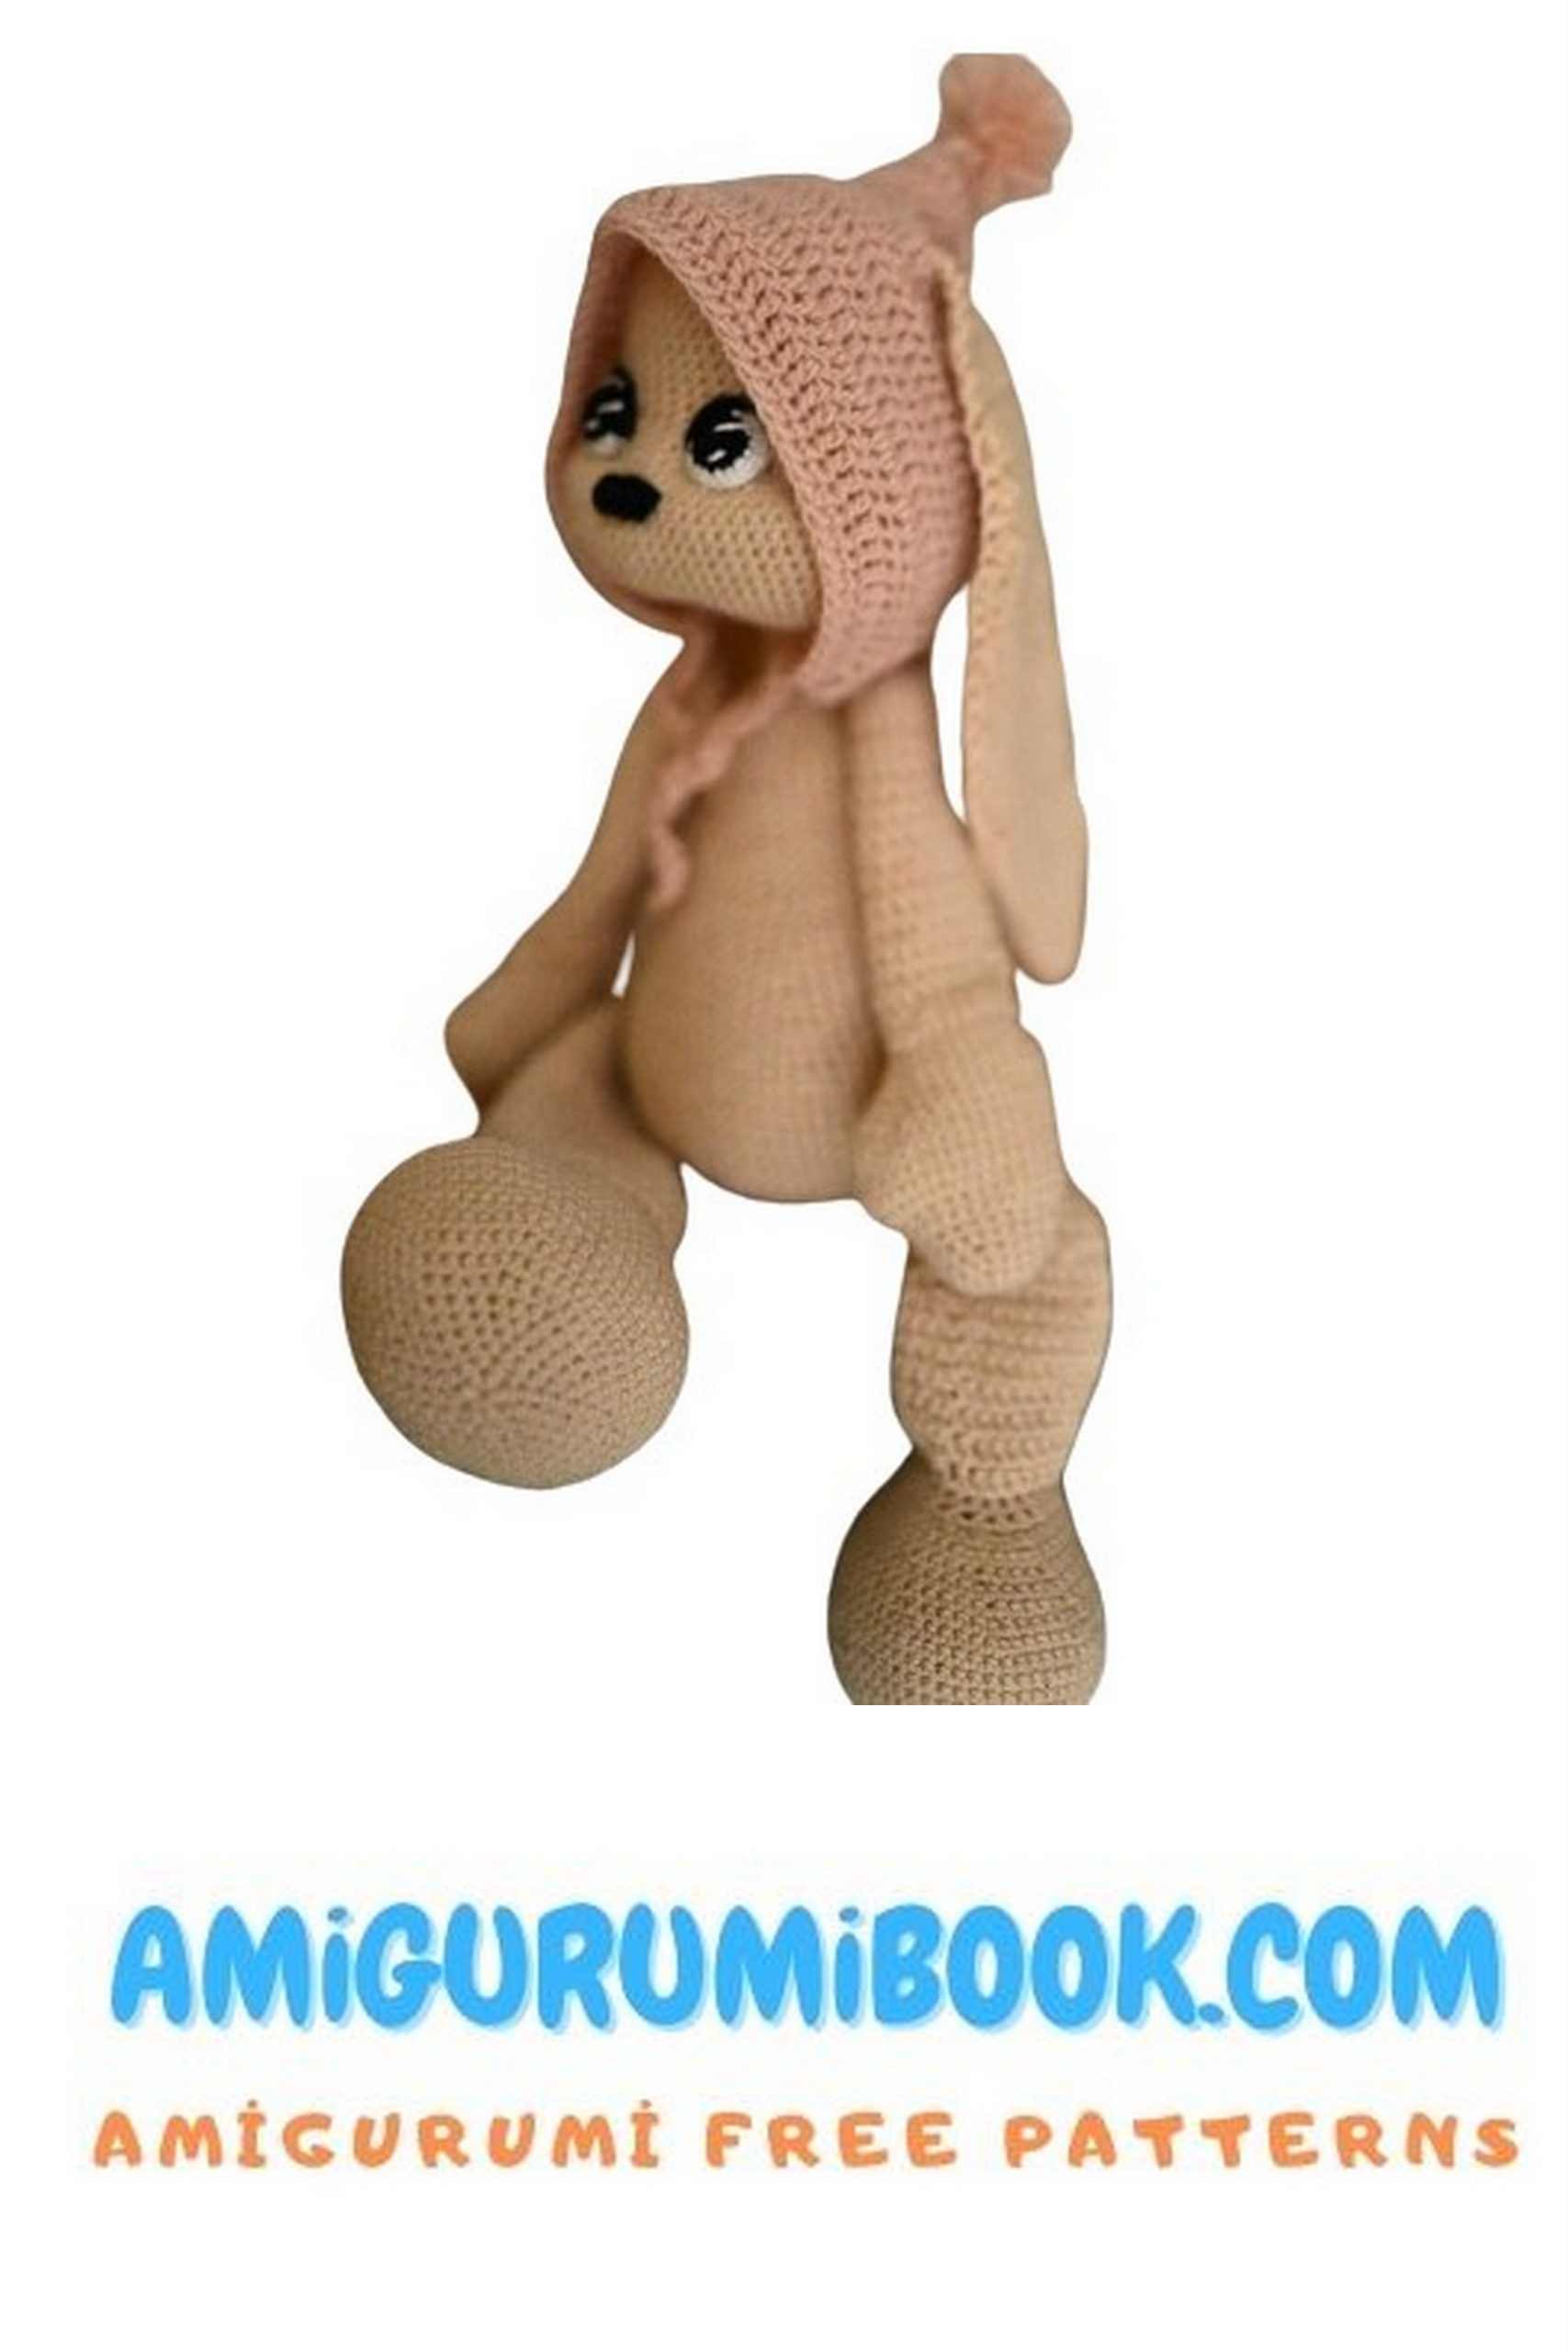
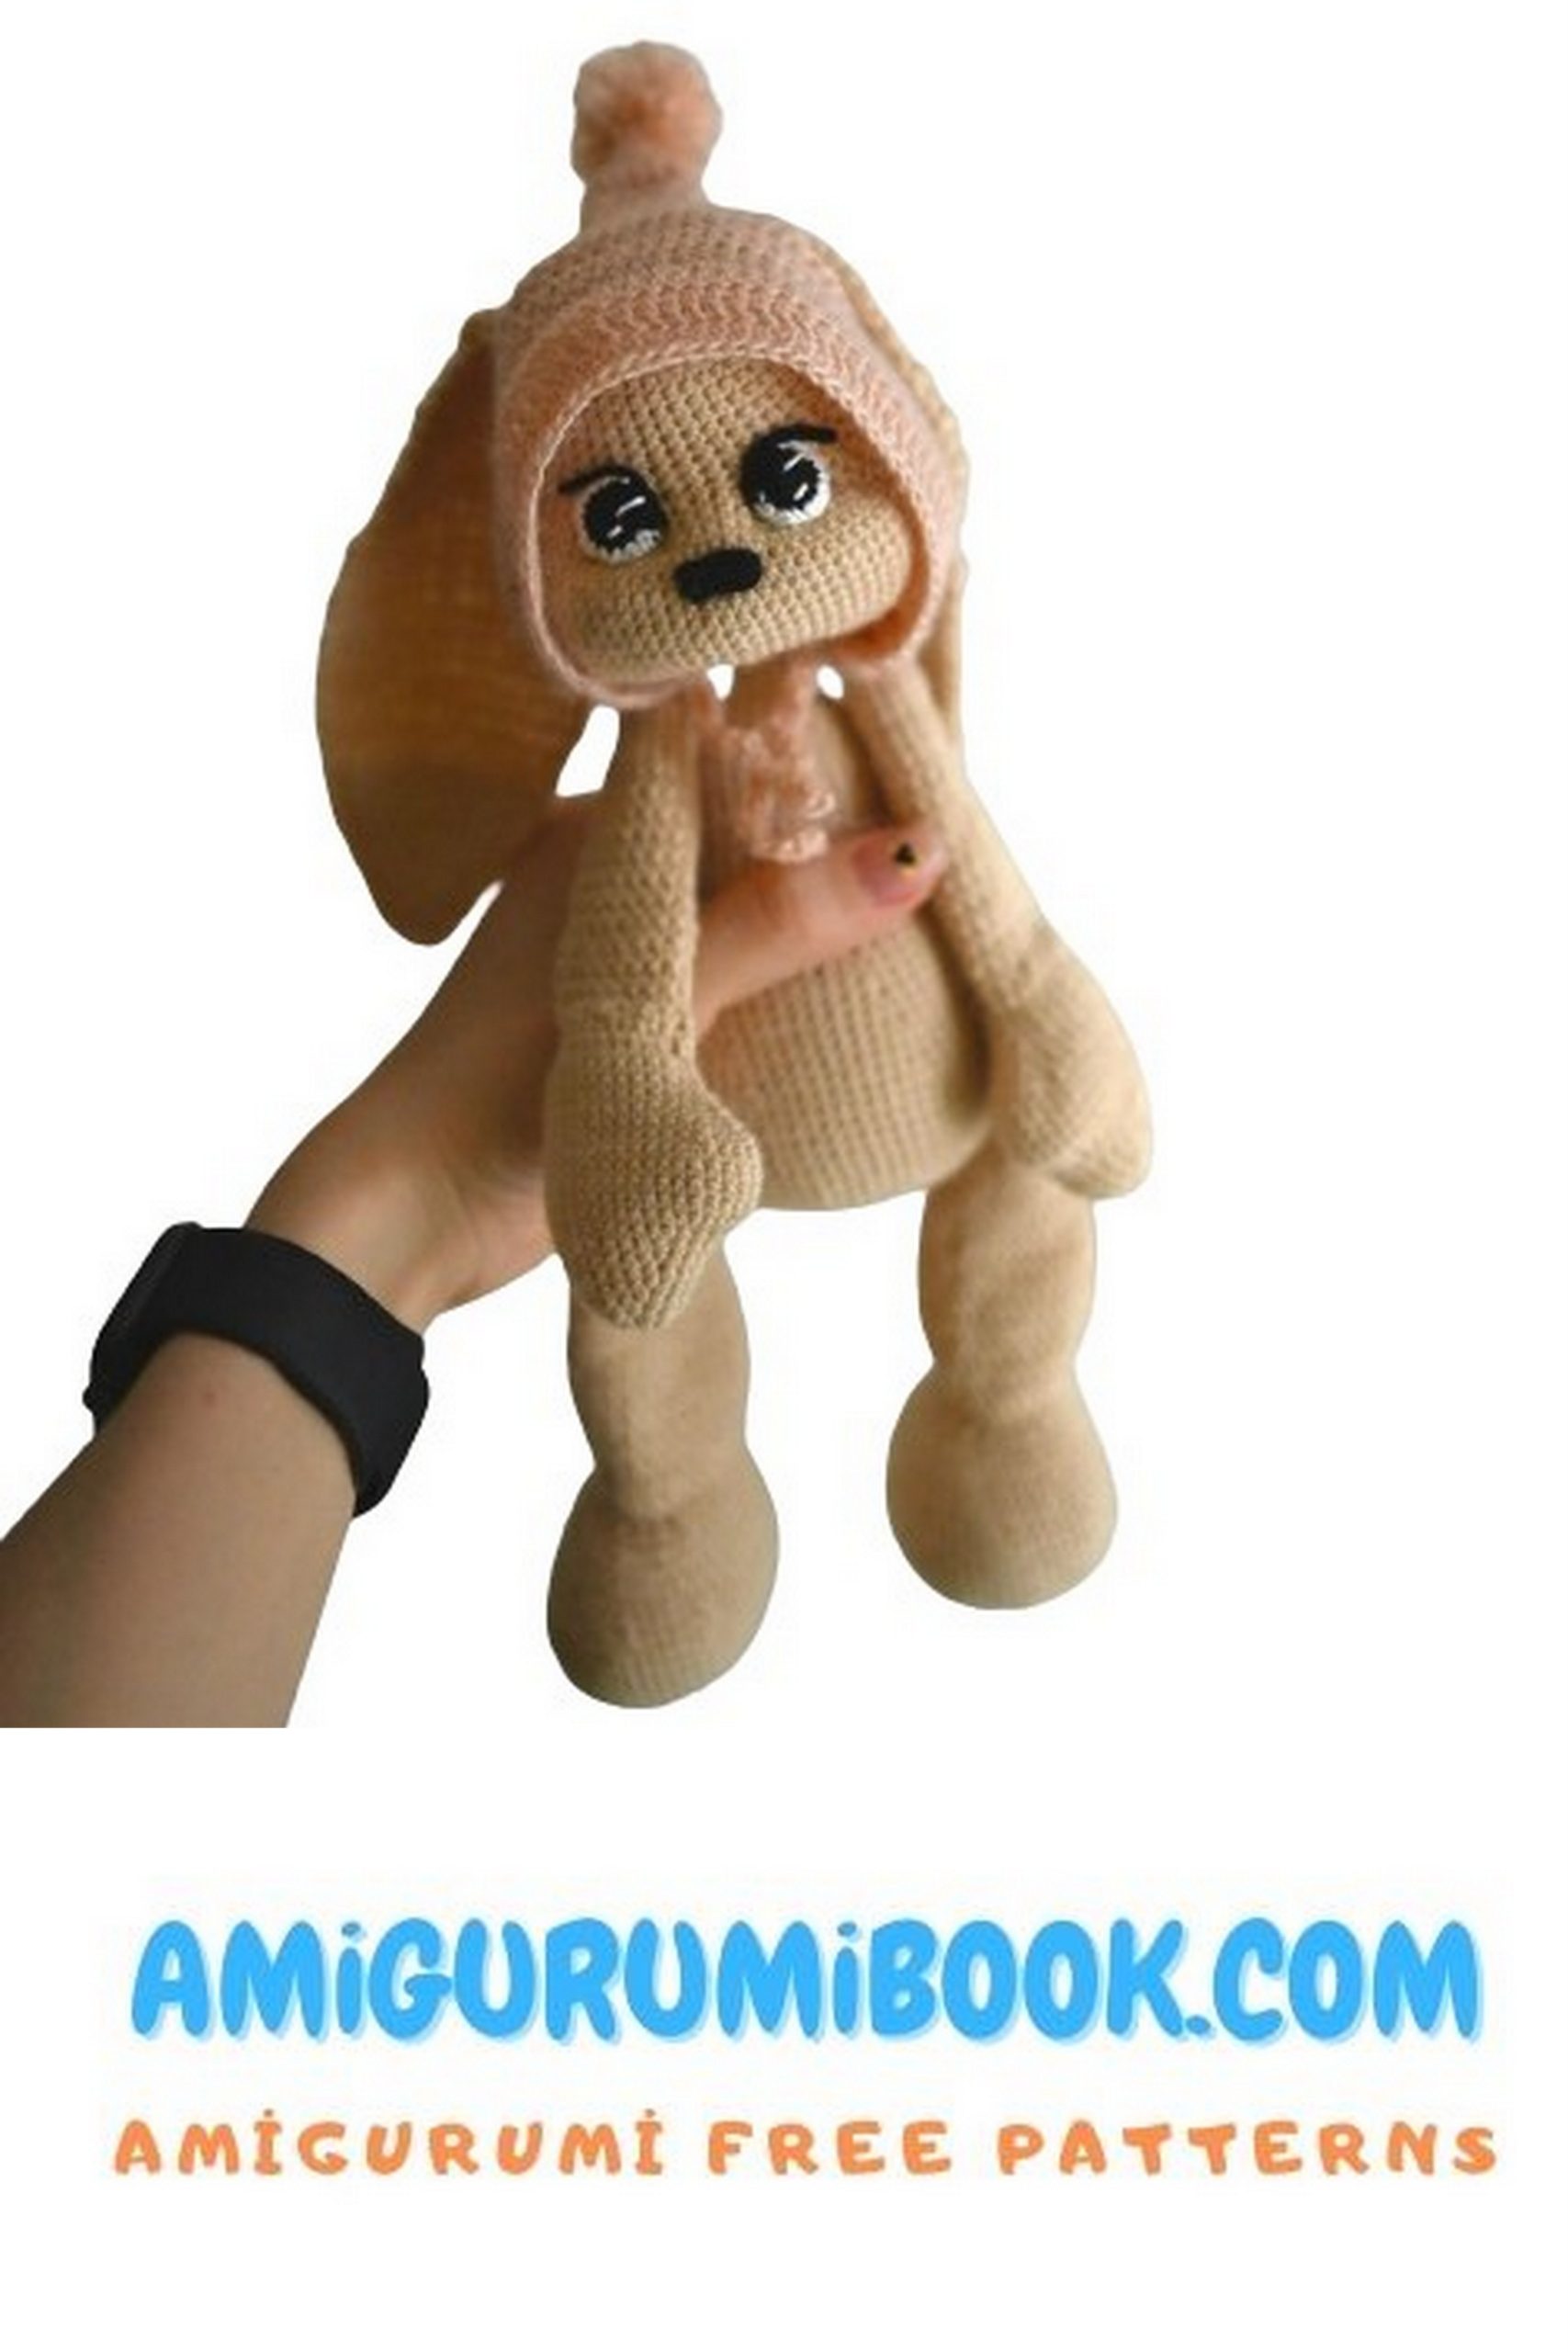
Dive into the world of crochet with our free Large Bunny Amigurumi pattern and crochet tutorial. Whether you’re a seasoned pro or just starting out, this comprehensive guide will walk you through every step of creating an adorable large bunny plushie. With clear instructions and helpful visuals, this project is perfect for crafting enthusiasts of all levels. Start stitching today and bring this lovable amigurumi bunny to life with your own hands!
1000+ Free Amigurumi Patterns – Download App
If you want to add another member to the amigurumi bunny family, I recommend you to see the amigurumi overalls bunny.
Materials – Large Bunny:
Pehorka Australian Merino 423, 270 yarn
Crochet hook 1.75mm
Markers
Buttons 10mm – 4 pcs
Or cotter pins for fastening
Cotton threads IRIS black and white colors
Polyester fiberfill
Aluminum wire, diameter 2mm
Glue moment crystal / UHU universal
Scissors
Pattern of a Large Bunny
Paws (Part 1) – 2 pieces
1: 6 sc in MR (Magic Ring)
2: 6 inc = 12
3: (sc, inc) * 6 = 18
4: (2 sc, inc) * 6 = 24
5: (3 sc, inc) * 6 = 30
6: (4 sc, inc) * 6 = 36
7: (2 sc, inc) * 6, 18 sc = 42
8: (3 sc, inc) * 6, 18 sc = 48
9: (4 sc, inc) * 3, 11 sc, (4 sc, inc) * 3, 7 sc = 54
10: (5 sc, inc) * 3, 11 sc, (5 sc, inc) * 3, 7 sc = 60
Place marker. We will orient ourselves on the beginning of the row.
11-16 rows crochet 60 sc each.
17: (5 sc, dec) * 3, 11 sc, (5 sc, dec) * 3, 7 sc = 54
18: (4 sc, dec) * 3, 11 sc, (4 sc, dec) * 3, 7 sc = 48
19: 48 sc
20: (3 sc, dec) * 3, 11 sc, (3 sc, dec) * 3, 7 sc = 42
21: 42 sc
22: (2 sc, dec) * 3, 30 sc = 39
23: 6 dec, 27 sc = 33
24: 33 sc
Next row crochet in the back loops of the stitches of the previous row.
25: 33 sc
26: 3 dec, (3 sc, dec) * 4, 4 sc = 26
Stuff the part.
27: 13 dec
28: 6 dec
Stuff the part, close the opening and hide the thread.
Paws (Part 2) – Lace pattern. 2 pieces
Insert thread (preferably near the heel).
1: 2 ch, 8 sc, dec, (9 sc, dec) * 2, sl st = 30
2-7: 2 ch, 29 sc, sl st = 30
8: 2 ch, 7 sc, dec, (8 sc, dec) * 2, sl st = 27
9-10: 2 ch, 26 sc, sl st = 27
11: 2 ch, 6 sc, dec, (7 sc, dec) * 2, sl st = 24
12-13: 2 ch, 23 sc, sl st = 24
14: 2 ch, 5 sc, dec, (6 sc, dec) * 2, sl st = 21
15-16: 2 ch, 20 sc = 21
17-18: 21 hdc = 21
19: (5 hdc, dec) * 3 = 18
20-21: 18 hdc
22: (4 hdc, dec) * 3 = 15
23-24: 15 hdc
25: (3 hdc, dec) * 3 = 12
26: 6 dec
Draw the opening closed and hide the thread. Do not stuff.
Body – Large Bunny
1: 6 sc in MR
2: 6 inc = 18
3: (sc, inc) * 6 = 18
4: (2 sc, inc) * 6 = 24
5: (3 sc, inc) * 6 = 30
6: (4 sc, inc) * 6 = 36
7: (5 sc, inc) * 6 = 42
8: (6 sc, inc) * 6 = 48
9: (7 sc, inc) * 6 = 54
10: (8 sc, inc) * 6 = 60
11: 3 sc, inc, (9 sc, inc) * 5 = 66
12: (5 sc, inc) * 6, 30 sc = 72
After crocheting the 15th row, place markers on the 1st and 35th stitches. We will attach the paws here.
13-18: crochet 72 sc each
19: (10 sc, dec) * 6 = 66
20-21: 66 sc
22: (9 sc, dec) * 6 = 60
23-24: 60 sc
25: (8 sc, dec) * 6 = 54
26-27: 54 sc
Attach the paws to the body.
Insert cotter pins around the 5th row from the top.
Pass it through the loop where the marker is placed.
Secure it firmly.
Spread the two paws, twisting them in different directions.
28: (7 sc, dec) * 6 = 48
29-30: 48 sc
Insert the aluminum wire frame for the head stability. And start stuffing the body.
Aluminum wire with a diameter of 2mm, 30 cm folded in half forming a triangle. Twist the corners of the triangle in the area of attachment.
31: (6 sc, dec) * 6 = 42
32-34: 42 sc
35: (5 sc, dec) * 6 = 36
36-38: 36 sc
Note: First stuff the front part with an emphasis, and the straighter our frame stands, the better. I recommend seating our toy during stuffing for proper distribution of fiberfill.
39: (4 sc, dec) * 6 = 30
40-42: 30 sc
43: (8 sc, dec) * 3 = 27
44: (7 sc, dec) * 3 = 24
45: (6 sc, dec) * 3 = 21
46: (5 sc, dec) * 3 = 18
47: (sc, dec) * 6 = 12
48-51: 12 sc
Head – Large Bunny
Counting from a new row, but continuing the same stitch pattern from the neck.
1: (sc, inc) * 6 = 18
2: sc, (sc, inc) * 3, 5 sc, (sc, inc) * 3 = 24
3: sc, (2 sc, inc) * 3, 5 sc,(2 sc, inc) * 3 = 30
4: sc, (3 sc, inc) * 3, 5 sc, (3 sc, inc) * 3 = 36
5: sc, (4 sc, inc) * 3, 5 sc, (4 sc, inc) * 3 = 42
6: sc, (5 sc, inc) * 3, 5 sc, (5 sc, inc) * 3 = 48
7: sc, (6 sc, inc) * 3, 5 sc, (6 sc, inc) * 3 = 54
8: sc, (7 sc, inc) * 3, 5 sc, (7 sc, inc) * 3 = 60
9: sc, (8 sc, inc) * 3, 5 sc, (8 sc, inc) * 3 = 66
10: sc, (9 sc, inc) * 3, 5 sc, (9 sc, inc) * 3 = 72
11: 5 sc, inc, 10 sc, inc, 48 sc, inc, 5 sc = 75
12-21: 75 sc
22: 2 sc, (4 sc, dec) * 3, 37 sc, (4 sc, dec) * 3 = 69
23: 2 sc, (3 sc, dec) * 3, 37 sc, (3 sc, dec) * 3 = 63
24: 2 sc, (2 sc, dec) * 3, 37 sc, (2 sc, dec) * 3 = 57
25: 2 sc, (sc, dec) * 3, 37 sc, (sc, dec) * 3 = 51
26-27: 51 sc
28: 12 sc, (8 sc, dec) * 3, 10 sc = 48
Start stuffing the head.
29-33: 48 sc
34: (6 sc, dec) * 6 = 42
35: (5 sc, dec) * 6 = 36
36: (4 sc, dec) * 6 = 30
37: (3 sc, dec) * 6 = 24
38: (2 sc, dec) * 6 = 18
39: (sc, dec) * 6 = 12
40: 6 dec
Draw the opening closed and hide the thread.
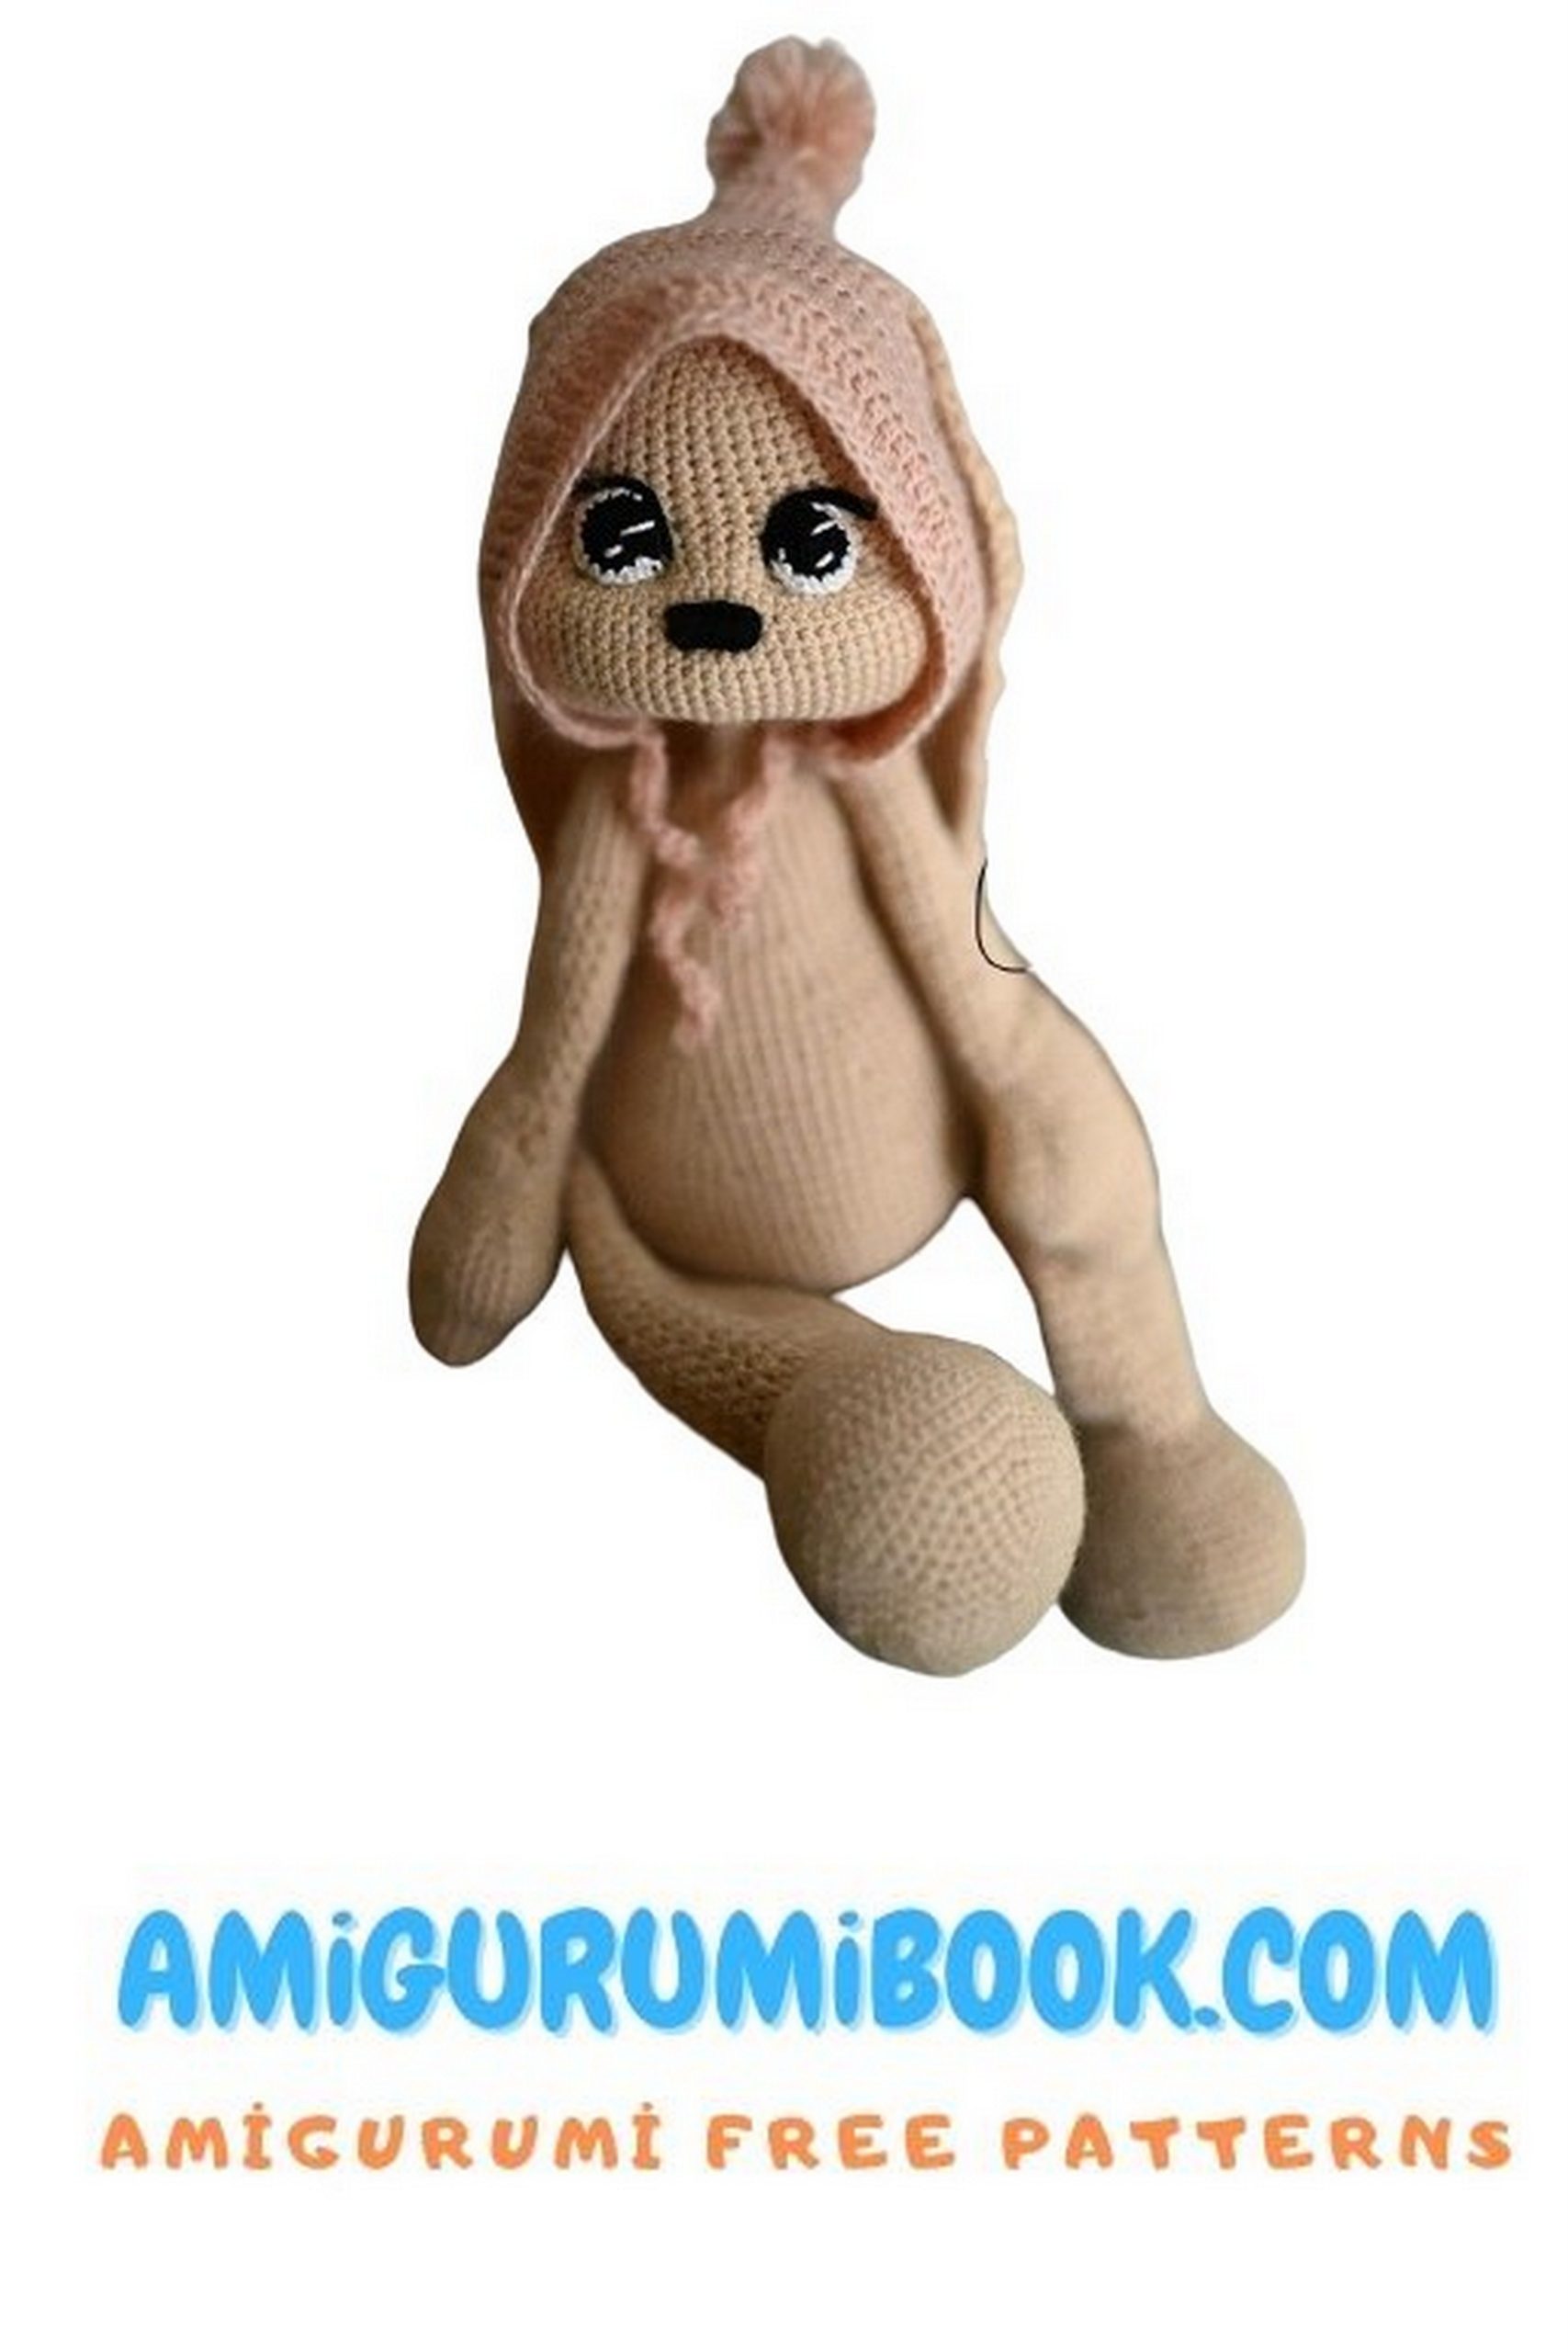
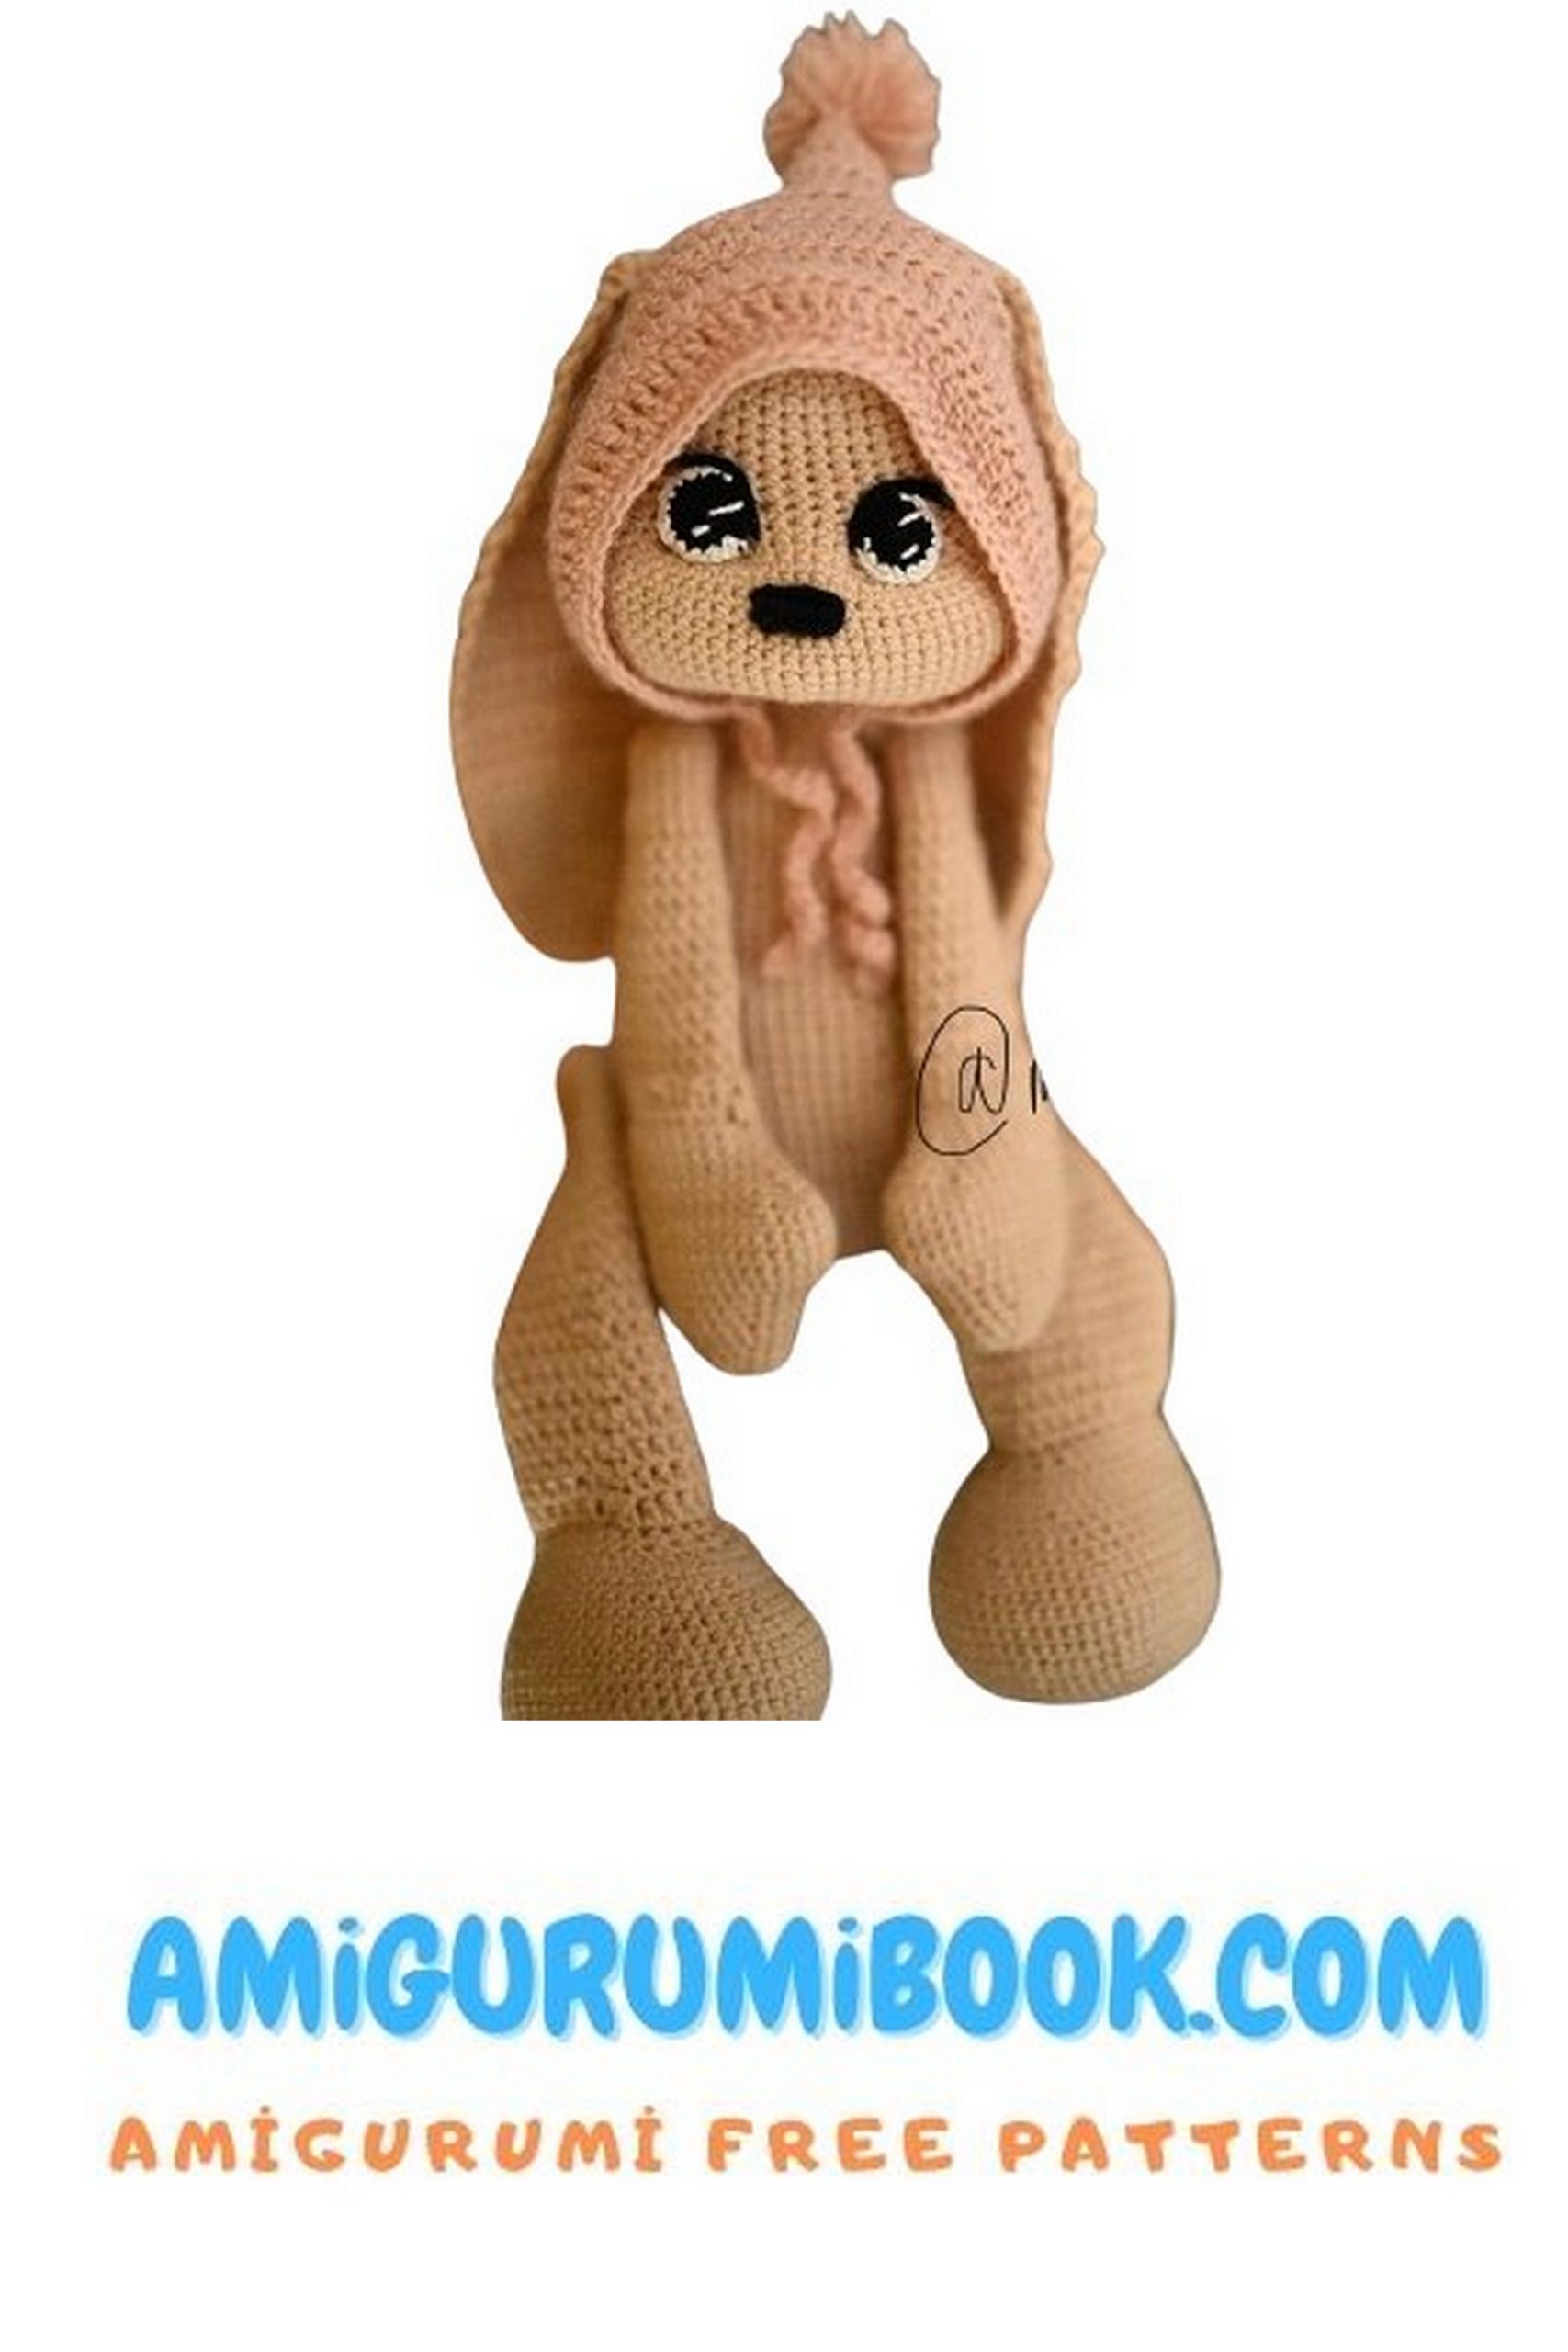
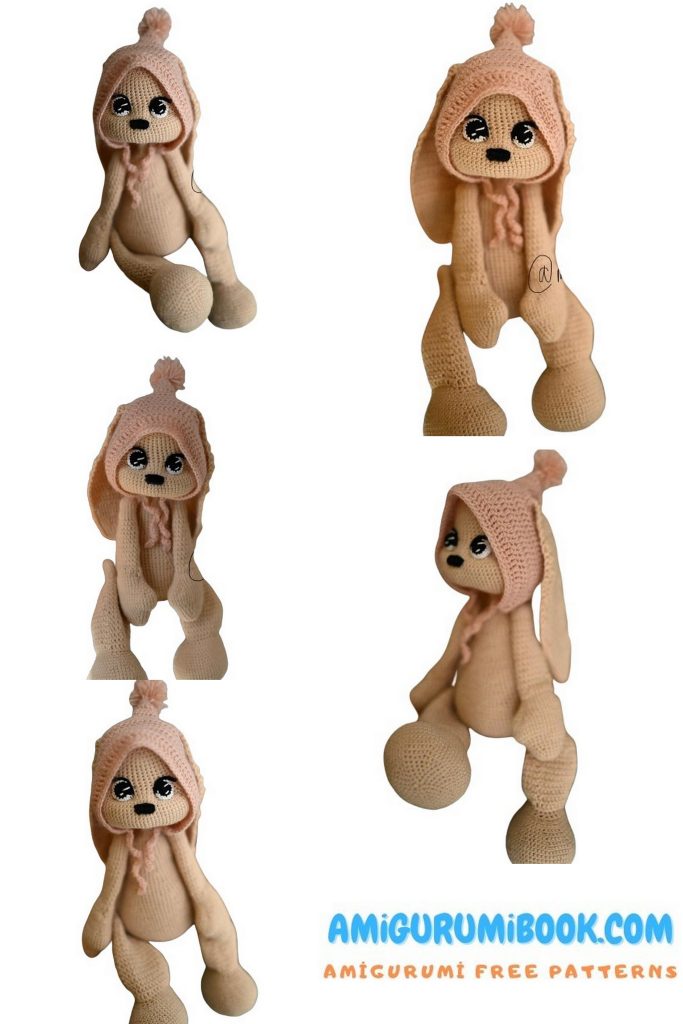
Front View
Top View
Your base is now ready to sit.
Legs (2 pieces) – Large Bunny
1: 6 sc in MR
2: 6 inc = 12
3: (2 sc, inc) * 4 = 16
4: (3 sc, inc) * 4 = 20
5: 20 sc
6: (4 sc, inc) * 4 = 24
7: 24 sc
8: (3 sc, inc) * 6 = 30
9: 30 sc
10: 6 inc, 24 sc = 36
11-14: 36 sc
15: dec, 6 sc, dec, 26 sc = 34
16: 2 sc, 2 dec, 28 sc = 32
17: sc, 2 dec, 27 sc = 30
18: 2 dec, 26 sc = 28
19: dec, 12 sc, dec, 12 sc = 26
20: dec, 11 sc, dec, 11 sc = 24
Next row crochet in the inner loop only
21: (2 sc, dec) * 6 = 18
Front Decreases
22: (sc, dec) * 6 = 12
Stuff the piece lightly.
23: 6 dec
Draw the opening closed and hide the thread.
Start the next part from the 13th stitch, as indicated in the photo.
1: 24 sc
2: (2 sc, dec) * 6 = 18
3-13: ch 2, turn, 17 sc, sl st = 18
14-19: 18 sc
20: (sc, dec) * 6 = 12
21: 6 dec
Draw the opening closed and hide the thread.
Sew legs to the body.
After drawing the thread, fold it in half and pull the needle through as shown in the photo.
5th row from the top (for legs).
11th row from the top, counting from the neck (for the body).
Sew with one stitch, repeating 5-6 times. Secure and hide the thread.
Here’s what I’ve achieved at this stage.
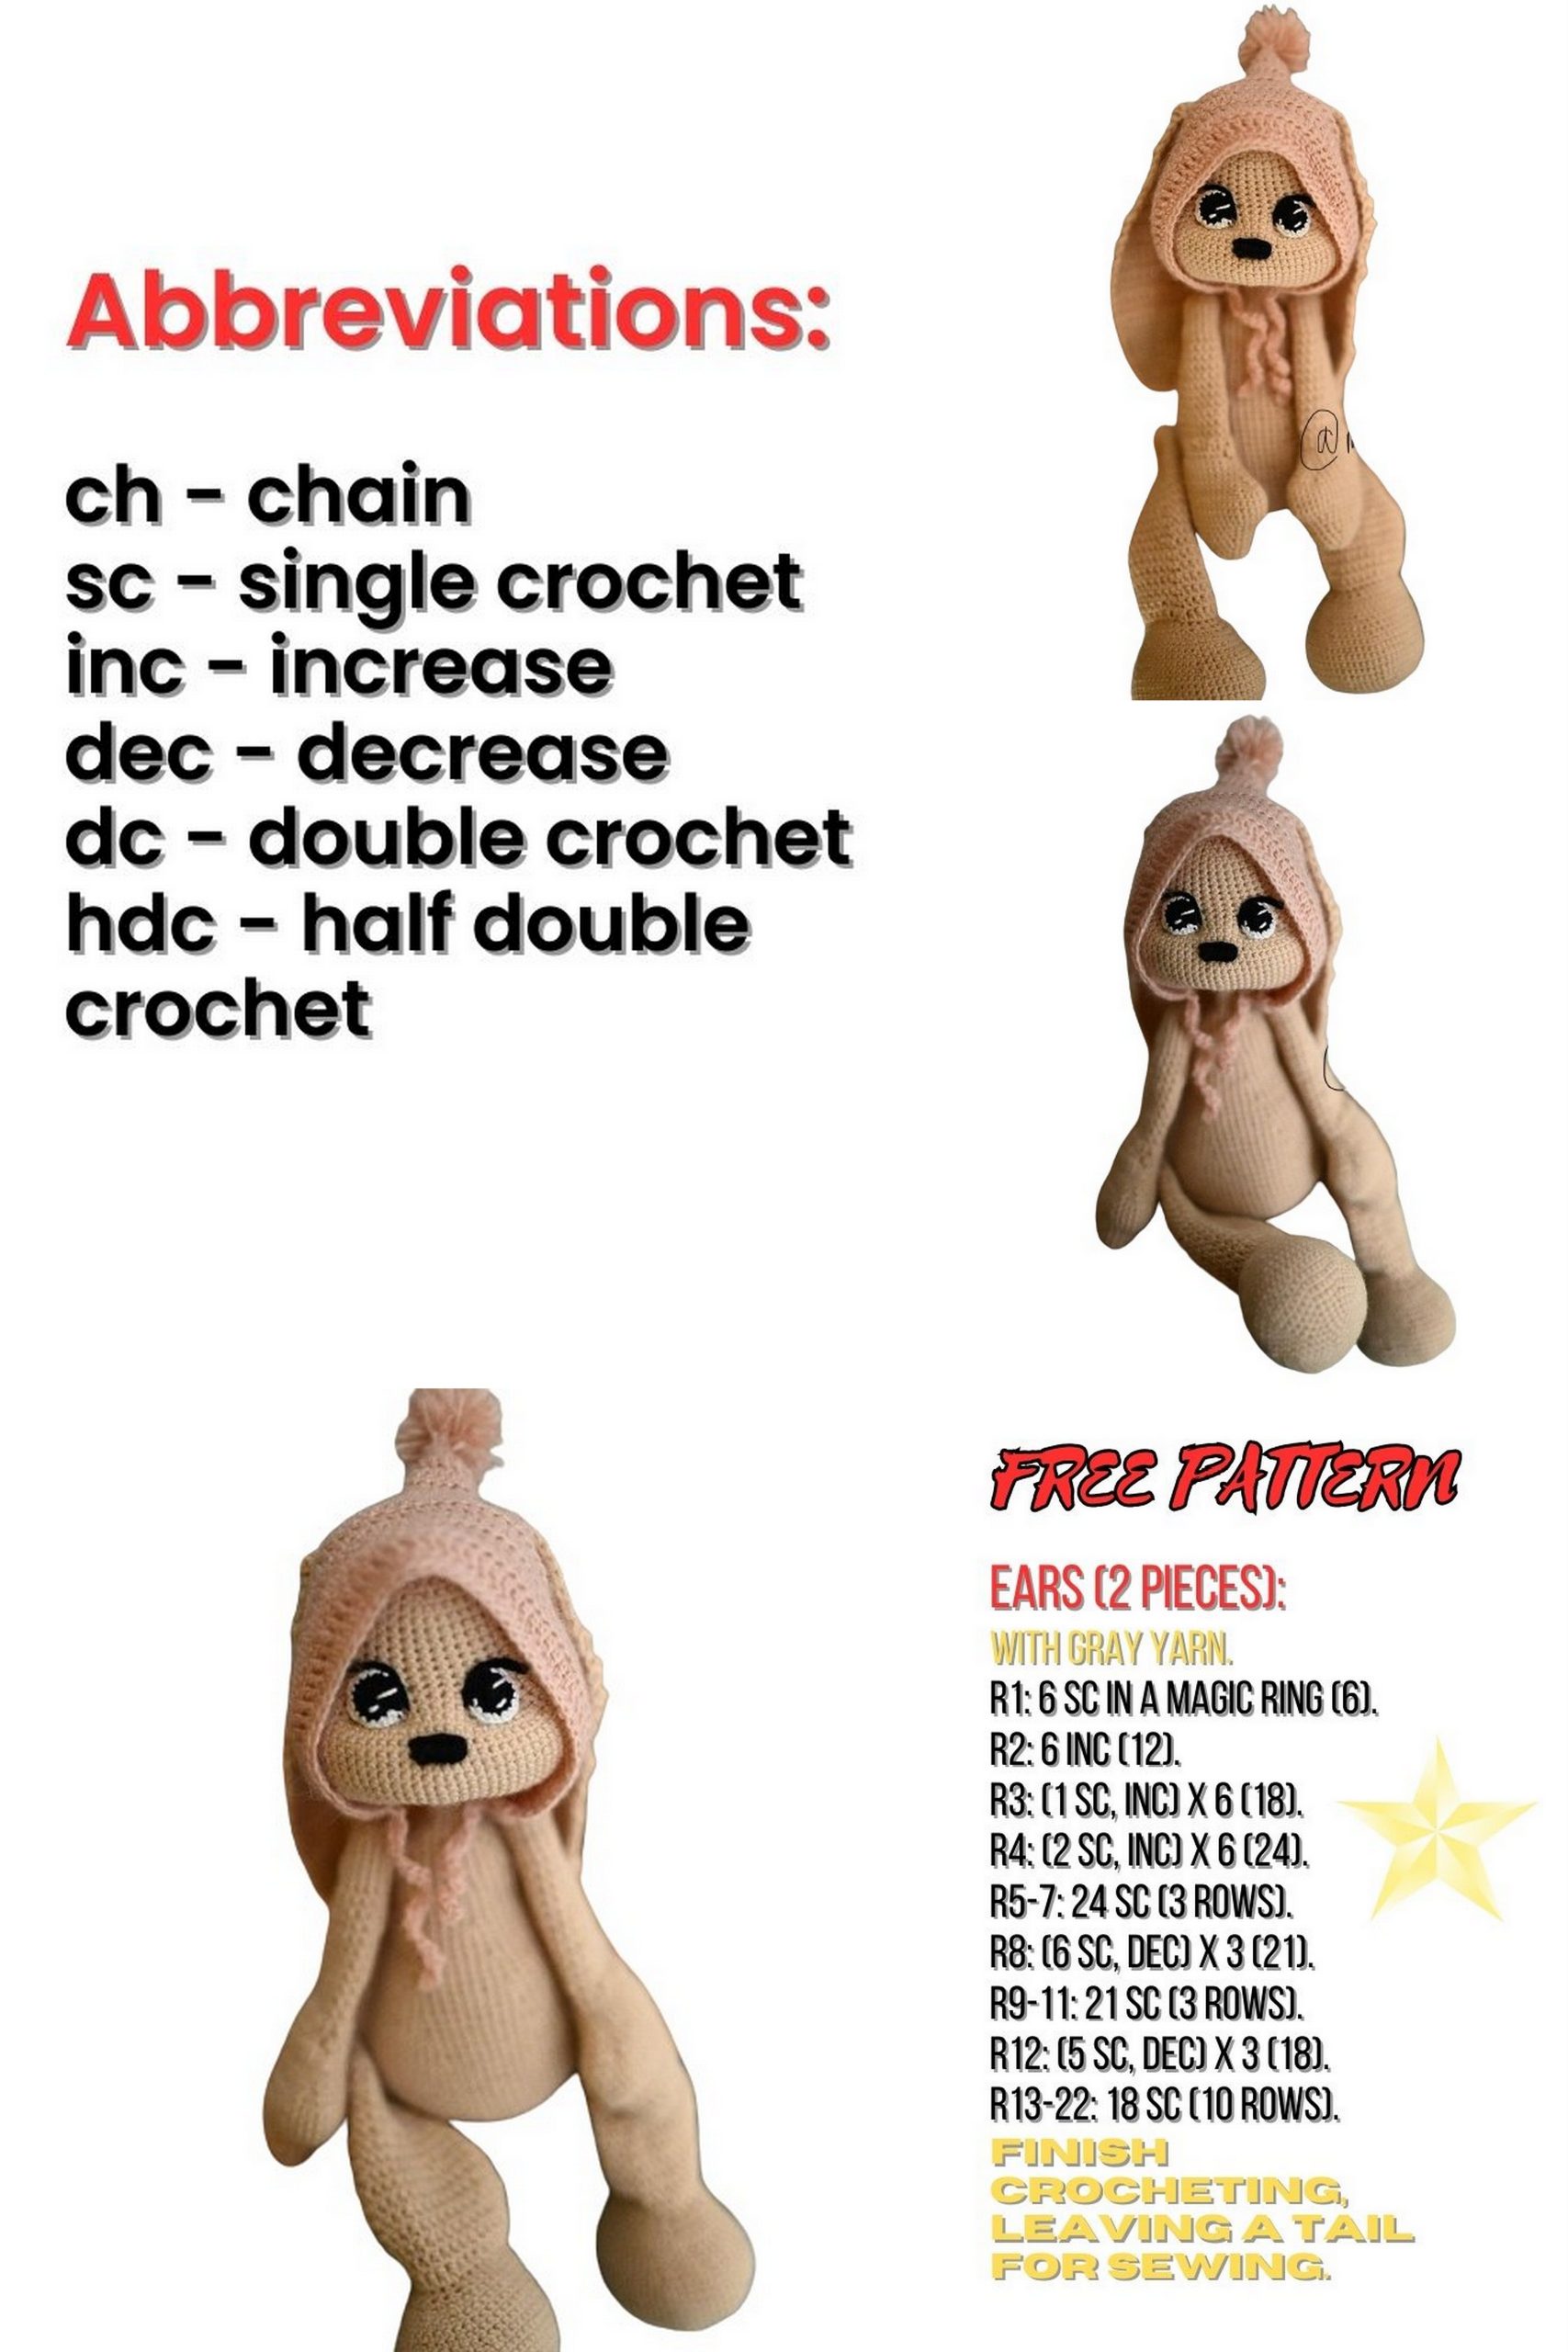
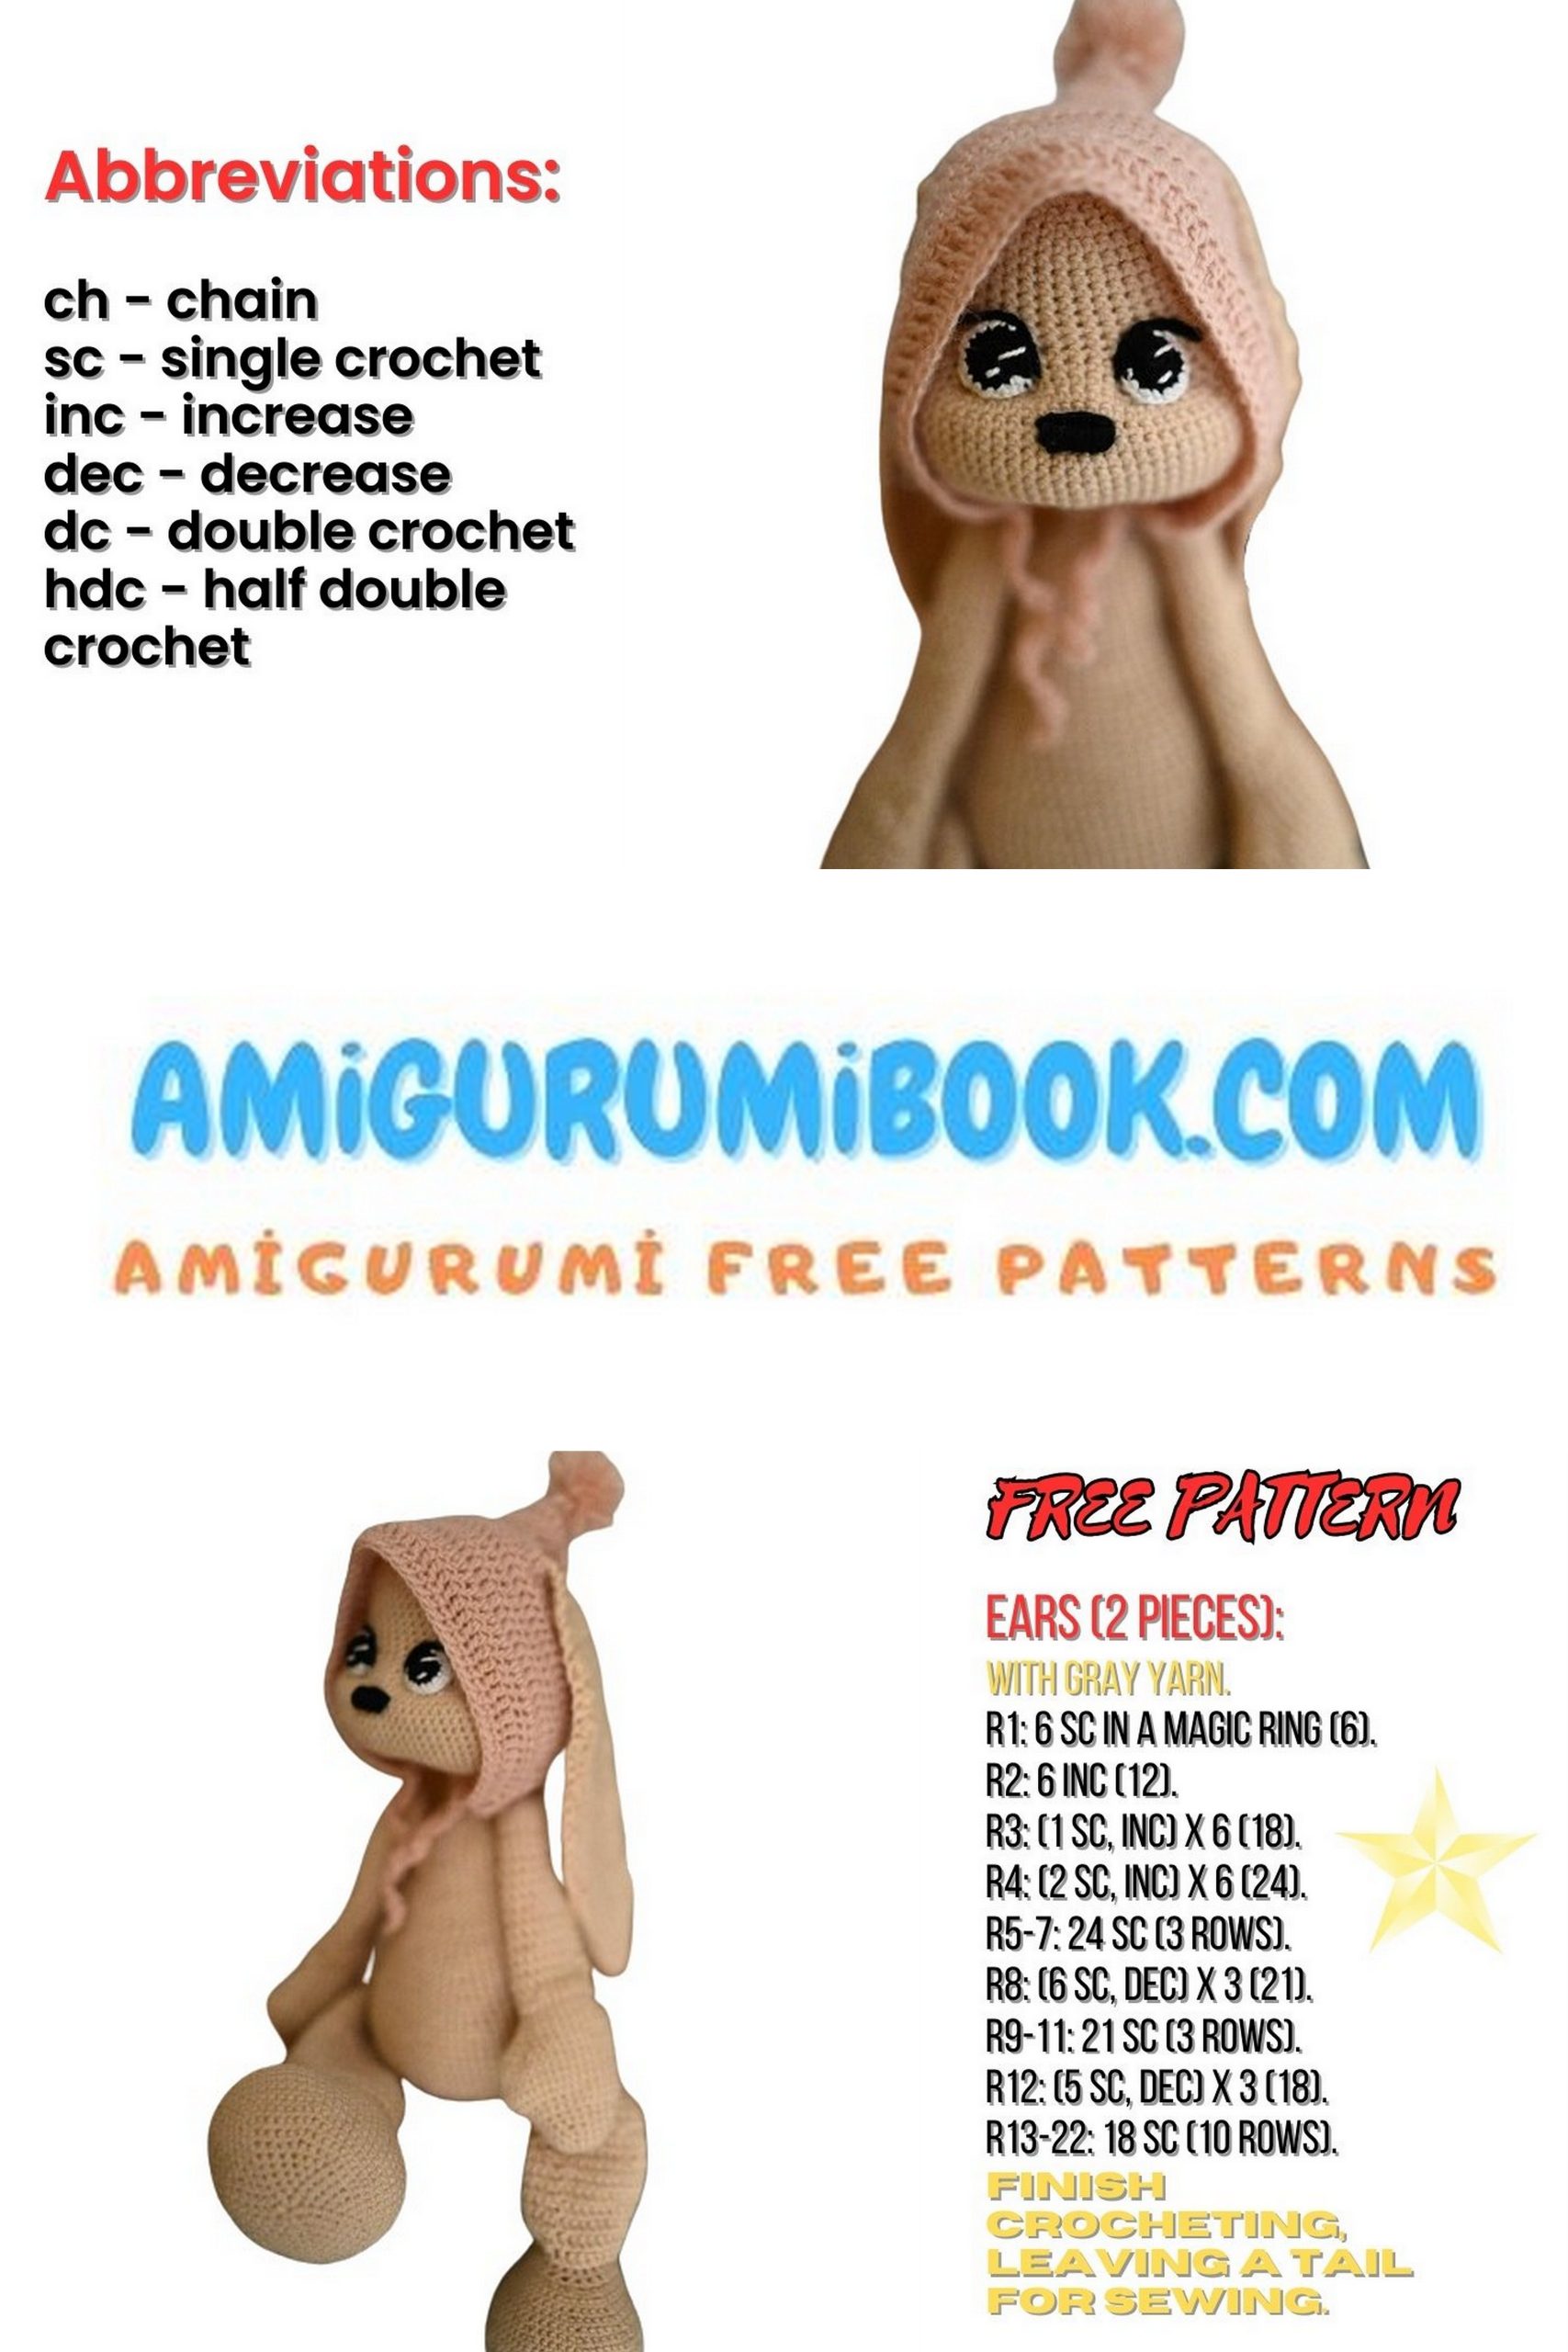
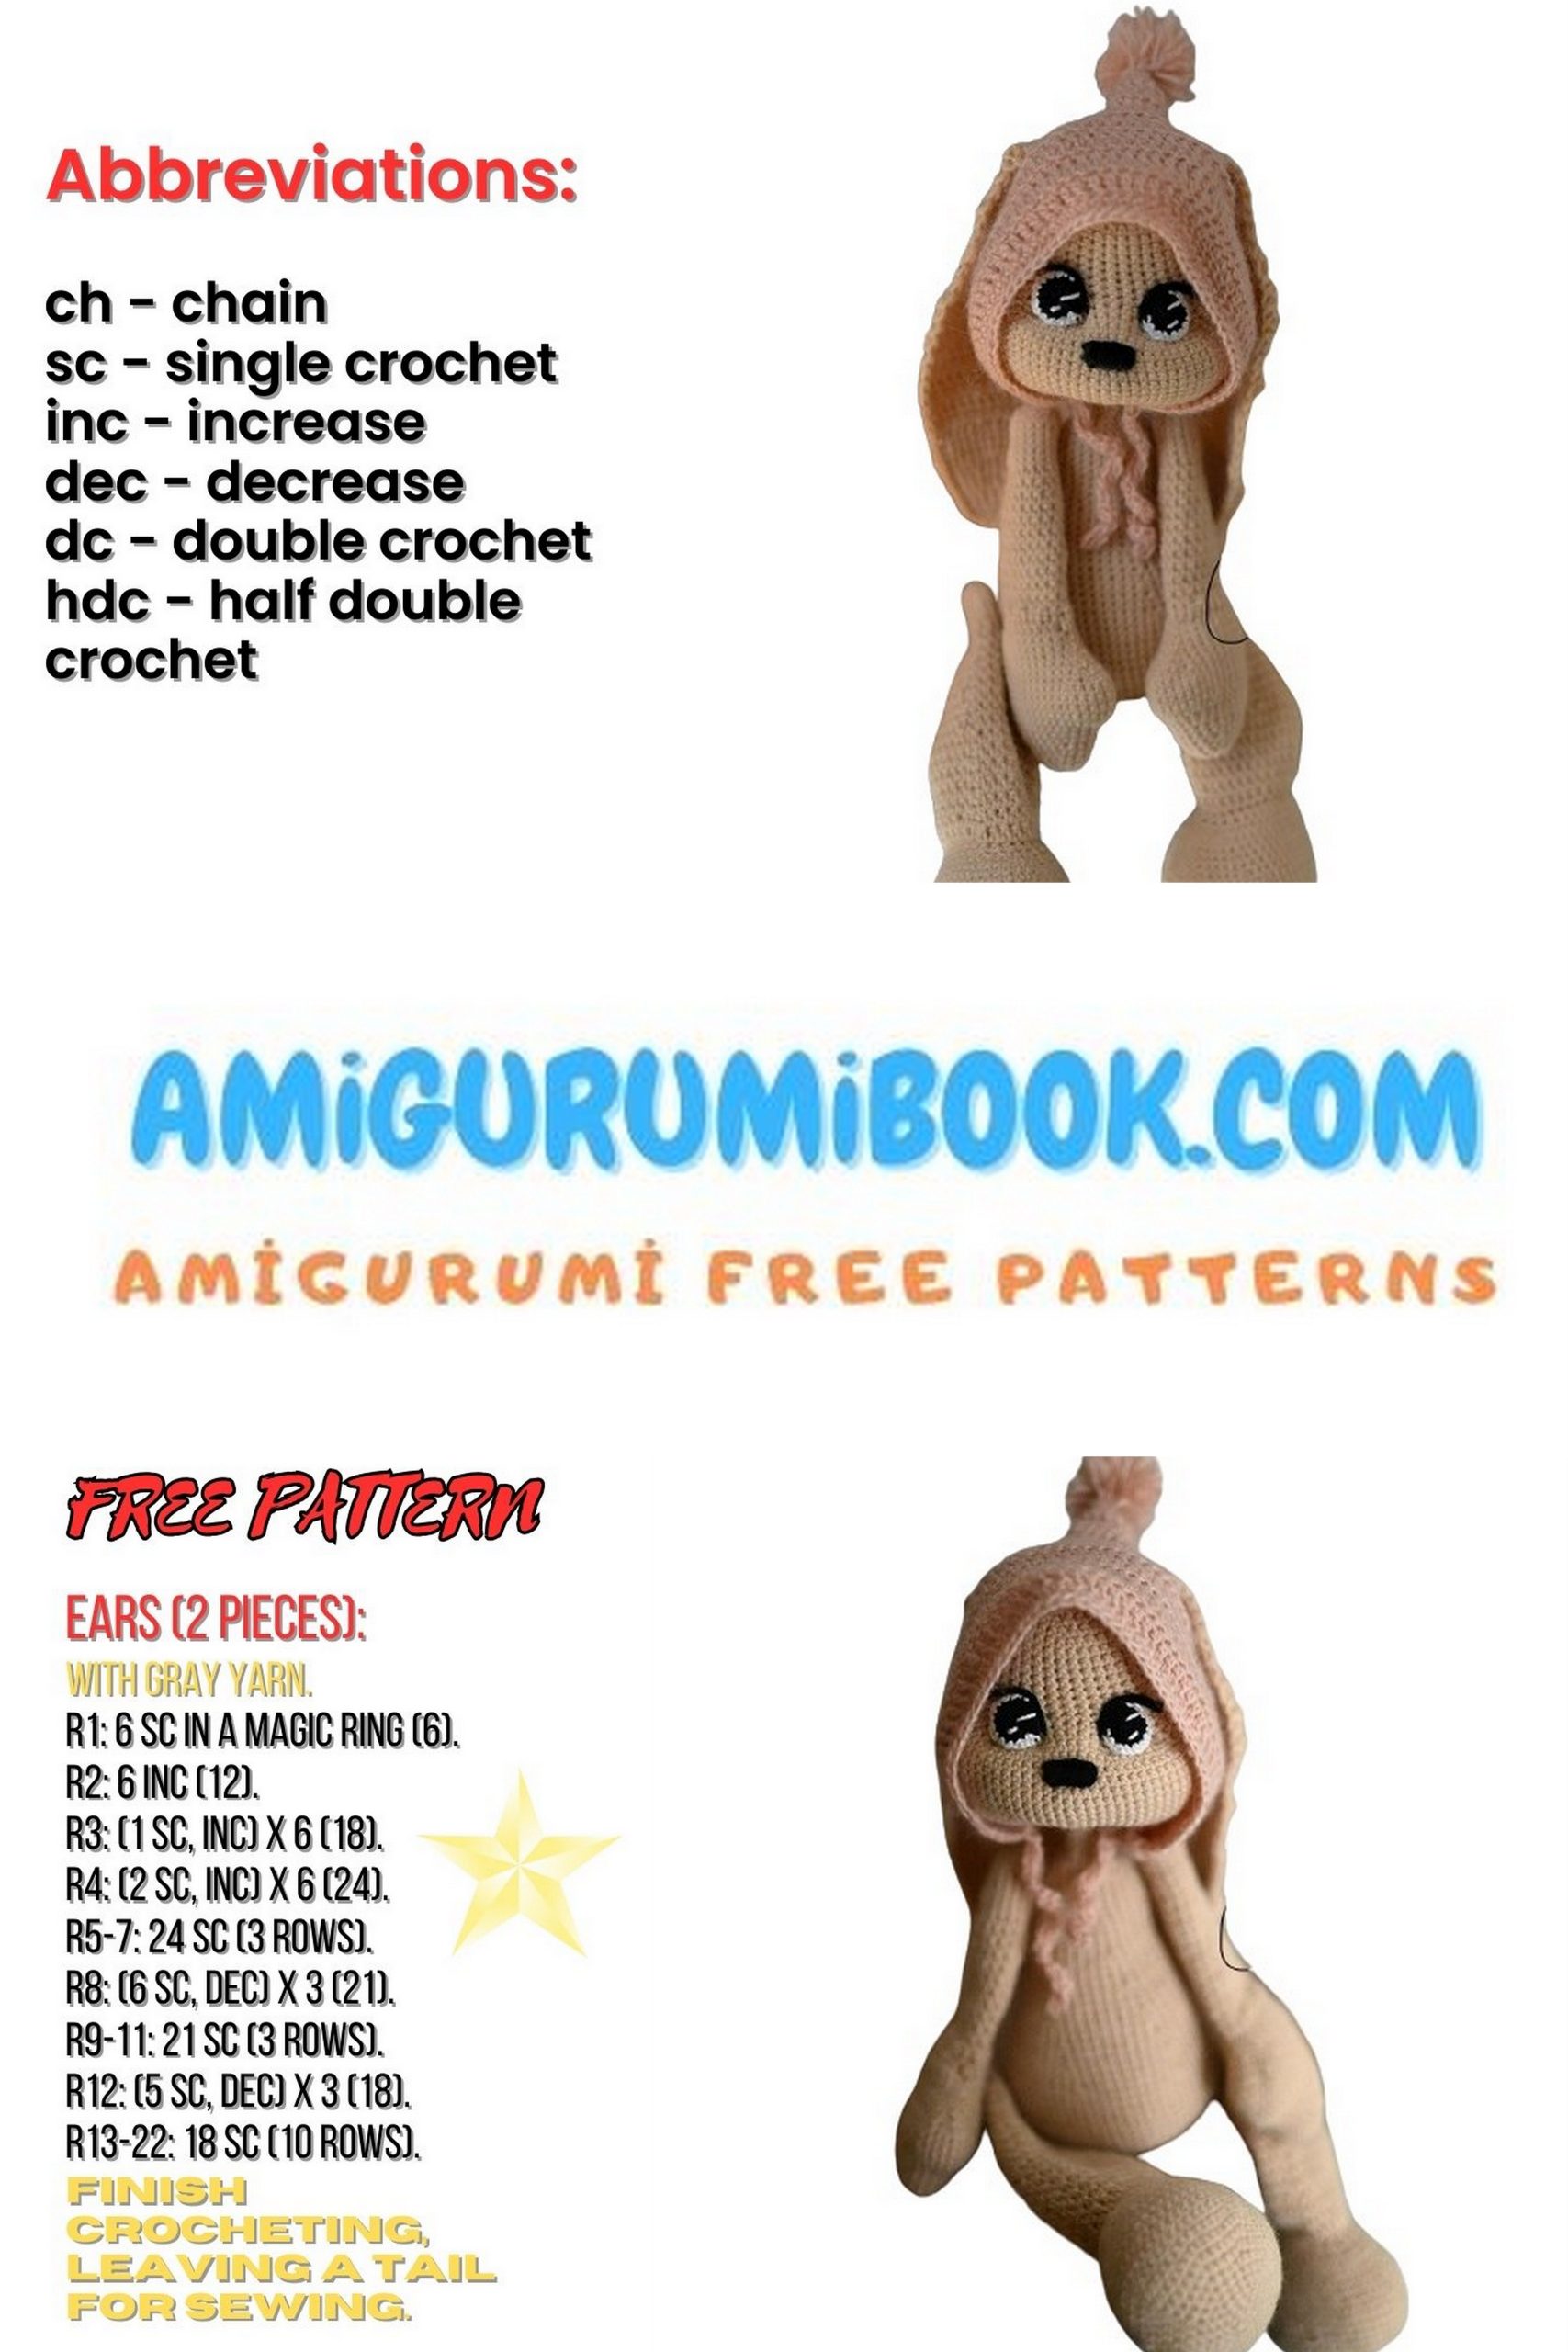
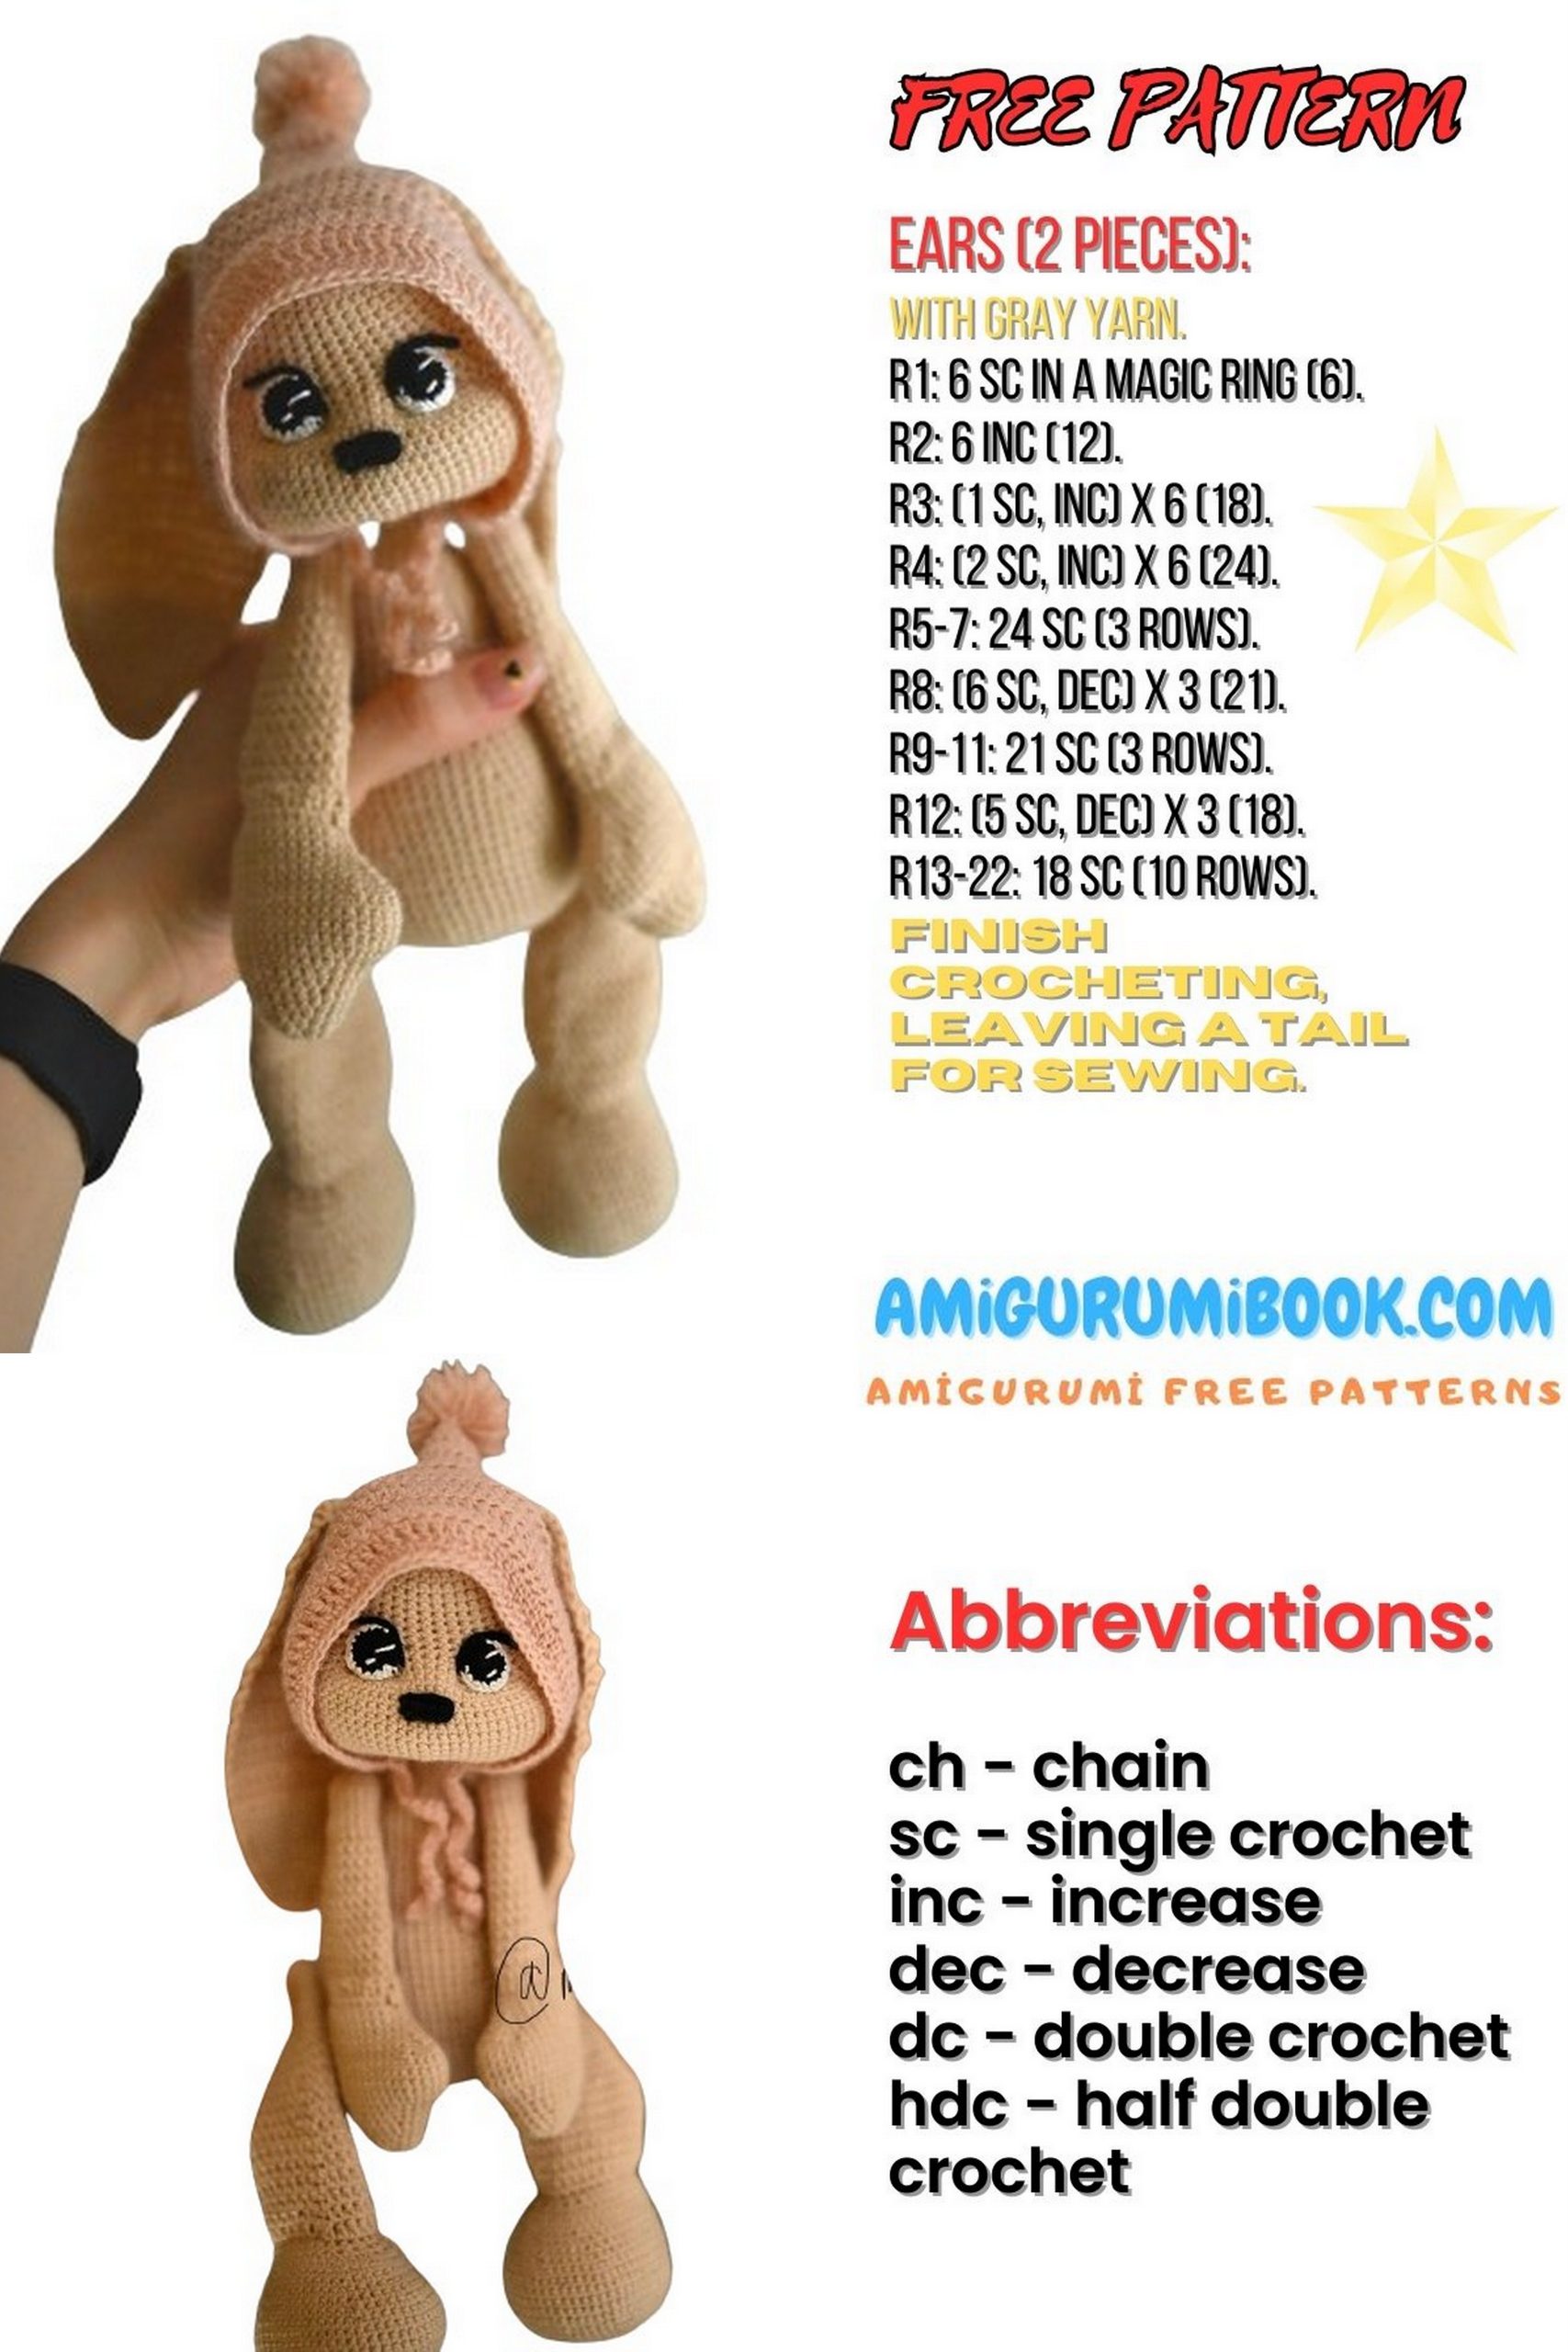
Ears (2 pieces) – Large Bunny
1: 6 sc in MR
2: 6 inc = 12
3-4: 12 sc
5: (sc, inc) * 6 = 18
6-7: 18 sc
8: (2 sc, inc) * 6 = 24
9-10: 24 sc
11: (3 sc, inc) * 6 = 30
12-13: 30 sc
14: Fold in half and crochet, connecting two sides – 15 sc
15: ch 2, 14 sc, ch 2 = 15
16-25: Turn, 14 sc, ch 2 = 15
26: dec, 11 sc, dec, ch 2 = 13
27-28: 13 sc, ch 2
29: dec, 9 sc, dec, ch 2 = 11
30-31: 11 sc, ch 2
32: dec, 7 sc, dec, ch 2 = 9
33: 9 sc, ch 2
34: 9 sc, ch 1
35: 9 sc, sl st
36: dec, 5 sc, dec, ch 1 = 7
37-38: 7 sc, ch 1
39: dec, 3 sc, dec, ch 1 = 5
40-41: 5 sc, ch 1
Crochet sc around the edge. Leave thread for sewing to the head.
Sew the ears to the head.
Find sewing points “by eye”, but let me explain:
Look at our toy from the front.
Find the “stripes” of decreases.
There are six in total, three on each side.
We need the outermost ones. From the 3rd, go up to the decreases above.
First, sew the left ear. And next to it, sew the right… I marked the sewing points as seen from above.
“3” is the third decrease we counted earlier. From it, go down 2 rows and sew the left ear.
To sew the second ear, go 3 stitches to the right at the same level and sew it there.
Eyes (2 pieces) – Large Bunny
I decided to make crocheted eyes. For this, I needed cotton threads. I used IRIS.
With black thread, crochet the pupil.
1: 6 sc in MR
2: 6 inc = 12
3: (sc, inc) * 6 = 18
Switch to white thread.
4: 2 inc, 3 sl st in 1 stitch (as an increase), 3 sl st, 2 inc
With white thread, form the rays and sew it with a hidden stitch to the head.
Sew the white part, leaving a “pocket” in which we hide all the threads, creating the eye convexity.
With black thread, make 14 ch (two pieces), this thread is needed to form an arrow above the eye.
1: I didn’t sew the pocket, I glued it instead.
2: I also glued the arrow above the eye.
3: I hid the threads inside the head.
Weights
Make them on both sides separately.
Insert the thread from under the chin.
By picking up one sc, return the thread to the chin.
This description of the pattern is intended for free use only.