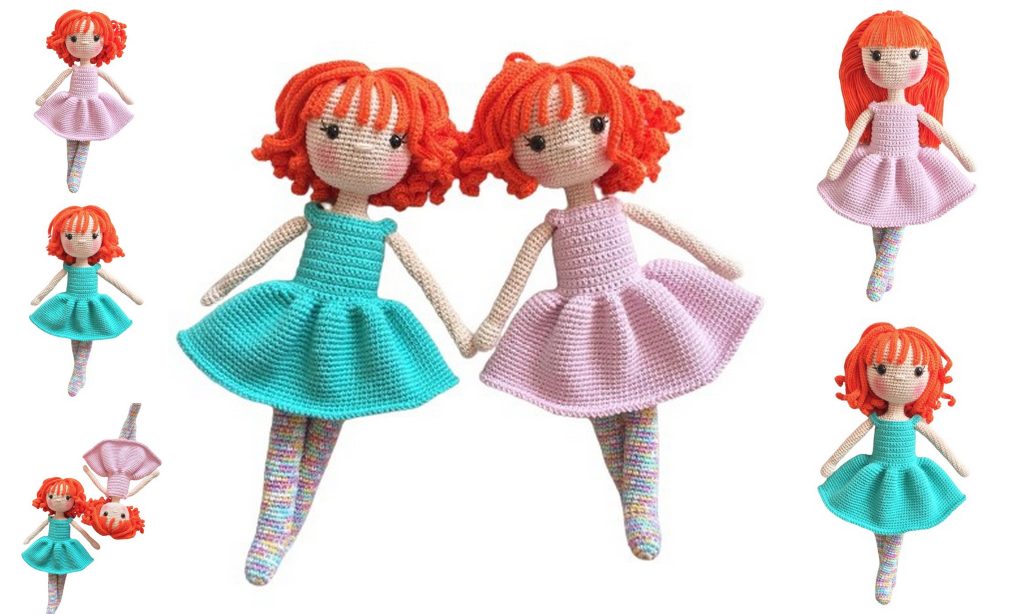
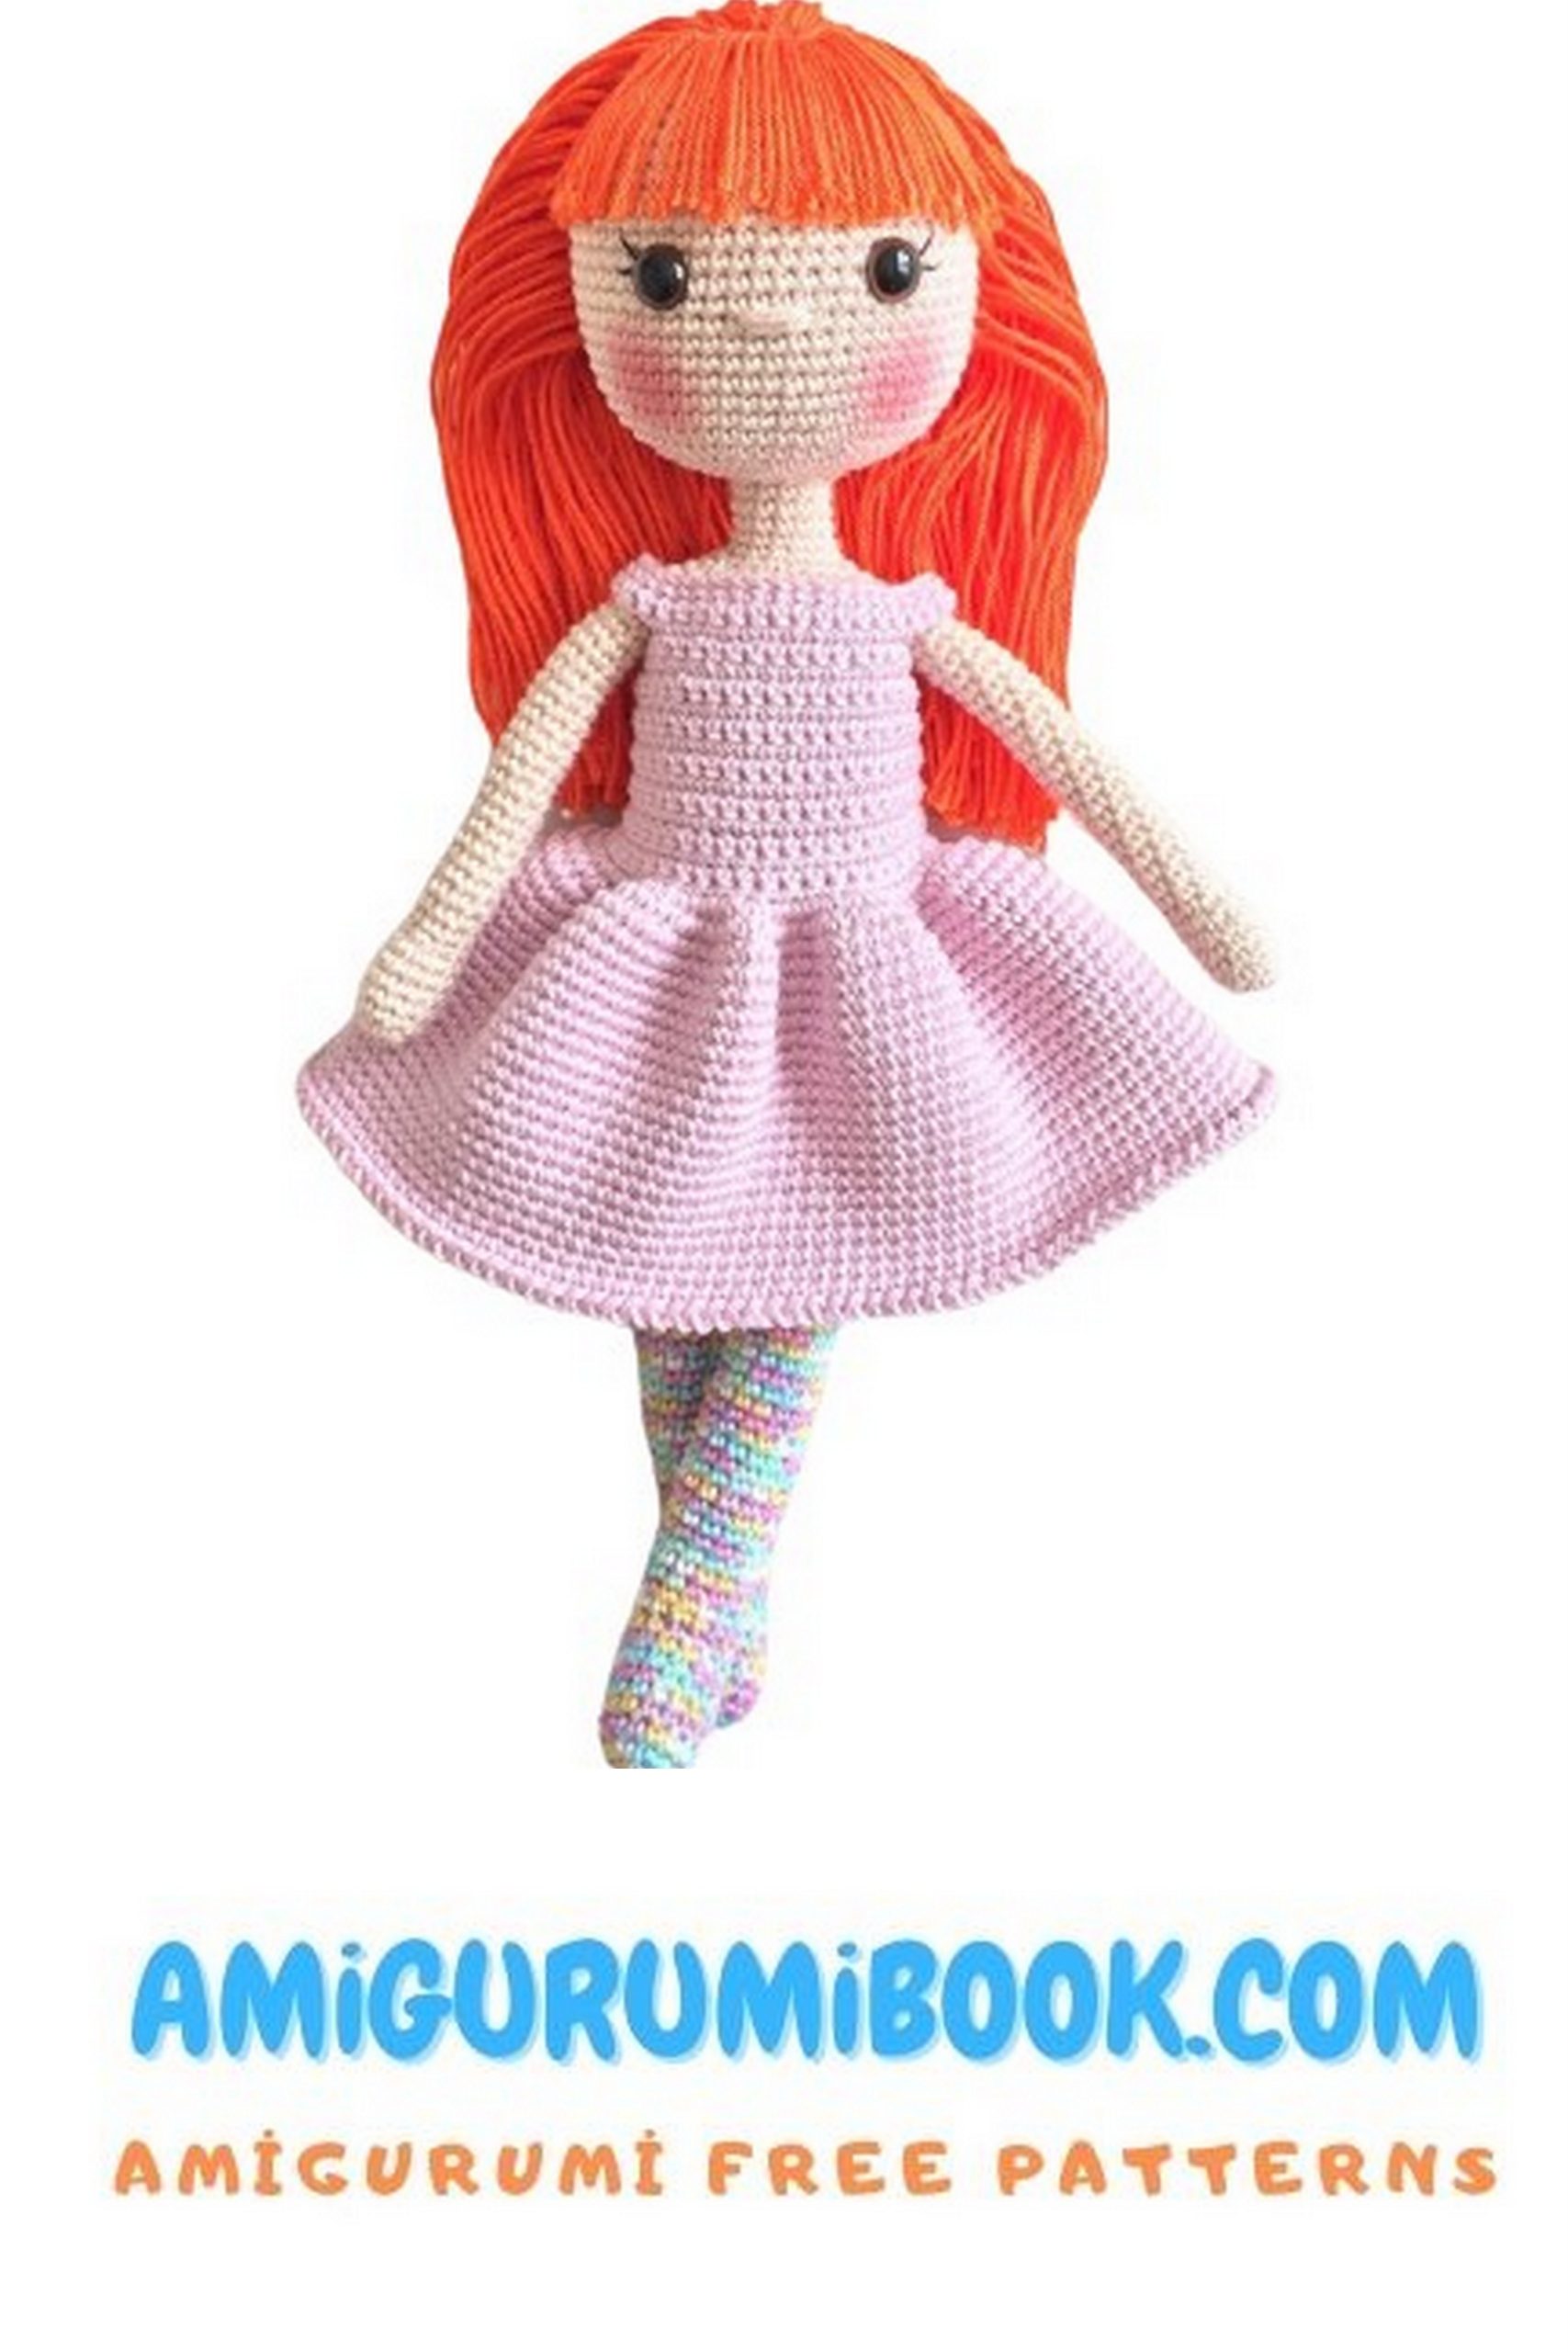
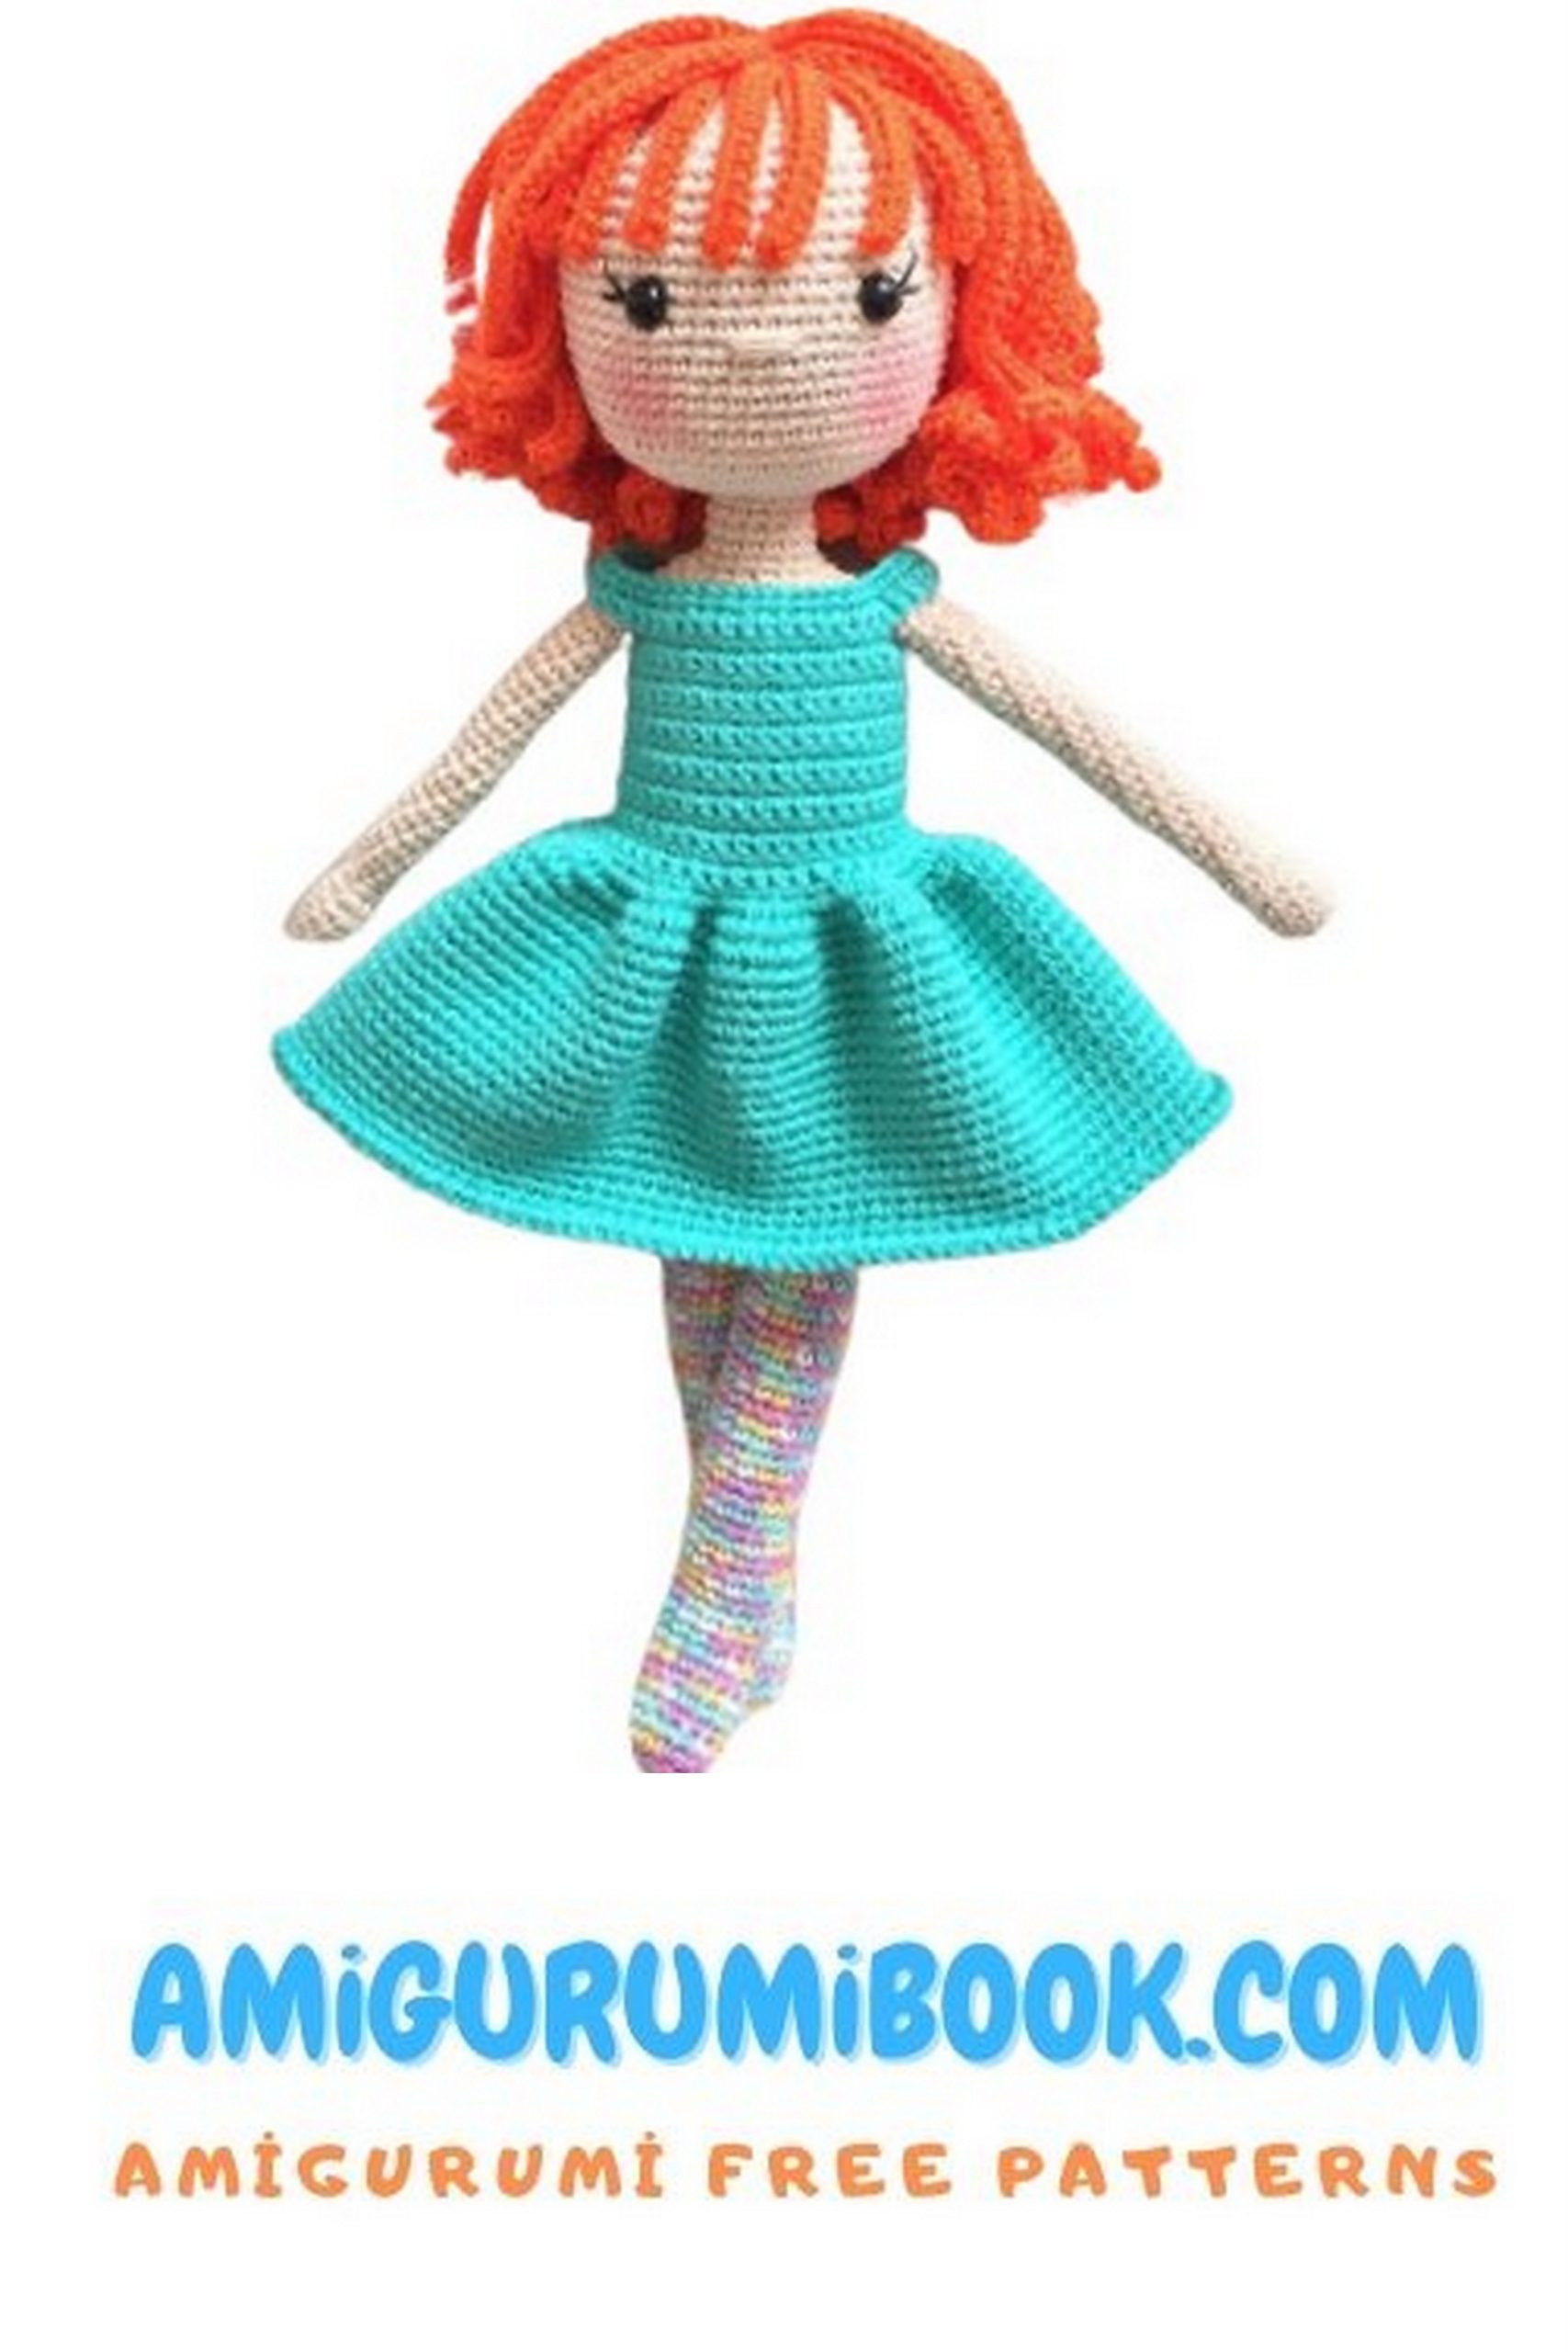
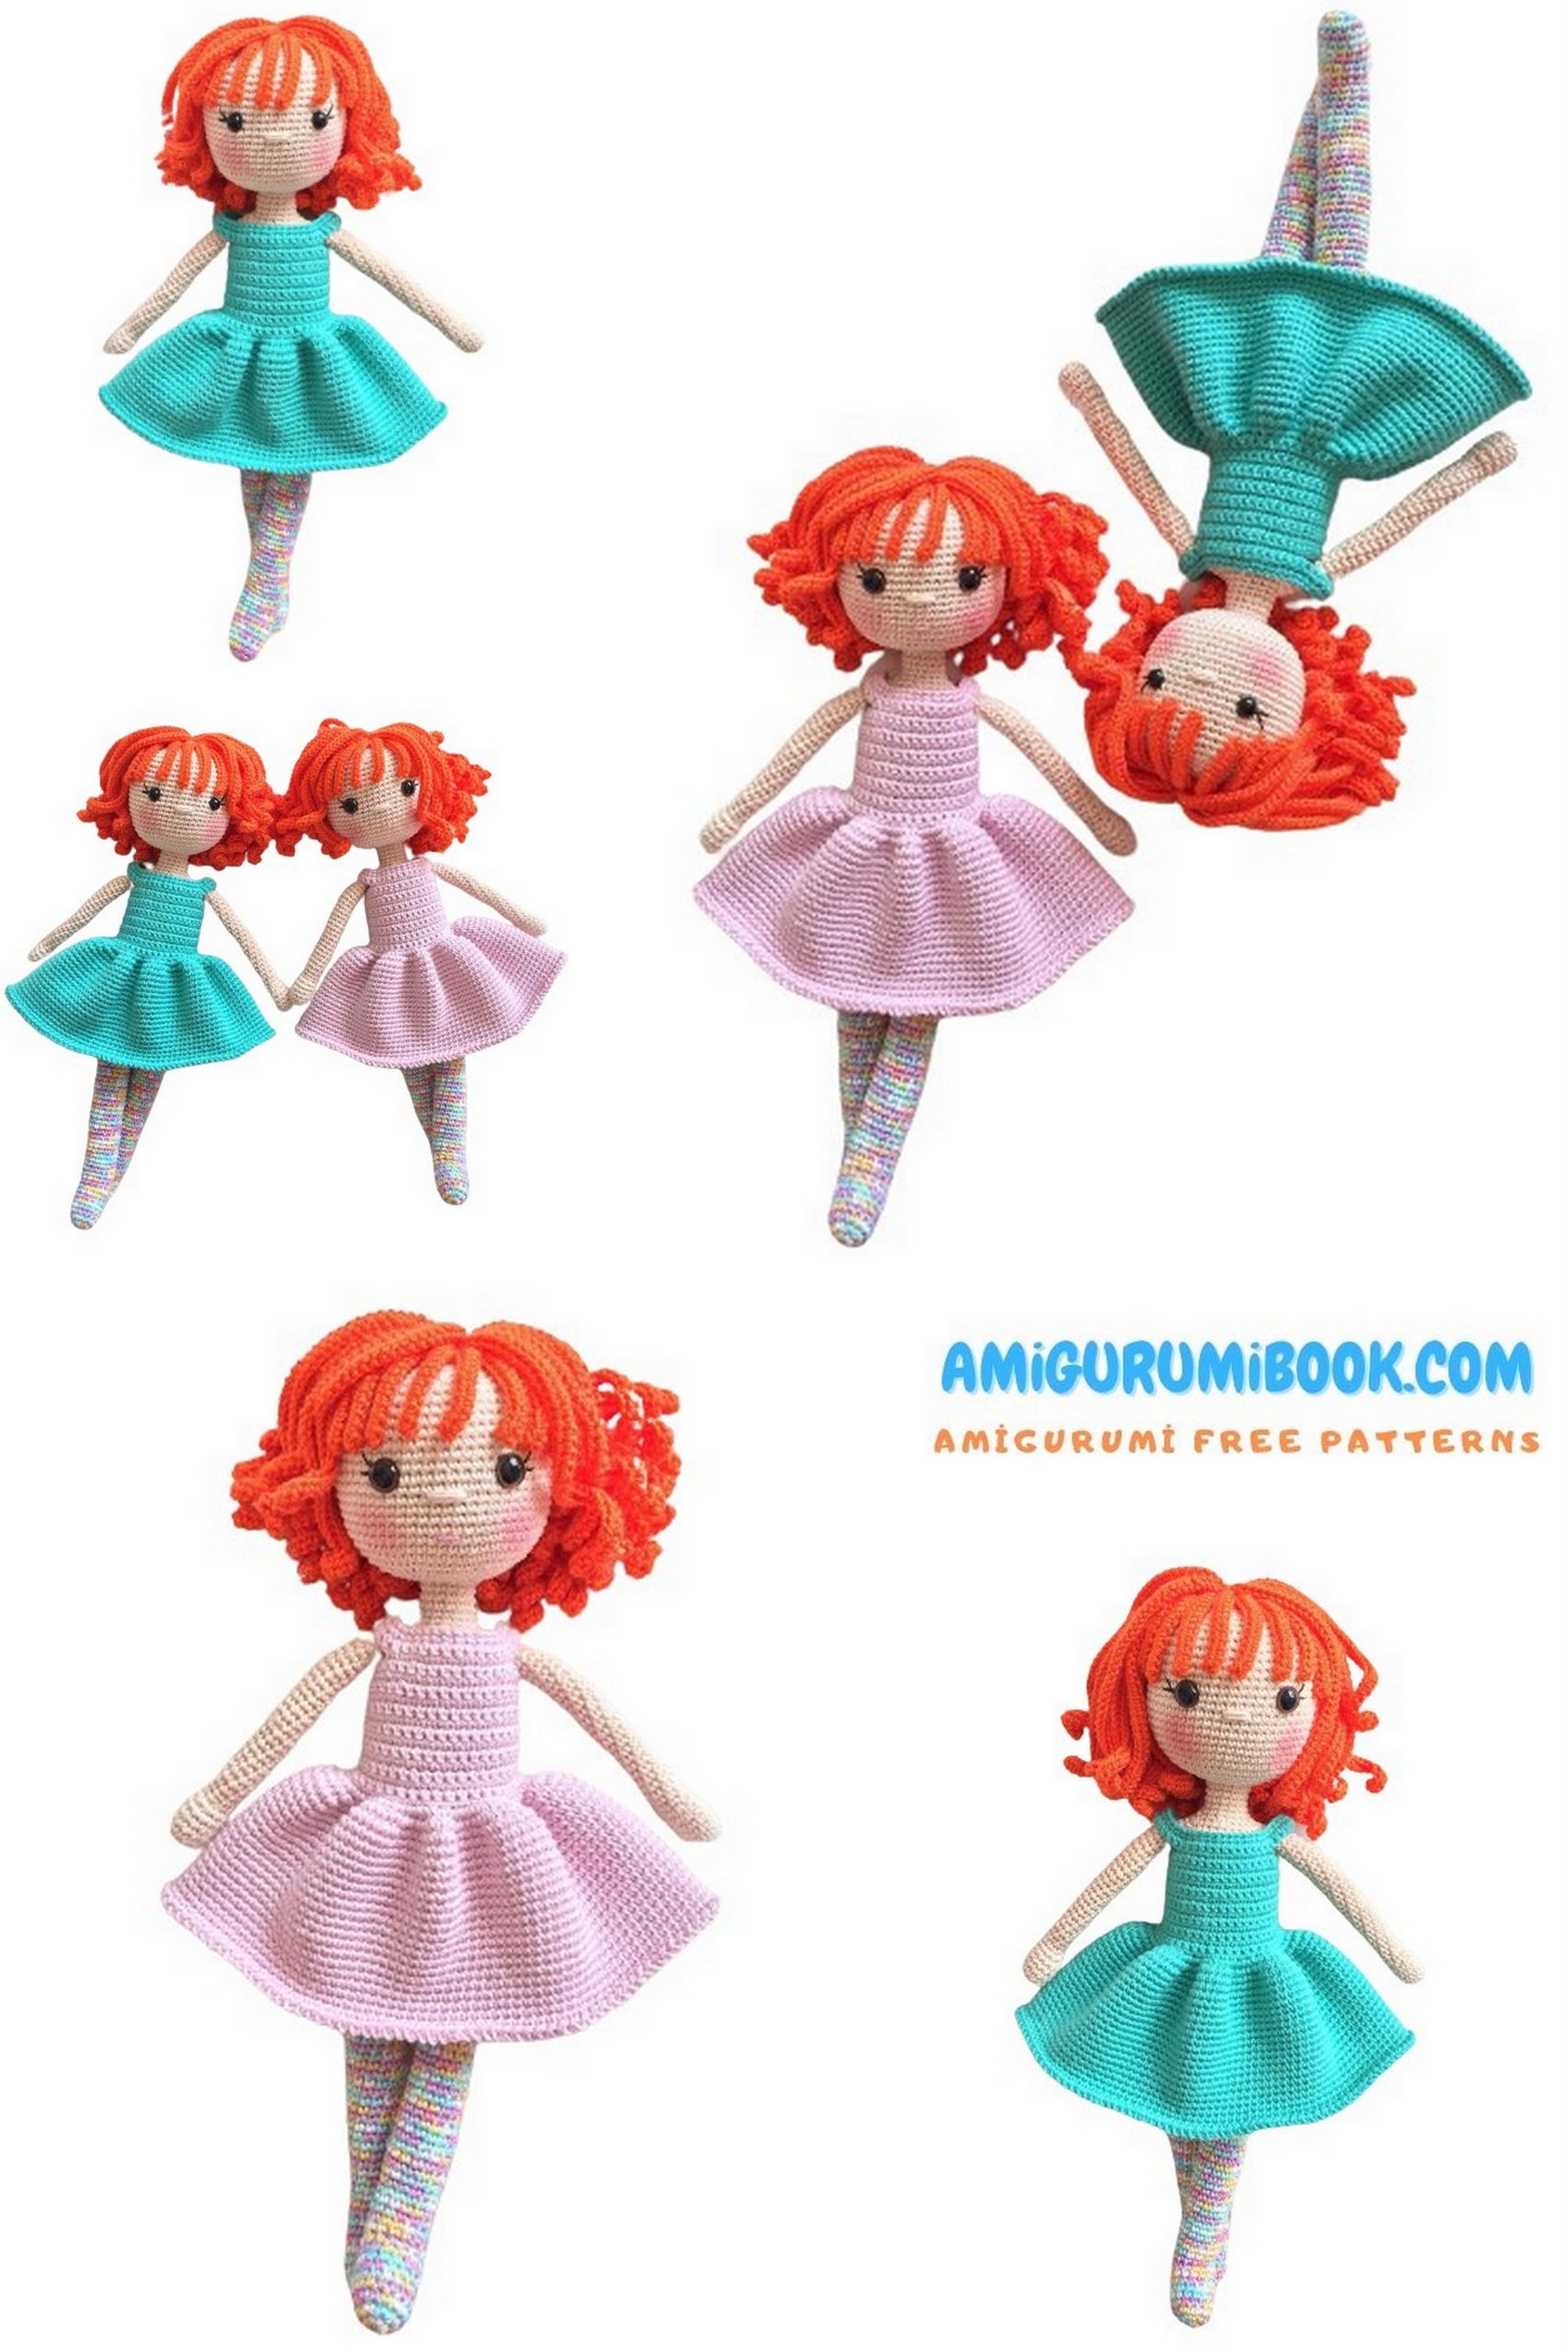
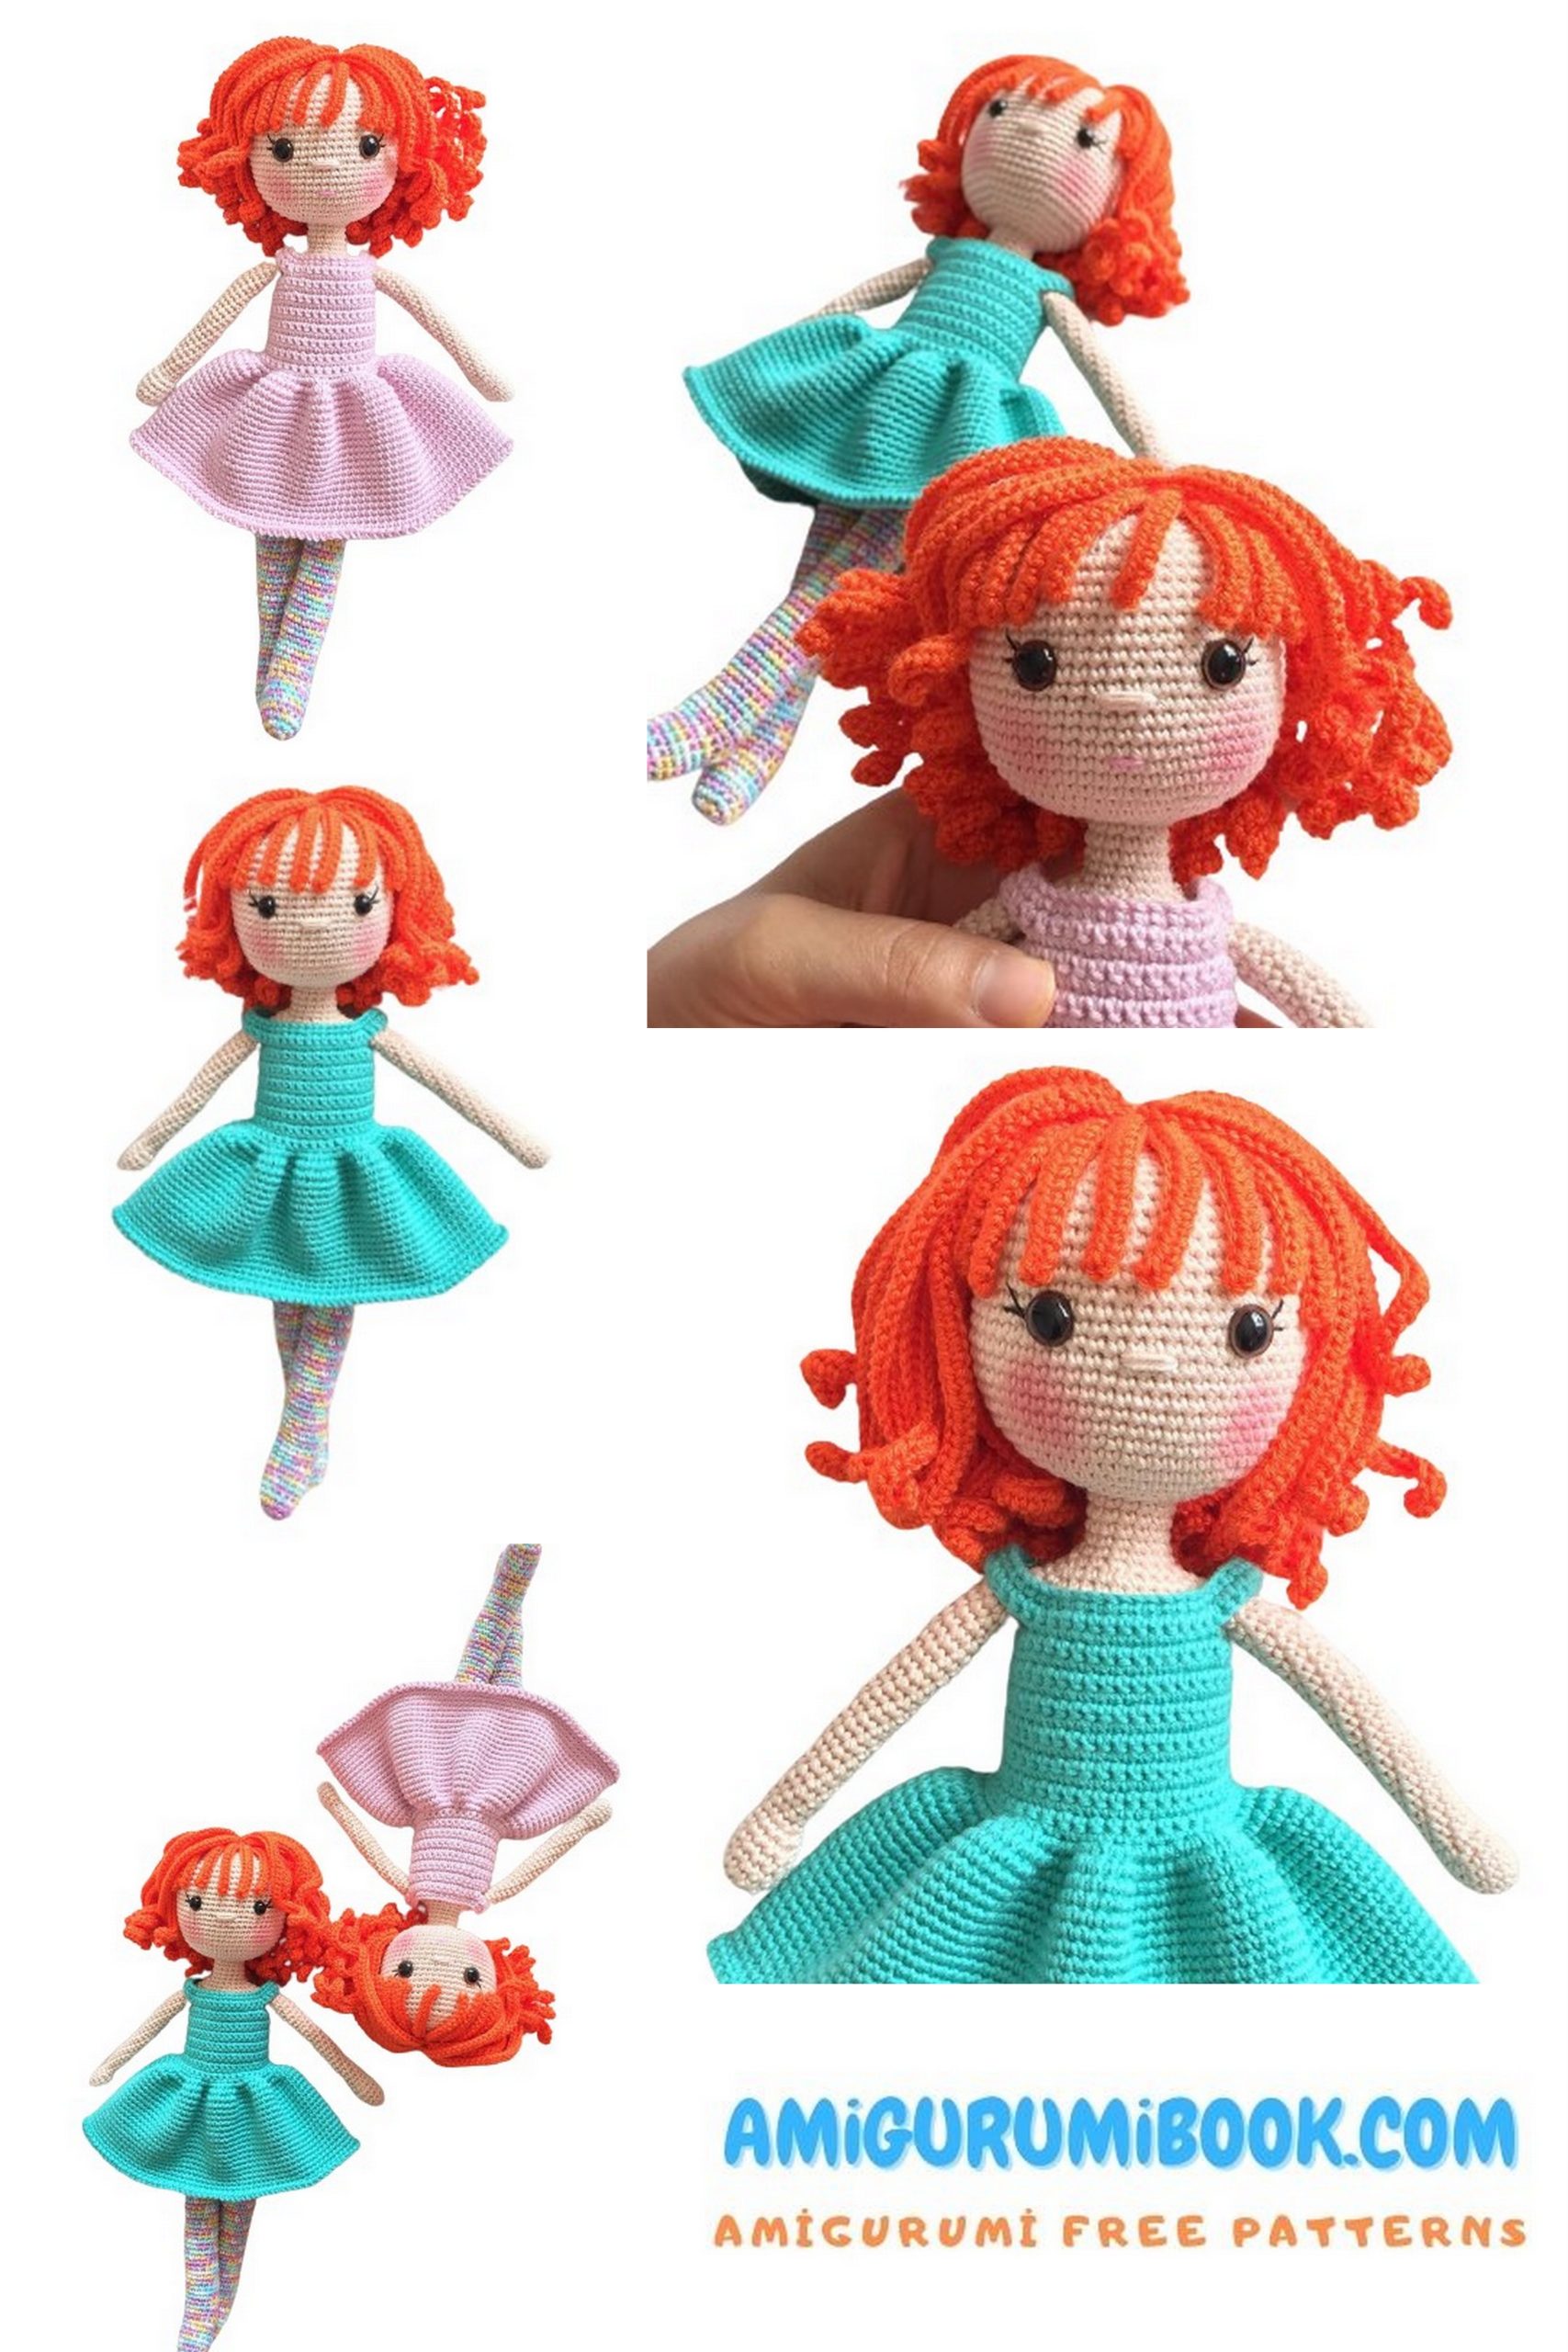
The Lily Doll Amigurumi Free Pattern offers a charming and easy-to-follow guide for creating an adorable handmade doll. Perfect for both beginners and experienced crafters, this pattern provides detailed instructions to bring your own Lily Doll to life. free crochet patternsYou may also like more amigurumi patterns.Step into the enchanting world of amigurumi free pattern for the Lily Doll! Craft your very own charming crochet companion with this delightful amigurumi doll design. Whether you’re a crochet novice or an experienced enthusiast, our step-by-step guide ensures a seamless and enjoyable crafting experience. Join us as we bring Lily to life and infuse your world with crochet magic.
If you want to access 1000+ free amigurumi patterns, you can download our application from this link!
Materials
- Skin color yarn: Schachenmayr Catania 263
- Sock yarn: Schachenmayr Catania Colors 0231
- Hair yarn: Alize Diva 407
- Pink dress yarn: Catania 246
- Mint green dress yarn: Gazzal Baby Cotton 3426
- Cross-stitch yarn (for eyelashes)
- 10 mm safety eyes
- Crochet hooks:
- 2.20 mm (Catania)
- 2.00 mm (Gazzal Baby Cotton)
- 1.70 mm (Alize Diva)
- Stuffing (fiberfill / bead stuffing)
- Blush or powder (for cheeks)
- Pastel paints
Finished size: approx. 30 cm
Note: Size may vary depending on tension and yarn. Each yarn ball weighs 50 g. Alize Diva uses about half of a 100 g ball. Sock yarn is enough for two dolls.
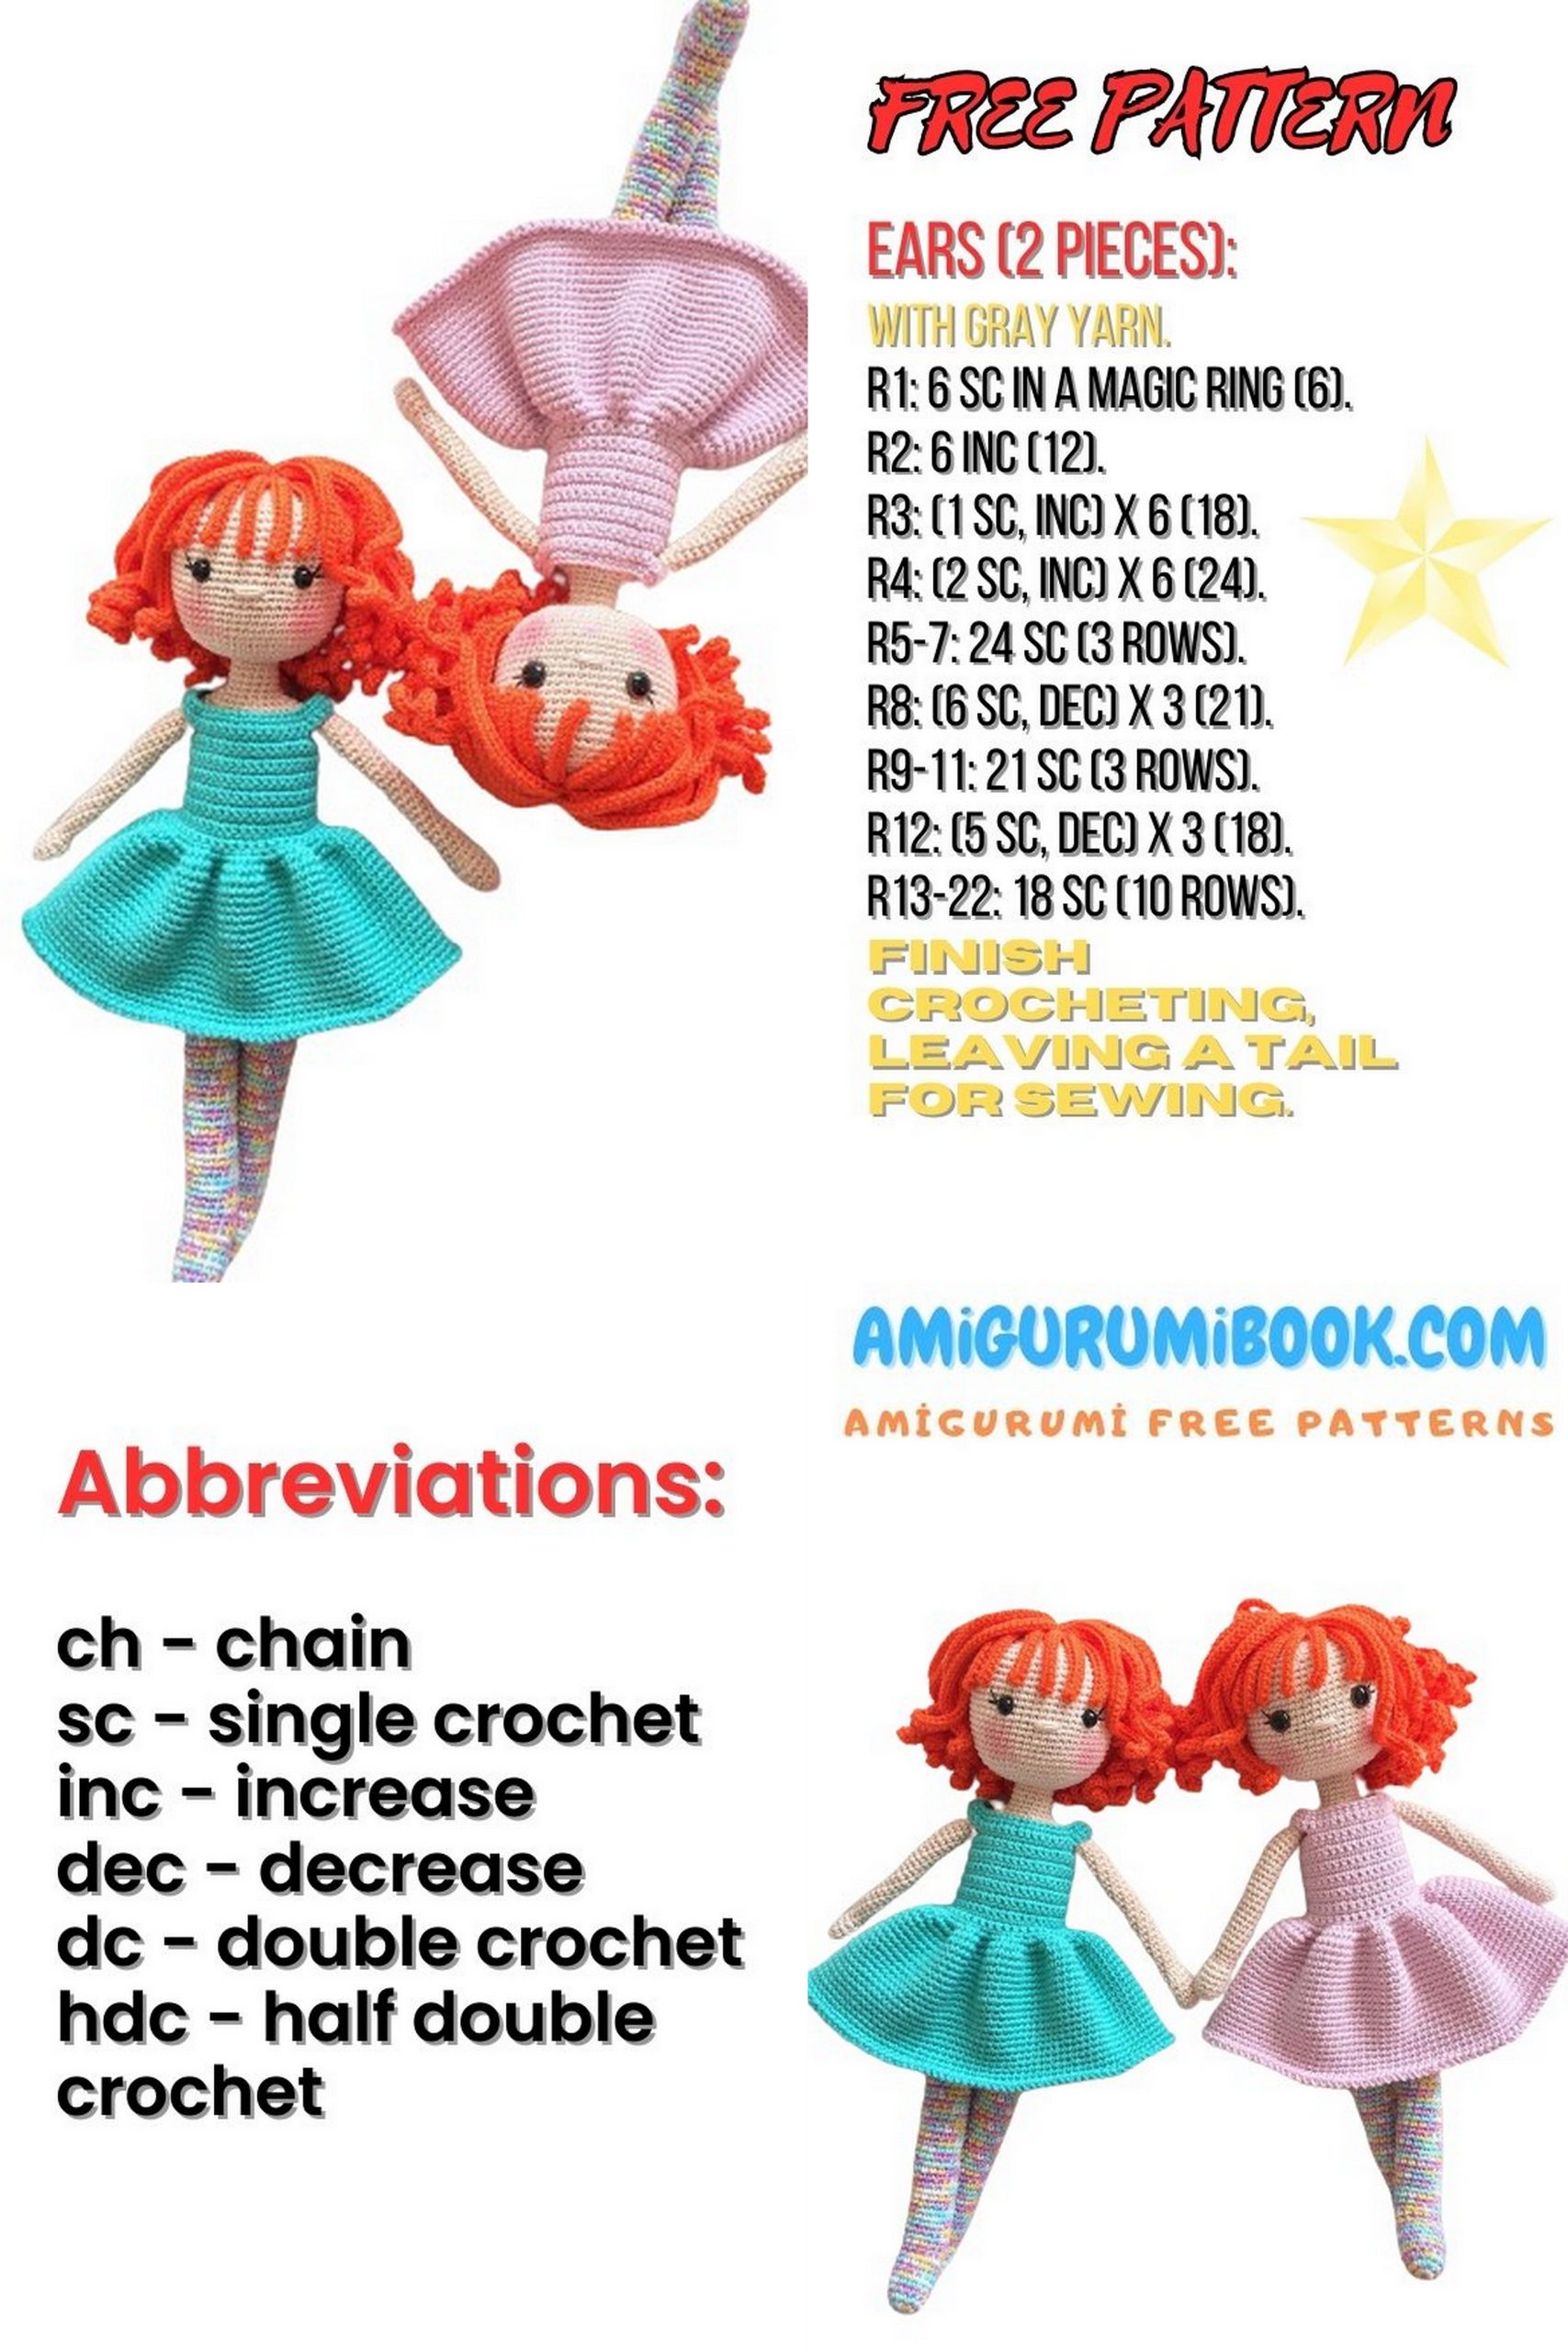
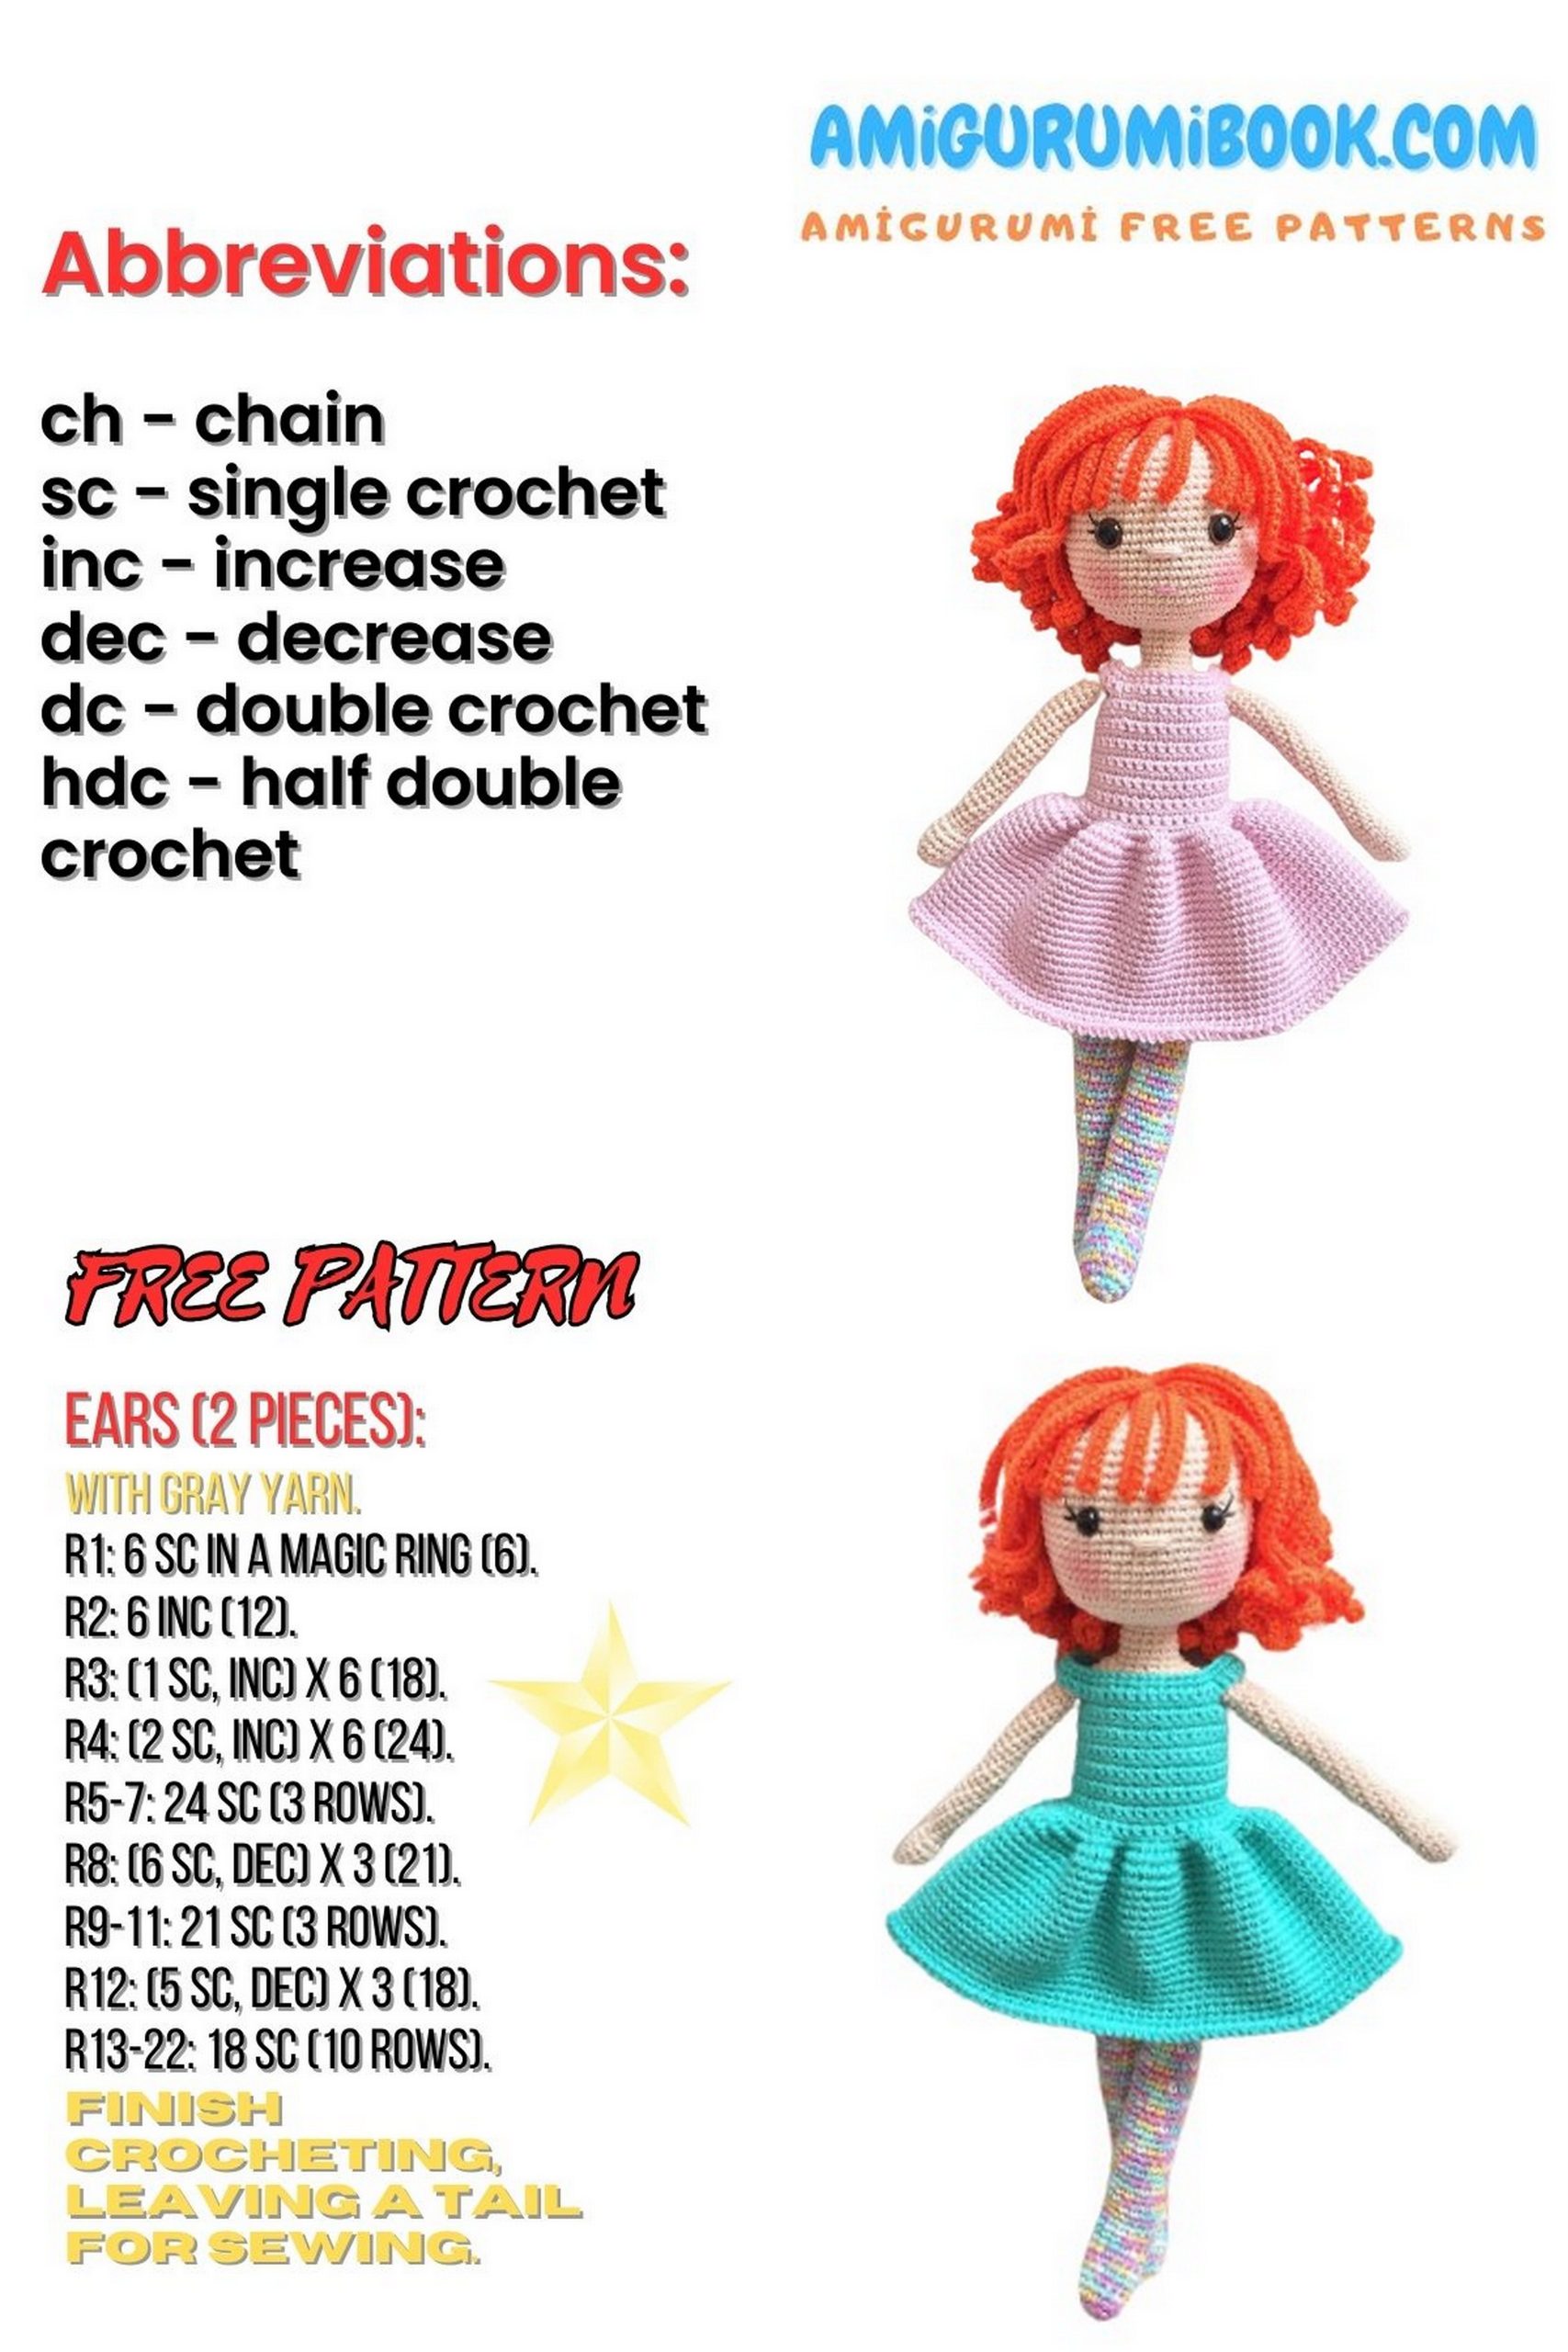
Abbreviations
(… ) × n – repeat n times
ch – chain
sc – single crochet
inc – increase (2 sc in one stitch)
dec – decrease (2 stitches together)
M – work three stitches together
hdc – half double crochet
cc – slip stitch
blo – back loop only
flo – front loop only

Arms
Skin color yarn
1: 6 sc in magic ring
2: inc in each stitch (12)
3–6: 12 sc
7: 2 inc, 7 sc
8: 2 inc, 5 sc
9: 8 sc
10–32: 8 sc
Finish the last stitch with sl st and cut yarn short.
Stuff arms every 4–5 rows.
For steps 7 and 8, follow the thumb formula instead of stitch counts.
Leave the last 3 steps unstuffed.
Legs – Body – Head
Catania Colors, 2.20 mm hook
1: 6 sc in magic ring
2: 12 sc
3: (3 sc, inc) ×3 (15)
4–9: 15 sc
10: turn, ch 1, 7 sc
11: turn, ch 1, skip 1 sc, 5 sc, skip last sc, turn
12: ch 1, skip 1 sc, 3 sc, skip last sc, turn
13: ch 1, 1 sc, work 3 sc and 8 sc around staircase corners (15 sc)
Start stuffing every 4–5 steps.
15–50: 15 sc
After finishing the left leg, align both legs facing inward and join with ch 3.
51: 15 sc (left leg), 3 sc in chain, 15 sc (right leg), 3 sc in chain (36)
52–61: 36 sc
62: (9 sc, inc) ×3 (33)
63: 33 sc
Switch to skin color yarn.
64–74: 33 sc
75: (9 sc, inc) ×3 (30)
76:
- Attach left arm: crochet 3 sc together with 3 sc of the arm
- Crochet body stitches
- Attach right arm the same way
Total: 30 sc (3 + 12 + 3 + 12)
77: remaining 5 sc of left arm, 12 sc, remaining 5 sc of right arm, 11 sc
Ignore stitch counts during arm attachment; follow the formula only.
Place stitch marker here.
78: (inc, 3 sc) ×7 (35)
79: (inc, 2 sc) ×7 (42)
80: (2 sc, 3 sc) ×7 (49)
81: (3 sc, 2 inc) ×7 (56)
82–107: 56 sc
Insert eyes between 100–101, with 10 sc between them.
Embroider eyelashes behind the eyes and embroider the nose.
Stuff firmly.
108: (6 sc, inc) ×7 (49)
109: (5 sc, inc) ×7 (42)
110: (4 sc, inc) ×7 (35)
111: (3 sc, inc) ×7 (28)
112: (2 sc, inc) ×7 (21)
113: (1 sc, inc) ×7 (14)
114: all decreases (7)
Pull tight, fasten off.
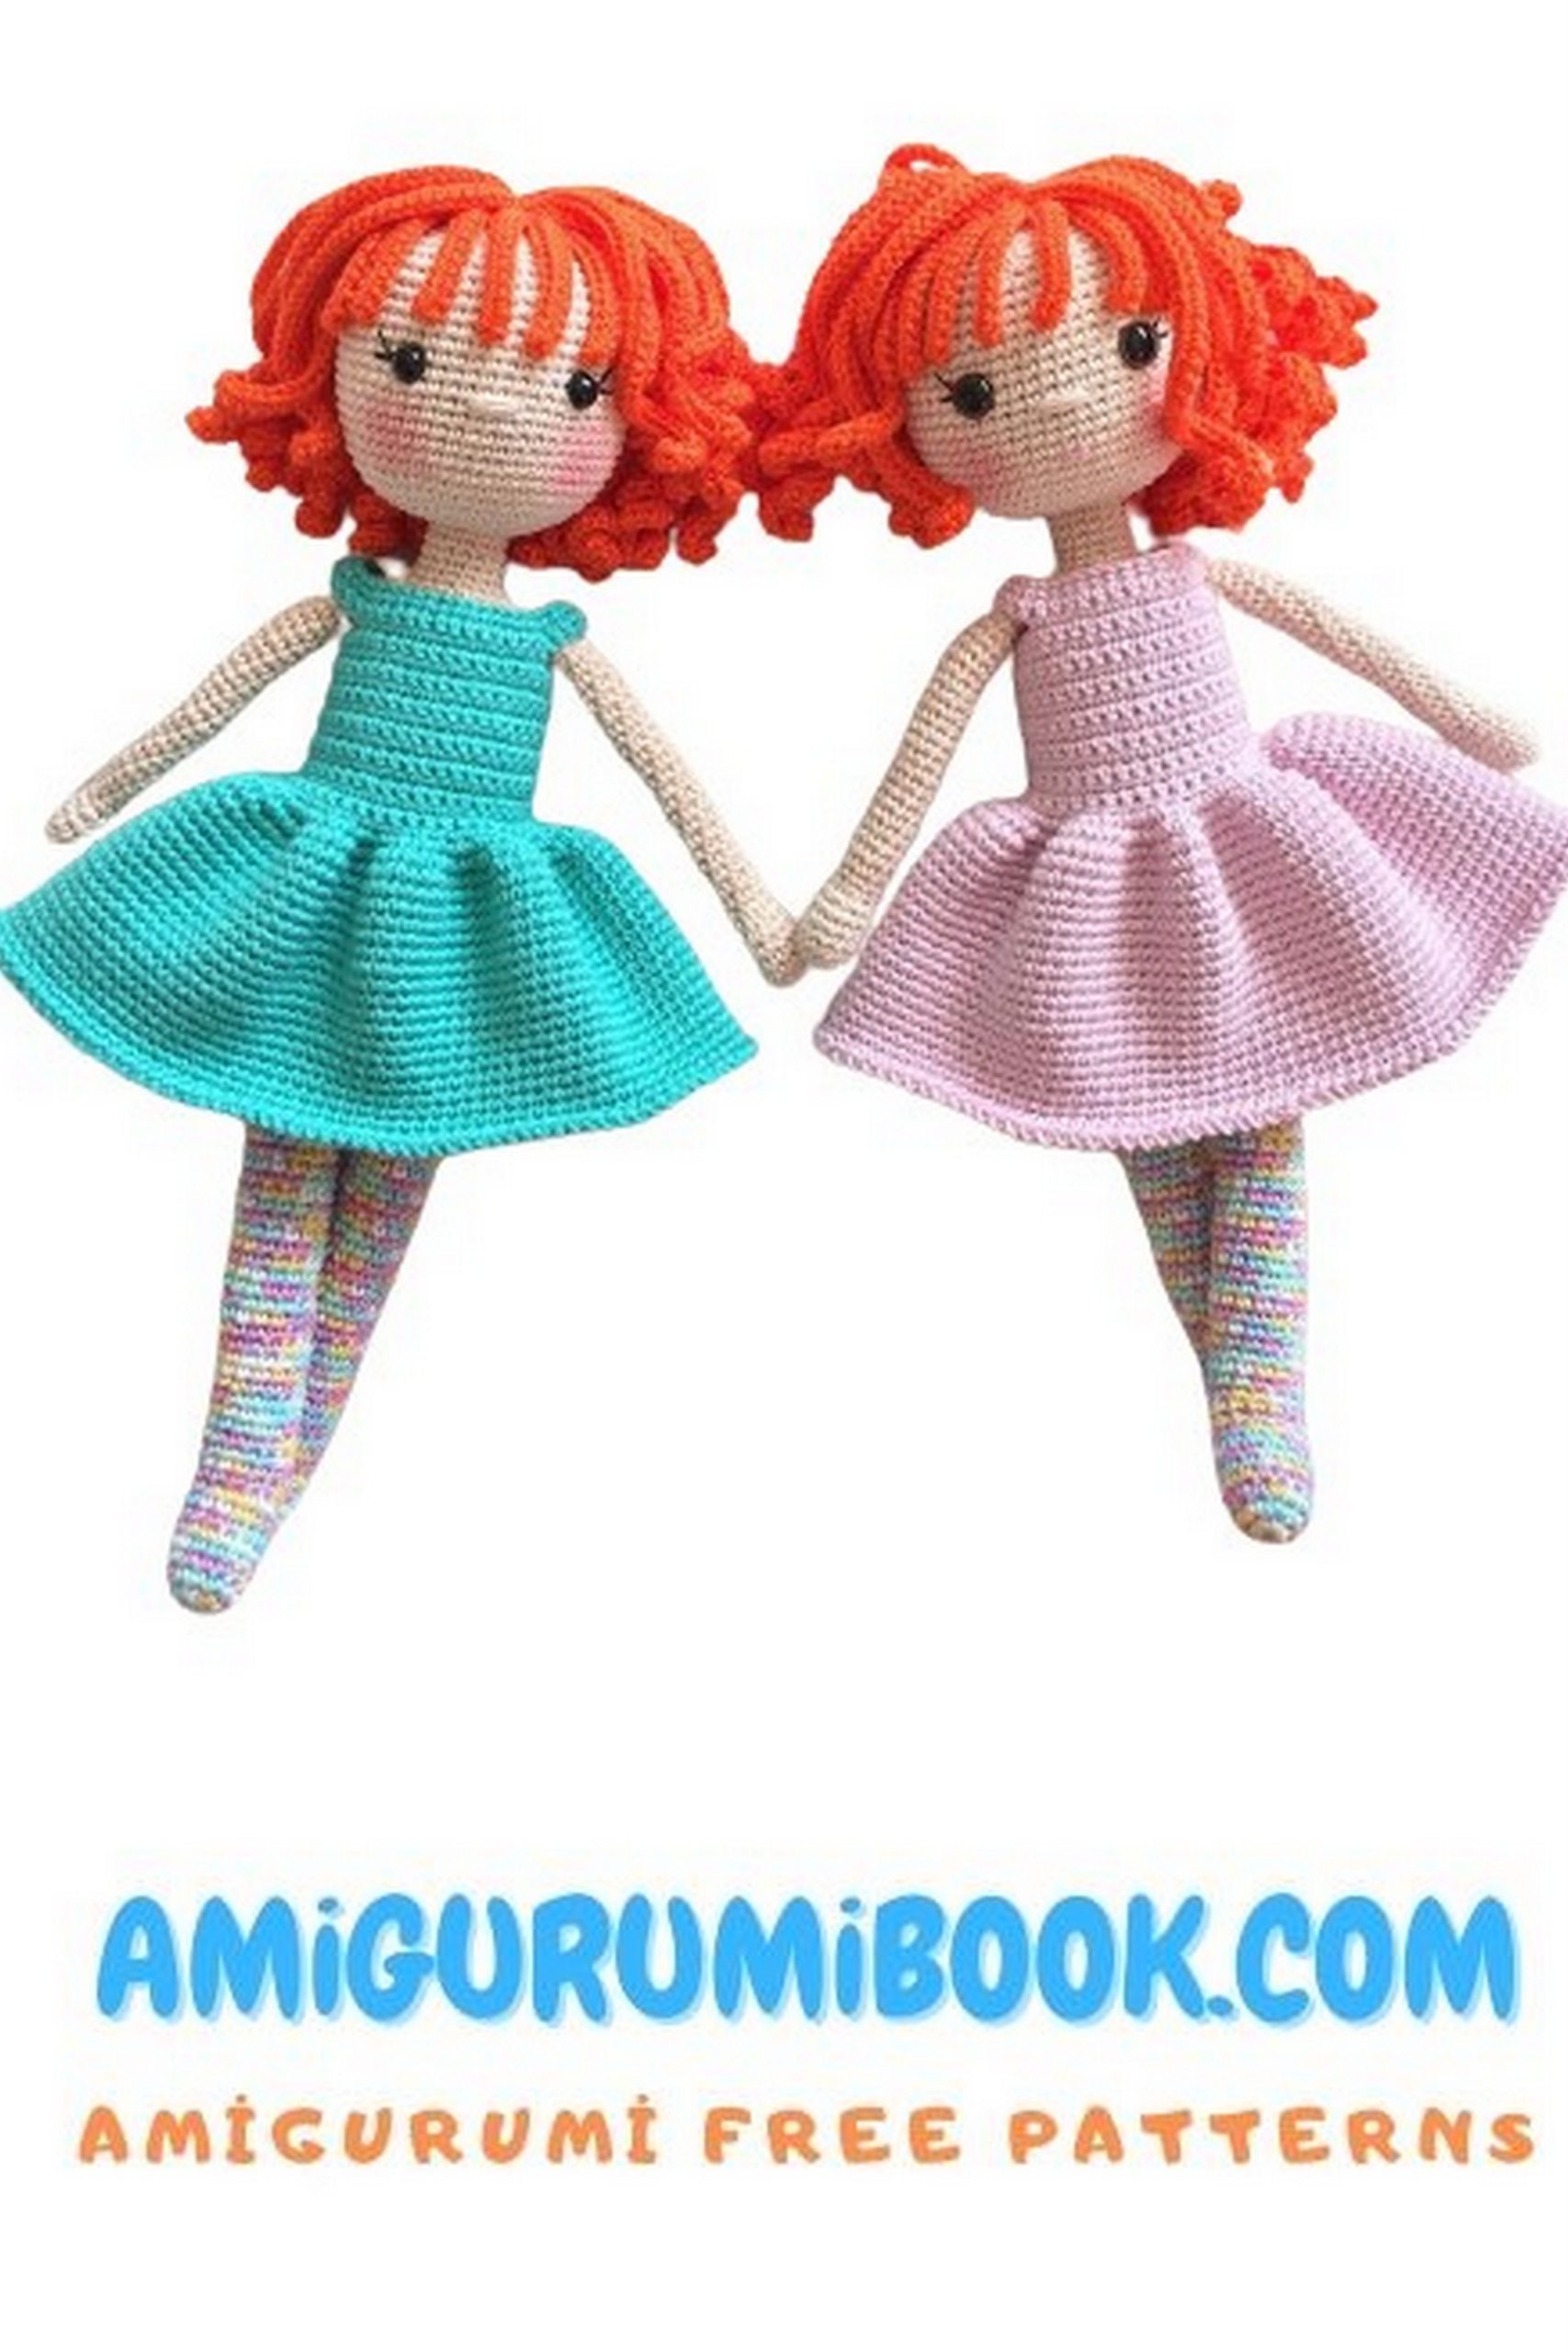
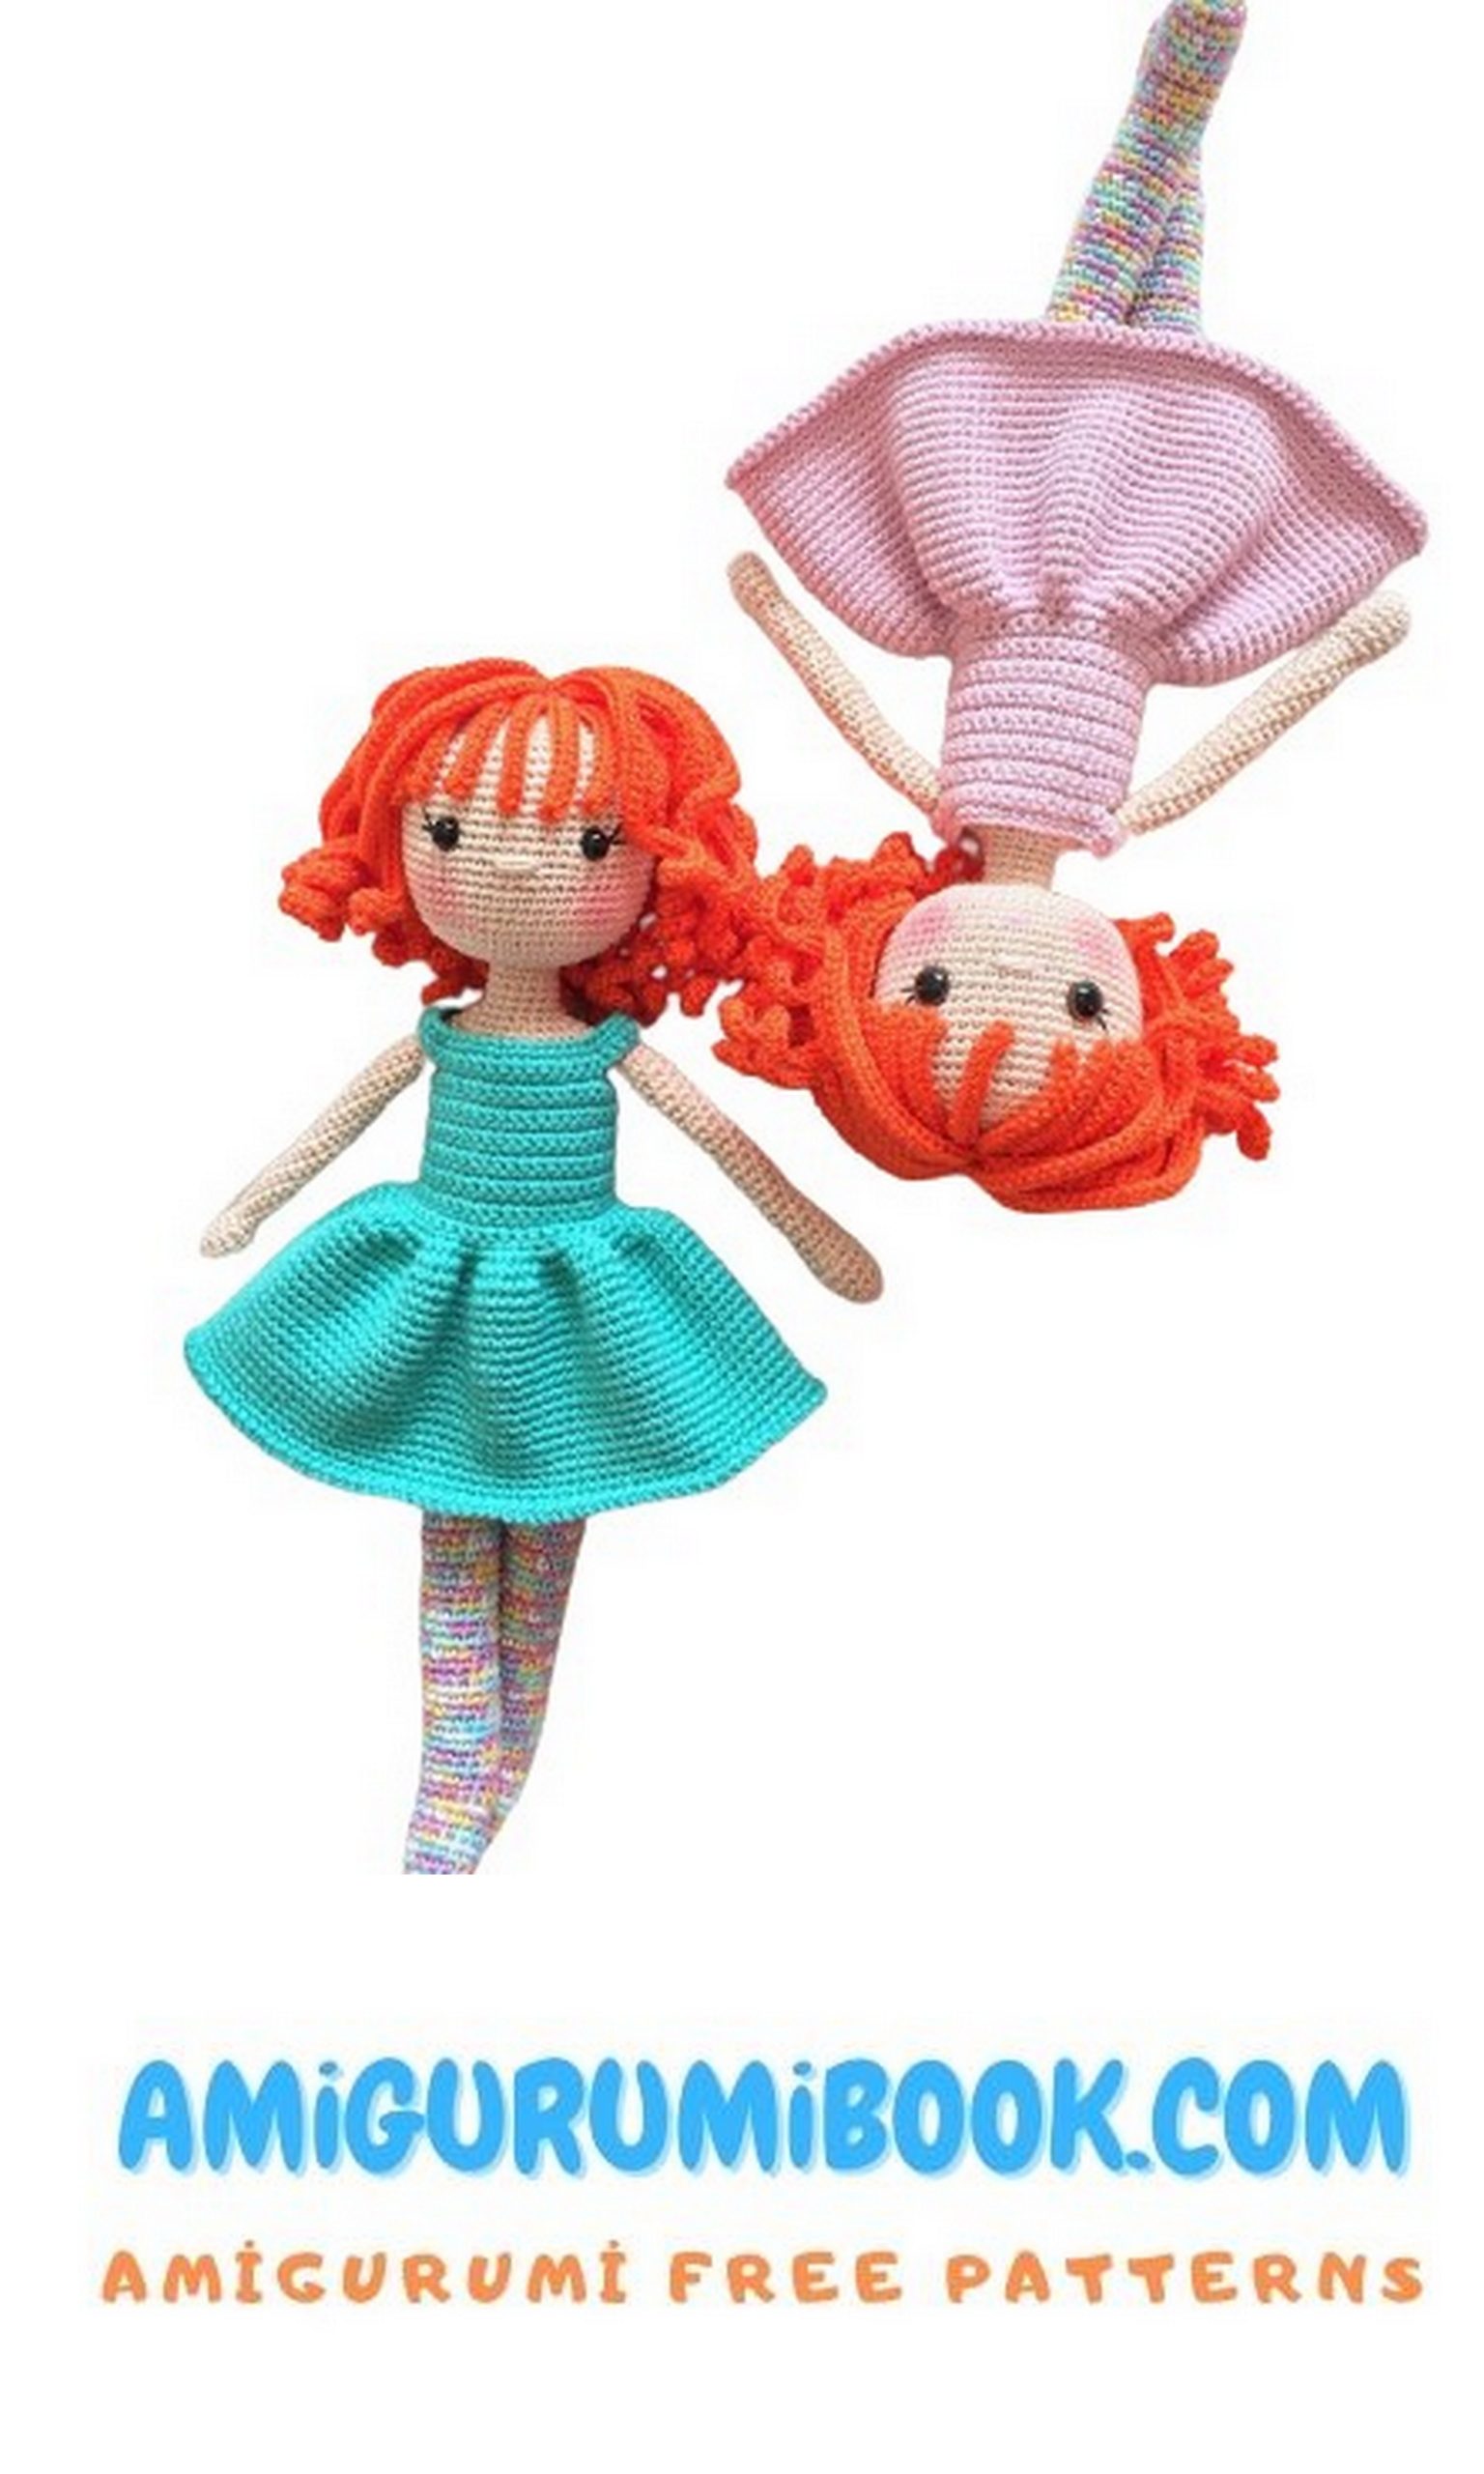
Dress – Gazzal Baby Cotton (2.00 mm hook)
1: ch 49, skip 1 ch, 48 sc
2: turn, ch 1, 48 sc
3: turn, ch 1, 7 sc, ch 7, skip 10, 14 sc, ch 7, skip 10, 7 sc
4–5: turn, ch 1, 42 sc
6: turn, (ch 9, sl st) loop, ch 1, 42 sc
7–13: turn, ch 1, 42 sc
14: (ch 9, sl st) loop, ch 1, 42 sc
15–17: turn, ch 1, 42 sc
Join beginning and end with sl st.
18: ch 1, inc in all stitches (84)
19: ch 1, (1 sc, inc) ×42 (126)
20–38: ch 1, 126 sc
39: ch 1, sl st, ch 1, sl st, repeat for edging
Dress – Catania (2.20 mm hook)
1: ch 41, skip 1 ch, 40 sc
2: turn, ch 1, 40 sc
3: turn, ch 1, 7 sc, ch 6, skip 6, 14 sc, ch 6, skip 6, 7 sc
4–5: turn, ch 1, 40 sc
6: turn, (ch 8, sl st) loop, ch 1, 40 sc
7–11: turn, ch 1, 40 sc
12: (ch 8, sl st) loop, ch 1, 40 sc
13–17: ch 1, 40 sc
Join with sl st.
18: ch 1, inc all (80)
19: ch 1, (1 sc, inc) ×40 (120)
20–38: ch 1, 120 sc
39: edging with sl st pattern
Crochet Hair with Wig
Alize Diva, 1.70 mm hook
1: 6 sc in magic ring
2: inc all (12)
3: BLO inc all (24 hdc)
4: BLO (2 hdc, inc) ×8 (32)
5: BLO (3 hdc, inc) ×8 (40)
Without cutting yarn, work hair strands from front loops:
- ch 40 + 2, 40 hdc, sl st to next loop
- repeat around
For bangs:
- ch 13 + 2, 13 hdc, sl st
- repeat 9 times, centered symmetrically
Continue until reaching start of step 2 (approx. 42 strands).
Leave a long tail to sew wig.
Pin wig in place; end of step 5 should sit between 112–113 on the head.
Optional hair implant method is described for extra density.