
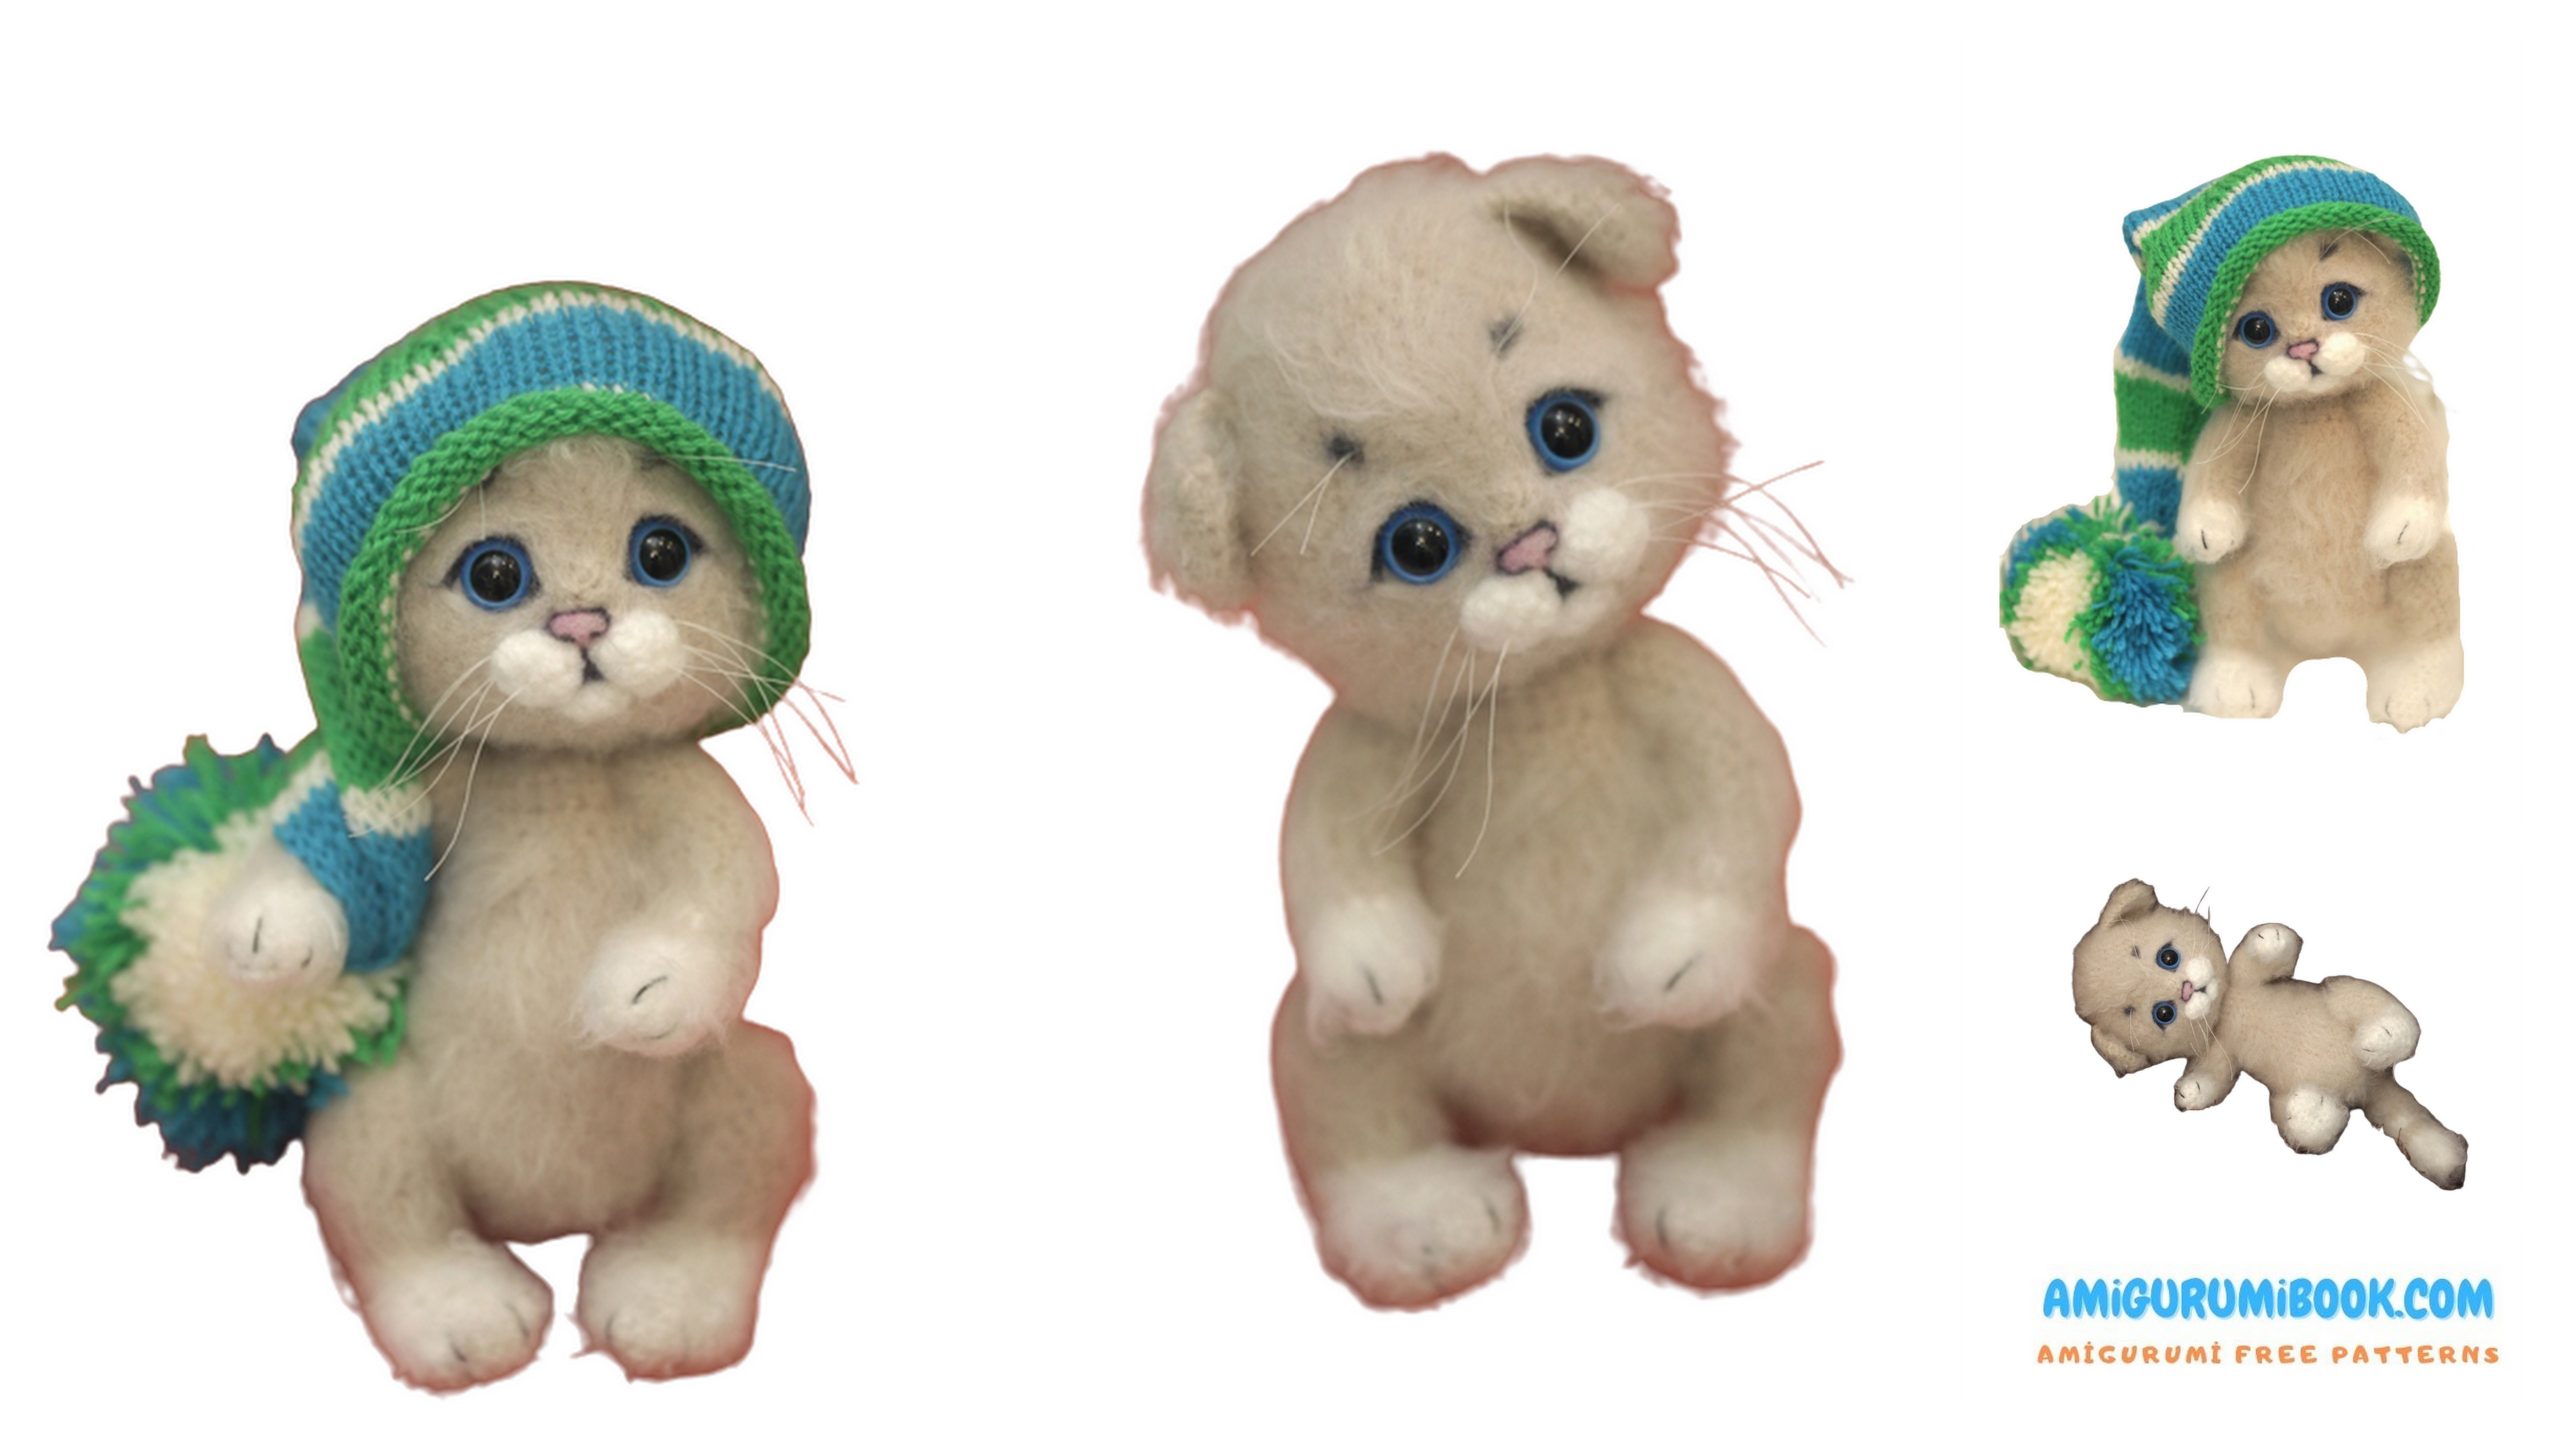
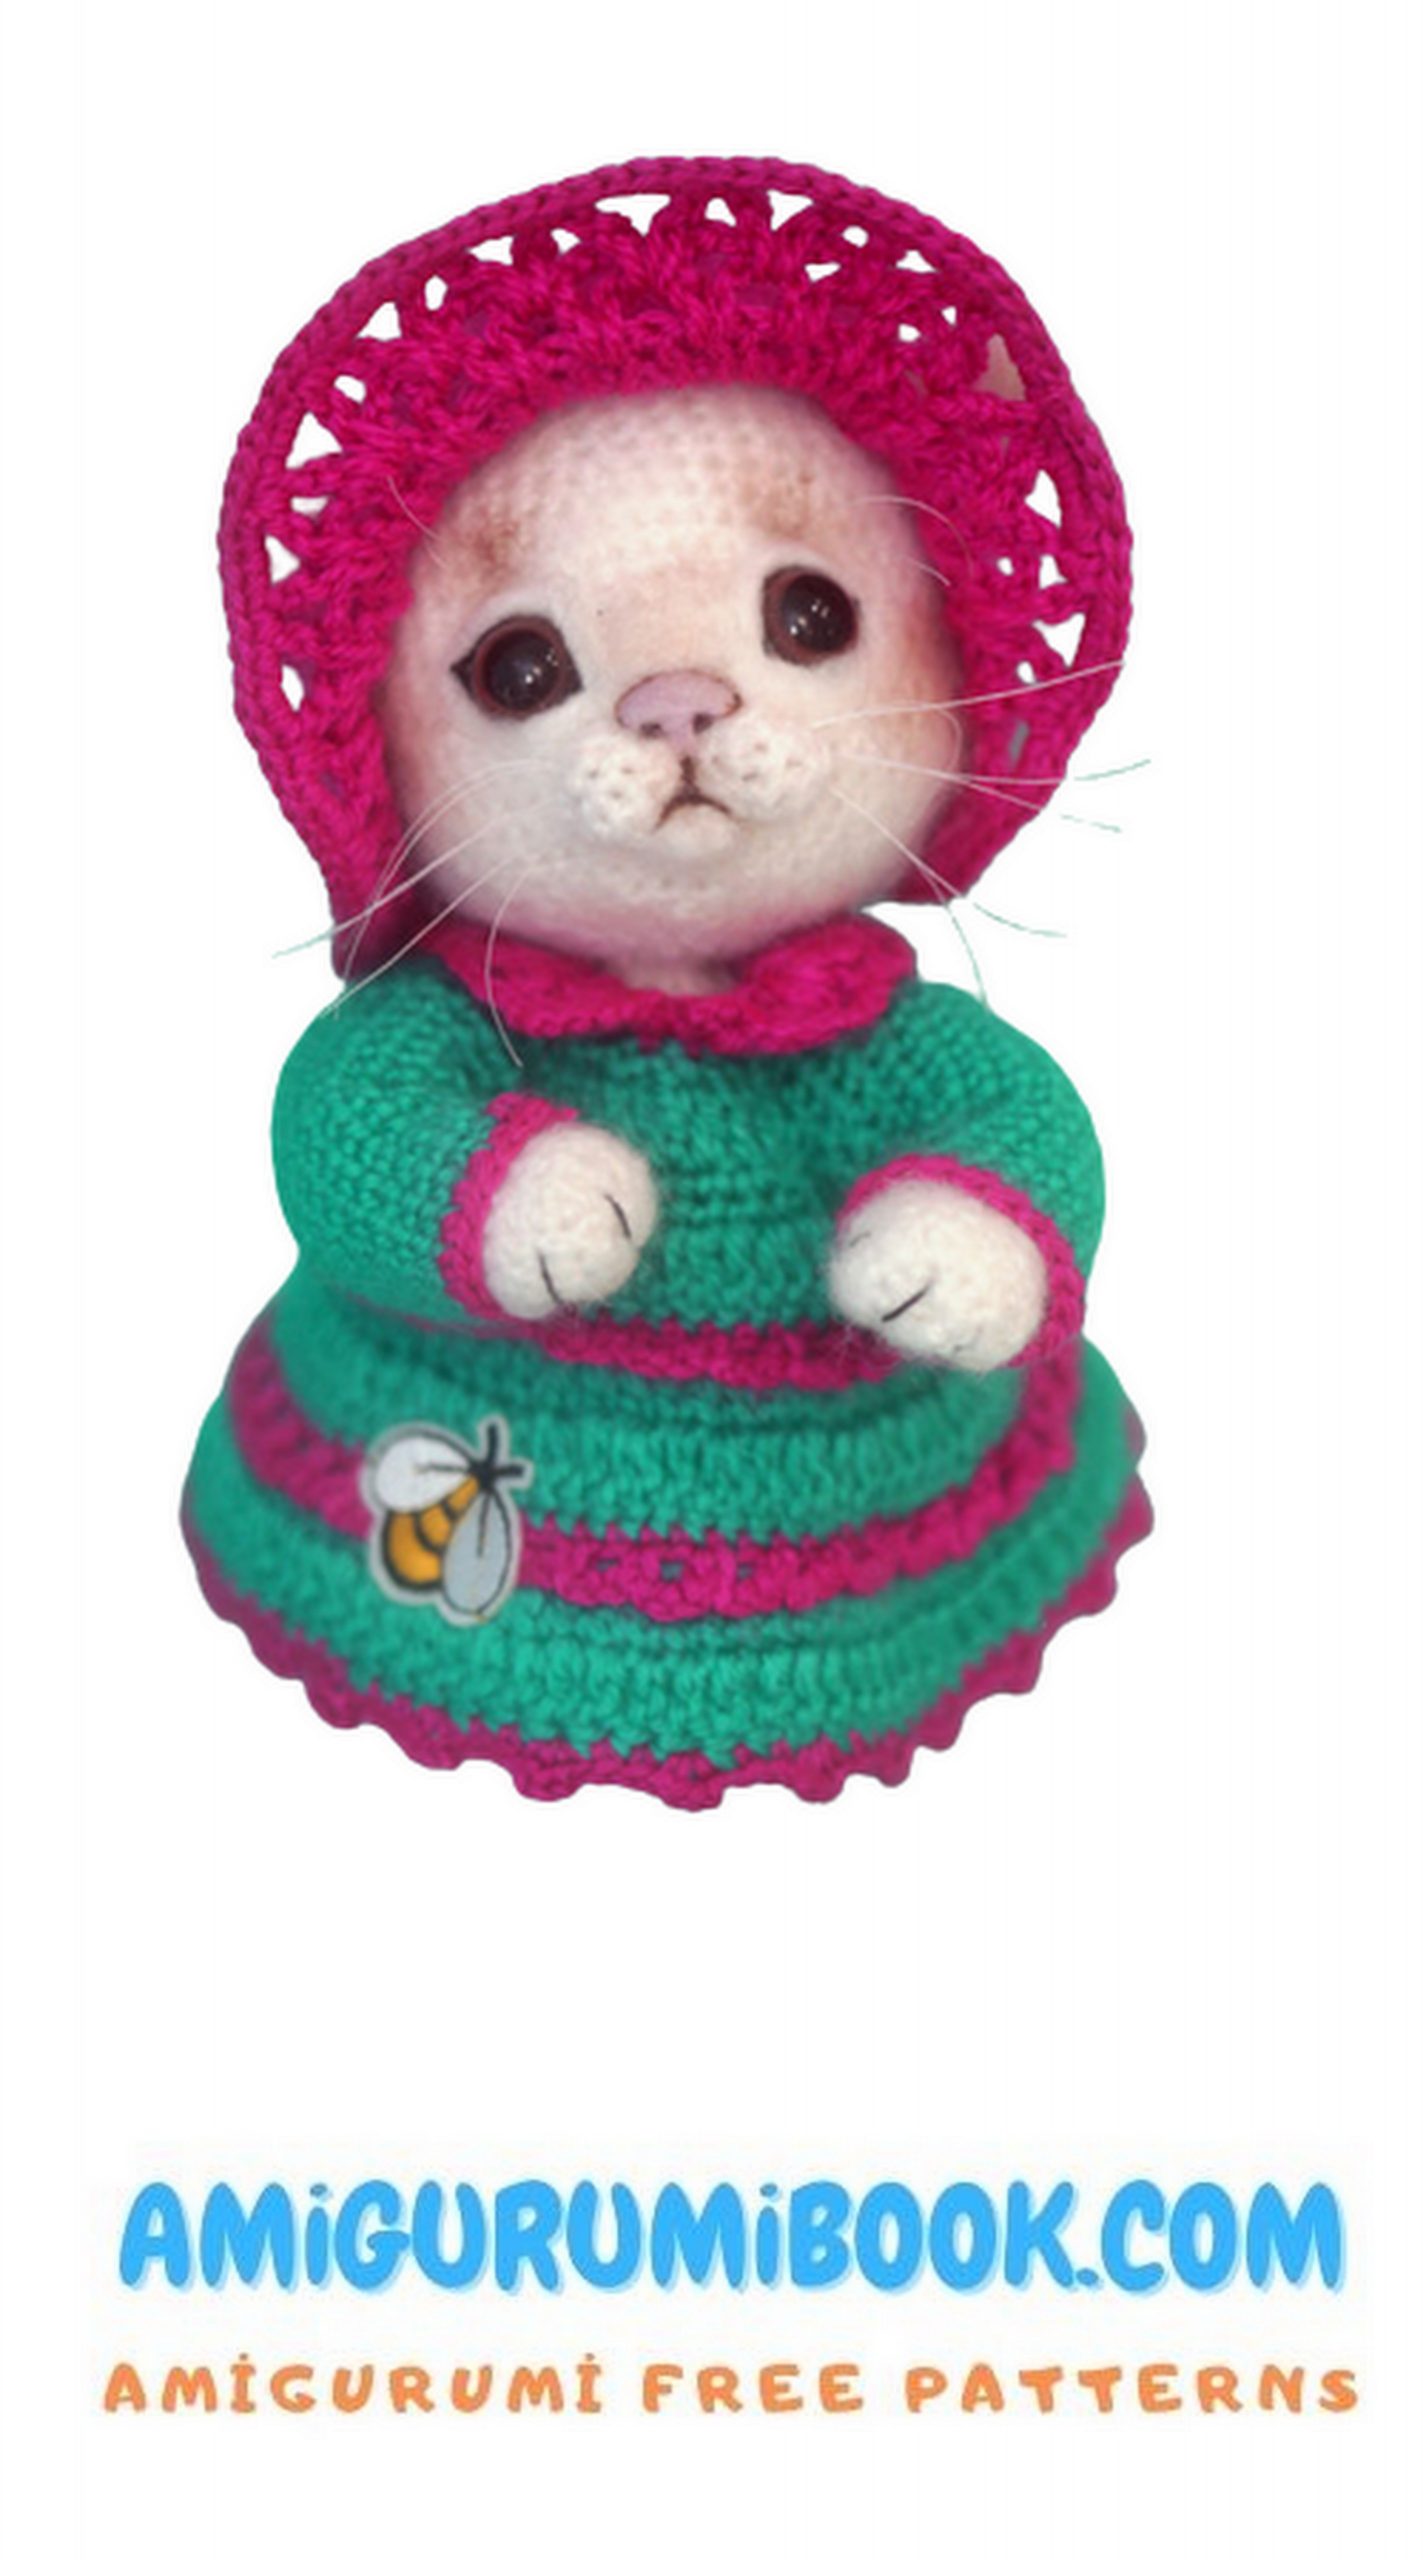
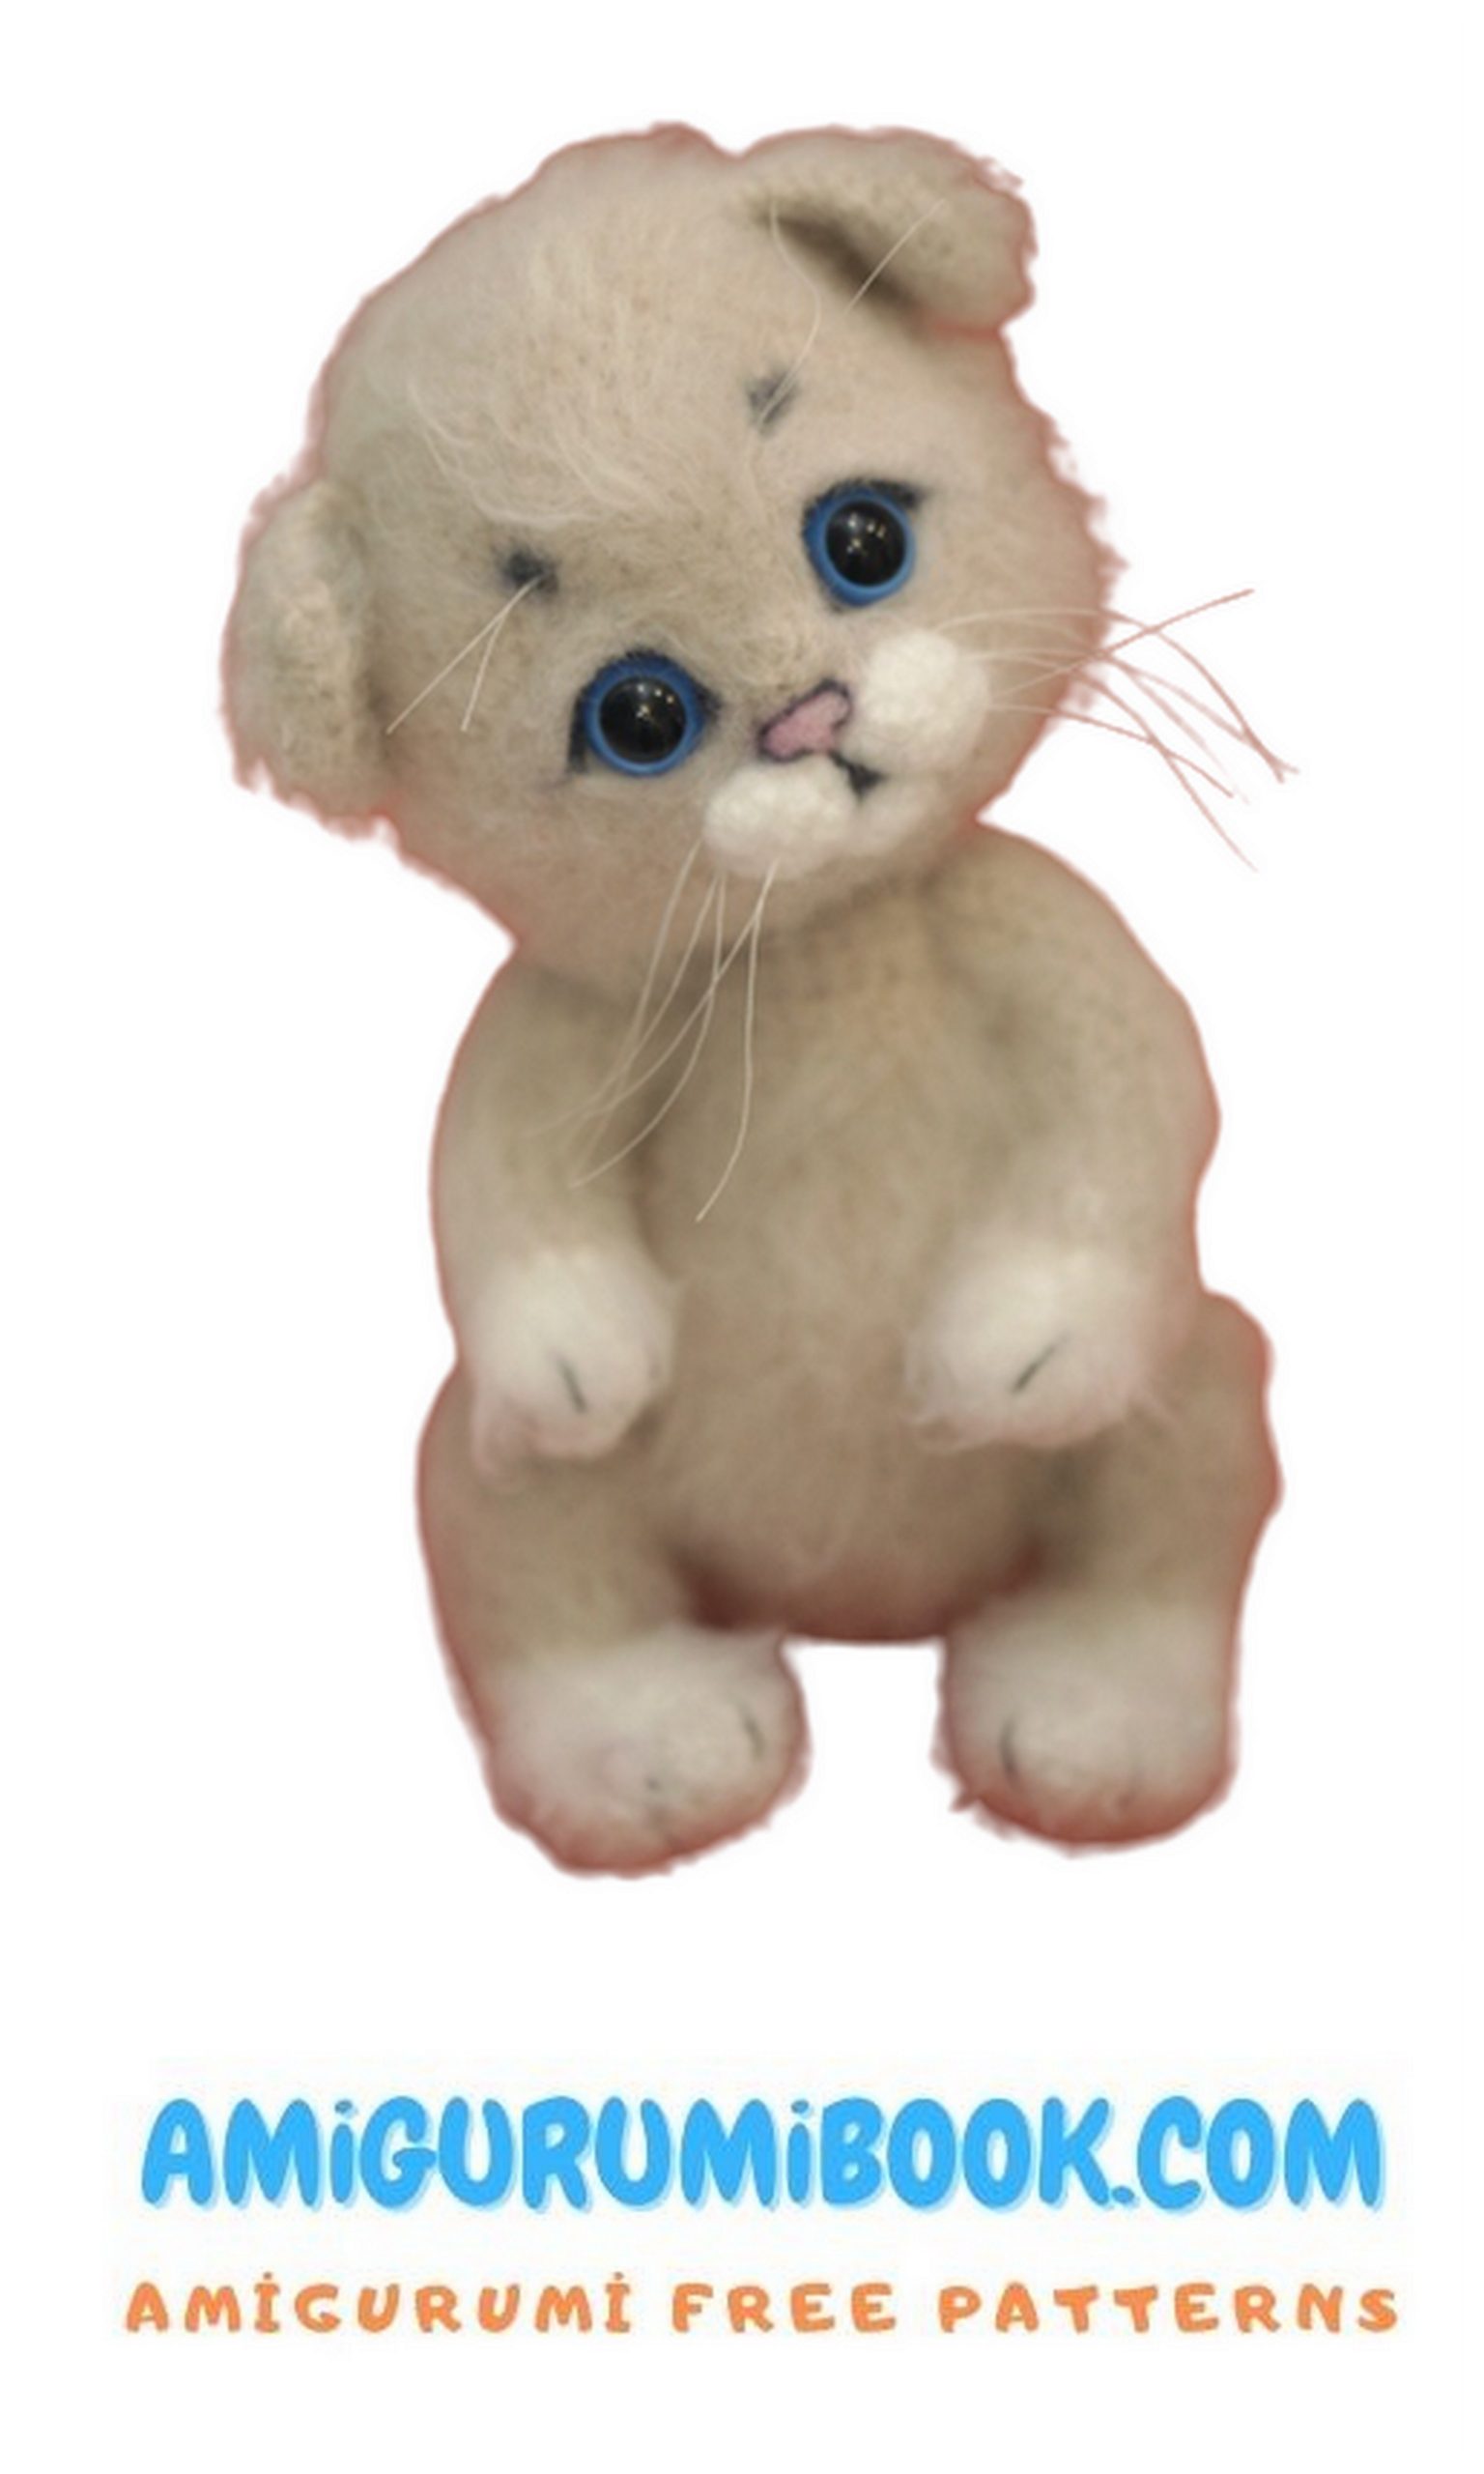
Creating a little cute cat amigurumi is a fun and rewarding project for both beginners and experienced crocheters. This free pattern provides simple instructions to make an adorable handmade cat that’s perfect as a gift or a charming decoration. free crochet patterns – Bear And Bunny Amigurumi Free Pattern
You may also like more amigurumi patterns.
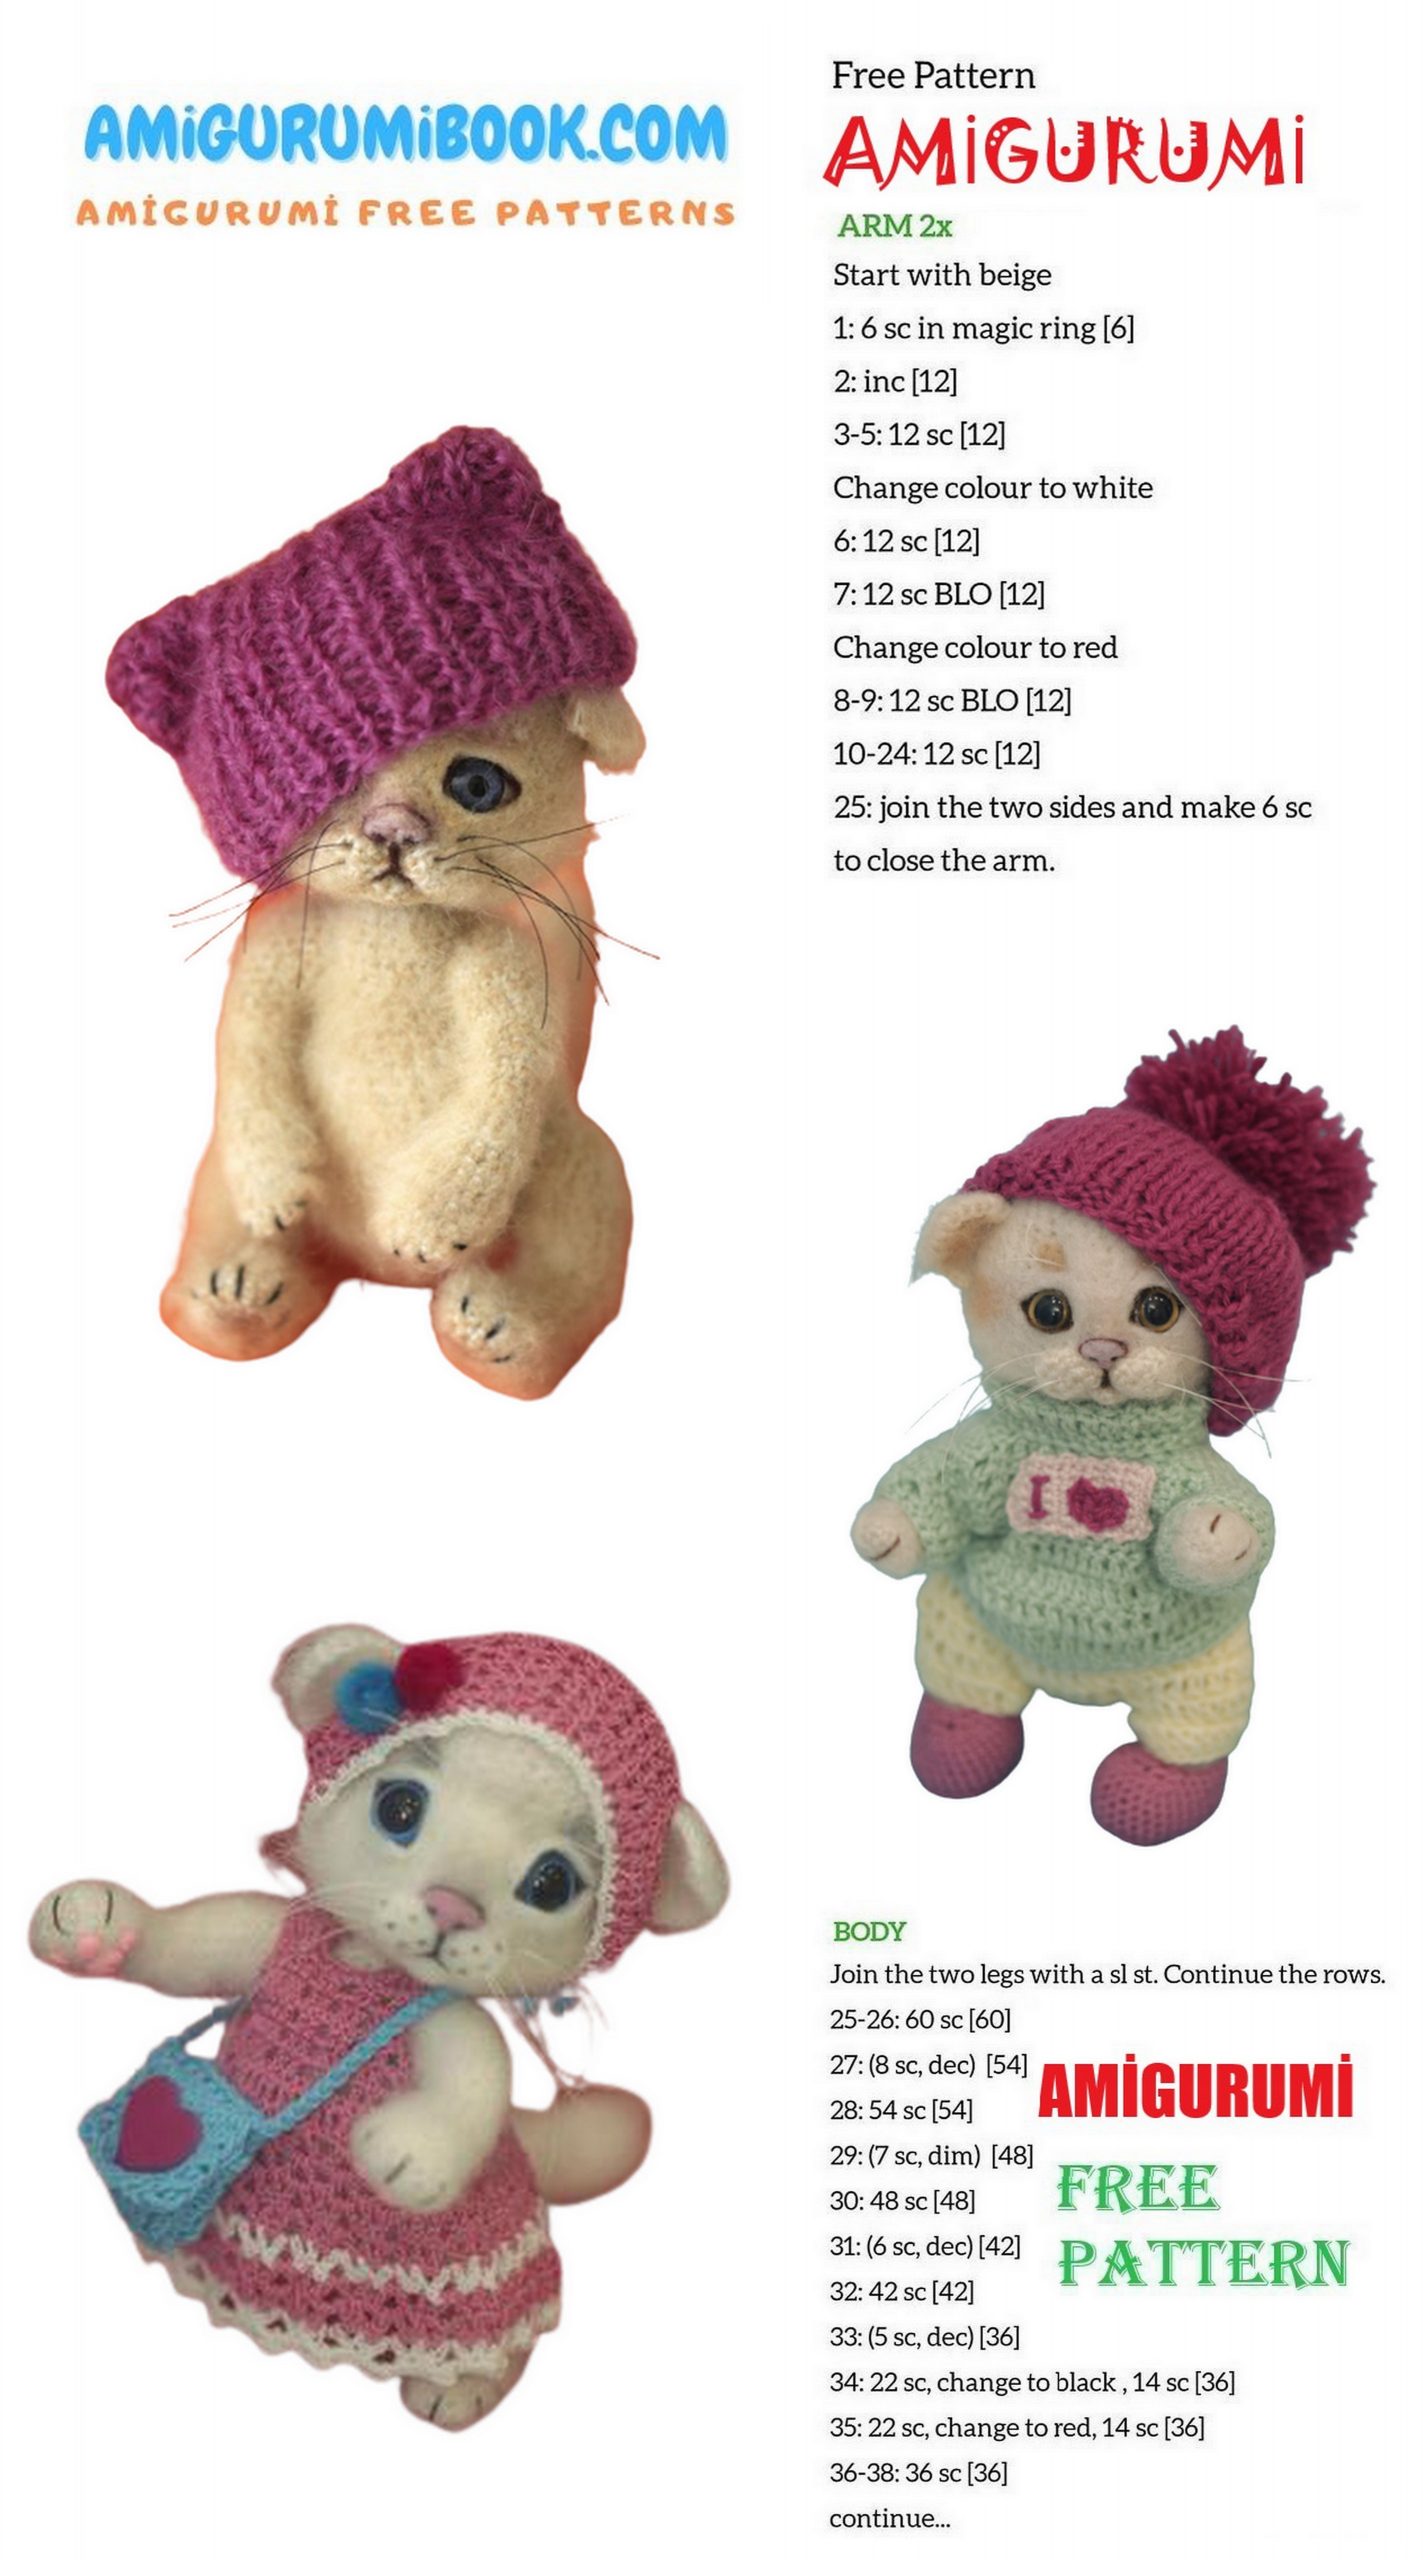
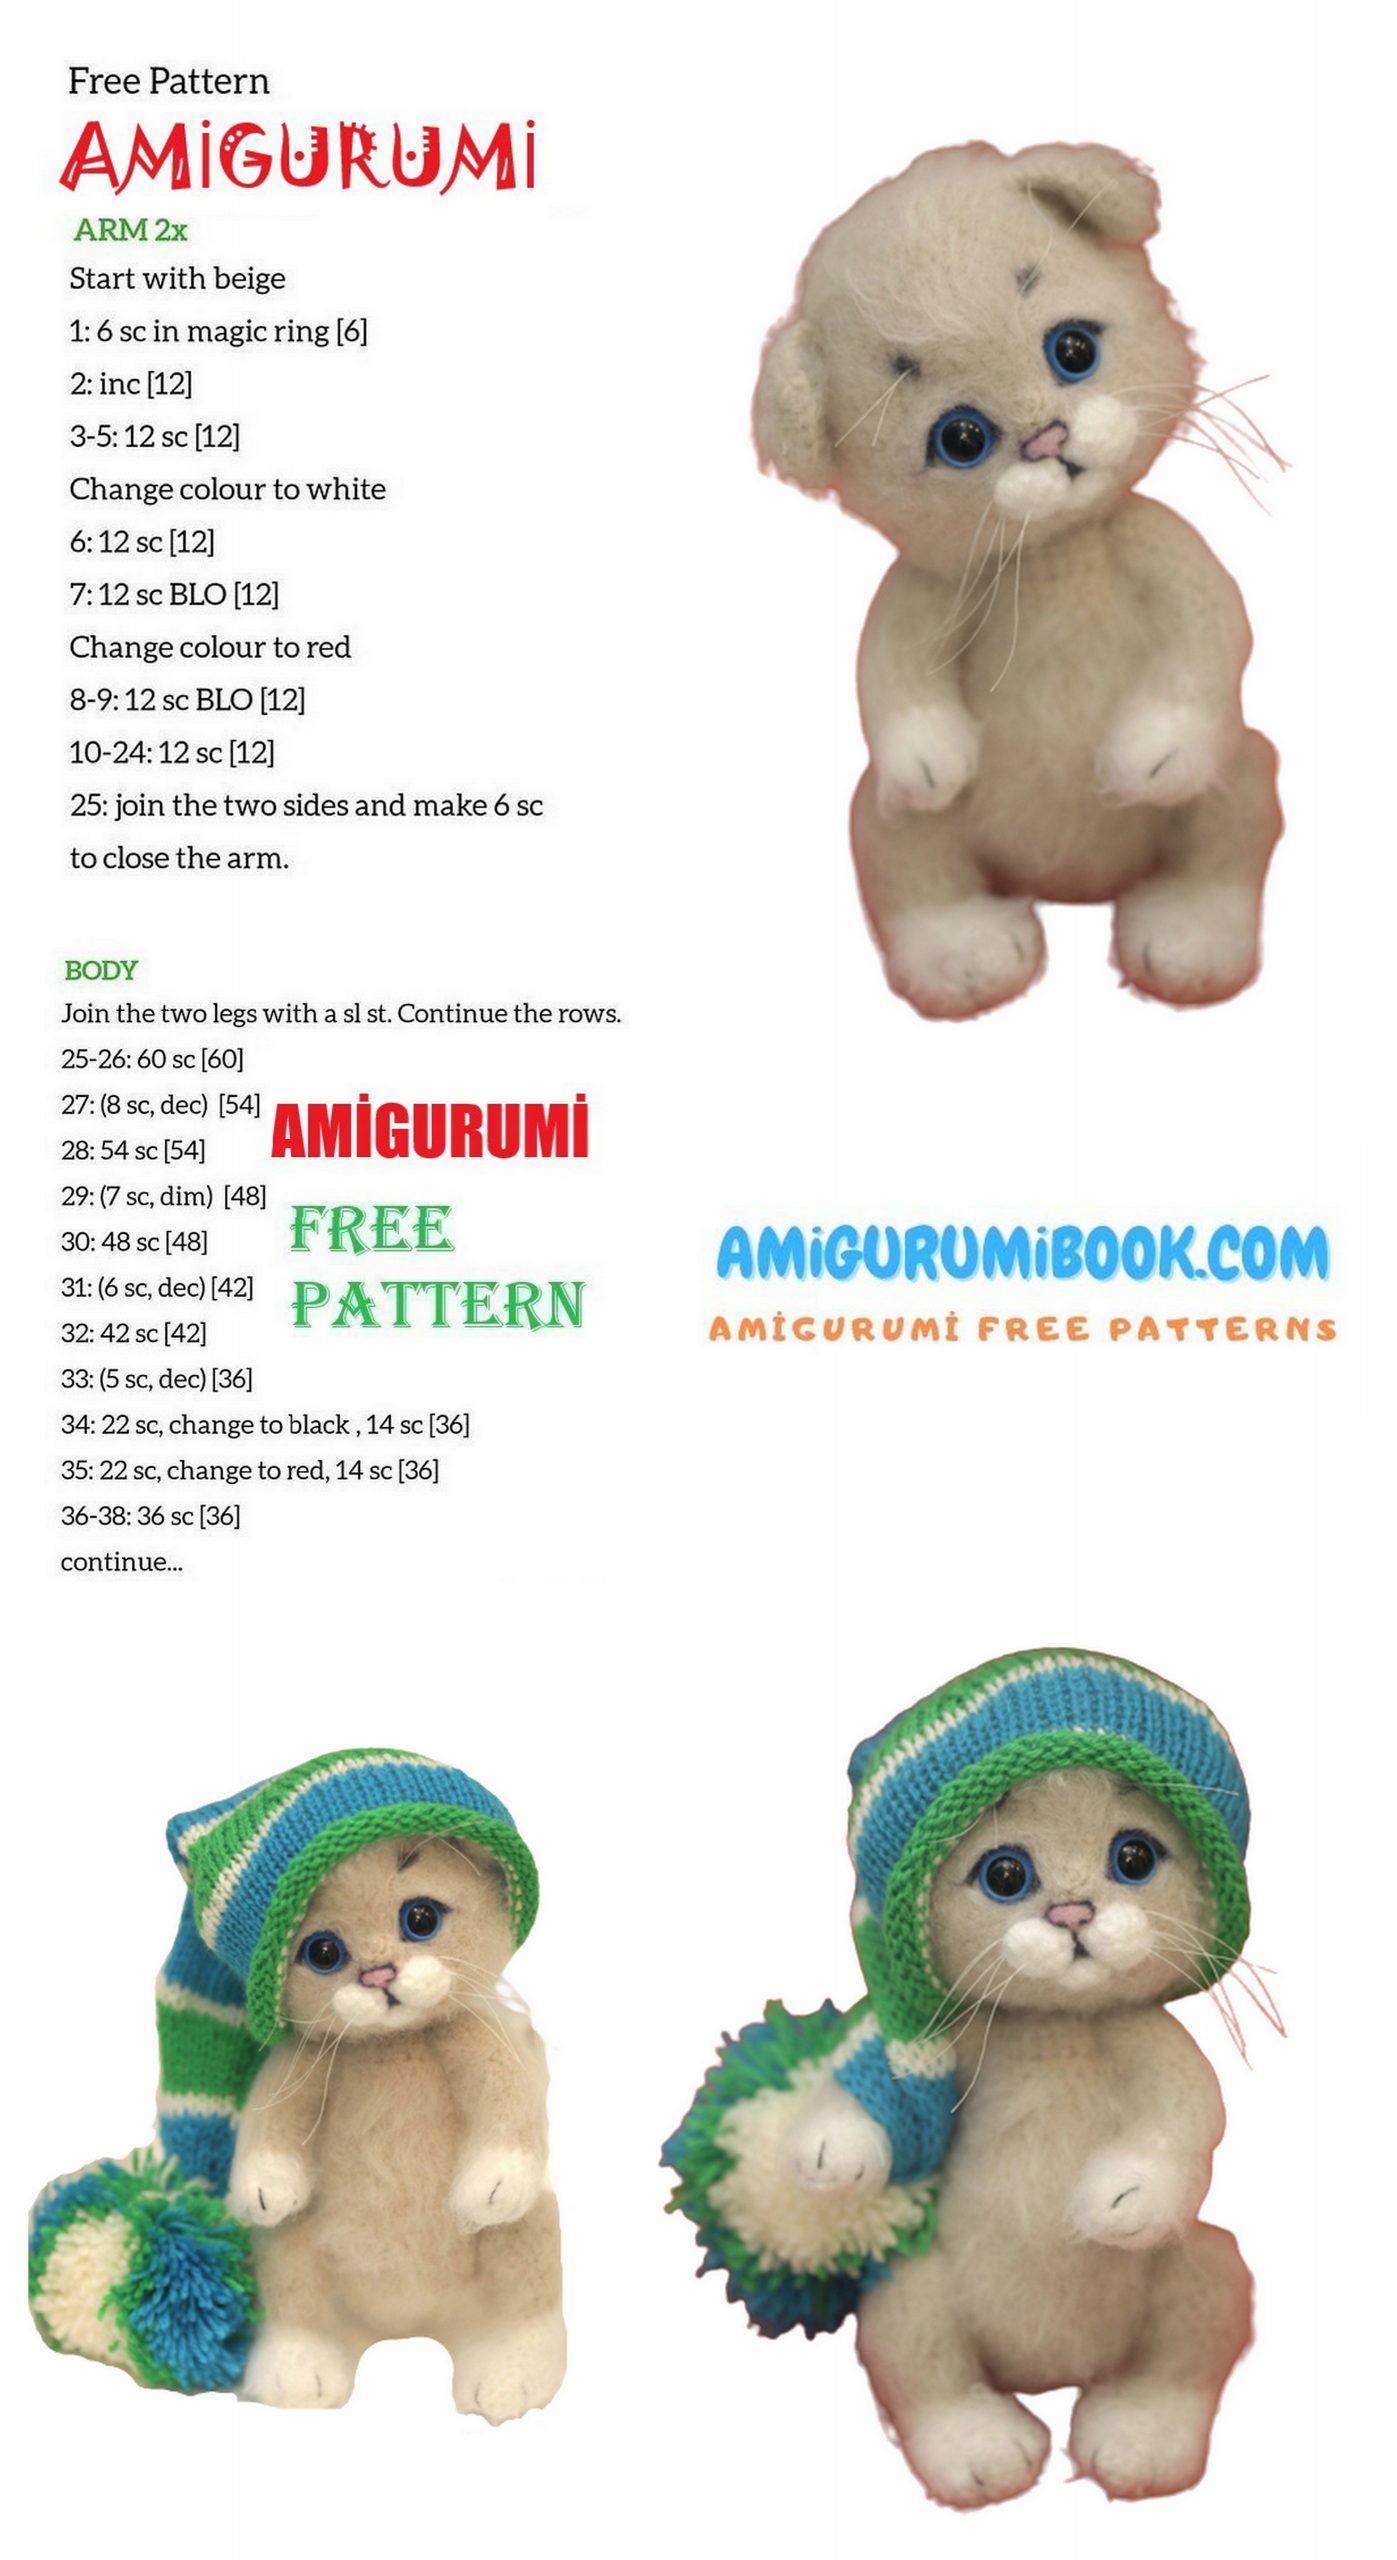
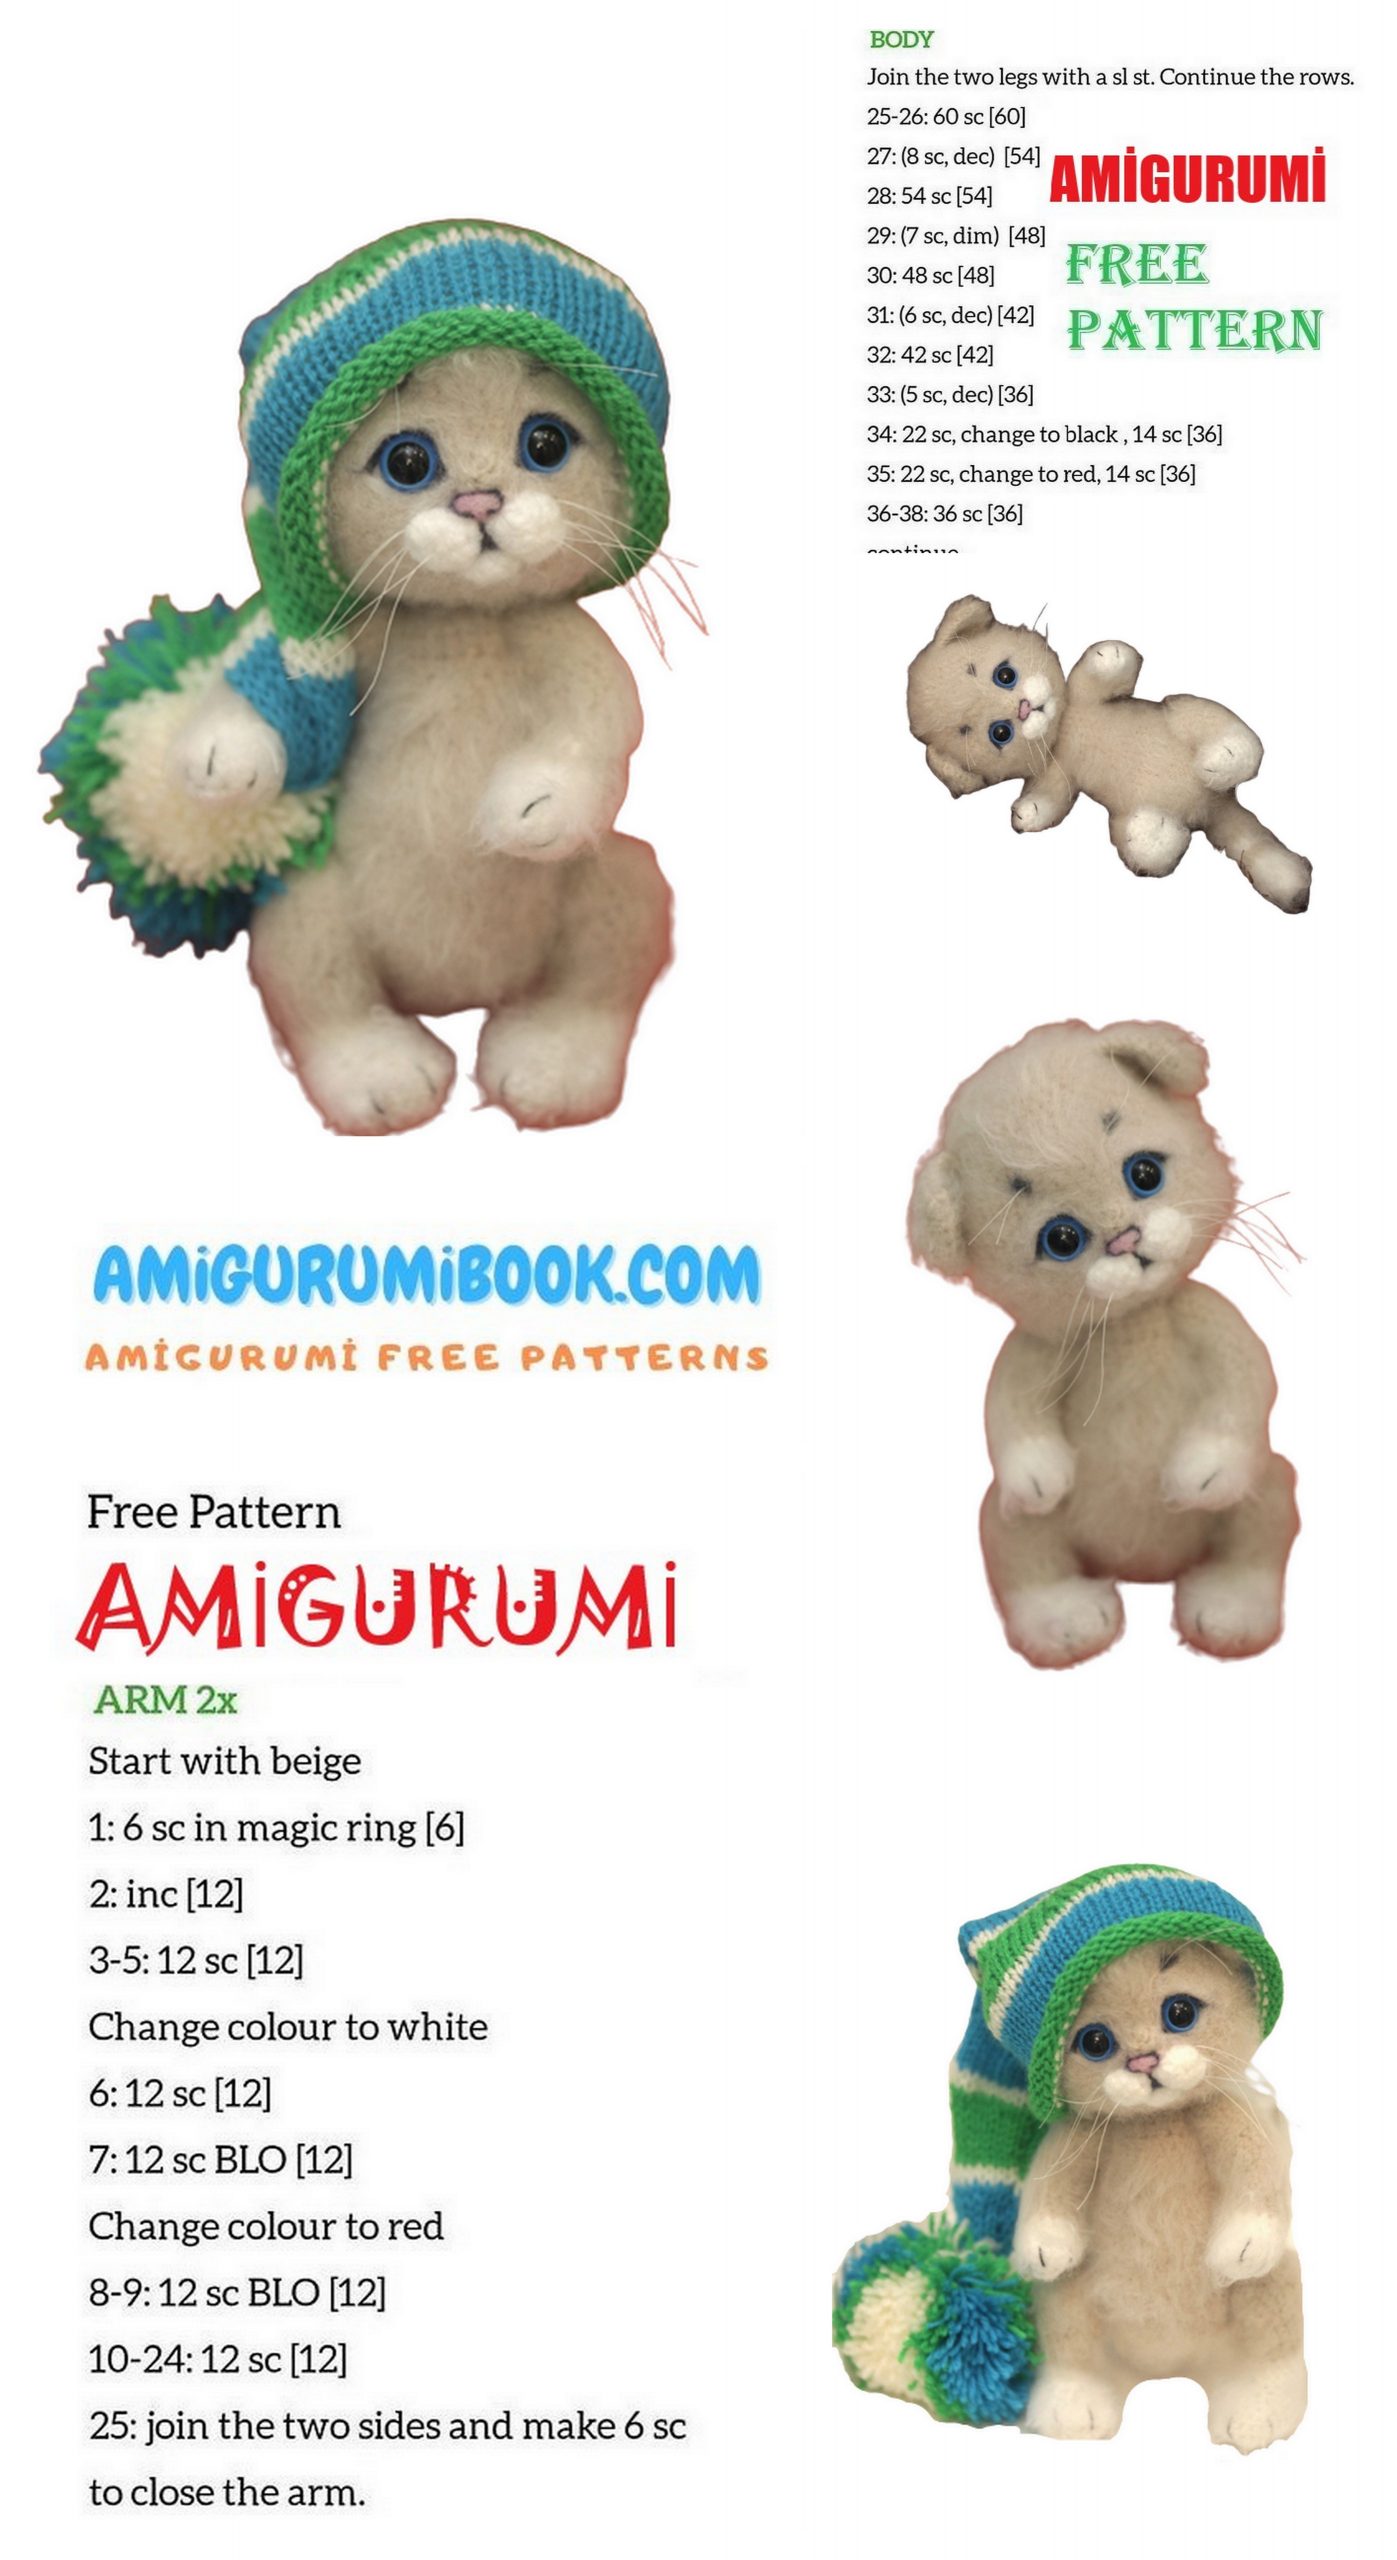
I continue to share Amigurumi free patterns without slowing down. Little cute cat amigurumi free pattern is waiting for you in this article.
Abbreviations
ch: chain
sc: single crochet
inc: increase
dec: decrease
hdc: half double crochet
sl-st: slip stitch
Pattern
Head
We knit the head in circular rows. Marker in the back center. We make displacement loops where necessary.
1p – 6sc into magic ring
2p – inc*6 = 12
3p – (1sc, inc)= 18
4p – (2sc, inc) = 24
5p – (3sc, inc) = 30
6p – 30
7p – 7sc, inc, 14sc, inc, 7sc = 32
8p – 8sc, inc, 14sc, inc, 8sc = 34
9p – 8sc, inc, 16sc, inc, 8sc = 36
10r – 36,
11p – (5sc, inc)= 42
12p – (6sc, inc) = 48
13р- (7sc,inc)=54
14-22r (8 rows) – 54,
23р-(7sc,dec)=48
24р-(6sc,dec)=42
25р-(5sc,dec)=36
26p-(4sc,dec)= 30
27p-(3sc, dec) = 24 leave a long thread and move on to knitting other parts
Pens
1r-6sc into magic ring
2p-inc*6=12
3-12-12sc
13-14p-dec HDC, 3sc, inc, inc, 3sc, dec HDC
15r-6sc, inc, 5 sc
16r-6sc, inc, 6 sc
17r-7sc, inc, 6 sc
18r-7sc, inc, 7 sc
19r-7sc, inc, 7 sc, inc=18
20-23-18sc leave the thread for sewing
Legs
1p-5ch, from the second loop 3sc, 3in 1, on the other side 3sc, 3in 1=12
2p-3sc, 3 inc, 3 sc, 3 inc =18
3p-3sc,(1sc,inc)*3 times, 3 sc, (1sc,inc)*3 times=24
4p-24 sc
5r-22 sc to the middle of the heel, put a marker
6p-8sc, (dec HDC)*4 times, 8 sc=20
7p-6sc,(dec HDC)*4 times, 6 sc =12
9-11r-12 sc
12p-(inc, 5 sc)=14
13r-14
14p-6sc inc =16
15r-16
16r-7sc inc=18
17р-5sc,inc=21
18r-21
19p-one inc, 20 sc = 22
20-23r-22sc
24r-4 dec in a circle = 18 sc
25p-1sc,dec =12 leave thread for sewing
Torso (top to bottom)
1p-6sc into magic ring
2p-inc=12
3p-1sc,inc=18
4p-2sc,inc=24
5-10r-24
11р-3sc,inc=30
12r-30
13p-4sc,inc=36
14r-36
15p-5sc,inc=42
16-27r-42
28р-5sc,dec=36
29р-4sc,dec=30
30p-3sc,dec=24
31р-2sc,dec=18
then you need to insert the wire frame so that it passes from the head, through the hole (which we left into the magic ring in the first row of the body), through the body to the end of the tail (through the loop in knitting). I knit not very tight, the wire passes between the loops quite well. My cat turns out to be 17 cm in size, excluding the tail, so for the frame I cut off the wire about 27-30 cm long.
I count 7 rows from the top of the body and insert the wire for the handles, and at the bottom – at about the level of 10-12 rows I insert the wire for the legs. I stuff the body with holofauber and finish knitting the body
32р-1sc, dec=12
33r-6sc
Tail
1p-6sc into magic ring
2p-inc=12
3r-28r-12 (you can knit the ponytail longer or shorter, as you like)
Ears
1p-2 ch, ch turn
2p-2sc, inc, ch, turn
3p-3 sc,inc,ch turn
4p-4sc,inc,ch turn
5p-5sc,inc,ch turn
6p-6sc,inc ch turn
7p-7sc,inc ch turn
8p-9sc
Tie an eyelet on both sides and leave a thread for sewing
Muzzle
Consists of two parts, the first is knitted vertically, the second – horizontally.
You don’t need to hit them.
First part
1p-6sc into magic ring
2p-6 sc
pull into one loop, then dial 2 ch and knit 6 sc into the second from the hook, close the circle
knit 6 more loops in a circle, and again pull the loops into one.
Second part
1p-6sc into magic ring
2-4p-6, pull into one loop, cast on 2 ch and knit 6 sc into the second, close the circle and knit 3 more rows of 6 loops in a circle, pull off the loops.
Design Tips
1. The wire is inserted, the body is stuffed. At the end of the wire, you need to make a loop, wrap it with a plaster, put the handle on the wire, fill it with a little padding polyester and sew it to the body. If desired, you can attach the arms and legs in different ways, with
using a thread fastening or joints, whatever you like. We do the same with the legs.
2. At the location of the nose and mouth, we first sew the vertical part of the muzzle, and sew the horizontal one on top. It turns out such a cross from two parts. Then you need to make eye tightening.
I do the tightening in this way: From the point where the neck will be (under the chin), we insert the needle at the point where the right eye is located, then we retreat one row and bring the needle out in the same place, tighten the thread. Do the same with the left eye. We repeat the procedure a couple of times.
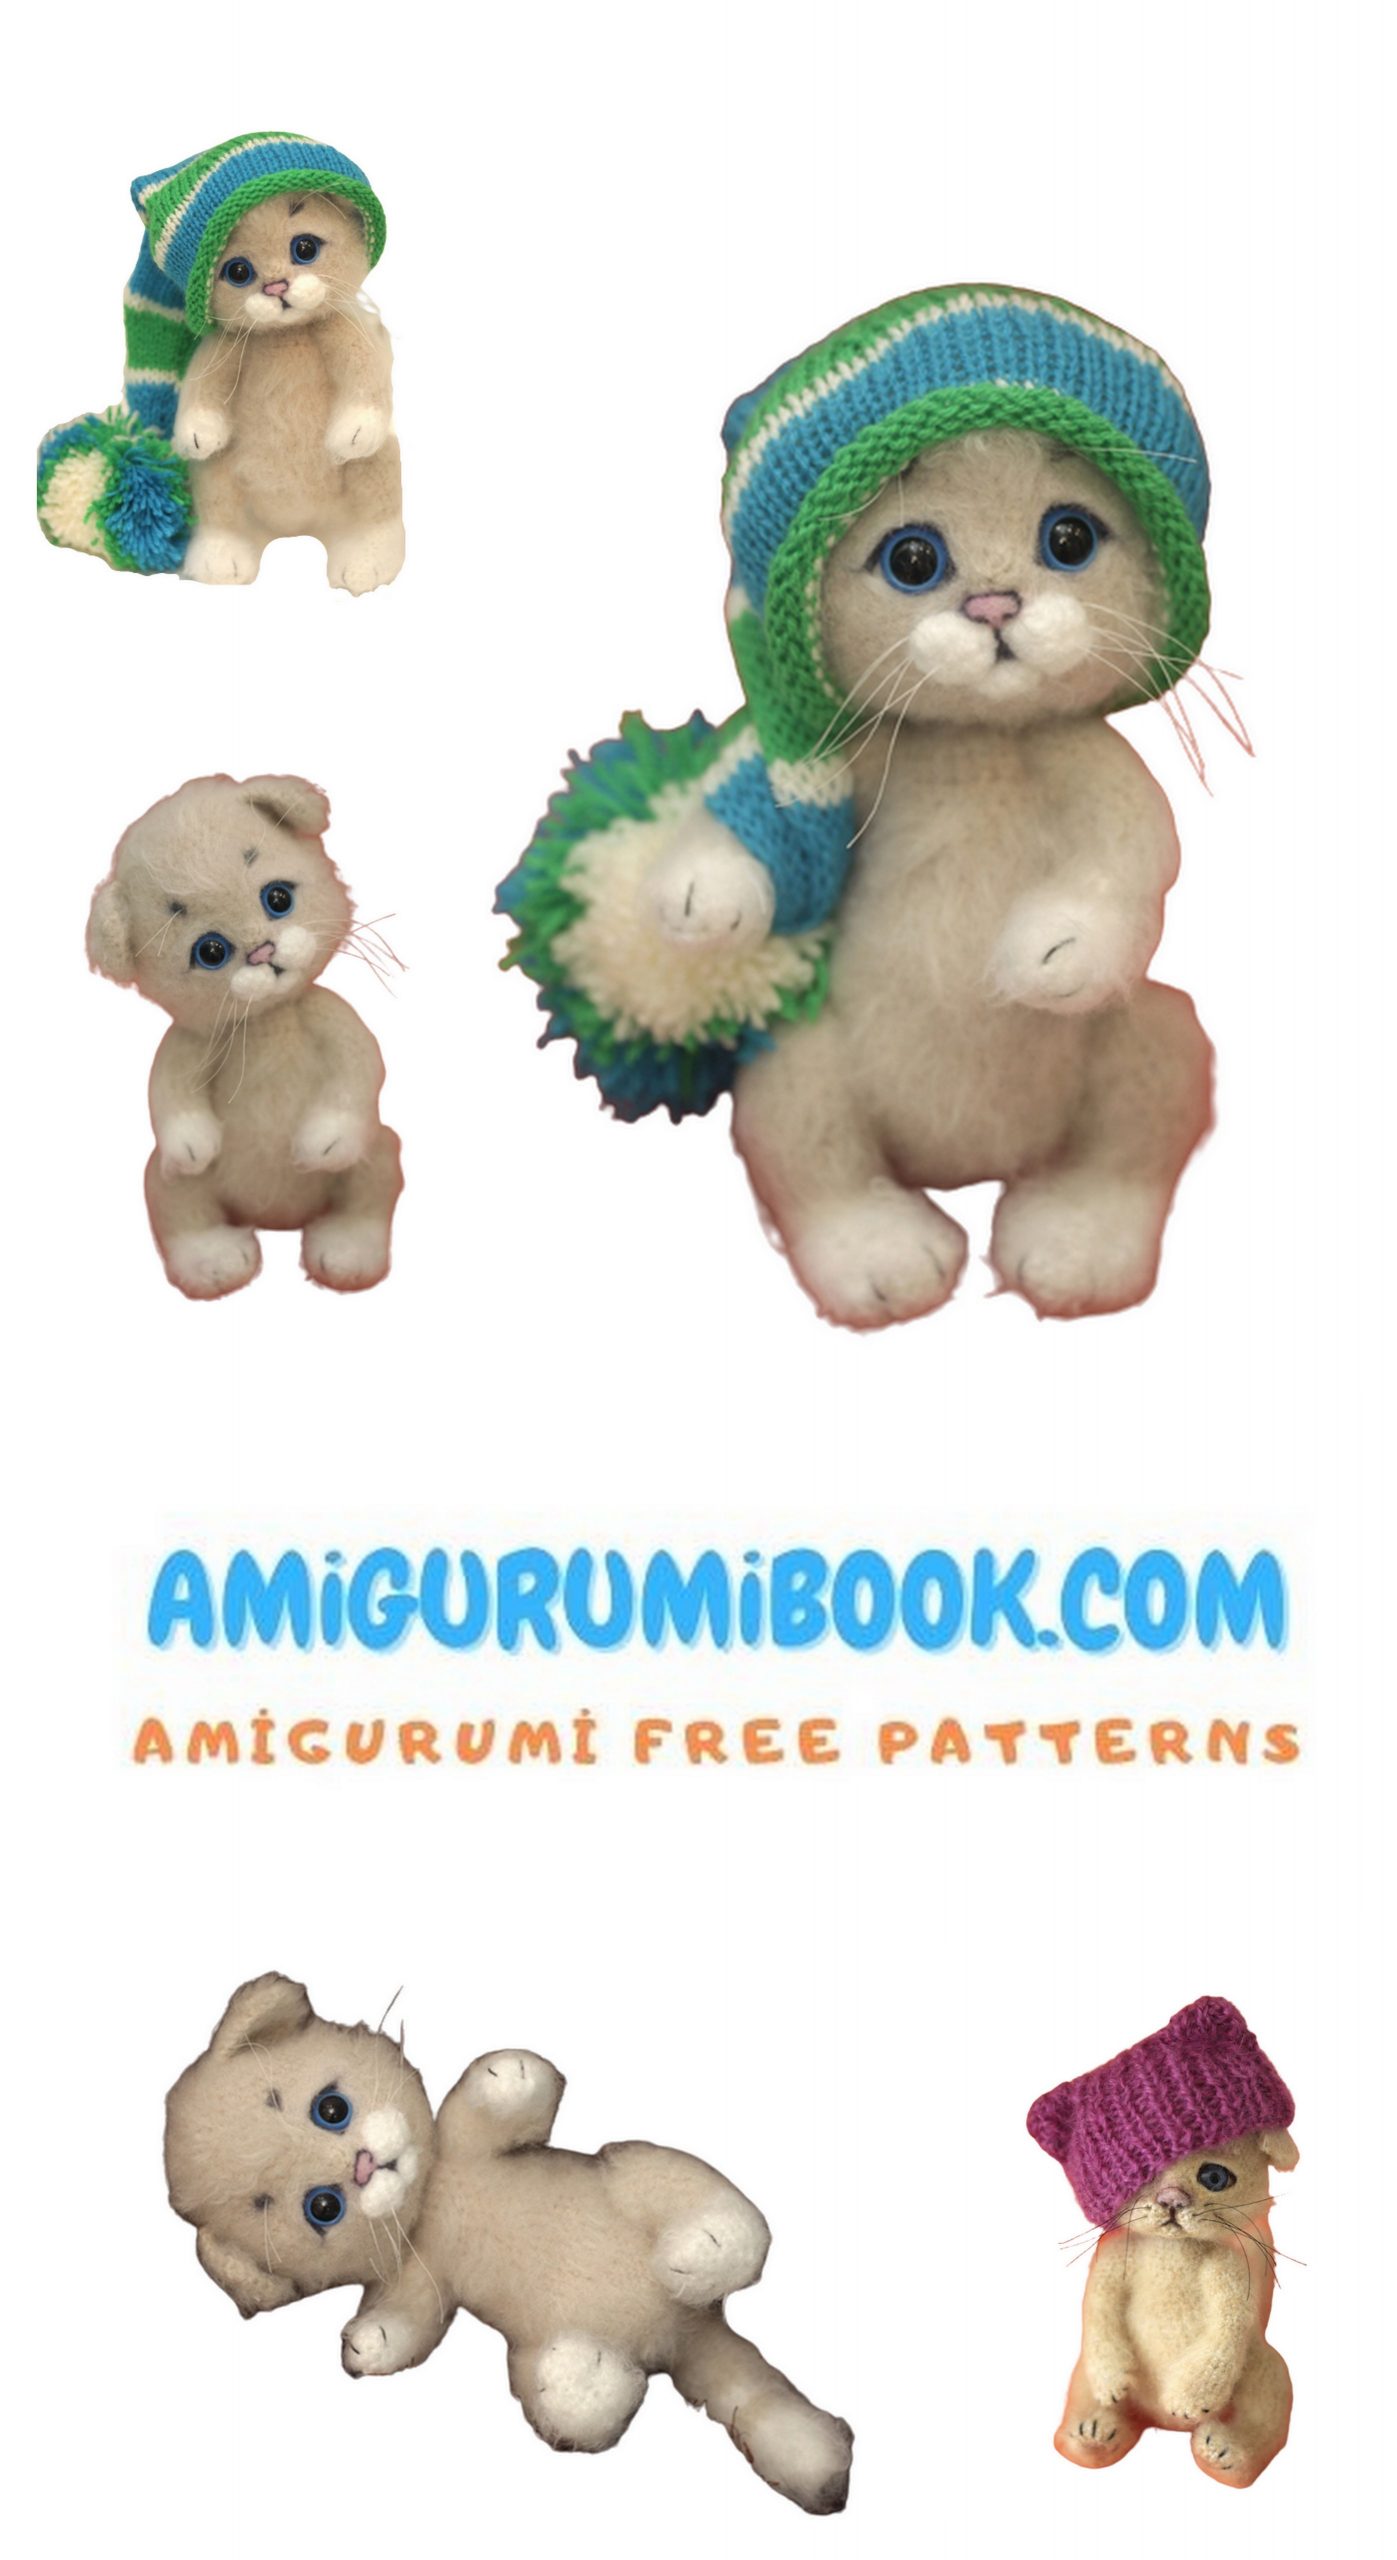
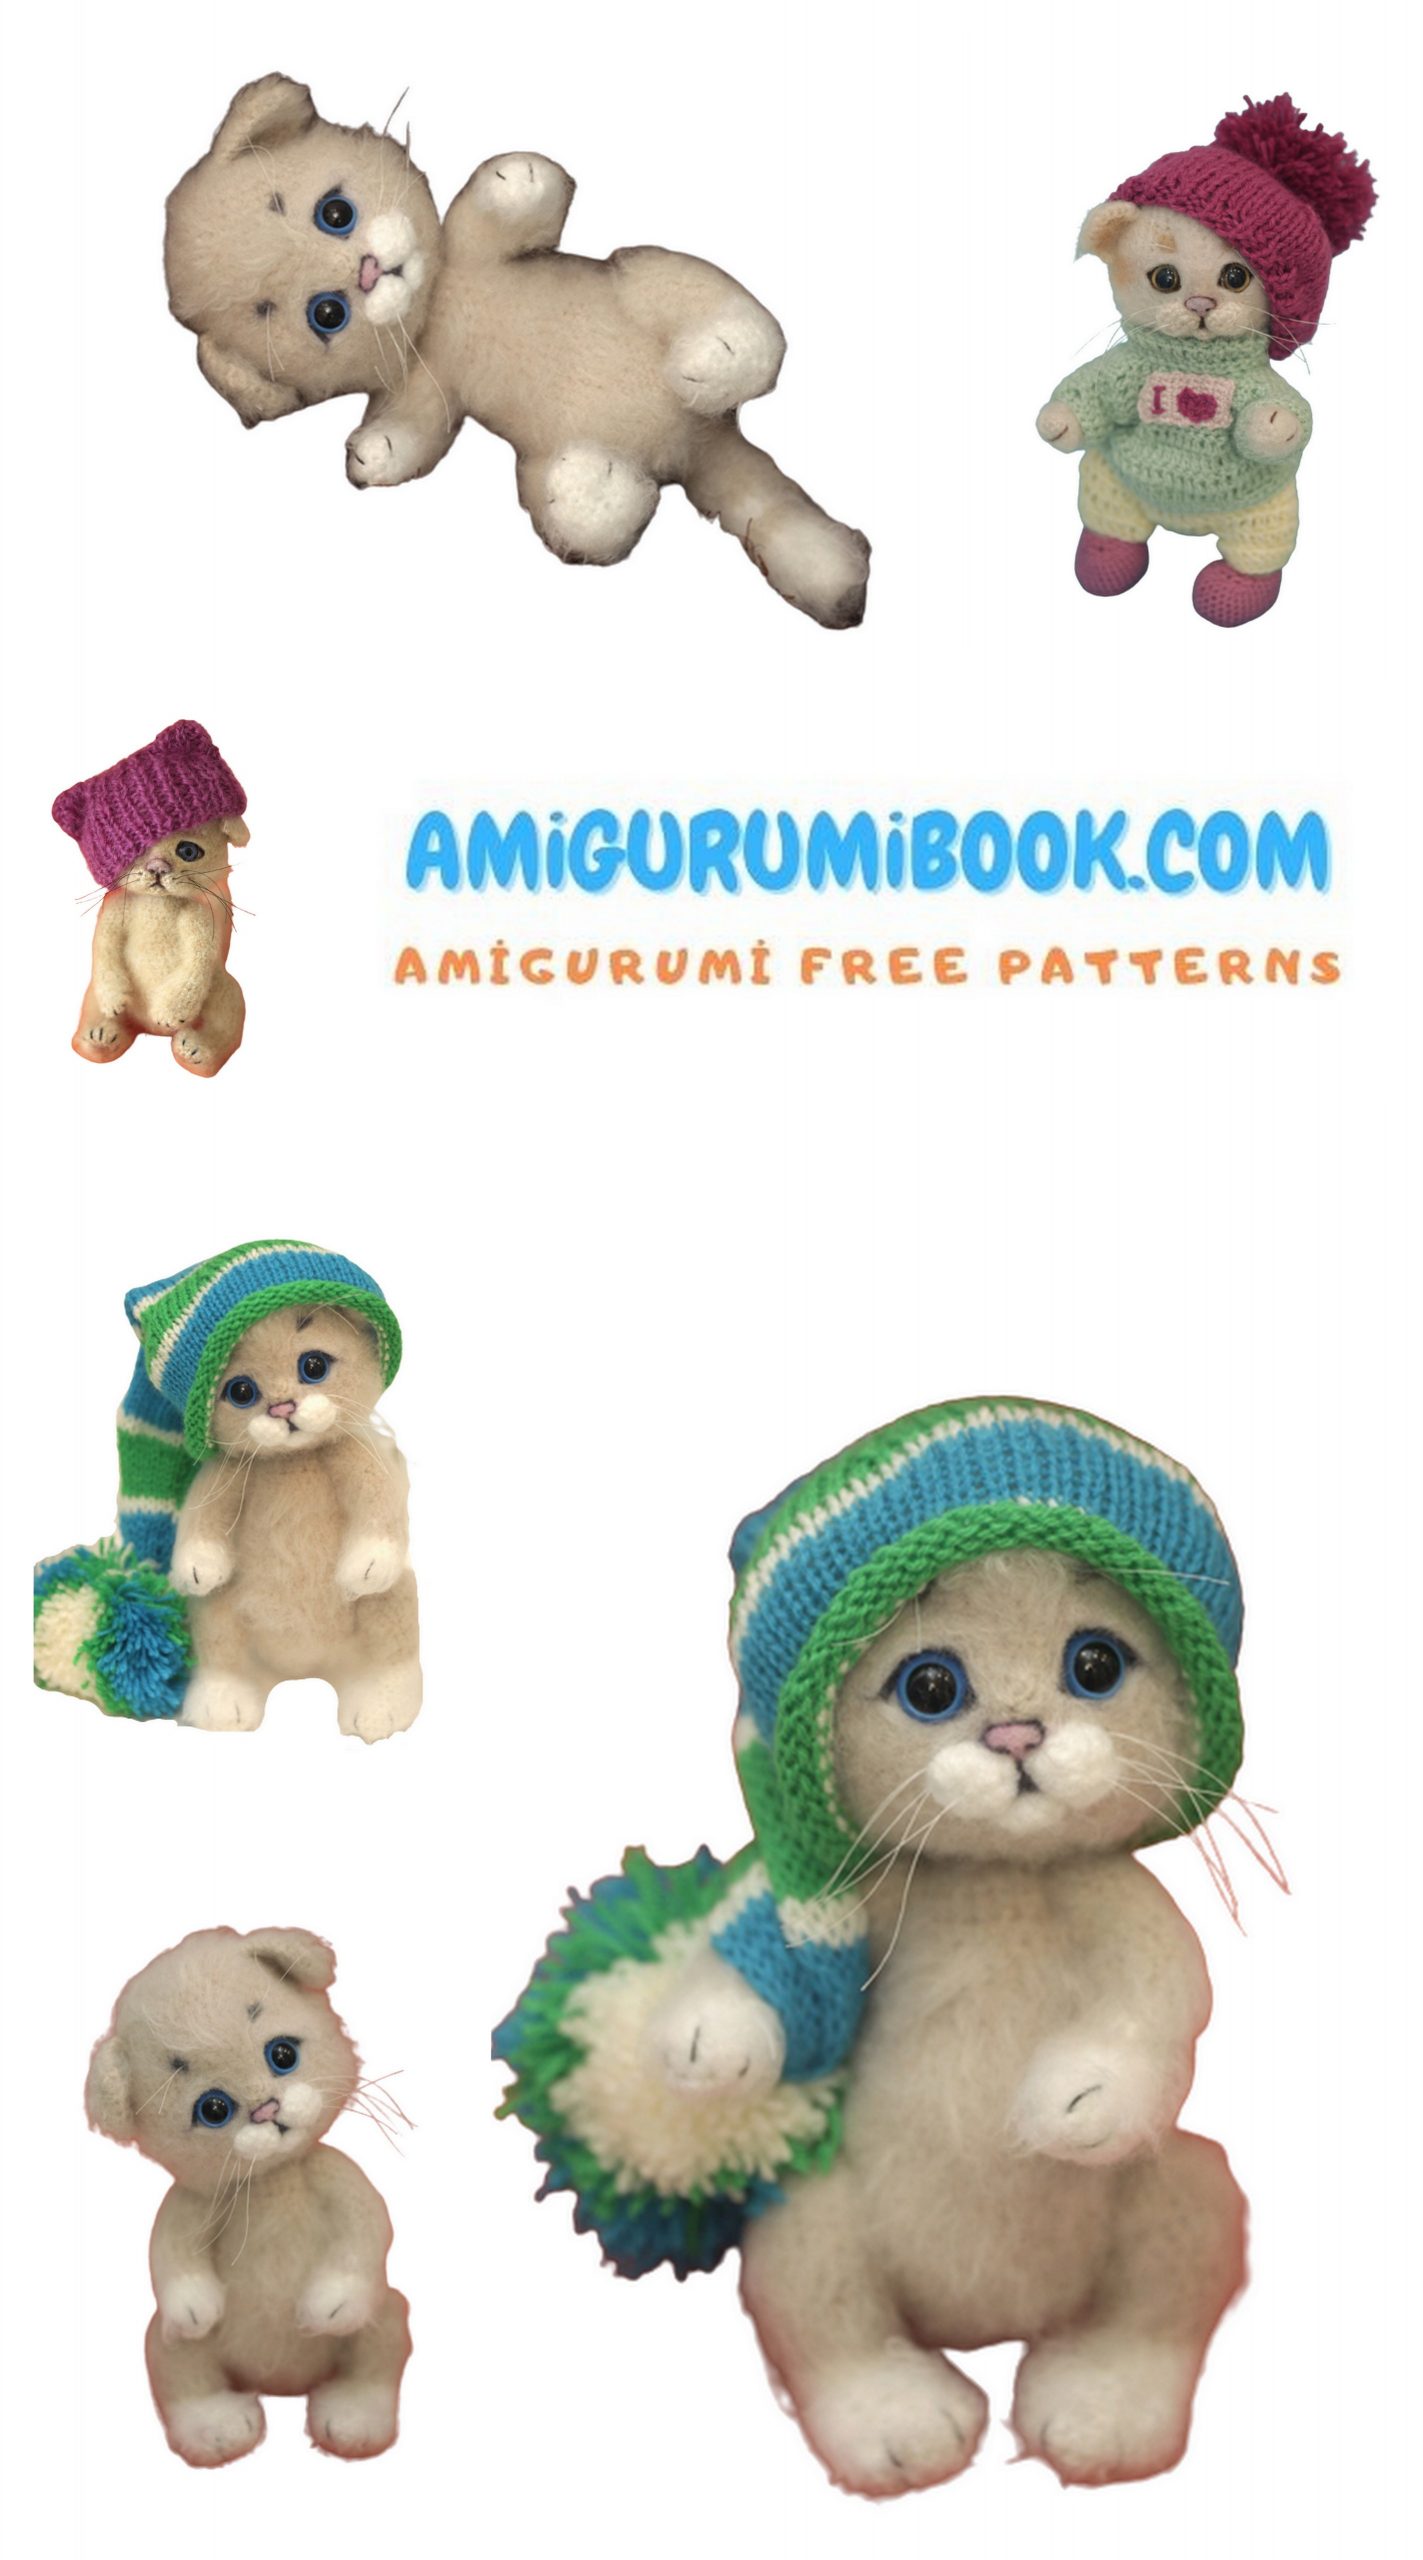
I shape the muzzle with a felting needle using sheep’s wool. In places of the eye I roll white wool, I form the nose using pinkish and brown wool, I glue the eyes and roll the eyelids. The nose can be molded from polymer clay, and the eyes can be decorated as you wish, as you like, it’s up to you.
We sew the ears to the head, and also sew the tail, having previously also formed a loop at its end. The tail also needs to be filled with filler.
She embroidered the claws with black thread, and for the antennae she used a thread for beads.
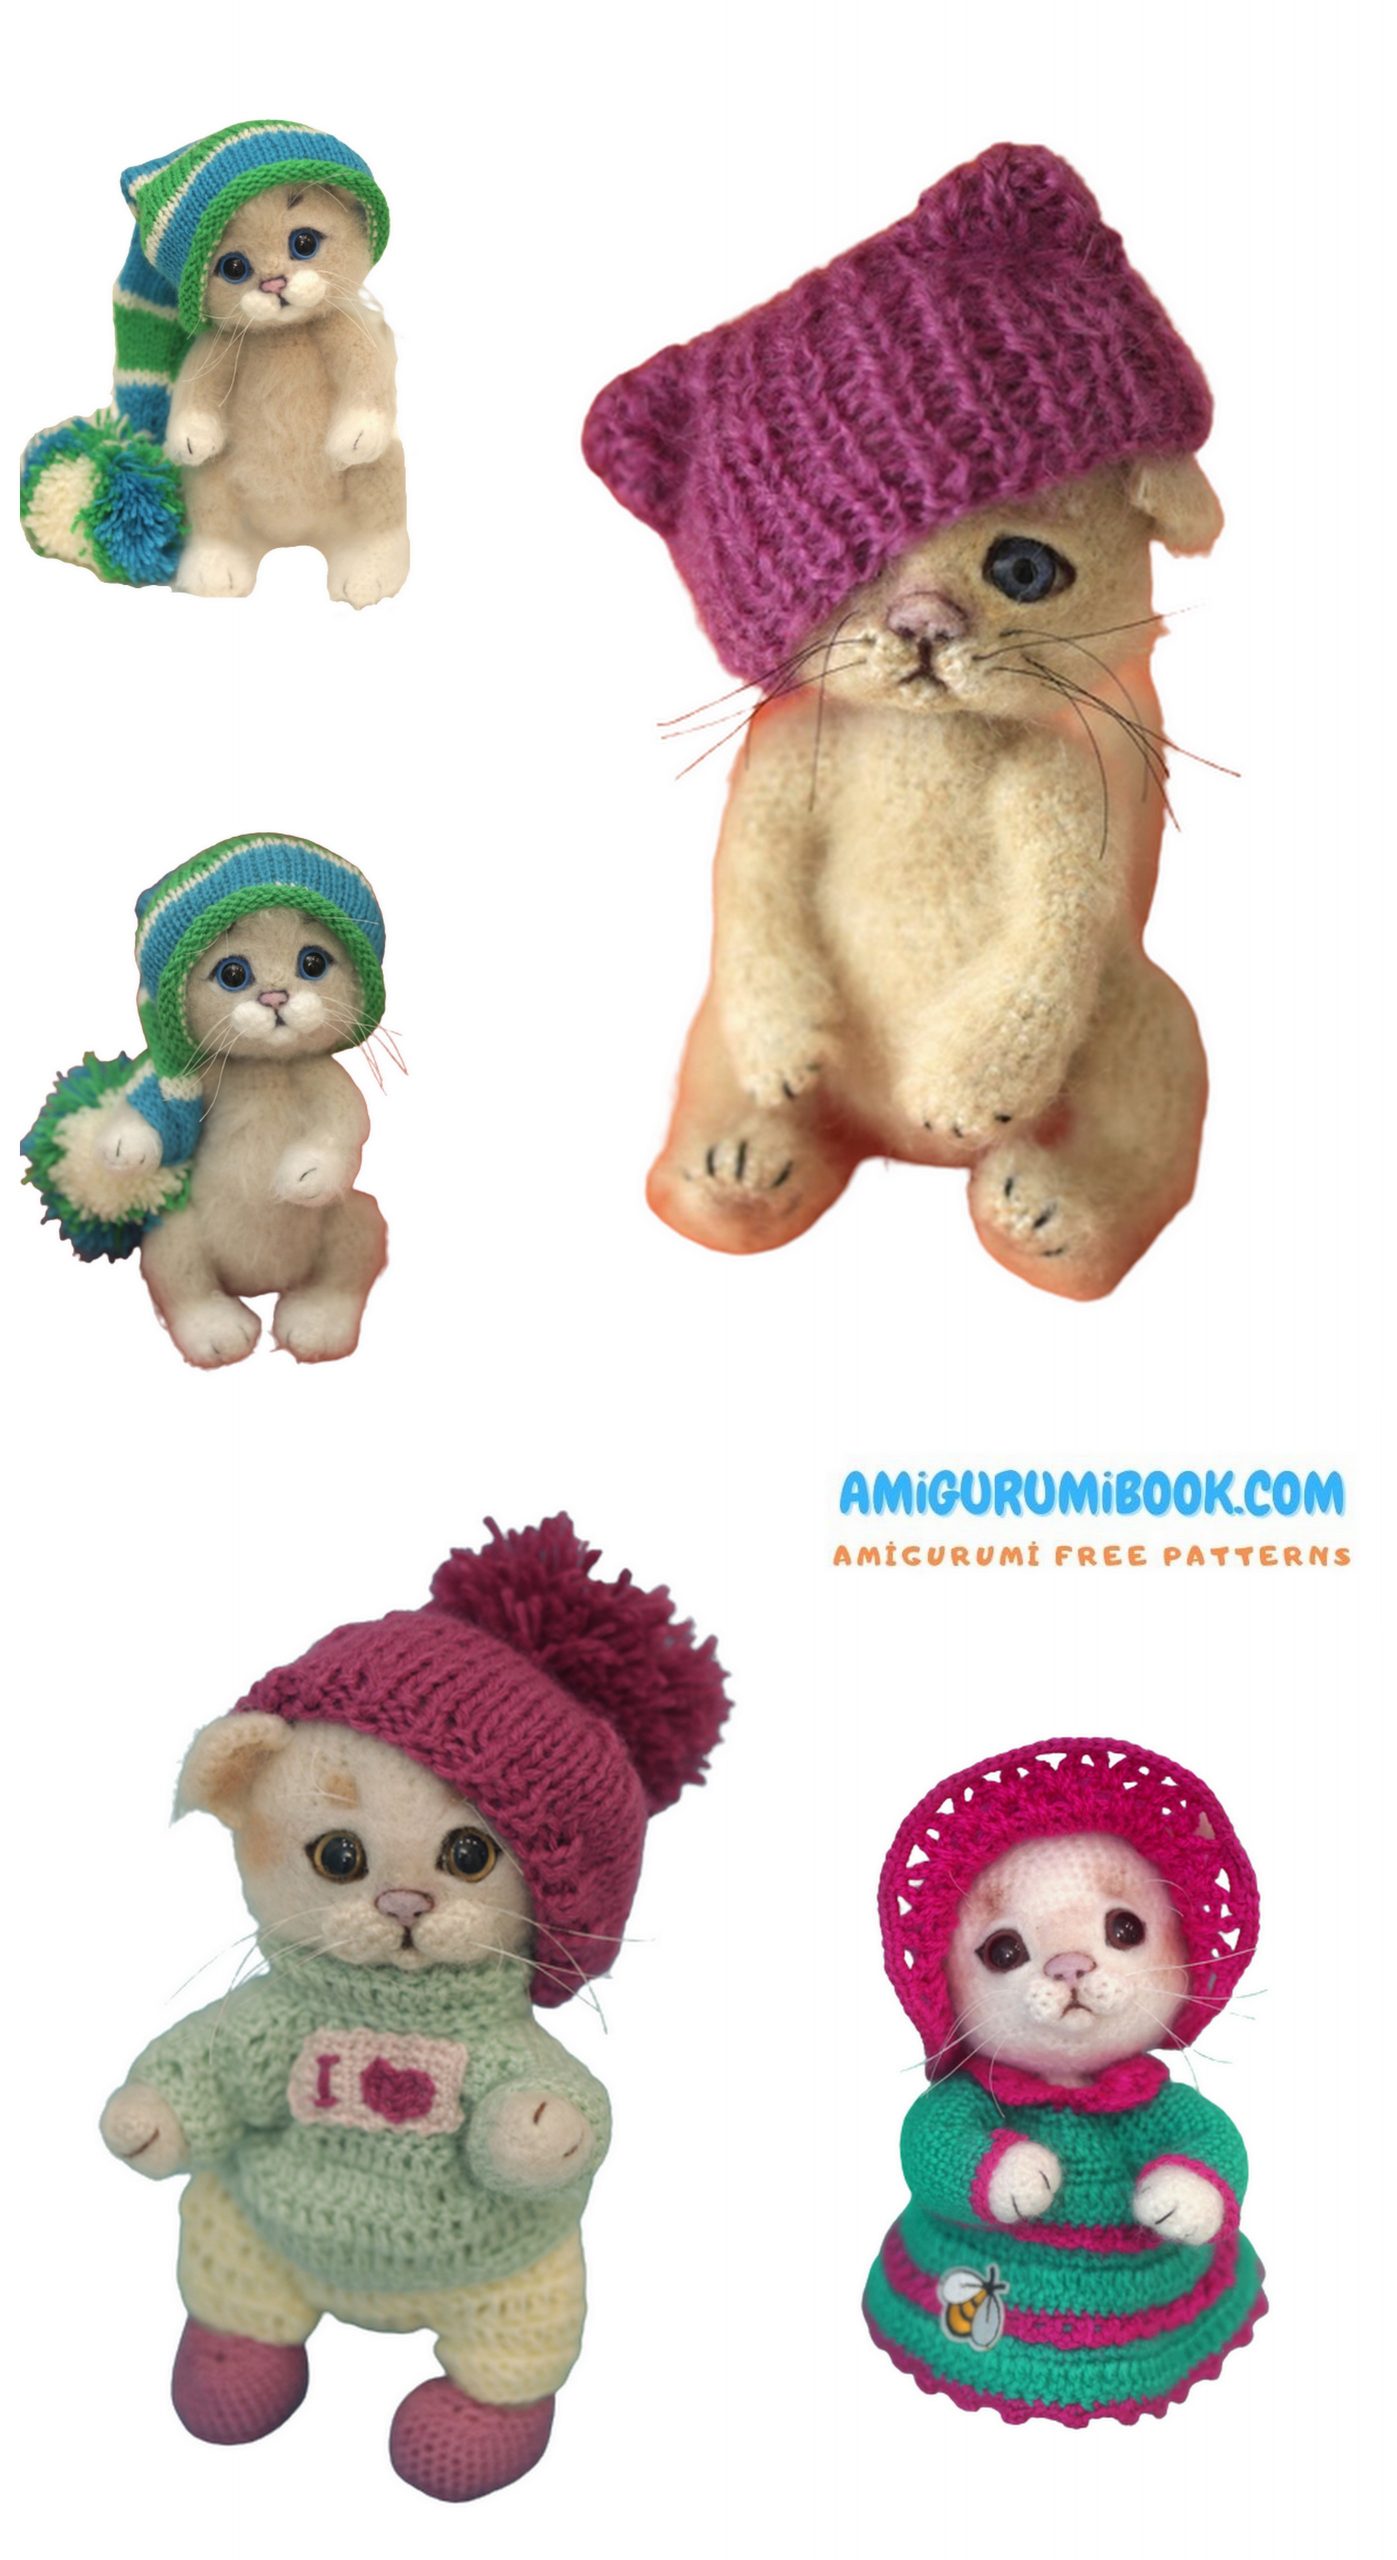
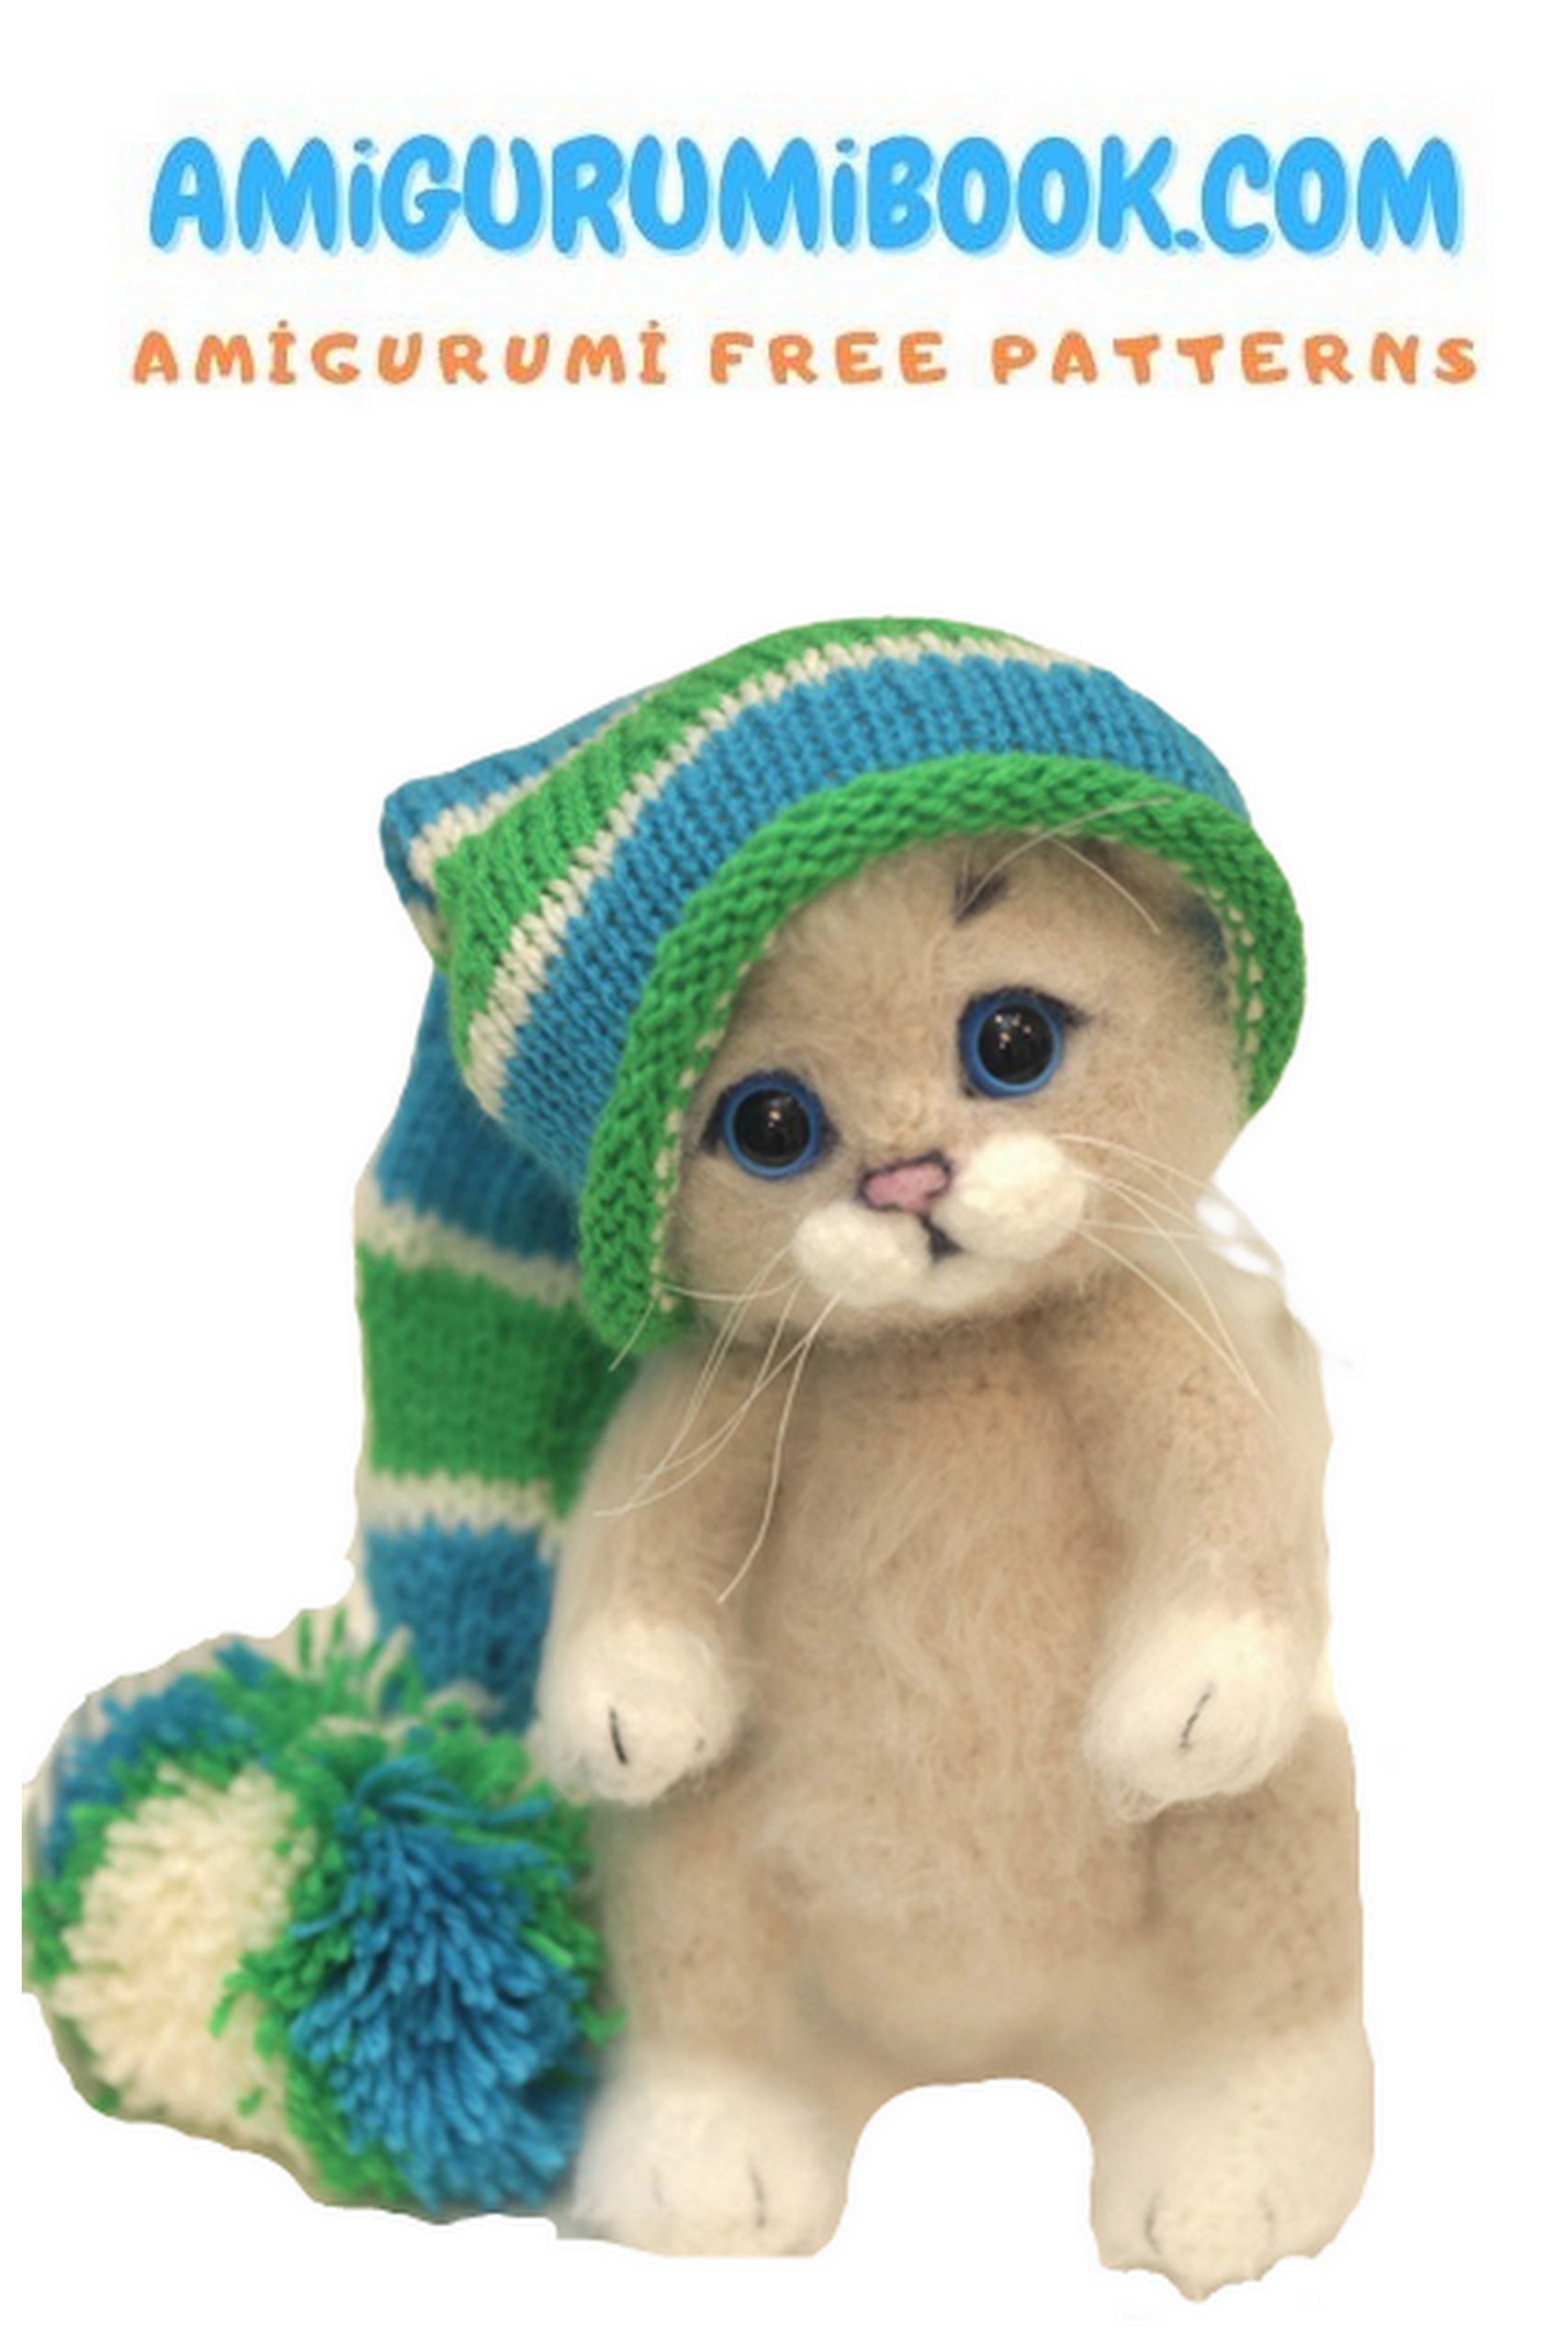
I knitted a hat with knitting needles, just a rectangle with an elastic band, then stitched the corners.