
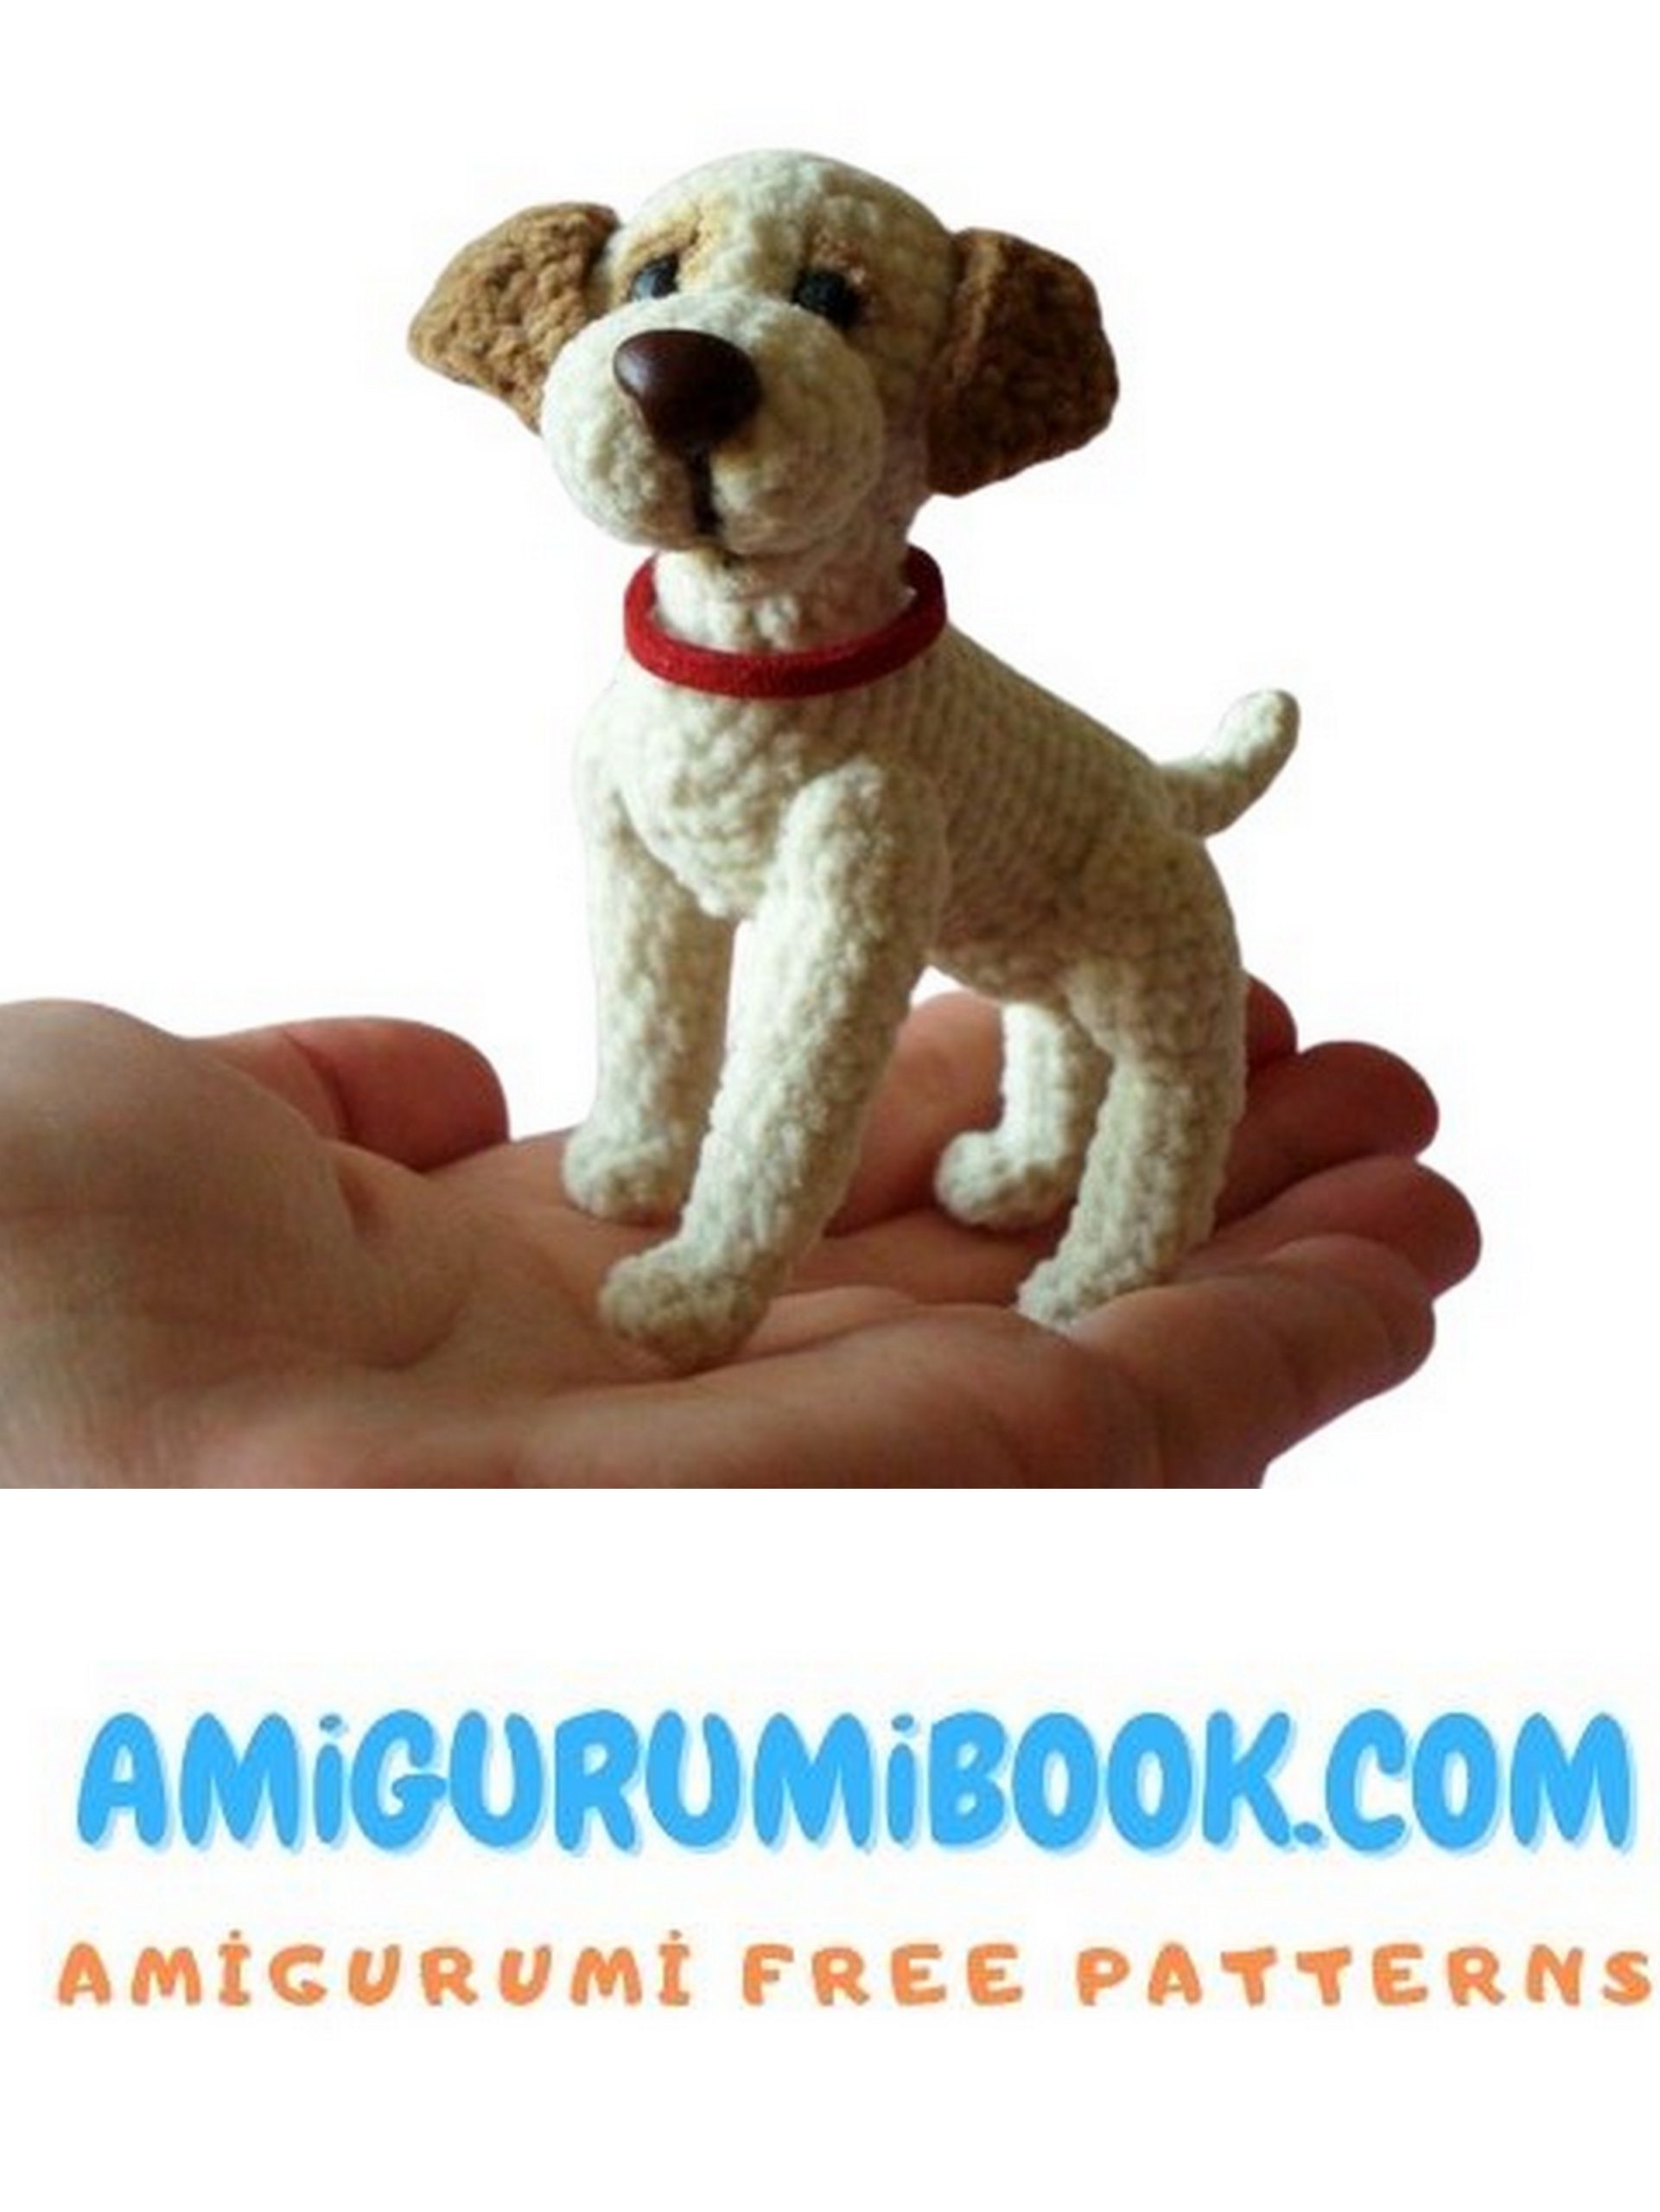
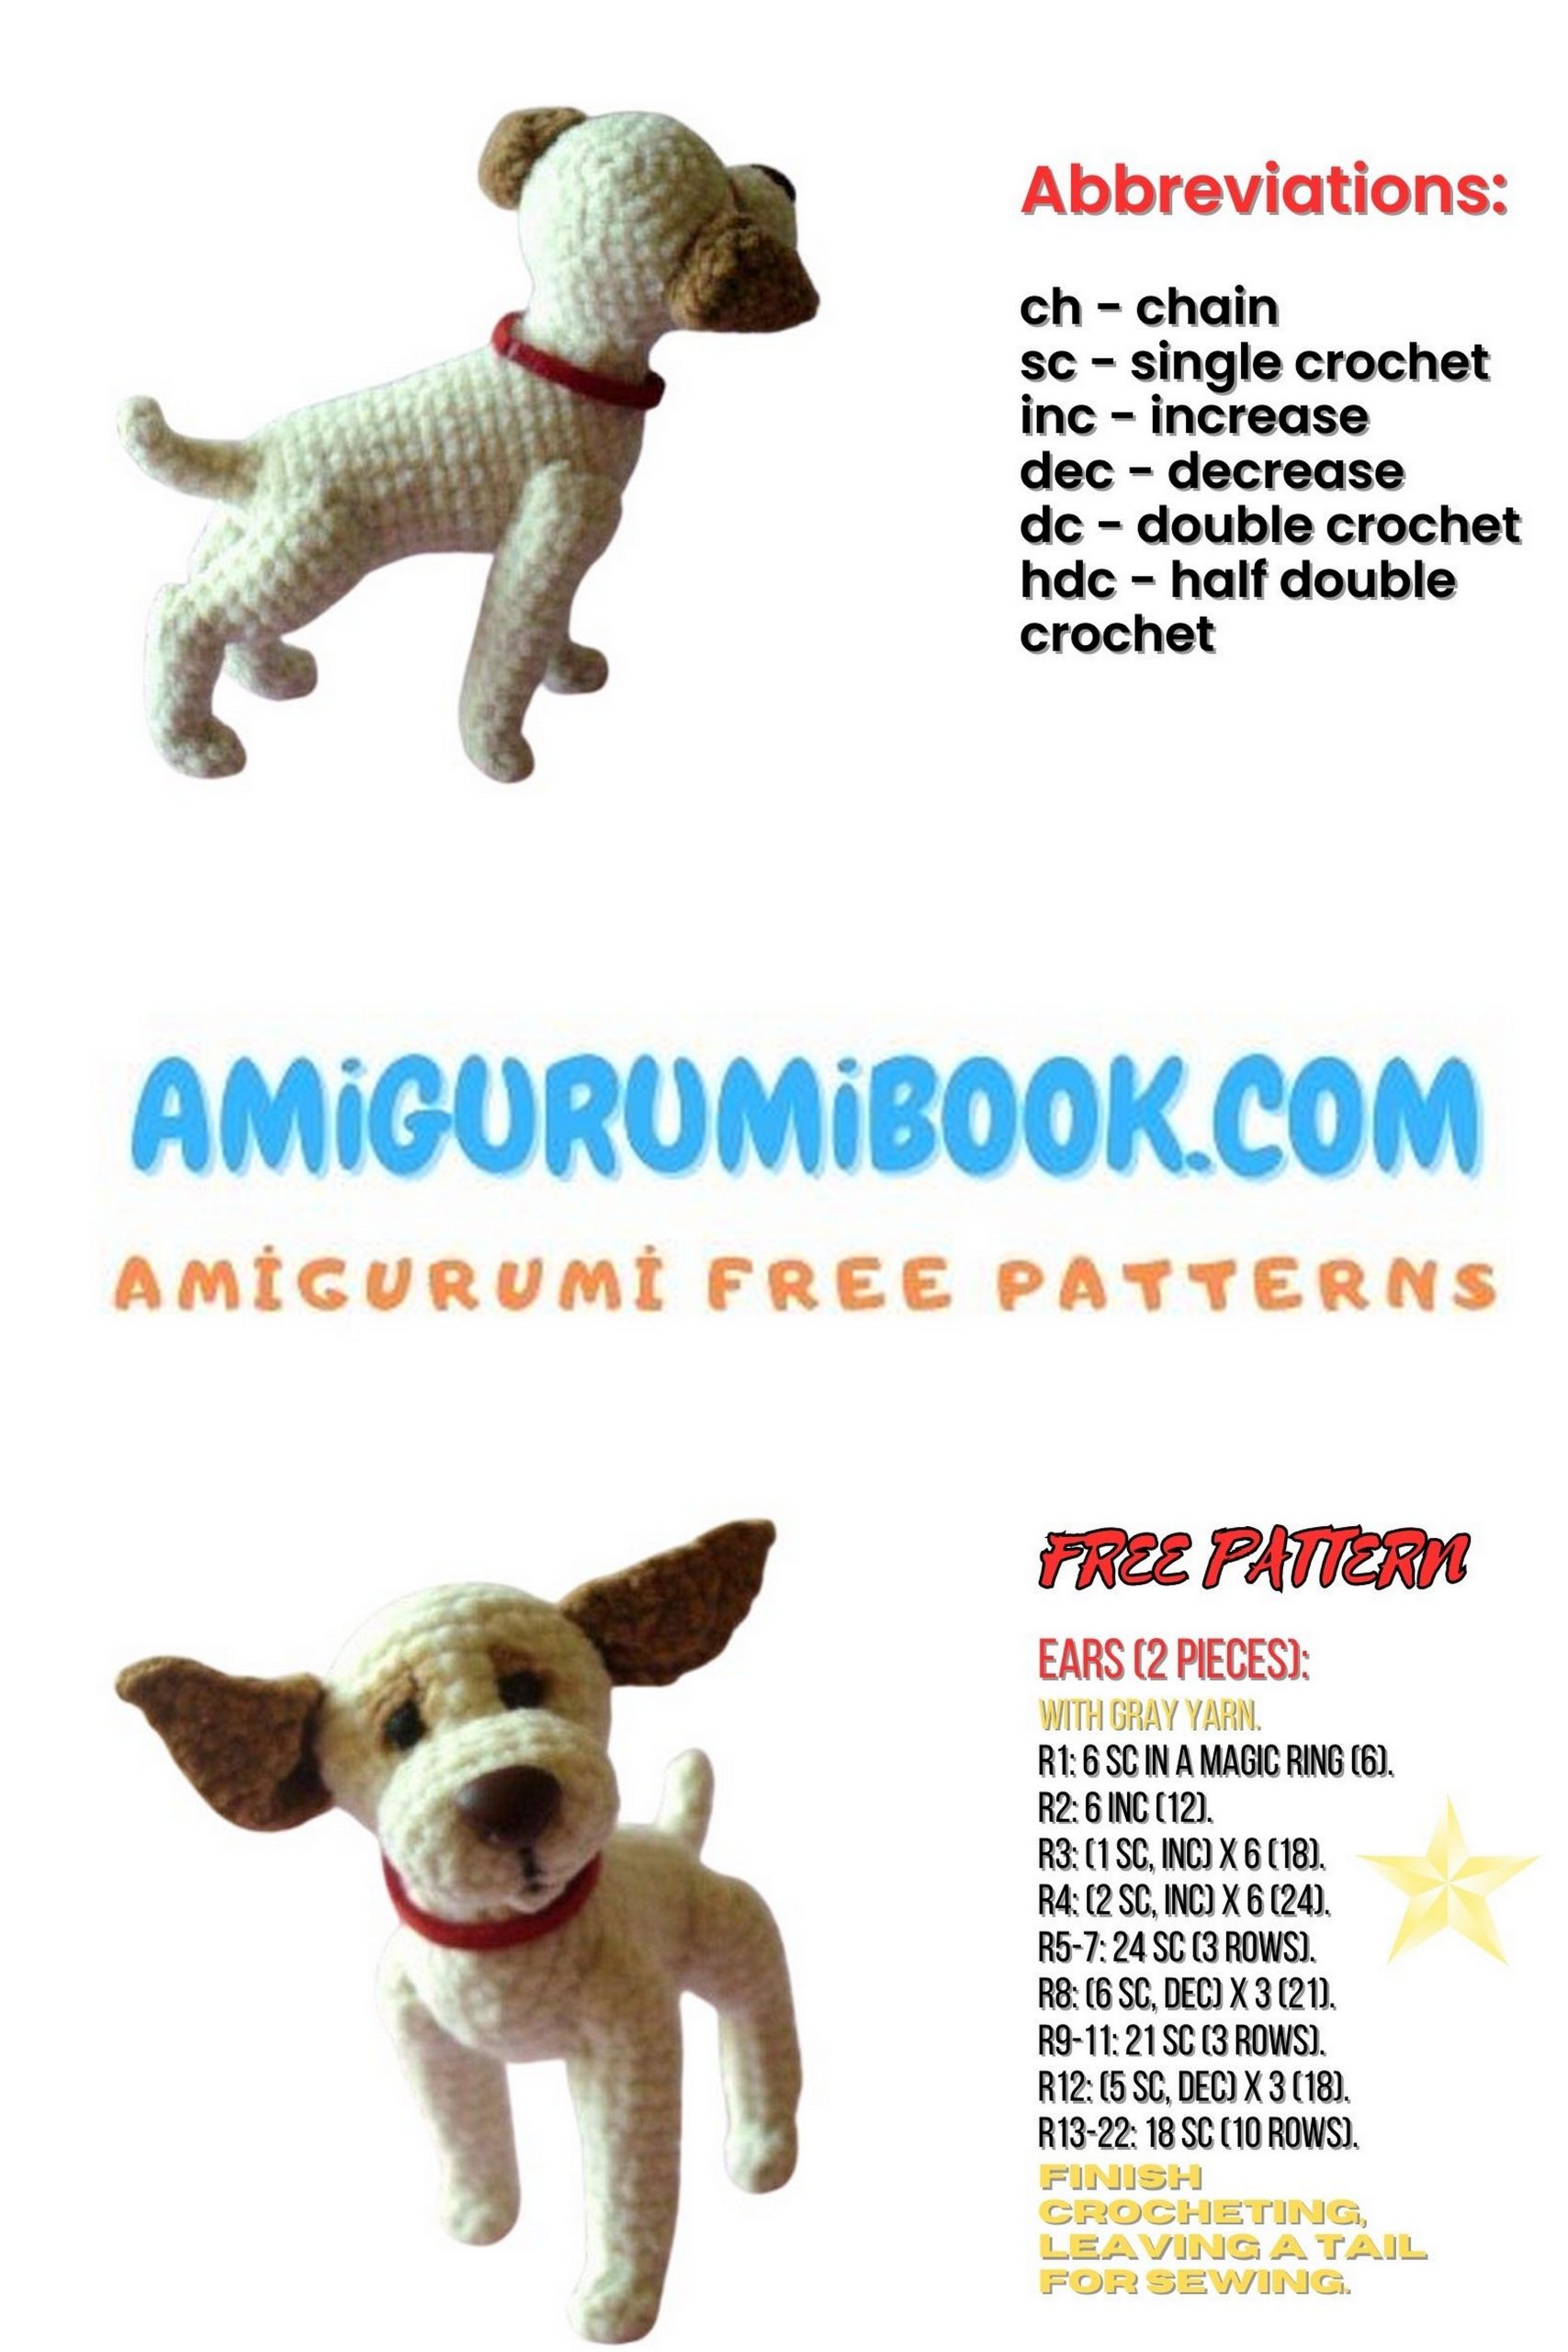
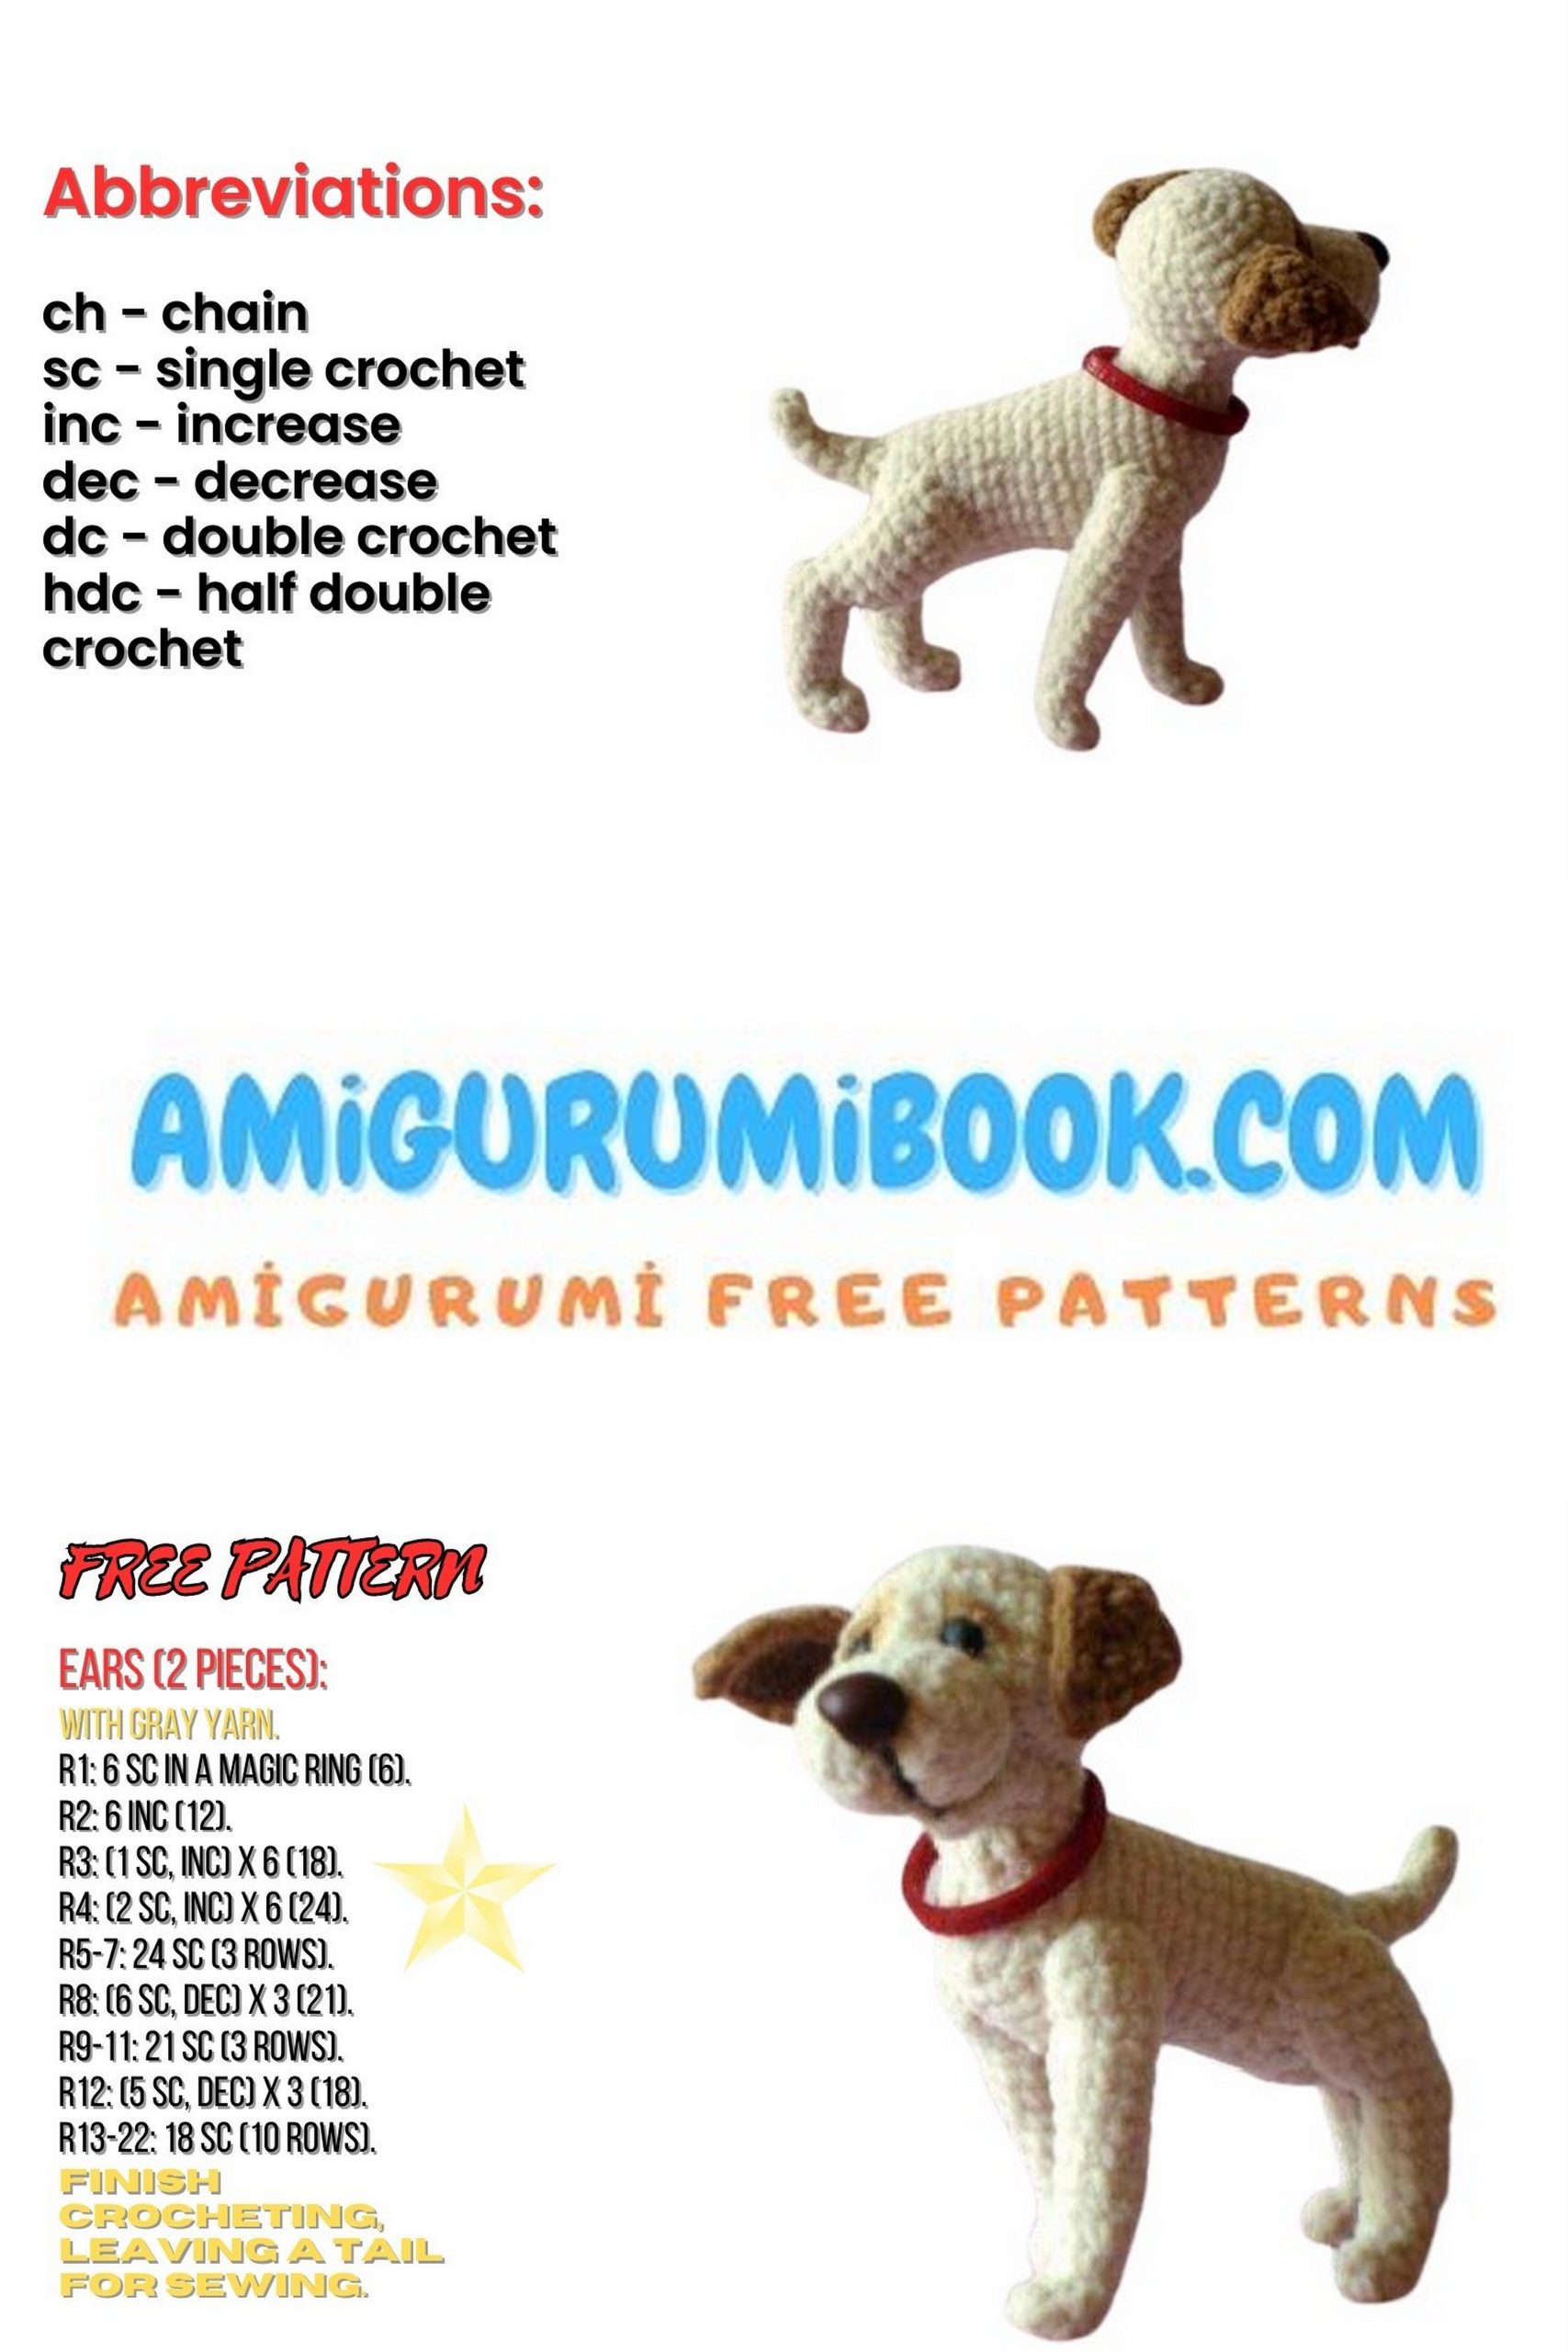
Welcome to our world of whimsical crochet wonders! If you’re a fan of amigurumi and enjoy creating lovable characters, you’re in for a treat. Today, we’re excited to share a charming amigurumi free pattern for crafting your very own little cute dog amigurumi. Whether you’re a seasoned crocheter or just starting out, this project is perfect for bringing smiles to faces of all ages. So, grab your crochet hook and let’s embark on a journey to crochet a tiny companion that will warm your heart!
Would you like to see my favorite amigurumi dog content? You should definitely look at amigurumi snoopy dog.
If you want to access 1000+ free amigurumi patterns, you can download our application from this link!
Materials Needed:
Velour yarn in NUBUK, two colors of your choice (or any other yarn you prefer, depending on the thickness of the yarn, the size of the toy will vary).
Crochet hook 1.5 or any other suitable for the yarn.
Copper wire for the frame of the paws.
Polyester fiberfill or holofiber stuffing.
Half-bead eyes (or eyes made from plastic, as in my case).
Nose (either store-bought or made from plastic, as in my case).
Art oil pastel for shading (dry pastel can also be used).
Moment Gel glue (I use it because it doesn’t spread, making it very convenient for attaching small details).
Abbreviations:
Ch – chain stitch;
MR – magic ring (amigurumi ring);
Sc – single crochet;
Inc – increase;
Dec – decrease;
Sl st – slip stitch.

Little Cute Dog Pattern
Little Dog Head:
Using a marker for convenience (I use contrasting yarn):
1: 2 ch, in the second from the hook, crochet 6 sc = 6 sc;
2: 6 increases = 12 sc;
3: (1 sc, inc) * 6 times = 18;
4: (2 sc, inc) * 6 times = 24;
5: (3 sc, inc) * 6 times = 30;
6-9: Crochet 30 sc in the round;
10: (3 sc, dec) * 6 = 24;
11: (2 sc, dec) * 6 = 18;
12: (1 sc, dec) * 6 = 12;
13: Decrease until closed. Secure and hide the thread inside and cut.
Little Dog Muzzle:
1: 4 ch, in the second from the hook, 2 sc, 1 sc, in the last, 3 sc, on the other side 1 sc, inc = 9 sc;
2: Inc, 3 sc, inc, 3 sc, inc = 12 + 1 sl st;
3: Inc, 4 sc, inc, 5 sc, inc = 14;
4: Inc, 6 sc, inc, 7 sc = 17;
5-6: Crochet 17 sc in the round;
7: Dec, 6 sc, dec, 7, fasten off, leave thread for sewing.
Little Dog Lower Lip:
1: MR – 5 sc;
2: 1 sc, inc, 1 sc, inc, 1 sc = 7;
3: 7 sc in the round, turn the work;
4: (incomplete) ch, 3 sc, inc, turn;
5: 5 sc, fasten off, leave thread for sewing.

Little Dog Ears:
1: Leave a small piece of yarn for sewing, leaving a gap, crochet 2 ch, in the second, 3 sc, turn;
2: ch, inc, 1 sc, inc = 5, turn;
3: ch, inc, 3 sc, inc = 7, turn;
4: ch, inc, 5 sc, inc = 9, turn;
5: ch, inc, 7 sc, inc = 11 sc;
6: Crochet around the edge from point 2 to point 3 (leaving the starting yarn – point 1). Neatly hide the yarn end.
Attaching Ears:
Attach ears to the head at points 1 and 2 (point 1 to the muzzle, point 2 to the back of the head). Point 1 is where you started crocheting and the tail for sewing on the ears.
Shaping the Muzzle:
Insert a needle with thread into point 1 (which is at the bottom of the muzzle), bring it out at point 2, catching one loop, insert it into point 3, catching a loop, bring it out at point 1 again. Tie the threads to shape the eyes. Without cutting the thread, insert the needle slightly above the middle of the muzzle at point 4 (the thread lies over the crocheting), bring it out at point 1, tie and hide the ends inside the crocheting – these will be our dog’s brows.
Sew the lower lip in place where the threads enter.
Attach eyes; if you are sewing beads, sew them when tightening the eyes at points 2 and 3.
Little Dog Nose:
Shape the nose from plastic or glue on a store-bought one; you can also sew it with thread.
Attach the ears, shade the muzzle, embroider eyelids with contrasting yarn (optional).
Neck:
1: On the head, at the bottom, where the neck will be, crochet 15 stitches;
2: Crochet 15 sc in the round;
3: 4 sc, 3 half stitches, 2 ch, 3 half stitches, 4 sc.

Little Dog Body:
Use a marker to mark the center of the back.
1: MR – 6 sc = 6;
2: 6 increases = 12 sc;
3: (1 sc, inc) * 6 = 18;
4: (2 sc, inc) * 6 = 24;
5-10: Crochet 24 sc in the round;
11: Dec, 7 sc, 3 dec, 7 sc, dec = 19 sc;
12-13: Crochet 19 sc in the round;
14: Inc, 18 sc = 20;
15: 19 sc, inc = 21;
16: Crochet 21 sc in the round;
17: Dec, 7 sc, inc, 10 sc = 21;
18: Crochet 21 sc in the round;
19: Dec, 3 sc, dec, 3 sc, dec, 3 sc, dec, 2 sc, dec = 16. Stuff tightly;
20: (2 sc, dec);
21: Dec until closed. Cut the thread, hide the end inside the body.
Front Legs:
1: MR – 6 sc;
2-4: Crochet 6 sc in the round;
5: Inc, 5 sc = 7 sc;
6: 3 sc in one stitch, 6 sc = 9;
7-8: Crochet 9 sc in the round;
9: Inc, 2 sc, inc, 5 sc = 11;
10-12: Crochet 11 sc in the round;
13: Inc, 4 sc, inc, turn the work;
14: 8 sc, turn;
15: 7 sc, turn;
16: 6 sc, turn;
17: 4 sc, then continue down the edge with 2 sc, sl st. Cut the yarn, leave for sewing.
Back Legs:
1: MR – 6 sc;
2-4: Crochet 6 sc in the round;
5: Inc, 5 sc = 7 sc;
6: 3 sc in one stitch, 6 sc = 9;
7-8: Crochet 9 sc in the round, and 1 ch;
9: 3 sc in one stitch, 4 sc, dec, 2 sc = 10 sc;
10: 3 together (from hook into the 3rd sc, sc), 2 sc, 2 inc, 2 sc = 9;
11: 3 sc, inc, 1 sc, inc, 3 sc = 11 sc;
12: 6 sc, inc, 4 sc = 12 sc, and 1 ch;
13: 12 sc, and 1 ch, turn;
14: 6 sc, turn;
15: 5 sc, turn;
16: 4 sc, then continue down the edge with 2 sc, sl st. Cut the yarn, leave for sewing.
Insert a wire slightly longer than the legs, wrap it with adhesive tape, make a loop at the end. Bend along the contour of the leg. Do not stuff! When sewing the legs, add stuffing to the upper part for a slight volume.


Little Dog Tail:
1: MR – 4 sc,
2-4: Crochet 4 sc in the round,
5: Inc, 3 sc = 6,
6: Crochet 6 sc in the round. You can make the tail longer. Insert a wire slightly longer as well, so it fits into the body.
Little Dog Assembly:
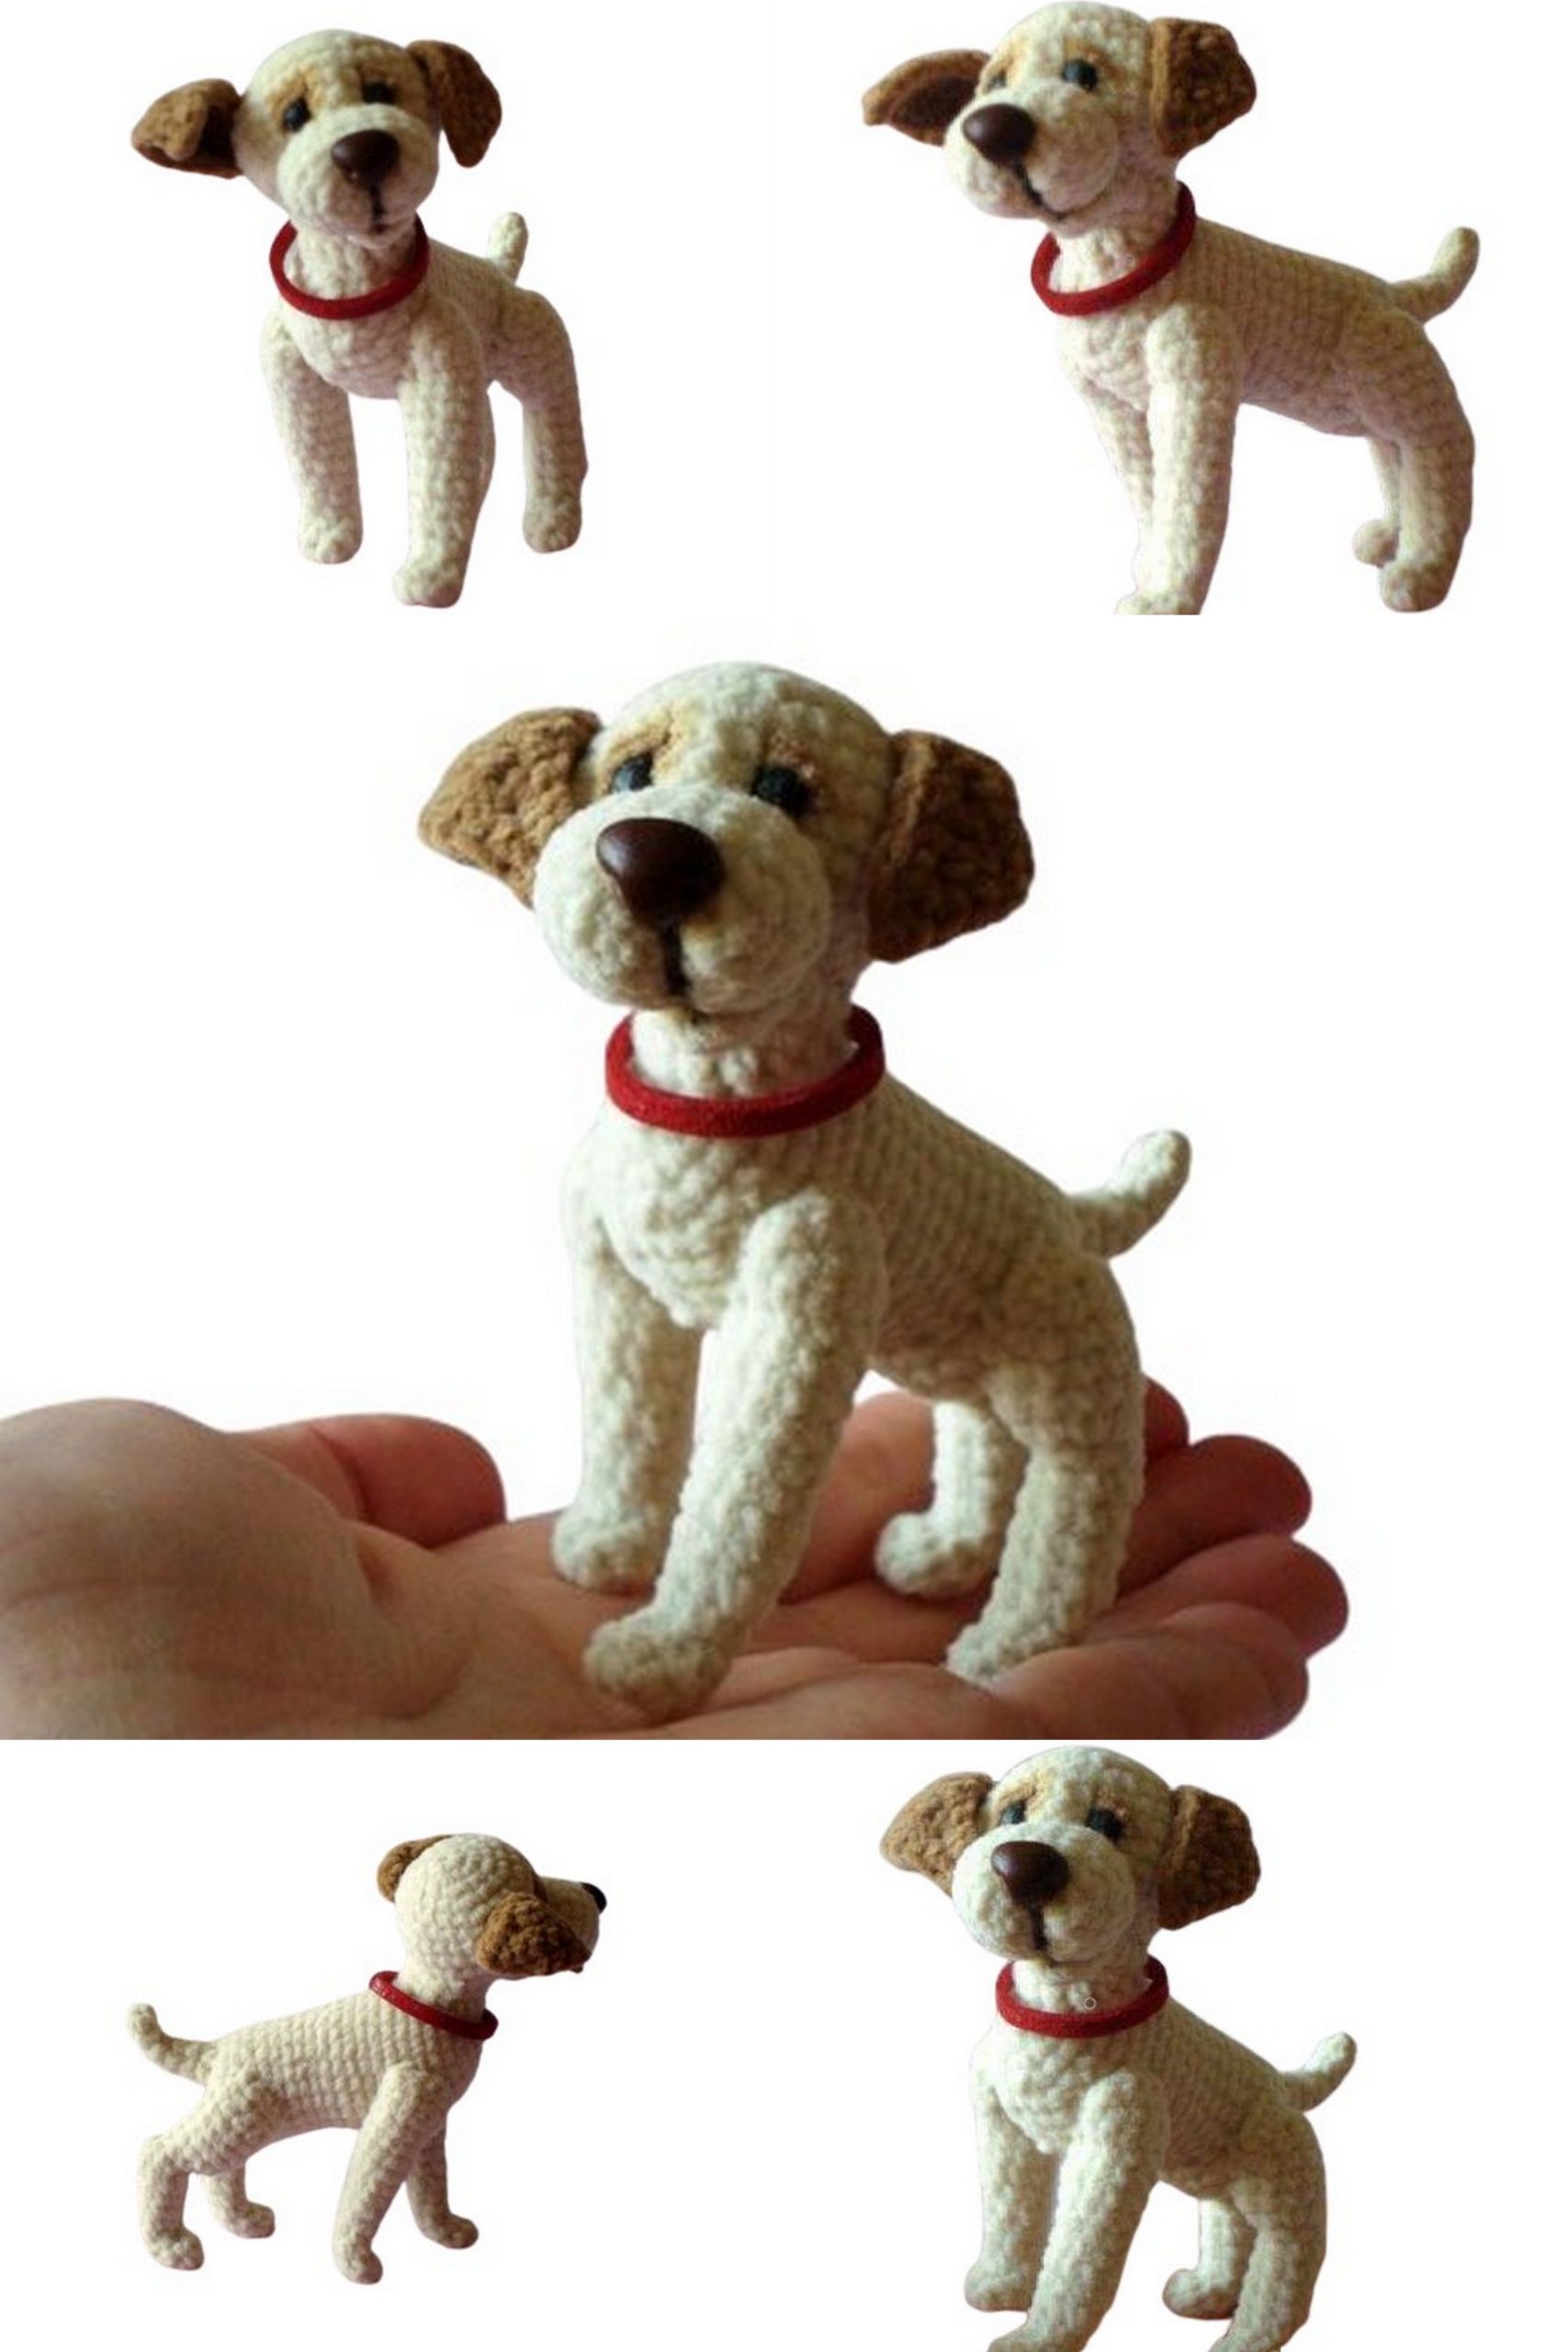
Fit all parts, pin with needles, and sew the head and legs as you prefer, even in a lying position. If desired, shade with pastels and add spots.
Your little dog is ready. If you have any questions, don’t hesitate to ask. Good luck, have fun, and happy crocheting!