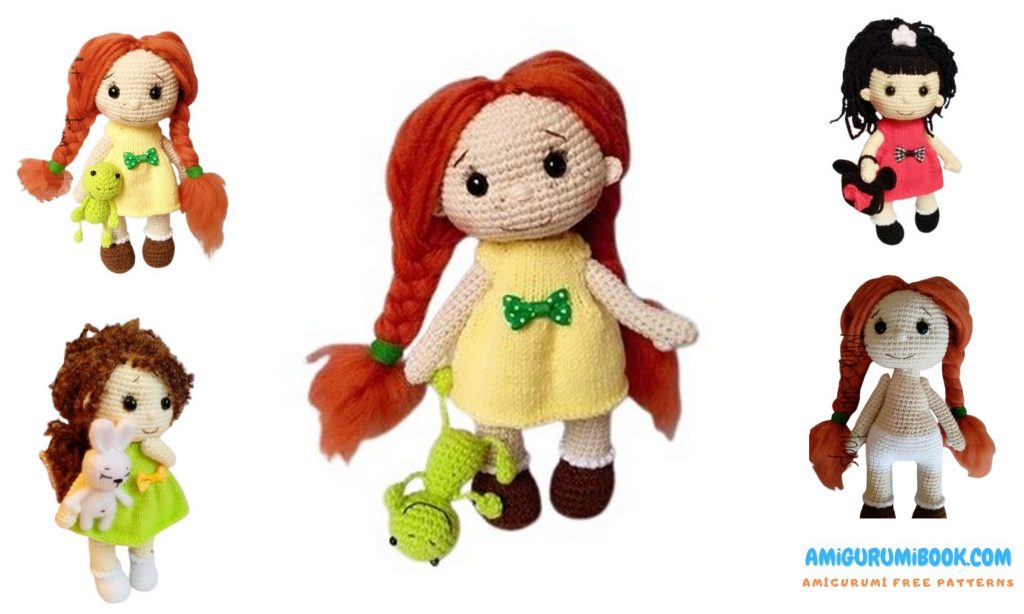
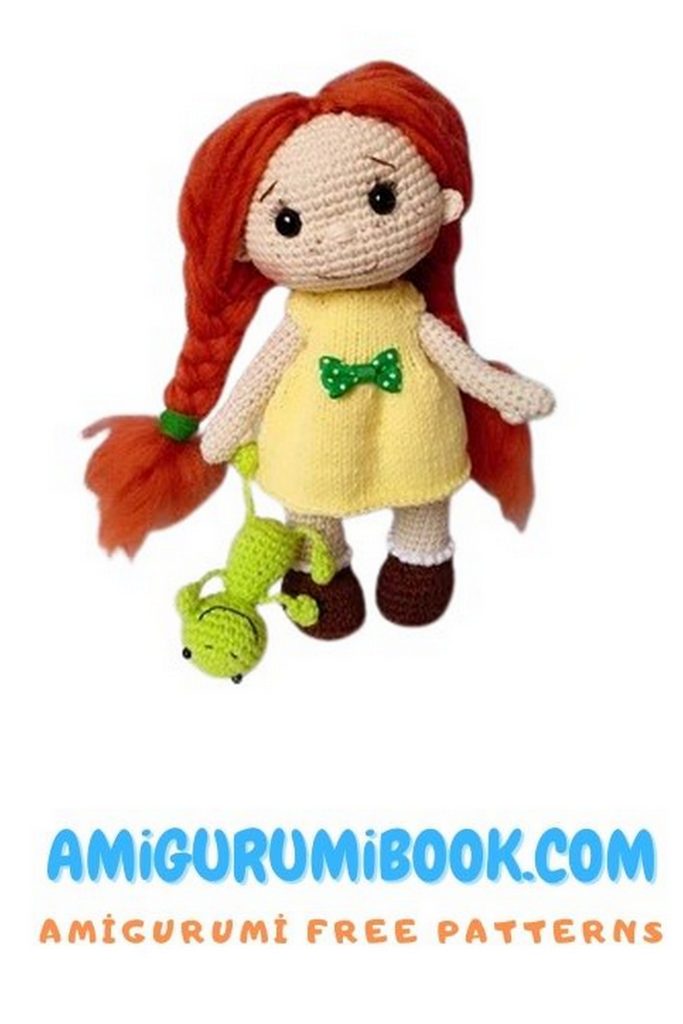
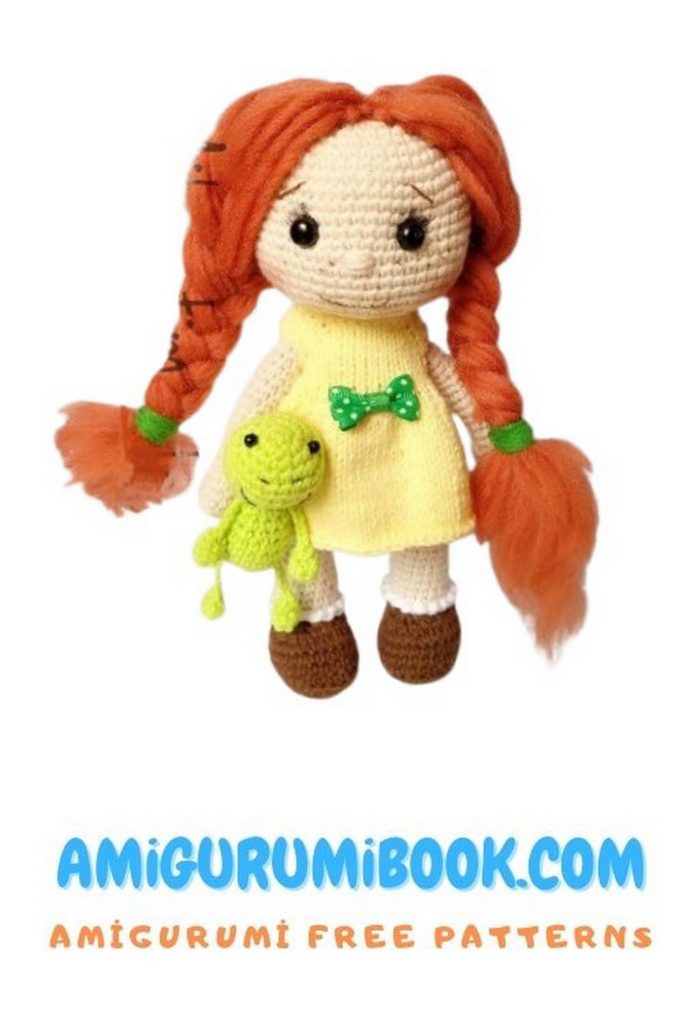
Discover the charm of handmade with this Little Girl with Braids Doll Amigurumi Free Pattern! This delightful crochet tutorial guides you through each step to create a sweet little doll with adorable braided hair, perfect for gifts, decor, or playtime. Ideal for both beginners and experienced crocheters, this pattern combines classic amigurumi techniques with lovely details that bring the doll to life. If you enjoy making cute, character-rich dolls, this project will be a perfect addition to your amigurumi collection. Get your yarn and hook ready—this little girl is waiting to be made!
If you want to access 1000+ free amigurumi patterns, you can download our application from this link!
Materials
1.Yarn: Alize Cotton Gold – milk or beige for the body, any color for the shoes and dress, white for socks and panties (you can use any yarn you’re comfortable with).
2.Stuffing: Polyester fiberfill (holofiber or syntepuh).
3.Crochet hook: 1.75 mm or 2 mm.
4.Knitting needles: 2 mm (if needed for accessories or details).
5.Safety eyes: 8 mm – I use button-style sew-on eyes with loops.
6.Optional: Eyelashes.
7.Button for the dress.
8.Stiff cardboard or a piece of plastic to reinforce the soles.
9.Yarn for hair or ready-made wefts. Any kind of thread works – embroidery floss, boucle, Alize Softy, felting wool. Many options available.
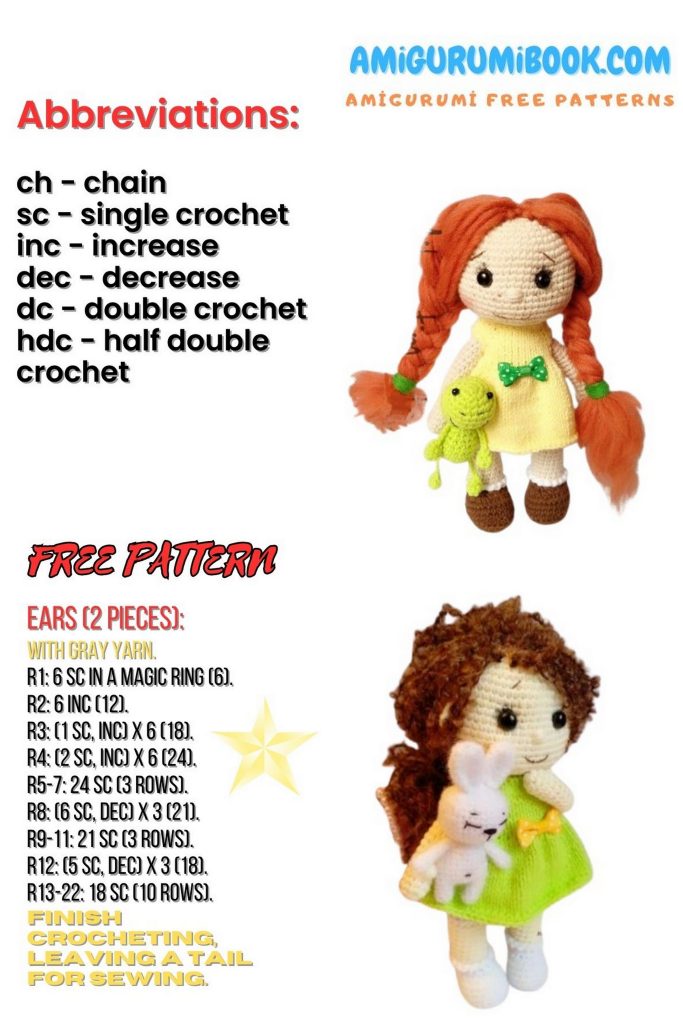
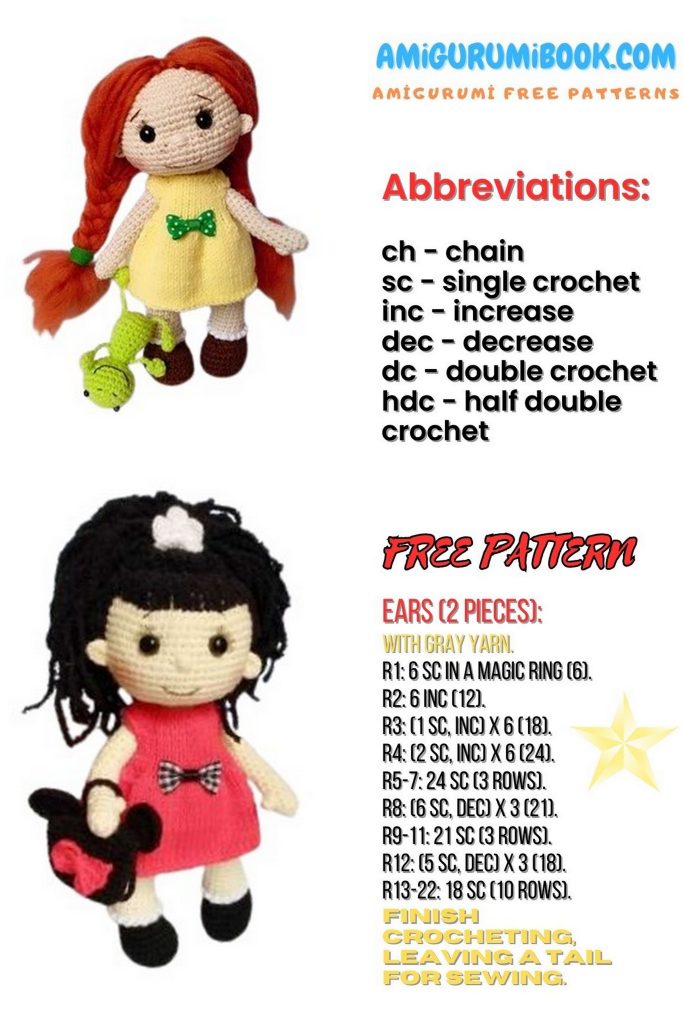
Abbreviations
sc – single crochet
ch – chain
inc – increase (2 sc in one stitch)
dec – decrease (invisible or regular)
sl st – slip stitch
bobble – 3 half double crochets together in one stitch (3 hdc tog with a common top)
PATTERN – Amigurumi Doll
Arms – Amigurumi Doll
1: 6 sc in a magic ring (6)
2: (1 sc, inc) × 3 (9)
3–4: 9 sc (2 rounds)
5: bobble, 8 sc (9)
6: 9 sc
7: 2 sc, dec, 4 sc (8)
8: 8 sc
9: 3 sc, inc, 4 sc (9)
10–22: 9 sc (13 rounds)
Stuff firmly and close the opening.
Legs – Amigurumi Doll
Start with shoe color.
1: Ch 7, starting in 2nd ch from hook: 5 sc, 3 sc in last ch; continue on the other side of the chain – 4 sc, inc (14)
2: inc, 4 sc, 3 inc, 4 sc, 2 inc (20)
3: 1 sc, inc, 4 sc, (1 sc, inc) × 3, 4 sc, (1 sc, inc) × 2 (26)
Cut out a sole from plastic or cardboard.
4: 26 sc in back loops only (26)
5–7: 26 sc (3 rounds)
Align the stitch marker to the back center.
8: 7 sc, 6 dec, 7 sc (20)
Insert the insole and stuff firmly.
9: 6 sc, 4 dec, 6 sc (16)
Change to sock color and work next round in back loops only:
10: 16 sc
Change to body color, work in back loops only again. Do not cut the white yarn, leave it at the back to use later for the ruffle.
11: 16 sc
Stuff as you go.
12–19: 16 sc (8 rounds)
Change to underwear color (white in this case):
20–21: 16 sc (2 rounds)
Fasten off and cut the yarn.
Now crochet the sock ruffle using the white yarn left behind:
In each free front loop: (sl st, ch 1, sl st) around.
Make the second leg the same way. Do not cut the yarn – continue to the body.
Body – Amigurumi Doll
1: Continue from the right leg. Crochet 4–5 sc, ch 5, join to the left leg (count 4–5 sc back from the end of the left leg and join there), work 16 sc on left leg, 5 sc along ch (front), 16 sc on right leg, 5 sc along ch (back), place a marker (42)
2: 42 sc
3: (6 sc, inc) × 6 (48)
4–8: 48 sc (5 rounds)
9: (6 sc, dec) × 6 (42)
Change to body color, work in back loops only:
10: 42 sc
11: (5 sc, dec) × 6 (36)
12–13: 36 sc (2 rounds)
14: (4 sc, dec) × 6 (30)
15–19: 30 sc (5 rounds)
Stuff firmly.
20: (3 sc, dec) × 6 (24)
21–22: 24 sc (2 rounds)
23: (2 sc, dec) × 6 (18)
24–26: 18 sc (3 rounds)
Stuff well. Fasten off, leaving a long tail for sewing.
Head – Amigurumi Doll
Use body color. You don’t need to track stitch marker shift.
1: 6 sc in a magic ring (6)
2: 6 inc (12)
3: 12 inc (24)
4: (3 sc, inc) × 6 (30)
5: (4 sc, inc) × 6 (36)
6: (5 sc, inc) × 6 (42)
7: (6 sc, inc) × 6 (48)
8: (7 sc, inc) × 6 (54)
9–19: 54 sc (11 rounds)
Place safety eyes between rounds 16 and 17, spacing them 6–7 stitches apart.
20: (7 sc, dec) × 6 (48)
21: (6 sc, dec) × 6 (42)
22: (5 sc, dec) × 6 (36)
23: 18 dec (18)
24: 18 sc
Stuff firmly.
Assembly and Finishing
1. Sew on the eyes between Rounds 16–17, spaced 6–7 stitches apart.
2.Embroider the nose a few rounds below the eyes, about 8–10 stitches wide, covering 1–2 stitches.
3.Embroider eyebrows and a smile.
4.For hair: cut strands about 35 cm long, fold in half, and attach with a hook starting at the crown and spiraling downward. Add more strands at the top for fullness.
5.Ears: 6 sc in a magic ring, do not join in the round – pull tight and sew flat to the head, approximately at eye level.
6.Sew the head to the body.
7.Sew the arms on using a long needle, threading through the body so the arms remain movable.