
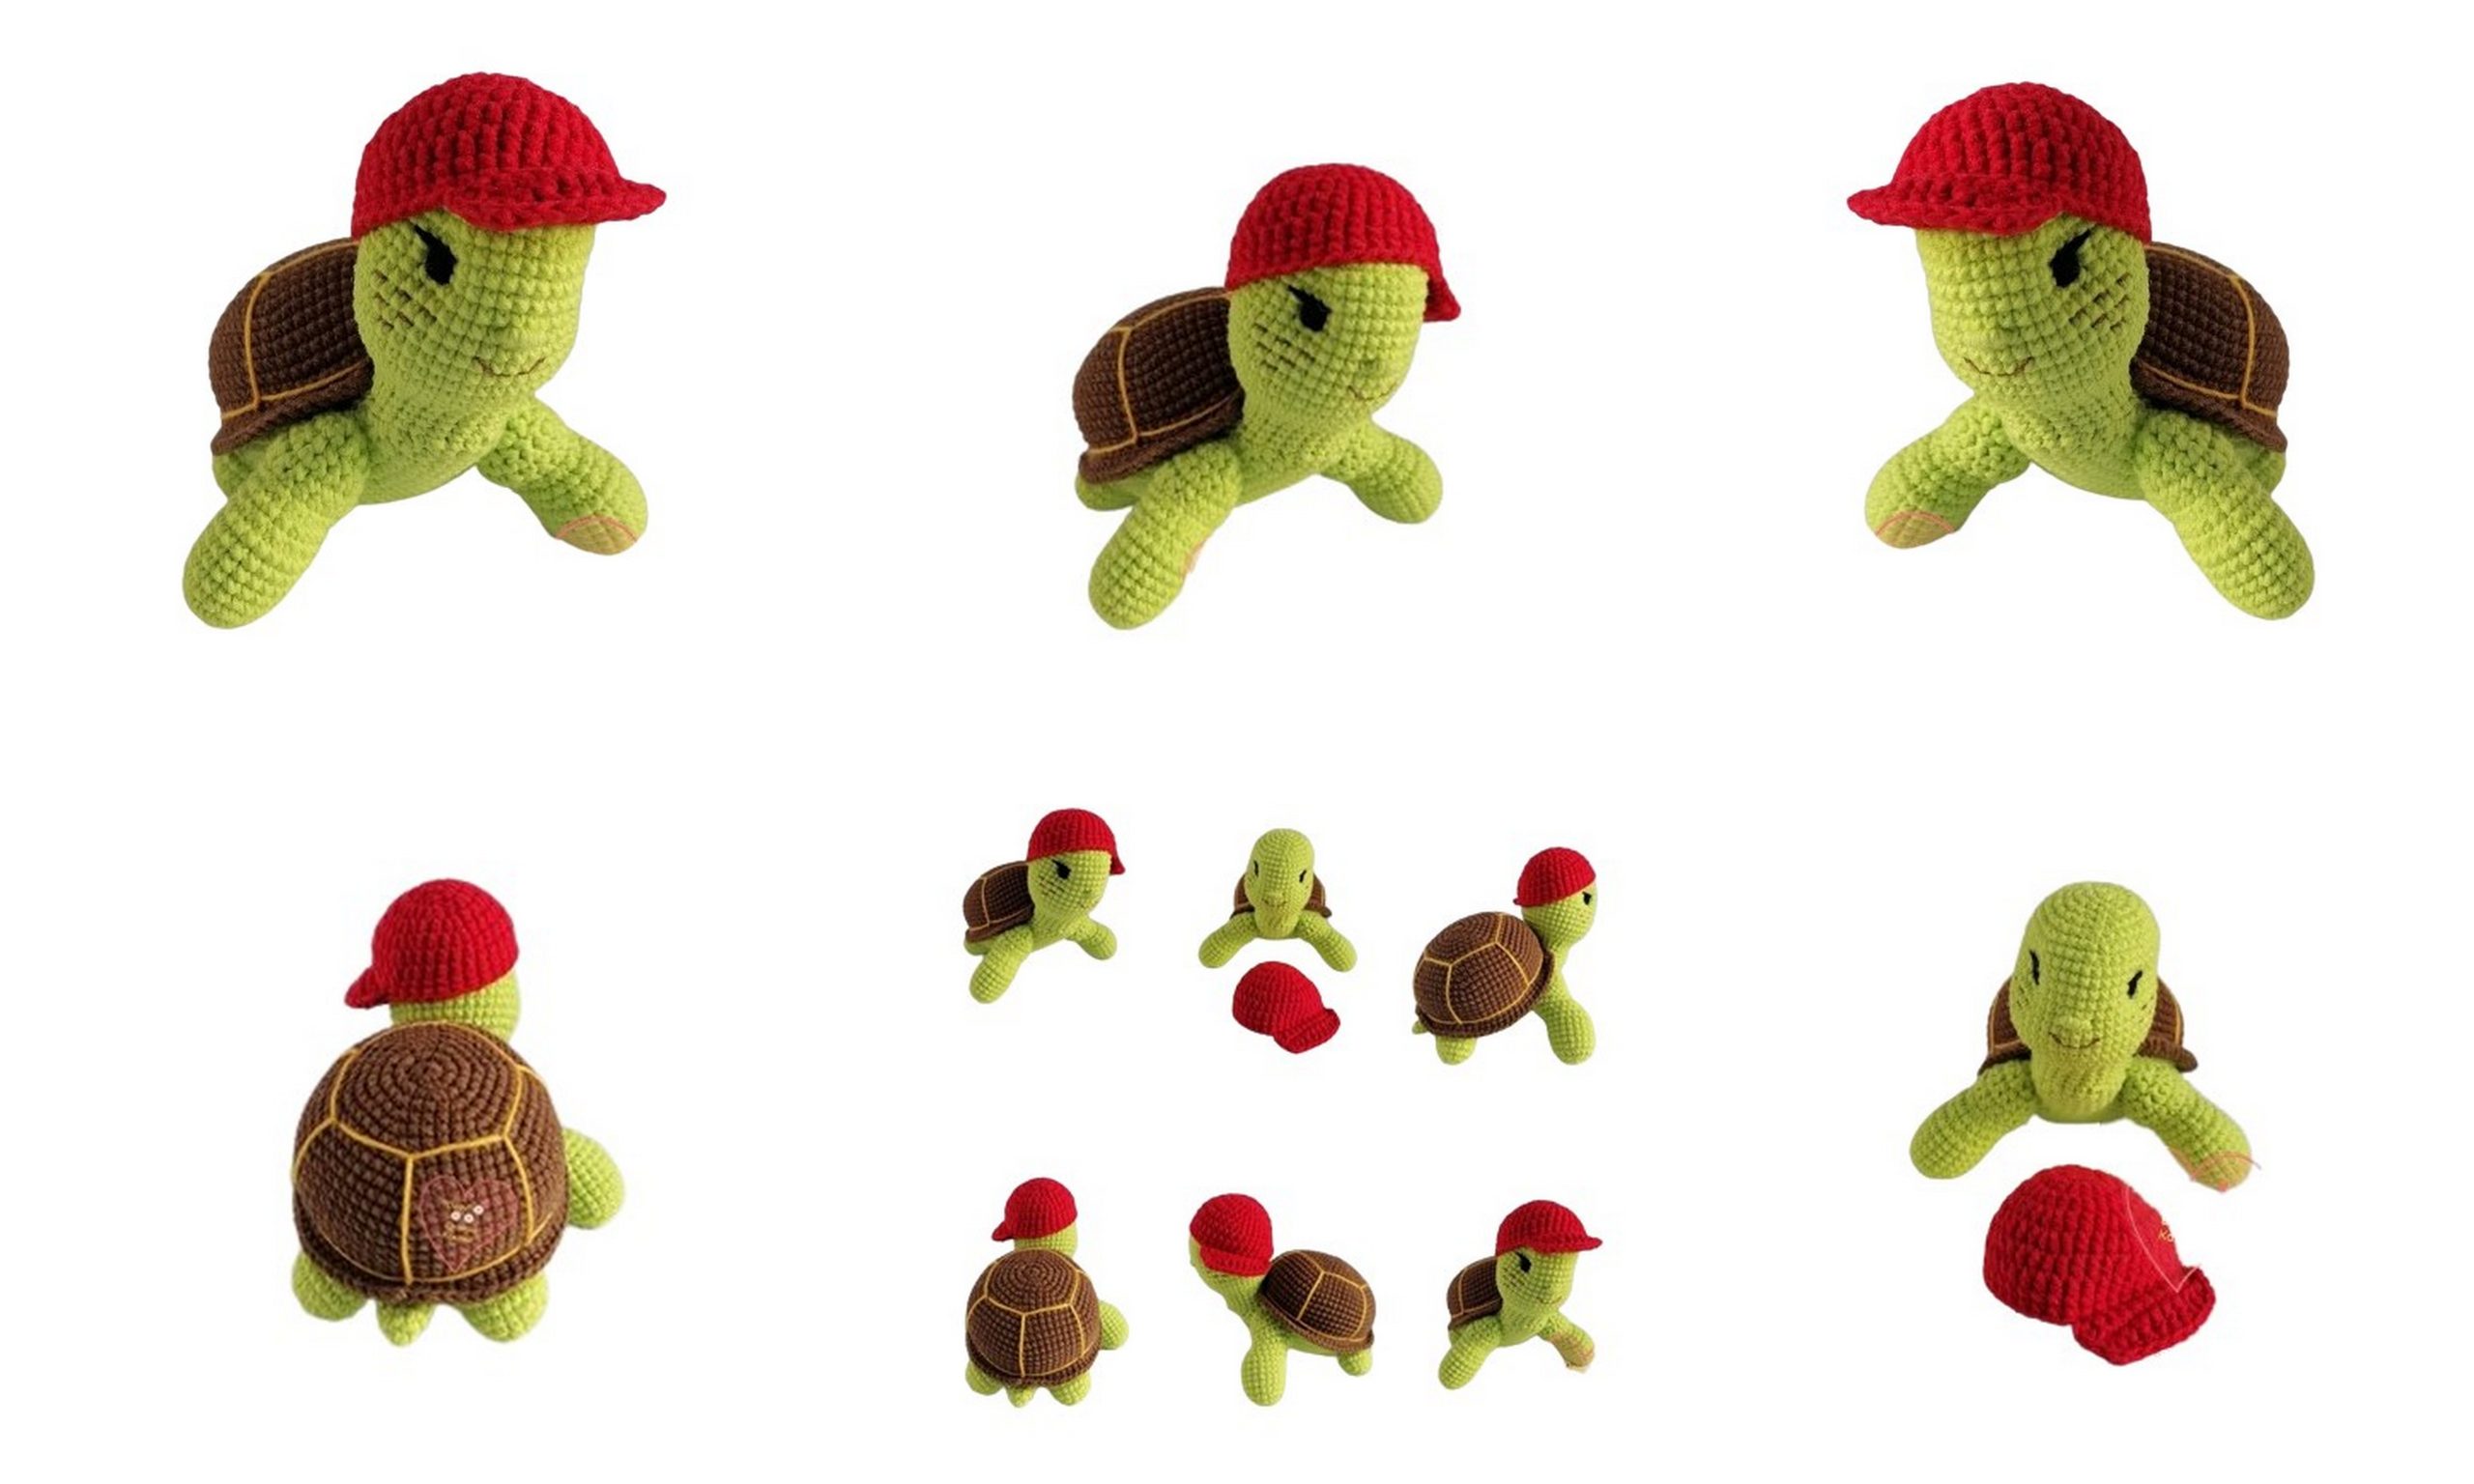
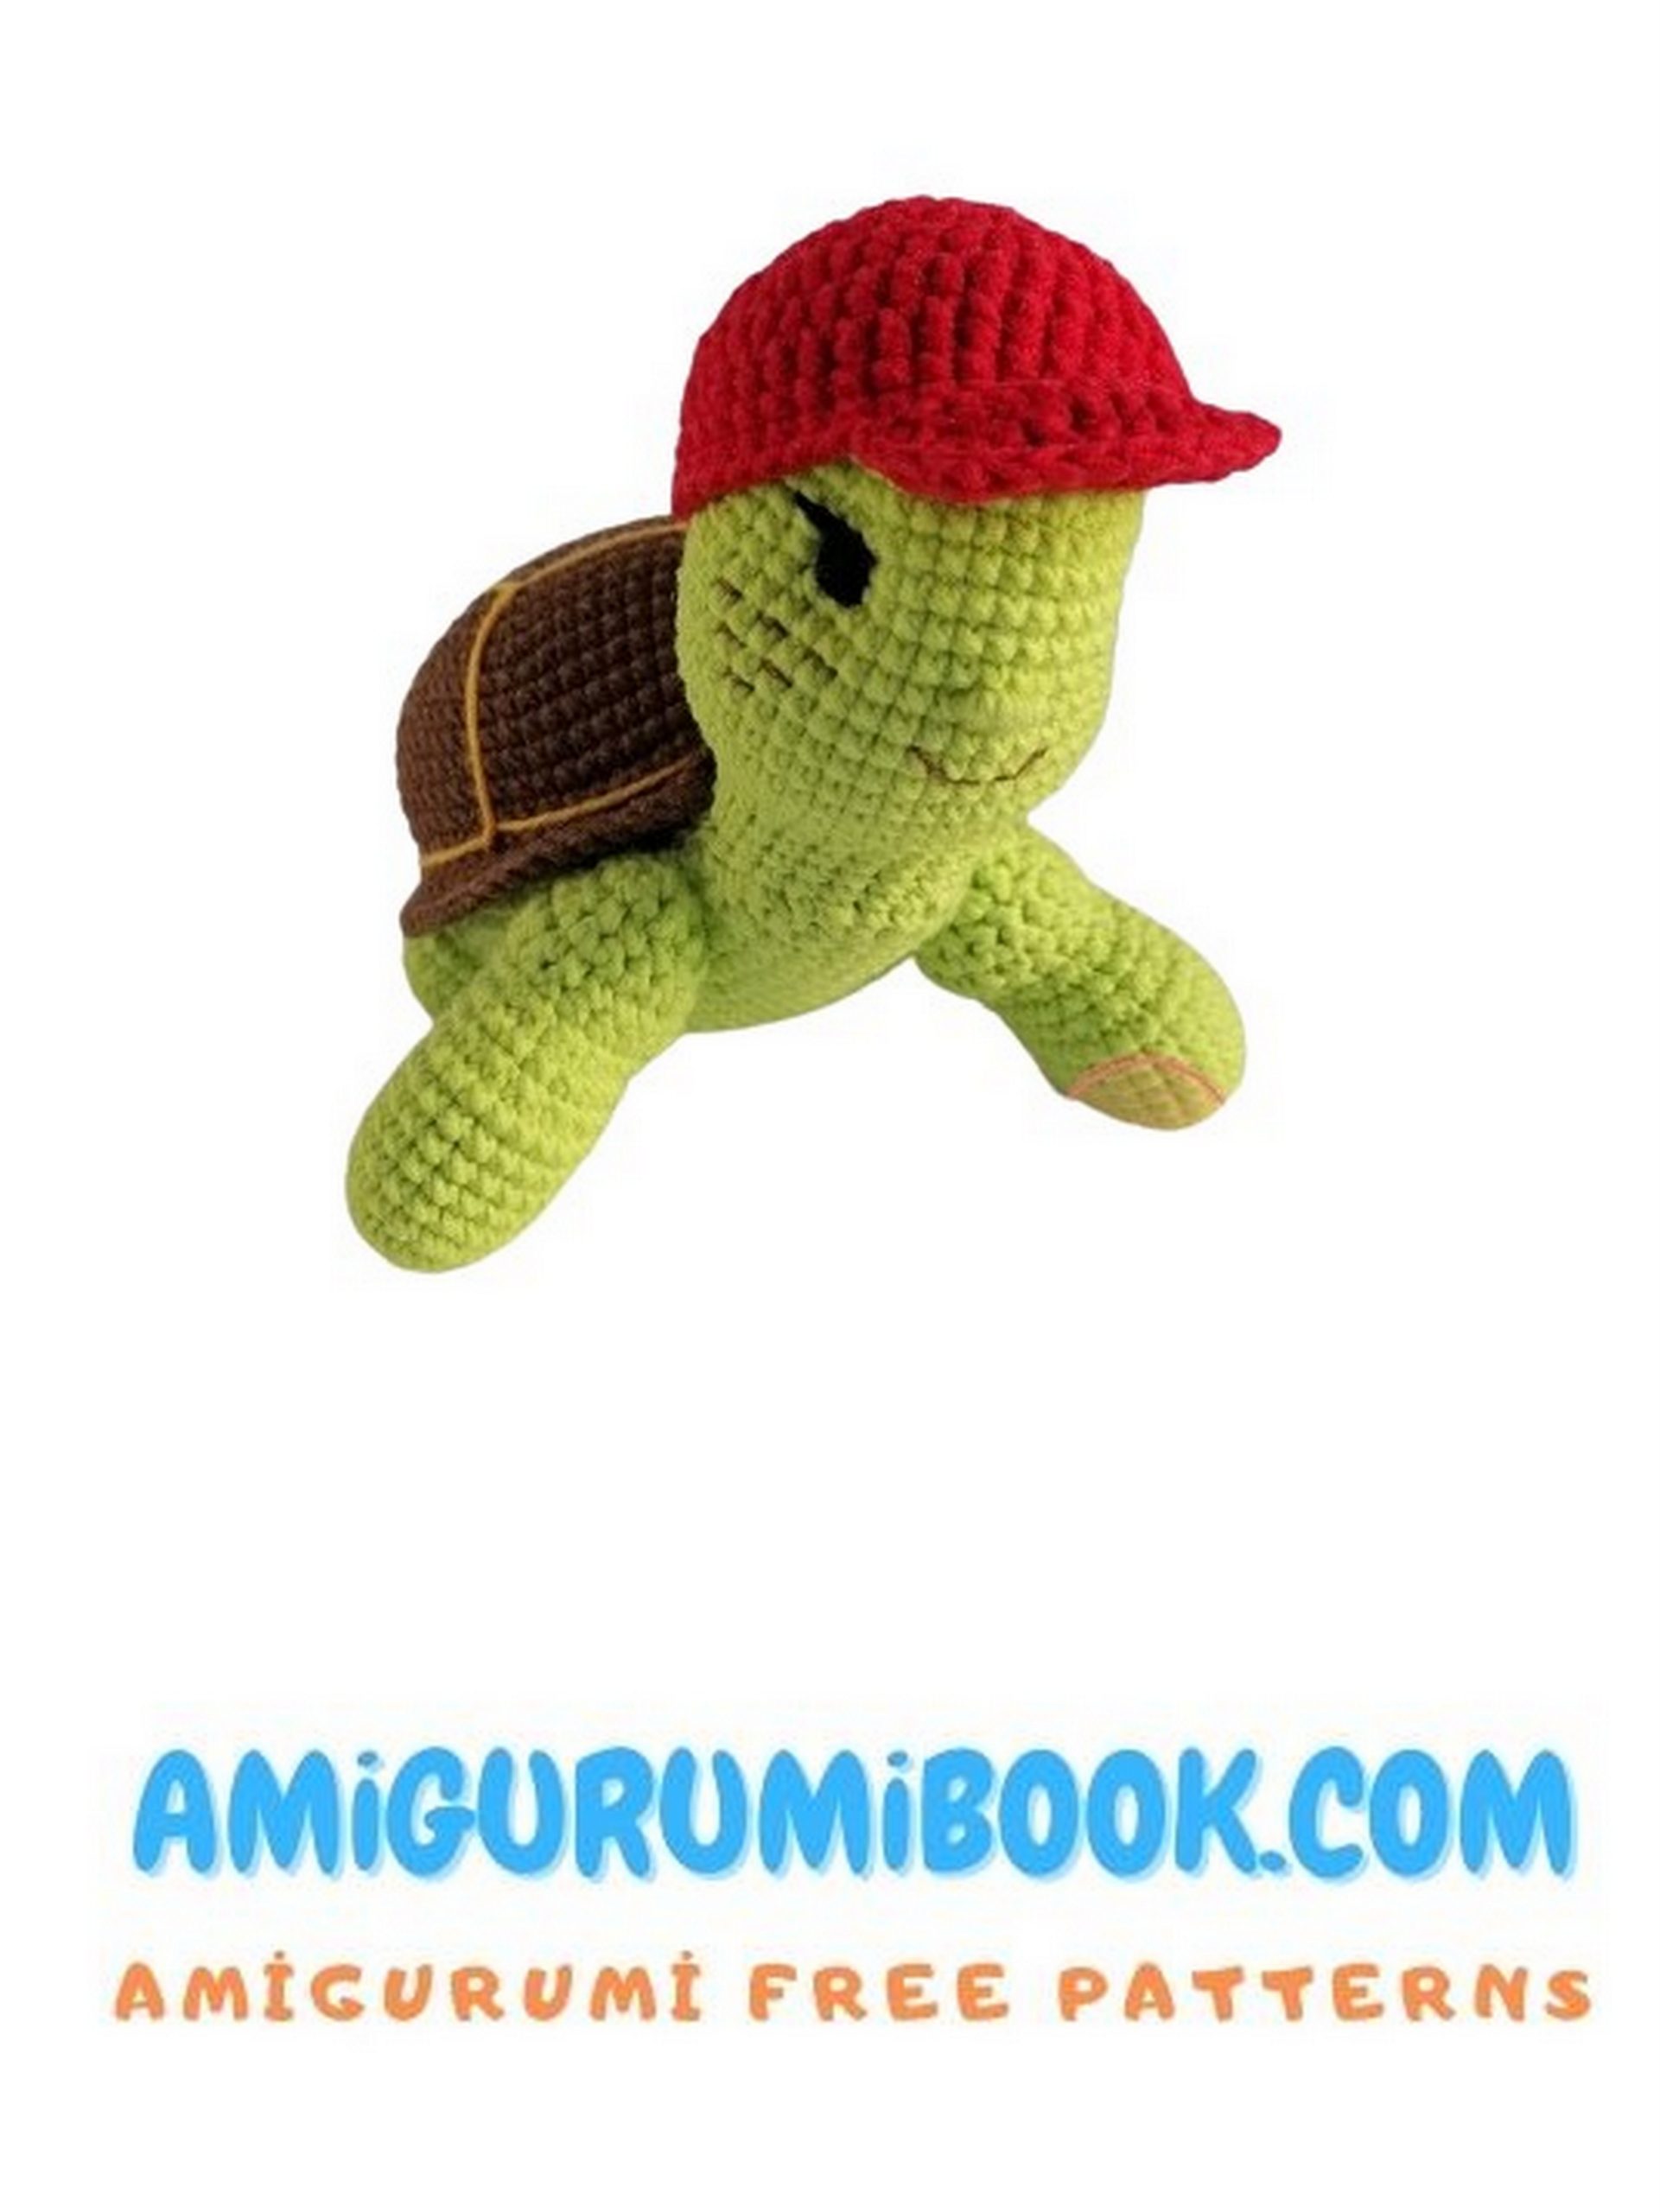
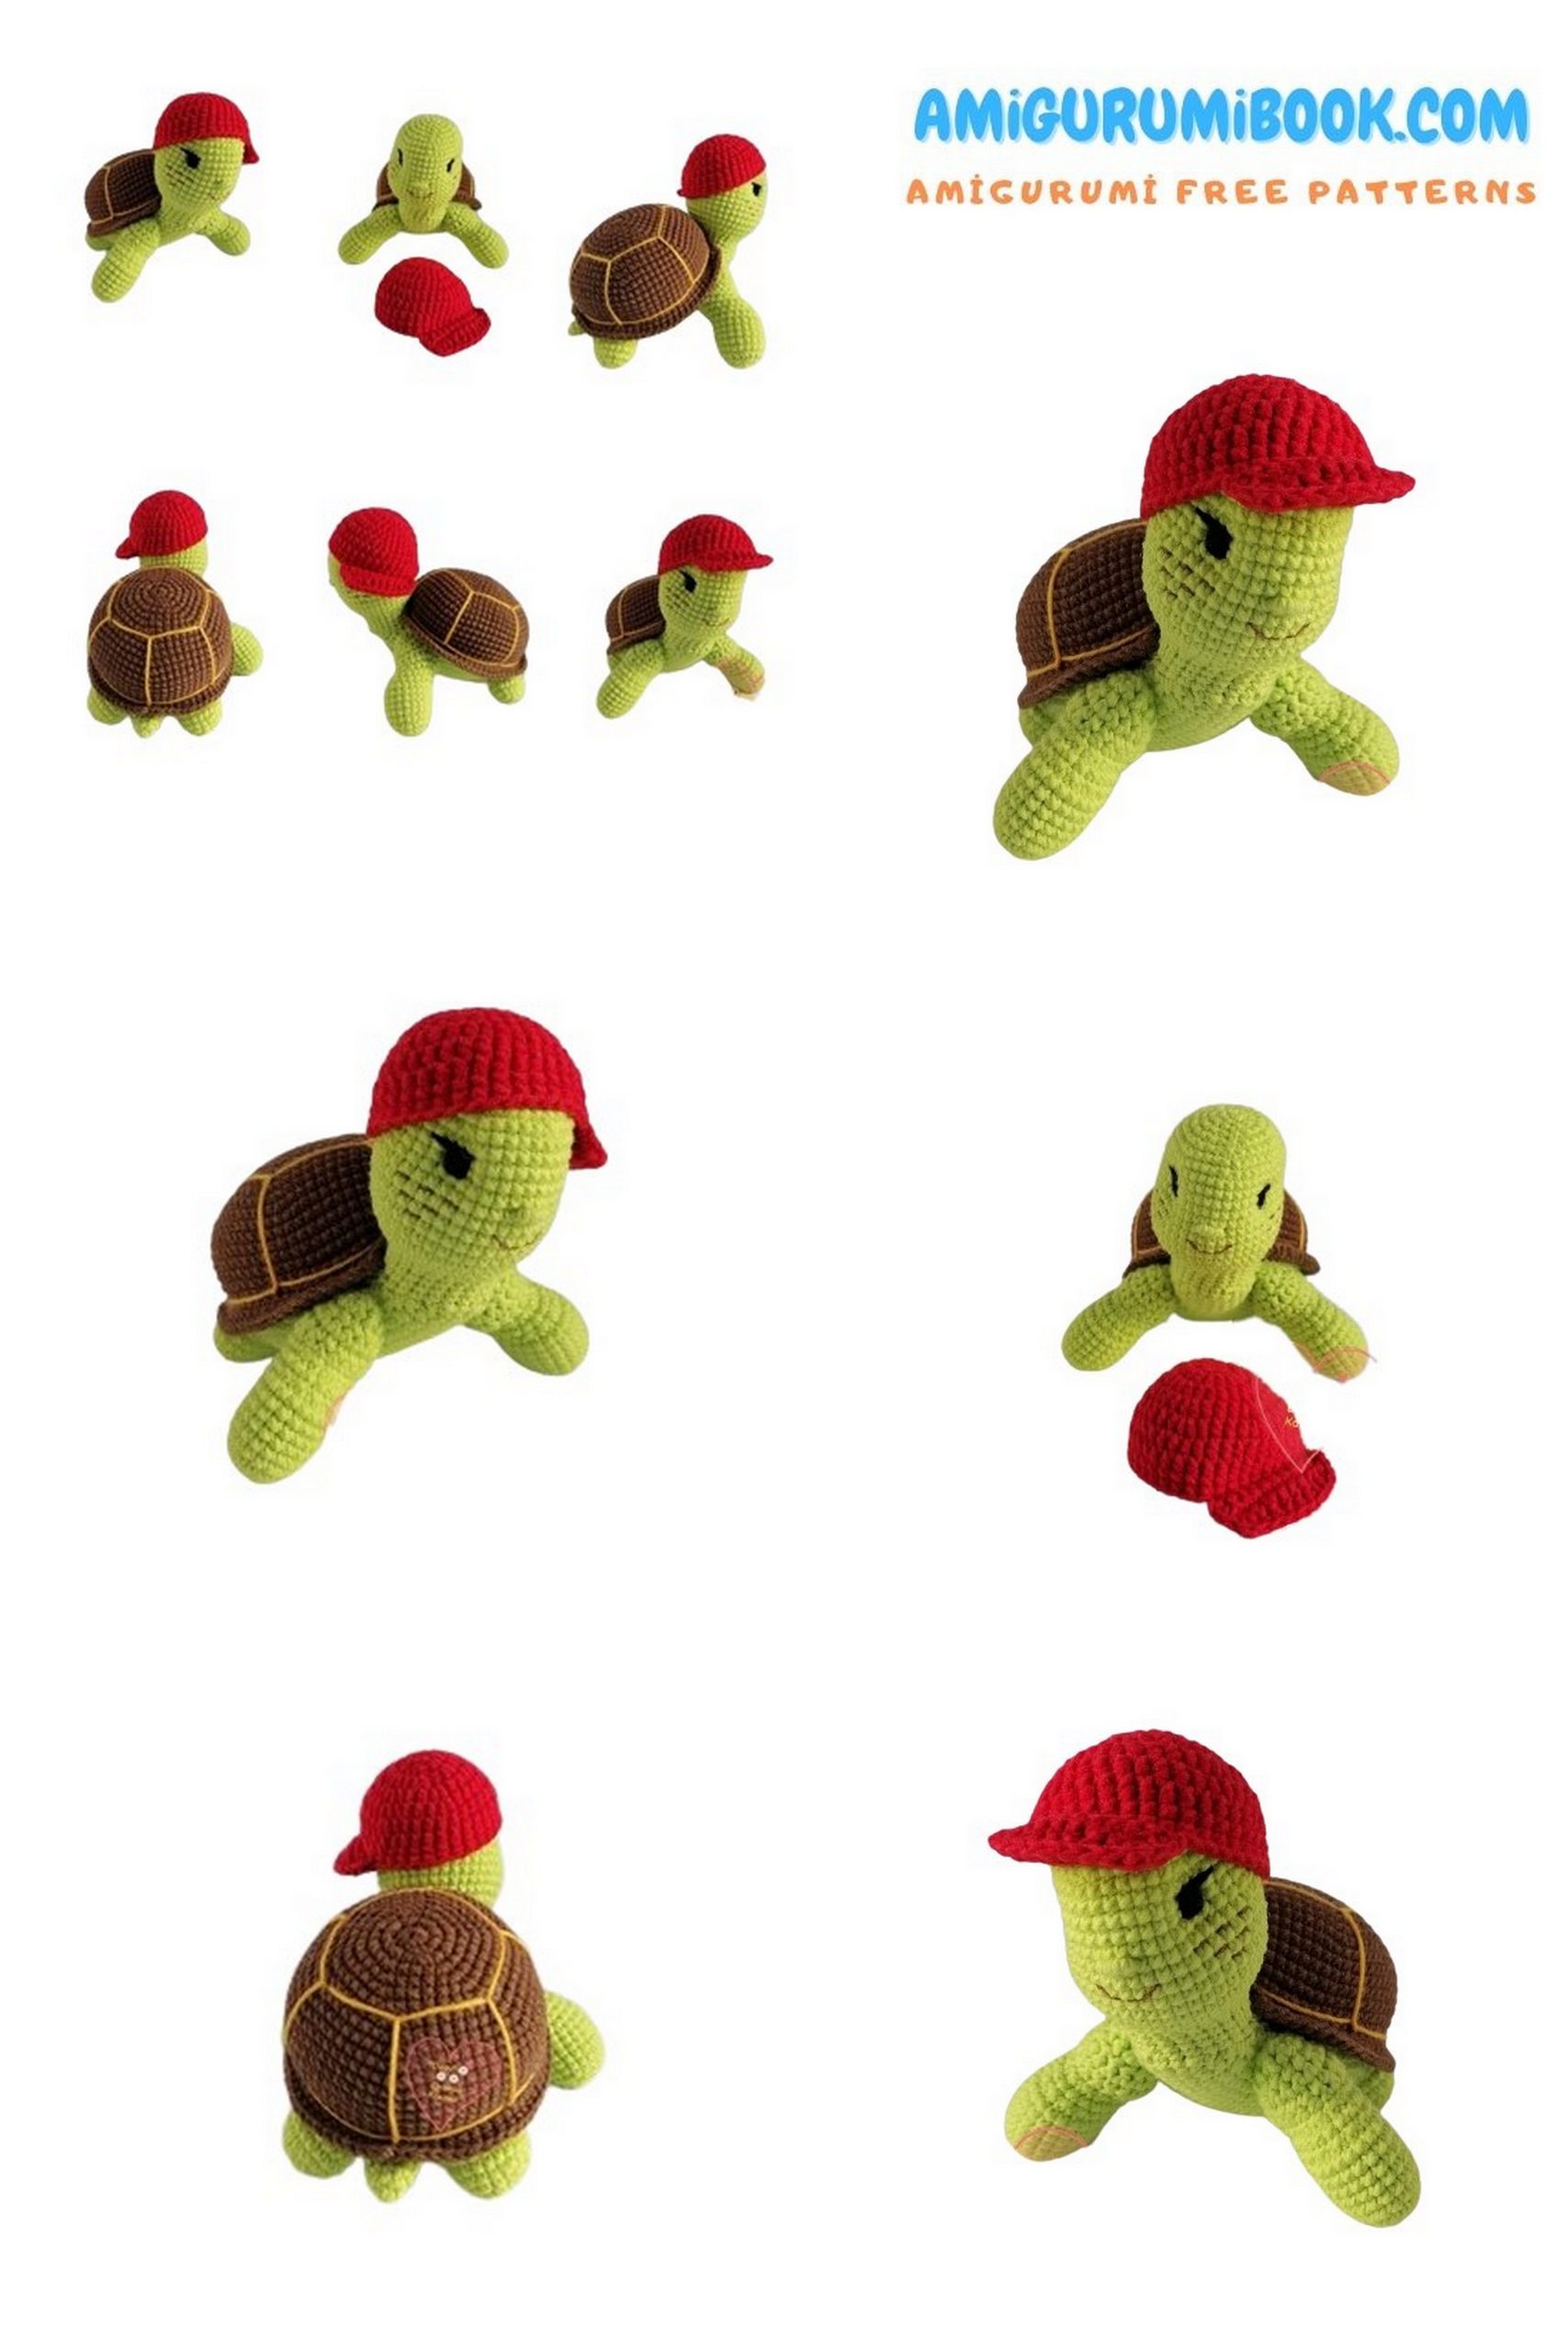
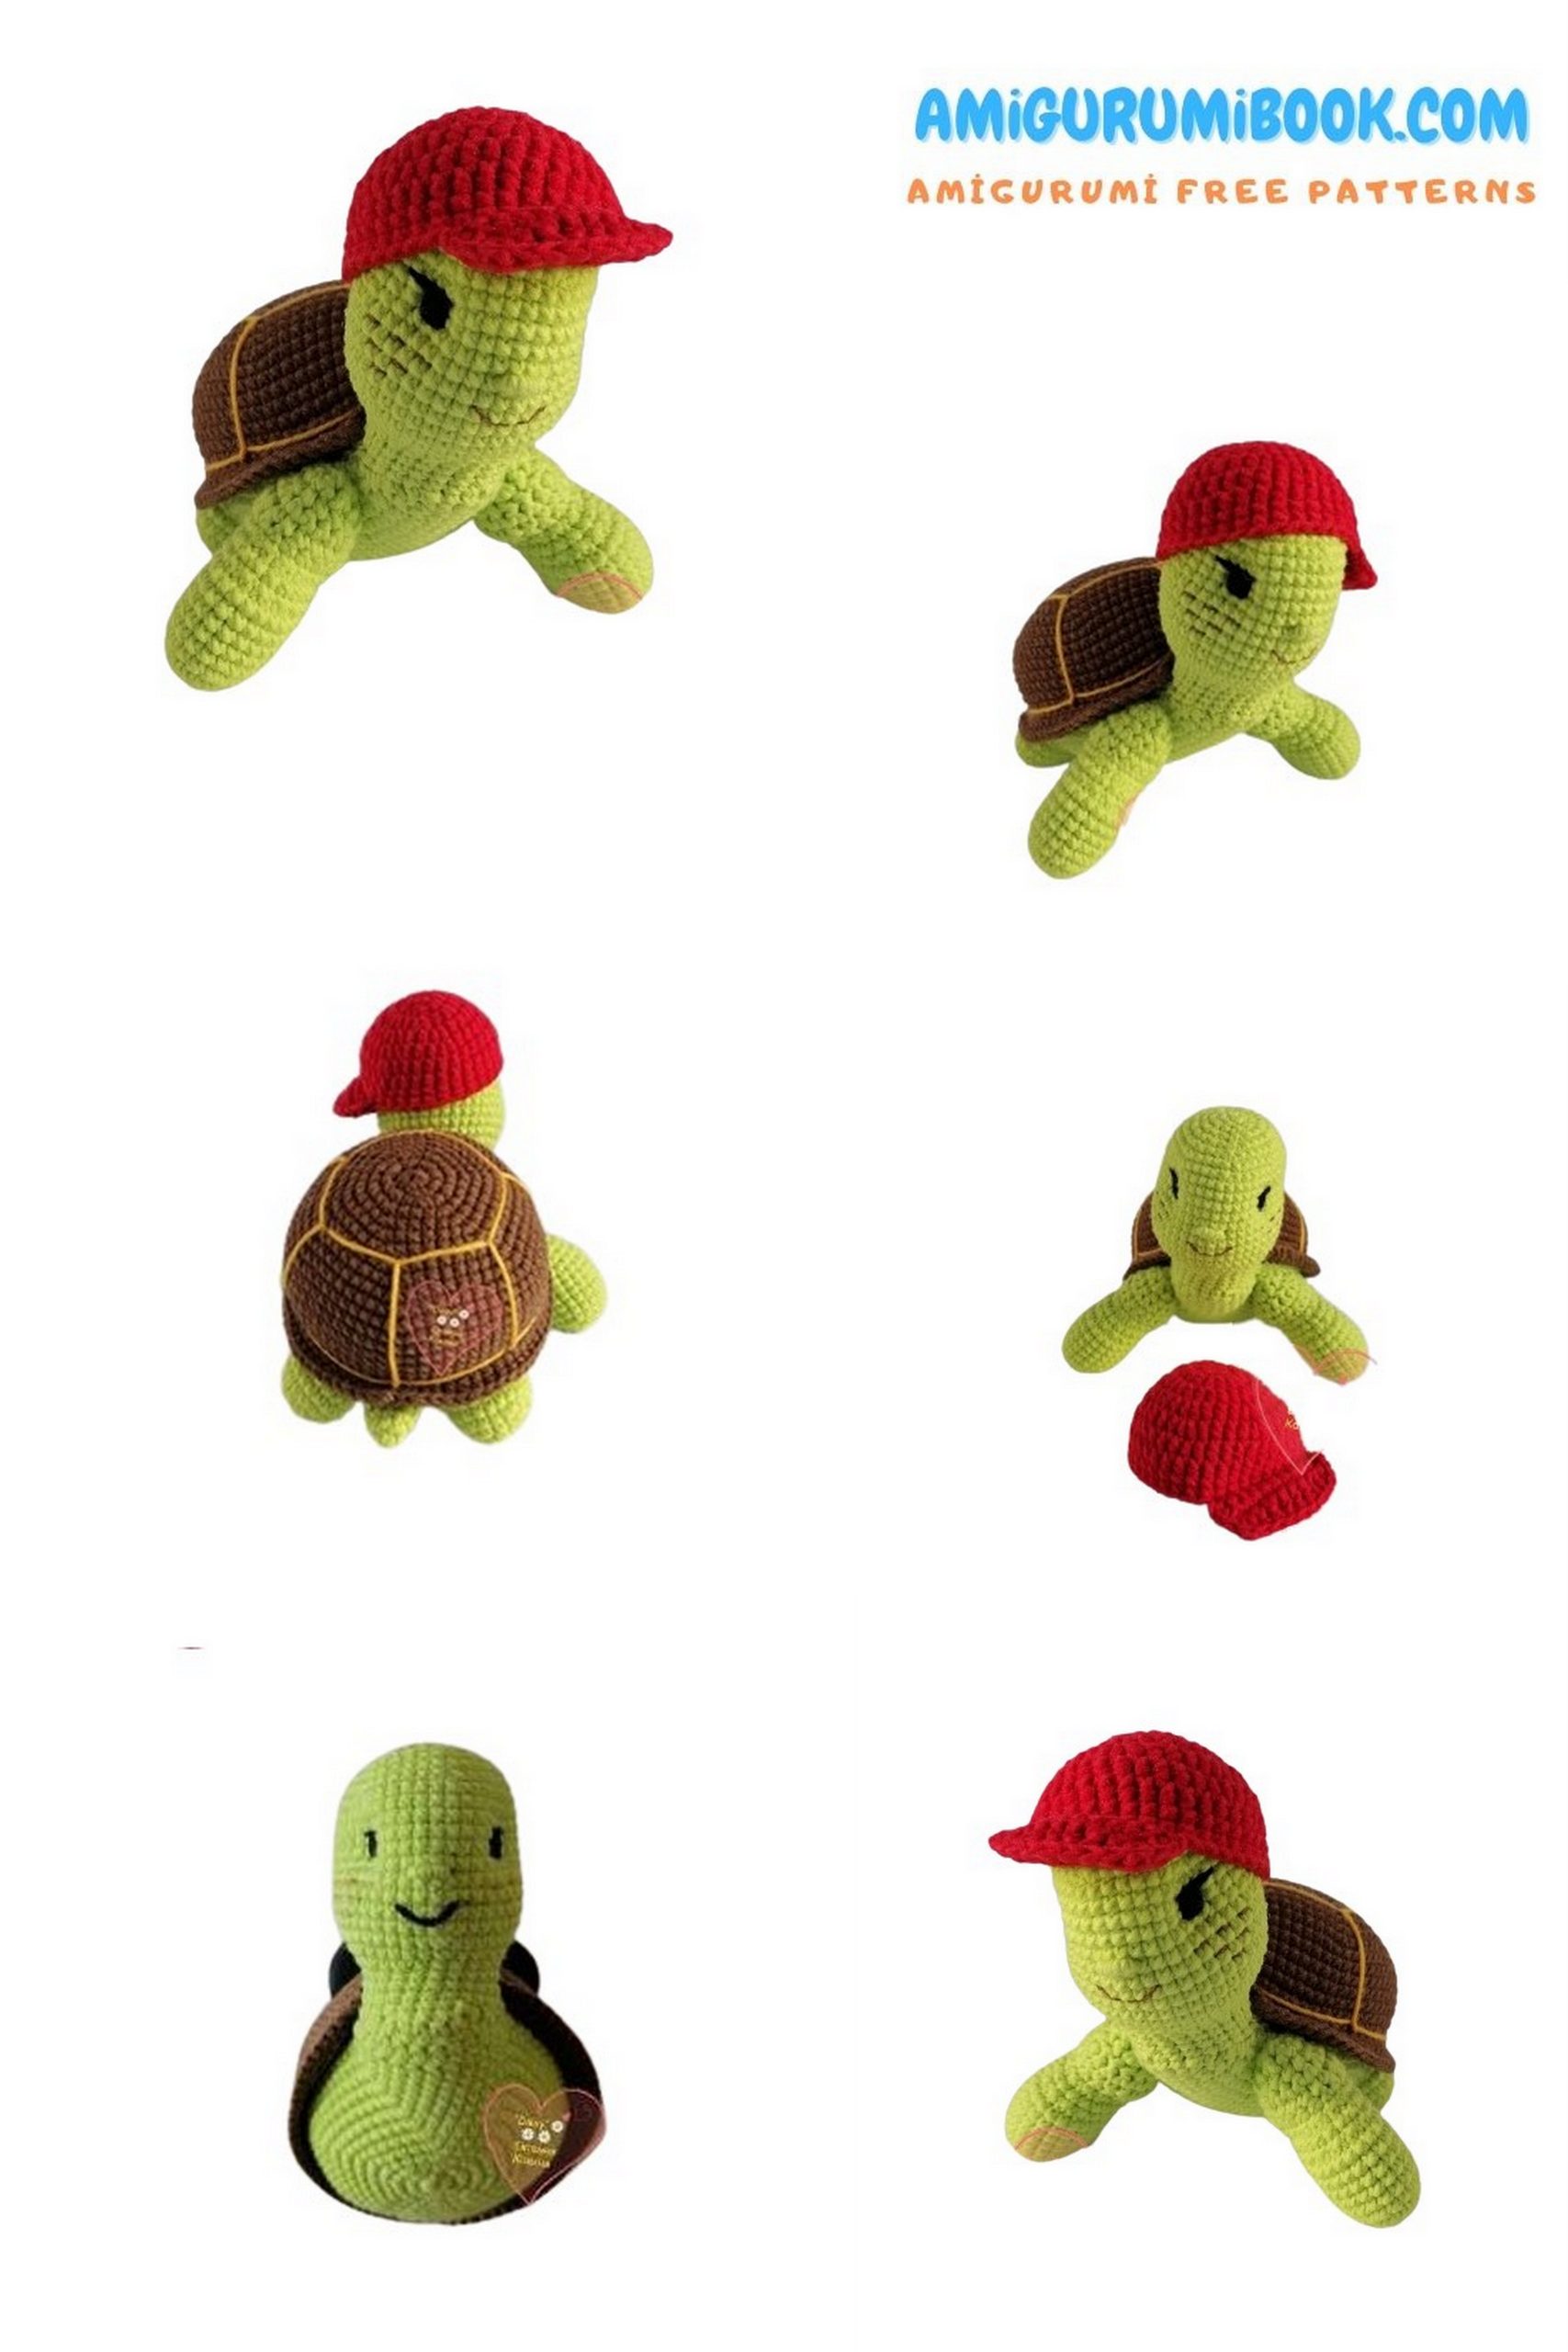
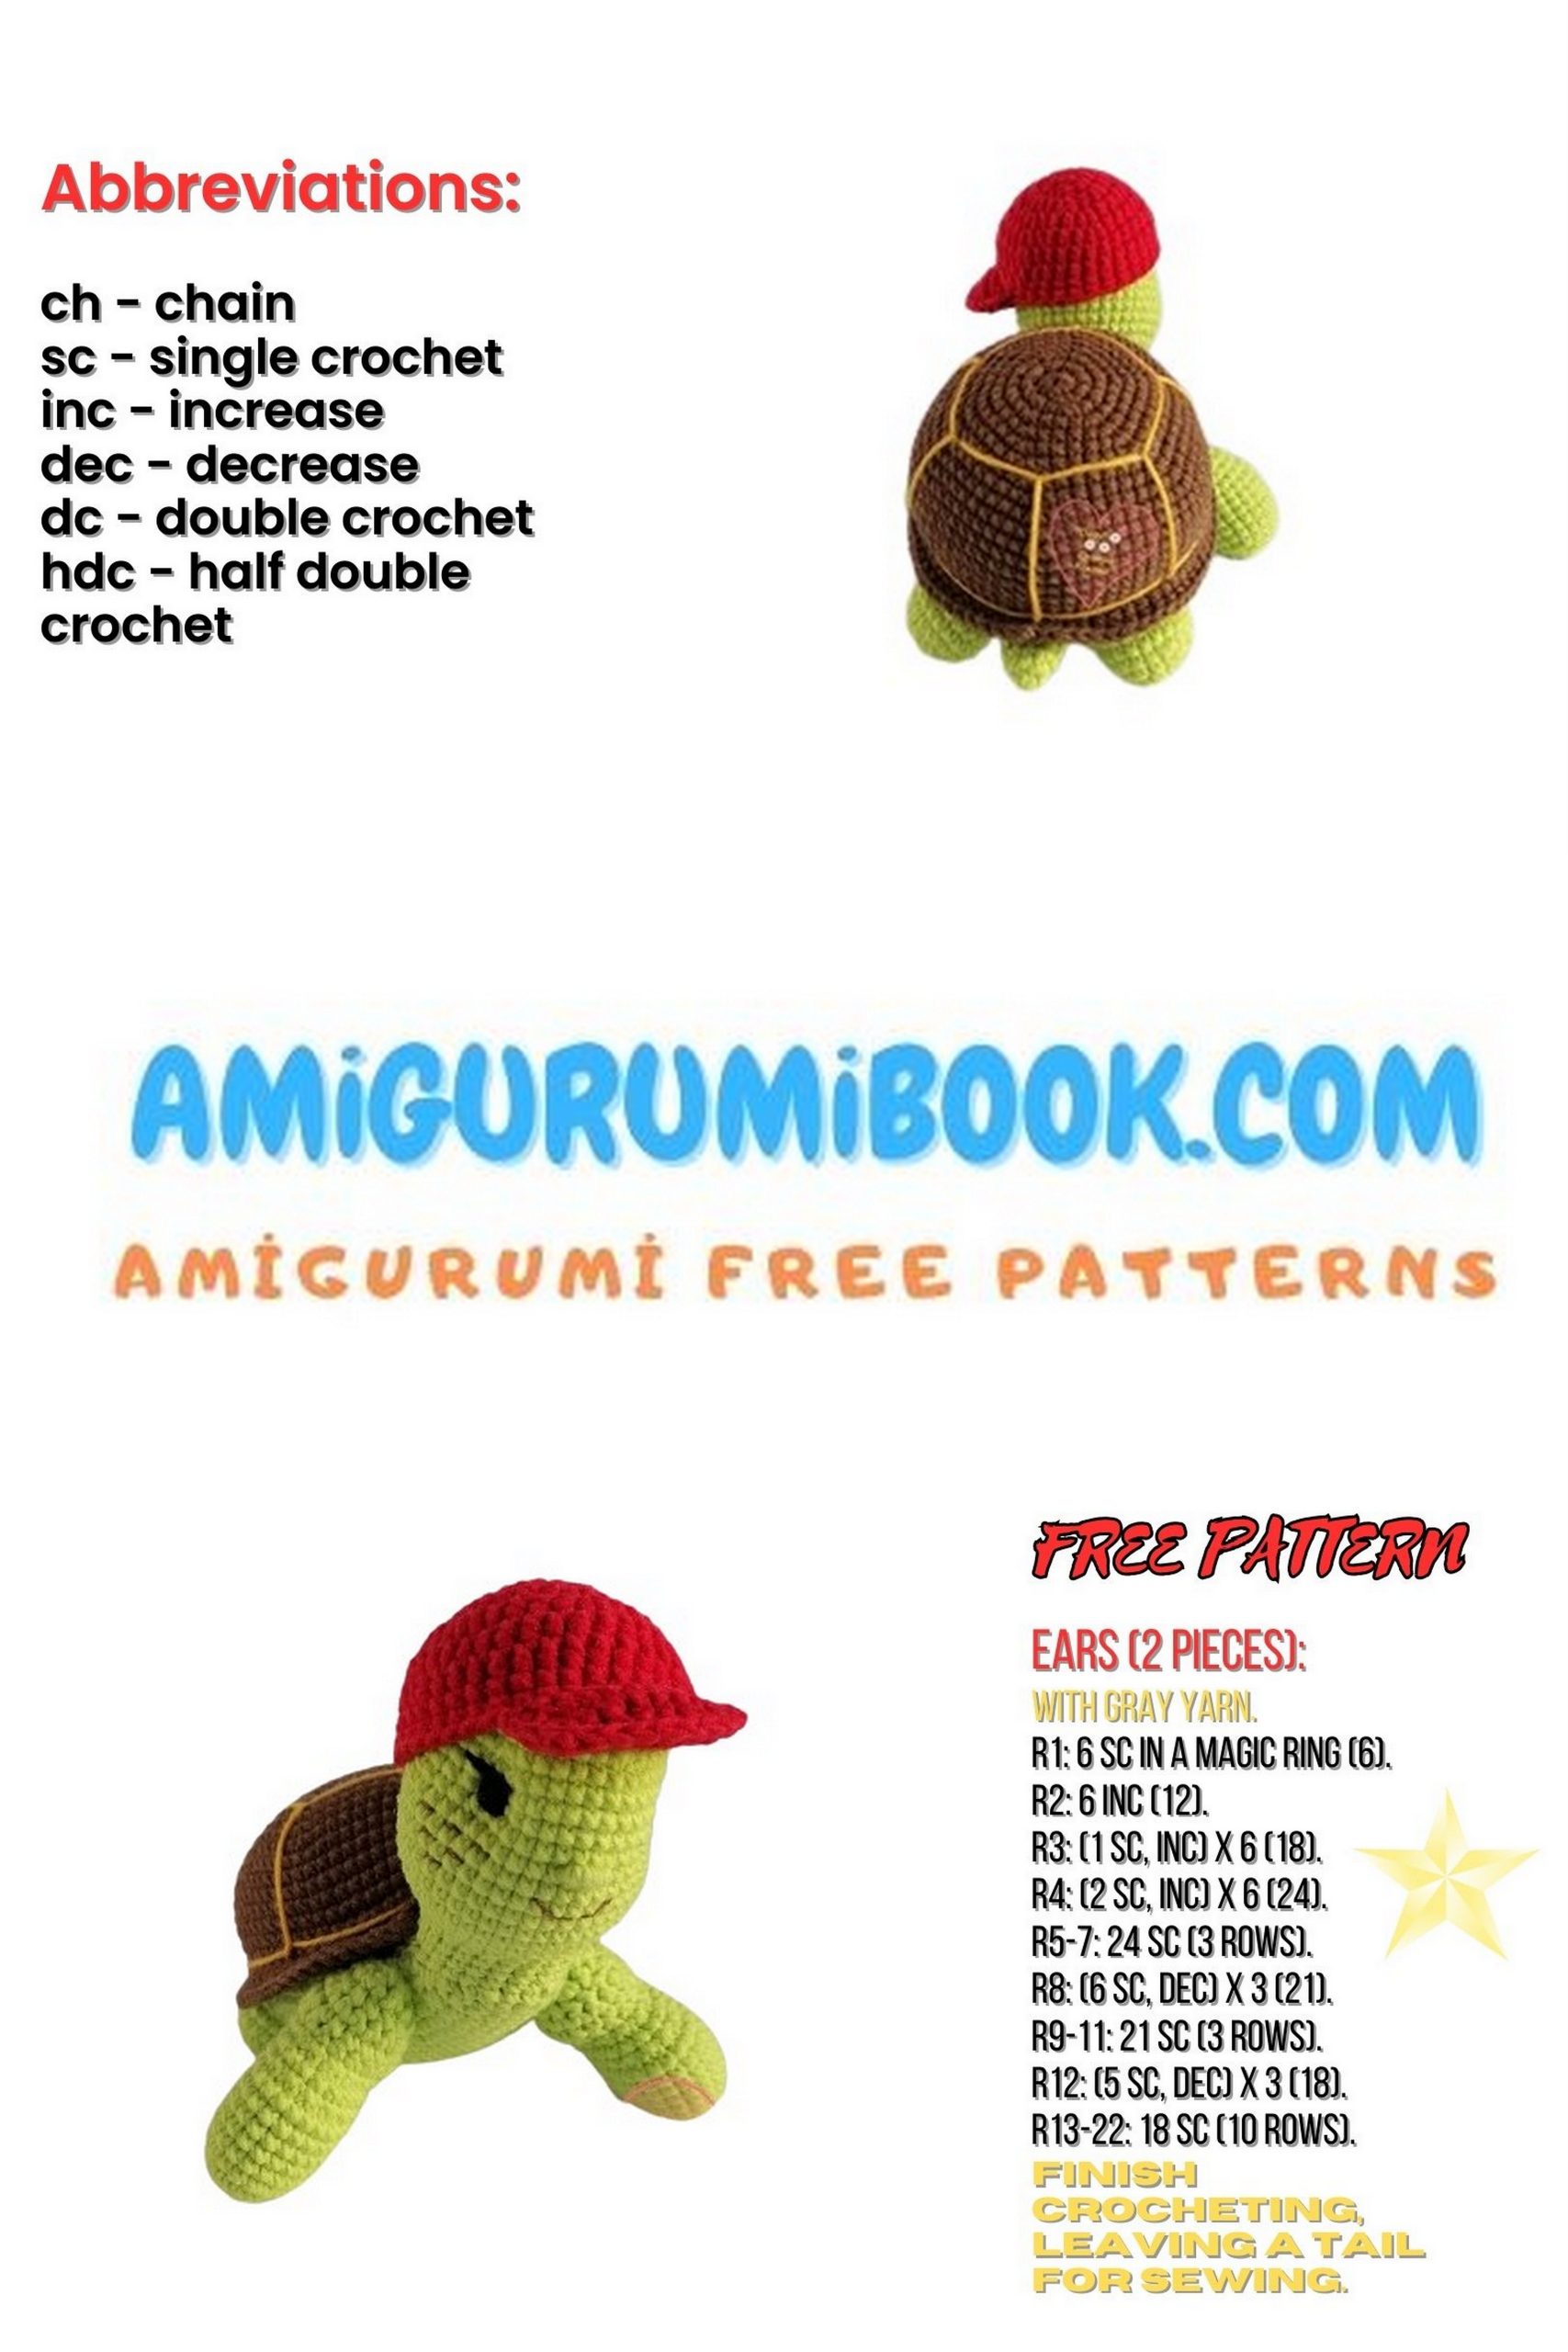
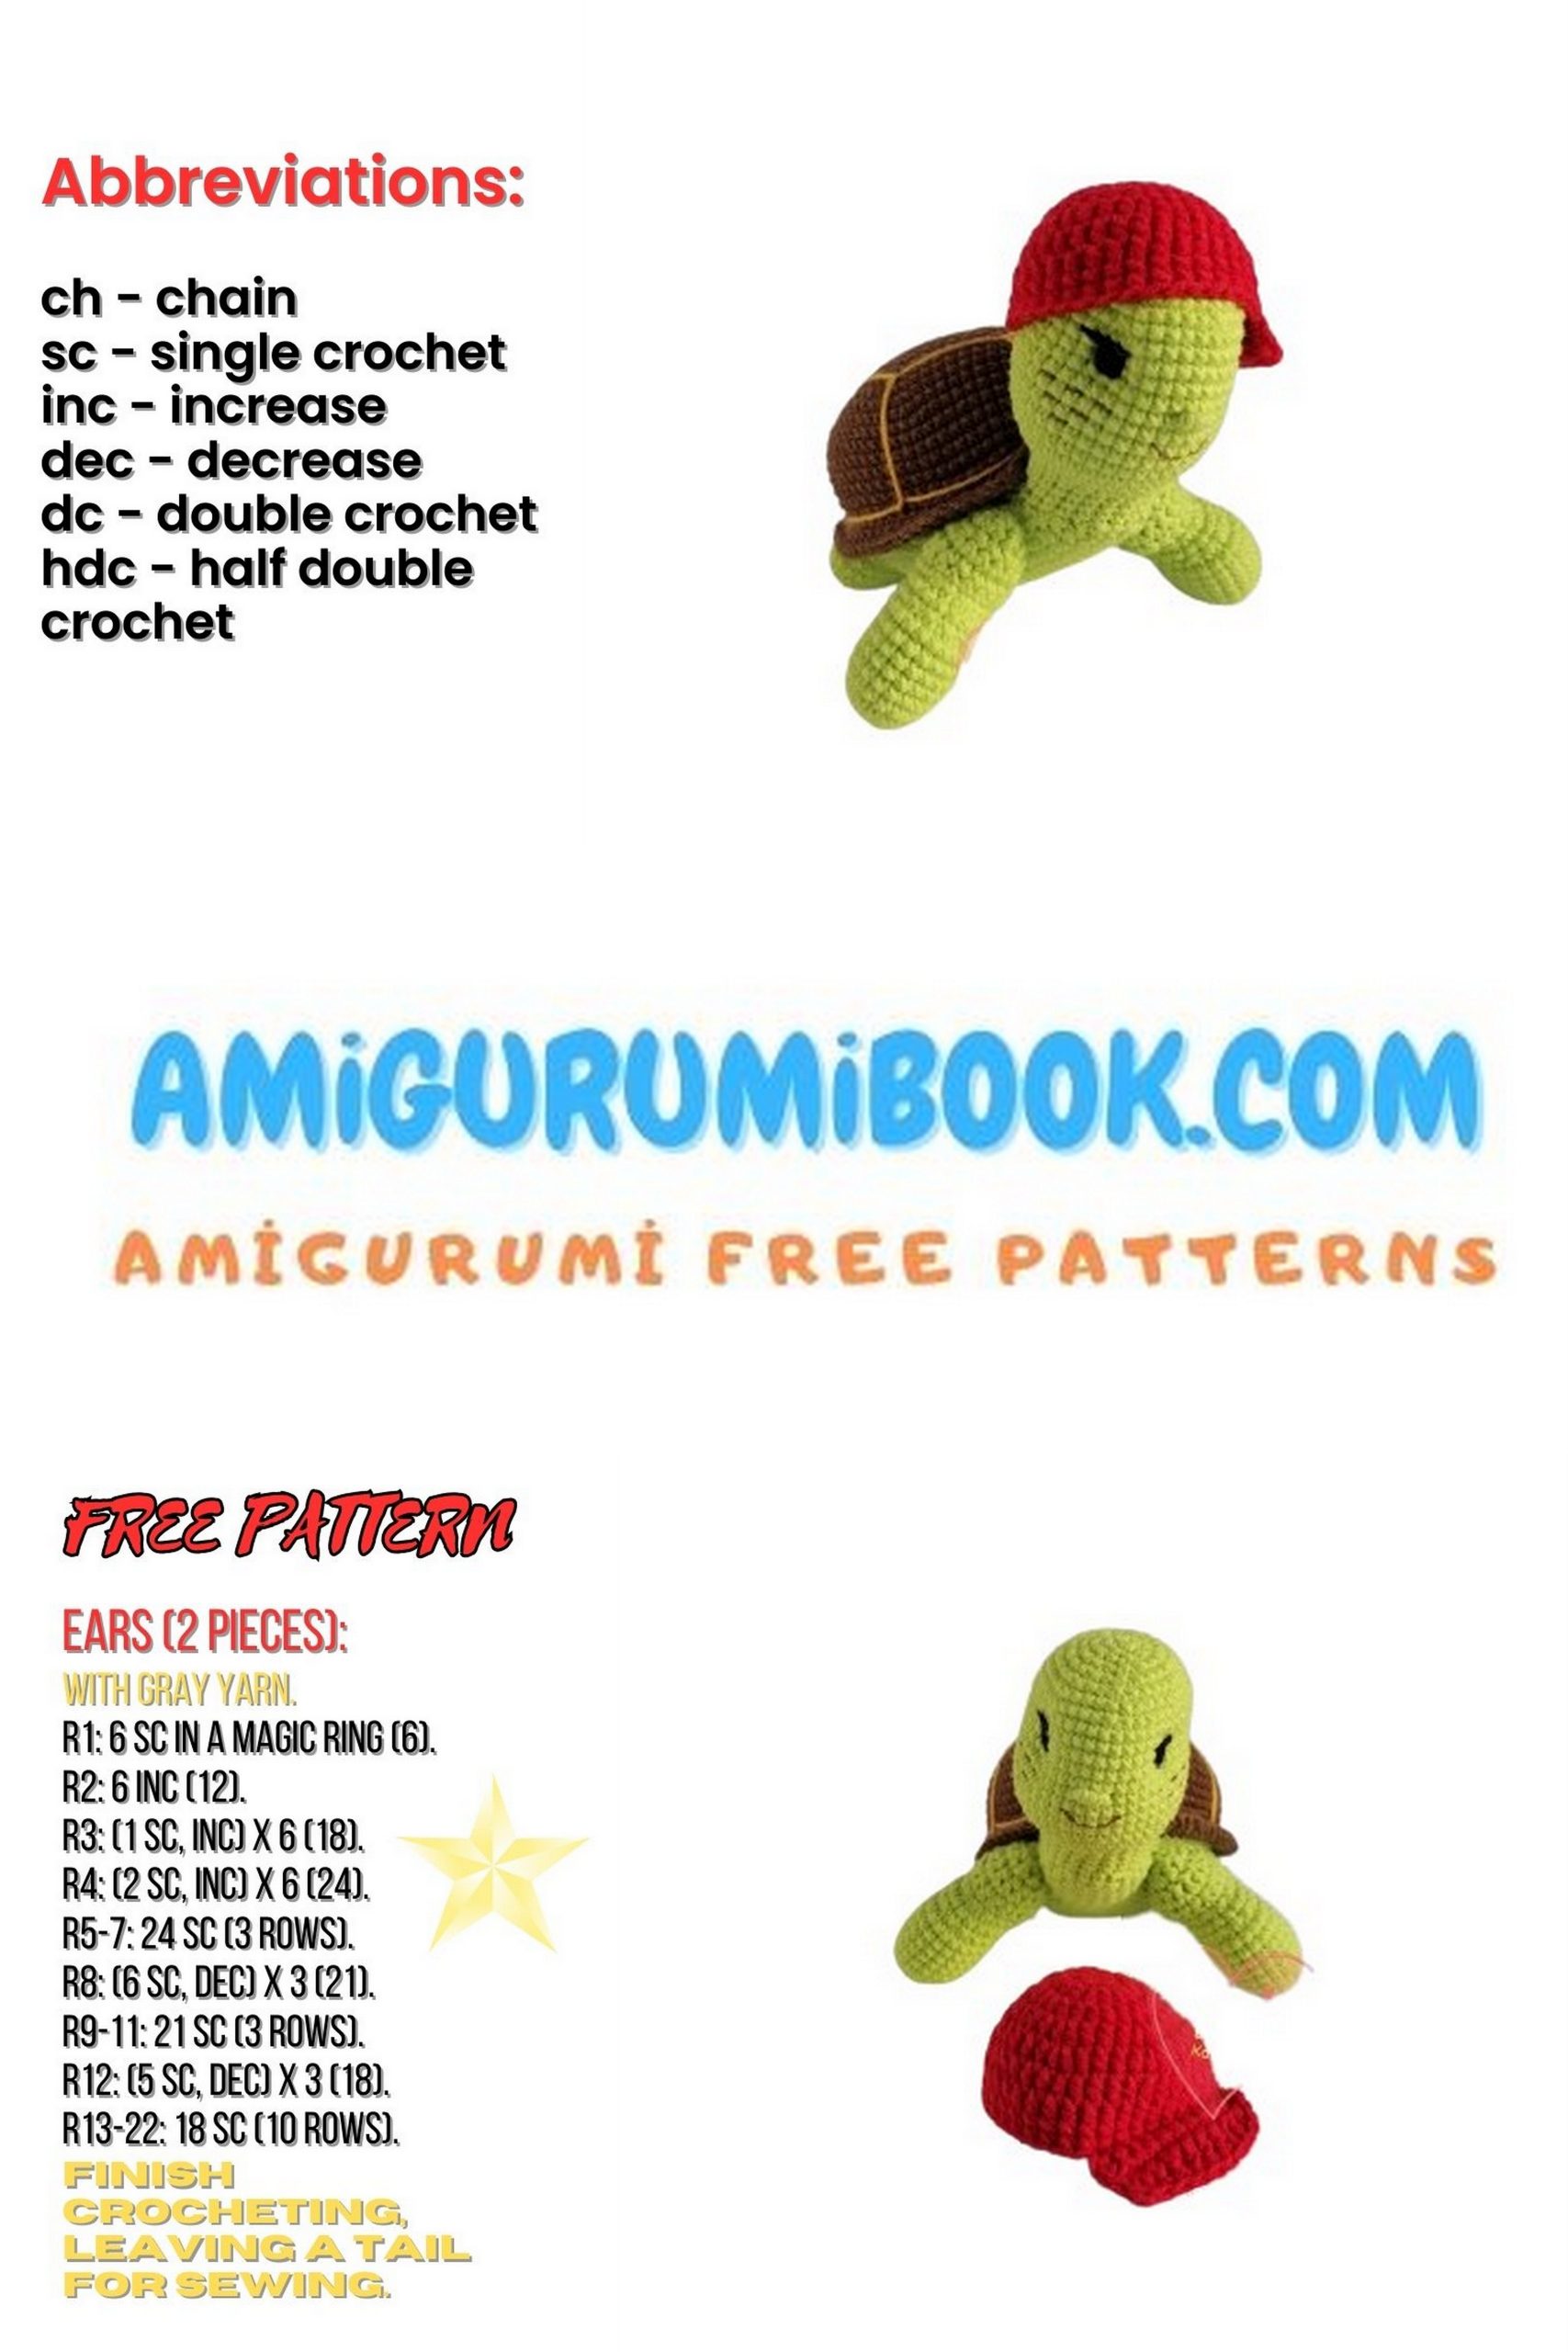
Discover the joy of creating your own adorable Little Turtle amigurumi with this easy-to-follow crochet tutorial. Perfect for beginners and experienced crafters alike, this free pattern guides you step-by-step to make a charming handmade turtle. free crochet patterns
You may also like more amigurumi patterns.
Dive into the delightful world of crochet with our free Little Turtle Amigurumi pattern and crochet tutorial.
Whether you’re a beginner or an experienced crocheter, this detailed guide offers step-by-step instructions and clear photos to help you create an adorable little turtle.
Perfect for nature lovers or as a charming addition to your amigurumi collection, this turtle amigurumi promises hours of creative enjoyment.
Start your Little Turtle Amigurumi Animal project today and let your crochet skills shine!
For your amigurumi turtle collection, you should see amigurumi caretta caretta, who is considered the pop star of amigurumi turtle toys.
If you want to access 1000+ free amigurumi patterns, you can download our application from this link!
Required Materials:
Yarn:
Alize Cotton Gold 612 light green
216 yellow
60 black
YarnArt Jeans 70 brown
90 scarlet
Hook: 2.2 mm
Stuffing: hollow fiber
Knitting needle, scissors
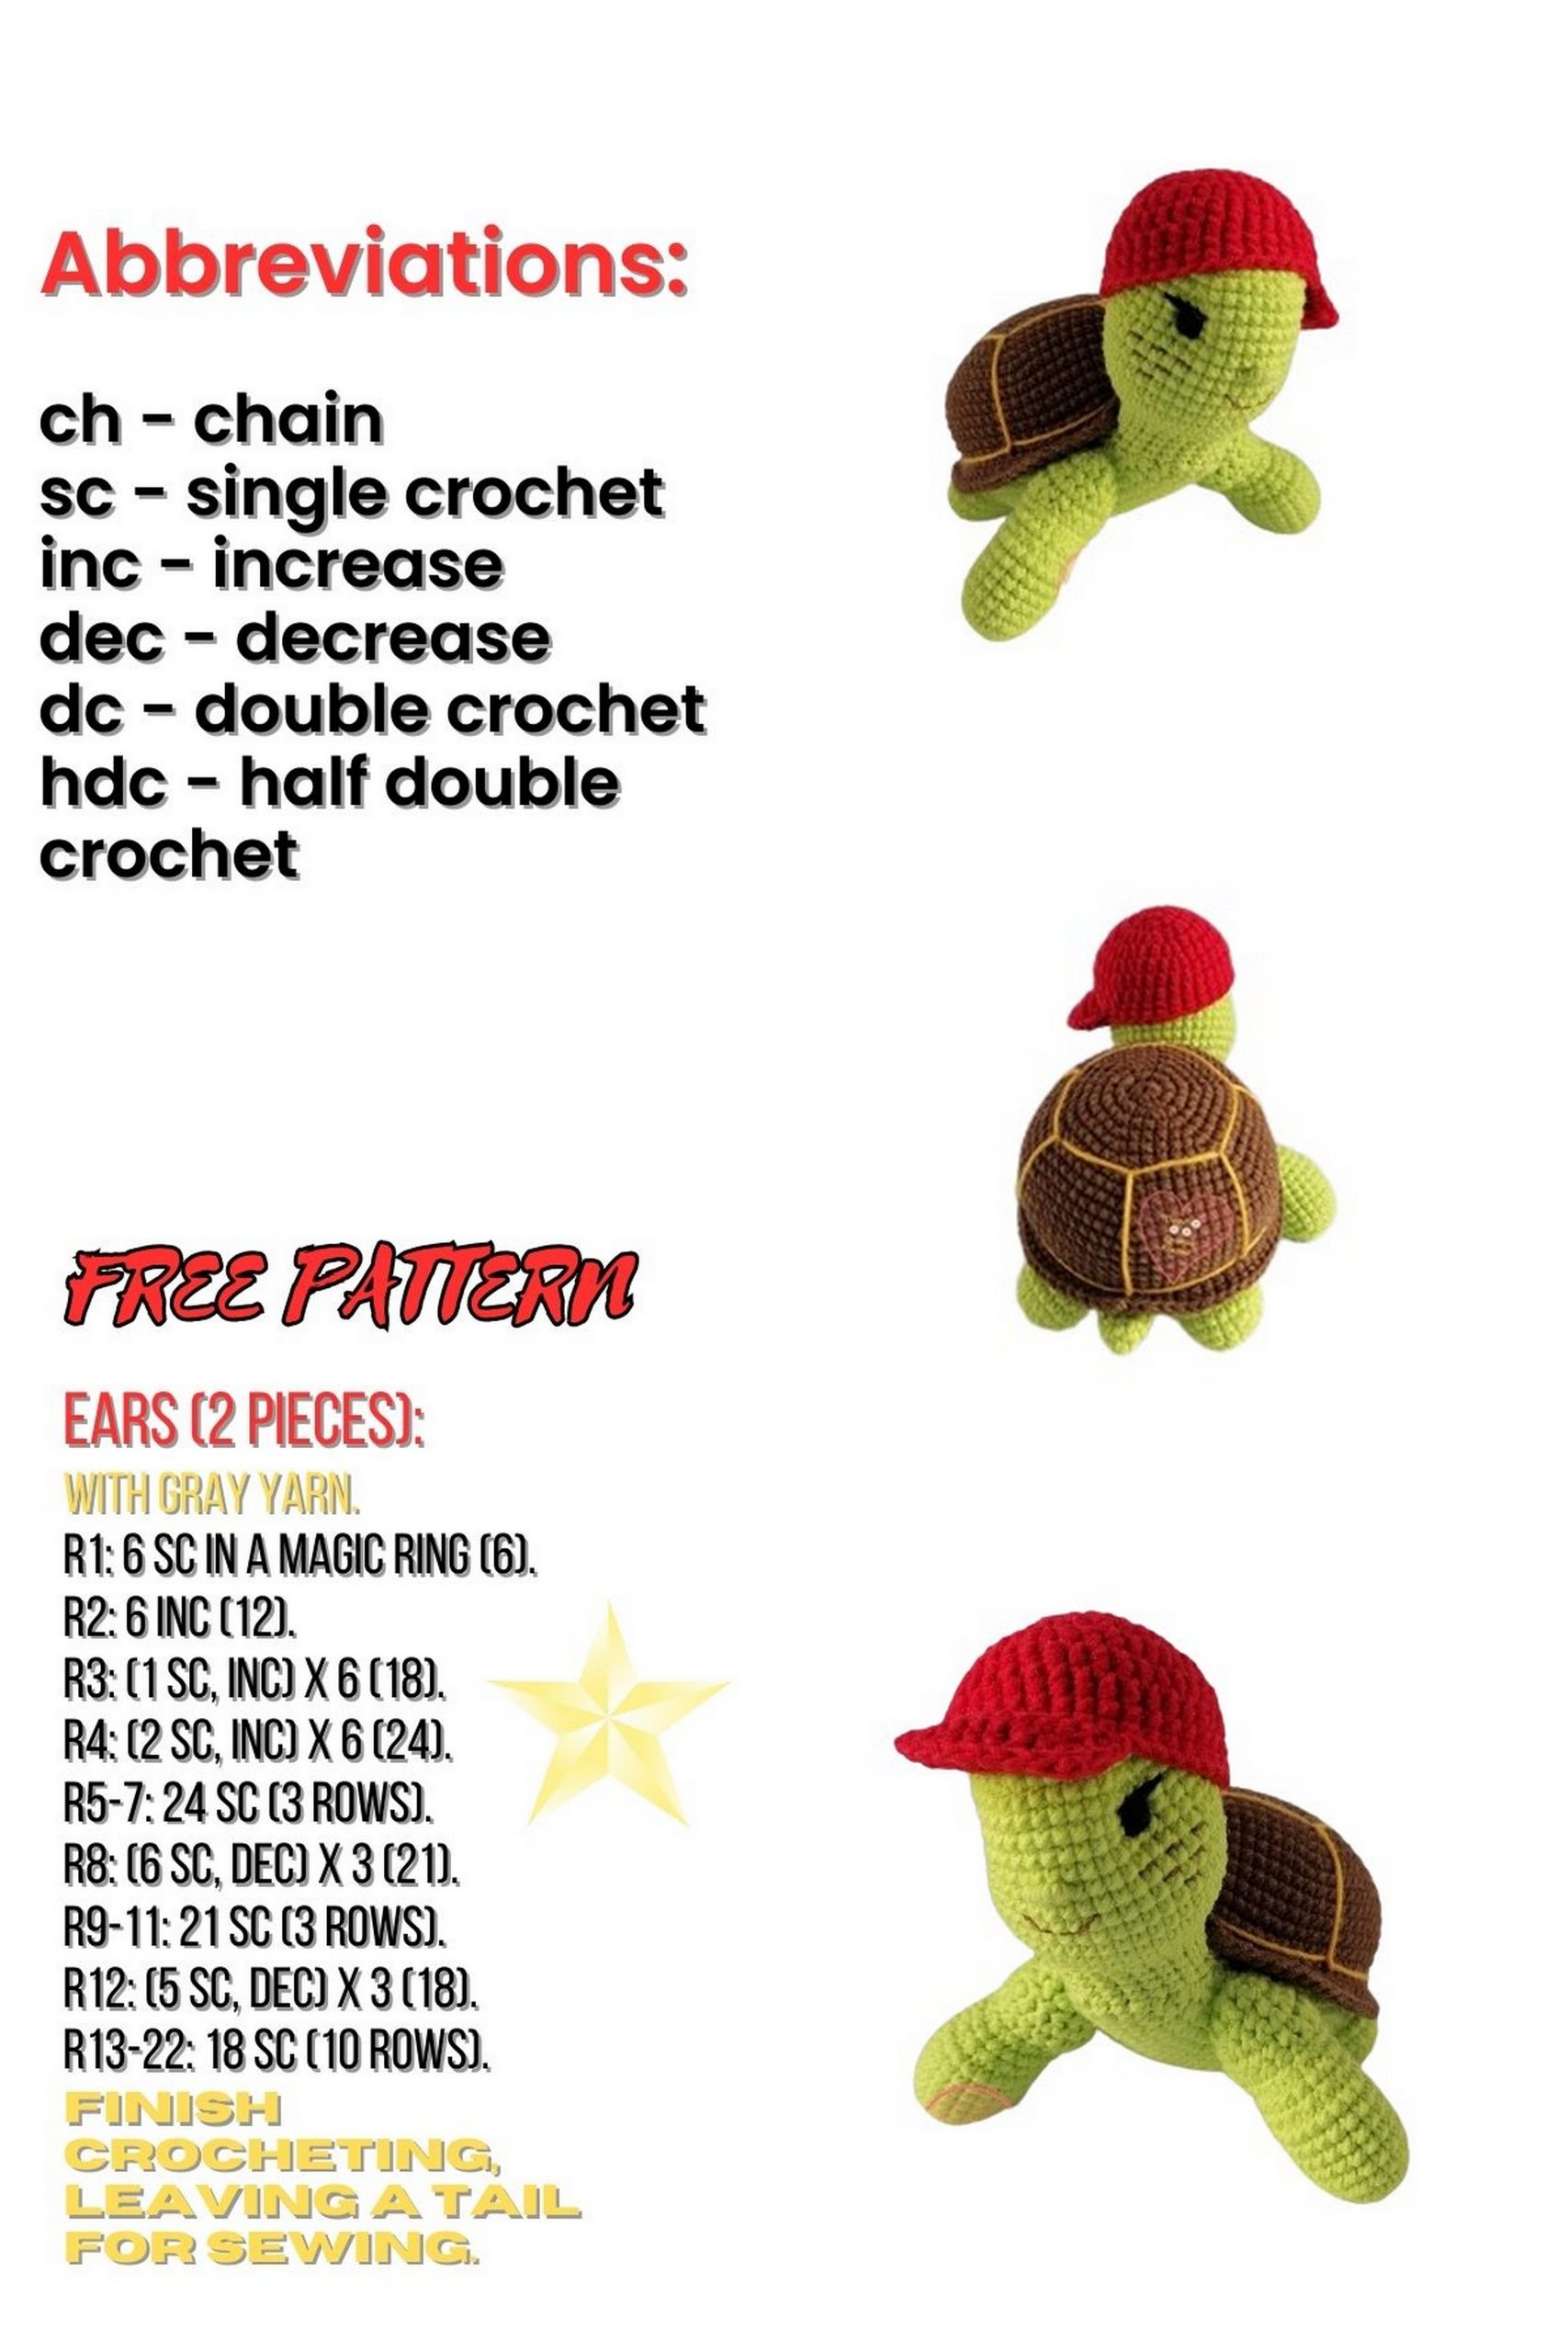
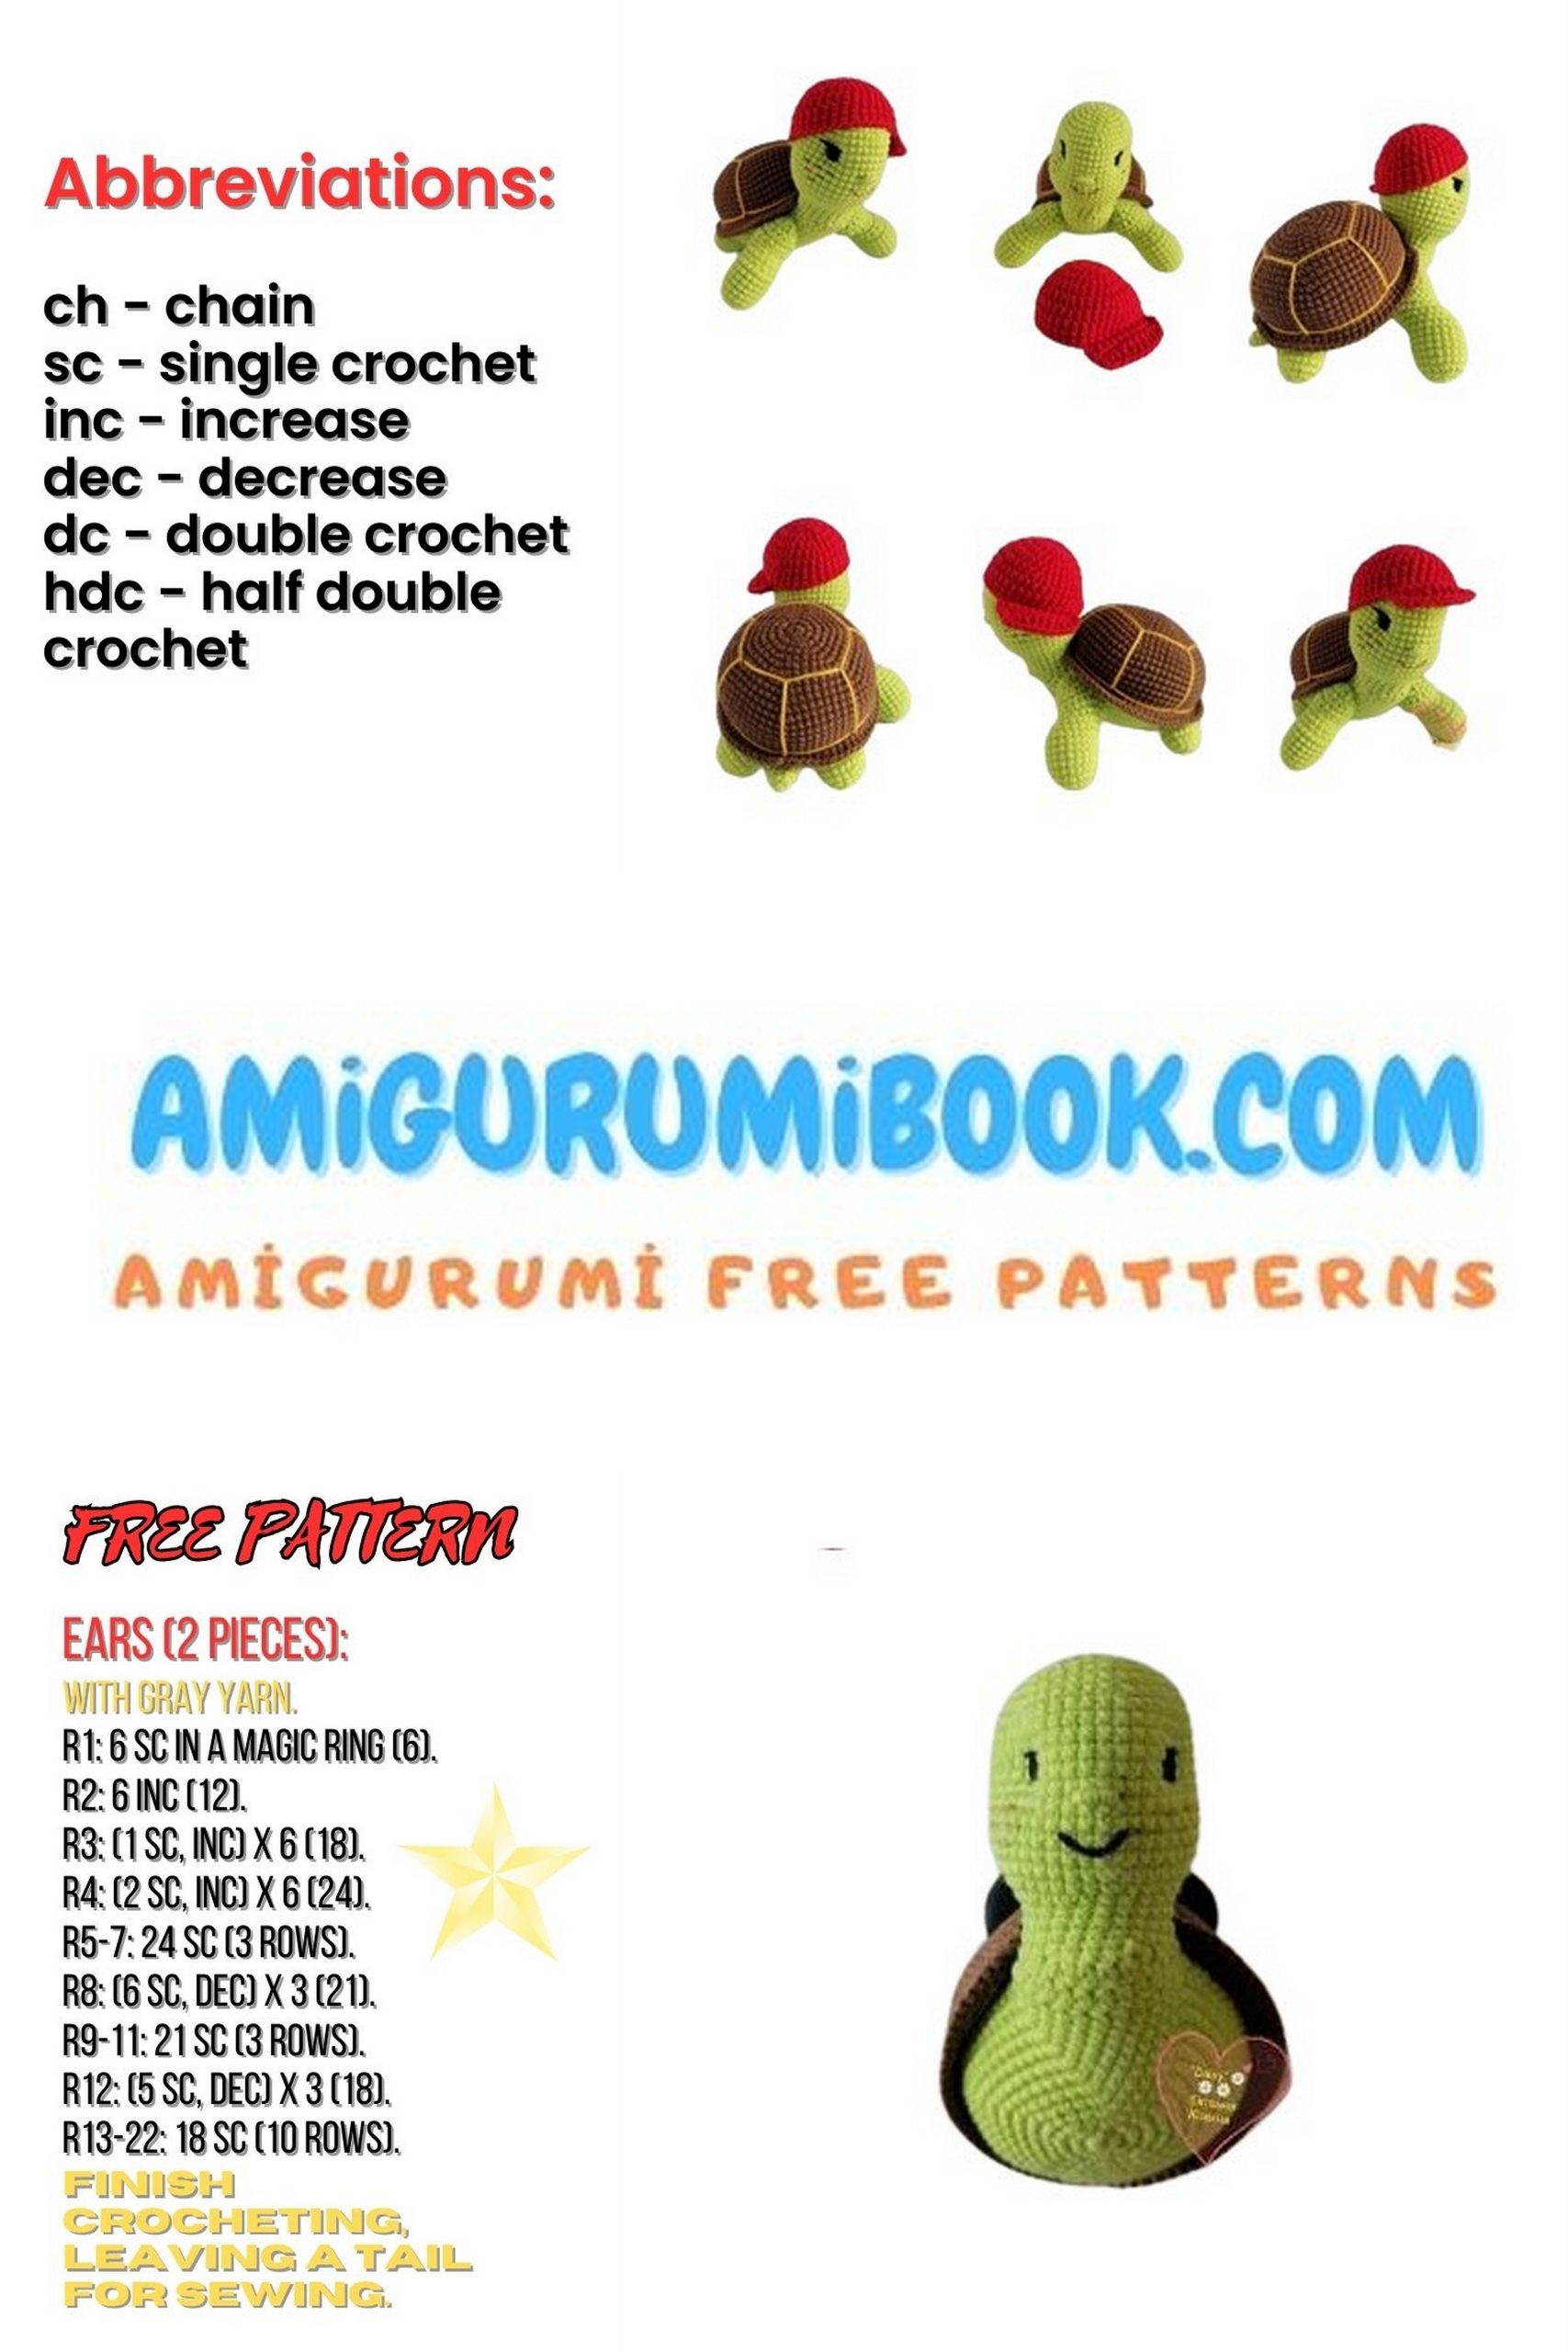
Abbreviations:
CH – chain
Dec – decrease
Inc – increase
SC – single crochet
HDC – half double crochet
Sl st – slip stitch
Little Turtle Pattern
Body – Bottom – Little Turtle:
Hook 2.2, Alize Cotton Gold 612 light green
1: In a magic ring, crochet 8 sc
2: inc = 16 sc
3: (1 sc + inc) х 8 = 24 sc
4: (3 sc + inc) х 6 = 30 sc
5: (4 sc + inc) х 6 = 36 sc
6: (5 sc + inc) х 6 = 42 sc
7: (6 sc + inc) х 6 = 48 sc
8: (7 sc + inc) х 6 = 54 sc
9: (8 sc + inc) х 6 = 60 sc
10: (9 sc + inc) х 6 = 66 sc
11: (10 sc + inc) х 6 = 72 sc
12: 72 sc
Note: Cut the thread to a sufficient length. It will be used to sew the bottom of the body to the shell.
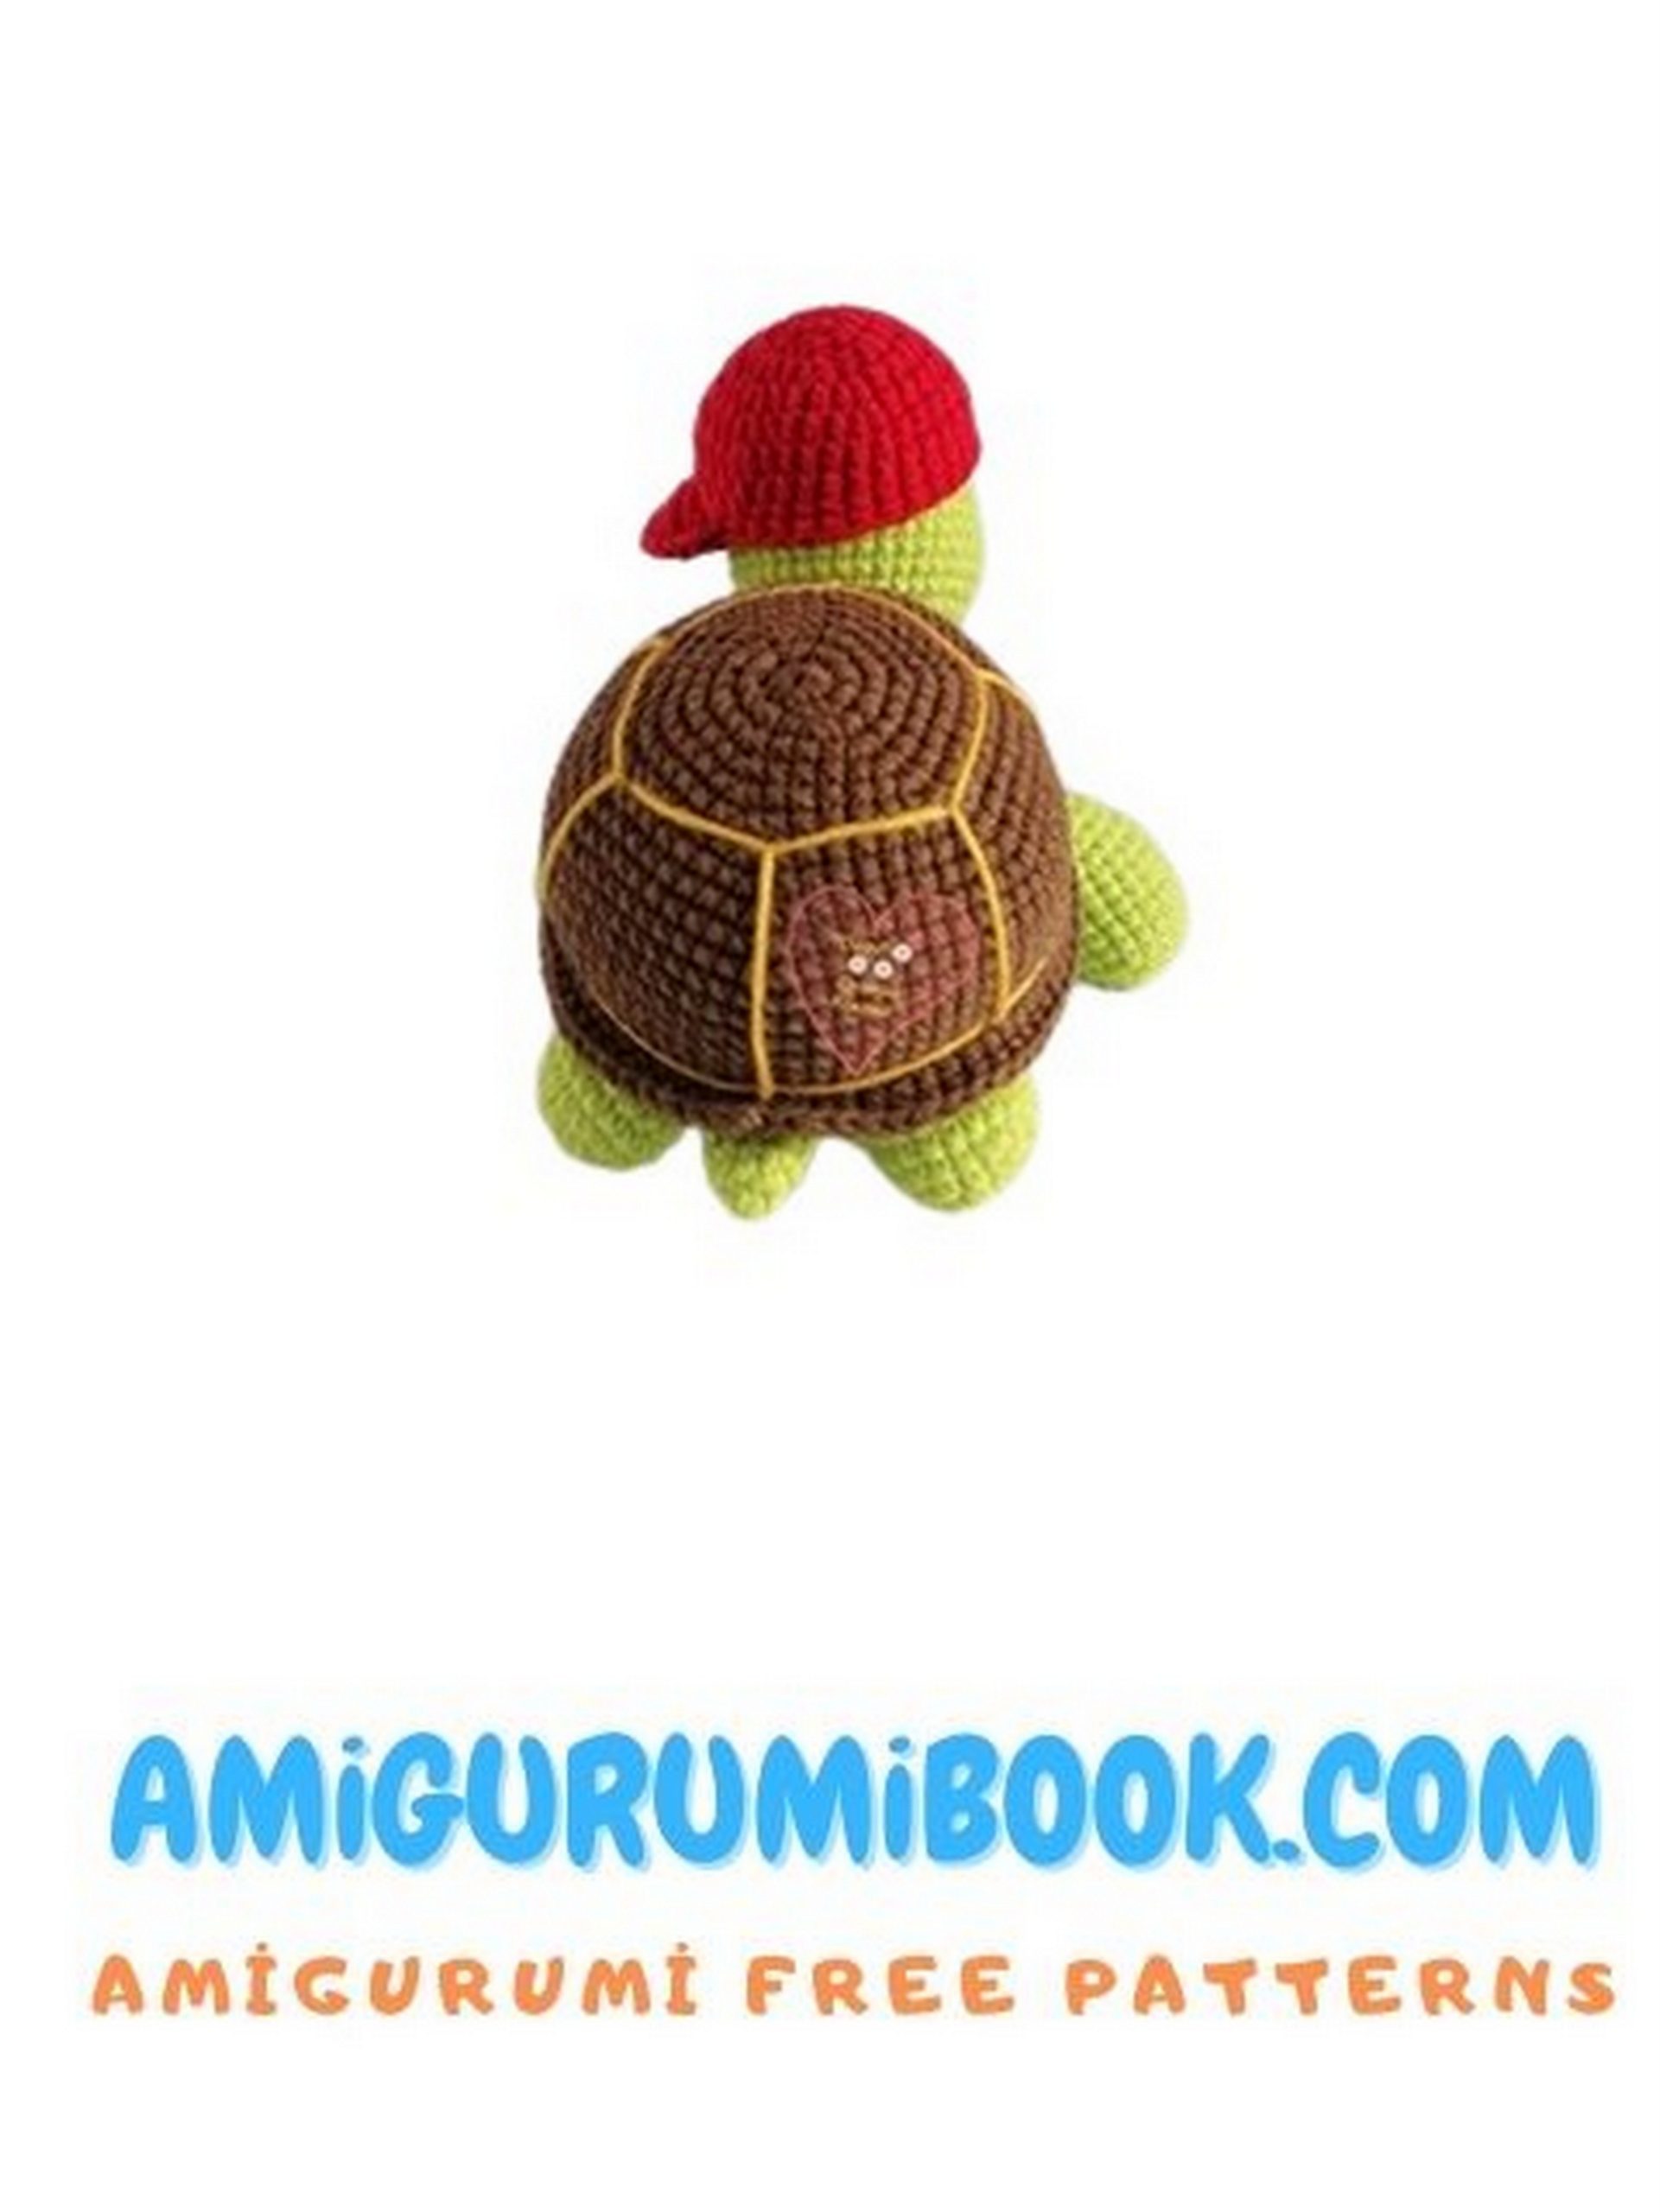
Shell – Top – Little Turtle:
Hook 2.2, YarnArt Jeans 70 brown
1: In a magic ring, crochet 8 sc
2: inc = 16 sc
3: (1 sc + inc) х 8 = 24 sc
4: (3 sc + inc) х 6 = 30 sc
5: (4 sc + inc) х 6 = 36 sc
6: (5 sc + inc) х 6 = 42 sc
7: (6 sc + inc) х 6 = 48 sc
8: (7 sc + inc) х 6 = 54 sc
9: (8 sc + inc) х 6 = 60 sc
10: (9 sc + inc) х 6 = 66 sc
11: (10 sc + inc) х 6 = 72 sc
12: 72 sc
13: 72 sc
14: 72 sc
15: 72 sc
16: 72 sc
17: 72 sc
18: 72 sc
Note: After the increase, crochet 7 rows of 72 sc each.
19: (17 sc + inc) х 4 = 76 sc – this row is crocheted in the front loops only.
20: 76 sc – continue crocheting in both loops for the following rows.
21: 76 sc – cut the thread and unravel 38 stitches. After completing the head, finish this row.
Begin sewing the shell and bottom of the body together.
Sew so that 24 stitches remain unsewn (12 stitches on the shell and 12 stitches on the bottom of the body). Start sewing from the stitch on the shell where the thread was unraveled. Secure the thread after completing the turtle’s neck.

Attach the green thread to the inside of the bottom of the body (Fig.1) and crochet:
1: 12 sc (Fig.2-3), CH, turn (Fig.4), skip a stitch, 10 sc (Fig.5)
2: CH, turn, skip a stitch, 8 sc (Fig.6-7)
3: CH, turn, skip a stitch, 6 sc (Fig.8)
4: CH, turn, skip a stitch, 4 sc (Fig.9)
5: CH, turn, skip a stitch, 2 sc (Fig.10)
6: Mark the new row beginning and crochet 26 sc in a circle (6 sc, 12 sc, 8 sc) (Fig.11-13)
7: 5 sc, dec, 10 sc, dec, 7 sc = 24 sc (Fig.14)
8: 24 sc – stuff with filler (Fig.15). Secure the thread used to sew the bottom of the body and the shell together. (Fig.16)
9: 24 sc
10: 24 sc (Fig.17)
11: (1 sc + inc) х 12 = 36 sc
12: (5 sc + inc) х 6 = 42 sc (Fig.18)
13: 42 sc
14: 42 sc
15: 42 sc
16: 42 sc
17: 42 sc
18: 42 sc
19: 42 sc
20: 42 sc
21: 42 sc
22: 42 sc
Note: After the increase, crochet 10 rows of 42 sc each (Fig.19).
23: (5 sc + dec) х 6 = 36 sc
24: 36 sc
25: (4 sc + dec) х 6 = 30 sc
26: (3 sc + dec) х 6 = 24 sc
27: (2 sc + dec) х 6 = 18 sc
28: (1 sc + dec) х 6 = 12 sc
29: (1 sc + dec) х 4 = 8 sc (Fig.20-21)
Note: Cut the thread and, using a needle, tighten the hole with front loops. Secure the thread and hide it inside the product. (Fig.22-24)
Return to the thread that was unraveled on the shell (description below).
1: Crochet the required number of stitches to the turtle’s neck (I crocheted 2 more sc) and pull out the thread (Fig.1-2);
2: Thread the needle (Fig.3-6);
3: Draw the thread through the neck, grabbing the stitch on the opposite side of the shell (Fig.6) (I had 10 stitches left unworked behind the neck);
4: Grab the thread with a hook and crochet sc to the start of the row (Fig.7-10);
5: Secure the thread and hide it inside the product (Fig.11).
Little Turtle Decoration:
Embroider the eyes (see photos below)
1: Find the row with the last increase on the head (12th row, marked with a pin and marker). (Fig.1)
2: Count 5 rows up from the 12th row and mark the bottom of the eye on the 6th row with a pin.
3: Count 7 rows up from the 12th row and mark the top of the eye on the 8th row with a pin.
4: There are 10 stitches between the eyes.
5: Embroider the eyes on 3 vertical stitches and 2 horizontal stitches.
6: Slightly tighten the head when pulling the threads from one side of the eye to the other.
7: Pull the thread from the right eye to the left:
five times on the first three vertical stitches;
two times diagonally (from the first vertical row of three stitches to the second vertical row of three stitches);
three times straight on the second vertical stitches.
8: Above each eye, pull the threads: three stitches above the eye and two stitches below the eye.
9: Embroider the nose below the eyes using 4 stitches.
10: Embroider freckles on the cheeks using a thinner thread or unravel a thread from YarnArt Jeans or Alize Cotton Gold to make it thinner.
11: Embroider the mouth.
Front Legs (2 pieces) – Little Turtle:
Hook 2.2, Alize Cotton Gold 612 light green
Chain 4 CH
1: From the 2nd chain from the hook, crochet in a circle:
inc, 1 sc, 3 sc in the last stitch, 2 sc = 8 sc
2: inc, inc, 1 sc, inc, inc, inc, 1 sc, inc = 14 sc
3: (1 sc + inc) х 2, 1 sc, (1 sc + inc) х 3, 1 sc, 1 sc, inc = 20 sc
4: 20 sc
5: 20 sc
6: 20 sc
7: 20 sc
8: 20 sc
9: 20 sc
Note: After the increase, crochet 6 rows of 20 sc each (Fig.1).
10: inc, inc, inc, 4 sc, dec, dec, dec, dec, 4 sc, inc = 20 sc
11: 20 sc
12: (1 sc + inc) х 3, 2 sc, dec, dec, dec, dec, 2 sc, 1 sc, inc = 20 sc (Fig.2)
13: CH, turn, skip a stitch, 12 sc (Fig.3)
14: CH, turn, skip a stitch, 10 sc (Fig.4)
15: CH, turn, skip a stitch, 8 sc (Fig.5)
16: CH, turn, skip a stitch, 6 sc (Fig.6)
17: CH, turn, skip a stitch, 4 sc (Fig.7)
18: CH, turn, skip a stitch, 2 sc (Fig.8)
19: Mark the beginning of the new row and crochet 20 sc in a circle (Fig.9-12)
Note: Cut the thread to a sufficient length and sew the legs to the body. Stuff with filler.
Hind Legs (2 pieces) – Little Turtle:
Hook 2.2, Alize Cotton Gold 612 light green
Chain 4 CH
1: From the 2nd chain from the hook, crochet in a circle:
inc, 1 sc, 3 sc in the last stitch, 2 sc = 8 sc
2: inc, inc, 1 sc, inc, inc, inc, 1 sc, inc = 14 sc
3: (1 sc + inc) х 2, 1 sc, (1 sc + inc) х 3, 1 sc, 1 sc, inc = 20 sc
4: 20 sc
5: 20 sc
6: (1 sc + dec) х 2, 1 sc, (1 sc + dec) х 3, 1 sc, 1 sc, dec = 14 sc
7: 1 sc
Note: Cut the thread to a sufficient length and sew the legs to the body. Stuff with filler.
Tail – Little Turtle:
Hook 2.2, Alize Cotton Gold 612 light green
1: In a magic ring, crochet 6 sc
2: (inc + 2 sc) х 2 = 8 sc
3: 8 sc
4: (3 sc + inc) х 2 = 10 sc
5: Fold and crochet 5 sc
Note: Cut the thread to a sufficient length and sew the tail to the body. Do not stuff with filler.
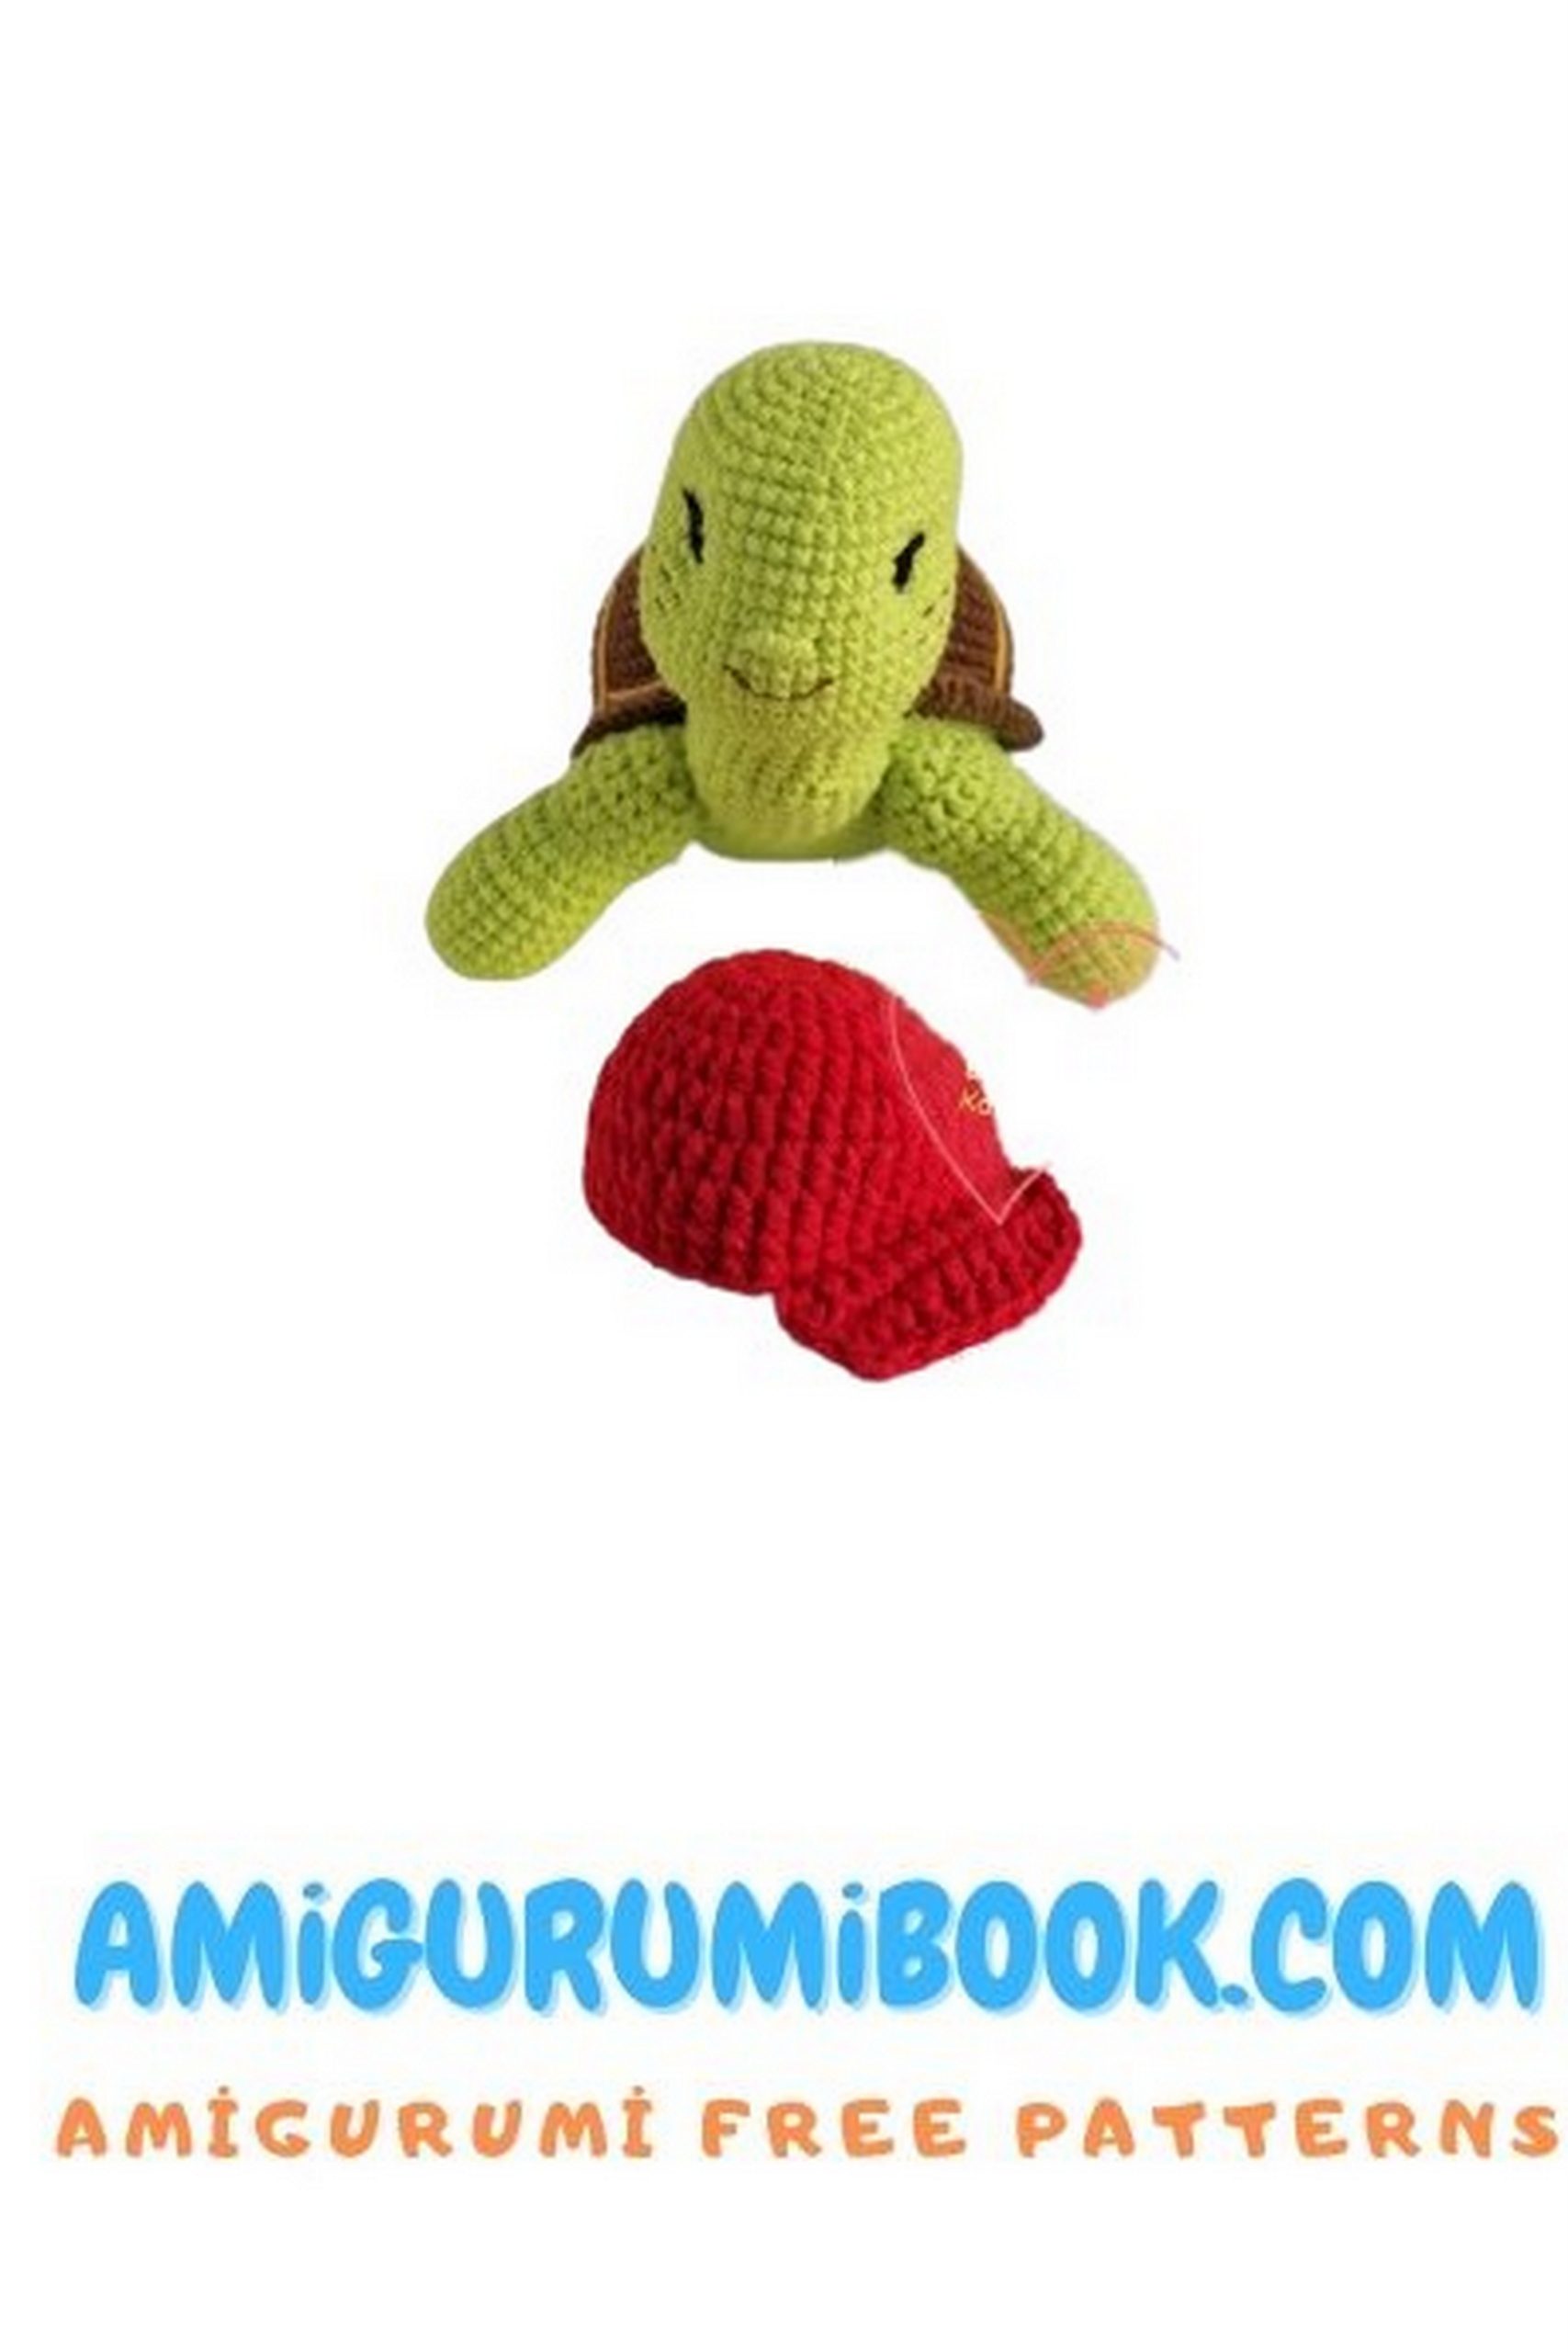
Shell Pattern and Cap:
Hook 2.2, YarnArt Jeans 90 scarlet
1: In a magic ring, crochet 8 hdc
2: inc = 16 hdc
3: (1 hdc + inc) х 8 = 24 hdc
4: (3 hdc + inc) х 6 = 30 hdc
5: (4 hdc + inc) х 6 = 36 hdc
6: 36 hdc
7: 36 hdc
8: 36 sc
9: 36 sc (Fig.1)
Start crocheting the cap’s visor.
Crochet the top of the visor:
1: In the front loops only: sc, 10 hdc, sc; (Fig.2-3)
2: In both loops: CH, turn, sc, 10 hdc, sc. Secure the thread. (Fig.4)
Crochet the bottom of the visor:
1: Attach the thread to the back loops and crochet: sc, 10 hdc, sc; (Fig.5-6)
2: In both loops: CH, turn, sc, 10 hdc, sc. Secure the thread. (Fig.7-8)
Fold the top and bottom of the visor, attach the thread and crochet:
1: sc, 2 sc in the last stitch, sc, 8 hdc, sc, 2 sc in the last stitch, sc, sl st. (Fig.9)
Note: Secure the thread. Hide the thread ends inside the product.
Thank you for your attention!
Happy crocheting!
When sharing the pattern and publishing the finished toy, please credit me as the author of the master class.
If you find any inaccuracies, please let me know. I would appreciate it.