
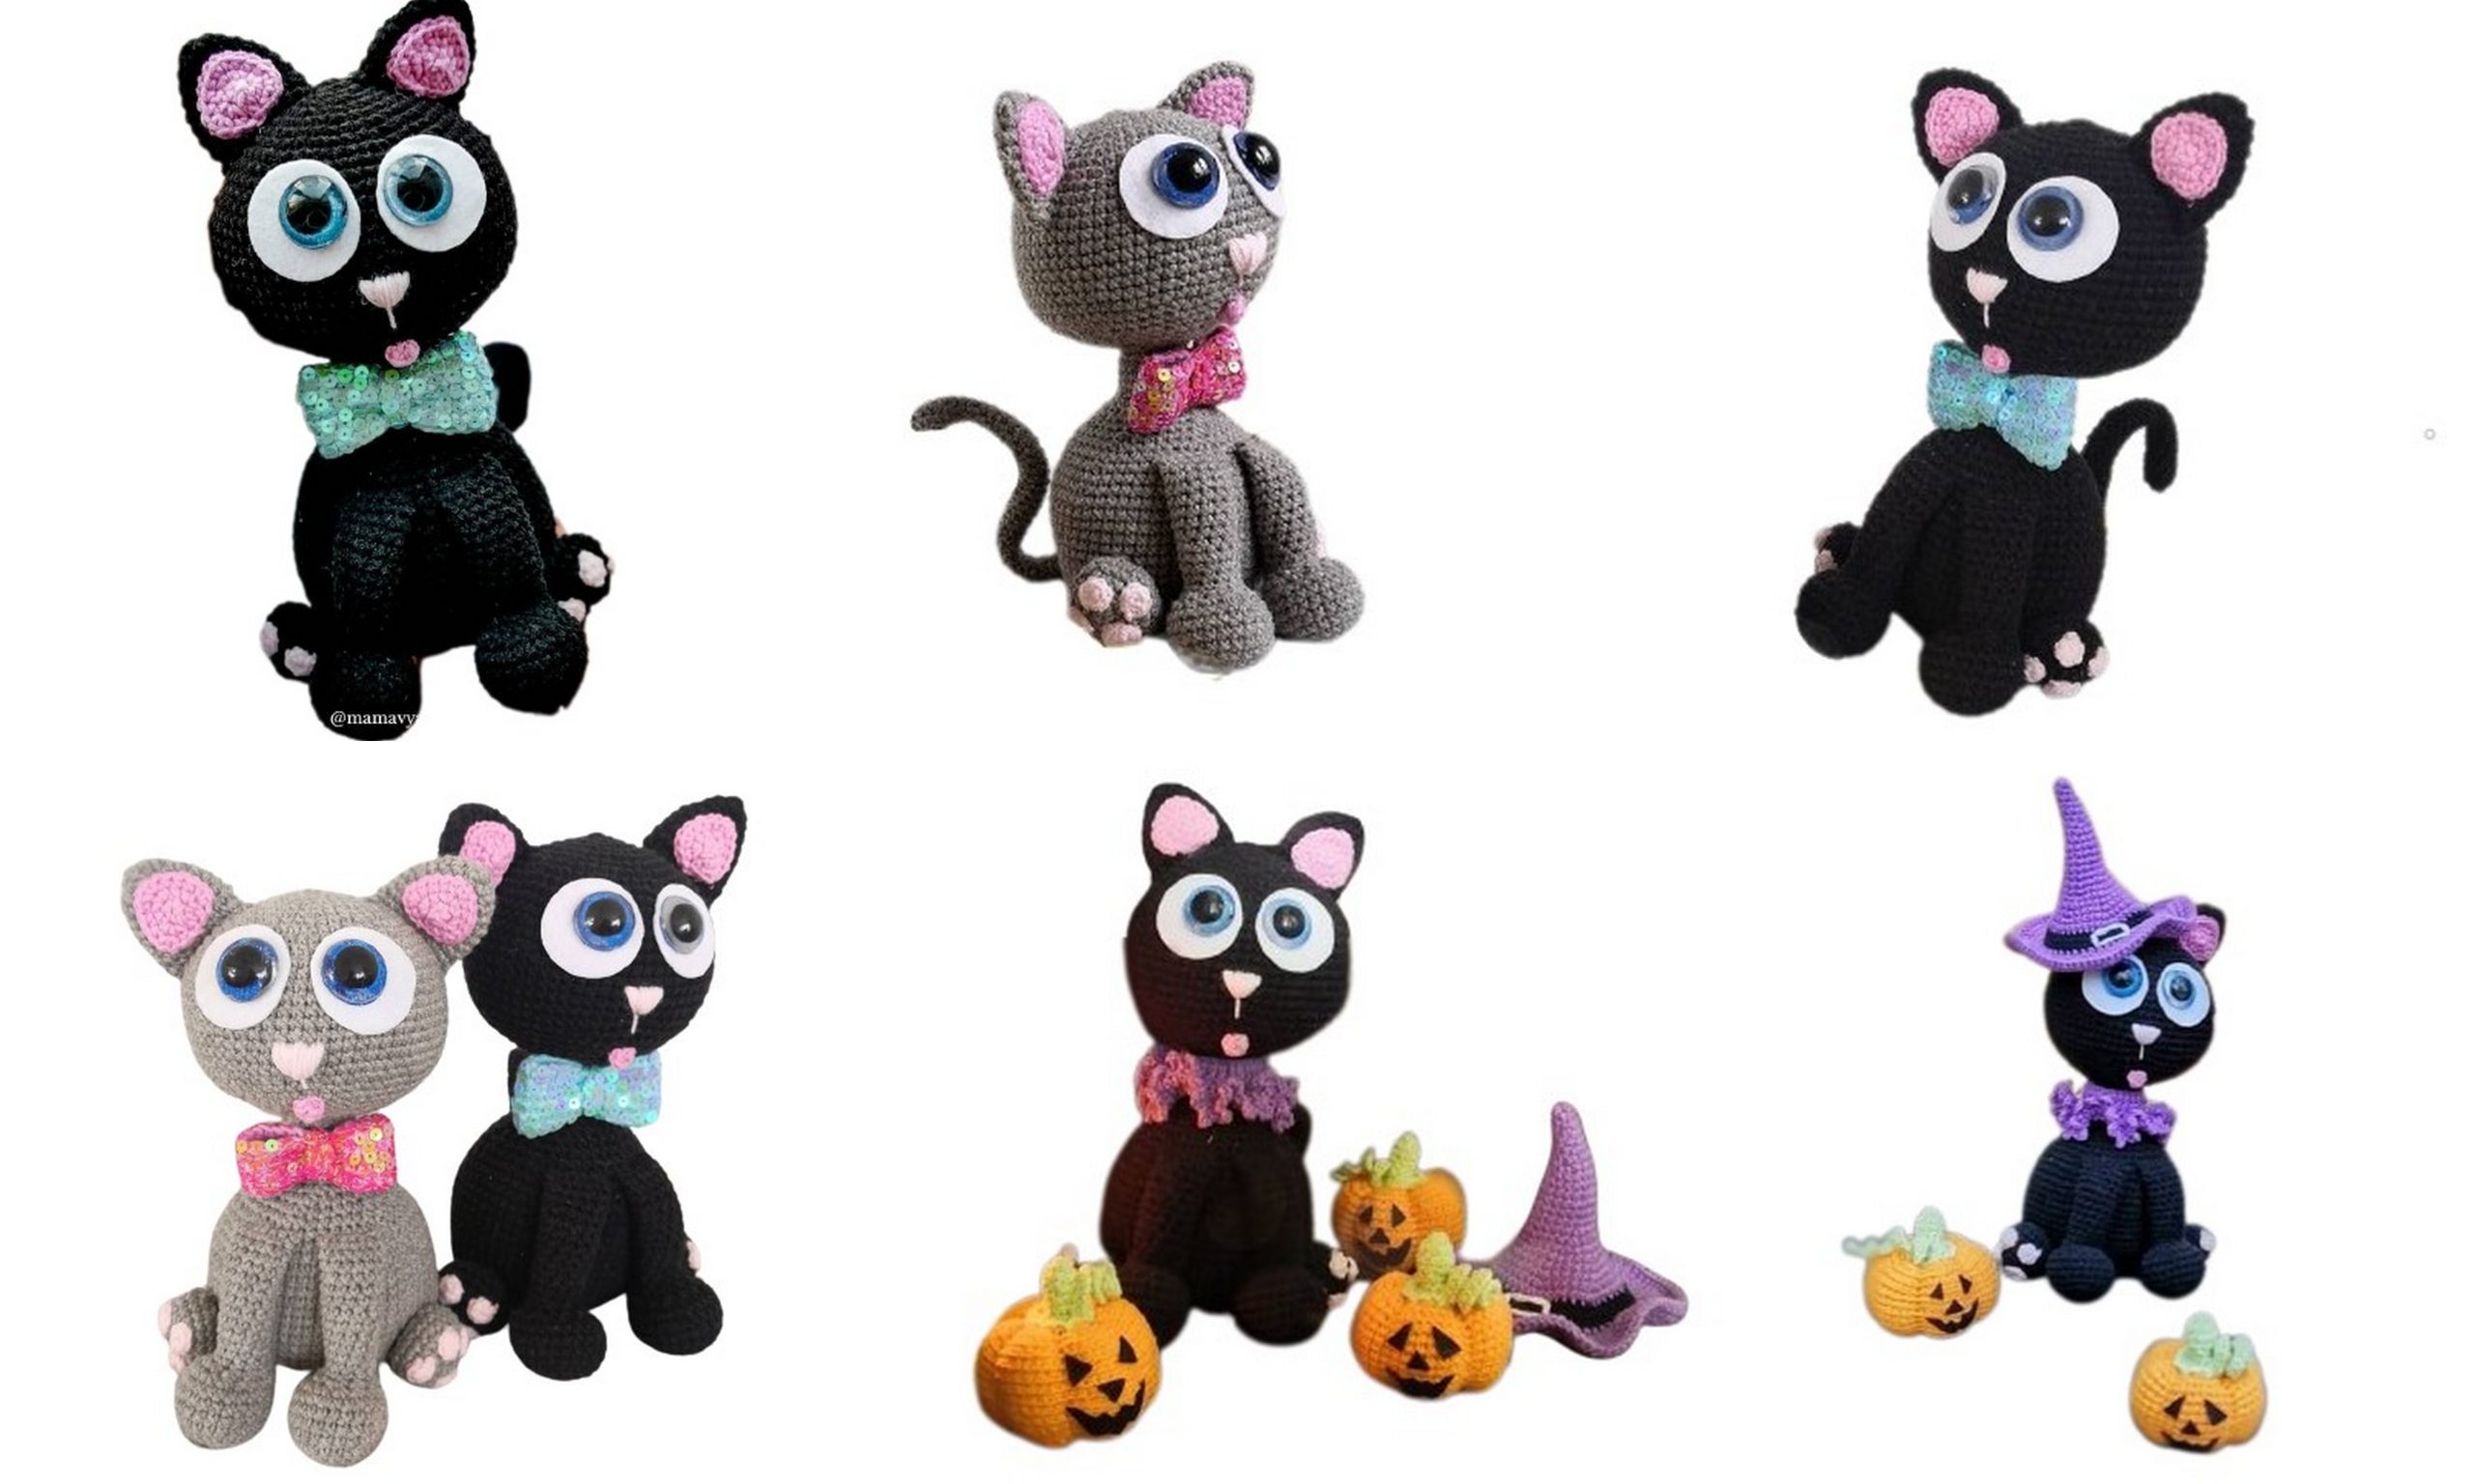
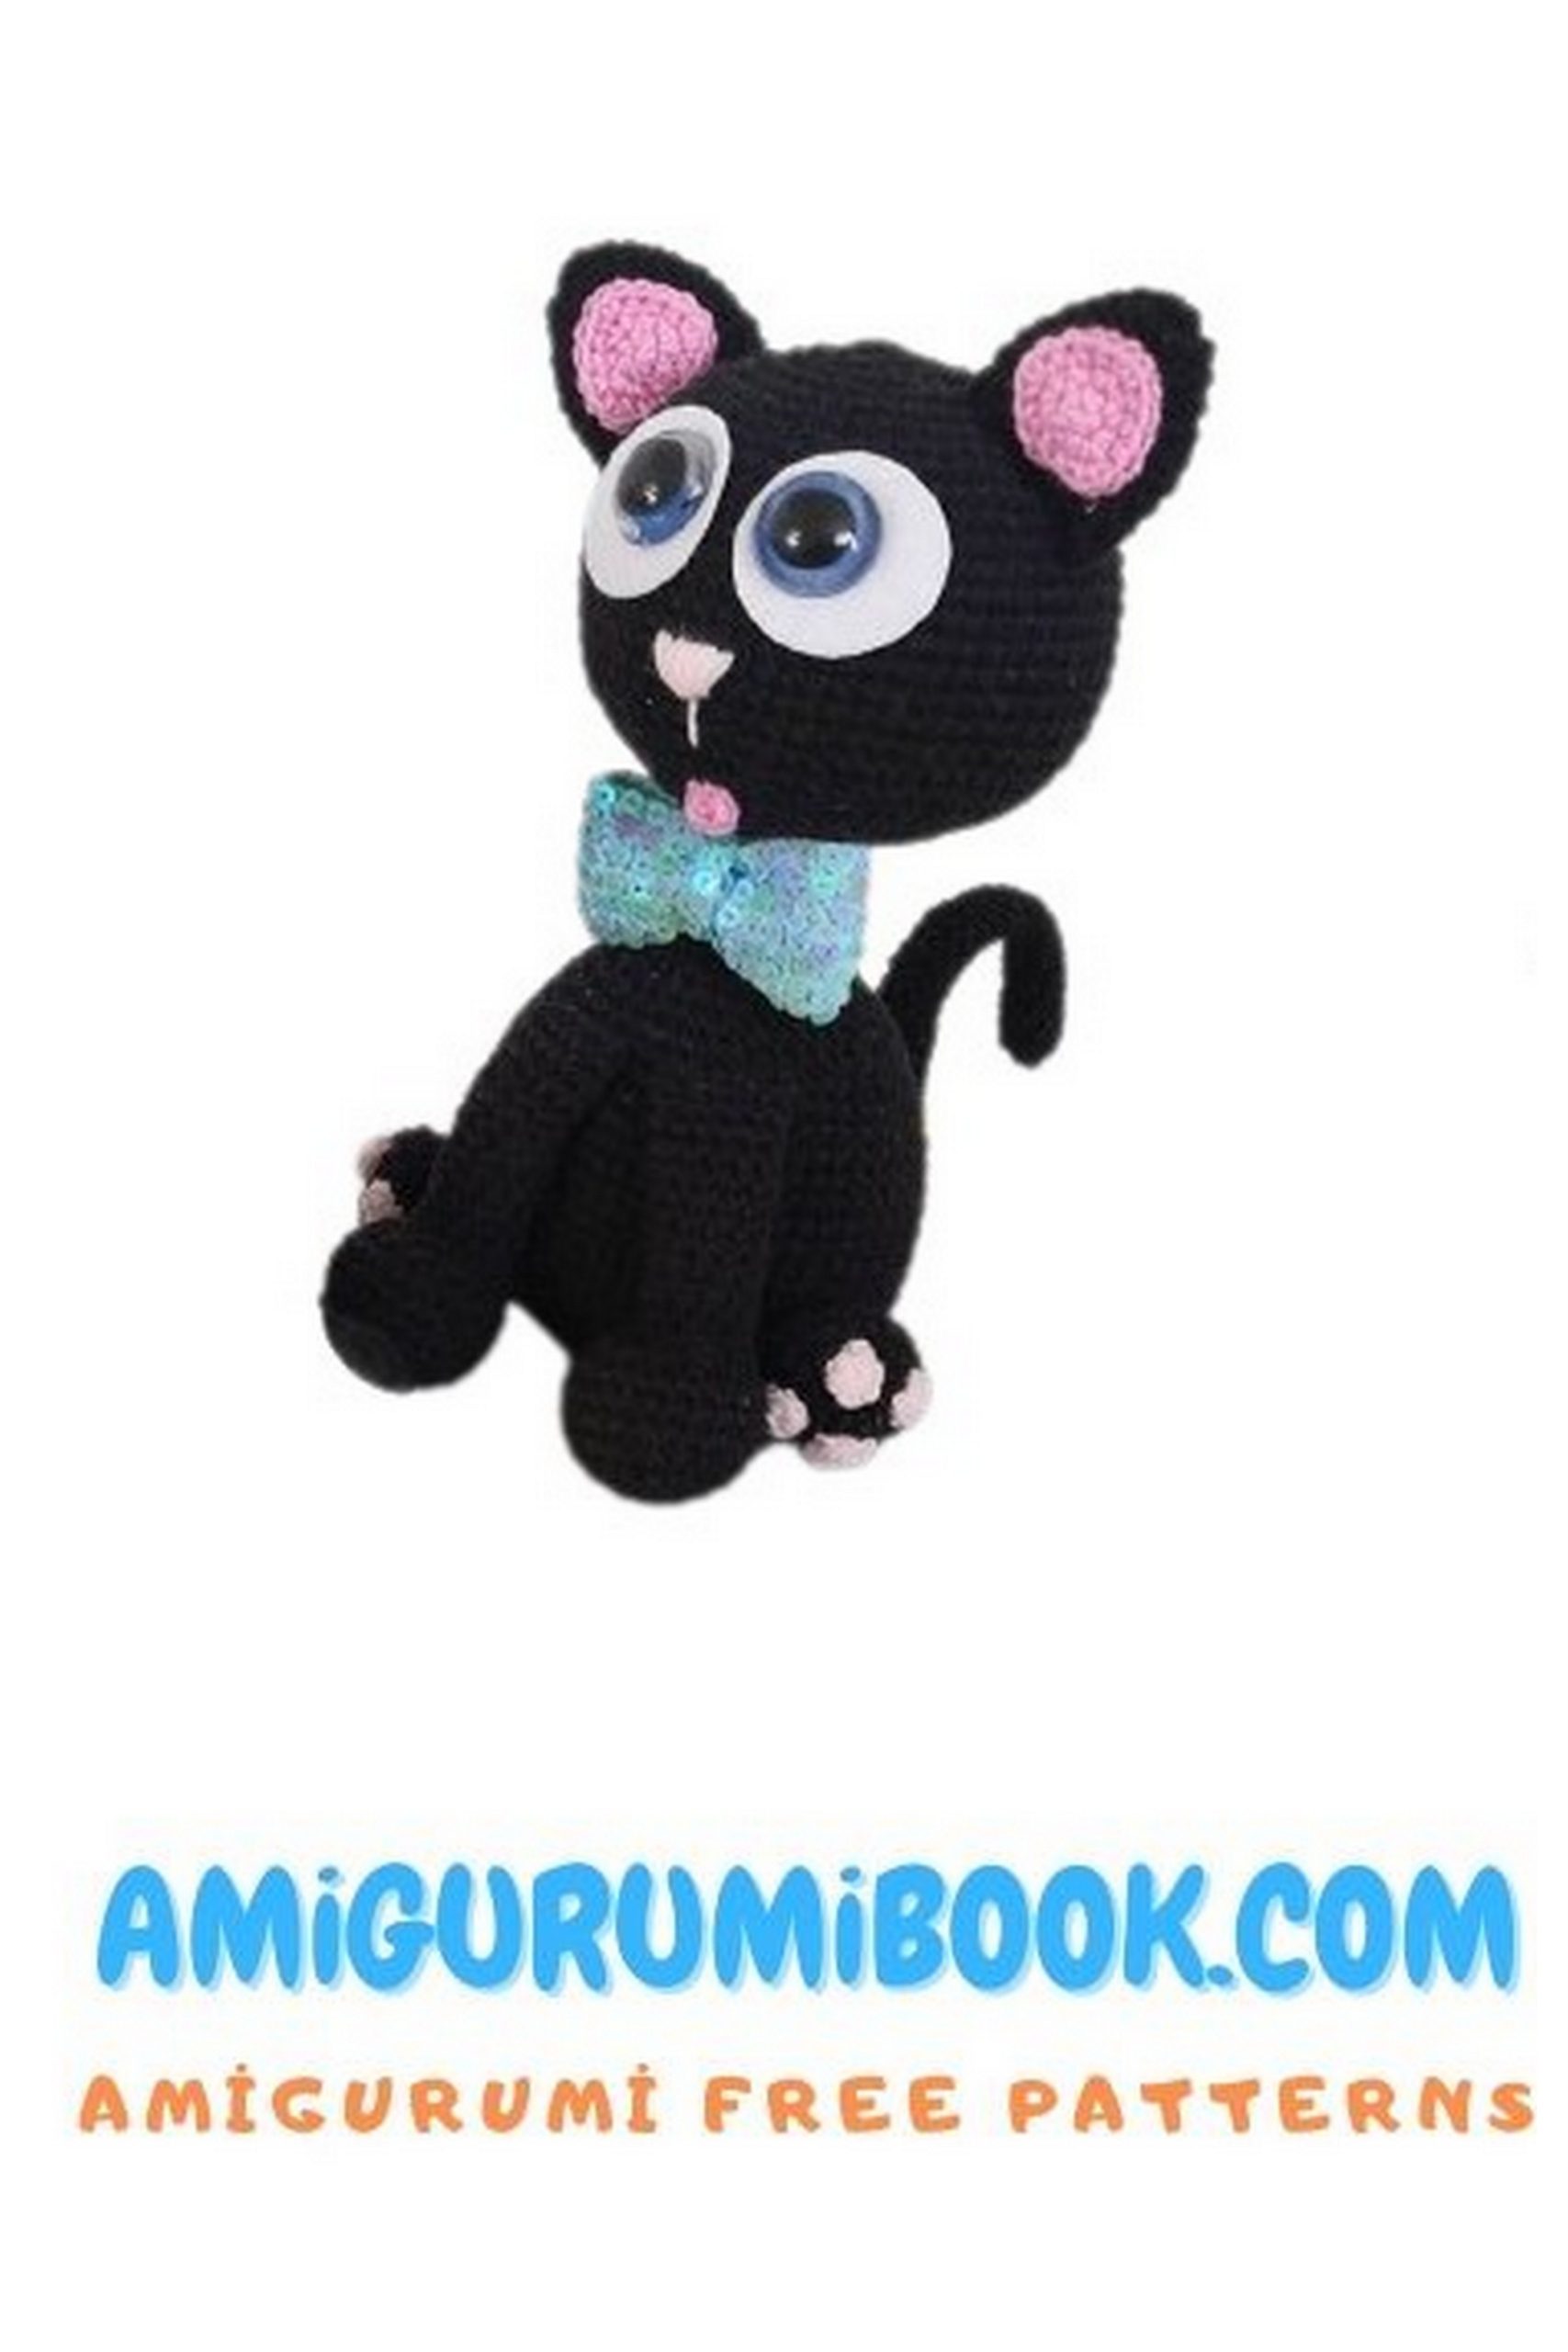
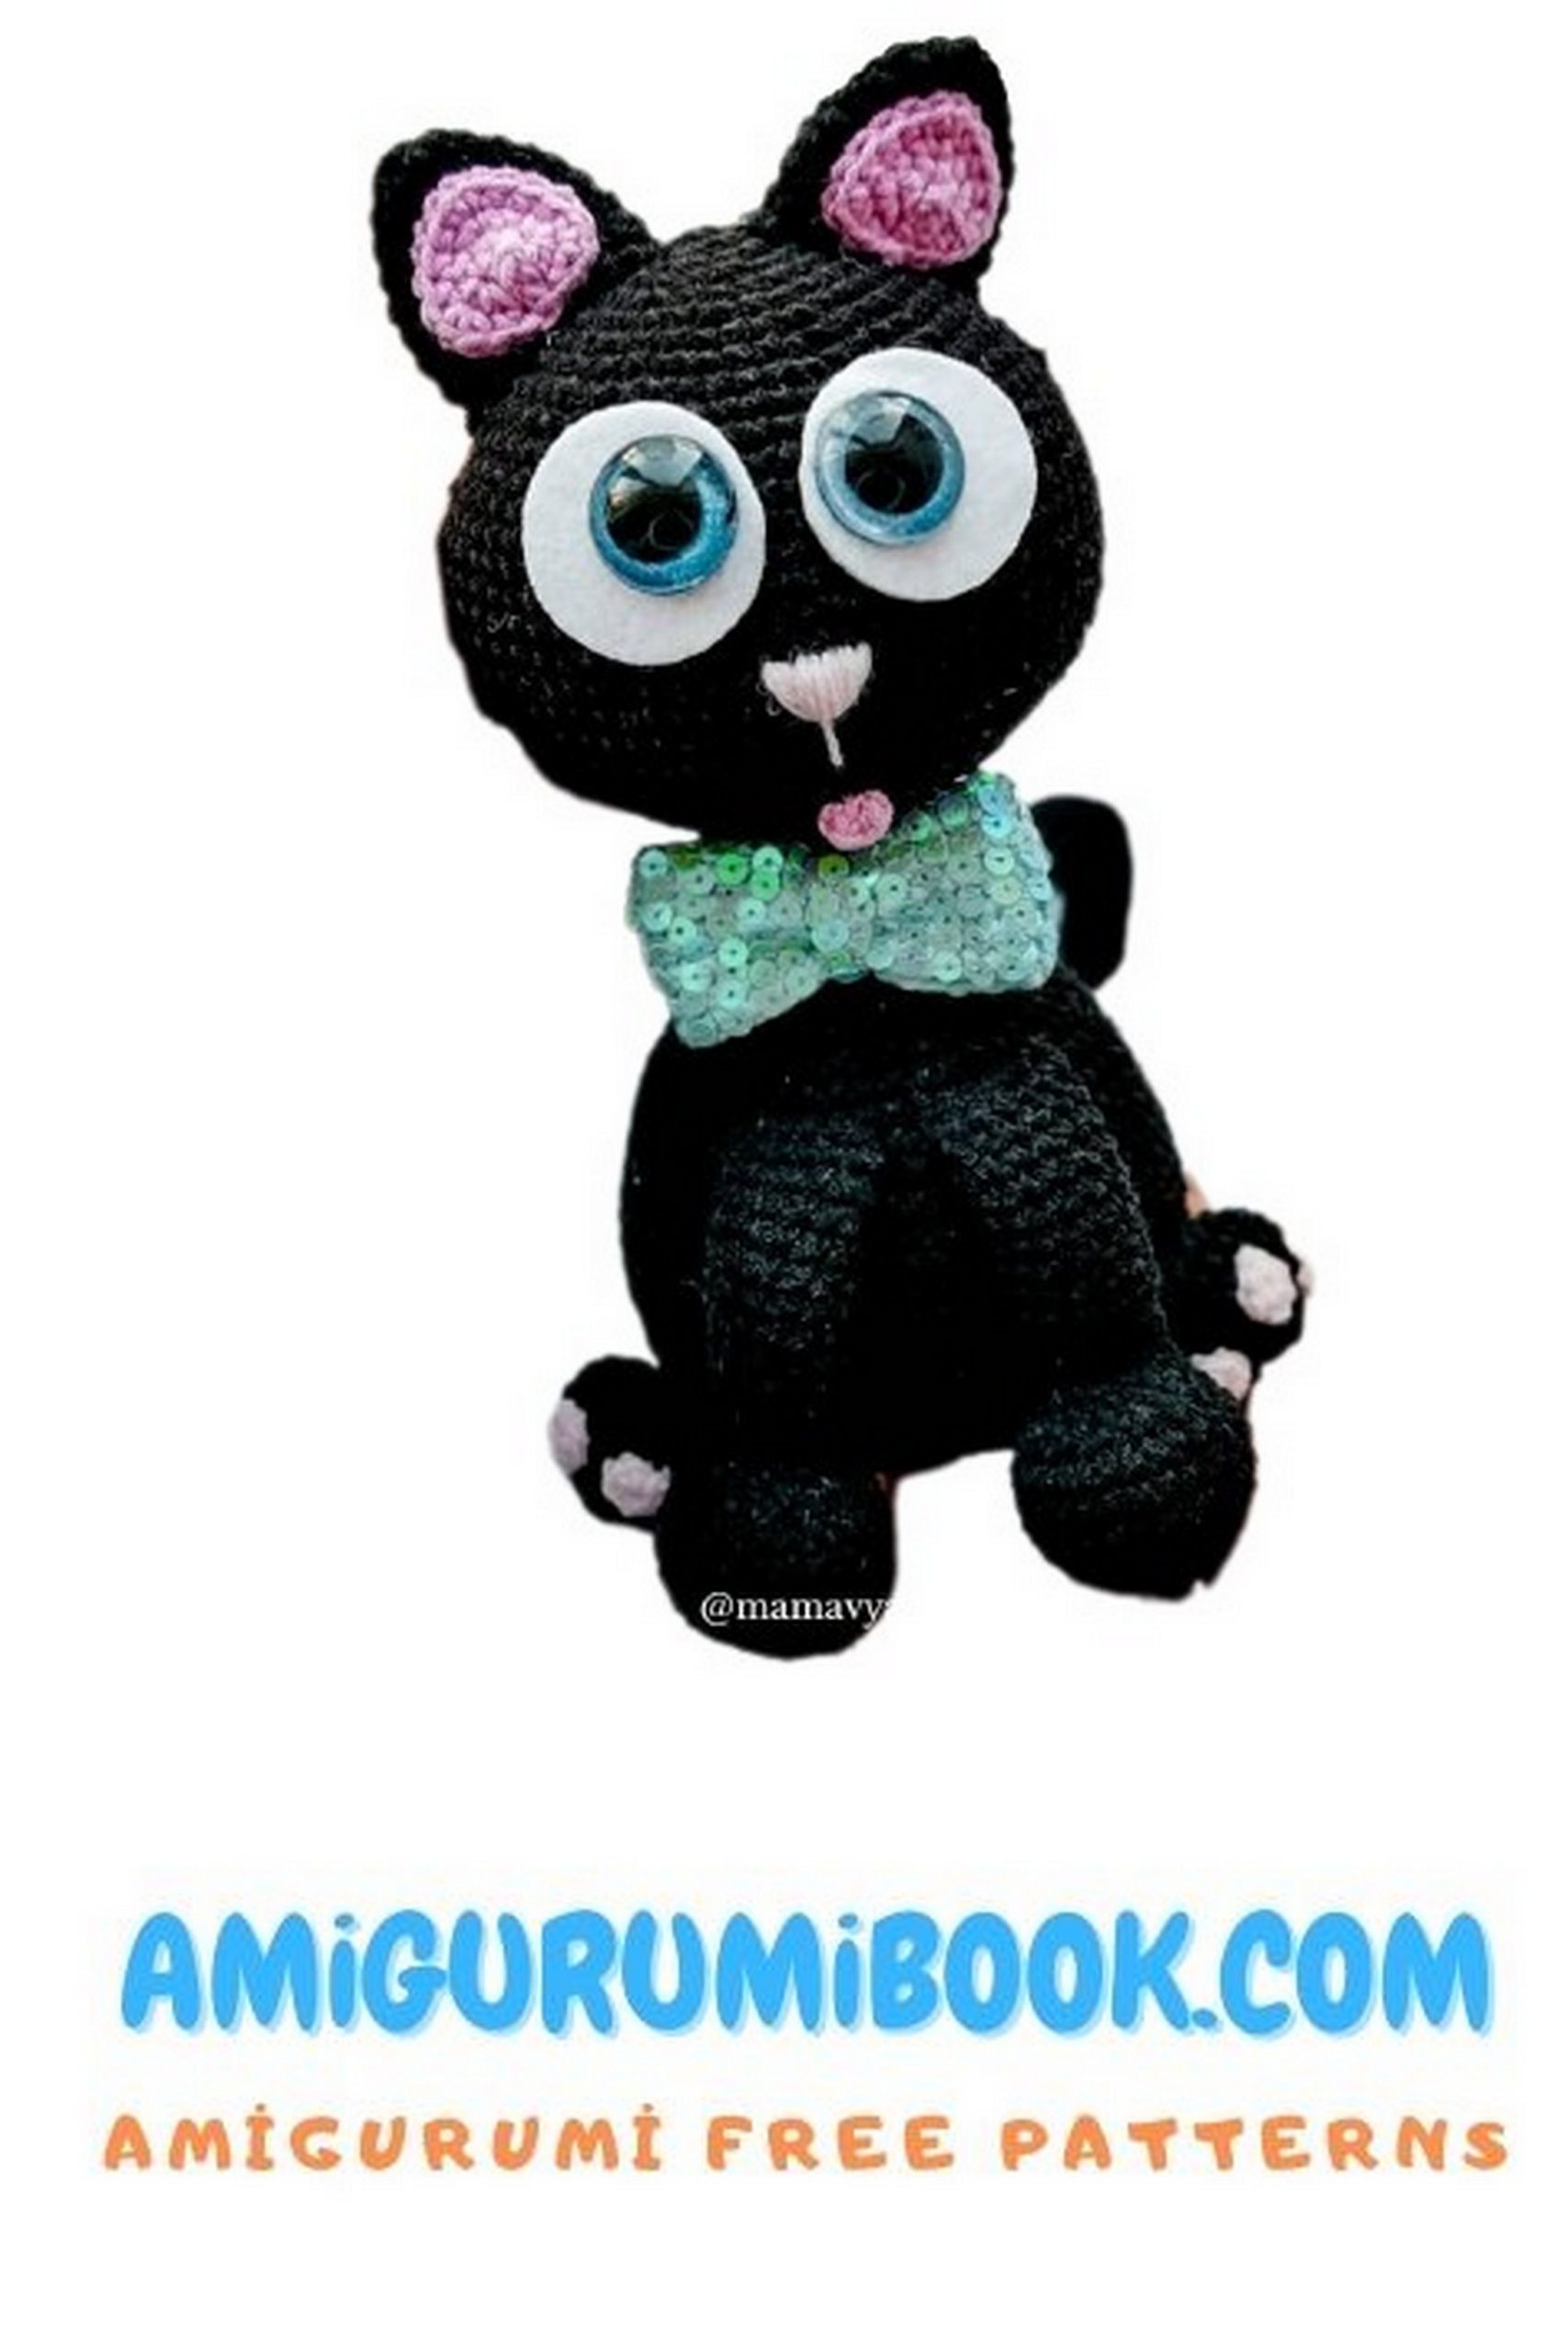
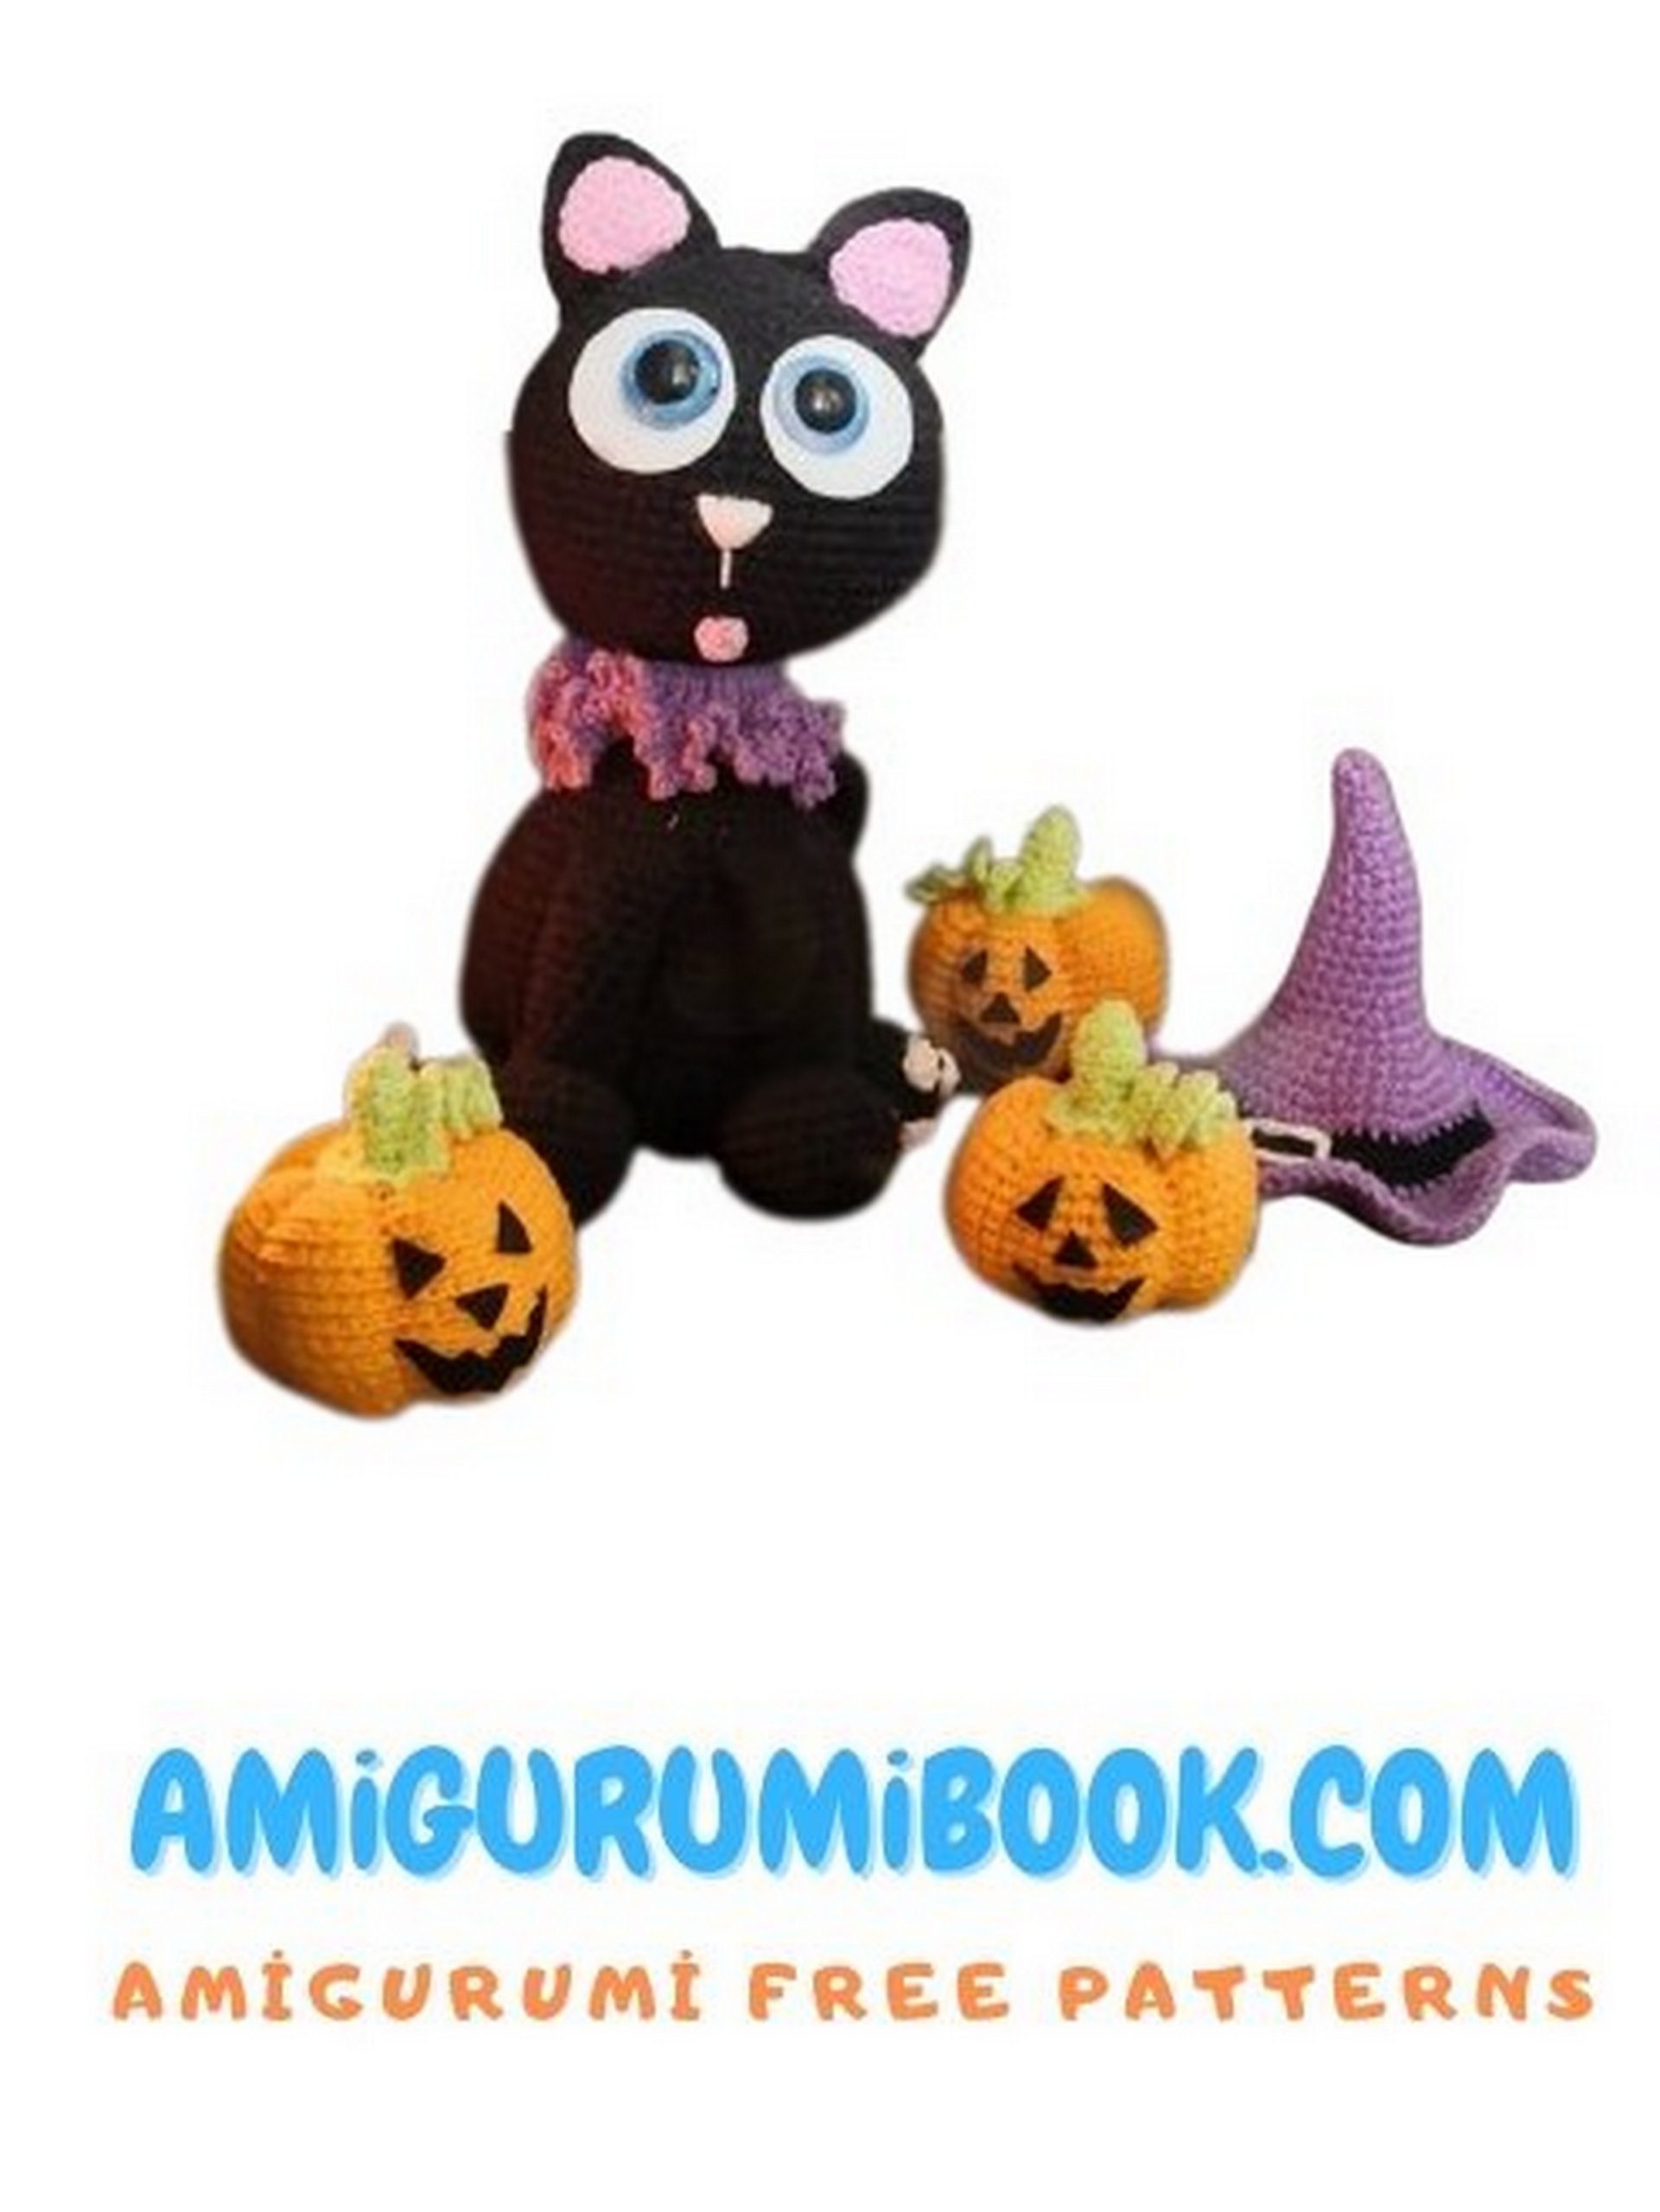
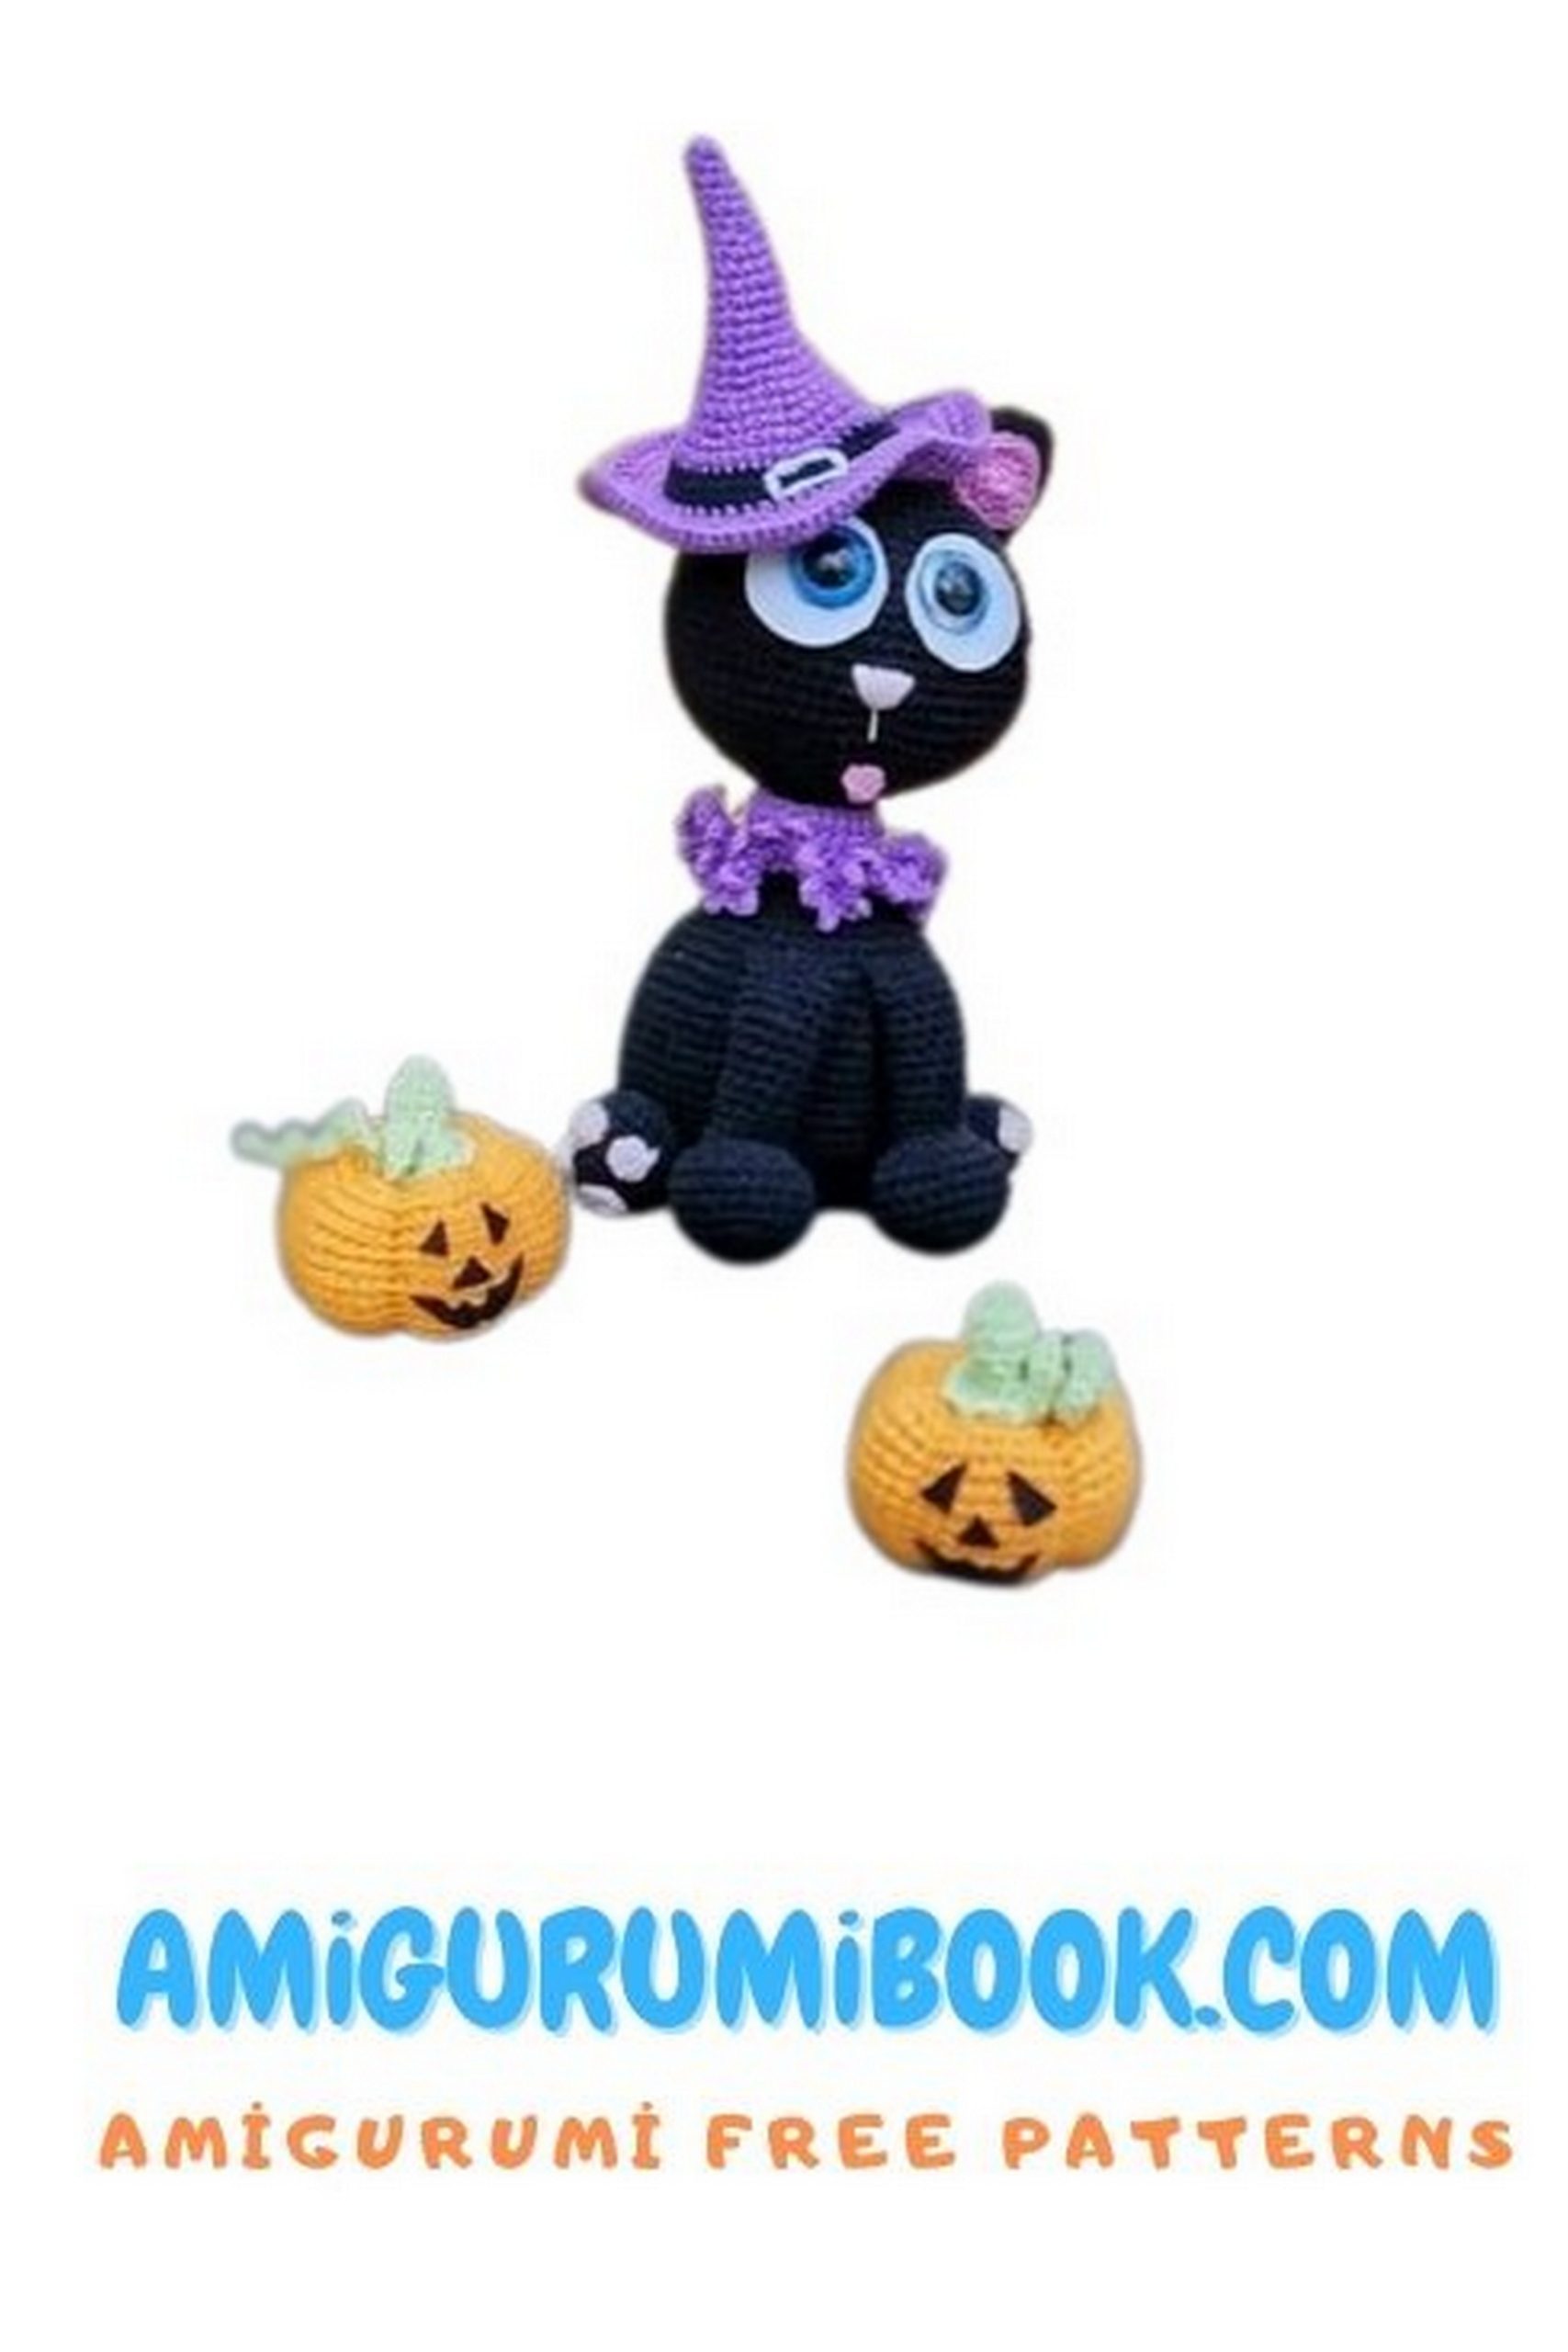
The March Cat in Love Amigurumi is a charming and whimsical crochet project perfect for cat lovers and craft enthusiasts alike. This free pattern offers an easy-to-follow guide to create an adorable cat figure that captures the spirit of love and springtime. free crochet patterns
You may also like more amigurumi patterns.
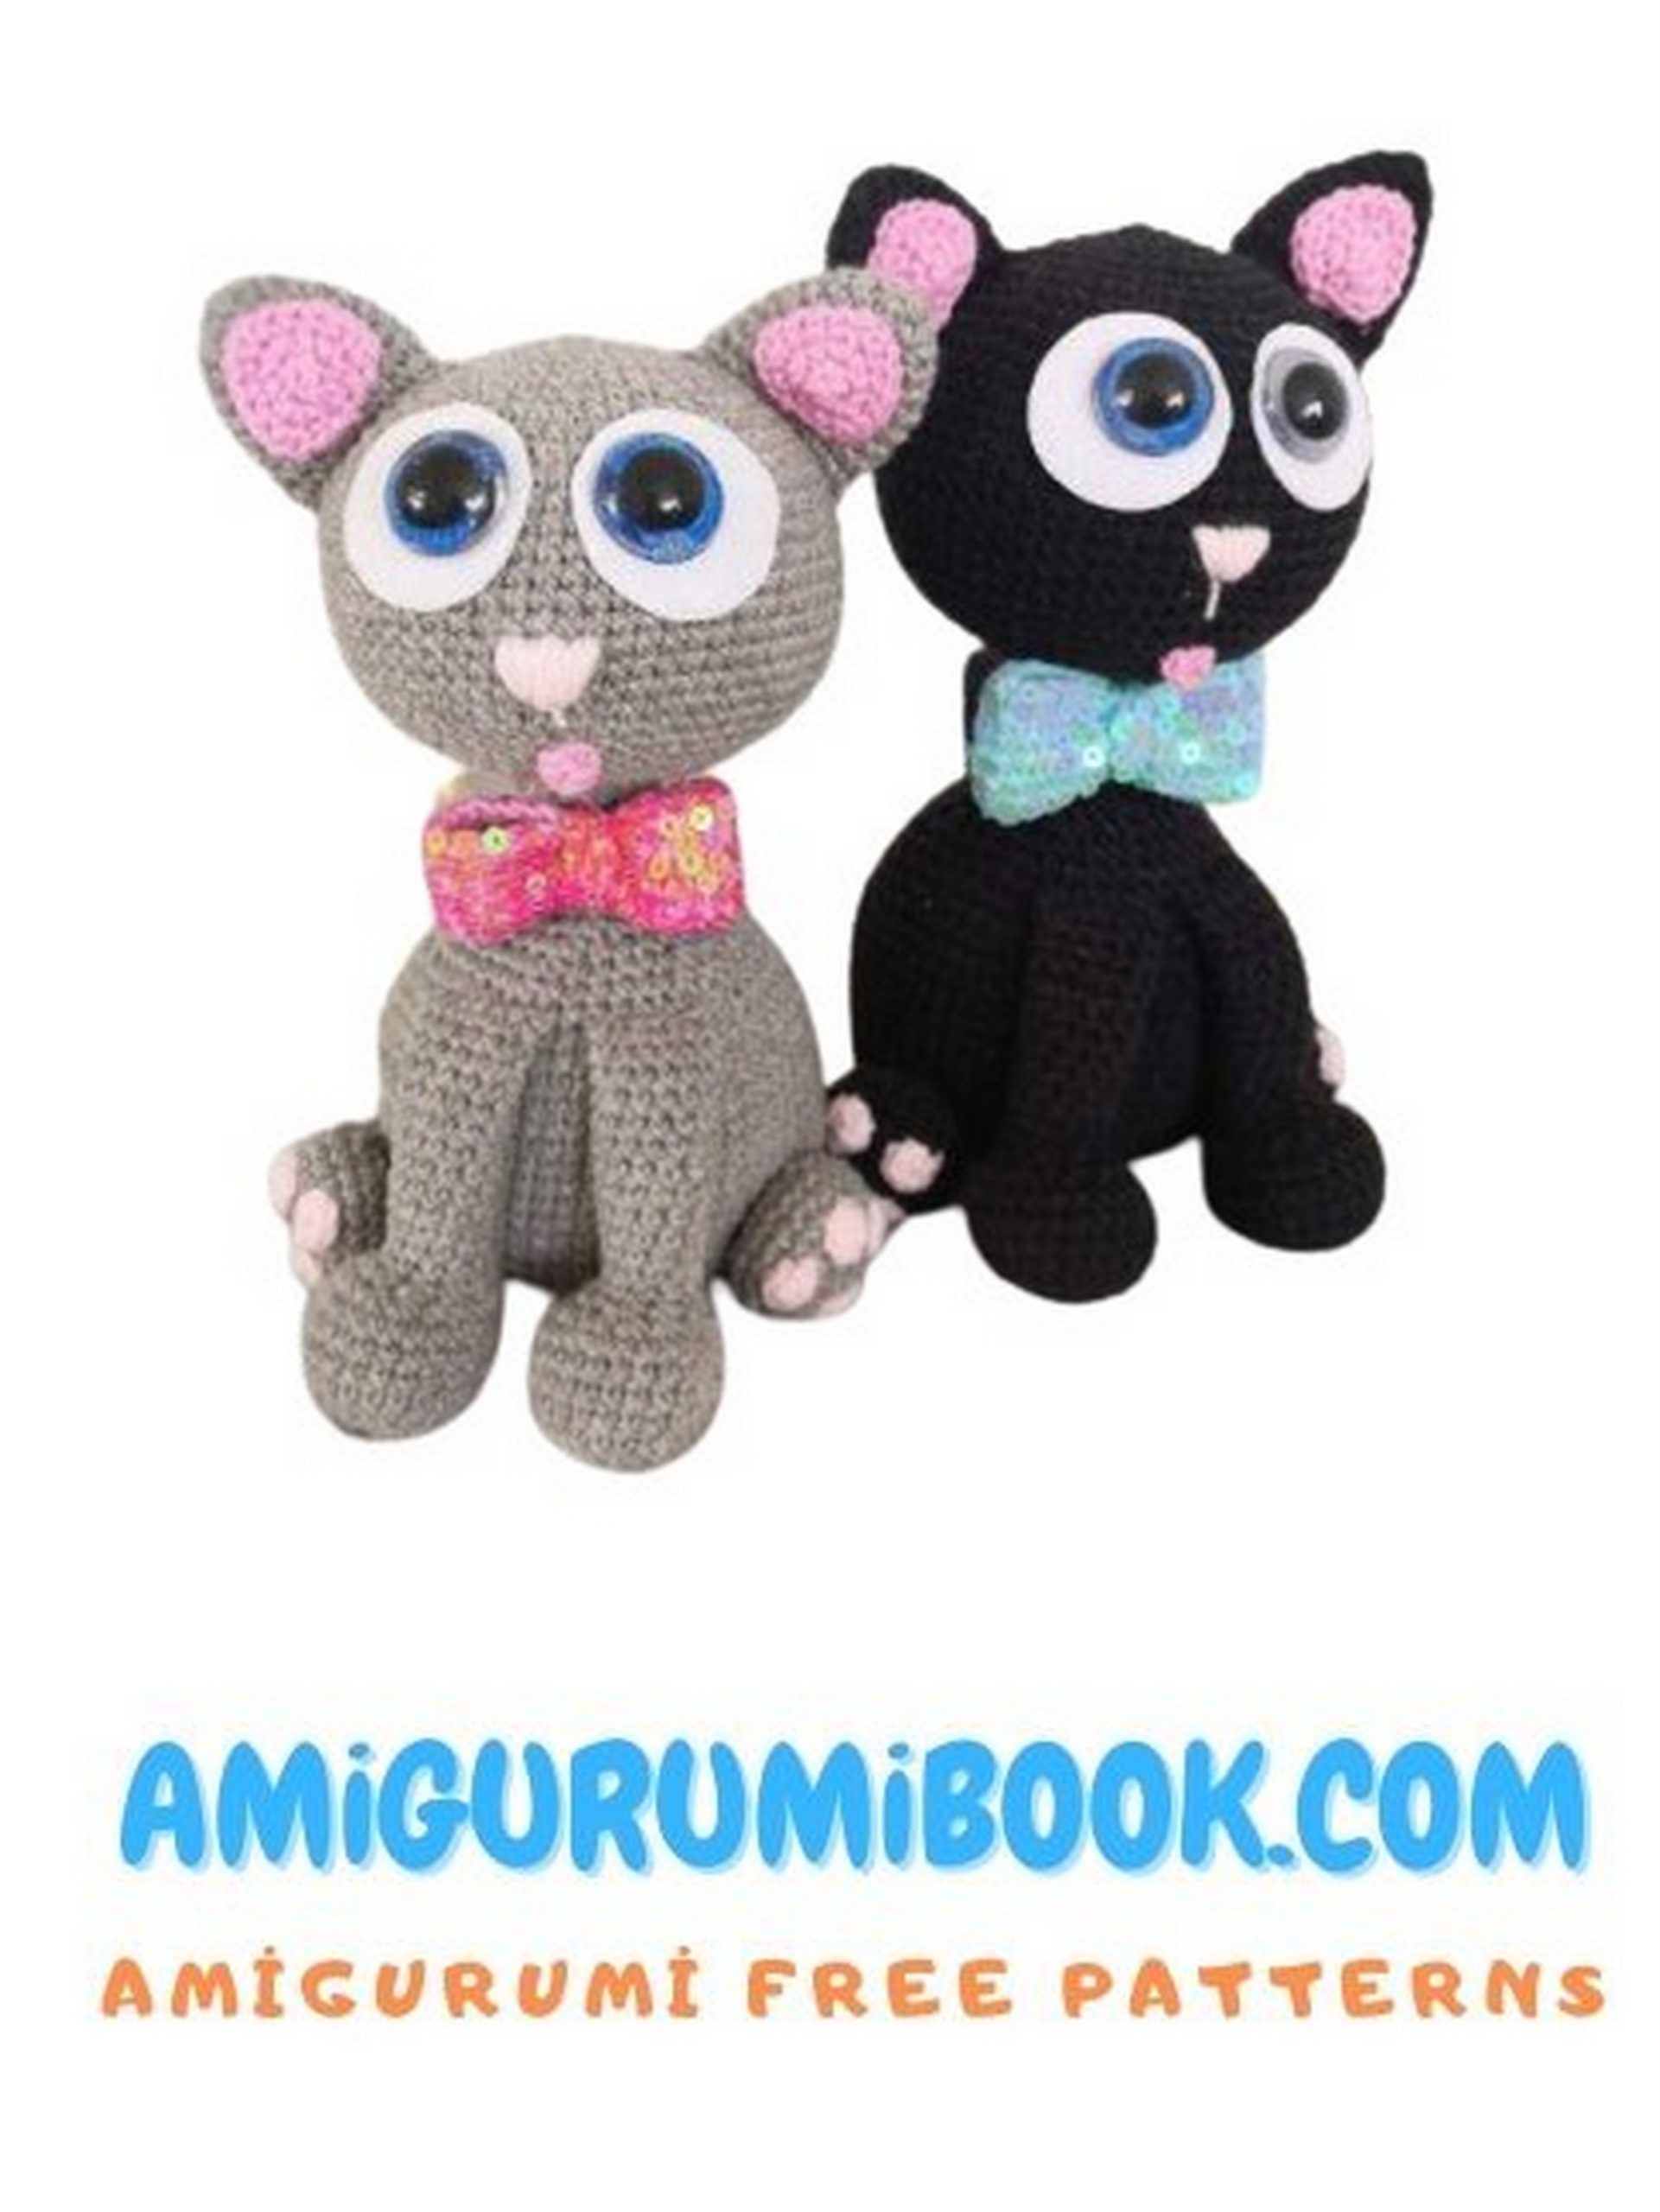
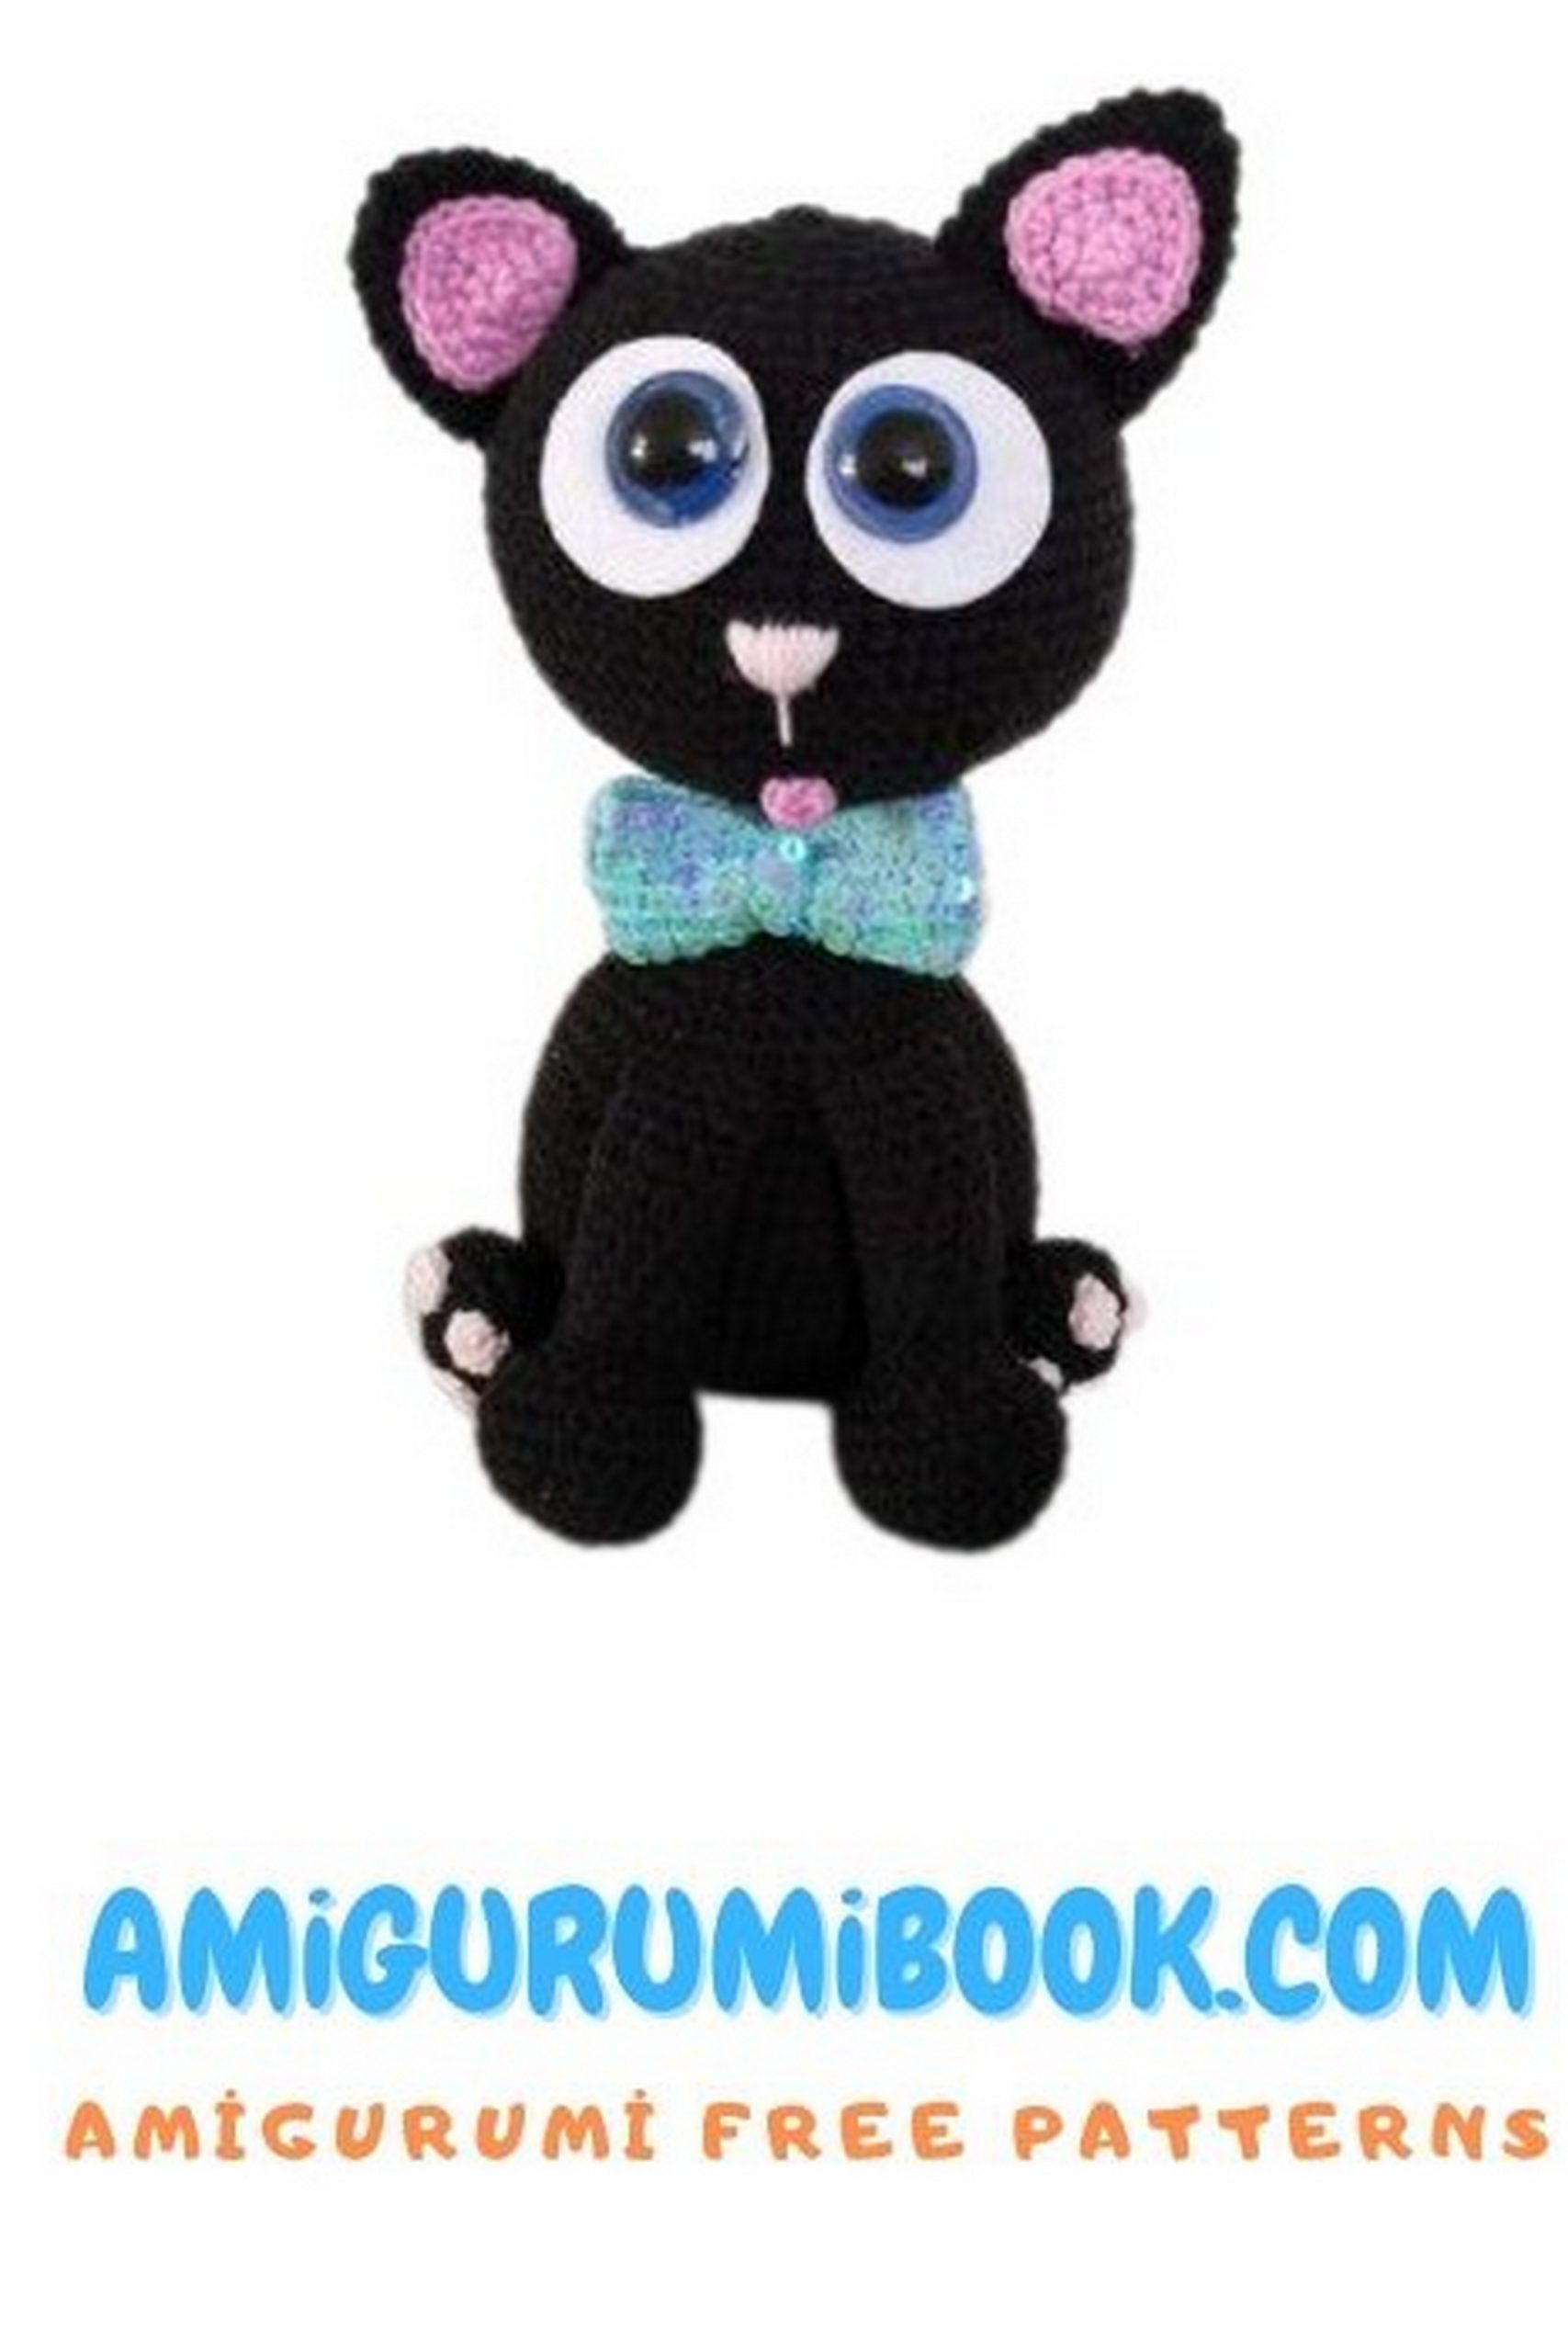
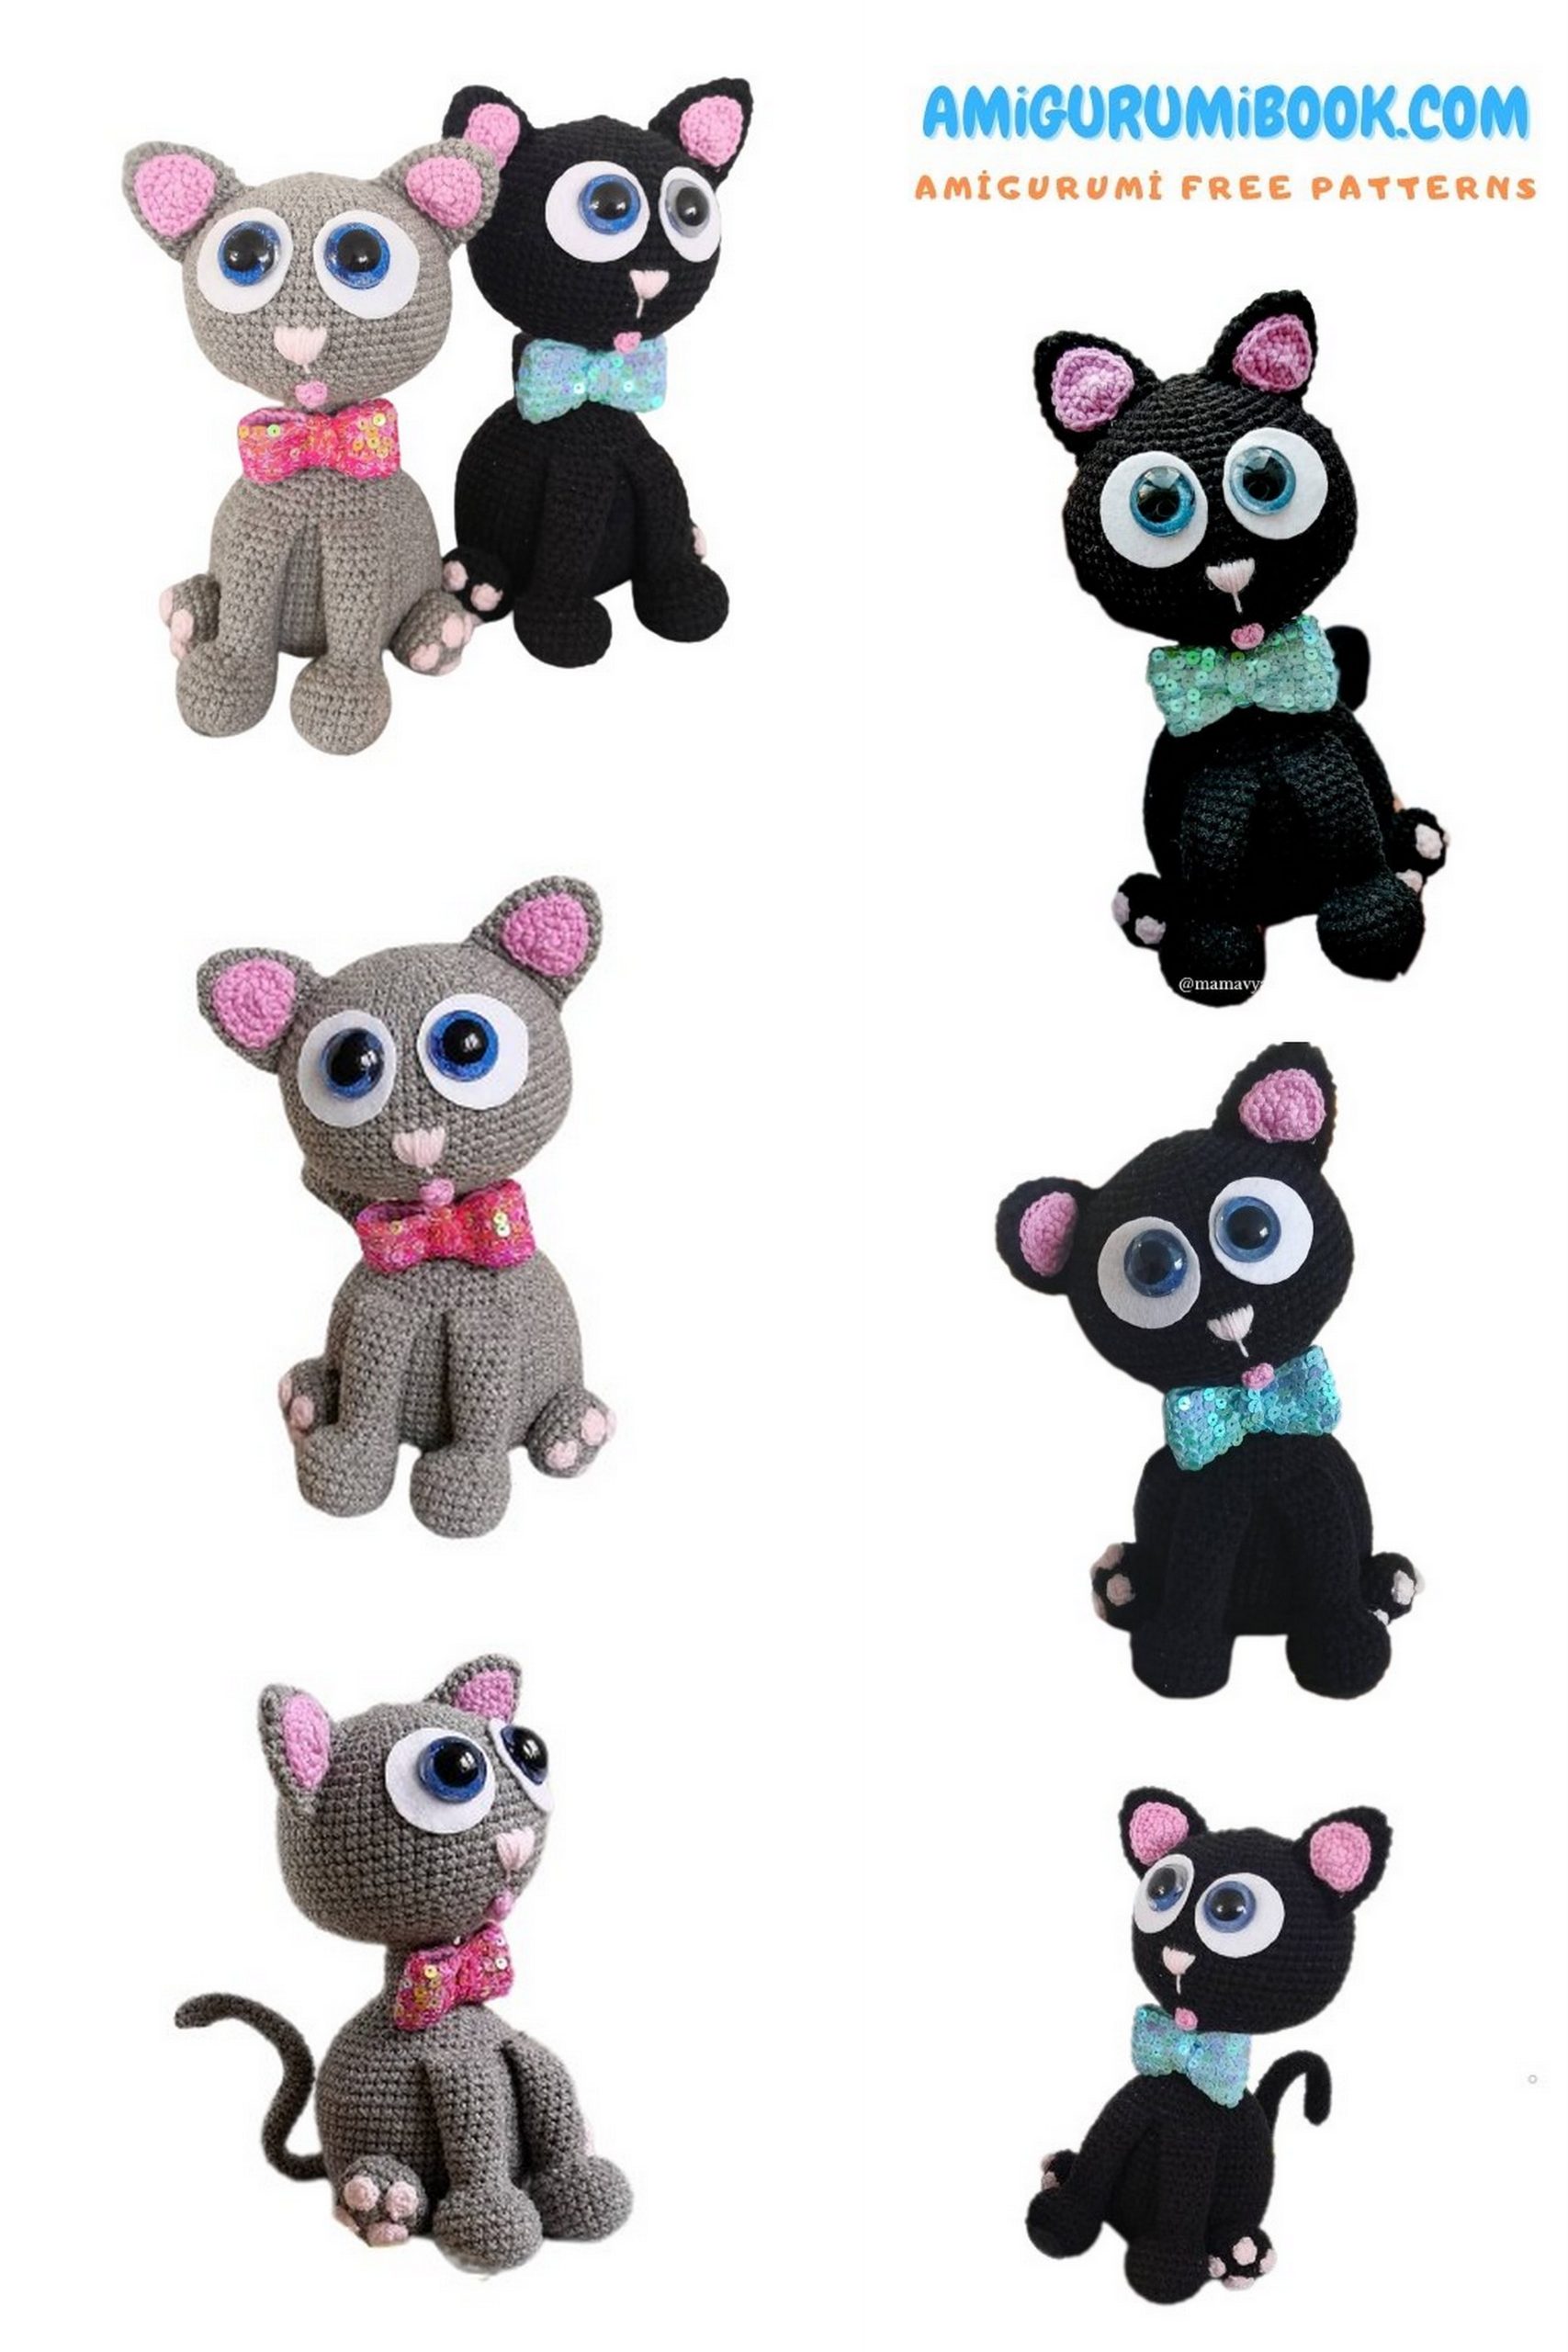
Welcome to the world of amigurumi! Today, we’re thrilled to introduce you to “March Cat in Love,” a charming cat crochet pattern that’s a perfect choice for amigurumi enthusiasts. Whether you’re a beginner or an experienced crafter, this free pattern invites you on a delightful journey to create adorable amigurumi kitties.
This pattern includes detailed instructions that will guide you through each step, ensuring you can successfully craft your very own amigurumi cats. We’ll also provide you with a list of the necessary materials, so you can gather everything you need for this creative project.
If you enjoy giving handmade gifts or decorating your home with cute amigurumi figures, this pattern is tailor-made for you. To get started, simply follow the instructions below and fill your handmade amigurumi kitties with love!
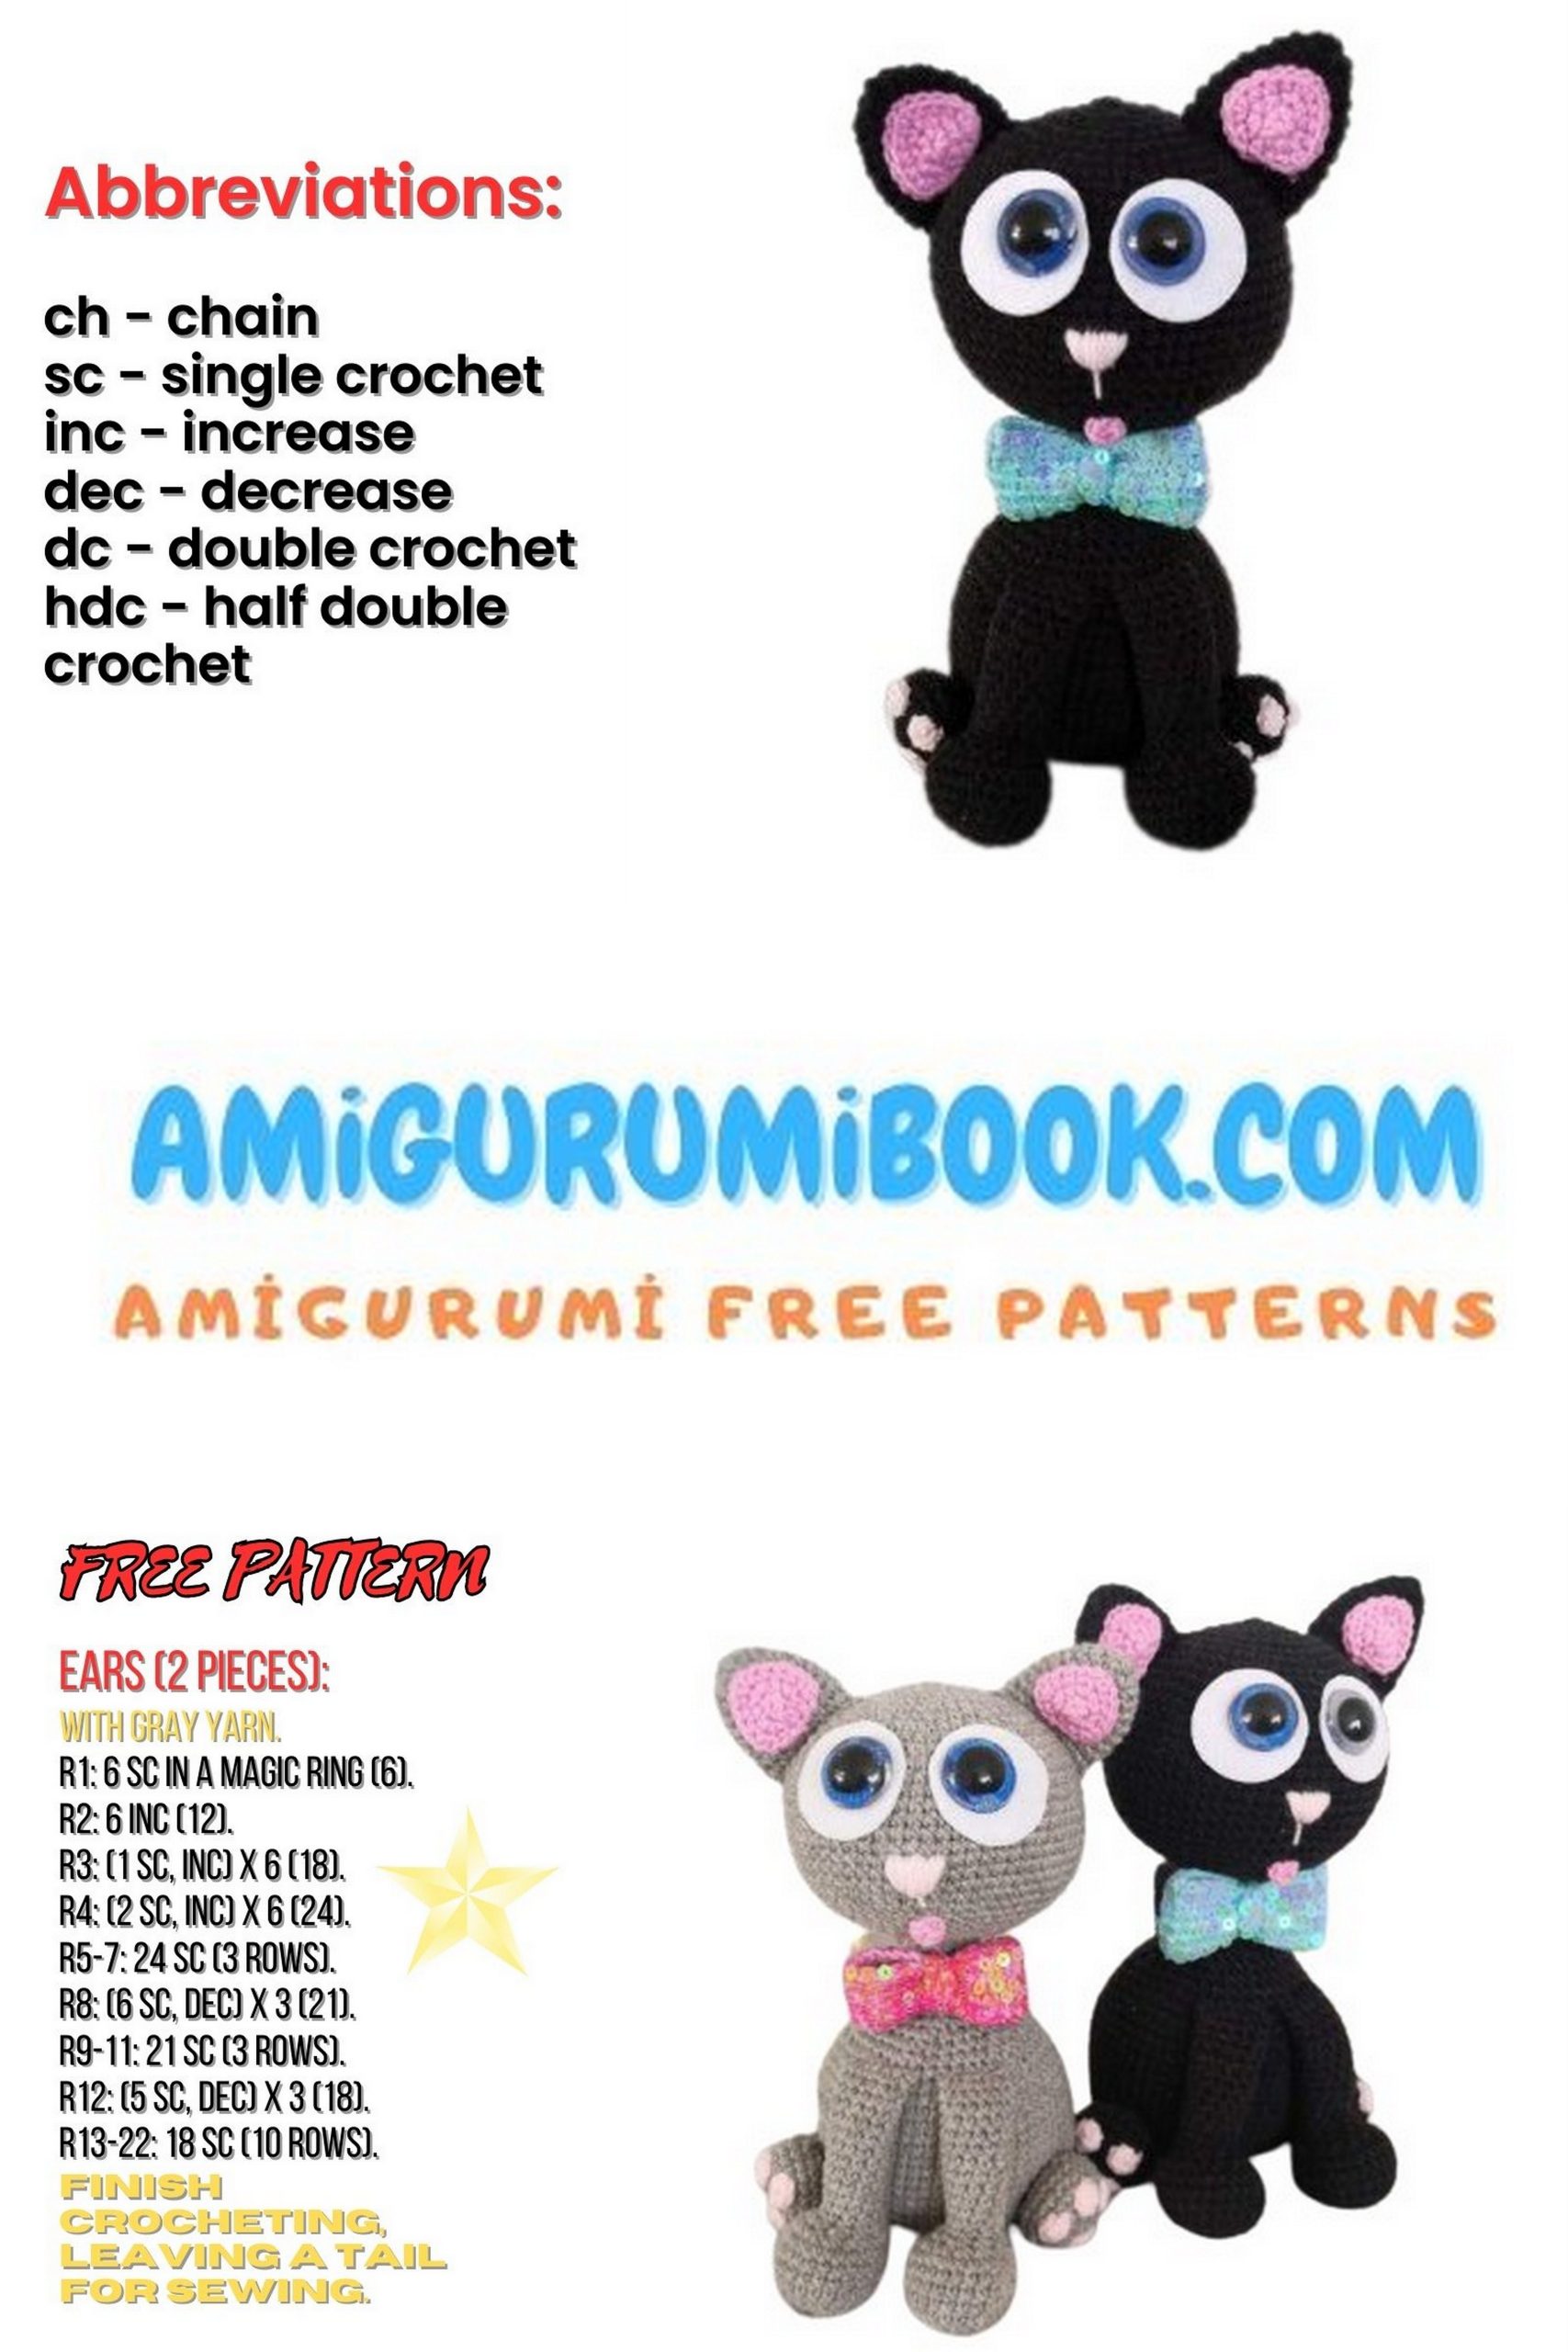
Abbreviations
KA – amigurumi ring
ch – chain
sc – single crochet
inc – increase
dec – decrease
BLO – back loop only
ss – slip stitch
× 6 – number of repetitions
(12) – total number of stitches in a row
Materials Needed
1. Yarn Alize Cotton Gold 100g 330m in black (60g)
2. Yarn Art Jeans 50g 165m in pink (20g), light pink (74g), and blue (76g)
3. Crochet hook size 2
4. White felt
5. 20mm safety eyes
6. Sequins (optional)
7. Polyester fiberfill
8. Sushi stick
9. Sewing needle
10. Scissors
Using this yarn, the toy measures 19 cm.
PATTERN
Body
1 Row: Make a magic ring, crochet 10 sc into it. In the last stitch, crochet 3 sc. On the other side, crochet 9 sc, inc. (24)
2 Row: Inc, 9 sc, 3 inc, 9 sc, 2 inc. (30)
3 Row: 1 sc, inc, 9 sc, (1 sc, inc) × 3, 9 sc, (1 sc, inc) × 2. (36)
4 Row: 2 sc, inc, 9 sc, (2 sc, inc) × 3, 9 sc, (2 sc, inc) × 2. (42)
5 Row: 3 sc, inc, 9 sc, (3 sc, inc) × 3, 9 sc, (3 sc, inc) × 2. (48)
Outline the piece on plastic or cardboard and cut it out.
6 Row: (7 sc, inc) × 6. (54) crochet in BLO.
7 Row: (8 sc, inc) × 6. (60) crochet through both loops.
8-18 Row: 60 sc.
19 Row: (8 sc, dec) × 6. (54)
20 Row: 54 sc.
21 Row: (7 sc, dec) × 6. (48)
22 Row: 48 sc.
Insert the plastic base and stuff the piece as you go.
23 Row: (6 sc, dec) × 6. (42)
24 Row: (5 sc, dec) × 6. (36)
25 Row: (4 sc, dec) × 6. (30)
26 Row: (3 sc, dec) × 6. (24)
Stuff the piece fairly tightly.
27 Row: (2 sc, dec) × 6. (18)
28-33 Row: 18 sc, ss. Cut the thread, leaving it for sewing.


Head
1 Row: 6 sc in a magic ring.
2 Row: 6 inc. (12)
3 Row: (1 sc, inc) × 6. (18)
4 Row: (inc, 2 sc) × 6. (24)
5 Row: 2 sc, inc, (3 sc, inc) × 5, 1 sc. (30)
6 Row: (inc, 4 sc) × 6. (36)
7 Row: 3 sc, inc, (5 sc, inc) × 5, 2 sc. (42)
8 Row: (inc, 6 sc) × 6. (48)
9 Row: 4 sc, inc, (7 sc, inc) × 5, 3 sc. (54)
10 Row: (inc, 8 sc) × 6. (60)
11 Row: 5 sc, inc, (9 sc, inc) × 5, 4 sc. (66)
12-22 Row: 66 sc.
23 Row: (dec, 9 sc) × 6. (60)
24 Row: 4 sc, dec, (8 sc, dec) × 5, 4 sc. (54)
25 Row: (dec, 7 sc) × 6. (48)
26 Row: 3 sc, dec, (6 sc, dec) × 5, 3 sc. (42)
27 Row: (dec, 5 sc) × 6. (36)
28 Row: 2 sc, dec, (4 sc, dec) × 5, 2 sc. (30)
29 Row: (dec, 3 sc) × 6. (24)
Stuff the piece.
30 Row: 1 sc, dec, (2 sc, dec) × 5, 1 sc. (18)
31 Row: (dec, 1 sc) × 6. (12)
32 Row: 6 dec. (6)
Cut the thread and hide the ends inside the toy.
Ears
1 Row: 6 sc in a magic ring.
2 Row: 6 inc. (12)
3 Row: 12 sc.
4 Row: (2 sc, inc) × 4. (16)
5 Row: (3 sc, inc) × 4. (20)
6-9 Row: 20 sc.
Fold the ear in half and crochet 10 sc. Cut the thread, leaving it for sewing.
Inner Ears
1 Row: 6 sc in a magic ring.
2 Row: (1 sc, 3 sc in one stitch) × 3. (12)
3 Row: 2 sc, (3 sc in one stitch, 3 sc) × 2, 3 sc in one stitch, 1 sc. (18)
Cut the thread and leave it for sewing.
Front Legs
1 Row: 6 sc in a magic ring.
2 Row: 6 inc. (12)
3 Row: (1 sc, inc) × 6. (18)
4 Row: (2 sc, inc) × 6. (24)
5-8 Row: 24 sc.
9 Row: 6 sc, 6 dec, 6 sc. (18)
10 Row: 3 sc, 6 dec, 3 sc. (12)
Fill the part lightly.
11-22 Row: 12 sc.
Don’t overfill the leg, fold it in half, and crochet 6 sc. Cut the thread, leaving it for sewing.
Hind Legs
1 Row: 6 sc in a magic ring.
2 Row: 6 inc. (12)
3 Row: (1 sc, inc) × 6. (18)
4 Row: (2 sc, inc) × 6. (24)
5-6 Row: 24 sc.
7 Row: (2 sc, dec) × 6. (18)
8 Row: (1 sc, dec) × 6. (12)
Fill the part slightly.
9 Row: 6 dec. (6)
Cut the thread, leaving it for sewing.
Paw Pads
Make 6 small paw pads:
Crochet 5 sc in a magic ring, ss to close. Cut and secure the thread.
Crochet 7 sc in a magic ring, ss to close. Cut and secure the thread.
Tongue
Crochet 4 sc in a magic ring, ss to close. Cut the thread, leaving it for sewing.
Tail
1 Row: Crochet 4 sc in a magic ring.
2 Row: 4 inc. (8)
Crochet the tail to your desired length. I made mine 15 cm.
At the end, crochet a slip stitch, cut the thread, and leave it for sewing. Do not stuff the tail. Insert a piece of wire into the tail. Before inserting the wire, I wrapped it on both sides with masking tape.
Bow
Chain 30, join to make a ring. Crochet 5-6 rows of 30 sc, ss to close. Leave a longer thread end. Fold the piece in half and make several wraps around the bow with the remaining thread. Secure the thread, leaving the end for sewing. Optionally, you can embellish the bow with sequins.
Eyes
Cut two white circles from felt with a diameter of 3 cm. Insert or glue 20 mm safety eyes into them.
Assembly
Take a sushi stick and insert it into the head and body to secure the head. Sew the body to the head.
Sew the inner part of the ears to the outer ears. Then sew them to the head between rows 5-14.
Sew the front legs to the body on rows 21-22. Leave a gap of 1-2 stitches between the legs.
Sew the paw pads to the hind legs. Afterward, sew the legs to the body.
Sew the tail at the back, approximately between rows 8-11. You can shape the tail as you like.
Insert or glue the eyes between rows 10-18, with a gap of 1-2 stitches between them.
One row below the eyes, embroider the nose.
Sew on the tongue and the bow.
The MARCH KITTEN is READY!