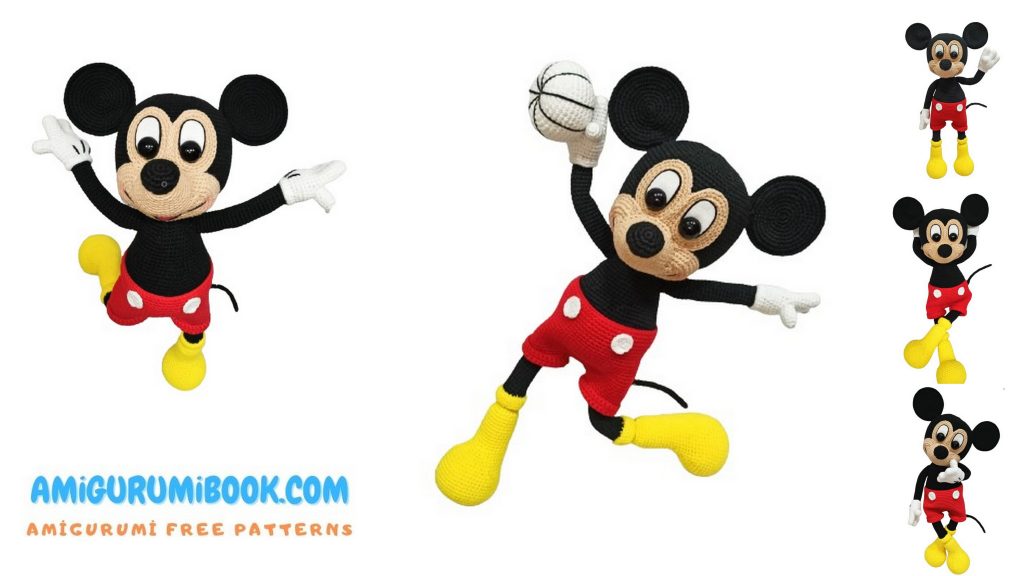
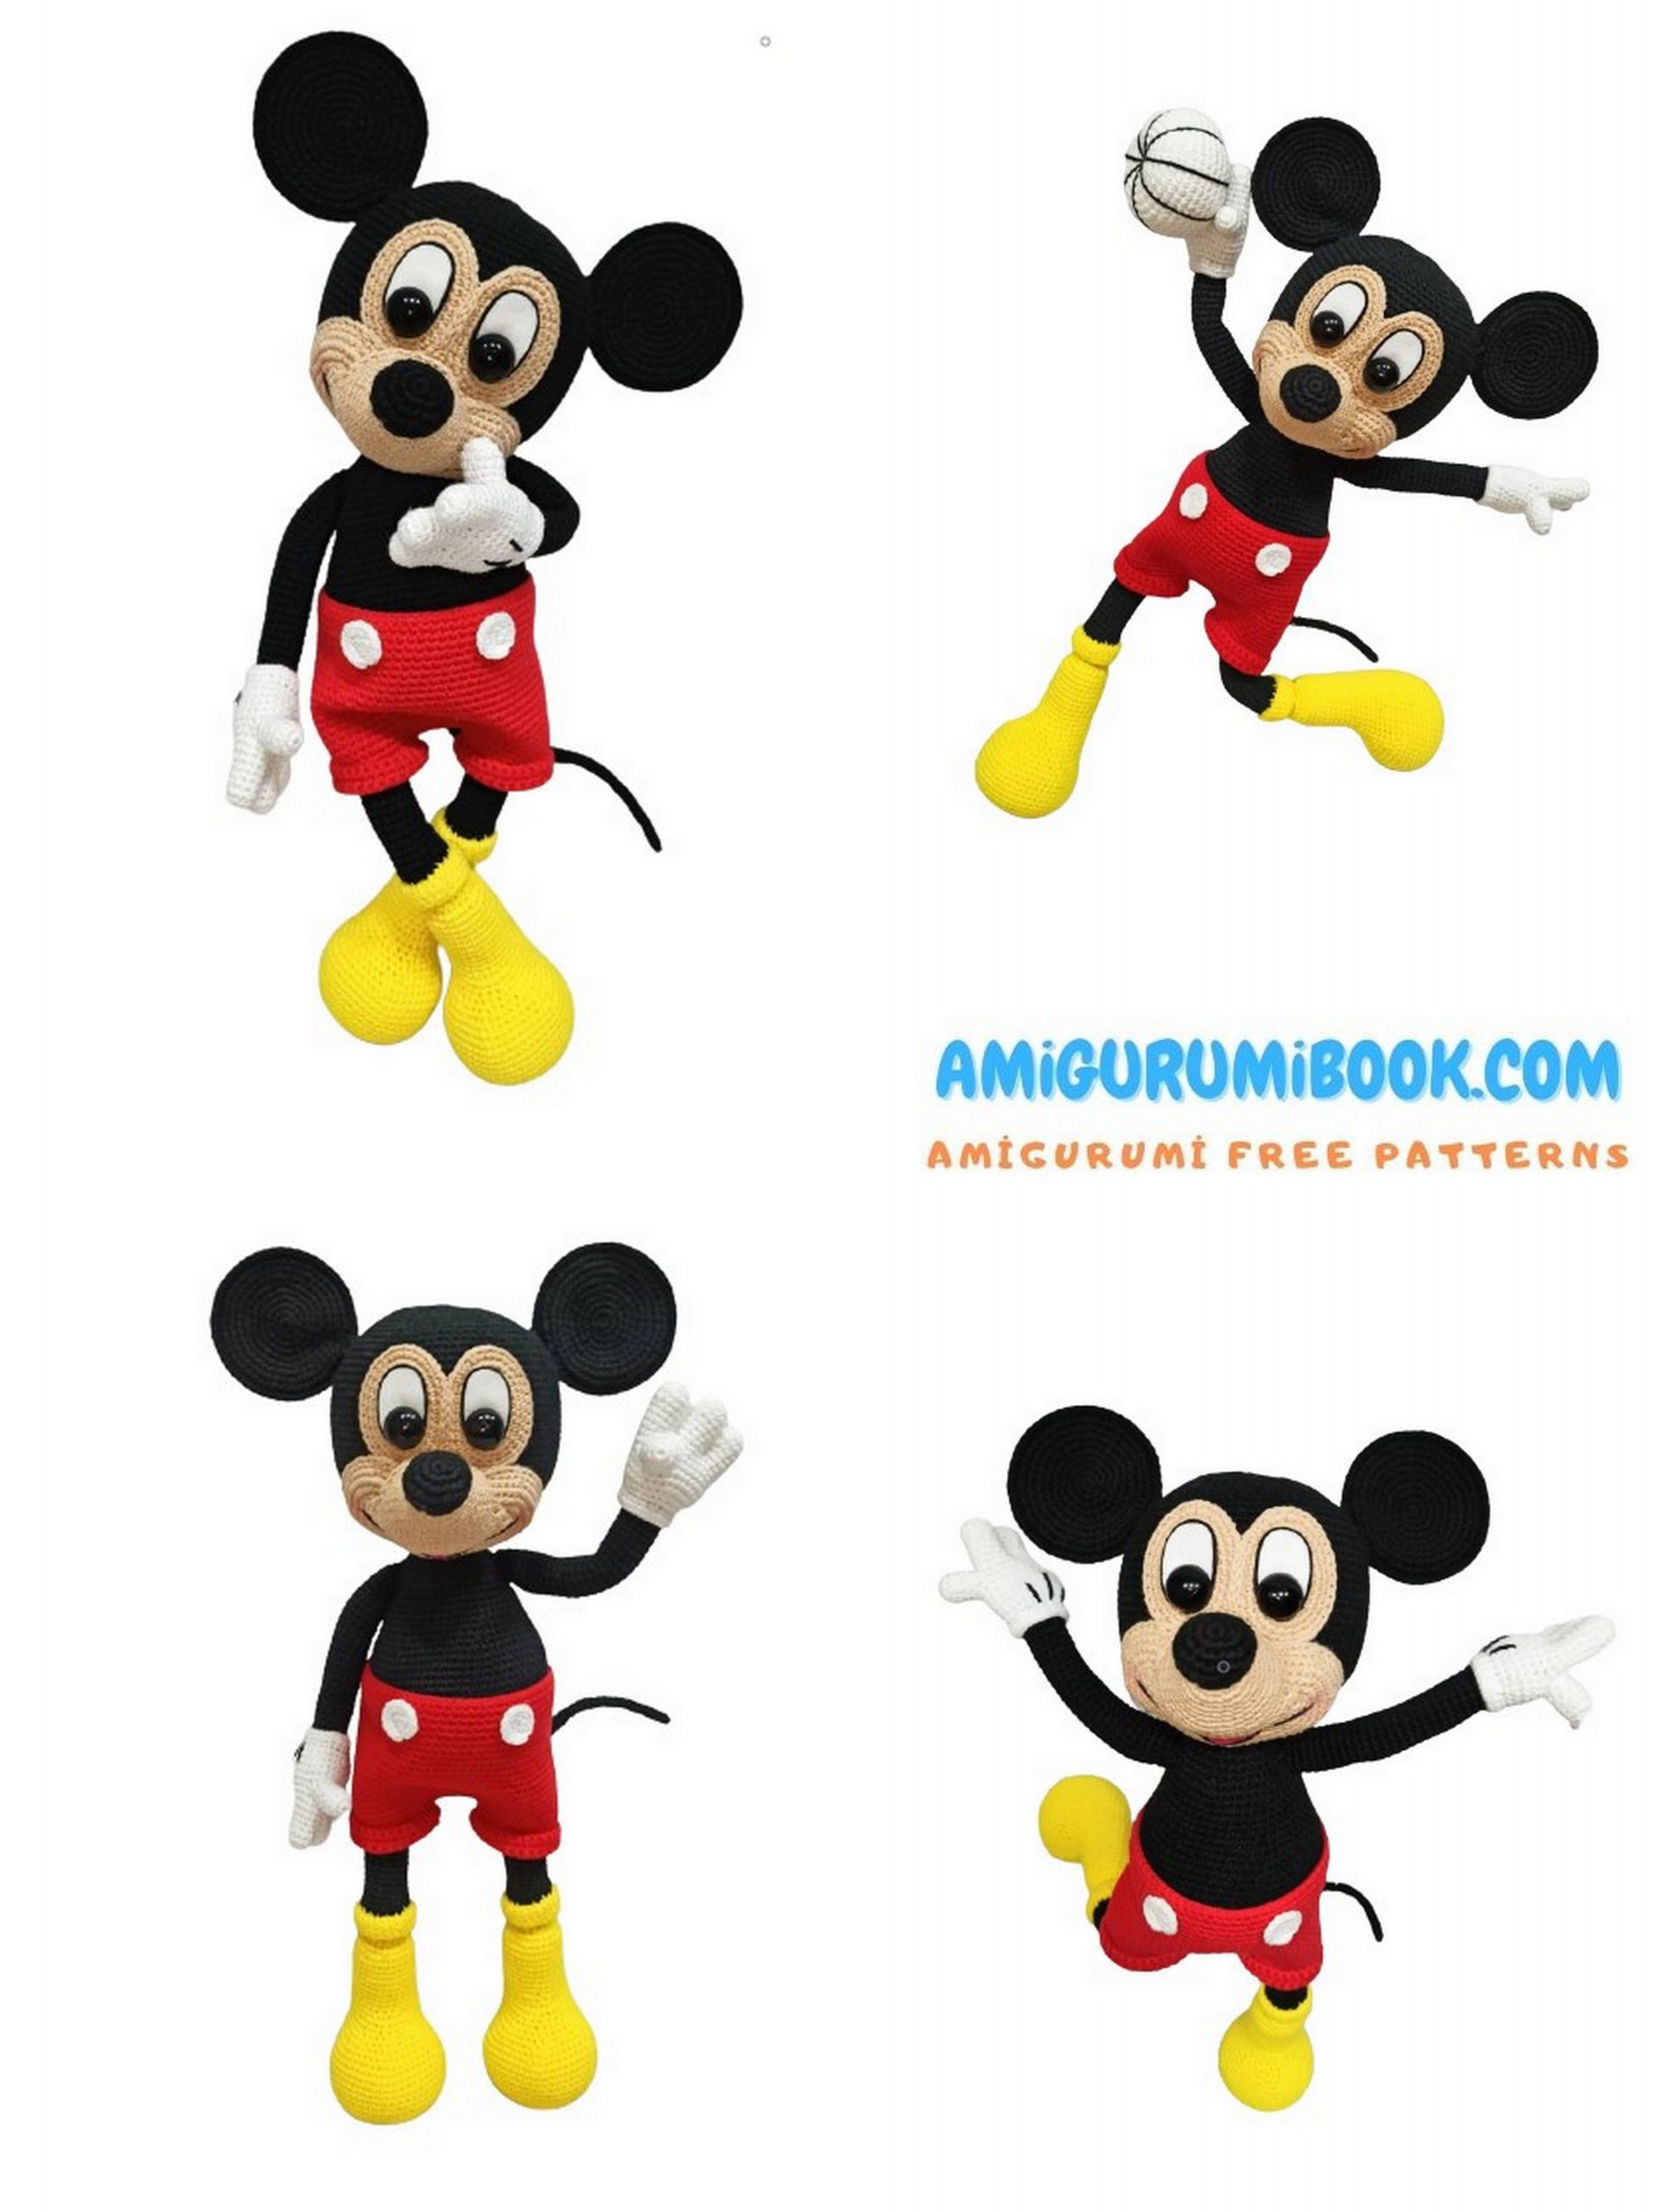
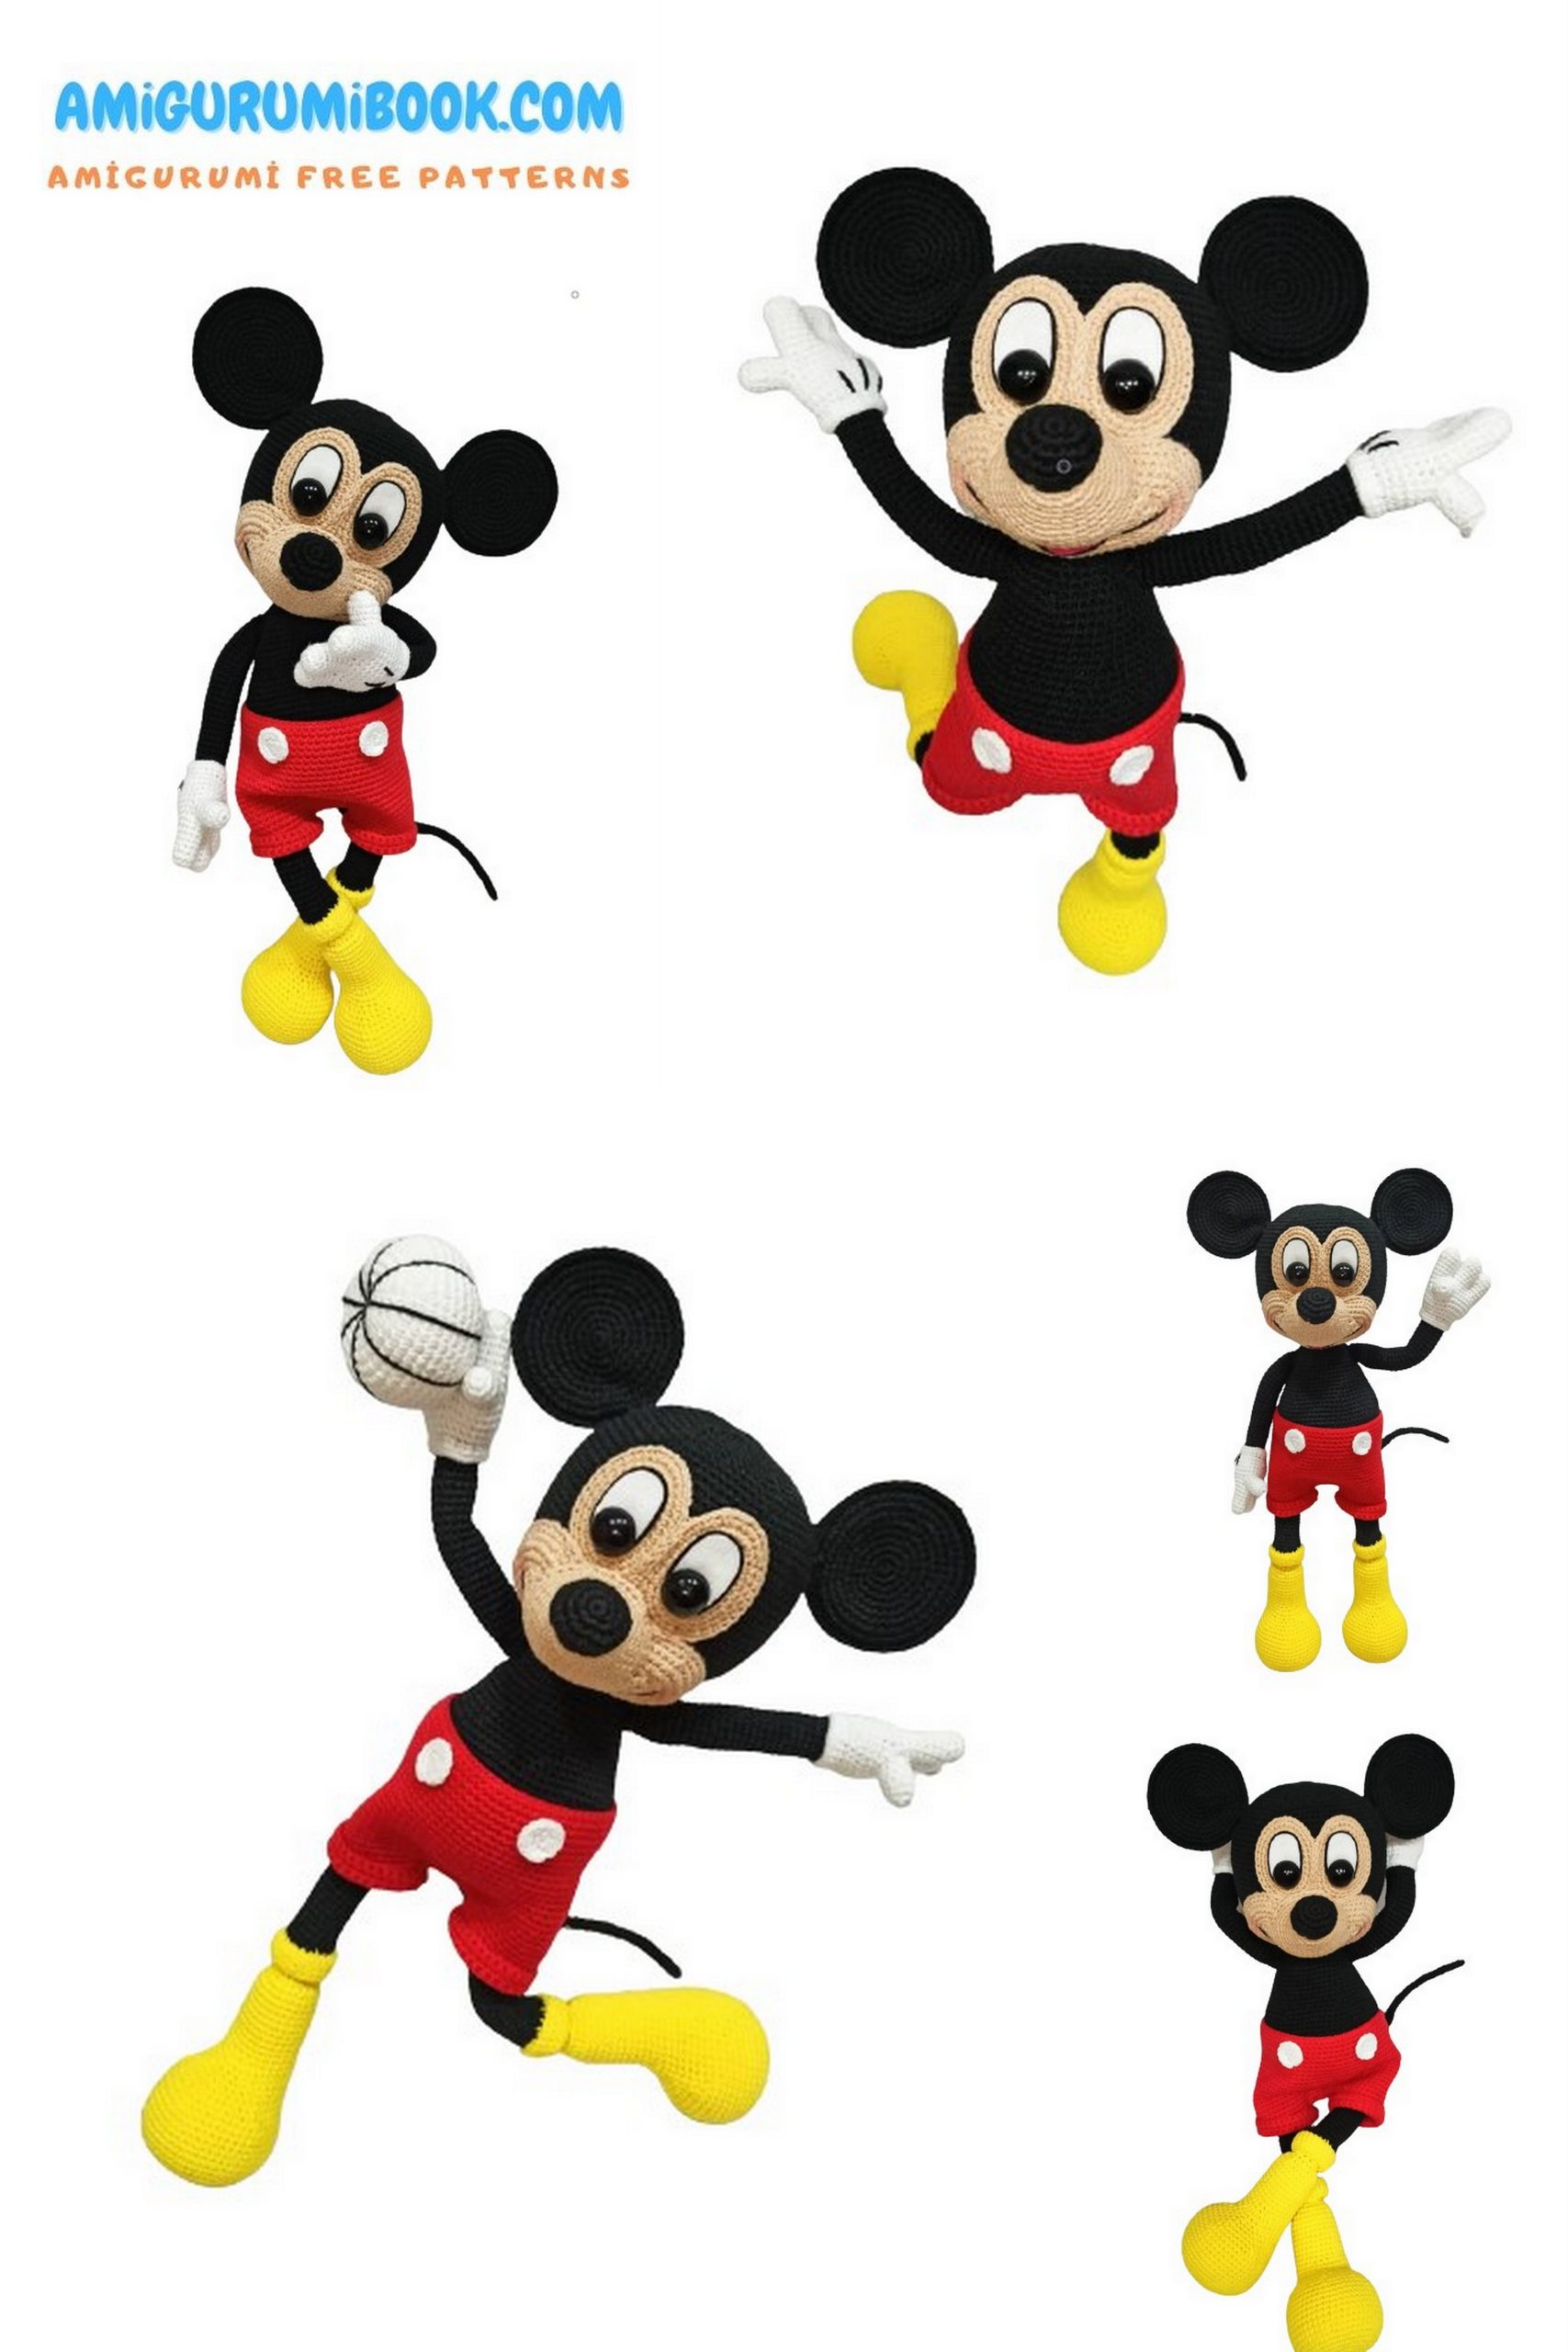
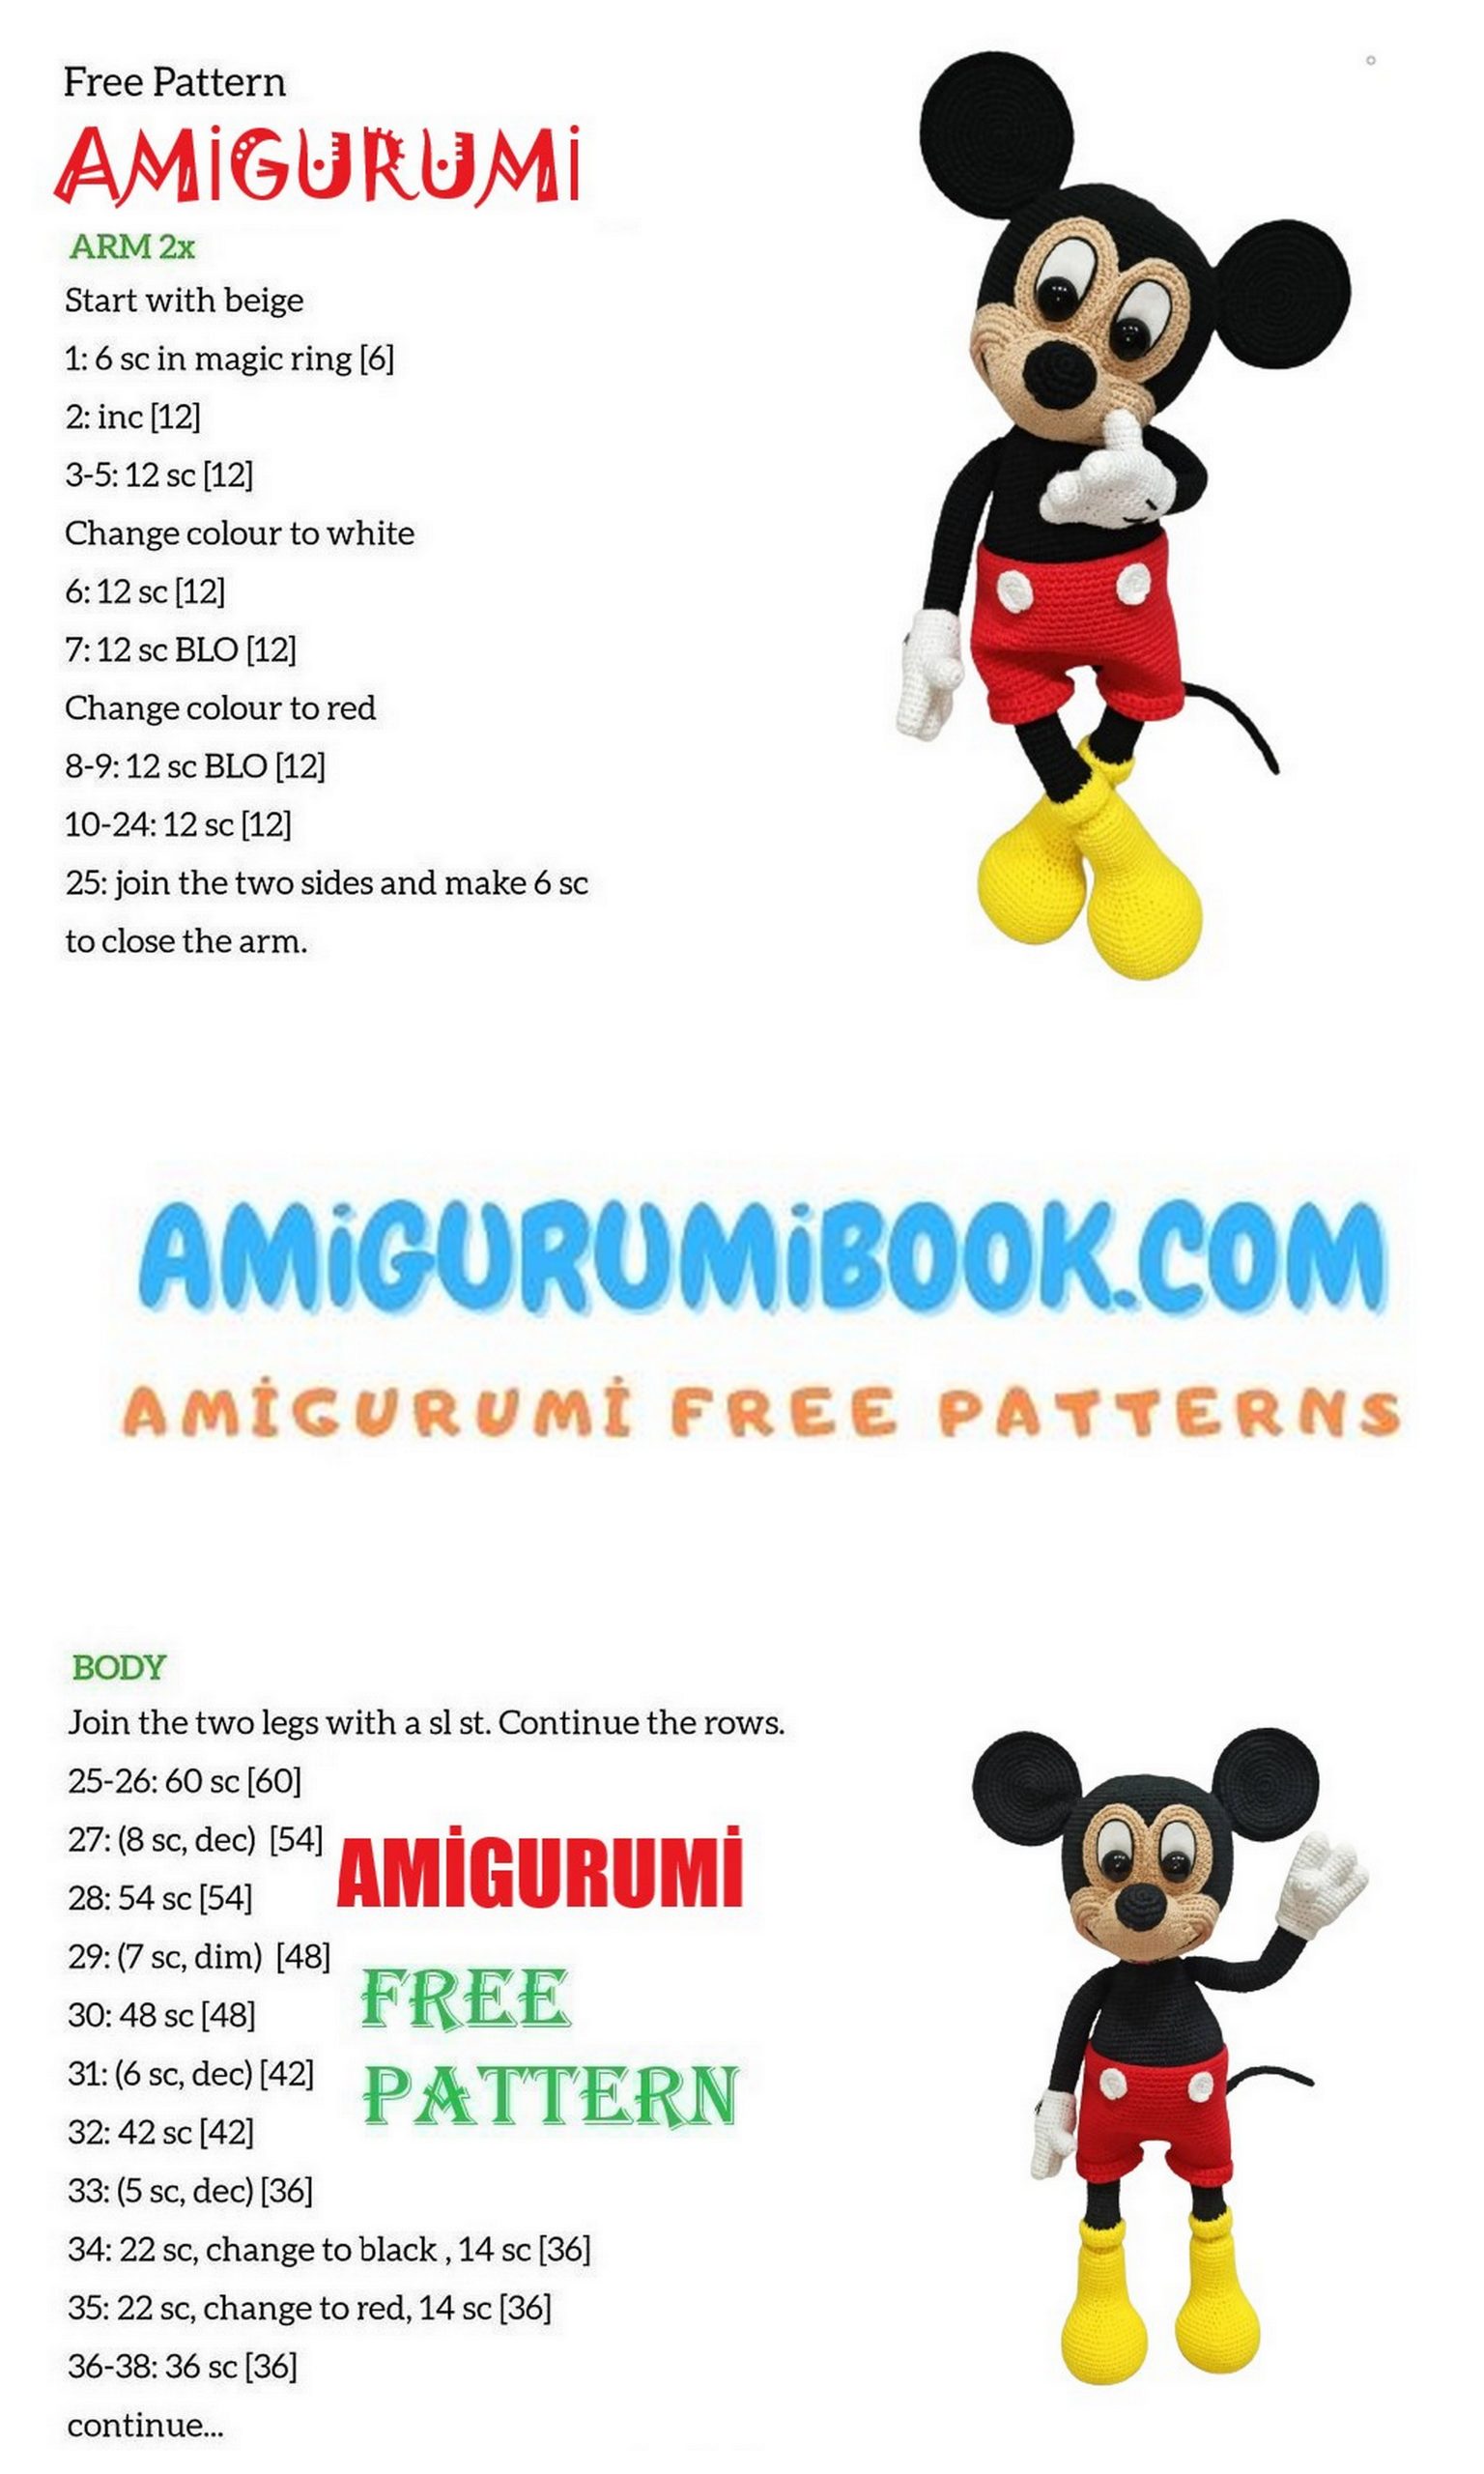
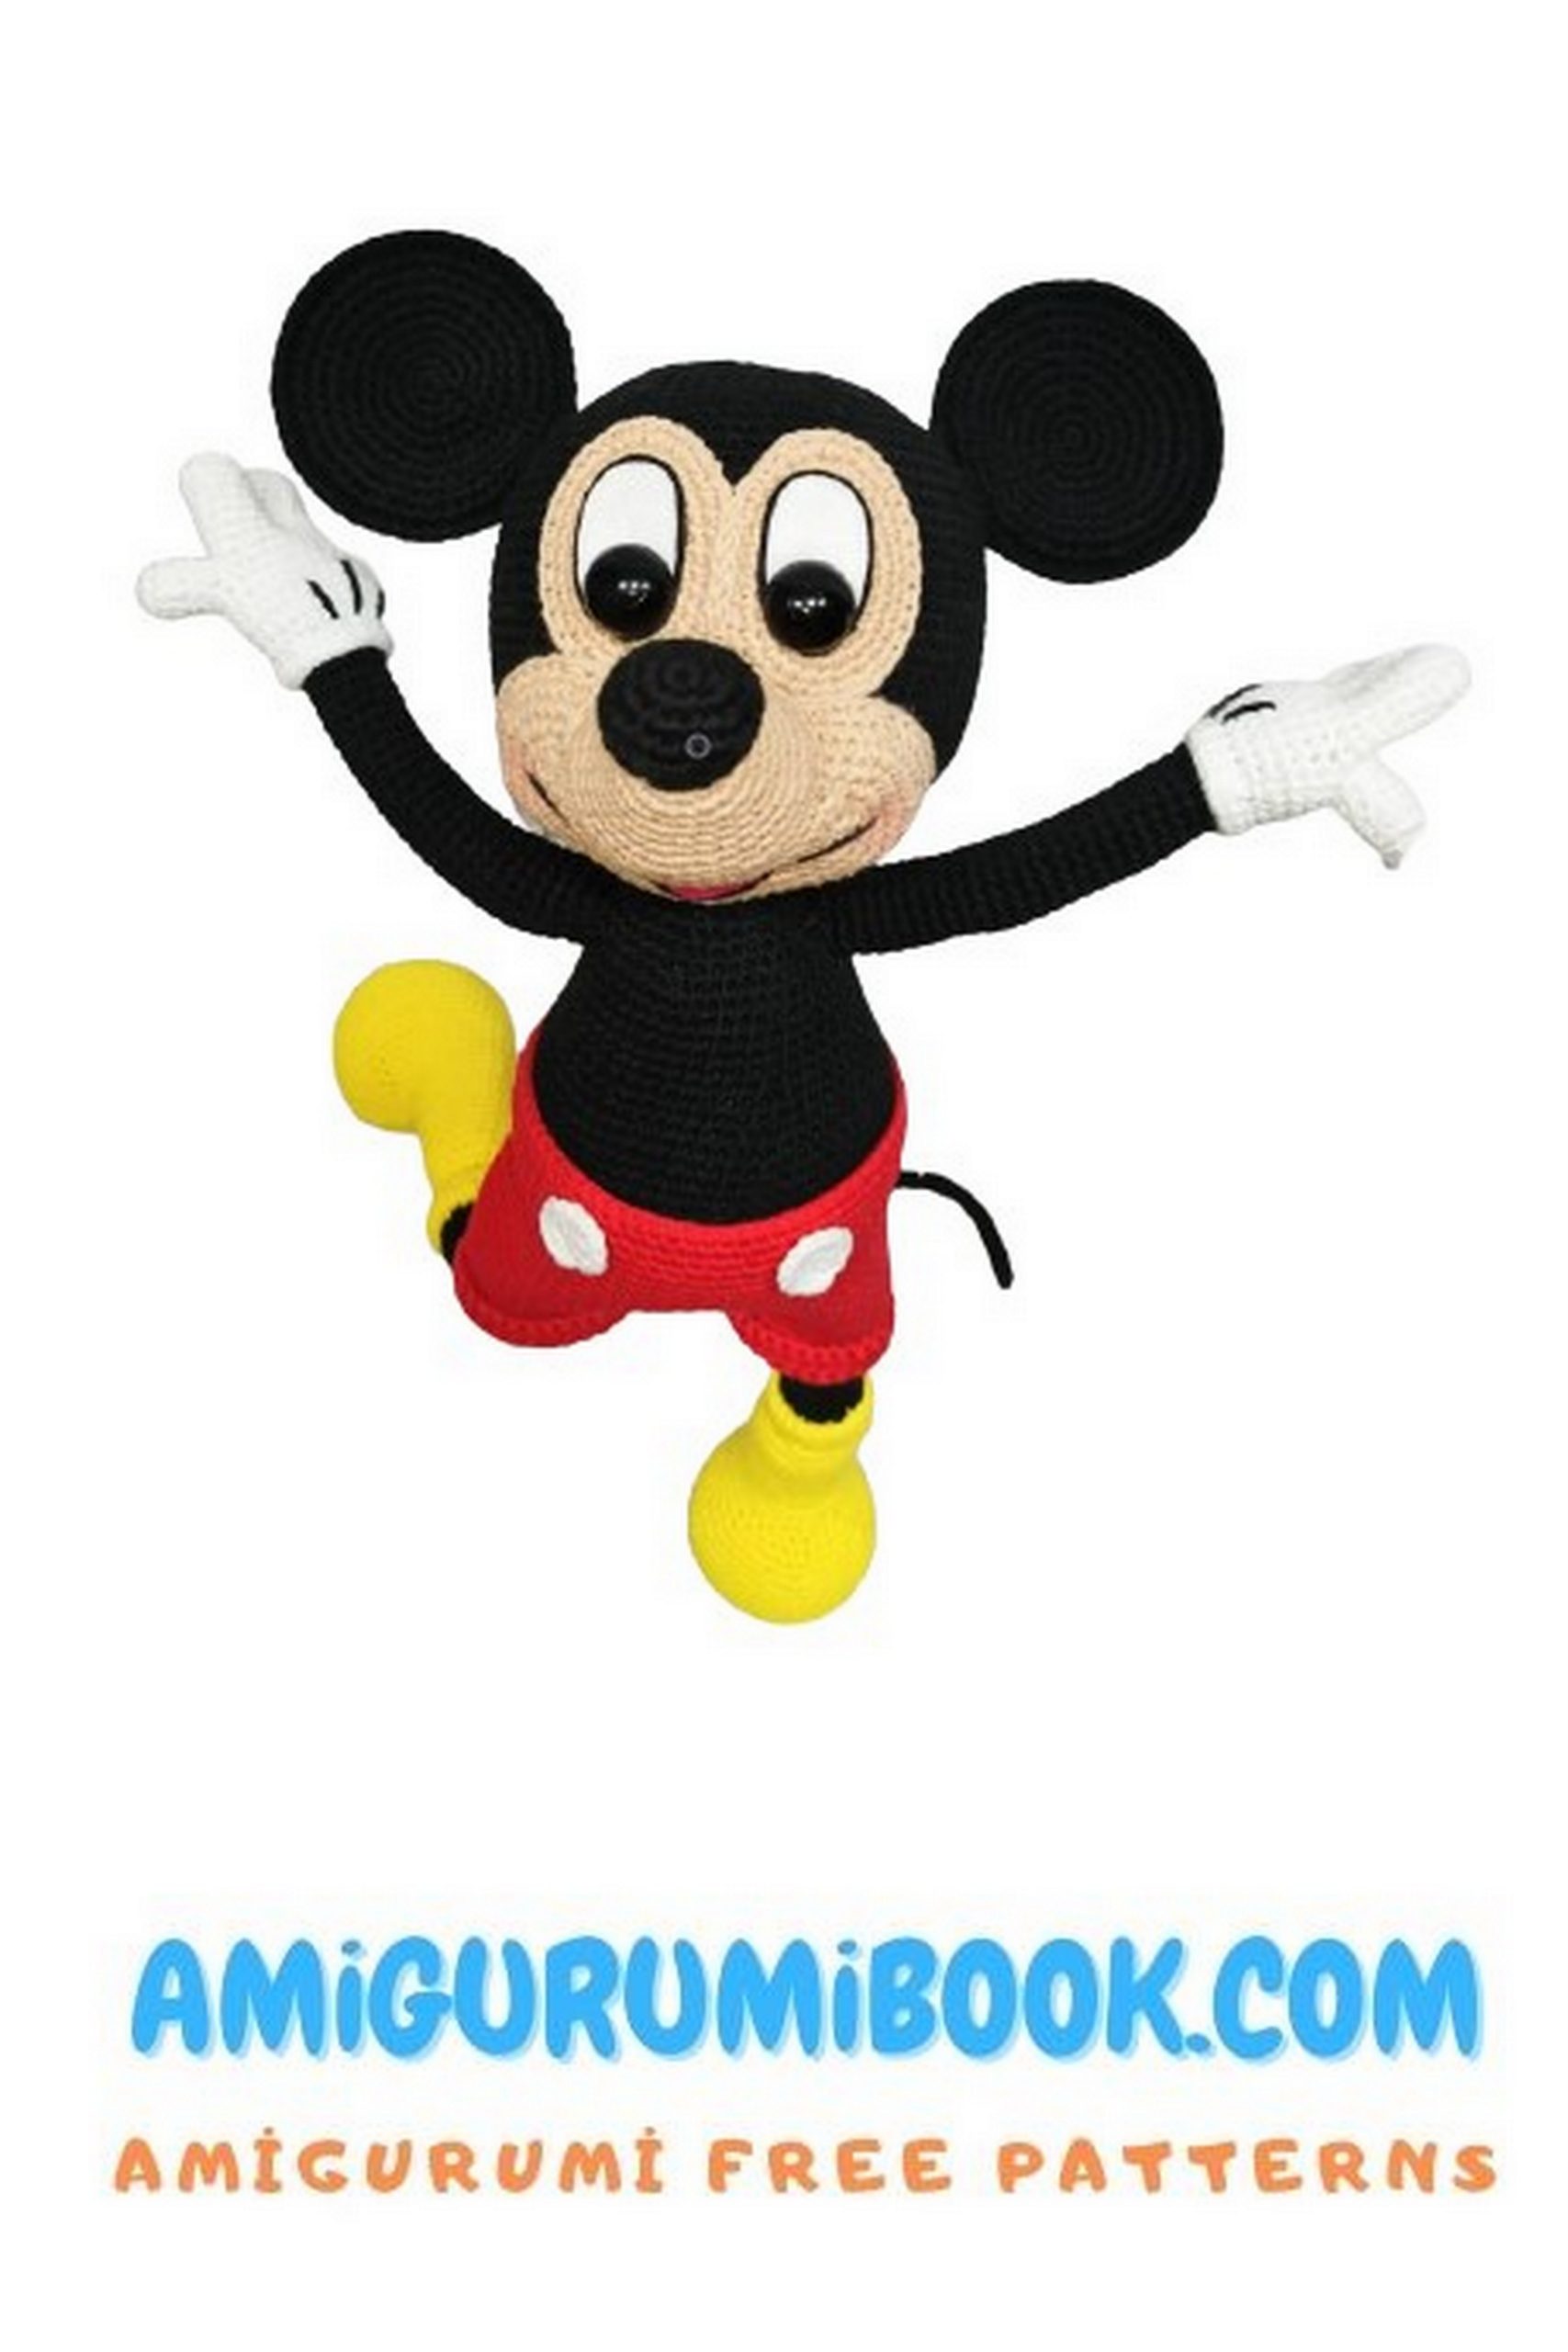
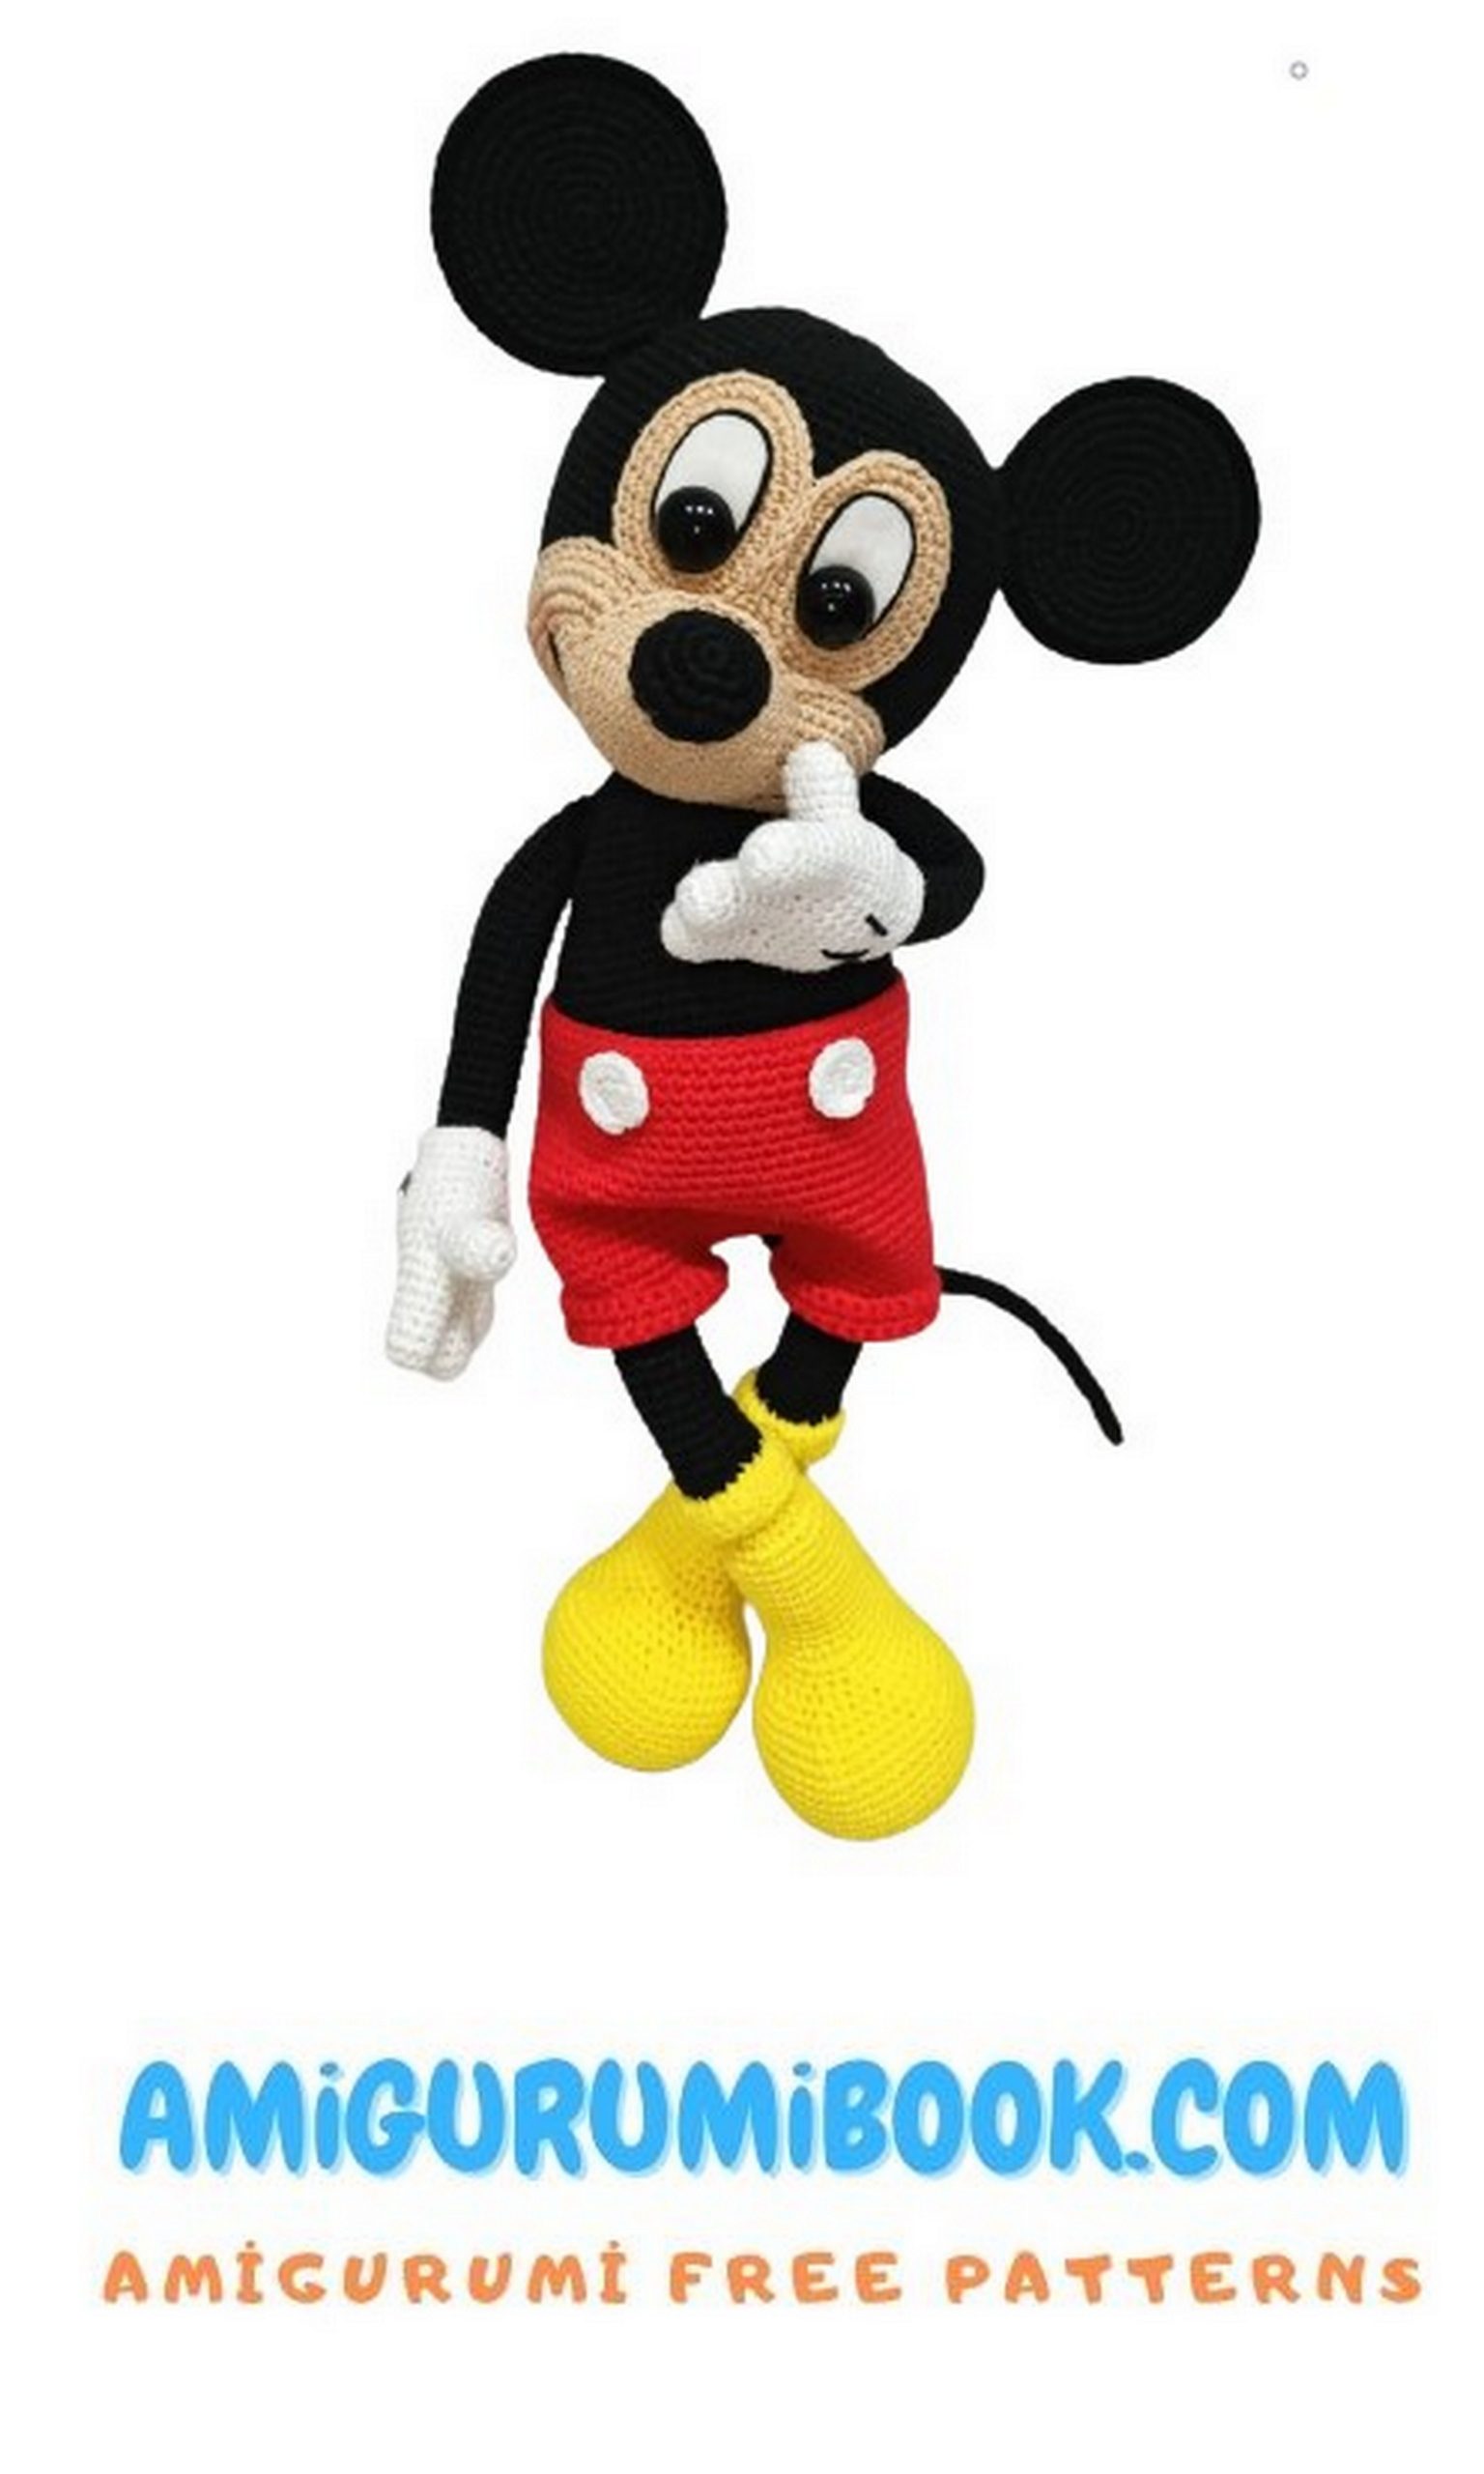
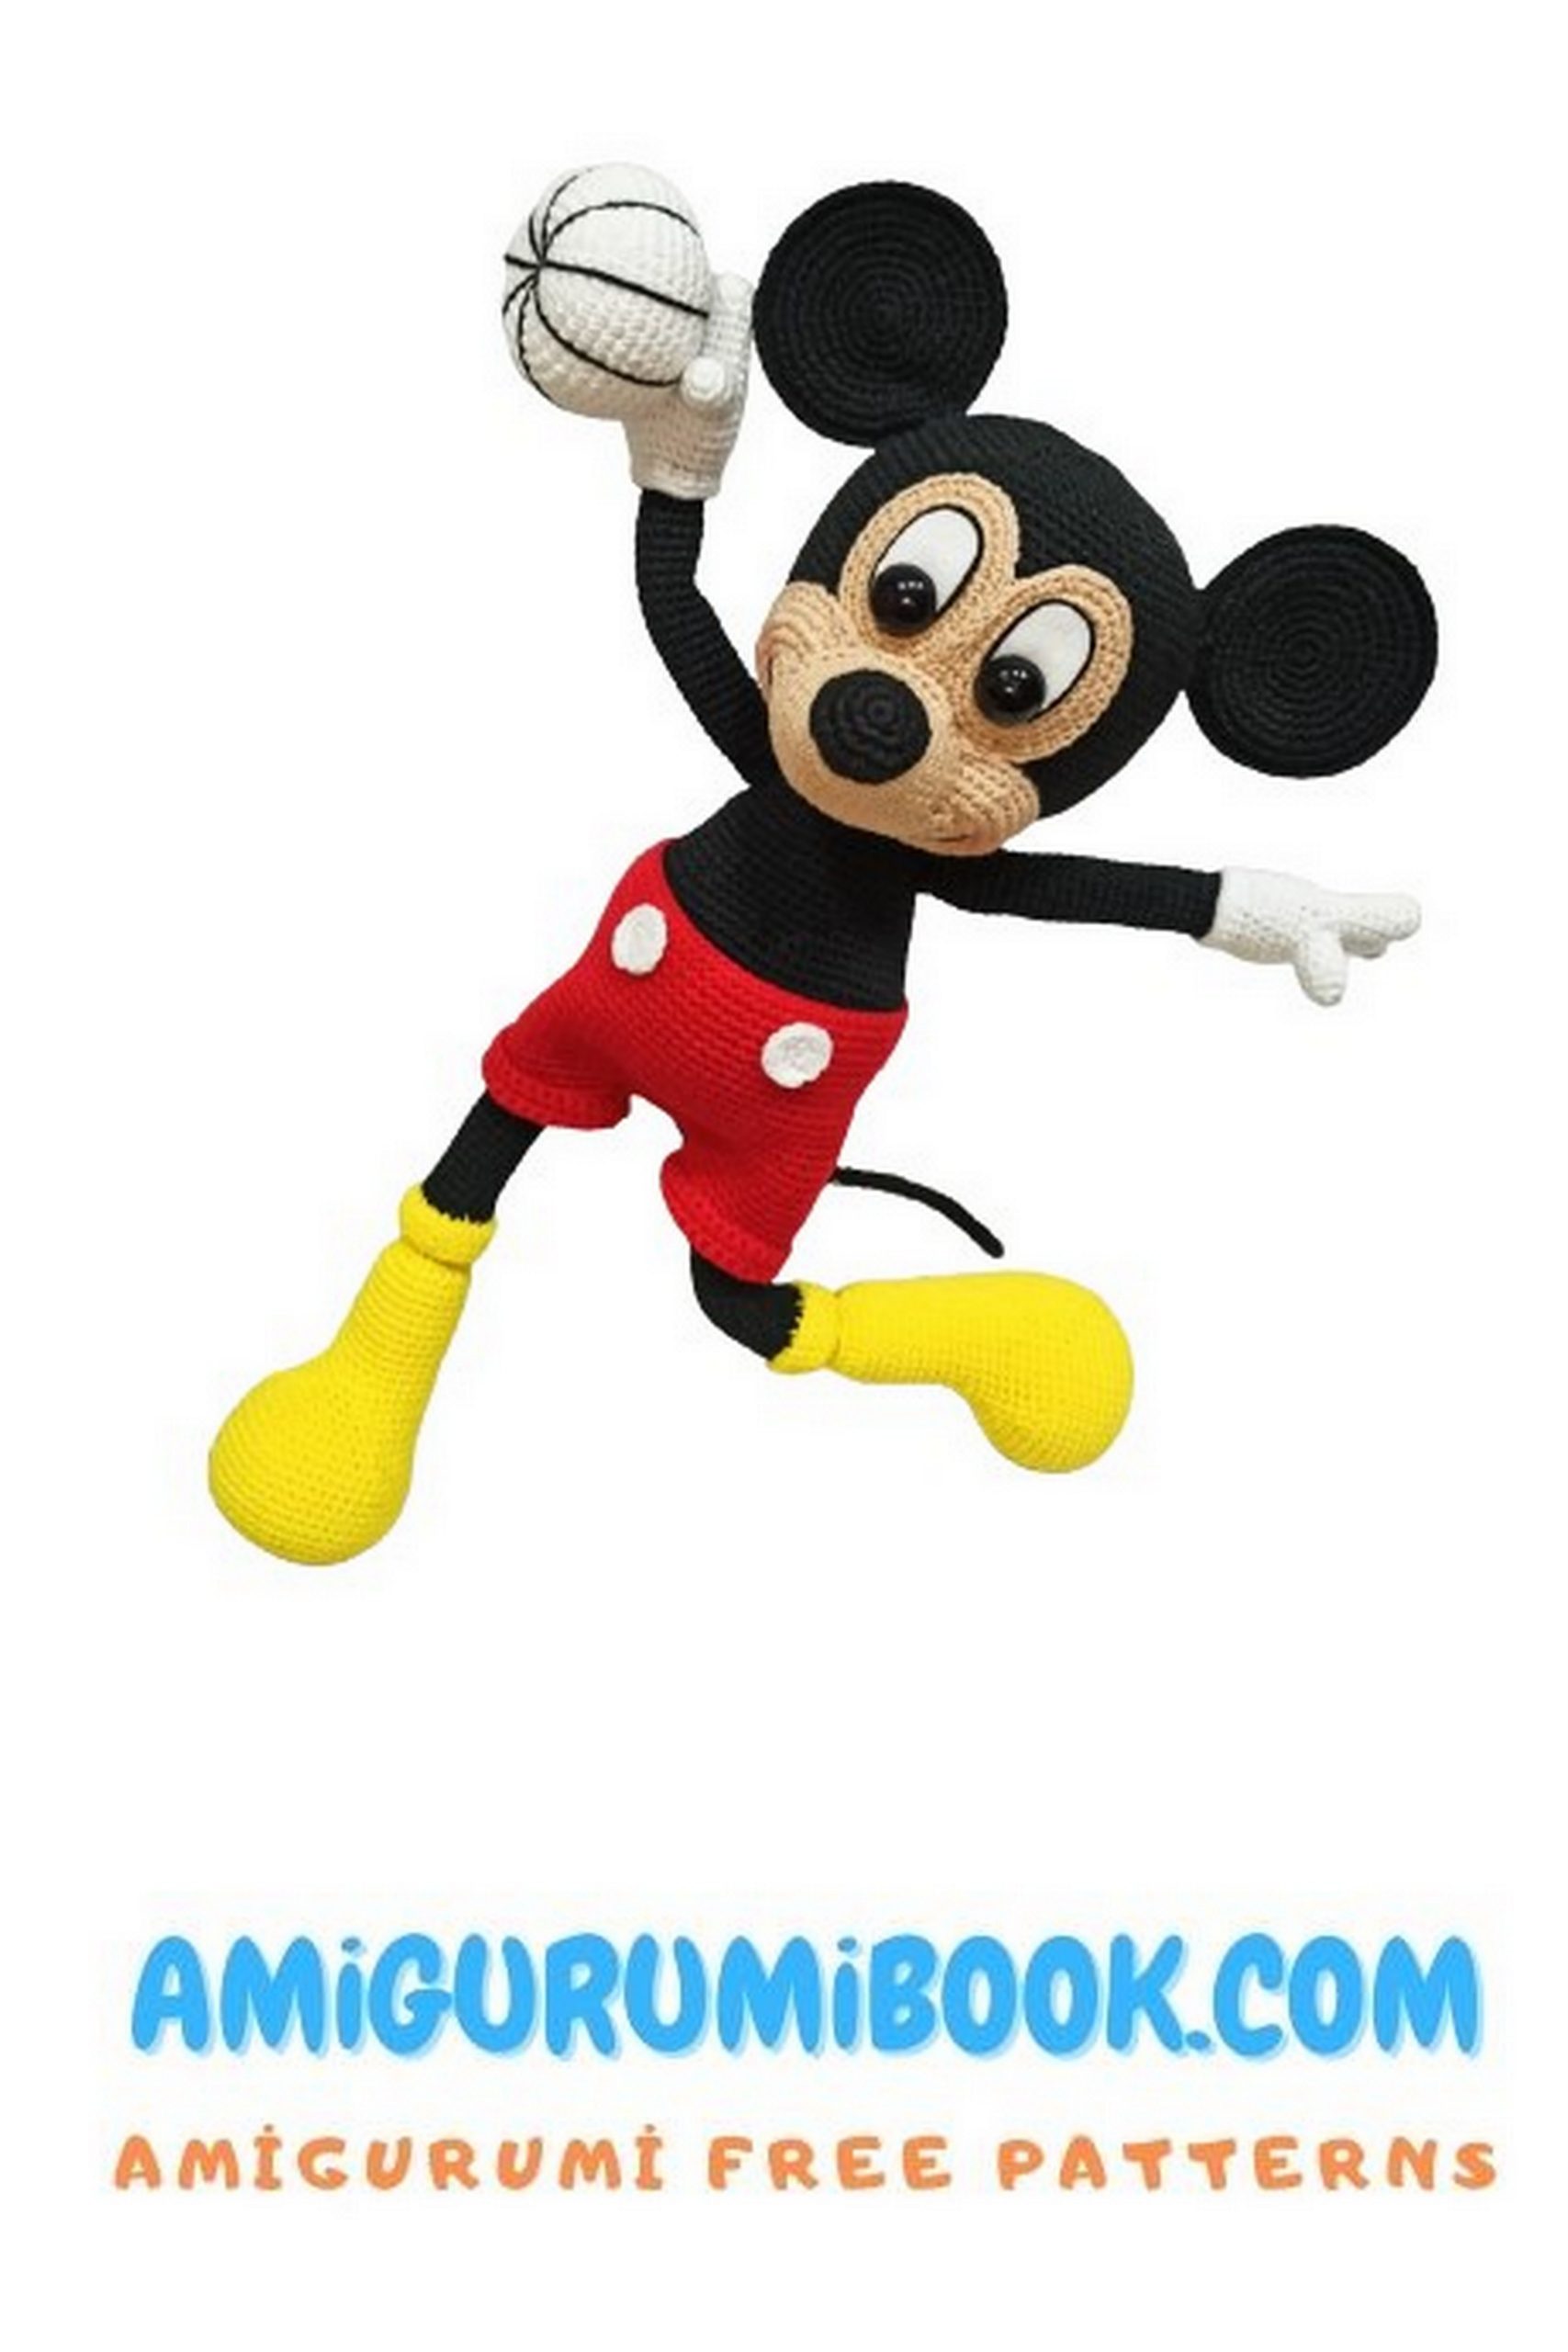
Calling all Disney fans and amigurumi enthusiasts! This free pattern is your key to crocheting your very own cuddly Mickey Mouse. Create a huggable icon with this easy-to-follow amigurumi pattern, perfect for beginners or seasoned crocheters alike. This adorable Mickey Mouse amigurumi will be a cherished keepsake for any Disney lover, a playful addition to a nursery, or a delightful handmade gift. So grab your yarn, crochet hook, and get ready to bring a touch of Disney magic to life!
If you want to access 1000+ free amigurumi patterns, you can download our application from this link!
Materials:
* black wire.
yellow and red thread.
white and beige thread. © tapestry needle.
scissors. © filling. 1,7 1.75 needle. 35 35cm wire © glue.
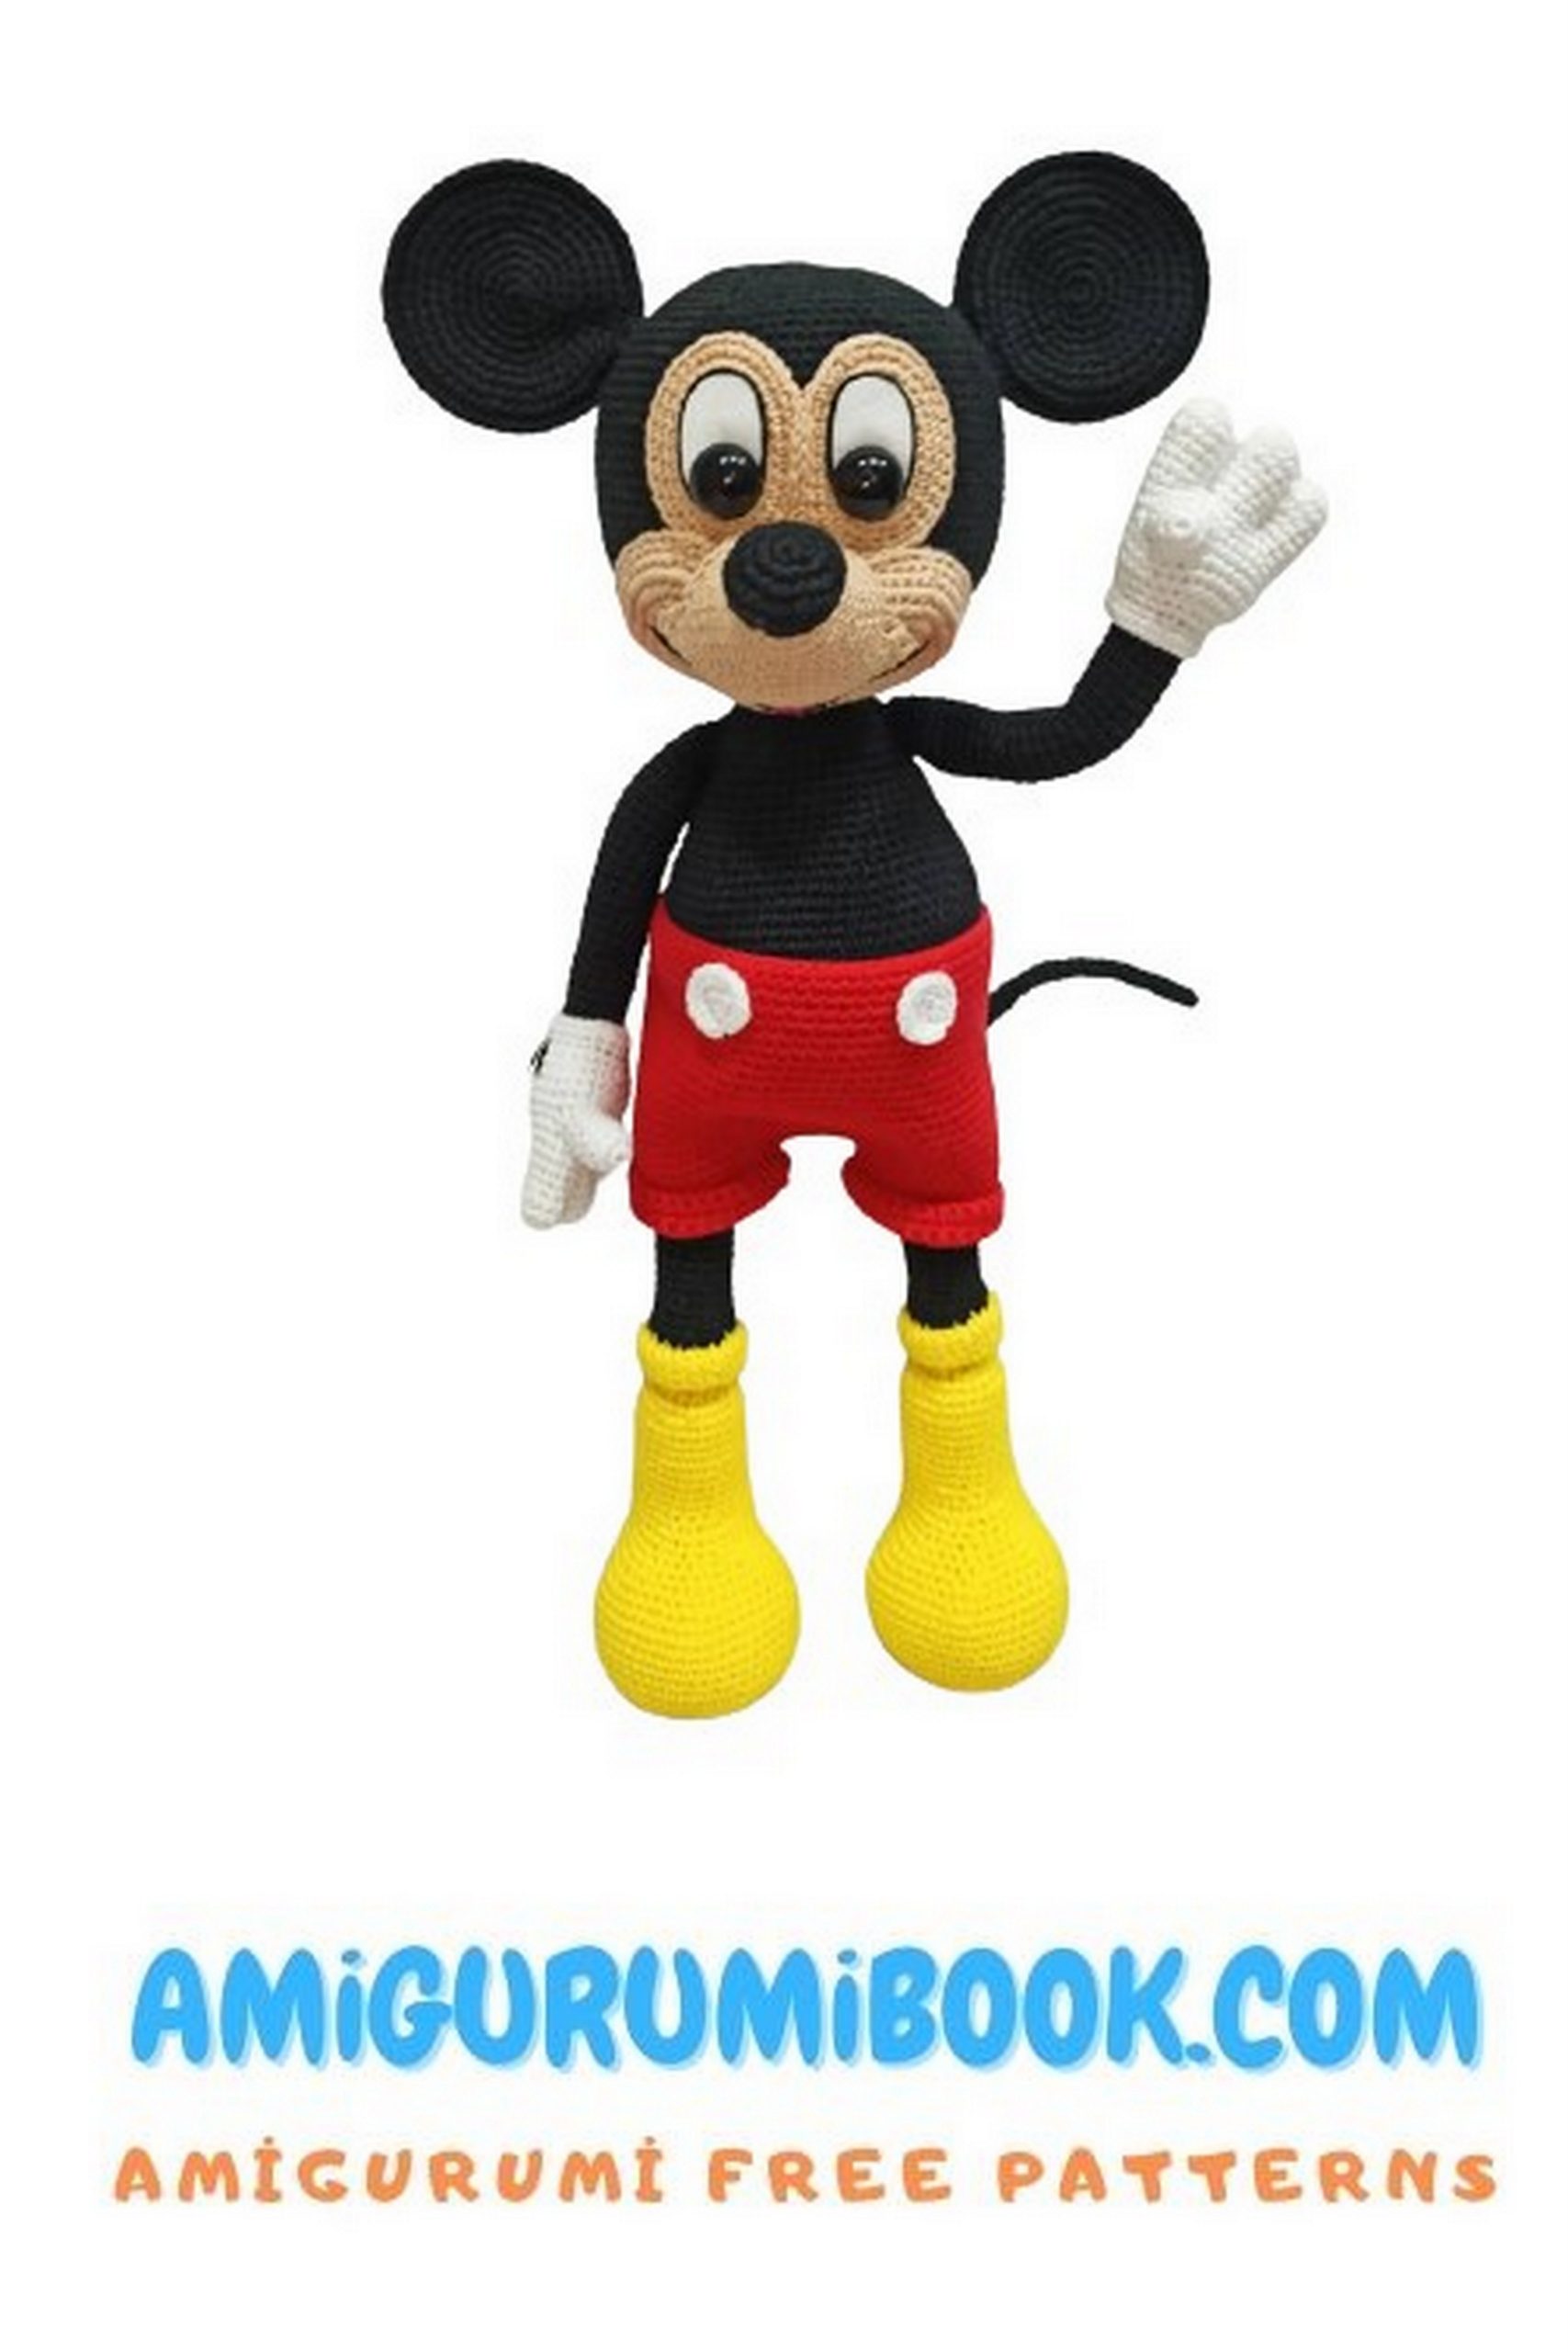
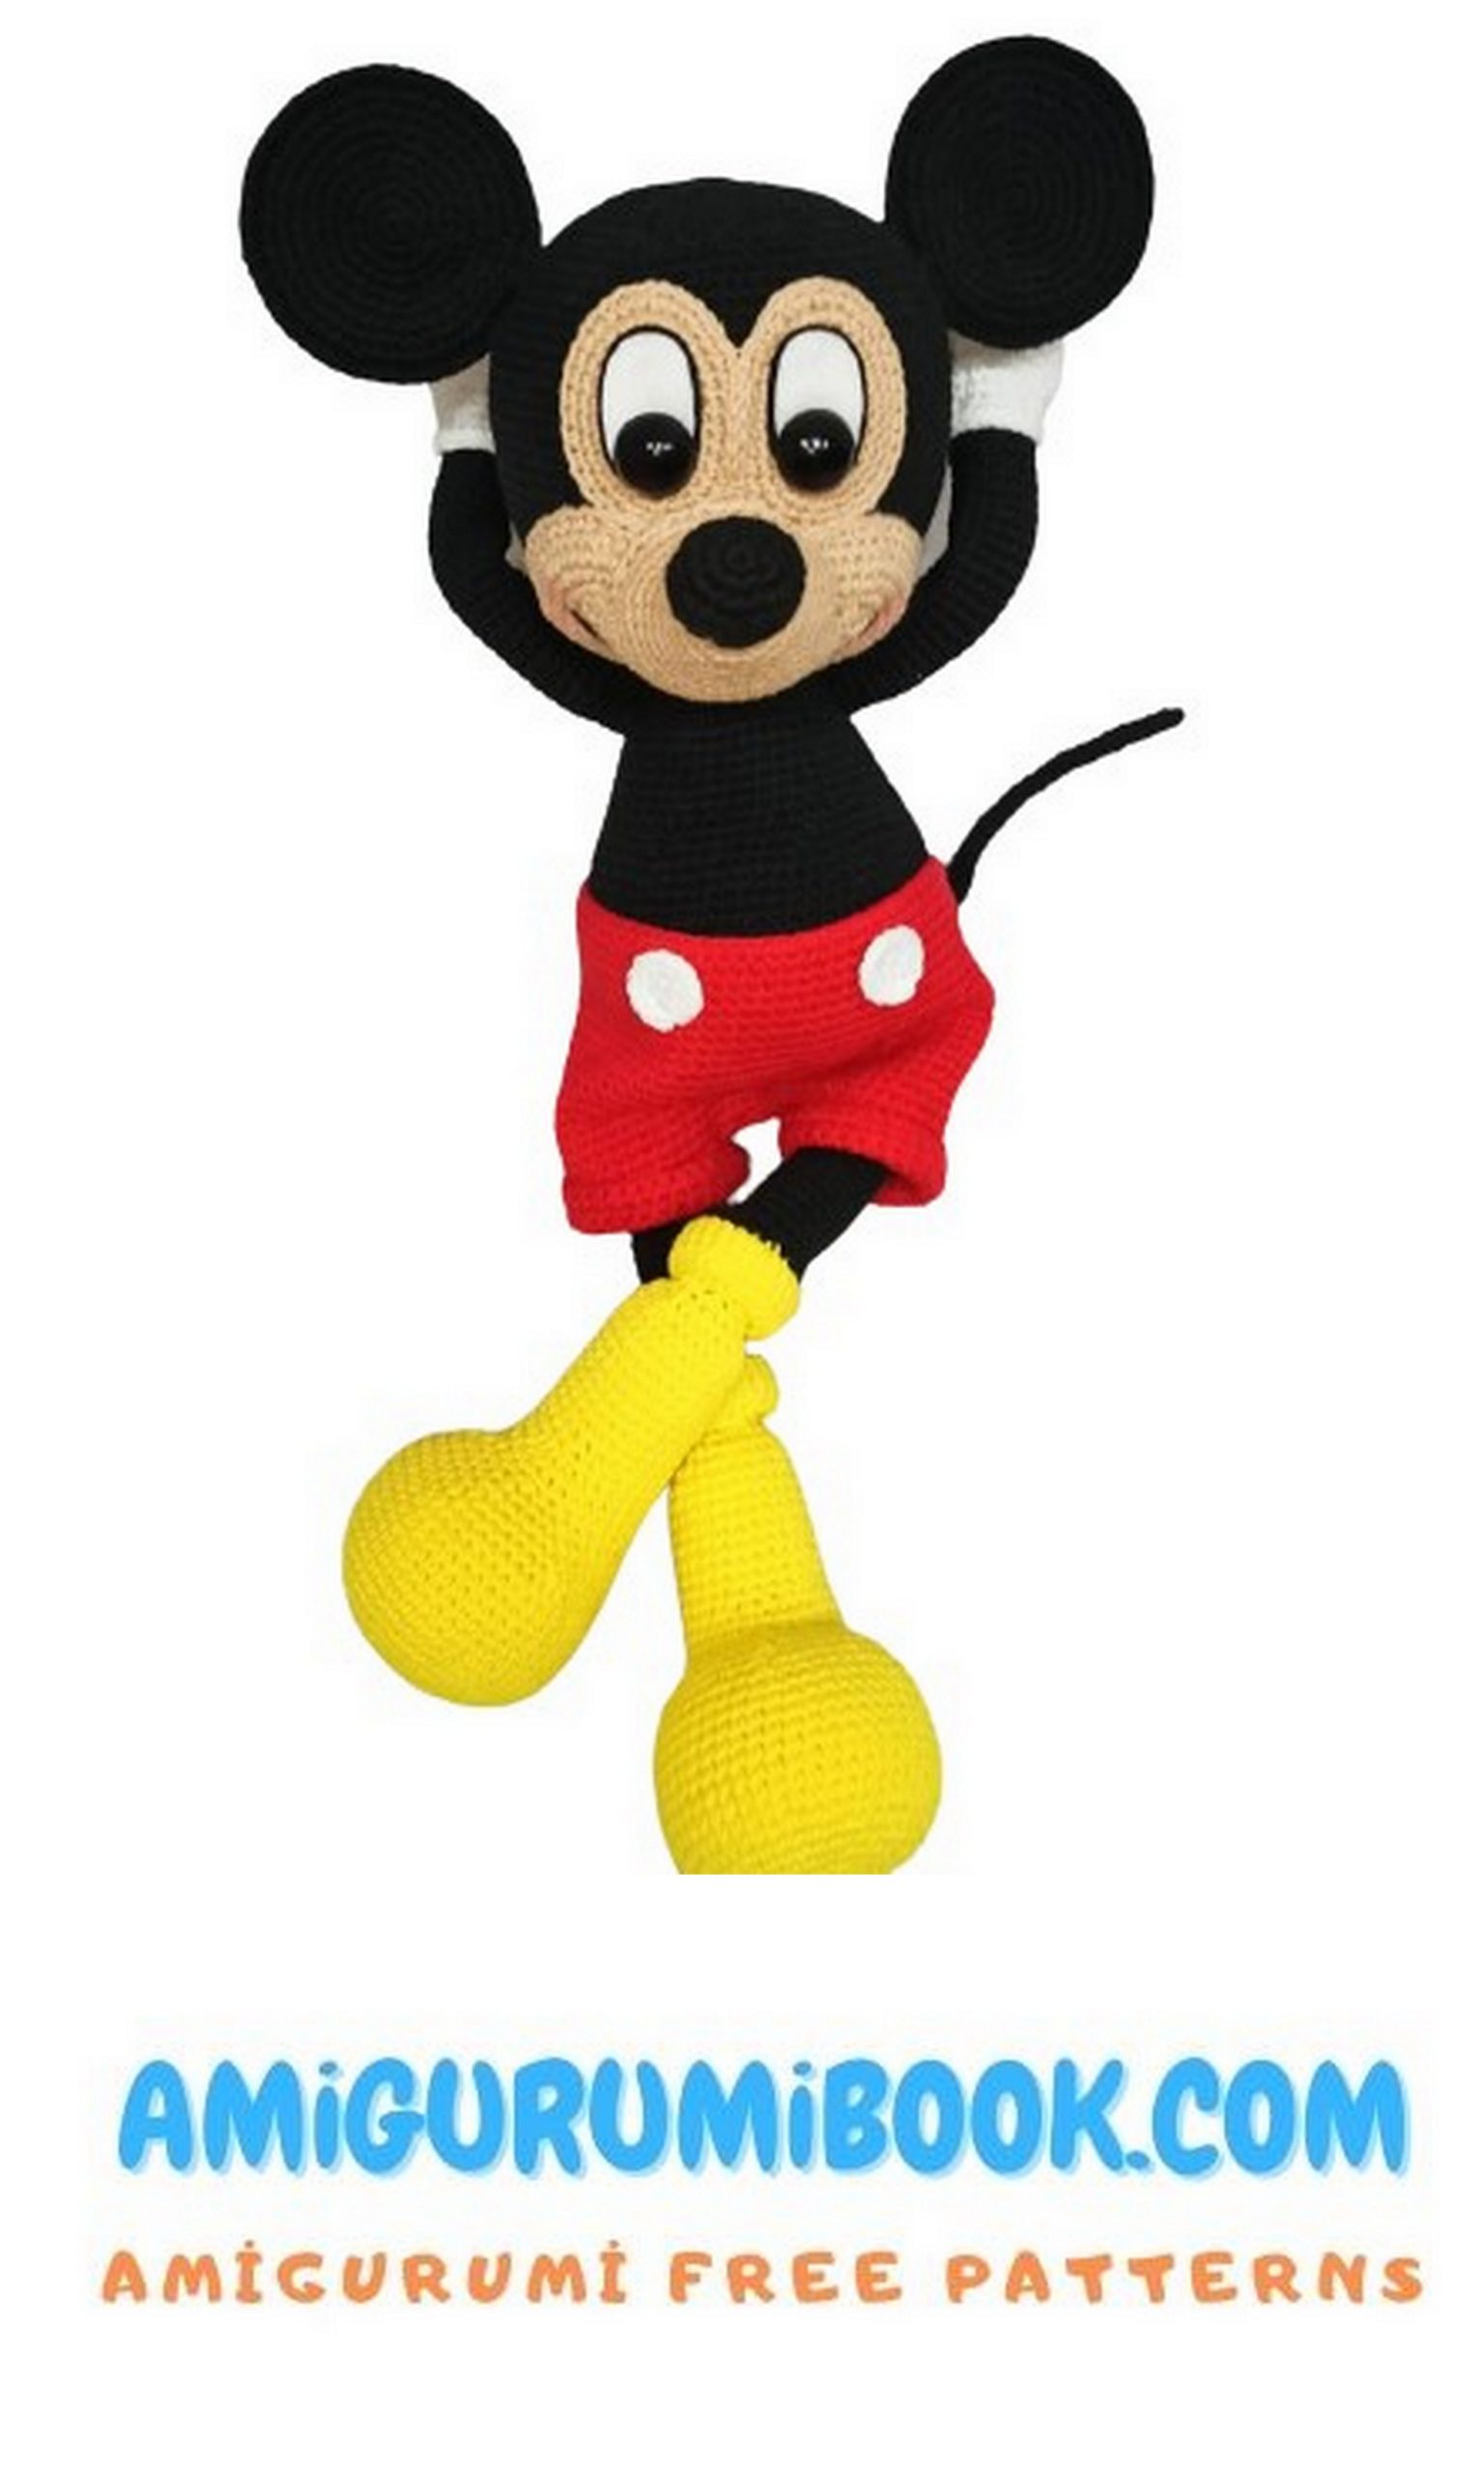
Size: Approximately. 42 cm ..

Abbreviations
ch – chain
sc – single crochet
inc – increase
dec – decrease
FLO – front loop
BLO – back loop
PATTERN
Mickey Mouse Body:
The body will be knitted from bottom to top with the transition to the head.
With black wire!
1: 6sc into magic ring
2: (inc, * 6) = (12)
3: (1sc, inc) * 6 = (18)
4: (2sc, inc) * 6 = (24)
5: (3sc, inc) * 6 = (30)
6: (4sc, inc) * 6 = (36)
7: (5sc, inc) * 6 = (42)
8: (6sc, inc) * 6 = (48)
9: (7sc, inc) * 6 = (54)
10: (8sc, inc) * 6 = (60)
11: (9sc, inc) * 6 = (66)
12—23: 66sc. (12rows)
24: (9sc, dec) * 6 = (60)
25: 08sc, dec) * 6 = (54)
26: 54sc. (lrow)
(see photos below)
27p- (7sc, dec) * 6 = (48)
28-33: 48sc. (6row)
34: (6sc, dec) * 6 = (42
You can now start filling the body.
35: (5sc, dec) * 6 = (36)
36: (4sc, dec) * 6 = (30)
37: (3sc, dec) * 6 = (24)
Take a 35 cm wire, make this structure (see photos below).
Wrap the joint with a bandage. Insert the side where the loop of the wire is shortest inside the body and fill the body arow the wire.
The wire is necessary for the stability of the head, as it is large in size.
38: (2sc, dec) * 6 = (18)
39-42: 18sc. (4row)
We don’t pull the thread and start knitting the head.

Mickey Mouse Head:
43: (2sc, inc) * 6 = (24)
44: (3sc, inc) * 6 = (30)
45: (4sc, inc) * 6 = (36)
46: (5sc, inc) * 6 = (42)
Fill your neck tightly.
47: (6sc, inc) * 6 = (48)
48: (7sc, inc) * 6 = (54)
49: (8sc, inc) * 6 = (60)
50: (9sc, inc) * 6 = (66)
51: (10sc, inc) * 6 = (72)
52: (11sc, inc) * 6 = (78)
53: (12sc, inc) * 6 = (84)
54—73: 84sc. (20rows)
74: (12sc, dec) * 6 = (78)
75: (11sc, dec) * 6 = (72)
76: (10sc, dec) * 6 = (66)
start filling your head.
77: (Osc, dec) * 6 = (60)
78: (8sc, dec) * 6 = (54)
79: (7sc, dec) * 6 = (48)
80: (6sc, dec) * 6 = (42)
81: (5sc, dec) * 6 = (36)
82: (4sc, dec) * 6 = (30)
83: (3sc, dec) * 6 = (24)
84: (2sc, dec) * 6 = (18)
85: (1sc, dec) * 6 = (12)
fill your head.
86: (dec * 6) Finish and finish
Mickey Mouse Legs (2):
We started to knit the legs of the foot.
With yellow thread.
1: 6sc into magic ring
2: (inc, * 6) = (12)
3: (1sc, inc) * 6 = (18)
4: (2sc, inc) * 6 = (24)
5: (3sc, inc) * 6 = (30)
6: 1sc, inc, (4sc, inc) * 5.3sc. = (36)
7: (5sc, inc) * 6 = (42)
8: 2sc, inc, (6sc, inc) * 5.4sc. = (48)
9-16: 48sc. (8rows)
17: 24sc, (dec, 9sc) * 2, dec = (45)
18: 25sc, (dec, 7sc) * 2, dec = (42)
19: 24sc, (dec, 6sc) * 2, dec = (39)
20: 25sc, (dec, 4sc) * 2, dec = (36)
-Fill
21: 24sc, (dec, 3sc) * 2, dec = (33)
22: 25sc, (dec, 1sc) * 2, dec (30)
23-24: 30sc. (2rows)
25: 24sc, (dec * 3) = (27)
26-35: 27sc. (10rows)
36: (2sc, dec) * 6,3sc. = (21)
37: (1sc, dec) * 7 = (14)
38: (dec * 7)
Fill to the end, finish.
Attach the line and weave 24sc. on the leg. (see photos below)
Further
1-2: 24sc. (2rows)
3: FLO- 24sc.
Leave the yellow wire aside for now.
Attach the black thread and weave –
4: (dec, sc) * 8 = (16)
5-30: 16sc. (26rows)
fill the whole process
We fix the wire and cut.
We return to the left yellow line, knit more – 24sc – (3 rows), fix the line and cut it.
Wrap as in the photo below.
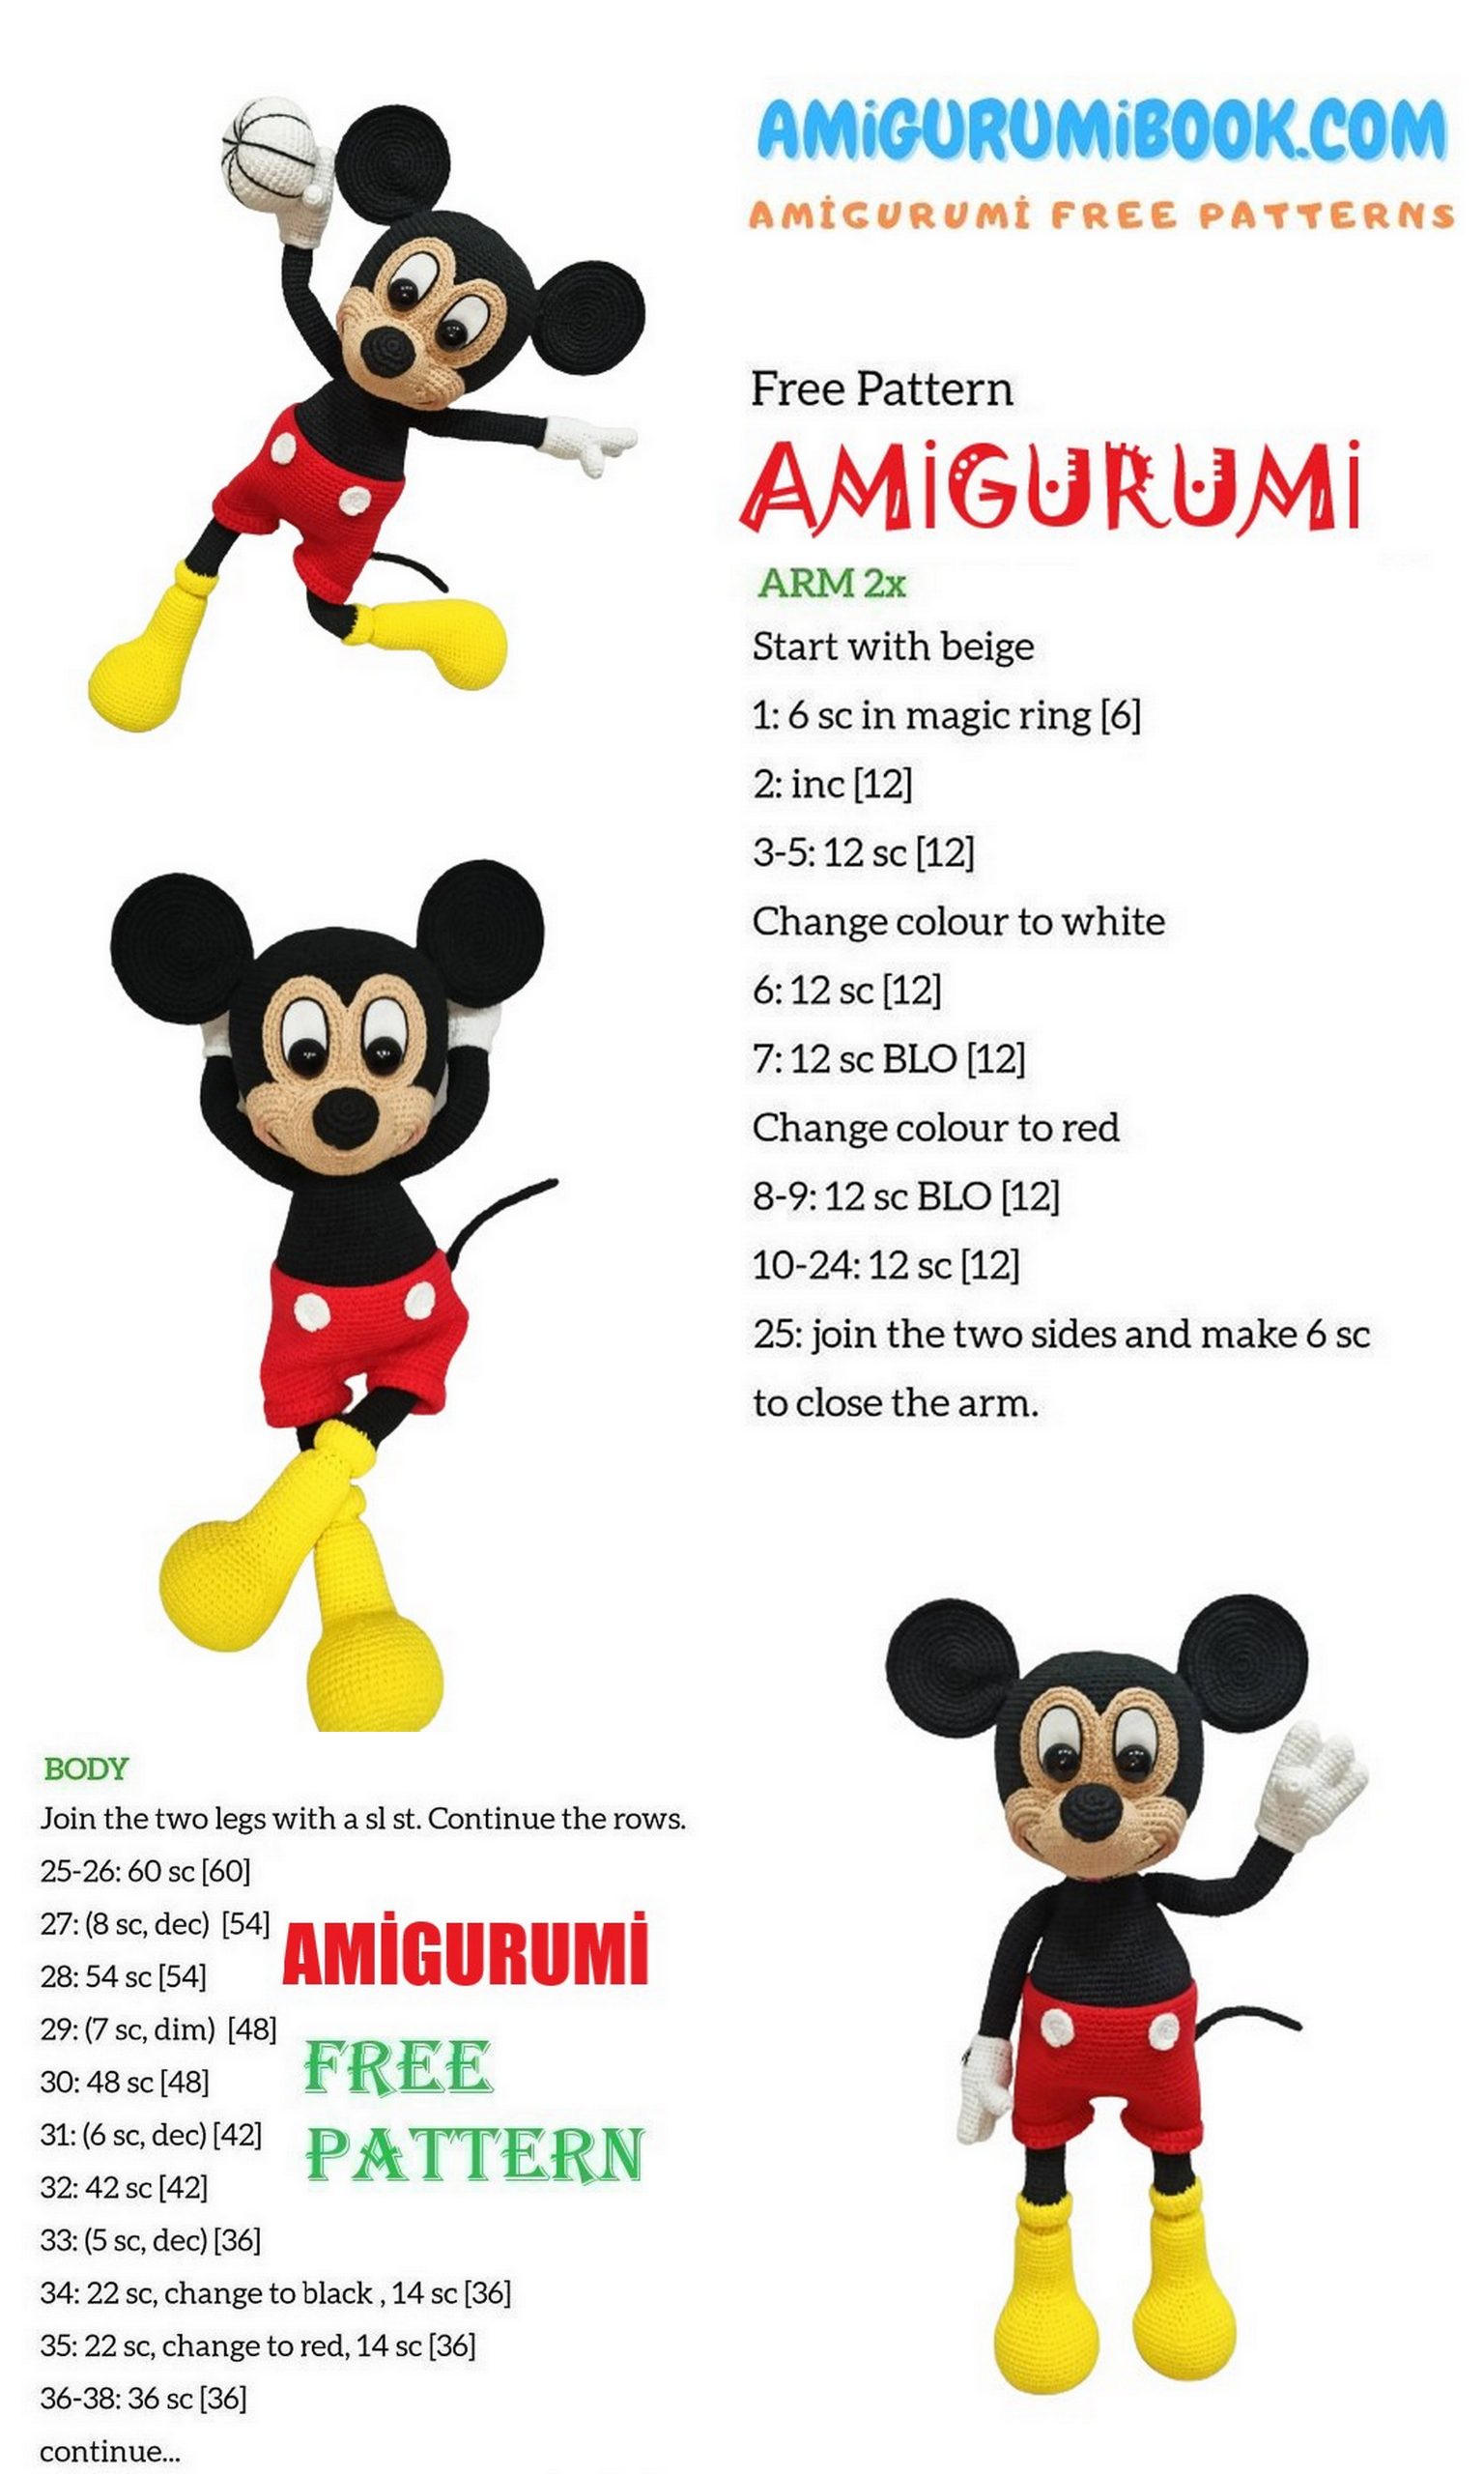
Mickey Mouse Arms:
We started to weave our fingers. There will be 4 fingers on each hand.
With white thread.
Thumb (2)
1: 6sc into magic ring
2: (inc, * 6) = (12)
3: 12sc. (1row)
4: (4sc, dec) * 2 = (10)
5—6: 10sc. (2rows)
Finish and finish the wire.
1st finger (2)
1: 6sc into magic ring
2: (inc, * 6) = (12)
3: 12sc. (1row)
4: (4sc, dec) * 2 = (10)
5—7: 10sc. (Zrows)
Finish and finish the wire.
2nd finger (2)
1: 6sc into magic ring
2: (inc, * 6) = (12)
3: 12sc. (1row)
4: (4sc, dec) * 2 = (10)
5—8: 10c6h. (4rows)
Finish and finish the wire.
3rd finger (2)
1: 6sc into magic ring
2: (inc, * 6) = (12)
3: 12sc. (1row)
4: (4sc, dec) * 2 = (10)
5—6: 10con. (2rows)
Don’t cut the thread, put a marker, weave more ….
Grease your fingers –
knit 5 sc 3rd finger
5 sc 2rd finger
10 sc 1 rd finger
5 sc 2 rd finger
5 sc 3 rd finger
knit 30 SC – 4 round
Further
for the right hand: we weave 11sc., apply the thumb and, with the thumb, we weave 5sc. Then we weave the remaining 14sc. = (30) (see photos below)
For the left hand:
we weave 18 sc, 5 sc. along with the thumb, 7sc. = (30)
(see photo above) In addition, the pattern for both hands is the same.
1—3: 30sc. (3rows)
We weave taking the remaining 5sc of the thumb.
4: (4sc, dec) * 5 = (25)
5: 25sc. (1row)
Fill your fingers and palm with padding.
6: FLO (3sc, dec) * 5 = (20)
7: (3sc, inc) * 5, = (25) finish and finish the thread
Change to black!
8: BLO (2dec, sc.) * 5 = (15) (see photos below)
Fill your palm all the way
9p-33p- 15sc. (25rows)
On the back surface of your palm, make three stripes with a black thread in two additions! (see photo above).
Sew the pens as pictured below. We haven’t sewed the legs yet! (I noticed the legs temporarily for the photo).
Mickey Mouse Ears (2):
1: 6sc into magic ring
2: (inc, * 6) = (12)
3: (1sc, inc) * 6 = (18)
4: (2sc, inc) * 6 = (24)
5: (3sc, inc) * 6 = (30)
6p- 1sc, inc, (4sc, inc) * 5.3sc. = (36)
7p- (5sc, inc) * 6 = (42)
8p- 2sc, inc, (6sc, inc) * 5, 4sc. = (48)
9p- (7sc, inc) * 6 = (54)
We fixed the wire. It is necessary to tie such 4 pieces.
Then we add 2 circles on the wrong side to each other and weave the two edges with sc (see photos below)
Face: Eyes
Use beige. Make 6 ch and start from the 2nd ch loop:
1: 4sc, 3sc on the last floor, on the other side of the floor, 3sc, inc = (12)
2: linc, 3sc, 3inc, 4sc, linc = (17)
3: 2inc, 5sc, 3inc, 6sc, linc = (23)
4: 2inc, 8sc, 3inc, 10sc. = (28)
5: Zinc, 11sc, 3inc, 11sc. = (34)
6: (inc, sc) * 3,12sc, (inc, sc) * 3 end with = (30)
(see photos below)
Cheeks:
Make 18 ch and start from the 2nd ch handle:
1: 8sc, inc, 7sc, 3inc, 14sc, inc = (39)
2: 2inc, 2sc, (3sc, inc) * 3,3sc, 3inc, 17sc. = (47)
3: 3inc, 23sc, 3inc, 18sc. = (53)
4: (1sc, inc) * 3,23sc, (1sc, inc) * 3,7sc, 2dec, 7sc. = (57)
5: (2sc, inc) * 4.18sc, (inc, 2sc) * 4.15sc. = (65)
6: (3sc, inc) * 4.20sc, (inc, 3sc) * 4.13sc. = (73)
7: (4sc, inc) * 12.13sc. = (85)
8: (4sc, dec) * 12.13sc. = (73) (see photos below)
Mickey Mouse Nose:
1: 6sc into magic ring
2: (inc, * 6) = (12)
3: (2sc, inc) * 4 = (16)
4: (3sc, inc) * 4 = (20)
5: 20sc. (1row)
6: (4sc, inc) * 4 = (24)
7: 24sc. (1row)
8: (5sc, inc) * 4 = (28)
9: (6sc, inc) * 4 = (32)
10: (7sc, inc) * 4 = (36)
11: 3sc, inc, (8sc, inc) * 3,5sc. = (40)
We knit in rotating rows
12: 20sc, ch, turn
13: 20sc, ch, turn
14: 20sc, ch, turn
15: 20sc.
Finish and cut the wire
Black nose
With black thread
1: 6sc into magic ring
2: (inc, * 6) = (12)
3: (1sc, inc) * 6 = (18)
4: (2sc, inc) * 6 = (24)
5: (3sc, inc) * 6 = (30)
6: 15dec = (15)
finish and finish (see photos below)
Face assembly:
Place the cheeks and mouth and sew as in my photo, leaving a small space not sewn, through it is necessary to add filling, distribute it only by the edges of the cheeks, in the middle of the filling it should not be!
After sewing this gap. (see photos below)
Fill the black nose with filling and sew on the nose. moving the nose with the padding is not tight. Arrange and sew your nose as in my photo (see photos below)
Then, we make mouth guards, inserting the needle alternately from below (where the smile will be) upwards (where the nose ends). The same is true for 4-5 ducks. While the mouth is not being drawn.
It should look like this
(see photos below)
Then, embroider the mouth with black thread where the mark was made. Insert the line in the corner of the mouth, apply glue to the cavity (where the reduction was made) and stretch the line, placing it in the glue.
Embroider the dimples in the corners of the mouth (making only one stitch)
Then we do the language. We form a semicircle with the same thread, we glue the thread. Inside the semicircle, you can paste felt, paint with pastel or blush – for us (at your discretion).
We painted the corners of the cheeks with a pink blush. We move on to the eyes. From the white felt we cut an oval (2 pcs.).
Take oval eyes (see photos below)
We cut holes in the felt, insert the black eyes there and glue.
the eyes according to the photo
No.1 – (indent from the middle of 2 rows)
No2- (indent 2 lines)
No3- (indent 2 lines)
Apply glue along the edge of the felt and glue the black thread, embroider the lashes. Paint the shine with white acrylic paint. (see photos below)
Mickey Mouse Tail:
Make 9 ch, and close.
1–10: FLO 9sc. (10rows)
11: 1dec = (8)
12—14: 8sc. (3rows)
15: 1dec = (7)
16—18: 7sc. (3rows)
19: 1dec = (6)
20—22: 6sc. (3rows)
23: 1dec = (5)
24—26: 5sc. (3rows)
27—32: 5sc. (6rows)
33: 1dec = (4)
34—39: 4sc. (6rows)
40: 1dec = (3)
41–43: 3sc. (3rows)
Change to a smaller size needle
finish with 8 ch. Finish and finish.
Mickey Mouse Shorts:
With red thread.
Weave 80 ch, close the circle. Weave 24 rows.
Then, we divided it into three parts, as in the photo below –
Two parts, which are larger, exist for 32sc.
The middle part is 16sc.
First we knit a part – this is a pant leg, 7 rows (we do not touch the markers, they are not ignored in the calculation)
Then we attach the thread to the other part and knit the second and first legs. Sew the middle with a needle
Sew a tail (see photos below)