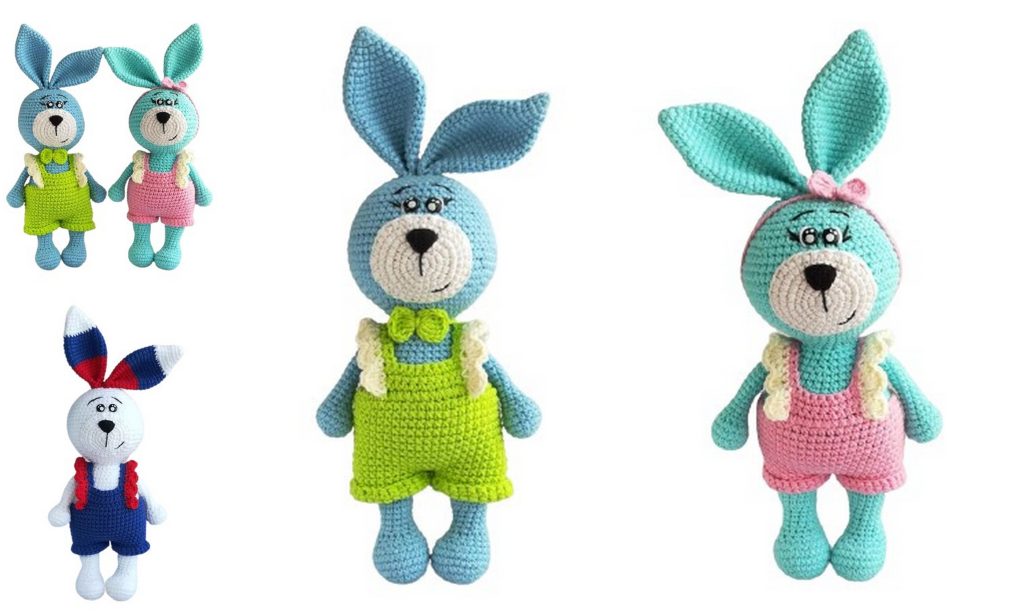
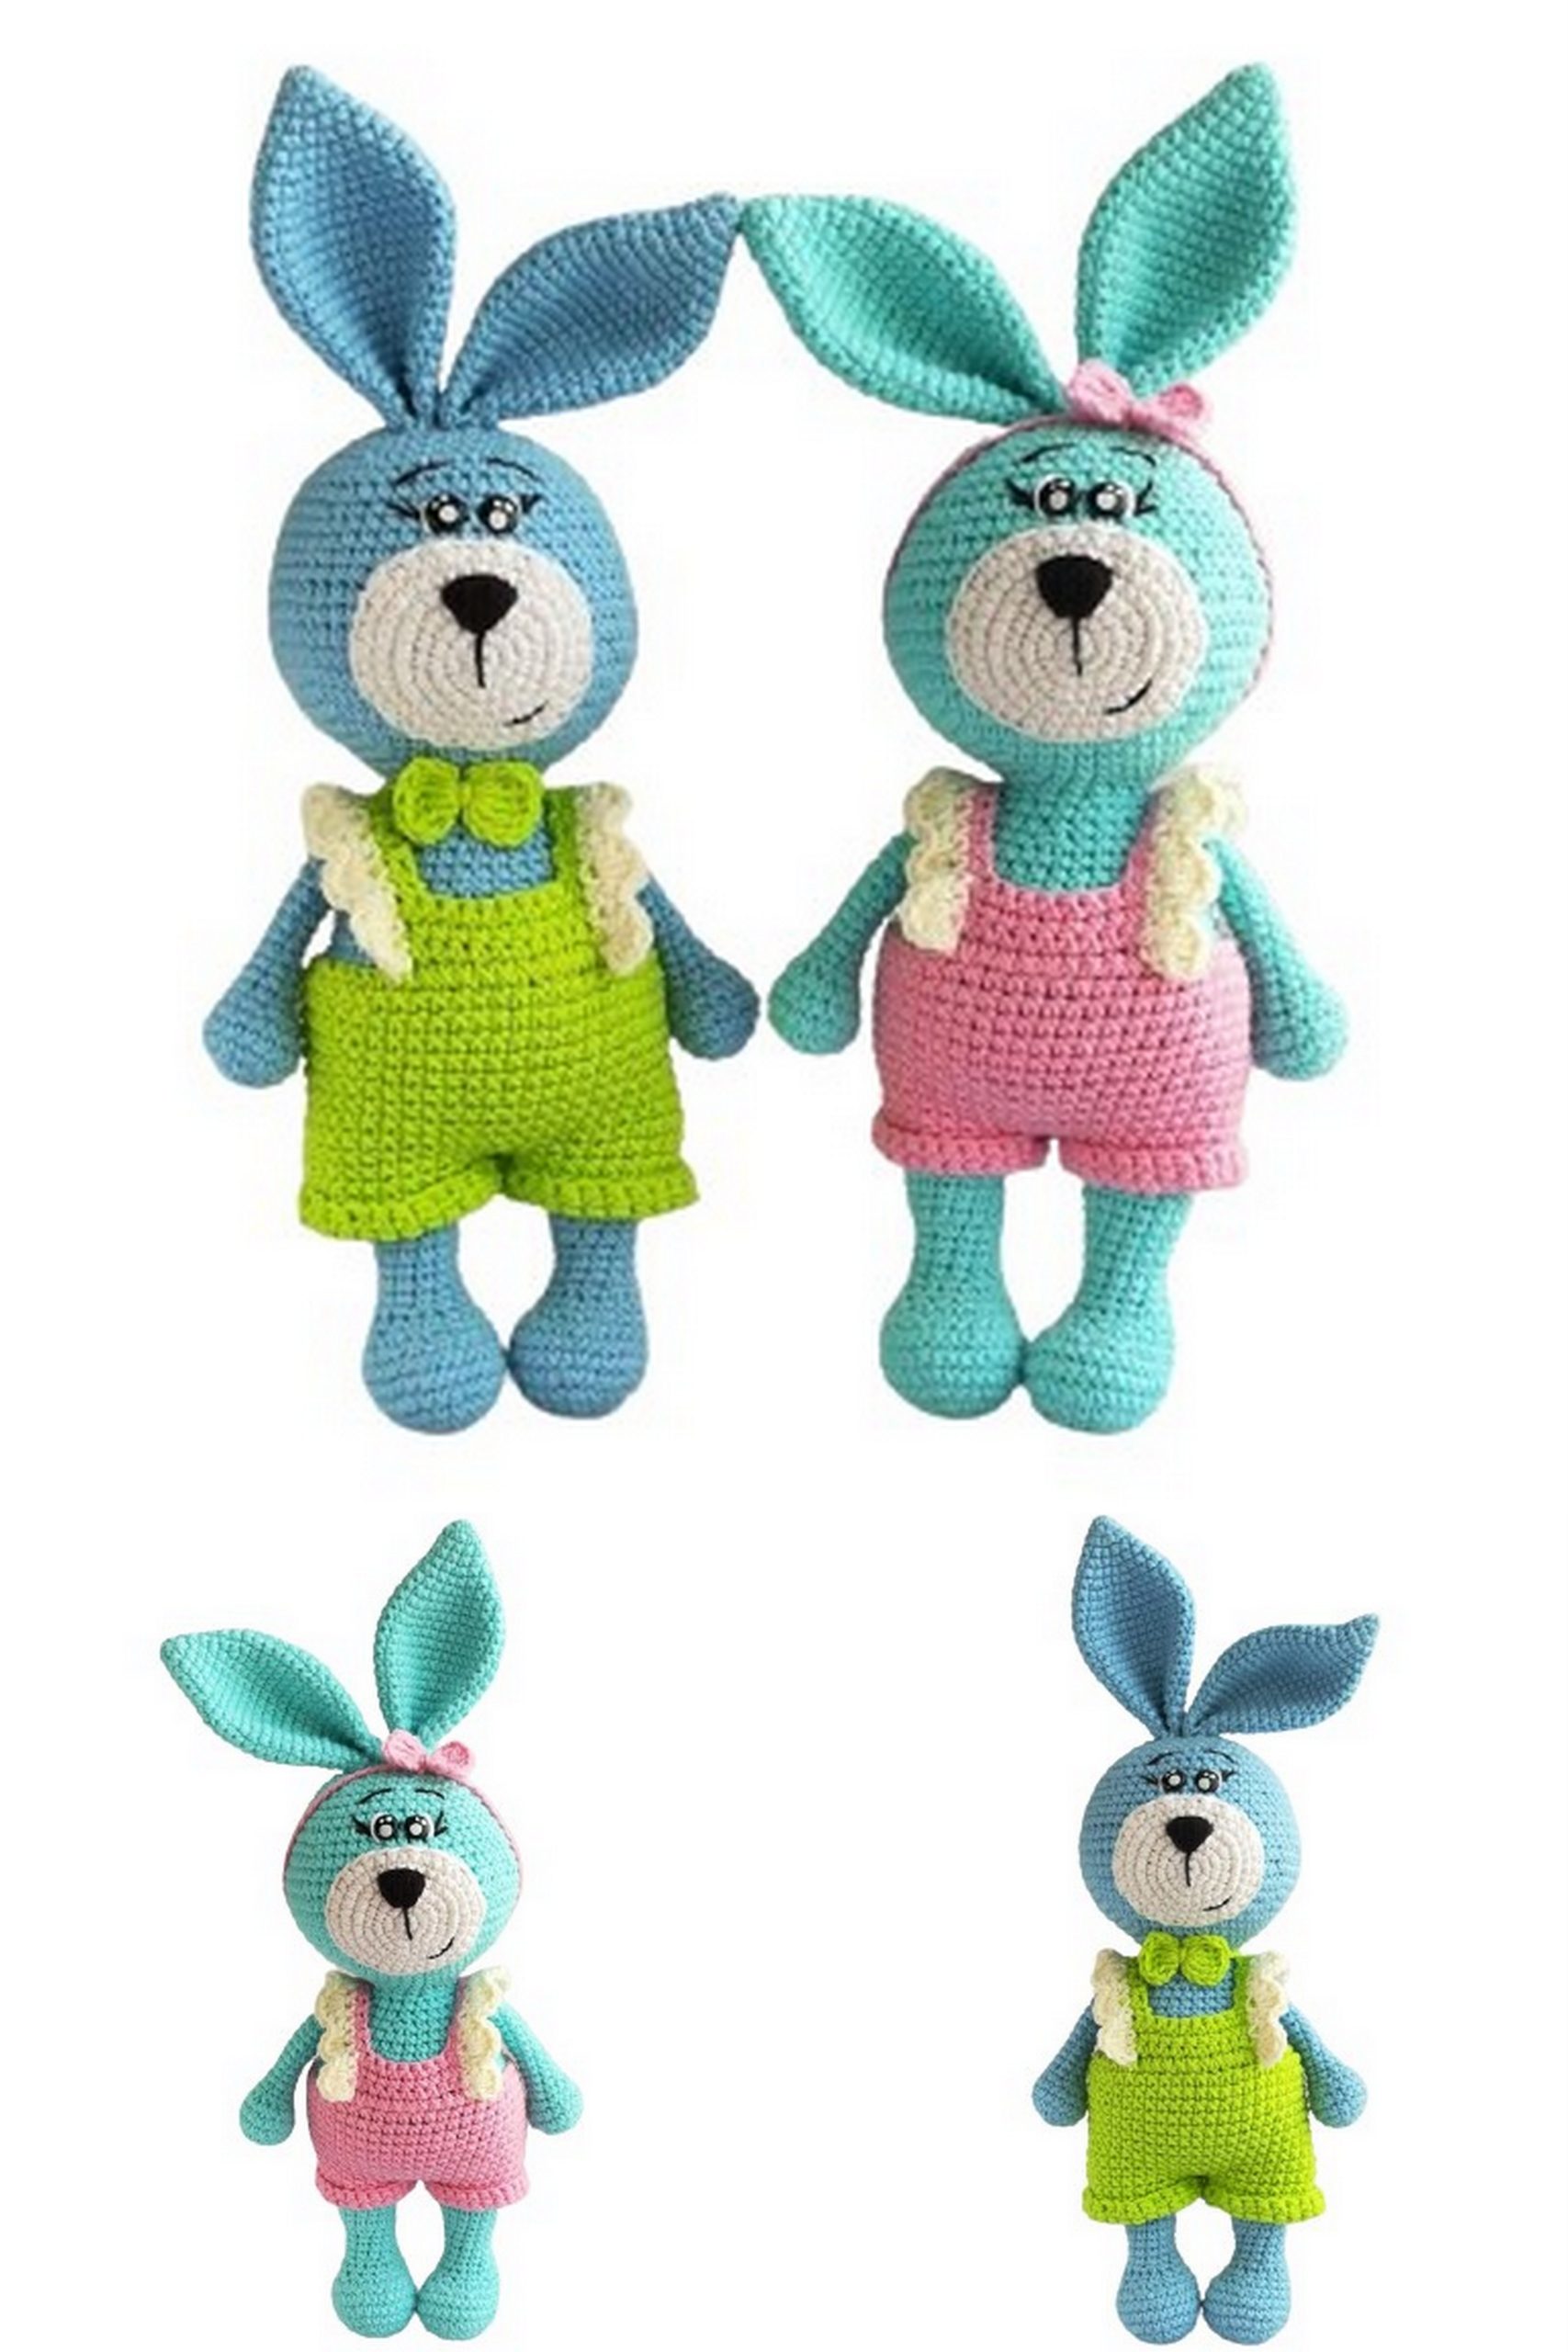
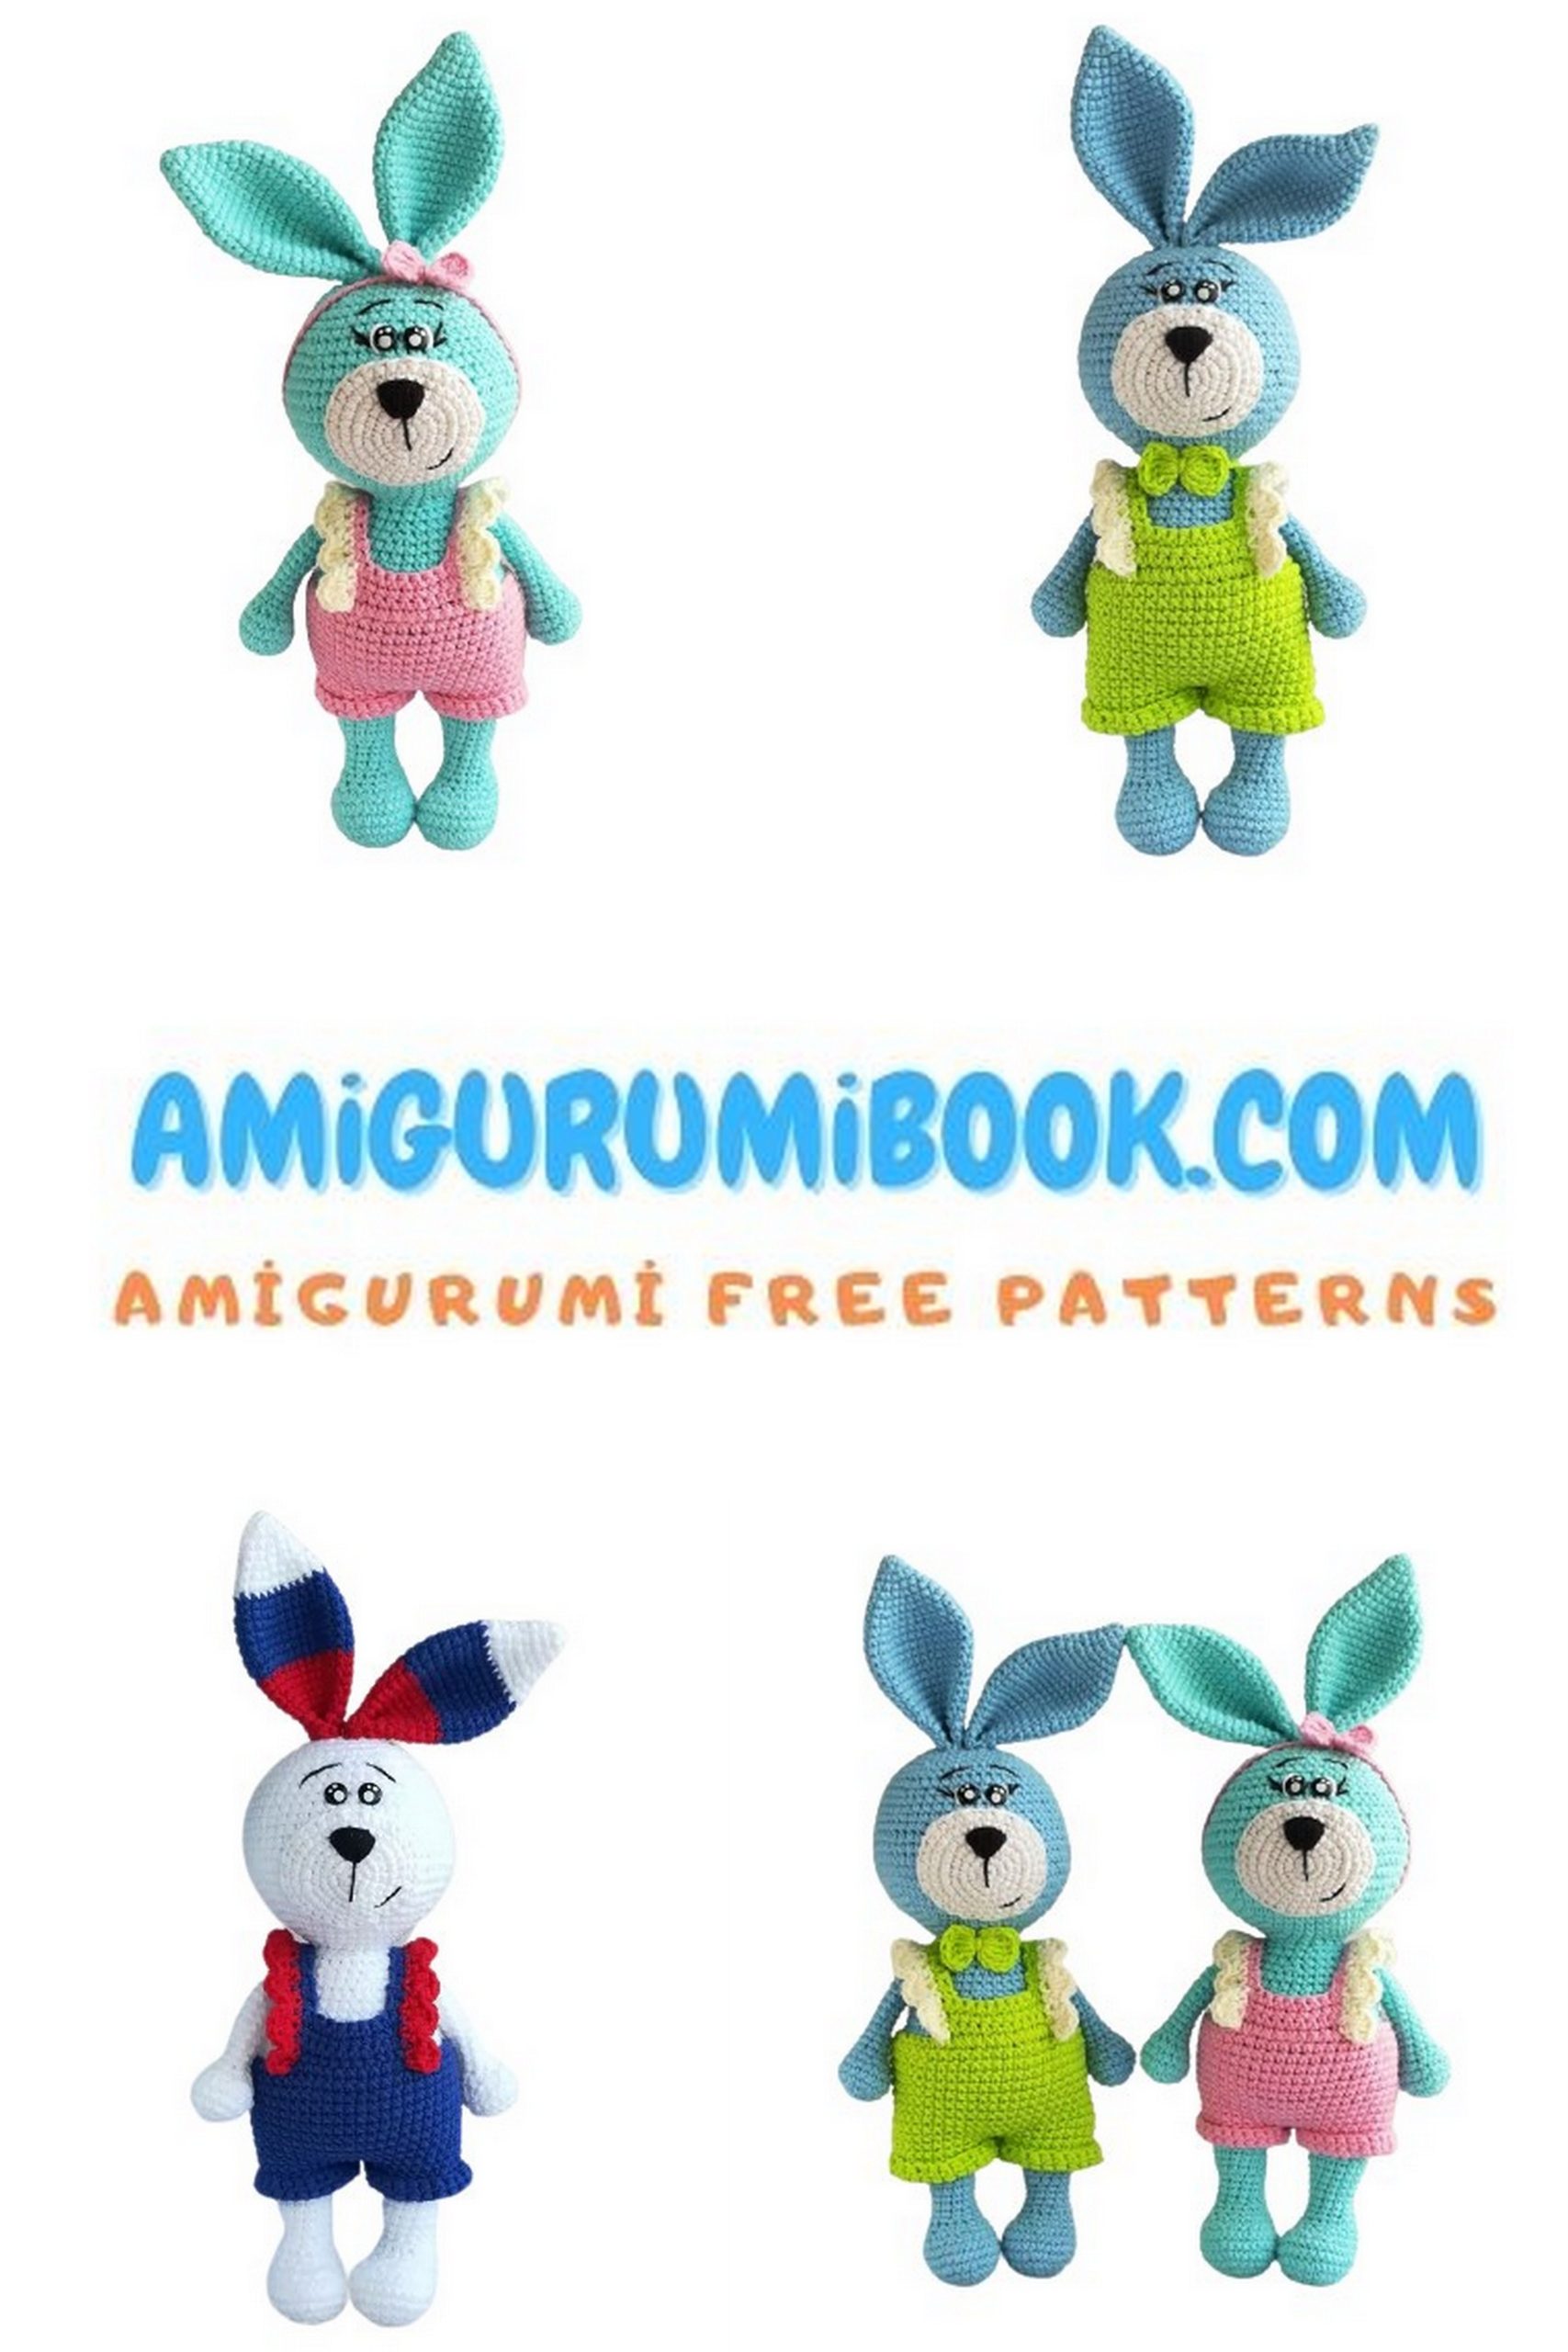
The Mr. and Mrs. Adorable Bunny Amigurumi free pattern offers a delightful way to create charming handmade bunny dolls perfect for gifts or decoration. This easy-to-follow pattern is ideal for both beginners and experienced crocheters looking to add a touch of whimsy to their collection. free crochet patterns
You may also like more amigurumi patterns.
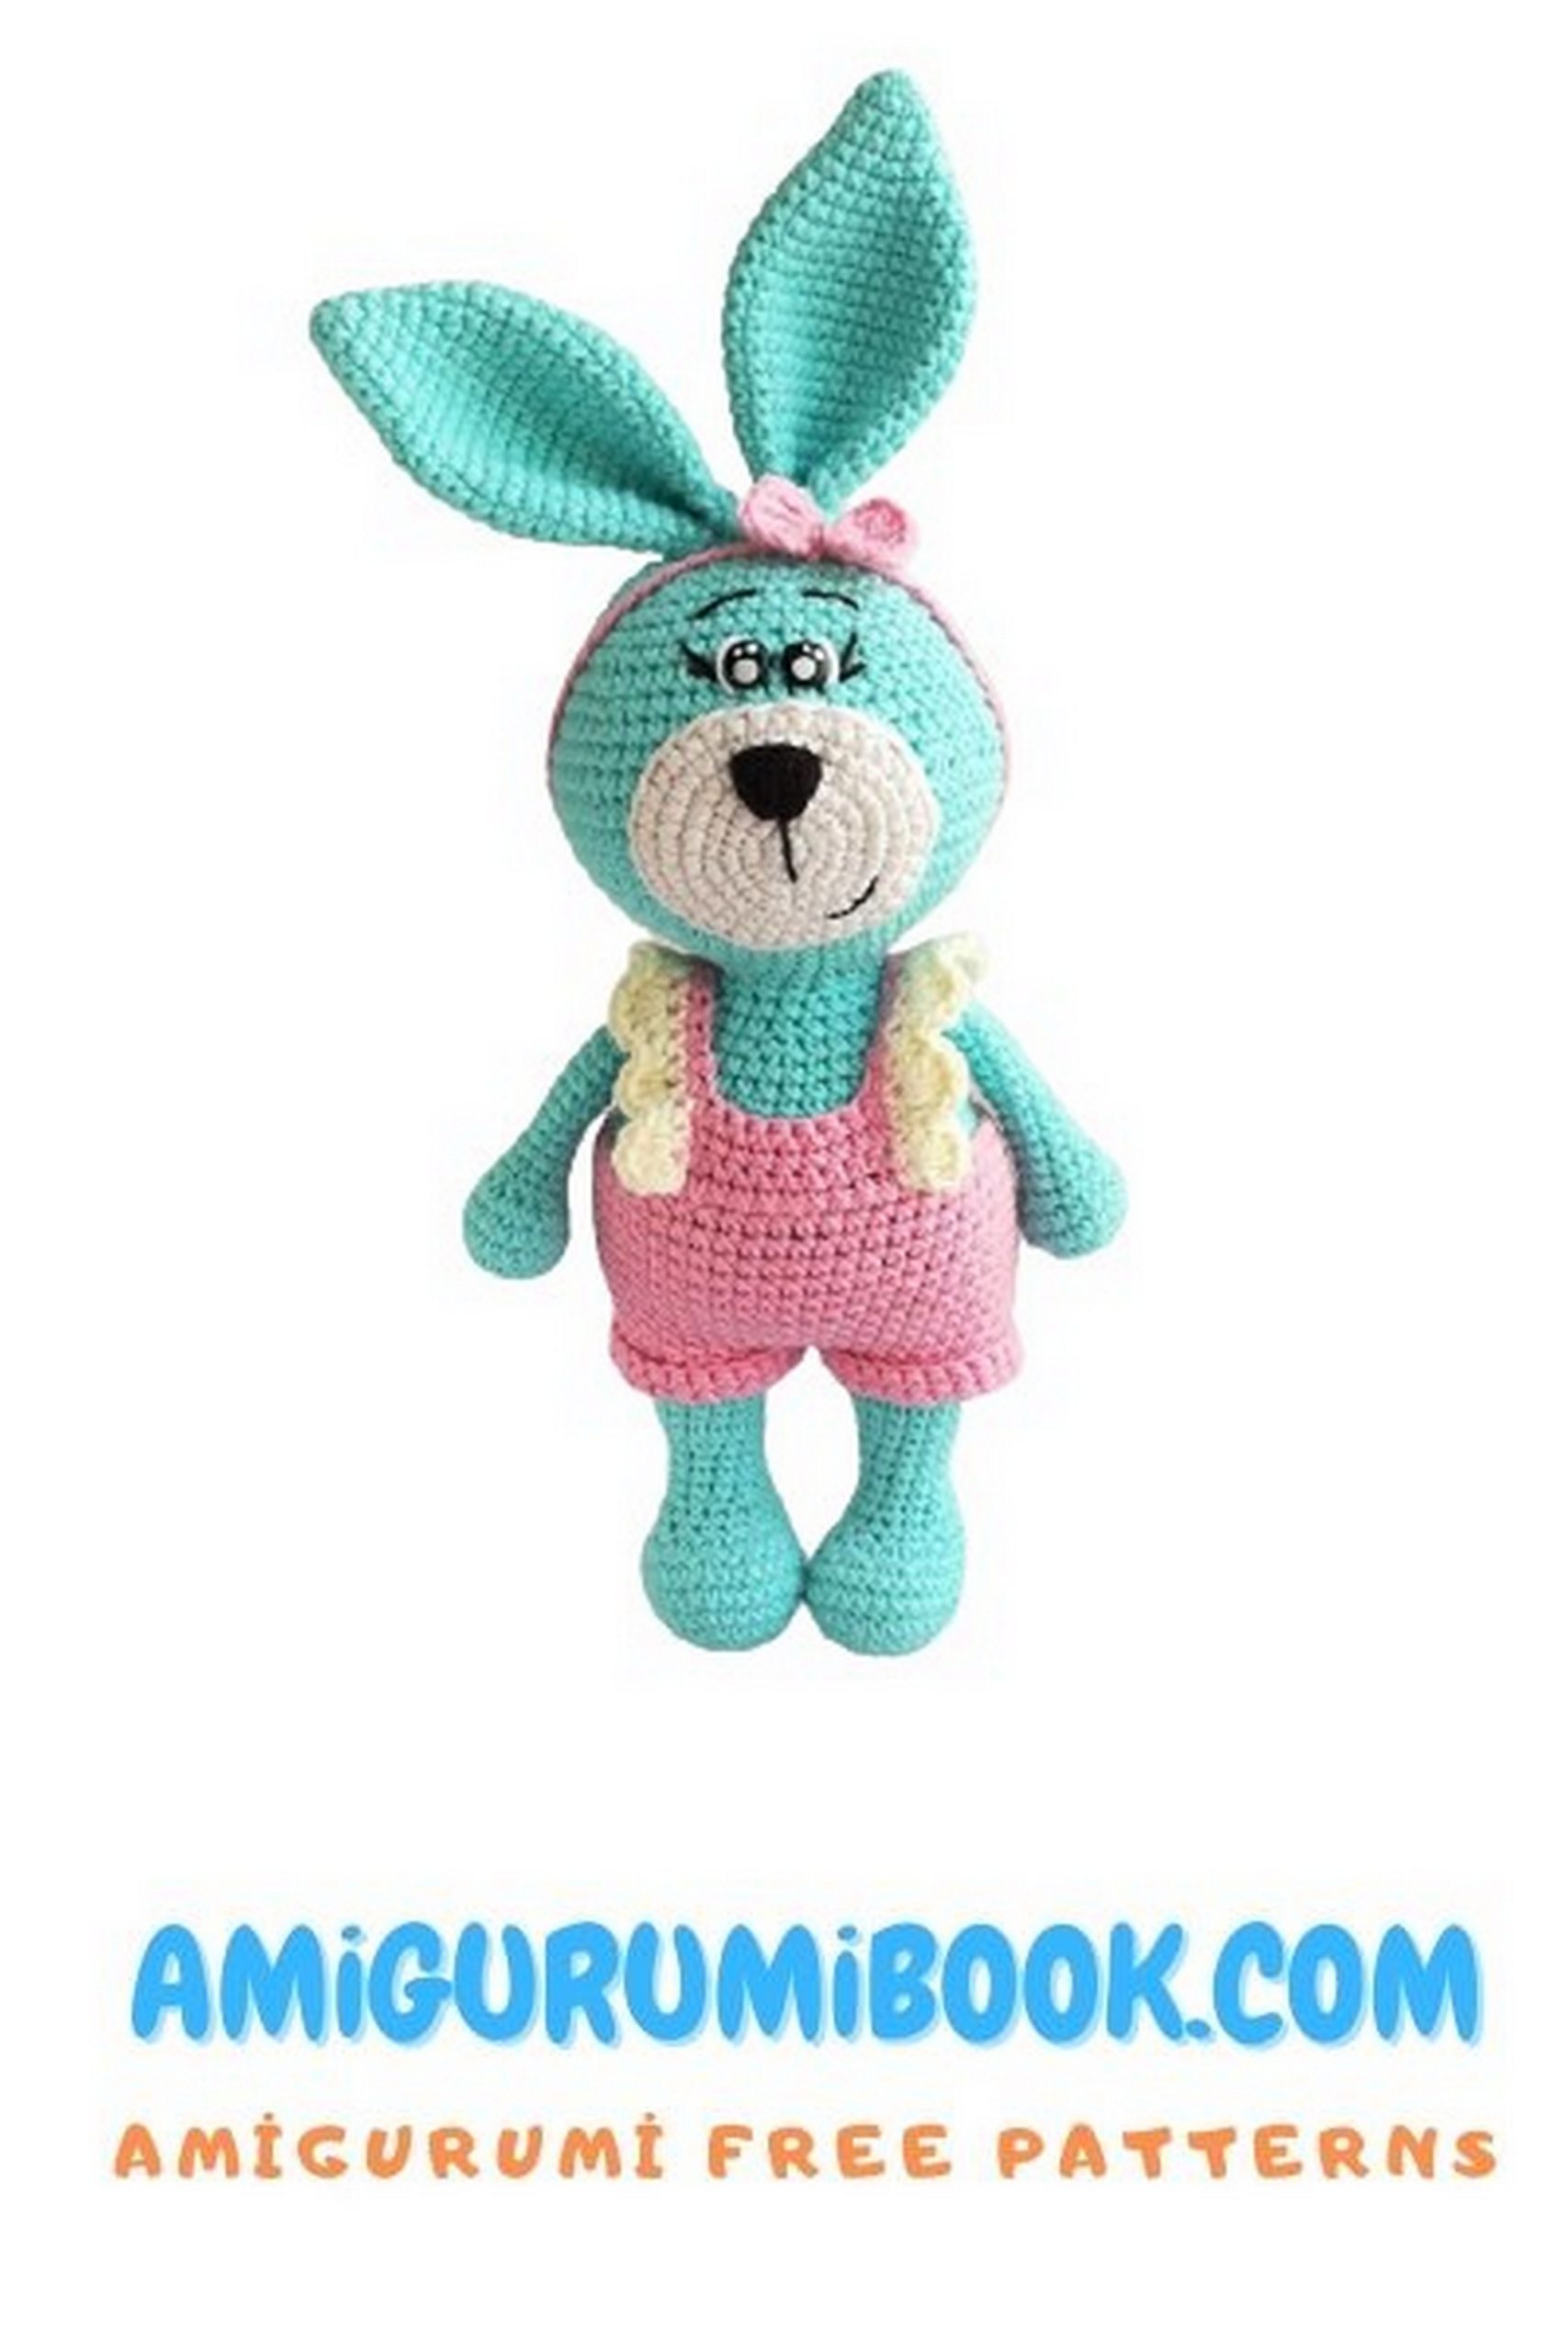
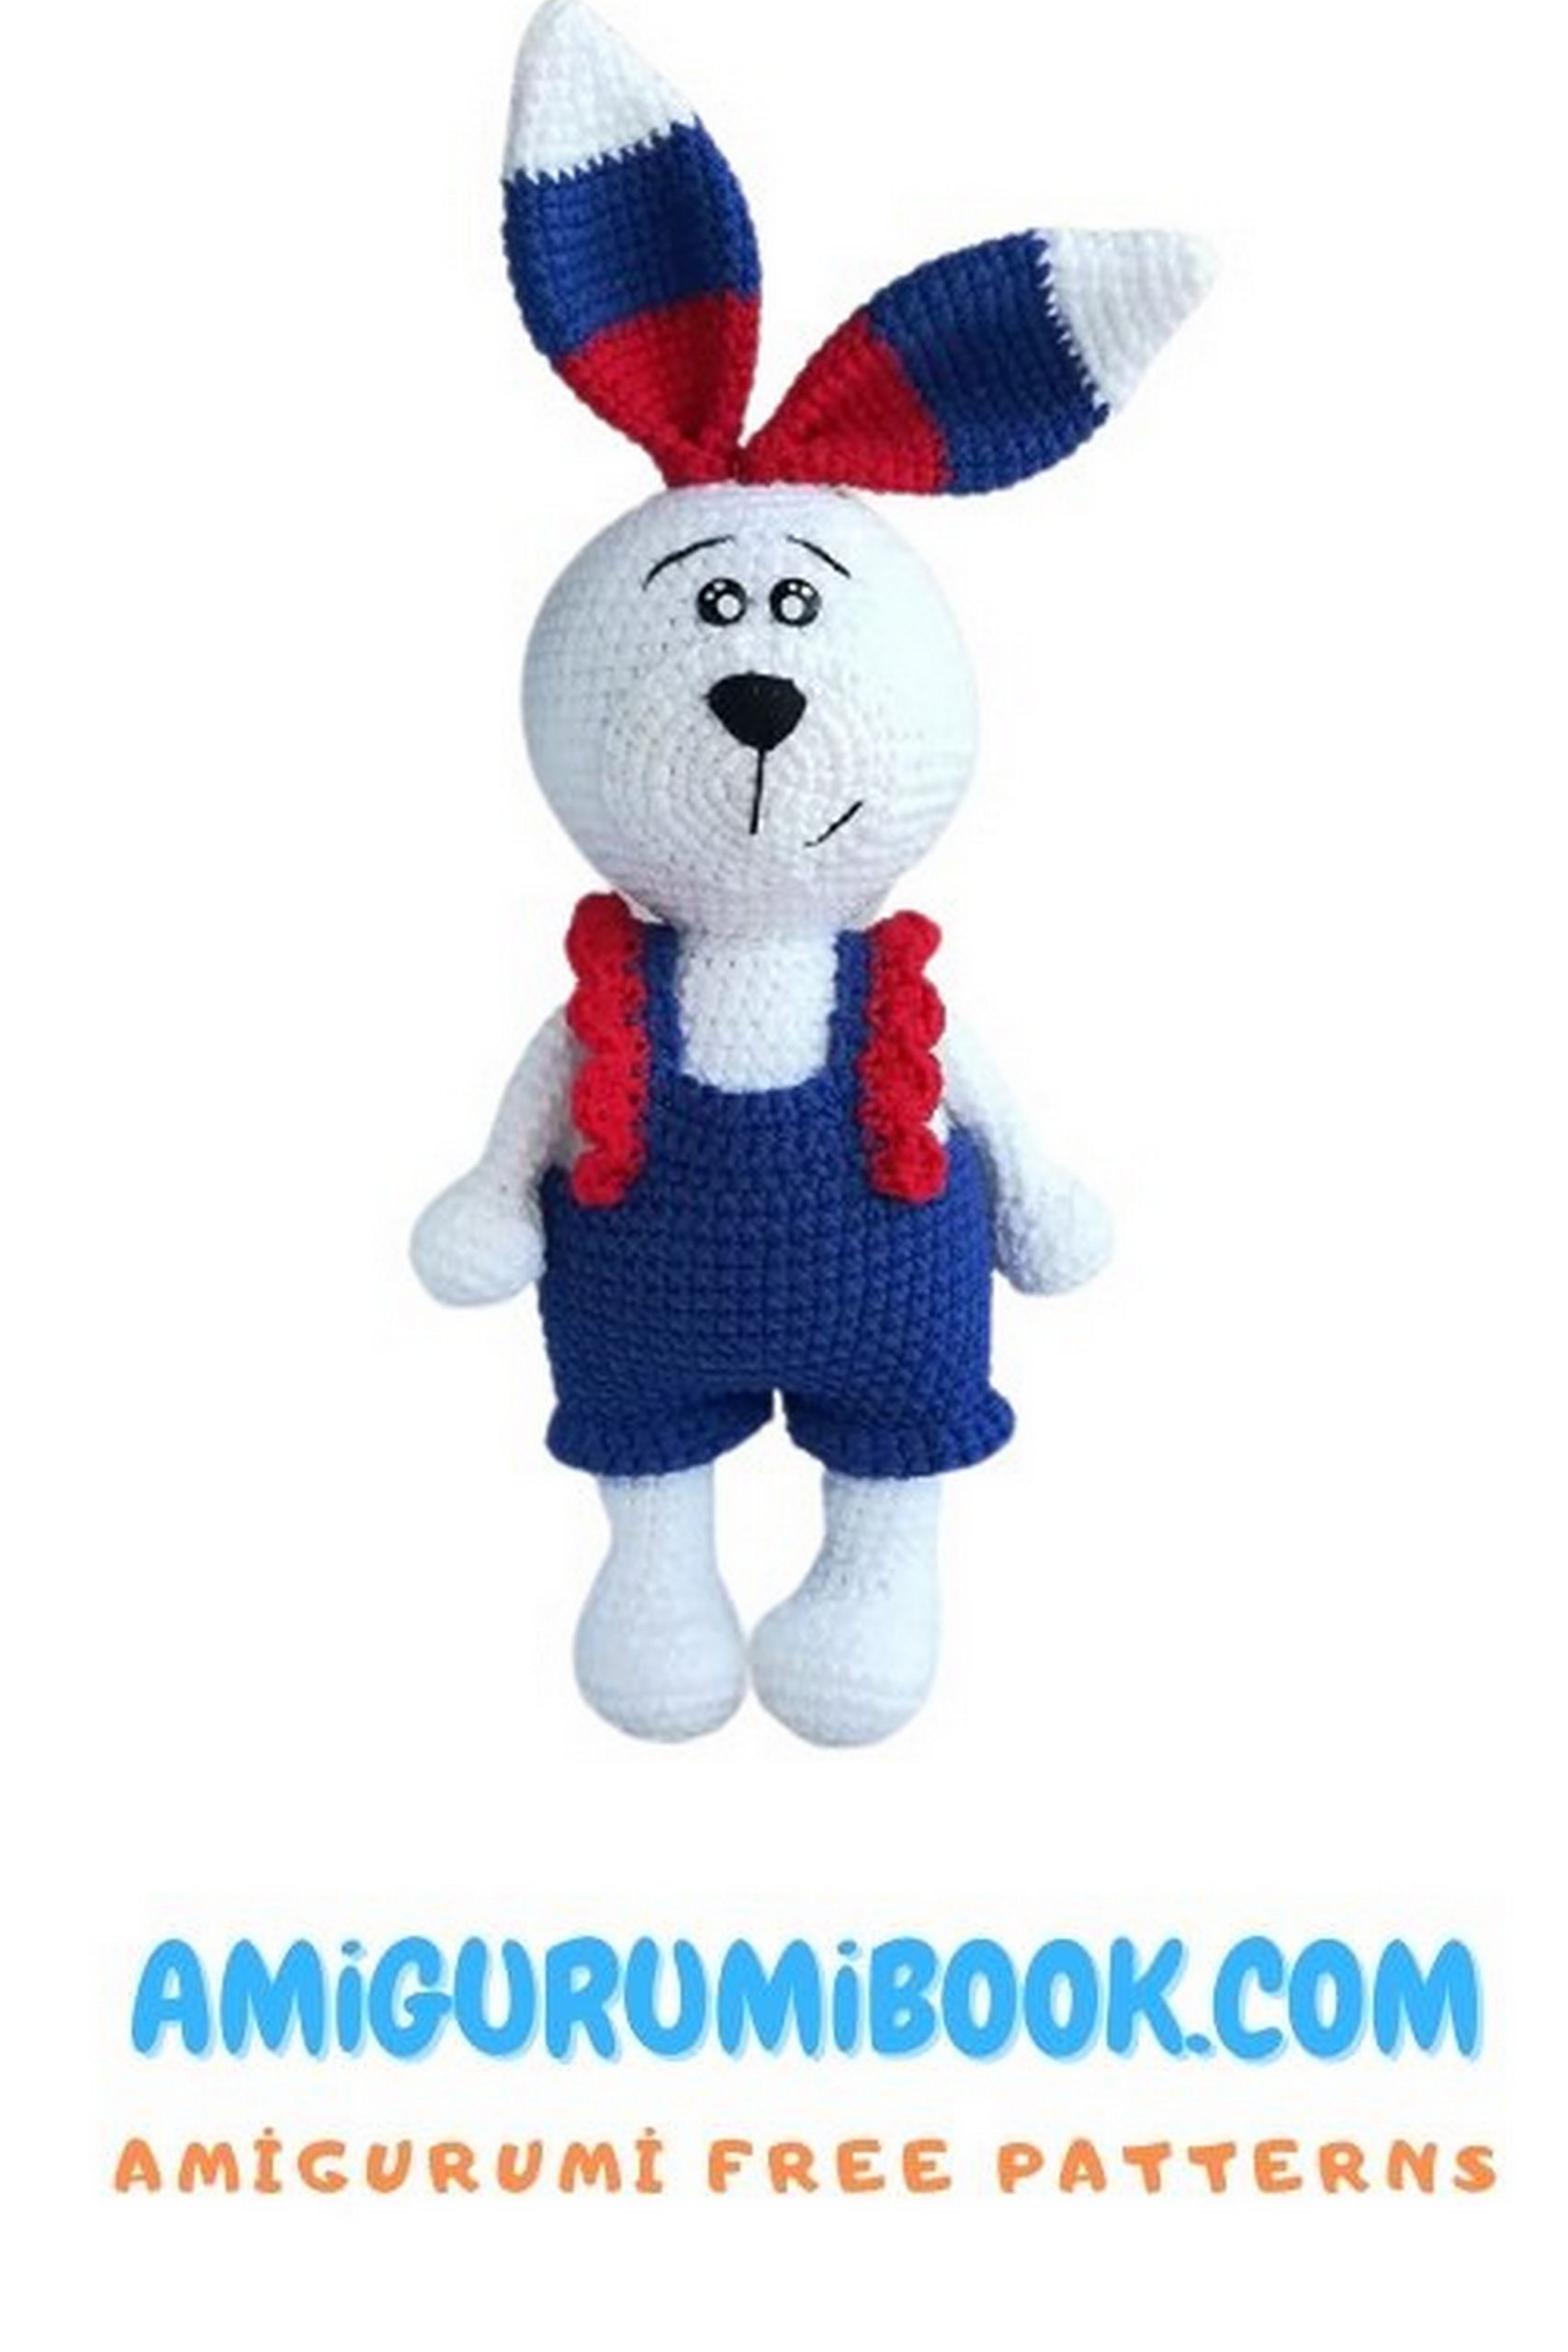
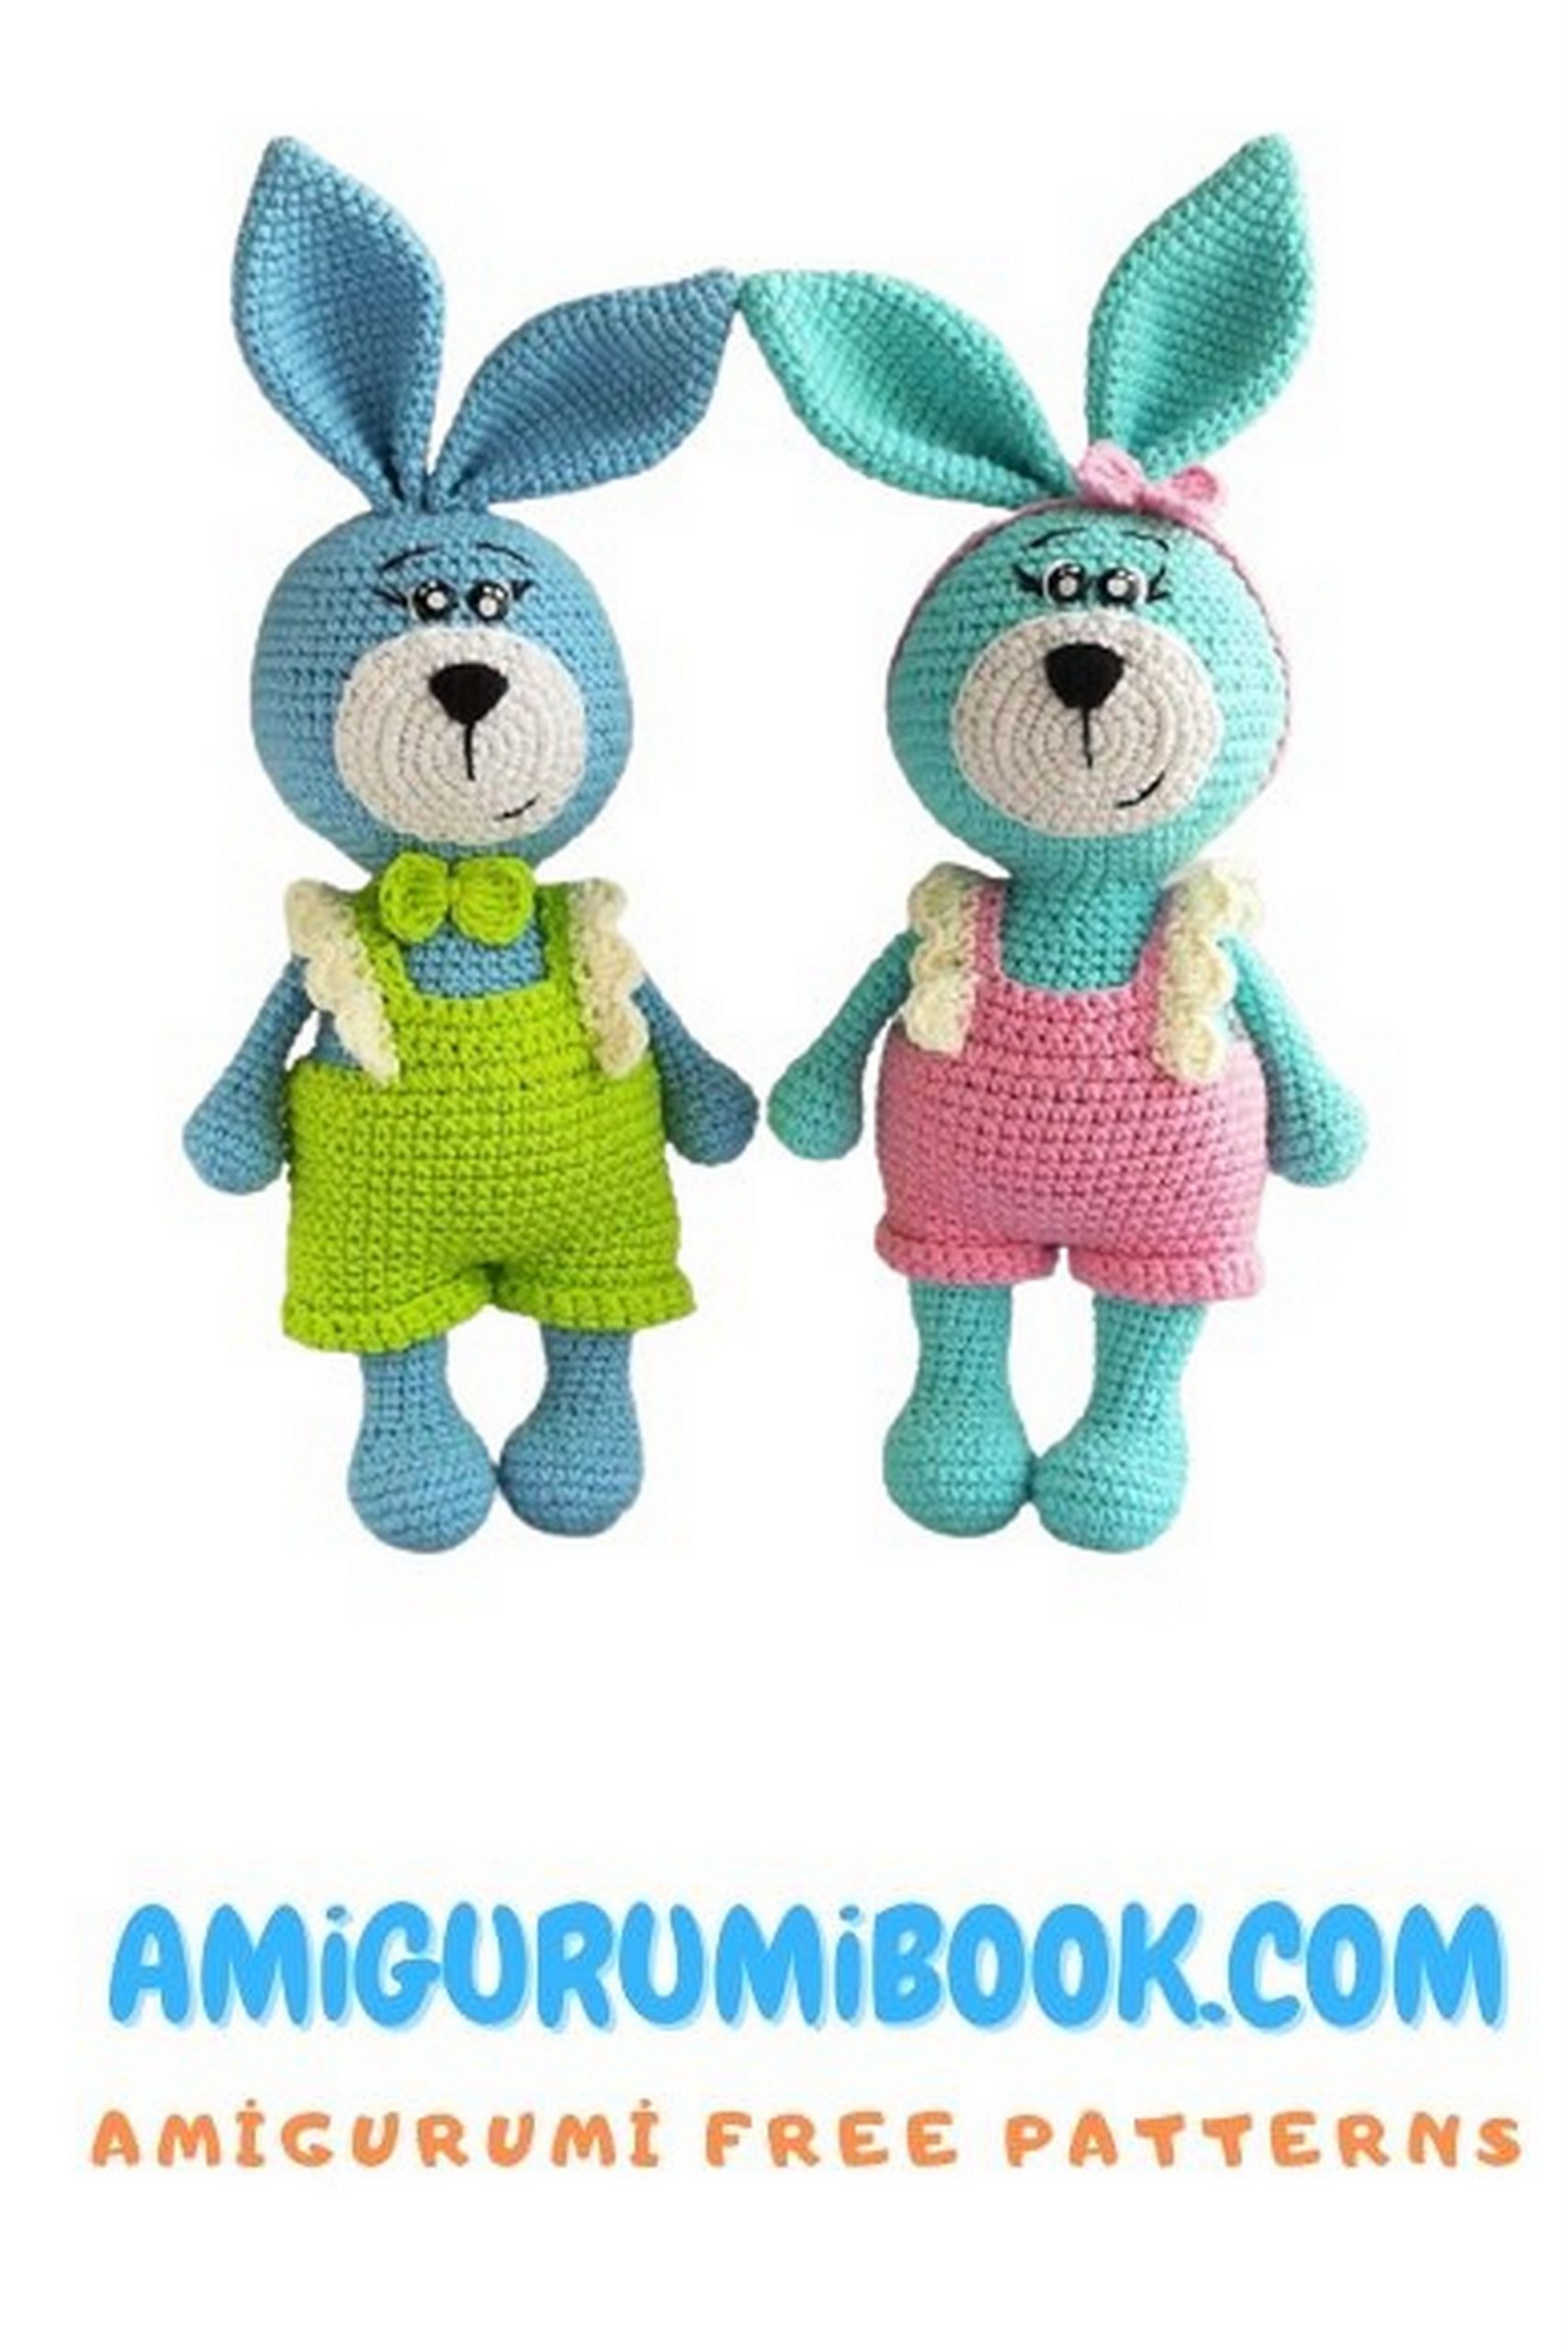
This free amigurumi pattern offers the perfect opportunity to create Mr. and Mrs. Adorable Bunny characters. These cute rabbits are a wonderful project for crochet enthusiasts. Learn how to make them now!”
The world of amigurumi is an endless source of creativity and joy for craft and crochet enthusiasts. In this article, we’ll show you how to crochet Mr. and Mrs. Adorable Bunny. These cute bunnies are a perfect project for both beginners and experienced crocheters.
This free pattern provides you with fantastic gift ideas for yourself or your loved ones. Designed as charming and lovable toys suitable for all ages, these amigurumi bunnies can be personalized by using different colors of yarn to match your style.
By following our step-by-step instructions, you can improve your crochet skills while creating a collection of adorable amigurumi. Are you ready for a fun and enjoyable crochet adventure with Mr. and Mrs. Adorable Bunny? Then grab your yarn and let’s get started!
Materials:
Yarn for the bunny (I used Alize Cotton Gold No 728 for Louie and YarnArt Jeans No76 for Ji). For the pants (I used Alize Cotton Gold No 612 for Louie and Alize Cotton Gold No 518 for Ji). For the face (I used Alize Cotton Baby Soft No 55).
Yarn for edging the pants (YarnArt Jeans No03)
Black thread for facial details
White thread for eye details
Safety eyes, 8 mm
2 mm crochet hook
Sewing needle
Scissors
Stitch marker
Stuffing
Yarn Usage:
Main color: 45 grams
For pants and bows: 6-7 grams
For the face: 2 grams
For edging the pants: 2-3 grams
Abbreviations:
MR – magic ring
sc – single crochet
hdc – half double crochet
ch – chain
sl st – slip stitch
(…) *X – repeat X times the instructions in parentheses
The number after the equal sign (=) indicates the final stitch count for the row.

Instructions:
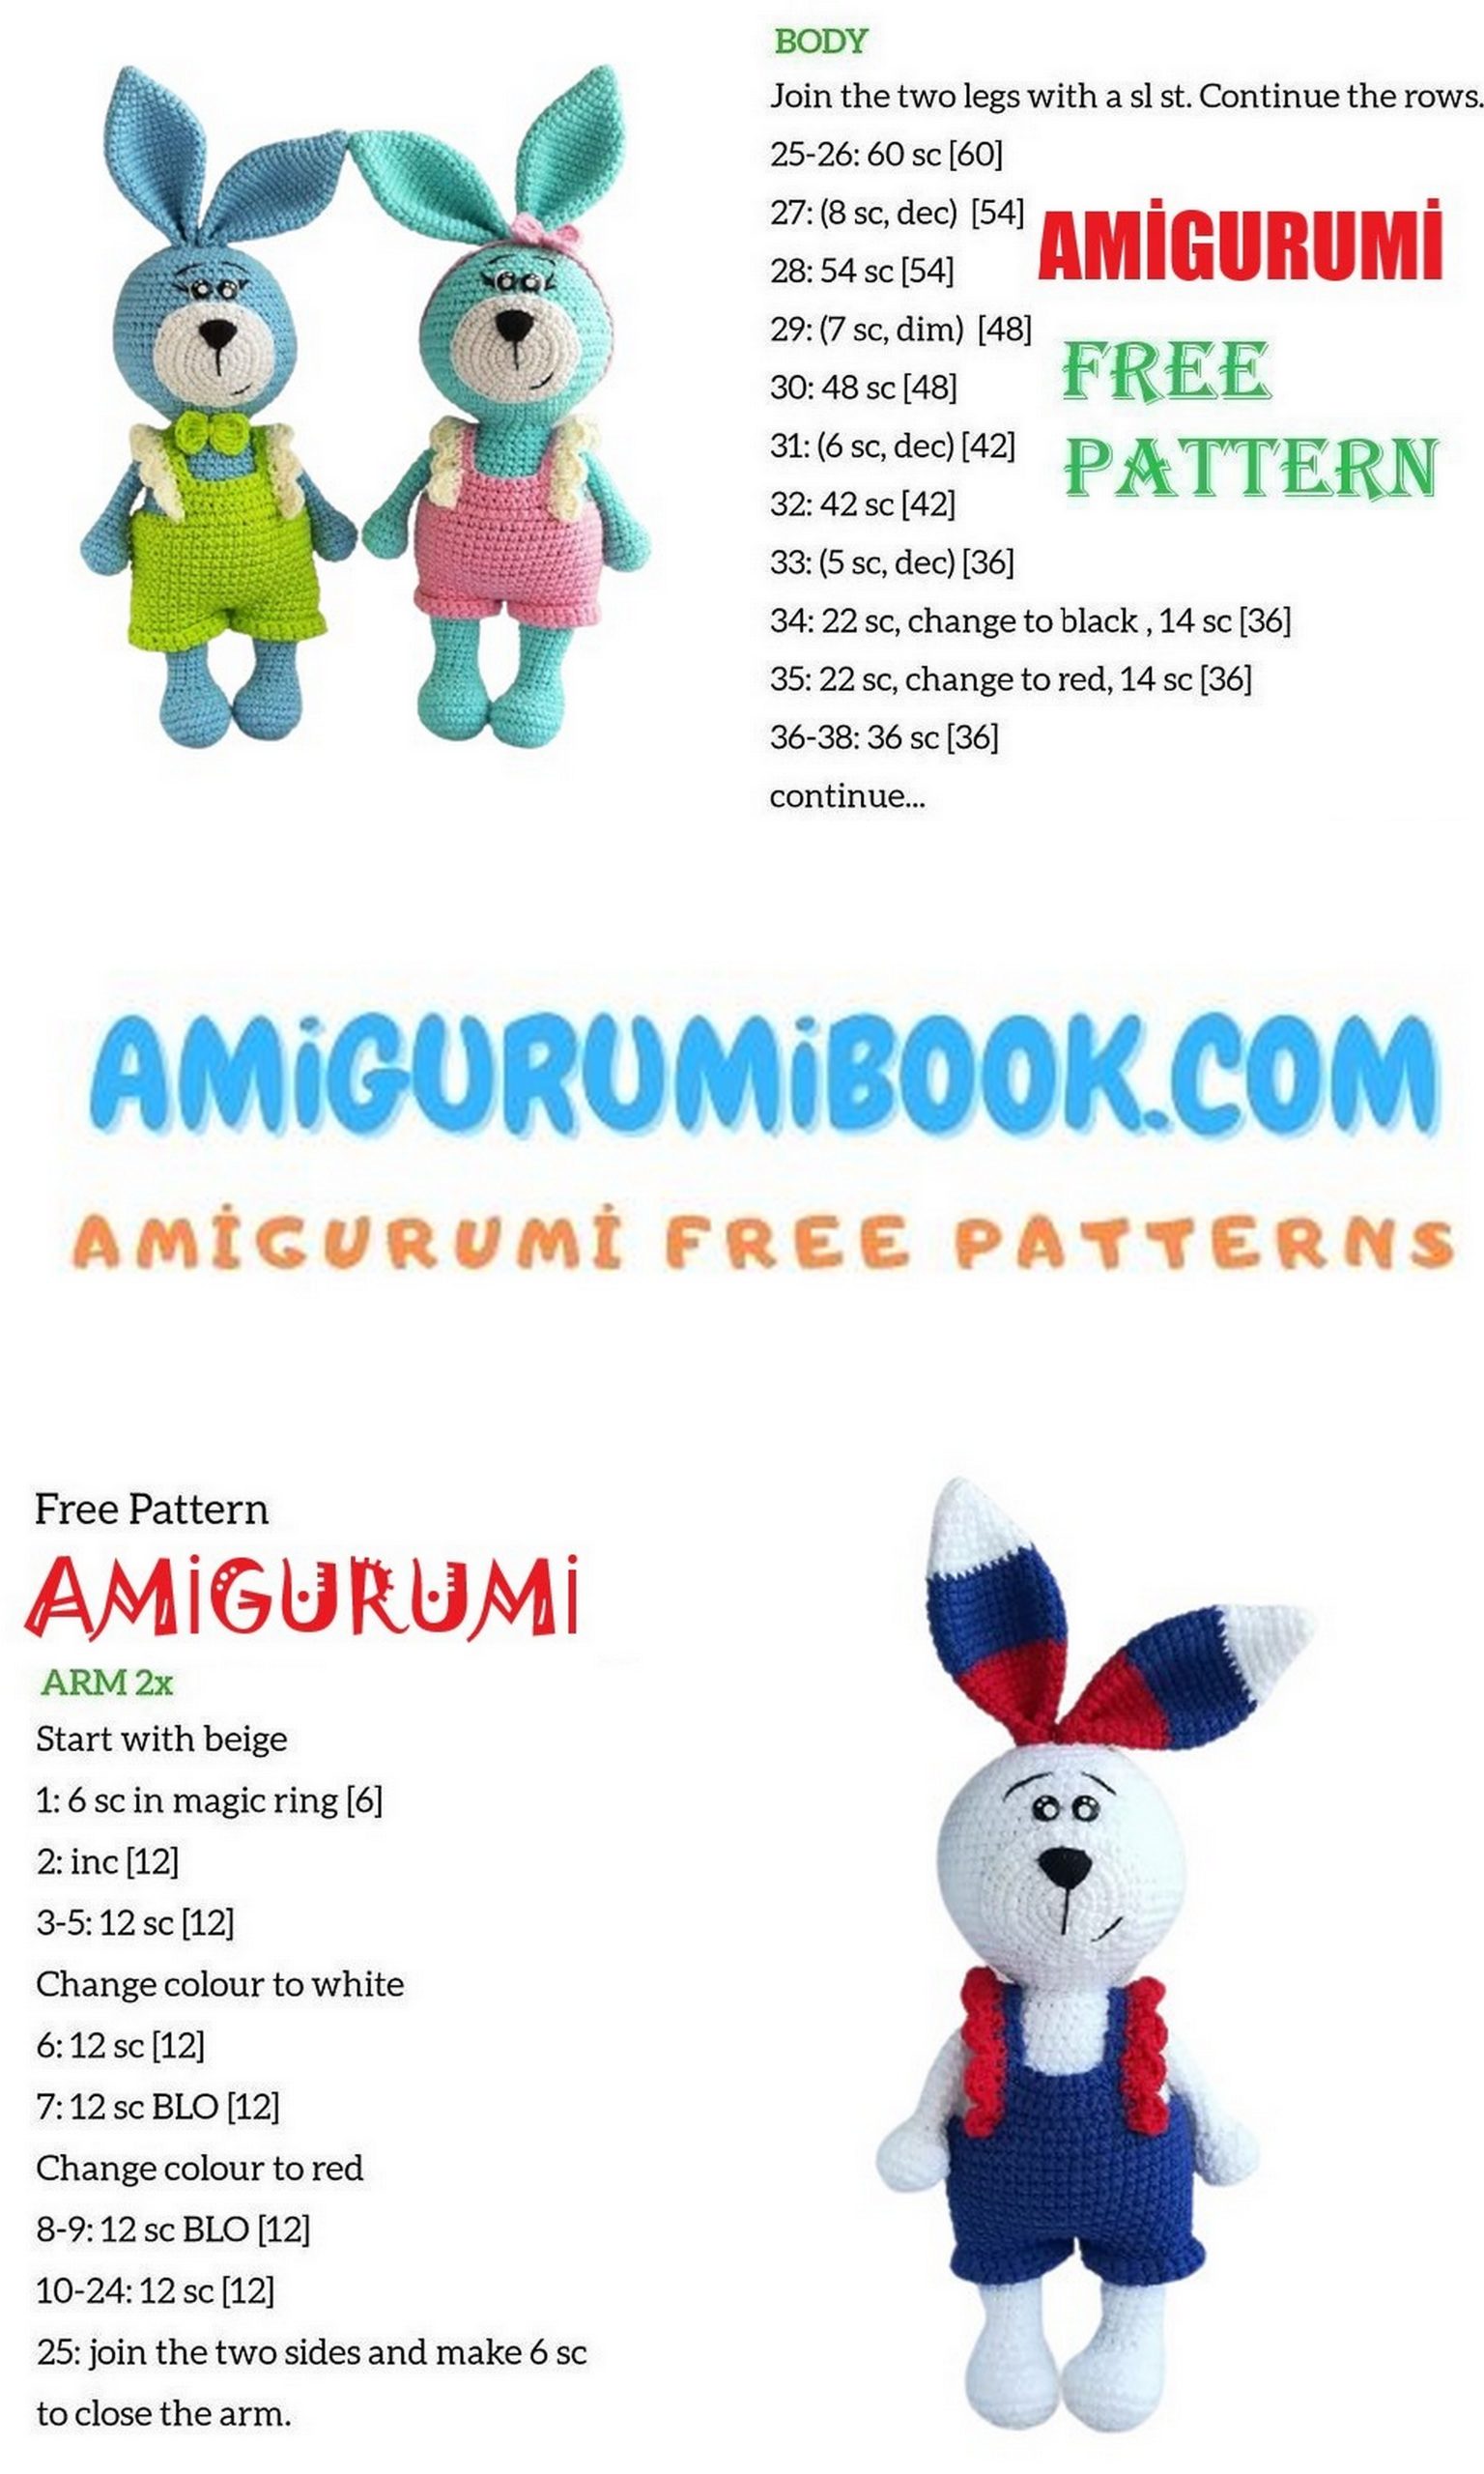
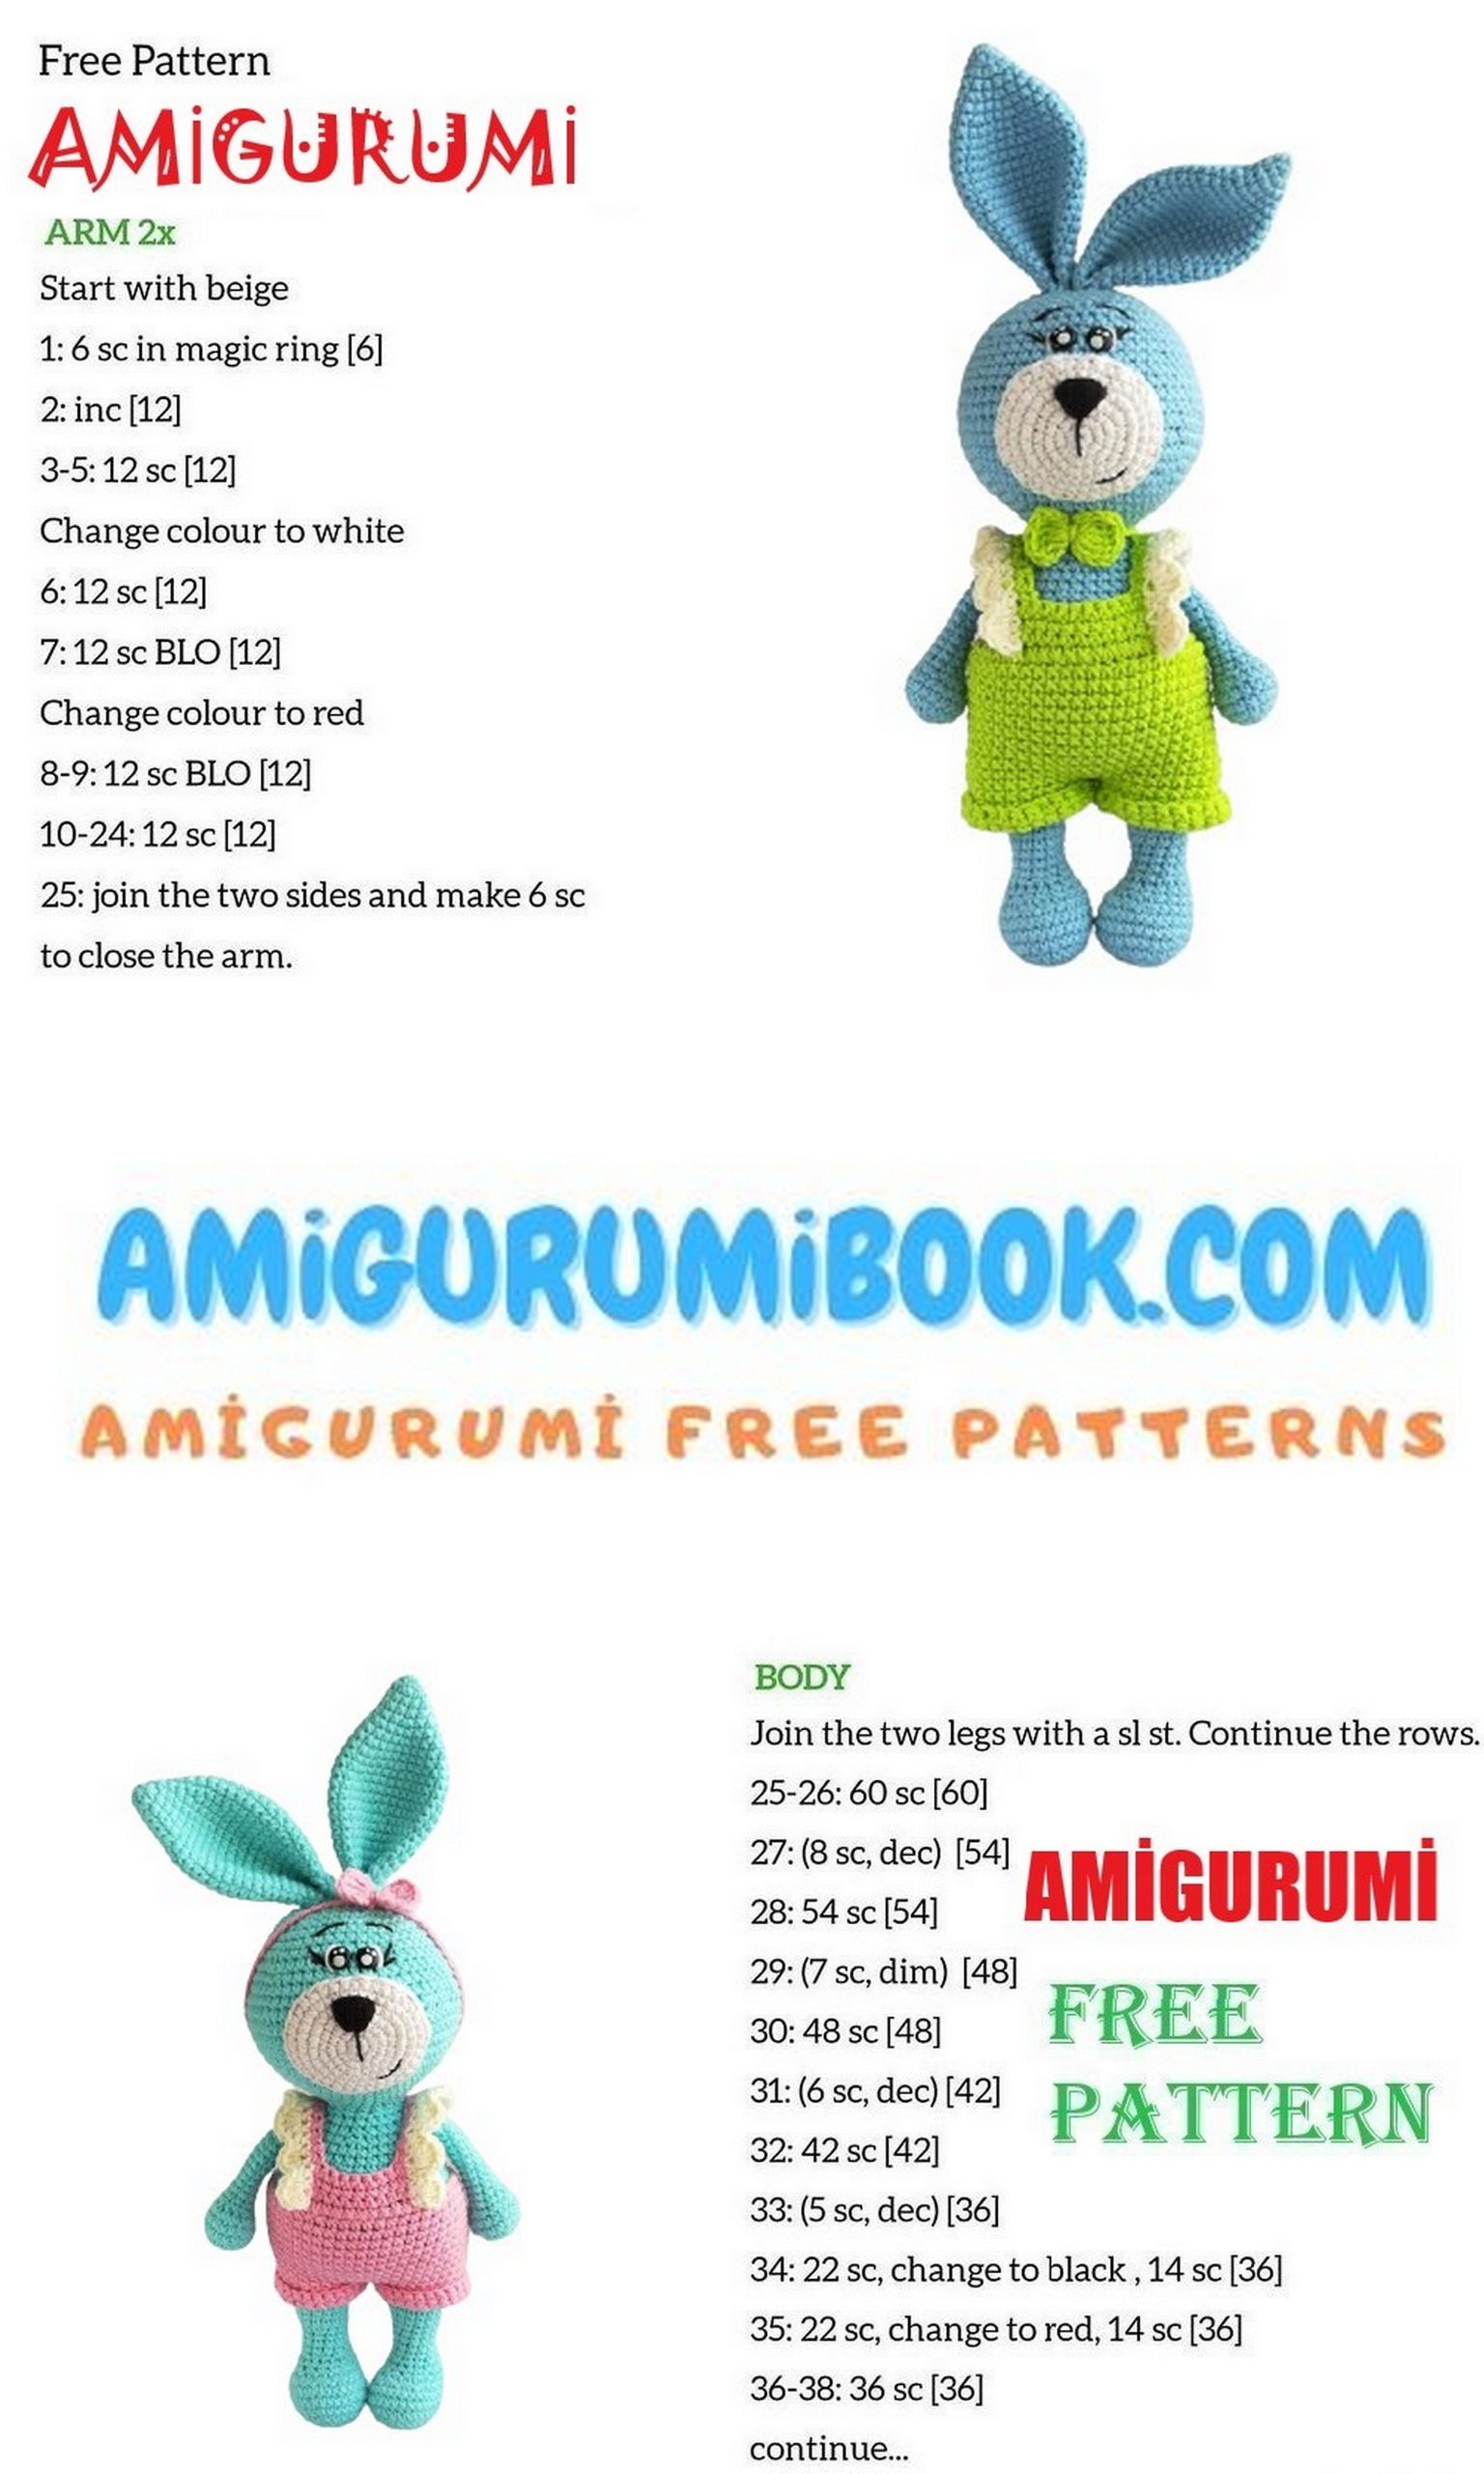
Arms:
R1: 6 sc in magic ring (6)
R2: 6 inc (12)
R3: (1 sc, inc)*6 (18)
R4-5: 18 sc (2 rows)
R6: (1 sc, dec)*6 (12)
R7: 3 sc, 3 dec, 3 sc (9)
R8-20: 9 sc (13 rows)
Stuff the arm up to R8. Create a loop or leave a few sts unworked to make the arm bend inward.
R21: Fold the arm in half and crochet 4 sc.
Cut yarn and hide end.
Legs:
R1: 6 sc in magic ring (6)
R2: 6 inc (12)
R3: (1 sc, inc)*6 (18)
R4: (2 sc, inc)*6 (24)
R5: (3 sc, inc)*6 (30)
R6-7: 30 sc (2 rows)
R8: 6 sc, (1 sc, dec)*6, 6 sc (24)
R9: 6 sc, 6 dec, 6 sc (18)
R10: 18 sc
R11: (1 sc, dec)*6 (12)
R12-14: 12 sc (3 rows)
R15: (3 sc, inc)*3 (15)
R16-21: 15 sc (6 rows)
Stuff the leg fully.
On the first leg, leave a few sts unworked at the beginning of the row so that the start of the row is on the side, closer to the center (this will affect the tilt of the bunny). On the second leg, do the opposite, crochet the offset sts.
Cut yarn on the first leg, but not on the second leg; continue crocheting the body.

Body:
On the second leg, ch 4, connect with the first leg, and continue as follows: The start of the row will be at the back, on the spine. Stuff the body as you go.
R1: 15 sc around the first leg, 4 sc in ch, 15 sc around the second leg, 4 sc in ch (38)
R2: 15 sc, (1 sc, inc)*2, 15 sc, (1 sc, inc)*2 (42)
R3: (6 sc, inc)*6 (48)
R4: 48 sc
R5: (7 sc, inc)*6 (54)
R6-12: 54 sc (7 rows)
R13: (7 sc, dec)*6 (48)
R14: 48 sc
R15: (6 sc, dec)*6 (42)
R16-17: 42 sc (2 rows)
R18: (5 sc, dec)*6 (36)
R19-20: 36 sc (2 rows)
R21: (4 sc, dec)*6 (30)
R22: (3 sc, dec)*6 (24)
The start of the row should be in the middle of the back.
Insert the arms:
R23: 4 sc, 4 sc together with an arm, 8 sc, 4 sc together with an arm, 4 sc (24)
R24: (2 sc, dec)*6 (18)
R25: 18 sc, do not cut the yarn, continue crocheting the head.
Head:
Stuff as you go.
R1: (2 sc, inc) * 6 (24)
R2: (3 sc, inc) * 6 (30)
R3: (4 sc, inc) * 6 (36)
R4: (5 sc, inc) * 6 (42)
R5: (6 sc, inc) * 6 (48)
R6: (3 sc, inc) * 12 (60)
R7: (9 sc, inc) * 6 (66)
R8: (10 sc, inc) * 6 (72)
9-11. R9-11: 72 sc (3 rows)
R12: (4 sc, dec) * 12 (60)
R13-14: 60 sc (2 rows)
R15: (8 sc, dec) * 6 (54)
R16: 54 sc
Create turning chains so that the beginning of the row is in the middle of the back.
R17: 25 sc, ch 1, skip 1 sc, 2 sc, ch 1, skip 1 sc, 25 sc (54)
In this row, we will insert the eyes.
R18: (7 sc, dec) * 6 (48)
R19-20: 48 sc (2 rows)
R21: (6 sc, dec) * 6 (42)
R22: (5 sc, dec) * 6 (36)
Insert the eyes.
R23: (4 sc, dec) * 6 (30)
R24: (3 sc, dec) * 6 (24)
R25: (2 sc, dec) * 6 (18)
R26: (1 sc, dec) * 6 (12)
R27: 6 dec (6)
Face:
R1: 6 chainless single crochet in a magic ring (6)
R2: 6 inc (12)
R3: (1 sc, inc) * 6 (18)
R4: (2 sc, inc) * 6 (24)
R5: (6 sc, 6 inc) * 2 (36)
6-7. R6-7: 36 sc (2 rows), leave thread for sewing.
Sew the face 1 row below the eyes.
Do not stuff the face.
Decoration:
Create slight eye indentations (if desired).
Embroider the nose with black thread, 2 rows below.
Nose size (lengthwise 5-6 stitches and 3 rows down).
Embroider a smile, eyelashes, and eyebrows (as shown in the photo).
Ears:
R1: 6 sc in a magic ring (6)
R2: 6 sc (6)
R3: 6 inc (12)
R4-5: 12 sc (2 rows)
R6: (1 sc, inc) * 6 (18)
R7: 18 sc
R8: (2 sc, inc) * 6 (24)
9-10. R9-10: 24 sc (2 rows)
R11: (3 sc, inc) * 6 (30)
R12-16: 30 sc (5 rows)
R17: (3 sc, dec) * 6 (24)
R18-20: 24 sc (3 rows)
R21: (2 sc, dec) * 6 (18)
R22-24: 18 sc (3 rows)
Fold the ear in half and crochet 9 sc, fold it again, and thread with a needle. Leave thread for sewing.
Attach the ears.
Attach one ear near the center of the head and the other ear close by (but when attaching it, include a larger part of the ear so it appears to lie on the head).
Pants:
Cast on an even number of stitches. I cast on 50 chain stitches.
Join in a circle.
For the first row, crochet into the lower loops of the chain stitches (as shown in the photo) to create an even edge.
Crochet 12 rows of 50 sc each. You can crochet more rows if desired.
Divide in half for two legs.
For each leg, crochet 5 rows of 25 sc each.
Leave a longer thread, approximately 30 cm.
Fold each leg and sew it together.
Crochet the straps.
In the middle of the pants, mark 11 sc and crochet. When crocheting the first row, crochet into the sc of the first row of the pants (as shown in the photo below).
(11 sc, 1 ch, turn) * 3, 11 sc, 1 ch.
Do not cut the yarn; crochet the strap:
(2 sc, 1 ch, turn) – 16 rows, leave thread for sewing.
Repeat for the other strap.
Attach the straps.
Create edging:
Left strap (starting from behind): Crochet 20 sl st (as shown in the photo), 1 ch, turn.
(4 slip stitches in 1 stitch, 2 sc) * 6, 4 slip stitches in 1 stitch, 1 sc, secure the thread and cut it.
Right strap (starting from the front): Crochet 20 sl st, 1 ch, turn.
(2 sc, 4 slip stitches in 1 stitch) * 6 rows.
Secure the thread and cut it.
Crochet a bow:
In a magic ring, cast on 1 sc + 3 chain stitches, 4 dc, 4 chain stitches, and slip stitch in the magic ring. Tighten the magic ring.
Wrap the center of the bow with thread several times, leave thread for sewing.
Cast on a chain for the bow.
Sew the bow to the chain.
For the necklace, make the chain longer.