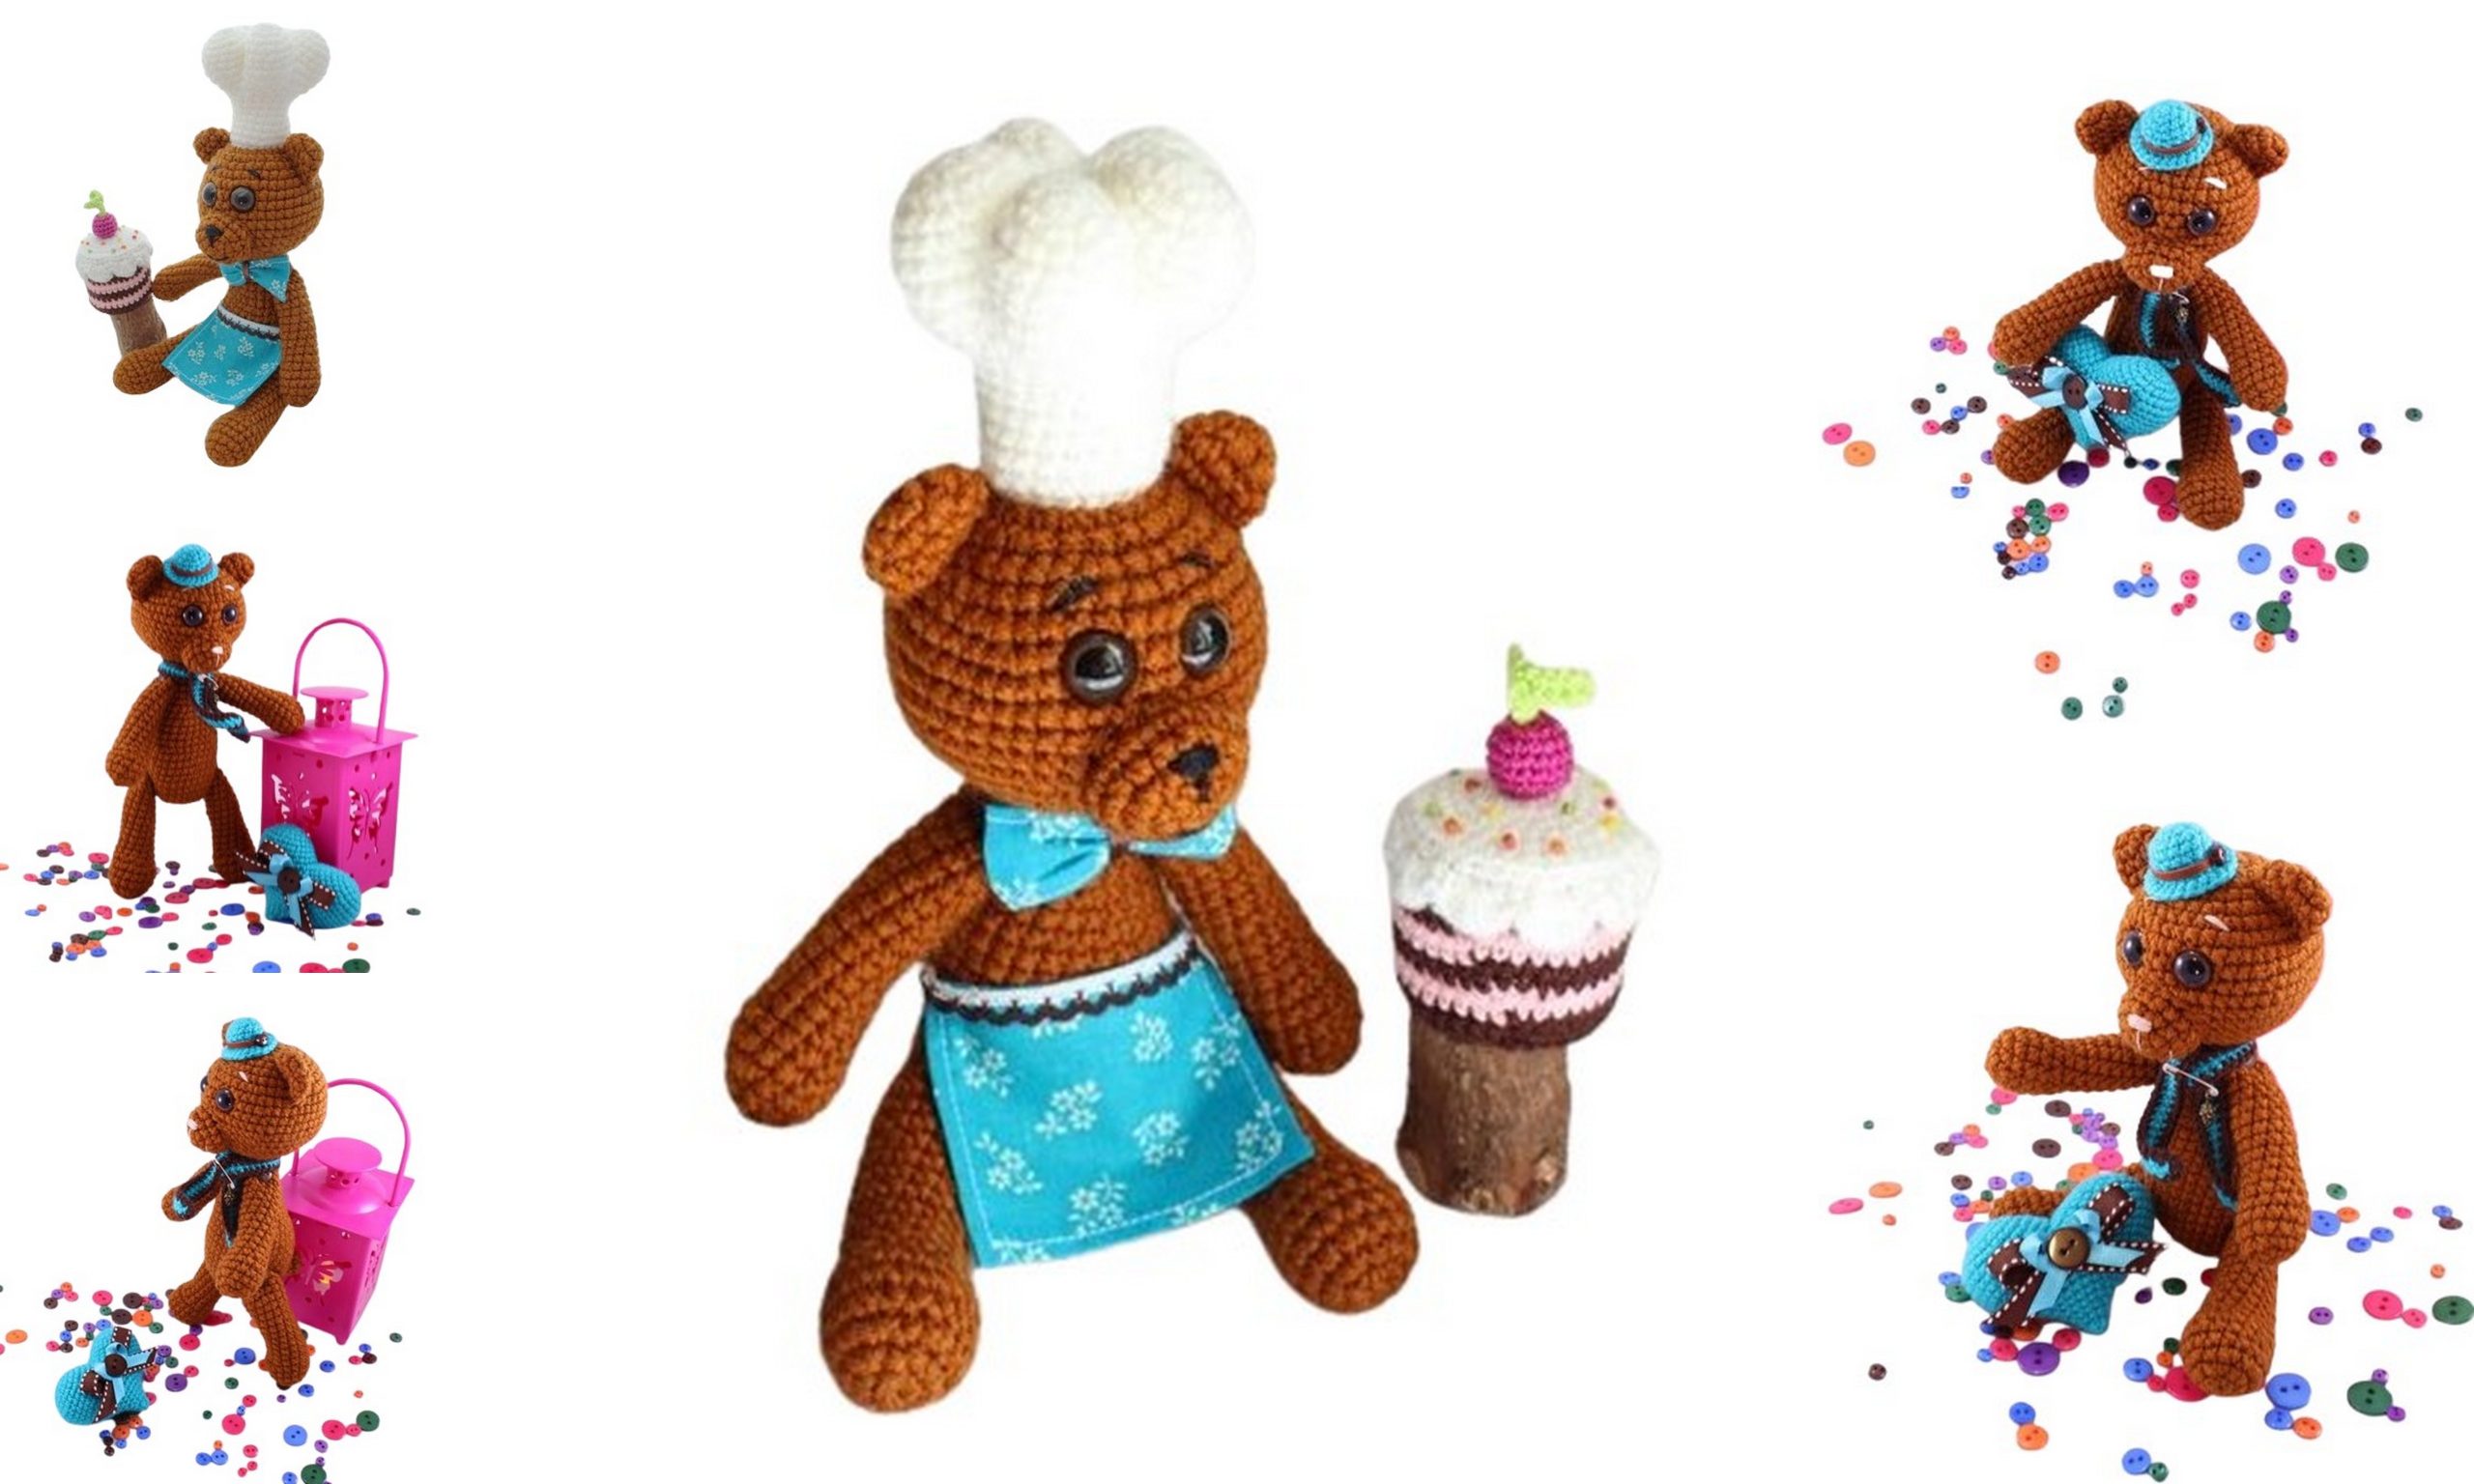
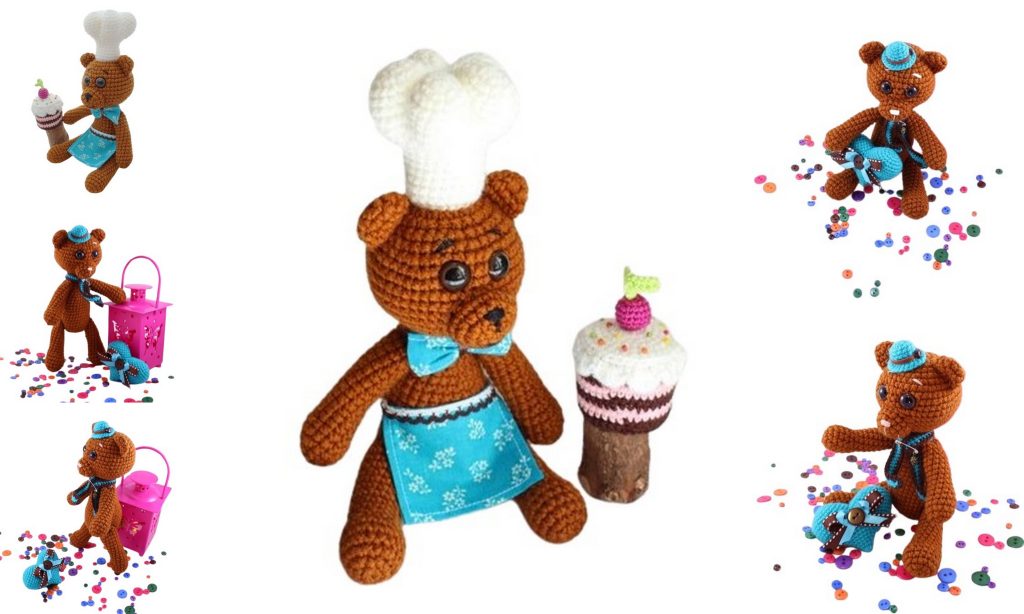
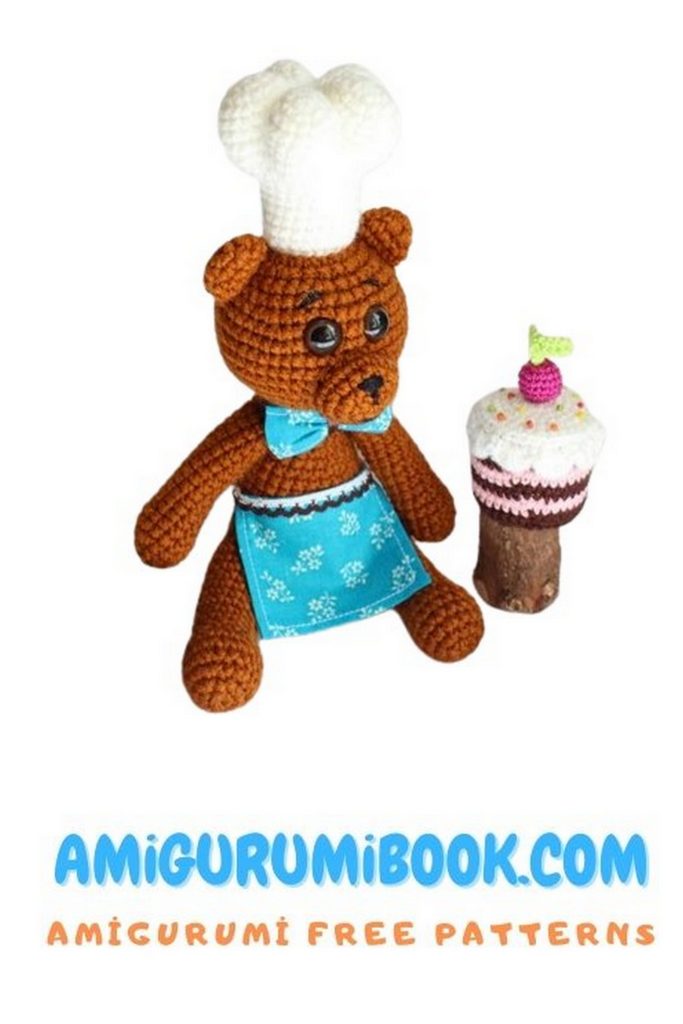
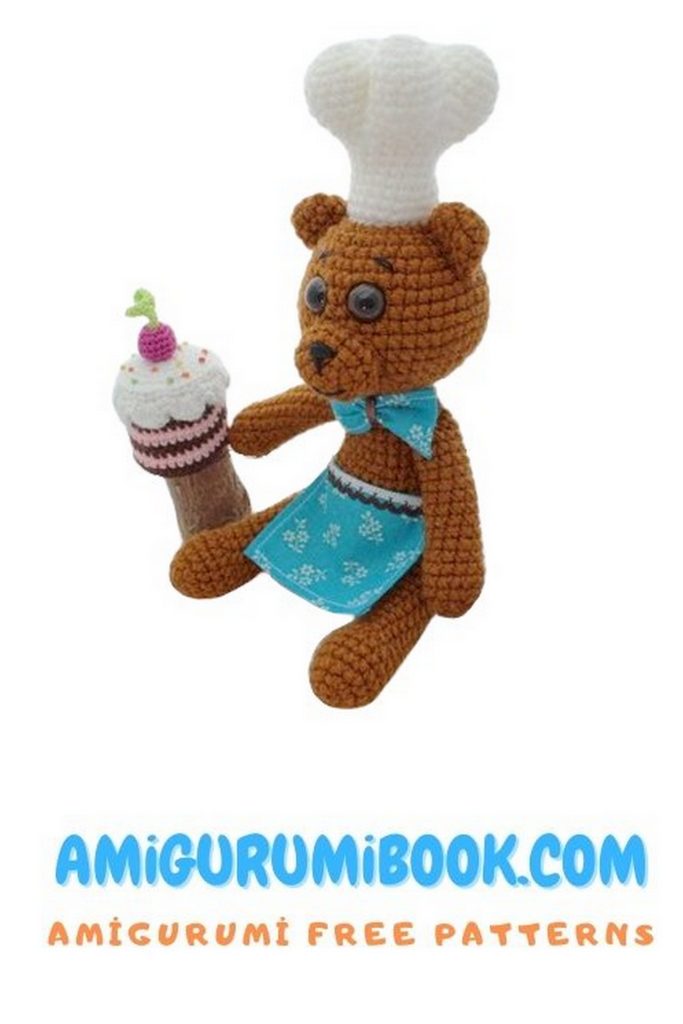
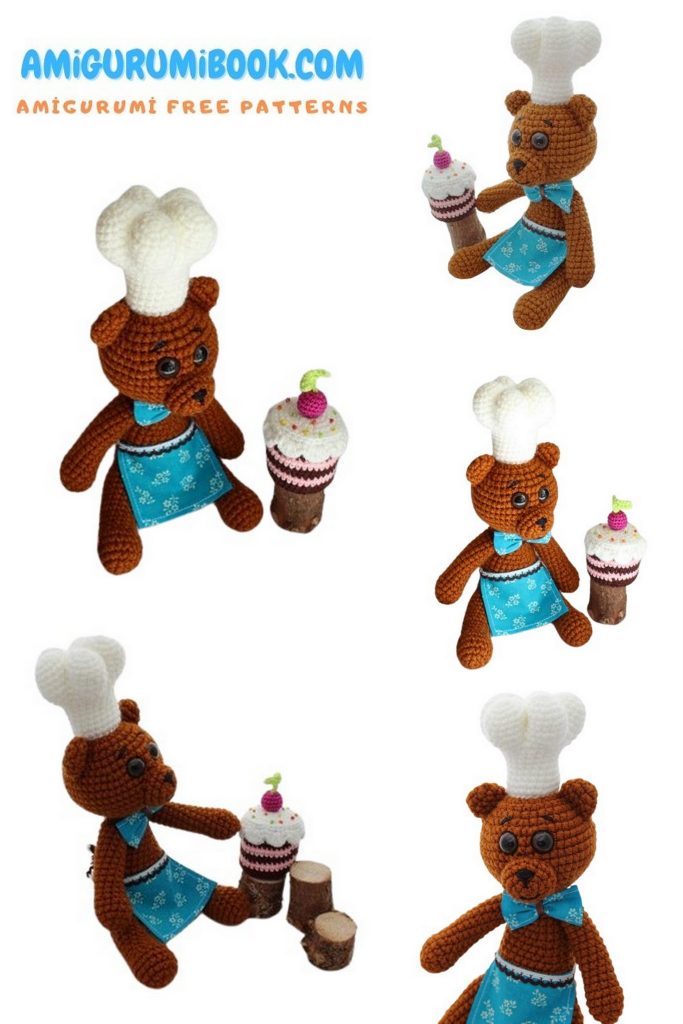
Discover the delightful world of crochet with the Pastry Chef Teddy Bear Amigurumi free pattern, perfect for both beginners and experienced crafters. This charming tutorial guides you step-by-step to create an adorable teddy bear dressed as a pastry chef, making a wonderful handmade gift or decoration. free crochet patterns
You may also like more amigurumi patterns.
Get ready to whip up some crochet magic with our free Pastry Chef Teddy Bear Amigurumi pattern and crochet tutorial!
This delightful project, suitable for all skill levels, provides step-by-step instructions and photos to guide you in creating an adorable teddy bear dressed as a pastry chef.
Perfect for food lovers or as a charming addition to your amigurumi collection, this project brings a playful, culinary twist to your crafting.
Start your Pastry Chef Teddy Bear Amigurumi today and add a dash of sweetness to your crochet projects!
If you want to access 1000+ free amigurumi patterns, you can download our application from this link!
Materials and Tools:
Yarn
Crochet hook size 2
Stuffing
Plastic safety eyes
Iris yarn for embroidering the face and joining parts
4 plastic buttons with 2 holes, matching the yarn color
Needle, scissors
Bear Amigurumi Pattern
Head:
1st round: magic ring, 6 sc (6)
2nd round: inc in each stitch (12)
3rd round: (1 sc, inc) * 6 times (18)
4th round: (2 sc, inc) * 6 times (24)
5th round: (3 sc, inc) * 6 times (30)
6th round: (4 sc, inc) * 6 times (36)
7th round: (5 sc, inc) * 6 times (42)
8th round: (6 sc, inc) * 6 times (48)
Rounds 9-13: 48 sc (48)
14th round: (6 sc, dec) * 6 times (42)
15th round: (5 sc, dec) * 6 times (36)
16th round: (4 sc, dec) * 6 times (30)
17th round: (3 sc, dec) * 6 times (24)
18th round: (2 sc, dec) * 6 times (18)
Finish, leaving a long tail for sewing.
Body – Amigurumi Bear:
1st round: magic ring, 6 sc (6)
2nd round: inc in each stitch (12)
3rd round: (1 sc, inc) * 6 times (18)
4th round: (2 sc, inc) * 6 times (24)
5th round: (3 sc, inc) * 6 times (30)
6th round: (4 sc, inc) * 6 times (36)
Rounds 7-12: 36 sc (36)
13th round: (10 sc, dec) * 3 times (33)
14th round: (9 sc, dec) * 3 times (30)
15th round: (8 sc, dec) * 3 times (27)
16th round: 27 sc (27)
17th round: (7 sc, dec) * 3 times (24)
18th round: 24 sc (24)
19th round: (6 sc, dec) * 3 times (21)
20th round: 21 sc (21)
21st round: (5 sc, dec) * 3 times (18)
22nd round: 18 sc (18)
Fasten off and hide the end.
Ears – Amigurumi Bear:
1st round: magic ring, 6 sc (6)
2nd round: inc in each stitch (12)
Rounds 3-4: 12 sc (12)
Leave a tail for sewing.
Tail – Amigurumi Bear:
1st round: magic ring, 5 sc (5)
2nd round: inc in each stitch (10)
3rd round: work partway, making 3 decreases, and cut the yarn.
Muzzle – Amigurumi Bear:
1st round: magic ring, 6 sc (6)
2nd round: inc in each stitch (12)
3rd round: (1 sc, inc) * 6 times (18)
4th round: 18 sc (18)
5th round: work partway, making 9 sc, then cut the yarn.
Upper Legs:
1st round: magic ring, 5 sc (5)
2nd round: inc in each stitch (10)
3rd round: (1 sc, inc) * 5 times (15)
Rounds 4-5: 15 sc (15)
6th round: (3 sc, dec) * 3 times (12)
Rounds 7-17: 12 sc (12)
Stuff the leg lightly.
18th round: (dec) * 6 times (6)
Close the opening and hide the yarn end.
Lower Legs:
1st round: magic ring, 6 sc (6)
2nd round: inc in each stitch (12)
3rd round: (1 sc, inc) * 6 times (18)
Rounds 4-6: 18 sc (18)
7th round: (5 sc, 4 dec, 5 sc) (14)
Rounds 8-20: 14 sc (14)
Stuff the leg with filling.
21st round: (dec) * 7 times (7)
Close the opening and hide the yarn end.
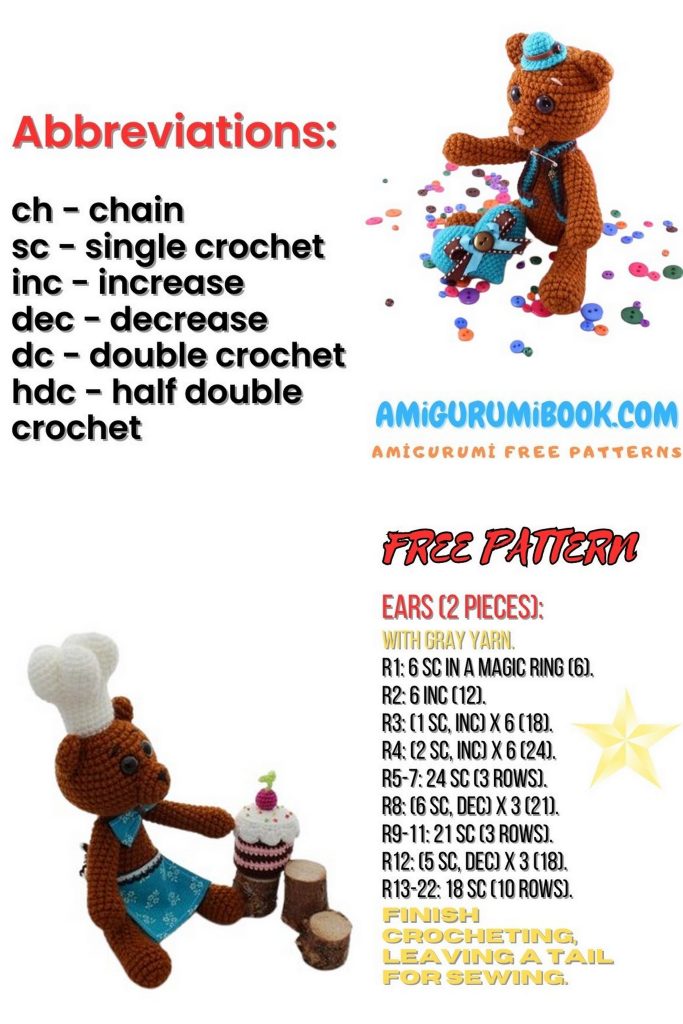
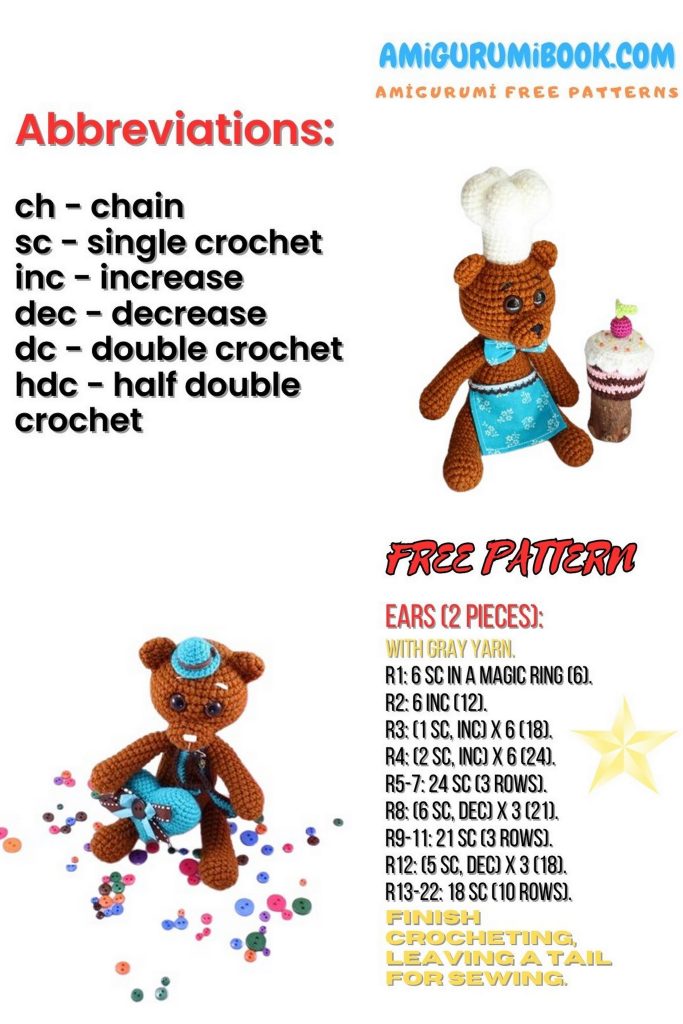
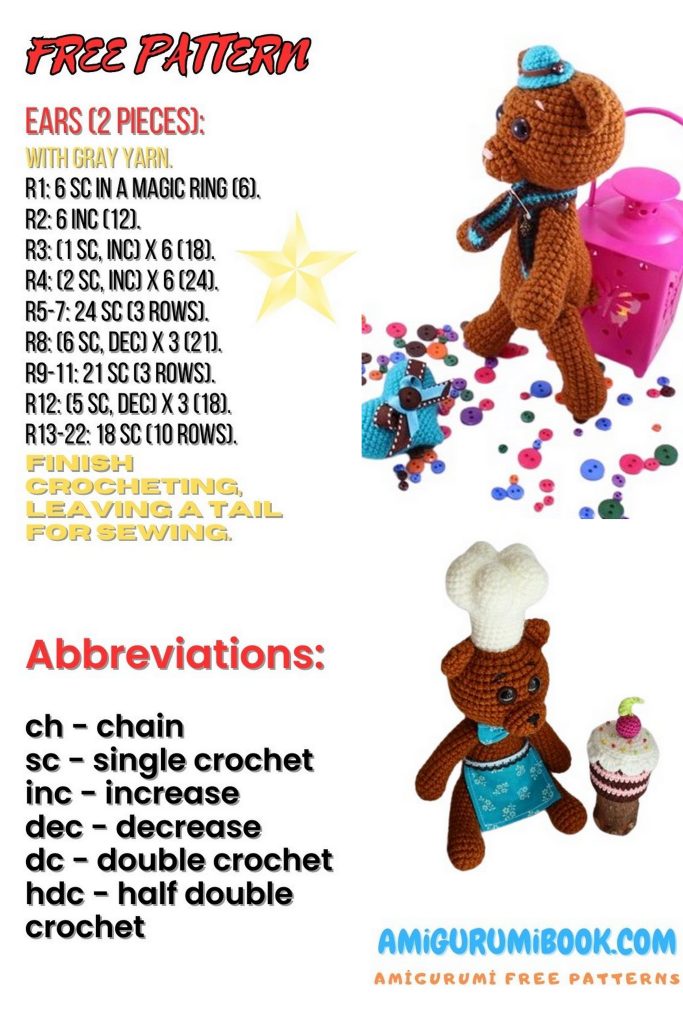
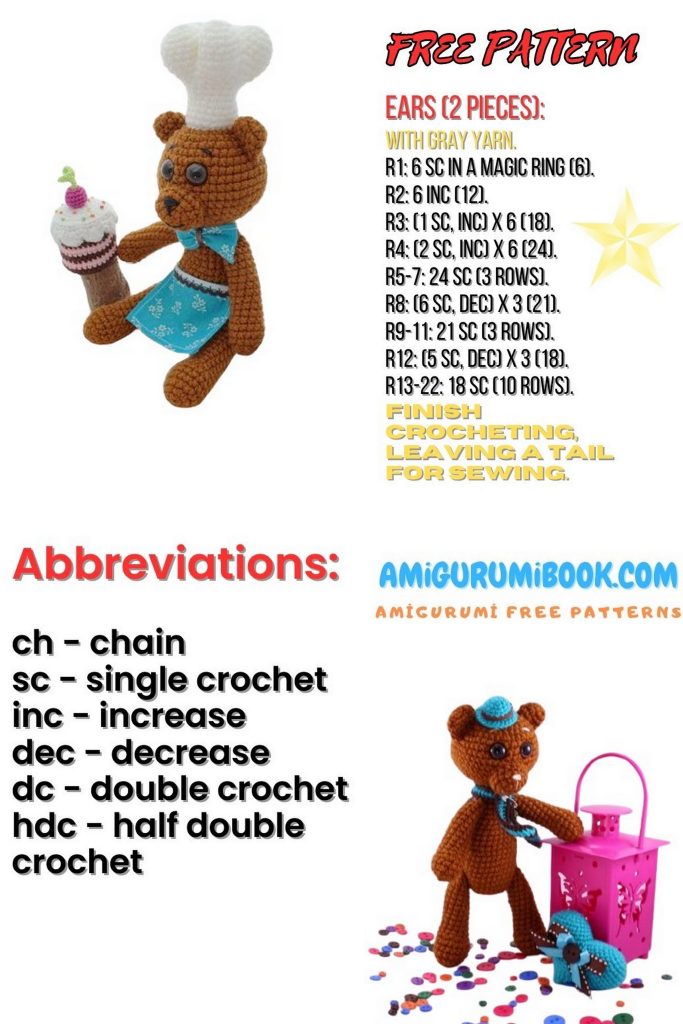
Assembly – Amigurumi Bear:
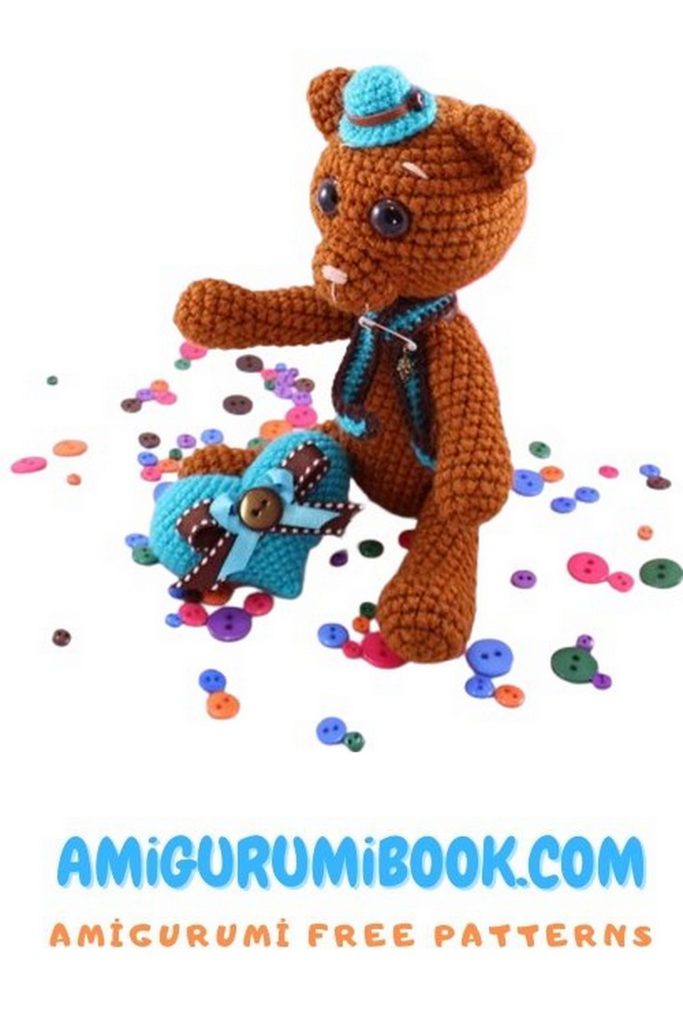
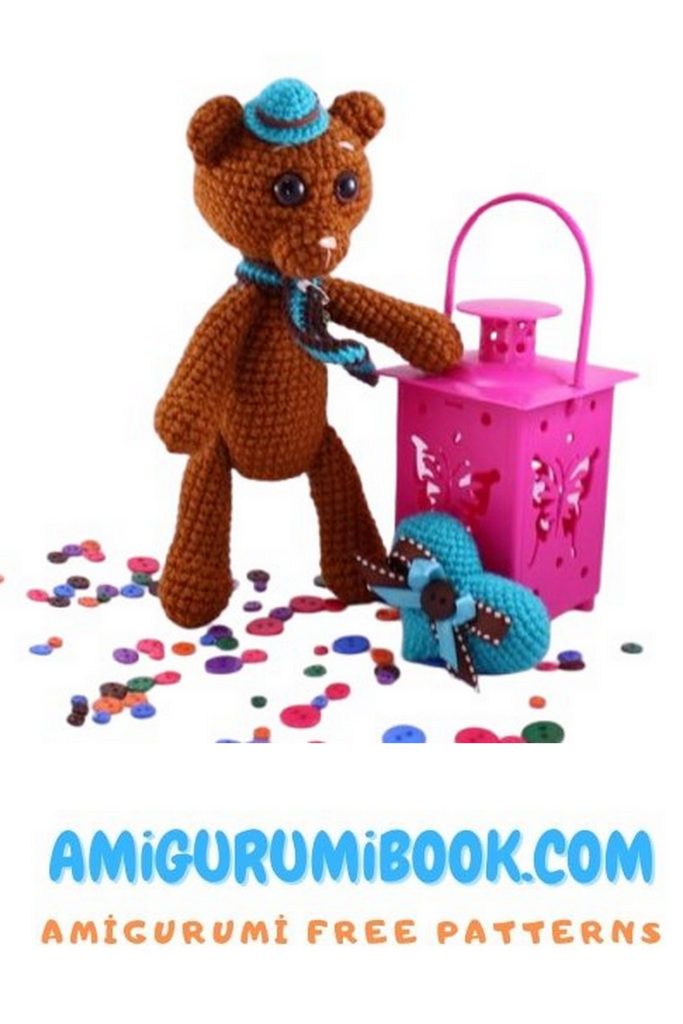
Attach the eyes to the head. Stuff all parts. Attach the legs to the body using button joints, then sew on the head, ears, muzzle, and tail.
Chef’s Hat:
Materials and Tools:
White yarn (acrylic 100% Pekhorka “Bee” recommended)
Crochet hook size 1.5
Scissors, needle, stuffing
Start by making 5 “petals.” (If you make 4 petals, the hat will resemble a molar tooth, and with 6 petals, the top folds will be smaller.)
1st round: magic ring, 6 sc (6)
2nd round: inc in each stitch (12)
3rd round: (1 sc, inc) * 6 times (18)
Rounds 4-5: 18 sc (18)
Hide the starting thread, leaving a 10-15 cm end at the last petal.
Connect 2 petals by their sides so that the end threads are on one side (facing you).
Sew the petals together with 3-4 stitches and secure the yarn.
Repeat with each petal.
After sewing all petals, a flower-like shape should form. Attach the yarn to a random spot on the edge and start working sc stitches in rounds without joining rows.
Continue by decreasing the circumference:
Make 2 decreases in the center of each petal and sc in the rest of the stitches (10 decreases if you have 5 petals).
In the next round, make even more decreases with 2 in the middle of each petal and 1 between petals (15 decreases total), the rest sc.
In the final round, alternate 1 sc, 1 decrease.
After all decreases, there should be 22 sc in the round.
Work a few rounds of sc for height. Stuff the hat and sew it onto the toy’s head. All done!
