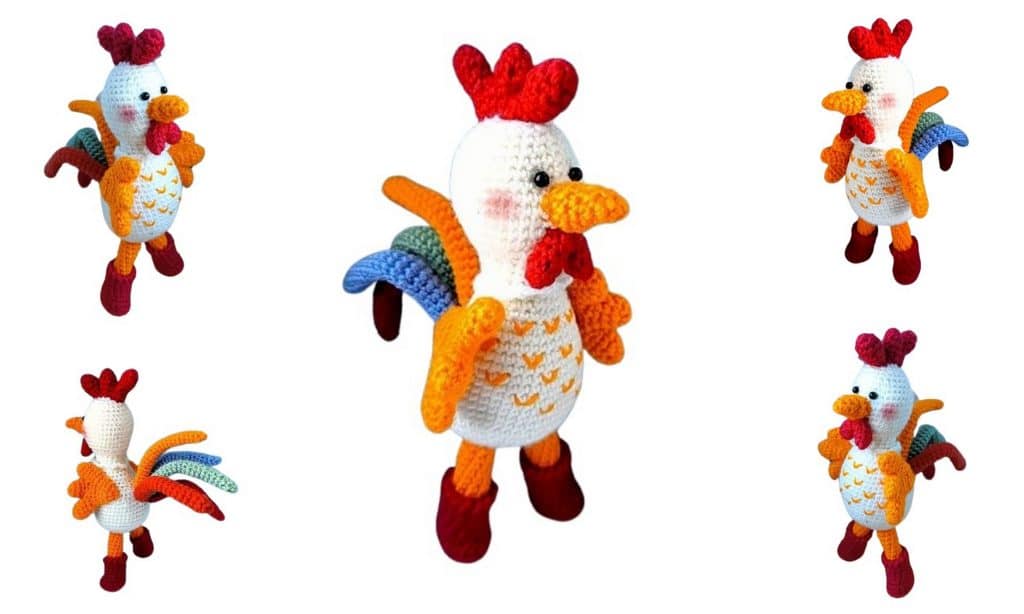
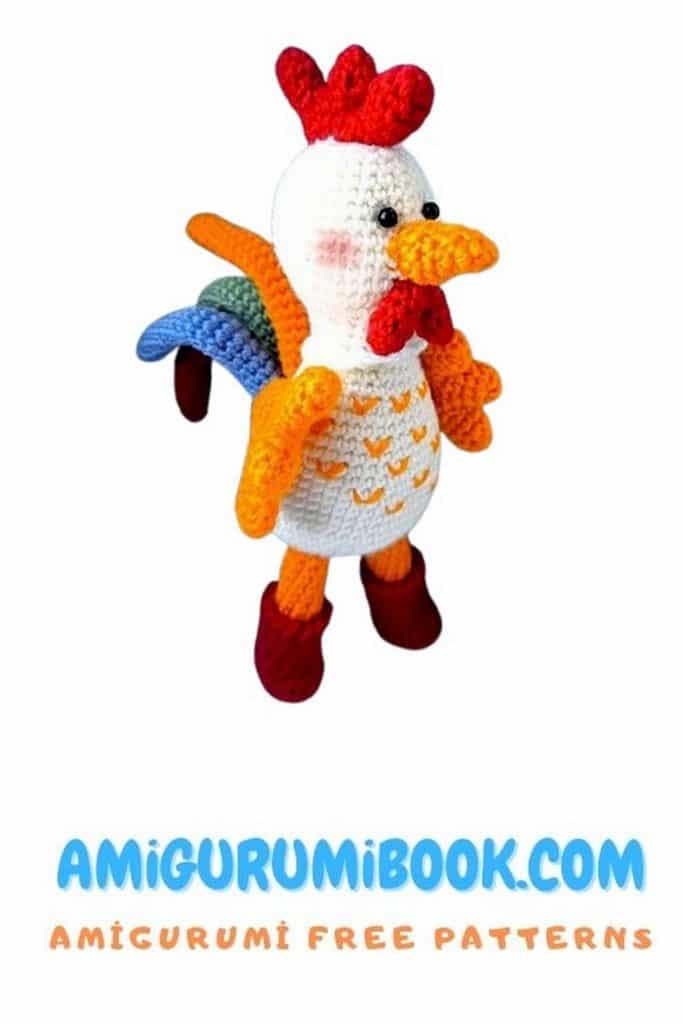
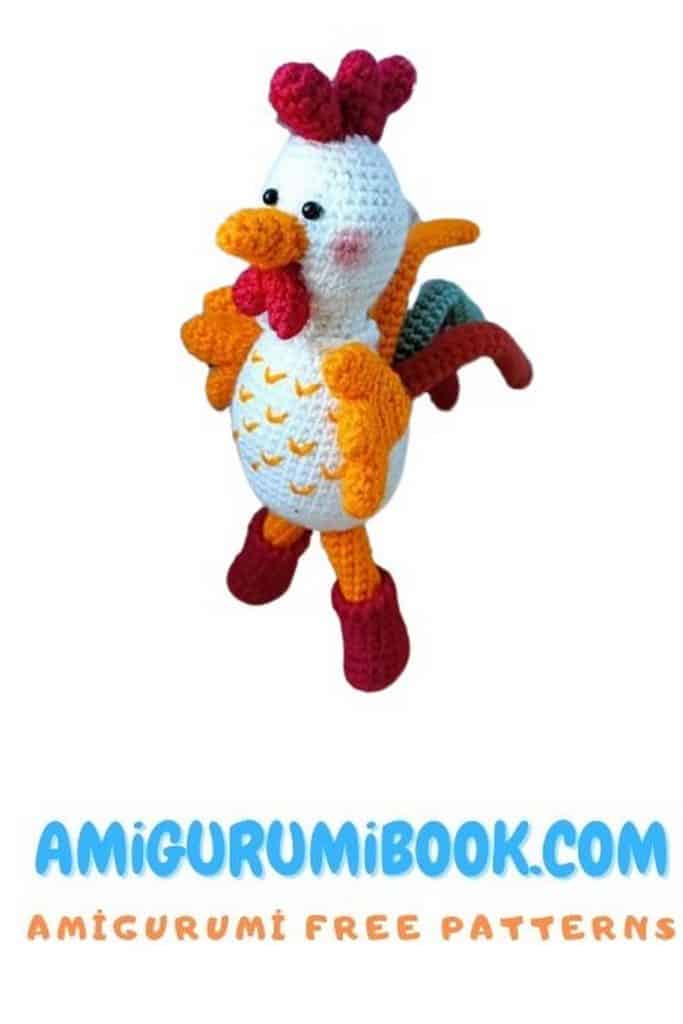
Add a cheerful and colorful touch to your amigurumi collection with Petya the Rooster Amigurumi Free Pattern! This delightful crochet project is perfect for anyone who loves farm animals, quirky characters, or simply wants to try something new. With its vibrant details, charming expression, and easy-to-follow instructions, Petya the Rooster is a fun and rewarding project for beginners and experienced crocheters alike. Whether you’re making a gift, a nursery decor piece, or adding to your handmade animal collection, this free amigurumi crochet tutorial will guide you step by step. Grab your favorite yarns and bring Petya to life today!
If you want to access 1000+ free amigurumi patterns, you can download our application from this link!
Materials:
Yarn: Pekhorka “Children’s Novelty” (50g/200m)
Safety eyes
Chenille wire
Stuffing
Crochet hook: 1.5 mm
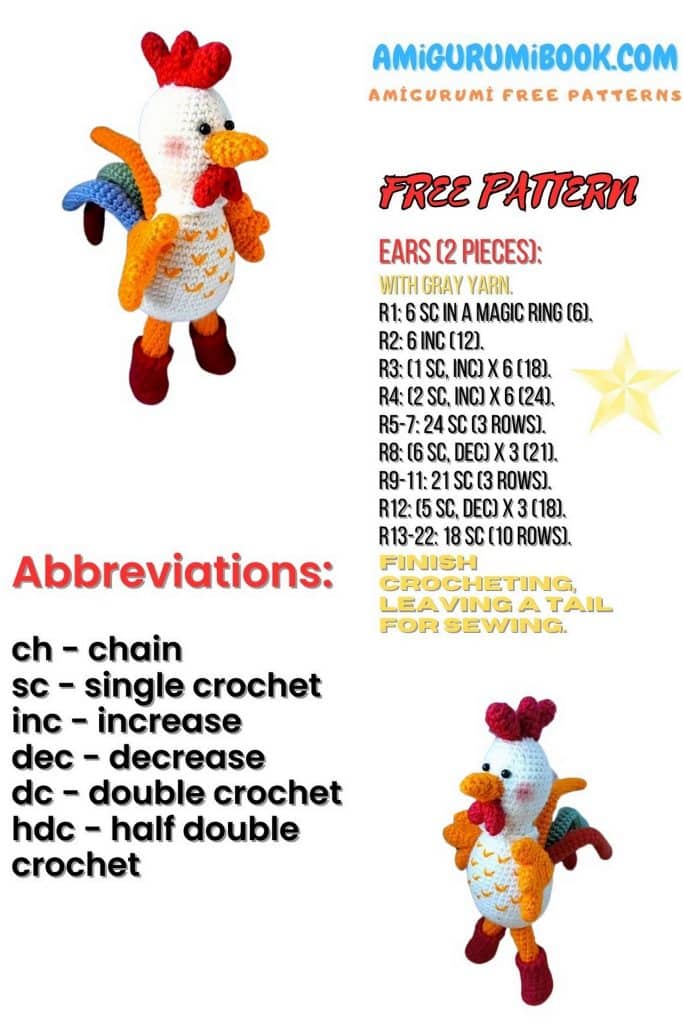
Abbreviations:
MR = magic ring
ch = chain
sl st = slip stitch
sc = single crochet
hdc = half double crochet
inc = increase
dec = decrease
BLO = back loops only
FLO = front loops only
PATTERN – Amigurumi Rooster
Body (white color): – Amigurumi Rooster
1: 6 sc in MR
2: 6 inc (12)
3: (sc, inc) × 6 (18)
4: (2 sc, inc) × 6 (24)
5: (3 sc, inc) × 6 (30)
6: (4 sc, inc) × 6 (36)
7: (5 sc, inc) × 6 (42)
8: (6 sc, inc) × 6 (48)
9–14: 48 sc (6 rounds)
15: (sc, dec) × 6, 36 sc (42)
16–17: 42 sc
18: 6 dec, 30 sc (36)
19: 36 sc
20: (4 sc, dec) × 6 (30)
21: 30 sc
22: (3 sc, dec) × 6 (24)
23: (2 sc, dec) × 6 (18), stuff
24: BLO – 18 sc
25–27: 18 sc (3 rounds)
Head: – Amigurumi Rooster
28: 18 inc (36), stuff
29: 36 sc
30: (5 sc, inc) × 6 (42)
31–33: 42 sc (3 rounds)
34: (5 sc, dec) × 6 (36)
35: 36 sc
36: (4 sc, dec) × 6 (30), stuff
37: (3 sc, dec) × 6 (24)
38: 24 sc
39: (2 sc, dec) × 6 (18)
40: 18 sc
41: 9 dec, stuff, close the hole
Go back to Round 24 and work “arches” in FLO using ch 3.
Beak (yellow color): – Amigurumi Rooster
1: 4 sc in MR
2: (sc, inc) × 2 (6)
3: 2 hdc, inc, 2 sl st, inc (8)
4: 8 sc
5: 3 hdc, 3 sc in one st, 3 sl st, 3 sc in one st (12)
6: 12 sc
7: 3 hdc, 3 sc, 3 sl st, 3 sc (12), stuff
Wattle (red color): – Amigurumi Rooster
1: 6 sc in MR
2–3: 6 sc
4: (sc, dec) × 2 (4), fasten off, make second piece the same way but do not cut yarn
5: Join both parts by crocheting 3 sc on each piece. Skip 1 sc between them (6 sts total). Sew under the beak.
Comb (red color):
First piece:
1: 6 sc in MR
2: (inc × 2, sc) × 2 (10)
3: 10 sc
4: (2 sc, dec, sc) × 2 (8)
5: (dec, 2 sc) × 2 (6)
Second piece:
1: 6 sc in MR
2: (inc, 2 sc) × 2 (8)
3: 8 sc
4: (dec, 2 sc) × 2, sl st (6)
Third piece:
1: 6 sc in MR
2–3: 6 sc
4: Join 2nd and 3rd pieces by crocheting 4 sc on each and skipping 2 sc between (8)
5: Attach 1st piece, skipping 2 sc between each (10)
6: 10 sc, sl st
Wings (yellow color): – Amigurumi Rooster
1: 6 sc in MR
2: (sc, inc) × 3 (9)
3–4: 9 sc
Make three pieces.
Do not cut yarn after the third.
5: 4 sc, sc 1 st from 1st piece together with 1 st from 2nd piece, then 3 sc, sc 1 st from 2nd with 1 st from 3rd, then 7 sc around, sc 1 st from 3rd with 1 st from 2nd, 2 sc, sc 1 st from 2nd with 1 st from 1st, 3 sc (23)
6: (4 sc, dec) × 3, 5 sc (20)
7: (8 sc, dec) × 2 (18)
8: (7 sc, dec) × 2 (16)
9: (6 sc, dec) × 2 (14)
10: (5 sc, dec) × 2 (12)
11: (4 sc, dec) × 2 (10)
12: 5 dec, close the hole
Legs (yellow color):
1: 6 sc in MR
2: 6 inc (12)
3: BLO – 12 sc
4: (2 sc, dec) × 3 (9)
5–14: 9 sc (10 rounds), stuff

Boots (red color):
1: ch 6, from 2nd ch from hook: 4 sc, 3 sc in one st, 3 sc, inc (12)
2: inc, 3 sc, 3 inc, 3 sc, 2 inc (18)
3: BLO – 18 sc
4: 18 sc
5: 5 sc, 5 dec, 3 sc (13)
6–9: 13 sc (4 rounds)
10: reverse sc (crab stitch)
Tail (any colors – 5 parts):
1: 4 sc in MR
2: (sc, inc) × 2 (6)
3: 6 sc
4: (2 sc, inc) × 2 (8)
5–22: 8 sc (18 rounds)
Assembly:
Attach the beak, wattle, and comb to the head
Glue on eyes
Sew legs and wings to the body
Put boots on the legs
Thread chenille wire through the body and attach tail feathers to it, then sew the tail to the body