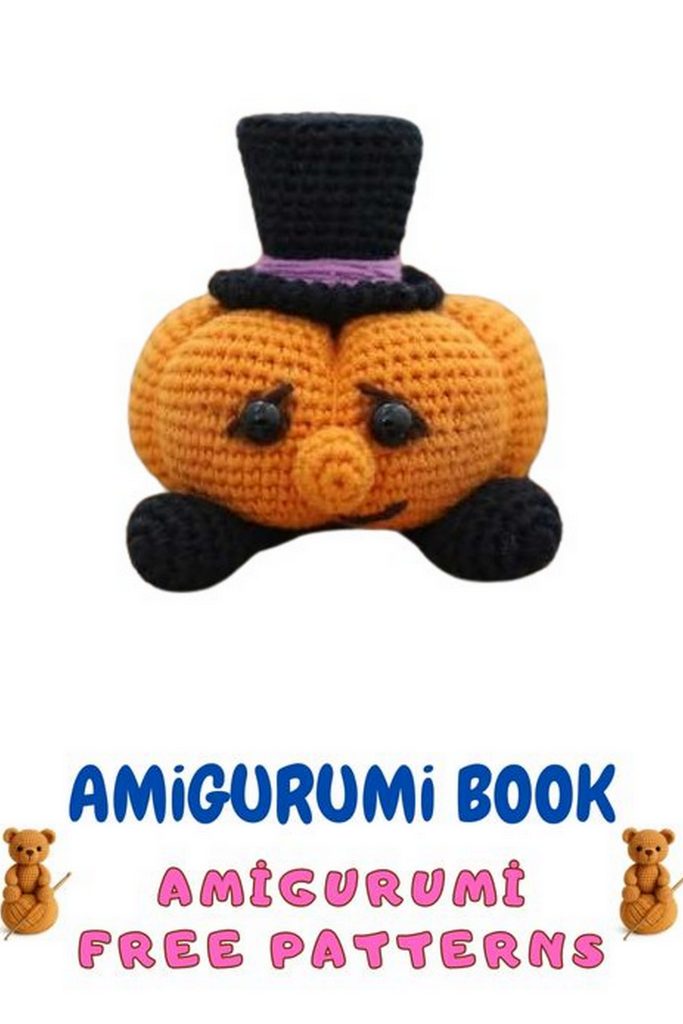
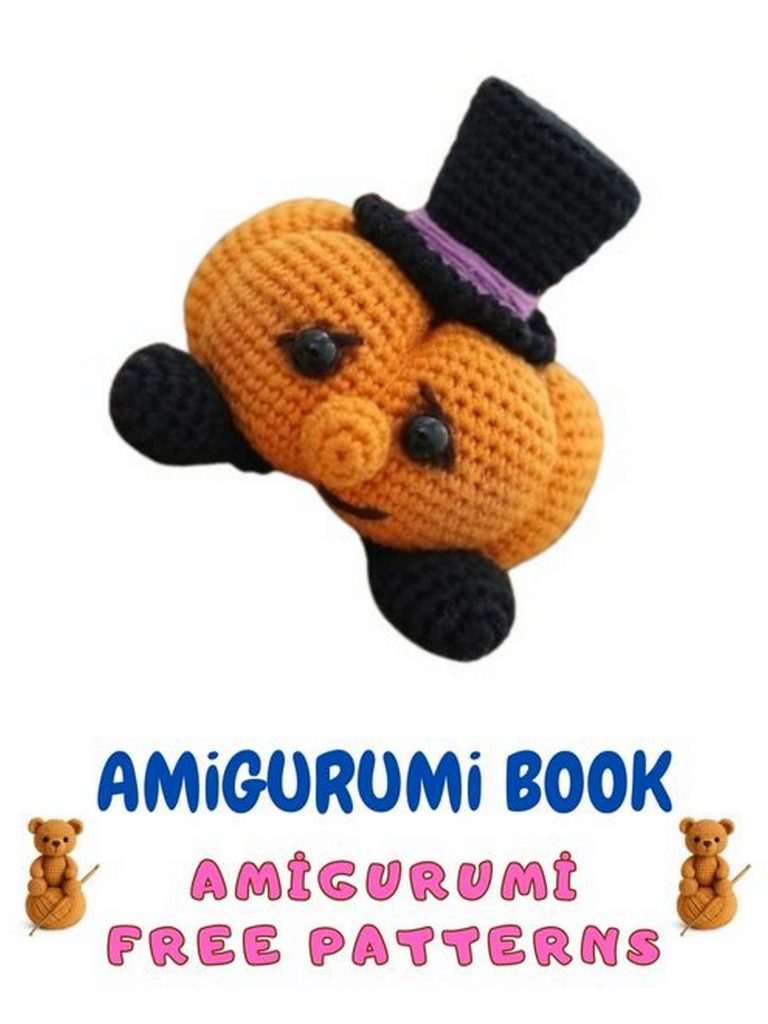
Looking for a fun and easy fall project? This adorable amigurumi pumpkin pattern is perfect for Halloween decorations or cozy autumn vibes! Whether you’re a beginner or an experienced crocheter, making these cute pumpkins will bring warmth and charm to your home. Grab your yarn, hook, and let’s crochet the perfect amigurumi pumpkin for your fall collection!
If you want to access 1000+ free amigurumi patterns, you can download our application from this link!
Height: depends on yarn and hook, approximately 10–12 cm.
All parts are worked in a spiral, unless otherwise stated.
The distance between the eyes is up to you — place them as you like.
You can use any yarn you prefer; just choose a matching hook size for it.
🧶 Materials
Main color yarn: I used Gazzal Baby Cotton (orange, black, and green/purple)
Crochet hook size 2 mm (Clover)
Fiberfill stuffing
Safety eyes (6 mm)
Yarn matching the main color for sewing pieces together
Brown embroidery floss (for face details)
🪡 Abbreviations
MR – magic ring
ch – chain
sc – single crochet
inc – increase (2 sc in one stitch)
dec – decrease (sc 2 together)
sl st – slip stitch
BLO – back loop only
FLO – front loop only
rep – repeat the instruction the given number of times
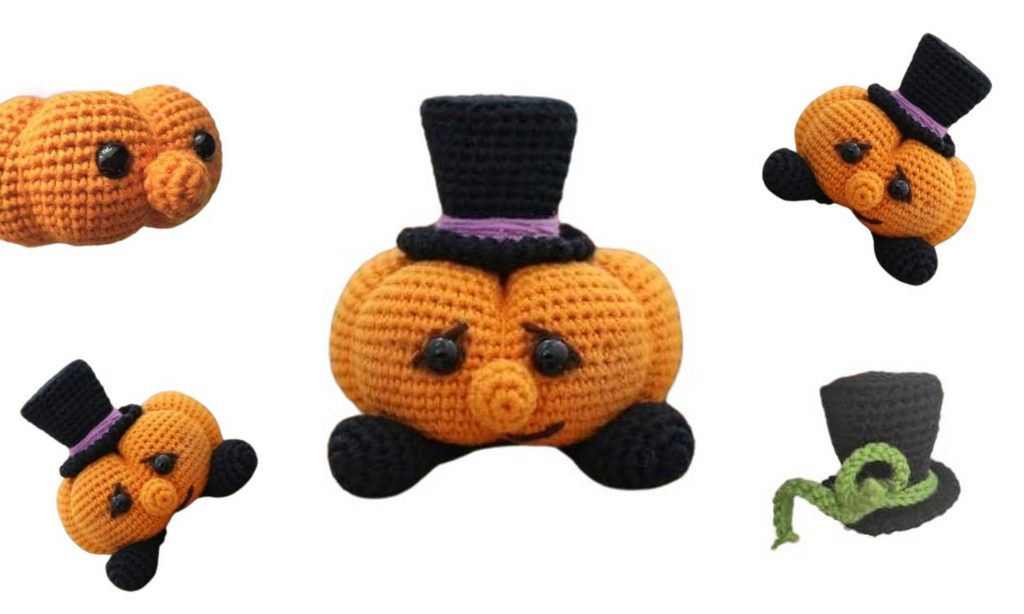
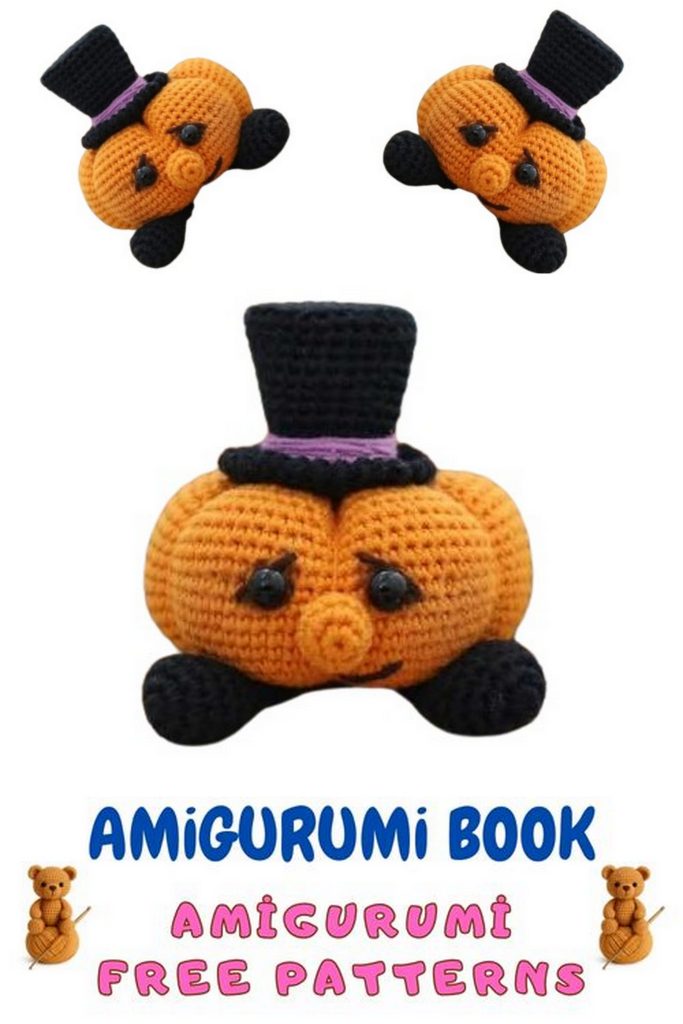
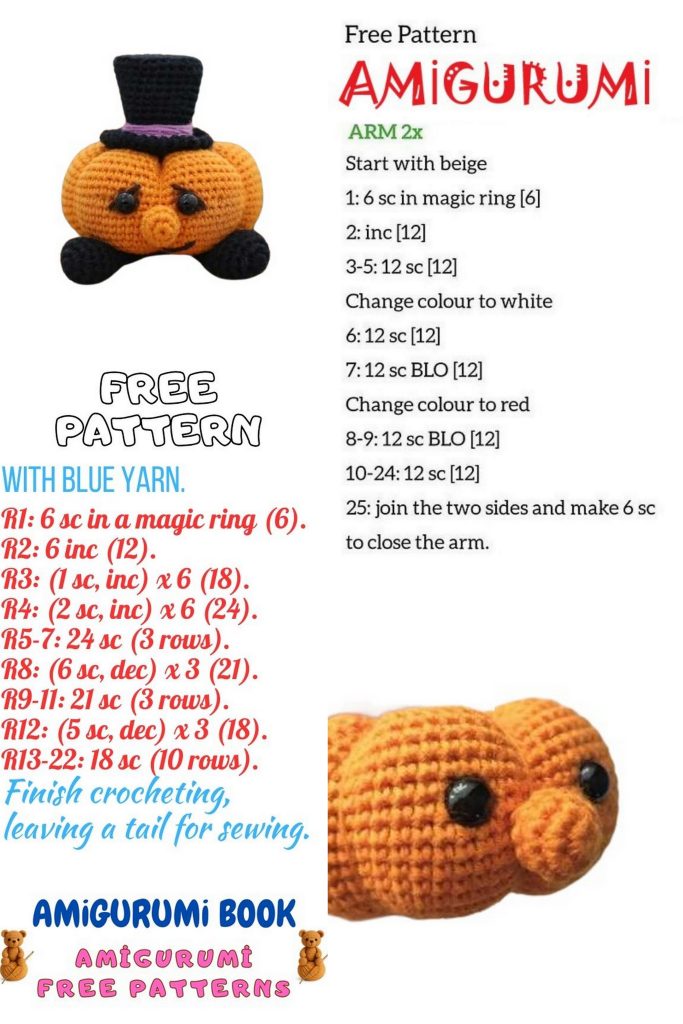
🎃 Pumpkin (main body)
Work from bottom to top.
1: 9 sc in MR (9)
2: 9 inc (18)
3: (1 sc, inc) ×9 (27)
4: 1 sc, inc, (2 sc, inc) ×8, 1 sc (36)
5: 36 sc (36)
6: (5 sc, inc) ×6 (42)
7: 3 sc, inc, (6 sc, inc) ×5, 3 sc (48)
8: (5 sc, inc) ×8 (56)
9: 3 sc, inc, (6 sc, inc) ×7, 3 sc (64)
10: (7 sc, inc) ×8 (72)
11–22: 72 sc (72)
🧿 If using safety eyes, place them between Rounds 17 and 18, spaced about 7–8 stitches apart (adjust to your liking).
23: (7 sc, dec) ×8 (64)
24: (6 sc, dec) ×8 (56)
25: (5 sc, dec) ×8 (48)
26: (4 sc, dec) ×8 (40)
27: (3 sc, dec) ×8 (32), sl st.
Leave a long tail for shaping the pumpkin’s ridges.
Stuff the piece firmly.
Then, use the tail to create the pumpkin grooves (ridges).
Insert the needle through the center and pull the yarn tightly to shape each segment — work slowly to avoid breaking the thread. The first ridge should pass between the eyes.
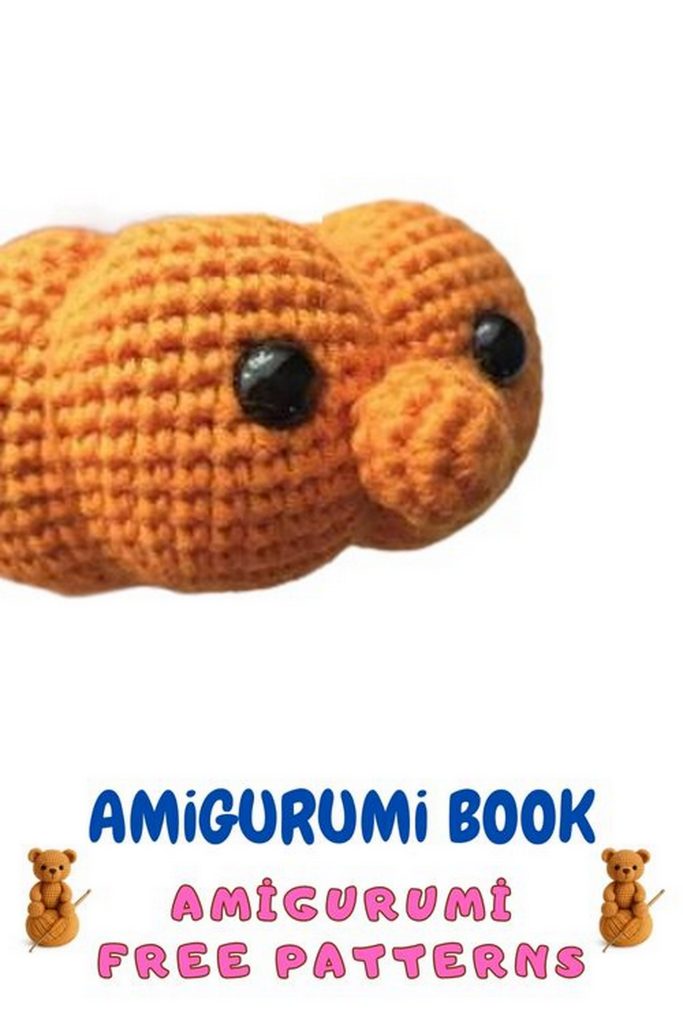
👃 Amigurumi Pumpkin Nose
1: 6 sc in MR (6)
2: 6 inc (12)
3: 12 sc (12)
4: (2 sc, dec) ×3, sl st.
Leave a long tail for sewing.
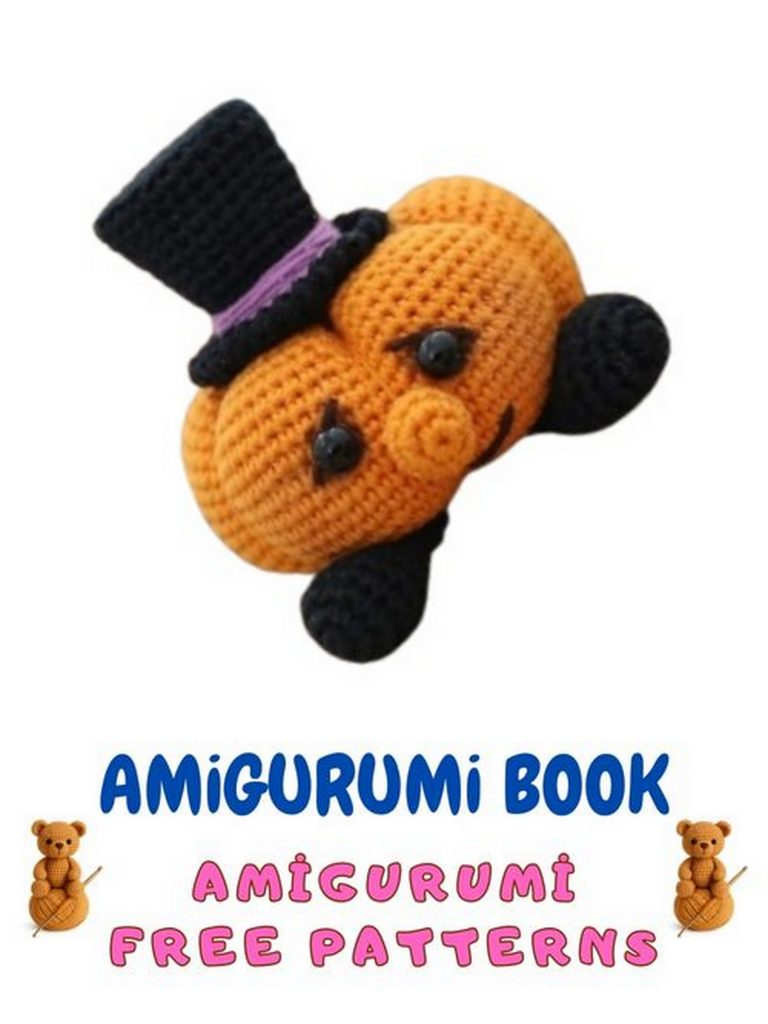
🎩 Hat – Amigurumi Pumpkin
1: 6 sc in MR (6)
2: 6 inc (12)
3: (1 sc, inc) ×6 (18)
4: (2 sc, inc) ×6 (24)
5: BLO (3 sc, inc) ×6 (30)
6: 30 sc (30)
7: (8 sc, dec) ×3 (27)
8–10: 27 sc (27)
Insert a base (plastic or cardboard circle) at the bottom to hold the shape.
11: (7 sc, dec) ×3 (24)
12: 24 sc (24)
13: (6 sc, dec) ×3 (21)
14–17: 21 sc (21)
18: FLO (inc, 1 sc) ×10, inc (32)
19–20: 32 sc (32)
21: Work 1 round in reverse single crochet (crab stitch).
Lightly stuff the hat so it keeps its form.
Using green yarn, make one or two chains (or a twisted cord) and tie it around the hat as a ribbon.
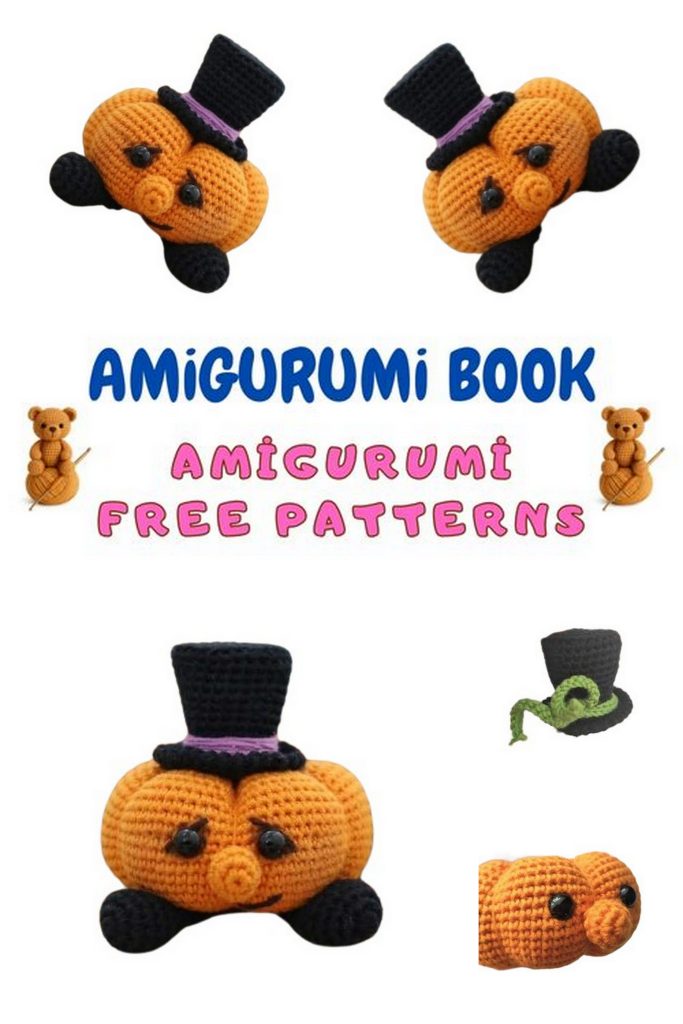
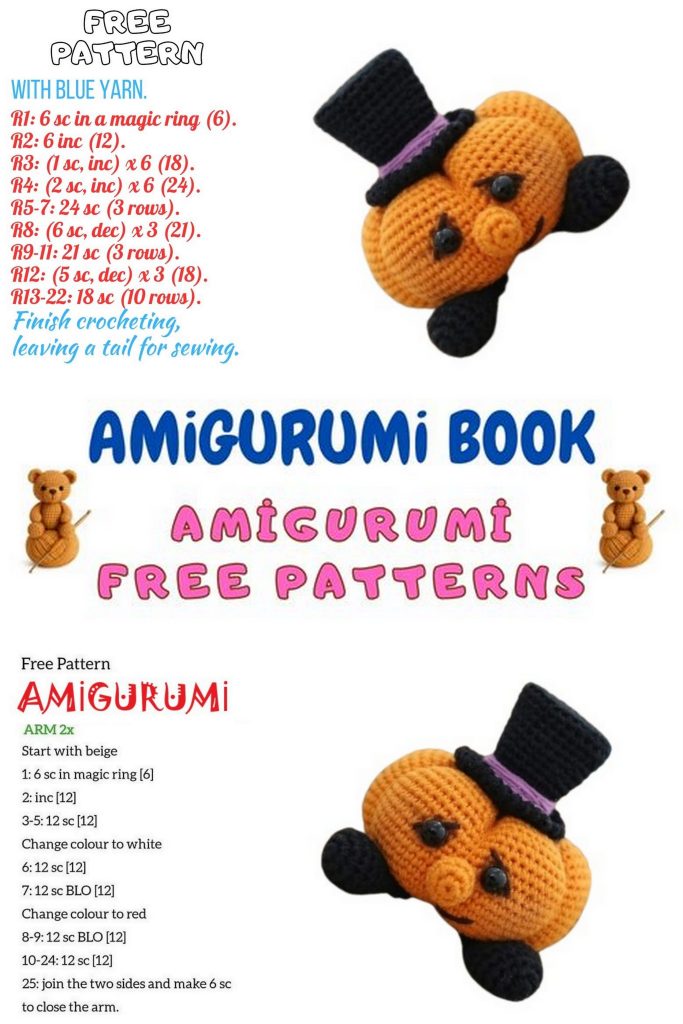
🦶 Amigurumi Pumpkin – Legs
1: 6 sc in MR (6)
2: 6 inc (12)
3: (1 sc, inc) ×6 (18)
4–6: 18 sc (18)
7: (1 sc, dec) ×6 (12)
8–9: 12 sc (12)
Stuff only the tip of the leg. Fold the piece flat and crochet across both sides.
Leave a tail for sewing on one leg.
🧵 Assembly
Sew the nose between the eyes, slightly below their level.
Attach the hat on top of the pumpkin’s head.
Sew the legs where you prefer (test placement first using pins).
Embroider the eyelids, eyebrows (optional), and mouth with brown thread.
Optionally, apply a little blush or shading around the eyes for expression.