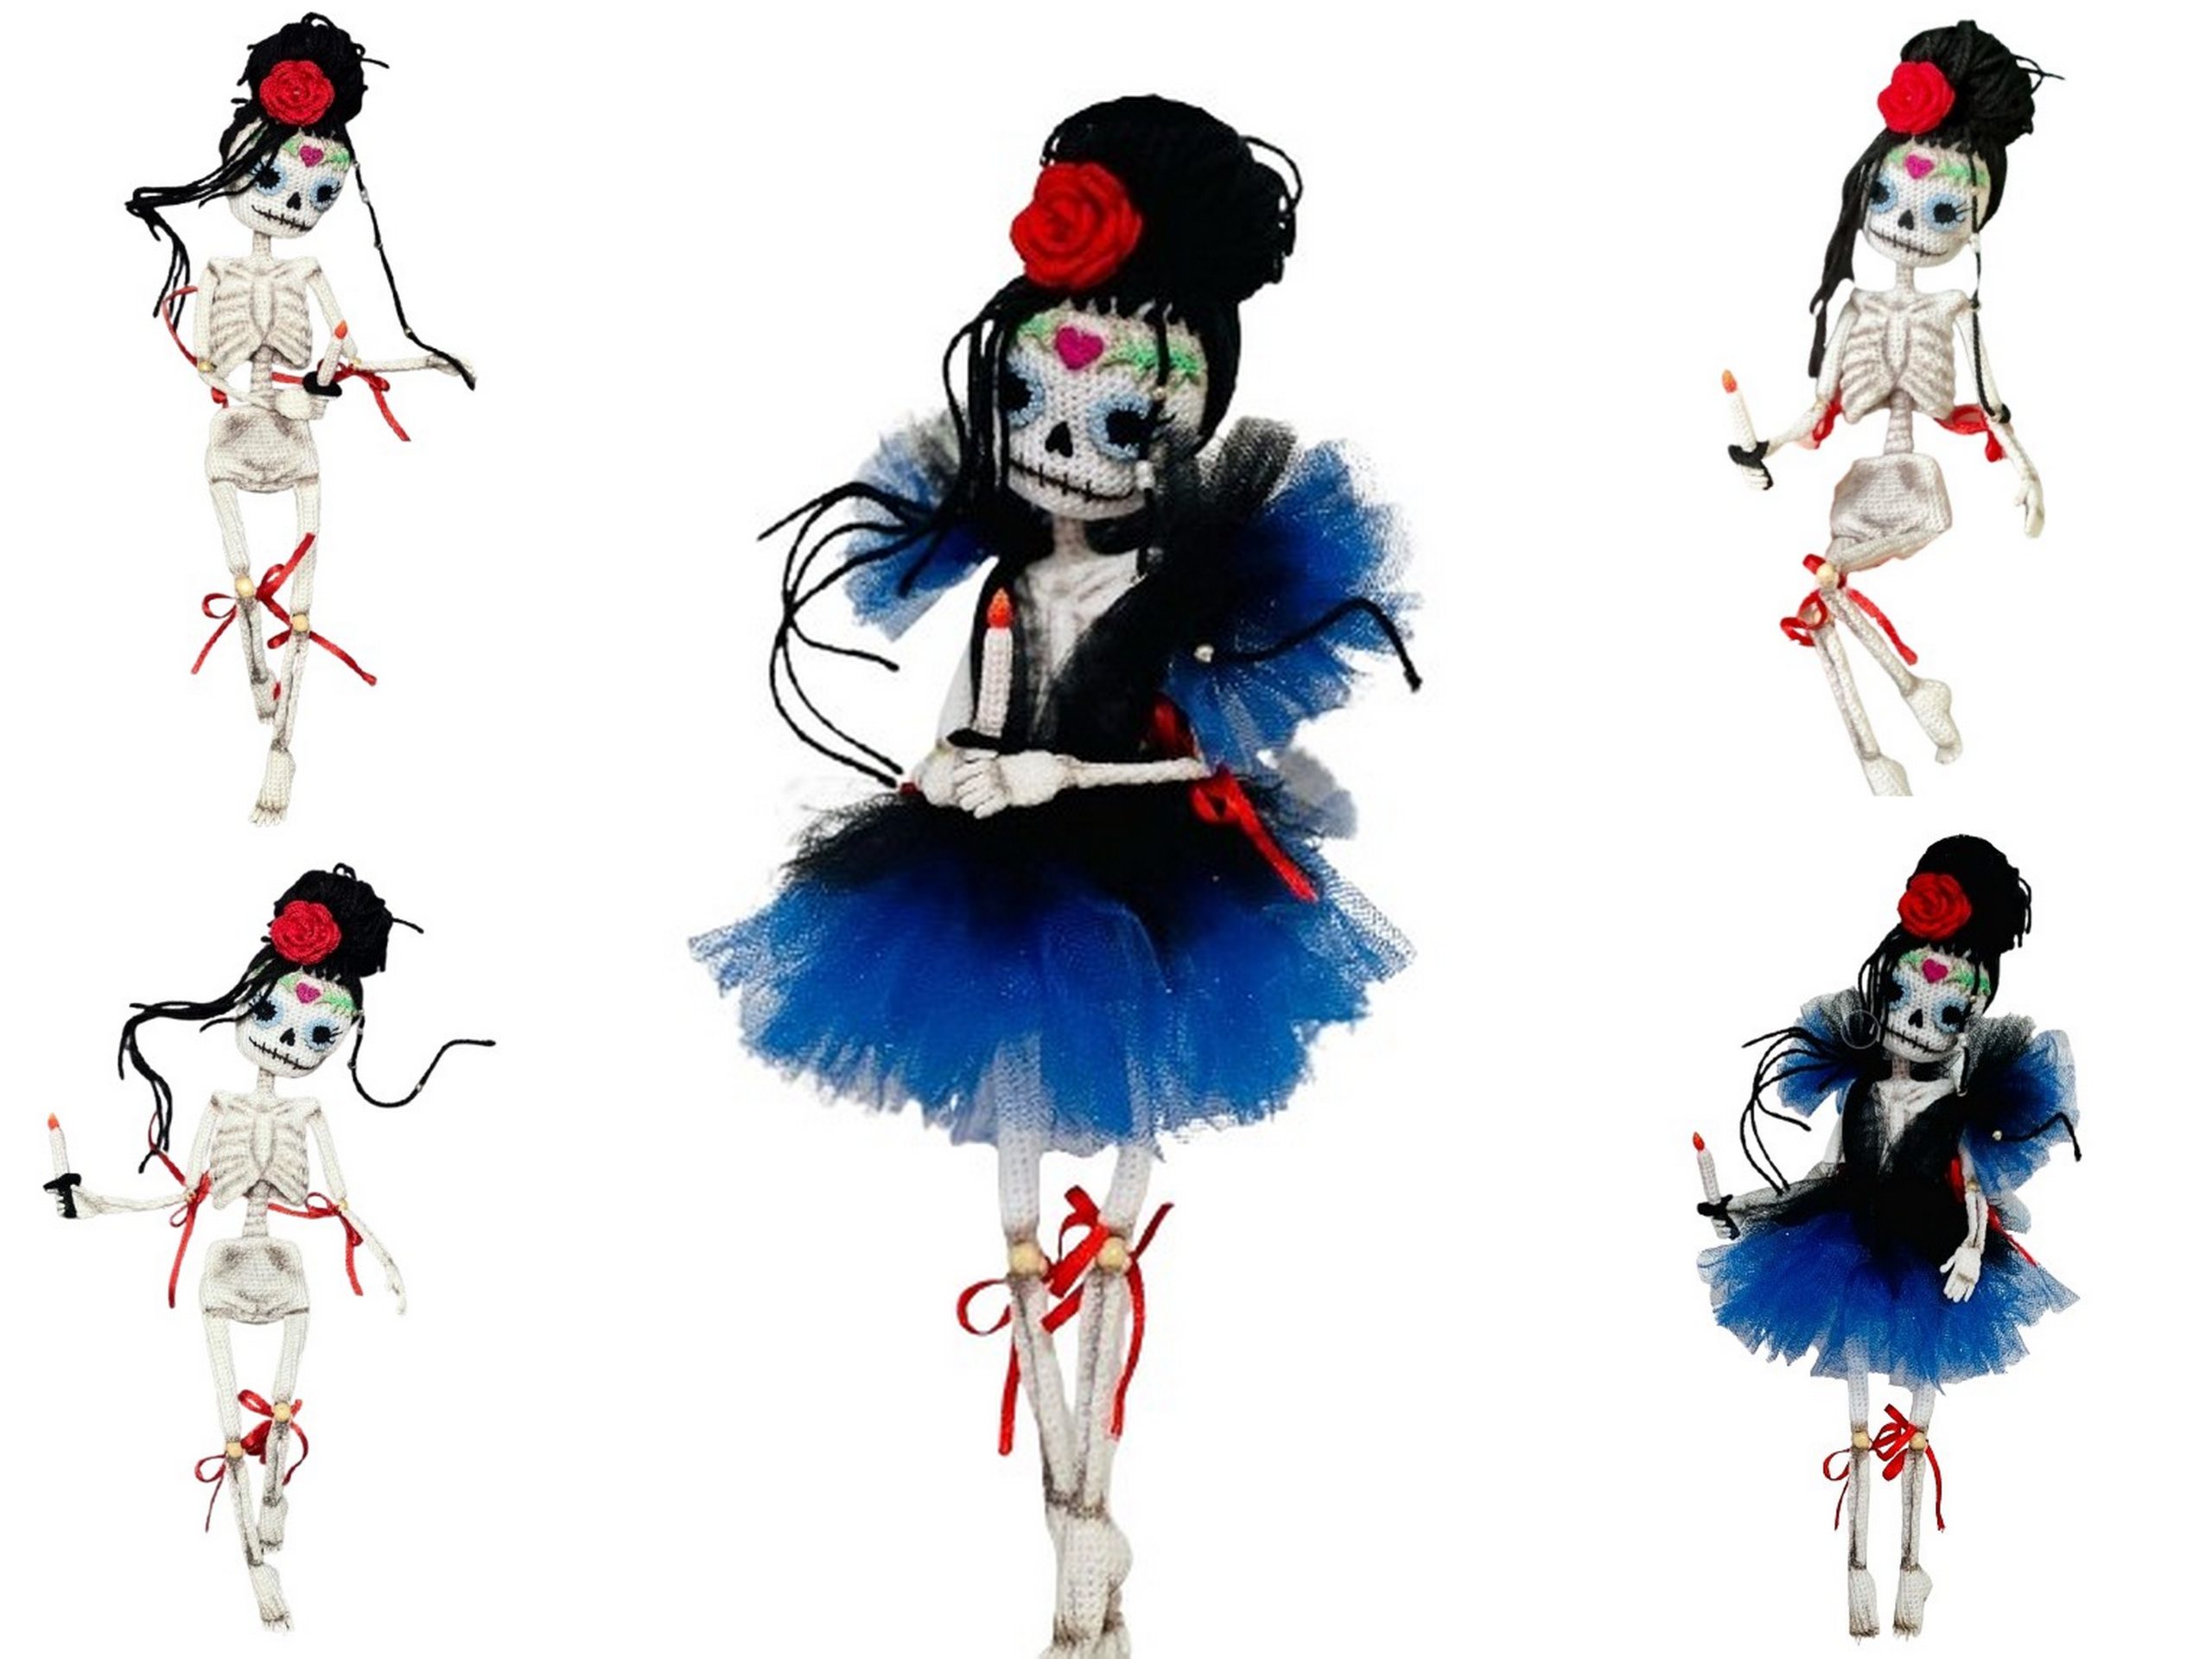
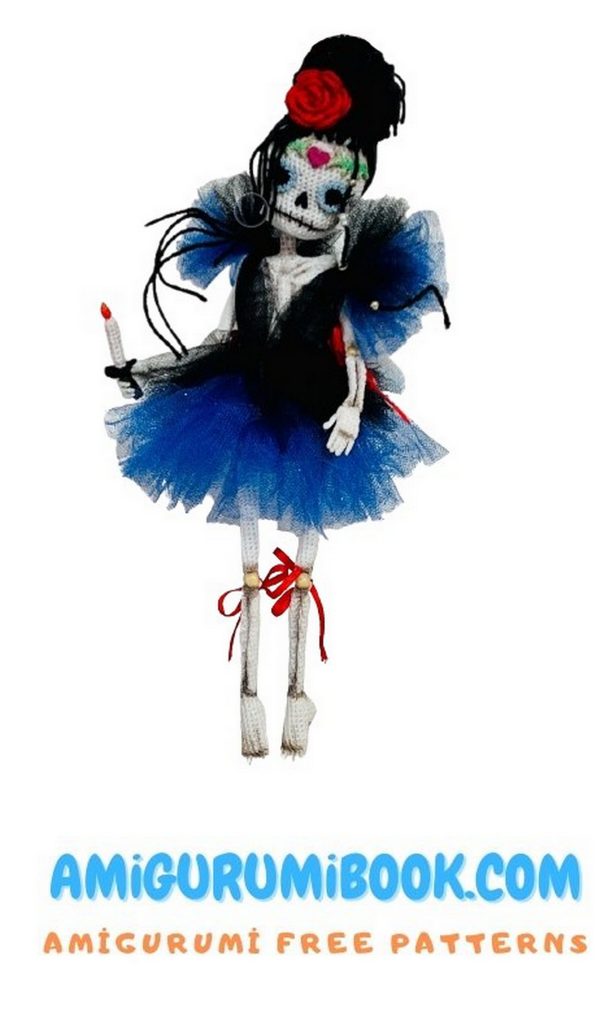
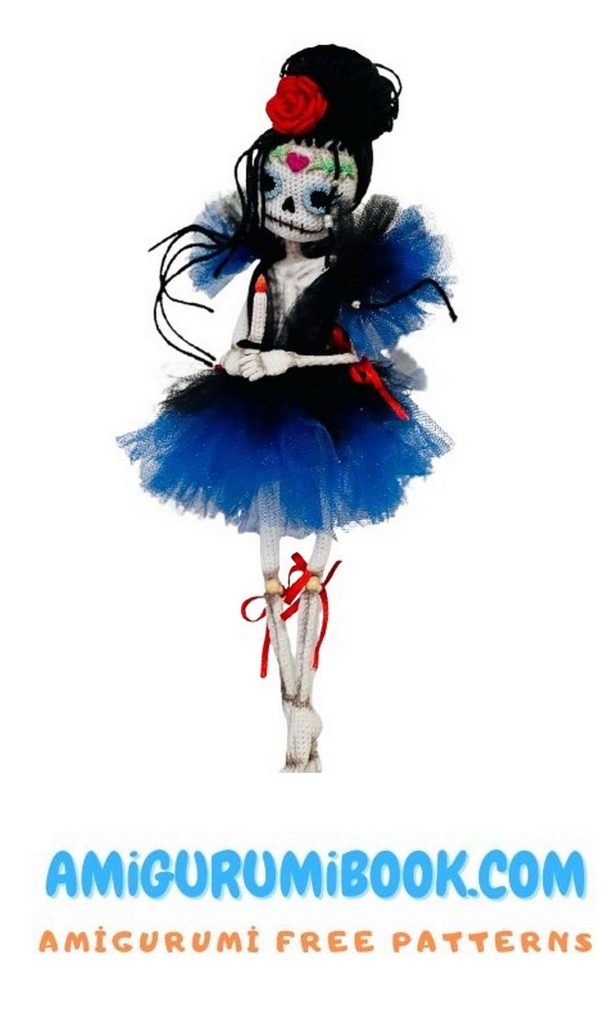
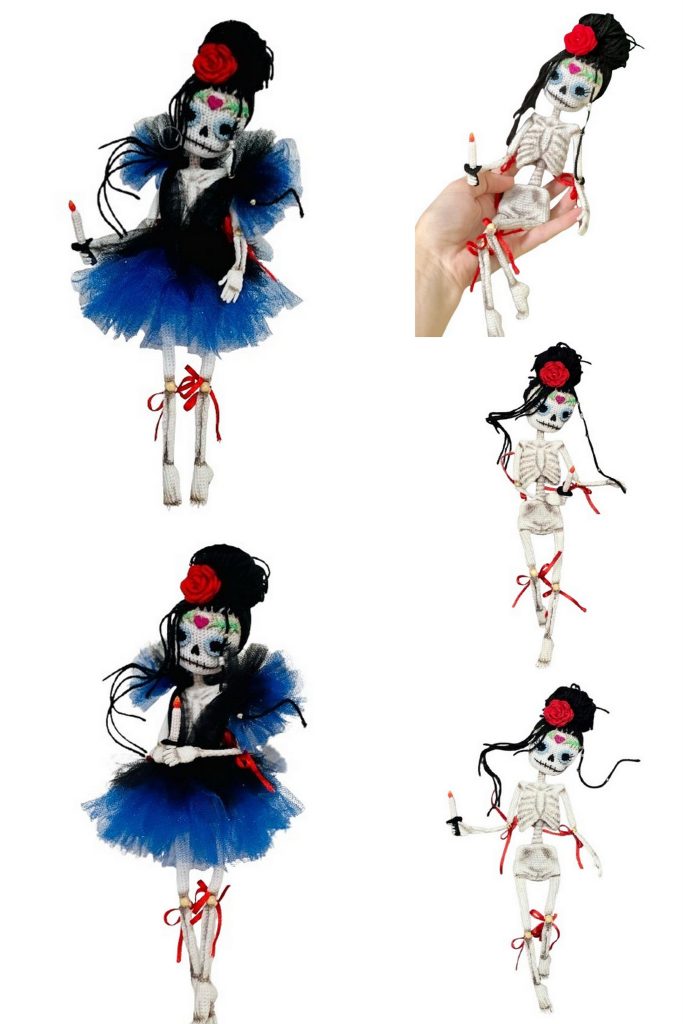
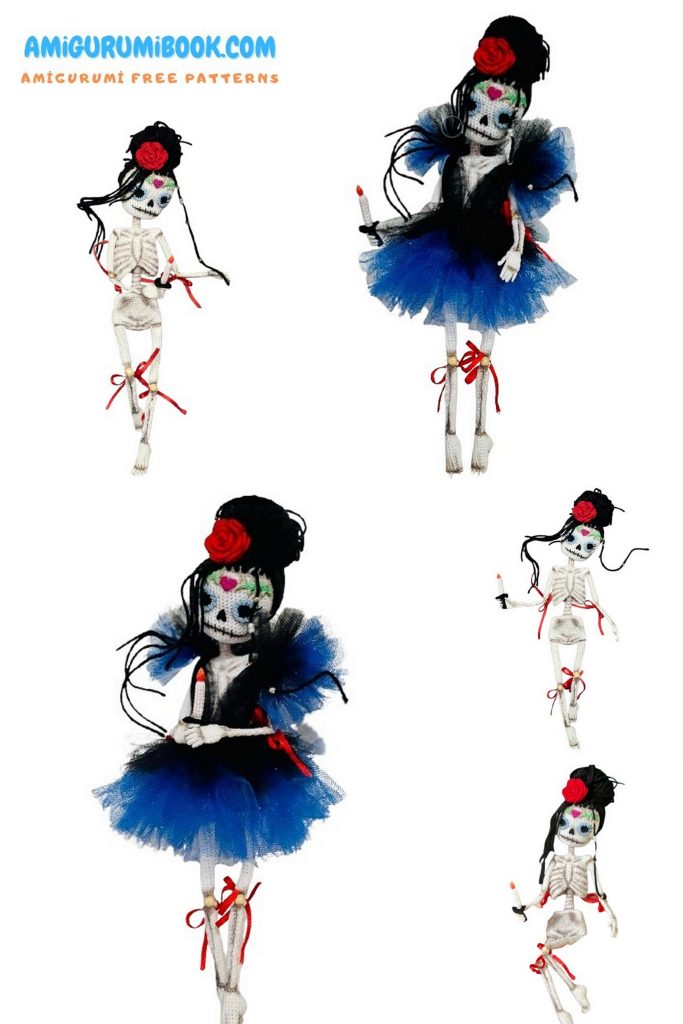
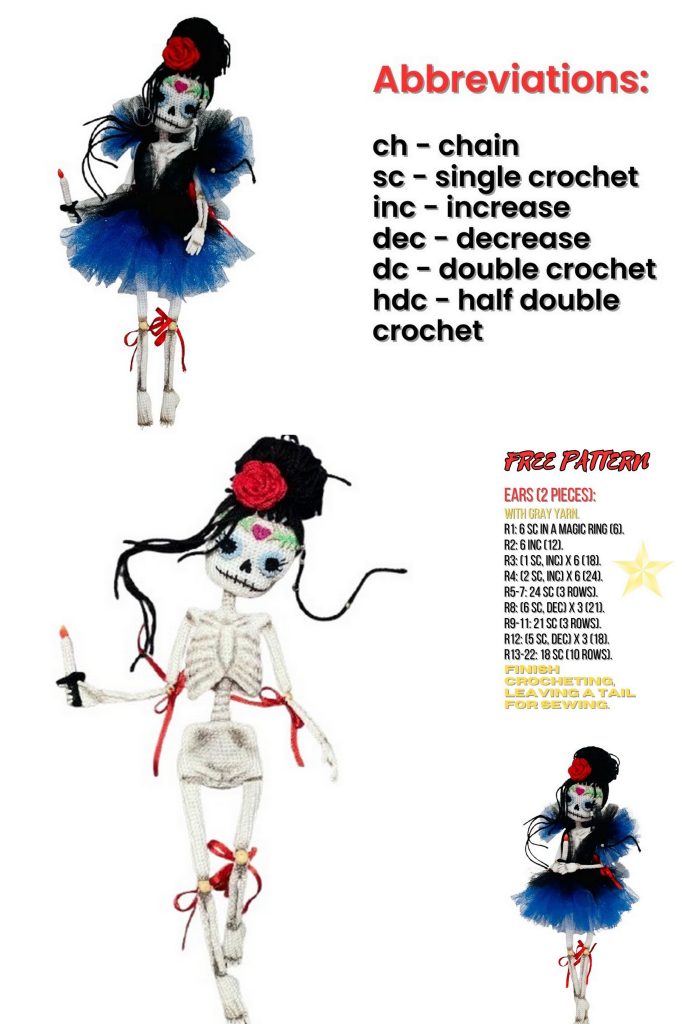
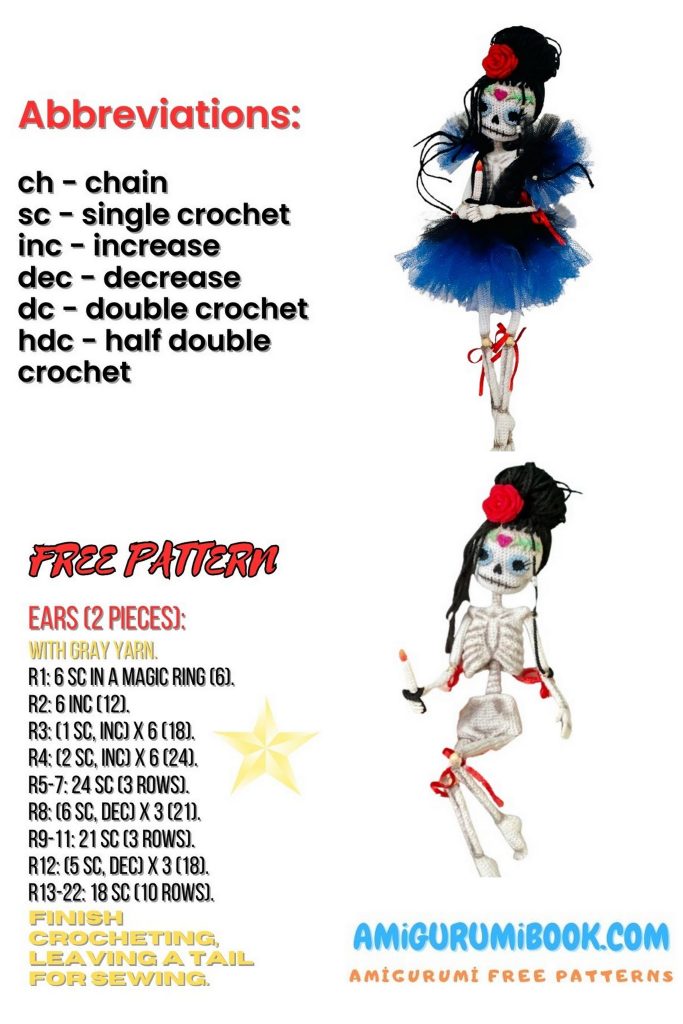
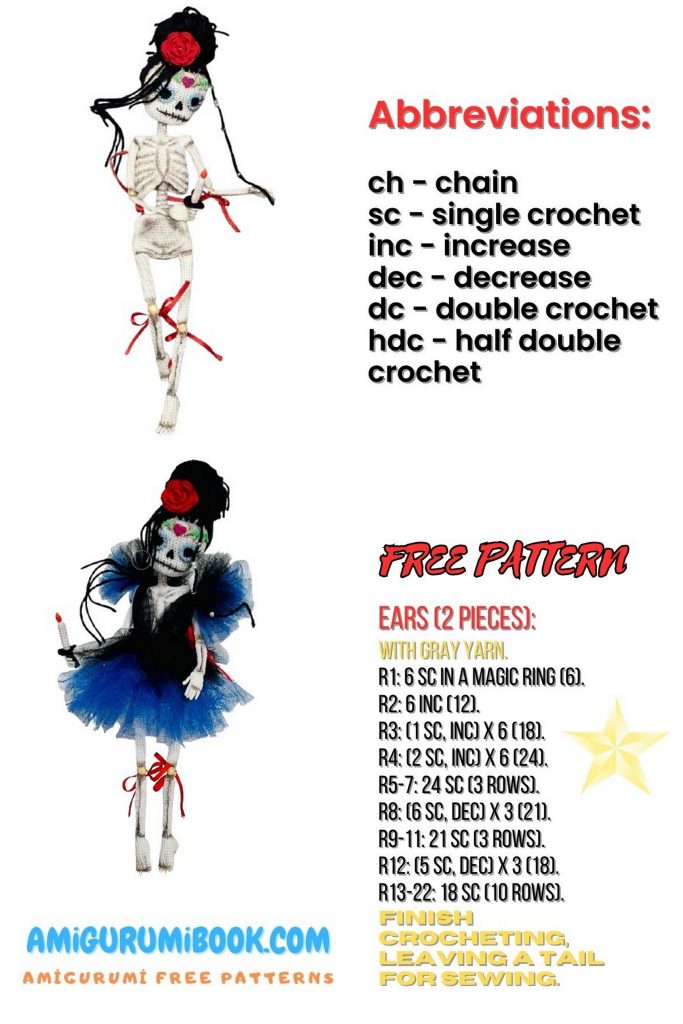
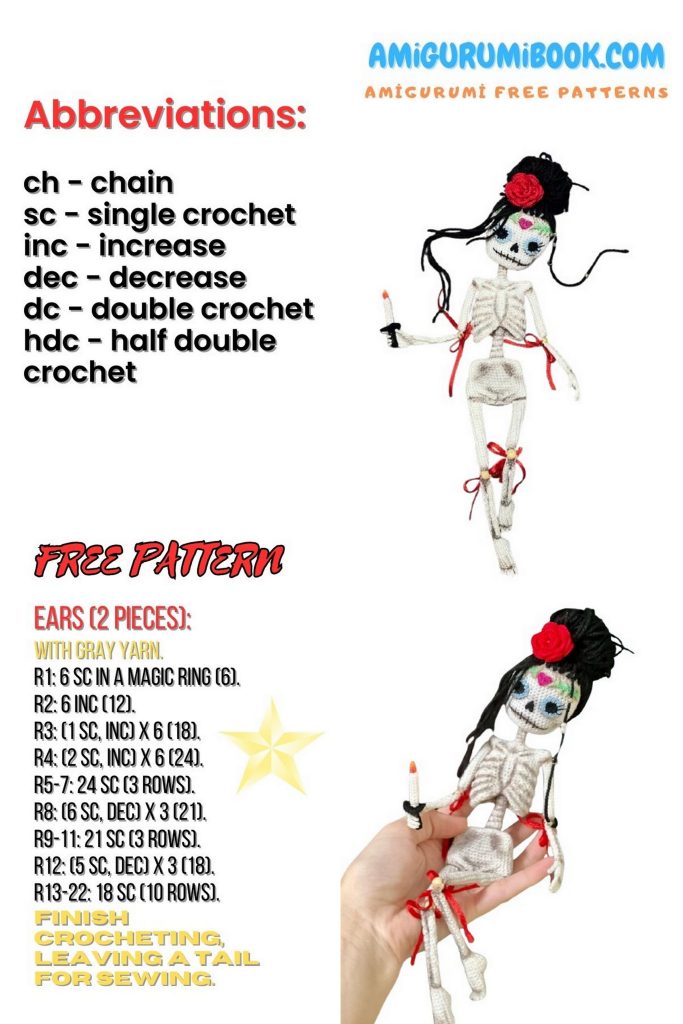
Craft a stunning and unique piece with our Santa Muerte Amigurumi Doll Free Pattern and crochet tutorial! This intricate design, inspired by the iconic Santa Muerte, is perfect for crocheters looking for a more detailed and artistic project. With step-by-step instructions and clear photos, you’ll be able to create this captivating figure with ease. Ideal as a special gift or a striking addition to your amigurumi collection, this pattern brings a blend of culture and creativity to your crochet world. Start your Santa Muerte Amigurumi today and embrace the beauty of this symbolic figure!
If you want to access 1000+ free amigurumi patterns, you can download our application from this link!
Abbreviations:
Mr– Amigurumi ring (magic ring)
Ch – Chain stitch
sc – Single crochet
inc – Increase
dec – Decrease
hdc – Half double crochet
sl st – Slip stitch
FLO – Front loop only (the loop closest to you)
BLO – Back loop only (the loop farther from you)
MATERIALS
Yarn: “PEKHORKA Ajour” color No. 01, one skein (50g/280m)
Insulated electrical wire (or copper wire) 1.5mm – 17cm
Scissors, needle
Wooden beads: 6mm – 2 pcs, 5mm – 2 pcs
Crochet hook: 0.6mm
Fabric plaster
Pliers
Stuffing: synthetic fiberfill (polyester or hollow fiber)
Stuffing tools: skewers of various sizes (you can use a toothpick or a matchstick)
Dry brown pastel
ATTENTION!!!
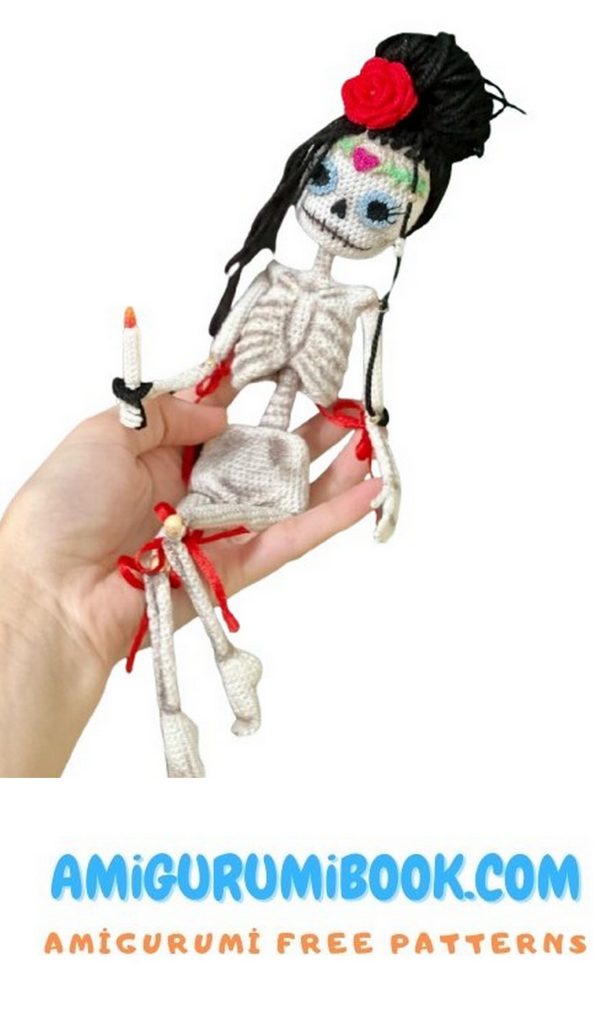
The entire piece is crocheted inside out in a spiral to achieve a neater look, especially for the face. When using the materials listed above, the finished doll should be approximately 28 cm tall. Adjusting the yarn thickness will change the size accordingly.
During crocheting, you may notice that paired parts (legs, arms) end up slightly different in length or thickness. This happens because the yarn tension in your hands varies from day to day or even within the same day. To avoid this issue, I recommend crocheting paired parts simultaneously (crochet a few rows of one leg, then set it aside and crochet a few rows of the other leg).
This pattern uses the “V-stitch” method for crocheting, which results in a looser fabric. There is also the “X-stitch” method, which creates a denser fabric but makes embroidering facial details more difficult. In “V-stitch,” the hook is inserted under the yarn, while in “X-stitch,” it is inserted over the yarn, affecting the appearance of the front loops (however, since we are crocheting inside out, this does not matter).
Additionally, be aware that stitch markers may shift. Some crocheters’ markers stay perfectly straight, while others lean slightly to the left. This is normal and depends on factors such as how you hold the yarn, crochet tension, stuffing density, etc. In some key places in the pattern, I have included reference points to help track stitch shifts. When you reach these points, adjust by adding the necessary shift stitches, reposition increases/decreases as indicated, complete the row, move the stitch marker, and continue crocheting as written—ignoring any previous shifts. Do not guess or improvise between control points.
PATTERN – Santa Muerte Amigurumi
ARMS
RIGHT ARM:
How to crochet the fingers and first row of the palm is shown on [diagram/reference image].
Pinkie: ch 6, 5 sl st along the back of the chain.
Ring finger: ch 7, 6 sl st along the back of the chain.
Middle finger: ch 7, 6 sl st along the back of the chain.
Index finger: ch 7, 6 sl st along the back of the chain.
1: On one side of the fingers: sc, 2 inc, sc, on the other side: 4 sc. (10)
2: 10 sc. (10)
3: sc, (ch 6, 5 sl st along the chain), 9 sc. (10)
4: sc, 2 sc in thumb, 9 sc. (12)
5: 6 sc, dec, 4 sc. (11)
6: 4 sc together, sc, 3 sc together, 3 sc. (6) (See illustration for closing stitches together.)
Make 2 additional sc after the end of Row 6. Then, count 3 stitches back from the last stitch on the hook. Insert the hook into the third stitch (as shown in the reference image).
Continue crocheting in a spiral along these three stitches.
BONE:
1-14: 3 sc. (3) – Cut the yarn.
Attach the yarn at the base of the first bone and crochet the second bone in the remaining three stitches of the palm.
SHOULDER:
1: 7 sc in a magic ring. (7)
2-17: 7 sc. (7) – Cut the yarn.
Stuff the shoulder, close the remaining hole, and attach it to the forearm using a 0.5cm bead.
LEFT ARM:
Index finger: ch 7, 6 sl st along the back of the chain.
Middle finger: ch 7, 6 sl st along the back of the chain.
Ring finger: ch 7, 6 sl st along the back of the chain.
Pinkie: ch 6, 5 sl st along the back of the chain.
1: On one side of the fingers: sc, 2 inc, sc, on the other side: 4 sc. (10)
2: 10 sc. (10)
3: 5 sc, (ch 6, 5 sl st along the chain), 5 sc. (10)
4: 5 sc, 2 sc in thumb, 5 sc. (12)
5: dec, 9 sc. (11) (One stitch in this row is left unworked before the marker; move it to the beginning of the next row.)
6: 3 sc together, sc, 4 sc together, 3 sc. (6)
Make 2 additional sc after the end of Row 6. Then, count 3 stitches back from the last stitch on the hook. Insert the hook into the third stitch and crochet the first bone, then the second bone, just as you did for the right arm.
The shoulder is crocheted using the same pattern as above. Connect the shoulder and forearm using a bead.
HEAD – Santa Muerte Amigurumi
Continue crocheting inside out in a spiral.
Start with a chain of 9 ch, then join into a ring with a sl st.
1-3: 9 sc. (9)
4: In FLO for the entire row: 4 inc, 3 sc in one stitch, 4 inc. (19)
5: (4 sc, 3 sc in one stitch) * 3, 4 sc. (25)
6: 5 sc, 3 sc in one stitch, (6 sc, 3 sc in one stitch) * 2, 5 sc. (31)
7: 6 sc, 3 sc in one stitch, (8 sc, 3 sc in one stitch) * 2, 6 sc. (37)
8: inc, sc, inc, 32 sc, inc, sc. (40)
9: sc, inc, 3 sc, inc, 32 sc, inc, 2 sc. (43)
10: 43 sc. (43)
11: sc, inc, 4 sc, inc, 32 sc, inc, 3 sc. (46)
12: 2 sc, inc, 4 sc, inc, 33 sc, inc, 2 sc. (49)
13: 49 sc. (49)
14: 2 sc, inc, 5 sc, inc, 5 sc, dec, 4 inc, dec, 10 sc, dec, 4 inc, dec, 5 sc, inc, 3 sc. (56)
15: 56 sc. (56)
16: 21 sc, dec, 16 sc, dec, 15 sc. (54)
17-19: 54 sc. (54)
20: 30 sc, inc, 23 sc. (55)
21-24: 55 sc. (55)
25: (dec, 9 sc) * 5. (50)
26: 50 sc. (50)
27: (dec, 8 sc) * 5. (45)
28: (dec, 7 sc) * 5. (40)
29: (dec, 6 sc) * 5. (35)
30: (dec, 5 sc) * 5. (30)
Tuck the first 3 rows of the head inward. Stuff the head.
31: (dec, 4 sc) * 5. (25)
32: (dec, 3 sc) * 5. (20)
33: (dec, 2 sc) * 5. (15)
34: (dec, sc) * 5. (10) – Stuff the head.
35: 5 dec. (5) – Cut the yarn.
FACE DETAILS & HAIR – Santa Muerte Amigurumi
MATERIALS:
“PEKHORKA Color Lace” (50g/475m), colors: #2, #09, #05, #49
“PEKHORKA Baby New” (50g/200m), black
Fabric disappearing marker
Needle & scissors
EYES:
Begin with PEKHORKA Color Lace (black)
1: 6 sc in MR, sl st, ch 1. (6)
2: 6 inc, sl st, ch 1. (12)
3: (sc, inc) * 6, sl st. (18)
Switch to PEKHORKA Color Lace (blue)
4: (ch 3, sl st) * 18. (18) – Cut the yarn.
NOSE:
Crochet using black yarn:
(ch 3, 2 sl st along the chain), (ch 3, 2 sl st along the chain), dec into the base.
DECORATION – PART 1:
Using PEKHORKA Color Lace (pink):
(ch 3, sc, hdc along the chain), (ch 3, sc, hdc along the chain), 1 sc in the base, then crochet sl sts around the entire piece.
DECORATION – PART 2 (Make 2):
Using PEKHORKA Color Lace (green):
1:(ch 6, 2 sl st along the chain)
2:(ch 5, 2 sl st along the chain) * 2
3:(ch 6, 3 sl st along the chain)
Continue on the other side:
(ch 3, 2 sl st along the chain)
4 sl st along the base
(ch 3, 2 sl st along the chain)
3 sl st along the base
(ch 3, 2 sl st along the chain)
2 sl st along the base
ASSEMBLY – Santa Muerte Amigurumi:
Sew all facial features onto the head. Using black PEKHORKA Color Lace, embroider the mouth and eyelashes.
Use a fabric marker to draw the hairline on the doll’s head.
HAIR ATTACHMENT:
Cut “PEKHORKA Baby New” yarn into 30 cm strands.
Thread a short piece of black PEKHORKA Color Lace into a needle.
Insert the needle at the back of the hairline and pull through.
Attach strands following the drawn hairline, as shown in the photos.
Insert the needle through the middle of the yarn strand (photo 1).
Pass the needle through the same hole in the head and pull it out 2 stitches ahead (photo 2-3).
Fill the head with hair strands, leaving 3 stitches between rows and strands.
LEGS – Santa Muerte Amigurumi:
Continue working inside out using PEKHORKA Lace (white).
The toes and bones are crocheted using the same method as the hands.
LEFT LEG:
1.Toe: ch 5, 4 sc along the chain
2.Toe: ch 5, 4 sl st along the chain
3.Toe: ch 4, 3 sl st along the chain
4.Toe: ch 4, 3 sl st along the chain
5.Toe: ch 3, 2 sl st along the chain
1: 5 sc on one side of the toes, on the other side: (sc, inc) * 2, sc. (12)
2-4: 12 sc. (12)
5: 2 sc, dec, 8 sc. (11)
6: 2 sc, 4 sc in one stitch, 8 sc. (14)
RIGHT LEG:
Continue working inside out using PEKHORKA Lace (white).
The toes and bones are crocheted using the same method as the hands.
1.Toe: ch 5, 4 sc along the chain
2.Toe: ch 5, 4 sl st along the chain
3.Toe: ch 4, 3 sl st along the chain
4.Toe: ch 4, 3 sl st along the chain
5.Toe: ch 3, 2 sl st along the chain
1: 5 sc on one side of the toes, on the other side: (sc, inc) * 2, sc. (12)
2-5: 12 sc. (12)
6: 2 sc, dec, 8 sc. (11)
7: 2 sc, 4 sc in one stitch, 8 sc. (14)
8: 3 sc, 2 dec, 9 sc. (14)
9: 16 sc. (16)
10: 3 sc, 2 dec, 9 sc. (14)
11: 2 sc, 2 dec, 8 sc. (12)
12: 3 dec, 6 sc. (9)
13: sc, dec, 6 sc. (8)
After Row 13, crochet 1 additional sc.
Then, follow the same steps as for the hands:
Count 3 stitches back from the hook.
Insert the hook into the third stitch and crochet the first bone.
BONE 1:
1-21: 3 sc (3) – Cut the yarn.
Attach the yarn next to the first bone and crochet the second bone.
BONE 2:
1-4: 5 sc (5)
5: dec, 3 sc (4)
6-15: 4 sc (4)
16: inc, 3 sc (5)
17-21: 5 sc (5) – Cut the yarn.
THIGH:
Ch 9, join into a ring with a sl st, then crochet in rounds inside out.
1-9: 9 sc, sl st, ch 1 (9)
10: dec, 7 sc, sl st, ch 1 (8)
11-24: 8 sc, sl st, ch 1 (8)
Cut the yarn, leaving a tail for sewing a bead.
Stuff the thigh and connect it to the shin using a bead.
RIGHT LEG:
1.Toe: ch 3, 2 sc along the chain
2.Toe: ch 4, 3 sl st along the chain
3.Toe: ch 4, 3 sl st along the chain
4.Toe: ch 5, 4 sl st along the chain
5.Toe: ch 5, 4 sc along the chain
1: 5 sc on one side of the toes, on the other side: (sc, inc) * 2, sc. (12)
2-4: 12 sc. (12)
5: 2 sc, dec, 8 sc. (11)
6: 2 sc, 4 sc in one stitch, 8 sc. (14)
7: 3 sc, 2 dec, 9 sc. (14)
8-9: 16 sc. (16)
10: 3 sc, 2 dec, 9 sc. (14)
11: 2 sc, 2 dec, 8 sc. (12)
12: 3 dec, 6 sc. (9)
13: dec, 7 sc. (8)
After Row 13, crochet 5 additional sc.
Then, follow the same method as the left leg:
Count 3 stitches back from the hook.
Insert the hook into the 3rd stitch and crochet Bone 1 (as previously described).
Crochet Bone 2 and the Thigh (same as for the first leg).
Connect the thigh and shin with a bead.
Stuff the thigh.
For decoration, you can thread ribbons through the beads and tie them into a bow at the back.
BODY – Santa Muerte Amigurumi
The body is made in two parts: the pelvis and the ribs.
Ch 22, starting from the 2nd chain from the hook, crochet in spiral, inside out:
1: 21 sc on one side of the chain, then on the other side: 3 sc, 5 inc, 5 sc, 5 inc, 3 sc. (52) – Place a stitch marker.
2: 25 sc, (inc, 2 sc) * 3, 5 sc together, (2 sc, inc) * 3, 4 sc. (54)
3: 26 sc, (inc, 3 sc) * 2, inc, 5 sc together, inc, (3 sc, inc) * 2, 5 sc. (56)
4: 37 sc, 3 sc together, 16 sc. (54)
5: 31 sc, inc, 4 sc, 3 sc together, 4 sc, inc, 10 sc. (54)
6: 36 sc, 3 sc together, 15 sc. (52)
7: 35 sc, 3 sc together, 14 sc. (50)
8: 34 sc, 3 sc together, 13 sc. (48)
9: 33 sc, 3 sc together, 12 sc. (46)
10: 32 sc, 3 sc together, 11 sc. (44)
11: 11 sc, 3 sc together, 10 sc. (42)
12-13: 42 sc. (42)
14: 40 sc, dec. (41)
15: 4 dec, 7 sc, 5 dec, 12 sc, 2 dec. (30)
16: 3 dec, 3 sc, 5 dec, 5 sc, 3 dec. (19)
17: 2 dec, 2 sc, 5 dec, 4 sc. (12)
18: Back loops only: 12 sc. (12)
19: 12 sc. (12)
ADDING THE SPINAL SUPPORT:
Cut 17 cm of wire, bend 1 cm at one end.
Wrap the bent end with medical tape.
Insert the wire into the body.
Stuff the body firmly around the wire.
CONTINUING THE BODY:
20: Front loops only: (2 sc, dec, 8 sc). (11)
21: 11 sc. (11)
22: Front loops only: (sc, dec, 8 sc). (10)
23: 10 sc. (10)
24: Front loops only: (sc, dec, 7 sc). (9)
25: 9 sc. (9)
26: Front loops only: 9 sc. (9)
27: 9 sc. (9) – Cut the yarn and stuff the spine.
Next, crochet the ribcage separately
(these two parts will be sewn together later).
Ch 34, starting from the 2nd chain from the hook, crochet inside out:
1: On one side of the chain: 2 sl st, 3 sc, 4 hdc, 3 sc, 9 sl st, 3 sc, 4 hdc, 3 sc, 2 sl st, then on the other side of the chain: 2 sl st, 3 sc, 4 hdc, 3 sc, 9 sl st, 3 sc, 4 hdc, 3 sc, 2 sl st. (66)
2: 2 sl st, 3 sc, 4 hdc, 3 sc, 9 sl st, 3 sc, 4 hdc, 3 sc, sl st, inc, 2 sl st, 3 sc, 4 hdc, 3 sc, 9 sl st, 3 sc, 4 hdc, 3 sc, sl st, inc. (68)
3: 5 sc, hdc, 2 hdc in one stitch, 2 hdc, 4 sc, 7 sl st, 4 sc, 2 hdc, 2 hdc in one stitch, hdc, 11 sc, hdc, 2 hdc together, hdc, 4 sc, 7 sl st, 4 sc, hdc, 2 hdc together, hdc, 6 sc. (68)
Santa Muerte Amigurumi Pattern
4: 5 sc, 5 hdc, 4 sc, 7 sl st, 4 sc, 5 hdc, 5 sc, inc, 5 sc, 2 hdc together, hdc, sc, dec, sc, 7 sl st, sc, dec, sc, hdc, 2 hdc together, 5 sc, inc. (66)
5: 15 sc, 5 sl st, 20 sc, (dec, 2 sc) * 2, 5 sl st, (2 sc, dec) * 2, 5 sc. (62)
6: 7 sc, inc, 7 sc, 5 sl st, (7 sc, inc) * 2, 3 sc, (dec, sc) * 3, skip 1 stitch, (sc, dec) * 3, 3 sc, inc. (59)
7: 17 sc, 3 sl st, 18 sc, inc, 2 sc, (dec, sc) * 4, dec, 2 sc, inc, sc. (56)
8: 38 sc, inc, 2 sc, (dec, sc) * 3, dec, 2 sc, inc, sc. (54)
Next, count 4 stitches from the end of the last row (marked in red in the image below), then find 9 stitches (marked in blue in the image). Sew these 9 stitches together. This will leave 45 stitches around the perimeter of the ribcage. (45)
Now, sew the pelvis to the ribcage.
The wire from the spine should simply pass through the sewn stitches of the ribs.
9: 45 sc. (45)
10: sc, dec, 32 sc, dec, 8 sc. (43)
11-12: 43 sc. (43)
13: sc, dec, 30 sc, dec, 8 sc. (41)
14: 41 sc. (41)
15: sc, dec, 28 sc, dec, 8 sc. (39)
16: 8 sc, ch 10, 16 sc, ch 10, 15 sc. (39)
17: sc, dec, 5 sc, 10 sc along the chain, 16 sc, 10 sc along the chain, 5 sc, dec, 8 sc. (57)
18: sc, dec, 44 sc, dec, 8 sc. (55)
19: 5 sc, 5 dec, 18 sc, 5 dec, 12 sc. (45)
20: 3 sc, 5 dec, 12 sc, 5 dec, 10 sc. (35)
21: 5 dec, 8 sc, 5 dec, 4 sc, dec. (24)
22: 4 dec, 3 sc, 5 dec, sc, dec. (14)
23: 2 dec, 3 sc, 3 dec, sc. (9)
Stuff the ribs. Leave the lower part of the ribs unstuffed so they remain flat.
24-28: Back loops only: 9 sc. (9)
29: (dec, sc) * 3. (6)
30-59: 6 sc. (6) – Total: 90 stitches
Final Assembly – Santa Muerte Amigurumi:
The shoulders will be sewn at the same time as attaching the arms.
Sew the arms and legs to the body.
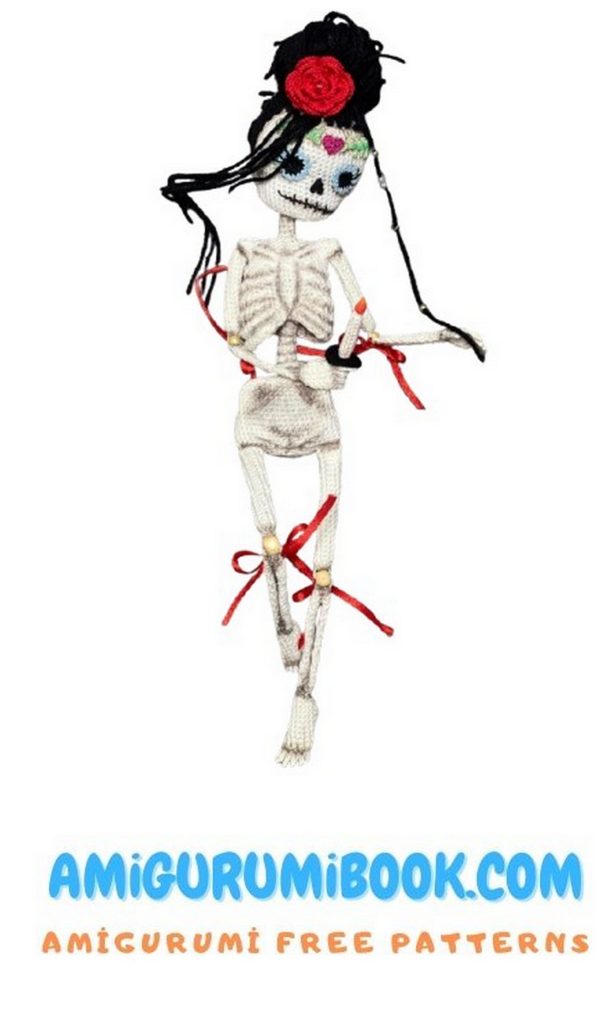
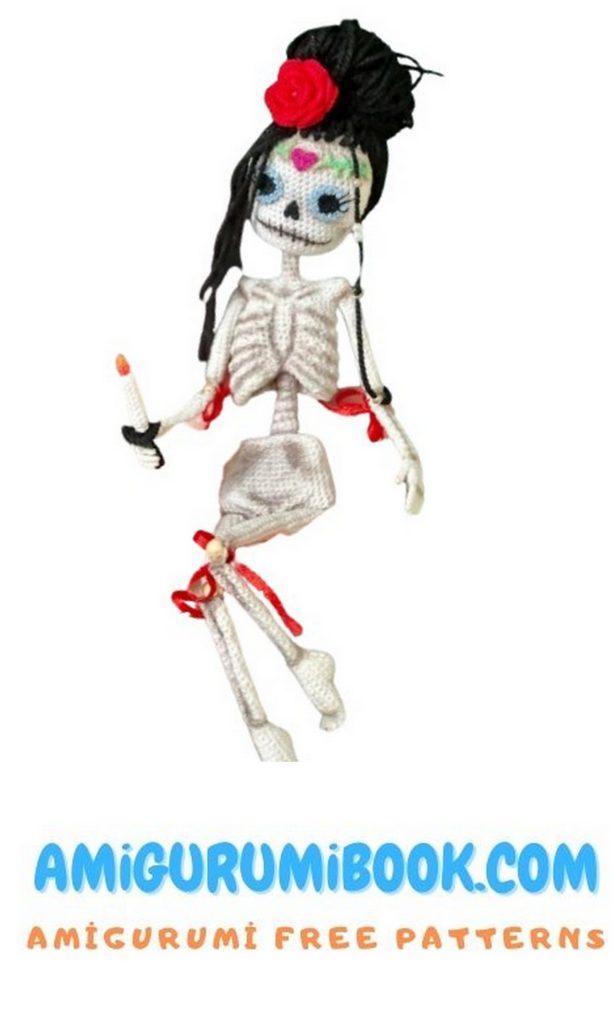
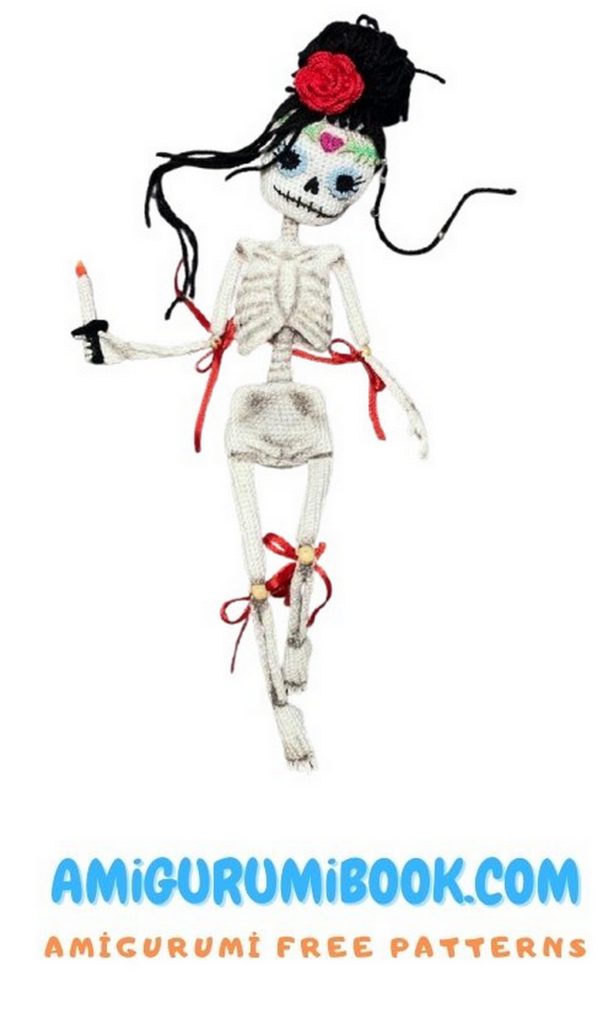
Perform thread sculpting using white thread (shown in contrast in the images) to shape the ribcage and collarbones.
Sculpt the pelvis in the same way.
Shading & Finishing:
Use brown dry pastel for shading. Crush the pastel into powder and apply it with a flat brush to the doll’s body.
The next two pages contain photos of the doll (front and back views). Pay attention to the shaded areas, as they highlight where the thread sculpting was done.
To prevent the fingers from curling, apply PVA glue to them. After applying, pinch each finger with tweezers to hold the shape.
DRESS, CANDLE, FLOWER – Santa Muerte Amigurumi
MATERIALS:
Black and blue tulle, 15 cm wide
Scissors, needle
“PEKHORKA colored lace,” 50g/475m, colors No. 01, 02, 06
Crochet hook 0.6 mm
CANDLE:
Crochet in white color in the round, wrong side facing out:
1: 6 sc in magic ring, sl st, ch 1. (6)
2: In back loop only: 6 sc, sl st, ch 1. (6)
3–11: 6 sc, sl st, ch 1. (6)
Then crochet the flame in red color:
1: 6 sc in magic ring, sl st, ch 1. (6)
2: 6 sc, sl st, ch 1. (6)
3: 3 dec, sl st. (3)
CANDLEHOLDER:
The candleholder is crocheted in black. Crochet on the wrong side:
1: 6 sc in magic ring, sl st, ch 1. (6)
2: In back loop only: 6 sc, sl st, ch 1. (6)
3–8: 6 sc, sl st, ch 1. (6)
9: In front loop only: 6 inc. (12)
10: (1 sc, inc) *6. (18)
11: (1 sc, 2 sc) *6. (24) – cut the yarn
Sew all parts together. You can tint the tip of the flame with yellow pastel.
FLOWER:
Crochet in red yarn in back-and-forth rows. Make 40 ch, then from the 2nd ch from the hook, crochet according to the diagram provided below (repeat the combination shown in the diagram until the end of the chain):
In the end, you will have a long ribbon of petals. Twist the ribbon and secure with yarn to form a flower. The flower can be glued onto wire to create a headband or simply sewn into the hair (as I did). The entire hairstyle of the doll is also secured with a needle and thread.
Santa Muerte Amigurumi – DRESS:
For the sleeves, cut 2 strips of black tulle and 2 strips of blue tulle. The size of the strips is approximately 60 cm long and 7.5 cm wide (i.e., if your tulle is 15 cm wide, simply cut a 60 cm strip and then cut it in half lengthwise). Fold each strip in half (you should have strips that are 60 cm long and 3 cm wide after folding). Take thread and needle, gather each strip of tulle at the edges of the folds. Then, join one piece of black and one piece of blue tulle for each sleeve.
Next, cut 4 squares of black tulle, 15×15 cm. Fold them pairwise (1) and secure with thread in the center (2). Sew the sleeves onto these parts of the dress.
Now, let’s move on to making the skirt of the dress. Cut 2 small strips of tulle (black and blue). The approximate size of the strips is 15×4 cm. These strips will become the waistband to gather the skirt.
Cut one strip of black and one strip of blue tulle, each 170 cm long and 15 cm wide. Cut these strips into smaller pieces, approximately 3-4 cm wide. Then, gather a classic “tutu” skirt onto the waistband (if you’re not familiar with such skirts, you can search online for a tutorial). Make the blue and black skirts separately. Trim the black skirt to a length of 5.5 cm and the blue skirt to a length of 7.5 cm. Sew the black skirt on top of the blue skirt to create one voluminous skirt.
Finally, sew the top part of the dress onto the skirt, and the dress is ready. You can also decorate the dress as you like.
