Creating a smiley doll amigurumi is a fun and rewarding project for both beginners and experienced crocheters. This free pattern provides easy-to-follow instructions to craft an adorable, cheerful doll that brightens up any space. free crochet patterns
You may also like more amigurumi patterns.
Welcome to our delightful Smiley Doll Amigurumi free pattern! If you’re a fan of creating adorable crochet amigurumi dolls and spreading joy, you’re in the right place. In this easy-to-follow pattern, we’ll guide you through the steps to crochet your very own smiley doll. Whether you’re a beginner or an experienced crocheter, you’ll enjoy crafting this charming amigurumi doll toy. So, grab your crochet hook and favorite yarn, and let’s get started on this fun and creative project!
Abbreviations:
ch – Chain
sc – Single Crochet
hdc – Half Double Crochet
dc – Double Crochet
sl st – Slip Stitch
inc – Increase (usually means to make two stitches in one stitch from the previous round)
dec – Decrease (usually means to crochet two stitches together to decrease the stitch count)
st – Stitch
ss – Slip Stitch
BLO – Back Loop Only
FLO – Front Loop Only
FO – Fasten Off (usually at the end of a project)
MC – Magic Circle (also known as a Magic Ring, used to start projects in the round)
yo – Yarn Over (used in double crochets and other stitches)
rep – Repeat
rnd – Round
tog – Together (used with stitches like sc2tog, which means to single crochet two stitches together)
sl knot – Slip Knot
BLO – Back Loop Only
FLO – Front Loop Only
PATTERN
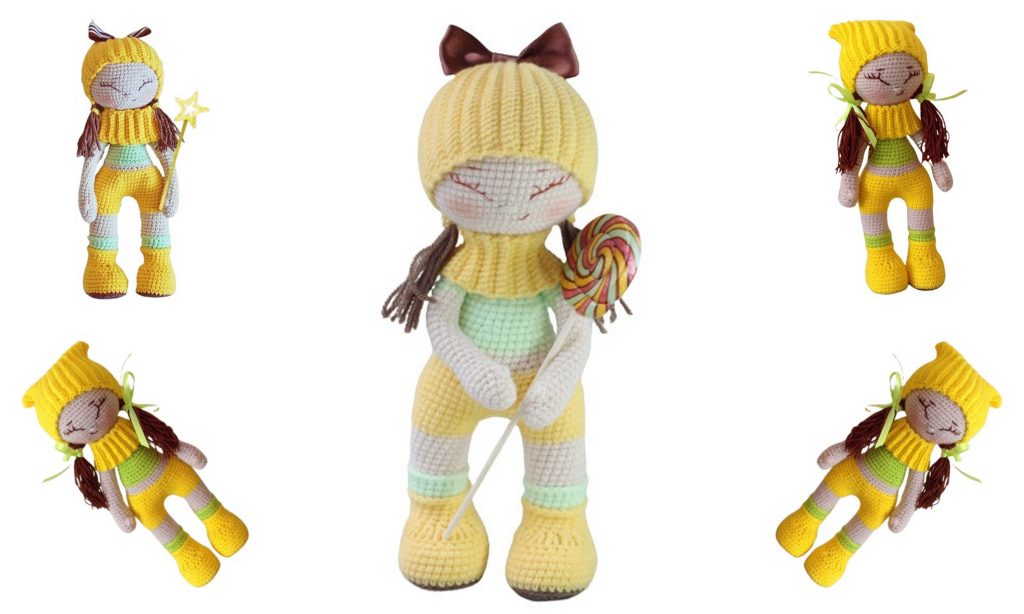
Smiley. Stage 1. Legs.
Start with a chain of 6 chains (ch).
Right leg:
1st Row: In the second chain from the hook: 4 Single Crochet (sc), increase (inc) by 5 sc in one loop, 4 sc, increase by 3 sc in one loop. (16)
2nd Row: 4 sc, 5 inc, 4 sc, 3 inc. (24)
3rd Row: 5 sc, 1 inc, 1 sc, 4 inc, 1 sc, 1 inc, 6 sc, 4 inc, 1 sc. (34)
4th Row: 4 sc, 7 Half Double Crochet Decrease (hdc dec), 2 inc in hdc dec, 7 hdc dec, 8 sc, 2 inc, 4 sc. (38)
Trace the foot on cardboard or plastic and cut it out.
Change the yarn color to yellow.
5th Row: Work in the back loops: 2 sc, decrease (dec) from the side, 20 sc, dec, 12 sc. (36)
6th-9th Rows: Continue without changes, 36 sc each row.
10th Row: 2 sc, (dec, 1 sc) * 7, 7 sc, dec, 4 sc. (28)
11th Row: 1 sc, 1 Slip Stitch (sl st), 7 sc dec, 1 sl st, 11 sc. (21)
Insert insoles.
12th-15th Rows: Continue without changes, 21 sc each row.
16th Row: Work in the front loops, 21 sc.
Cut the yarn, fasten off, and stuff the leg.
For the back loops of the 16th row, attach green yarn and crochet 21 sc.
17th-18th Rows: 21 sc.
19th Row: Work in the front loops, 21 sc. Cut the yarn, fasten off.
For the back loops of the 19th row, attach beige yarn and crochet 21 sc.
20th-26th Rows: Continue without changes, 21 sc each row.
Change the yarn color to yellow (for shorts).
27th Row: 6 sc, inc, 10 sc, inc, 3 sc. (23)
28th Row: 23 sc. Cut the yarn, fasten off.
Crochet the second leg (left), but don’t cut the yarn.
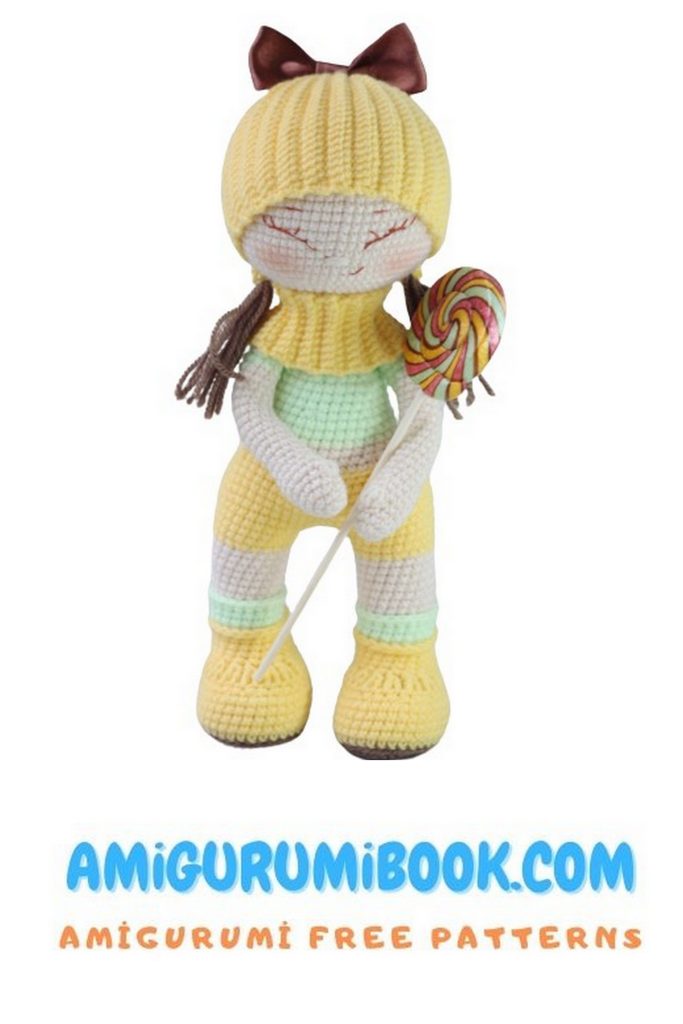
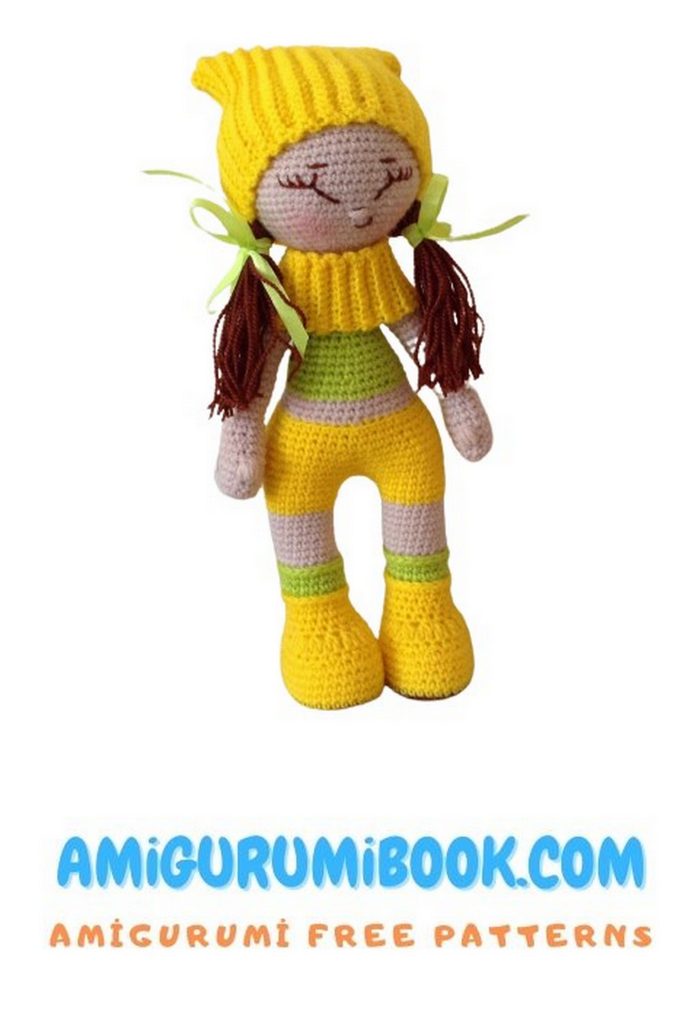
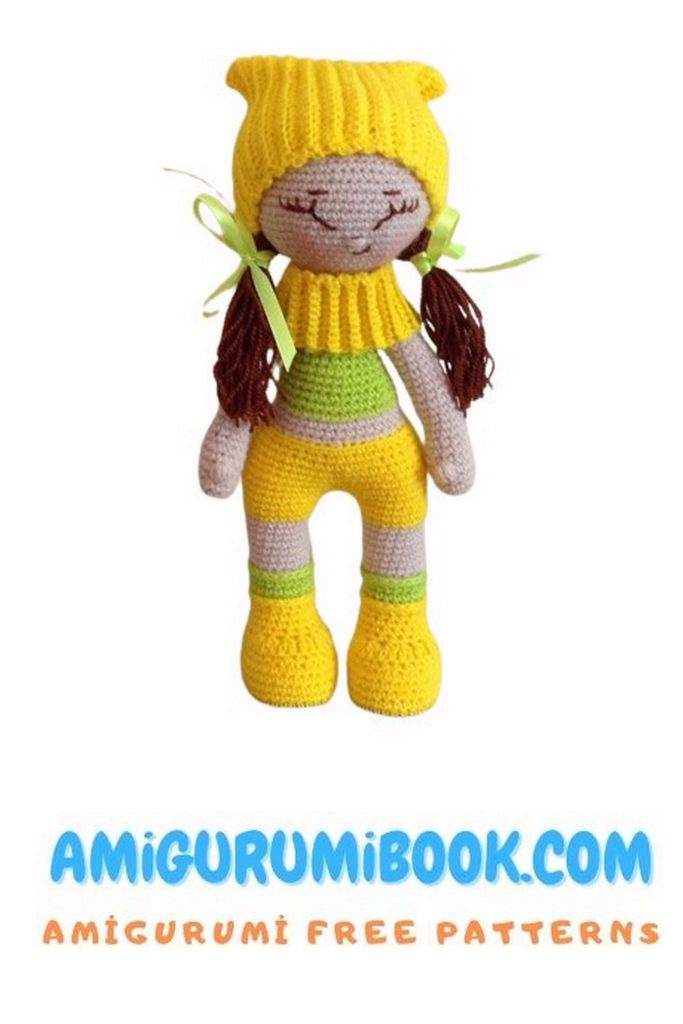
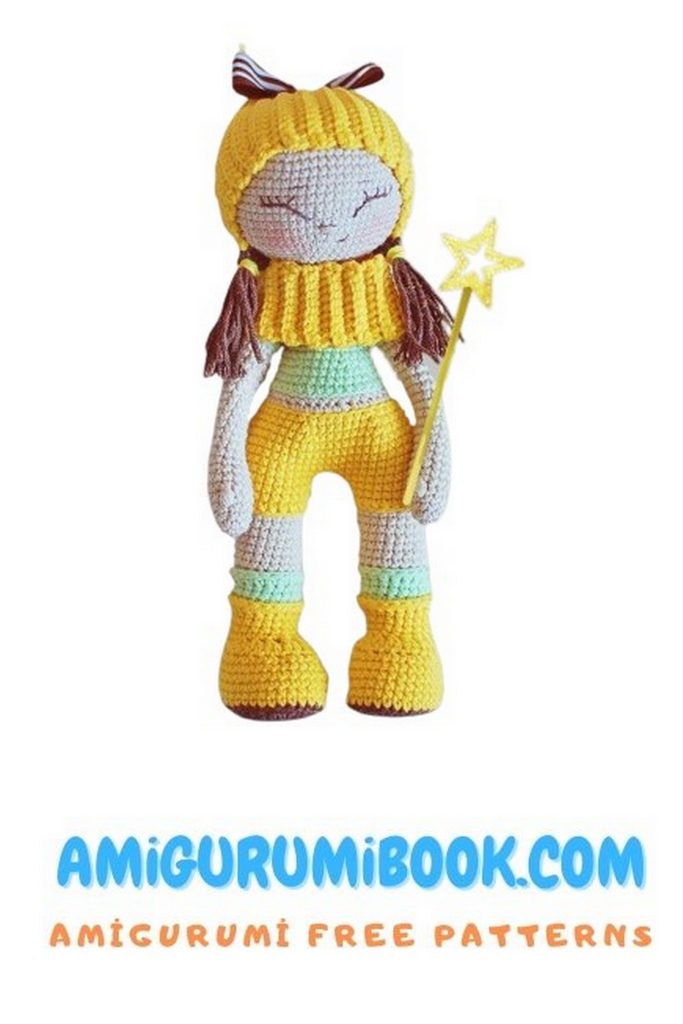
Smiley. Stage 2. Body-Head
In the 29th row of the second leg, crochet 10-13 sc (as needed to position the working yarn on the left side) and a chain of 3 chains (ch). Join to the 1st leg.
Crochet 23 sc along the first leg, 3 sc in the chain, 23 sc along the second leg, 3 sc in the chain.
Next, crochet 11 sc and place a marker. This will be the new beginning of the row. (Total 52 stitches)
1st Row: Crochet the body: (2 sc, inc) * 8, 28 sc. (60)
2nd Row: Crochet without increases, 60 sc.
3rd Row: Crochet without increases, 60 sc.
4th Row: Crochet without increases, 60 sc.
5th Row: (dec, 8 sc) * 6 (54)
6th Row: (dec, 7 sc) * 6 (48)
7th Row: (dec, 6 sc) * 6 (42)
8th Row: With flesh-colored yarn, 42 sc. (42)
9th Row: (dec, 5 sc) * 6 (36)
10th Row: Crochet without changes, 36 sc.
11th Row: Crochet without changes, 36 sc.
12th Row: Change the color to green, crochet without changes, 36 sc.
13th Row: Crochet without changes, 36 sc.
14th Row: (dec, 4 sc) * 6 (30)
15th Row: Crochet without changes, 30 sc.
16th Row: Crochet without changes, 30 sc.
17th Row: Crochet without changes, 30 sc.
18th Row: (dec, 3 sc) * 6 (24)
19th Row: Crochet without changes, 24 sc.
20th Row: Crochet without changes, 24 sc.
21st Row: Crochet without changes, 24 sc.
22nd Row: (dec, 2 sc) * 6 (18)
Stuff the body.
23rd Row: Crochet without changes, 18 sc.
24th Row: Crochet without changes, 18 sc.
25th Row: Change the color to beige, (dec, 1 sc) * 6 (12)
26th Row: 12 sc (neck).
27th Row: 12 sc. Stuff the body firmly.
Head
1st Row: (inc, 1 sc) * 6 (18)
2nd Row: (inc, 2 sc) * 6 (24)
3rd Row: (inc, 3 sc) * 6 (30)
4th Row: (inc, 4 sc) * 6 (36)
5th Row: (inc, 5 sc) * 6 (42)
6th Row: (inc, 6 sc) * 6 (48)
7th Row: (inc, 7 sc) * 6 (54)
8th Row: (inc, 8 sc) * 6 (60)
9th Row: (inc, 9 sc) * 6 (66)
10th-19th Rows: 66 sc each row.
20th Row: (dec, 9 sc) * 6 (60)
21st Row: (dec, 8 sc) * 6 (54)
22nd Row: (dec, 7 sc) * 6 (48)
23rd Row: (dec, 6 sc) * 6 (42)
24th Row: (inc, 5 sc) * 6 (36)
25th Row: (inc, 4 sc) * 6 (30)
26th Row: (dec, 3 sc) * 6 (24)
27th Row: (dec, 2 sc) * 6 (18)
Stuff the head.
28th Row: (dec, 1 sc) * 6 (12)
29th Row: 6 dec. Pull the hole closed. Fasten off the yarn and hide it inside the head.
You can insert wire, as shown in the photo, by threading it through the body.
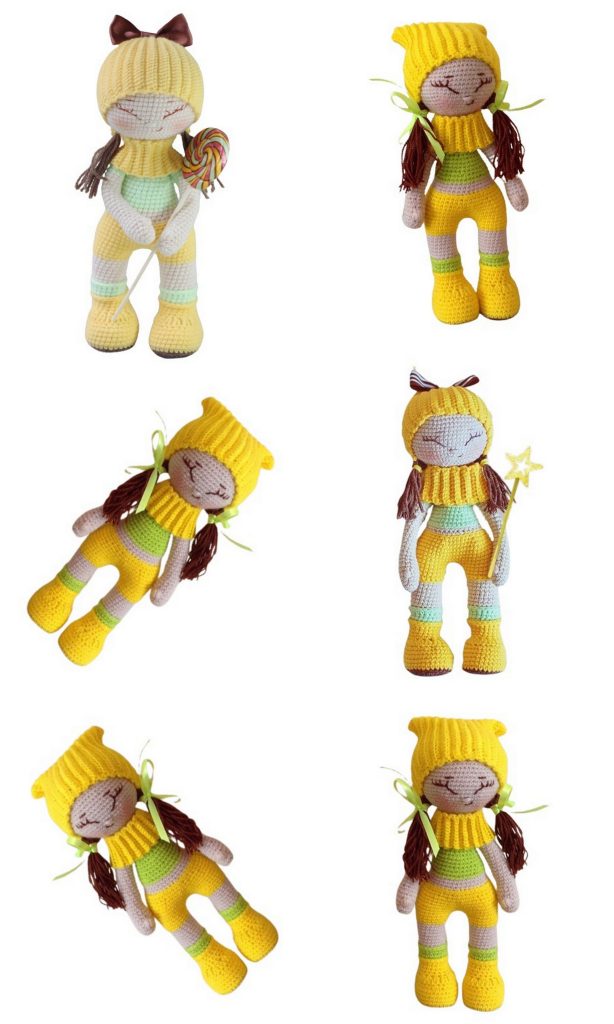
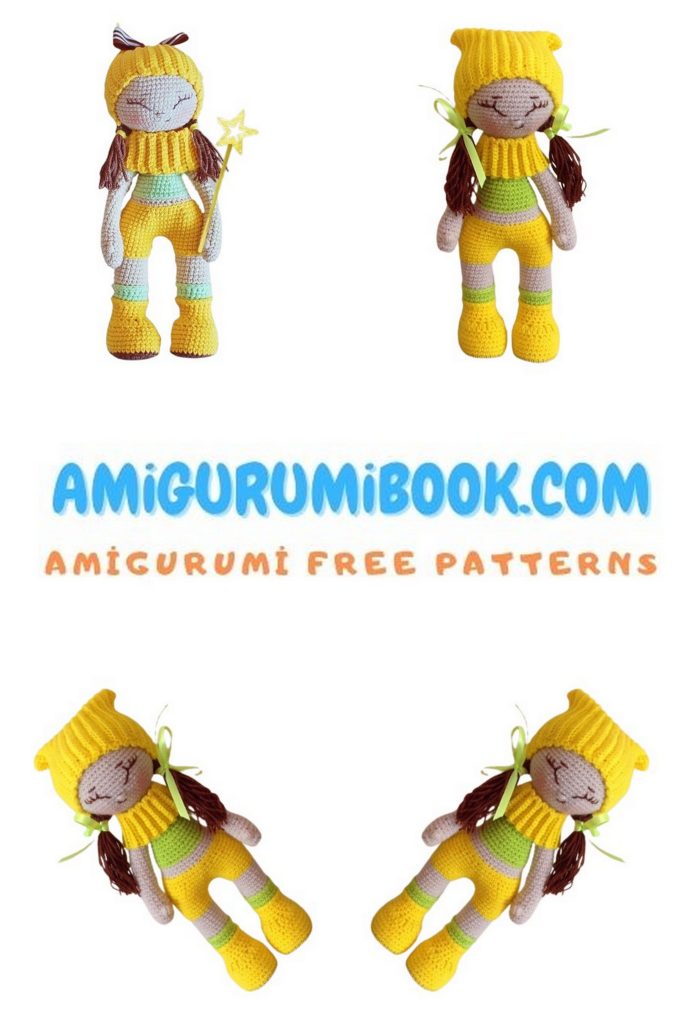
Smiley. Stage 3. Arms, Hat, Snood.
Arms:
Start with the flesh color yarn.
1st Row: 6 sc in magic ring.
2nd Row: 6 inc (12)
3rd-4th Rows: Crochet without changes, 12 sc each row.
5th Row: 2 sc, inc, 2 sc, Puff Stitch, 2 sc, inc, 3 sc. (14)
6th-23rd Rows: Crochet without changes, 14 sc each row.
Change the yarn color to green.
24th-28th Rows: Crochet without changes, 12 sc each row.
Attention! If the arms are too long, you can crochet 13 rows instead of 15 with the beige yarn.
Leave a yarn end for sewing. Attach the arms to the body, about 2-3 rows below the neck.
Hat:
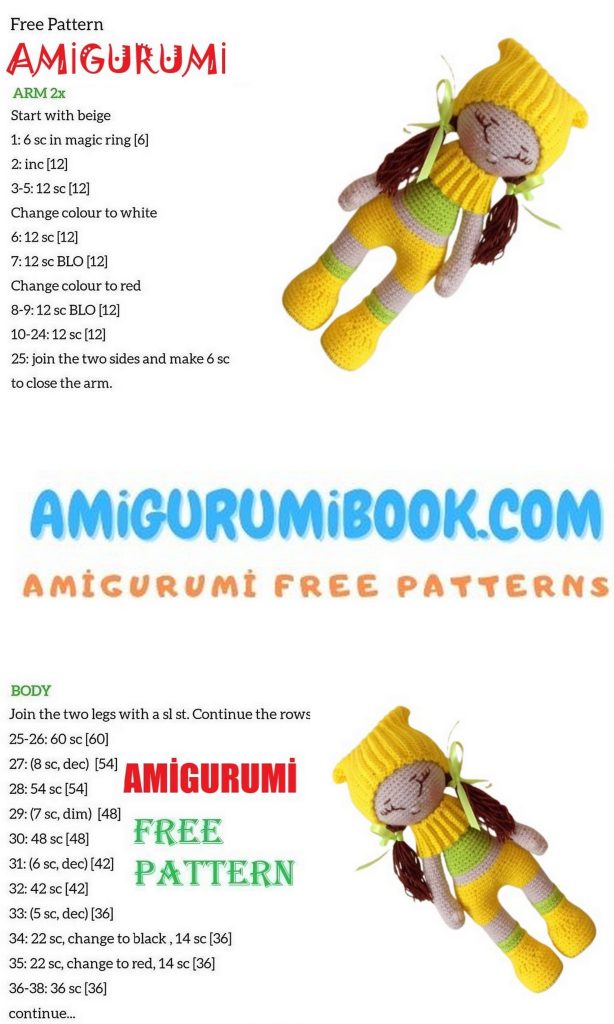
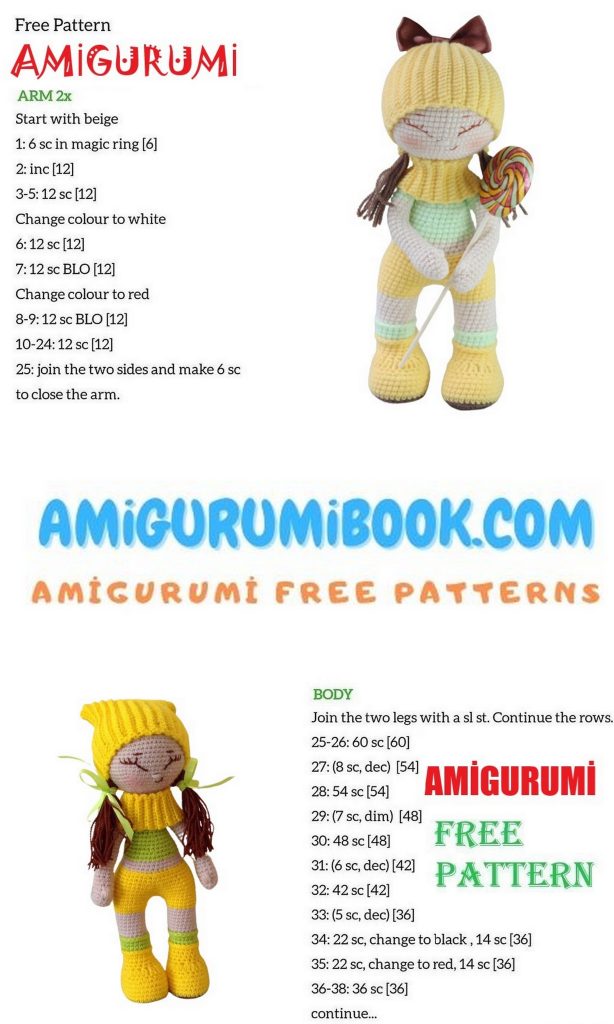
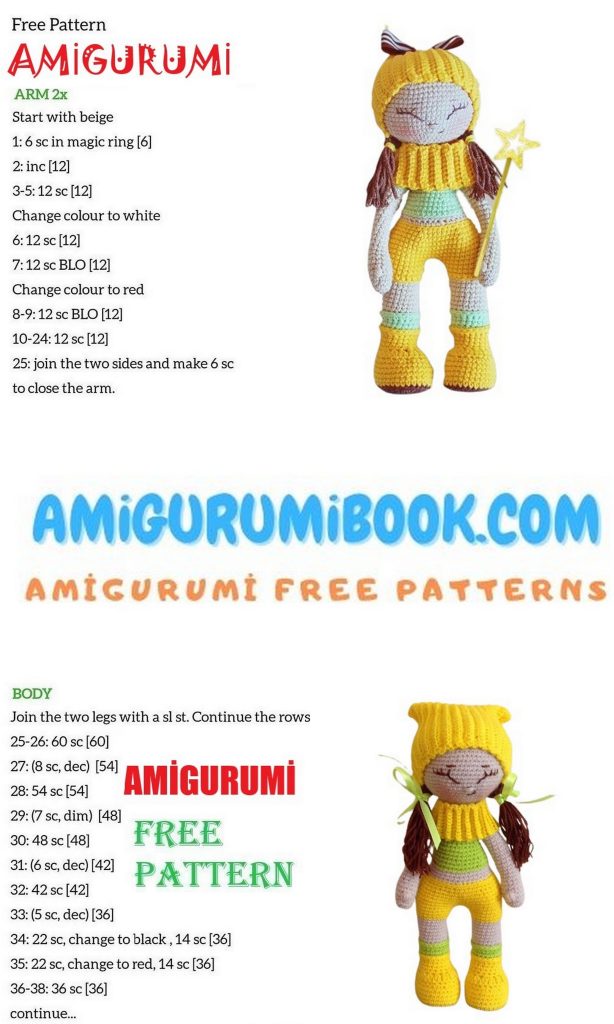
Chain 23 stitches (or slightly more if you want a longer hat) and crochet single crochets in the back loops for turning rows. Approximately 48 rows in total. Pull together the top, and sew the back of the hat. After embroidering the face, sew the hat to the head and attach tassels to the sides.
Snood:
Chain 10 (+1 chain as a turning chain) and crochet 32 rows of half double crochets in the back loops. In the last row, make a loop from chains. Sew a button.
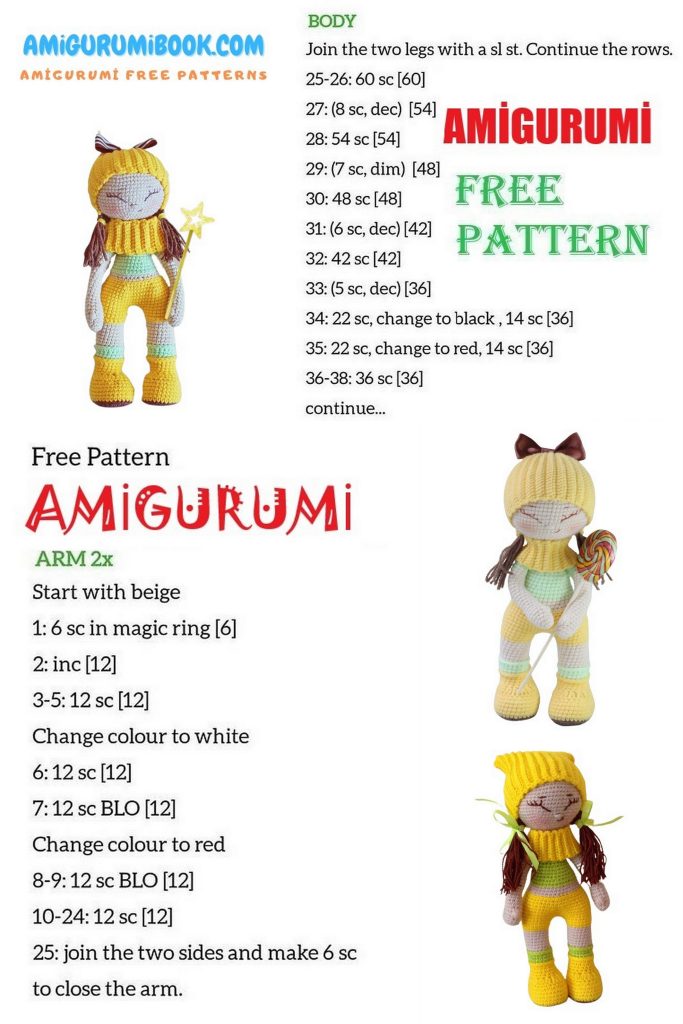
Smiley. Stage 4. Face Decoration. Hair.
Use a disappearing marker to mark where the eye sockets will be. Approximately between the 11th and 13th rows, at a distance of 5-6 stitches. Carefully insert the needle into the back of the head and bring it out near the edge of the eye. Embroider both eyes. About 2 rows later, create eyebrows.
Use flesh-colored yarn to embroider a small nose in the area of the 10th-11th row. Embroider a smile at the level of the 8th-9th row.
Apply blush with dry pastels or pencils. Sew the hat to the head and create tassels on the sides of the hat.
You can also attach a ribbon bow to the hat.
Your Smiley amigurumi is complete!