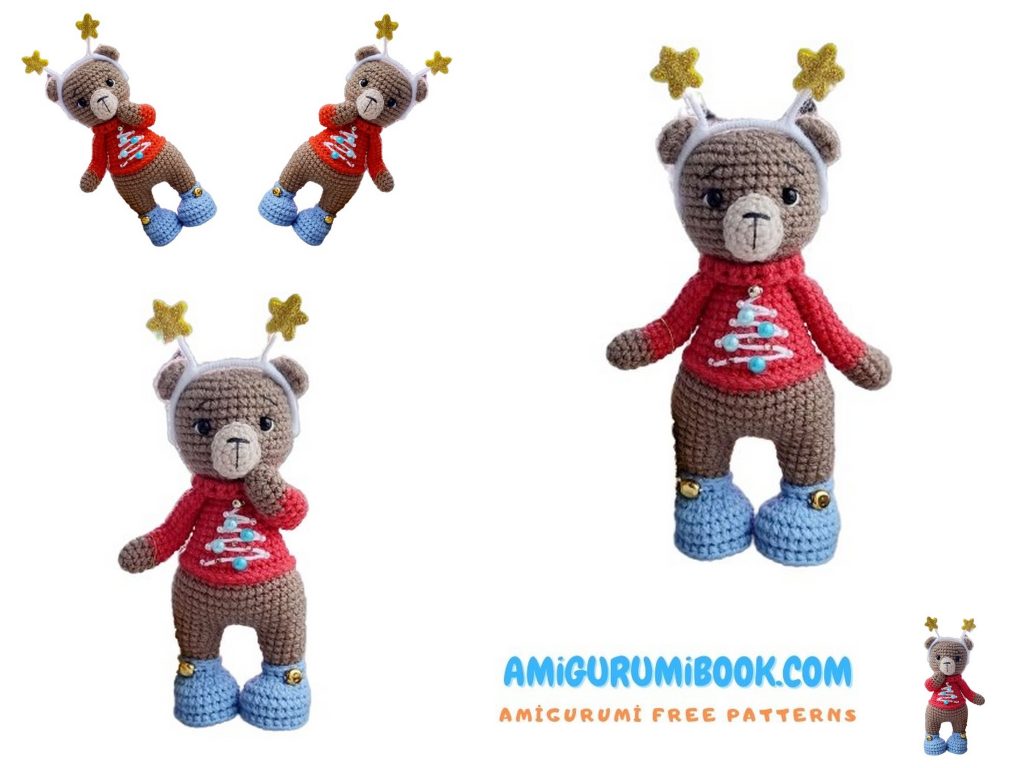
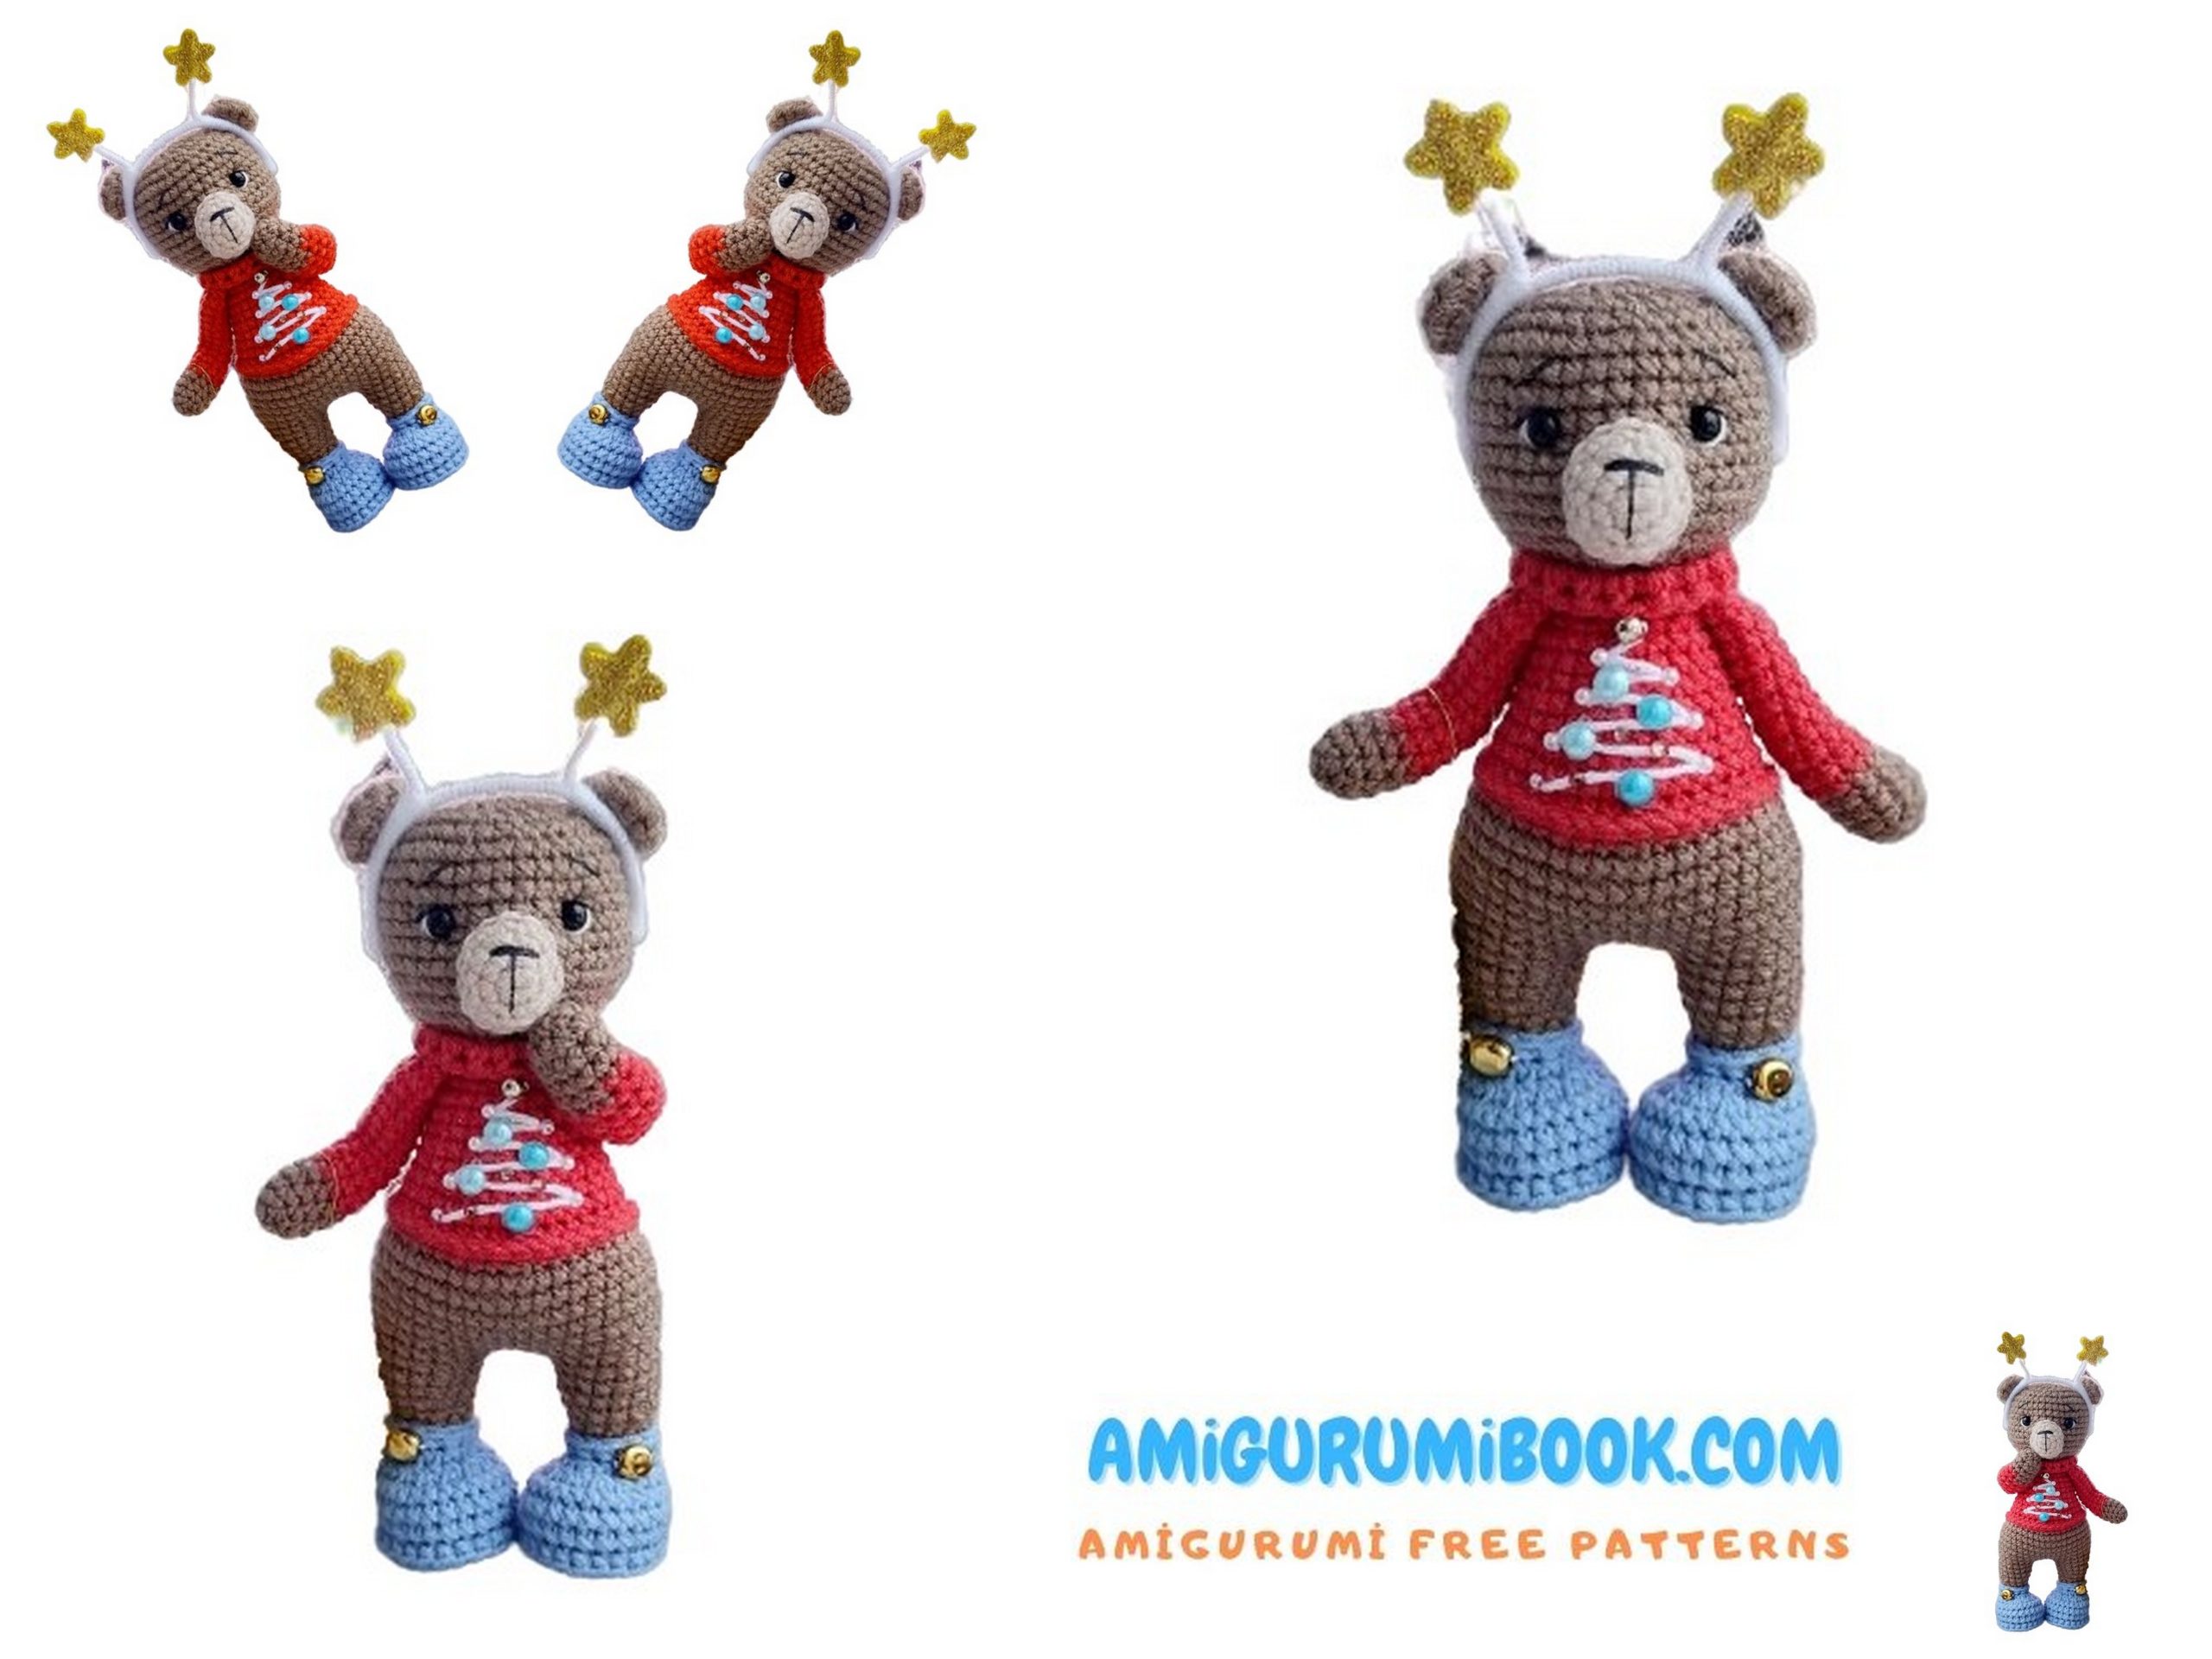
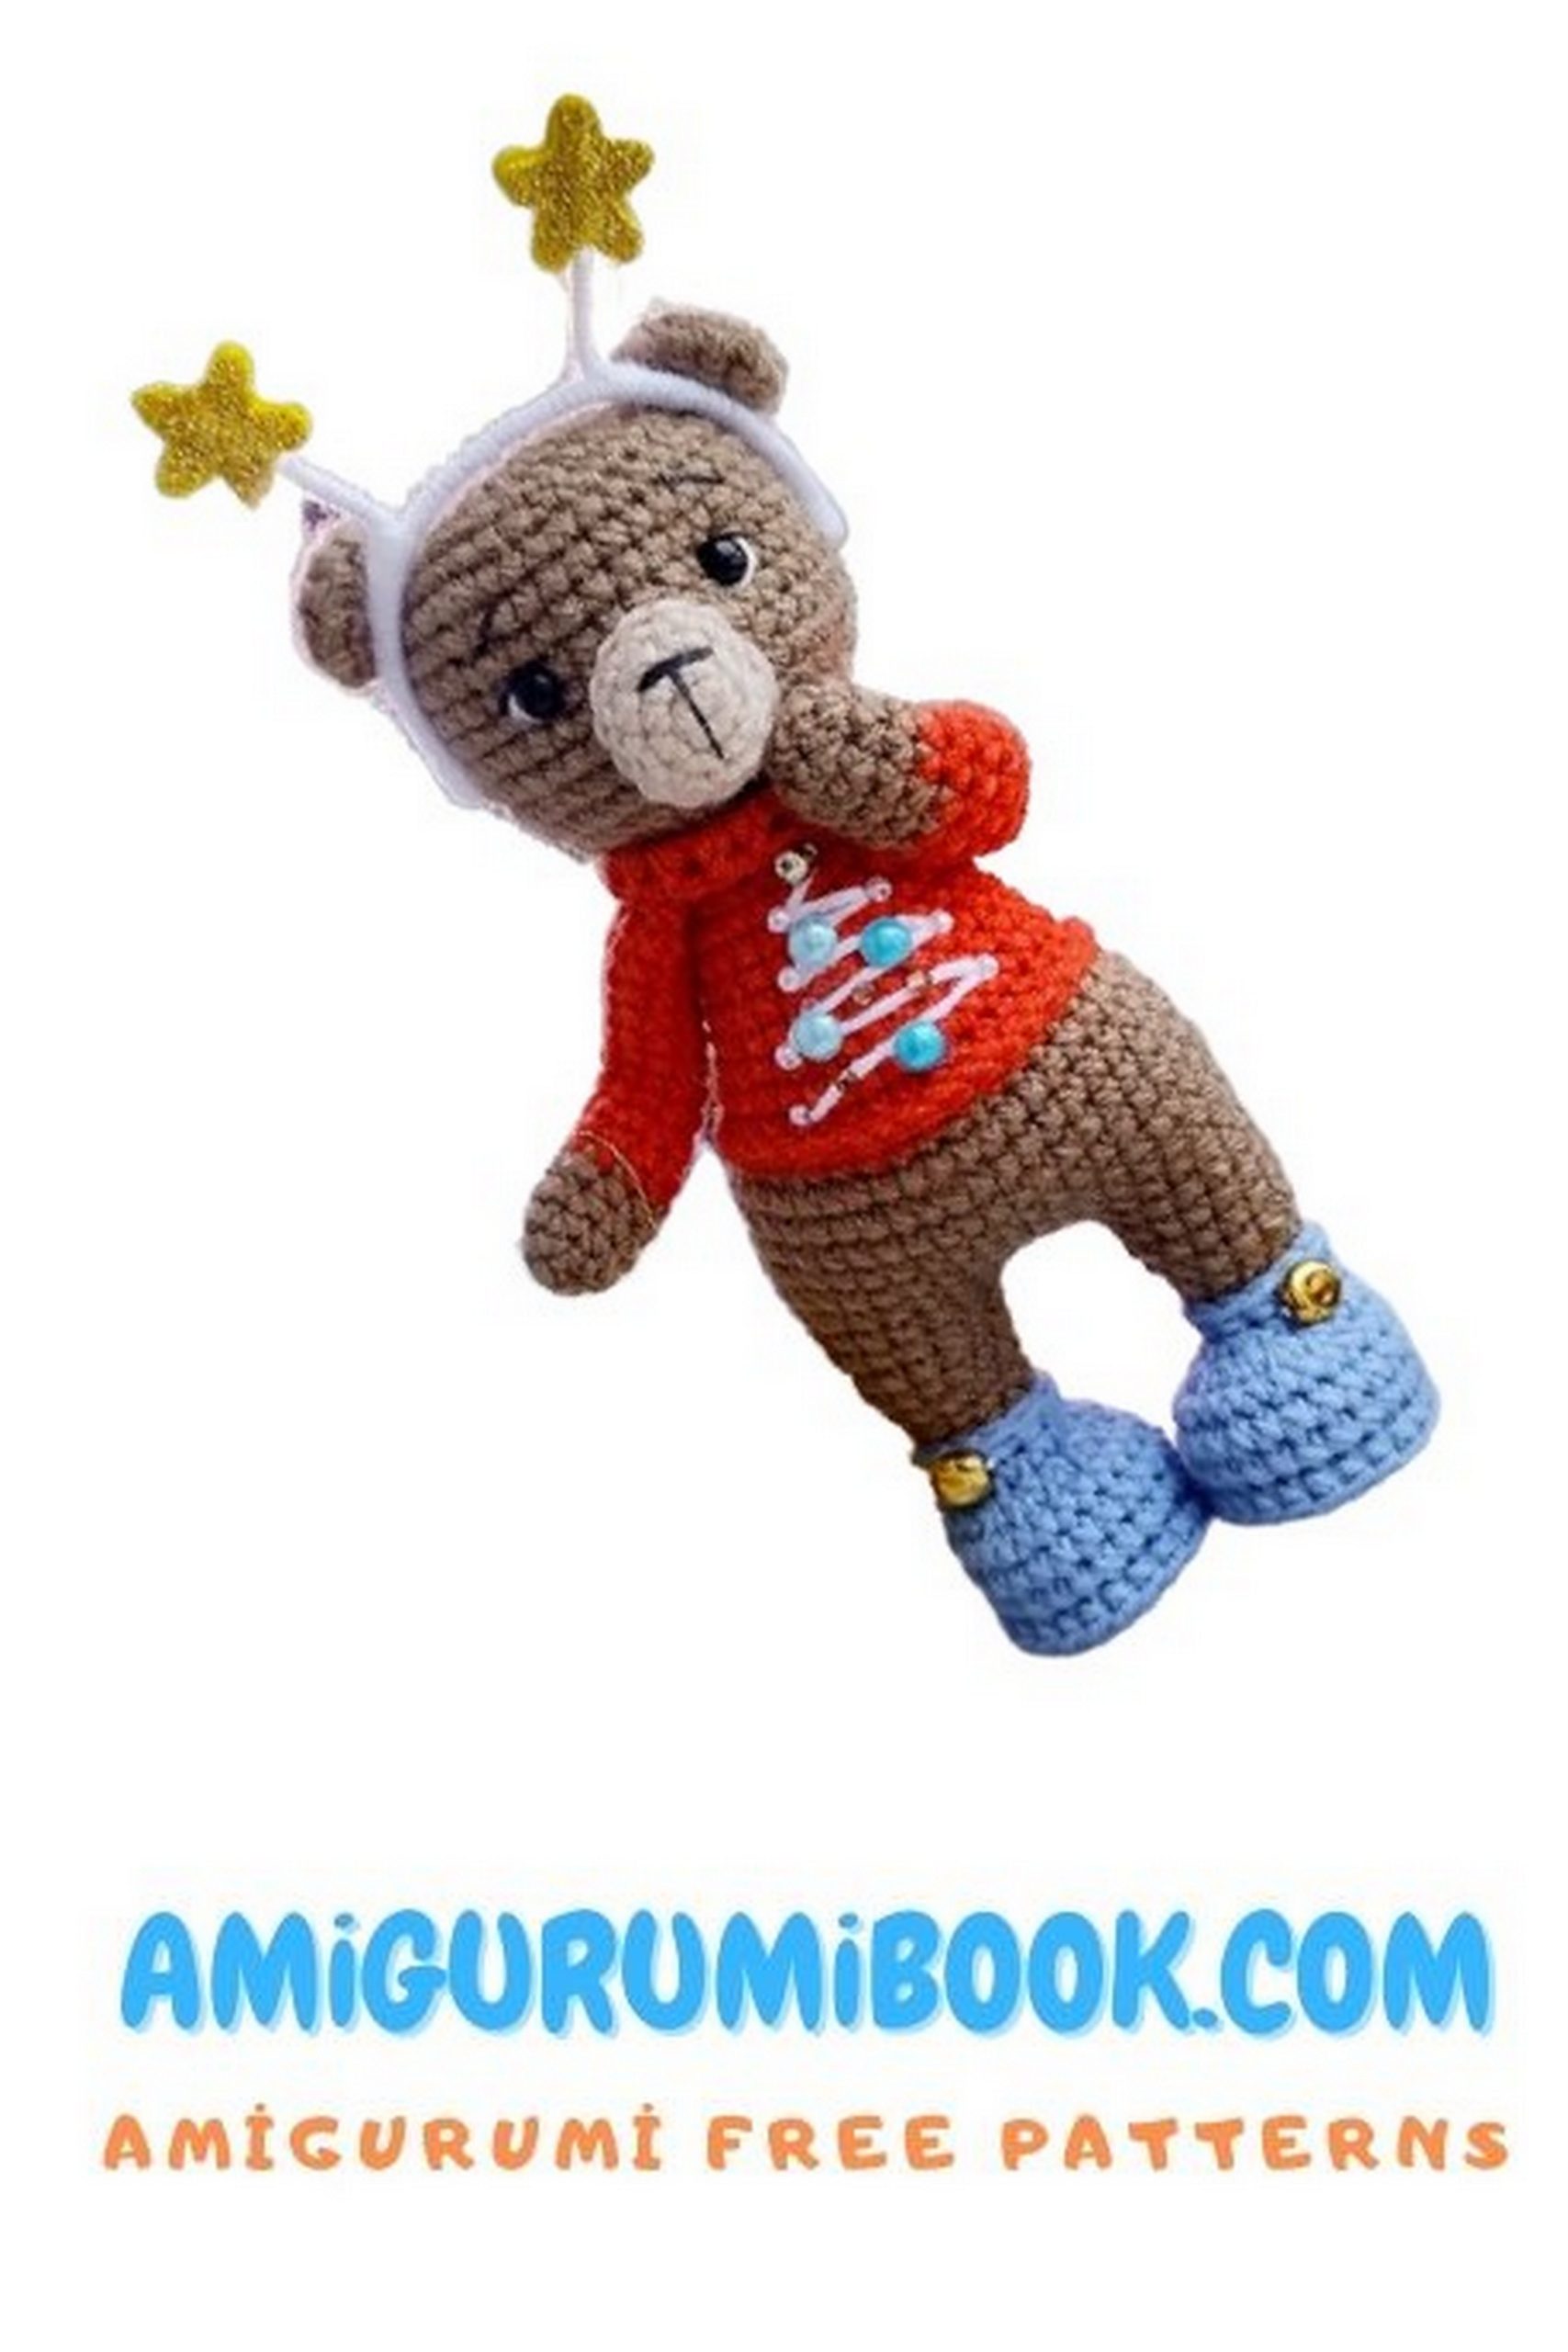
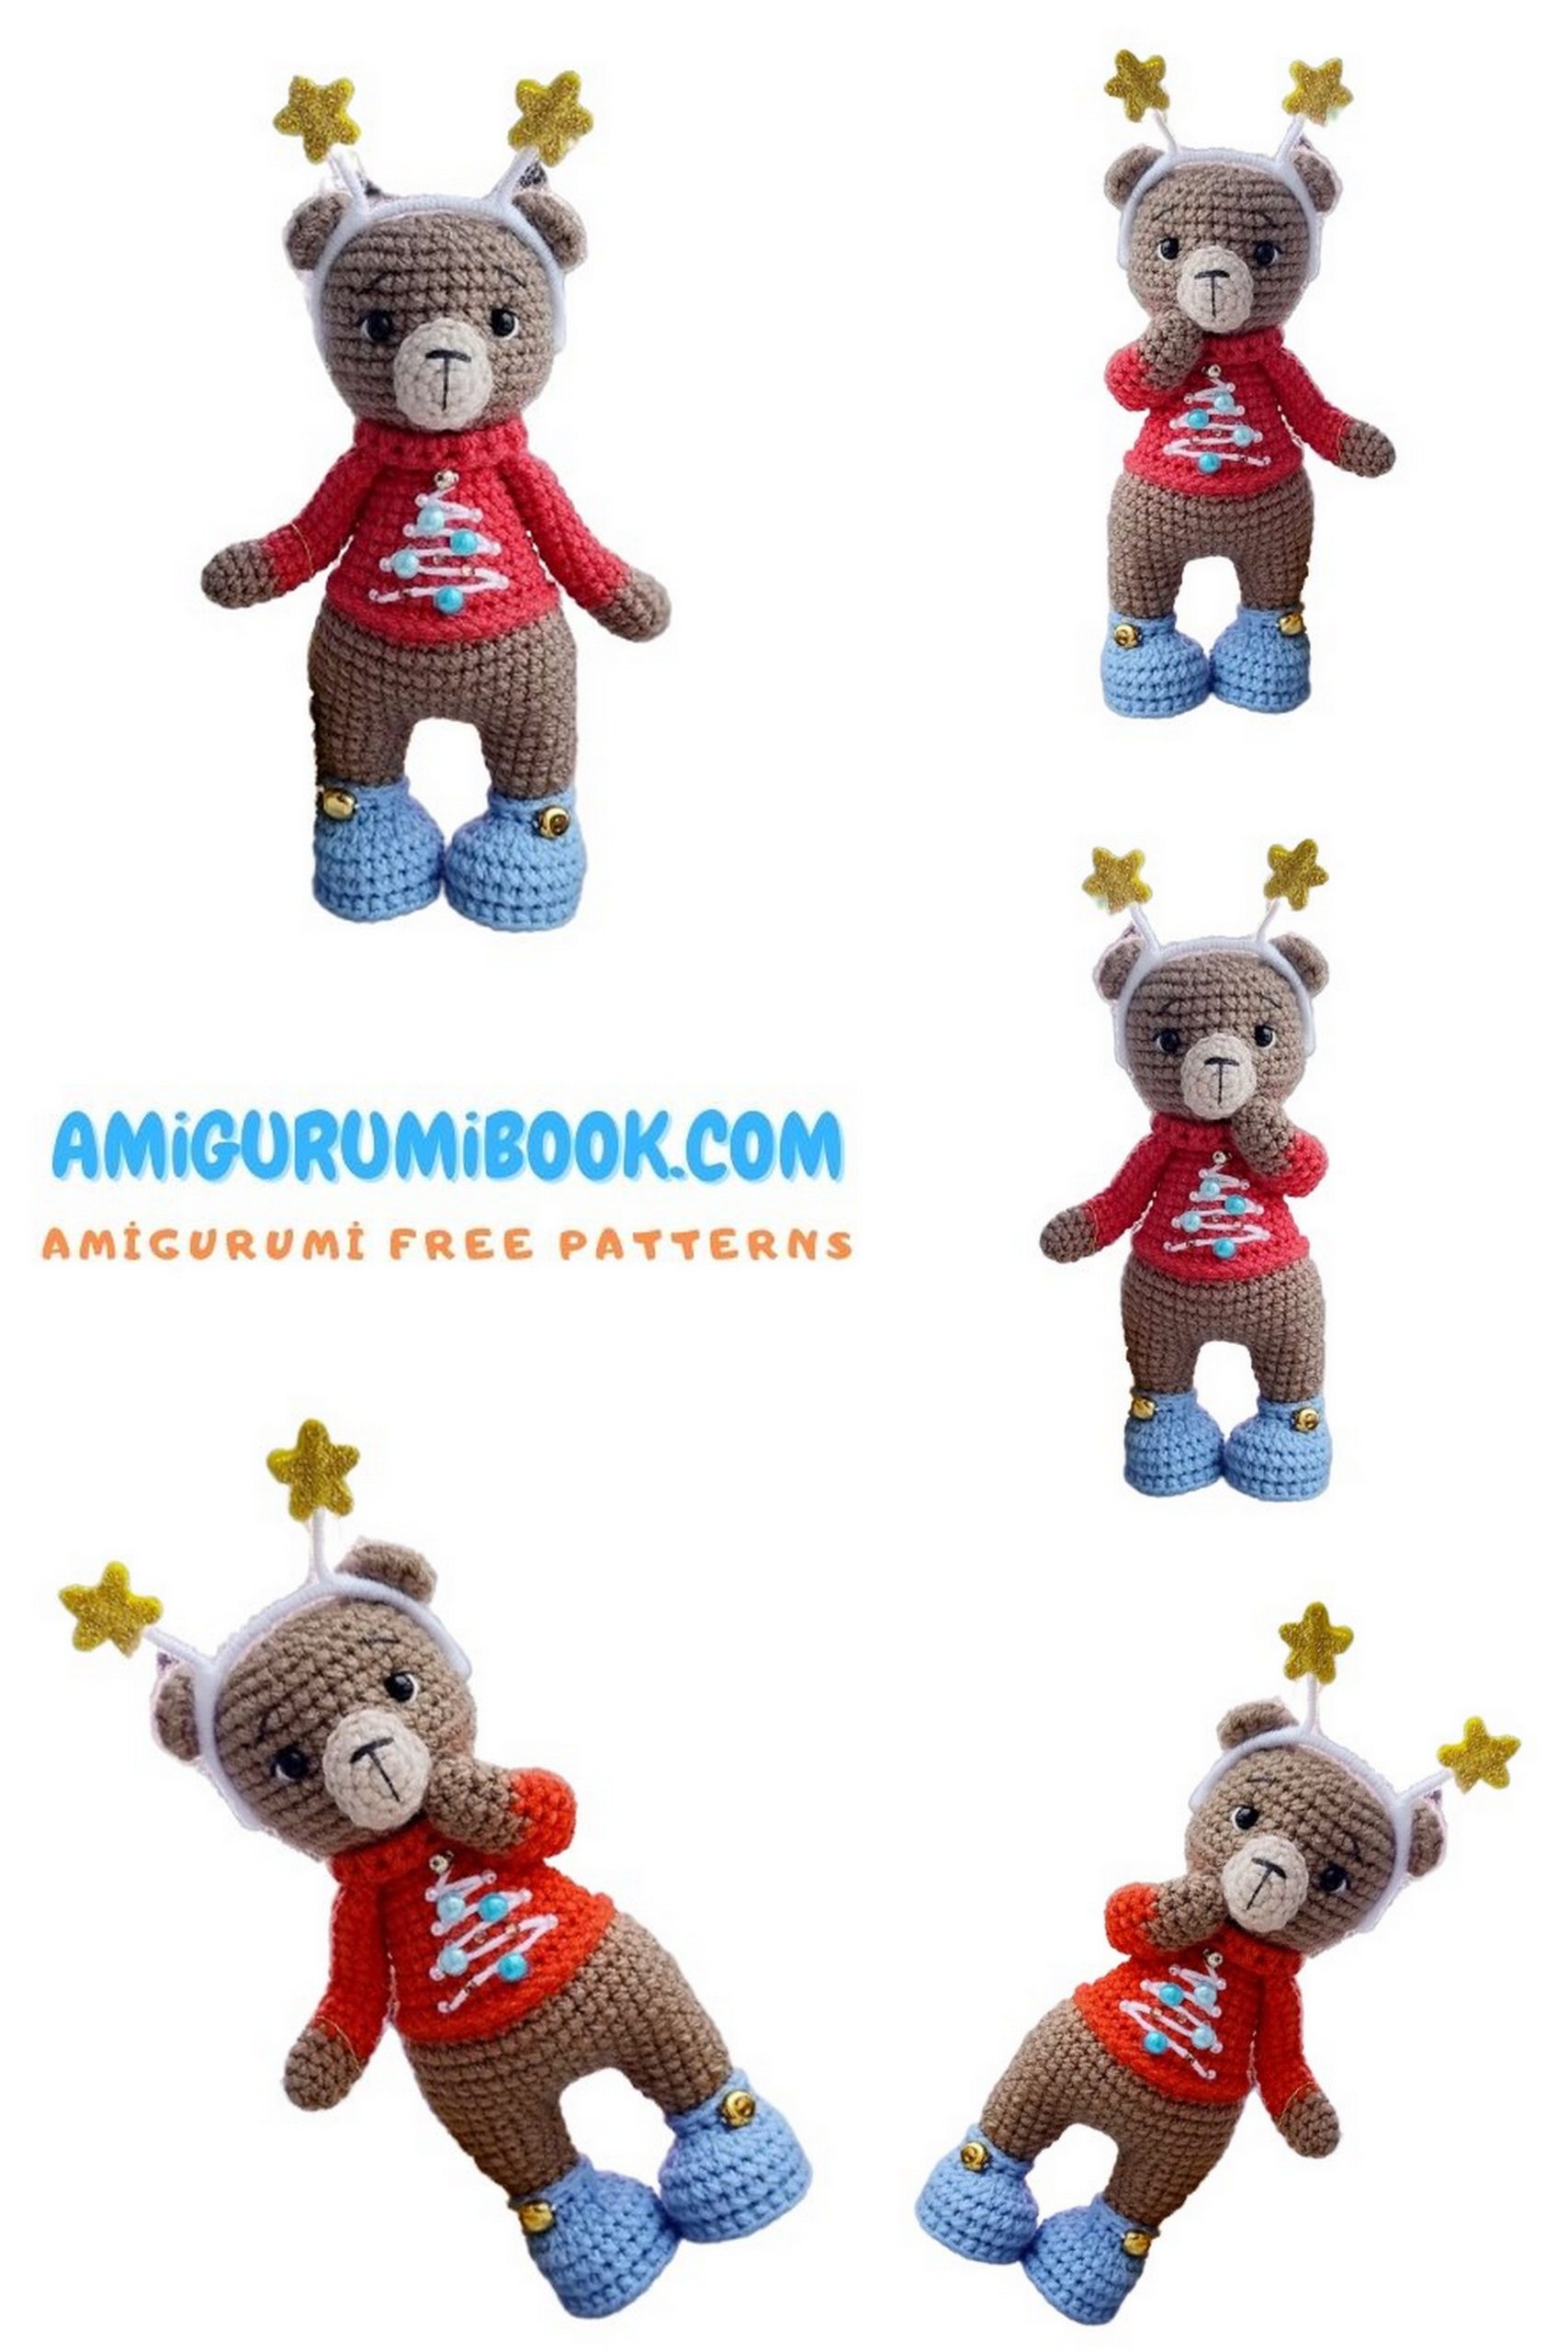
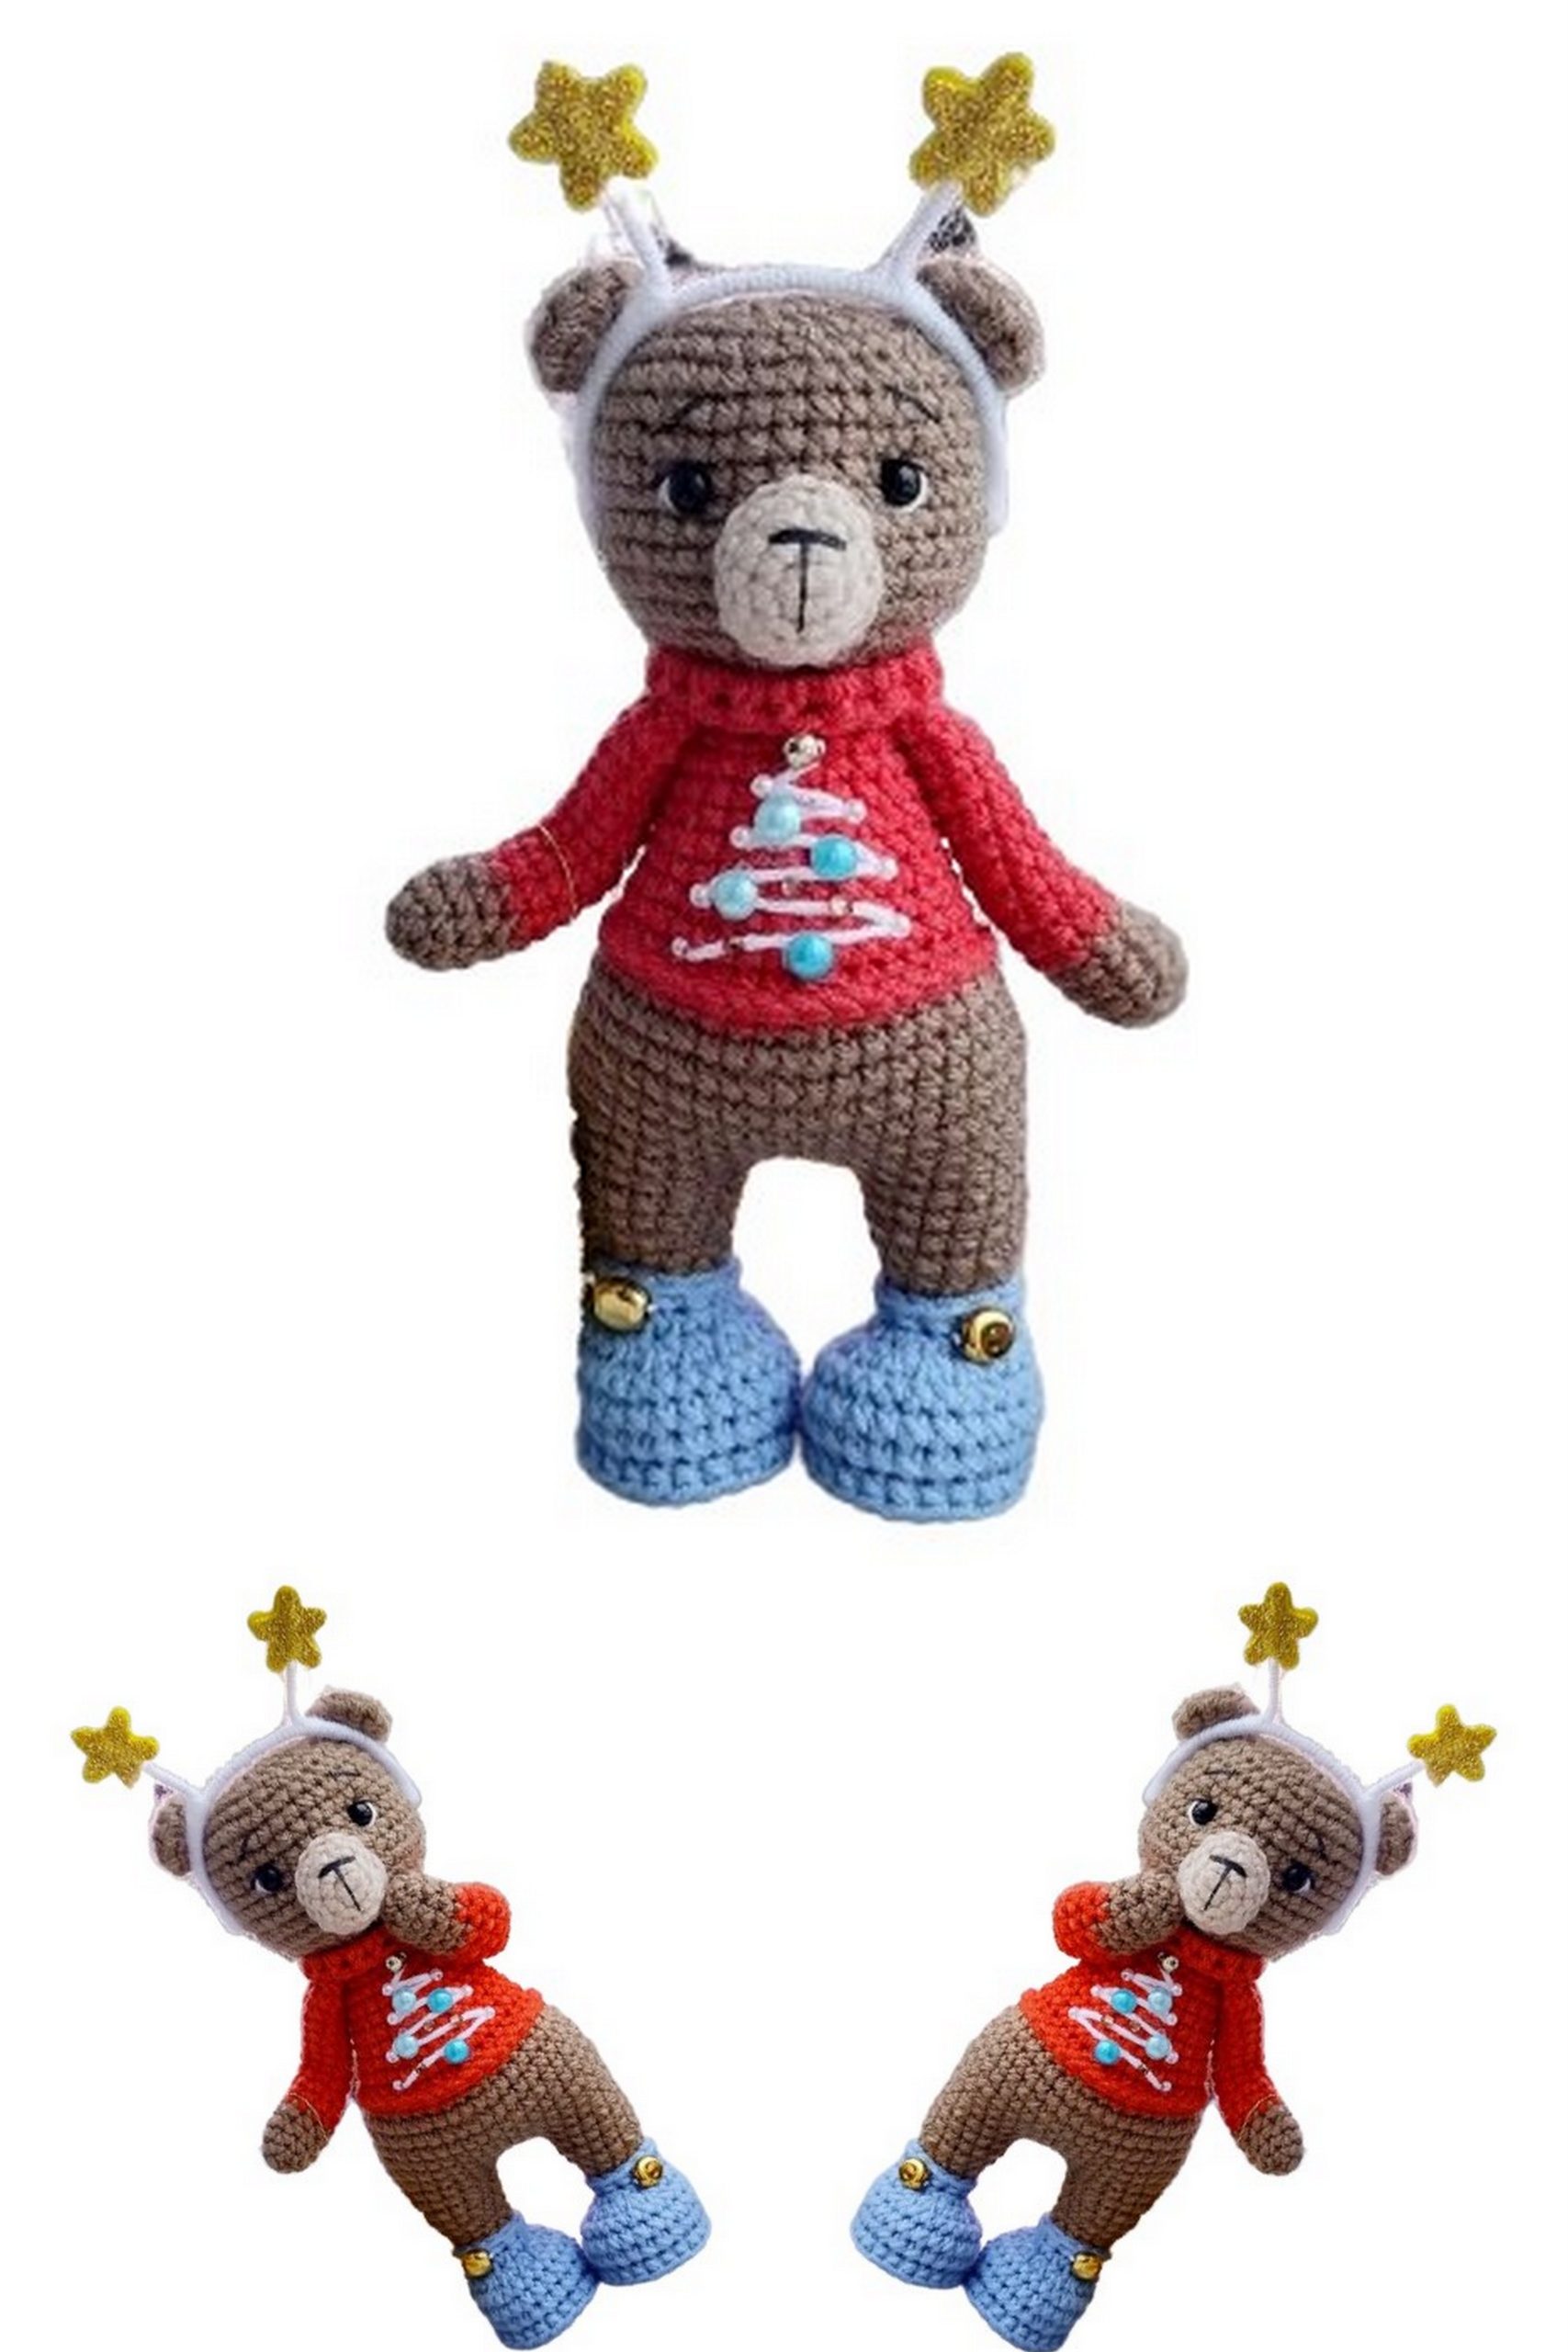
The holiday season is upon us, and what better way to usher in the festive spirit than with a handmade touch? Meet Lena, the Christmas Teddy Bear Amigurumi – a cuddly companion that brings joy and warmth to your celebrations. In this post, we’re excited to share with you a step-by-step guide to creating your very own Lena, complete with a free crochet pattern.
As you embark on this delightful amigurumi adventure, you’ll find the process both enjoyable and rewarding. Lena isn’t just a teddy bear; she’s a symbol of handmade love and holiday magic. Whether you’re a seasoned crochet enthusiast or a beginner eager to explore the world of amigurumi, this free pattern is designed to spark your creativity and fill your home with the charm of a handmade Christmas.
Get ready to dive into the world of yarn and crochet hooks, as we guide you through each stitch to bring Lena to life. From her rosy cheeks to her cozy scarf, every detail is crafted with care and festive cheer. Imagine the smiles and warmth she’ll bring to your loved ones as a heartfelt gift or a whimsical decoration for your holiday-themed space.
So, grab your favorite yarn colors, clear a comfy crafting space, and let’s crochet our way into the enchanting world of Christmas with Lena, the Christmas Teddy Bear Amigurumi. Follow our free pattern, and let the magic of handmade creations fill your home this holiday season.
Let the festive crocheting begin! 🎄🧶
You are in the right place for wonderful amigurumi bear patterns. I think you should also see the velvet big teddy bear amigurumi pattern.
If you want to access 1000+ free amigurumi patterns, you can download our application from this link!
Materials:
a)YarnArt Jeans yarn for the body: No. 71 (brown)
b)YarnArt Jeans yarn No. 15 (blue)
c)YarnArt Jeans yarn No. 90 (red)
d)YarnArt Jeans yarn No. 05 (beige)
e)YarnArt Jeans yarn No. 01 (white)
Crochet hook No. 2.5
Filling
Black half beads 6 mm, 2 pcs
Black and white embroidery thread for the muzzle
Needles, pins, scissors
Any decorations: beads, rhinestones
Abbreviations:
CA – amigurumi ring
sc – single crochet
ch – chain
inc – increase
dec – decrease
bpsc – back post single crochet
fpsc – front post single crochet
sl st – slip stitch
(…)*n – repeat n times
It is very important to gradually and tightly fill the toy during the knitting process. The size of the toy, using these materials, is approximately 15-16 cm.
PATTERN
Arms: Christmas Teddy Bear
Crochet with brown color.
1: 5 sc in CA
2: inc in each stitch (10 sc)
3-5: sc in each stitch for 3 rows (10 sc)
Switch to red color.
6-16: sc in each stitch for 11 rows (10 sc)
To make the arms bend, you can use wire. If you don’t want to use wire, loosely fill the arm with filling halfway. Then fold the arm in half and crochet 5 sc. Secure and cut the thread. Make the second arm similarly.
Crochet with blue color.
1: 6 sc in CA
2: inc in each stitch (12 sc)
3: (1 sc, inc)*6 (18 sc)
4: 1 sc, inc, (2 sc, inc)*5, 1 sc (24 sc)
5 in bpsc: sc in each stitch (24 sc)
6-7: sc in each stitch for 2 rows (24 sc)
8: 6 sc, (dec)*6, 6 sc (18 sc)
9: 3 sc, (dec)*6, 3 sc (12 sc)
Switch to brown color. Do not cut the blue thread; instead, bring it forward before crocheting. We will continue crocheting the boot later.
10 in bpsc: sc in each stitch (12 sc)
11-12: sc in each stitch for 2 rows (12 sc)
13: (3 sc, inc)*3 (15 sc)
14-15: sc in each stitch for 2 rows (15 sc). Then crochet additional sc (see photo) to even out the inner part of the leg. I crocheted 5 sc. Secure and cut the thread.
Legs: Christmas Teddy Bear
Return to the boot and crochet 1 sc in each fpsc. Secure and cut the thread. Also, crochet around the sole: crochet 1 sc in each fpsc. Secure and cut the thread.
Make the second leg similarly. After row 15, crochet an additional 11 sc. Do not cut the thread; continue crocheting the body.

Body: Christmas Teddy Bear
From the second leg, crochet 3 ch and join to the first leg where you finished crocheting.
16: 15 sc around the first leg, 3 sc in ch, 15 sc around the second leg, 3 sc in ch (36 sc)
17: sc in each stitch (36 sc)
18: (5 sc, inc)*6 (42 sc)
19-22: sc in each stitch for 4 rows (42 sc)
Crochet half a row to the middle of the back. A new row will start from here.
Switch to red color.
23: (5 sc, dec)*6 (36 sc)
24 in bpsc: sc in each stitch (36 sc)
25: sc in each stitch (36 sc)
26: 2 sc, dec, (4 sc, dec)*5, 2 sc (30 sc)
27-28: sc in each stitch for 2 rows (30 sc)
29: (3 sc, dec)*6 (24 sc)
30-31: sc in each stitch for 2 rows (24 sc)
32: 1 sc, dec, (2 sc, dec)*5, 1 sc (18 sc)
Body and Head: Christmas Teddy Bear
33: Attach arms symmetrically on each side. Mine looks like this: 3 sc, 5 sc (with arm), 4 sc, 5 sc (with arm), 1 sc (18 sc)
Switch to brown color. Do not cut the red thread; instead, bring it forward before crocheting. Later, we’ll crochet the sweater collar.
34 in bpsc: sc in each stitch (18 sc)
35: sc in each stitch (18 sc)
If desired, insert wire into the neck. I do not use wire; I simply fill it tightly with stuffing.
Continue crocheting the head immediately:
36: inc in each stitch (36 sc)
37: (5 sc, inc)*6 (42 sc)
38-46: sc in each stitch for 9 rows (42 sc)
47: (5 sc, dec)*6 (36 sc)
48: 2 sc, dec, (4 sc, dec)*5, 2 sc (30 sc)
49: (3 sc, dec)*6 (24 sc)
50: 1 sc, dec, (2 sc, dec)*5, 1 sc (18 sc)
51: (1 sc, dec)*6 (12 sc)
52: (dec)*6 (6 sc)
Draw the thread, secure, and cut it.
Sweater: Christmas Teddy Bear
Use red yarn to crochet 2 rows of fpsc in each stitch around the neck. Secure with a slip stitch, cut the thread.
For the lower edge of the sweater, crochet 1 sc around each fpsc. Secure with a slip stitch, cut the thread.
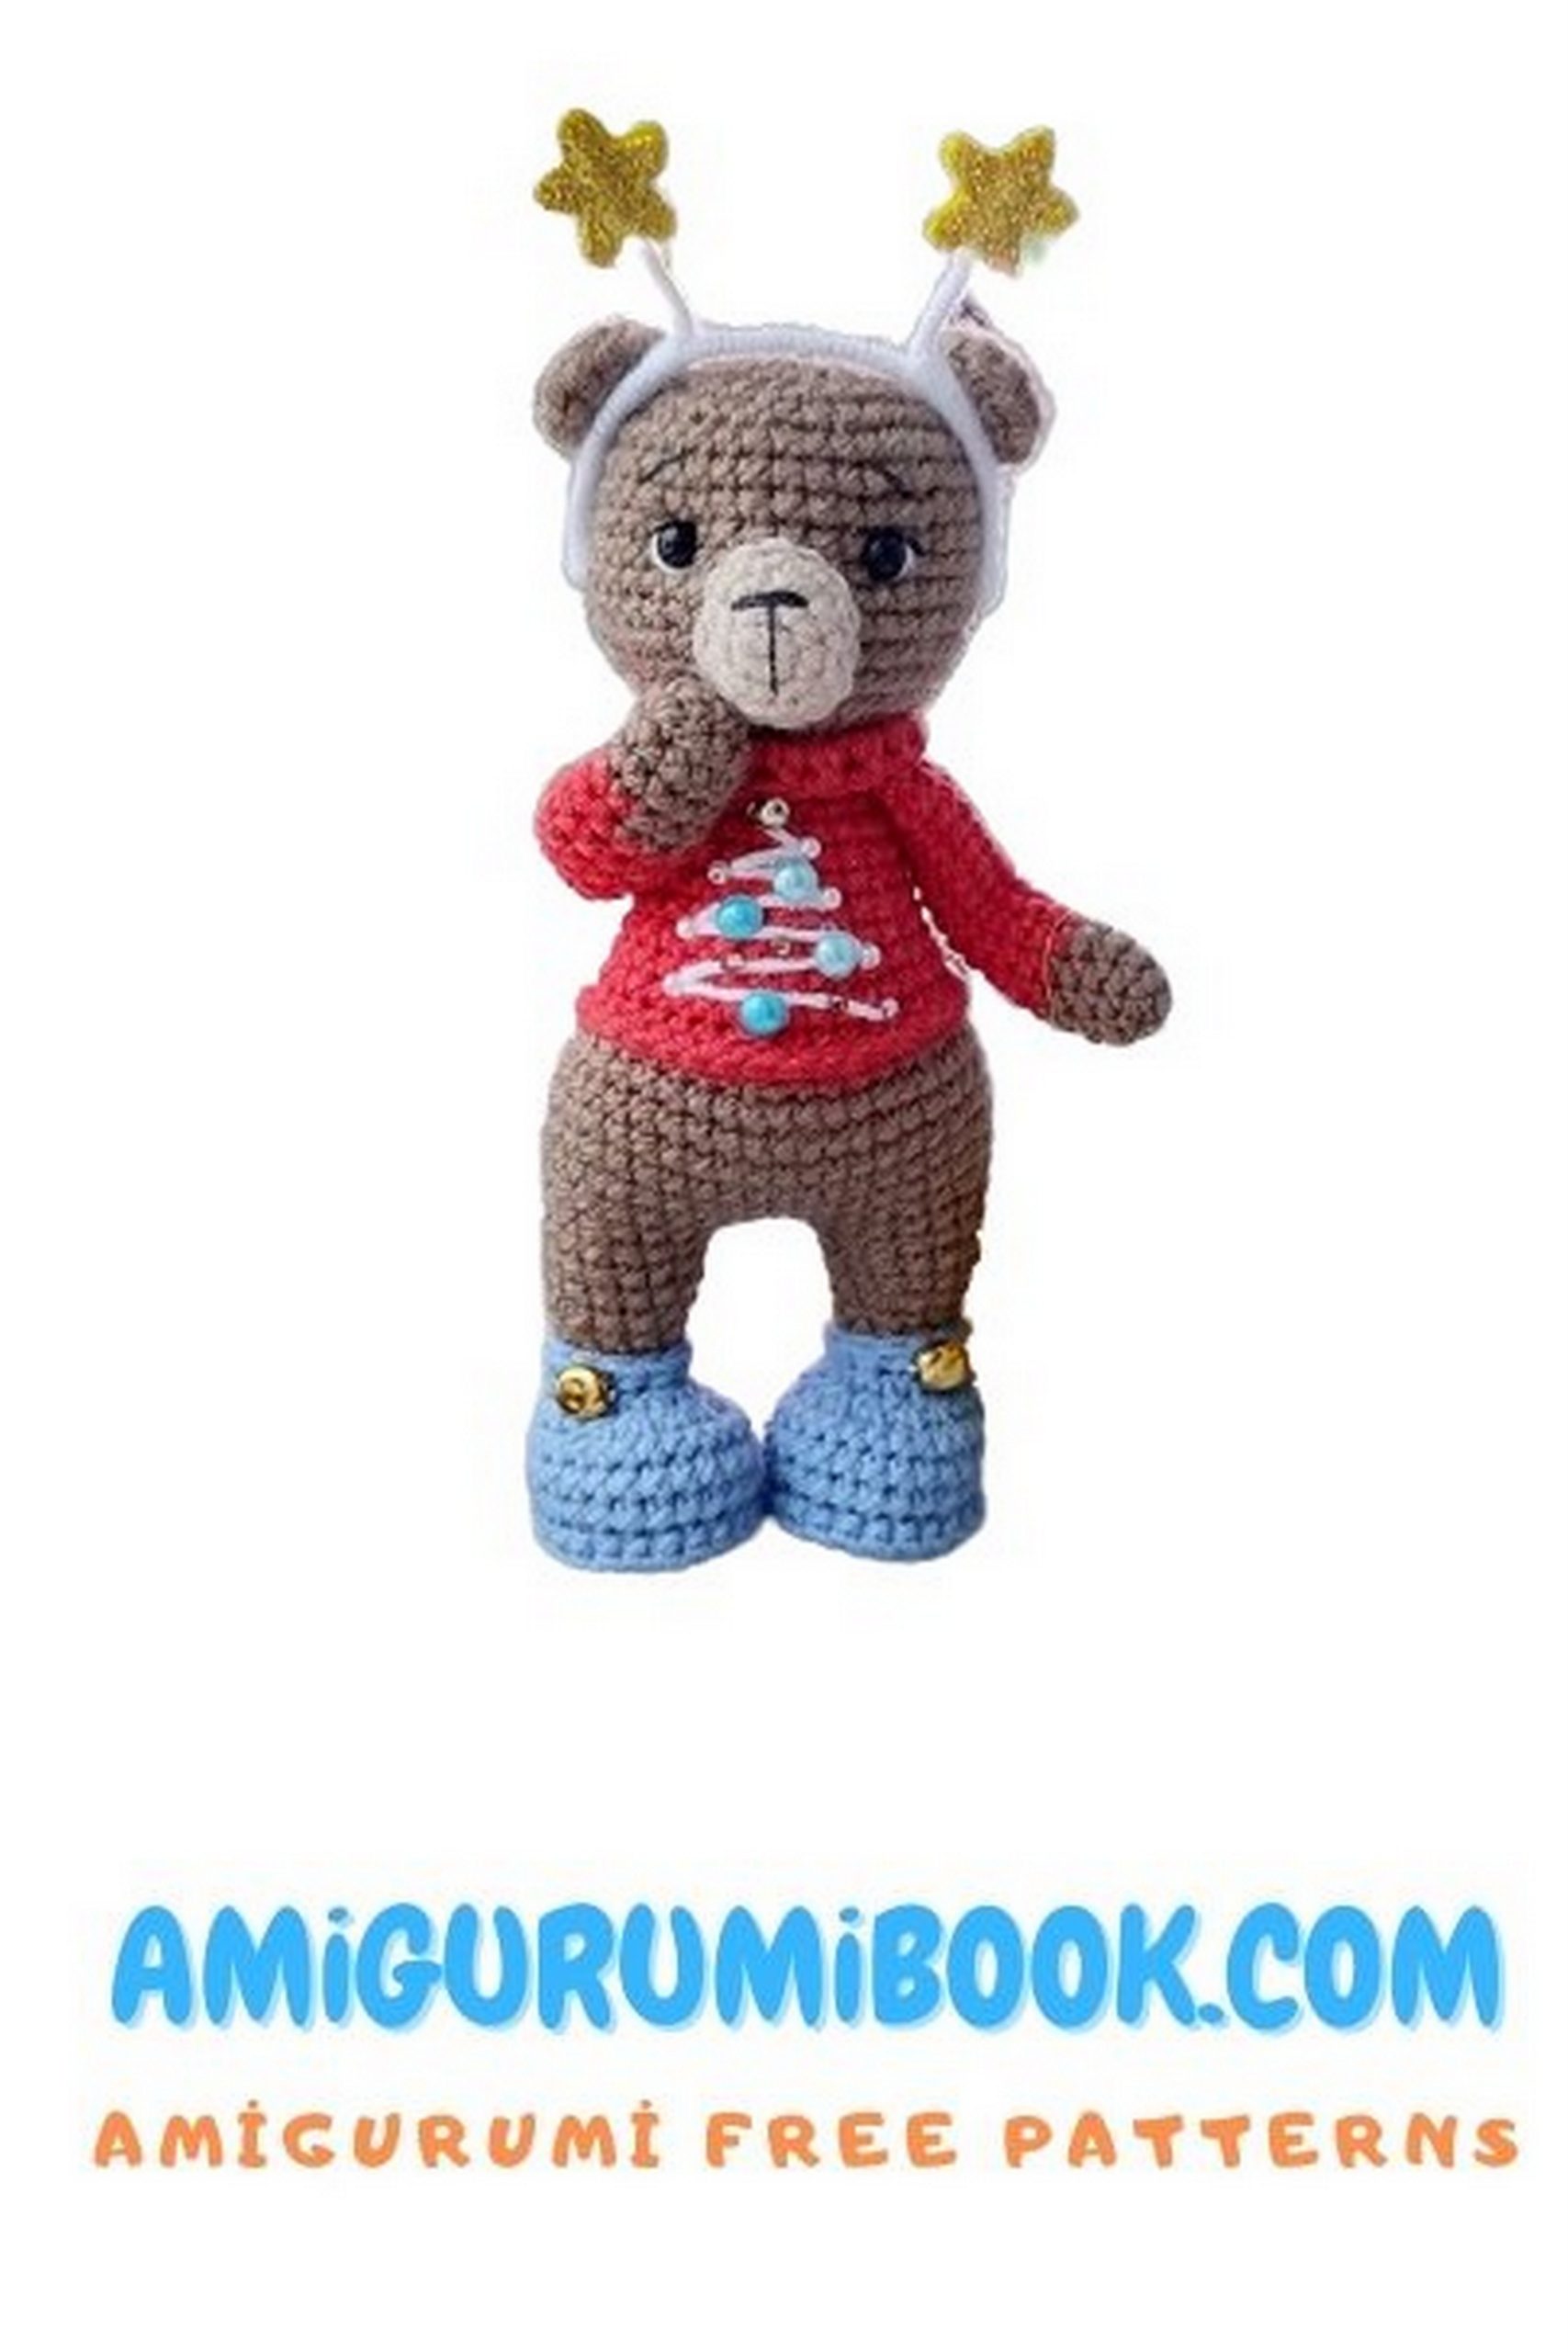
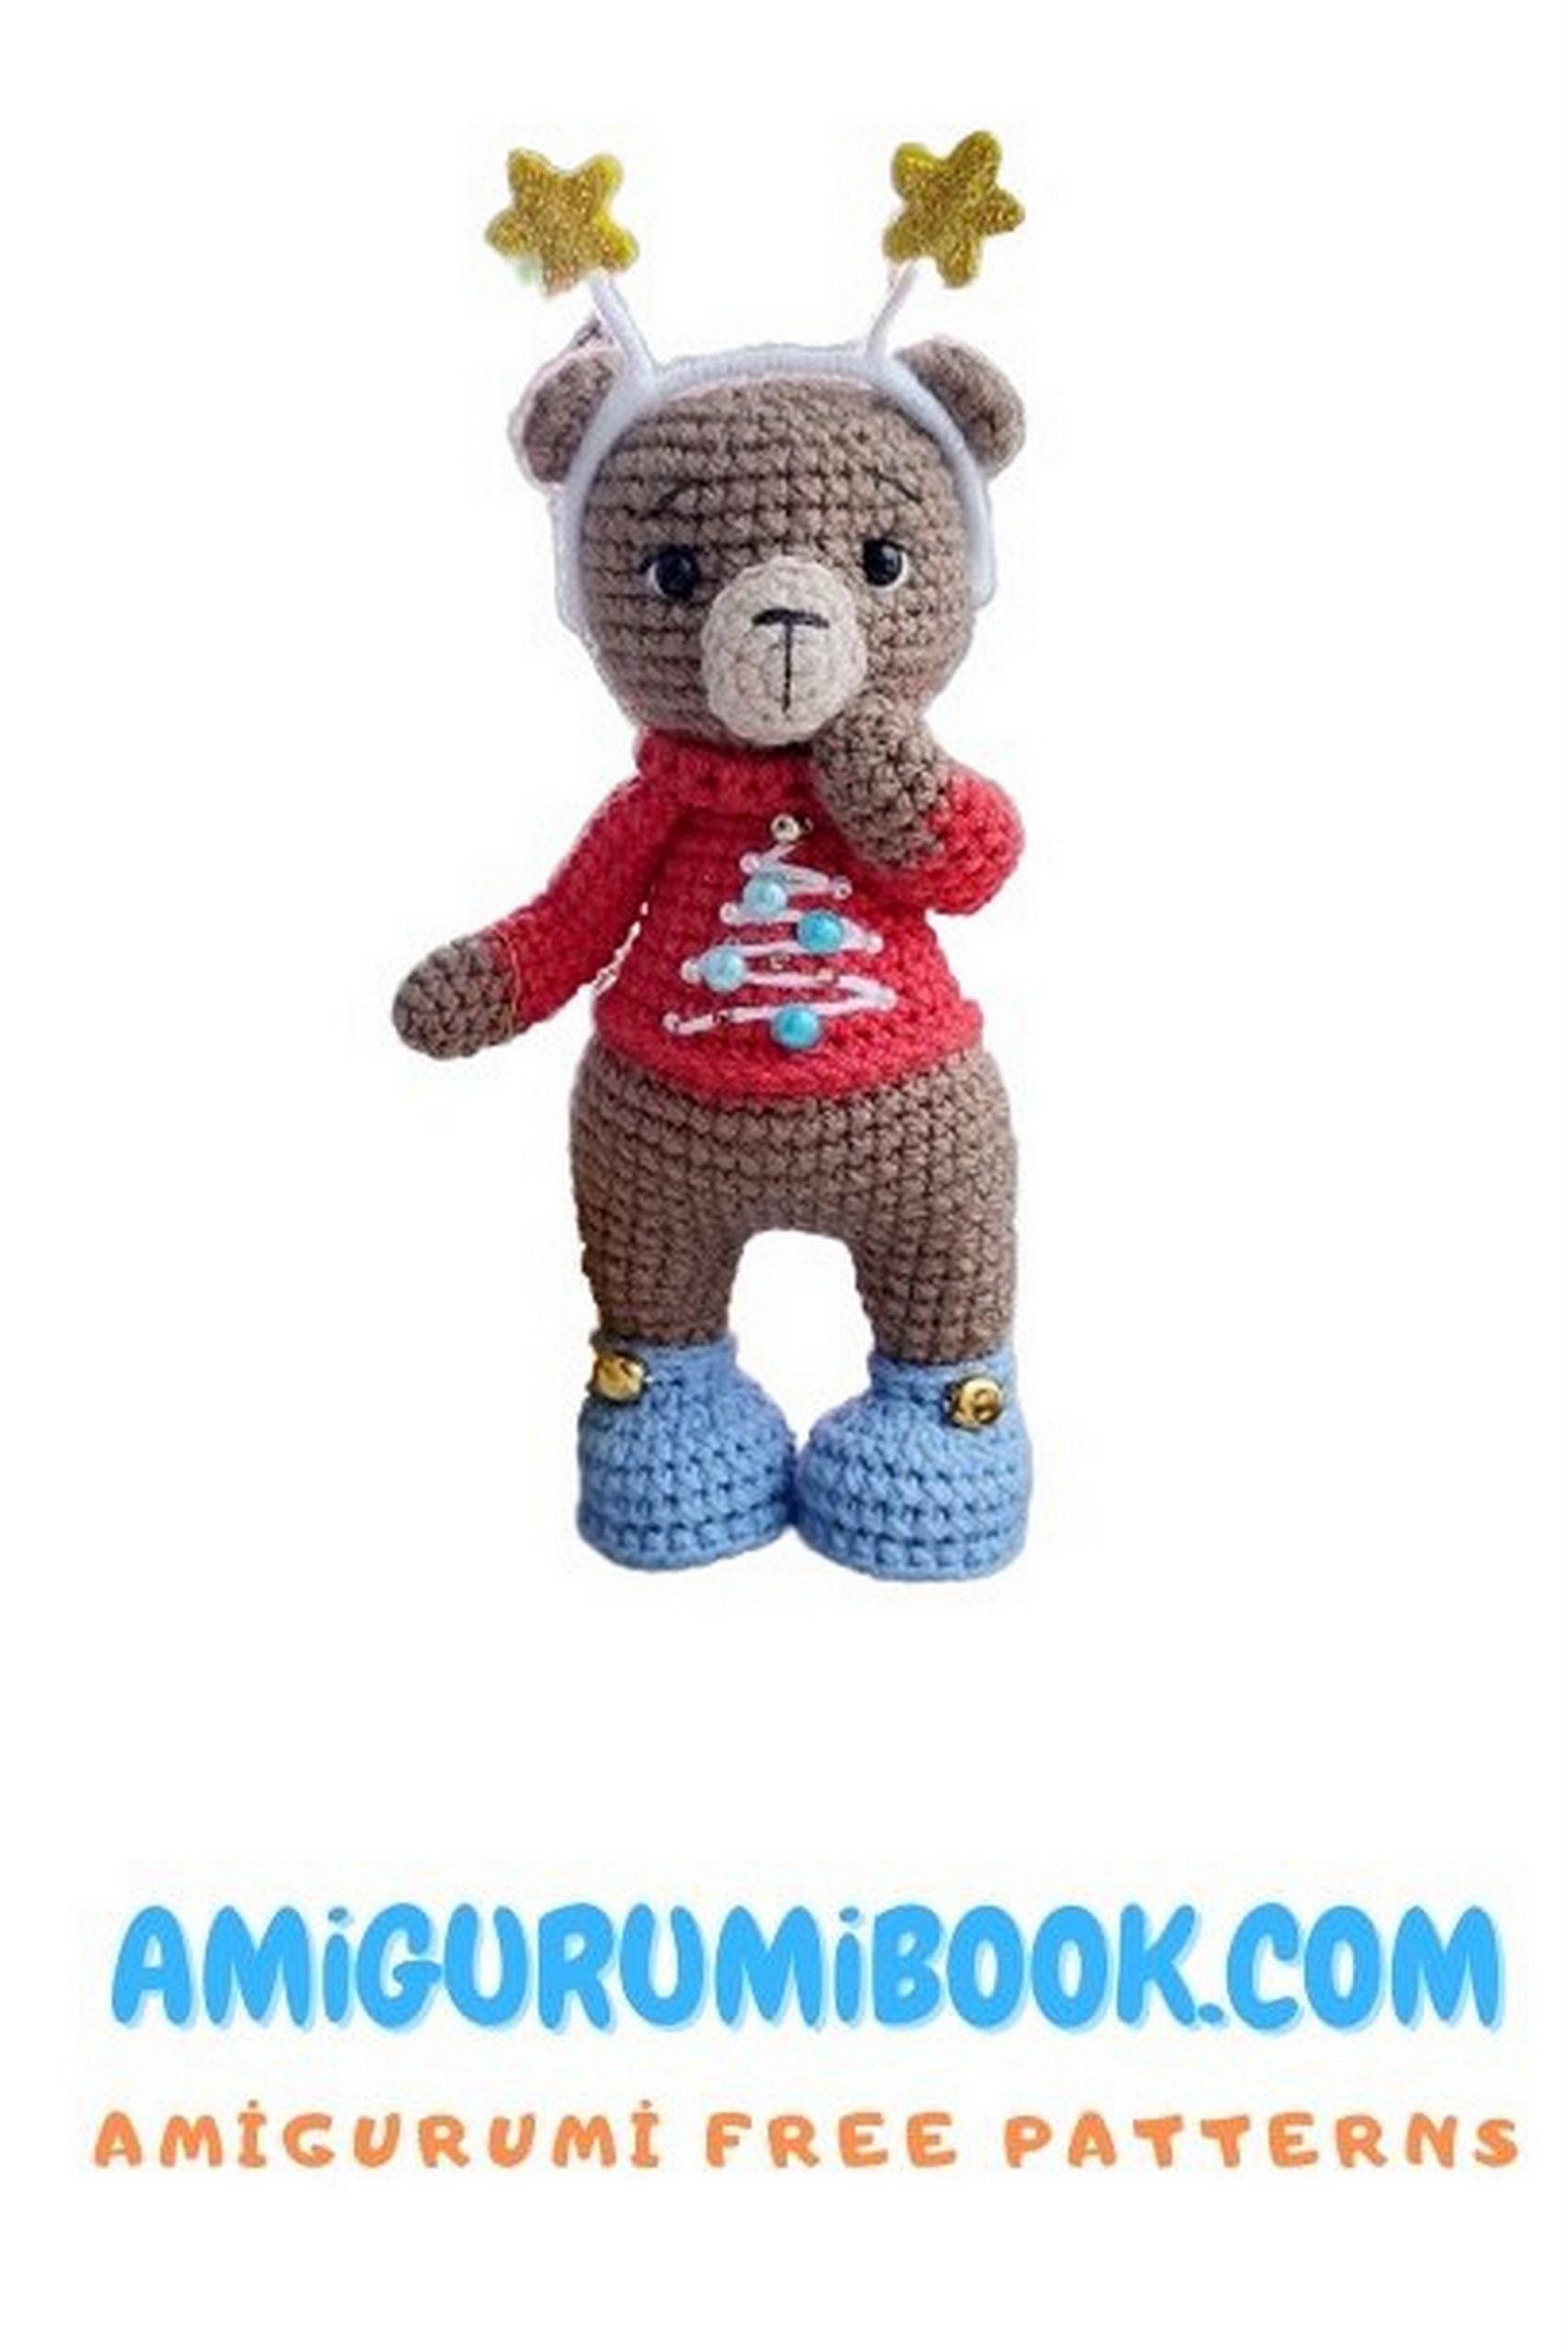
Embroider a Christmas tree with white yarn, glue beads and rhinestones.
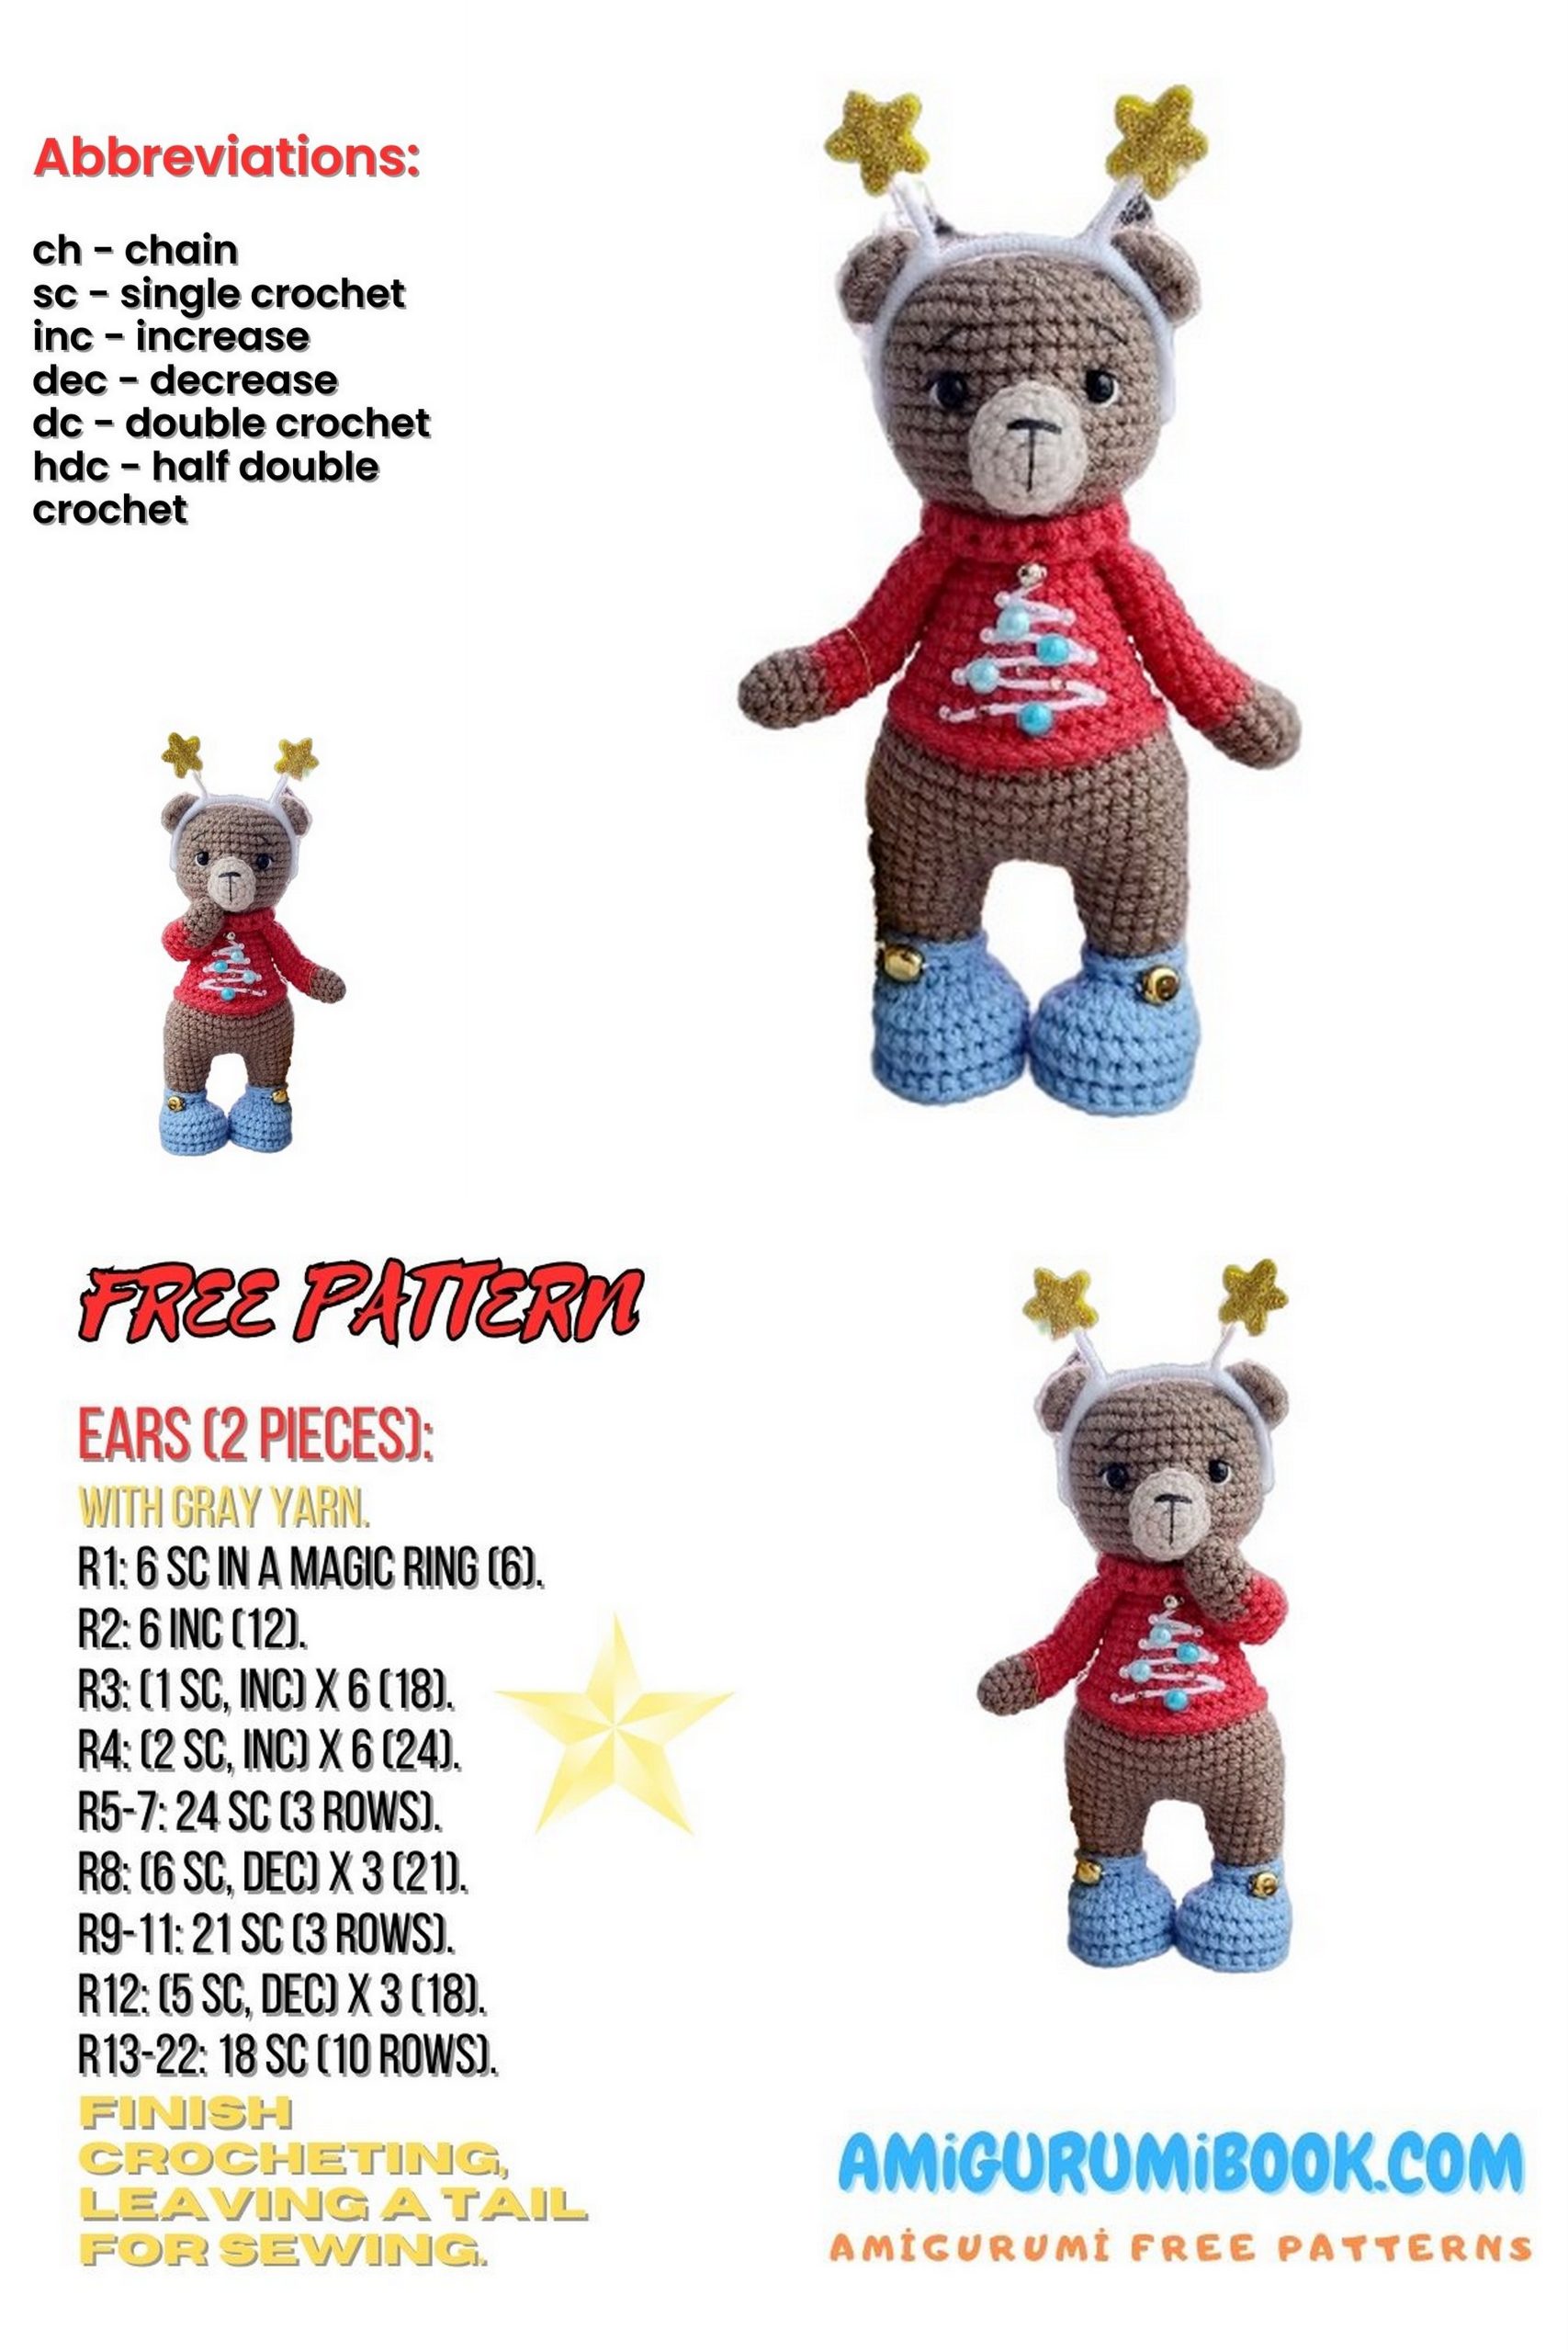
Ears: Christmas Teddy Bear
Crochet with brown color.
1: 5 sc in CA
2: inc in each stitch (10 sc)
3: sc in each stitch (10 sc)
Secure and cut the thread, leaving a long end for sewing. Make the second ear the same way.
Muzzle: Christmas Teddy Bear
Crochet with beige color.
1: 6 sc in CA
2: (inc)*2, 1 sc, (inc)*2, 1 sc (10 sc)
3: 1 sc, (inc)*2, 3 sc, (inc)*2, 2 sc (14 sc)
4: sc in each stitch (14 sc)
Secure and cut the thread, leaving a long end for sewing.
Between rows 42 and 43 of the bear’s head, at a distance of 6 sc, mark 2 points with pins (P1 and P3). From these points on both sides, left and right, mark 2 more points at a distance of 1 sc (P2 and P4).
Insert the needle with thread from the back into the occipital part, bring it out to P1, insert it into P2, pulling the thread to the occipital part. Tighten (a gathering is formed). Repeat the same steps with the second side: bring out to P3 and insert into P4.
Next, sew on the muzzle, remembering to fill it with stuffing. Embroider the nose with black cotton thread. Glue the eyes. Embroider the whites, eyelashes, and eyebrows. Sew the ears in a suitable place.