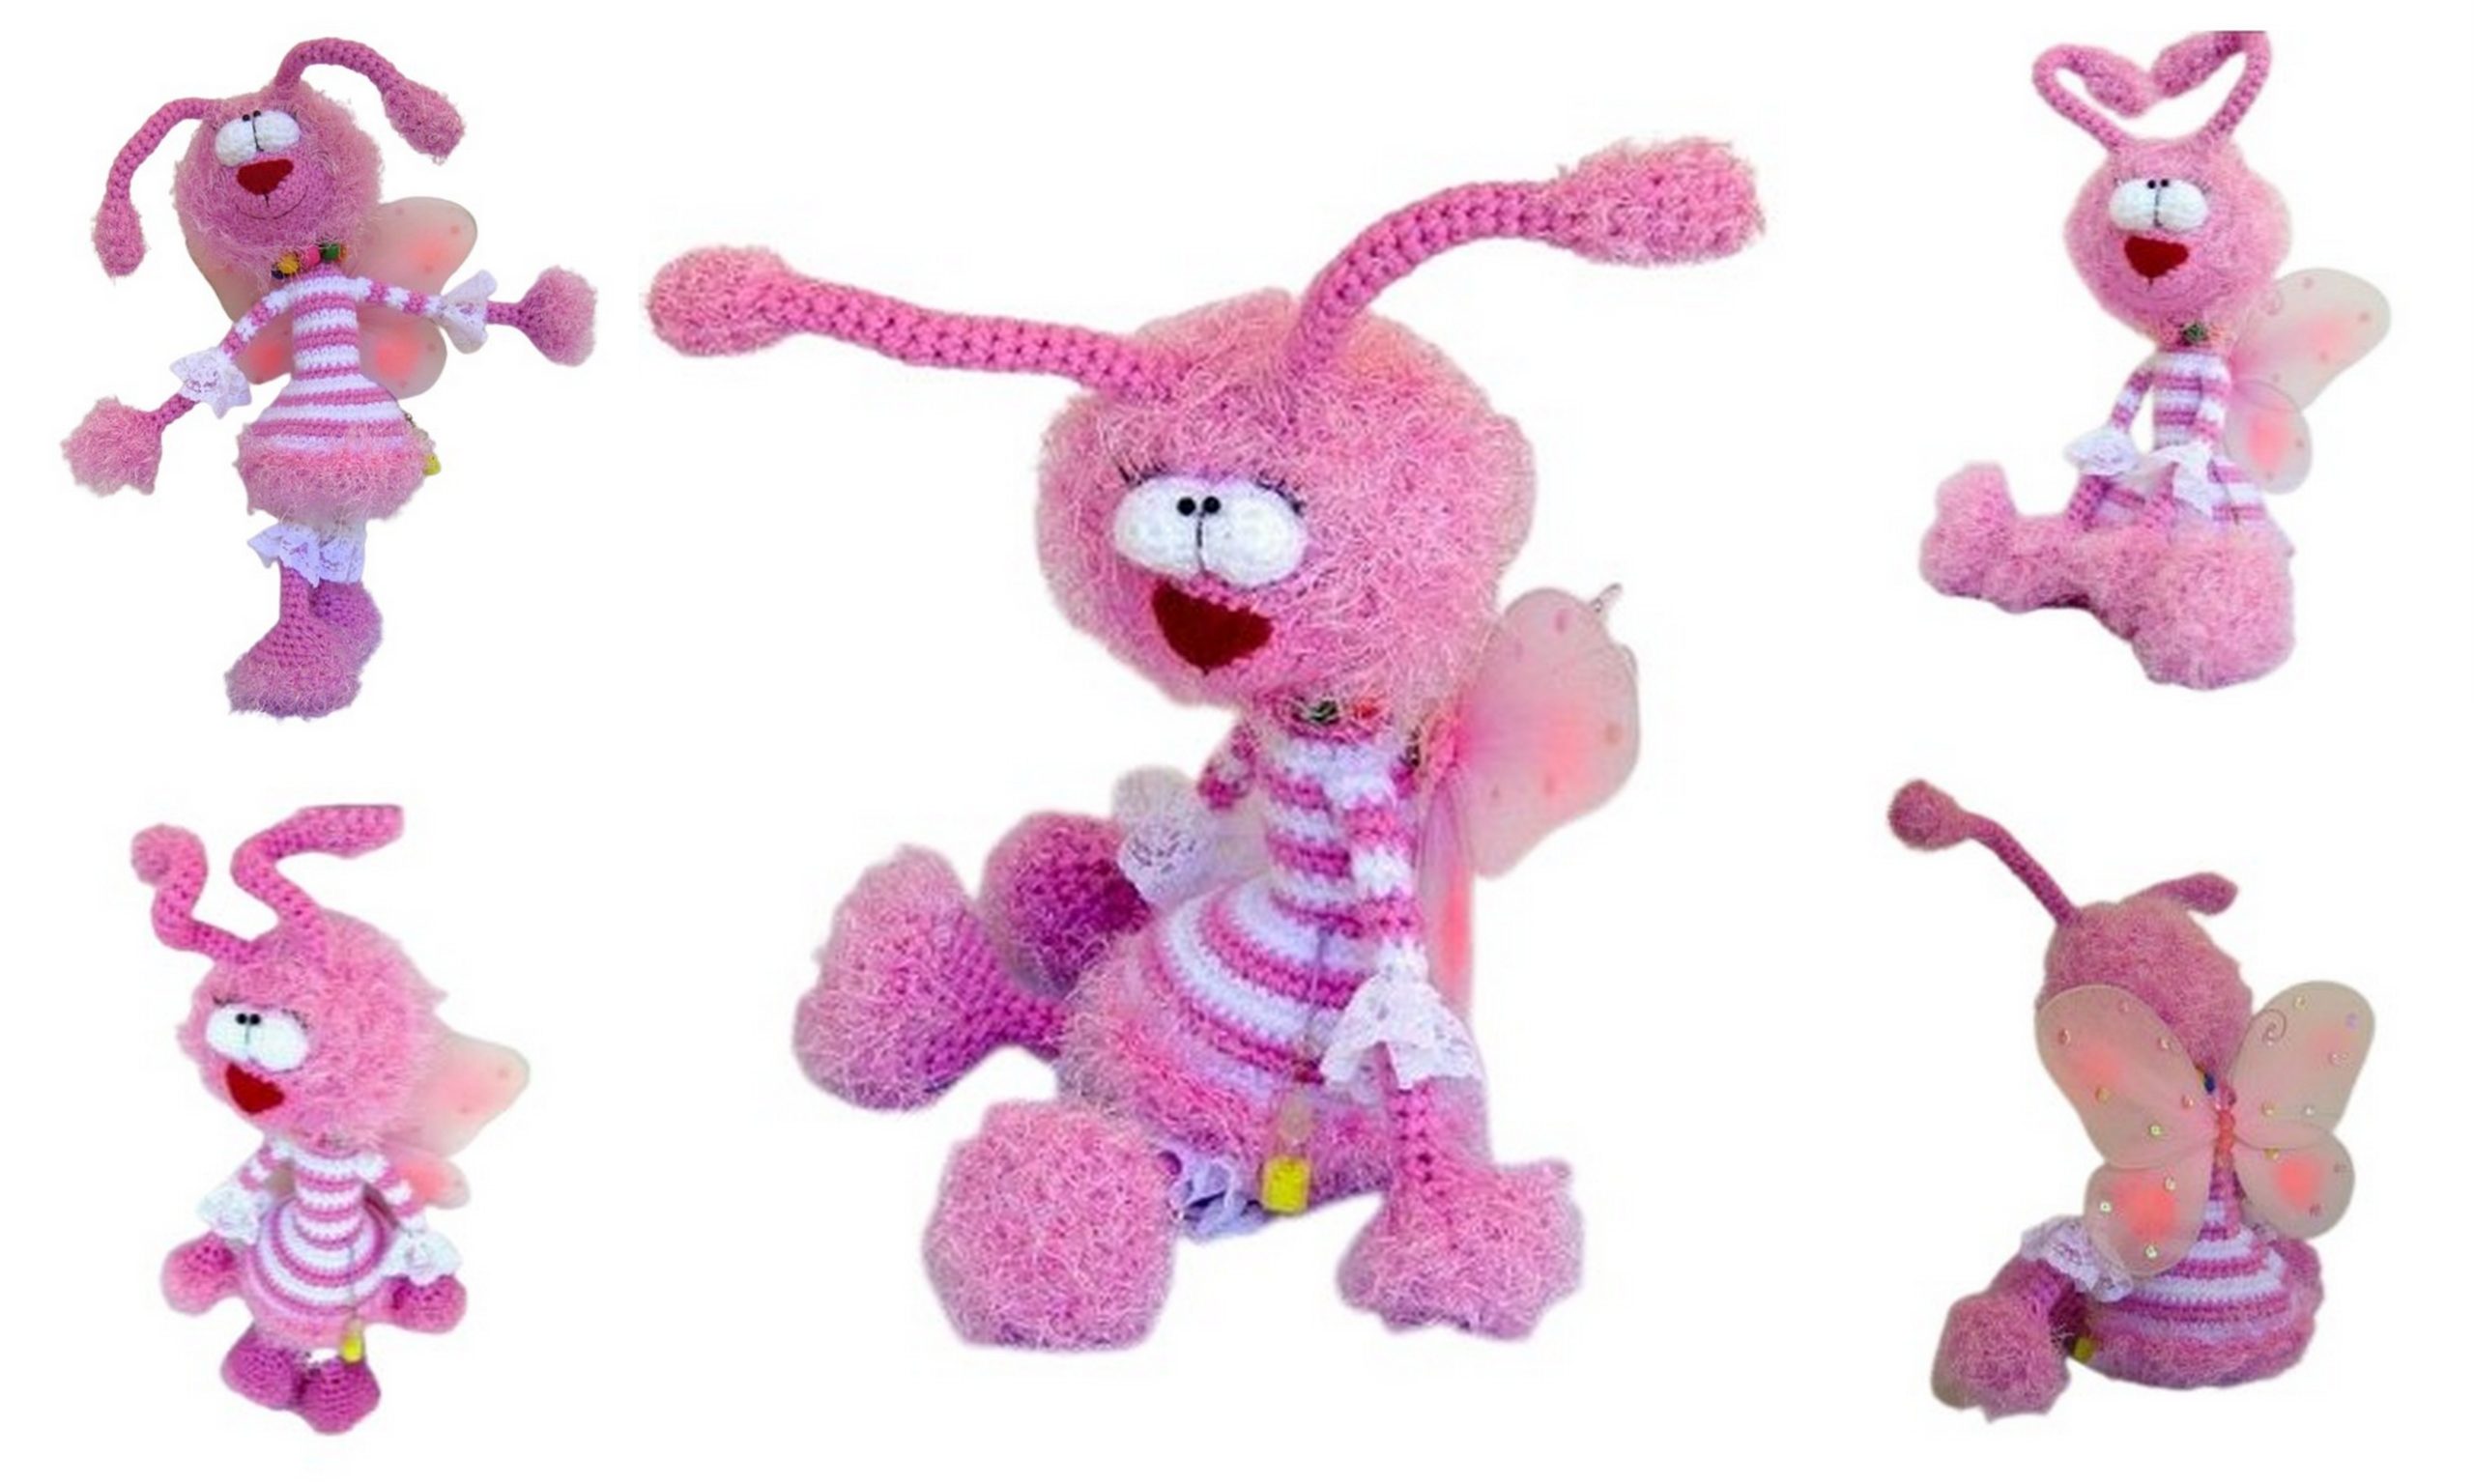
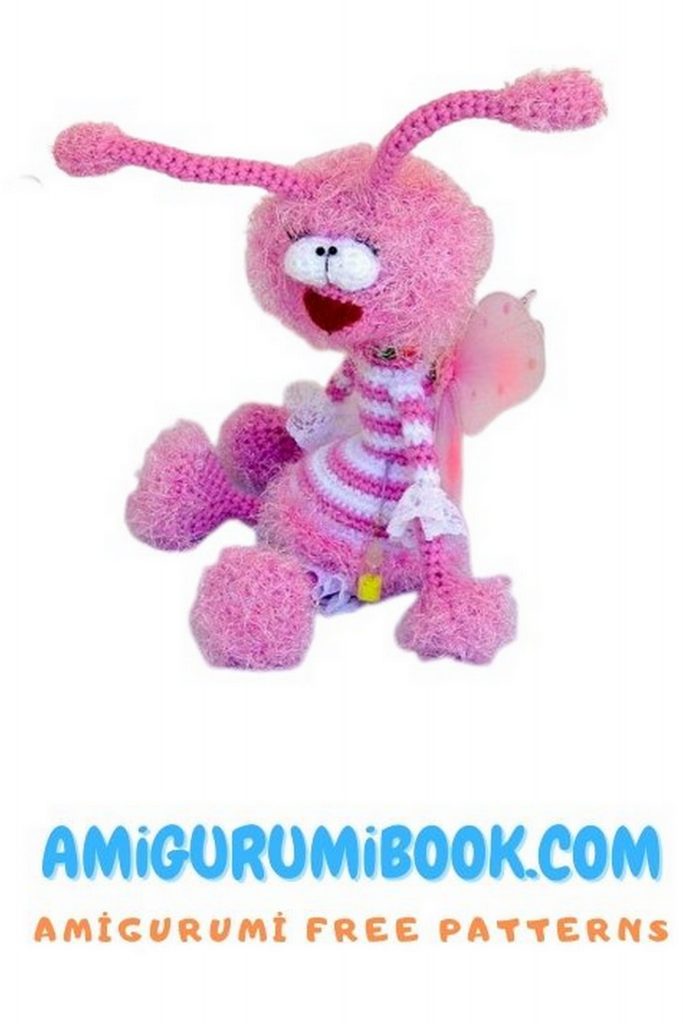
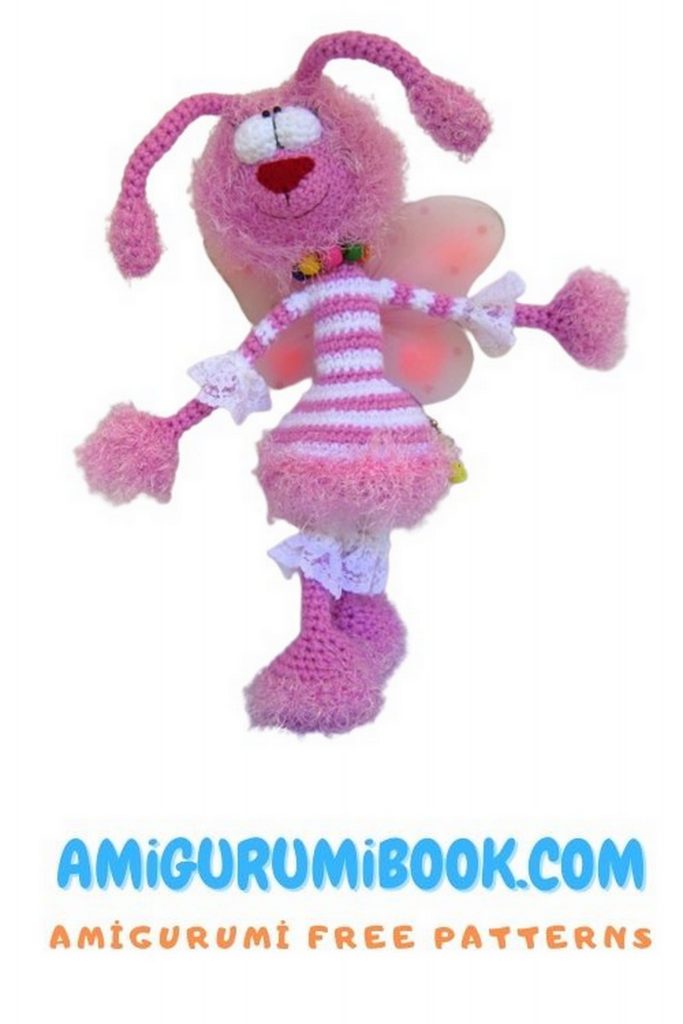
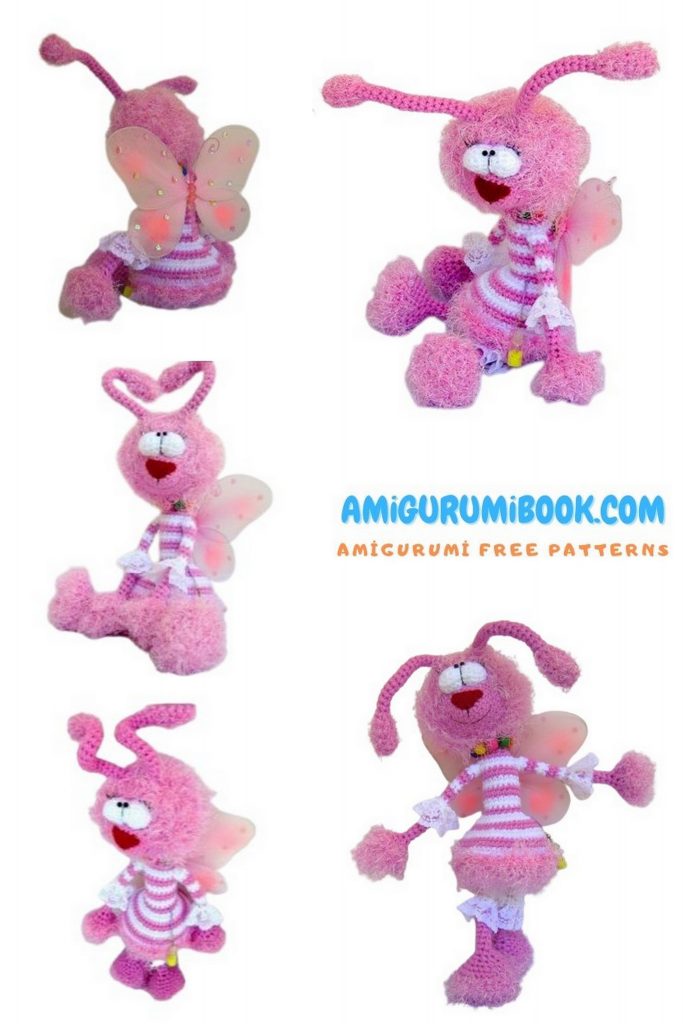
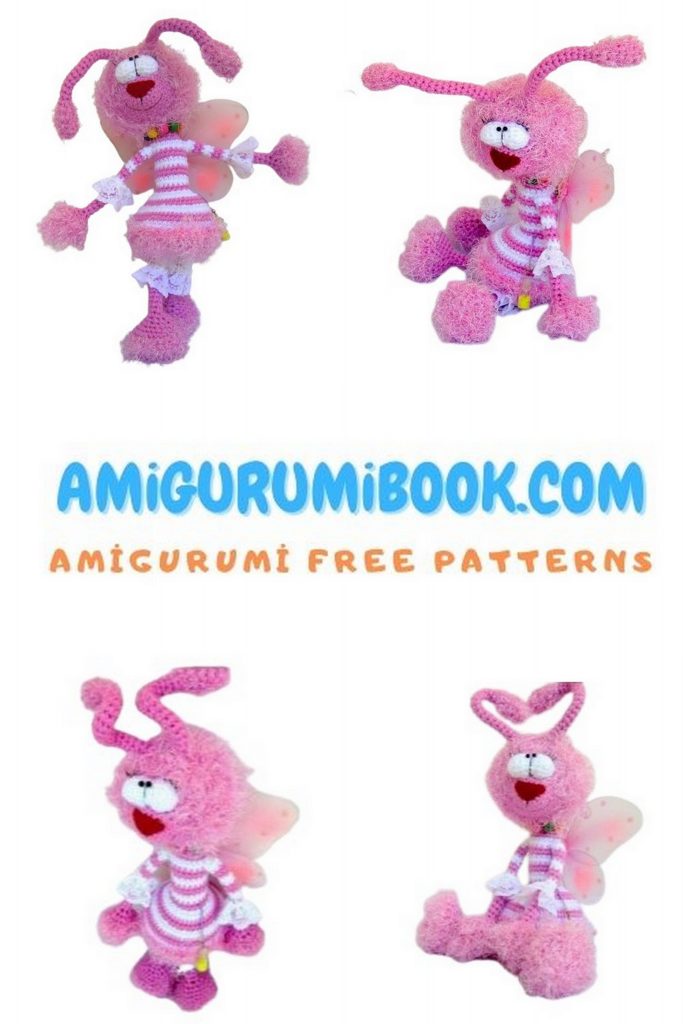
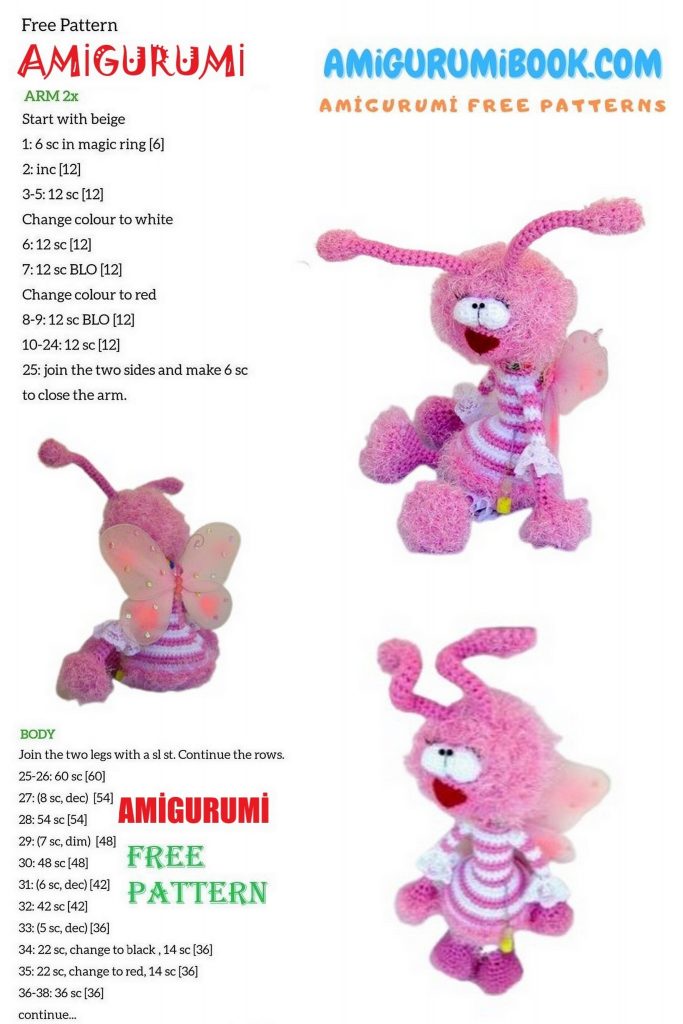
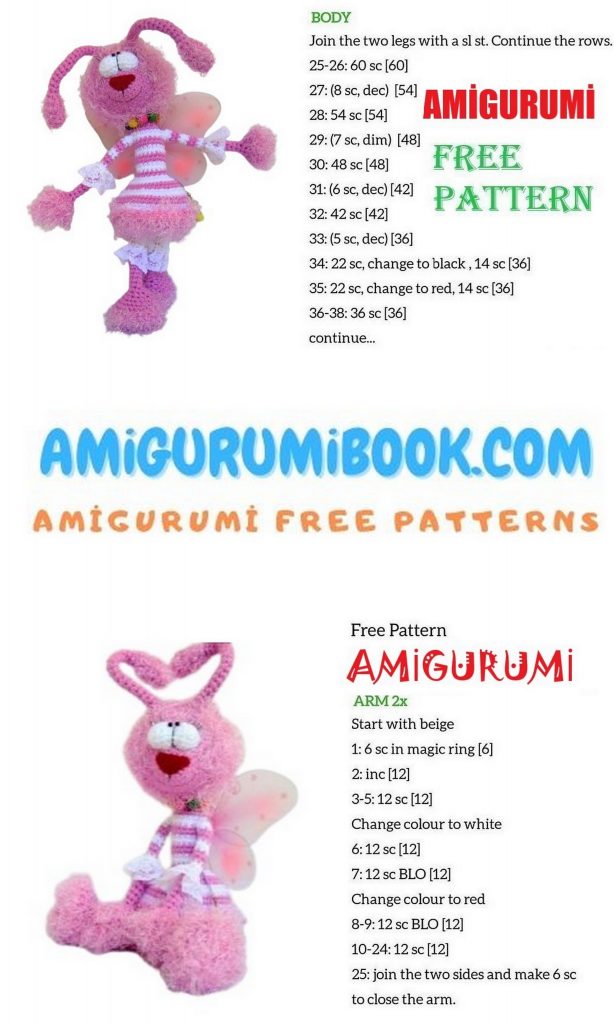
Creating a sweet fairy amigurumi is a delightful project for both beginners and experienced crocheters. This free pattern offers simple instructions to craft an adorable fairy doll that makes a perfect gift or charming decoration. free crochet patterns
You may also like more amigurumi patterns.
Stay tuned to reach special amigurumi patterns only for us. You will love the wonderful amigurumi sweet fairy pattern.
Materials:
Acrylic yarn (100 g / 250 m) Pink , white
Additional thin and fluffy yarn, white yarn
Hooks, 3 mm and 4 mm
Stuffing; ready-made wings; colorful wooden beads; elastic thread (for the beads); small piece of felt for the nose; wire; pin back; white lace (approx. 80cm).
ABBREVIATIONS
ch= chain
MR= magic ring
Rnd= Round
sc= single crochet
Sl-st= slip stitch
inc= increase
dec= decrease
BLO= back loop only
FLO= front loop only
DC= double crochet
HDC= half double crochet
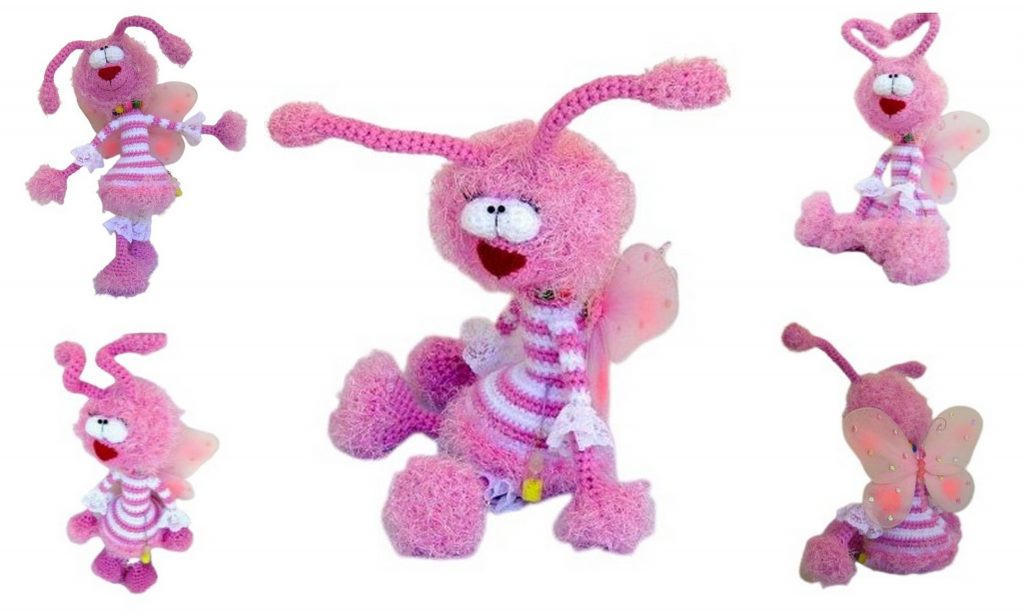
Head:
With pink yarn and 3 mm hook, ch 4, join to form a ring. 6 sc into the ring.
Row1: (2 sc in each sc) around – 12 sc
Row2: (sc in next sc, 2 sc in next sc) around – 18 sc
Row3: sc around – 18 sc
Row4: (sc in next 2 sc, 2 sc in next sc) around – 24 sc
Row5: sc around – 24 sc
Row6: (sc in next 3 sc, 2 sc in next sc) around – 30 sc
Row7-8: sc around – 30 sc
Add pink fluffy yarn to the main one, change the hook into 4 mm hook and continue with two types of yarn blended together:
Row9: (sc in next 4 sc, 2 sc in next sc) around – 36 sc
Row10: (sc in next 5 sc, 2 sc in next sc) around – 42 sc
Row11-13: sc around – 42 sc
Row14: (5 sc, 2 sc together) around – 36 sc
Row15: (4 sc, 2 sc together) around – 30 sc
Row16: (3 sc, 2 sc together) around – 24 sc
Row17: (2 sc, 2 sc together) around – 18 sc
Row18: (1 sc, 2 sc together) around – 12 sc
Row19: (2 sc together) around – 6 sc
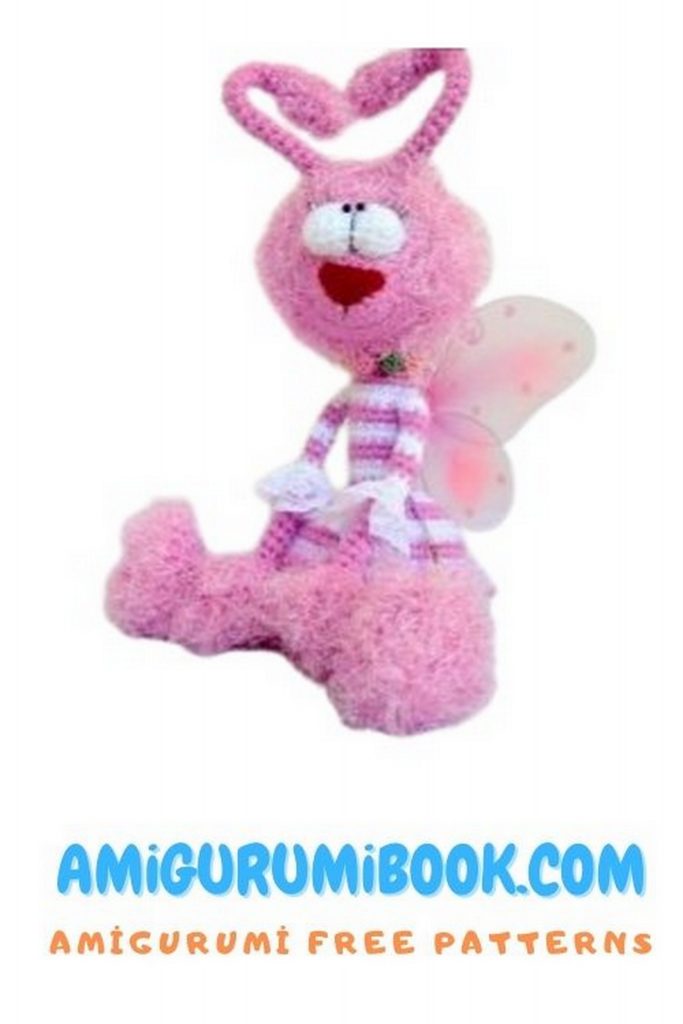
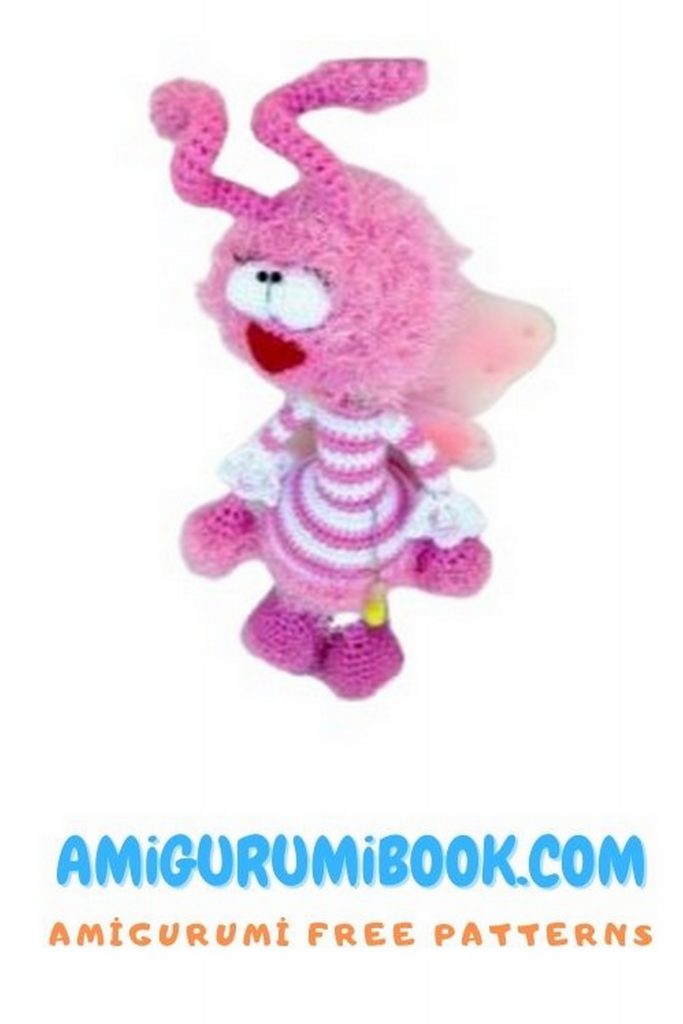
Body (dress):
Start with the neck
With pink yarn and 3 mm hook, ch 4, join to form a ring. 6 sc into the ring.
Row1: (2 sc in each sc) around – 12 sc
Row2-3: sc around – 12 sc
Row4: [2 sc, (2 sc in each sc) x 4] x 2 – 20 sc
Change yarn into white and alternate it with pink every two rows
Row5-16: sc around – 20 sc
Row17: (2 sc in each sc) around – 40 sc
Row18-20: sc around – 40 sc
Row21: (sc in next sc, 2 sc in next sc) around – 60 sc
Row22-26: sc around – 40 sc
Lower part of the dress:
With white yarn and 3 mm hook, ch 4, join to form a ring. 6 sc into the ring.
Row1: (2 sc in each sc) around – 12 sc
Row2: (sc in next sc, 2 sc in next sc) around – 18 sc
Row3: (sc in next 2 sc, 2 sc in next sc) around – 24 sc
Row4: (sc in next 3 sc, 2 sc in next sc) around – 30 sc
Change white yarn into pink/fluffy blend of two yarns and continue with 4 mm hook:
Row5: (sc in next 4 sc, 2 sc in next sc) around – 36 sc
Row6: (sc in next 5 sc, 2 sc in next sc) around – 42 sc
Row7: (sc in next 6 sc, 2 sc in next sc) around – 48 sc
Row8: (sc in next 7 sc, 2 sc in next sc) around – 54 sc
Legs:
With pink/fluffy blend of two yarns and 4 mm hook, ch 4, join to form a ring. 6 sc into the ring.
Row1: (2 sc in each sc) around – 12 sc
Row2: (2 sc in each sc) around – 24 sc
Row3-4: sc around – 24 sc
Continue working with 3 mm hook and basic pink yarn only:
Row5: (2 sc, 2 sc together) around – 18 sc
Row6: (1 sc, 2 sc together) around – 12 sc
Row7: (2 sc together) around – 6 sc
Row8-15: sc around – 6 sc
Change pink yarn into white
Row16-20: sc around – 6 sc
Break the yarn leaving a long end for the assembling
Insert a wire into the legs, folding its end a bit (1-2 cm) beforehand. See the pictures below.
Having inserted the wire into the first leg and then to the lower part of the dress, bend it and pull through the dress again in the point where the second leg will be placed. Fold it a bit again at the end (1-2 cm) and insert into the second leg. If you have a hard time inserting the wire into the tight leg, you can pull it with the hook (see the picks).
Put the dress skirt and the lower skirt together and, with a fluffy yarn, work a row of sc along the edge. Stuff firmly.
Arms:
With pink/fluffy blend of two yarns and 4 mm hook, ch 4, join to form a ring. 6 sc into the ring.
Row1: (2 sc in each sc) around – 12 sc
Row2: [2 sc, (2 sc in each sc) x 4] x 2 – 20 sc
Row3: sc around – 20 sc
Continue working with 3 mm hook and basic pink yarn only:
Row4: sc around – 20 sc
Row5: (2 sc together) around – 10 sc
Row5: (2 sc together) x 4 – 6 sc
Row7-13: sc around – 6 sc
Change yarn into white and alternate it with pink every two rows
Row14-24: sc around – 6 sc
Break the yarn leaving a long end. With the help of a needle pull the wire through the body, fold the ends of the wire like you did with the legs, and put the arm on each end.
Secure the arms in place with stitches. (See the pictures below)
Horns:
With pink/fluffy blend of two yarns and 4 mm hook, ch 4, join to form a ring. 6 sc into the ring.
Row1: 2 sc in the 1st and 4th sc – 8 sc
Row3-4: sc around – 8 sc
Row5: work 1st and 2nd; 4th and 5th sc together – 6 sc
Row6-23: sc around (with 3 mm hook and basic pink yarn only) – 6 sc
There is a wire in the horns, too. Pull it through the head and attach the horns in place.
Eyes:
With thin white thread and 1 mm hook, ch 8 + 1 (turning ch)
Row1: 3 sc in the second ch from hook, 6 sc, 3 sc in next sc, turn to the other side of ch, 6 sc – 18 sc
Row2: (2 sc in next 3 sc, 6 sc) around – 24 sc
Row3: sc around – 24 sc
Attach this detail to the place on the head where her hear ends and the face begins.
Next attach the eyelashes (1 piece cut into two) and divide the eyes with a black thread.
Attach black beads as pupils. Attach a piece of felt as a nose.
Attach the head to the body. I recommend inserting a piece of thick wire into the neck, so it will be firm and the head won’t wiggle.
Decorate the toy.
Make ruches on her sleeves and pants.
Make a necklace for your fairy and put it around her neck. Attach a pin back to the wings (I used a ready-made butterfly) and attach them to fairy’s back
