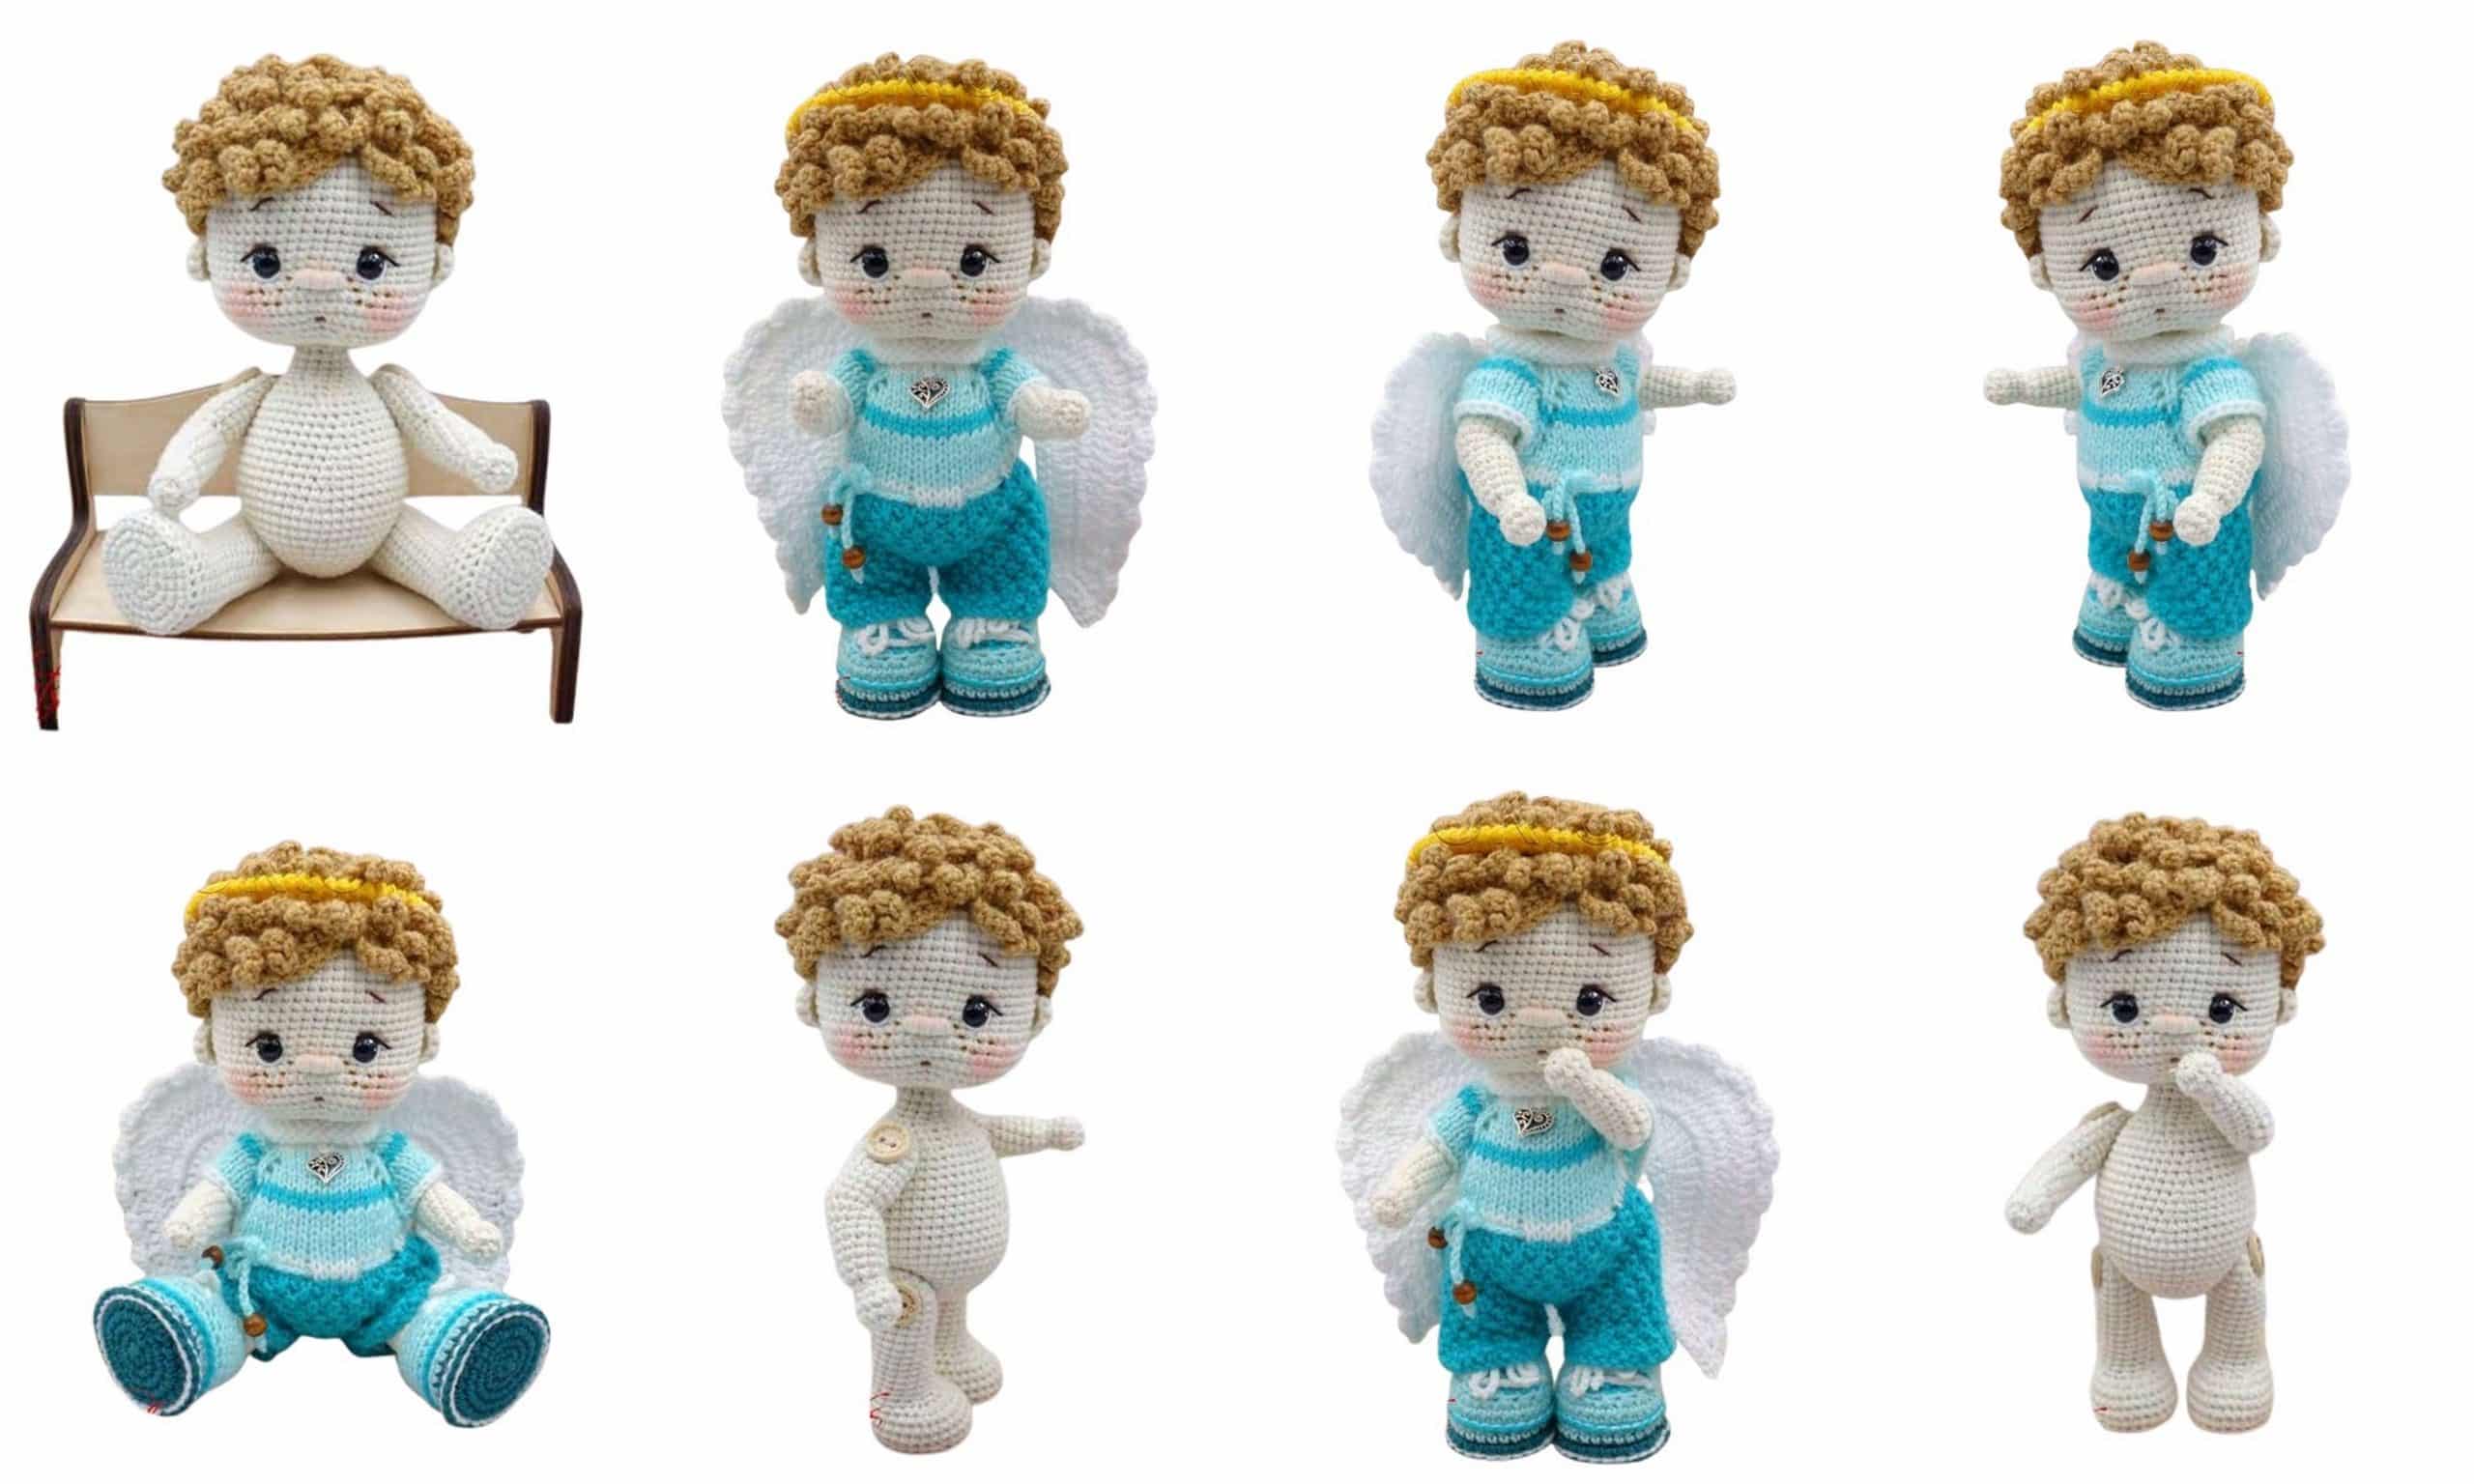
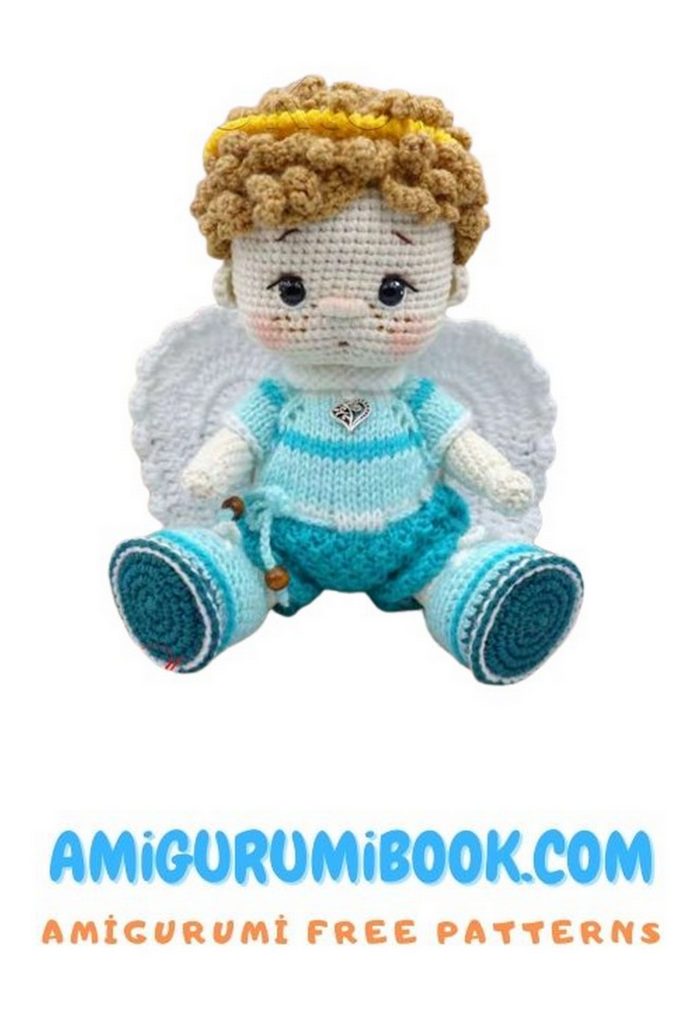
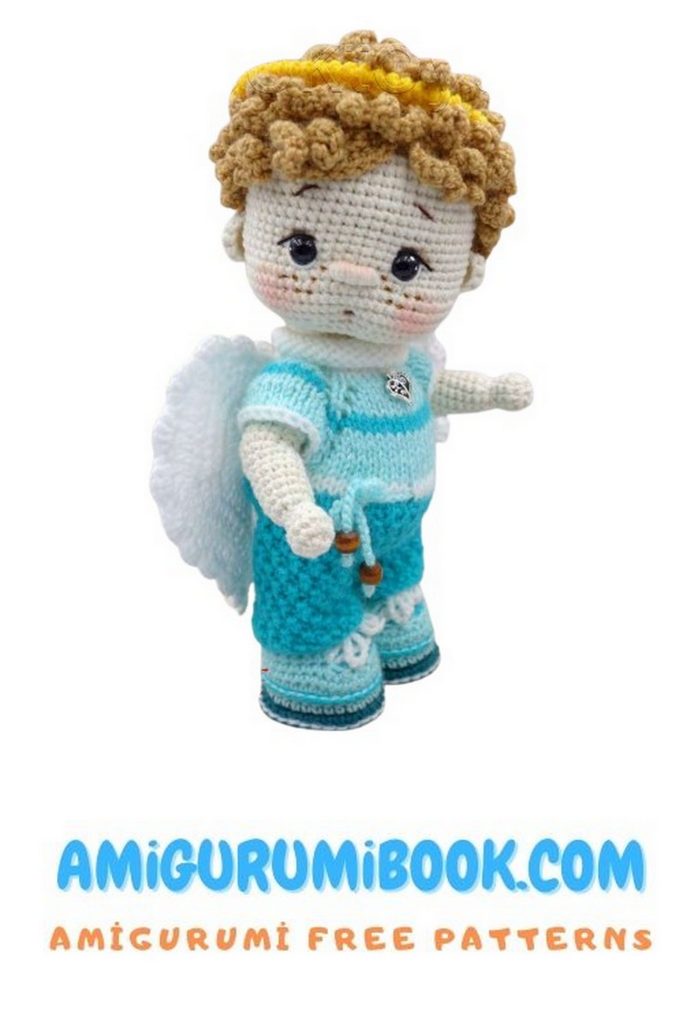
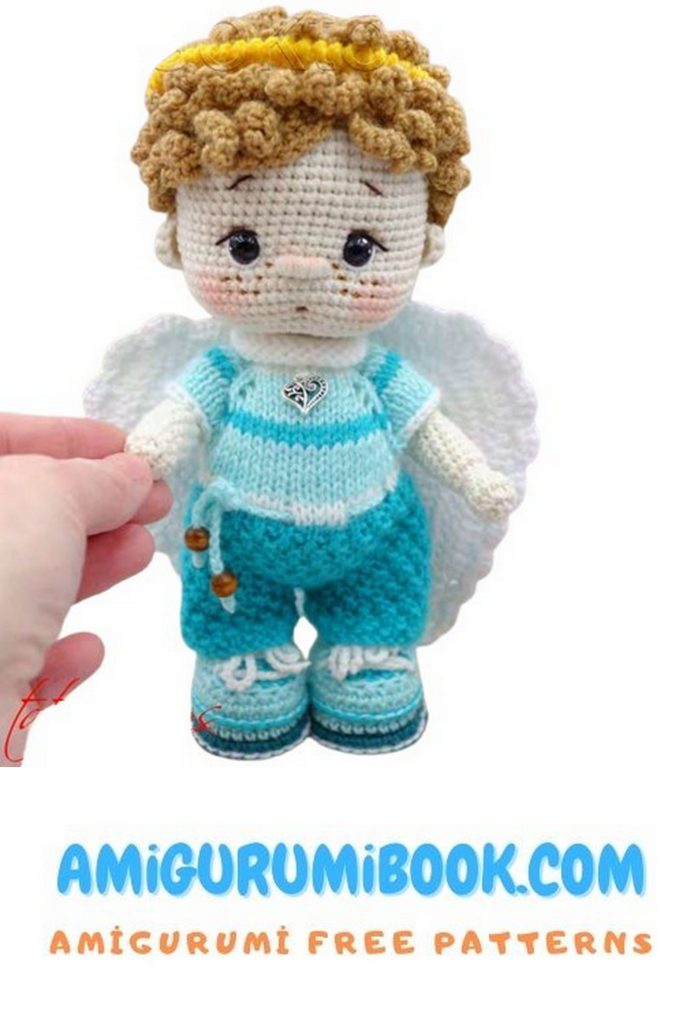
Looking to crochet a sweet and heavenly amigurumi angel? You’ve come to the right place! This amigurumi angel free pattern is perfect for both beginners and experienced crocheters who want to create a soft, handmade keepsake. With delicate wings, tiny booties, and a glowing halo, this little angel is full of charm and character. Whether you’re making a thoughtful gift or decorating for the holidays, this amigurumi angel will bring warmth and magic to your crochet collection.
If you want to access 1000+ , free amigurumi patterns you can download our application from this link!
Abbreviations (US Terms):
MR – Magic Ring
st – Stitch
ch – Chain
sc – Single Crochet
inc – Increase (2 sc in the same stitch)
dec – Decrease (sc 2 together)
sl st – Slip Stitch
dc – Double Crochet
tr – Treble Crochet (Double Treble = tr with 2 yarn overs)
hdc – Half Double Crochet
k – Knit stitch
p – Purl stitch
yo – Yarn Over
k2tog – Knit 2 stitches together
*(…)x – Repeat the instructions in parentheses x times
Materials Needed: Amigurumi Angel
Note: I indicate the yarn weight; if not listed, you can search by name.
If substituting yarn, choose one with a similar weight and adjust your hook and needles accordingly.
Using different materials will affect the size of the toy and clothing.
YarnArt Jeans color 03 (for the body) – 160m/50g, crochet hook 1.9 mm
“Pchyolka” (Troitskaya), children’s series in sandy color (for the wig) – 500m/100g
Pekhorka “Children’s New”:
1:Color 01 – White
2:Color 73 – Iceberg
3:Color 581 – Light Emerald
(for jumpsuit and boots) – 200m/50g
YarnArt Jeans color 62 (for the wings) – 160m/50g
YarnArt Jeans color 63 – Dark Turquoise (for soles) – 160m/50g
Karamelka Baby Series color 104 – Yellow (for halo)
Black/Brown Iris thread for embroidering mouth and eyebrows
7 mm safety eyes
Soft pastels/blush/eyeshadow for shading
4 small buttons (1.5 mm) for attaching arms and legs
2 buttons for the jumpsuit
2 beads for drawstring decoration
Crochet hooks 1.9 mm and 1.5 mm
Knitting needles size 2
Stuffing
Thick plastic or cardboard (for boot/shoe insoles)
Yarn needle for sewing pieces together
2 small snap buttons (for wing attachment)
All pieces are worked in a spiral unless otherwise stated.
I use the “X” (cross stitch) method for crocheting. Please keep this in mind, as using the “V” (classic) method can result in a slightly larger toy.
For clothing or other crochet elements, I will indicate which stitch style to use.
Finished height using the listed materials: 18–18.5 cm
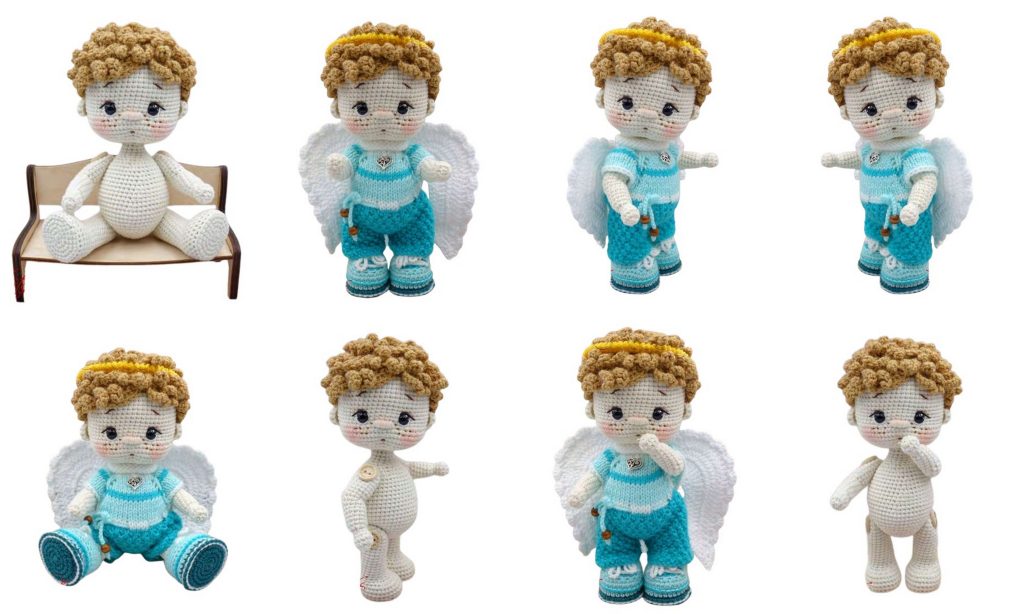
Body – Amigurumi Angel
Yarn: YarnArt Jeans color 03
Hook: 1.9 mm
1: 6 sc in MR (6)
2: inc x6 (12)
3: (1 sc, inc) x6 (18)
4: 1 sc, inc, (2 sc, inc) x5, 1 sc (24)
5: (3 sc, inc) x6 (30)
6: 2 sc, inc, (4 sc, inc) x5, 2 sc (36)
7: (5 sc, inc) x6 (42)
8: 42 sc (42)
9: 3 sc, inc, (6 sc, inc) x5, 3 sc (48)
10: (7 sc, inc) x6 (54)
11-13: 54 sc (54)
14: (16 sc, dec) x3 (51)
15: 51 sc (51)
16: (15 sc, dec) x3 (48)
17: 48 sc (48)
18: (14 sc, dec) x3 (45)
19: 45 sc (45)
20: (13 sc, dec) x3 (42)
21: 42 sc (42)
22: (12 sc, dec) x3 (39)
23: 39 sc (39)
24: 1 sc, dec, 4 sc, dec, (5 sc, dec) x2, 4 sc, dec, 10 sc (34)
25: (2 sc, dec) x7, 6 sc (27)
Add stuffing. Continue stuffing as you go.
26: (2 sc, dec) x5, 5 sc, dec (21)
27: (1 sc, dec) x2, 3 sc, (dec, 1 sc) x4 (15)
28-30: 15 sc (15)
31: (1 sc, dec) x5 (10)
32-36: 10 sc (10)
Cut a 9 cm piece of wire, bend both ends, and wrap it with electrical tape.
Add stuffing to the neck, insert the wire, and place a bit more stuffing around it.
37: dec x5 (5)
Fasten off and close the hole.
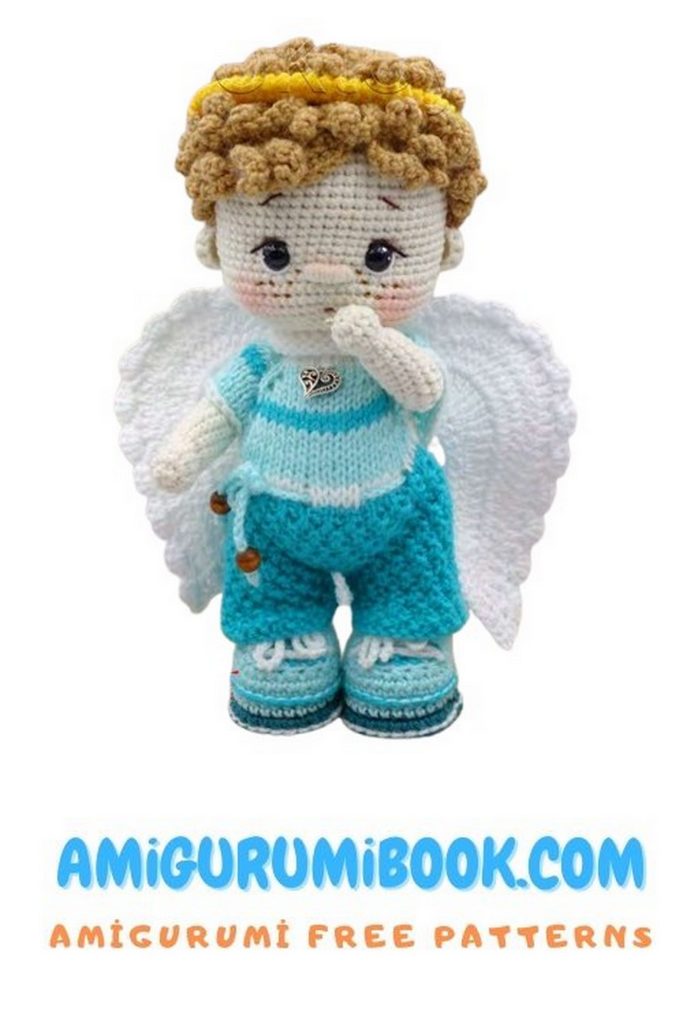
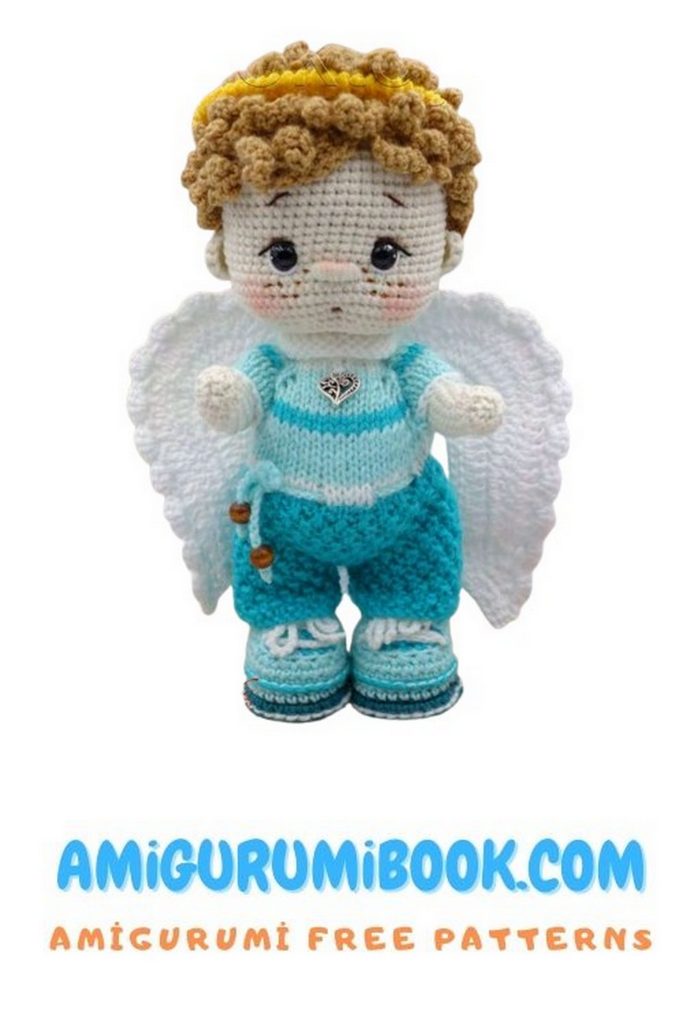
Head – Amigurumi Angel
1: 6 sc in MR (6)
2: inc x6 (12)
3: (1 sc, inc) x6 (18)
4: 1 sc, inc, (2 sc, inc) x5, 1 sc (24)
5: (3 sc, inc) x6 (30)
6: 2 sc, inc, (4 sc, inc) x5, 2 sc (36)
7: (5 sc, inc) x6 (42)
8: 3 sc, inc, (6 sc, inc) x5, 3 sc (48)
9: (7 sc, inc) x6 (54)
10: 4 sc, inc, (8 sc, inc) x5, 4 sc (60)
11-21: 60 sc (60)
22: 19 sc, (inc, 1 sc) x4, 7 sc, (1 sc, inc) x4, 18 sc (68)
23-25: 68 sc (68)
26: (5 sc, dec) x9, 5 sc (59)
27: 2 sc, dec, (4 sc, dec) x9, 1 sc (49)
28: 2 sc, dec, (6 sc, dec) x5, 5 sc (43)
29: (5 sc, dec) x6, 1 sc (37)
Add stuffing.
30: 2 sc, dec, (4 sc, dec) x5, 3 sc (31)
31: (3 sc, dec) x6, 1 sc (25)
32: (2 sc, dec) x6, 1 sc (19)
Stuff the head (stuff cheeks—Row 22—more firmly).
33: (3 sc, dec) x3, 2 sc, dec (15)
34: 15 sc in BLO (15)
35-39: 15 sc (15)
Fasten off. Do not stuff the part after Row 34. Push this section inside the head (a chopstick can help).
Rows 24-27 are the front (belly); mark it with a pin for reference.
Neck Attachment:
Take a strong thread (not necessarily the same color) and a long needle (I used cotton yarn doubled).
Insert the needle into the magic ring at the base of the body and bring it out at the lower neck hole.
Insert it into the neck peg’s top and bring it out again next to the starting point, 1 sc apart.
Don’t tighten yet.
Repeat the same steps again, but this time pierce through a row above the neck decrease line.
Now pull gently on the threads at the crown and tie knots. Cut the ends (they’ll be hidden under the wig).
Eye Indentations:
Use the same yarn used for crocheting (the tension isn’t strong).
In Row 22, where the cheeks were increased, mark the center between them with a pin.
Count 19 rows down from the MR. Place 2 pins 9 sc apart for the eyes.
On Row 32 (under the head), place 2 pins 1 sc apart.
Insert the needle at the first eye point and bring it out at the right pin. Skip 1 sc to the right, reinsert into the second bottom pin.
Repeat for the left side. Gently pull, tie two knots, and hide the threads in the head.
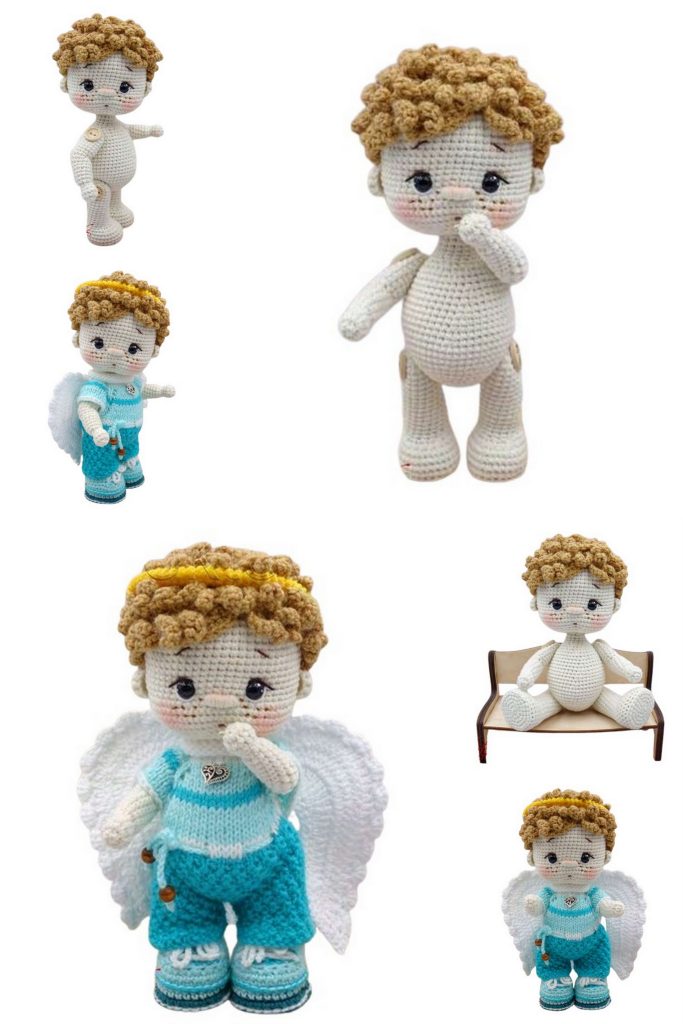
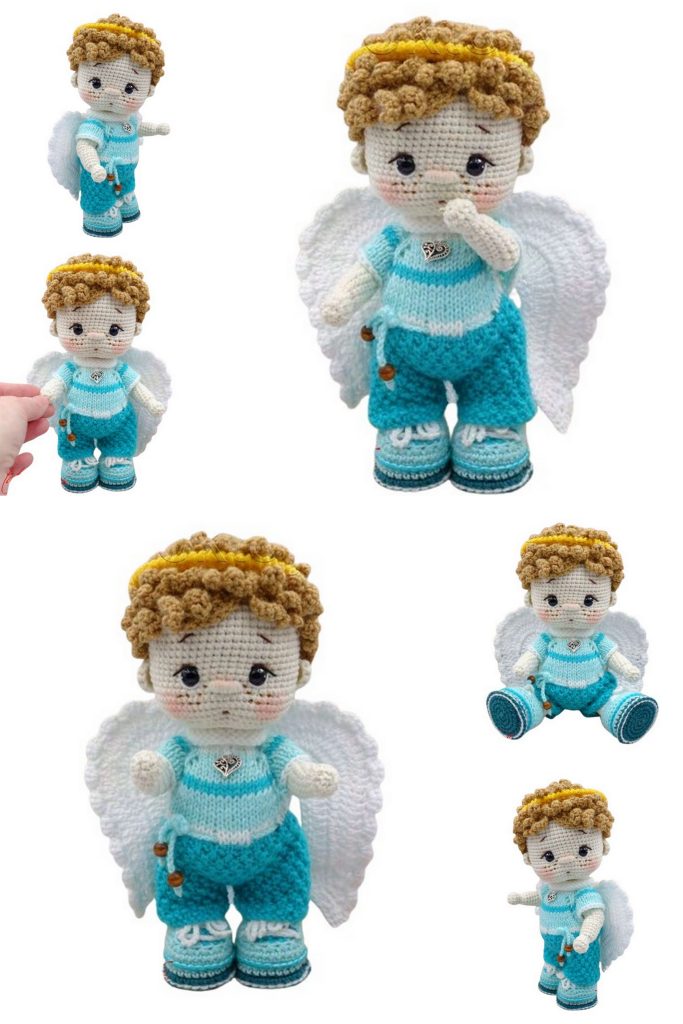
Eyes and Embroidery: -Amigurumi Angel
Insert safety eyes (7 mm) where the top pins were. Fix with a dab of glue.
Use the back of your hook to create a hole before inserting the eyes.
Embroider eye whites using white yarn, halfway across the bottom of each eye.
Embroider lashes with Iris thread.
For the nose: use body yarn doubled. Make 3 stitches on the eye level (3 sc wide), then wrap yarn around to shape it.
Eyebrows:
Cut short lengths of Iris thread and pin them where you like. My spacing: 8 sc apart, 4 rows above the eyes. Stitch the eyebrows.
Mouth Indentation:
Go 3 rows below the nose, place 2 pins 1 sc apart.
Insert yarn from the crown and exit at the first pin. Go through to the second pin and exit back at the top, 1 sc from the entry point.
Pull gently, knot twice, and hide threads. Embroider a small smile (1 stitch) over the indent.
Ears (Make 2) – Amigurumi Angel
1: 6 sc in MR (6)
Tighten the ring, but do not join.
Make 1 ch, turn.
2: 6 sc (6)
Leave a long tail for sewing, fasten off.
Sew the ears at eye level, 8 sc apart from each other (indicated by arrows). The ear height is 4 rows.
Legs (Make 2) – Amigurumi Angel
Yarn: YarnArt Jeans color 03
Hook: 1.9 mm
1: 6 sc in MR (6)
2: inc x6 (12)
3: (3 inc, 3 sc) x2 (18)
4: ((1 sc, inc) x3, 3 sc) x2 (24)
5: ((2 sc, inc) x3, 3 sc) x2 (30)
Cut out an insole from plastic according to the sole size. I use an ice cream lid. To prevent slipping and ensure better adhesion, lightly sand the plastic with sandpaper before gluing.
6: BLO 30 sc (30)
7-9: 30 sc in both loops (30)
Apply glue (e.g., Moment Crystal) to one side of the insole, insert into the foot, wait for it to adhere, then continue crocheting.
10: 2 sc, 6 dec, 16 sc (24)
11: 5 dec, 12 sc, 1 dec (18)
Add stuffing and continue stuffing as you go.
12-26: 18 sc (18)
27: (1 sc, dec) x6 (12)
28: dec x6 (6), finish with a sl st
Do not overstuff the upper 3–4 rows of the leg.
Pull the opening closed. Secure the yarn, cut, and hide the tail.
Make the second leg the same way.
Arms (Make 2) – Amigurumi Angel
1: 5 sc in MR (5)
2: inc x5 (10)
3: (1 sc, inc) x5 (15)
4-9: 15 sc (15)
10: dec, sl st, dec, 3 sc, hdc, dec using hdc, hdc, 3 sc (12)
11-12: 3 sl st, 3 sc, 3 hdc, 3 sc (12)
13-18: 12 sc (12)
Stuff lightly so the arm doesn’t stick out.
19: 6 dec (6)
20: inc x6 (12)
21-22: 12 sc (12)
23: 6 dec (6)
Put a little stuffing in the fist, pull the hole closed, and hide the yarn tail.
Sewing on Legs and Arms (Button Jointing)
Attach the legs and arms using button jointing. Use 1.5 mm buttons.
Sew with strong thread—I use cotton yarn or multifiber yarn. You can also use any strong yarn in a color similar to the body.
Find the center of the body. The rows where we did decreases (24–27) are the front (belly)—use this as a reference.
From the magic ring on the body, count down 8 rows.
From the MR on the legs, count down 4 rows.
(Refer to the photo in the original pattern for placement.)
A diagram of the button jointing method is also provided in the source.
Finishing Touches
Lightly shade the brows and upper eyelids with brown eyeshadow.
Blush the cheeks with dry pastel or powder blush.
Embroider freckles using brown Iris thread.
Now we have a little bald cutie 😊
Let’s make him handsome—time for the wig!
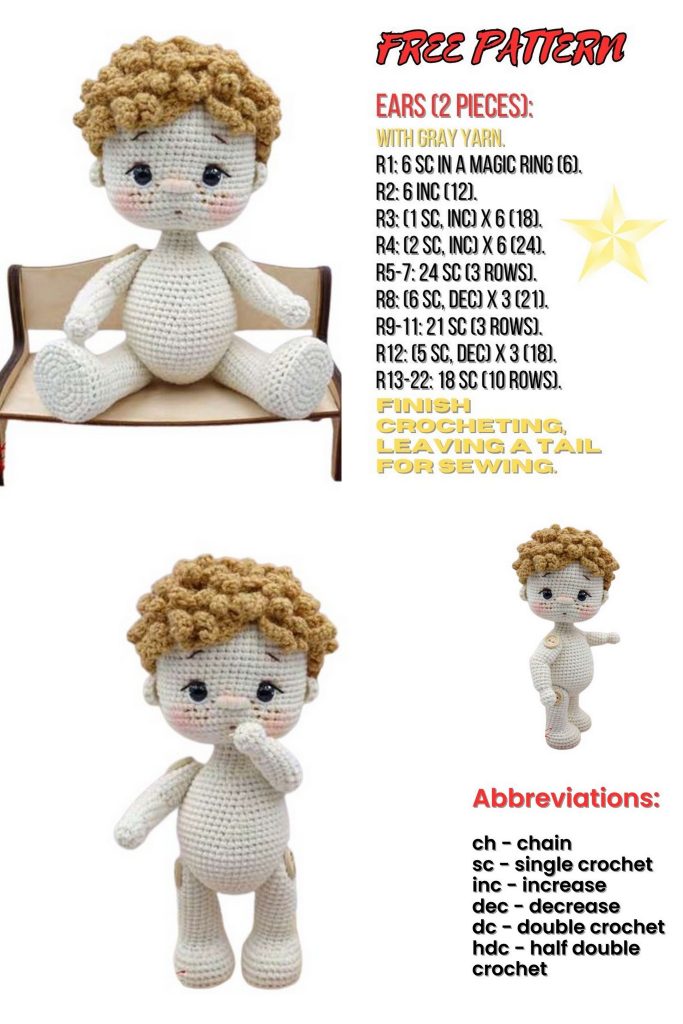
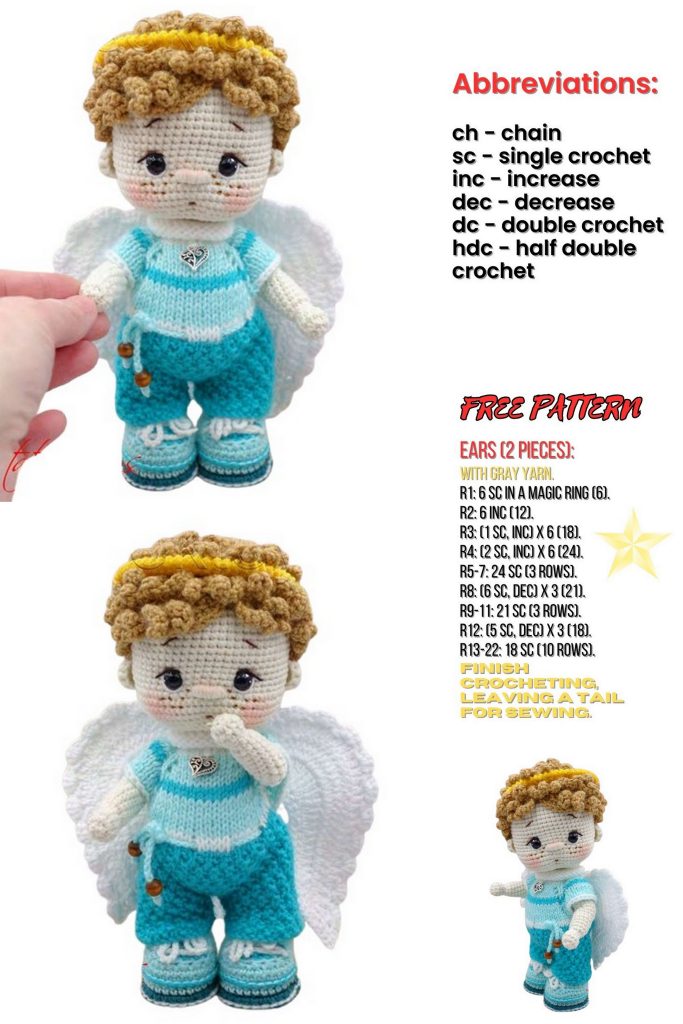
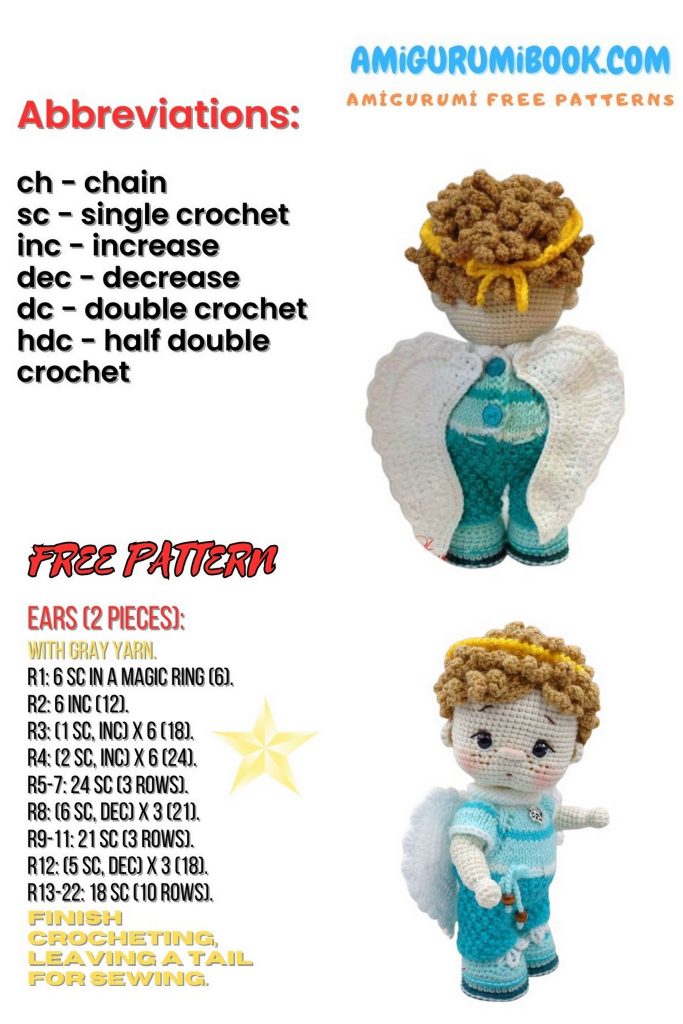
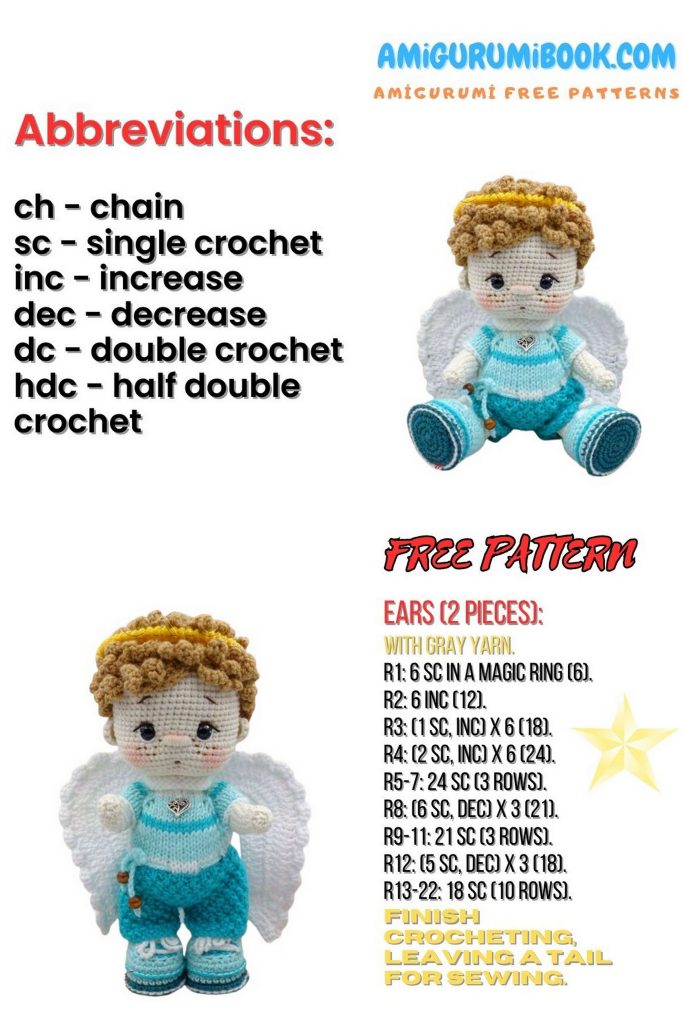
Wig (Hair Cap) -Amigurumi Angel
Crochet Method: “V-stitch” strands
Yarn: “Pchyolka” (Troitskaya) Baby Series, color: sand
Hook: 1.9 mm
1: 8 sc in MR (8)
Next rows are worked in BLO
2: inc x8 (16)
3: (1 sc, inc) x8 (24), ch 2
4: (3 hdc, inc) x6 (30), sl st, ch 2
5: (4 hdc, inc) x6 (36), sl st, ch 2
6: (5 hdc, inc) x6 (42), sl st, ch 2
7: 42 hdc (42), sl st
Now make hair strands:
8: (ch 9, starting from 2nd ch from hook, 8 sc, 2 sl st across base) x21
Move to the next row using sl sts, and repeat the same process for the unused front loops from earlier rows, creating strands.
Continue this technique for the remaining rows until you reach the top of the head.
Leave a long tail for sewing, fasten off, and bring the tail to the wrong side.
This forms the hair cap.
Sewing the Wig
Attach the wig to the head. Position it 5 rows up from the eyebrows and secure with pins.
Sew around the outer edge first, then sew along the rows toward the crown.
The Baby is Ready — Time to Dress!
Jumpsuit -Amigurumi Angel
Yarn: Pekhorka Children’s New color 01 (white)
Needles: size 2
Cast on 30 stitches (28 + 2 edge stitches).
I cast on using a single needle, so the edge turns out neater and denser.
The first and last two stitches form the button band — in all rows, knit these stitches.
Do not count the edge stitches when knitting. Slip the first stitch, purl the last.
Rows 1–10: Stockinette stitch
Join yarn Pekhorka Children’s New, color 73 – Iceberg.
11.Row : K26, YO, K2tog (buttonhole)
12.Row : K2, P24, K2
13.Row : K2, K2, YO, K1, YO, K4, YO, K1, YO, K8, YO, K1, YO, K4, YO, K1, YO, K2, K2 (36 sts)
14.Row : K2, P32, K2
15.Row : K2, K3, YO, K1, YO, K6, YO, K1, YO, K10, YO, K1, YO, K6, YO, K1, YO, K3, K2 (44 sts)
16.Row : K2, P40, K2
Join yarn Pekhorka Children’s New color 581 – Light Emerald.
17.Row : K2, K4, YO, K1, YO, K8, YO, K1, YO, K12, YO, K1, YO, K8, YO, K1, YO, K4, K2 (52 sts)
18.Row : K2, P48, K2
Switch to Pekhorka Children’s New color 73 – Iceberg.
19.Row : K2, K5, YO, K1, YO, K10, YO, K1, YO, K14, YO, K1, YO, K10, YO, K1, YO, K5, K2 (60 sts)
20.Row : K2, P56, K2
21.Row : K2, K6, YO, K1, YO, K12, YO, K1, YO, K16, YO, K1, YO, K12, YO, K1, YO, K6, K2 (68 sts)
22.Row : K2, P64, K2
23.Row : K2, K7, YO, K1, YO, K14, YO, K1, YO, K18, YO, K1, YO, K14, YO, K1, YO, K7, YO, K2tog (buttonhole) (76 sts)
24.Row : K2, P72, K2
Join yarn Pekhorka Children’s New color 01 – White.
25.Row : K2, K9, bind off 16 stitches (sleeve), 1 st remains on right needle, K20, bind off 16 sts (sleeve), 1 st remains on right needle, K9, K2 (44 sts)
26.Row : K2, P10, cast on 2 sts using twisted yarn over, P21, cast on 2 sts using twisted yarn over, P9, K2
Join Pekhorka Children’s New color 581 – Light Emerald.
27.Row : Bind off 3 sts (for fastener), then (K4, YO) x10, K3, K2
28.Row : P55
29–41.Row: Work in 1×1 ribbing as follows:
Odd rows (29, 31, 33, 35, 37, 39, 41): (K1, P1) x27, K1
Even rows (30, 32, 34, 36, 38, 40, 42): (P1, K1) x27, P1
Now knit the pant legs:
Start with the first leg, place the rest of the stitches on a spare needle.
Row 43: (P1, K1) x13, P1, turn
— 28 sts on the needle (26 + 2 edge sts)
Rows 44–49: Work in 1×1 ribbing as established for 6 more rows
Bind off all stitches, leave a yarn tail for sewing, cut the yarn.
Join yarn to knit the second pant leg.
— 29 sts on the needle (27 + 2 edge sts)
Rows 1–7: Work in 1×1 ribbing as follows:
Odd rows: (K1, P1) x13, K1
Even rows: (P1, K1) x13, P1
Bind off all stitches, secure and cut the yarn.
Sew the pant legs together from the inside (wrong side) up to the crotch. Then continue sewing on the right side using mattress stitch up to the button band. Overlap the button bands (buttonhole band on top), secure with a few stitches.
Sew on 2 small buttons.
Finishing Cord:
Using Pekhorka Children’s New color 73 – Iceberg,
chain 120, weave through the eyelets in row 27, and thread wooden beads on each end of the cord.
Booties
Yarn: YarnArt Jeans Color 63 – dark turquoise
Hook: 1.9 mm
We use the “V-stitch” method.
1: 6 sc in MR (6)
2: inc x6 (12)
3: (inc x3, 3 sc) *2 (18)
4: ((1 sc, inc) x3, 3 sc) *2 (24)
5: ((2 sc, inc) x3, 3 sc) *2 (30)
Join yarn Pekhorka Detskaya Novinka #73 – Iceberg.
6: in back loops only, 30 sc (30)
7: 30 sc (30)
8: in back loops only, 30 sc (30)
9: 30 sc (30)
10: 2 sc, dec x6, 16 sc (24)
Back of the boot
11: 2 sc, ch 1, turn
12: 18 sc, ch 1, turn
13: 18 sc, ch 1, turn
14: 18 sc
Fasten off and cut the yarn.
Tongue
Join Pekhorka Detskaya Novinka #581 – Light Emerald to the remaining loops, working in back loops only:
1: 6 sc, ch 1, turn
Next rows worked through both loops:
2: 1 sc, inc, 2 sc, inc, 1 sc, ch 1, turn
3–4: 8 sc, ch 1, turn
Fasten off and cut the yarn.
Sole (make one more)
Yarn: YarnArt Jeans Color 63 – dark turquoise
Hook: 1.9 mm
1: 6 sc in MR (6)
2: inc x6 (12)
3: (inc x3, 3 sc) *2 (18)
4: ((1 sc, inc) x3, 3 sc) *2 (24)
5: ((2 sc, inc) x3, 3 sc) *2 (30)
Cut a matching sole shape from sturdy cardboard.
Place the sole and attach both parts together using sc through remaining back loops. After 20 sc, insert the cardboard sole and finish the round.
Fasten off and cut the yarn.
Attach Pekhorka Detskaya Novinka #01 – White to the back loop ridge at the heel (hold the boot sole facing you), and crochet a round of slip stitches. Fasten off and cut the yarn.
Join Pekhorka Detskaya Novinka #73 – Iceberg to the remaining back loops in Round 8 at the heel and crochet a round of slip stitches. Fasten off and cut the yarn.
Laces
Using white yarn (hook 1.5 mm), chain 90. Thread through the bootie eyelets and tie knots at the ends.
Booties are ready.
Wings
Use either “cross” or “V-stitch” style.
Yarn: YarnArt Jeans Color 62
Hook: 1.9 mm
Work in turning rows, do not make turning chains.
1: Ch 30, starting in 2nd chain from hook: 29 sc
2: 5 sc, 3 dc dec, 9 dc, 4 inc tr, dc, 3 sc
3: 2 sc, dc, inc dc, 7 inc tr, inc dc, 9 dc, 2 dc dec, 2 sc
4: 3 sc, 24 dc, inc dc, dc, 3 sc, sl st
5: skip 1 st, 4 sc in next st, sl st, skip 1 st repeat to end
Fasten off and cut the yarn.
Make the second wing in mirror image.
Steam-block wings through a damp cloth.
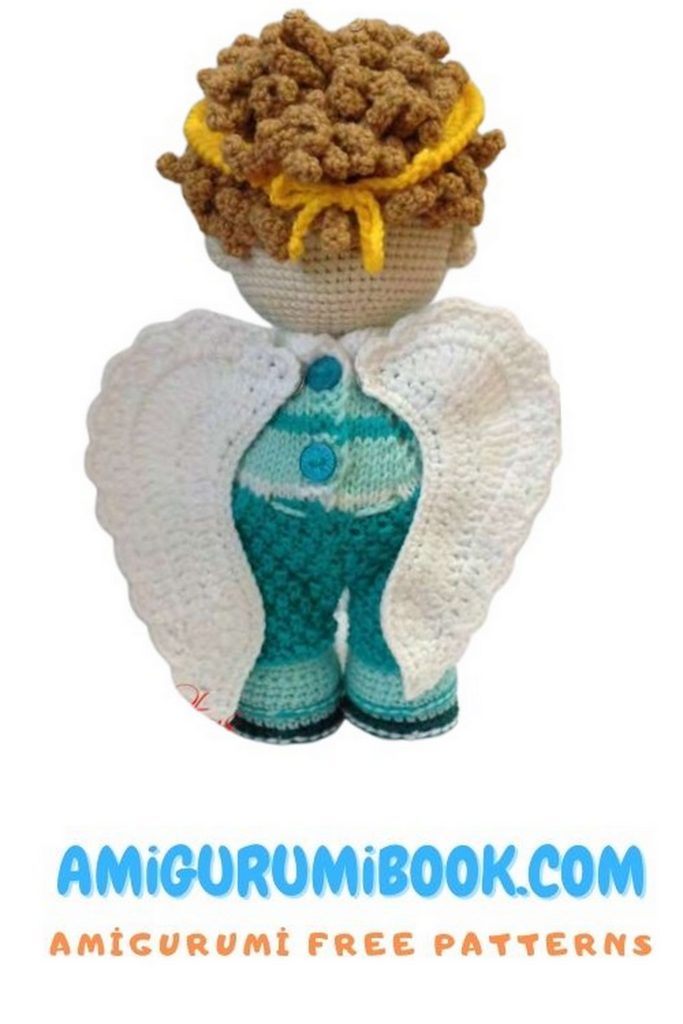
Wings will be detachable, attached with snap fasteners (see photo). Sew one half of the snap to each wing, and the other half to the back of the romper near the top button.
You can also decorate the romper with a small heart pendant.
Halo
Yarn: Karamelka Baby Series #104 – yellow
Hook: 1.9 mm
Leave a long tail (~50 cm) at the beginning for tying.
1: Ch 60, starting in 2nd ch from hook: 59 sc
2: Work in reverse sc (crab stitch)
Now ch 30, cut the yarn.
From the long tail, ch 30 on the opposite side.
Tie knots at the ends and trim.
Tie the halo on the head.
The Little Angel is complete!
