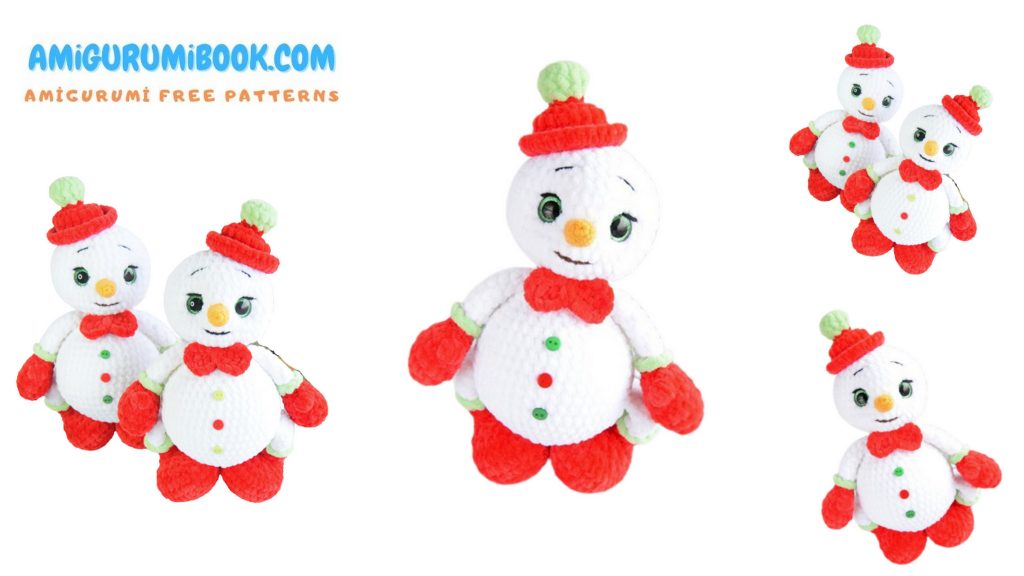
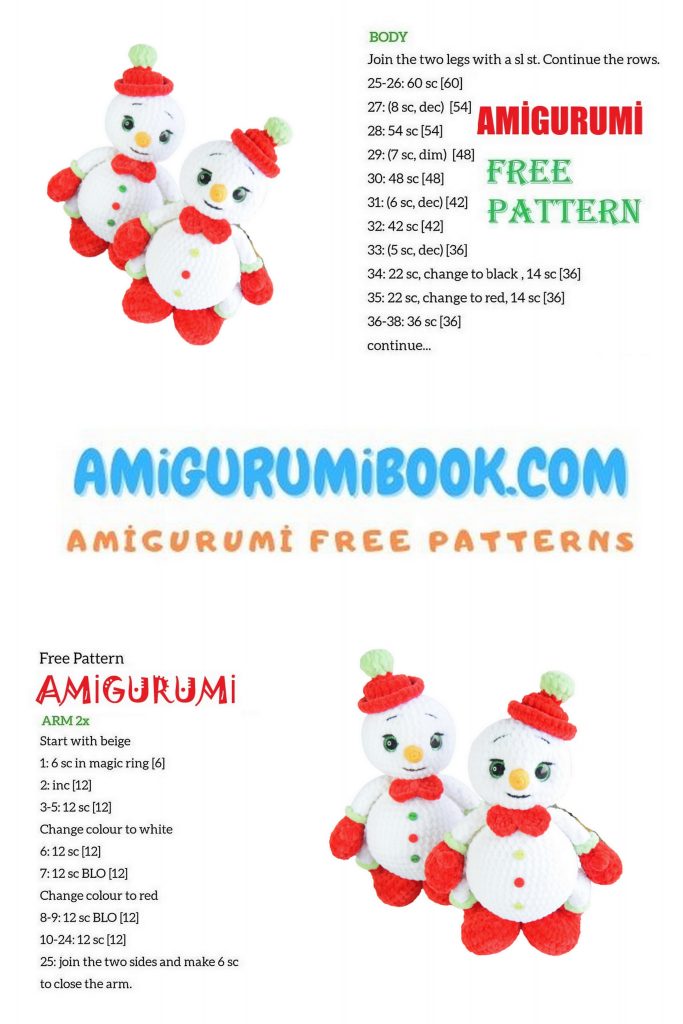
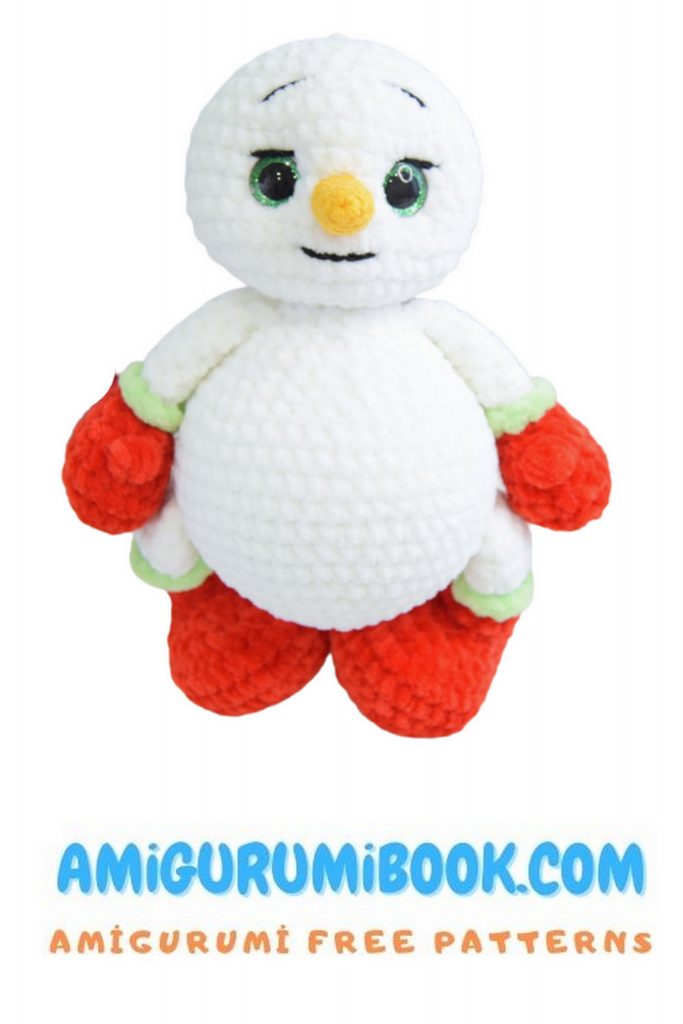
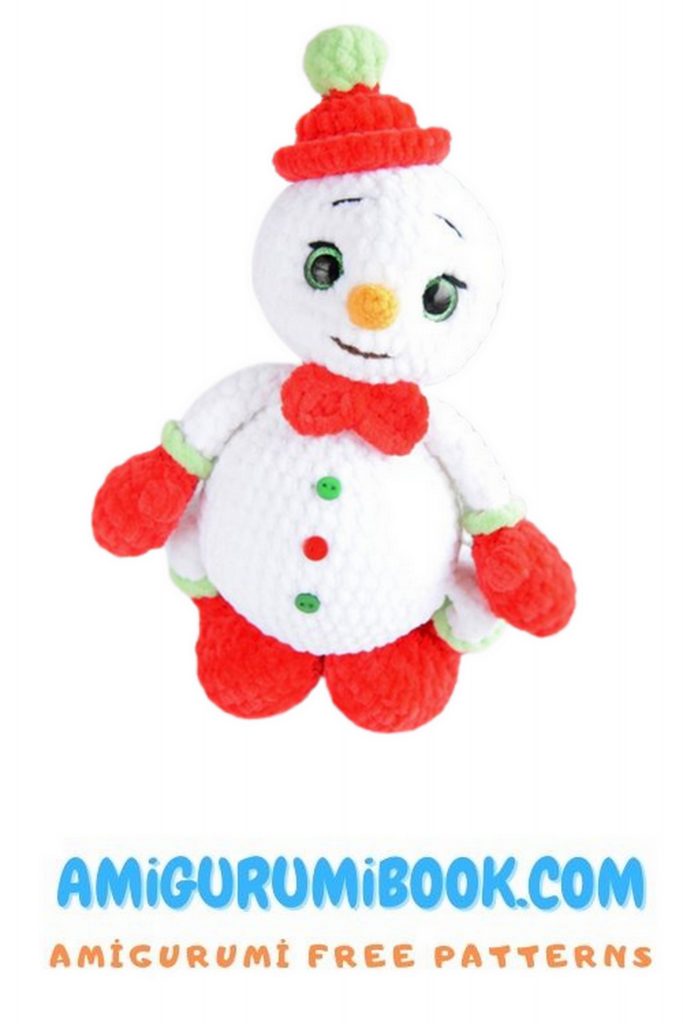
The Velvet Fat Snowman Amigurumi is a charming and cuddly handmade toy perfect for winter or holiday decor. This free pattern guides you step-by-step to create a soft, plush snowman with a delightful velvet texture. free crochet patterns – Suzana Doll Amigurumi Free Pattern
You may also like more amigurumi patterns.
Velvet fat snowman amigurumi free pattern is waiting for you in this article. You can find Amigurumi free patterns on our website.
Materials and Tools
The main hook No. 4, for knitting a nose-carrot No. 2.5.
Yarn HIMALAYA Dolphin Baby (120m/100g).
For knitting a nose-carrot
Strong thread for tightening
Filler (holofiber or sintepukh).
Trapezoid eyes on screw fastening 16 mm.
To decorate three
Scissors, long needle
LIST OF REQUIRED MATERIALS:
Main color:
White 80301 – circa 80
Additional colors:
Red 80318 – about 35;
Light green 80350 – approx 20g
YarnArt Jeans in yellow or orange.
(for example, cotton Coco Vita, Rose or Iris), a little black thread for embroidery of eyelashes, eyebrows and a smile (for example, YarnArt Jeans).
little buttons.
wide eye, pins, marker of the beginning of the row.
The height of the toy is about 25 cm
(not including hat).
Abbreviations:
ch – chain
SL-ST – slip stitch
sc – single crochet
D2C – double 2 crochet
Dc – double crochet
inc – increase (two columns in one loop)
dec – decrease (two columns knitted together)
(…)*x – what’s in brackets, repeat x times
(NUMBER) – the total number of columns in a row All parts of the toy are knitted in a spiral, without lifting loops.
!!IMPORTANT!!
In order for the legs and handles to be in place, when the beginning of the row is shifted, it is necessary to make an additional column (sc) every 3-5 rows. The marker of the beginning of the row should go in a strictly even line along the center of the back. If you see that the row is drifting to the side, sc and straighten the beginning of the row. Rearrange the marker, continue knitting. You do not need to count these columns!
PATTERN
LEGS
We knit two parts.
The marker of the beginning of the row goes in a straight line along the center of the leg at the back.
We start knitting with 2 ch or with an amigurumi ring with a thread of an additional (red) color:
1 row: 8 sc in the second loop from the hook or into magic ring (8)
2nd row: 8 inc (16)
3 row: (1 sc, inc) * 8 times (24)
4 row: 24 sc behind the back wall of the loop of the previous row (24)
5 row: 10 sc, 4 inc, 10 sc (28)
6-7 (2 rows): 28 sc (28)
8 row: 6 sc, 8 dec, 6 sc (20)
9 row: 4 sc, 6 dec, 4 sc (14)
Let’s start adding filler.
10 row: 3 sc, 4 dec, 3 sc (10)
11-12 (2 rows): 10 sc (10)
Add more filler. The foot should be tightly packed. The rest of the legs are not stuffed.
Change the color of the yarn to light green.
13 row: 10 sc (10)
Change the color of the yarn to the main one (white).
14 row: 10 sc behind the back wall of the loop of the previous row (10)
15-17 (3 rows): 10 sc (10)
We fold the part in half, we knit 5 sc for both edges of the loops. We fasten the thread and cut it off.
We take a thread of light green color. We attach and for the front wall of the loop of the 13th row along the leg we knit 10 sc.
We cut the thread, fasten and hide the tails inside the legs.
We knit the second piece in the same way.
PENS
We knit two parts.
The row start marker runs in a straight line on the side of the handle.
We start knitting with 2 ch or with an amigurumi ring with a thread of an additional (red) color:
1 row: 6 sc in the second loop from the hook or into magic ring (6)
2nd row: 6 inc (12)
3 row: (1 sc, inc) * 6 times (18)
4 row: 18 sc (18)
5 row: (1 sc, dec) * 6 times (12)
6 row: 5 sc, 1 fluffy column, 6 sc (12)
We watch a video on how to tie a magnificent column by clicking on the link:
7 row: (1 sc, dec) * 4 times (8)
We add the filler only in the palm, give it a slightly flattened shape. We do not stuff the rest of the handle.
8 row: 8 sc (8)
Change the thread color to white.
9 row: 8 sc behind the back wall of the loop of the previous row (8)
10-15 (6 rows): 8 sc (8)
Fold the part in half and knit 4 sc on both edges of the loops. We fasten the thread and cut it off.
We take a thread of light green color. We attach and for the front wall of the loop of the 8th row along the handle we knit 8 sc.
We cut the thread, fasten it and hide the tails inside the handle.
We knit the second piece in the same way.
NOSE-CARROT
Crochet No. 2.5 with YarnArt Jeans yellow/orange thread.
Row 1: 6 sc into magic ring (6)
2 row: (2 sc, inc) * 2 times (8)
3 row: 8 sc (8)
4 row: (3 sc, inc) * 2 times (10)
5 row: 10 sc (10)
6 row: (4 sc, inc) * 2 times (12)
7 row: 12 sc (12)
We make SL-ST, we fix the thread and cut it off. Leave a long tail for sewing. Add filler.
BOW
We knit with a red thread.
We retreat from the beginning of the thread about 25 cm and collect a chain of 5 ch.
In the 5th loop from the hook (we knit both halves of the bow in this loop) we knit 3 D2C, dial 4 ch and in the same loop we do
SL-ST (first half of the bow).
We knit the second half in the same way: 4 ch, 3 D2C, 4 ch, SL-ST.
Leave a long tail and cut off. We wrap the thread around the middle of the bow, make a couple of knots from the inside.
To prevent the plush yarn from fraying, set the ends on fire using a lighter.
CAP
We take light green yarn and start knitting a pompom from 2 ch or from an amigurumi ring:
1 row: 6 sc in the second loop from the hook or into magic ring (6)
2nd row: 6 inc (12)
3rd row: 12 sc (12)
4th row: 6 dec (6)
Add some filler. Change the yarn color to red.
5 row: 6 sc (6)
6 row: 6 inc (12)
7 row: (1 sc, inc) * 6 times (18)
8-9 (2 rows): 18 sc (18)
10 row: (2 sc, inc) * 6 times (24)
11 row: 24 sc (24)
12 row: (3 sc, inc) * 6 times (30)
We do SL-ST. We fasten the thread and cut it off.
We bend the last row.
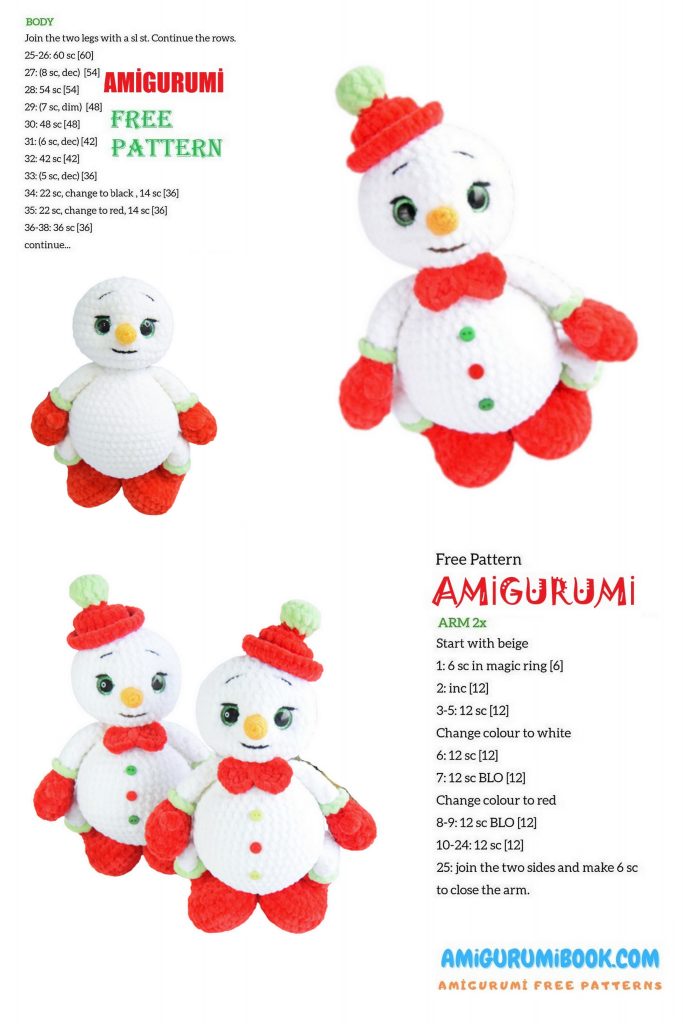
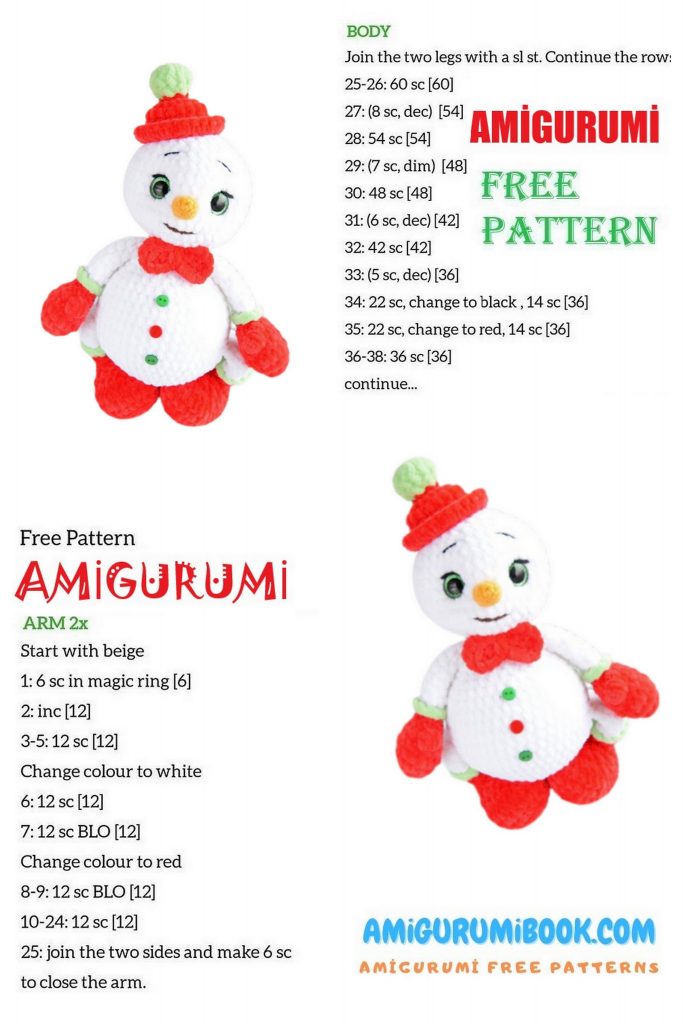
BODY
!IMPORTANT!
In order for the toy to turn out dense, it is necessary to fill it correctly. Fill the body with holofiber, pushing the filler from the center to the sides, then adding it back to the center.
We start knitting from 2 ch or from an amigurumi ring with a thread of the main color (the marker of the beginning of the row goes in a straight line in the center of the back):
1 row: 6 sc (6)
2nd row: 6 inc (12)
3 row: (1 sc, inc) * 6 times (18)
4 row: (2 sc, inc) * 6 times (24)
5 row: (3 sc, inc) * 6 times (30)
6 row: (4 sc, inc) * 6 times (36)
7 row: (5 sc, inc) * 6 times (42)
8 row: (6 sc, inc) * 6 times (48)
9 row: 48 sc (48)
In the 10th row we knit the legs: 9 sc, 5 sc together with the first leg, 20 sc, 5 sc together with the second leg, 9 sc (48)
11-14 (4 rows): 48 sc (48)
15 row: (6 sc, dec) * 6 times (42)
16 row: (5 sc, dec) * 6 times (36)
17 row: (4 sc, dec) * 6 times (30)
18 row: (3 sc, dec) * 6 times (24)
19 row: 24 sc (24)
Let’s start adding filler. We stuff tightly.
The body should take on a ball-like shape.
20 row: (1 sc, dec) * 6 times (18)
Do not forget to follow the marker of the beginning of the row: in the center of the back. If necessary, we make bias loops.
In the 21st row we knit handles: 2 sc, 4 sc together with the first handle, 6 sc, 4 sc together with the second handle, 2 sc (18)
22 row: (1 sc, dec) * 6 times (12)
23 row: 12 sc (12)
We turn to knitting HEADS.
24 row: 12 inc (24)
25 row: (3 sc, inc) * 6 times (30)
26 row: (4 sc, inc) * 6 times (36)
27 row: (5 sc, inc) * 6 times (42)
28-32 (5 rows): 42 sc (42)
33 row: (5 sc, dec) * 6 times (36)
34 row: (4 sc, dec) * 6 times (30)
35 row: (3 sc, dec) * 6 times (24)
We insert the eyes between 30 and 31 rows at a distance of 6-7 sc after planting.
We begin to stuff our heads.
So that it does not hang out, we tightly stuff the neck area.
36 row: (2 sc, dec) * 6 times (18)
37 row: (1 sc, dec) * 6 times (12)
38 row: 6 dec (6)
Pull off the ring, fasten the thread and cut.
Hide the end of the thread inside the head.
Let’s move on to the design and assembly of our toy.
EYE TIGHTENING
We make a tightening, as shown in the photo.
We take a strong thread in one addition and a needle with a wide eye.
Insert the needle at the base of the head in the middle.
We bring it to the outer corner of the left eye, pull the thread, leave a long tail at the starting point.
Again we introduce the needle into the inner corner of the left eye and bring it out from the opposite side into the inner corner of the right eye.
We pull the thread and insert the needle into the outer corner of the right eye and bring it out from the bottom of the head, retreating 1 sc from the starting point.
We again insert the needle at the starting point and bring it out to the outer corner of the left eye (in the same place where it was injected for the first time).
Now we enter into the inner corner, but 1 row higher and bring it out from the opposite side into the inner corner of the right eye, also 1 row higher.
We pull the thread and insert the needle into the outer corner of the right eye and bring it out from the bottom of the head, retreating 1 sc from the starting point.
We take both ends of the thread, tighten and tie a few knots.
We hide the tips inside the head.
Embroider eyelashes and eyebrows with black thread.
Sew on a carrot nose between 29 and 30 rows. And we embroider a mouth between 27 and 28 rows (I embroider with a chain stitch).
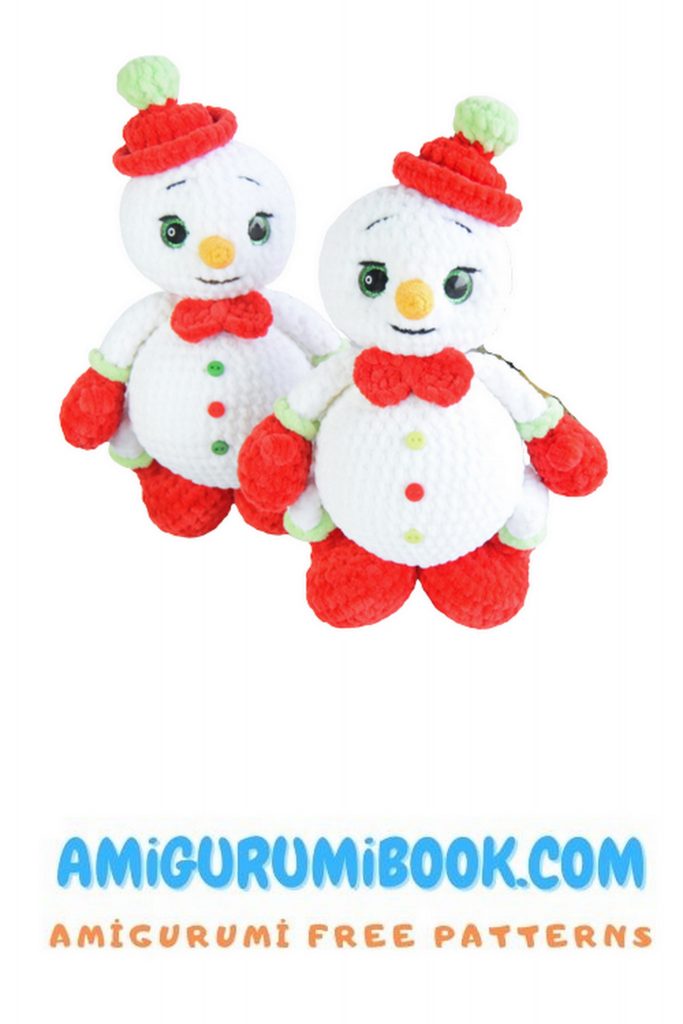
Sew on a hat and tie a bow around the neck.
Sew buttons on the belly (optional).
Everything! Our snowman is ready!