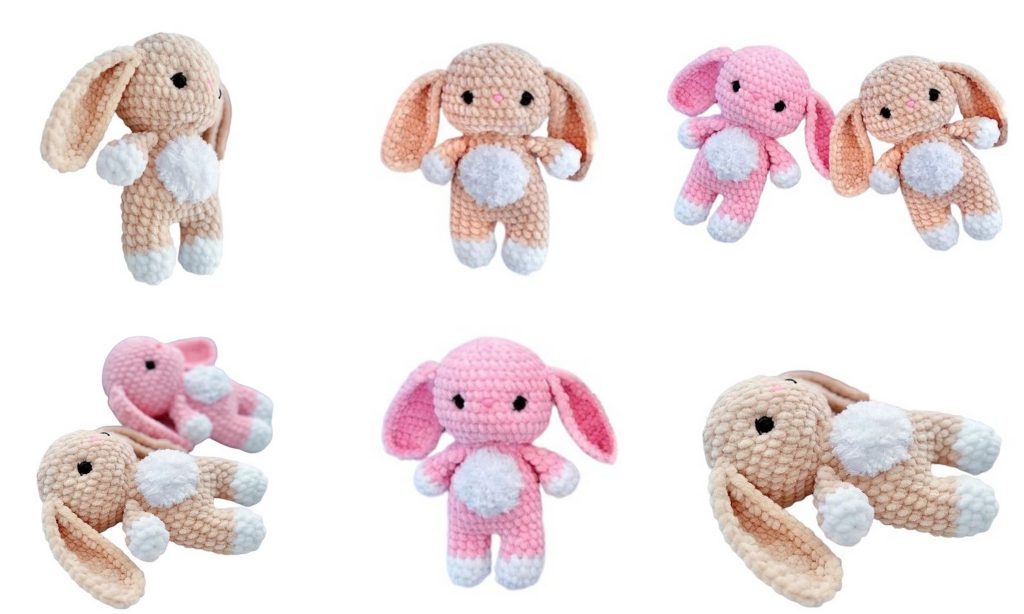
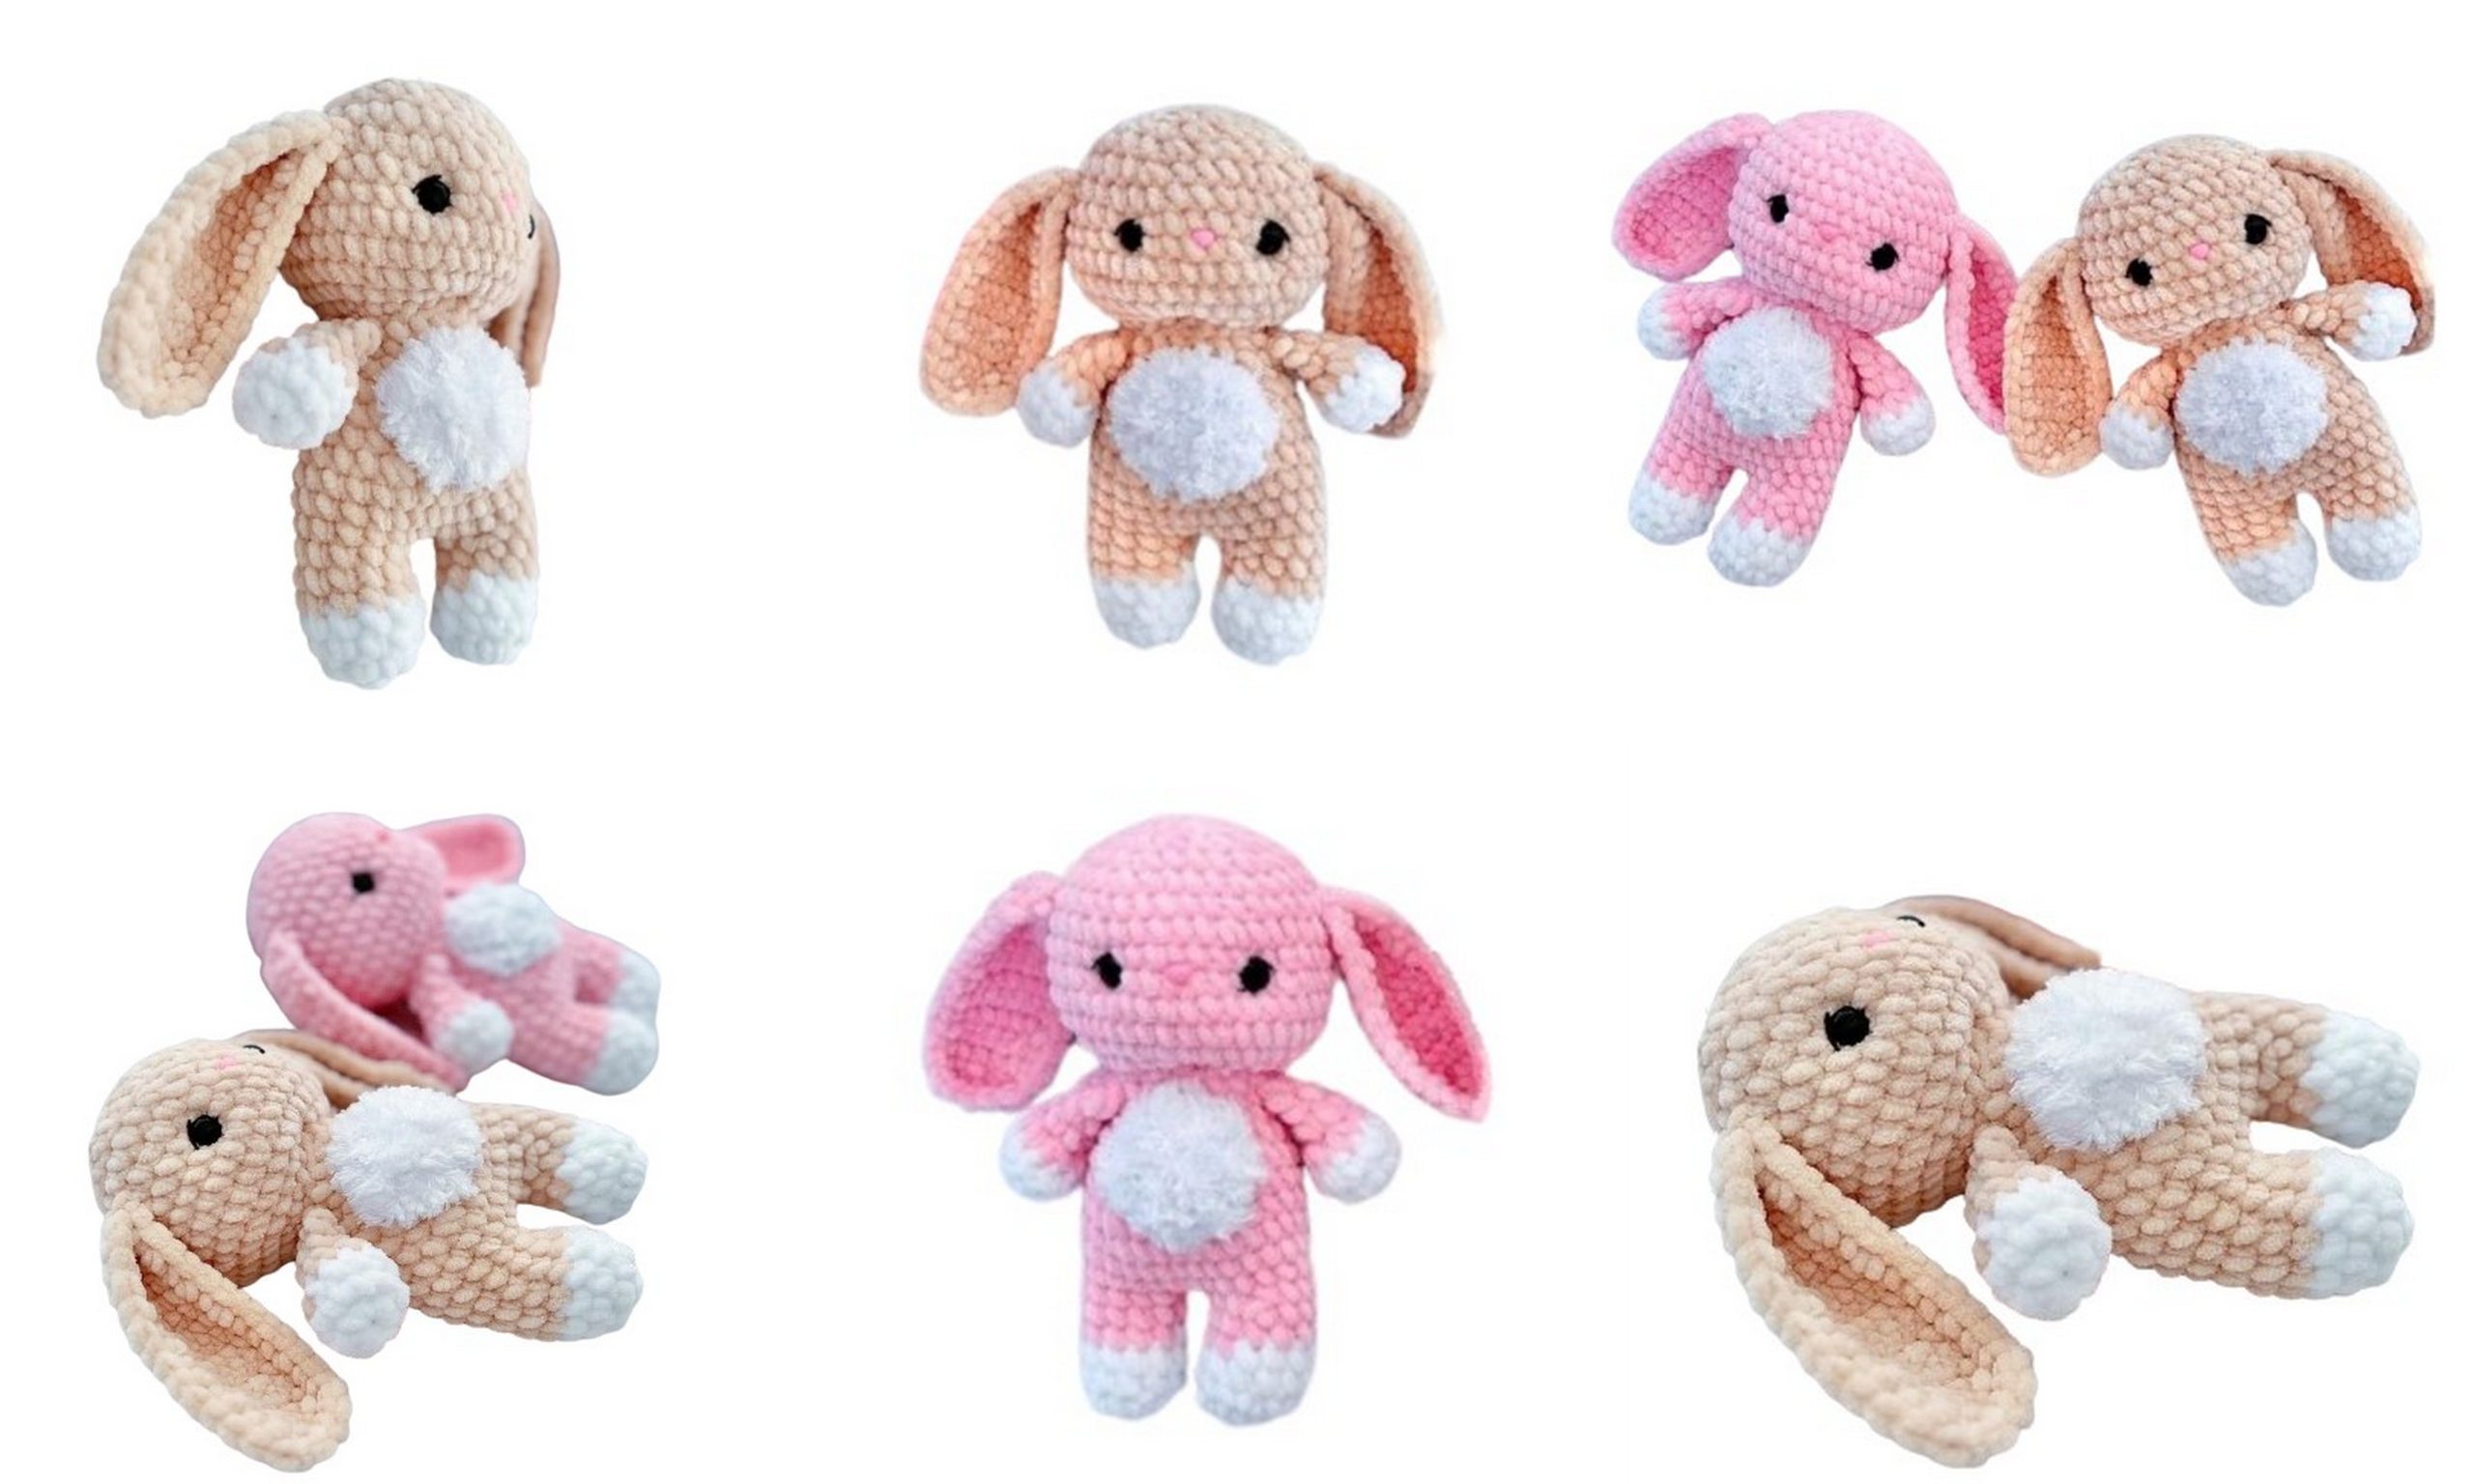
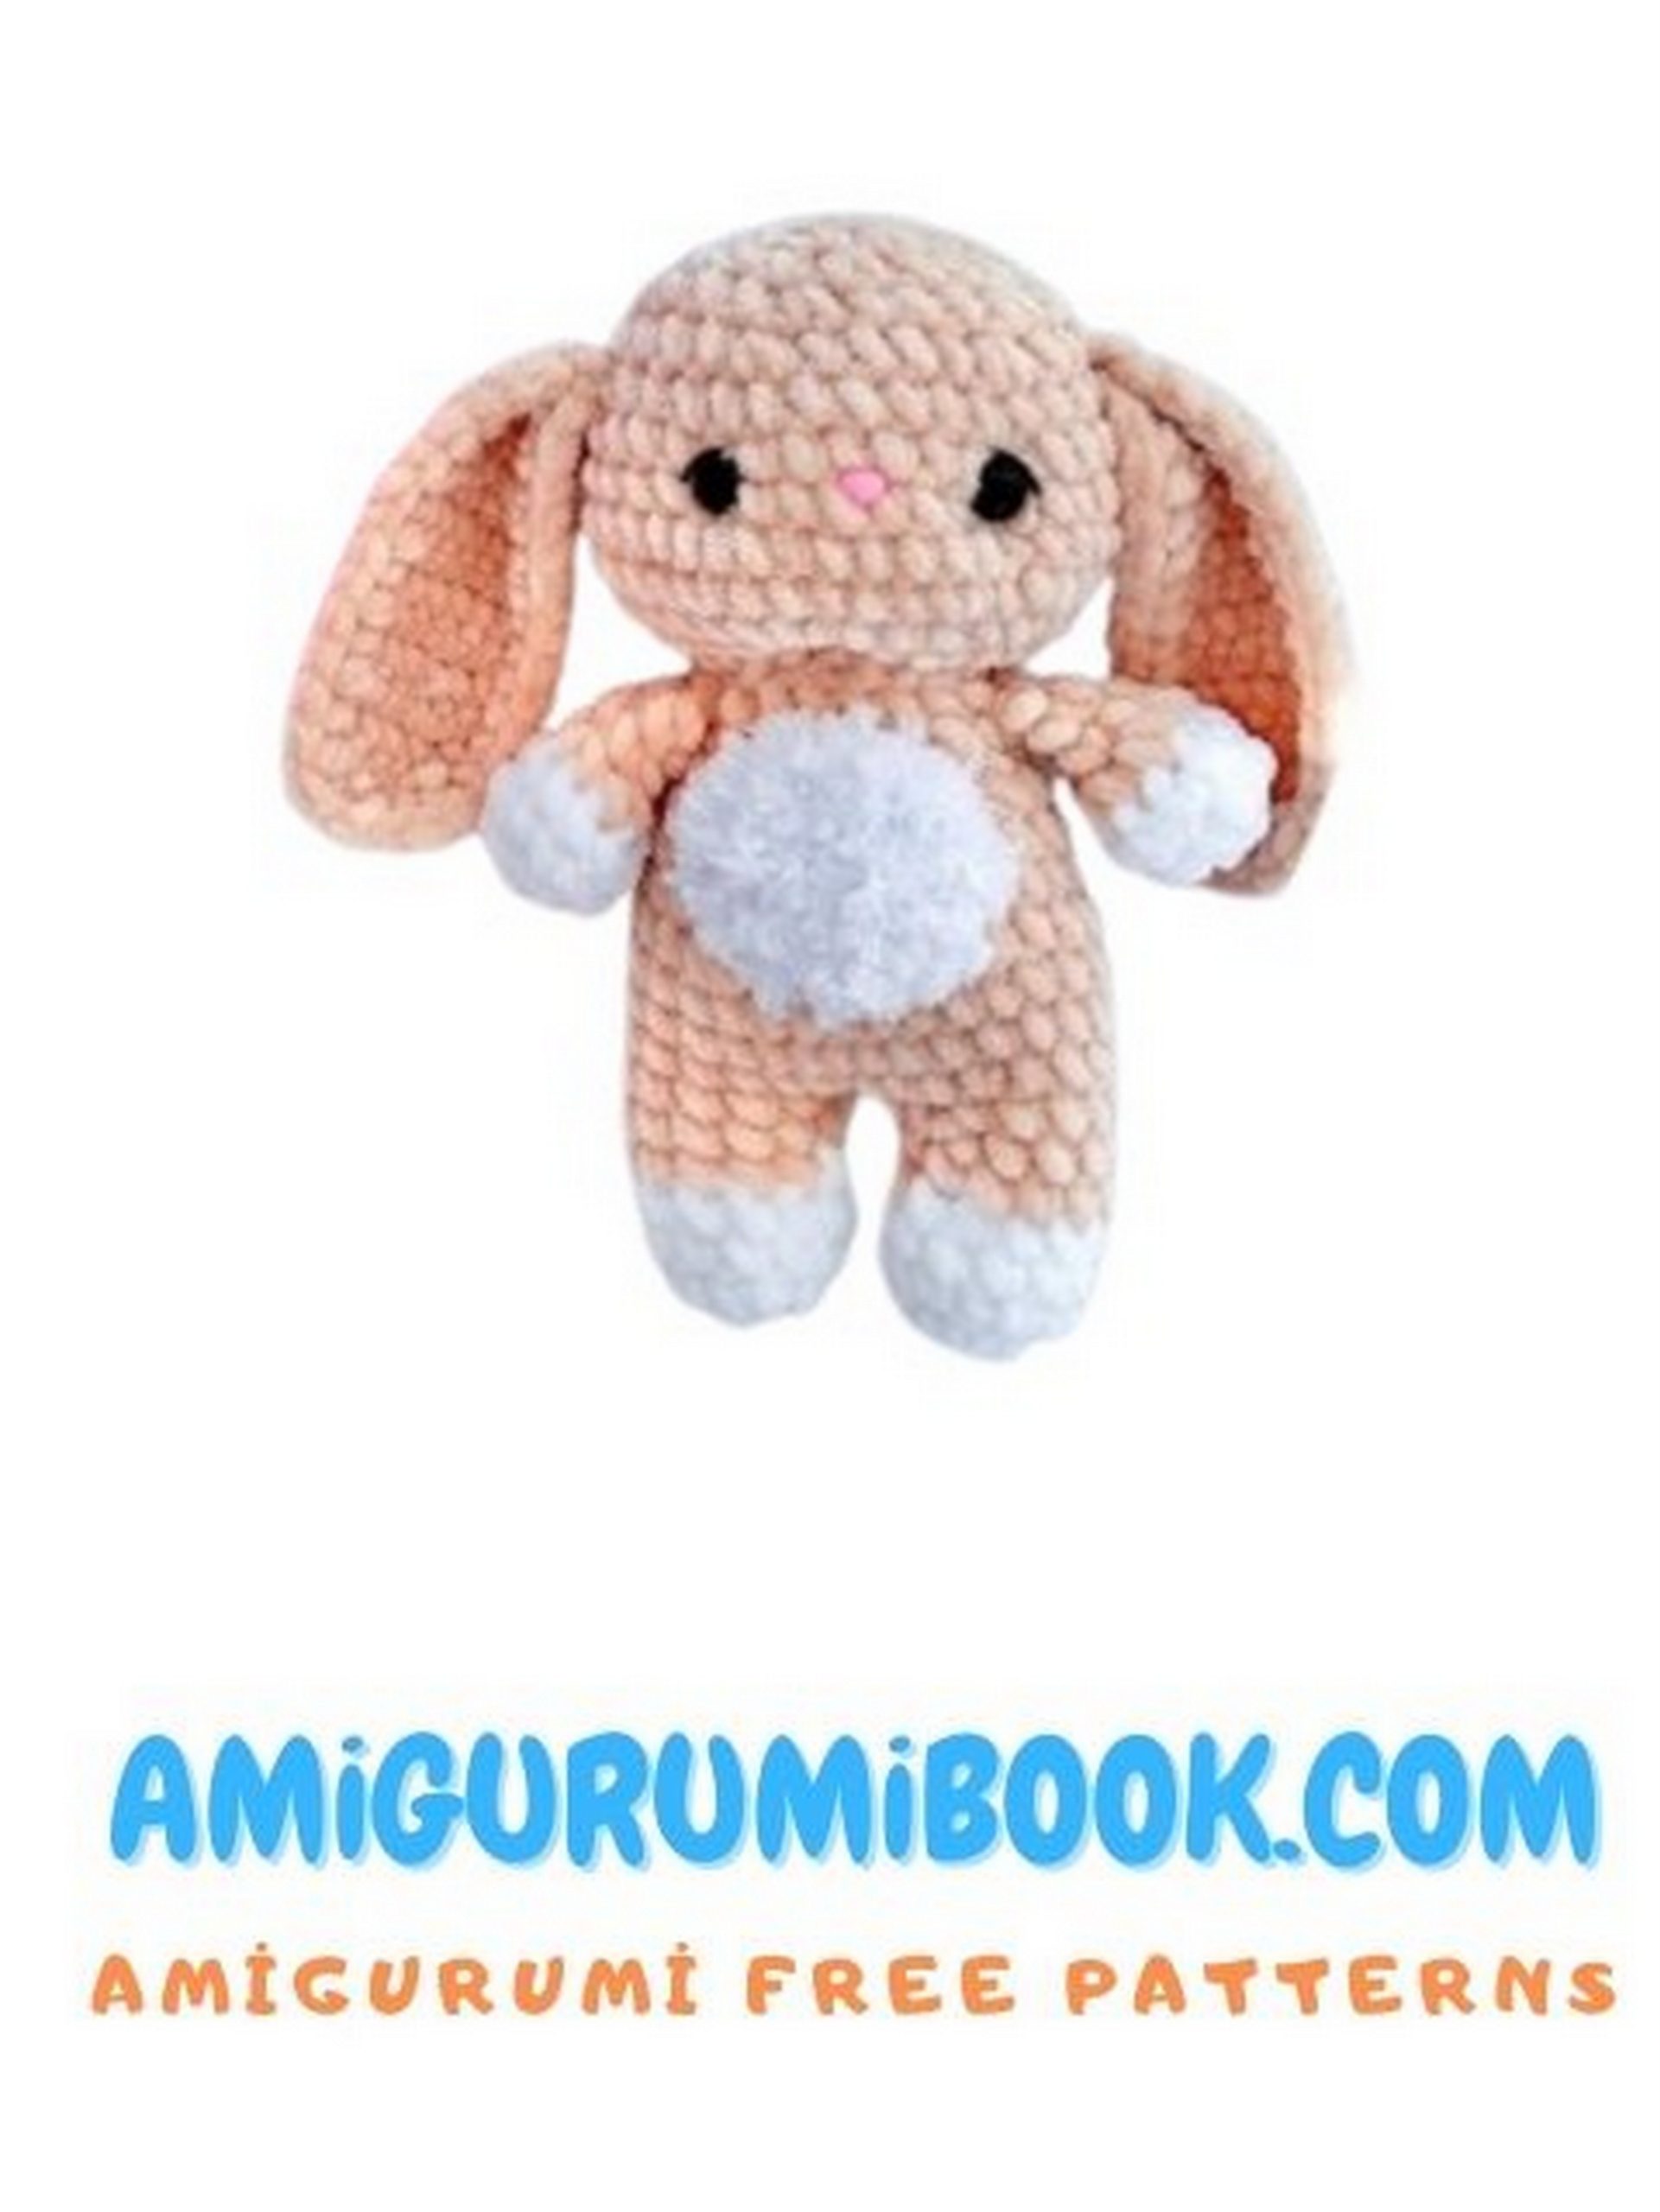
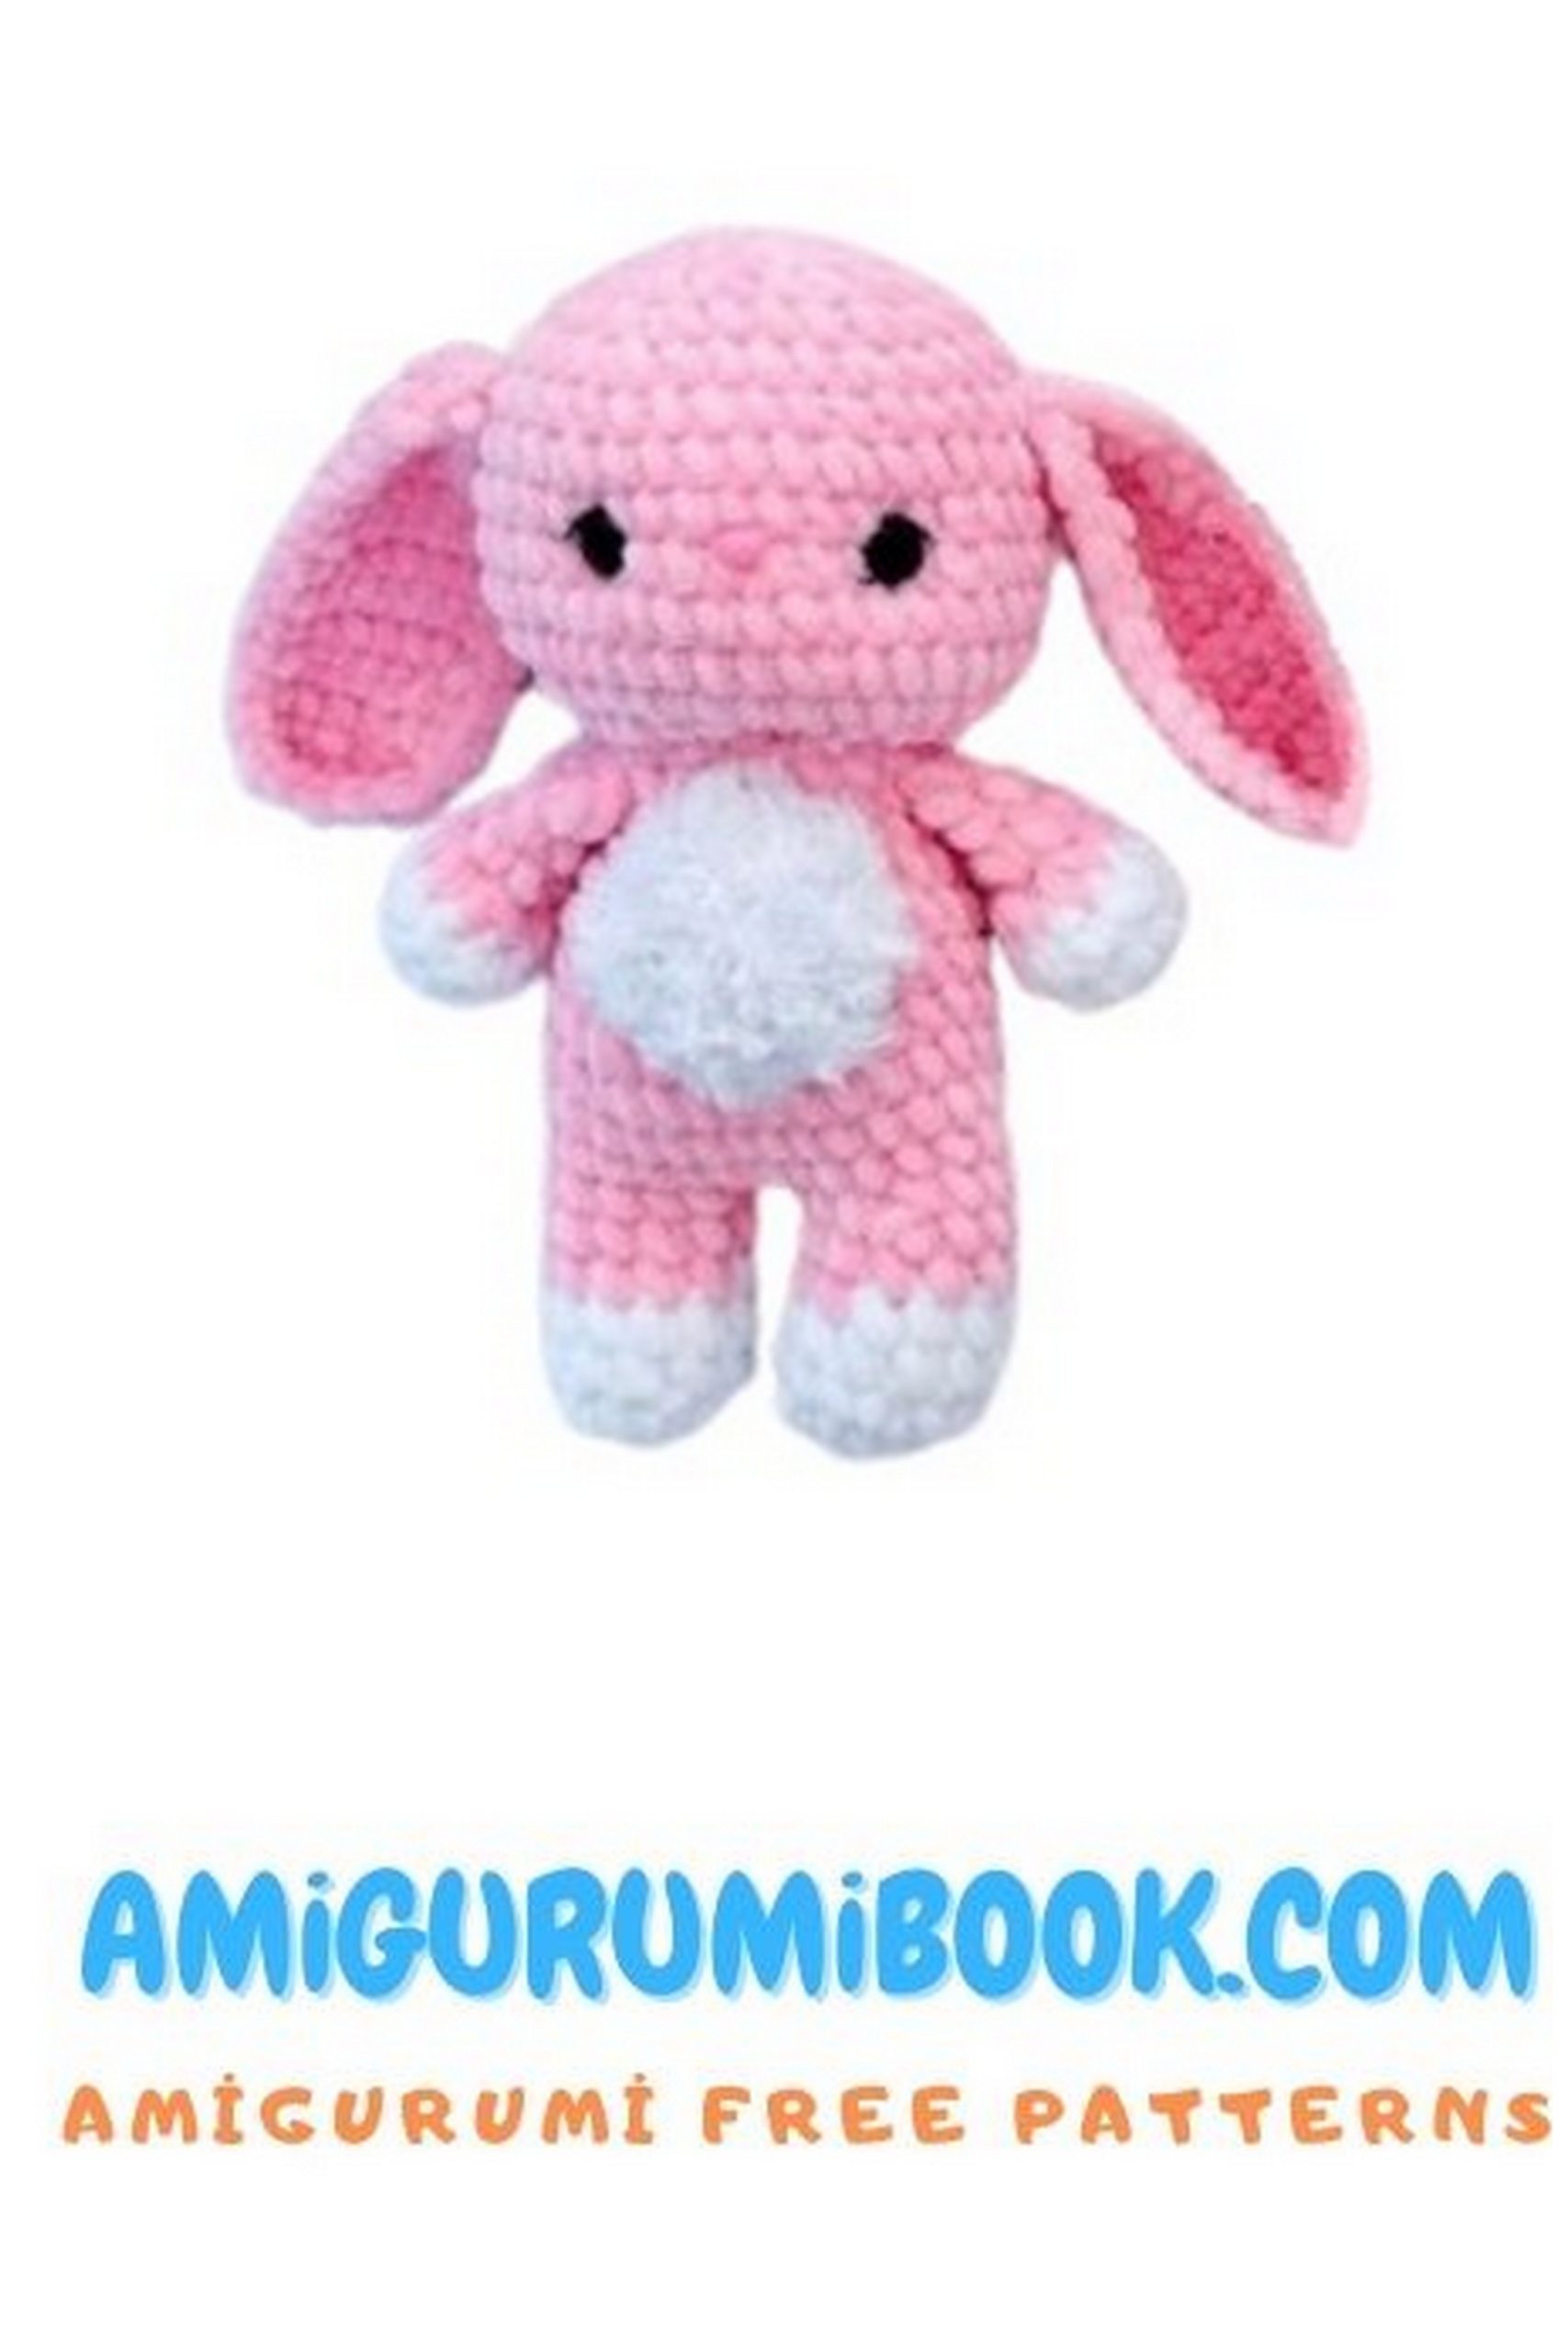
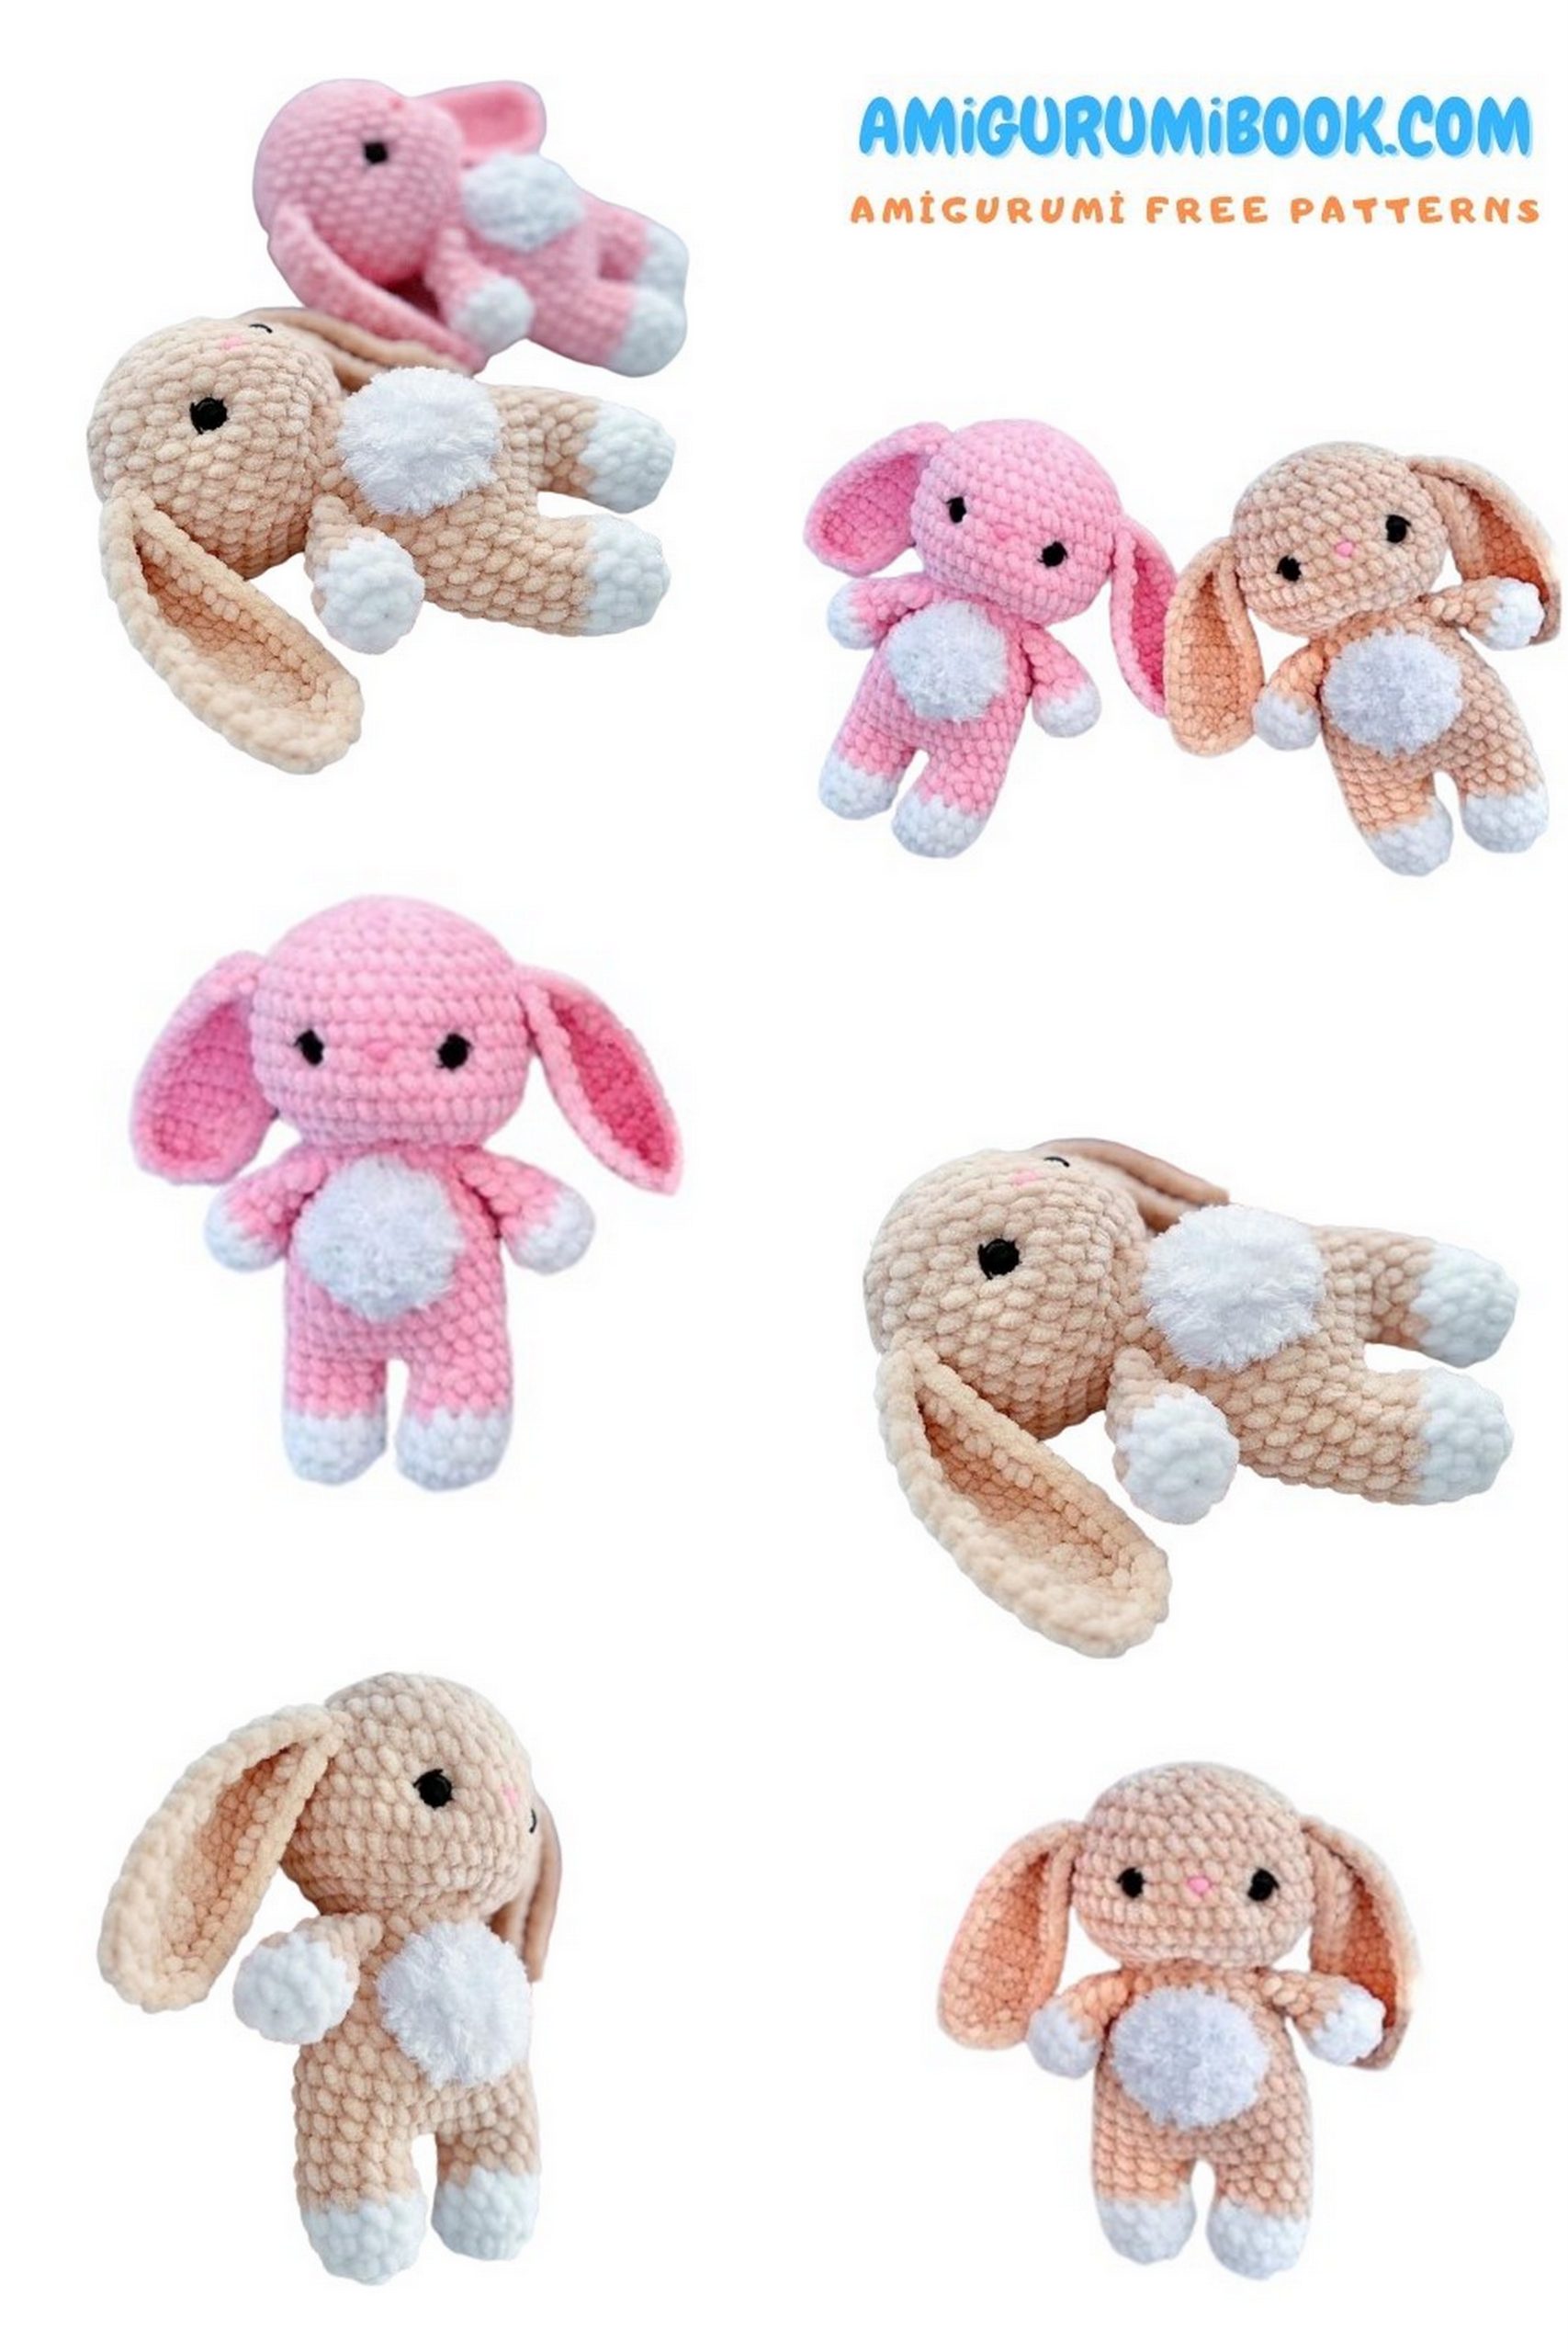
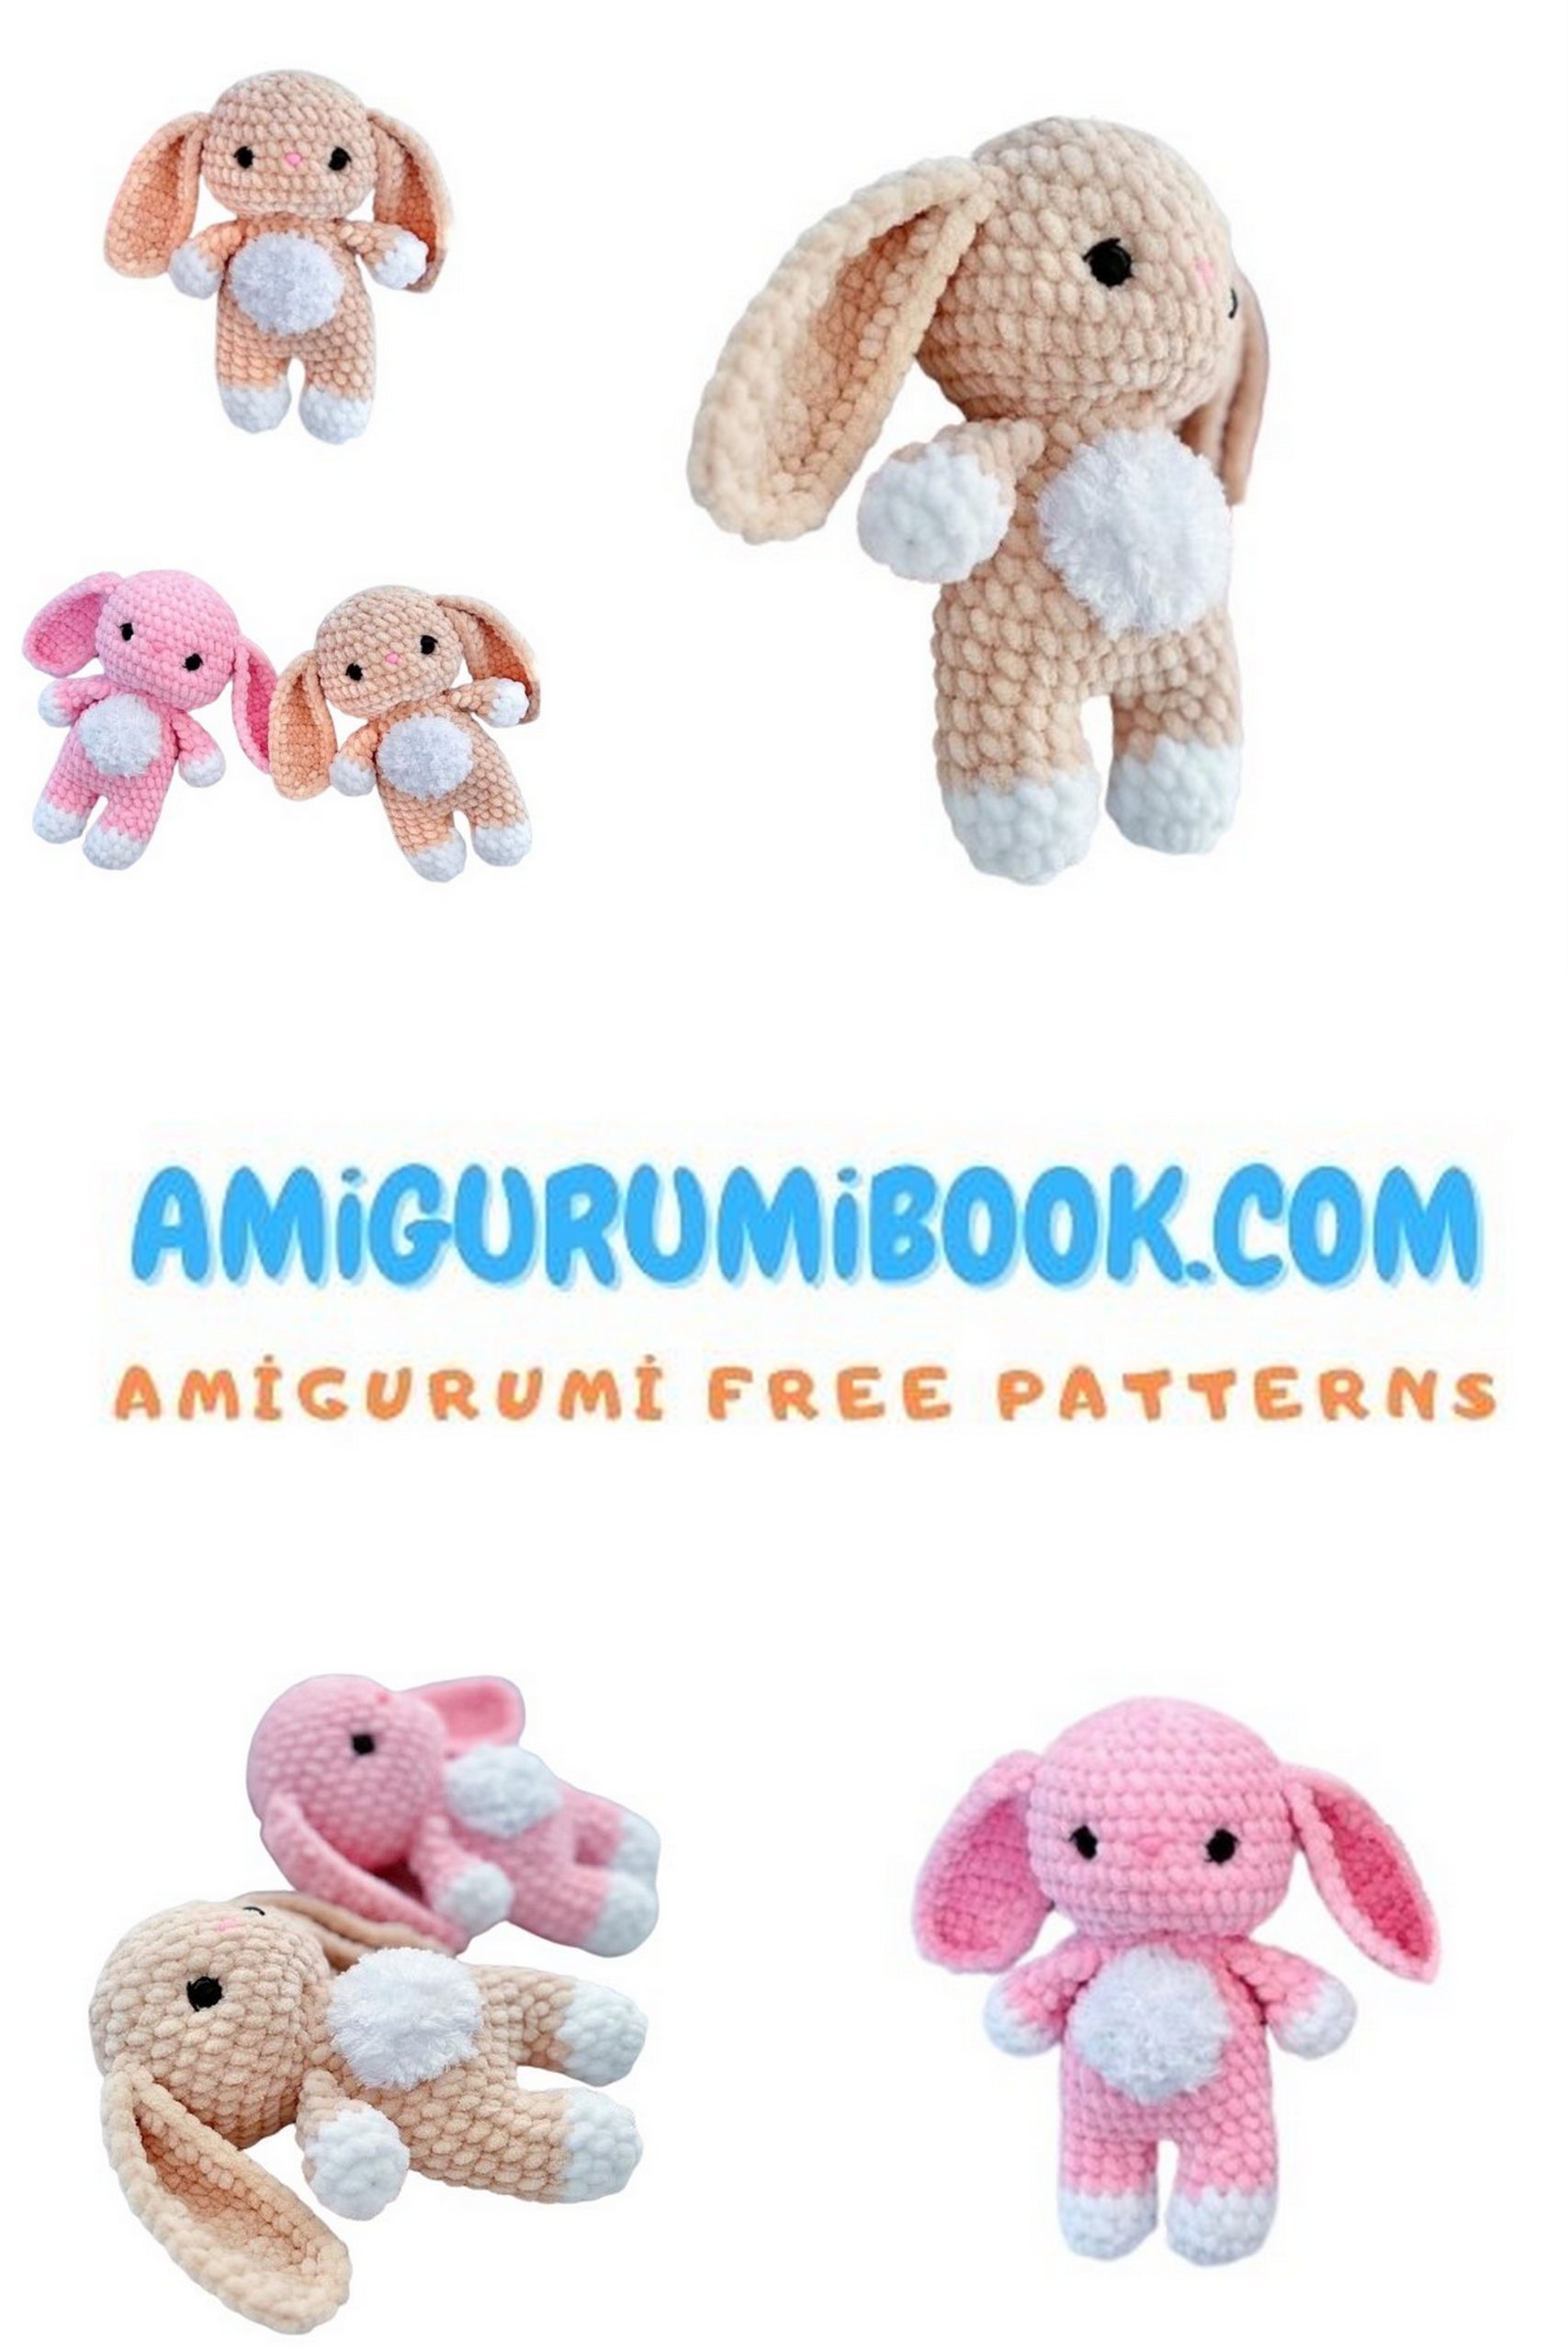
Wrap yourself in the velvety softness of crochet with our charming amigurumi free pattern for a velvet little bunny amigurumi! Whether you’re a crochet enthusiast or a newcomer to the craft, this snuggly project is sure to bring warmth and joy to your stitches. Perfect for cuddles, nursery decor, or as a heartfelt gift, this bunny radiates coziness with its plush velvet texture and adorable design. With easy-to-follow instructions and helpful tips, crocheting your own velvet amigurumi bunny is as comforting as a warm hug. So, pick up your hook and let’s crochet our way to snuggly cuddles!
I have a suggestion for your amigurumi bunny collection. It will be a nice duo with amigurumi overalls bunny.
If you want to access 1000+ free amigurumi patterns, you can download our application from this link!
Materials:
Himalaya Dolphin Baby – less than 1 pink skein and a bit of white of the same yarn
Fable Fur Yarnart – a bit for fluffy chest
Crochet hook – 4mm
Safety eyes – 14mm
Safety nose – 10mm
Black yarn or thread – for eye embellishments
Sewing needle for attaching parts
Stuffing material
Finished toy size:
20cm (when using recommended materials)
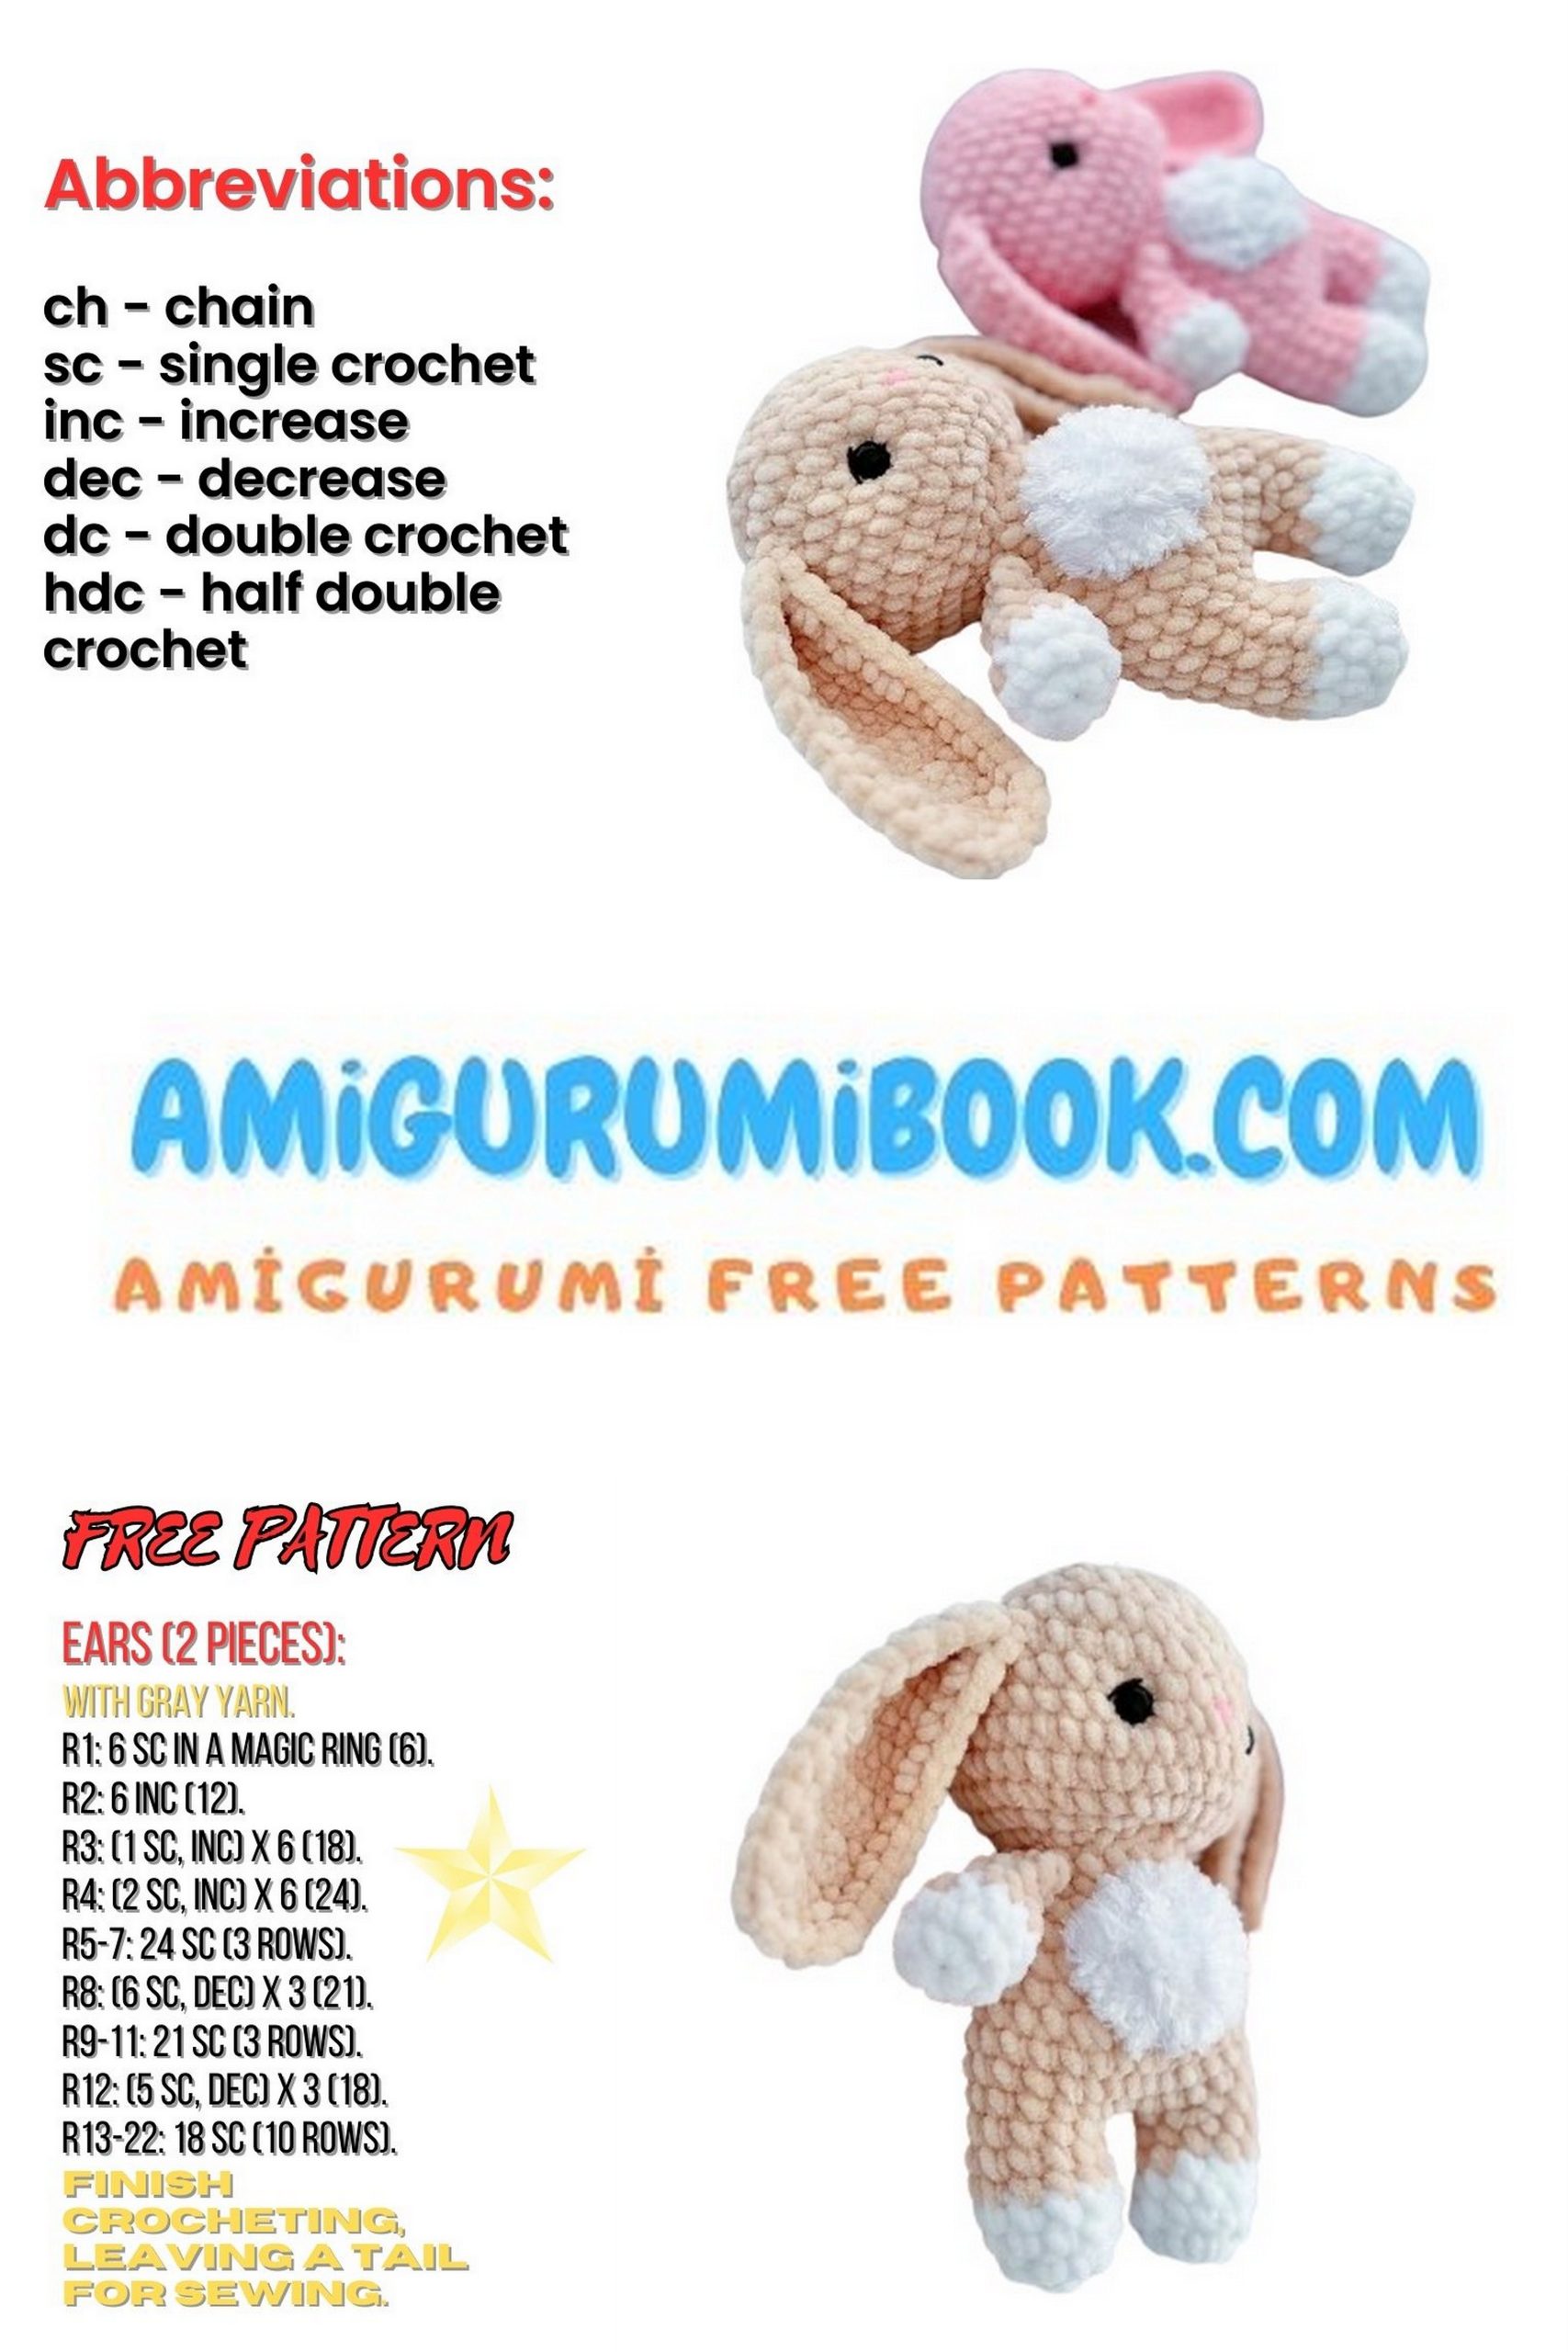
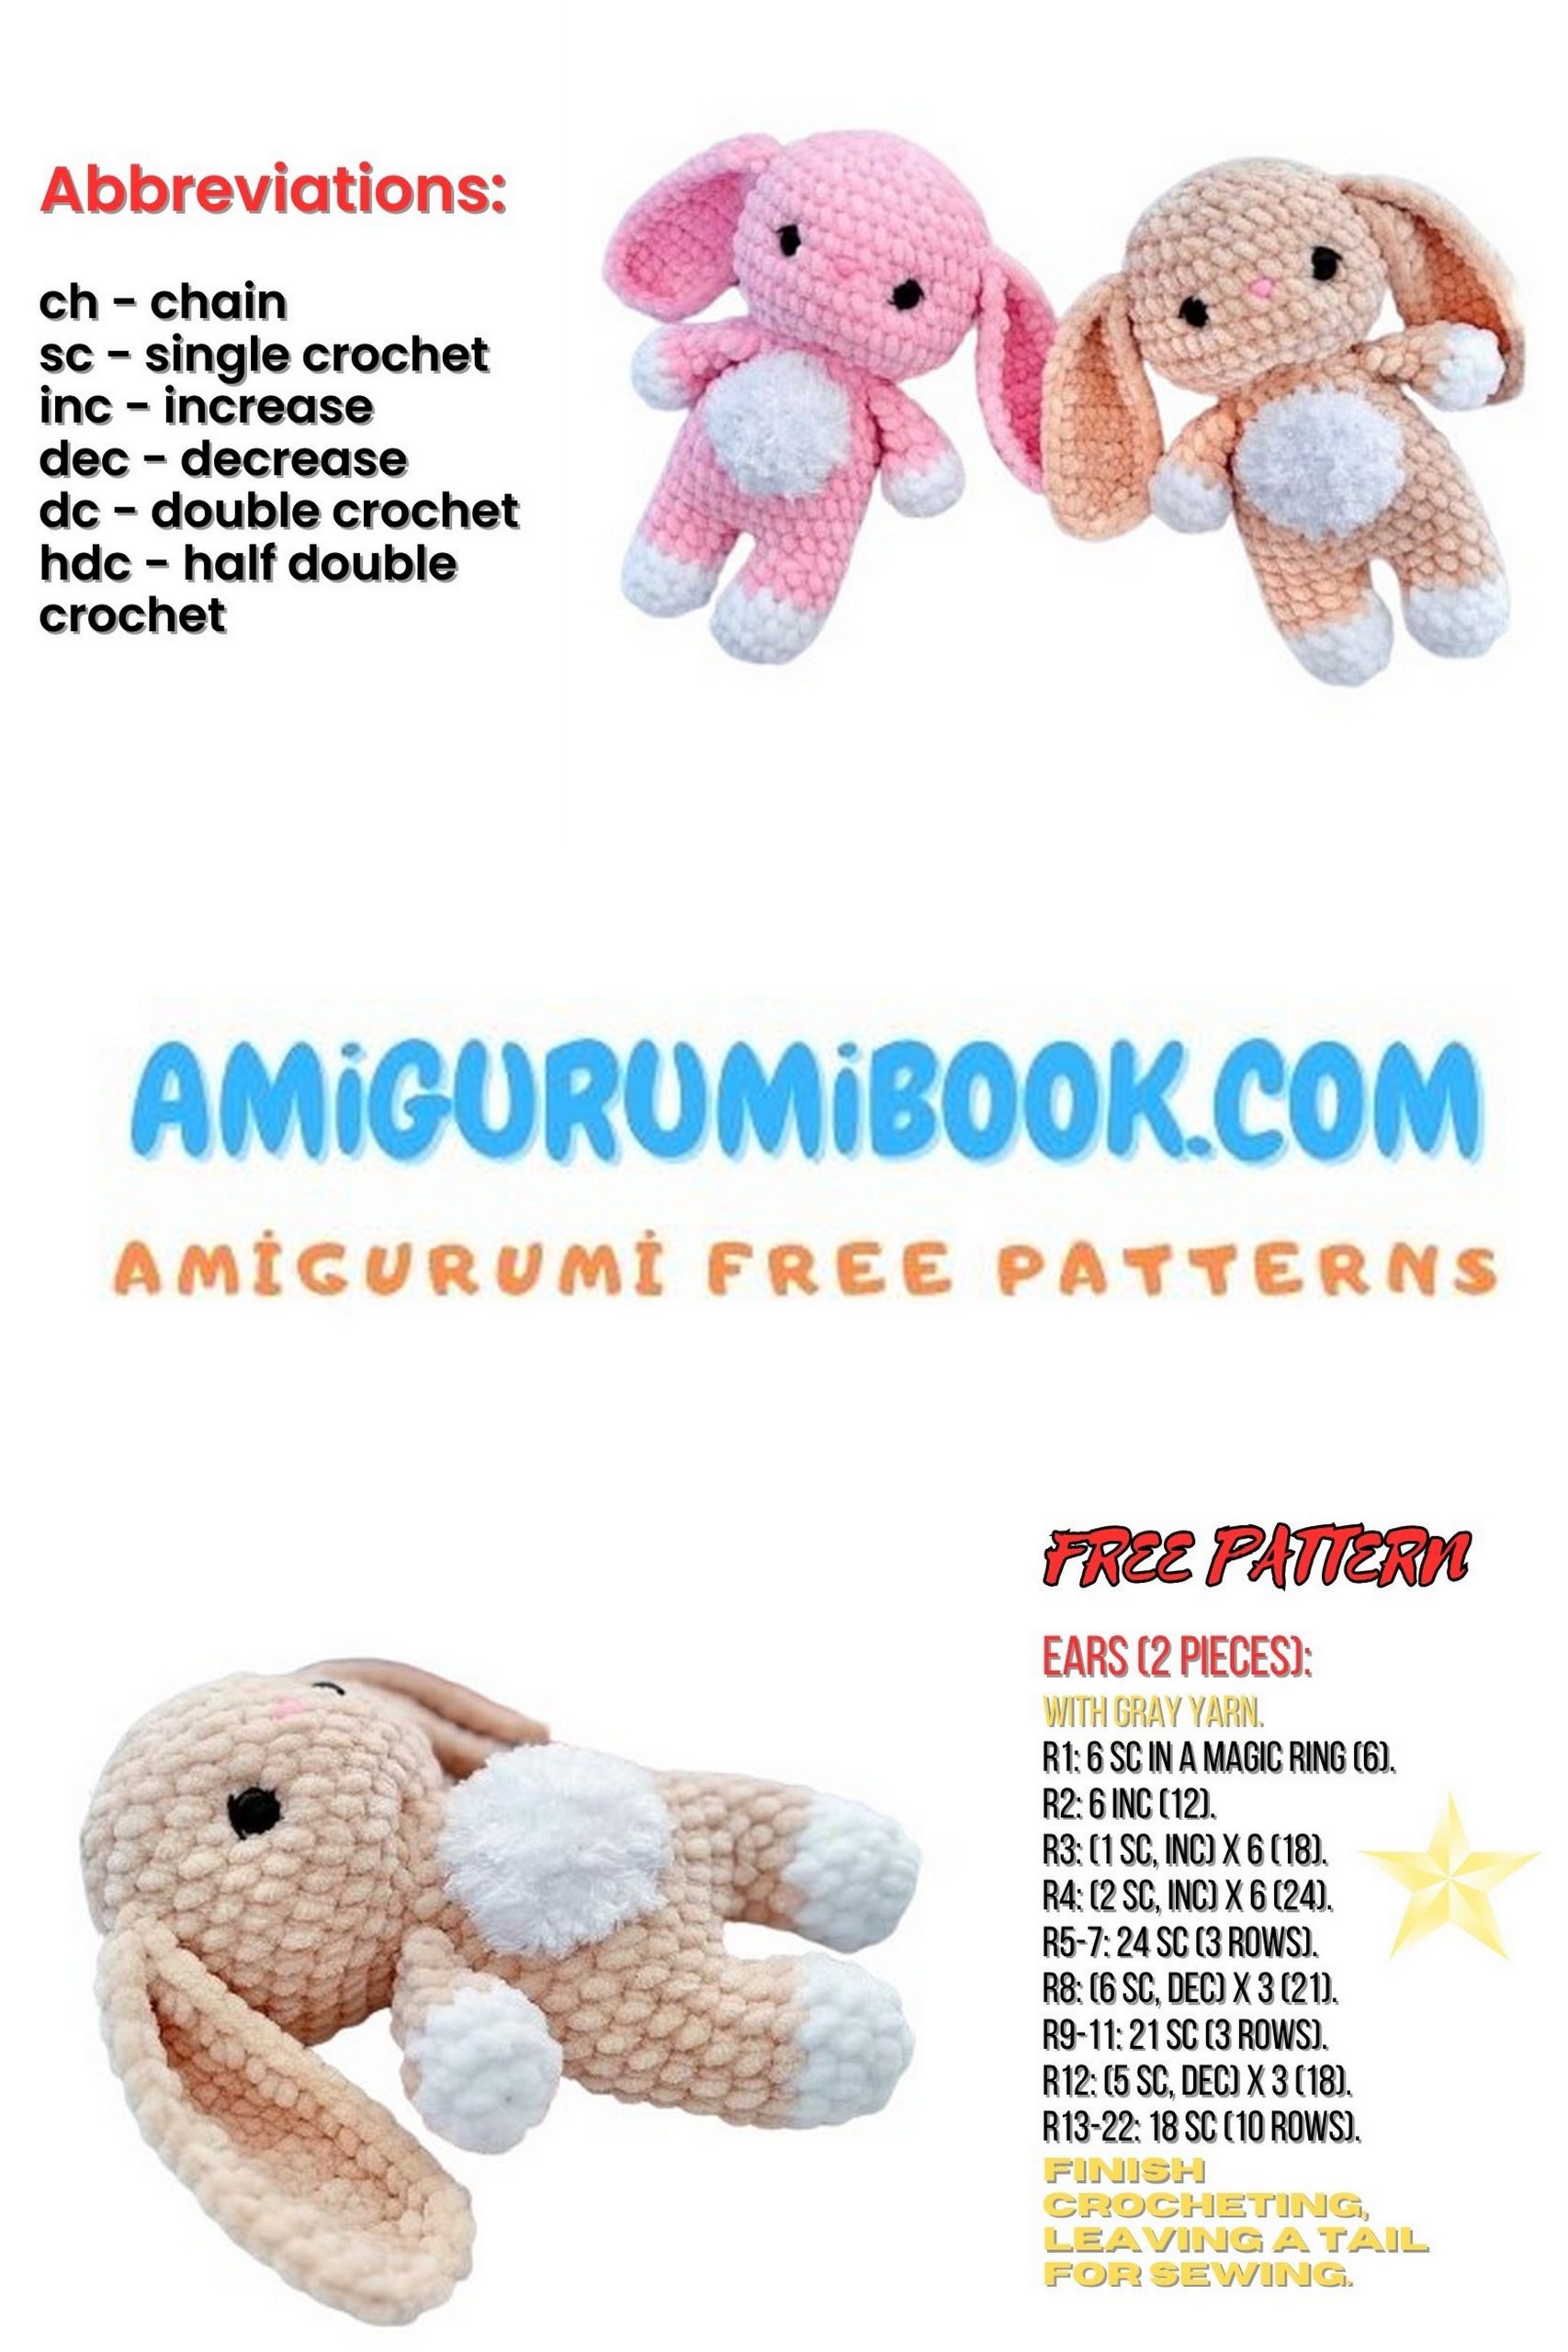
Abbreviations:
MR – magic ring
CH – chain stitch
SC – single crochet
inc – increase
dec – decrease
PATTERN
Head: Velvet Little Bunny
1: 8 SC in MR (8)
2: inc in each st (16)
3: (1 SC, inc) * 8 (24)
4: (3 SC, inc) * 6 (30)
5: 2 SC, inc, (4 SC, inc) * 5, 2 SC (36)
6: (5 SC, inc) * 6 (42)
7-9: 42 SC (42)
10: (5 SC, inc) * 6 (36)
11: 36 SC (36)
Insert safety eyes between rounds 8 and 9 (distance between eyes 6-7 SC), insert safety nose between rounds 8 and 9.
12: (4 SC, dec) * 6 (30)
Stuff as you go
13: (3 SC, dec) * 6 (24)
14: (2 SC, dec) * 6 (18)
15: (SC, dec) * 6 (12)
16: 6 dec (6)
Cut yarn
Arms: Velvet Little Bunny
Start with white yarn
1: 6 SC in MR (6)
2: 6 SC (12)
3: 12 SC (12)
Continue with pink yarn
4: 6 dec (6)
5-6: 6 SC (6)
Stuff the tips of arms
Fold arm in half
crochet 3 SC through both sides
Cut yarn
Legs-Body: Velvet Little Bunny
Start with white yarn
1: 6 SC in MR (6)
2: inc in each st (12)
3-4: 12 SC (12)
Continue with pink yarn
5-6: 12 SC (12)
Cut the yarn, we crochet the second leg in the same way, but do not cut the yarn, continue crocheting.
Joining legs:
7: CH 2, 12 SC around the first leg, 2 SC on the chain, 12 SC around the second leg, 2 SC on the chain (28)
8: (13 SC, inc) * 2 (30)
9-10: 30 SC (30)
11: (4 SC, dec) * 5 (25)
12-13: 30 SC (30)
14: (3 SC, dec) * 5 (20)
15-16: 20 SC (20)
In the next row, we will crochet arms:
17: 4 SC, 3 SC together with arm, 6 SC, 3 SC together with arm, 4 SC (20)
Stuff, leave yarn for sewing.
Tail: Velvet Little Bunny
1: 6 SC in MR (6) 2: inc in each st (12)
3: 12 SC (12)
Stuff a bit, leave yarn for sewing
We will crochet in turning rows
1: CH 6
2: 5 SC, 1 CH (5)
3: 5 SC, 1 CH (5)
4: 2 SC, inc, 2 SC, 1 CH (6)
5-9: 6 SC, 1 CH (6)
10: 2 SC, dec, 2 SC, 1 CH (6)
11: 5 SC, 1 CH (6)
12: SC, dec, 2 SC, 1 CH (4)
13: 4 SC, 1 CH (4)
14: 2 dec, 1 CH (2)
15: dec
Do not cut yarn, crochet around the piece with SC from 3 sides. Fold the base of the ear and sew several times.
Chest:
1: 6 SC in MR (6)
2: inc in each st (12)
3: (1 SC, inc) * 6 (18)
Leave yarn for sewing


Assembly:
a)Sew ears at the level of round 11.
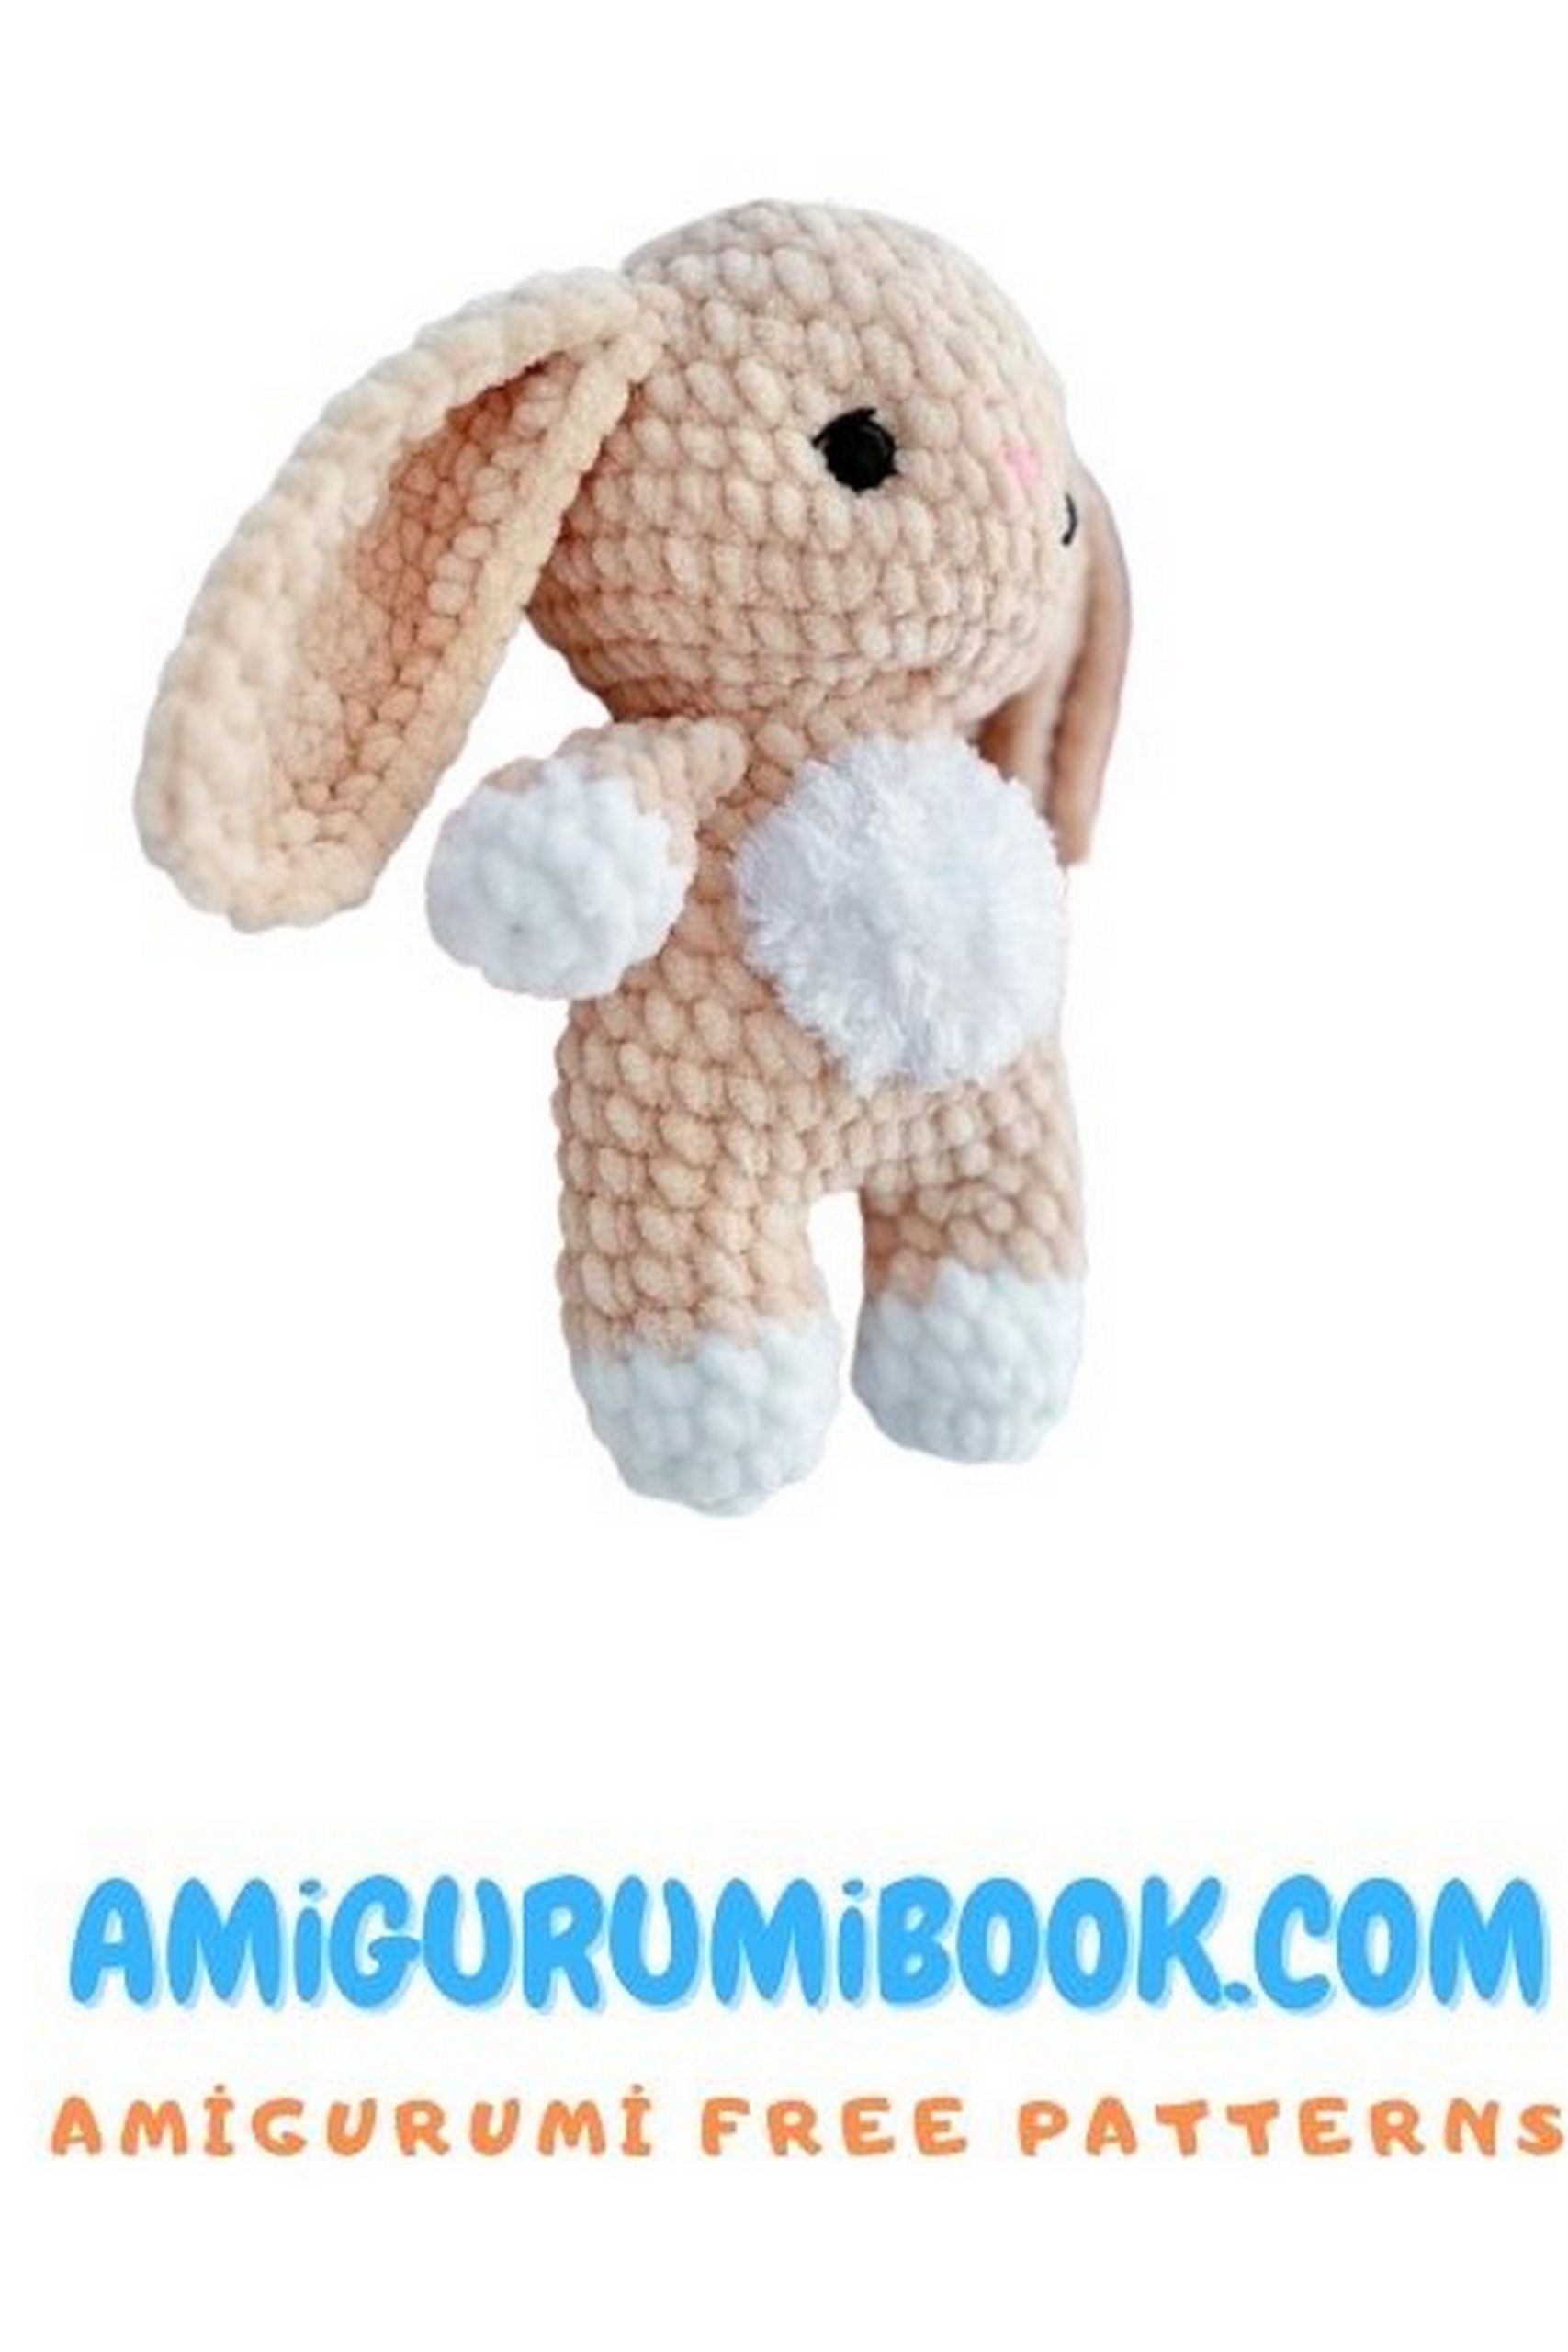
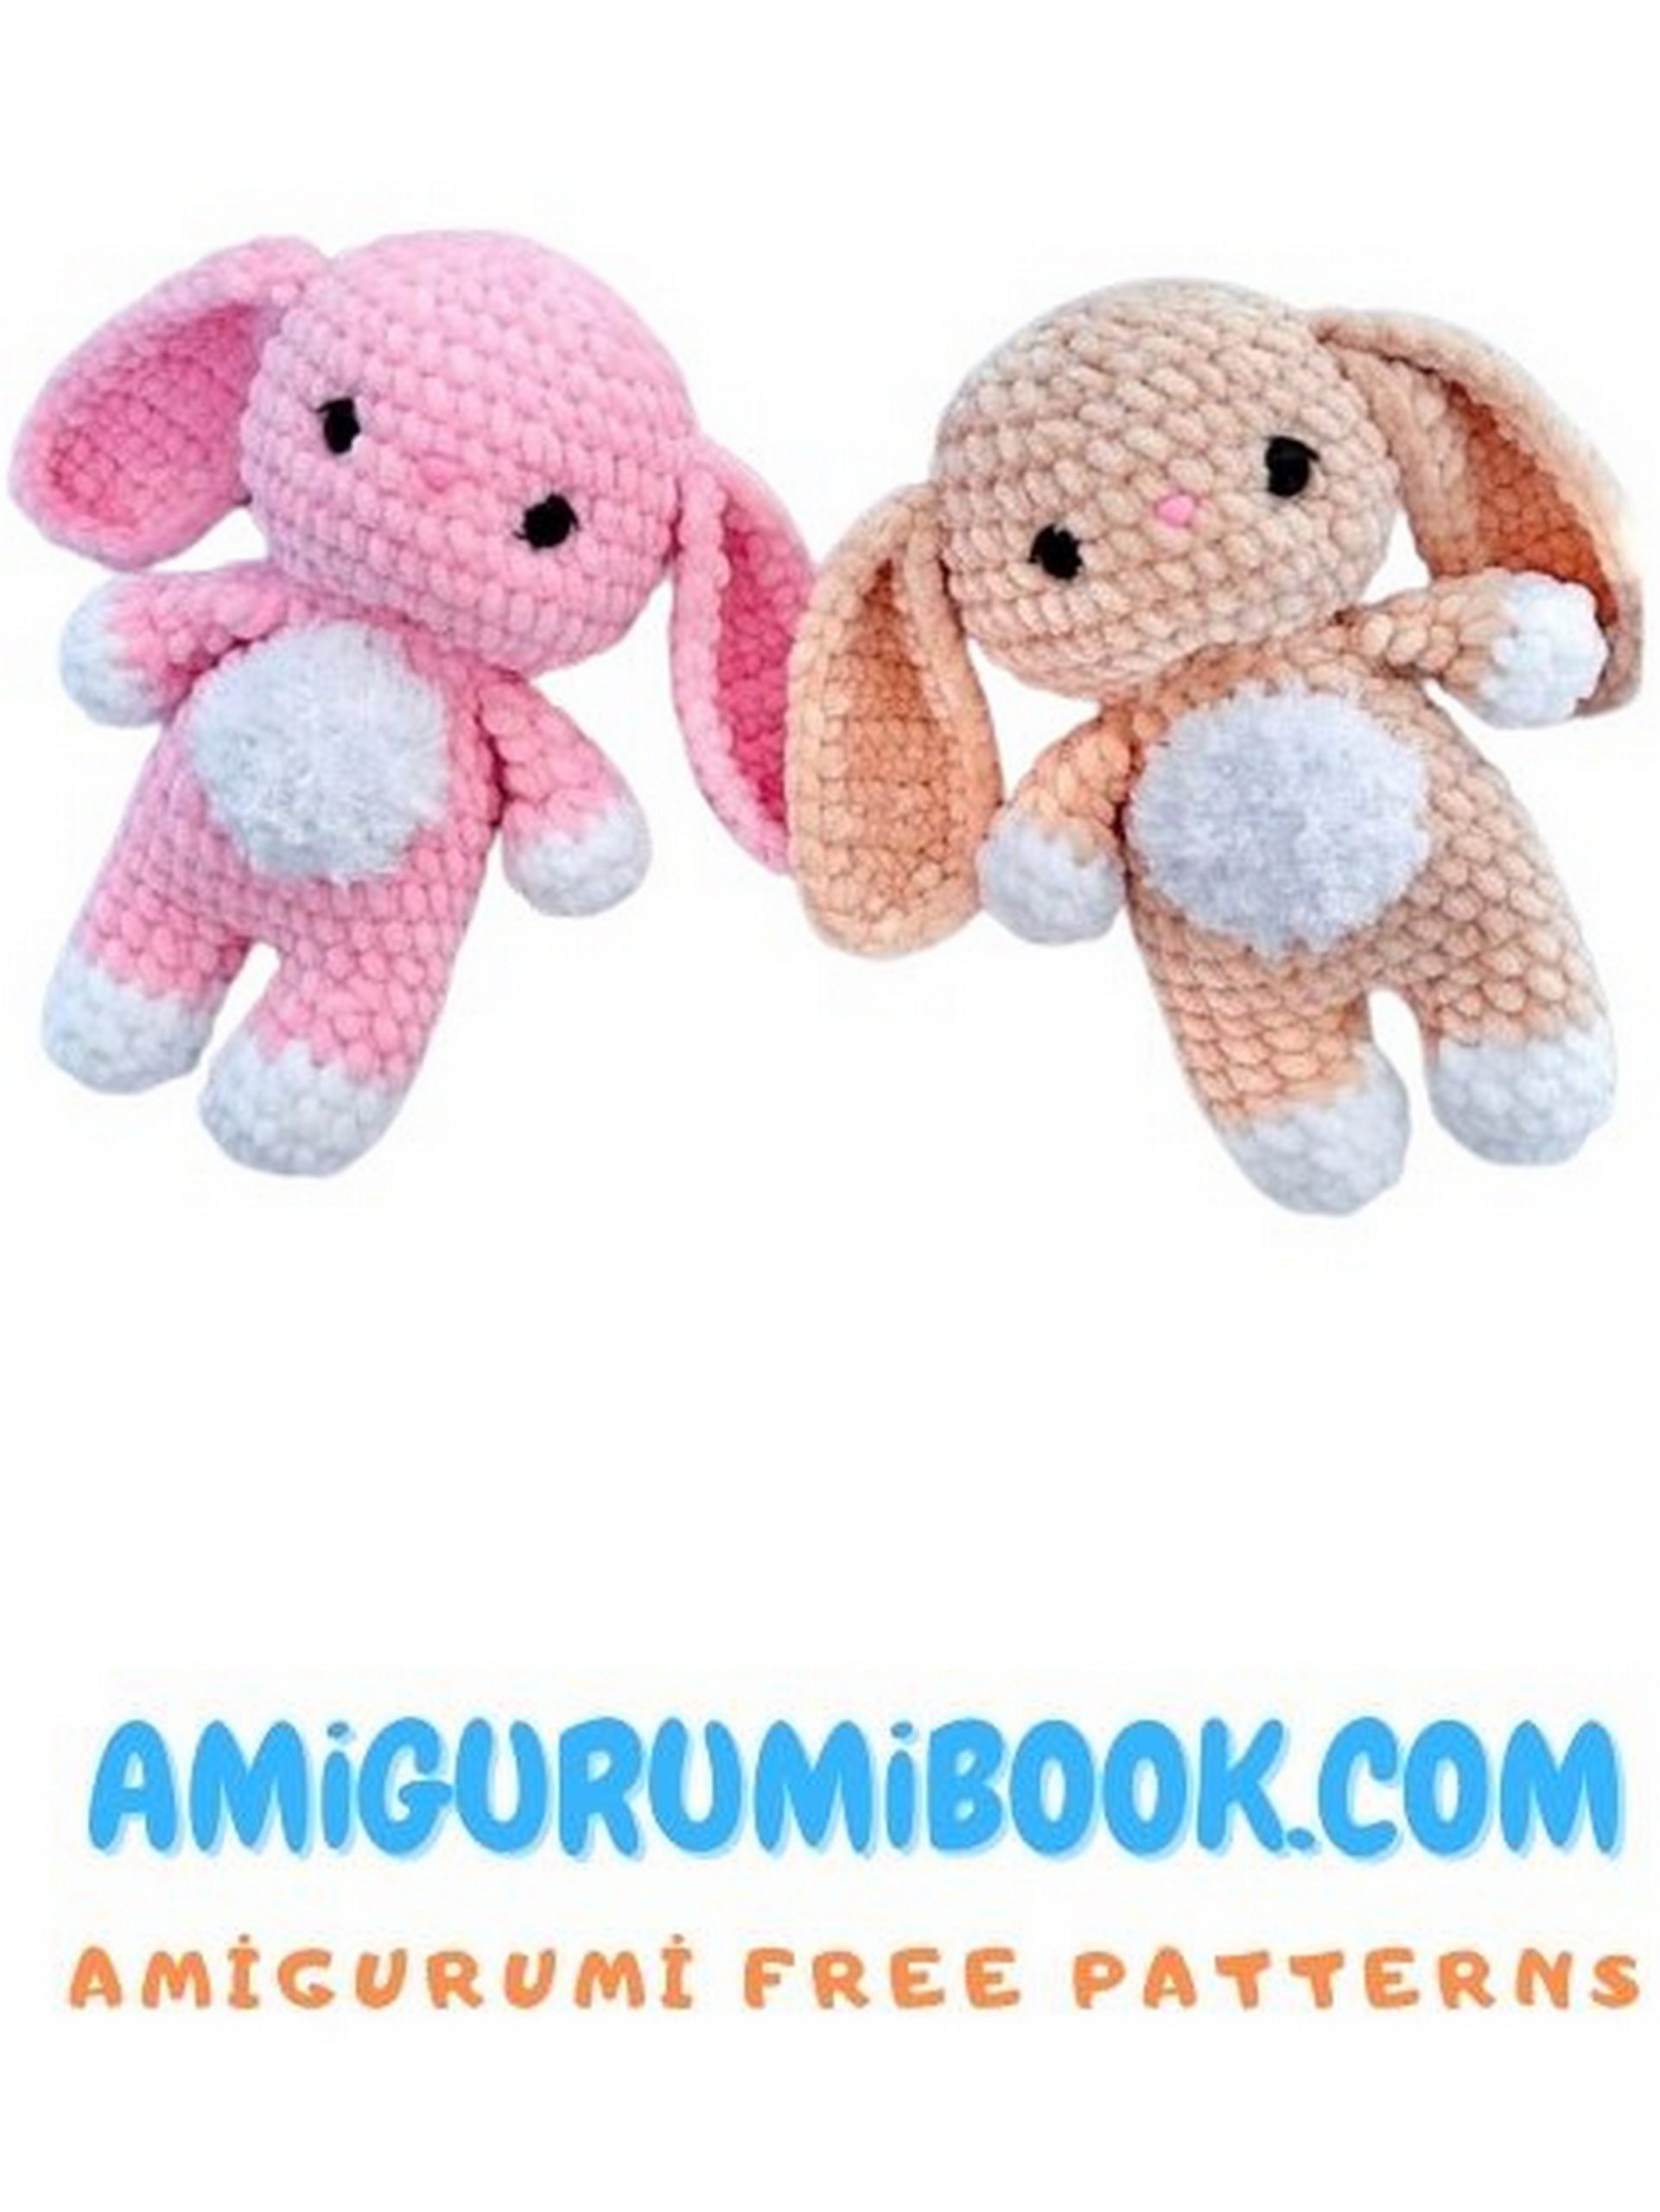
b)Sew chest as shown in the photo.
c)Sew tail between rounds 10 and 11. Embroider a line above the eyes as shown in the photo.