
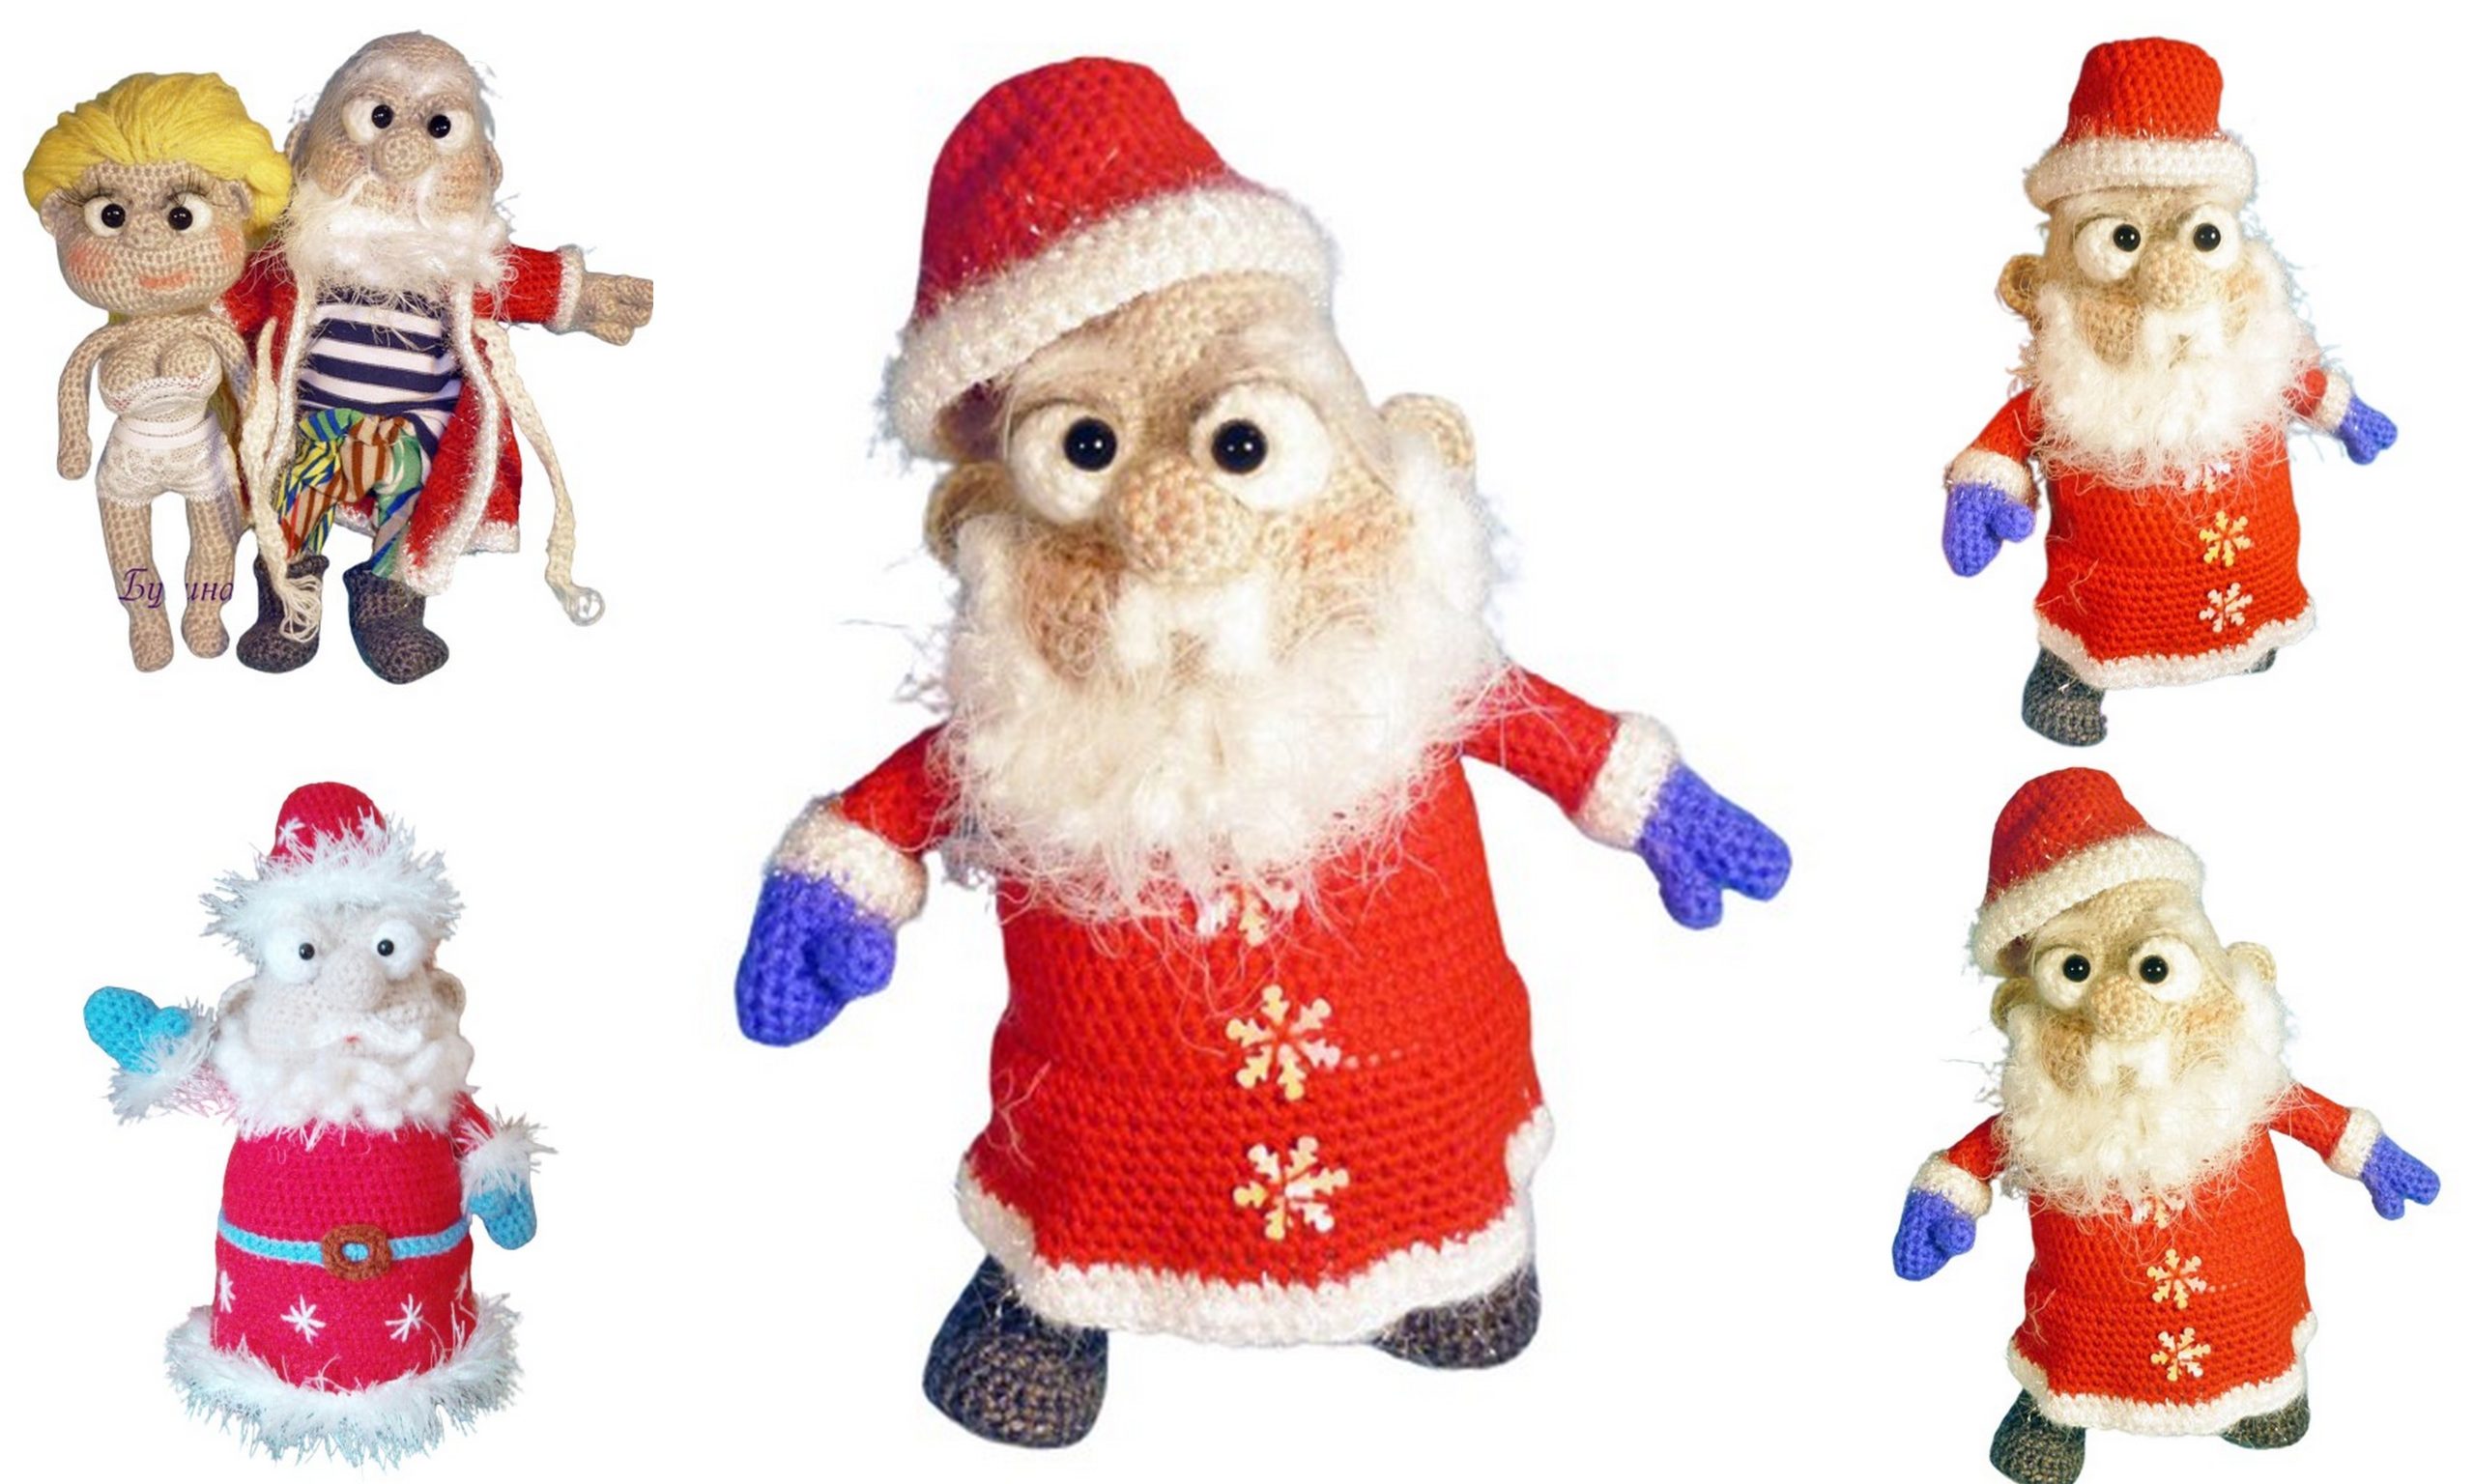
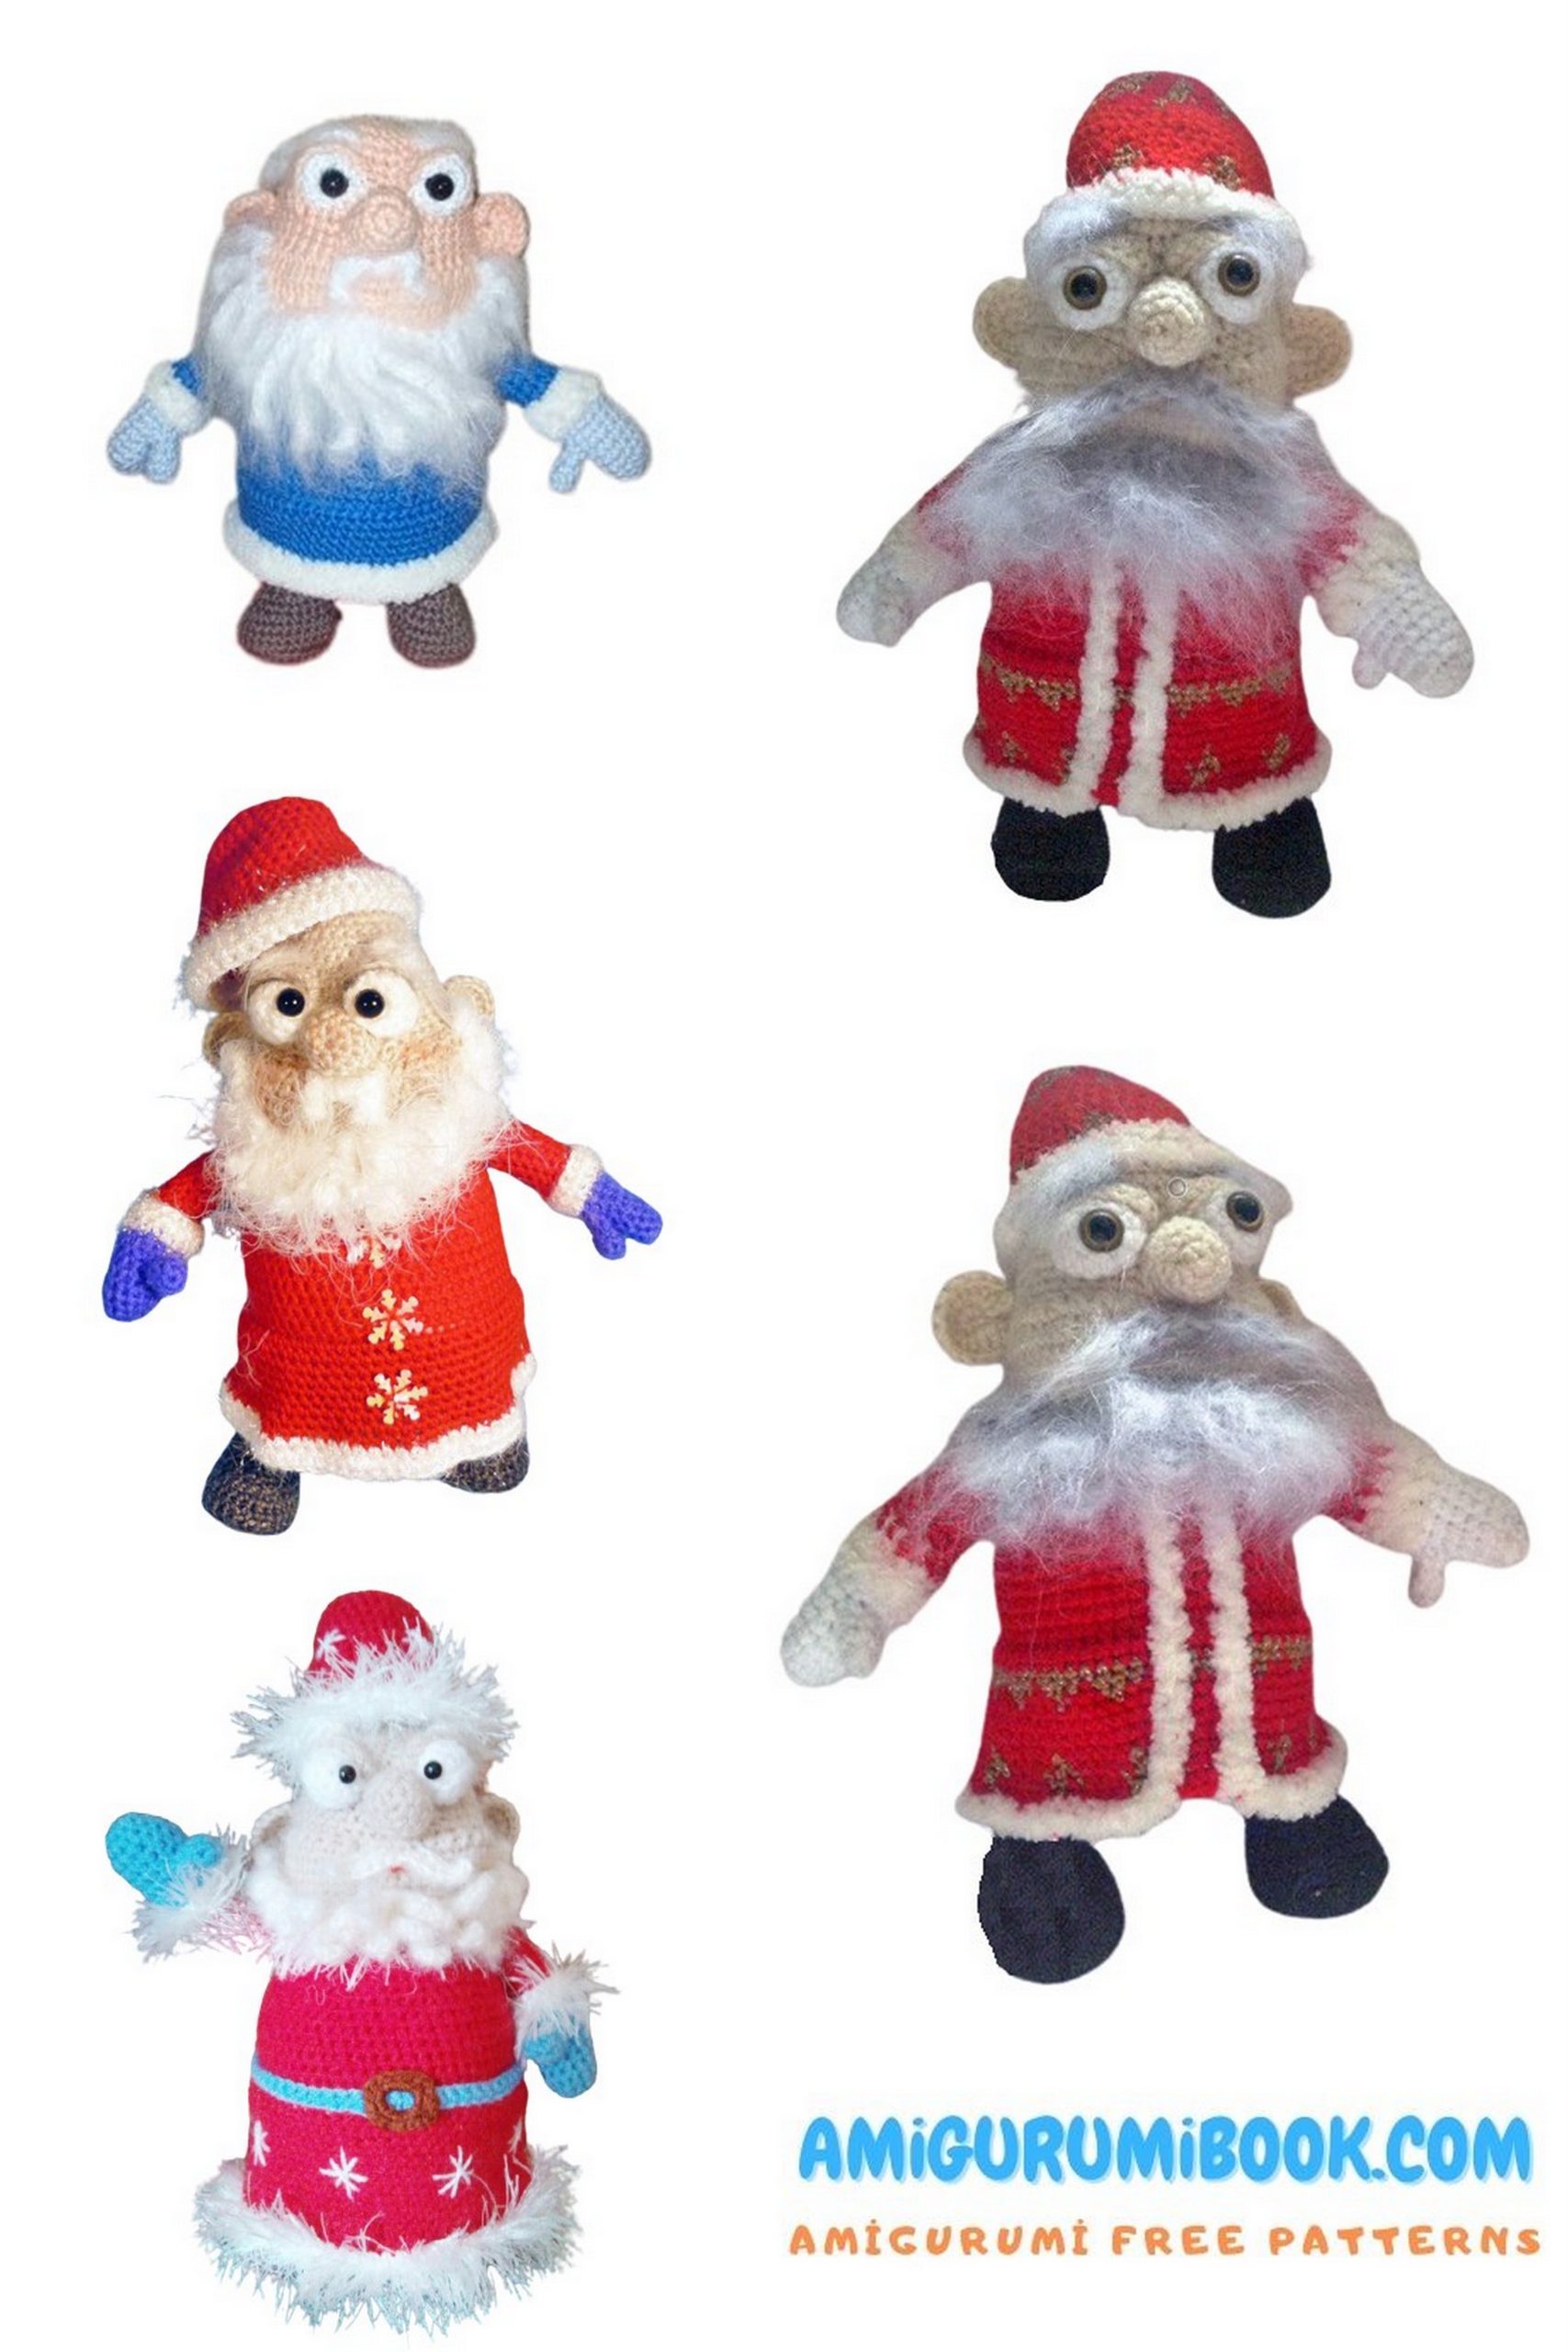
Get ready to infuse your Christmas festivities with a dose of whimsy and handmade charm! Our Crazy Santa Claus Amigurumi free pattern is here to add a playful touch to your holiday decor. Whether you’re a seasoned crocheter or just starting out, this pattern is perfect for crafting a unique and memorable Santa Claus that will stand out from the rest.
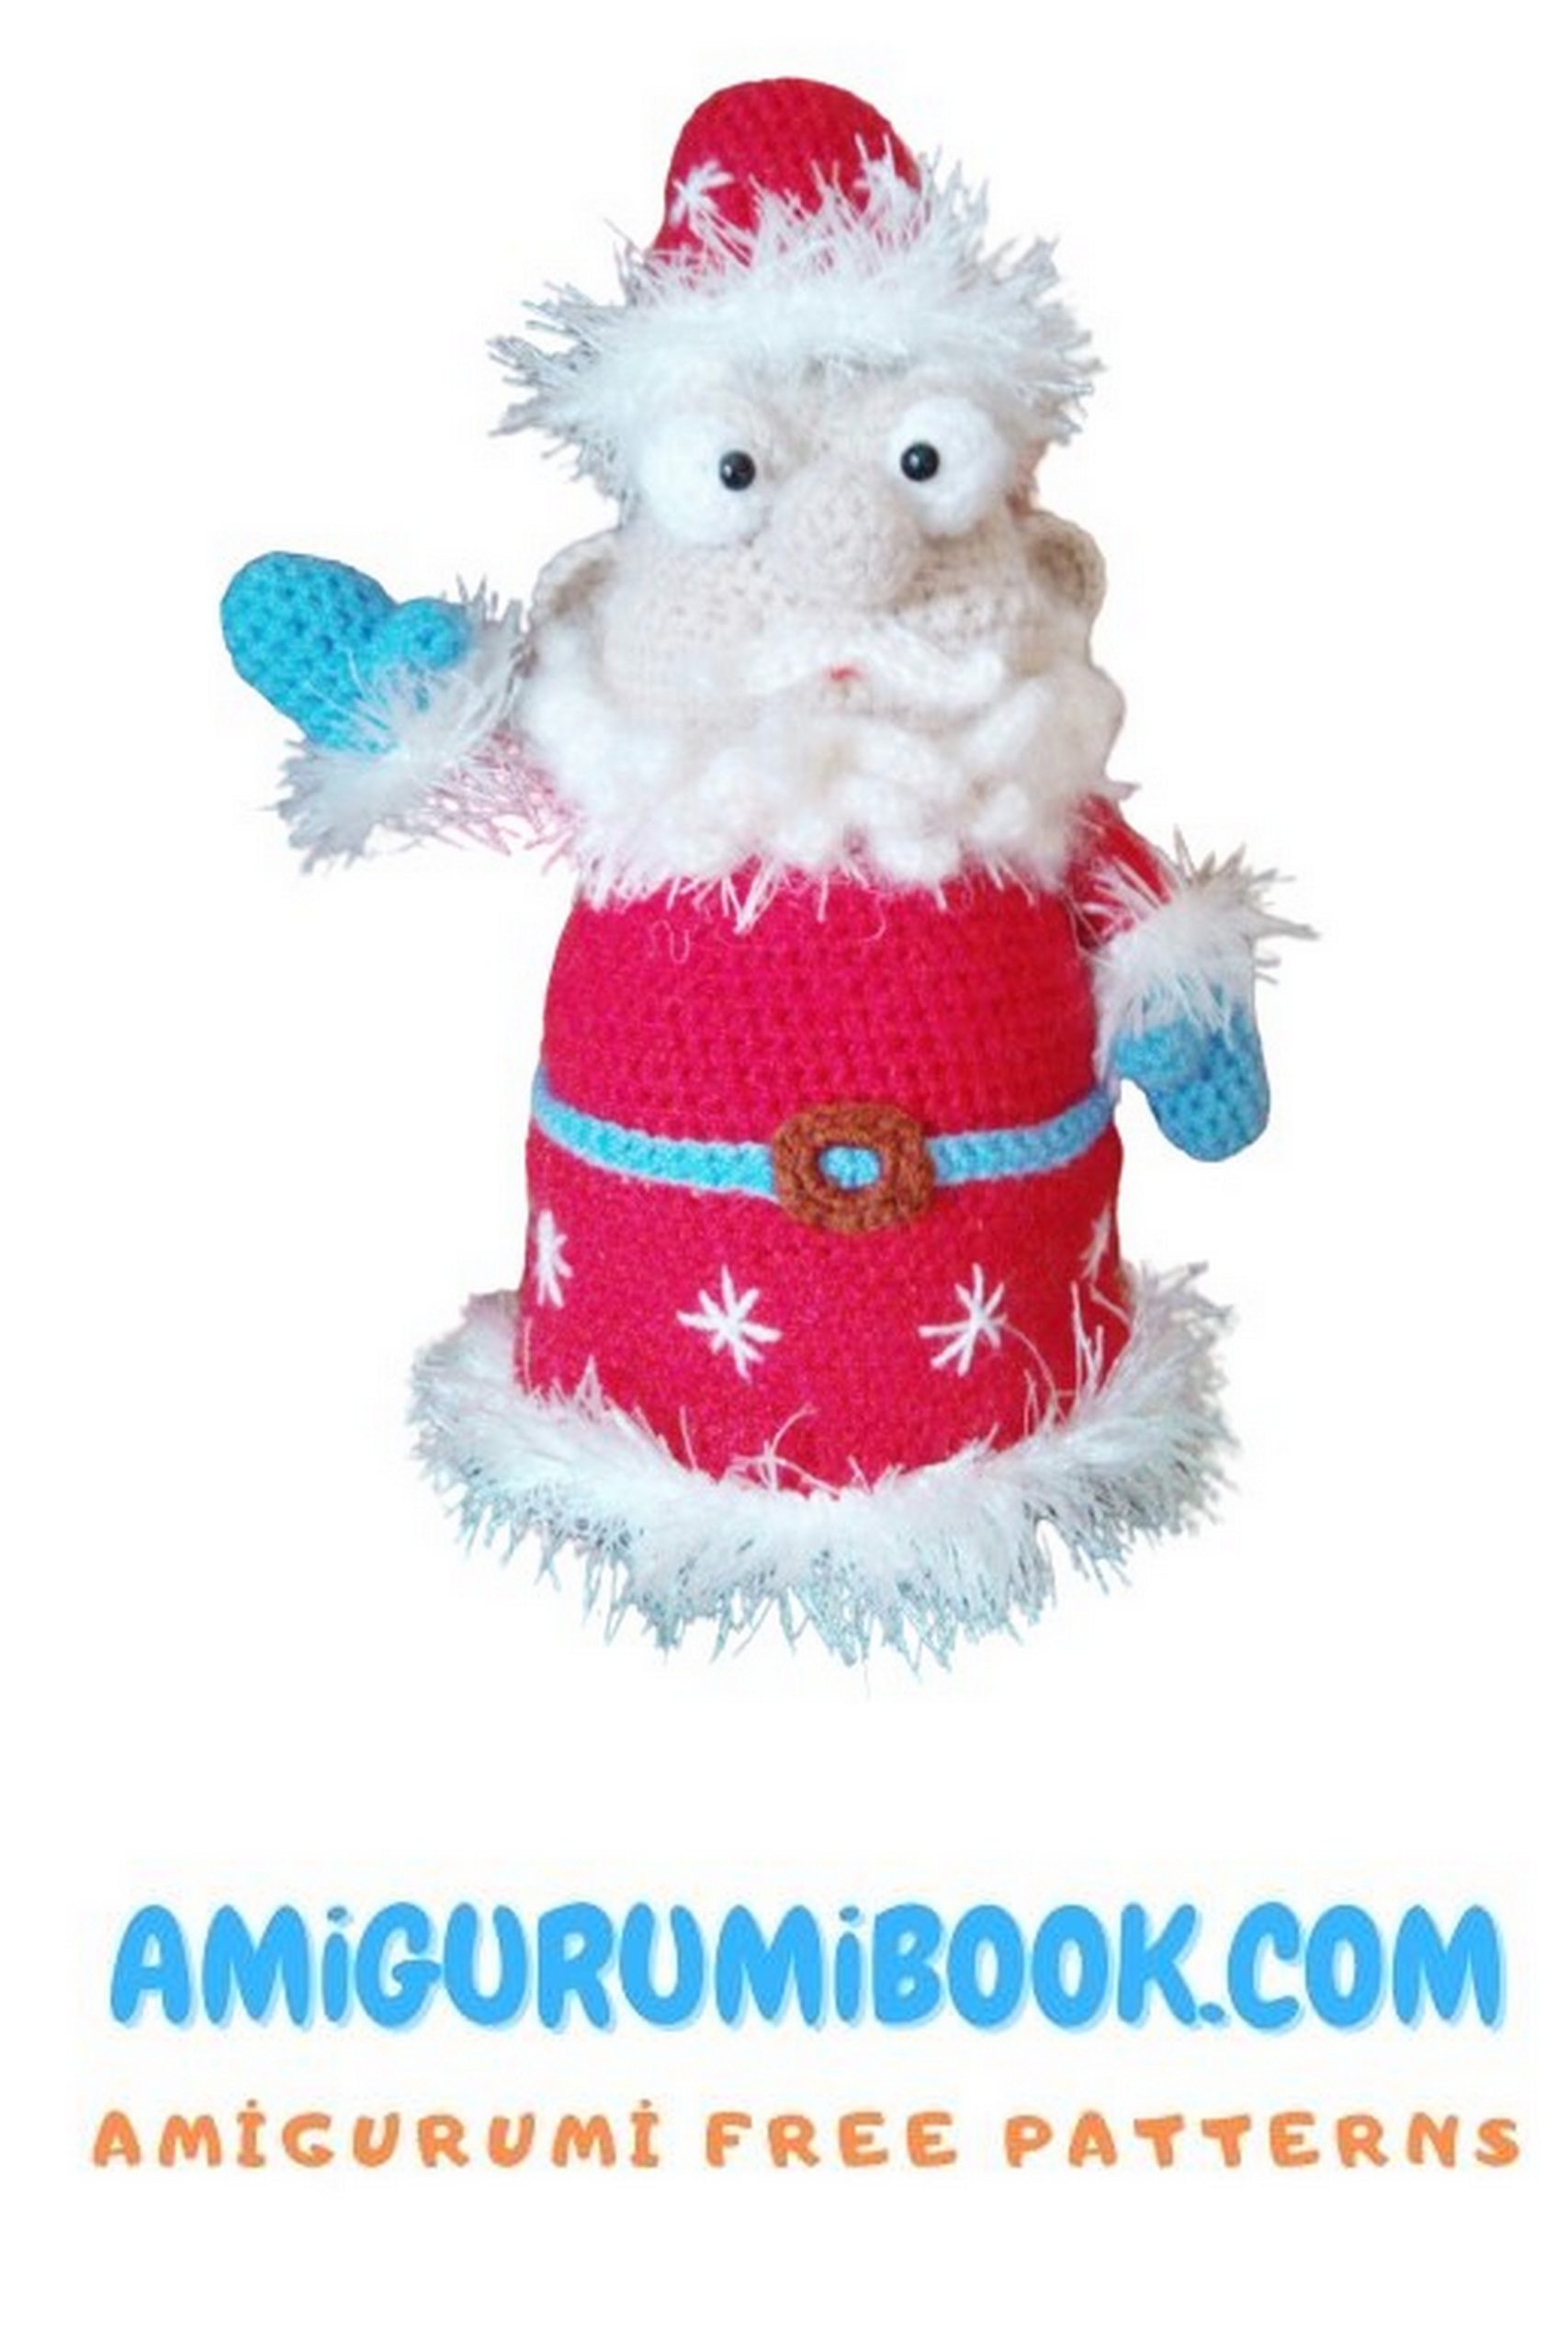
With its quirky design and festive details, this amigurumi Santa is sure to delight both kids and adults alike. Imagine a jolly old St. Nick with a twist – think bold colors, oversized accessories, and a touch of craziness that captures the joyful spirit of the season.
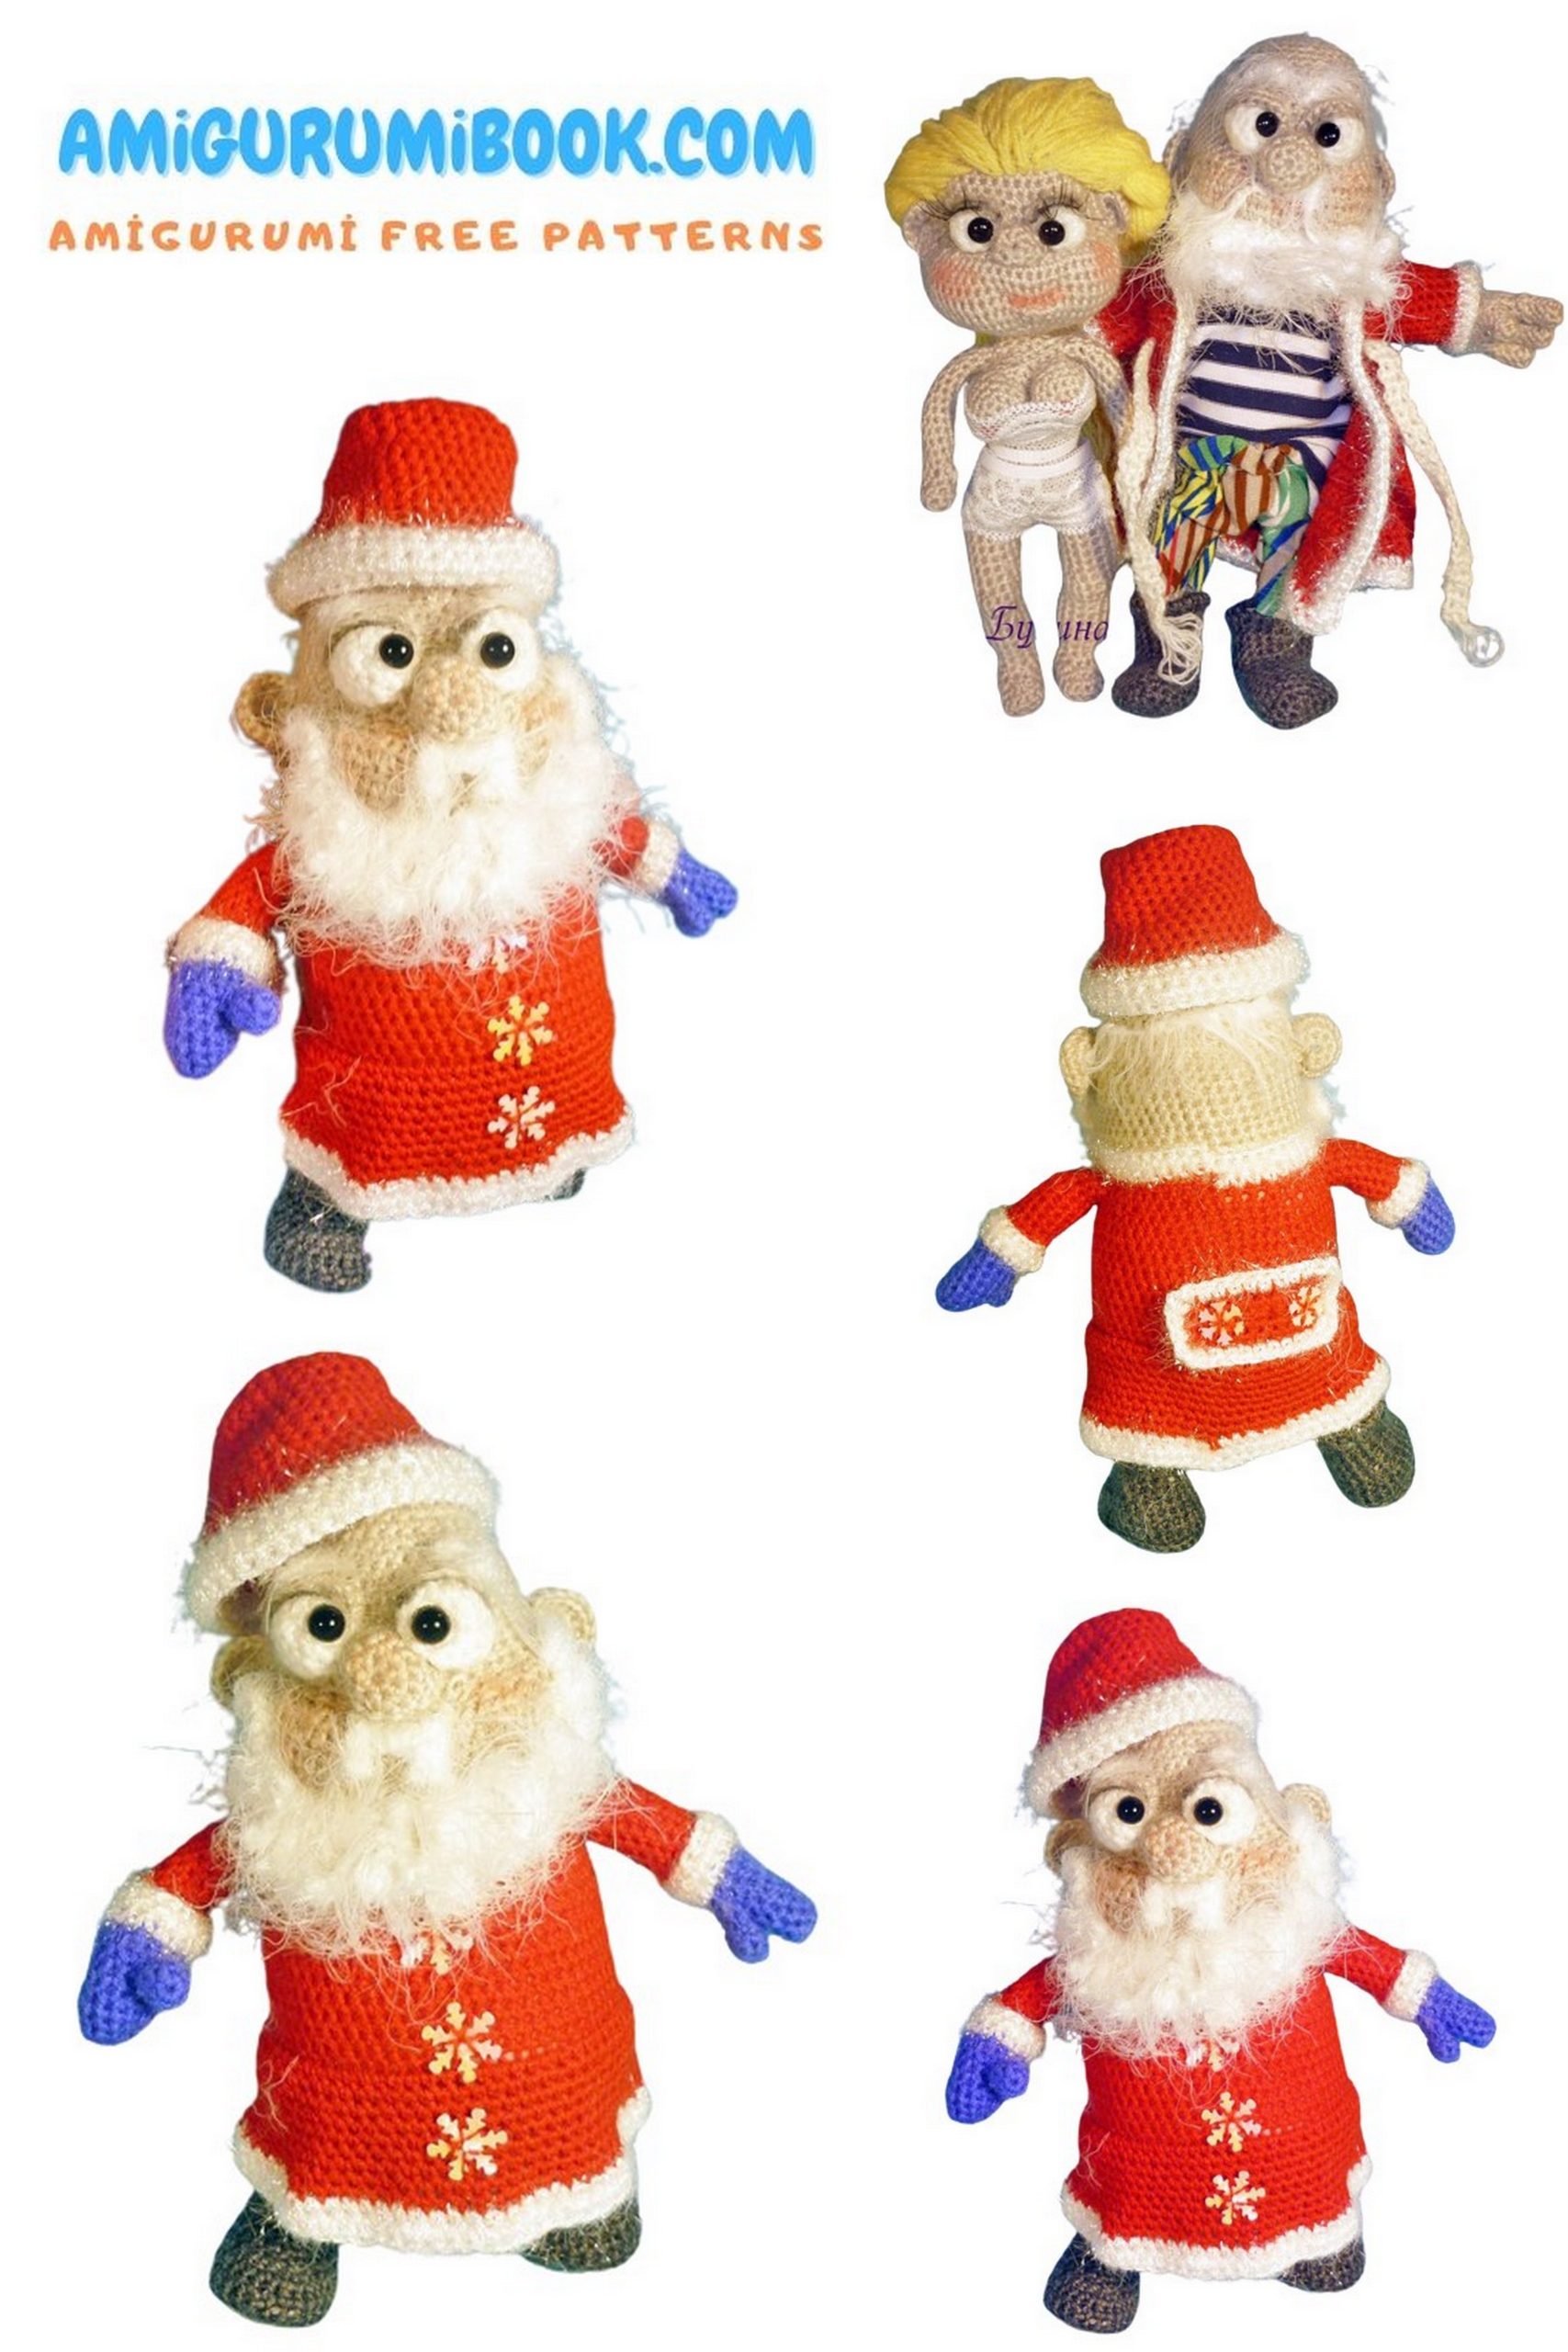
The best part? Our free pattern provides step-by-step instructions, making it accessible for crocheters of all skill levels. Dive into your yarn stash, pick out your favorite holiday hues, and let the magic unfold as you create your very own Crazy Santa Claus.
Not only does this amigurumi make for a delightful addition to your Christmas decorations, but it’s also a thoughtful and handmade gift idea for your loved ones. Share the joy of crafting by passing on this pattern, and watch as others join in the festive fun.
If you want to access 1000+ free amigurumi patterns, you can download our application from this link!
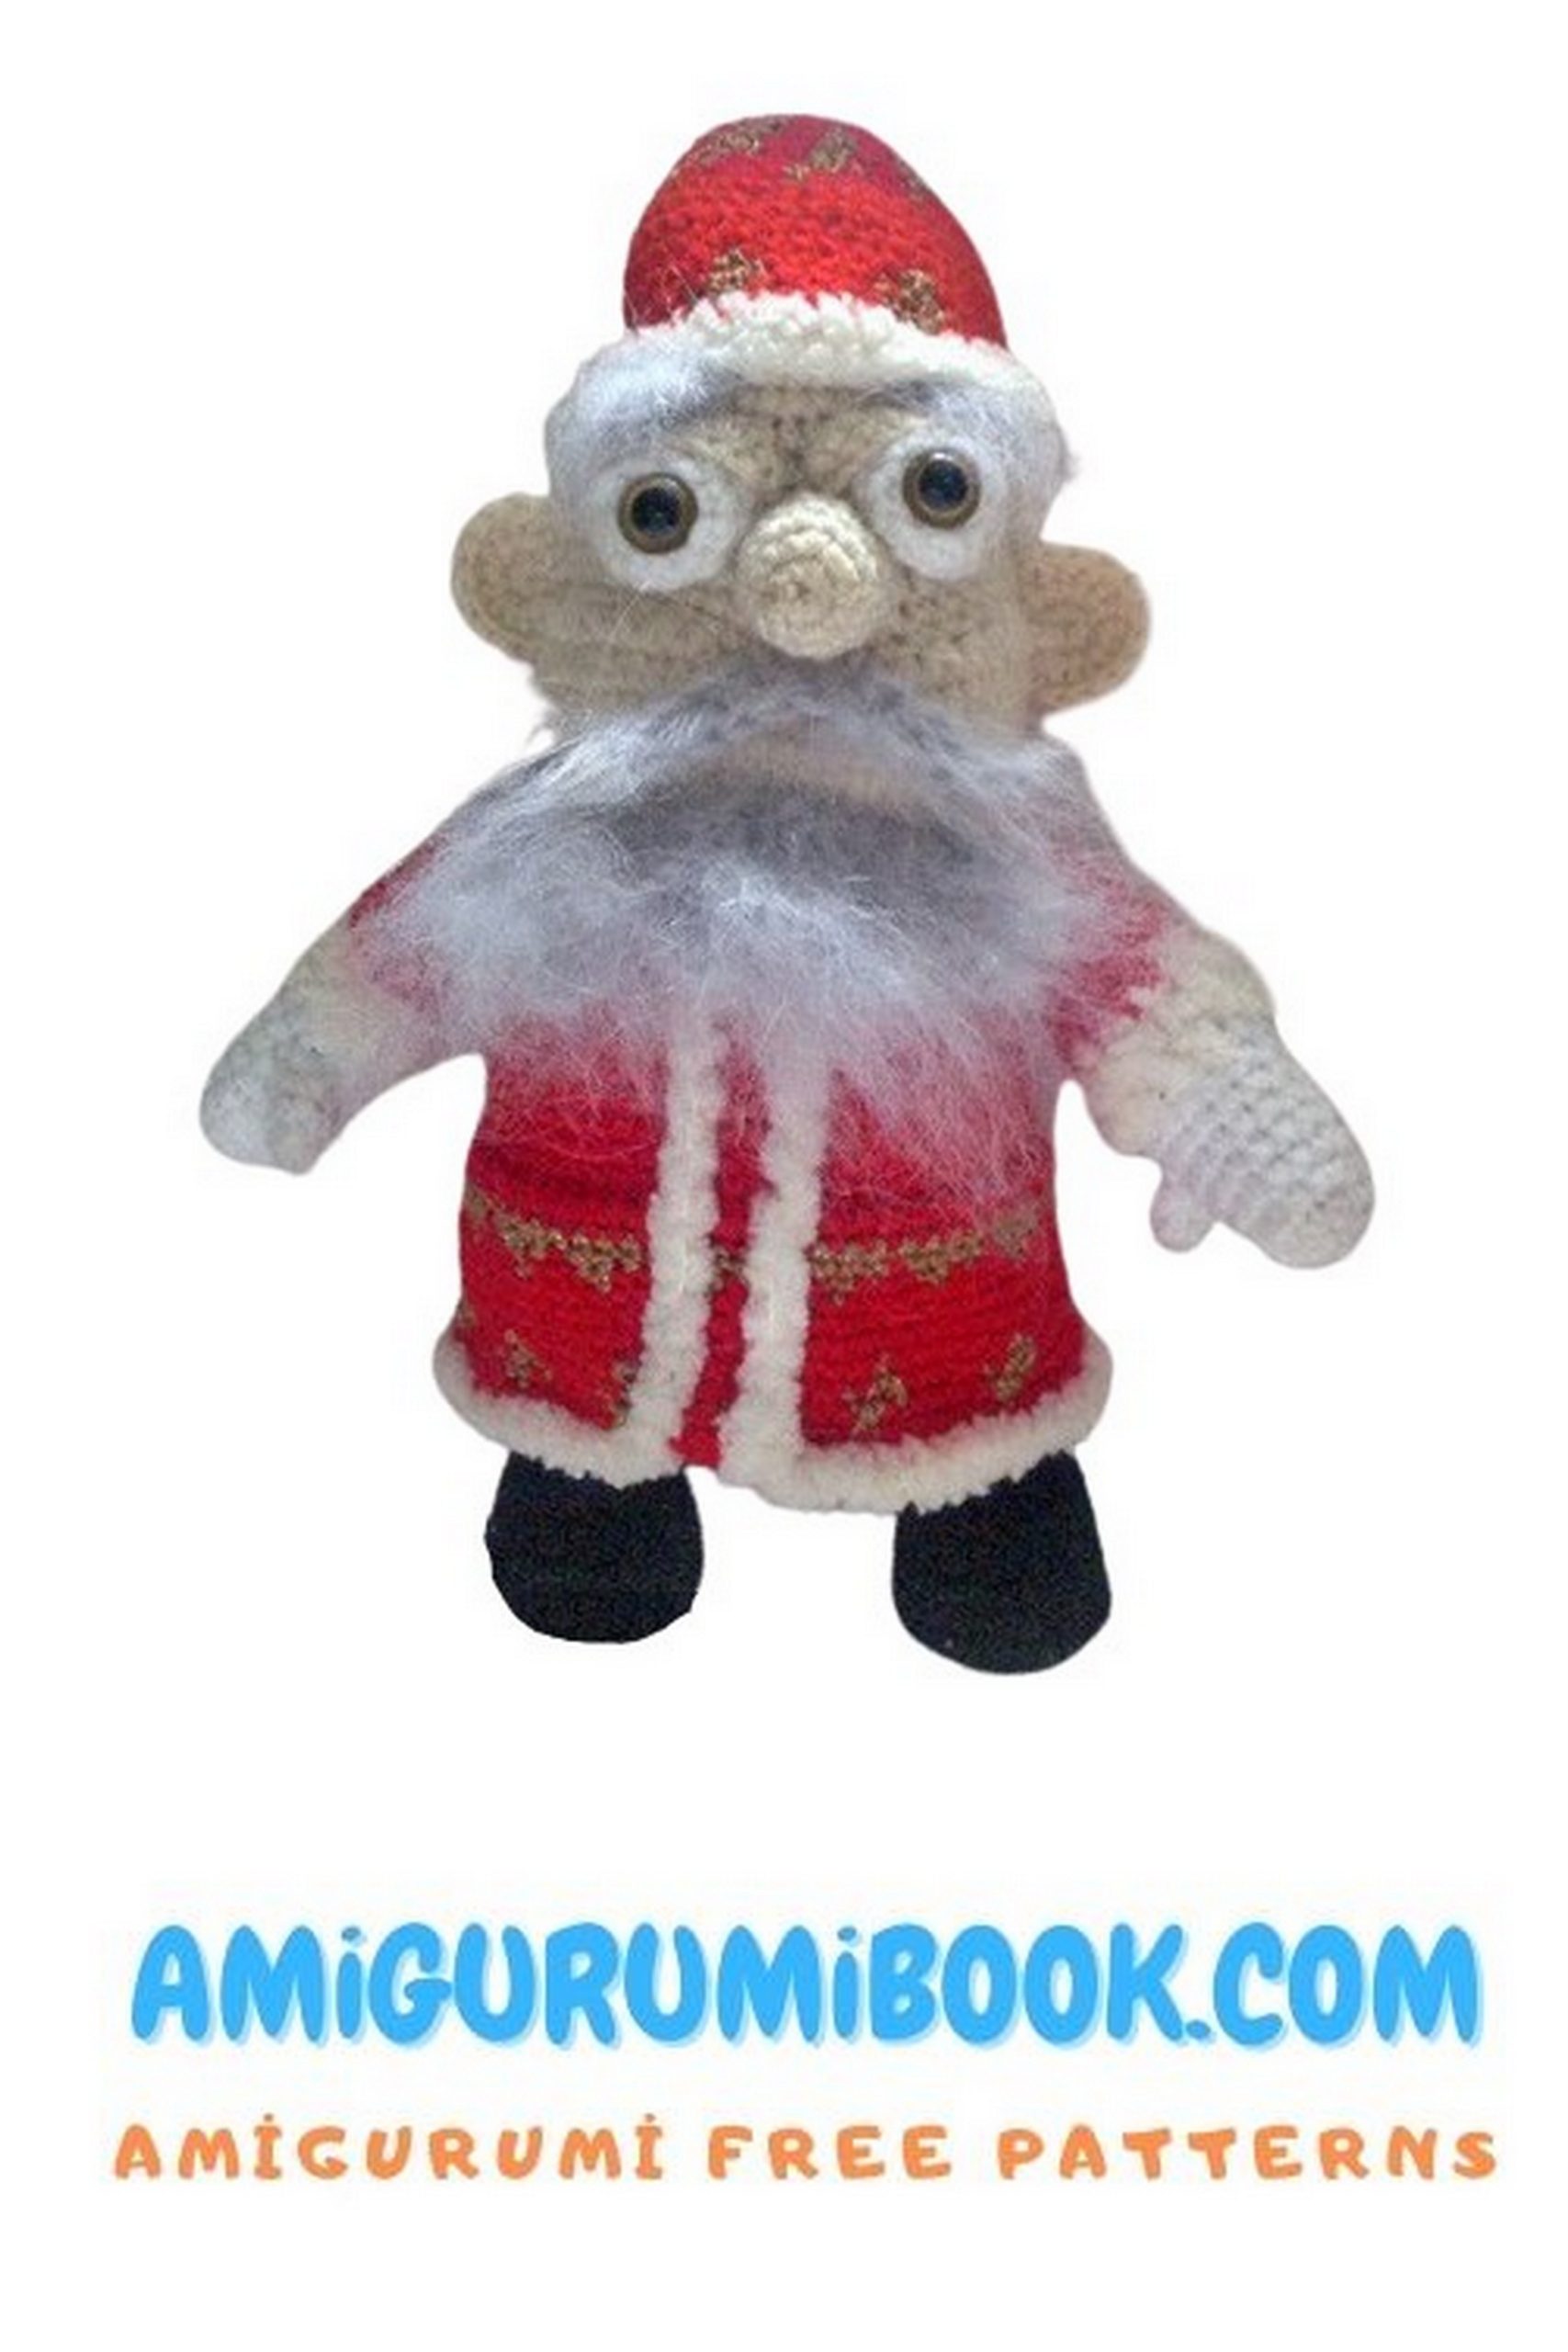
Materials: Whimsical Santa
Yarn 5 colors: red (for fur coat and hat),
blue (for mittens)
gray (for pants)
brown (for felt boots)
flesh (for head)
white (for eyes)
Yarn imitating fur (Yana Art Techno)
Clover hook No. 0.9
Eyes for toys approximately 0.4 mm
Stitching needle
Filler
Marker
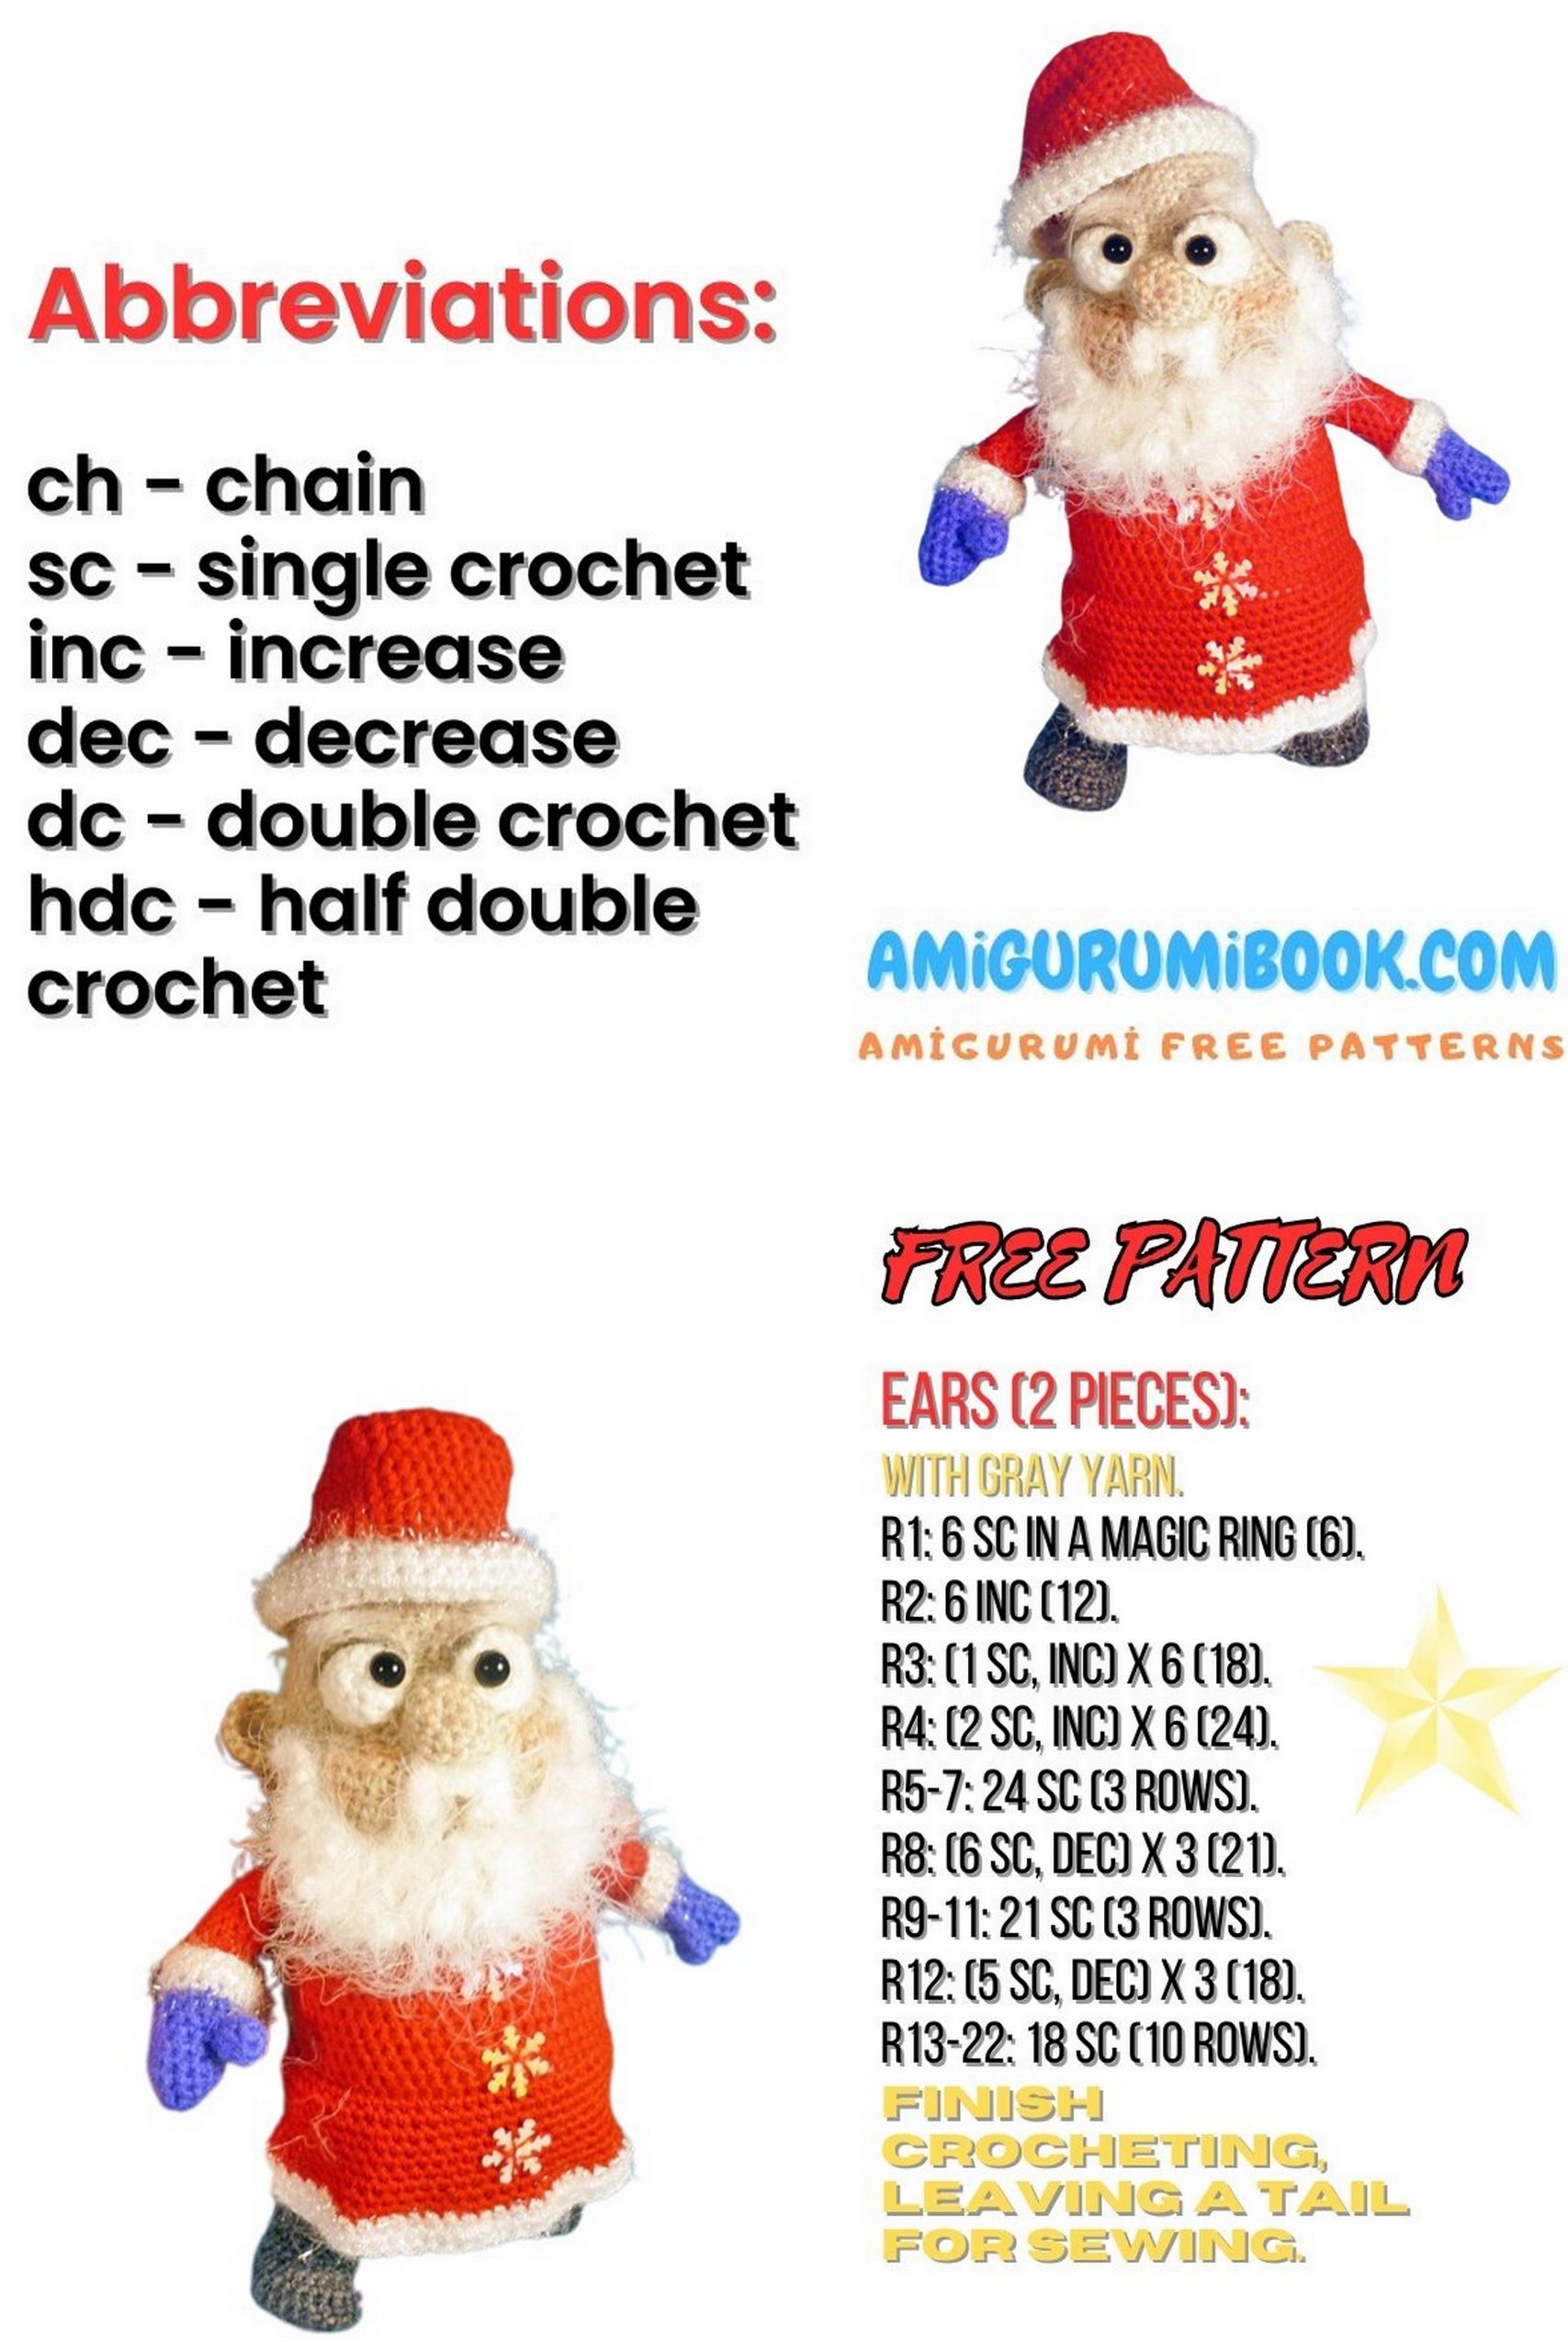
Abbreviations: Whimsical Santa
mc – magic ring
CH – chain
SL-ST – slip stitch
SC – single crochet
Hdc – half double crochet
Dc – double crochet
Dec – decrease
Inc – increase
Whimsical Santa Note:
*The entire toy is knitted on the wrong side.
For those who knit on the face, we knit in a mirror way.
When switching from pants to a fur coat, pay attention to 14-17
rows. You need to knit like this:
14 row 66 sc(66)
change the thread to the color of the fur coat
15 row 66 sc(66)
Row 16 for back half loops 66 sc(66)
Next, according to the description, we knit the body!!! And just after finishing,
we attach the thread to the left loops of the 16th row and
we knit the hem.
*ATTENTION: Pay attention to the symmetry of the part. With dense
crochet tends to shift. It is necessary in
knitting time, adjust the position of the marker (beginning
row). For example: if you notice that the marker has started
bow to the right, at the end of the row (now the “second” loop
will be the first). This is what is called a displacement loop – it is in
not included in the description.
Description
Whimsical Santa PATTERN
We knit EYES with white thread
1 6 into magic ring 6
2 6inc 12
3-5 12 sc (three rows) Leave thread for sewing 12
We knit the eyelids with flesh thread
1 8ch in the second from the hook
sl-st,inc,3Hdc,inc,sl-st,turn 9
2 9 sl-st Leave thread for sewing 9
We knit EARS with flesh thread
1 7 into magic ring ch, turn 7
2 7inc, ch, turn 14
3 13sc, sl-st thread cut, leave for sewing
We knit the NOSE with flesh thread
1 6 into magic ring 6
2 6inc 12
3-5 12 sc (three rows) cut the thread, leave for
Sewing 12
Knit beard with fluffy thread
We dial 15ch in the second from the SL-ST hook,
5ch, in the second loop from the hook along the chain 4 sc,
SL-ST into the next stitch on the main chain of 15 ch,
6 ch, into the second loop from the hook along the 5sc chain,
(SL-ST into the next stitch on the main chain of 15 ch,
7ch, in the second loop from the hook along the chain 6sc)*10,
SL-ST into the next stitch on the main chain of 15 ch,
6ch, in the second loop from the hook along the chain 5sc,
SL-ST into the next stitch on the main chain of 15 ch,
5ch, in the second loop from the hook along the 4sc chain,
SL-ST in the last loop on the main chain of 15 CH
Finish, cut the thread
We knit a MUSTACHE with fluffy thread
Cast on 7ch in the second loop from the sl-st hook, 2sc,
2Hdc, 1sc.
Cast on 7ch again in the second loop from the sl-st hook,
2sc, 2Hdc, 1sc, sl-st with last stitch first
chains of 7 CH
Finish. Leave a short thread for hemming
We knit EYEBROWS with fluffy thread
1 Cast on 5ch in the second loop from hook 4sc, ch,
Turn 4
2 3sc, sl-st 4
Finish. Cut the thread, leaving a small one
ponytail for chewing.
We knit MITTENS with blue thread
finger
1 6into magic ring 6
2-4 6sc6

For mittens Whimsical Santa
1 6into magic ring 6
2 6inc 12
3 (3sc,inc)*3 15
4-6 15sc(three rows) 15
7 tie a finger
For the left hand 1sc, knit 3sc, grabbing
finger loops and mittens, 11sc
For the right hand 4sc, knit 3sc, grabbing
finger loops and mittens, 8sc15
8 For the left hand 1sc, 3sc on the finger, 11sc
For the right hand 4sc, 3sc on the finger, 8sc15
9 15scchange the color of the thread to fur 15
10-11 15sc (two rows) change the color of the thread to the color of the fur coat 15
12 for front half loops (3sc, dec)*3 12
13-20 12sc (eight rows) cut thread 12
We knit FELT boots with brown thread
1 Cast on 5 ch from the second loop from hook 3sc, 3sc
in 1 p., 2sc, inc in the last loop
10**
2 inc, 2sc, 3inc, 2sc, 2inc 16**
3 1sc, inc, 2sc, 6inc, 2sc, inc, 3sc
*I knit two shoe insoles at once from the first to
third row (no need to insert cardboard).B
on the fourth row we connect these two insoles and continue
we knit by grabbing the loops from two insoles together
24**
4 inc, 8sc, inc, 4sc, inc, 8sc, inc 28
5 for front half loop 28sc28
6-7 28sc(two rows) 28
8 2dec, 5sc, 6dec, 7sc20
9 20sc20
10 5sc, 5dec, 5sc15
11-12 15 sc15
13 for the back half loop 15 sc15
14 15sc step. Cut the thread 15
LEG knit with gray thread
Attach the thread to the half loops of the 13th row
13 15sc15
14-17 15sc (four rows) cut thread 15
We knit the TORSO with gray thread
1 6into magic ring 6
2 6inc 12
4 (1sc,inc)*6 18
5 (2sc,inc)*6 24
6 24sc24
7 (3sc,inc)*6 30
8-9 30sc (two rows) marker runs down the middle of the back 30
10 4sc, tie 5sc torso along with five
leg loops, (inc, 1sc)*2, inc, 2sc, inc,
(1sc,inc)*2, tie 5sc torsos along with
five loop legs, 4sc36
11 4sc, 10sc on leg, 18sc, 10sc on leg, 4sc46
12 (4sc, inc)*2, 3sc, (2sc, inc)*6, 5sc, (inc, 4sc)*2 56
13 (5sc, inc)*2, 3sc, (3sc, inc)*6, 5sc, (inc, 5sc)*2 66
14-16 66sc66
17 Change the color of the thread to the color of the fur coat,
66sc for the back half loop this will be the bottom of the fur coat 66
We knit the bottom of the fur coat to the length you need, at the end of knitting we knit
two rows of FUR yarn
18 66sc we knit for the left front half loops
seventeenth row 66
19-25 66sc(seven rows) 66
26 20sc,(dec,6sc)*3,dec,20sc+3 bias loops 62
27 5sc,dec,48sc,dec,5sc60
28 6sc,dec,(5sc,dec)*2,16sc,(dec,5sc)*2,dec,6sc54
29 5sc,dec,40sc,dec,5sc+1 bias loop 52
30 9sc, tie 6sc torso along with six
handle loops, 1sc, (dec, 4sc) * 3, dec, 1sc, tie
6sc torso along with six handle loops,9sc48
31 3sc,dec,4sc,6sc by handle, (2sc,dec)*4,2sc,6sc by
handle,4sc,dec,3sc+1 offset loop 42
32 Change the thread to FUR color 42sc42
32 42sc Change the thread to a flesh color
WATCH THE SYMMETRY!!!!! 42
33 We knit the entire row using the FRONT HALF-LOOPS
13sc,(inc,2sc)*5,inc,13sc+1 bias loop 48
34 17sc, tie 14sc heads together with
fourteen beard loops, 17sc48
35 14sc,7inc Hdc,6sc for rear half hinges,7inc Hdc,
14sc62
36 14sc,14Hdc,6sc,14Hdc,14sc62
37 14sc,14Hdc,1sc,4sctogether with those left
front half-loops of the thirty-fifth row, 1sc,
14Hdc,14sc62
38 11sc, tie 1sc heads together with one
ear loop,2sc,7dec Hdc,6sc,7dec Hdc,2sc,
tie 1sc heads together with one loop
ear,11sc48
39 22sc, tie 4sc heads together with four
mustache loops, 22sc48
40 21sc, tie 6sc heads along with six
nose loops, 21sc48
41 11sc, tie 1sc heads together with one
ear loop, 9sc, 6sc on the nose, 9sc, tie 1sc
head together with one ear loop, 11sc
Fill the spout with filler 48
42 3sc,dec,12sc,we tie 6sc heads together with
six eye loops, 2sc, tie 6sc
heads together with six eye loops, 12sc,
dec,3sc46
43 3sc, dec, 11sc, 6sc by eye, 2sc, 6sc by
eye, 11sc, dec, 3sc eyes fill with filler 44
44 3sc,dec,11sc,we tie 5sc heads together with
five eyelid loops (knit along the eyelid from 3 to 7 loops.
We leave two loops at the edges for sewing,
2sc, tie 5sc heads together with five
eyelid loops (we knit along the eyelid from 3 to 7 loops. Two
leave the loops along the edges for sewing,
11sc,dec,3sc42
45 3sc,dec,32sc,dec,3sc+1 bias loop 40
46 8sc,dec,3sc,we tie 4sc heads together with
four eyebrow loops, 6sc, tie 4sc
heads along with four loops
eyebrows,3sc,dec,8sc38
47 8sc,dec,18sc,dec,8sc36
48 (4sc,dec)*6 30
49 30sc30
50 (3sc,dec)*6 24
51 (2sc,dec)*6 18
52 (1sc,dec)*6 12
53 Dec

We knit a HAT with red thread
Whimsical Santa
1 6 into magic ring 6
2 6inc 12
3 (1sc,inc)*6 18
4 (2sc,inc)*6 24
5 24sc24
6 (3sc,inc)*6 30
7-8 30sc(two rows) 30
9 (4sc,inc)*6 36
10-12 36sc(three rows) 36
13 (5sc,inc)*6 42
14-16 42sc(three rows)
We change the thread, then we knit the fur of the hat
17-19 42sc (three rows) cut thread hide 42
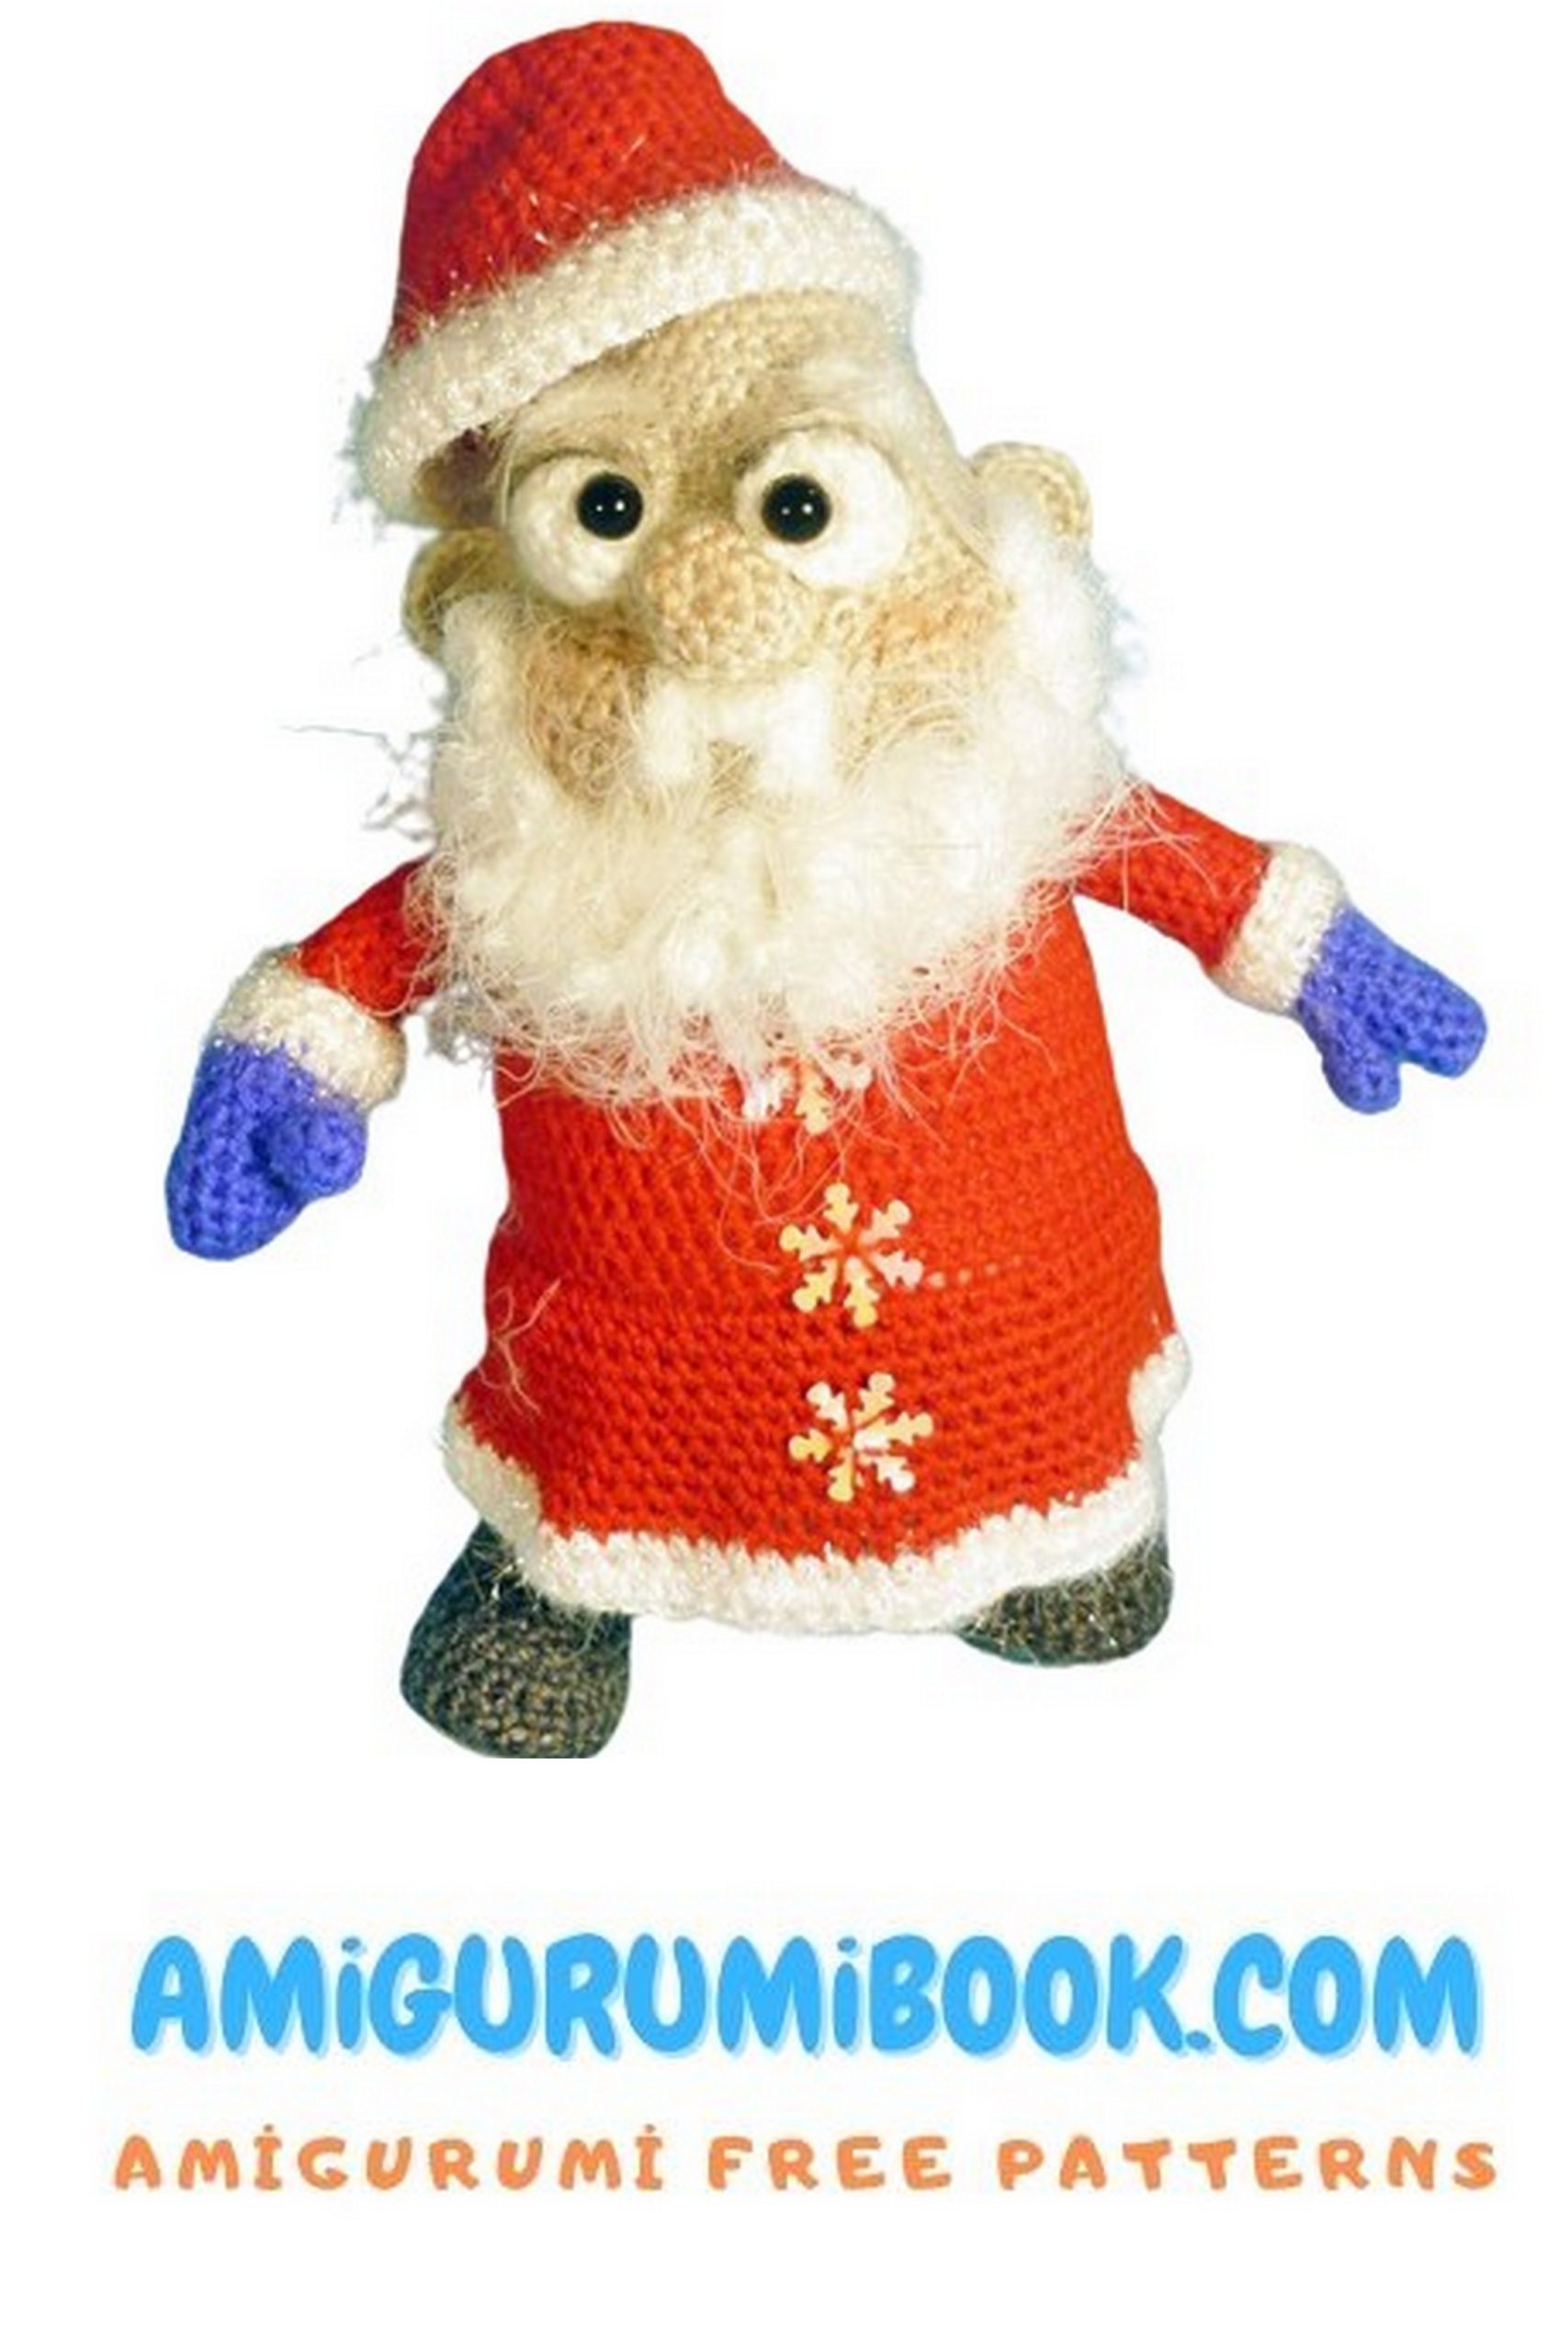
ASSEMBLY and DESIGN: Whimsical Santa
1. Hide all the threads. Where they left the tails for hemming –
hem. It’s entirely your imagination and taste. Eyebrows are possible
raise it, lower the antennae, etc.
2. Comb your beard, mustache, hair, eyebrows.
3. Sew snowflakes to the fur coat (optional).
4. Glue the eyes (half beads)
5. Tint
6. Mandatory condition: Smile at Grandfather!!!
Test result:
Acrylic threads 50 g/300 m height 20 cm.
Thank you! That you chose mine toy.
I hope you enjoyed it process.