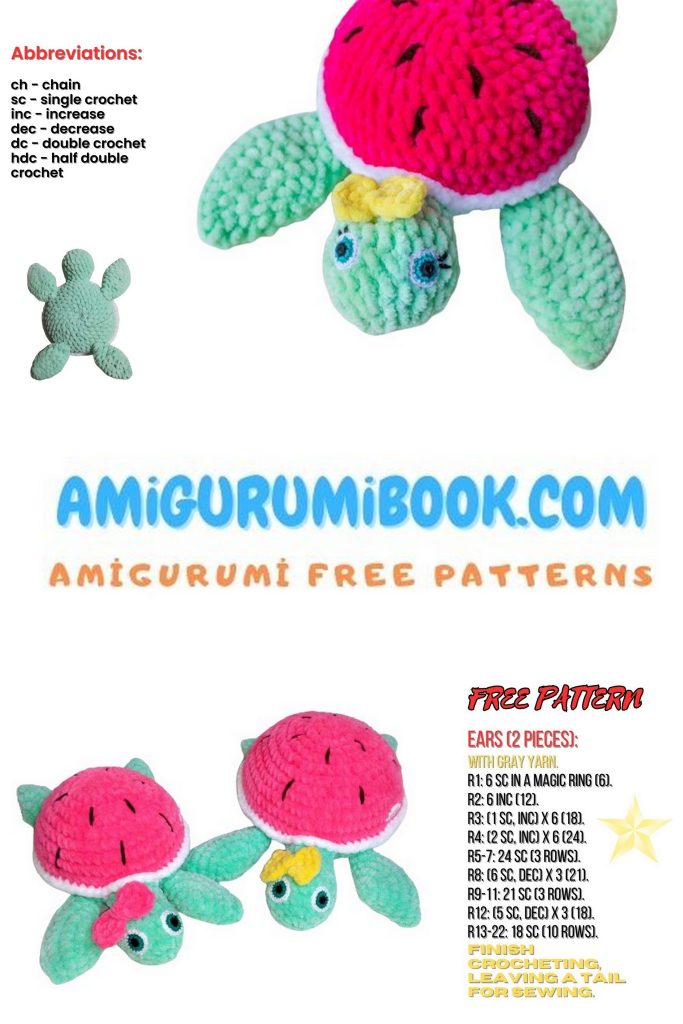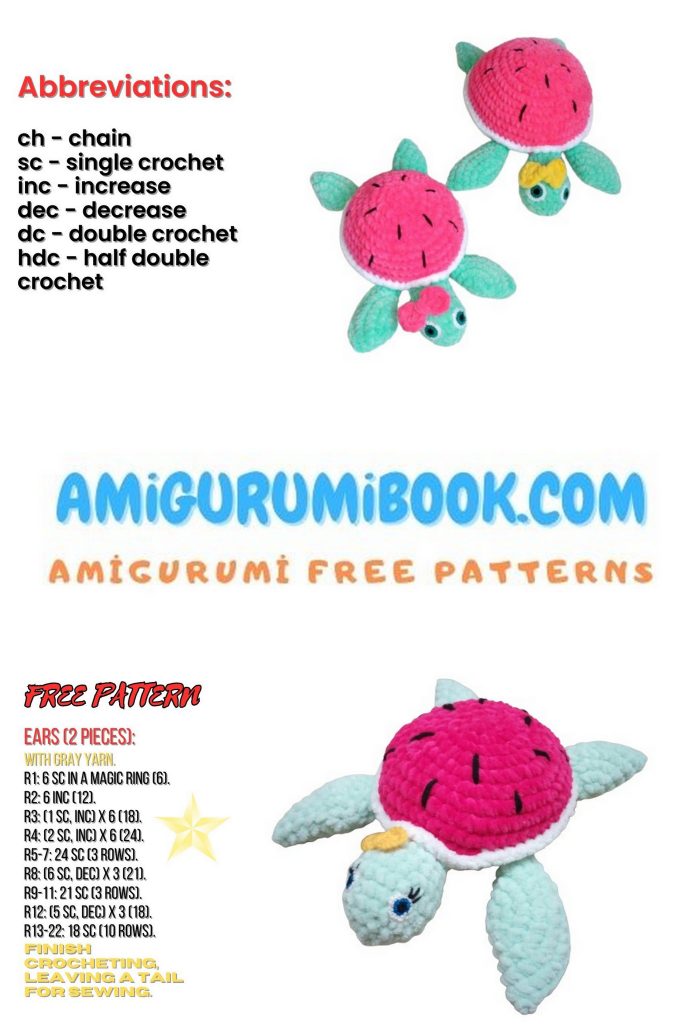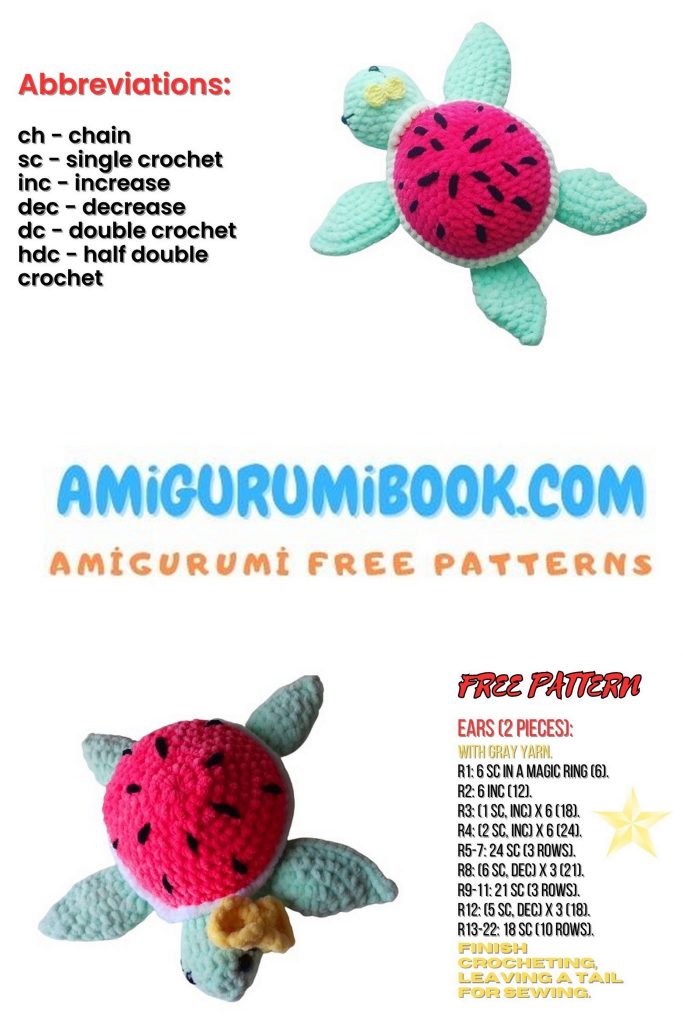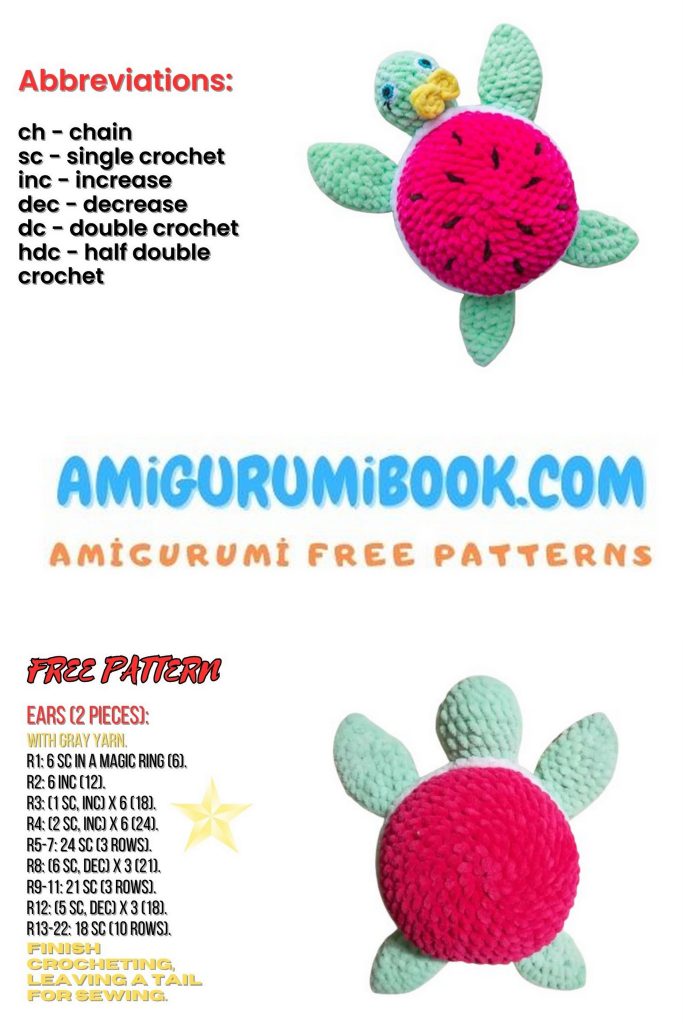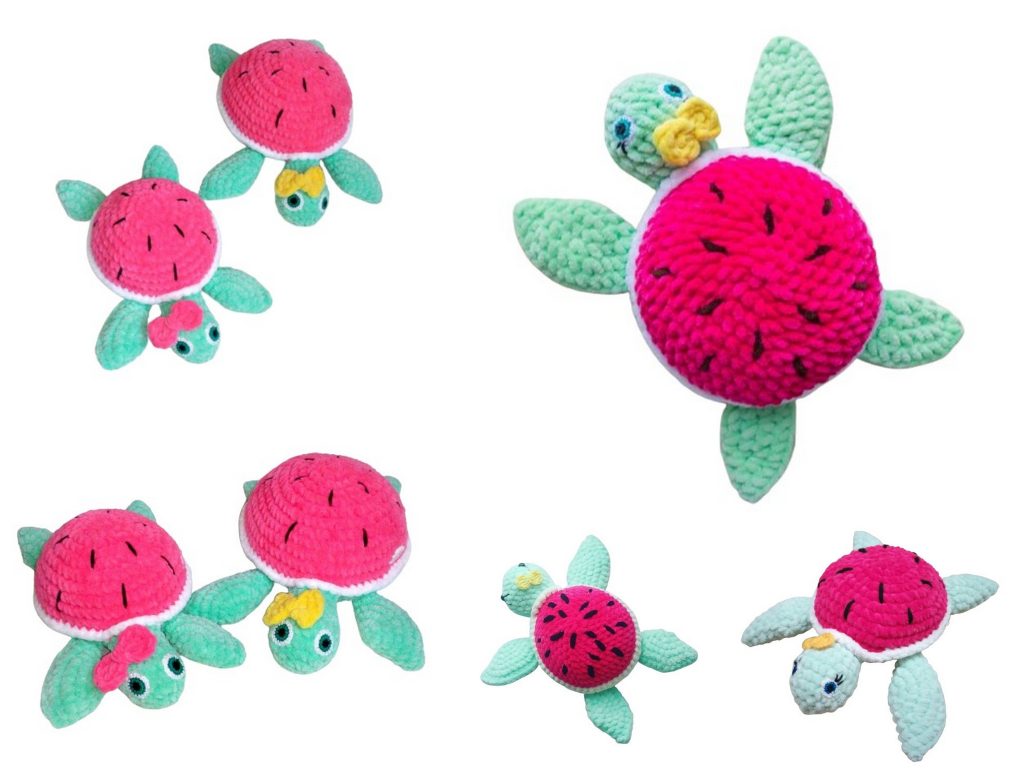
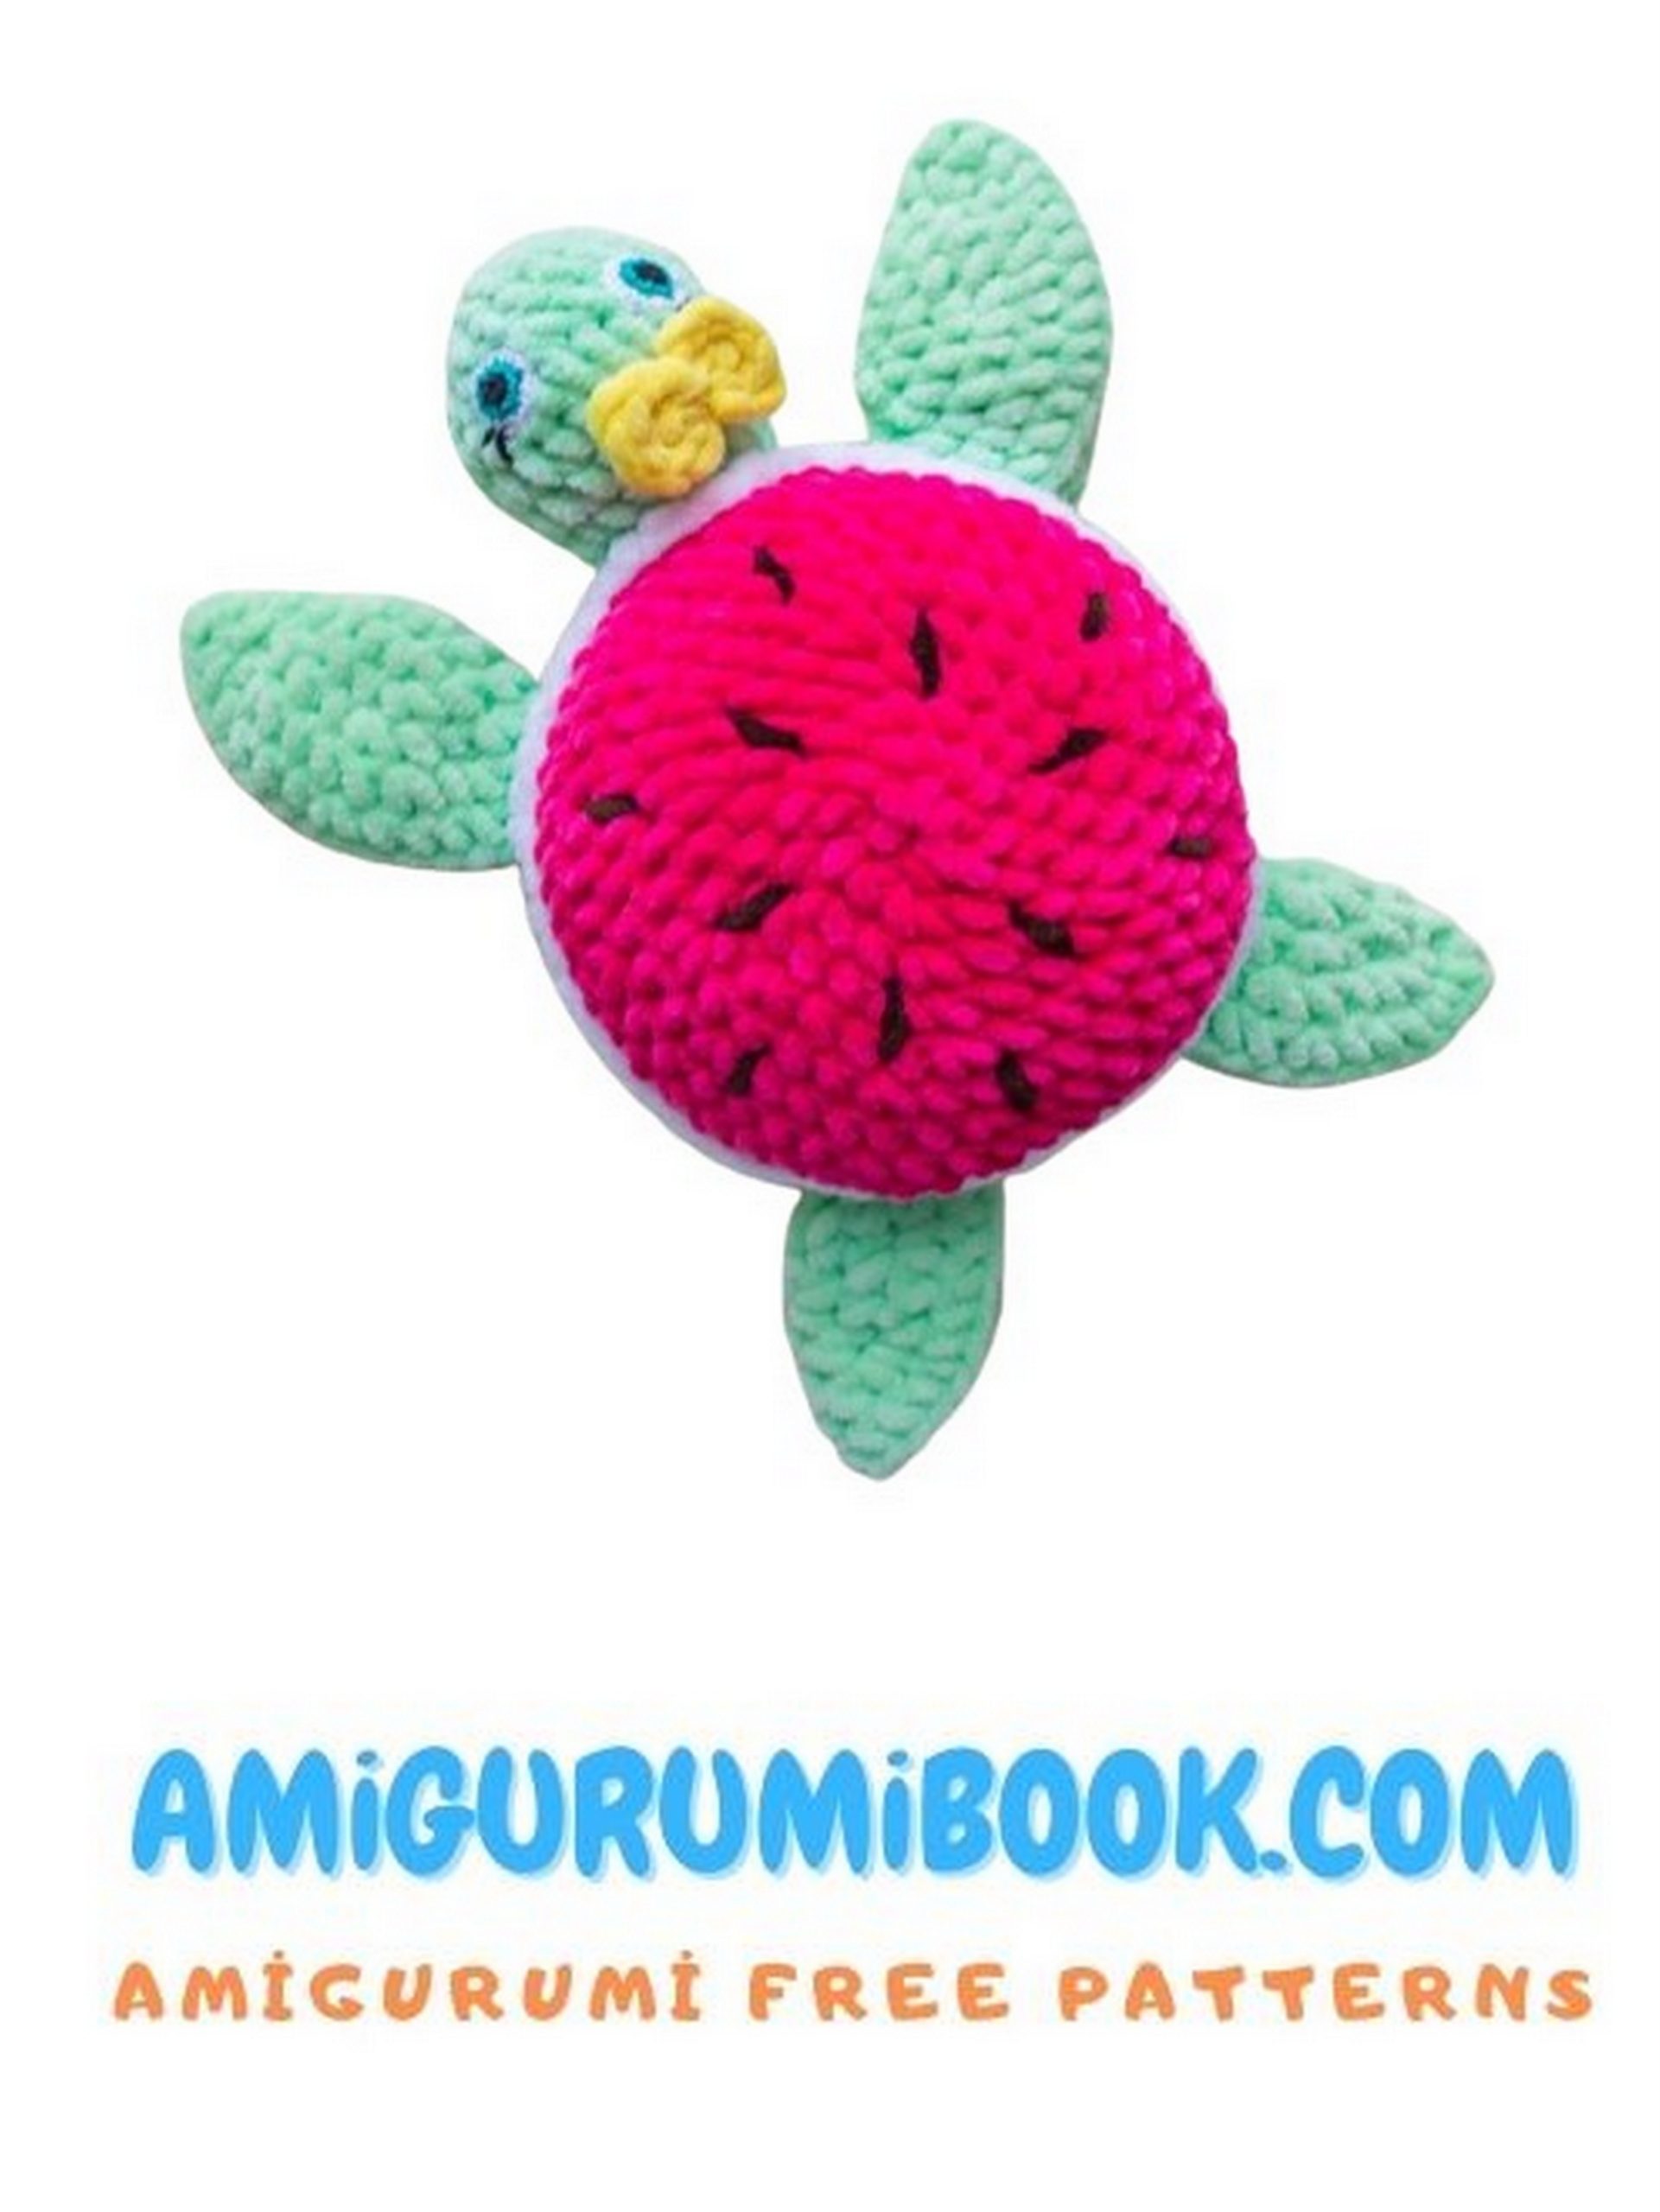
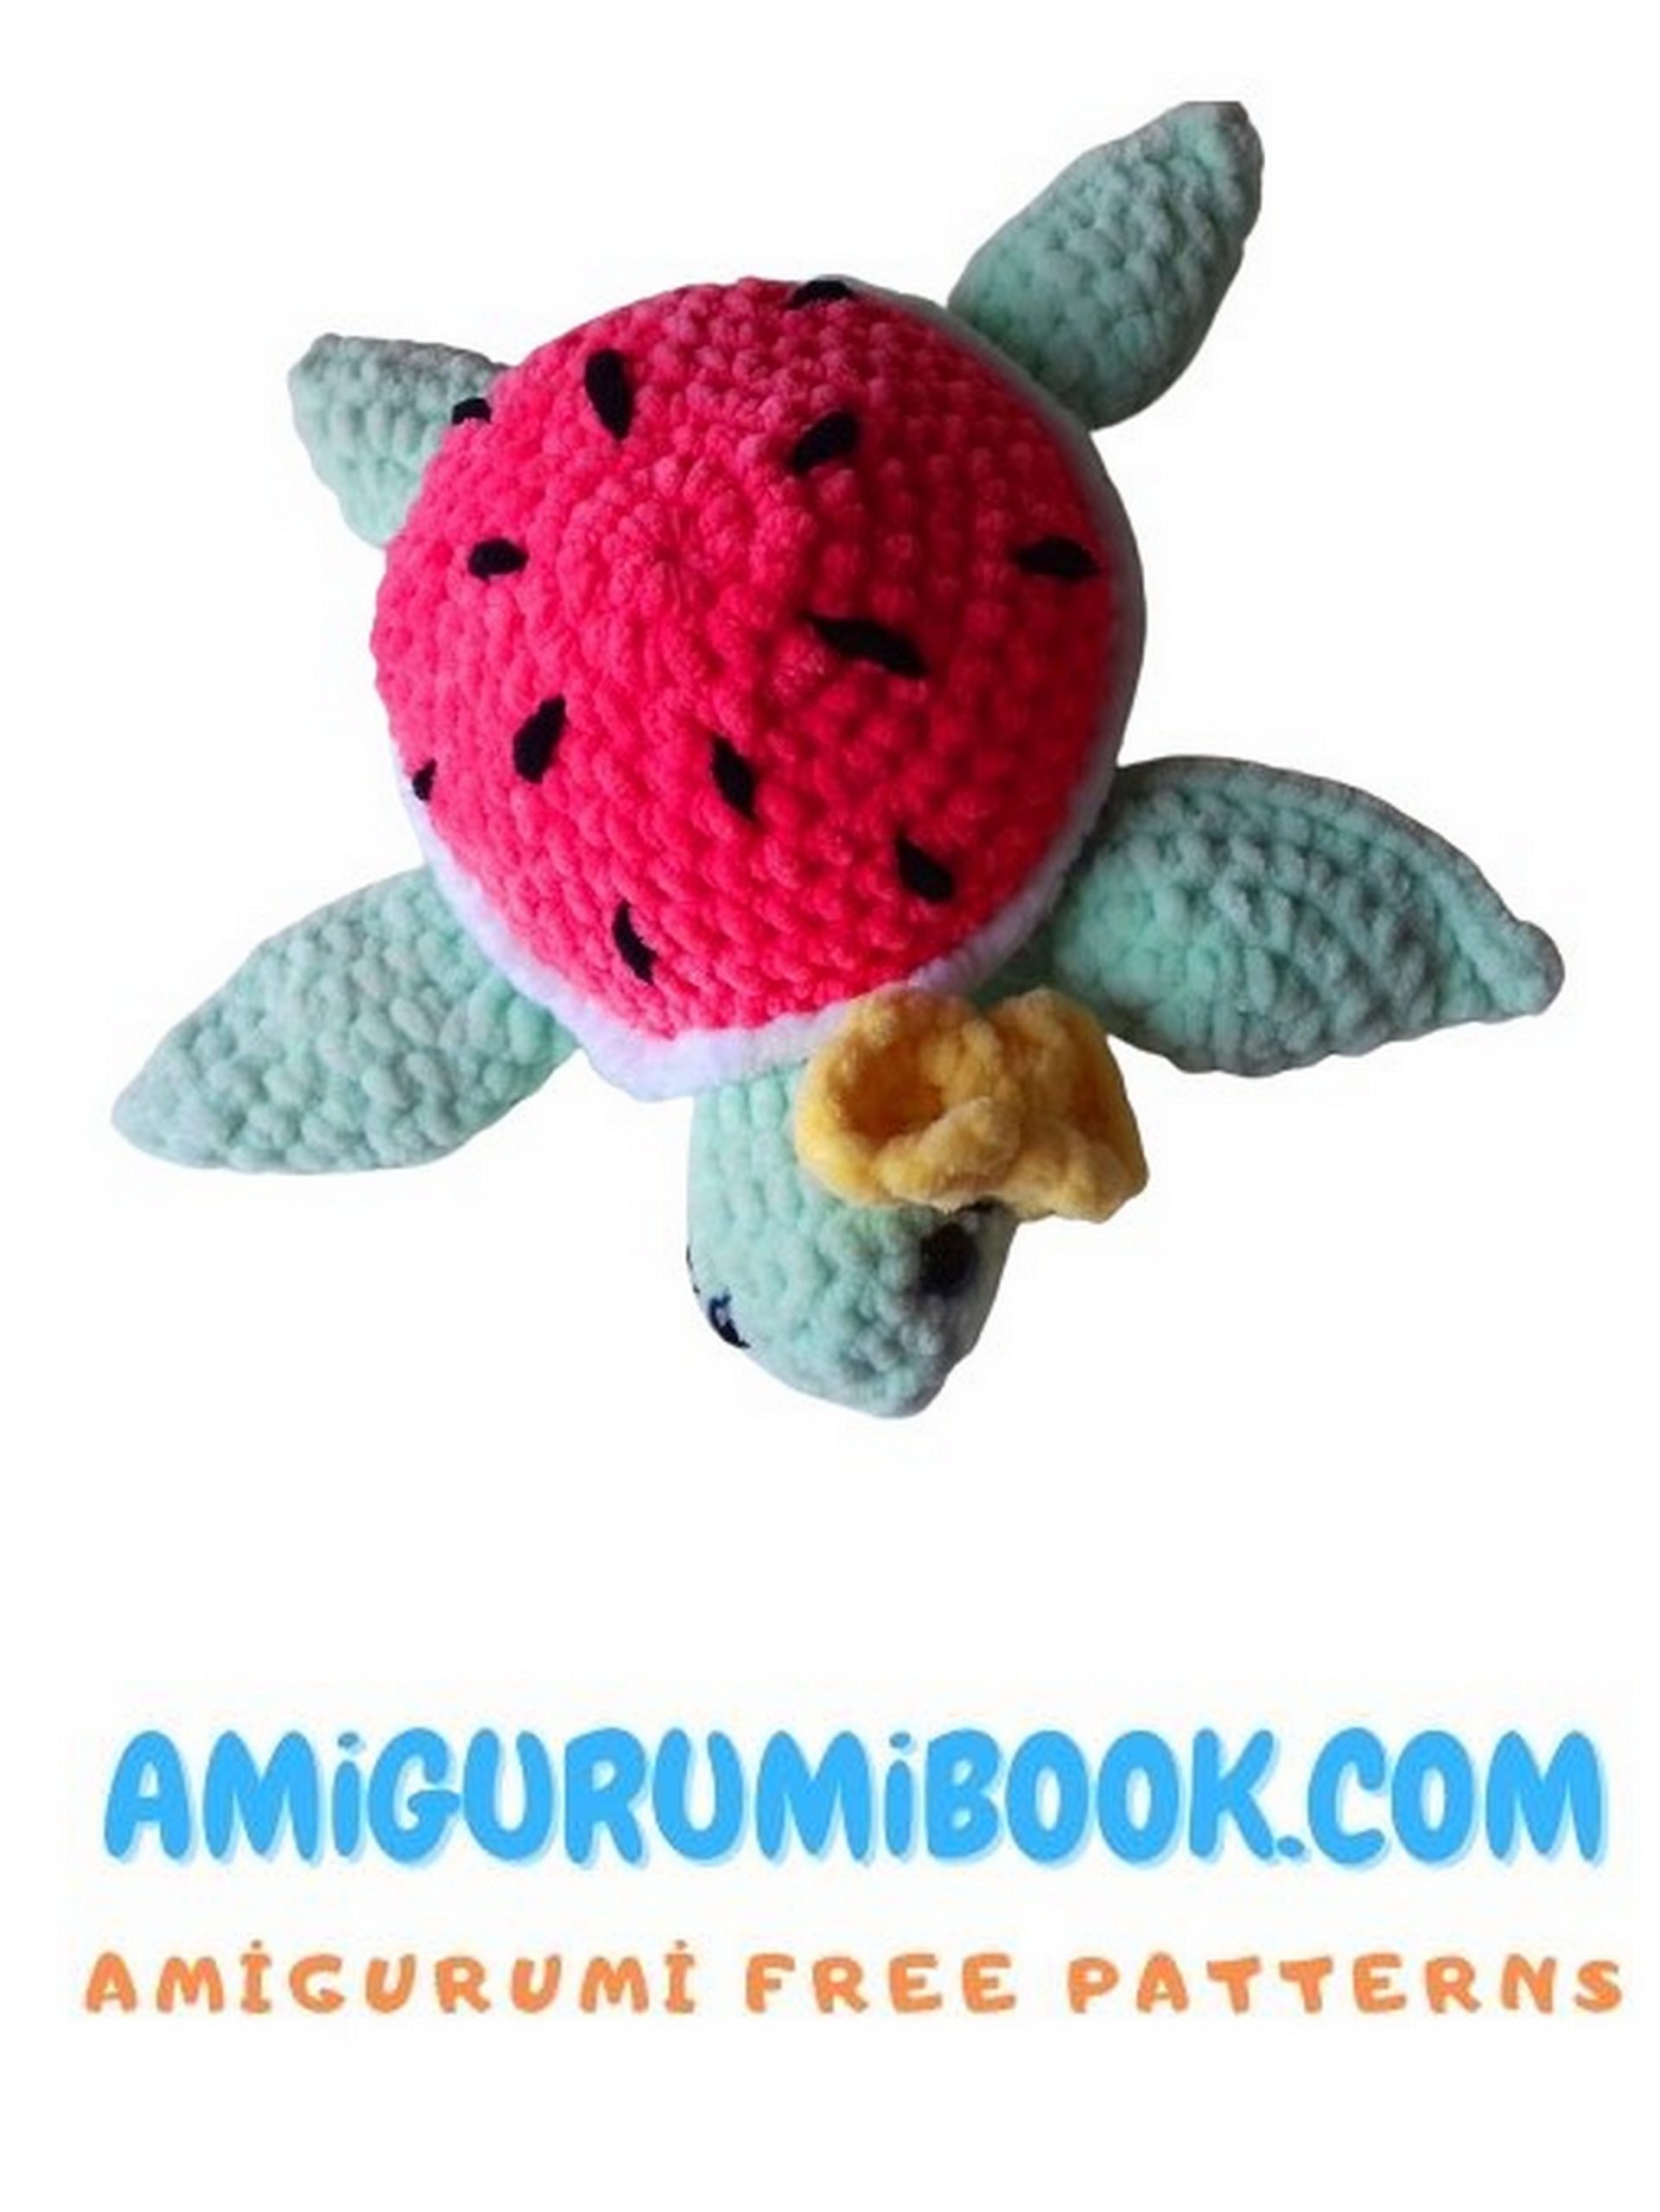
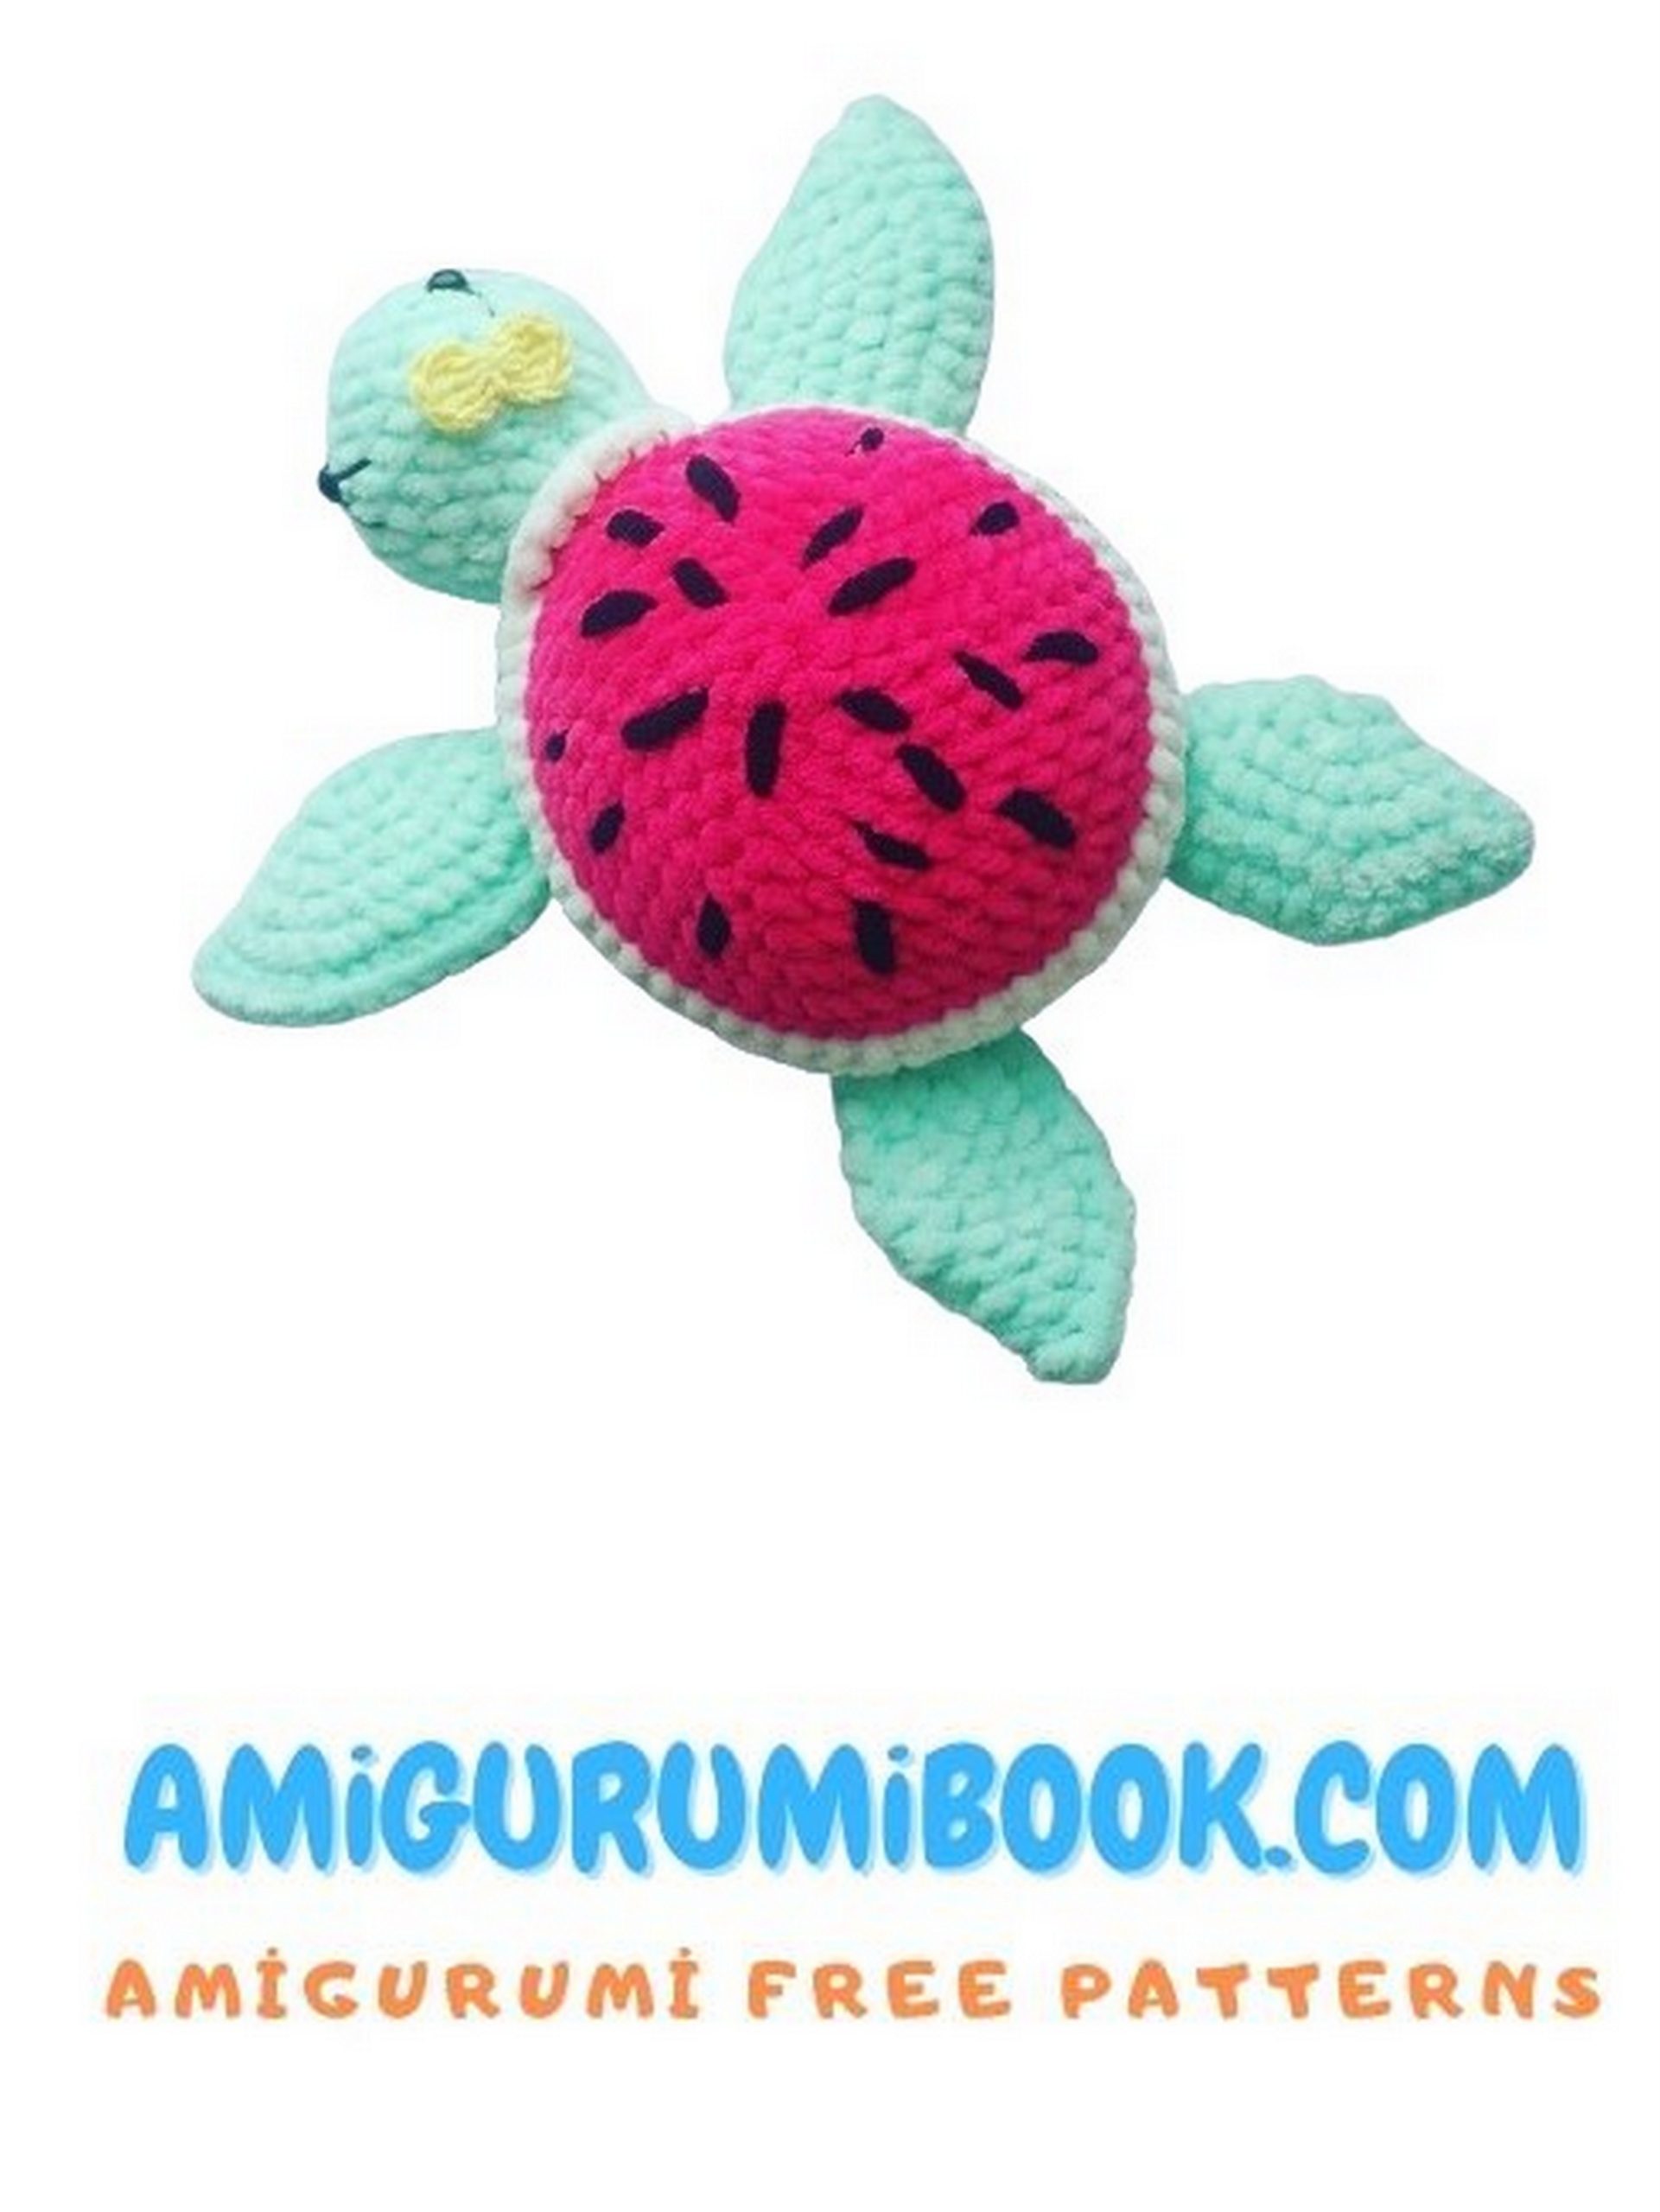
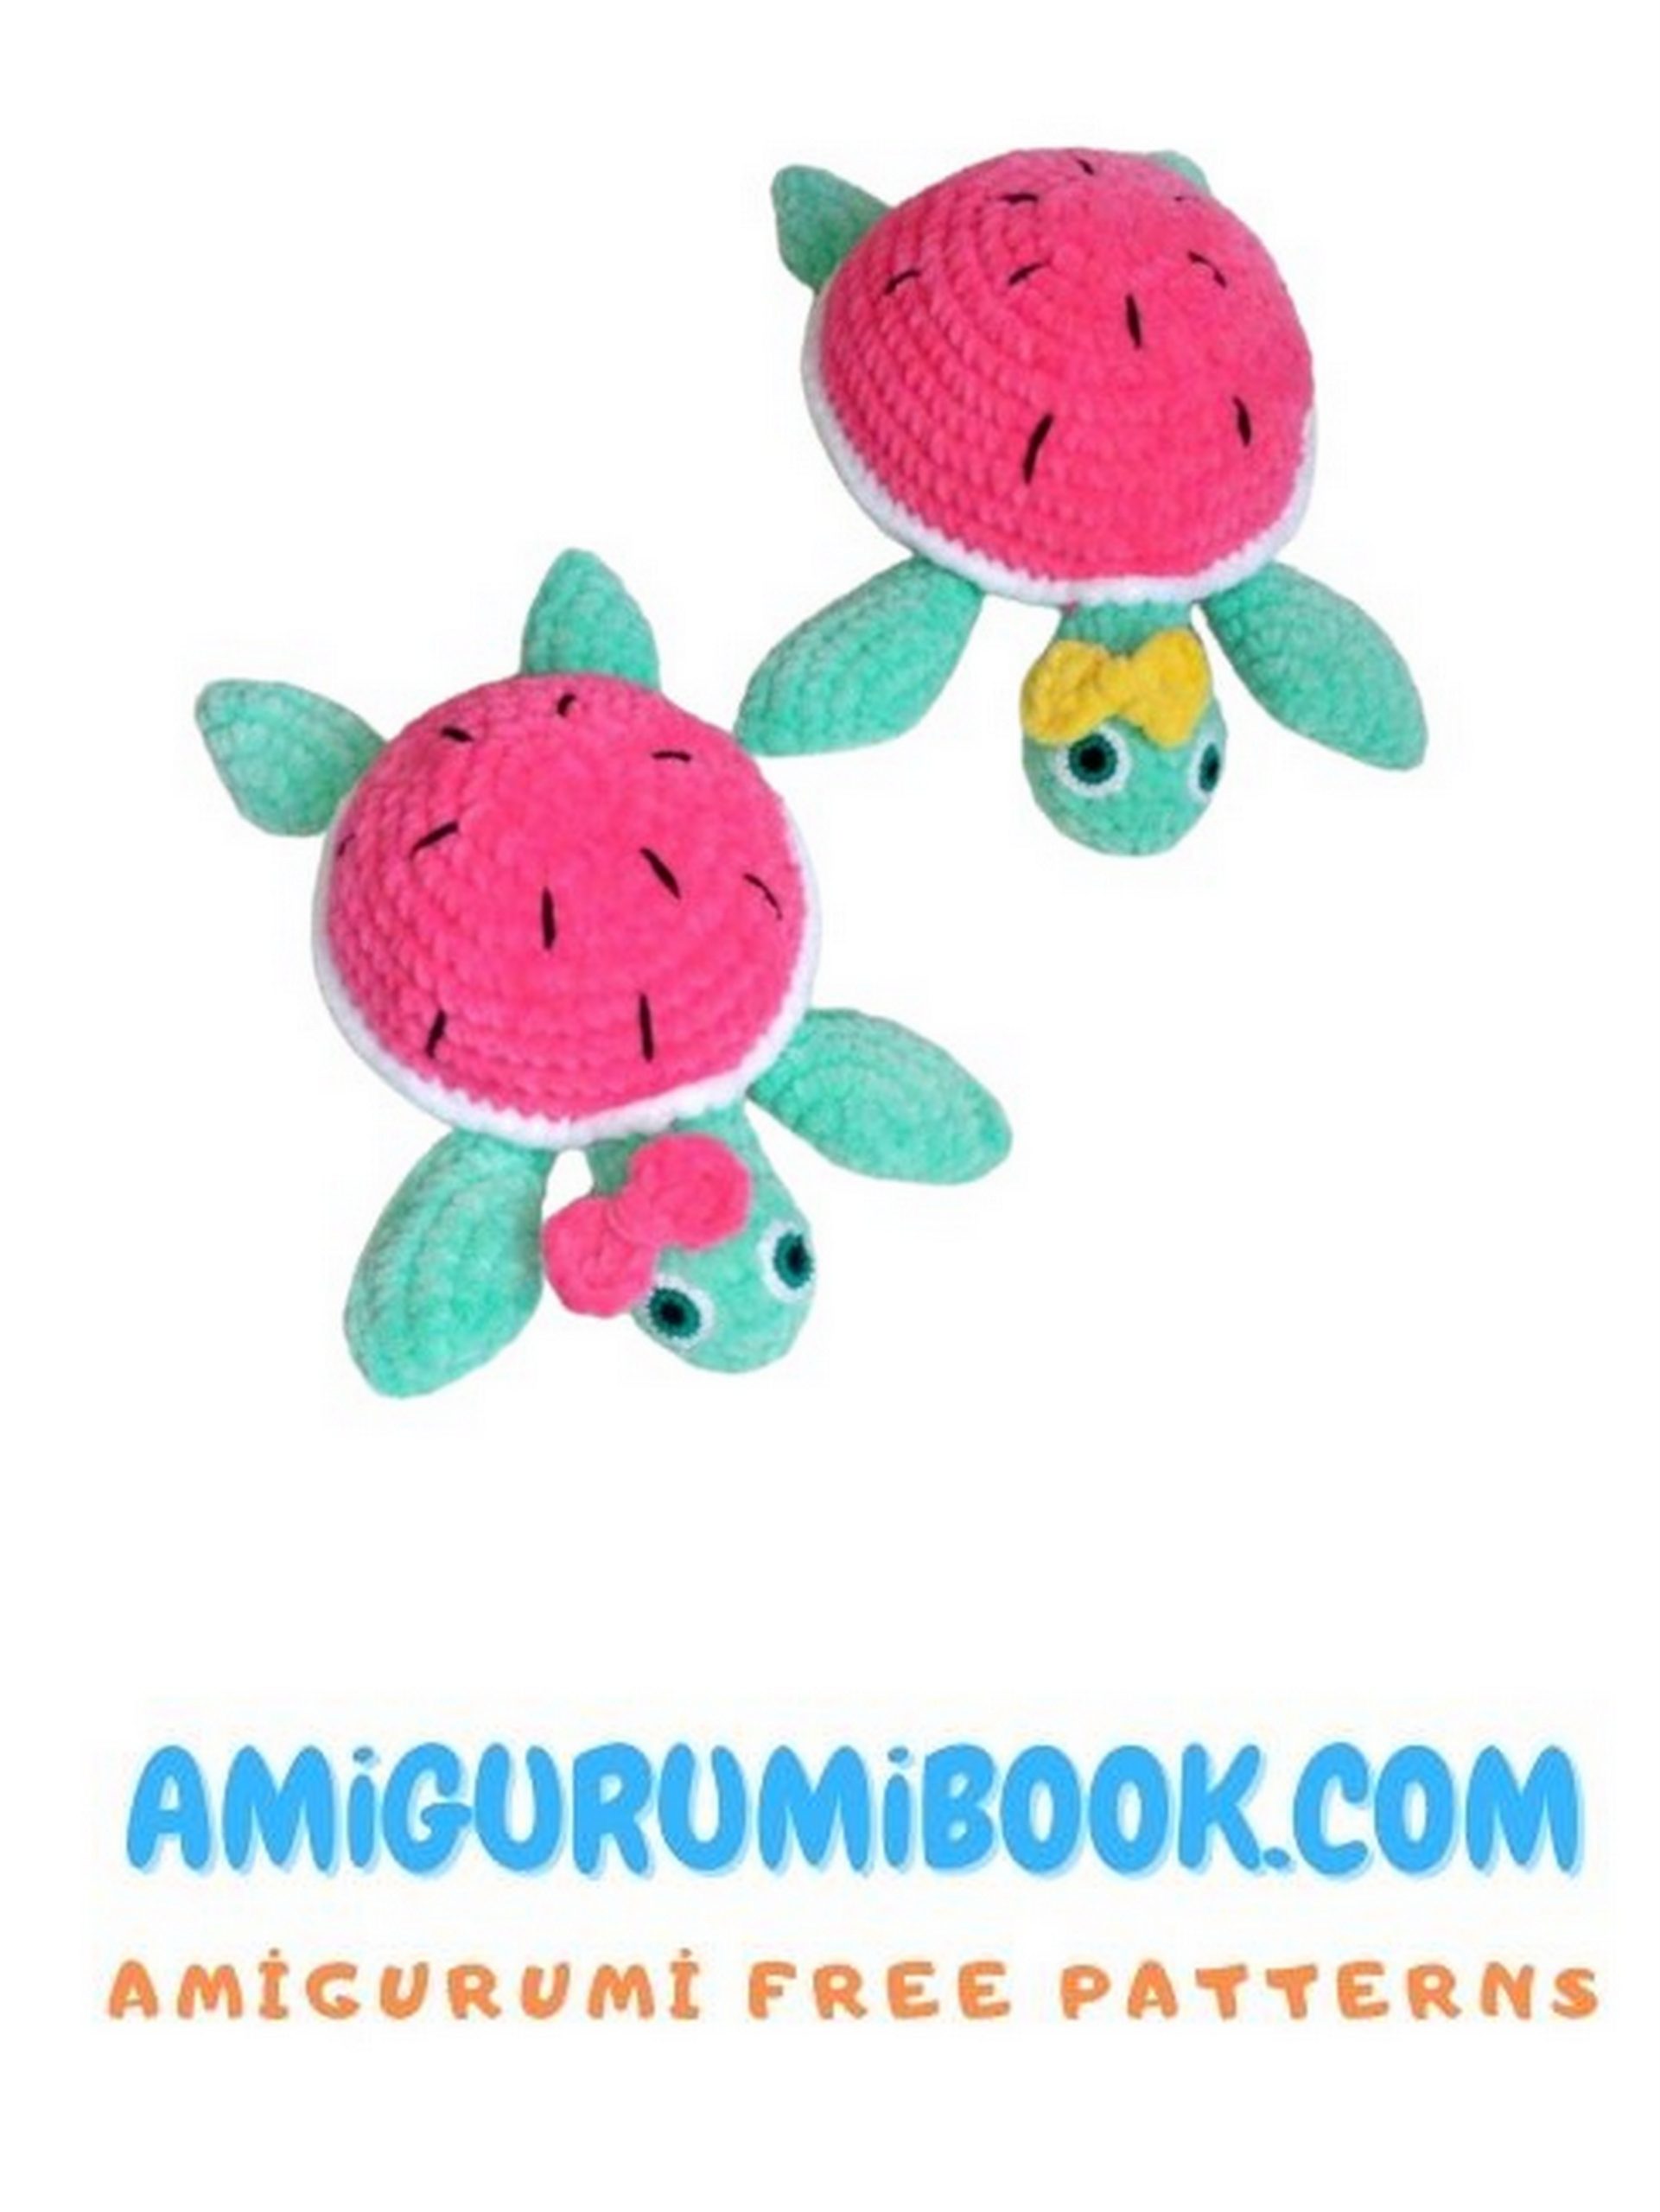
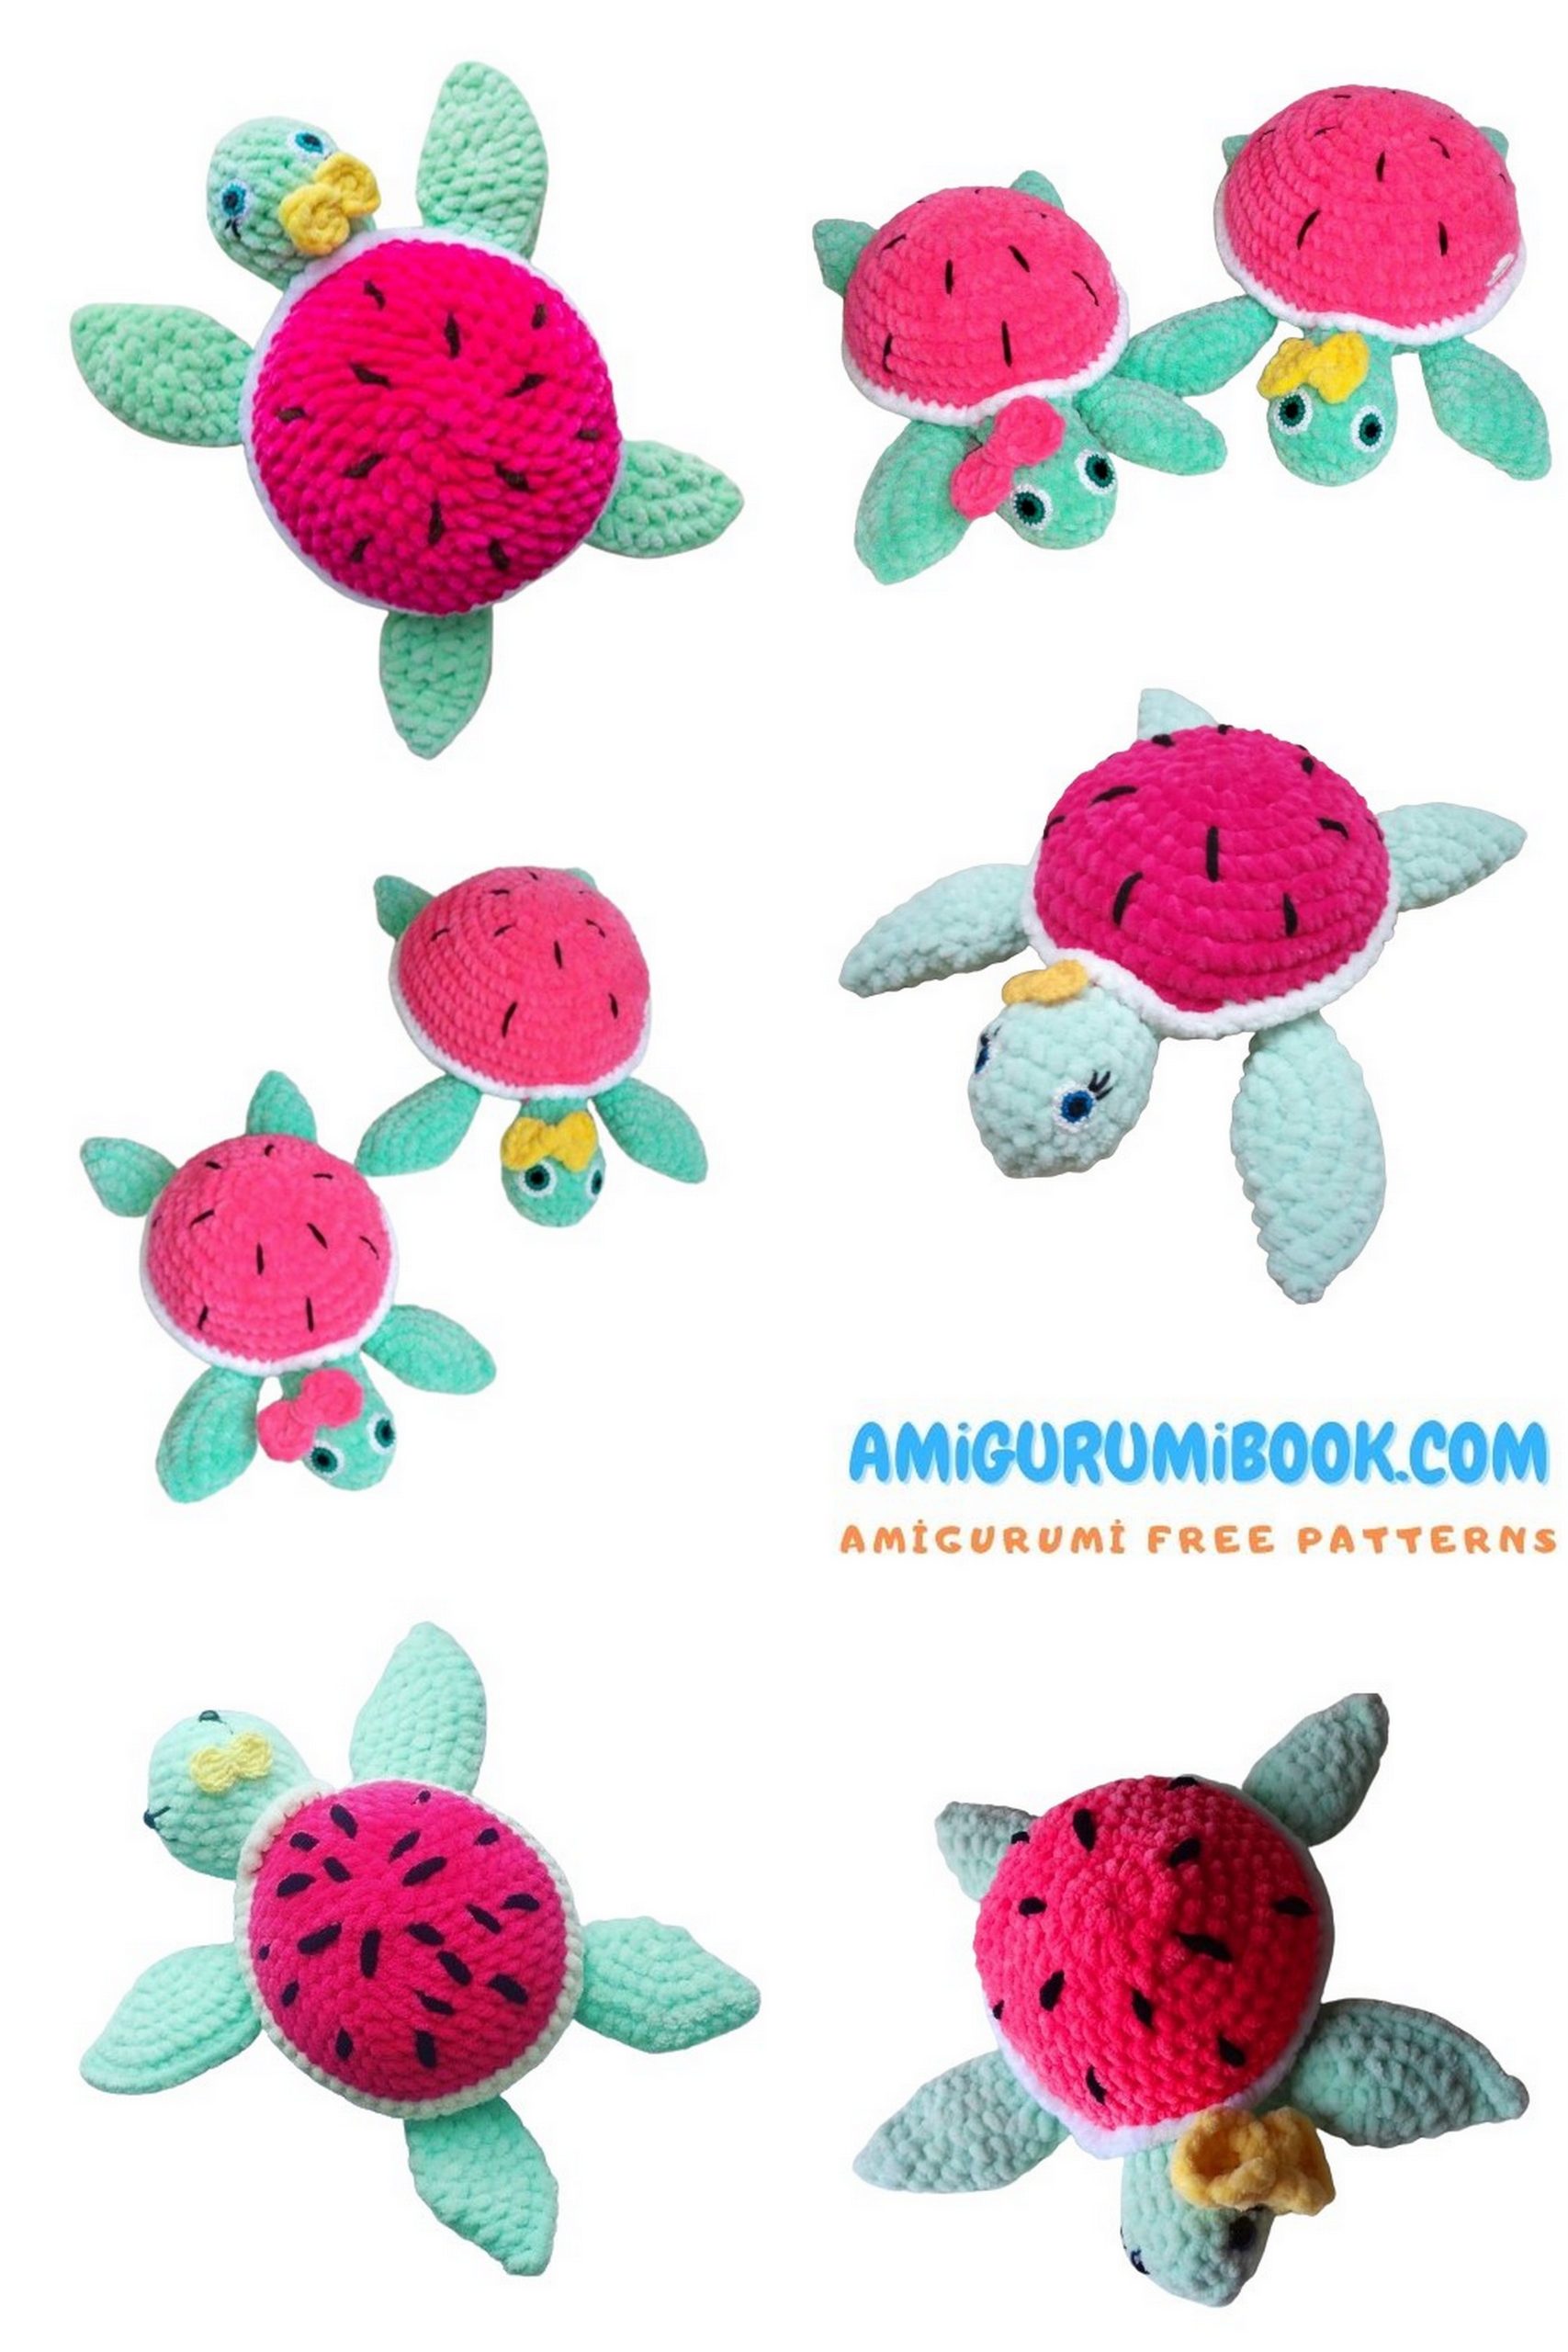
Dive into a world of fruity fun with our free crochet pattern for a watermelon turtle amigurumi! This adorable project combines the cuteness of a turtle with the freshness of a watermelon, creating a whimsical and delightful creation that’s perfect for both play and decoration. Whether you’re a seasoned crocheter or just starting out, you’ll love bringing this sweet little amigurumi turtle to life with our easy-to-follow instructions and detailed photos. Get ready to crochet your way to a slice of summer with this charming watermelon turtle!
Abbreviations:
mr – magic ring
ch – chain
sc – single crochet
inc – increase
dec – decrease
sl st – slip stitch
hdc – half double crochet
dc – double crochet
Regarding the magic ring with plush yarn: Since this yarn doesn’t tighten, making a magic ring with it is simply not possible. The amigurumi turtle pattern indicates a magic ring, but with this yarn, we’ll make it as follows: Make two chain stitches, then in the second chain from the hook, make 6 sc, creating the magic ring. It’s quite straightforward.
Amigurumi Turtle Materials needed:
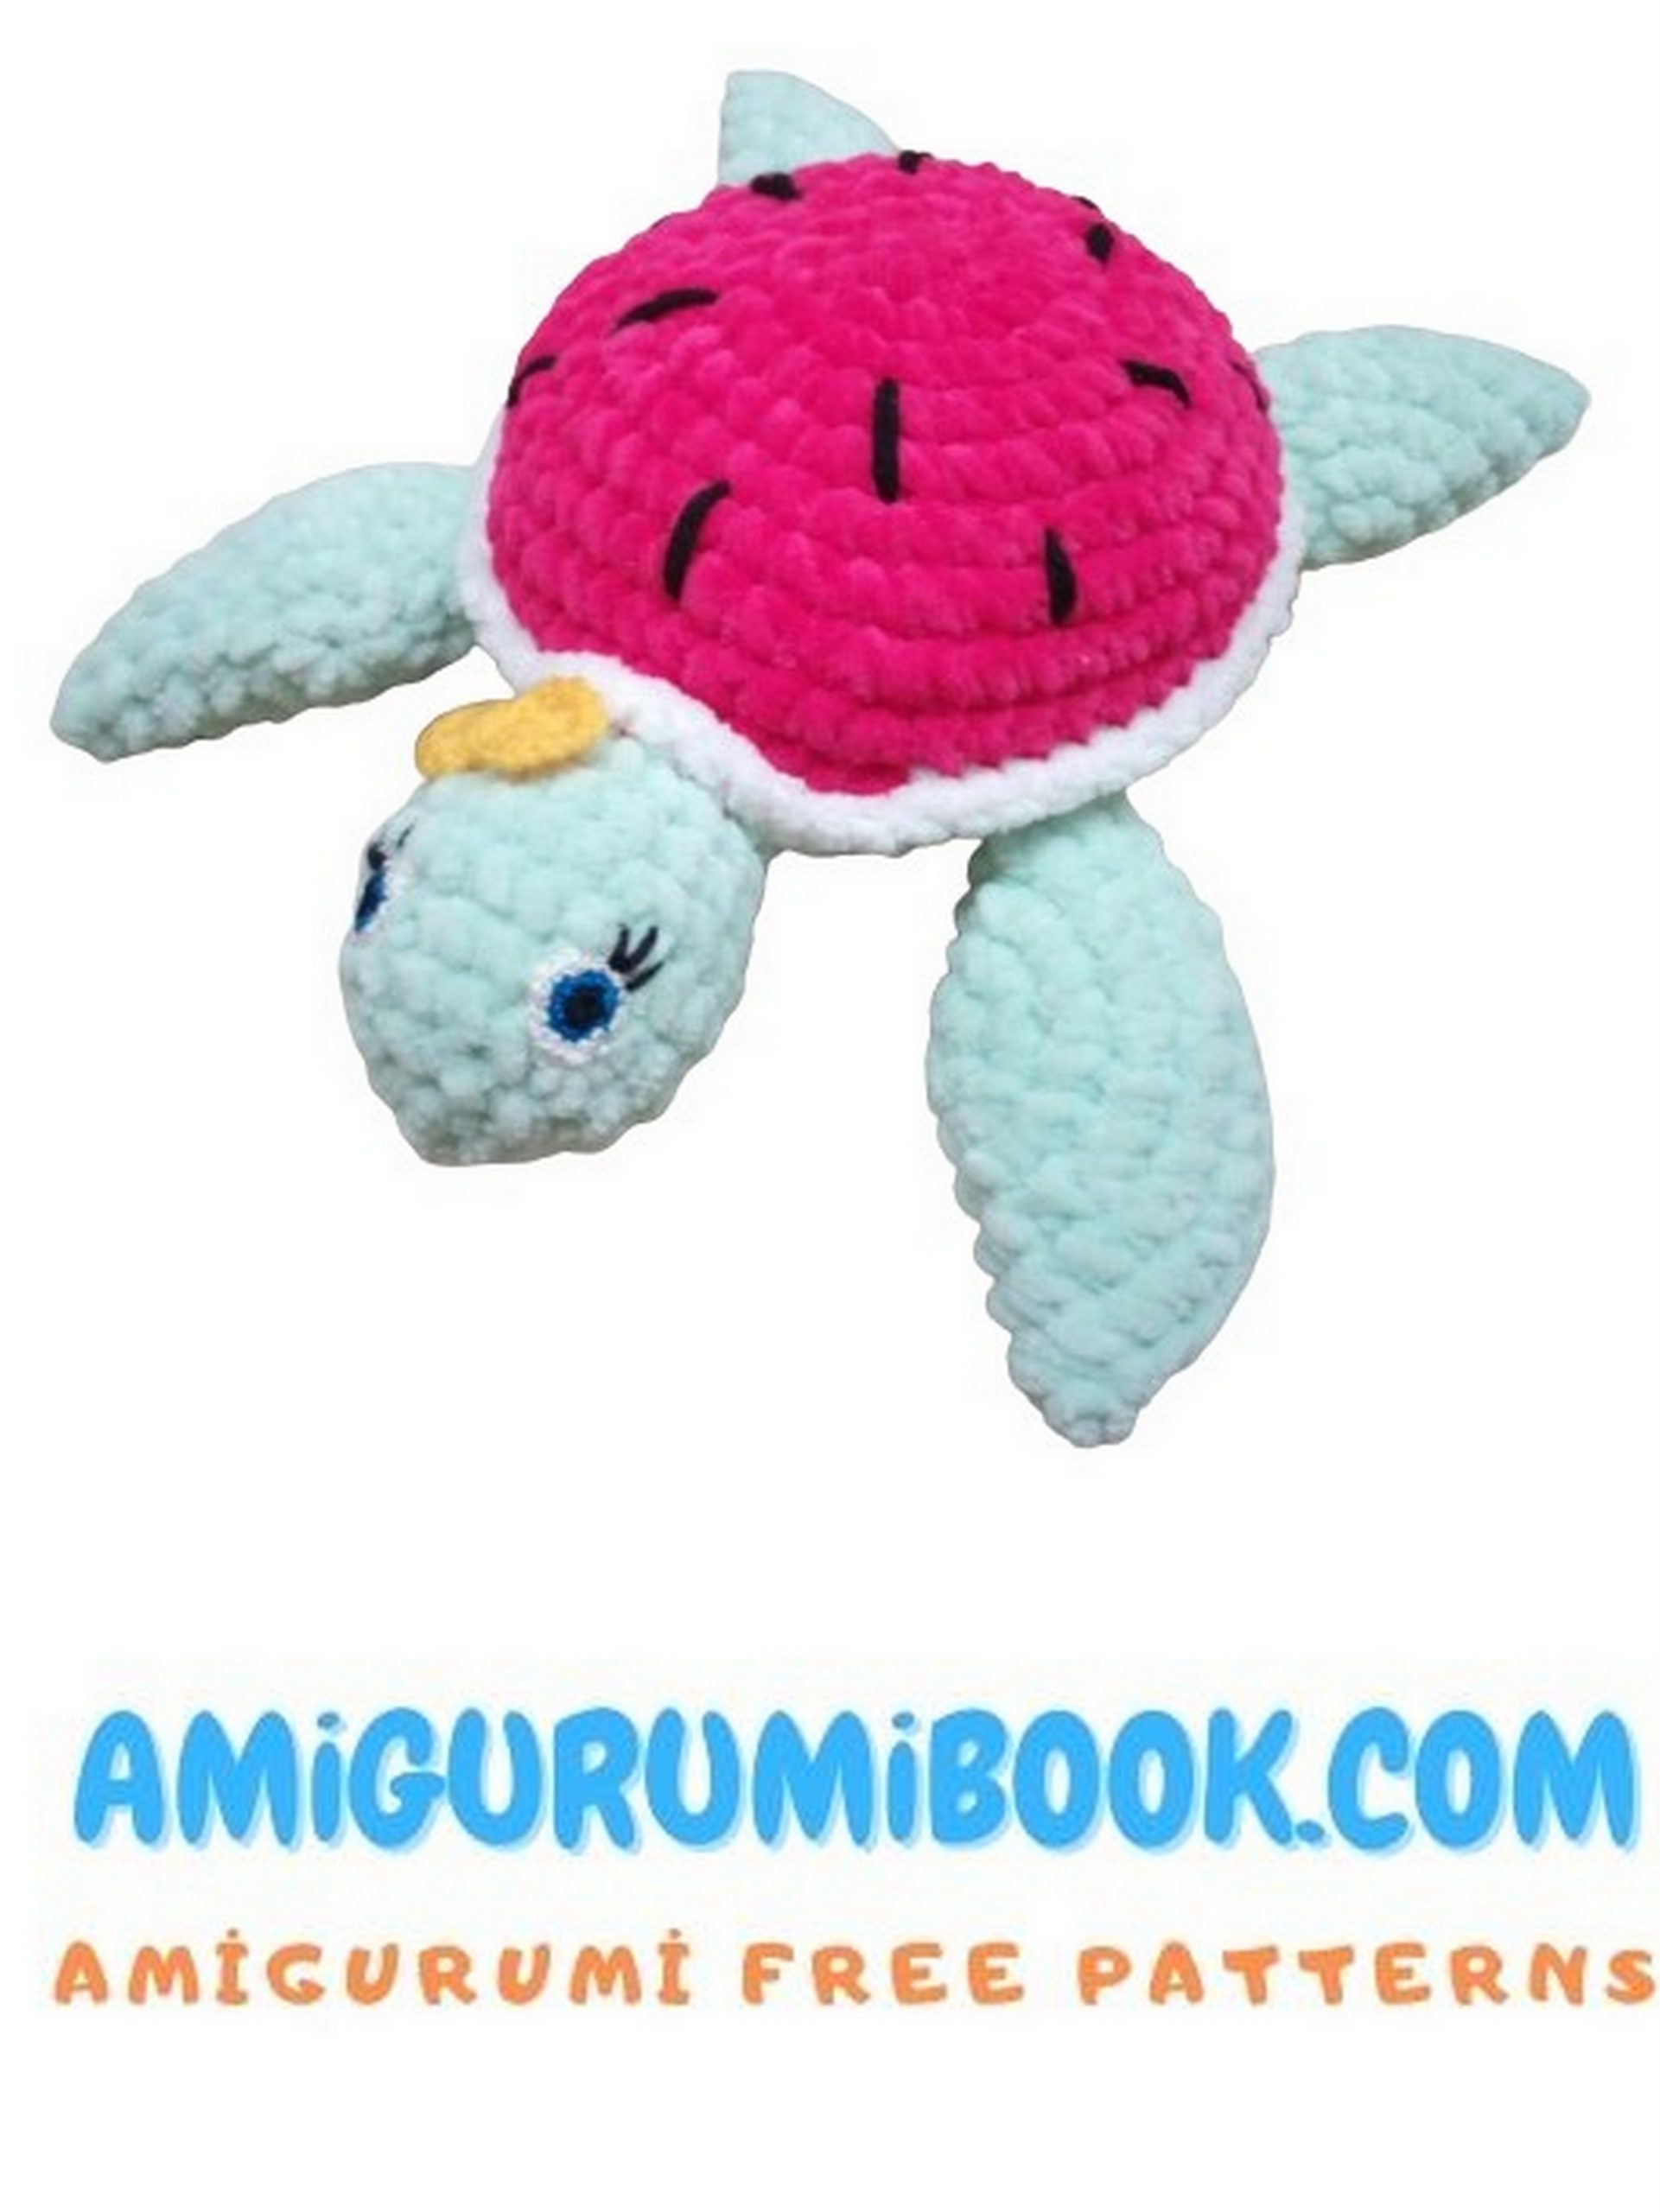
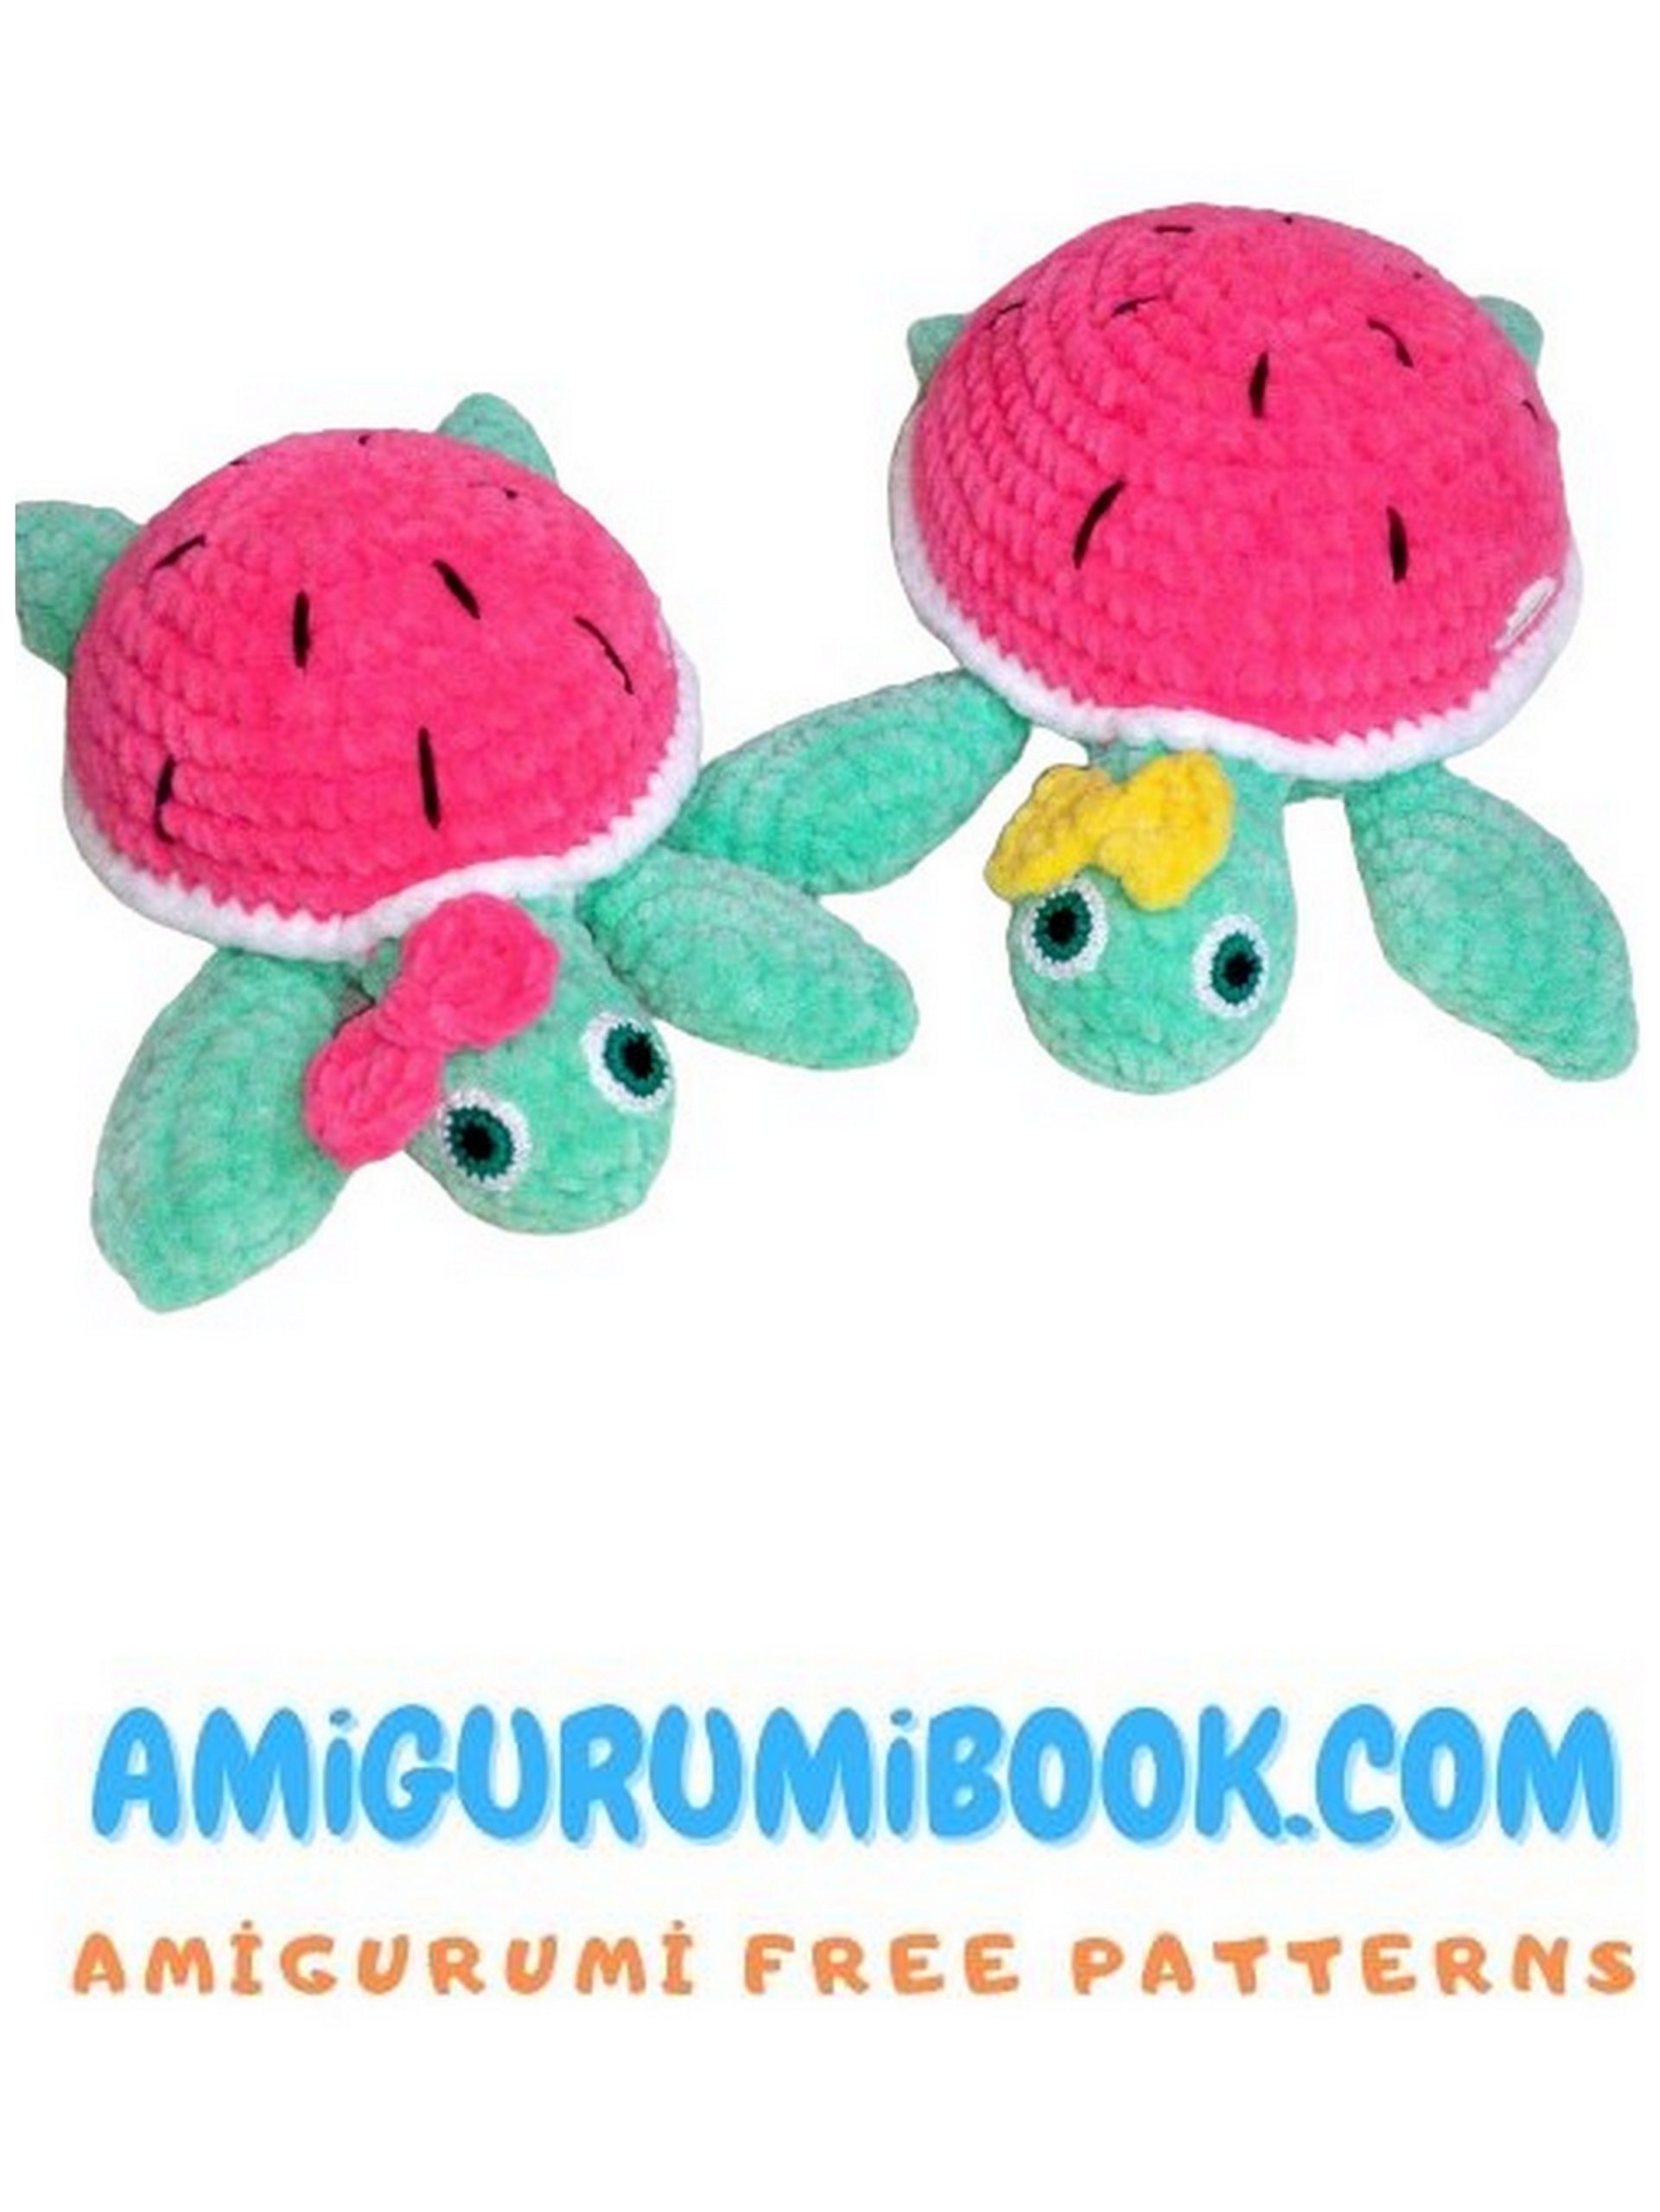
Plush yarn, I used less than half a skein of mint color and a very small amount of raspberry color, a bit of white for the edge of the shell, yellow for the bow.
I use Vita Coco yarn for eyes and sewing details.
Crochet hooks size 4.5mm and 1.2mm.
Stuffing.
The size of the turtle turned out to be 24 cm.

PATTERN:
Amigurumi Turtle:
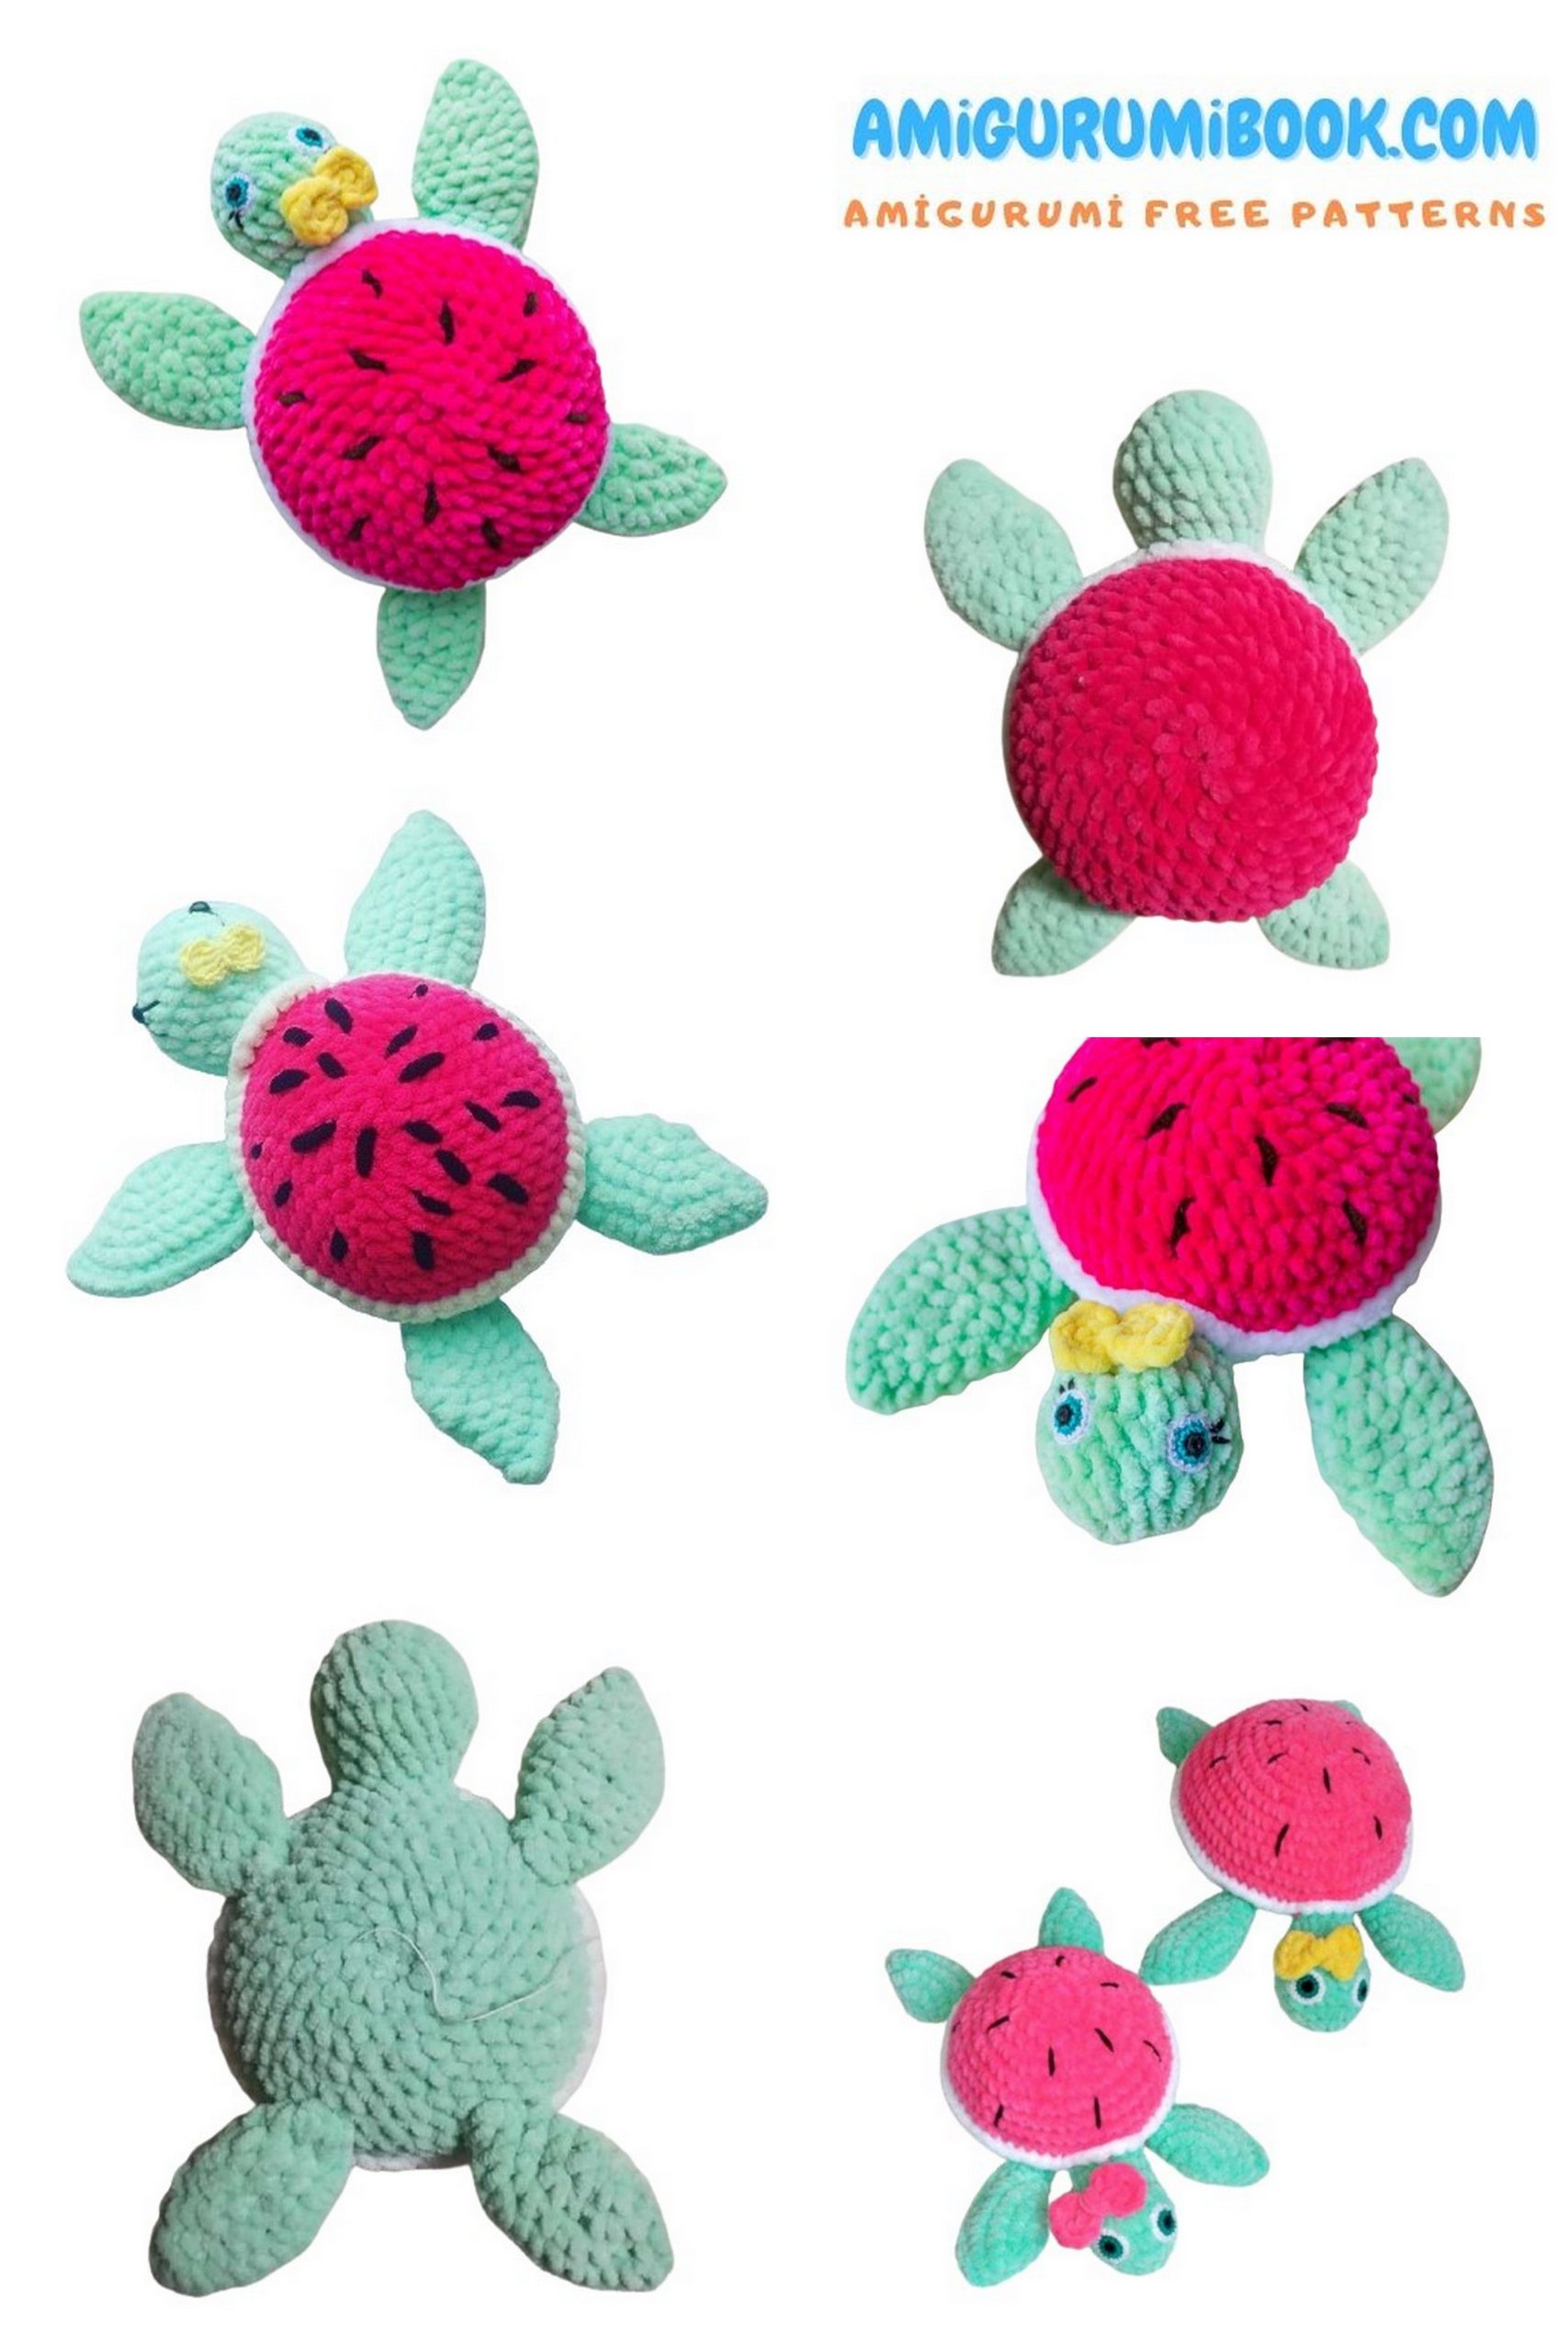
Crochet the lower part of the shell with mint or green yarn.
1: 6 sc in mr
2: 6 inc (12)
3: (sc, inc) * 6 (18)
4: (2 sc, inc) * 6 (24)
5: (3 sc, inc) * 6 (30)
6: (4 sc, inc) * 6 (36)
7: (5 sc, inc) * 6 (42)
8: (6 sc, inc) * 6 (48)
9: (7 sc, inc) * 6 (54)
Do not cut the yarn; after finishing the top, we will crochet the head with this yarn.
Top part: I used raspberry color.
1: 6 sc in mr
2: 6 inc (12)
3: (sc, inc) * 6 (18)
4: (2 sc, inc) * 6 (24)
5: (3 sc, inc) * 6 (30)
6: (4 sc, inc) * 6 (36)
7: (5 sc, inc) * 6 (42)
8: (6 sc, inc) * 6 (48)
9: (7 sc, inc) * 6 (54)
10: 54 sc, fasten off, cut the yarn.
Now we need to crochet the head. Take the lower part of the turtle and crochet 6 sc, then join this part with the upper part, crocheting 6 sc along the upper part. We’ll crochet along the inside wall for the outer wall of the shell; later, we’ll crochet sc with white yarn. Again, connect the parts by crocheting sc in the first loop of the lower part, creating a circle. This will be the first loop of the second row. Then crochet in a spiral.
2: (sc, inc) * 6 (18)
3: 18 sc
4: (2 sc, inc) * 6 (24)
5: 24 sc
6: (2 sc, dec) * 6 (18)
7: 18 sc
8: (sc, dec) * 6 (12)
9: 6 dec, fasten off, cut the yarn.
Fill the head with stuffing.
Now we need to join the bottom and top of the shell. Take white yarn, I use two strands of soft yarn together. You can join with any color. Fold together and crochet hdc through both parts. Where the head is, crochet sc into the loops that were left, specifically the front loop of the stitch. Don’t finish; stuff the turtle, then continue crocheting, cut the yarn.
Now amigurumi turtle the legs:
Front two pieces:
1: 6 sc in mr
2: 6 inc (12)
3: (sc, inc) * 6 (18)
4: (2 sc, inc) * 6 (24)
5: (3 sc, inc) * 6 (30)
6: (4 sc, inc) * 6 (36). Cut the yarn.
Back two pieces:
1: 6 sc in mr
2: 6 inc (12)
3: (sc, inc) * 6 (18)
4: (2 sc, inc) * 6 (24)
5: (3 sc, inc) * 6 (30). Cut the yarn.
Now sew the legs. Fold in half and sew together; I use Vita Coco yarn. Add a little stuffing inside. Then, sew the legs to the body using the leftover yarn tails.
For the eyes, I crochet as follows using Vita Coco yarn:
With black thread: 1. 6 mr
With blue thread: 2: (sc, inc) * 6 (12)
With white thread: 3: (2 sc, inc) * 6 (18)
Leave a thread for sewing.
Sew on the legs, eyes, embroider eyelashes as desired. You can decorate the turtle with a bow.