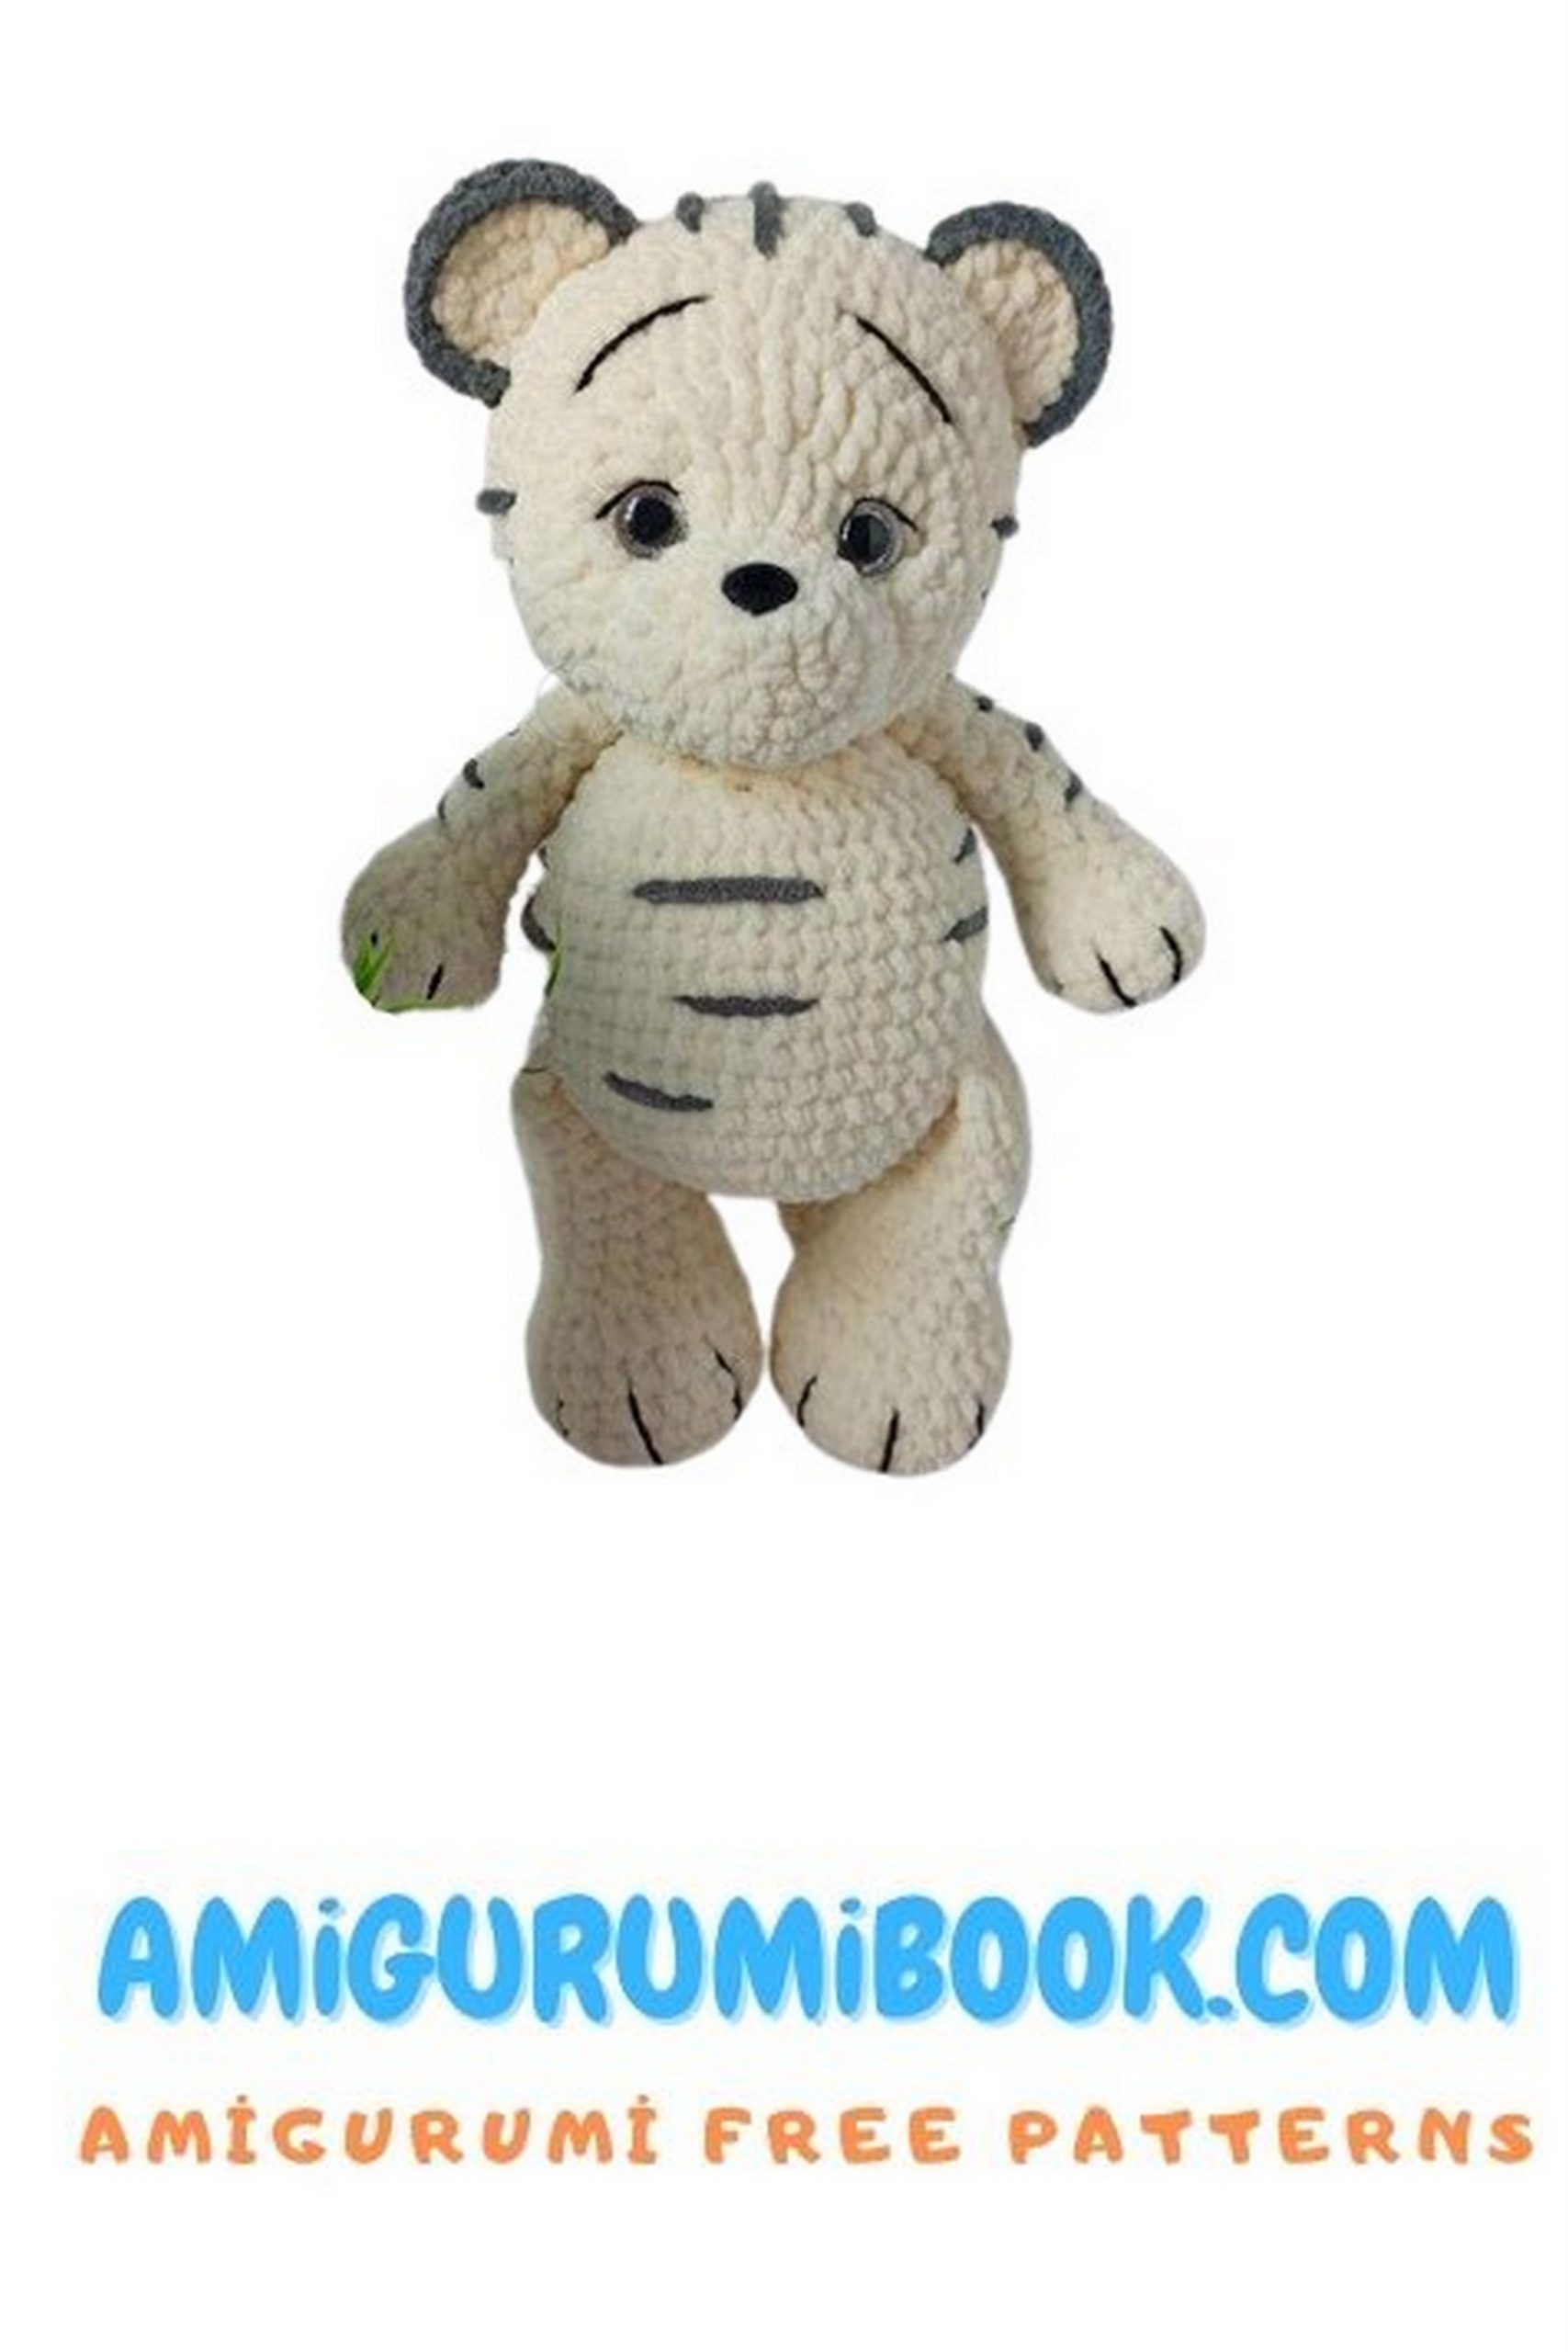
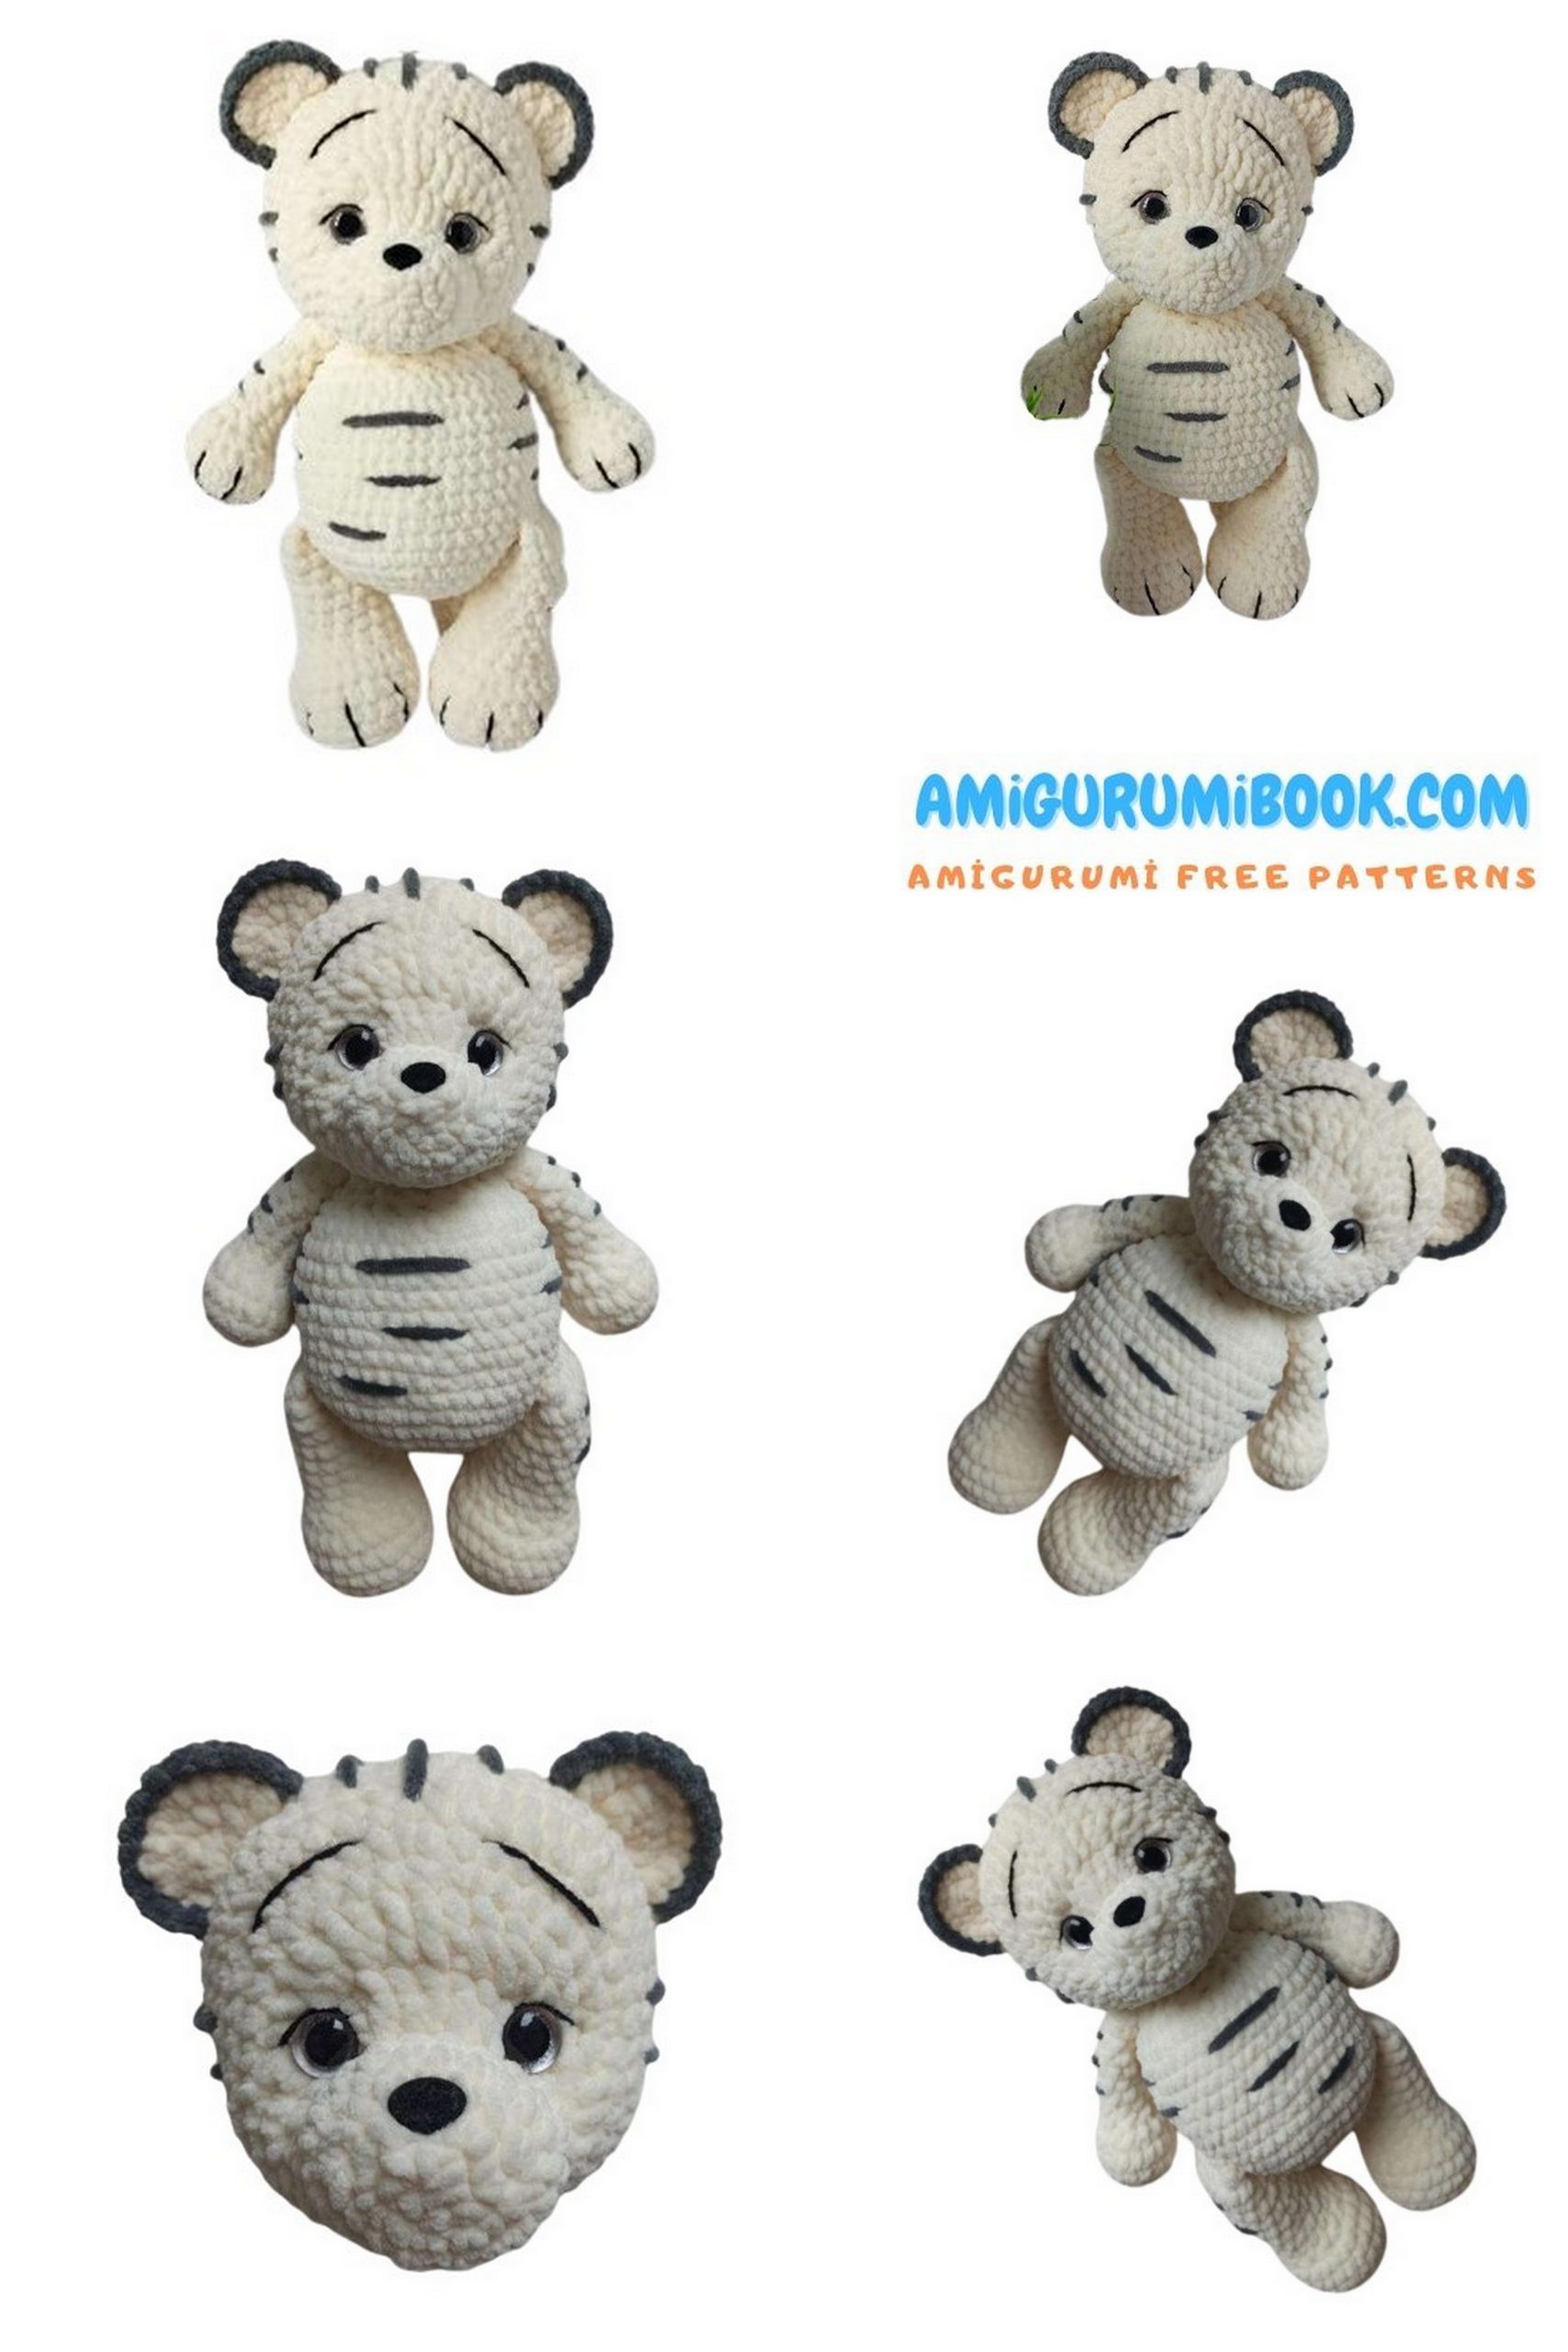
Discover the joy of creating your own adorable white tiger amigurumi with this easy-to-follow crochet tutorial. Perfect for beginners and experienced crafters alike, this free pattern guides you step-by-step to bring a charming handmade tiger to life. free crochet patterns
You may also like more amigurumi patterns.
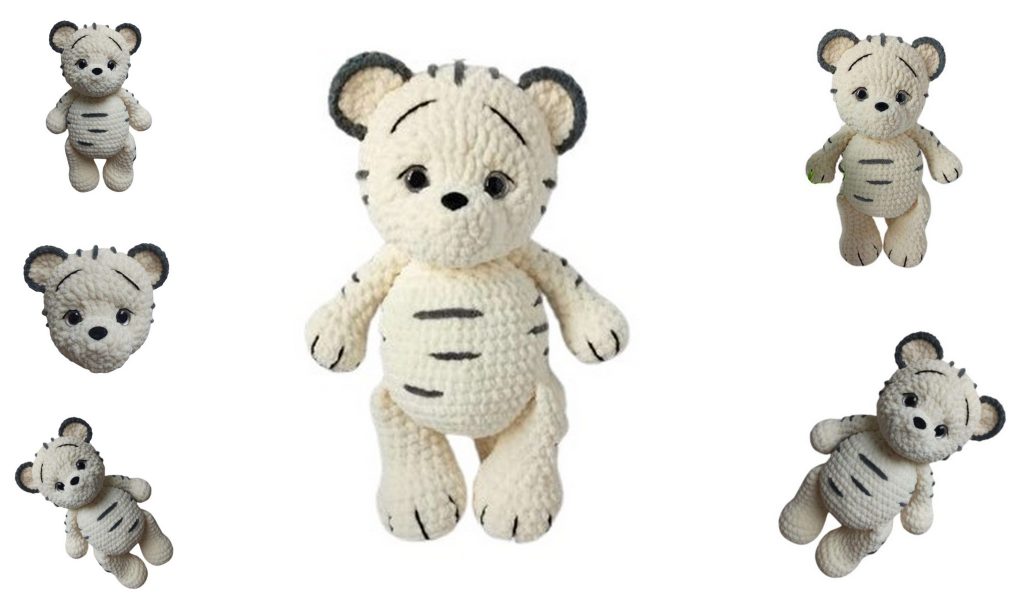
Enter the mystical world of crochet with our free White Tiger Amigurumi pattern and crochet tutorial.
Whether you’re a crochet enthusiast or just starting out, this comprehensive guide offers step-by-step instructions and clear photos to help you create a majestic white tiger.
Perfect for animal lovers or as a striking addition to your amigurumi collection, this project combines elegance with the charm of handmade crafts.
Start your White Tiger Amigurumi project today and let your creativity roam wild!
If you want to access 1000+ free amigurumi patterns, you can download our application from this link!
MATERIALS NEEDED:
1: Yarn Wolans Bunny Baby main color: milky 100-02 – 1.5 skeins
2: Yarn Wolans Bunny Baby additional color: grey 100-09 – a bit for stripes and edging of ears
3: Cotton yarn YarnArt Jeans (or similar) – a bit of black for eyebrows, eyelids, and paw detailing
4: Pair of 16mm safety eyes with white sparkle
5: 16mm velvet nose with safety fastening
6: Crochet hook size 4
7: Stuffing
8: Scissors
9: Stitch markers
10: Yarn needle with large eye for sewing parts, stuffing, and facial features
11: Sewing needle
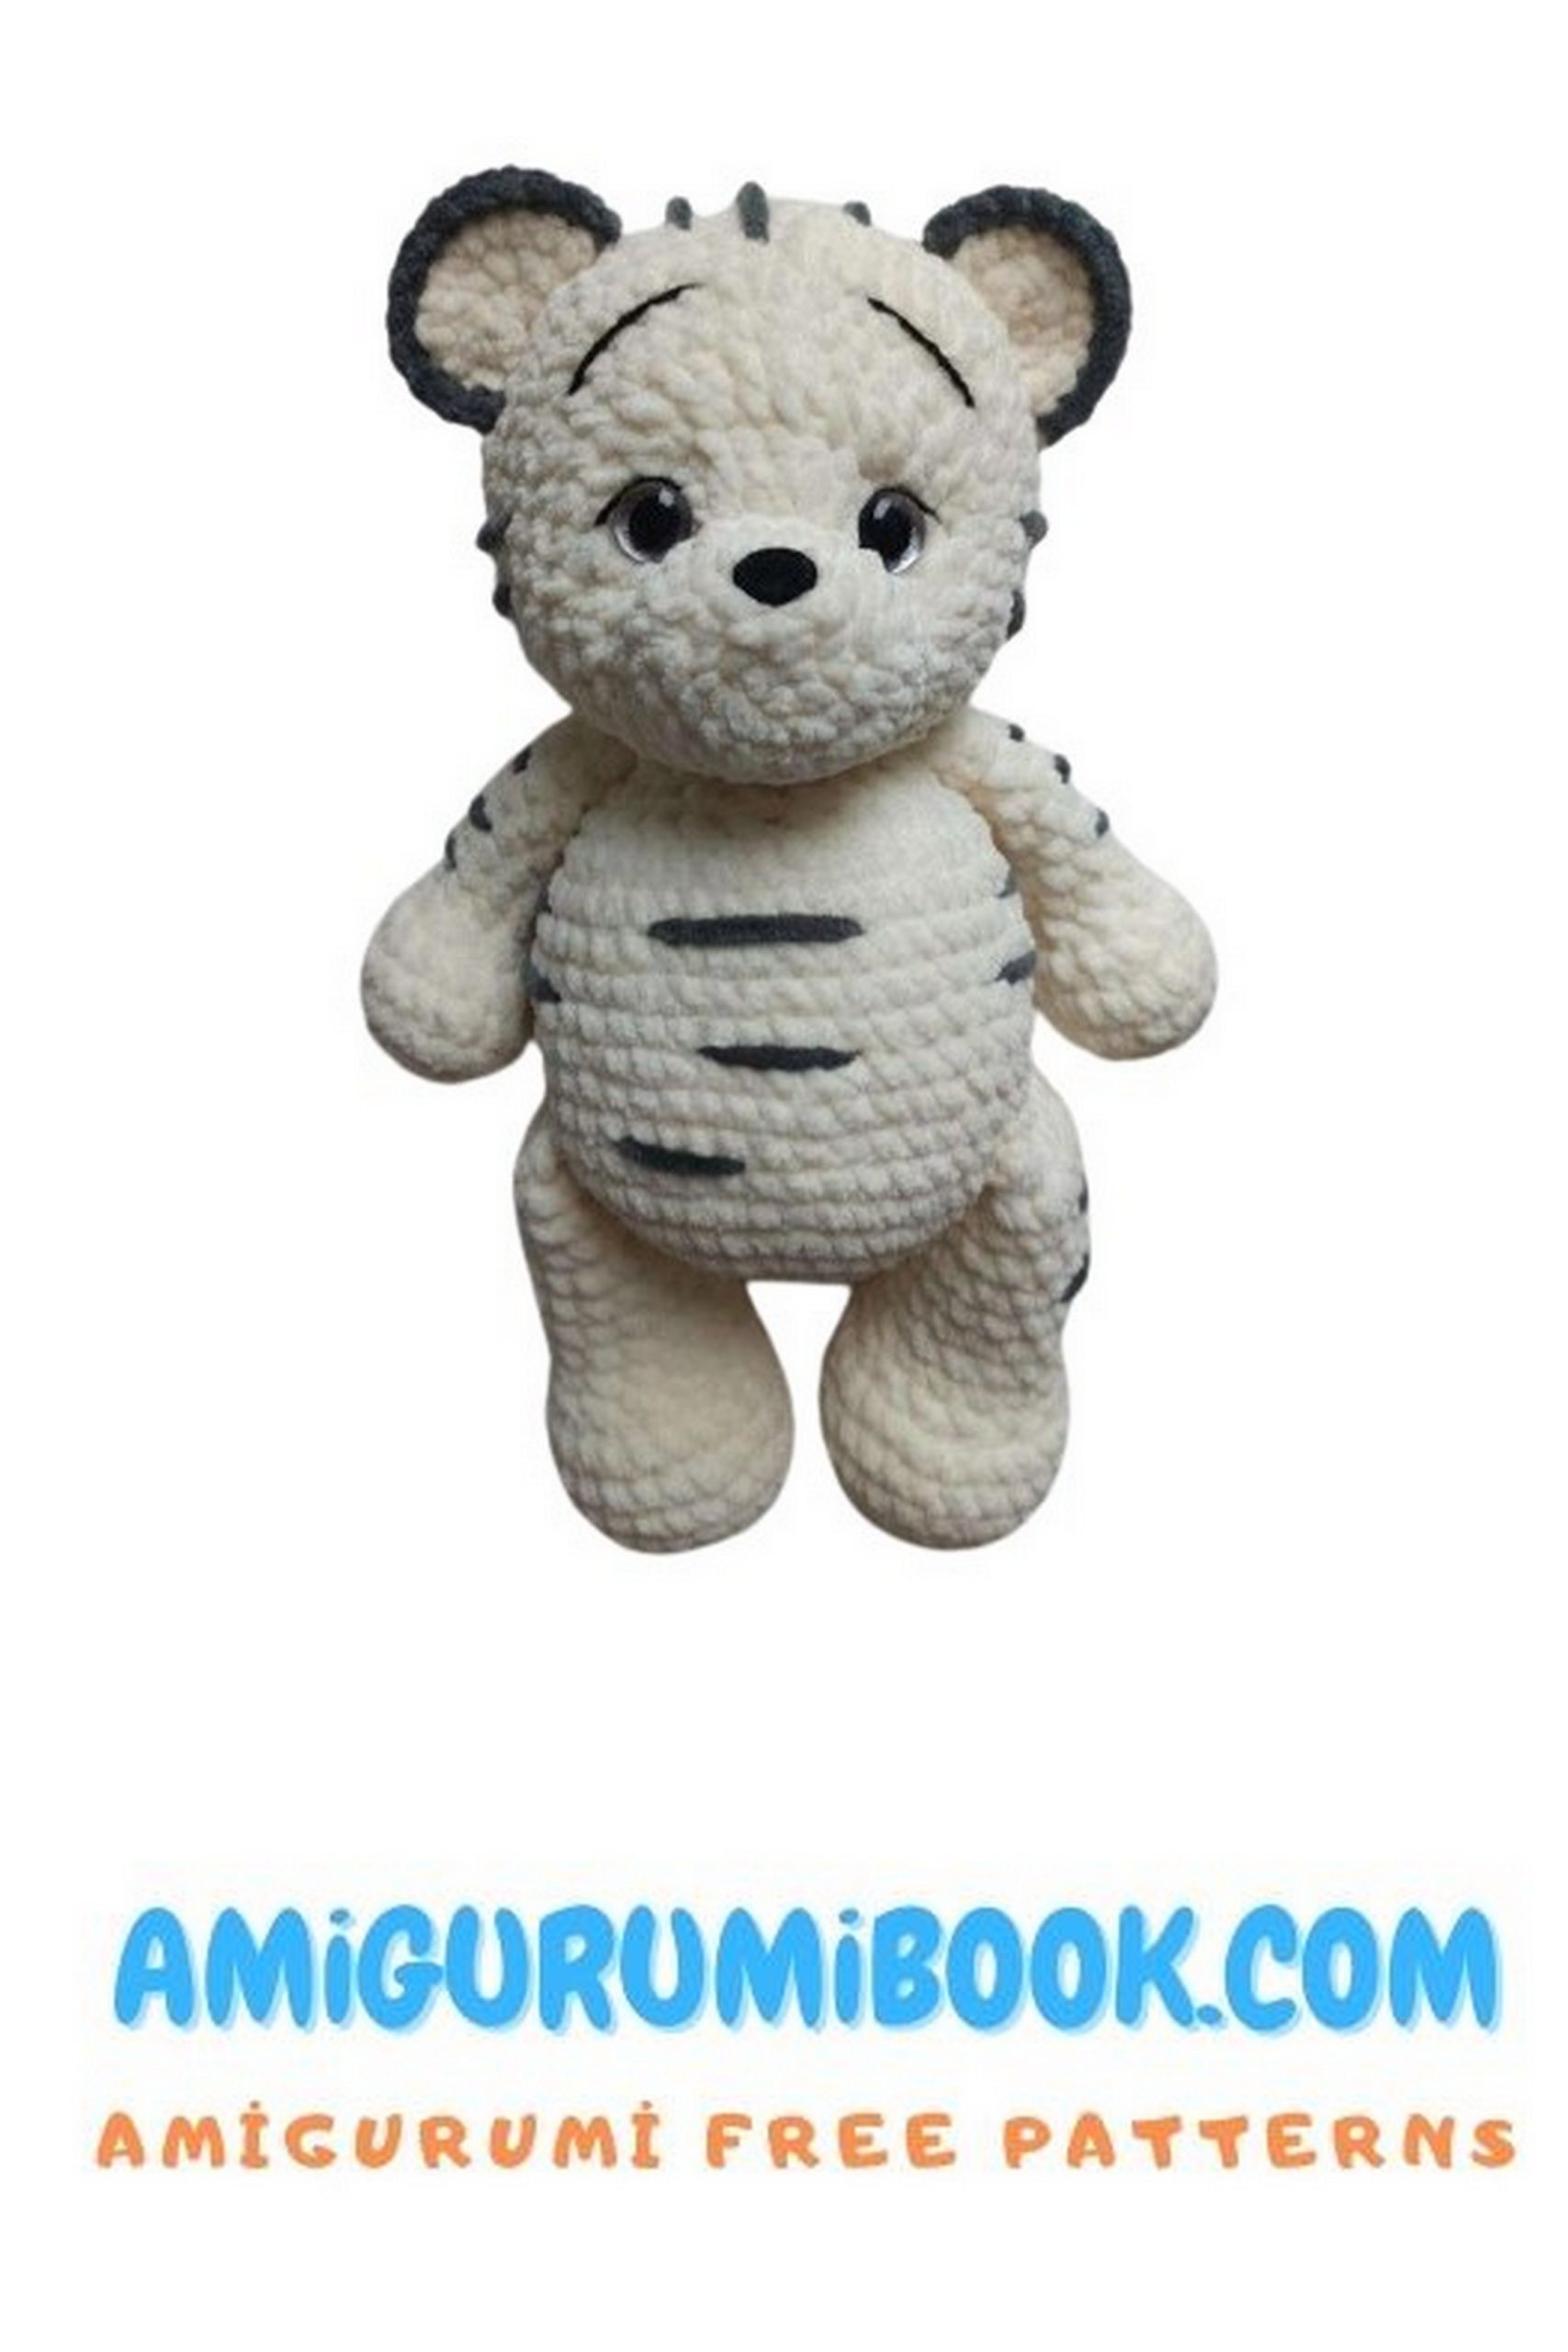
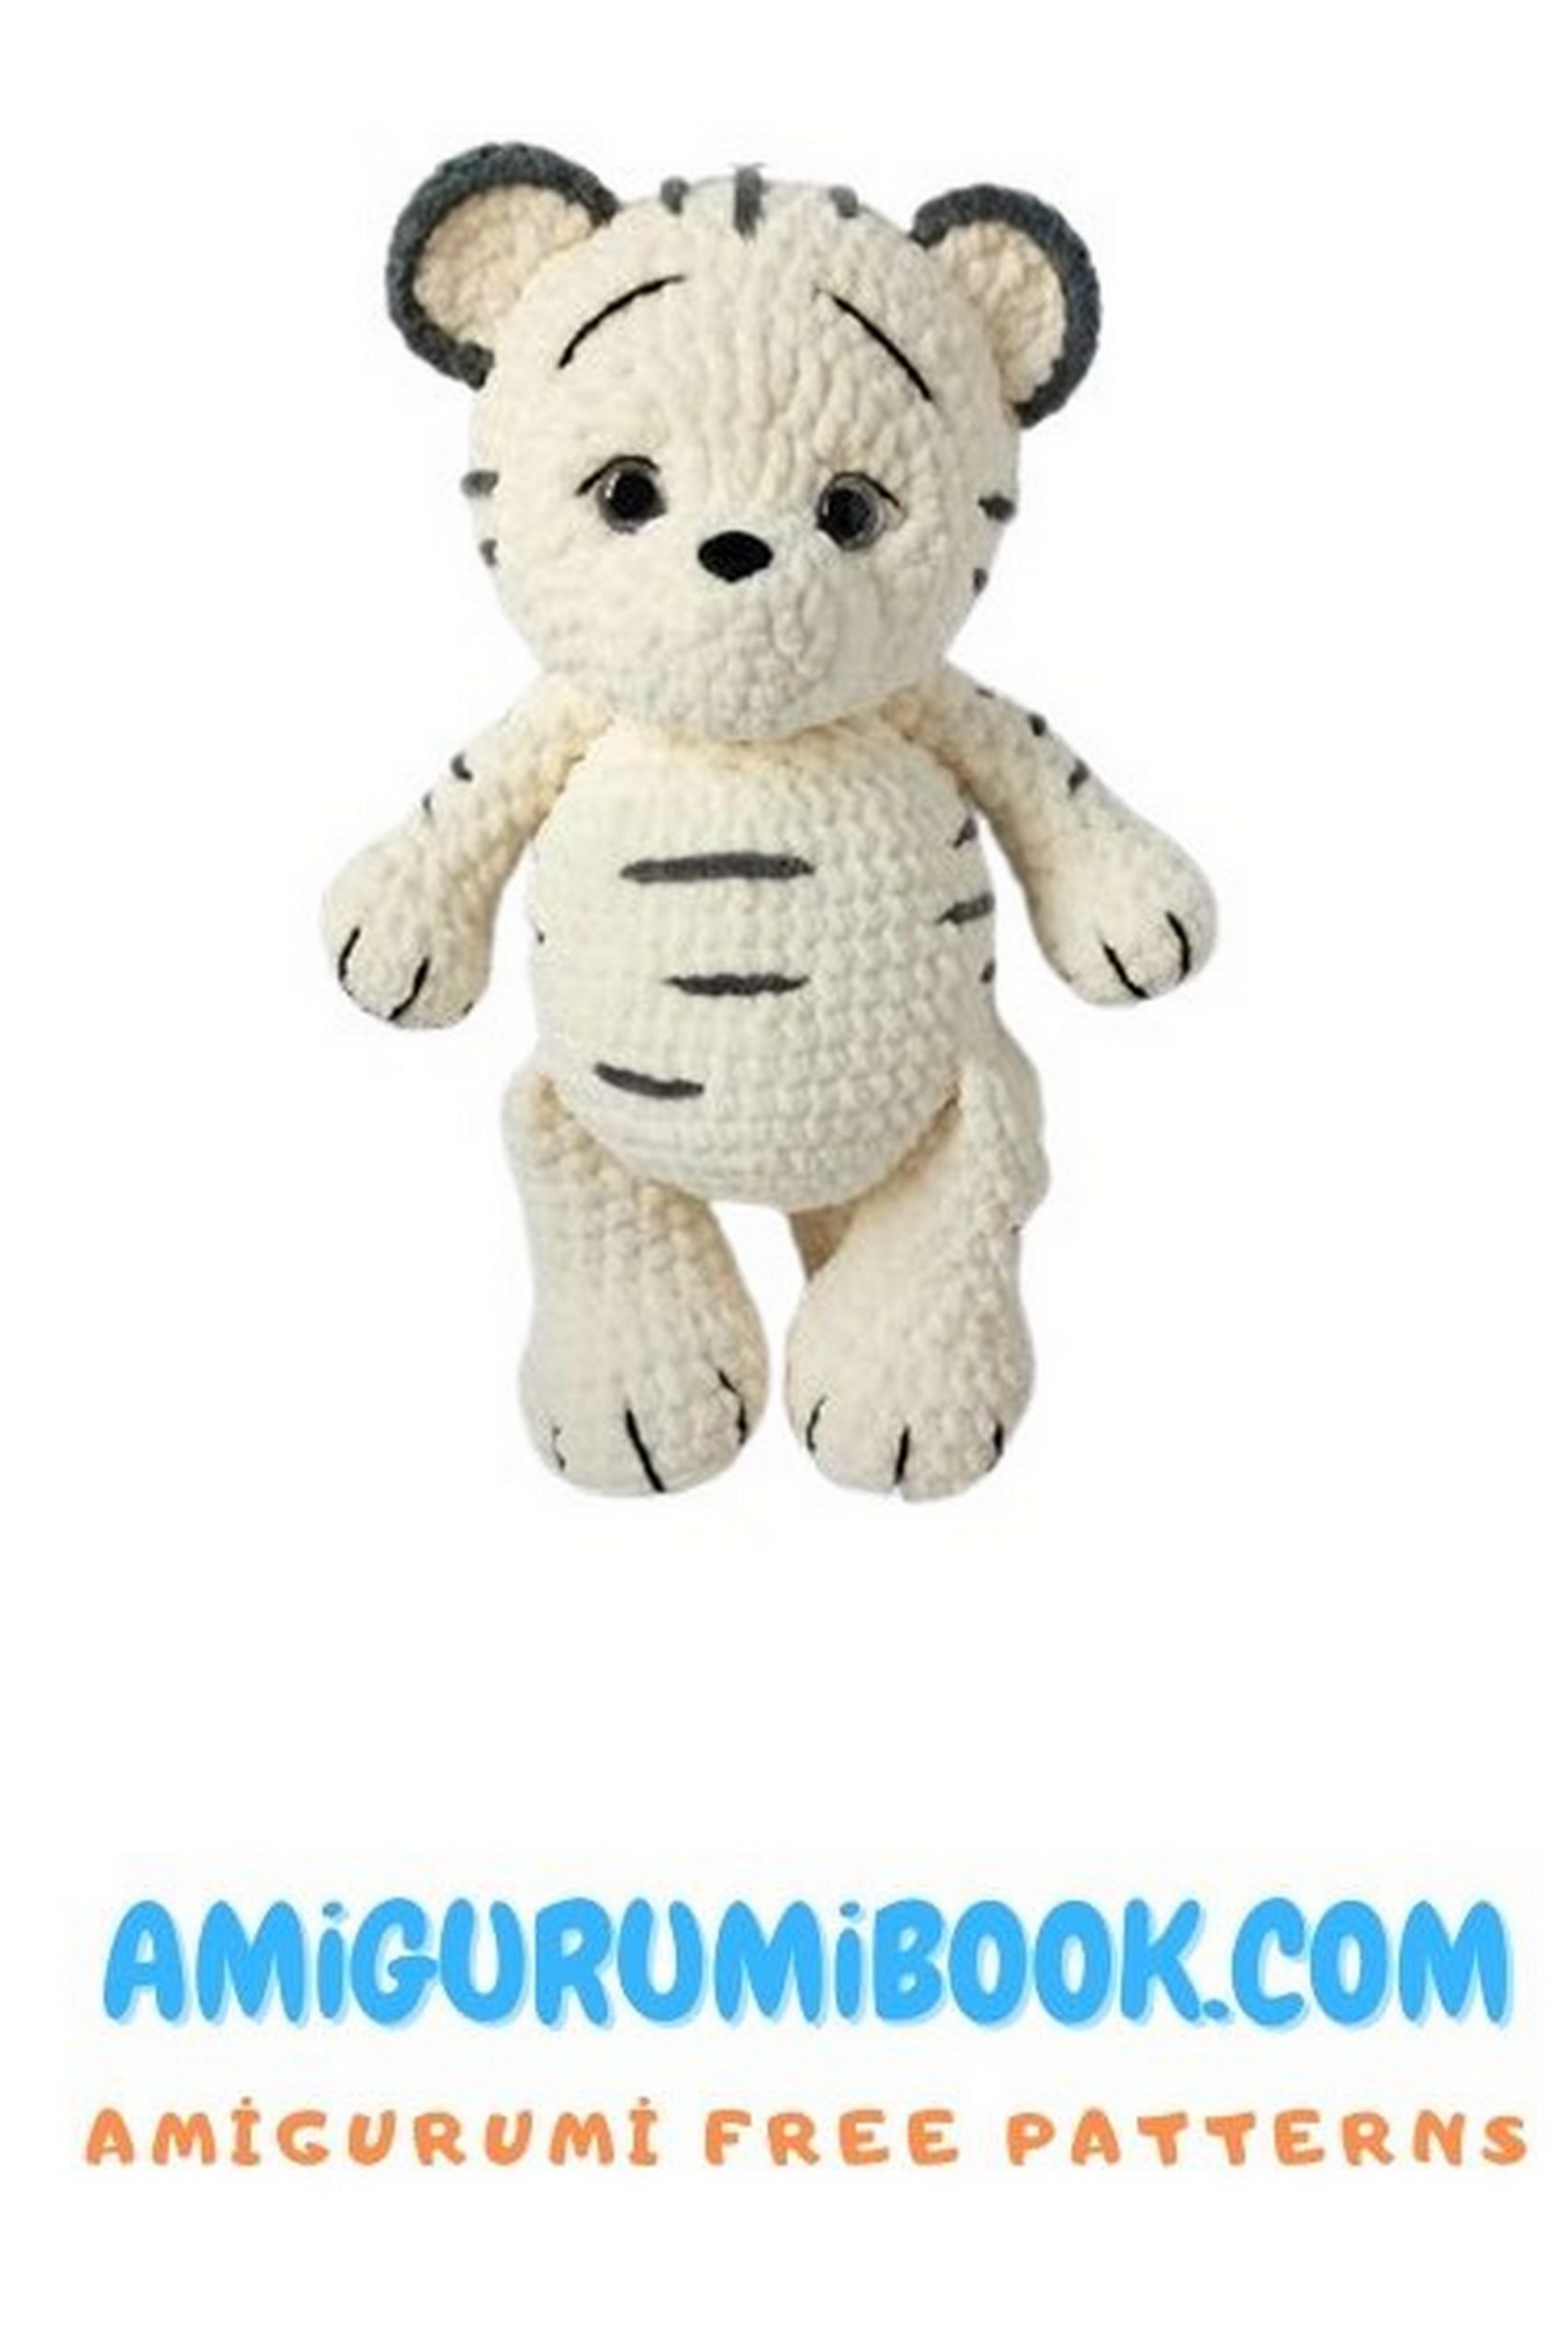
Using these materials, you will create a Tigruya (Tigruya) measuring 35 cm. However, sizes and proportions may vary depending on your knitting style and density.
ABBREVIATIONS:
MR – magic ring
CH – chain
SC – single crochet
INC – increase
INV DEC – invisible decrease
HDC – half double crochet
DC – double crochet
TR – treble crochet
SL ST – slip stitch
To begin a row, use a marker or a piece of differently colored yarn to mark the first stitch of the new row. Do not crochet the turning chains; work in continuous rounds for the amigurumi. If you have trouble with the magic ring at the beginning, make 2 chains and work the required number of stitches into the second chain from the hook.
PATTERN White Tiger

BACK LEGS (2 pieces) – White Tiger
1: 6 SC in MR (Magic Ring)
2: 2 SC in each stitch around (12)
3: (1 SC, INC)*6 (18)
4: (2 SC, INC)*6 (24)
5: 24 SC in back loops only
6-8: 24 SC
9: 4 SC, 8 DEC, 4 SC (16)
Stuff the legs firmly
10-16: 16 SC
Last row 17: 16 SC + 1 SC
Fold in half and close with 8 SC through both sides, secure the thread and cut.
FRONT LEGS (2 pieces) – White Tiger
1: 6 SC in MR
2: 2 SC in each stitch around (12)
3: (1 SC, INC)*6 (18)
4-5: 18 SC
6: (1 SC, DEC)*4, 6 SC (14)
7: 5 DEC, 4 SC (9)
Stuff the legs firmly
8-14: 9 SC
15: DEC, 7 SC (8)
On the last row 15: 1 SC increase
Stuff the legs to about 2/3 full, fold in half and close with 4 SC through both sides, secure the thread and cut.
BODY – White Tiger
1: 6 SC in MR
2: 2 SC in each stitch around (12)
3: (1 SC, INC)*6 (18)
4: (2 SC, INC)*6 (24)
5: (3 SC, INC)*6 (30)
6: (4 SC, INC)*6 (36)
7: (5 SC, INC)*6 (42)
8: (6 SC, INC)*6 (48)
9: 48 SC
Attach the hind legs
10: 8 SC (1 leg), 16 SC, 8 SC (2 legs), 16 SC
11-17: 48 SC
18: (6 SC, DEC)*6 (42)
19: 8 SC, 8 DEC, 18 SC (34)
20: 2 SC, (4 SC, DEC)*5, 2 SC (29)
Stuff the body as you crochet
21: (3 SC, DEC)*5, 2 SC, DEC (23)
Attach the front legs
22: 2 SC, 4 SC (1 leg), 6 SC, 4 SC (2 legs), 7 SC
23: 2 SC, (2 SC, DEC)*5, SC (18)
24: (1 SC, DEC)*6 (12)
Stuff the toy. Secure and cut the thread.

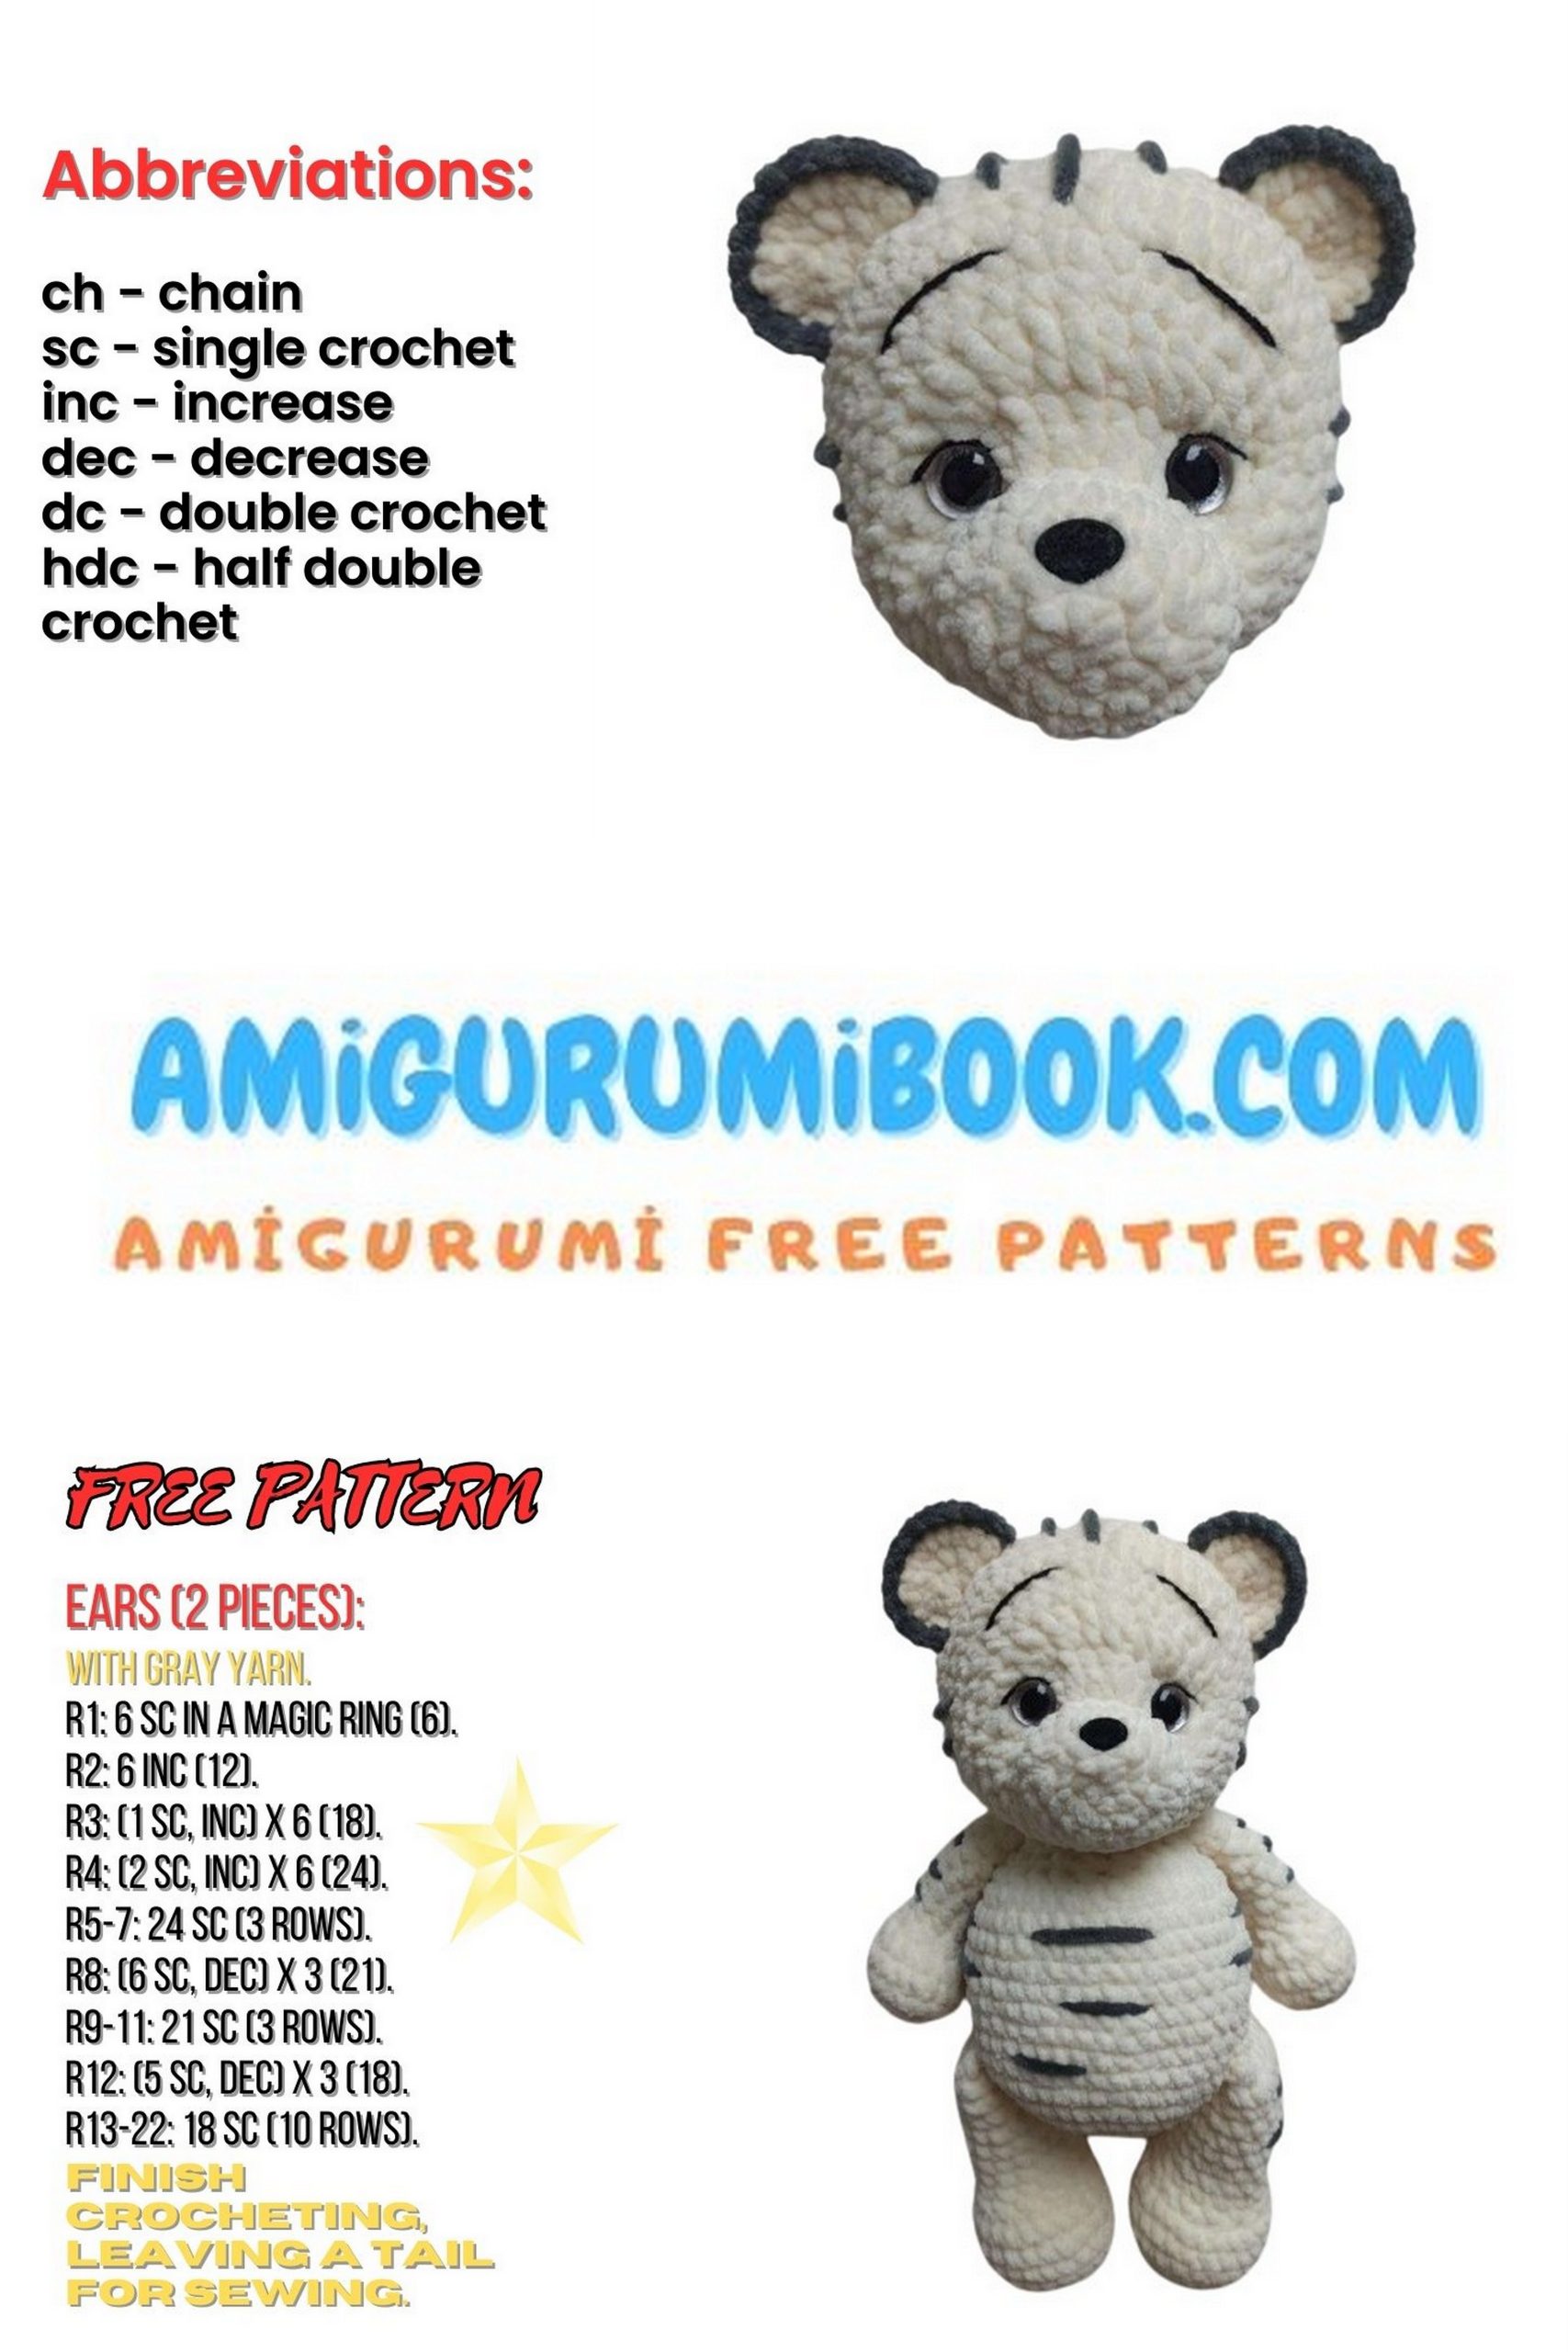
HEAD – White Tiger
1: 6 SC in MR
2: 2 SC in each stitch around (12)
3: 2 SC, (3 SC in 1 stitch)*2, 4 SC, (3 SC in 1 stitch)*2, 2 SC (20)
4-5: 20 SC
6: 8 SC, 6 INC, 6 SC (26)
7: INC, 5 SC, INC, SC, 2 INC, (INC, SC)*5, SC, 3 SC (34)
8: SC, INC. 5 SC, INC, 5 SC, INC, 4 SC, INC, 4 SC, INC, 6 SC, INC, 3 SC (40)
9: 12 SC, (INC, 5 SC)*4, 4 SC (44)
10: 20 SC, 2 INC, 8 SC, 2 INC, 12 SC (48)
Insert eyes between rows 6 and 7, 9 stitches apart
Insert the nose between rows 2 and 3
11: 15 SC, (INC, 6 SC)*4, 5 SC (52)
12: 20 SC, INC, 10 SC, INC, 20 SC (54)
13-17: 54 SC
18: (7 SC, DEC)*6 (48)
19: (6 SC, DEC)*6 (42)
20: (5 SC, DEC)*6 (36)
21: (4 SC, DEC)*6 (30)
22: (3 SC, DEC)*6 (24)
23: (2 SC, DEC)*6 (18)
24: (SC, DEC)*6 (12)
25: 6 DEC (6)
Cut the thread with a tail, close the hole with a hook or needle with a large eye, secure and hide the thread in the head.
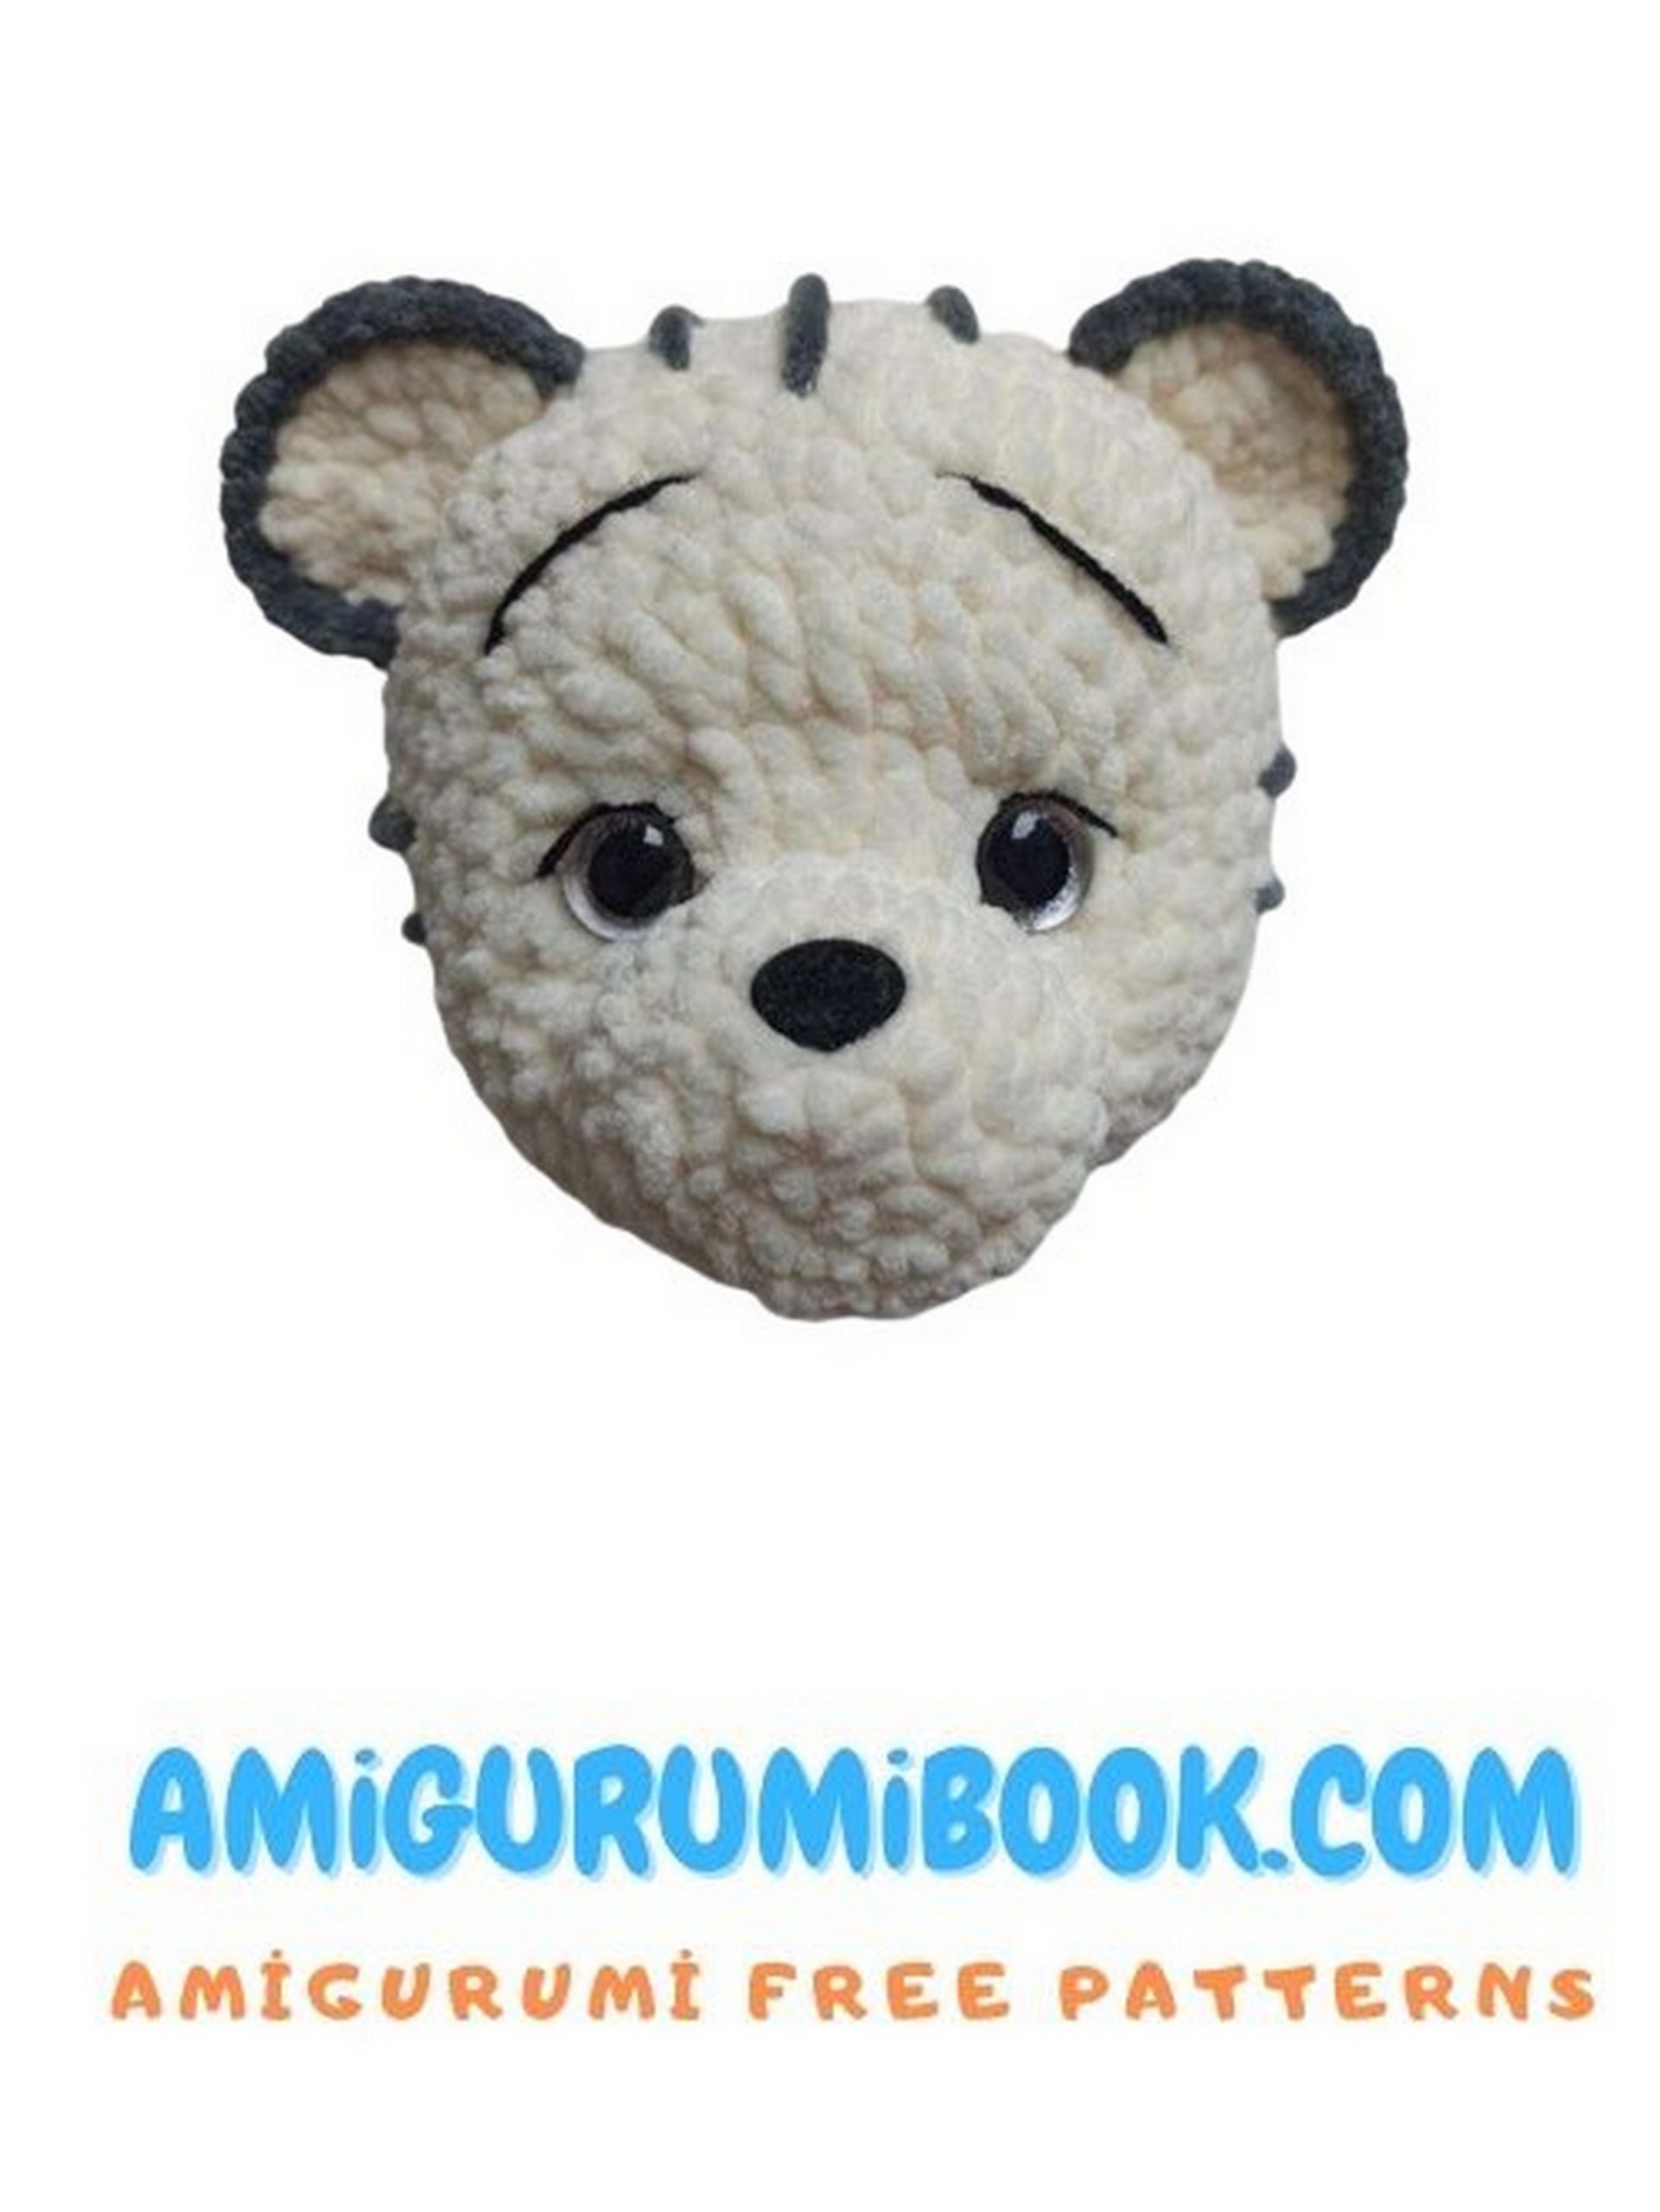
Shaping the Face
Take a long needle with a wide eye, insert it into “a1” as shown in the photo. Leave a small tail so you can tie it and bring the needle to “a2”, then insert it into “a3” and the last digit “a4”. Tighten the thread ends well and tie them in a knot. Do the same with the other side with the letters “v”. Hide the threads in the head.
Facial Features
Measure a long piece of black thread. First, make eyelids by placing the thread evenly over the eye, as close as possible to it. Then shape the eyebrows, which should be positioned 3 rows above the eyes and 5 columns wide. Insert the needle according to the numbers in the photo (a..). Secure and hide threads in the head.
Ears (4 pieces) – White Tiger
1 half – 2 parts
1: 6 in MR – do not tighten the ring, form a semicircle and make CH
2: 6 INC, CH and turn (12+1)
3: 12 SC
Secure and cut the thread.
2nd half – 2 parts
1: 6 in MR – do not tighten the ring, form a semicircle and make CH
2: 6 INC, CH and turn (12+1)
3: 12 SC, CH and turn
4: 12 SC
Secure and cut the thread.
Fold 2 parts together, take additional color – gray. Secure the thread and crochet around 12 SC along the contour. Secure and cut the thread.
Sew ears
Step back 4 rows from the eyebrows or 7 rows from the eyes, on the side from the beginning of the eye near the nose 2 rows – this will be the beginning of the ear. The distance between the ears is 10 columns.
Headband
Measure a long piece of gray yarn. Insert the needle from below the head, leave a small tail and exit first on one side of the head, then on the other. The distance between the strip is 7 columns, between the strips 2 rows. Make three strips on top of the head, as shown in the photo. Small 5 columns, large 9. The distance between 2-3 columns. Secure the thread and hide it in the head.
Stripes on the body and paws
Measure a long piece of gray yarn. The distance between the rows is 2-3, the length is arbitrary.
Stripes on the body and paws
Sew the headband
Measure a long piece of basic yarn (milk color) and sew the head in a circle, catching every loop in the head and body so that the head does not sway.
Tail
1: 6 SC in MR
2: 6 INC (12)
3-4: 12 SC
5: (4 SC, DEC)*2 (10)
6-10: 10 SC
11: 8 SC, DEC (9)
12-14: 9 SC
15: 7 SC, DEC (8)
Do not stuff the tail. Fold and crochet together with 4 SC, leave a tail for sewing.
Sew the tail
Sew the tail between rows 9 and 10.
Secure, cut the thread, hide it in the body.
Detailing the hind legs
Cut the black thread with a needle with a wide eye.
Detailing the front legs
Cut the black thread with a needle with a wide eye.
Your White Tiger is ready!