
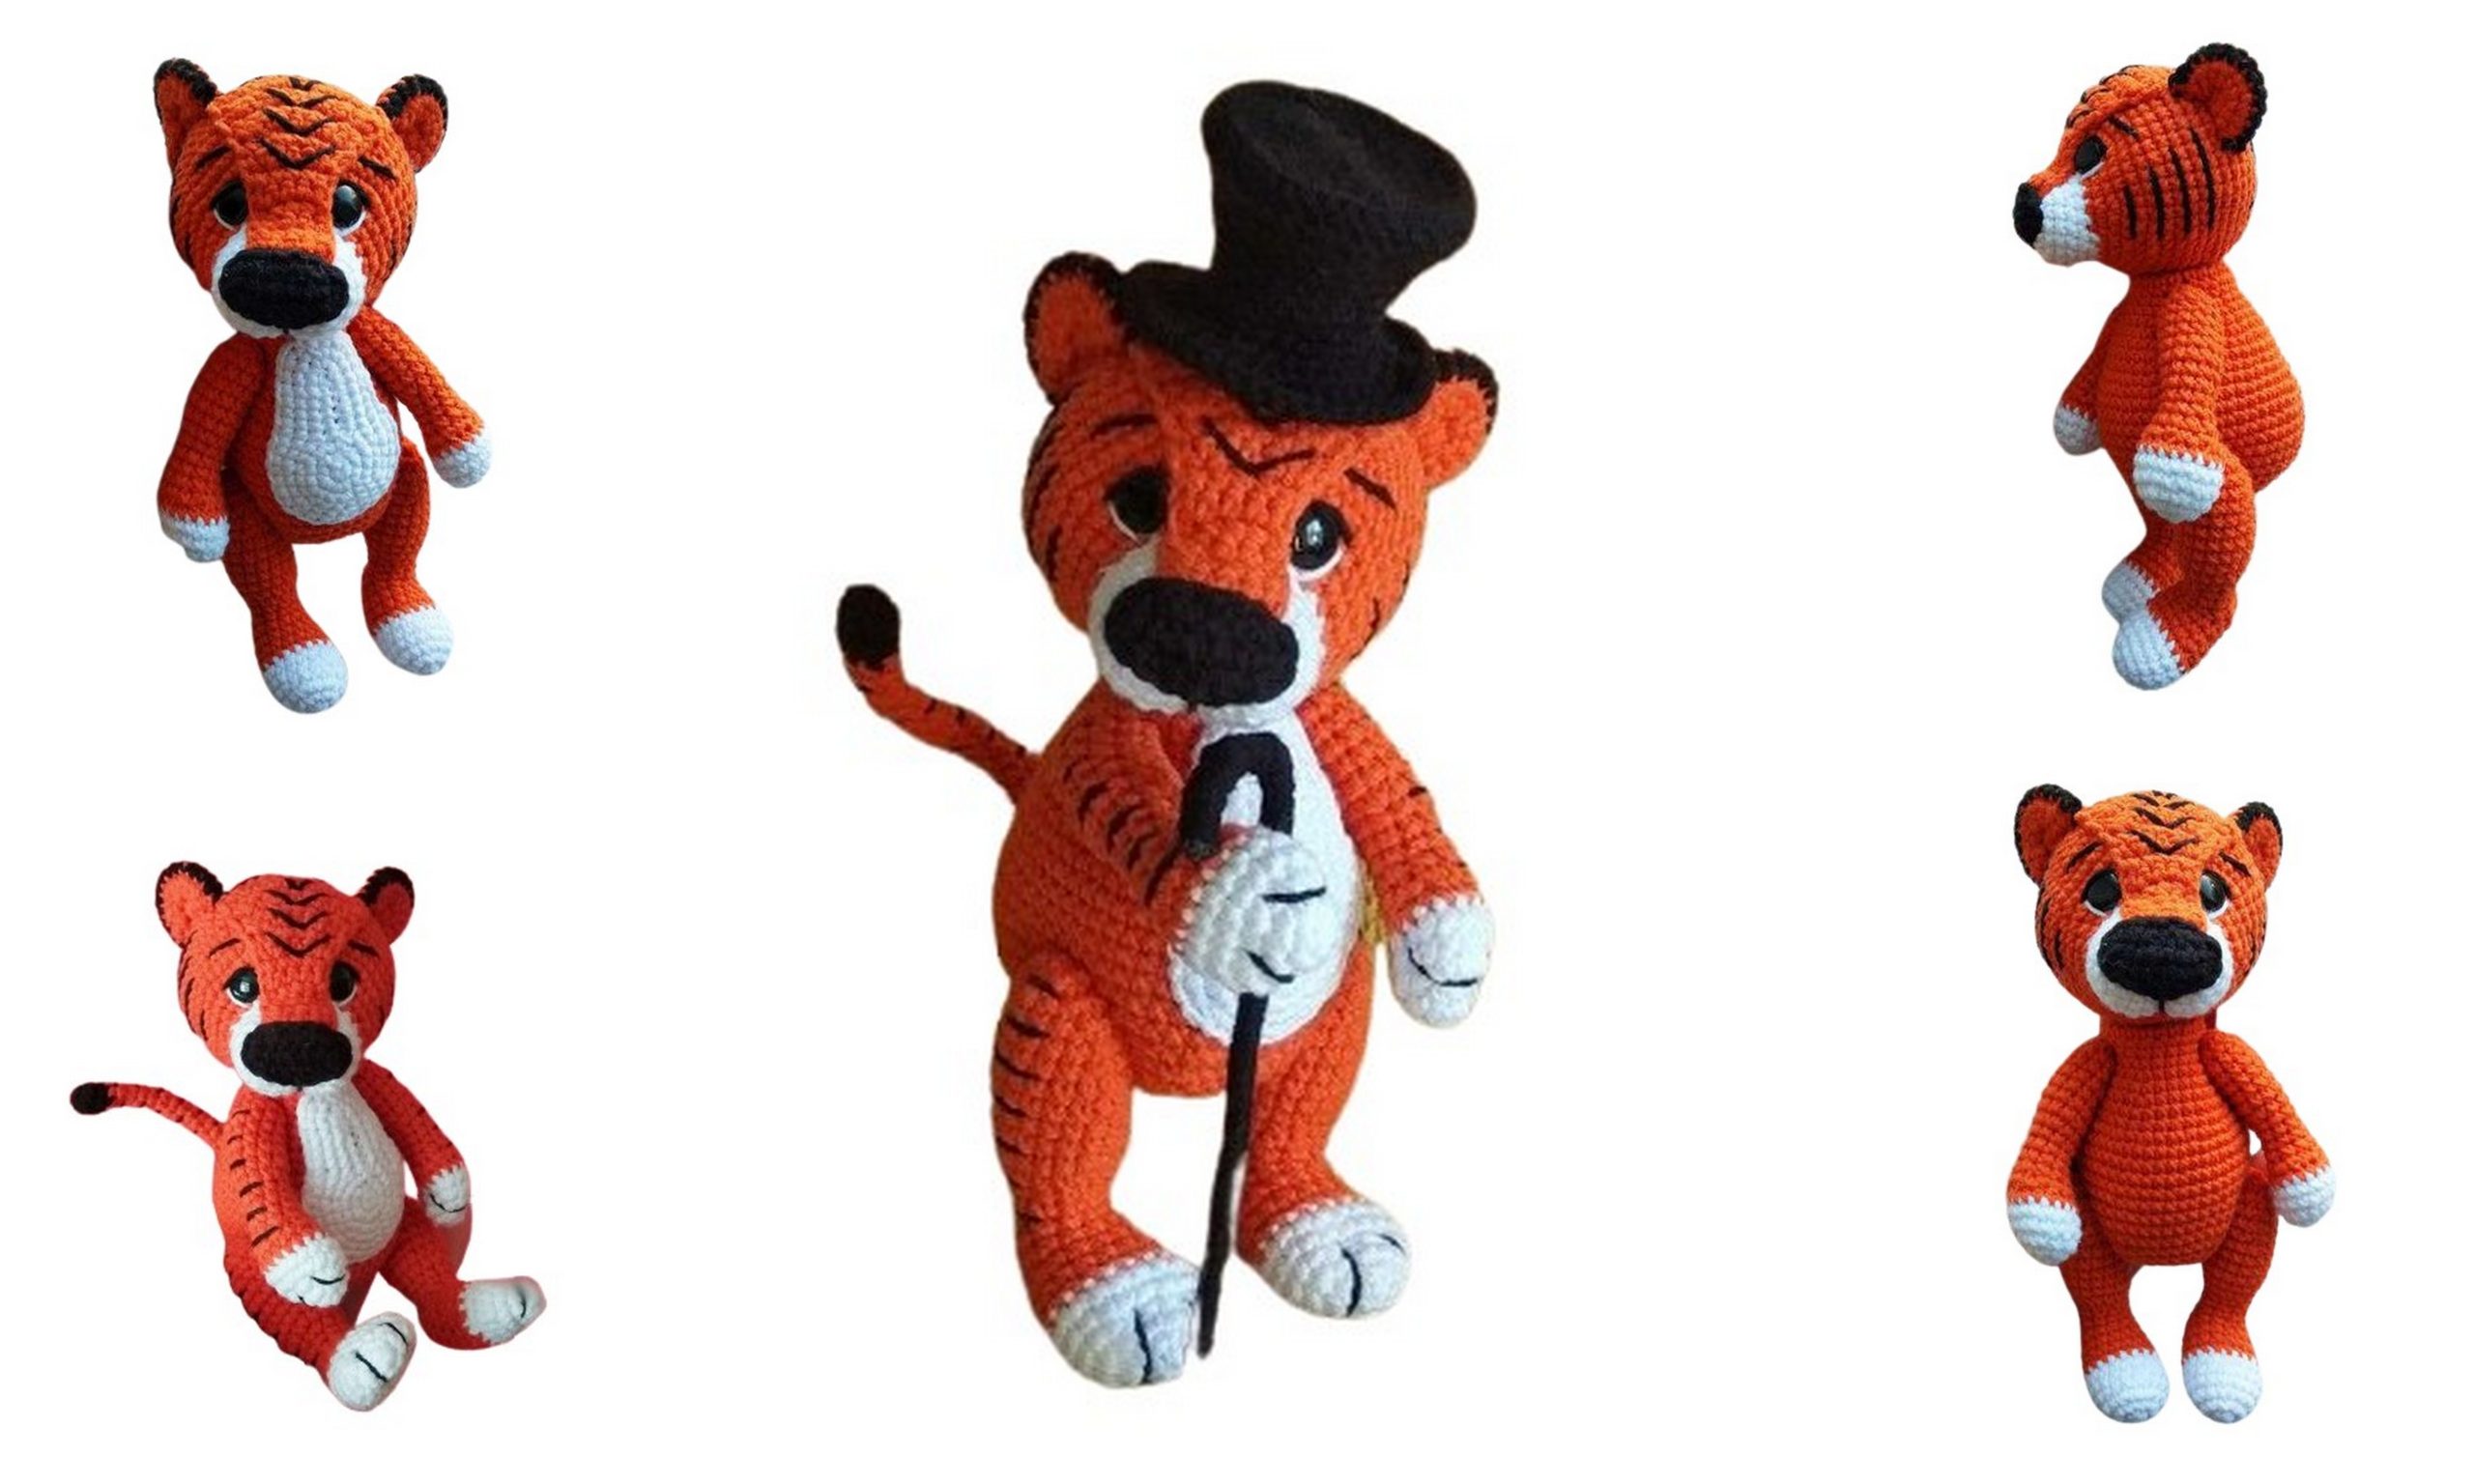
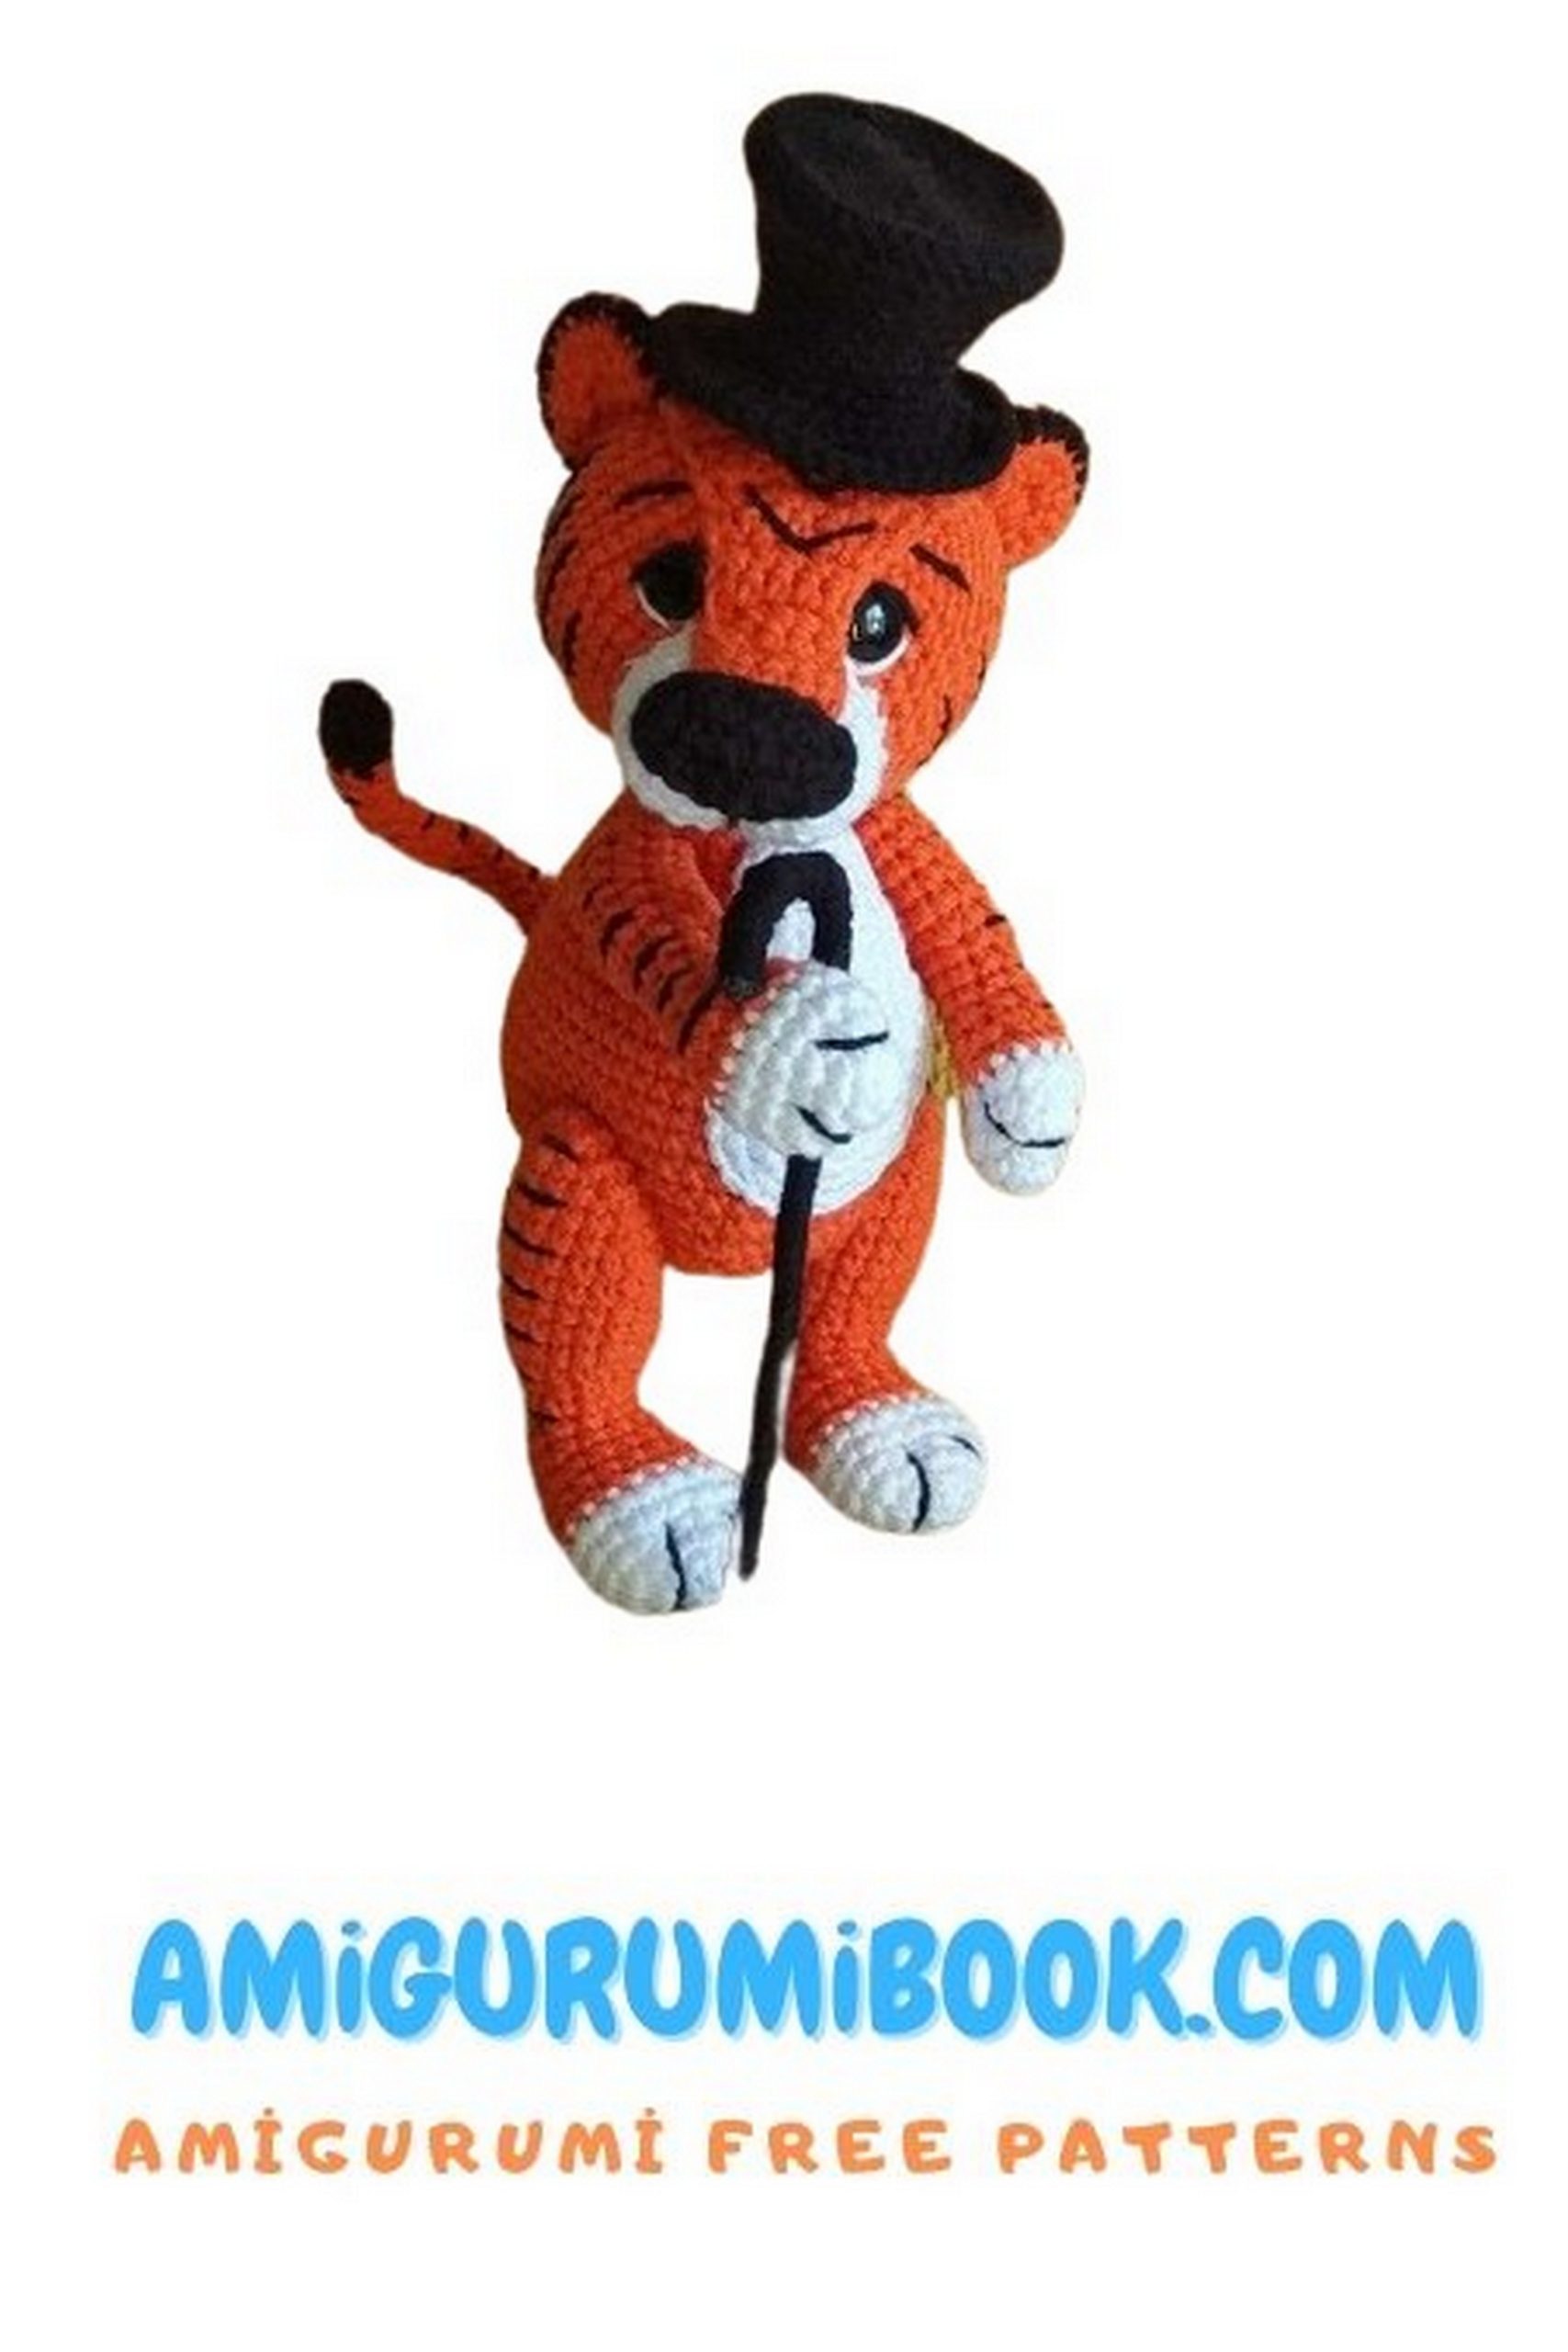
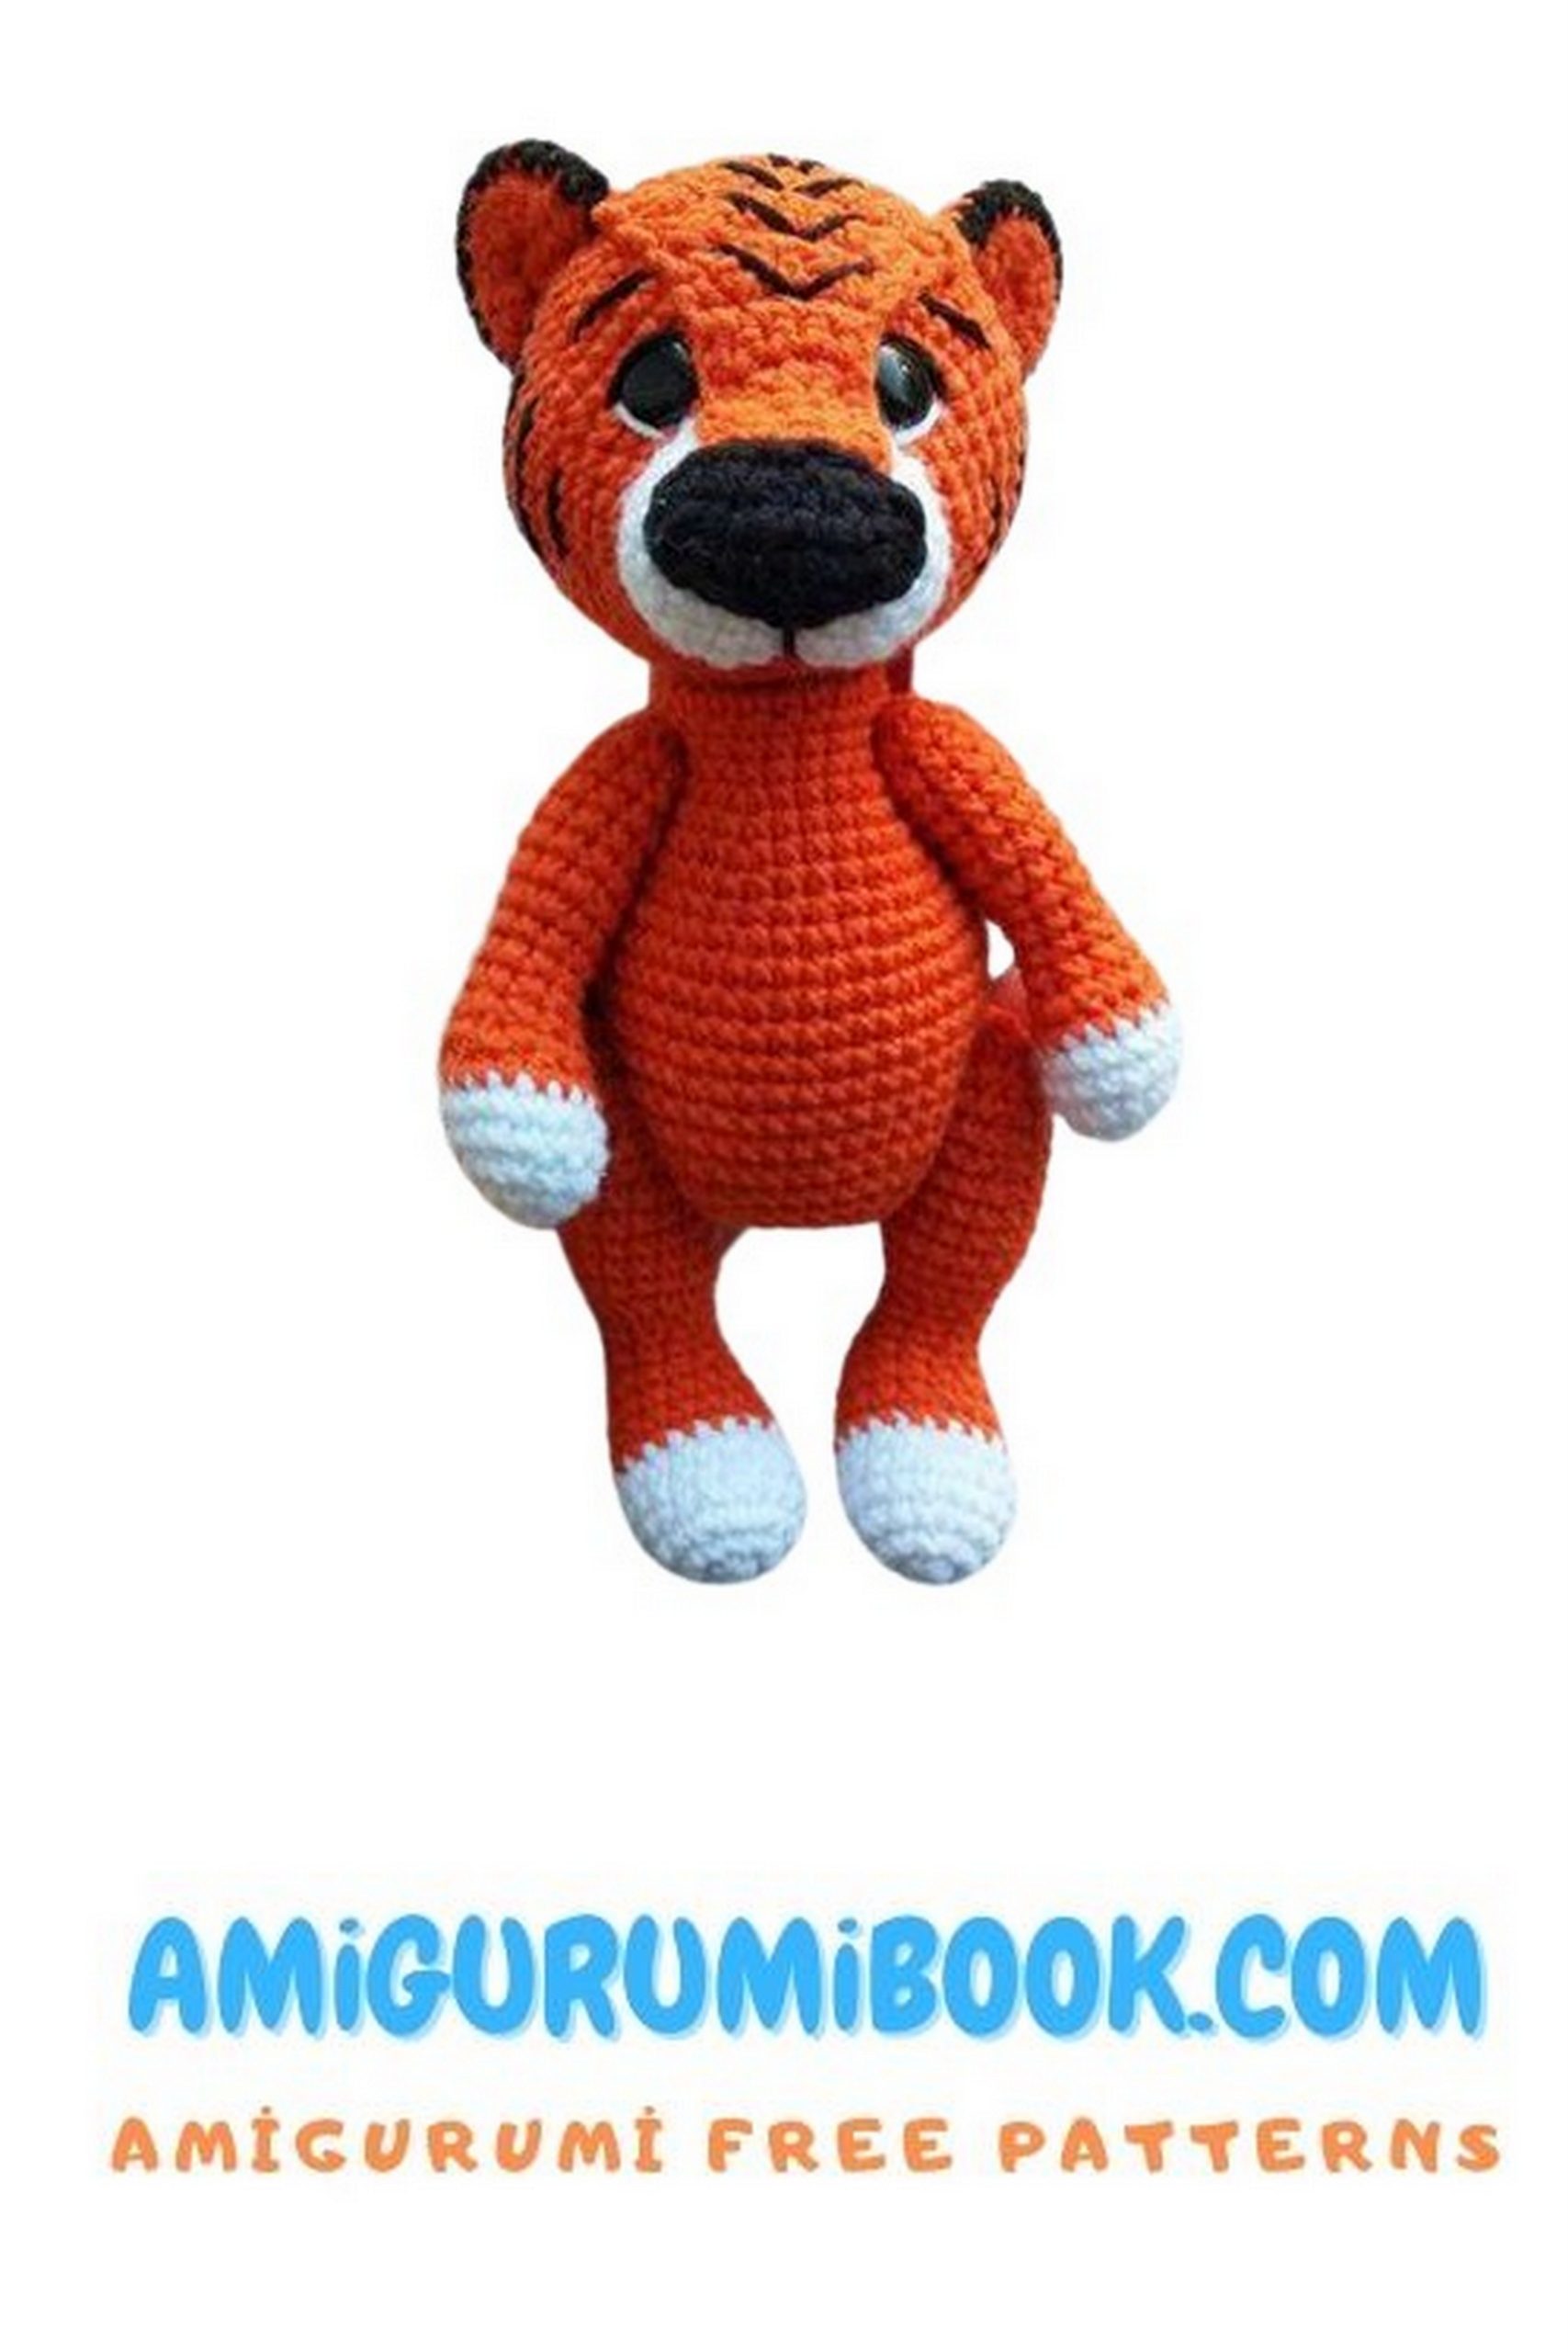
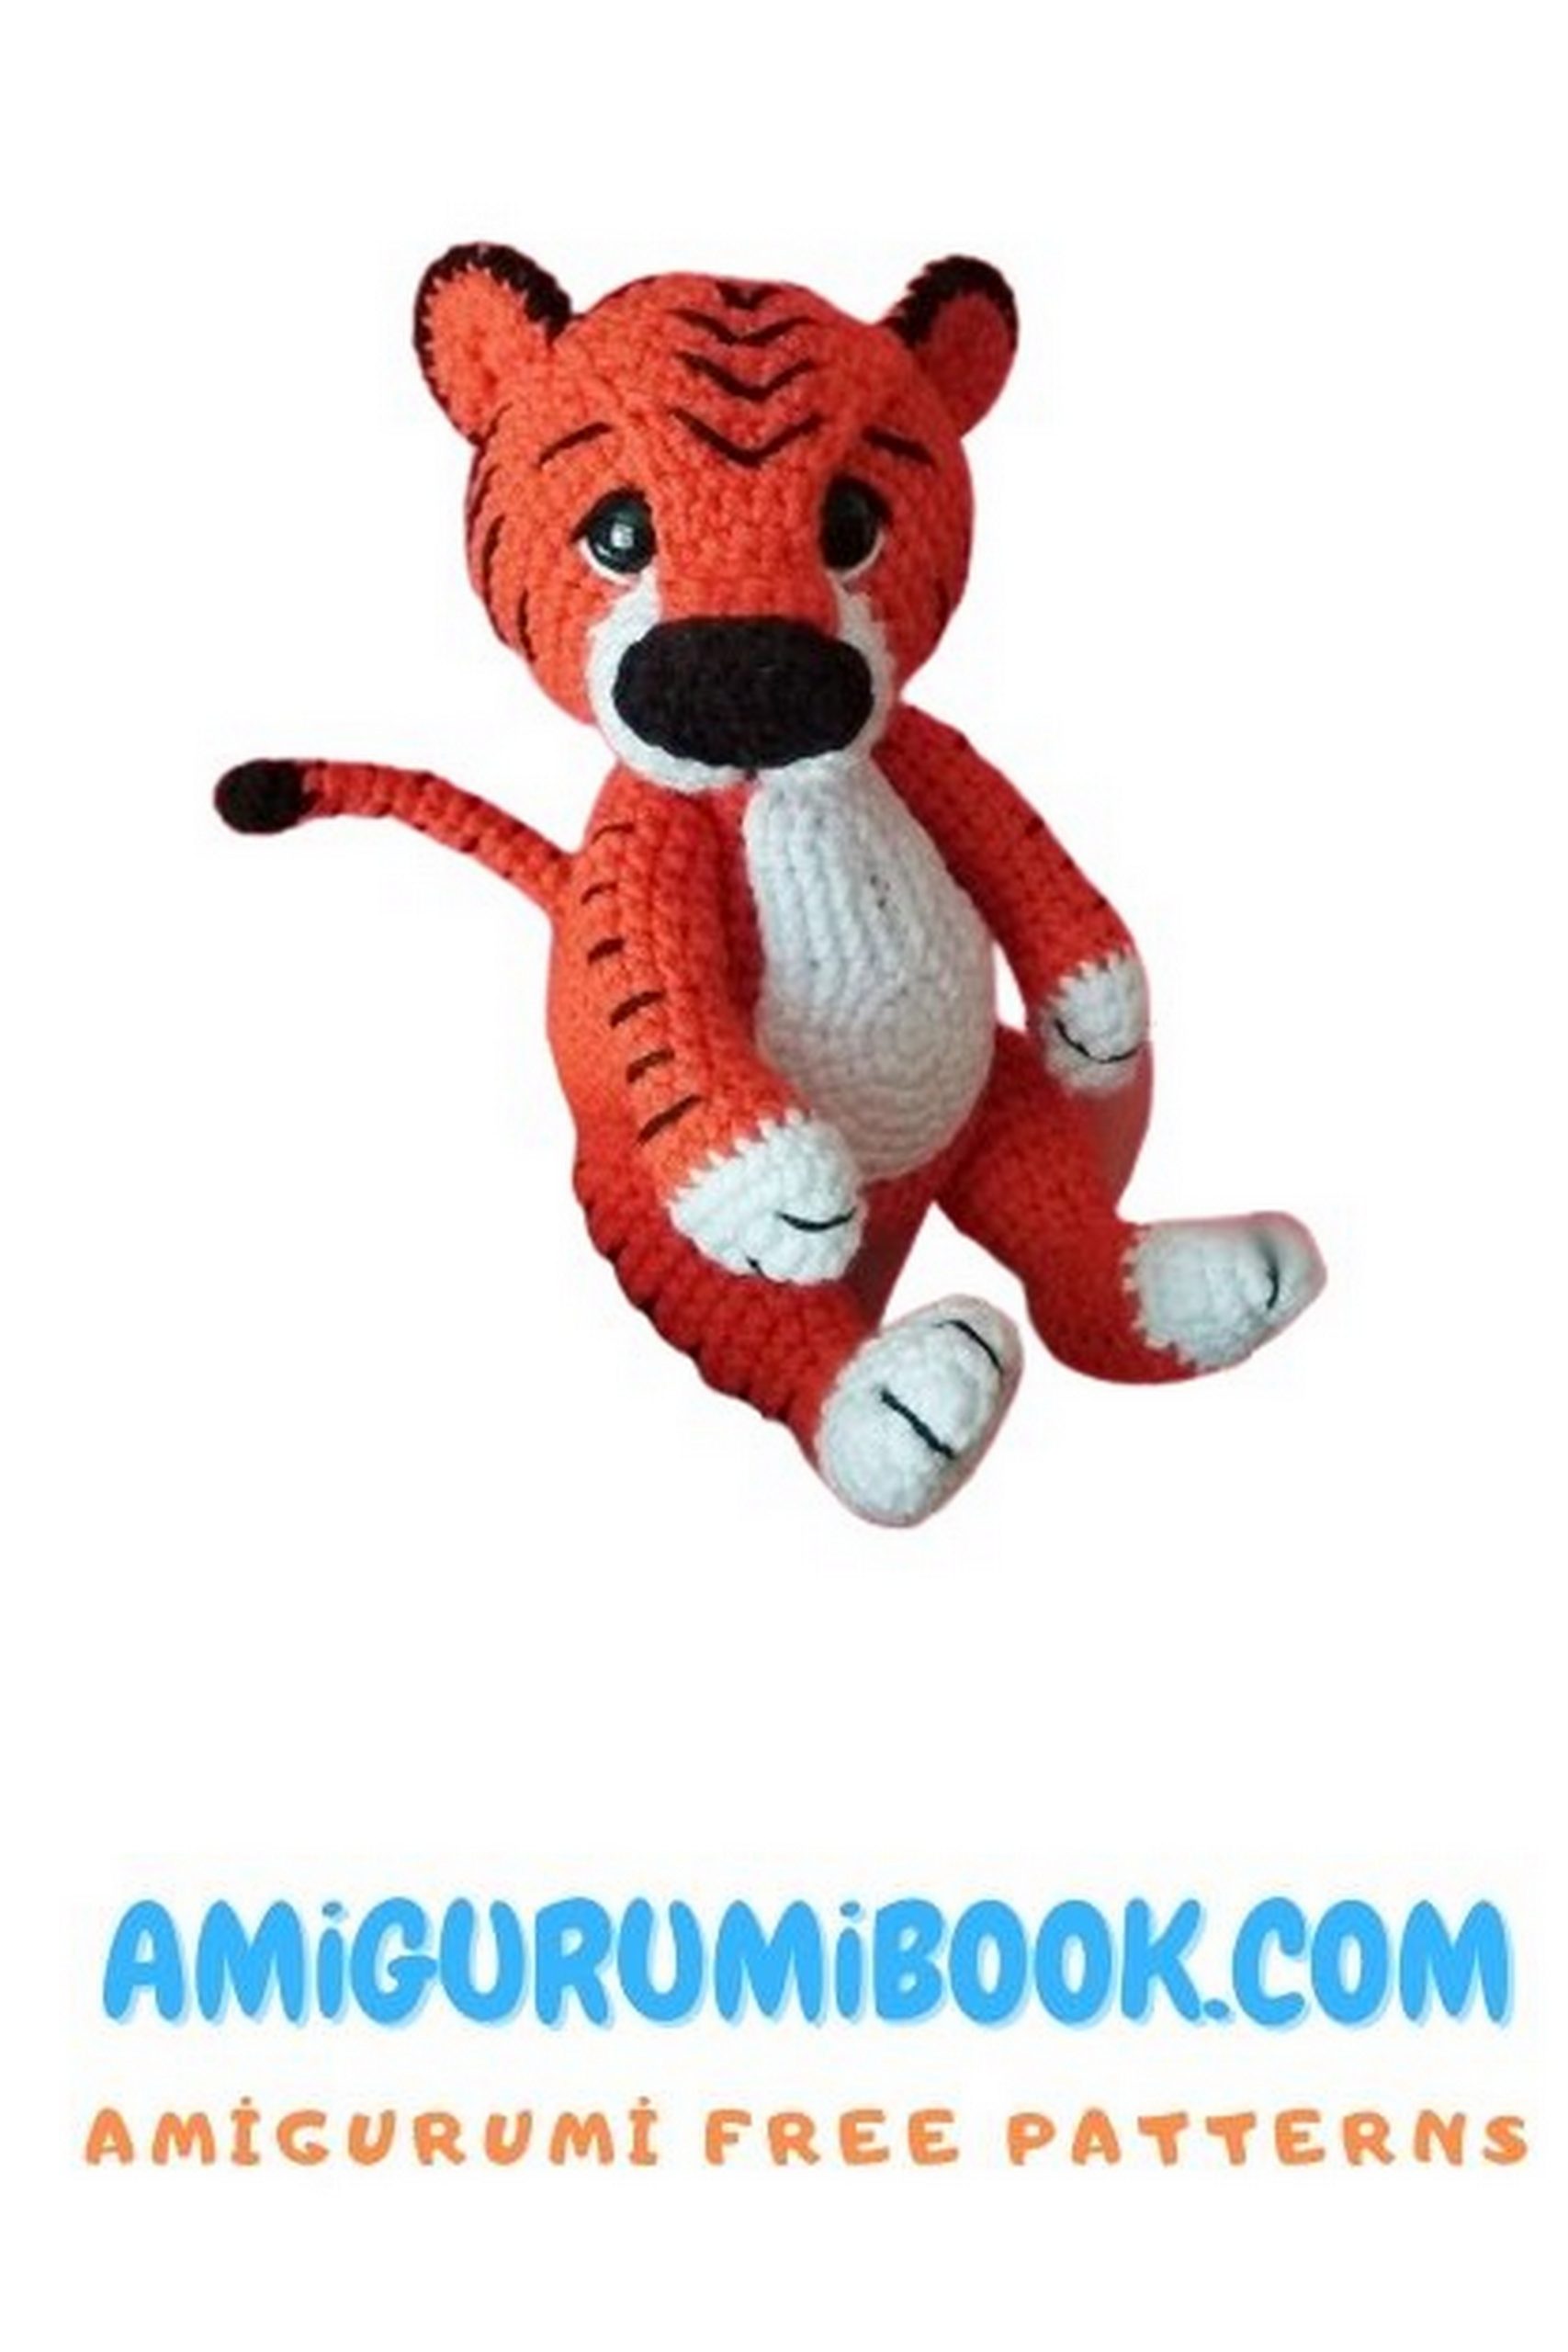
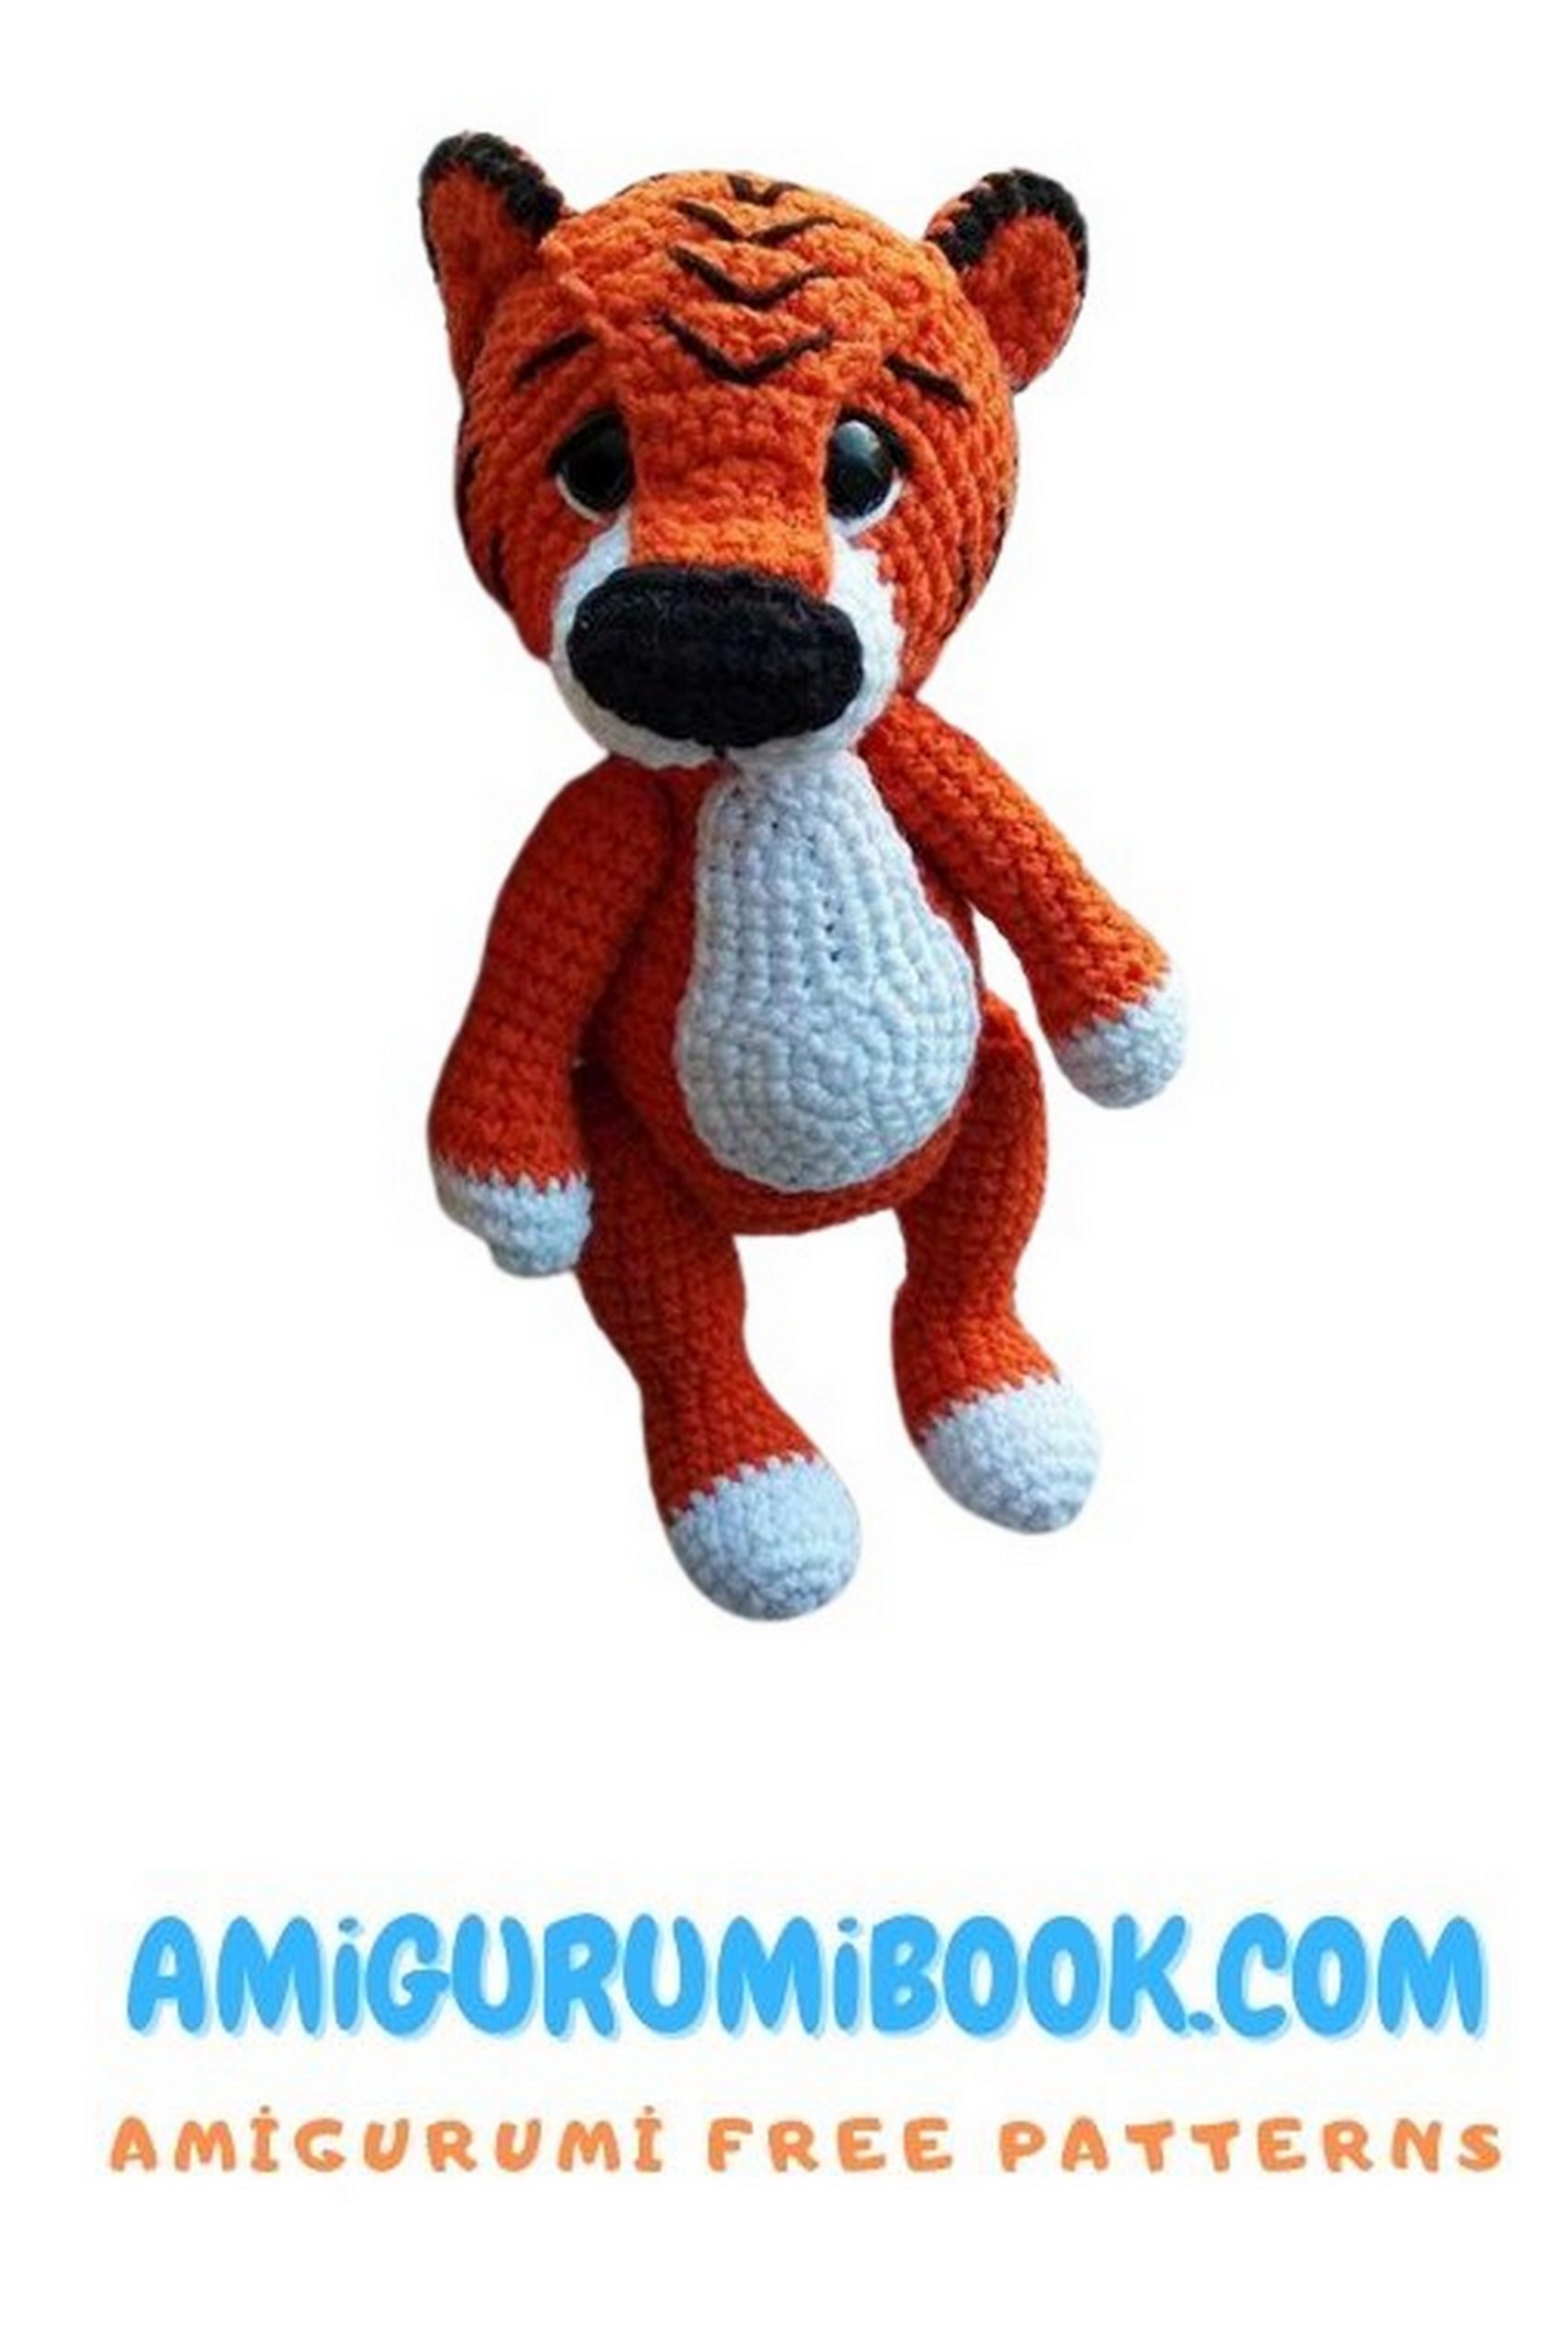
Discover the joy of creating your own adorable Tiger Martin amigurumi with this free crochet tutorial. Perfect for beginners and experienced crafters alike, this pattern guides you step-by-step to bring a charming tiger to life. free crochet patterns
You may also like more amigurumi patterns.
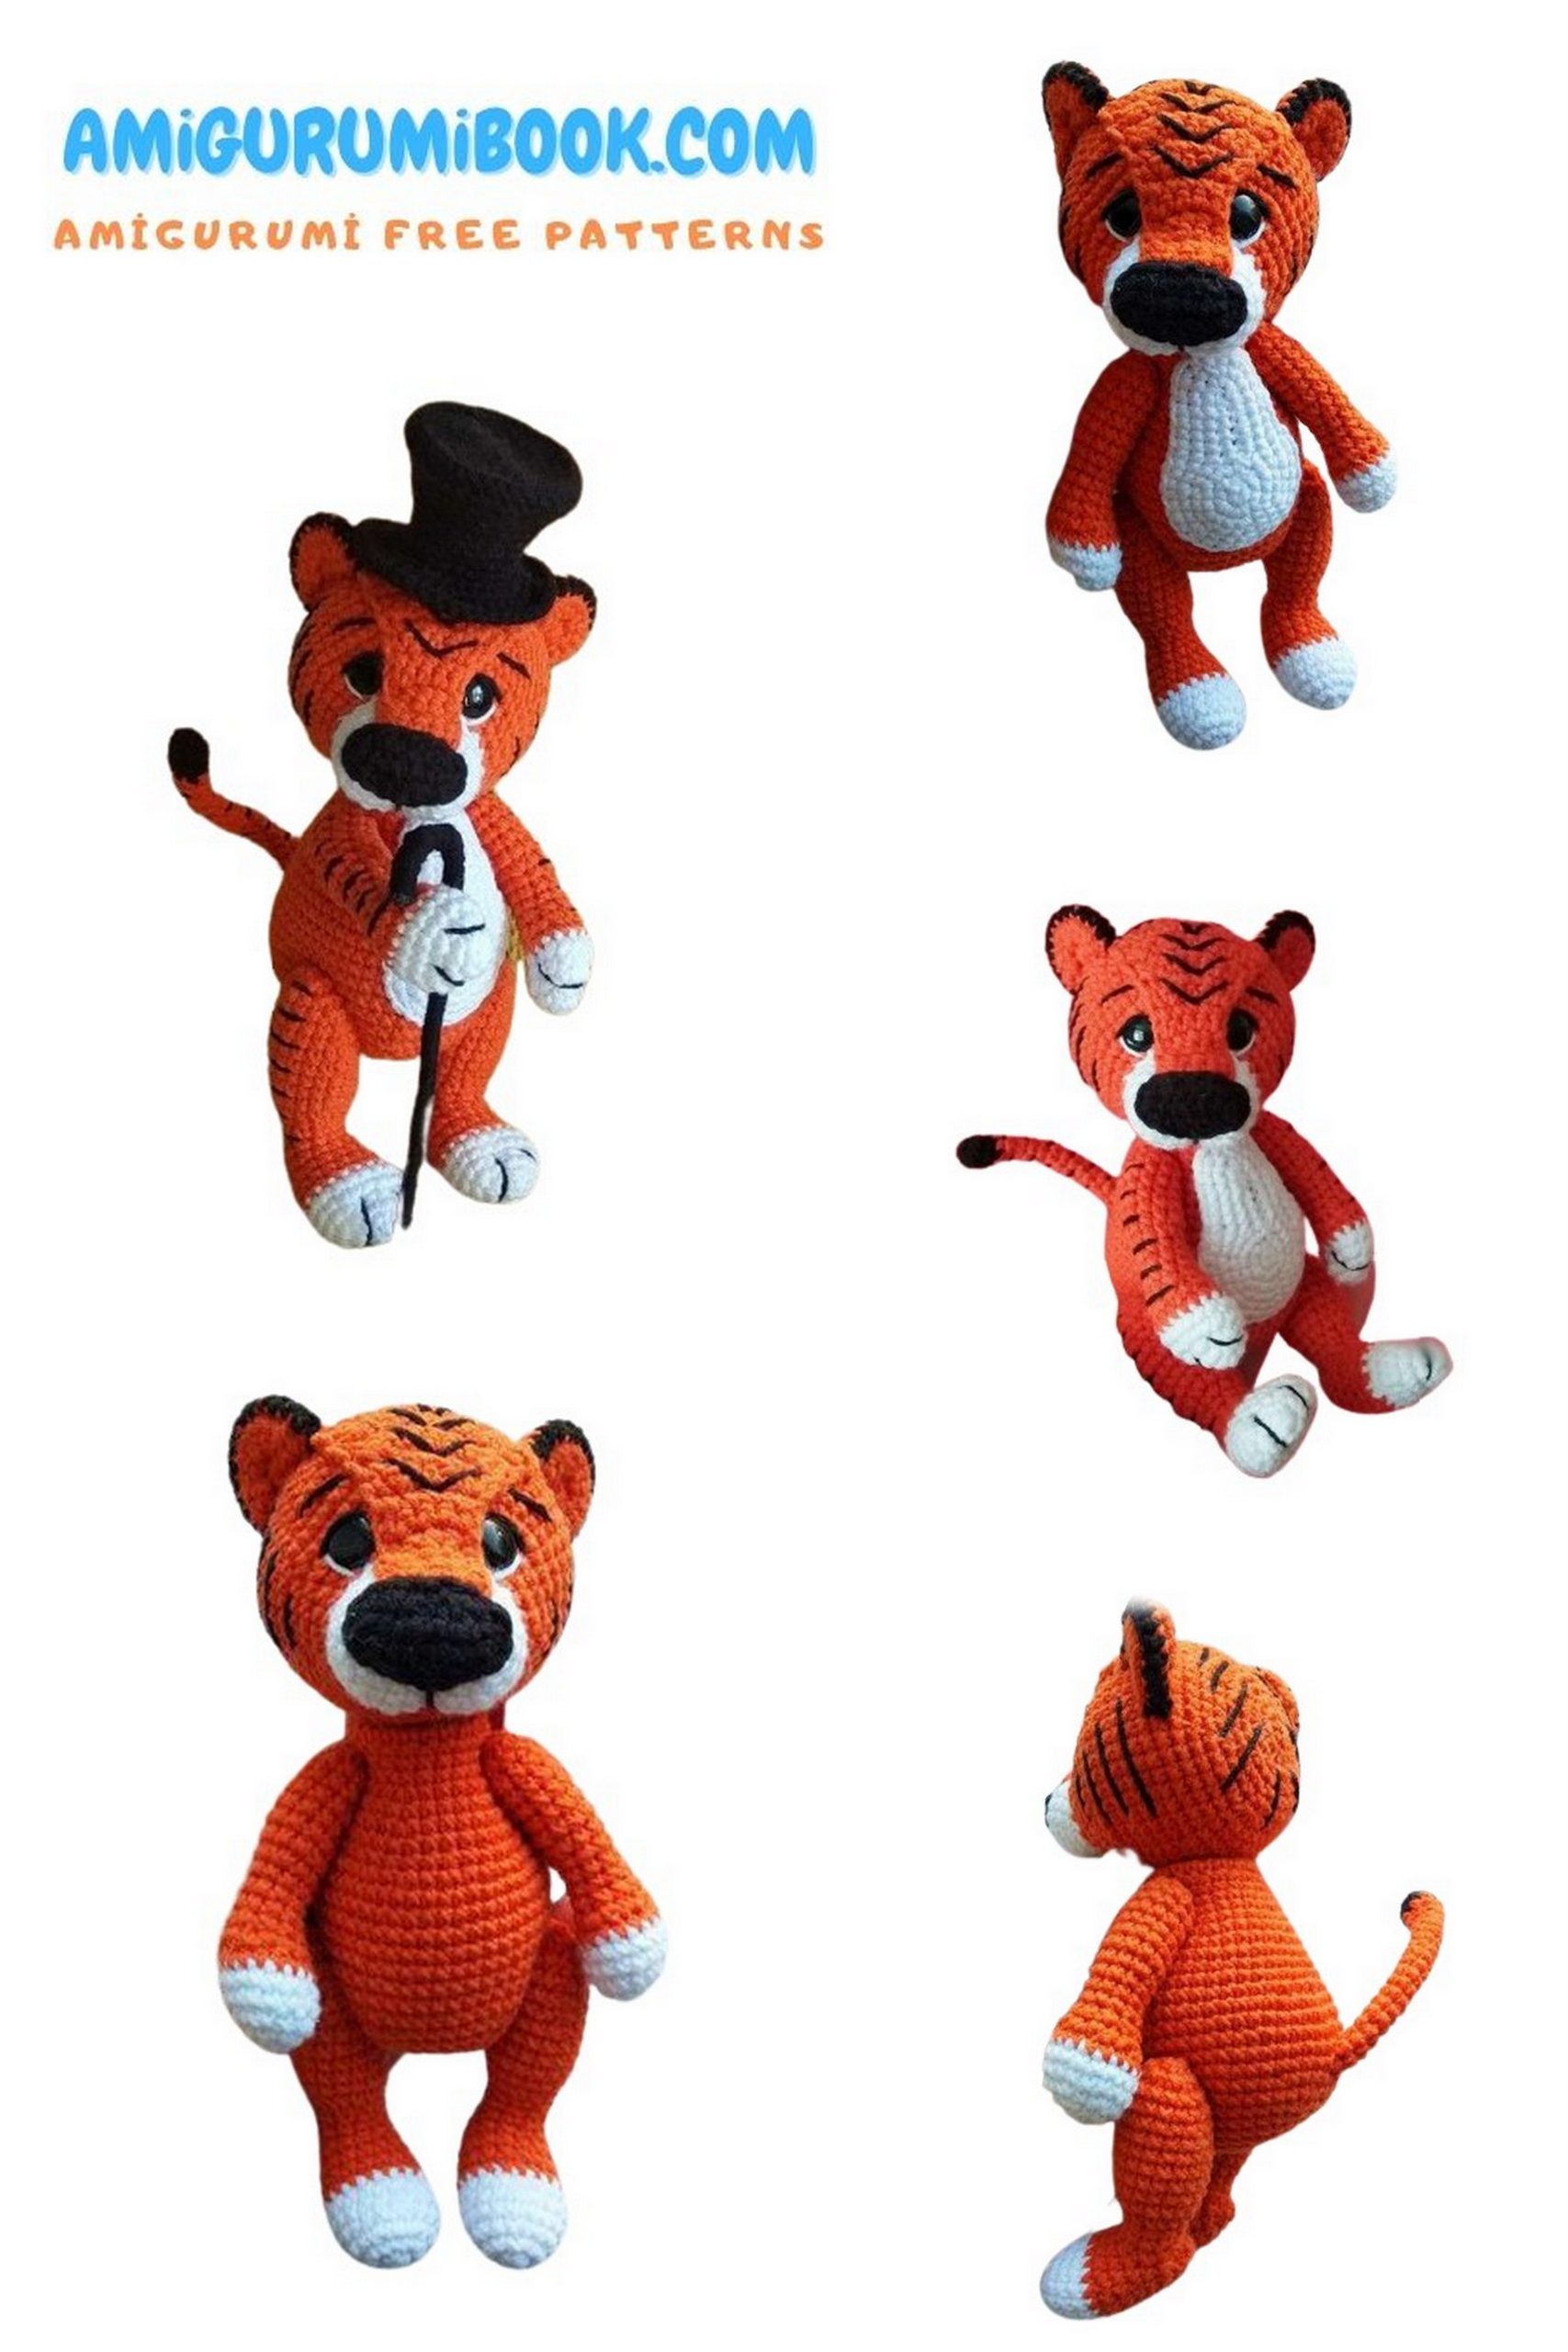
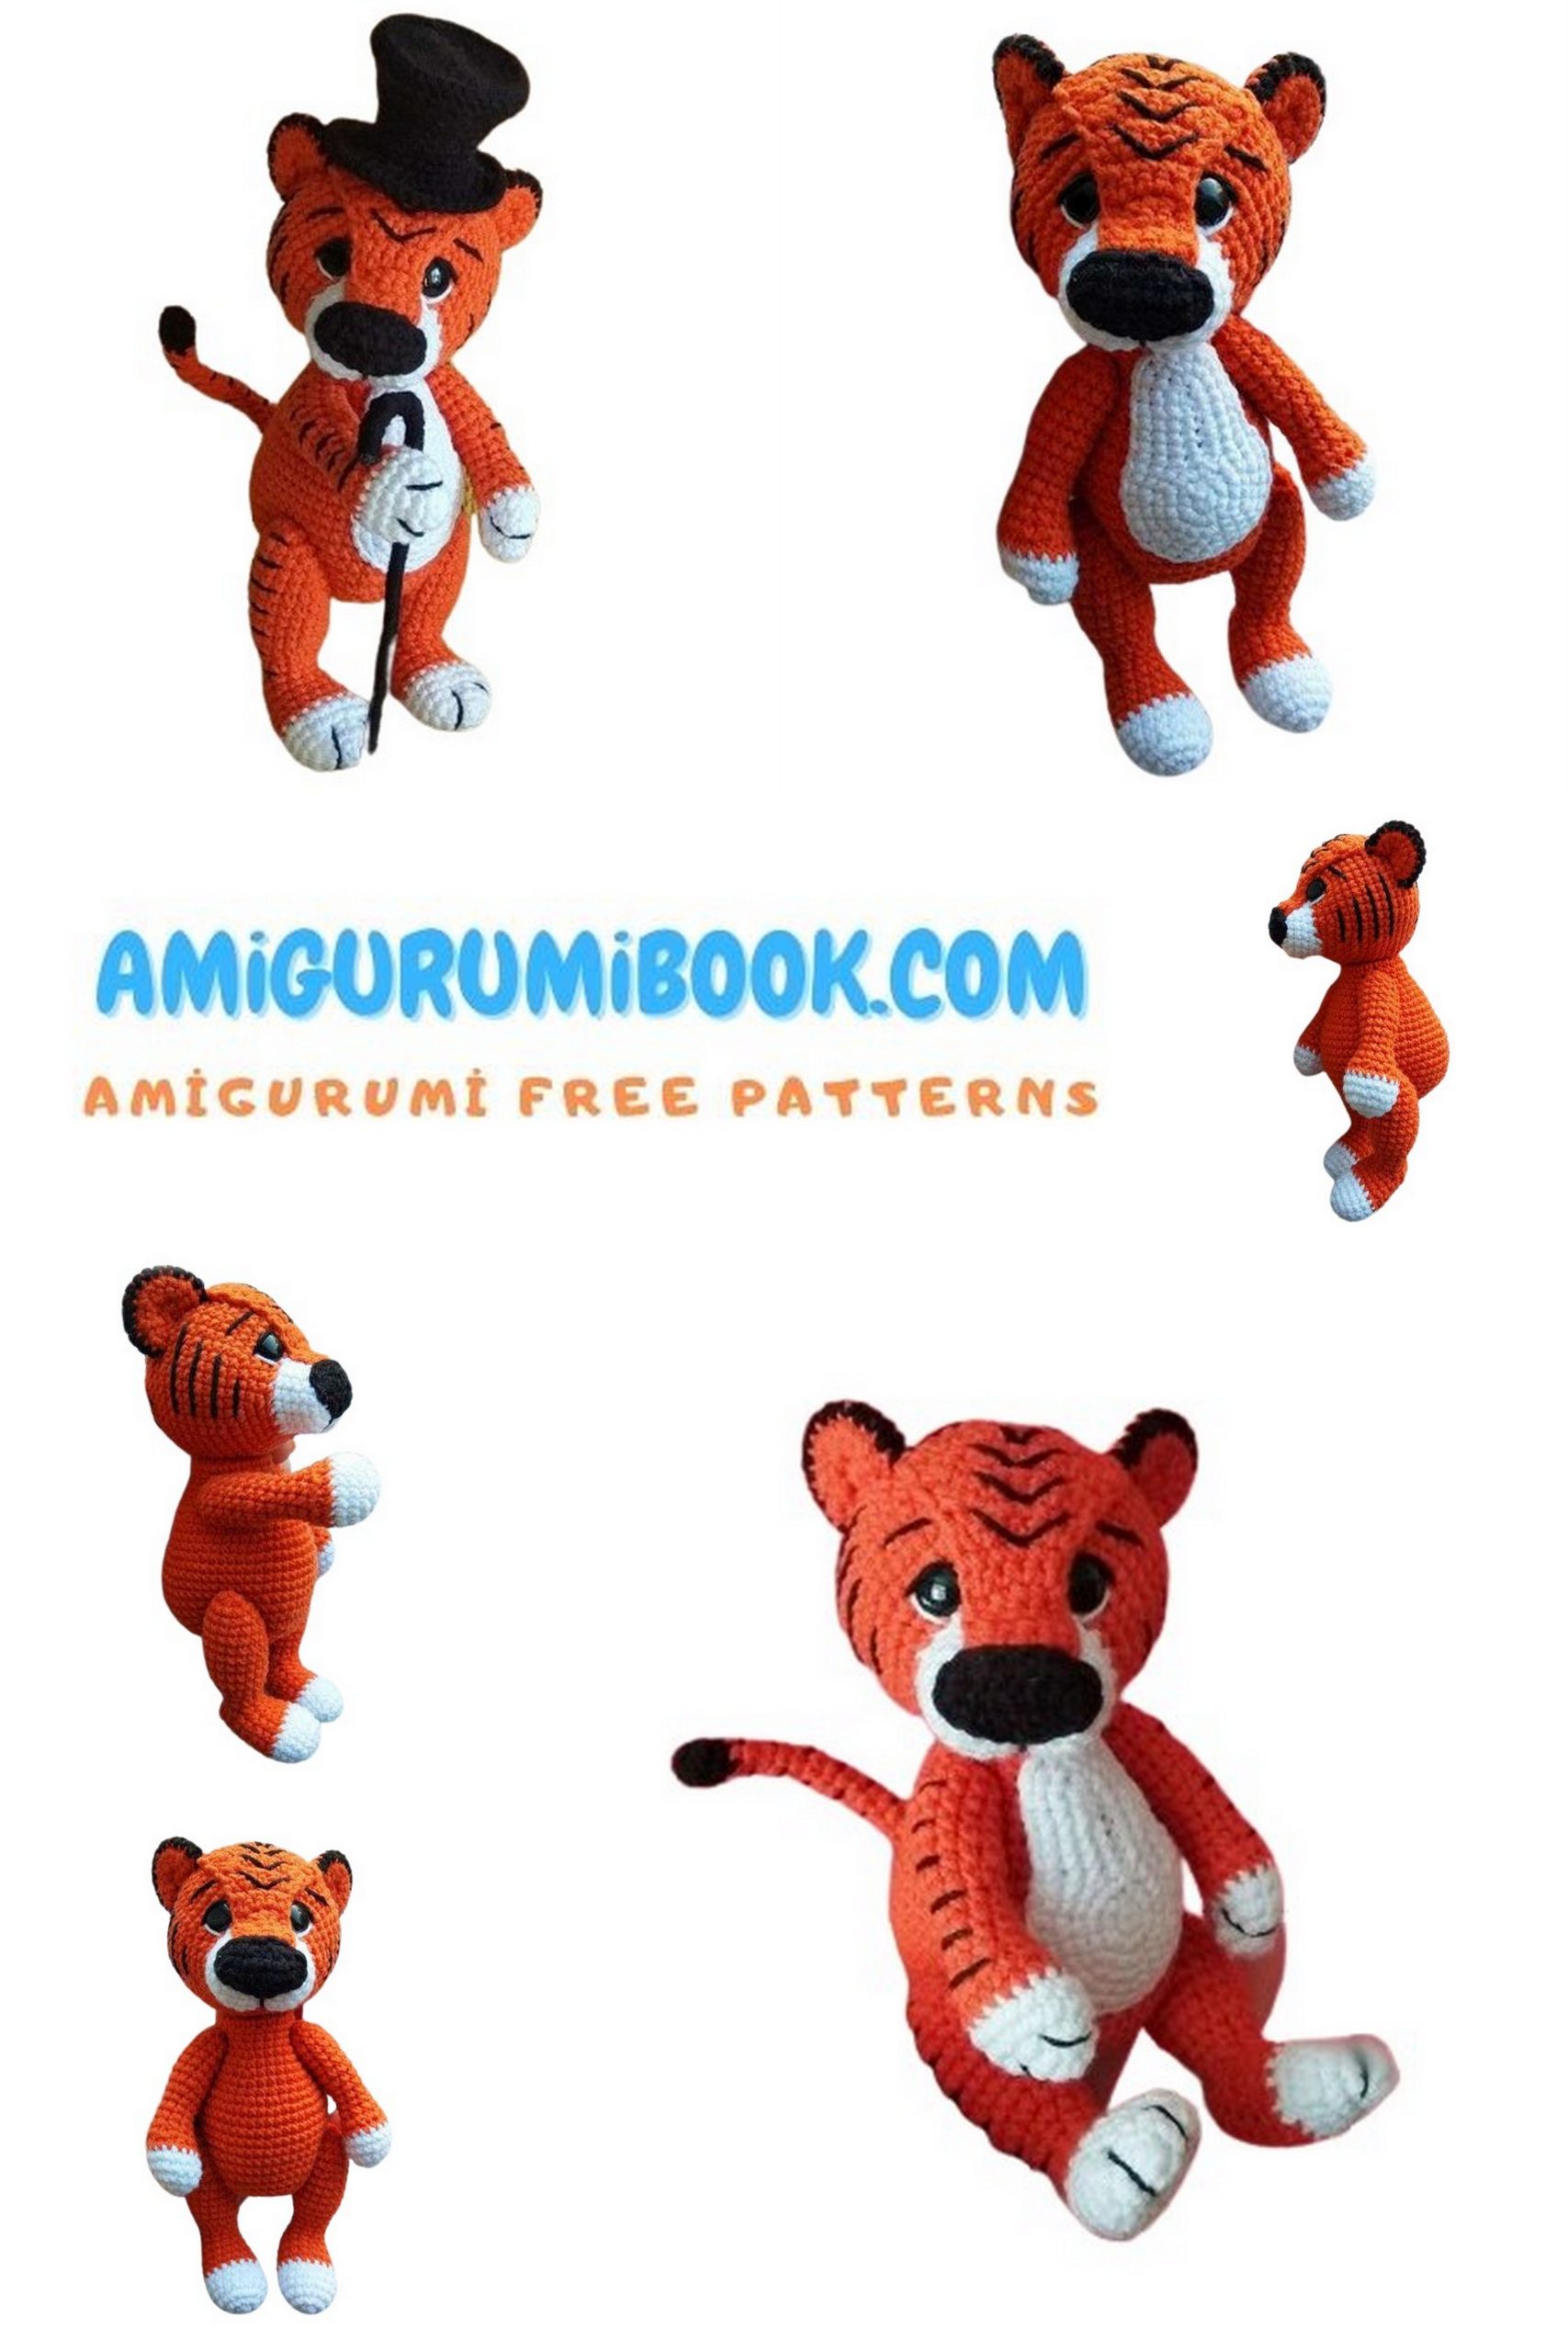
Unleash your creativity with our free Tiger Martin Amigurumi pattern and crochet tutorial. Suitable for both beginners and experienced crocheters, this detailed guide provides step-by-step instructions and clear photos to help you create a delightful tiger named Martin.
Perfect for animal enthusiasts or as a standout piece in your amigurumi collection, this project combines fun and skill.
Start your Amigurumi Tiger Martin project today and add a majestic touch of the wild to your crochet creations!
If you want to access 1000+ free amigurumi patterns, you can download our application from this link!
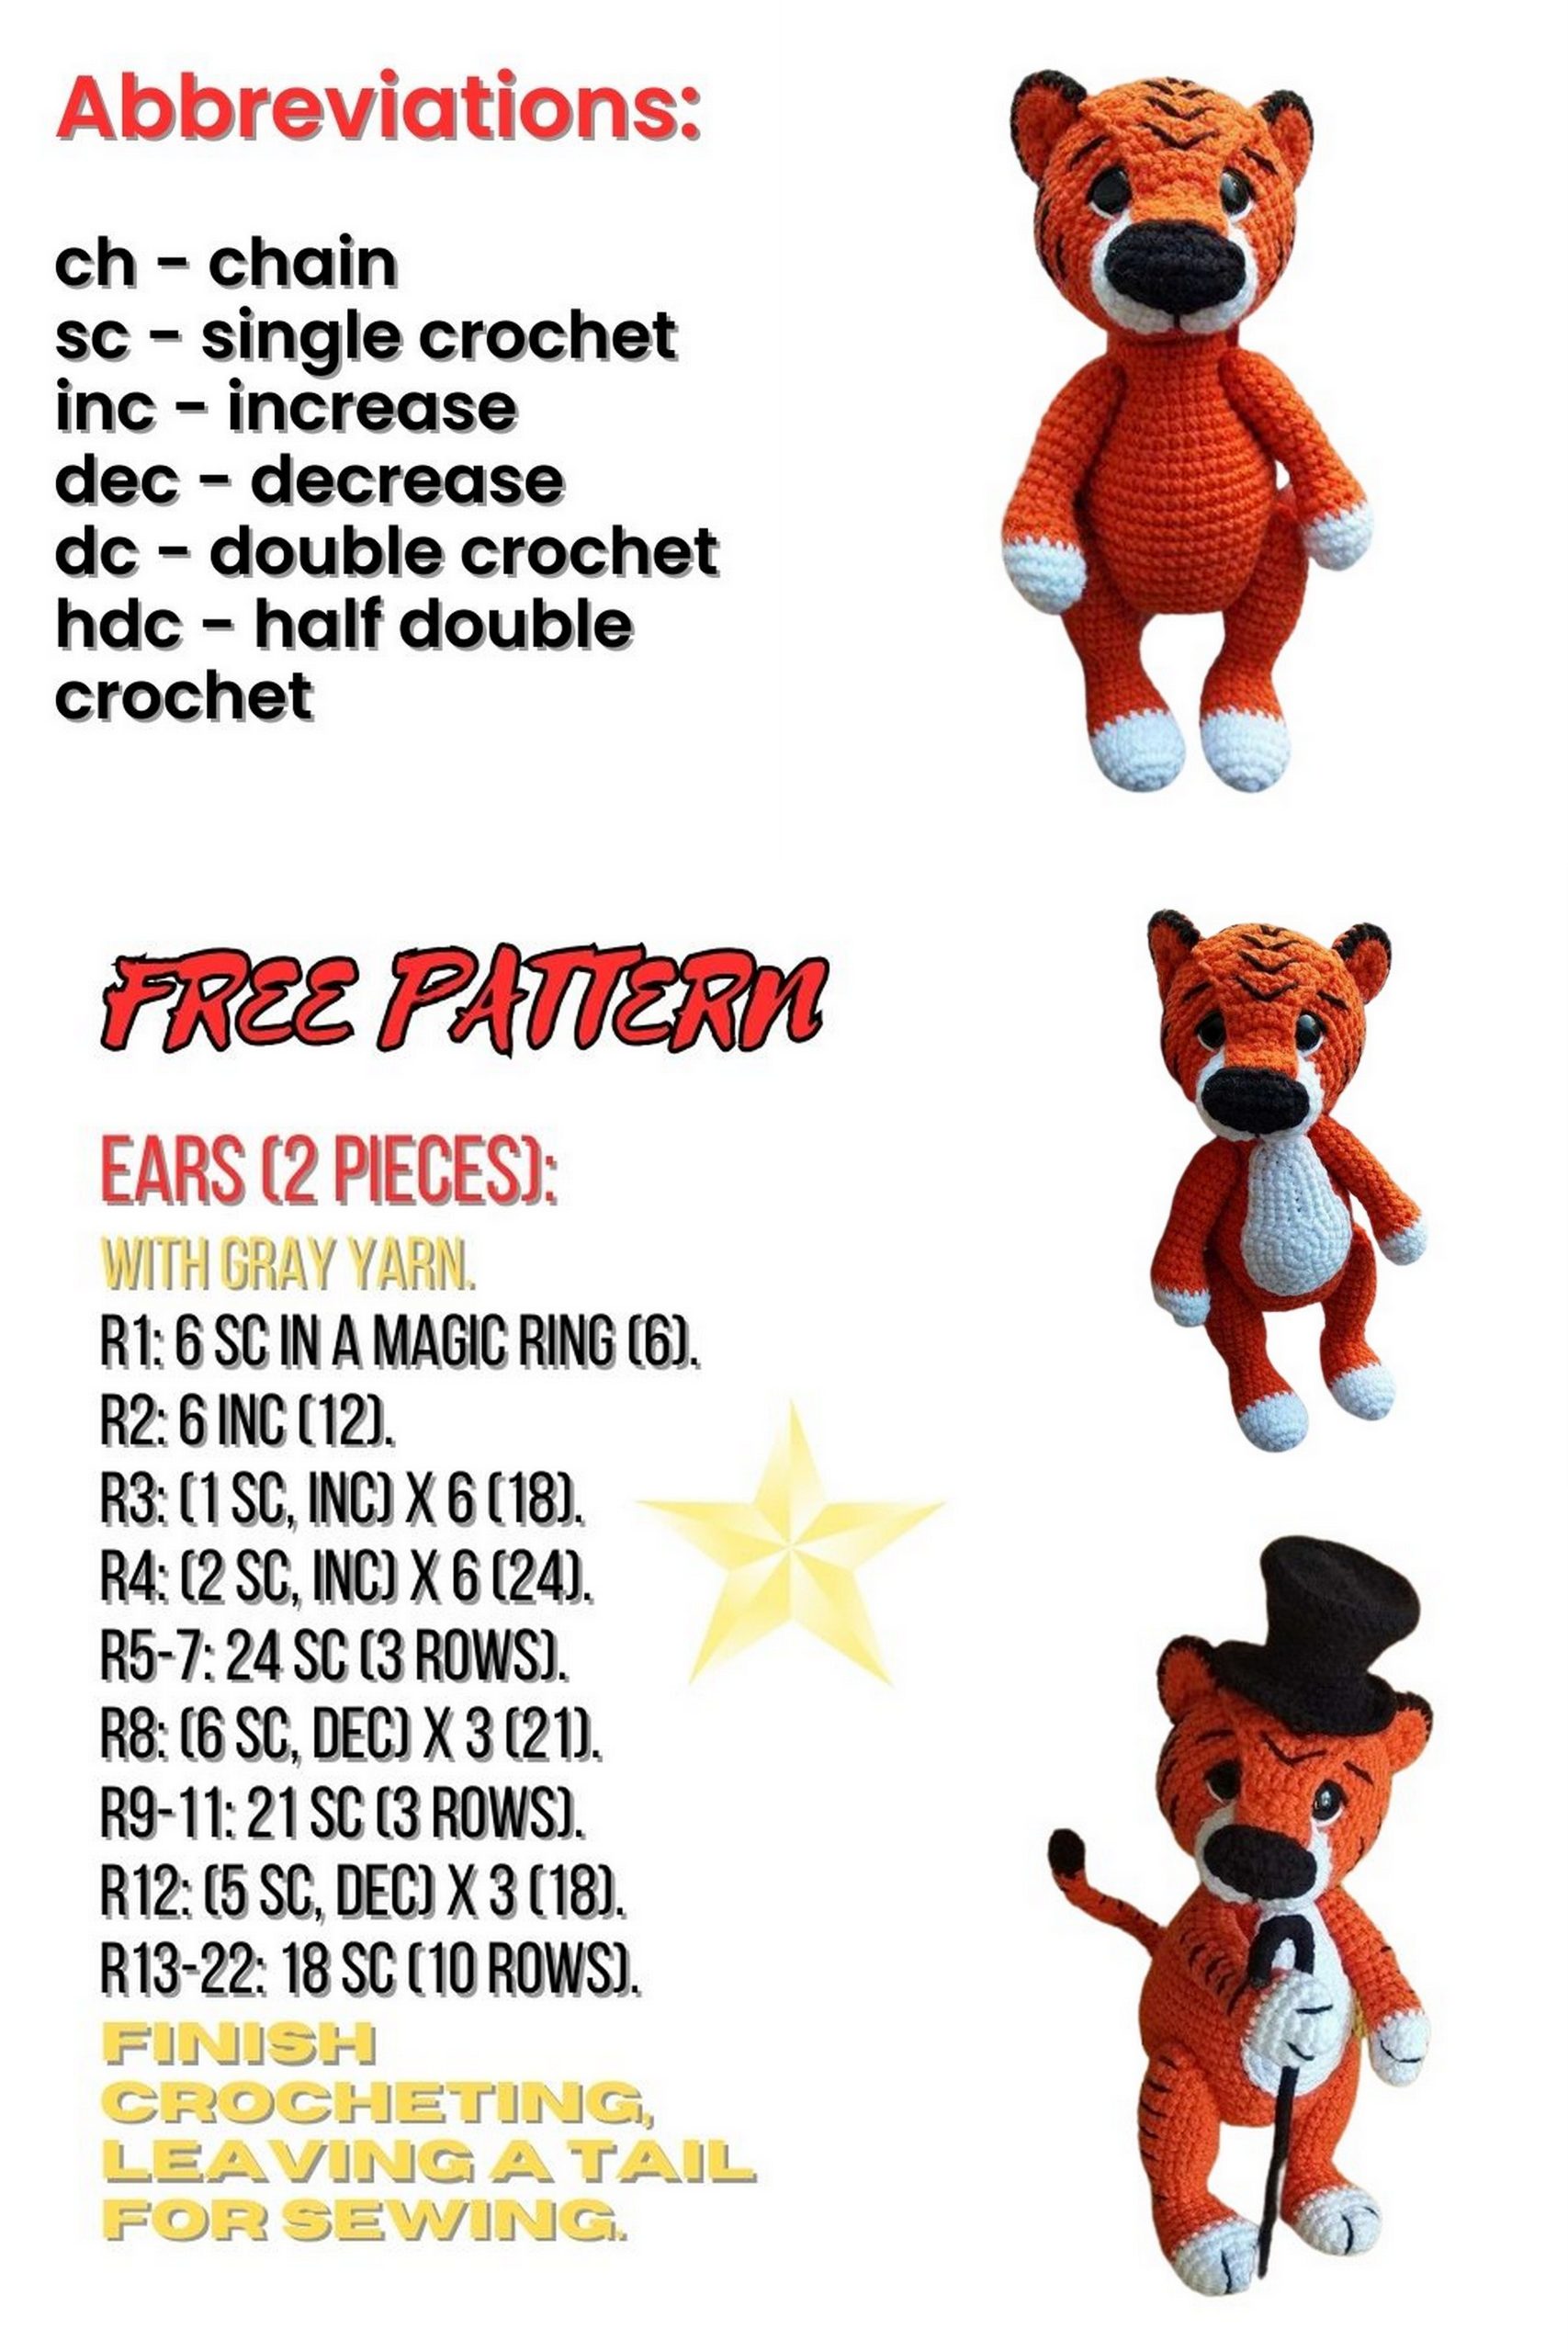
Abbreviations
Mr – Magic ring
ch – Chain stitch
sc – Single crochet
hdc – Half double crochet
dc – Double crochet
inc – Increase (2 sc in one stitch)
dec – Decrease (2 sc together)
sl-st – Slip stitch
( …)*n – Repeat the sequence in parentheses n times
Materials
Hook № 2
Scissors
Sewing needle
Stuffing
Yarn: YarnArt Jeans
1: № 85 – Color Terracotta
2: № 62 – Color Super White
3: № 53 – Color Black
Eyes – 8 mm
5 buttons (size depends on the size of your piece; the button should fit snugly)
Strong thread
Tiger Martin Pattern
Bridge of the Nose – Tiger Martin
Using orange yarn, work in rows
1: 6 ch, in the 2nd ch from the hook: 5 sc, sl st (5)
2-7: Work without changes in the 2nd ch from the hook: 5 sc, sl st, 6 times (5)
8: In the 2nd ch from the hook: inc, 3 sc, inc, sl st (7)
9: In the 2nd ch from the hook: 7 sc, sl st (7)
10: In the 2nd ch from the hook: inc, 5 sc, inc, sl st (9)
11: In the 2nd ch from the hook: 9 sc, sl st (9)
12: In the 2nd ch from the hook: inc, 7 sc, inc, sl st (11)
13: In the 2nd ch from the hook: 11 sc, sl st (11)
14: In the 2nd ch from the hook: 11 sc, ss
Cut the yarn and secure.
Sew on with regular sewing thread.
Nose – Tiger Martin
Using black yarn
1: 7 ch, in the 2nd ch from the hook: 5 sc, 3 sc in 1 ch, 4 sc, inc (14)
2: Inc, 1 sc, 1 psn, 1 ssn, 1 psn, 1 sc, inc, ss (9)
Cut the yarn, leaving a tail for sewing.
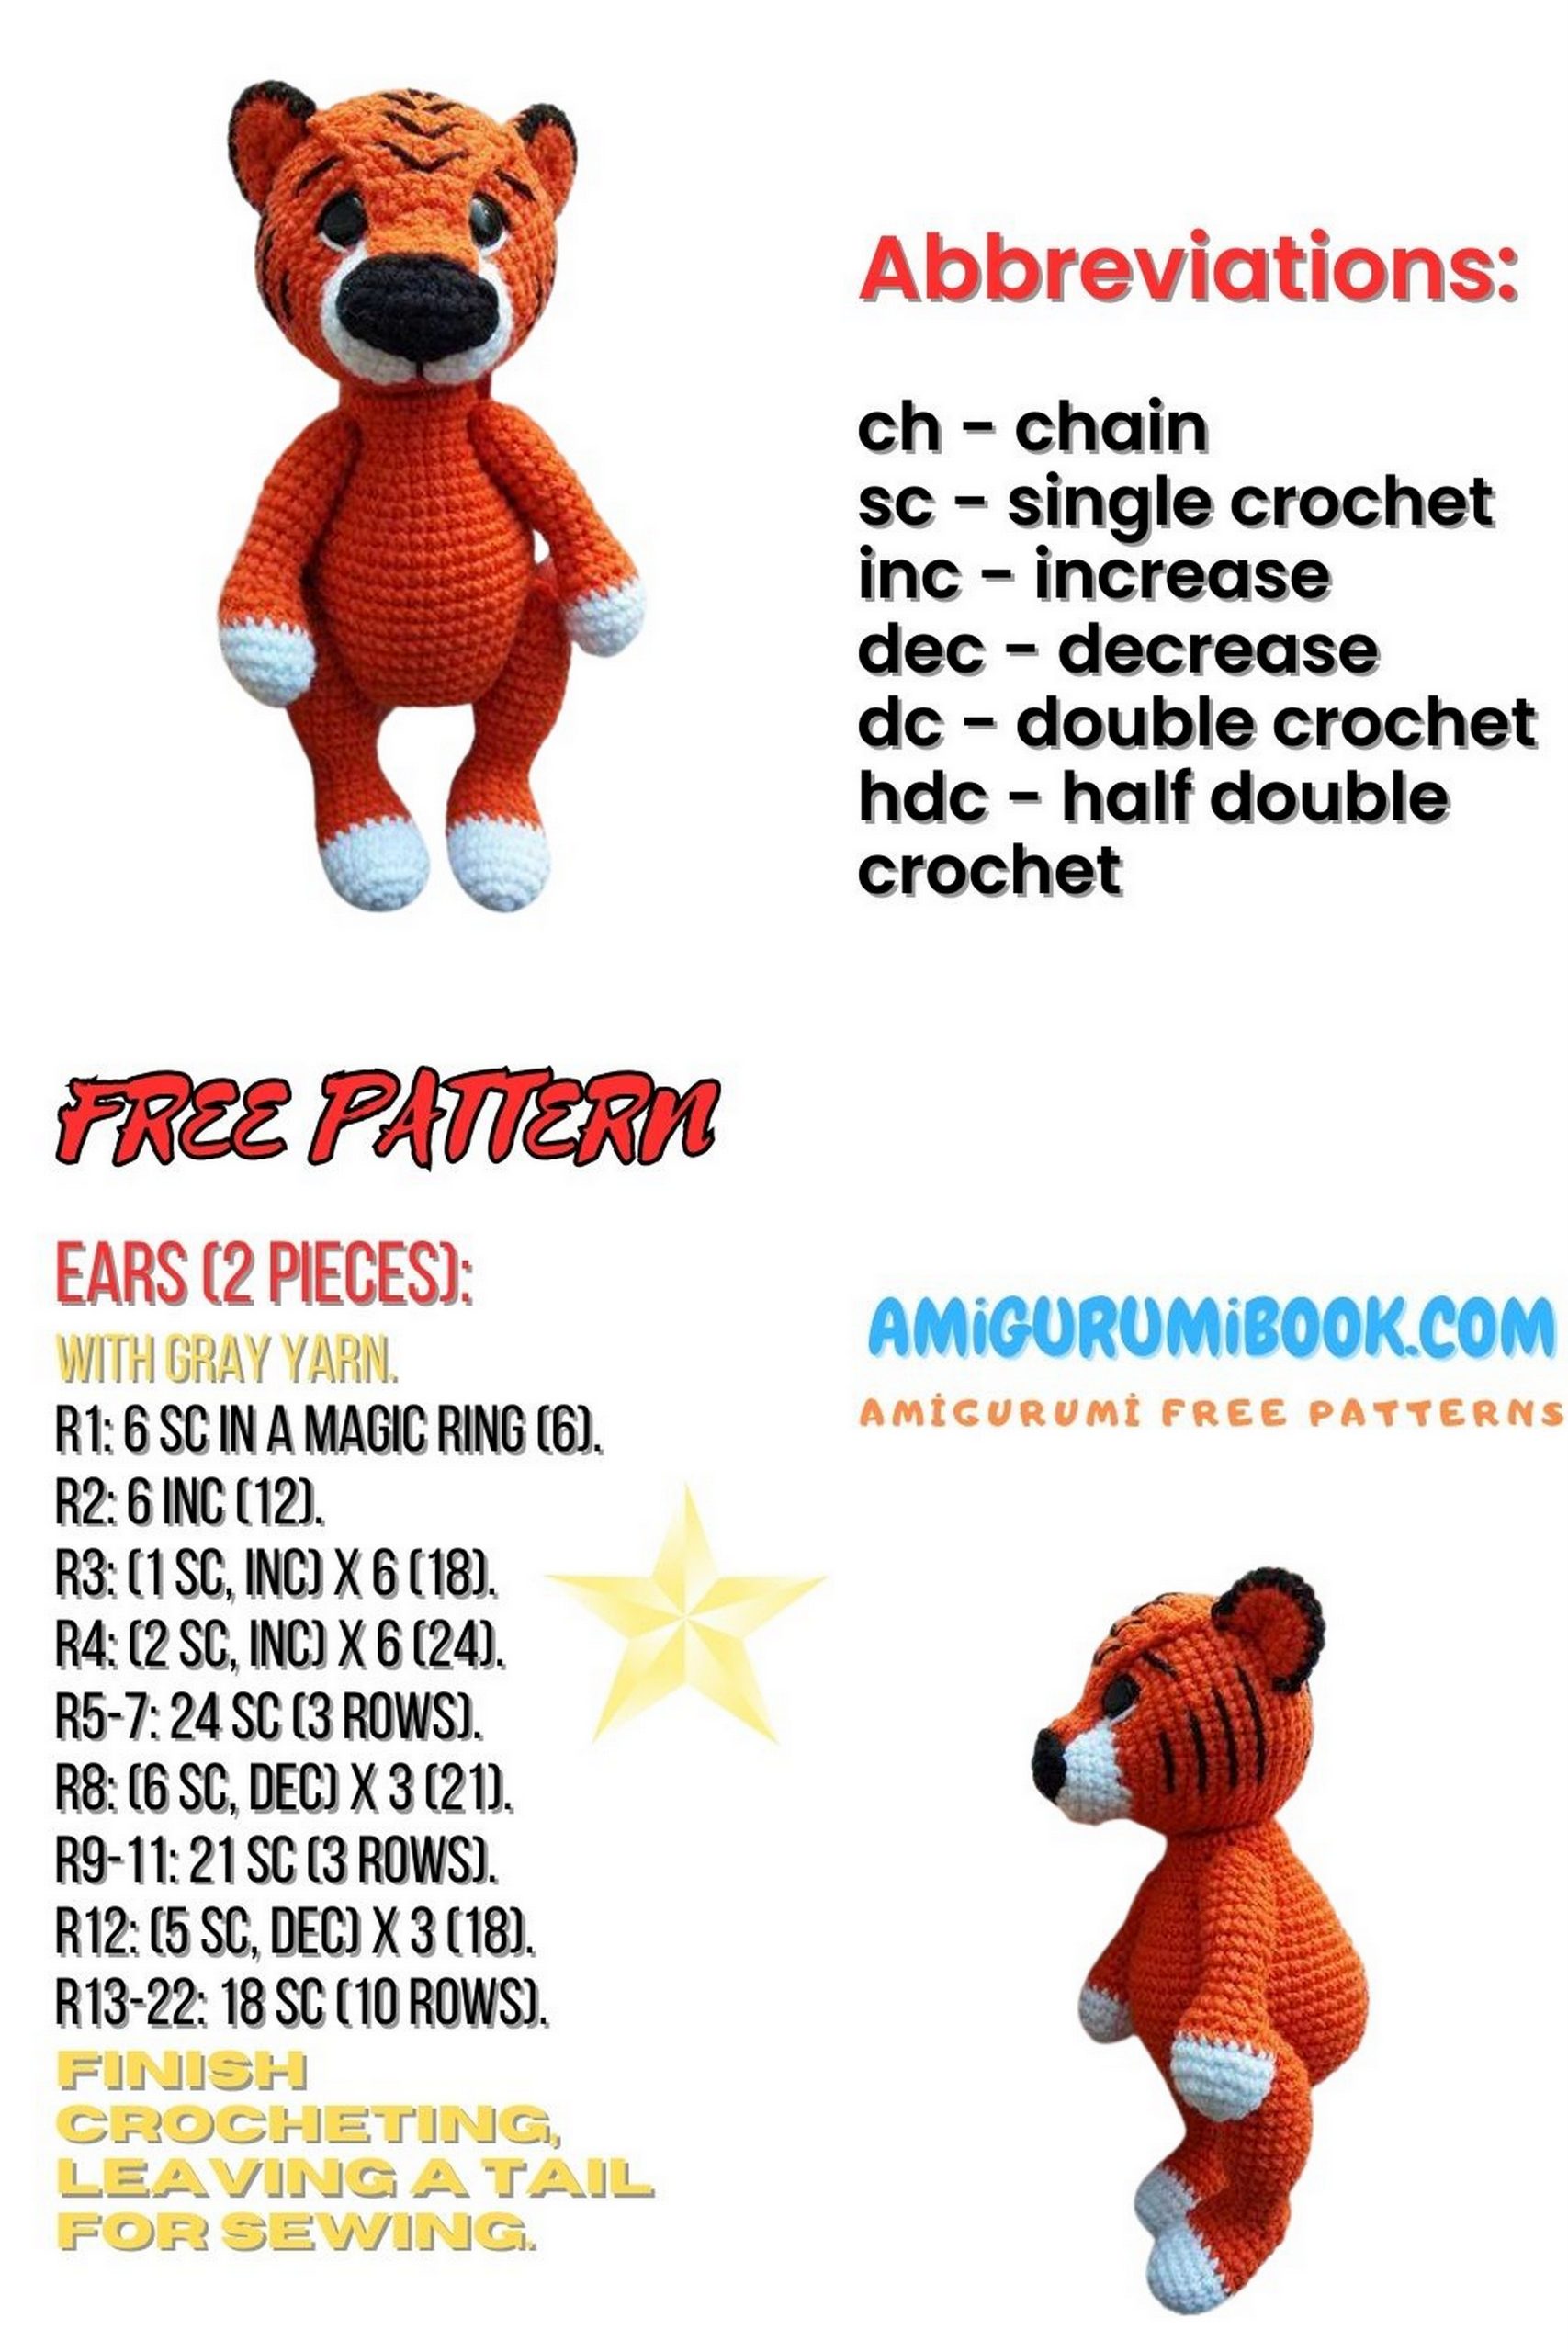
Ears – Tiger Martin
Using orange yarn, work in rows
1: 6 sc in KA, turn the work
2: 5 inc, sl st (10)
3: (1 sc, inc)*5, sl st (15)
4: Work with black yarn, 15 sc (15)
5: Change yarn to orange, 15 sc (15)
6: (1 sc, dec)*5, sl st (10)
7: 5 dec (5)
Pull tight and cut the yarn, leaving a tail for sewing.
Head – Tiger Martin
Start with white yarn
1: 7 ch, in the 2nd ch from the hook: 5 sc, 3 sc in 1 ch, 4 sc, inc (14)
2: Inc, 4 sc, 3 inc, 4 sc, 2 inc (18)
3: 1 sc, (inc, 4 sc)*3, inc, 3 sc (24)
4-7: Work without changes 24 sc for 4 rows (24)
8: Change yarn color to orange, 1 sc, (inc, 1 sc)*6, 11 sc (30)
9: 2 sc, inc, 3 sc, 1 ch (eye hole, do not skip the ch), (2 sc, inc)*2, 1 sc, 1 ch (eye hole, skip the ch), 5 (2 sc, inc)*2, 10 sc (36)
10: 3 sc, (inc, 3 sc)*6, 9 sc (42)
11: 4 sc, (inc, 4 sc)*6, 8 sc (48)
12: 48 sc (48)
13: Inc, 35 sc, inc, 11 sc (50)
14-20: Work without changes 50 sc for 7 rows (50)
21: Dec, 35 sc, dec, 11 sc (48)
22: (6 sc, dec)*6 (42)
23: (5 sc, dec)*6 (36)
24: (4 sc, dec)*6 (30)
25: (3 sc, dec)*6 (24)
26: (2 sc, dec)*6 (18)
27: (1 sc, dec)*6 (12)
28: 6 dec (6)
Cut the yarn, close the hole, secure and hide the end.
Attach the ears. Pin the ear to the corner of the nose in row 18, with half of the ear directed backward, and the other half aligned with row 20.
Body – Tiger Martin
Using orange yarn
1: 6 sc in KA (6)
2: 6 inc (12)
3: (1 sc, inc)*2 (18)
4: (2 sc, inc)*6 (24)
5-7: Work without changes 24 sc for 3 rows (24)
8: (3 sc, inc)*6 (30)
9: (4 sc, inc)*6 (36)
10: 36 sc (36)
11: (5 sc, inc)*6 (42)
12-13: Work without changes 42 sc for 2 rows (42)
14: Increases on the belly: 15 sc, (1 sc, inc)*6, 15 sc (48) Insert markers at the start and end of increases for convenience
15: 48 sc (48)
16: (1 sc, inc)*4, 36 sc, (1 sc, inc)*2 (54)
17-22: Work without changes 54 sc for 6 rows (54)
23: (7 sc, dec)*6 (48)
24: (6 sc, dec)*6 (42)
25: (5 sc, dec)*6 (36)
26: (4 sc, dec)*6 (30)
27: (3 sc, dec)*6 (24)
28: (2 sc, dec)*6 (18)
29: (1 sc, dec)*6 (12)
30: 6 dec (6)
Cut the yarn, close the hole, and hide the end.
Foot – Tiger Martin
1: Start with white yarn: 6 sc in KA (6)
2: 6 inc (12)
3: (1 sc, inc)*6 (18)
4-6: Work without changes 18 sc for 3 rows (18)
7: Change yarn color to orange, 18 sc (18)
8: (7 sc, dec)*2 (16)
9: 16 sc (16)
10: (6 sc, dec)*2 (14)
11: 8 sc, 4 ch (skip 4 stitches), 2 sc (14)
12: 6 sc, dec, 4 sc, dec (12)
13: 6 dec (6)
Cut the yarn, close the hole, and hide the end.

Legs – Tiger Martin
Attach orange yarn at the heel
1: 2 sc, 1 sc (at the corner), 4 sc, 1 sc (at the corner), 2 sc (10)
2: 10 sc (10)
3: (inc, 4 sc)*2 (12)
4: (1 sc, inc)*6 (18)
5-9: Work without changes 18 sc for 5 rows (18)
10: 1 sc, dec, 7 sc, dec, 6 sc (16)
11: 16 sc
Insert button attachment between rows 10 and 11.
12: 1 sc, dec, 6 sc, dec, 5 sc (14)
13: 1 sc, dec, 5 sc, dec, 4 sc (12)
14: 6 dec (6)
Cut the yarn, close the hole, secure, and hide the end.
Front Paw – Tiger Martin
Using white yarn
1: 6 sc in KA (6)
2: 6 inc (12)
3: (1 sc, inc)*6 (18)
4-5: Work without changes 18 sc for 2 rows (18)
6: Change yarn color to orange, 18 sc (18)
7: (1 sc, dec)*6 (12)
8: (4 sc, dec)*2 (10)
9-11: Work without changes 10 sc for 3 rows (10)
12: (4 sc, inc)*2 (12)
13-18: Work without changes 12 sc for 6 rows (12)
Insert the attachment between rows 17 and 18.
19: 6 dec (6)
Cut the yarn, secure, and hide the end.
Tail – Tiger Martin
Start by leaving a longer end to form a curved shape at the end of the tail
1: Using white yarn, 8 sc in KA (8)
2-3: Work without changes 8 sc for 2 rows (8)
4-5: Change color to orange, 8 sc (8)
6: (2 sc, dec)*2 (6)
7-20: Work without changes 6 sc for 14 rows (6)
Breast – Tiger Martin
Using white yarn
1: 6 sc in KA (6)
2: 6 inc (12)
3: 7 ch, turn, 6 sc along the chain. Join in the same stitch, and in the round (1 sc, inc)*5, 1 sc
4: 6 sc, 3 sc in 1 stitch, 6 sc, and in the round 16 sc (31)
5: 6 sc, 3 inc, 6 sc, (2 sc, inc)*5, 1 sc (39)
6: 7 sc, inc, 3 sc, inc, 27 sc (41)
Cut the yarn and secure. Sew on with sewing thread.
Assembly – Tiger Martin
1: Attach the tail in rows 22-23.
2: Attach the arms between rows 10-11.
3: Attach the legs between rows 22-23.
4: Attach the breast to the center of the belly.