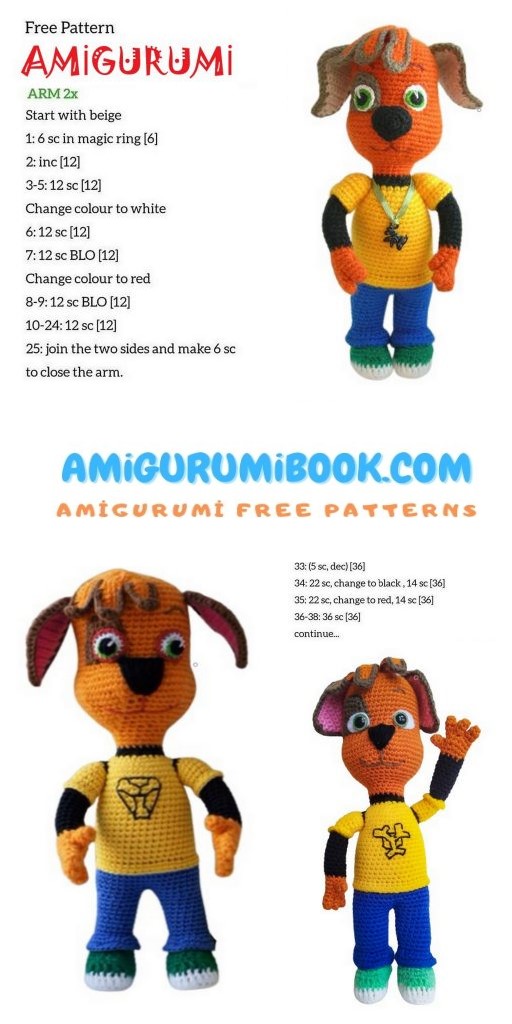
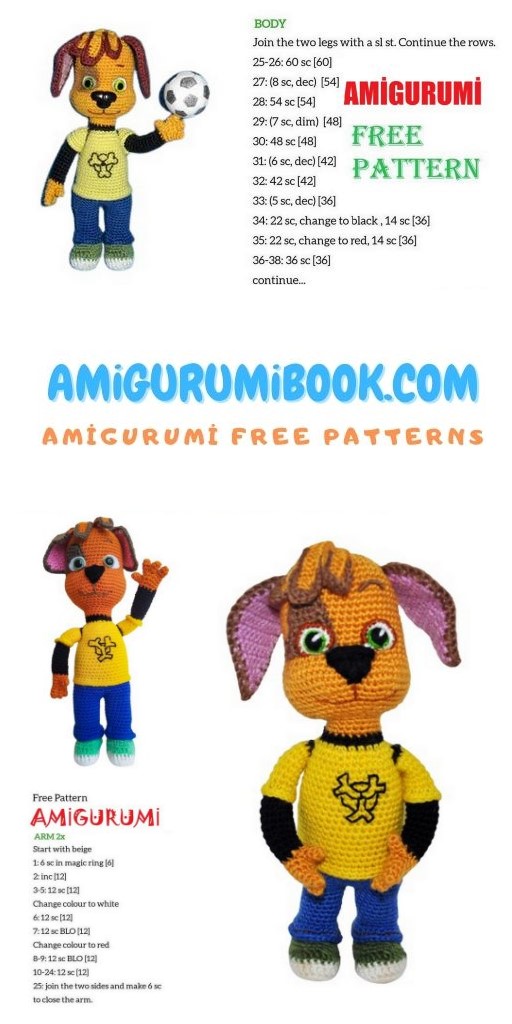
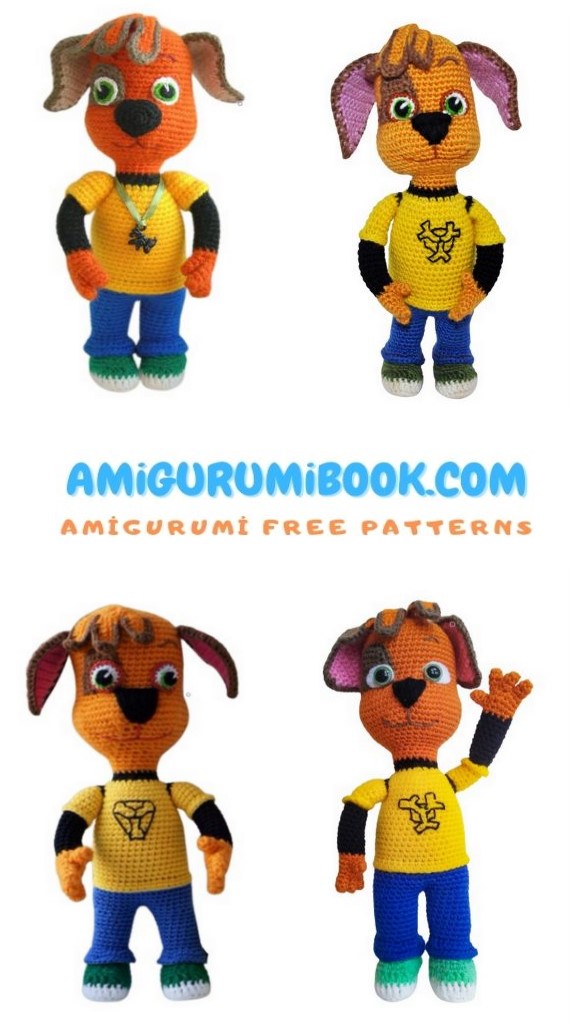
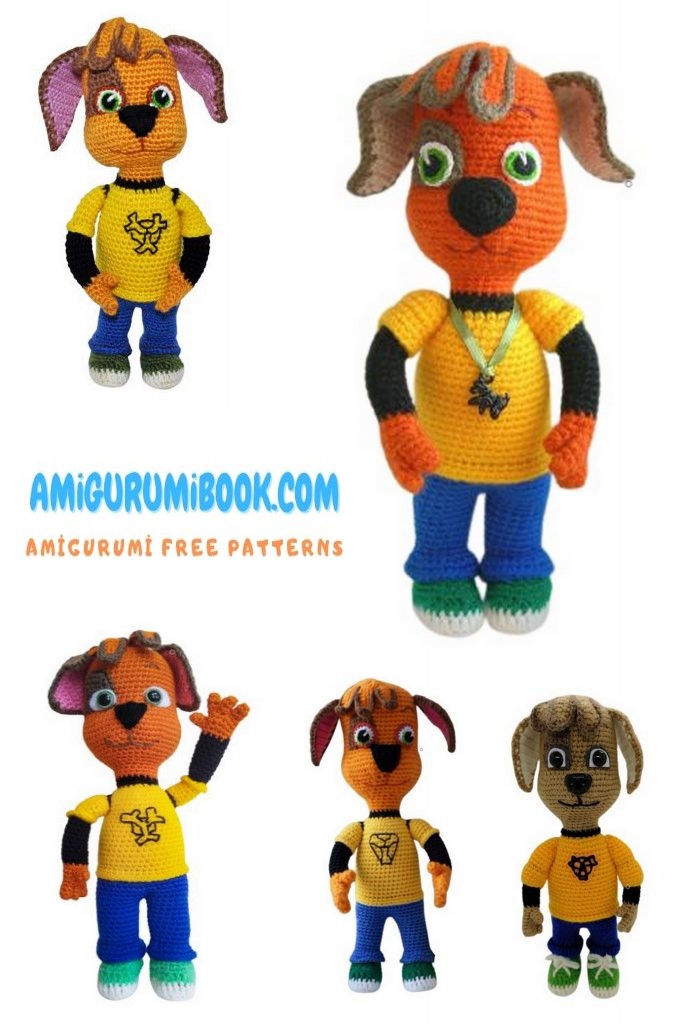
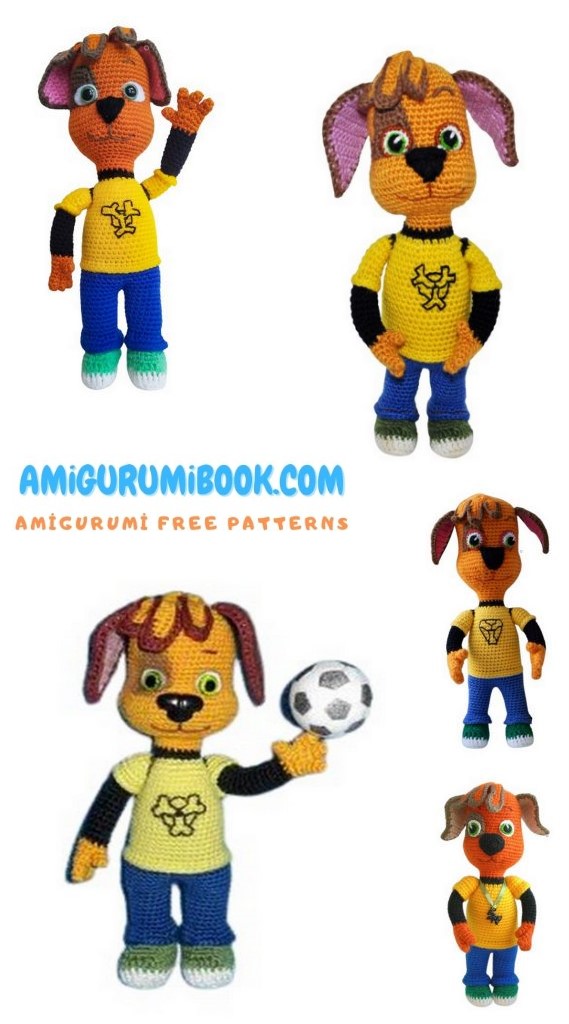
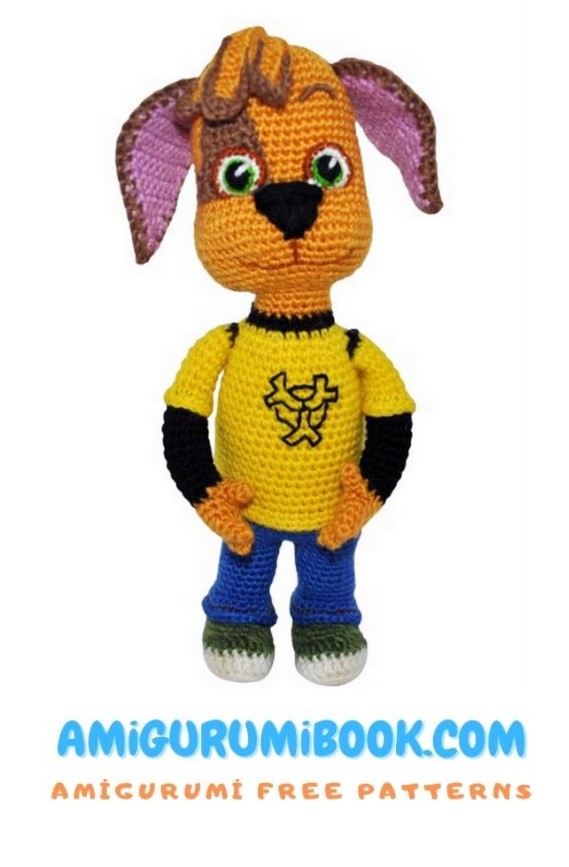
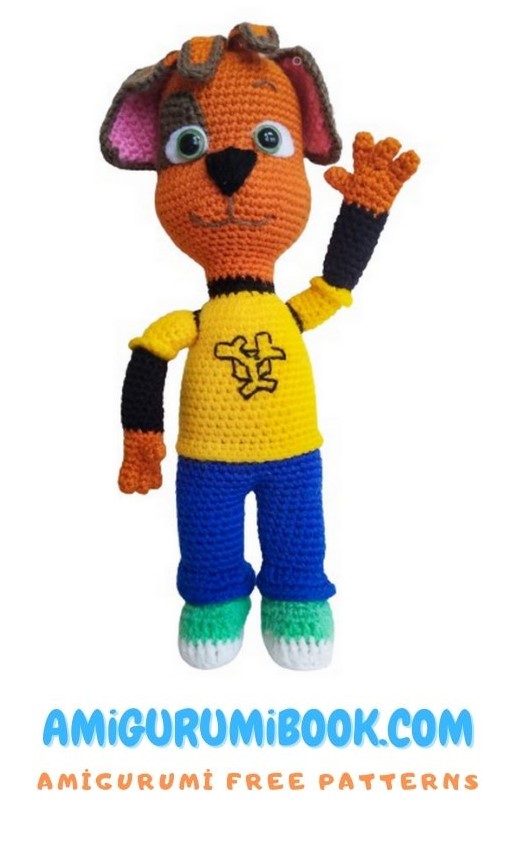
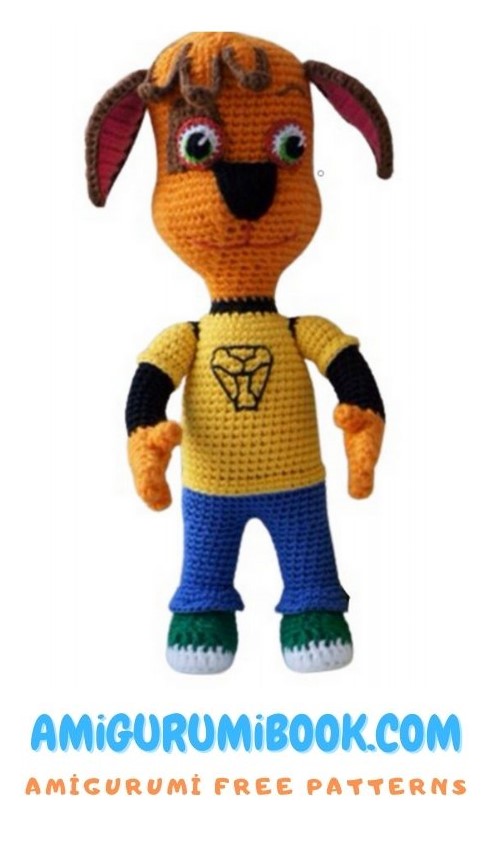
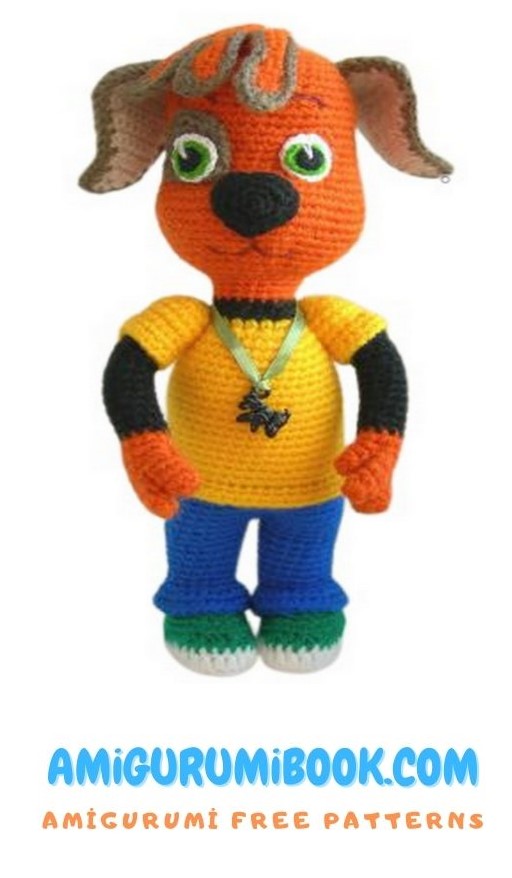
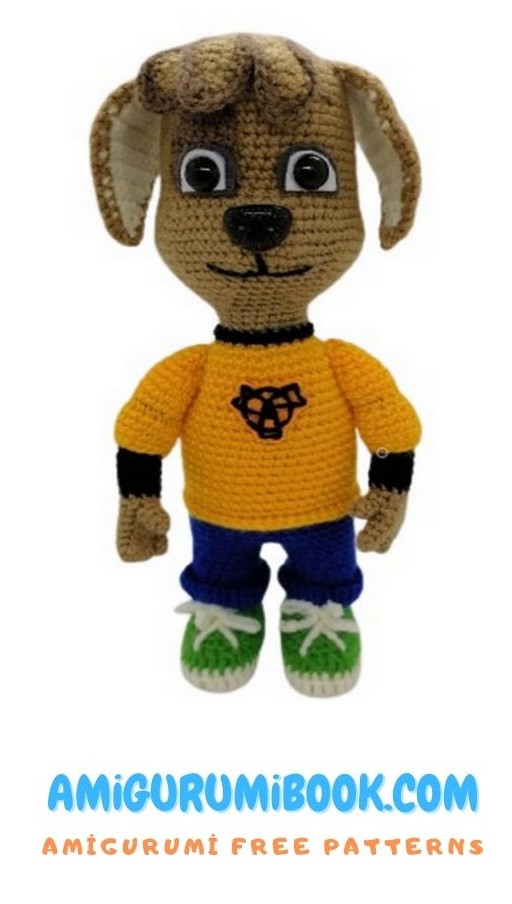
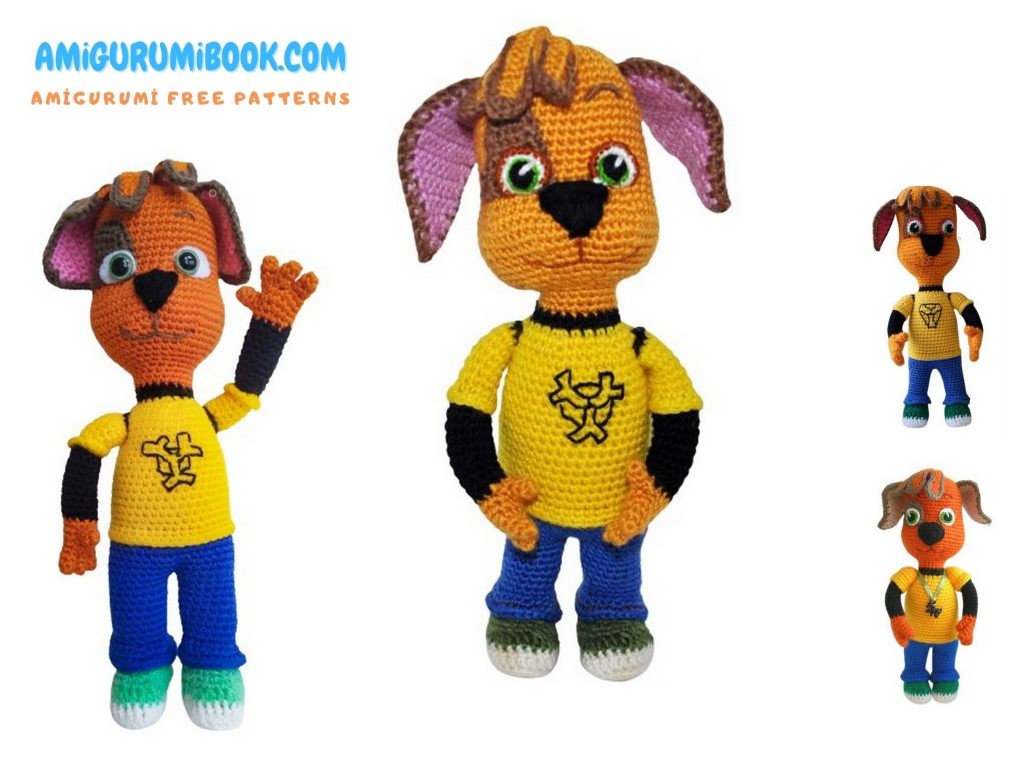
The Dog Barboskin Amigurumi Free Pattern is a delightful crochet project perfect for fans of cute and cuddly handmade toys. This pattern provides step-by-step instructions to create an adorable amigurumi dog inspired by the popular Barboskin characters. free crochet patterns – Bull and Cow Amigurumi Free Pattern
You may also like more amigurumi patterns.
We continue to share Amigurumi free patterns with you. Dog barboskin amigurumi free pattern is waiting for you in this article.
Materials:
– Yarn for toys beige, brown, pink, black, yellow, blue, green, white
colors. I used Vita Brilliant beige, blue and green (45% wool, 55% acrylic, 380
m / 100 g), Trinity Dream yellow, pink, brown and black colors (70% wool, 30%
bamboo, 180 m / 50 g).
– Yarn for the eyes of white, black, green colors. I used iris kirovsky.
– Hooks that fit your yarn.
– Thick cardboard for insoles in shoes. Or any other dense material.
– Wire, in case you will make a toy on the frame. It took me 80 centimeters.
When using yarn with the specified footage, the height of the toy is about 20 cm.
Abbreviations:
– sc – single crochet;
– dec – decrease;
– inc – increase;
– sl-st – connecting column;
– dc – column with 1 yarn;
– hdc – half crochet;
– ch is the air loop.
The toy is knitted in a spiral (except ears, bangs and a speck on the eye). When using a marker
while knitting, his position is not necessary to monitor. It is only needed into magic ring.
the beginning of the row.
PATTERN
Head
Knit beige yarn
1 6 sc into magic ring 6
2 6 inc 12
3 (1 sc, inc) * 6 18
4 (2 sc, inc) * 6 24
5 (3 sc, inc) * 6 30
6 (4 sc, inc) * 6 36
7 (5 sc, inc) * 6 42
8 (6 sc, inc) * 6 48
9-16 48 sc (8 rows) 48
17 17 sc, 2 dec, 6 sc, 2 dec, 17 sc
We put a marker on the place of the decreases. There will be eyes. 44
18-20 44 sc (3 rows) 44
21 20 sc, 4 inc, 20 sc
In this row at the site of increases will be located
upper spout 48
22 8 sc, inc, (3 sc, inc) * 2, 14 sc, inc, (3 sc, inc) * 2, 8 sc 54
23 8 sc, inc, (4 sc, inc) * 2, 16 sc, inc, (4 sc, inc) * 2, 8 sc 60
24-25 60 sc (2 rows) 60
26 13 sc, dec, 4 sc, dec, 6 sc, dec, 2 sc, dec, 6 sc, dec, 4 sc, dec, 13 sc 54
27 12 sc, dec, 4 sc, dec, 5 sc, 2 dec, 5 sc, dec, 4 sc, dec, 12 sc 48
28 (6 sc, dec) * 6 42
29 42sc 42
30 (5 sc, dec) * 6 36
31 (4 sc, dec) * 6 30
32 (3 sc, dec) * 6 24
33 (4 sc, dec) * 4 20
34-35 20 sc (2 rows) 20
36 20 sc 20
We make the necessary number of ps (I got 3) so that the beginning of the row moves to the middle
back of the head. You may find that the offset loops are not needed, or
will have to dissolve a couple of columns.
For a more even transition of the color of the offset loop, it is better to do not sc, but sl-st.
Stuff your head with filler.
Start knitting the torso
37 change to black thread 20 sc 20
38 20 sc, 2 sl-st 20
39 Change to the yellow thread (4 sc, inc) * 4 24
40 (1 sc, inc) * 12 36
41 (5 sc, inc) * 6 42
42-57 42 sc (16 rows) 42
58 42 sc for front half loops 42
59 42 sc, sl-st, thread cut, hide 42
Knit panties
60 We knit blue thread for the back half loops 58 rows 42 sc 42
61-65 42 sc (5 rows) 42
Now fold the knitting in half so that the area of the face is in front.
The beginning of the next row should be in the middle of knitting. For this we do the necessary
the number of displacement loops, or dissolve a few columns (I needed 3 ps).
Insert the wire frame. Take a piece of wire, fold it in half and attach
shape as in the photo. If necessary, wrap the wire with adhesive tape or
molar tape.
The length of the wire is taken taking into account the length of the toy + a certain amount per foot. I have
the wire length was approximately 45 cm.
We stuff the carcass.
Next we will knit legs.
Remember to stuff the carcass as you knit.
Do not break the thread. Count back 21 loops. In the 21st loop we introduce a hook.
66 21 sc 21
67 (5 sc, dec) * 3 18
68-75 18 sc (8 rows) 18
76 We knit for the front half-loops (2 sc, inc) * 6 24
77 (3 sc, inc) * 6 30
78 30 sc, thread cut, hide 30
To tie the second leg, repeat from 66 to 78 rows.
After the pants are connected, we close the hole between the legs with the help of a thread with
a needle.
Boots 2 pcs.
We start with the sole, knit with white yarn.
1 Type 10 ch, then knit in a circle starting from
second from the hook loop.
8 sc, 3 sc in 1, 7 sc, 2 sc in 1 20
2 inc, 7 sc, 3 inc, 7 sc, 2 inc 26
3 1 sc, inc, 7 sc, (1 sc, inc) * 3, 7 sc, (1sc, inc) * 2
Cut out the insoles from cardboard under your sole.
Paste it at your convenience. I am this
did when the boot was fully tied. 32
4 For the rear half loops 8 sc, 3 hdc, 9 dc, 3 hdc, 9 sc 32
5 Change the thread to green. 7 sc, 4 hdc, 2 dec of dc, 1 dc, 2 dec of dc, 4 hdc, 8 sc 28
6 28 sc 28
7 9 sc, 4 dec, 11 sc 24
8 5 sc, (1 sc, dec) * 4, 7 sc 20
9 8 sc, 2 dec, 8 sc 18
10 18 sc, cut the thread, leave the tail for sewing, fill with filler 18
Now you need to attach the shoes to the body with a needle and left
the tip of the thread on the boot.
First you need to twist the wire in the shape of the insole.
It is more convenient to insert shoes and sew on one at a time.
Sew on, grabbing the boot loops and back half loops in the 76th row of legs.
Pens are available in two versions. The first option fits in two parts and is suitable for
frame toys, the second option is knitted as a single part and the handles can be attached to the body
thread mount. The second option is provided by Lena.
First option
Start knitting with beige yarn from your fingers. Necessary
tie 4 fingers.
1 5 sc into magic ring 5
2-3 5 sc (2 rows) 5
After the last finger is tied, the thread is not cut.
We knit in a circle, tying fingers to each other and
forming a pen. We connect three fingers, then we knit
fourth. For the right and left hand, we knit rows 6 and 7 along
in different ways.
4 2 sc of the first finger, 2 sc of the second finger, 4 sc of the third finger, 2 sc of the second
finger 2 sc of the first finger. 12
5 12 sc 12
For the right handle
6 3 sc, 2 sc knitting a finger from the inside and the handle together, 7 sc 12
7 3 sc, 3 sc fingers, 7 sc 13
8 11 sc, dec 12
For the left handle
6 * 7 sc, 2 sc knitting a finger from the inside and the handle together, 3 sc 12
7 * 7 sc, 3 sc fingers, 3 sc 13
8 11 sc, dec 12
Change the thread to black.
9-18 12 sc (10 rows) 12
Cut the thread, hide
We knit the sleeves with yellow thread.
1 12 ch short to the ring, 12 sc 12
2-6 12 sc (5 rows) 12
7 Connect the sleeve to the rest of the hand. 12 sc capturing the front half loops already
bound hands. 12
8 (2 sc, inc) * 4, sl-st, thread cut and hide 16
With a black thread in the first row of the yellow part of the sleeve, we knit the connecting posts, the thread
cut, leave the tip for sewing.
We make a wire frame. On the one hand we bend the wire and, if necessary
wrap with adhesive tape. We insert it and fill the handle with filler.
If it is more convenient for you to knit and stuff right away, then the frame must be made before knitting the handles.
It’s more convenient for me to fill the part after inserting the frame. For this I use tweezers.
Sew handles to the body.
To make the wire easier to enter the body, you can pierce through the needle
body in the place where the handles should be.
The second option.
This version of the handle fits with the formation of the elbow. To the 16th row we knit in the same way as in the first
option. Starting from the 16th row, we knit according to the following description:
Right knob
16 4 hdc, 8 sc for rear half loops 12
17 4 hdc, 1 sc, 5 sc for the front half loops 15 rows, 2sc 12
18 12 sc 12
19 12 sc, 4 ch, change the thread to yellow 12
20 (1 sc, inc) * 6 18
21 18 sc for rear half loops 18
22-23 18 sc 18
24 (1 sc, dec) * 6, fill with filler 12
25 6 dec 6
Pull the hole, hide the thread.
Attach the thread to the front half loops of the 20 row, knit 18 sc,
fasten the thread, hide the tip.
Left pen
16 2 sc, 4 hdc, 6 sc for rear half loops 12
17 2 sc, 4 hdc, 1 sc, 5 sc for front half loops 15 rows 12
18 12 sc 12
19 12 sc, 3 ch, change the thread to yellow 12
20 (1 sc, inc) * 6 18
21 18 sc for rear half loops 18
22-23 18 sc 18
24 (1 sc, dec) * 6, fill with filler 12
25 6 dec 6
Pull the hole, hide the thread.
Attach the thread to the front half loops of the 20th row, knit 18 sc, fasten the thread, tip
hide.
We attach the handles to the body.
The ears
It is necessary to link 4 parts. First we knit 2 pink details, then brown.
1 7 ch, starting from the second loop from the hook 6 sc, ch, turn knitting 6
2 inc, 4 sc, inc, ch, turn 8
3 8 sc, ch, turn 8
4 inc, 6 sc, inc, ch, turn 10
5 inc, 8 sc, inc, ch, turn 12
6-8 12 sc, ch, turn (3 rows) 12
9 dec, 8 sc, dec, ch, turn 10
10 10 sc, ch, turn 10
11 dec, 6 sc, dec, ch, turn 8
12 8 sc, ch, turn 8
13 dec, 4 sc, dec, ch, turn 6
14 6 sc, ch, turn 6
15 dec, 2 sc, dec, ch, turn 4
16 4 sc, ch, turn 4
17 2 dec, ch, turn 2
18 dec 1
After the brown part is tied, the thread is not cut. Knit in a circle, connecting pink
and brown details. 18 sc on the side, 6 sc on the bottom, 18 sc on the side, sl-st.
You can insert a wire frame in the ear if you want the ear to
keep fit. It is advisable to choose a thinner wire.
Bang. 3 different sized parts.
1 item
1 Knit beige thread in a circle. We dial 13 ch. We knit from the second from the hook loop 3 sc, 3
hdc, 2 dc, 3 hdc, 3 sc in 1 loop, 10 sc, 2 sc in the last loop, sl-st. We cut the thread
leaving the tip for sewing
2 Knit with a brown thread. We start with the first hdc of the previous row. 6 sl-st, 3 sc, (hdc, dc,
ch, dc, hdc) in one loop, 3 sc, 5 sl-st, cut the thread, hide it.
2 detail
1 Knit beige thread in a circle. We dial 12 ch. We knit from the second from the hook loop 3 sc, 2
hdc, 2 dc, 2 hdc, sc, 3 sc in 1 loop, 9 sc, 2 sc in the last loop, sl-st. We cut the thread
leaving the tip for sewing
2 Knit with a brown thread. We start with the second hdc of the previous row. 4 sl-st, 3 sc, (hdc, dc,
ch, dc, hdc) in one loop, 3 sc, 3 sl-st, cut the thread, hide it.
3 detail
1 Knit beige thread in a circle. We dial 11 ch. We knit from the second from the hook loop 2 sc, 2
hdc, 2 dc, 2 hdc, sc, 3 sc in 1 loop, 8 sc, 2 sc in the last loop, sl-st. We cut the thread
leaving the tip for sewing
2 Knit with a brown thread. We start from the first dc of the previous row. 4 sl-st, 2 sc, (hdc, dc,
ch, dc, hdc) in one loop, 2 sc, 3 sl-st, cut the thread, hide it.
A schematic representation of the first part is shown below.
Eyes
First we knit the brown part. Speck. 1 item.
1 Dial 4 ch. Starting from the second loop hook inc, 1 sc, inc. 5
2-7 5 sc, 1 ch lift, turn 5
8 Now we bind on the sides and top. 1 ch lift, on the side 6 sc; by
top of inc, 1 sc, inc; on the side 4 sc, 1 hdc, 1 dc, 1 half-column with
2 crochets. Cut the thread, leave the tip for sewing.
Now we knit a thinner thread. I have this iris. We need green, white and black
colors.
You can also use ready-made eyes, or make them from felt. As you wish.
White color 2 details
1 6 sc into magic ring 6
2 6 inc 12
3 (1 sc, inc) * 4, 2 sc, cut the thread, leave the tip for sewing.
Green color 2 details
1 10 sc into magic ring 10
Black color 2 details
1 6 sc into magic ring 6
Now you need to connect all parts of the eyes together. First we sew the black part to
green. Then green detail to white. It should be noted that we connect the green part to the white
not in the center, but on the side. Then a couple of stitches with white thread make a highlight on the eye.
You can also make a small contour around the white part with a brown thread.
Next, sew a speck. Then we sew the eyes. I don’t sew eyes, but stick them.
We embroider the eyebrows. Sew on ears, bangs. Embroider the nose. For nose it is advisable to take yarn
thicker. So the nose will be more voluminous. We embroider a mouth. We embroider a pattern on a sweater.
Our Friend is ready!)
