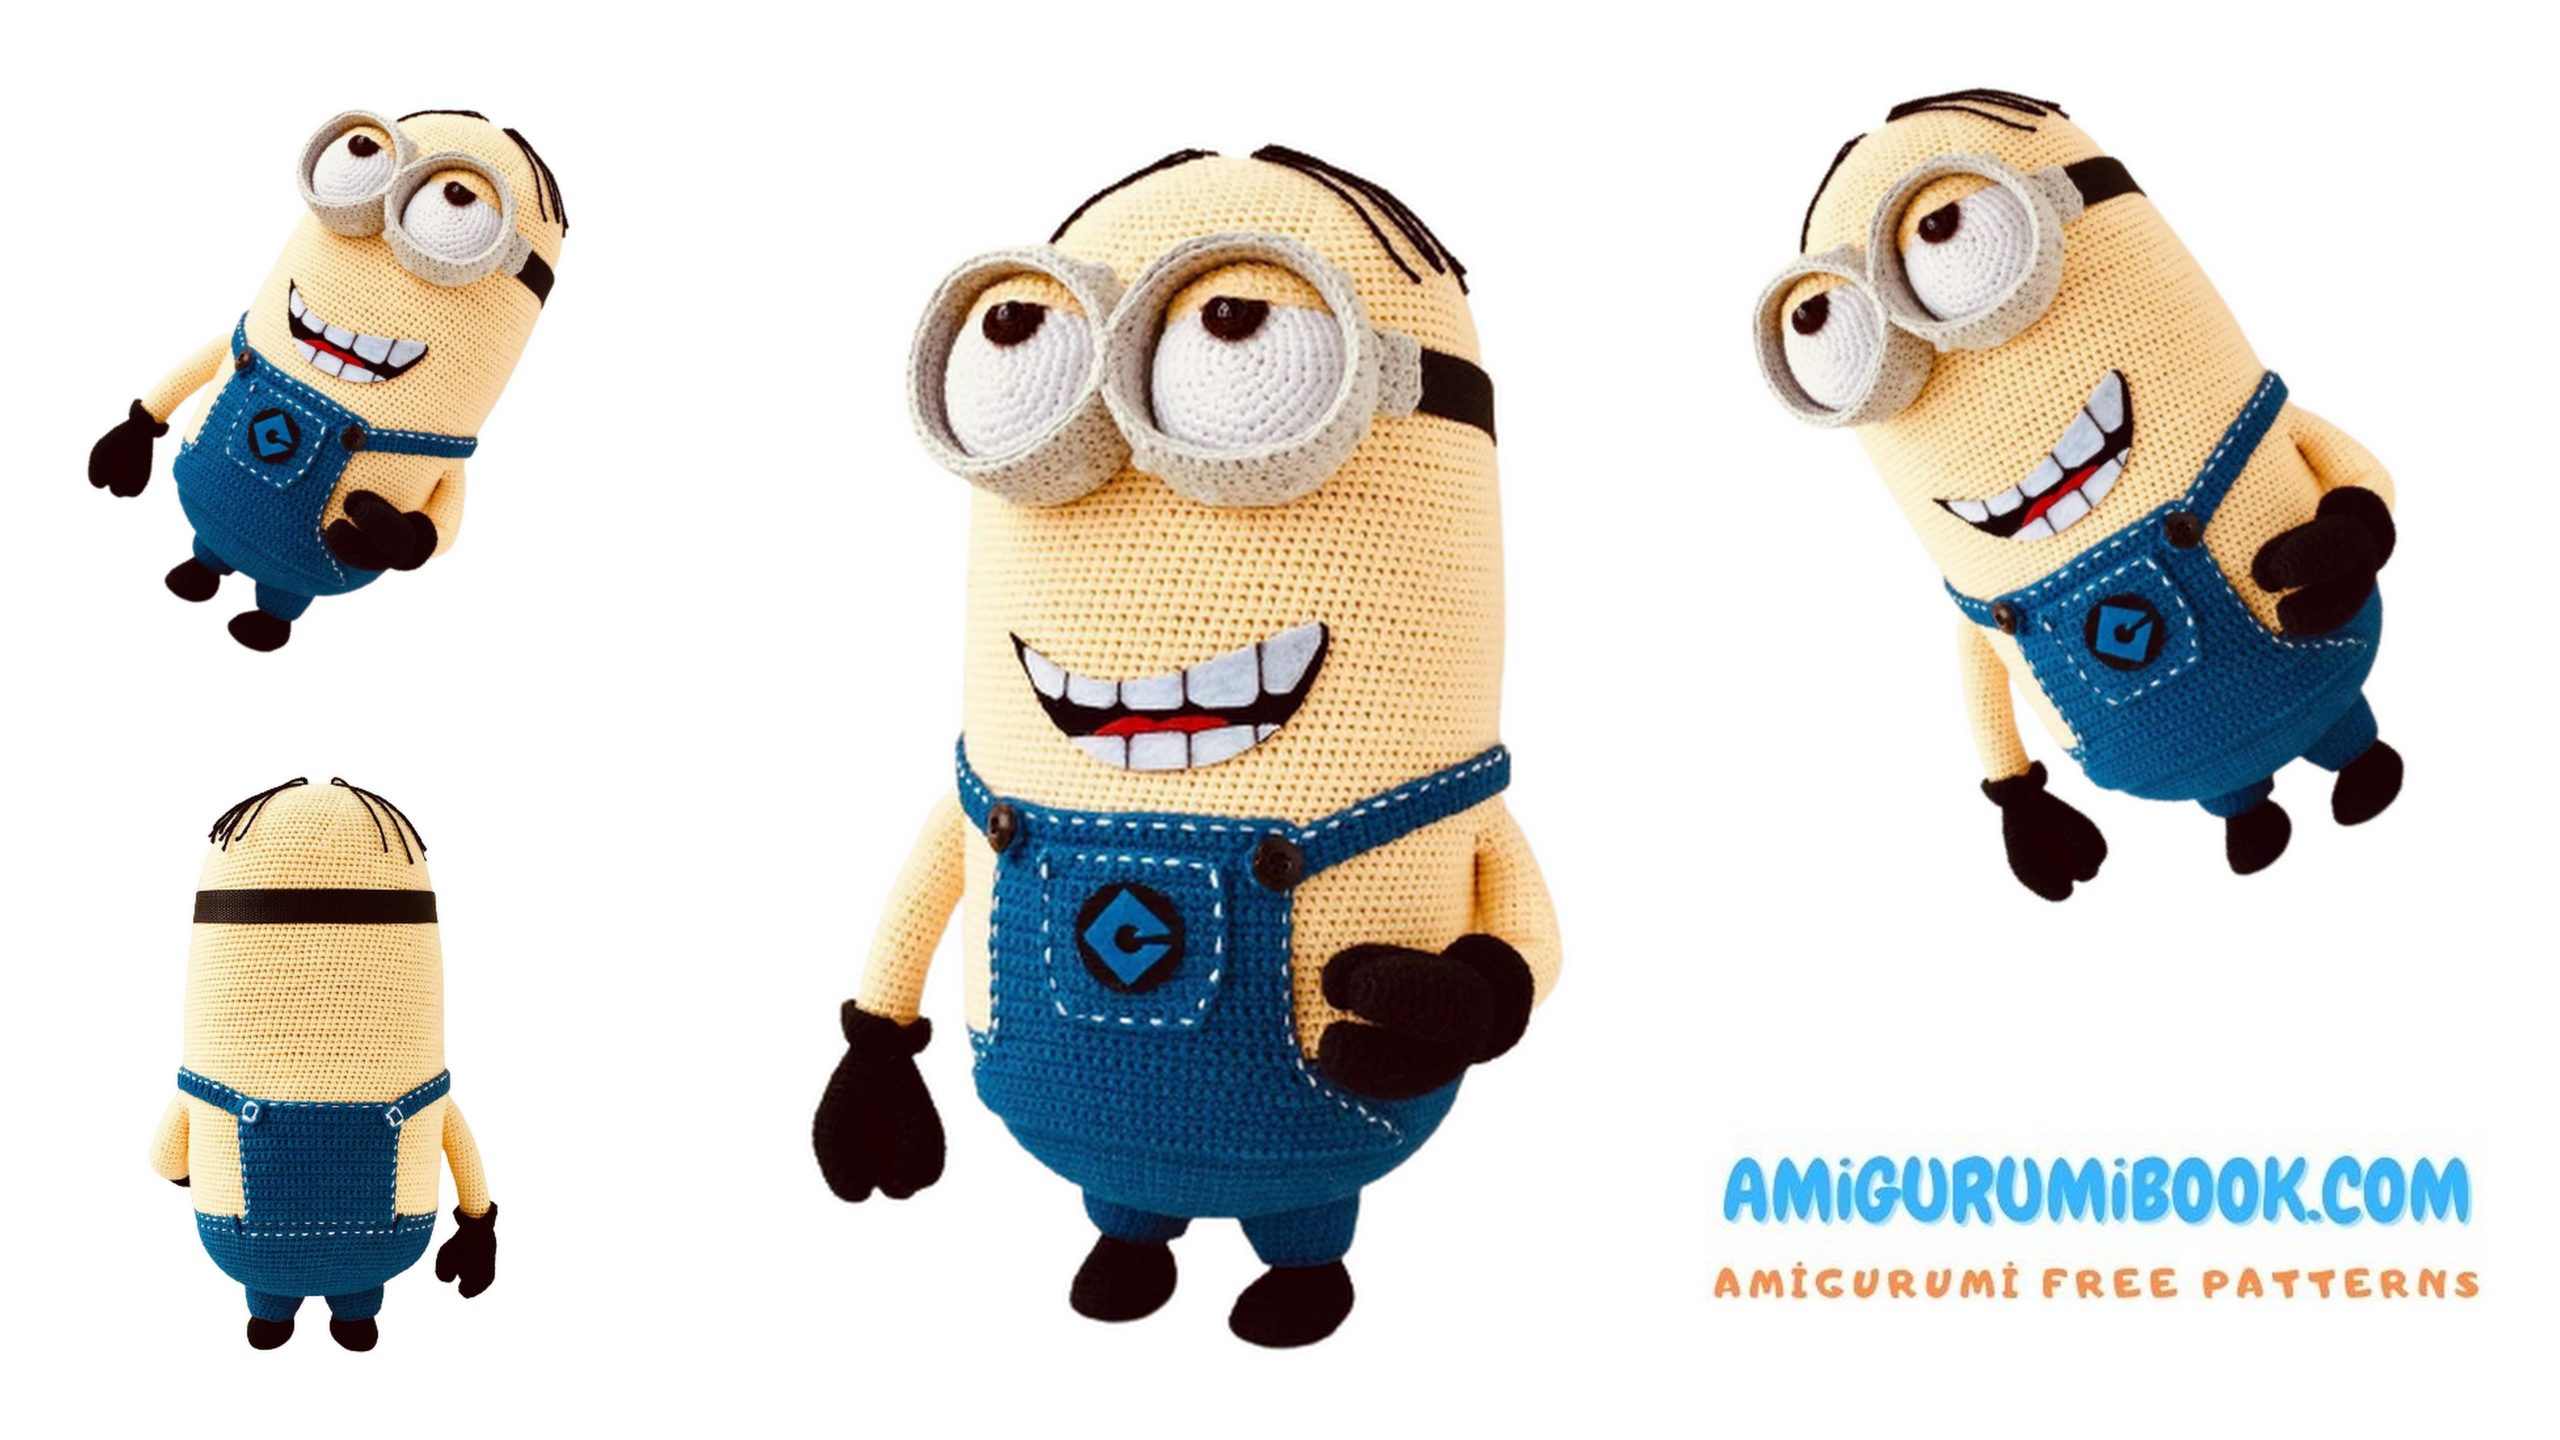
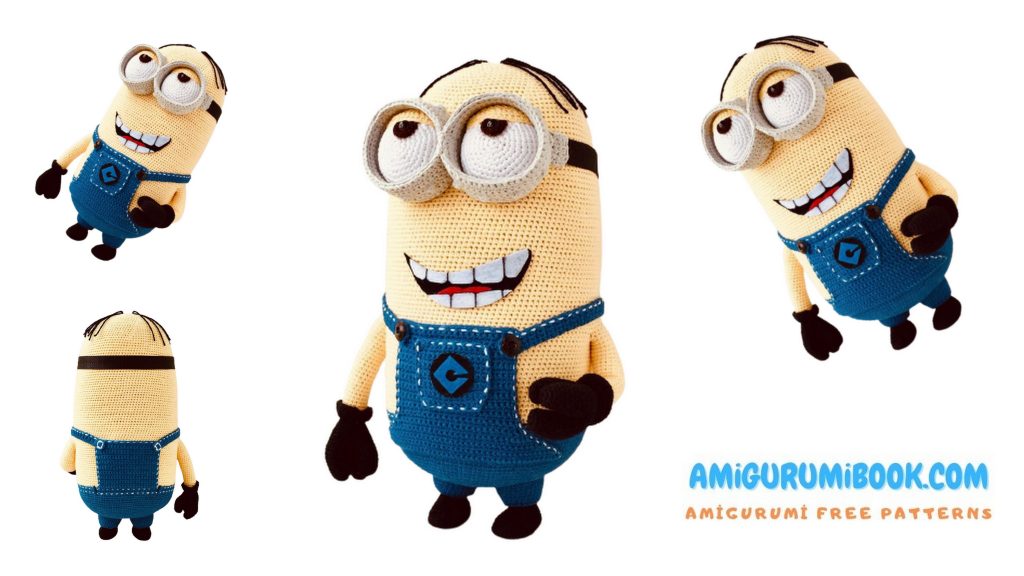
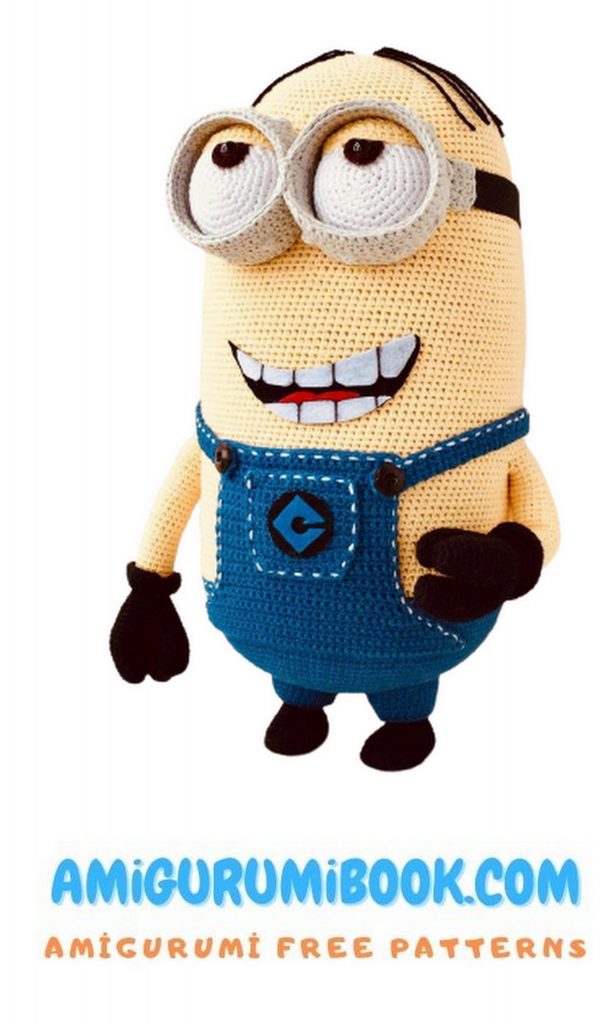
If you’re a fan of adorable handmade crafts, the Glasses Minion Amigurumi is a delightful project to try. This free pattern guides you step-by-step in creating a charming little Minion complete with its signature glasses, perfect for gifting or decorating. free crochet patterns – Blonde Doll Amigurumi Free Pattern
You may also like more amigurumi patterns.
Glasses minion amigurumi free pattern is waiting for you in this article. I continue to share amigurumi free patterns.
Materials:
– yarn YarnArt Jeans
17 (dark jeans) – 1 skein
49 (light gray) – 1 skein
88 (pale yellow) – 2 skeins
62 (white) – 1 skein
53 (black) – 1 skein
White, black and gray, of course, you will need a little.
– monophonic felt 1 mm white, black, red and blue (to match the color of the overalls) colors.
– filler (sintepuh, sinteshar). Since the yarn is thin and the volume is large, it is very important to use high-quality filler so that the stuffing can be done evenly.
– wire for the arm frame, masking tape or electrical tape.
– eyes on a secure mount. I used a diameter of 10 mm, but knitted the iris with brown yarn to increase the diameter to 18-20 mm.
– plastic for soles, plastic bottle for glasses.
– needles for sewing on parts, pins for fixing parts and fitting, scissors, glue Moment gel.
– two buttons for overalls.
– belt tape or usual for glasses (you can just tie the cord).
– and I almost forgot about the most important tool – a 3 mm hook.
Seems like I didn’t forget anything.
Well, how do you minion? Mark in the comments, please, who plans to tie it
Abbreviations:
ch- chain
sc – single crochet
dec – decrease
inc – increase
sl-st – slip stitch
hdc – half double crochet
dc – double crochet
PATTERN
Legs.
We start knitting from boots with black yarn, 3 mm hook.
1 row – we collect a chain of 12 air loops
2 row – start knitting from the 3rd loop from the hook 9 sc, 4 sc in one loop, on the other side of the chain 8 sc, inc (24)
3 row – mark the beginning of the row with a marker, knit in a spiral inc, 5 sc, 2 hdc, 2 dc, 4 inc from dc, 2 dc, 2 hdc, 5 sc, inc (30)
4 row- 1 sc, inc, 13 sc, 2 inc, 12 sc, inc (34)
We circle the resulting sole on paper for cutting out the insoles in the future.
5 row – 34 sc behind the back wall (34)
6 row – 34 sc (34)
7 row- 8 sc, 2 dec, 12 sc, 2 dec, 6 sc (30)
8 row- 10 sc, 6 dec, 8 sc (24)
9 row – 24 sc (24)
We cut out the insole from plastic according to the previously outlined template. We insert it into the boot, adjust it to size, if necessary. The insole should not be larger than the sole so that the boot does not bend. As a material, you can take covers, thin cutting boards. I often use unnecessary discount and accumulation cards of stores. We start stuffing the part.
10 row – mark the middle of the front of the boot. Regarding it, we make reductions 9 sc, 4 dec, 7 sc (20)
Due to the different density of knitting or yarn here and in the future, you may have a different location of dec / inc relative to the beginning of the row. Focus on your markers.
11 row- 7 sc, 4 dec, 5 sc (16)
12 row- 16 sc (16)
We fasten the thread, leave a long tip for sewing. We knit two parts.
! If you want the minion to stand on its own and work with wire frames, you can also use wire in the legs. With large dimensions, the toy weighs only 700 grams and may well stand on its own two feet. We insert the wire at this stage, then we pass it through the beginning of knitting the legs.
We take blue yarn, hook 3 mm. We knit the trousers of the jumpsuit.
1 row- 6 sc into magic ring (6)
2 row – 6 inc (12)
3 row- (1 sc, inc) * 6 times (18)
4 row- (2 sc, inc) * 6 times (24)
5 row – 24 sc behind the back wall (24)
6th row – 24 sc (24)
7 row- (3 sc, inc) * 6 times (30)
8-10 rows – 30 sc each (30)
11 row- (4 sc, inc) * 6 times (36)
12 row – 36 sc (36)
Close knitting, leave a long tip for sewing. We knit 2 parts.
Sew boots to trousers.
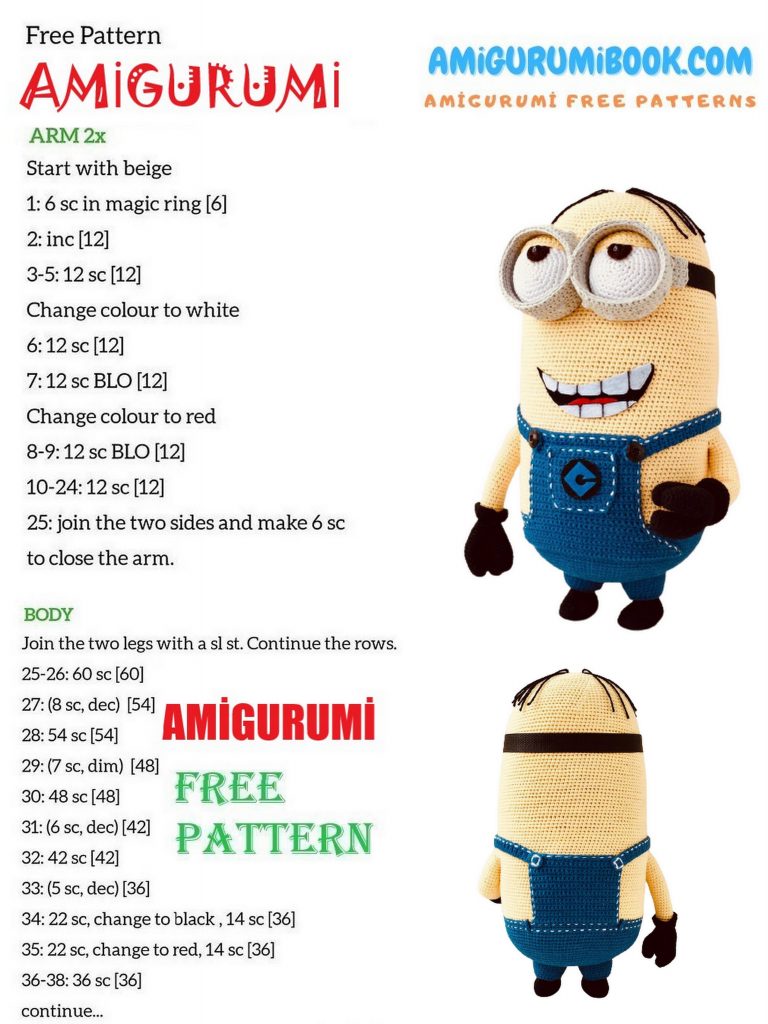
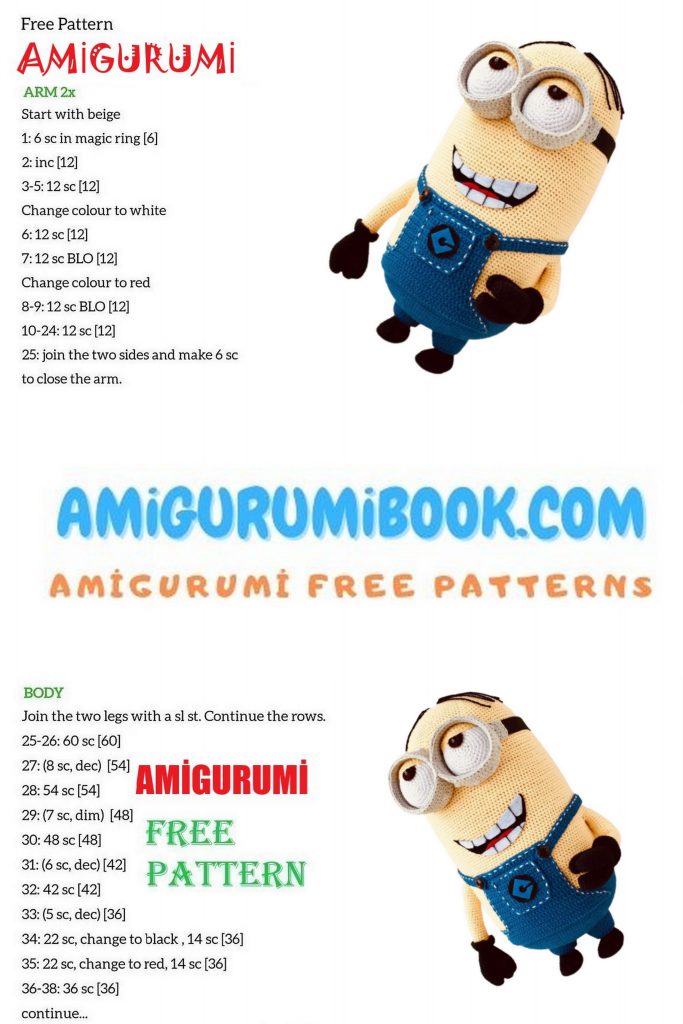
Pens.
We start knitting with fingers. Black yarn, hook 3 mm.
1 row- 6 sc into magic ring (6)
2 row – 6 inc (12)
3-4 rows – 12 sc each (12)
5 row- (3 sc, inc) * 3 times (15)
6-11 rows – 15 sc each (15)
We knit three elements. At the third thread we do not break. First we connect two fingers.
12 row – 8 sc, attach the second finger, knit 14 sc on it, knit 7 sc on the first (30)
13 row – 30 sc (30)
14 row – we attach the third finger 4 sc, we knit the next 7 sc together with 7 sc of the third finger, we finish 19 sc (30)
15 row – we tie around the perimeter along with the remaining 8 sc of the third finger (31)
16 row – 29 sc, dec (30)
We make a wire frame. I use 1mm wire. We cut off about 60 cm. We form three fingers 5 cm long. For safety and strength, we wrap each finger and brush with masking tape or electrical tape. Insert the frame. We stuff our fingers.
17 row- (3 sc, dec) * 6 times (24)
18 row- (2 sc, dec) * 6 times (18)
19 row – 18 sc (18)
We stuff the brush.
Following are two options:
– you can immediately knit the cuff of the glove, and then from the 19th row pick up the loops for knitting the hand itself;
– you switch to knitting in yellow, and knit the cuff separately and sew on (my version).
20-44 rows – change color to yellow and knit 18 sc (18), gradually stuff, not much.
We close knitting, we hide the tips. We knit two elements.
Cuff.
We knit with black yarn, hook 3 mm.
1 row – start with a chain of 19 air loops. Then we knit from the 3rd loop from the hook with increases, as in spiral knitting, but only with turning rows.
2 row- 1 sc, inc, (2 sc, inc) * 5 times (24)
3rd row – lifting loop, 2 sc, inc, (3 sc, inc) * 5 times (30)
4 row – lifting loop, 29 sc (30)
We knit two parts. Leave a long tail for sewing. We put on the handle, sew in a ring, sew on the 19th row.
That’s all for now. The next stage will be the longest, since the torso will already be knitted. The bottom of the overalls and the body are knitted. We will sew the legs, knit the handles and talk about the hairstyle.
All questions and comments on knitting, thank you and ️please write in the comments (not in Direct!). Usually the questions are the same. And often it is much faster to find the answer by looking at the messages under the post than waiting for an answer in Direct.
Torso.
We start knitting with blue yarn, hook 3 mm.
1 row- 7 sc into magic ring (7)
2 row – 7 inc (14)
3 row- (1 sc, inc) * 7 times (21)
4 row- (2 sc, inc) * 7 times (28)
5 row- (3 sc, inc) * 7 times (35)
6 row- (4 sc, inc) * 7 times (42)
7 row- (5 sc, inc) * 7 times (49)
8 row- (6 sc, inc) * 7 times (56)
9 row- (7 sc, inc) * 7 times (63)
10 row- (8 sc, inc) * 7 times (70)
11 row- (9 sc, inc) * 7 times (77)
12 row- (10 sc, inc) * 7 times (84)
13 row- (11 sc, inc) * 7 times (91)
14 row- (12 sc, inc) * 7 times (98)
15 row- (13 sc, inc) * 7 times (105)
16 row- (14 sc, inc) * 7 times (112)
17 row- (15 sc, inc) * 7 times (119)
18 row- (16 sc, inc) * 7 times (126)
19-22 rows – 126 sc each (126)
At this stage, you will need to sew on the legs. I have more knitted in the photo by this moment, but it’s inconvenient to sew on like this. The legs are located near the minions close to the center. The toes of the boots are usually turned outward, but you can set any position. Stuff your pants tightly.
After sewing, mark the center of the front. Since in the future we will need a pocket in the front, I knitted 50 sc under it for the back walls, so that it would be easier to pick up the loops. Accordingly, set aside from the center marker to the left and to the right 25 loops.
23 row – 5 sc, 50 sc behind the back walls, 71 sc (126)
24-29 rows – 126 sc each (126)
30 row – change the color of the thread to yellow (this must be done in the center of the front so that the transition is closed with a pocket) 126 sc (126)
31-48 rows – 126 sc each (126)
Gradually we fill.
Attaching handles. We mark in the center of the sides their location. First, as with the third finger, we knit together with the loops of the body 7 sc on each handle. The third finger of the hand should be on the side of the body (like our thumbs)
49 row- 7 sc with the first handle, 55 sc, 7 sc with the second handle, 57 sc (126)
50 row – knit around the perimeter with the remaining loops of the hands 11 sc (first handle), 55 sc, 11 sc (second handle), 57 sc (134)
51 row – 134 sc (134)
52 row – we form the shoulders. Decrease on 11 sc handles ((dec, 1 sc)*3 times, dec), 55 sc, ((dec, 1 sc) 3 times, dec), 57 sc (126)
We bend the wire at the shoulders, twist the ends together and wrap with tape. Turn the tip down.
Continued in next post
By increasing or decreasing the number of rows between 53 and 76, you can link different minions
53-76 rows – 126 sc each (126)
77 row- (16 sc, dec) * 7 times (119)
78-93 rows – 119 sc each (119)
94 row- (15 sc, dec) * 7 times (112)
We continue to hit. Tight, so that there are no wrinkles or bumps.
95 row – 112 sc (112)
96 row- (14 sc, dec) * 7 times (105)
97 row – 105 sc (105)
98 row- (13 sc, dec) * 7 times (98)
99 row – 98 sc (98)
100 row- (12 sc, dec) * 7 times (91)
101 row – 91 sc (91)
102 row- (11 sc, dec) * 7 times (84)
103 row – 84 sc (84)
104 row- (10 sc, dec) * 7 times (77)
105 row – 77 sc (77)
106 row- (9 sc, dec) * 7 times (70)
107 row – 70 sc (70)
108 row- (8 sc, dec) * 7 times (63)
109 row – 63 sc (63)
110 row- (7 sc, dec) * 7 times (56)
111 row- (6 sc, dec) * 7 times (49)
112 row- (5 sc, dec) * 7 times (42)
At this stage, it’s time to think about the hairstyle. Look online for options:
– individual hairs all over the head;
-hairs on the crown in two rows (like mine);
– a small bun at the crown.
If you want the first option, then you can start fixing the hairs now. Cut the black yarn into pieces. At one end of the segment, make a large knot and fasten it to the head with a needle or hook.
The second option can also be fixed. I did exactly that at first. But then I changed the yarn to a thinner one and fastened the threads with just knots after the knitting was closed.
In the case of the third option, pre-prepare the bundle and fasten it when you tighten the last 7 loops. Additionally, sew the bundle itself when tightening so that it holds better.
113 row- (4 sc, dec) * 7 times (35)
114 row- (3 sc, dec) * 7 times (28)
115 row- (2 sc, dec) * 7 times (21)
116 row- (1 sc, dec) * 7 times (14)
117 row – 7 dec (7)
We tighten the remaining loops, fasten the tip, hide inside the toy.
The most boring part is over! Further it will be more interesting.
As usual, questions, wishes and thanks in the comments
Today we’re going to do jumpsuits. When it is ready, it will be easier for you to choose the position of the eyes and smile.
We knit with blue yarn, hook 3 mm.
Let’s start with the front pocket. We left the front walls of 50 loops on the stomach. Now we knit the first row on them (then everything is knitted in rotary rows):
1 row – 50 sc (50)
2 row – lifting loop (loop), 2 dec, 40 sc, 2 dec, 1 sc (46)
3 row- loop, dec, 40 sc, dec, 1 sc (44)
4 row- loop, dec, 38 sc, dec, 1 sc (42)
5 row- loop, dec, 36 sc, dec, 1 sc (40)
6 row- loop, dec, 34 sc, dec, 1 sc (38)
7 row- loop, dec, 32 sc, dec, 1 sc (36)
8 row- loop, dec, 30 sc, dec, 1 sc (34)
9 row- loop, dec, 28 sc, dec, 1 sc (32)
10 row- loop, dec, 26 sc, dec, 1 sc (30)
11 row- loop, dec, 24 sc, dec, 1 sc (28)
12 row- loop, dec, 22 sc, dec, 1 sc (26)
13 row- loop, dec, 20 sc, dec, 1 sc (24)
14-32 rows – 24 sc each (24)
You can optionally tie the edges of the sc.
Behind the center of the back on the belt we also collect 24 sc, we knit in rotary rows:
1-18 rows – 24 sc each (24)
Webbing. We knit 57 rows of 4 sc. The number of rows you have may be different. Try on as you knit.
With a white thread we decorate the front pocket along the perimeter, the back and the straps of the overalls. I also highlighted the belt with it.
Small pocket.
We collect a chain of 15 air loops. Next, knit in rotary rows:
1-10 rows- loop, 14 sc (15)
11 row- loop, dec, 9 sc, dec, 1 sc (13)
12 row- 13 sc (13)
13 row- loop, dec, 7 sc, dec, 1 sc (11)
Minions have a logo on the pocket. You can view it online. I made it
from felt: black circle D20 mm + letter G from blue felt. The letter is pasted on the circle, the circle is pasted on the pocket. We sew the pocket with white threads.
Now we sew the straps with white thread. Add buttons to the front.
Only the belt loops remained. I made four of them from chains of air loops.
That’s all for today. Next time, we’ll take care of the eyes and glasses, and your minion will be ready.
Today we’re going to look at eyes and glasses.
I will describe the process of creating exactly my version. But you can look at the pictures and choose any facial expression for your minion. The main parts will be the same, but depending on the chosen expression, you may have a different location of the iris on the hemisphere (direction of gaze), eyelid size (open gaze, half-closed eyes, etc.), the presence of a lower eyelid (squinted gaze).
First we knit all the necessary parts. The eye consists of a hemisphere, back cover, iris (if the size of the safe eye does not suit you) and eyelid. We start with a hemisphere. We knit in white, hook 3 mm.
1 row- 6 sc into magic ring (6)
2 row – 6 inc (12)
3 row- (1 sc, inc) * 6 times (18)
4 row- (2 sc, inc) * 6 times (24)
5 row- (3 sc, inc) * 6 times (30)
6 row- (4 sc, inc) * 6 times (36)
7 row- (5 sc, inc) * 6 times (42)
8 row- (6 sc, inc) * 6 times (48)
9-12 rows – 48 sc each (48)
We knit two parts.
Back cover. We knit in white, hook 3 mm. Repeat the same from rows 1 to 8. We knit two parts. Leave a long tail for sewing.
We knit the irises with the desired color (I have brown) 6 sc into magic ring, 6 inc. Insert the eye into the center of the iris.
Eyelid. We knit with yellow yarn, hook 3 mm. The principle of knitting is like a cuff, only in this case we reduce the number of sc. My eyelid takes up about 1/4 of my eye. For this option, a chain of 18 sc is sufficient. If you want to make it more or less, then add / subtract 6 loops so that dec / inc are uniform.
1 row – we collect a chain of 19 ch, we start knitting from the 3rd loop from the hook 17 sc (18)
2 row – loop, 17 sc (18)
3 row- loop, dec, (1 sc, dec) * 5 times (12)
4-5 rows – loop, 11 sc (12)
6 row- loop, 5 dec, 1 sc (7)
7 row- loop, 3 dec (4)
We fasten the thread, leave the tip for sewing. We knit two parts.
Collecting eyes.
We install a safe eye with an iris in the right place. My minion looks up dreamily, so the stem of the eye is between rows 4 and 5. We sew eyelids. Slightly covering the iris eyelid adds dreaminess. Be careful that the eyes are symmetrical (direction of gaze). Sew on the back cover. At the very end of sewing, we fill the eye.
Continued in next post
Remained rectangles for the frame.
We knit with a gray thread, a hook of 3 mm.
1 row – we collect a chain of 51 ch, we knit from the 3rd loop from the hook 49 sc (50)
2-15 rows – turning rows loop, 49 sc (50)
16 row – add bumps (W) 7 sc, (W, 4 sc) * 8 times, 3 sc (50)
Cone: the element is made on the basis of 4 double crochets, which are knitted into one point with unfinished single crochet stitches, gathered in one loop into a common vertex.
17-20 rows – loop, 49 sc (50)
We knit two parts. Leave a long tail for sewing.
Fold in half lengthwise, sew. On the other hand, for symmetry, we also make a seam. Now we need a 2 liter plastic bottle for frame inserts. We cut out a rectangle, insert it inside the knitted part (to facilitate insertion, we round the corners on one side of the strip), adjust it in length (cut off from the rounding side), sew the part into a ring. Let’s try the eye.
We repeat again.
After the frame is ready, we try on both eyes, fix their correct position in the frame and sew them back to it. Moreover, the circles of the frame should be located with seams to each other (there are no bumps). Pay attention also to the fact that the frames have different ends.
The next step is to sew the frames to the body. We fasten them together (sew along 4-5 sc).
Strap left I used 20mm wide webbing, but you can just tie the length of cord you want. To attach the cord to the glasses, we knit two rectangles with a gray thread 8 sc for 6 rows. Fold the rectangle in half across the knitting, insert the tip of the cord and sew. Sew the opposite side to the frame. Checking the length. We also sew the other end of the cord into a rectangle and attach it to the frame on the other side.
Well, it’s all about the smile
Wishes, questions and thanks in the comments
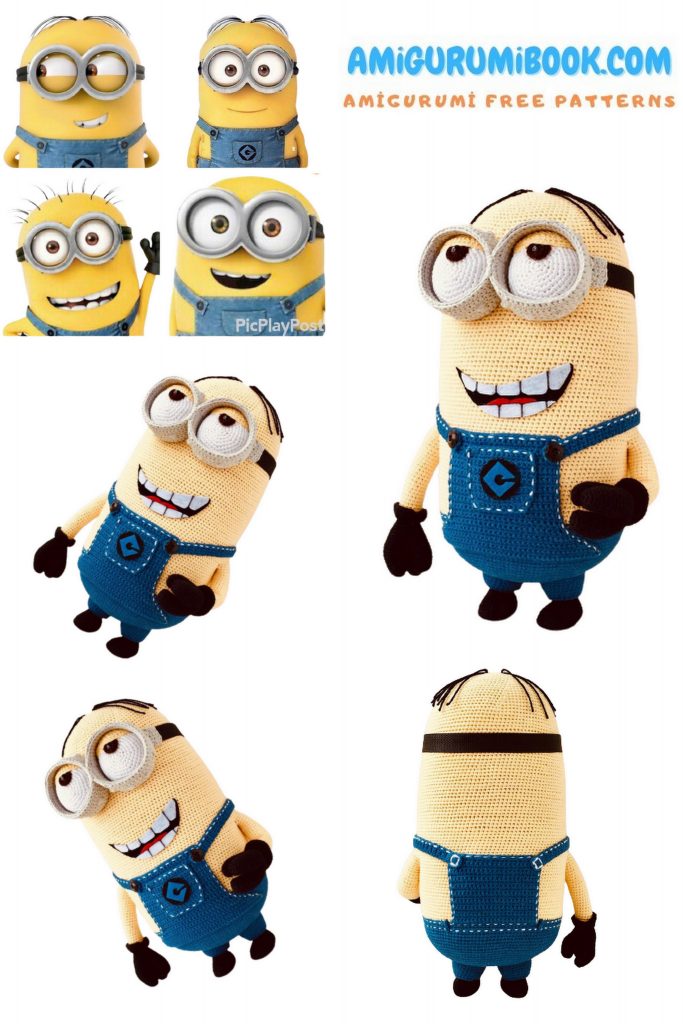
So, we need 1 mm felt of white, black and red (if you are doing with tongue) colors, a smile template, Moment glue gel and a black helium pen or marker. You can draw a smile template yourself or translate it from a computer screen. I added a photo of minions in the carousel to help you. I drew myself, and I had a lot of options In the photo, the final three, from which I chose the final one.
1. Cut out the main outline from black felt.
2. We put white felt on top, circle the edge of the mouth (the contour is visible through the felt) and draw teeth. If you also have teeth from below, then repeat the same thing. Don’t forget about symmetry. Cut out.
3. Cut out a thin strip of red felt, put the lower teeth on it, circle them, draw a semicircle on top. Cut out.
4. We try on all the parts. Trimming and straightening the outlines.
5. First we glue the teeth on a black base, then the tongue.
6. With a helium pen or marker, select the teeth by drawing interdental lines.
7. Glue a smile on the body at the required height.
That’s all!
If this still seems complicated to you, then you can simply cut a thin strip of black felt of the required length and shape and stick it on.
That’s all Congratulations!! Your minion is ready!
