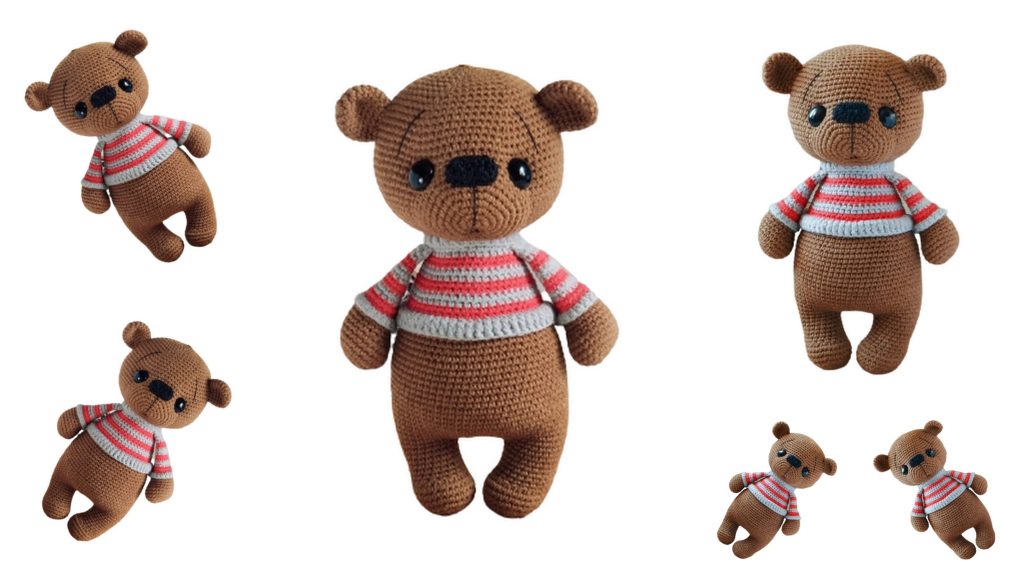
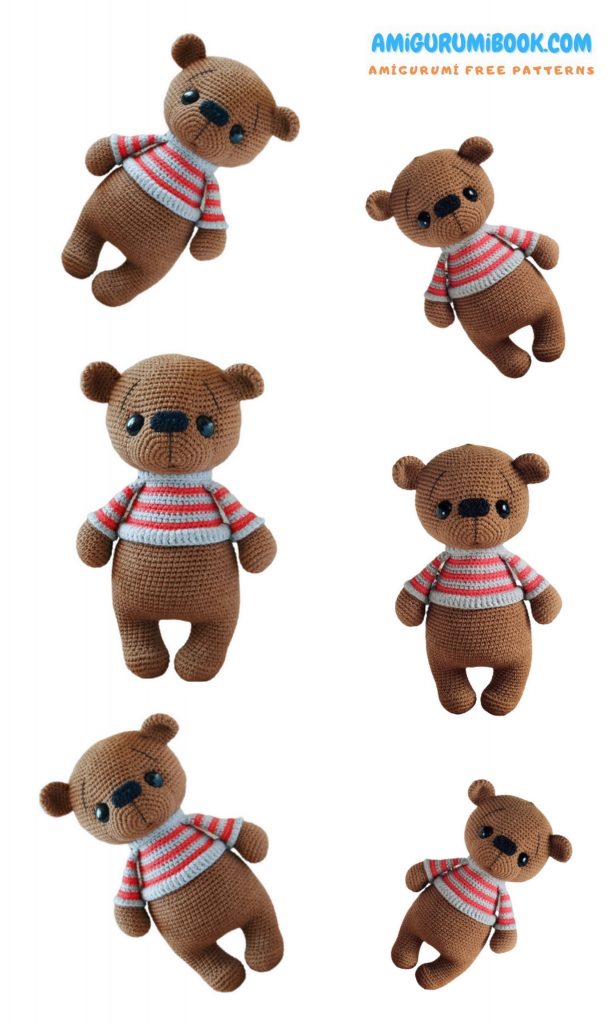
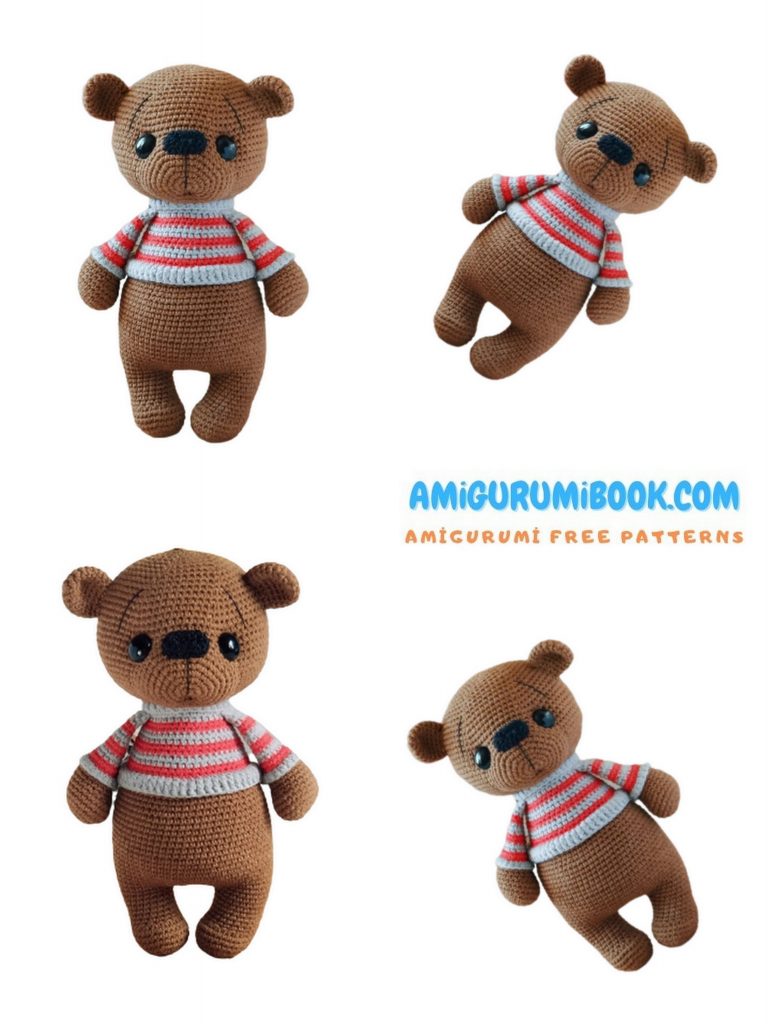
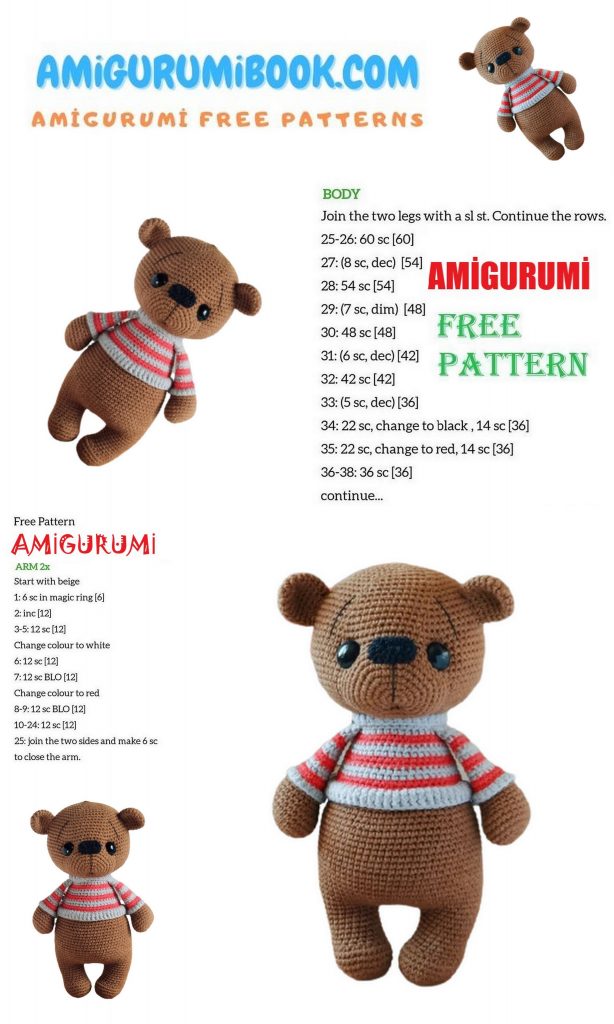
The Teddy Bear Timka Amigurumi Free Pattern offers a delightful and easy-to-follow guide for creating an adorable handmade teddy bear. Perfect for both beginners and experienced crafters, this pattern provides step-by-step instructions to bring your own cuddly companion to life. free crochet patterns – Lola Bunny Amigurumi Free Pattern
You may also like more amigurumi patterns.
I continue to share amigurumi free patterns. In this article, teddy bear timka amigurumi free pattern is waiting for you.
Materials.
1. Main yarn of brown shade YarnArt Jeans or Alize cotton gold – 50g, the same yarn of red and gray shade, for a sweater.
I used YarnArt Jeans yarn: brown 40 tone, red 26 tone, gray 46 tone.
Toy size 23cm.
• Hook 1.75mm.
• Eyes 13-15mm.
• Nose 20*15mm or knitted with black thread.
• Matching threads for sewing on details and tightening (like iris).
• Filler holofiber or sintepukh.
•Tools: large long needle, scissors, stitch marker.
The master class is not intended for commercial use.
Abbreviations:
sc-single crochet.
dc-double crochet.
ch-chain.
hdc- half double crochet.
inc-increase ; two single crochet in one loop.
inc dc-increase double crochet; two columns with a crochet in one loop.
dec- decrease; knit together two loops for the front walls.
dec dc- decrease double crochet; knit together two loops with a crochet for the front walls.
sl-st-slip stitch.
PATTERN
Upper paws.
2 details.
Knit in a circle, in a spiral, around air loops.
Start knitting with the main color yarn.
1. 5ch (ch), start with the second loop from the hook; inc,
2sc, 4sc in one loop, 2sc, inc=12sc.
2. 2 inc, 2sc, 4 inc, 2sc, 2 inc=20sc.
3. (1sc, inc)-2 times, 2sc, (1sc, inc)-4 times, 2sc, (1sc, inc)-2
times=28sc.
4-7. 28sc (4 rows)=28sc.
8. 8 reductions, 12sc=20sc.
9-10. 20sc (2 rows)=20sc+5sc at end of row 5 for offset.
Change the thread color to red.
11.20sc=20sc.
12. 20sc for the back half loop = 20sc.
The master class is not intended for commercial use.
13.20sc=20sc.
Change the thread color to grey.
14. (3sc, dec)-4 times = 16sc.
15. 16sc=16sc.
Change the thread color to red.
16-17. 16sc (2 rows)=16sc.
Change the thread color to grey.
18-19. 16sc (2 rows)=16sc.
Change the thread color to red.
20. (2sc, dec)-4 times=12sc.
21. 12sc=12sc.
Change the thread color to grey.
22-23. 12sc (2 rows)=12sc.
Stuff only the lower part of the paw up to the sleeve.
Work another 5sc for offset, fold piece in half and knit together on both sides of 6sc.
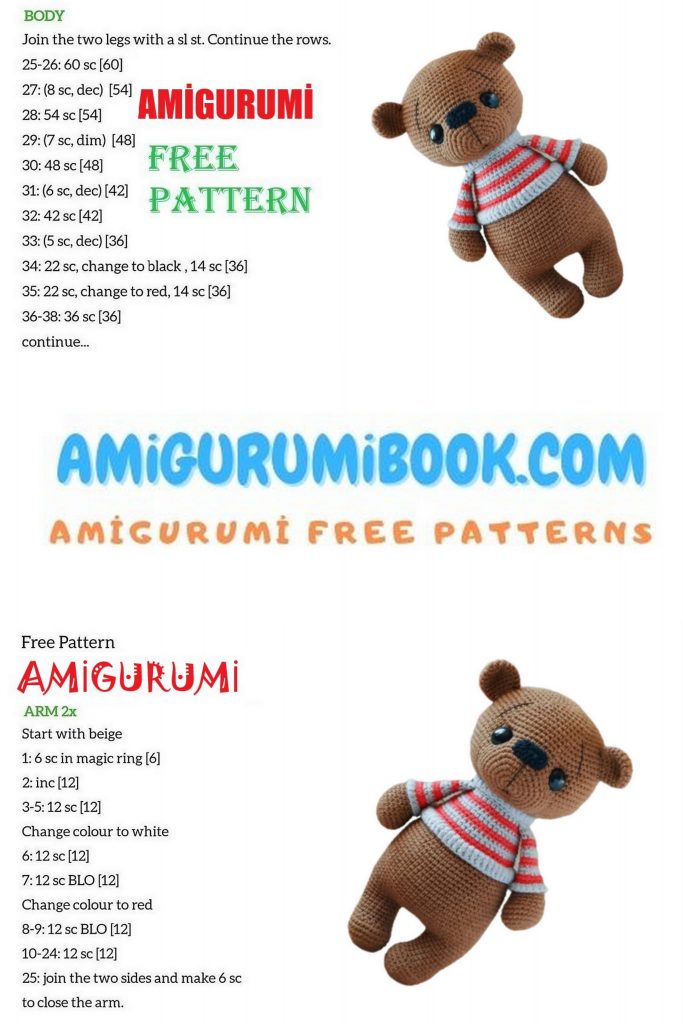
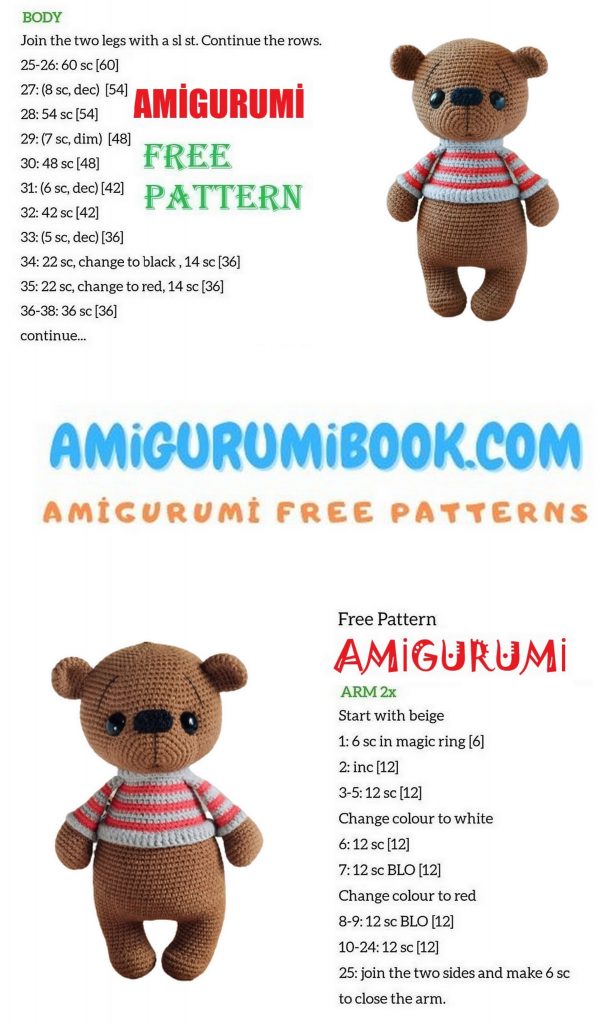
Lower paws.
2 details.
Knit in a circle, in a spiral.
Stuff the details as you knit.
1. 6sc into magic ring=6sc.
2.6 inc=12 sc.
3. (1sc, inc) -6 times = 18sc.
4. (2sc, inc)-6 times=24sc.
5. (3sc, inc)-6 times=30sc.
6-8. 30sc (3 rows)=30sc.
The master class is not intended for commercial use.
9. 8 reductions, 14sc=22sc.
10-12. 22sc (3 rows)=22sc.
13. 18sc, inc, 3sc=23sc.
14-15. 23sc (2 rows)=23sc+7sc for row offset.
Fasten the thread, cut.
Knit the second paw in the same way as the first one up to 12 rows. From the 13th row, knit the paw in a different way.
13. 12sc, inc, 9sc=23sc.
14-15. 23sc (2 rows)=23sc.
On the second paw, the thread does not need to be cut, then we will knit the body.
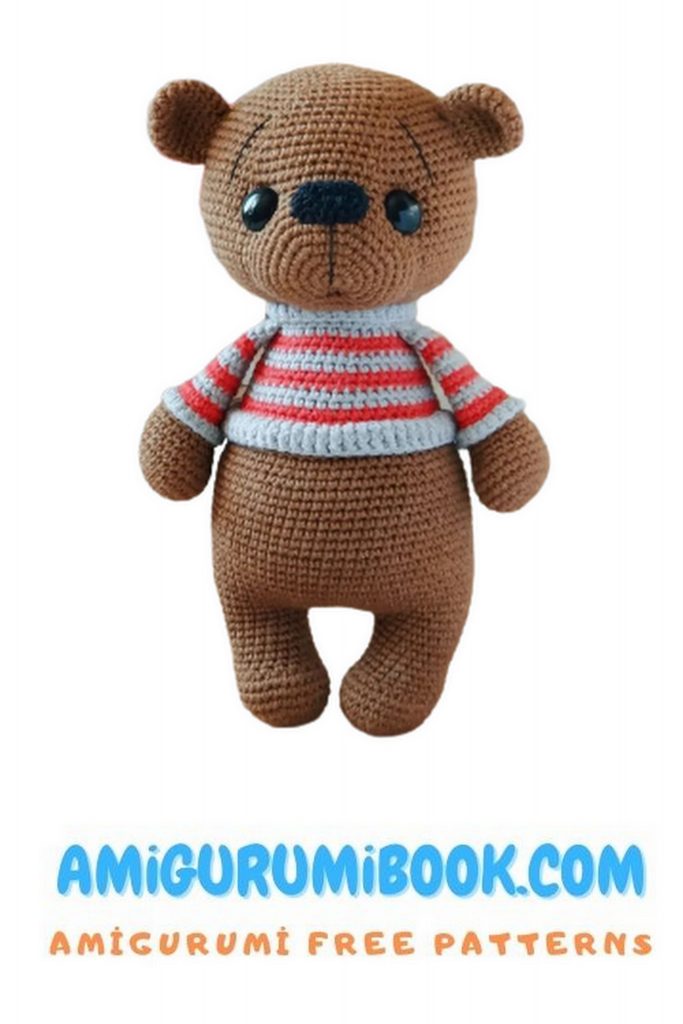
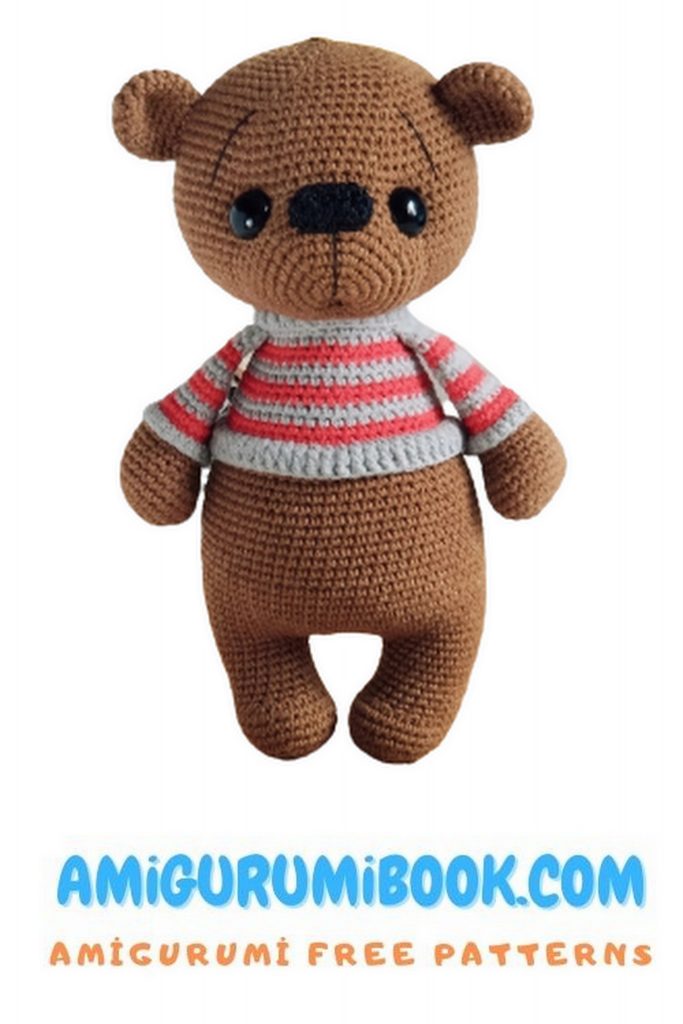
Body.
Stuff the body as you knit.
16. On the last leg where the thread was left, we continue to knit 5ch, now connect with the first paw, starting from the last loop, where the connecting column was made 23sc, 1sc into the loop from which we started knitting this paw, 5 inc to ch, 1sc into that loop where you finished knitting the left paw (thus in the corners between the paws you should get inc), 23sc on the second paw = 63sc.
17. ch – (2sc, inc, 2sc), 11sc, inc, 34sc, inc, 11sc=66sc.
18-31. 66sc (14 rows)=66sc.
32. (9sc, dec)-6 times=60sc.
33-34. 60sc (2 rows)=60sc.
The master class is not intended for commercial use.
35. (8sc, dec)-6 times=54sc.
Next, change the color of the thread to red and knit in stripes, changing the thread every two rows.
36.54sc=54sc.
37. 54sc for the back half loop = 54sc.
38. (7sc, dec)-6 times=48sc.
Change the thread color to grey.
39-40. 48sc (2 rows)=48sc.
Change the thread color to red.
41.48sc=48sc.
42. (6sc, dec)-6 times = 42sc.
Change the thread color to grey.
43-44. 42sc (2 rows)=42sc.
Change the thread color to red.
45.42sc=42sc.
46. (5sc, dec)-6 times=36sc.
Change the thread color to grey.
47.36sc=36sc.
In the next row we knit the upper paws.
48. 14sc, attach foot and work together 6sc, 10sc, attach other foot and work together 6sc=36sc.
The master class is not intended for commercial use.
Change the thread color to red.
49. (4sc, dec)-6 times=30sc.
50.30sc=30sc.
Stuff tightly and evenly into the body.
Head.
Change the thread color to the main one.
51. 30 inc for the back half loop = 60sc.
52. (9sc, inc)-6 times = 66sc.
53. (10sc, inc)-6 times=72sc.
54. (11sc, inc)-6 times=78sc.
55-63. 78sc (9 rows)=78sc.
64. (11sc, dec)-6 times=72sc.
65-66. 72sc (2 rows)=72sc.
67. (10sc, dec)-6 times=66sc.
68-69. 66sc (2 rows)=66sc.
70. (9sc, dec)-6 times=60sc.
71. (8sc, dec)-6 times=54sc.
Set the eyes on the mount between 62-63 side by side, at a distance of 12-13 loops.
The master class is not intended for commercial use.
Until you have stuffed and tied your head, it will be more convenient to make a harness on a sweater.
Make a tie at the neck and bottom of the sweater for the front loops of the 36th and 50th rows.
1. Attach yarn to the back of the toy, pick up 2ch inc and work into each dc st, around neck 30dc, bottom of sweater 54dc.
2. Knit the second row with convex embossed double crochets.
Fasten the thread, cut.
Tuck the ends of the threads inward.
Next, finish knitting the head.
72.54sc=54sc.
73. (7sc, dec)-6 times=48sc.
74. (6sc, dec)-6 times=42sc.
75. (5sc, dec)-6 times=36sc.
76. (4sc, dec)-6 times=30sc.
Stuff your head tightly and evenly.
77. (3sc, dec)-6 times=24sc.
78. (2sc, dec)-6 times=18sc.
79, (1sc, dec)-6 times=12sc.
80.6dec=6sc.
Pull the hole, cut the thread and thread it inside the head.
Ears.
2 details.
Knit in a circle, in a spiral.
1. 6sc into magic ring=6sc.
2.6 inc=12 sc.
3. (1sc, inc) -6 times = 18sc.
4-8. 18sc (5 rows)=18sc.
9. (1sc, dec)-6 times=12sc.
The master class is not intended for commercial use.
Fasten the thread, leave a long end for stitching.
Sew the ears to the head.
Muzzle.
Knit in a circle, in a spiral.
1. 6sc into magic ring=6sc.
2.6 inc=12 sc.
3. (1sc, inc) -6 times = 18sc.
4. (2sc, inc)-6 times=24sc.
5. (3sc, inc)-6 times=30sc.
6. (4sc, inc)-6 times = 36sc.
7. (5sc, inc) -6 times = 42sc.
8-9. 42sc (2 rows)=42sc.
Fasten the thread, leave a long end for stitching.
Set the spout on the mount between 7-8 side by side.
Sew the muzzle to the head, when sewing the muzzle lightly fill with filler.
Spout.
Knit around the air loops, in a spiral (no need to close into a ring).
The master class is not intended for commercial use.
1. Cast on 5ch, from the second loop from the hook 3sc, 3sc into one, 2sc, inc=10sc.
2. Inc, 2sc, 3 inc, 2sc, 2 inc=16sc.
3. 16sc=16sc.
Fasten the thread, leave a long end for stitching.
Sew to the muzzle.
Decor.
If you installed the eyes on the mount, then you can simply embroider the eyebrows on the bear.
If you wish, you can make a tightening under the eyes, look at the photo for a tightening scheme.
Click on the icon and see how I make the design of the teddy bear.