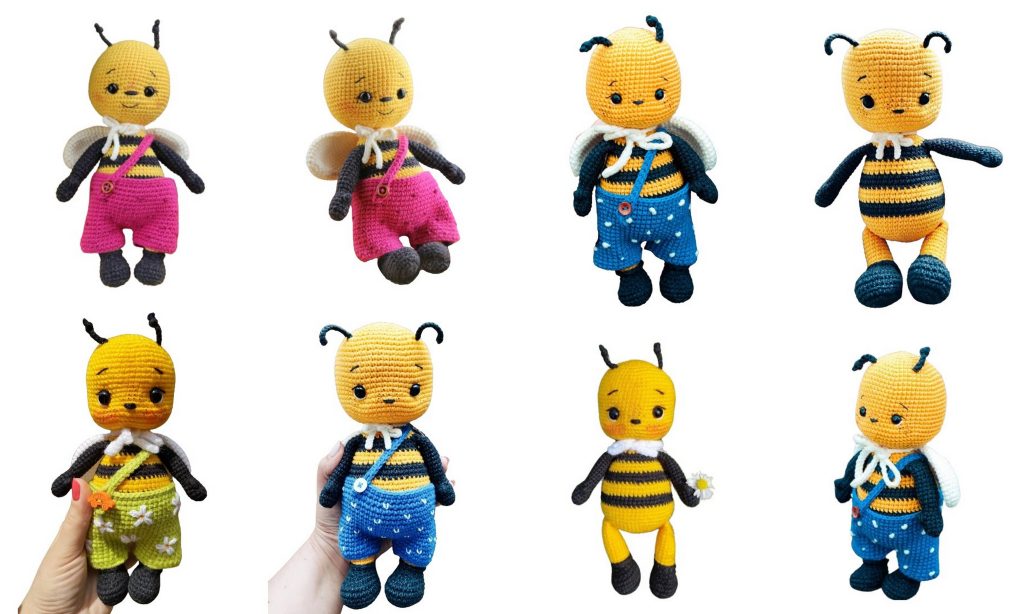
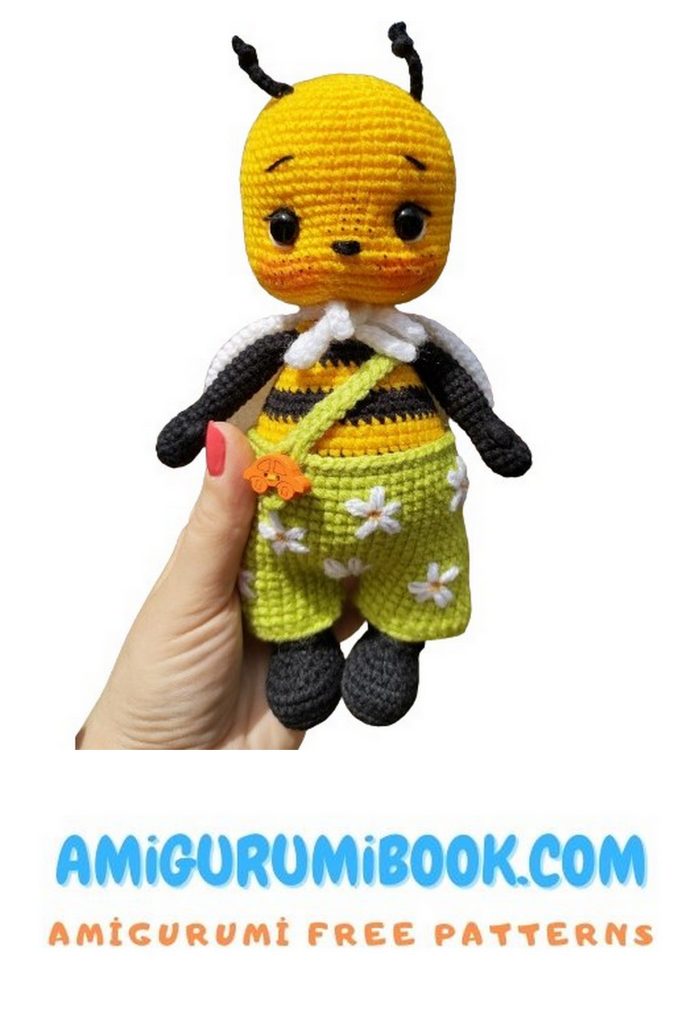
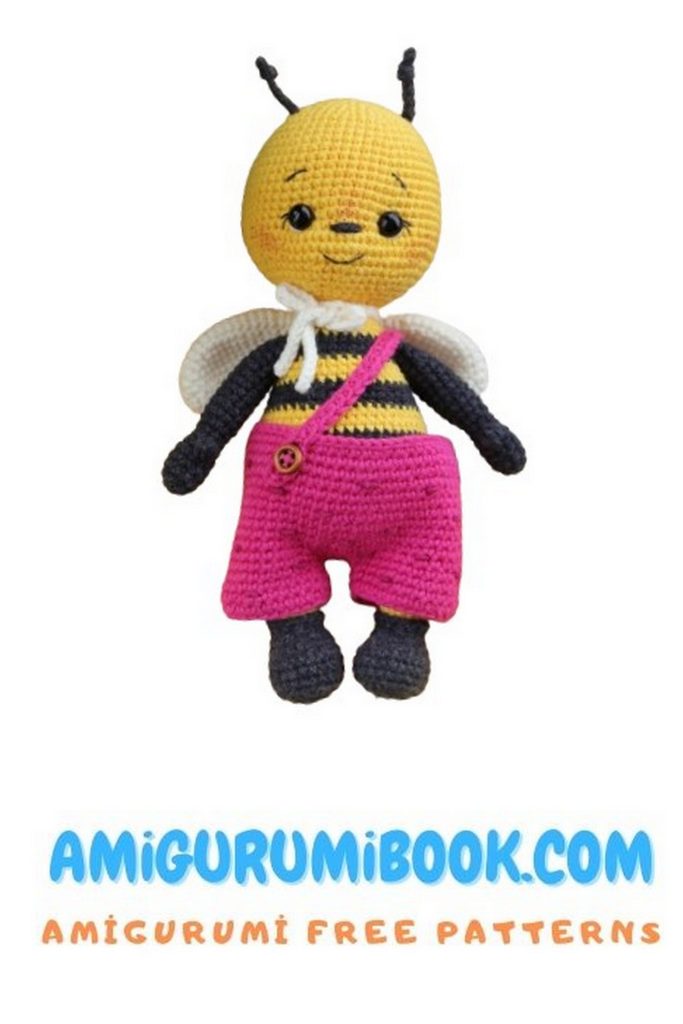
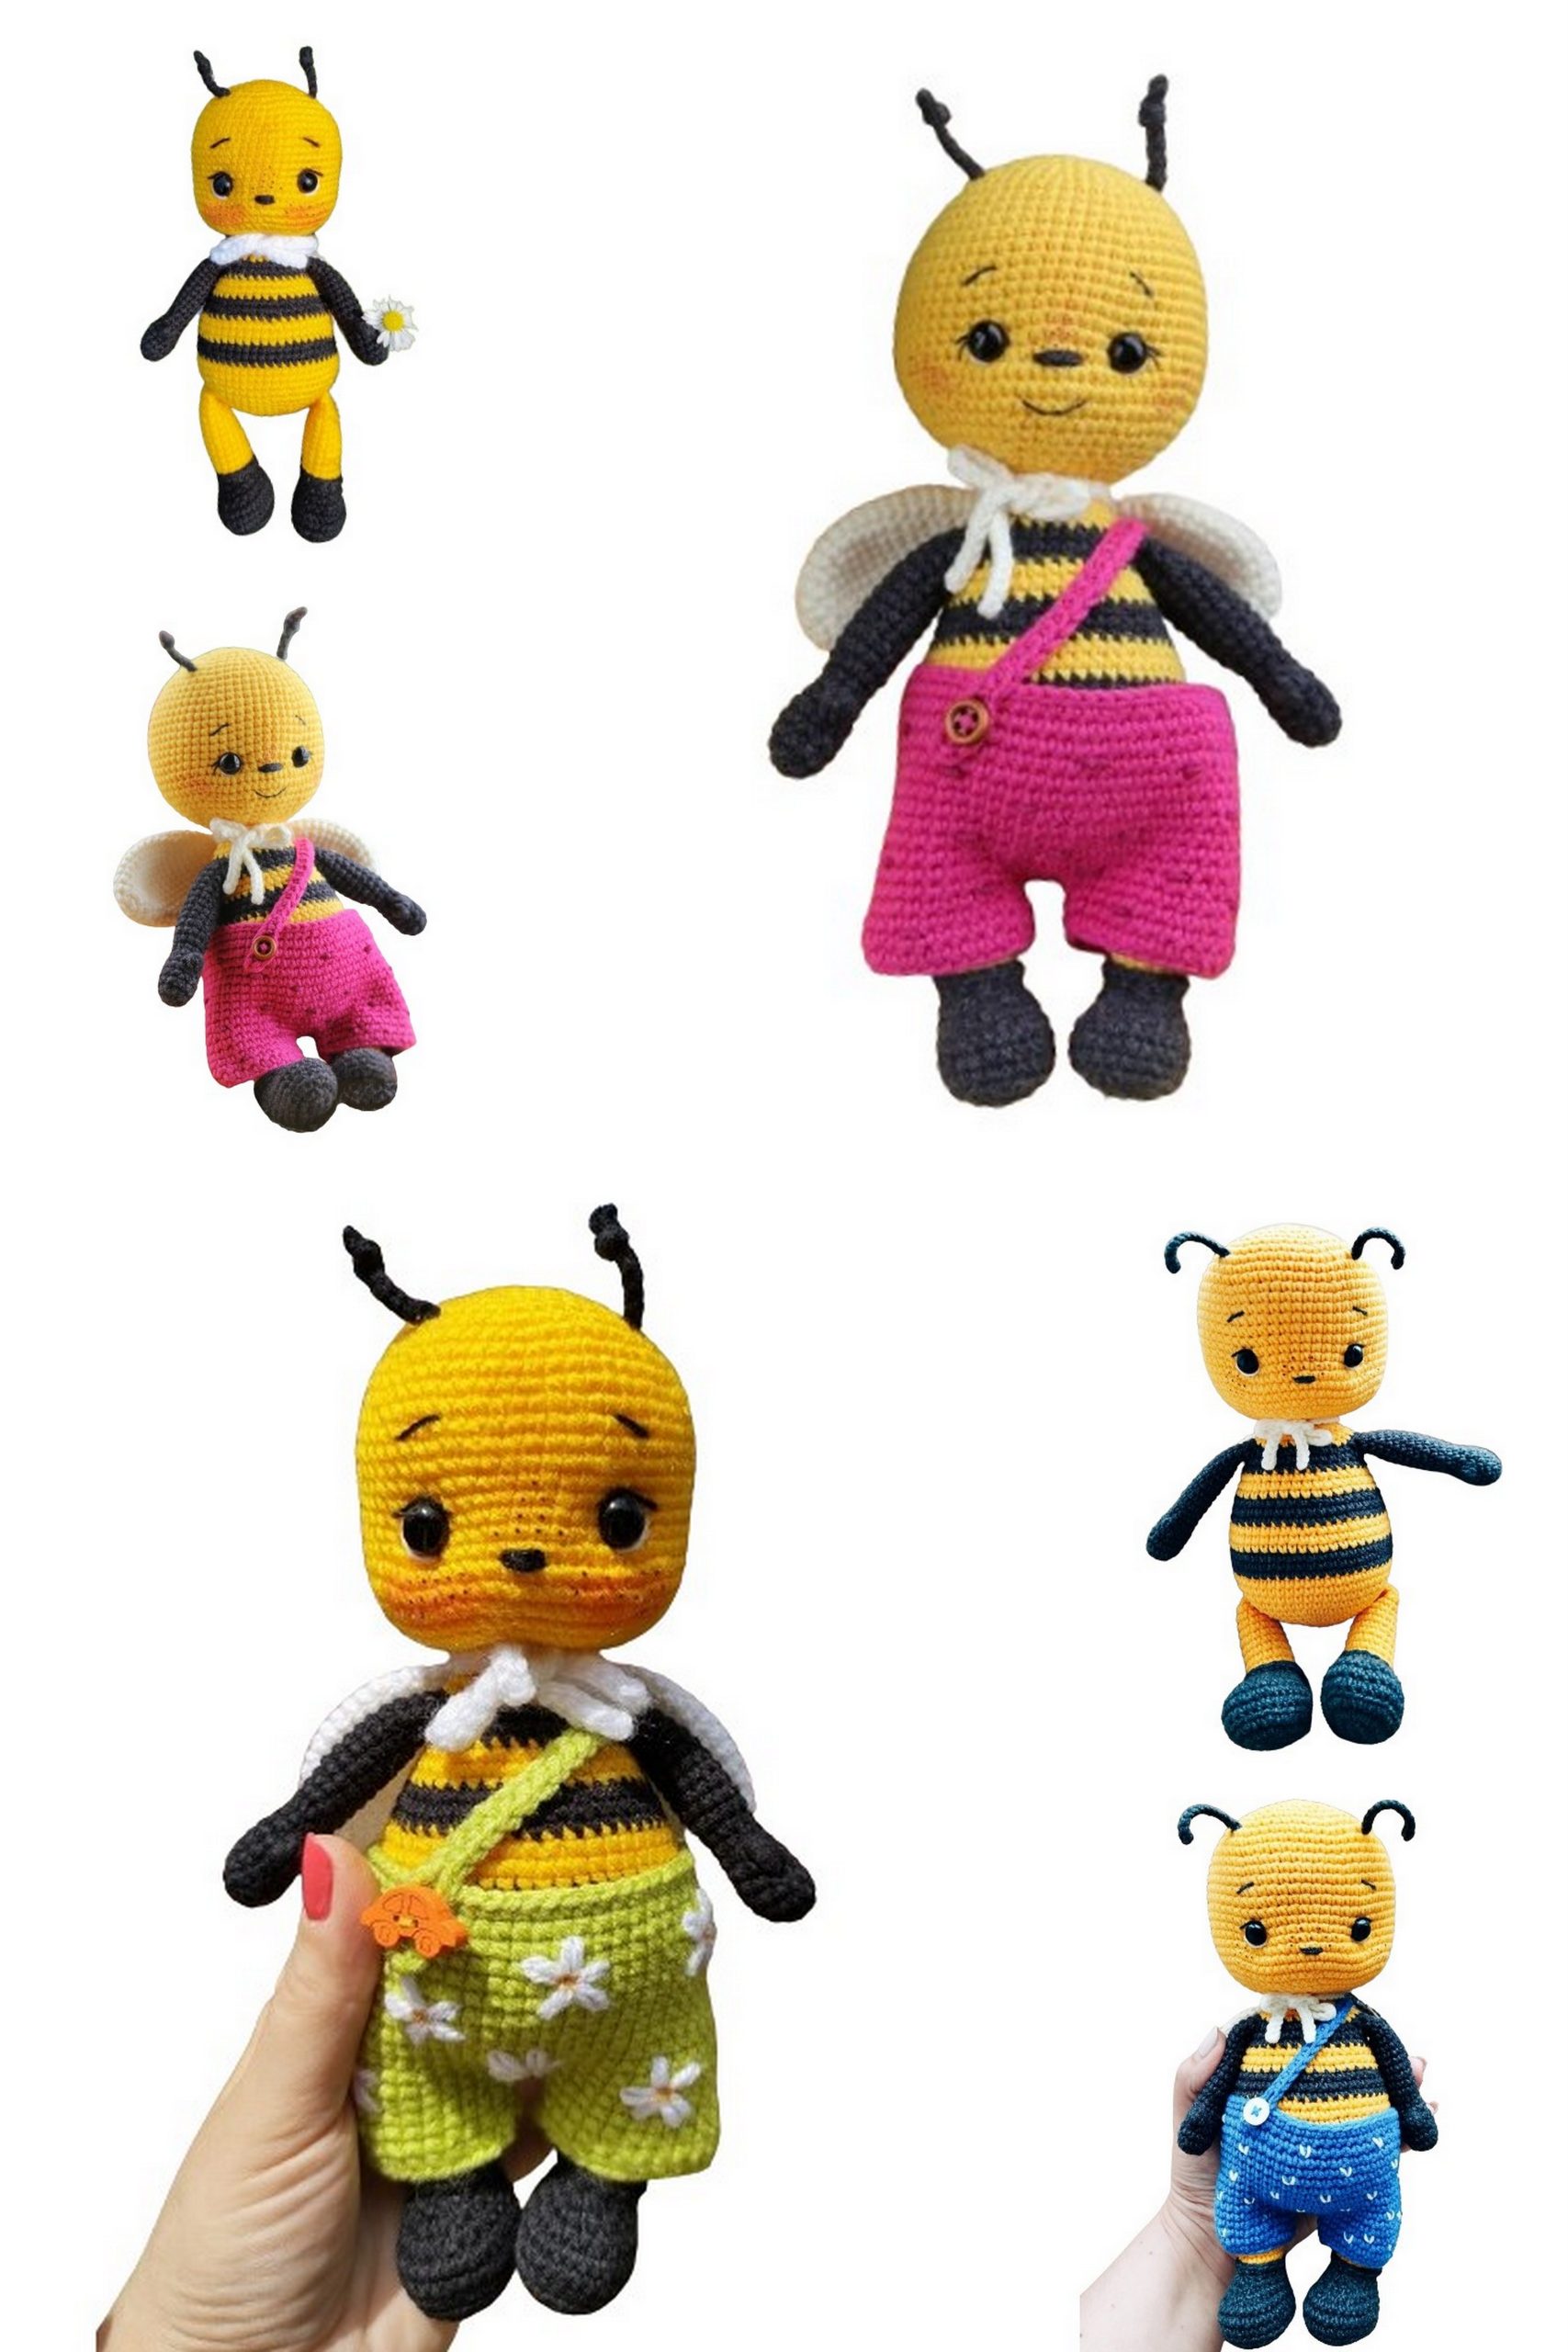
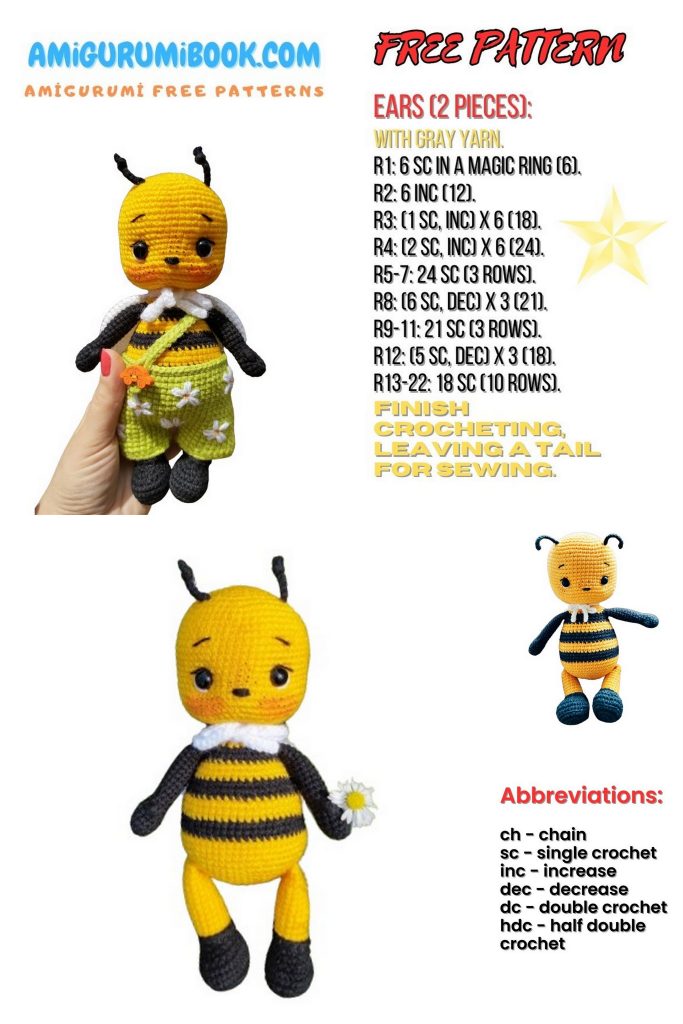
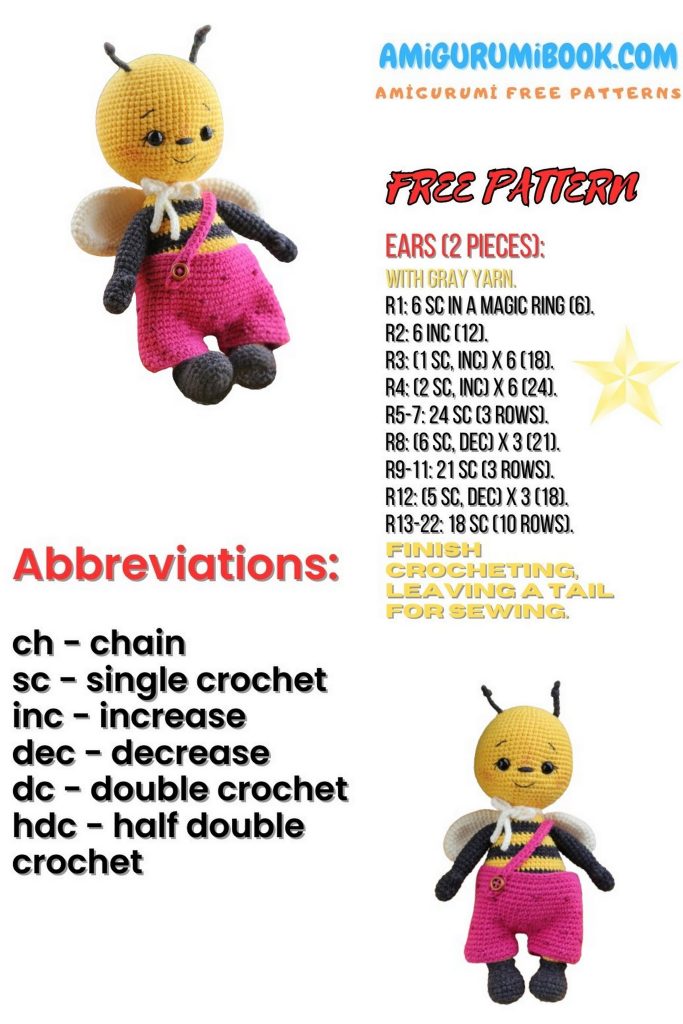
Are you looking for an “adorable bee” amigurumi pattern to create a charming and delightful project? Look no further! This free pattern for an adorable bee amigurumi with trousers is perfect for both beginners and experienced crafters. With easy-to-follow instructions and a cute design, you’ll be able to crochet a lovable bee that stands out with its cute little trousers. Dive into this fun and engaging project and add a touch of sweetness to your amigurumi collection. Get your crochet hooks ready and start making your own adorable bee today!
Would you like a colorful suggestion for your amigurumi collection? Amigurumi cute rooster will suit your collection very well.
If you want to access 1000+ free amigurumi patterns, you can download our application from this link!
Attention!
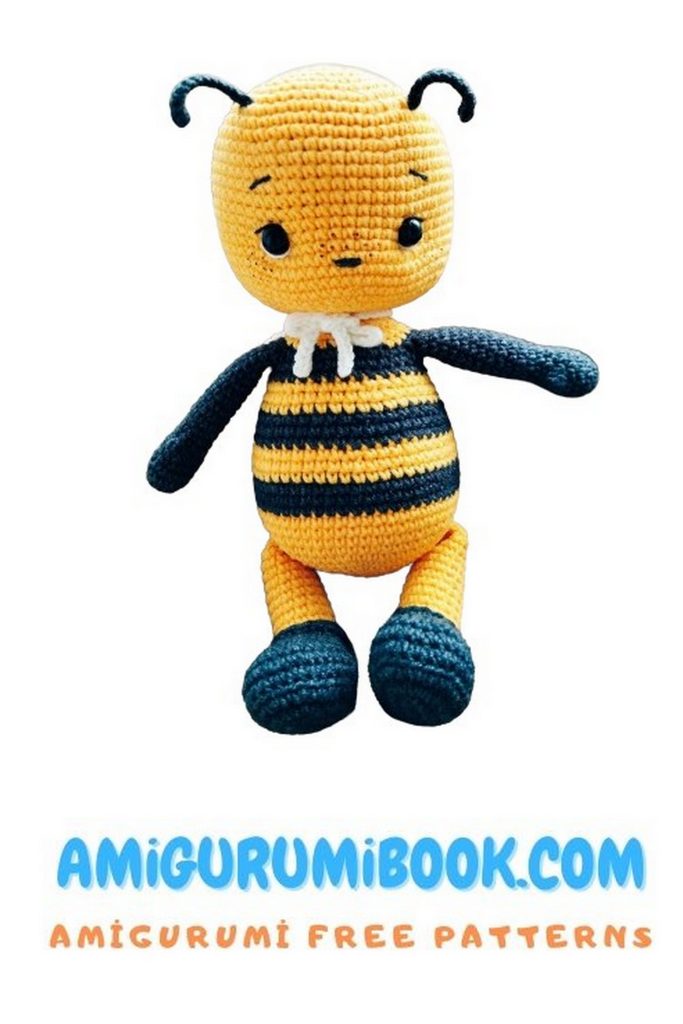
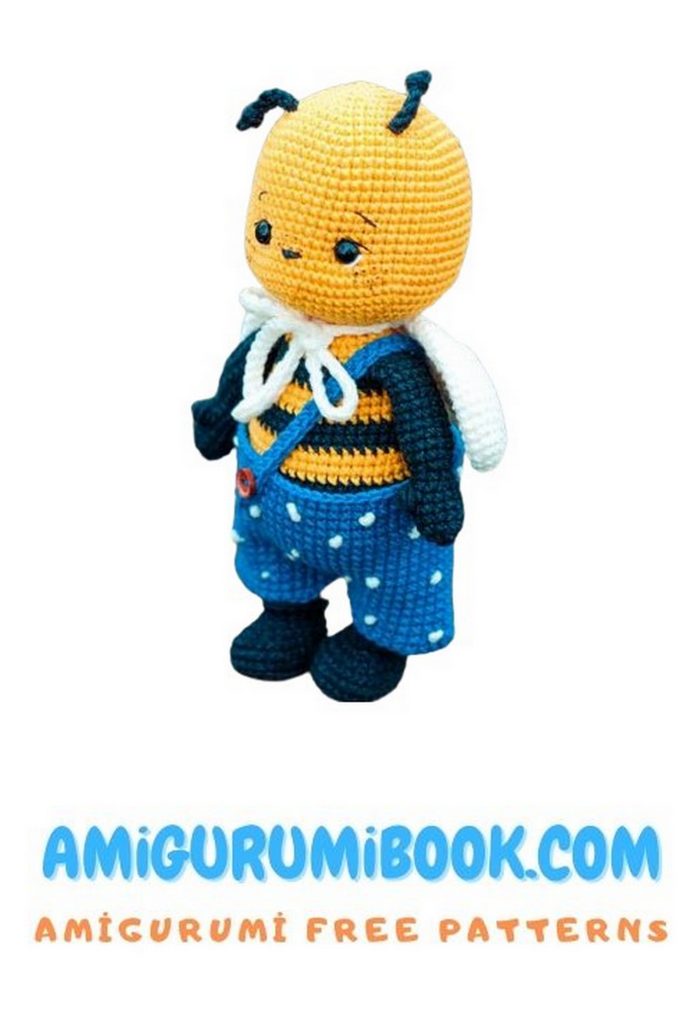
Using this master class, you will crochet a bee in pants.
This master class does not include crochet lessons. Basic crochet skills are required.
The difficulty level of the master class is intermediate.
The toy details are crocheted in a spiral (unless otherwise stated).
The arms are crocheted into the body, the legs are sewn on.
I used wire for the arms as a frame, but it’s not mandatory.
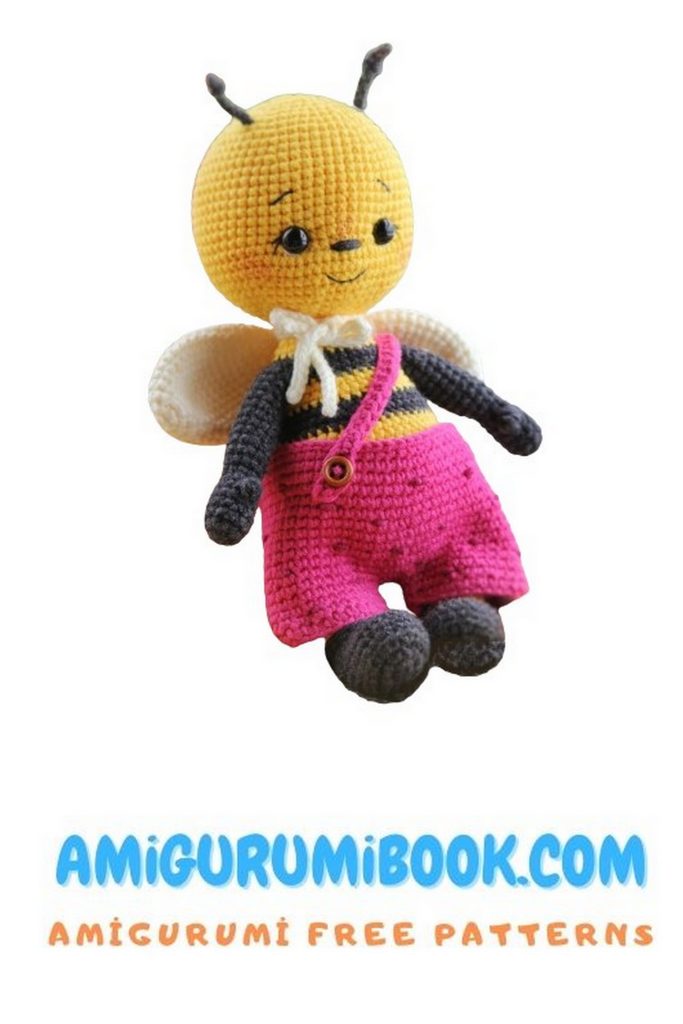
The pants and wings are removable.
I crochet using half-double crochet stitches; if you crochet using single crochet stitches, the size of the toy may differ from the stated size.
The finished toy size when using the specified materials is approximately 22 cm (excluding the height of the antennae).
Materials and Tools Needed
Yarn:
For the head, body, and legs – YarnArt Jeans (160 m/50 g) color 35 (yellow). More than half a skein will be needed.
For the body, legs, arms, and antennae – YarnArt Jeans color 28 (graphite) 1/3 of a skein.
For the wings and embroidery – YarnArt Jeans color 03 (milky). A small amount.
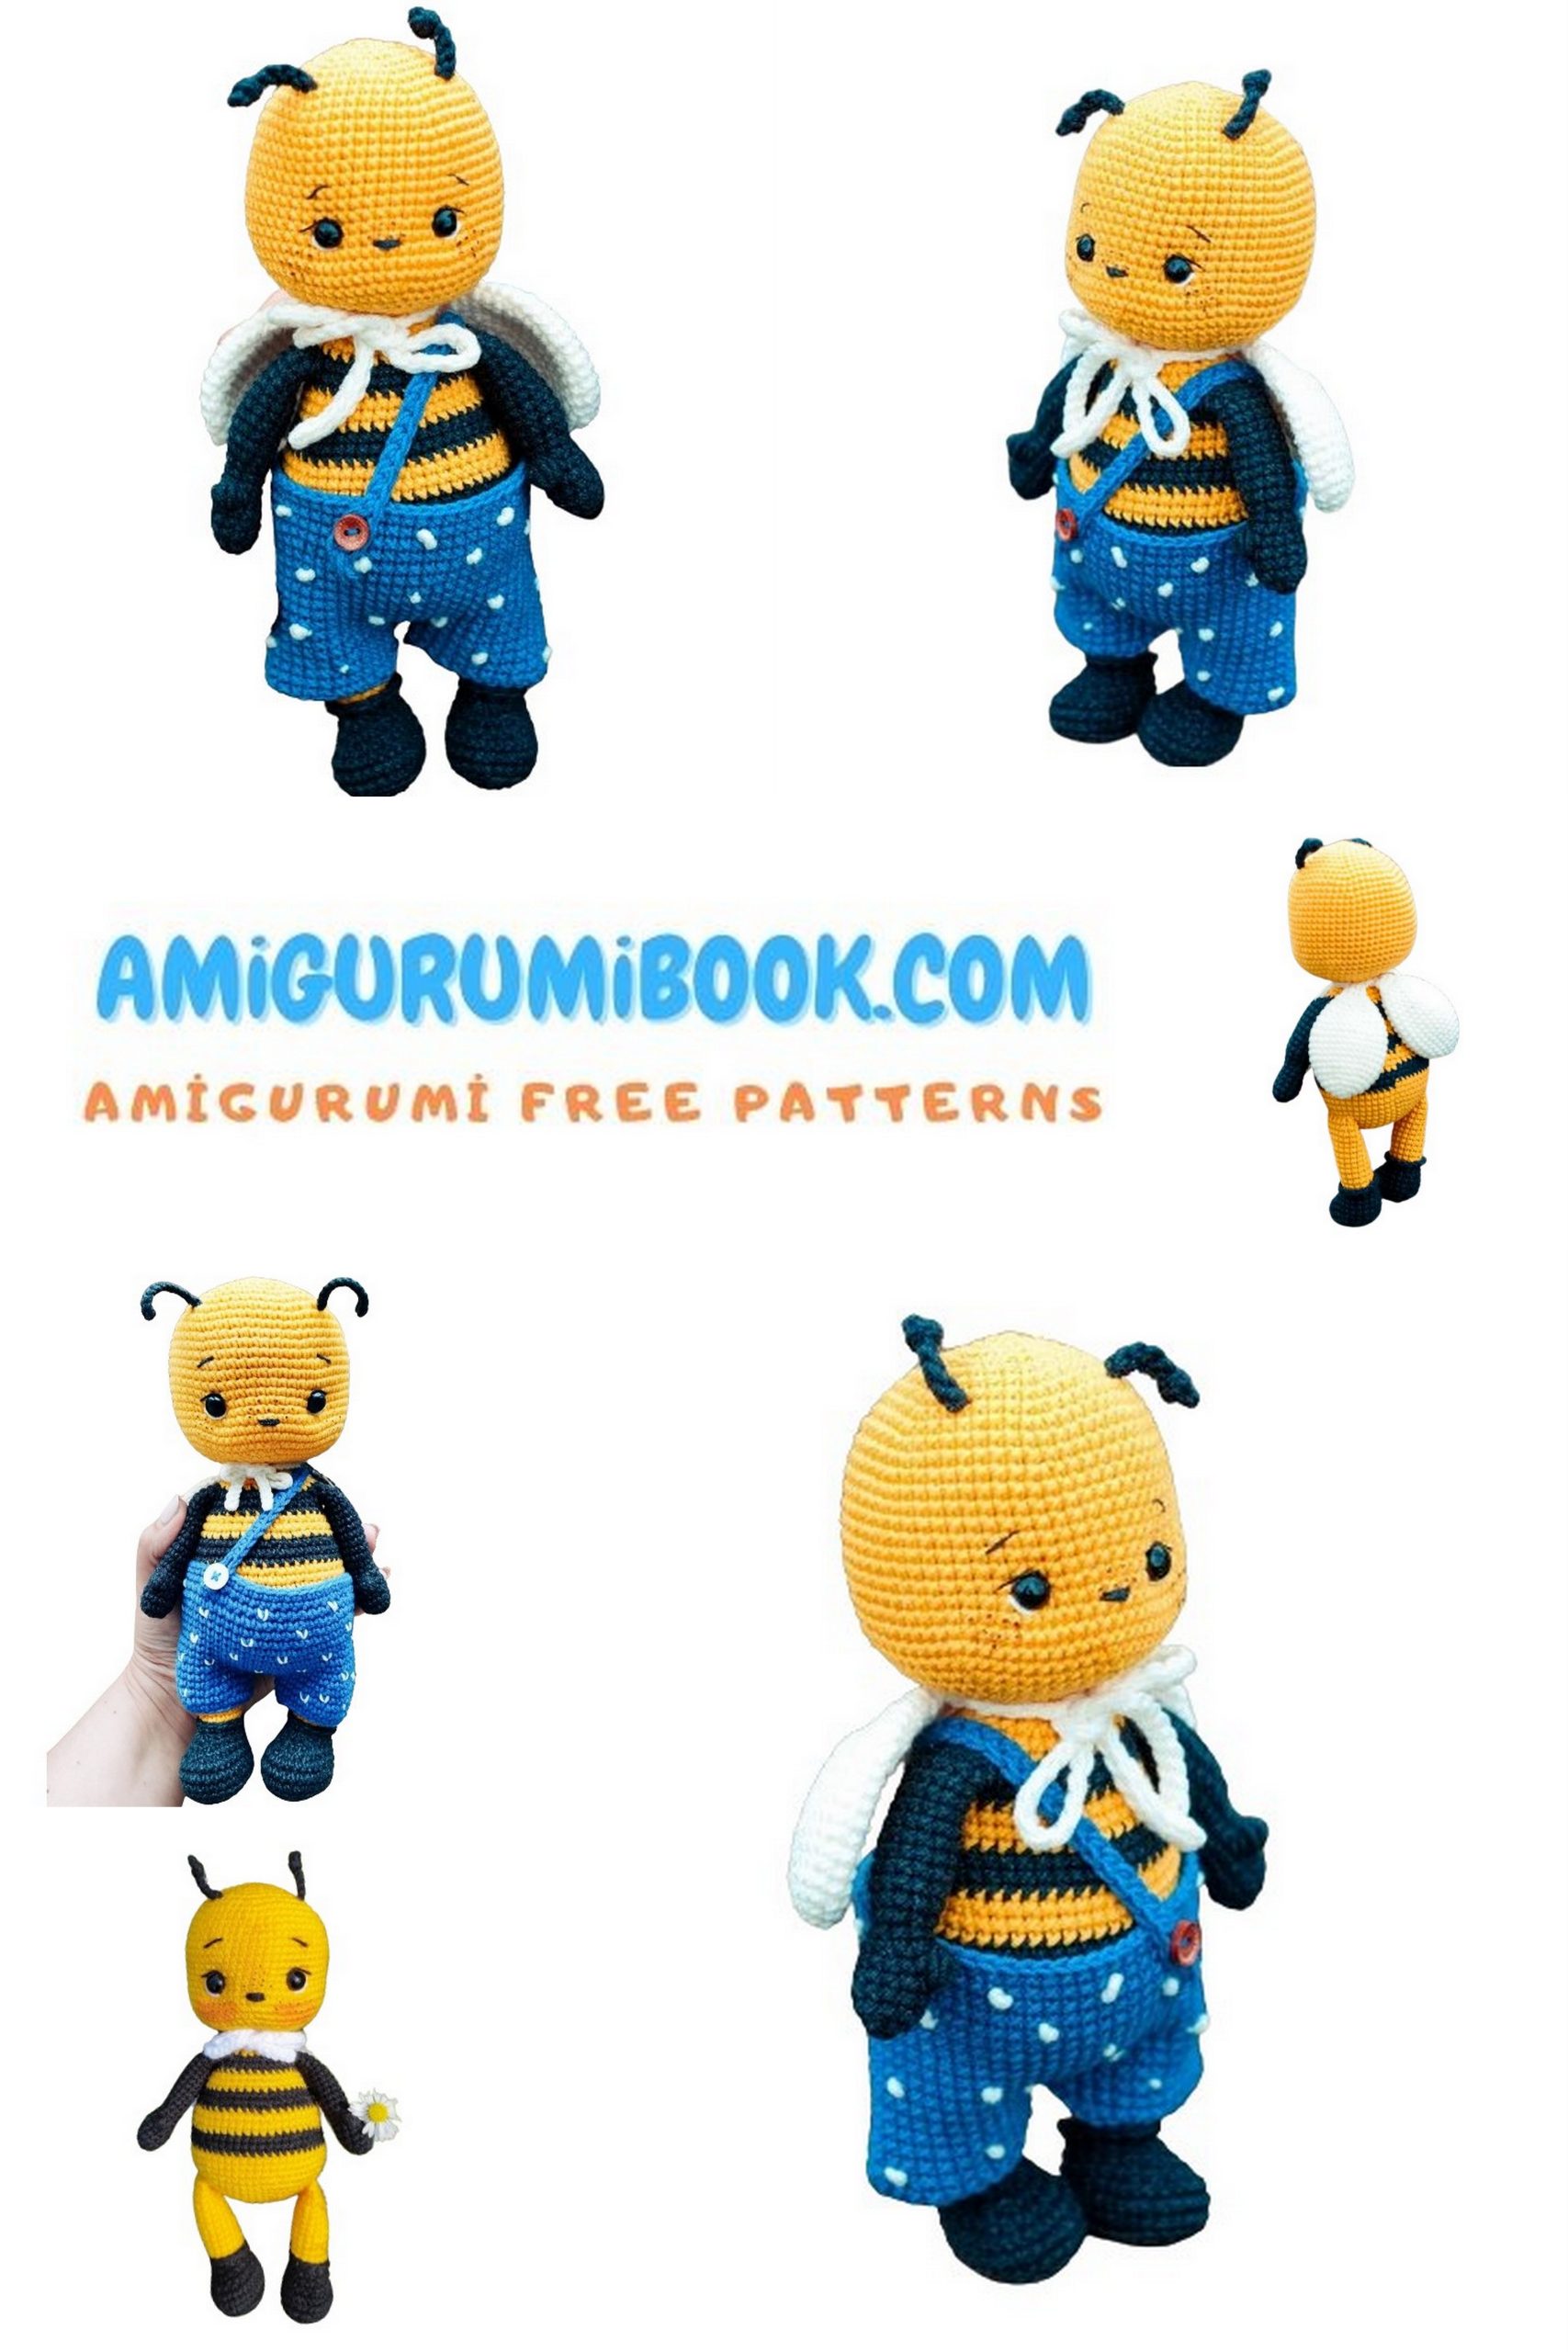
For the pants – YarnArt Jeans color 17 (blue). A small amount.
Crochet hook (2 mm and 2.5 mm).
Stuffing (polyester fiberfill).
Safety eyes with a diameter of 8-9 mm (1 pair).
Needle, marker, scissors, sewing pins.
Black sewing thread for facial details.
Black marker (for freckles).
2 pieces of wire, each 15 cm long, for the armature of the arms.
Fabric plaster.
Button with a diameter of 6-7 mm (I use a wooden one).
Abbreviations
MR – magic ring
sc – single crochet
inc – increase
dec – decrease
ch – chain
sl st – slip stitch
hdc – half-double crochet
DC – double crochet
Bobble – 4 hdc in one stitch, joined with a slip stitch
(…) – number of stitches in a row
(…) x times – repeat the action in brackets the specified number of times

Antennae – Adorable Bee
(2 parts, graphite color, 2 mm hook)
Before starting to crochet chains, leave a tail of about 10 cm. It will be needed to attach the antenna to the head. Chain 13, turn it over, there are loops on the back (shown by the arrow in photo 1). Insert the hook under these loops and crochet 12 sc starting from the second loop from the hook. Do not tighten the loops, crochet loosely. Tie a knot at the end of the antenna. Photos 2, 3
Pay attention! Before starting to crochet the head, it is necessary to crochet the antennae.
PATTERN
Head – Adorable Bee
(yellow color, 2 mm hook)
1: 6 sc in MR (6)
2: (inc) x 6 (12)
3: (1 sc, inc) x 6 (18)
4: (2 sc, inc) x 6 (24)
5: (3 sc, inc) x 6 (30)
6: (4 sc, inc) x 6 (36)
7: (5 sc, inc) x 6 (42)
8: (6 sc, inc) x 6 (48)
9: (7 sc, inc) x 6 (54)
10-11: 54 sc (54) 2 rows
12: (8 sc, inc) x 6 (60)
13-20: 60 sc (60) 8 rows
21: 10 sc, 3 inc, 7 sc, 3 inc, 37 sc (66)
22-23: 66 sc (66) 2 rows
24: (9 sc, dec) x 6 (60)
25: (8 sc, dec) x 6 (54)
26: (7 sc, dec) x 6 (48)
Insert safety eyes between rows 19 and 20, 8 sc apart. Place them above the second and fifth increases of row 21. Photo 4
Secure the antennae under the seventh row of the head (count rows from the top) 11 sc apart from each other. Using the hook, pull the ends of the threads to the wrong side, tie them in a knot. Photos 5, 6, 7
Return to crocheting the head.
27: (6 sc, dec) x 6 (42)
28: (5 sc, dec) x 6 (36)
Start stuffing the piece.
29: (4 sc, dec) x 6 (30)
30: (3 sc, dec) x 6 (24)
31: (6 sc, dec) x 3, sl st (21)
Stuff the piece lightly from rows 29 to 31. Cut the thread, hide the end inside the piece. Photo 8
Head Decoration
For embroidering the nose, use graphite yarn YarnArt Jeans, divide it into 4 thin threads, use 1 of 4 threads. Embroider the nose in the center under row 20 (counting from the top). Make 6 horizontal stitches. The length of each stitch is 2 sc. Photo 9
Tighten the eye loops. Embroider the whites of the eyes with milky yarn YarnArt Jeans.
Embroider the eyelids with black yarn YarnArt Jeans, divide it into 4 thin threads, use 1 of 4 threads.
Draw freckles on the cheeks and above the nose with a black marker. Photo 9

Arms – Adorable Bee
(2 parts, graphite color, 2 mm hook)
If you plan to use wire for the armature of the arms, it needs to be prepared. We need 2 pieces, each about 15 cm long (I have thin wire, so I used pieces 30 cm long, folding them in half, thus the length of each piece became 15 cm). Bend one end of the wire so that the length of the piece becomes approximately 13-14 cm. Wrap the wire with fabric plaster as shown in photo 10.
1: 6 sc in MR (6)
2: (inc) x 6 (12)
3-5: 12 sc (12) 3 rows
6: 5 sc, Bobble, 6 sc (12)
7: (2 sc, dec) x 3 (9)
8: 9 sc (9)
9: (2 sc, inc) x 3 (12)
10-19: 12 sc (12) 10 rows
20: 12 sc, sl st (12)
Cut the thread. Insert the wire, stuff the arm lightly halfway. Do not stuff the wrist. Photo 11
Legs – Adorable Bee
(2 parts, 2 mm hook)
Start crocheting with graphite color.
1: 5 ch, from the second loop from the hook: inc, 2 sc, 4 sc in one loop, on the other side of the chain: 2 sc, inc (12)
2: (inc) x 2, 2 sc, (inc) x 4, 2 sc, (inc) x 2 (20)
3: (1 sc, inc) x 2, 2 sc, (1 sc, inc) x 4, 2 sc, (1 sc, inc) x 2 (28)
4: Crochet 28 sc through the back loop only (28)
5-6: 28 sc (28) 2 rows
7: 8 sc, (dec) x 6, 8 sc (22)
8: 7 sc, (dec) x 4, 7 sc (18)
9: 7 sc, 4 sc together, 7 sc (15)
Attach yellow yarn to the last sc of row 9, leave the graphite yarn before work. Photo 12
10: With yellow color, crochet 15 sc through the back loop only (15)
11-12: With yellow color, crochet 15 sc (15) 2 rows
Return to the graphite yarn left before work and crochet through the front loops of row 9: 1 ch, 15 sc, join the beginning and end of the row with sl st, cut the thread, secure on the wrong side. Photos 13, 14.
Continue crocheting the leg.
13-20: 15 sc (15) 8 rows
21: (3 sc, dec) x 3 (12)
Stuff the leg halfway.
22: Fold the piece in half (if necessary, crochet offset loops), crochet 6 sc, working through both halves (6)
Cut the thread, leaving a long end for sewing. Photo 15
Torso – Adorable Bee
(2 mm crochet hook)
Note! Before starting to crochet the torso, you need to crochet the arms.
Begin crocheting with yellow yarn.
1: 6 sc in magic ring (6)
2: (inc) x 6 (12)
3: (1 sc, inc) x 6 (18)
4: (2 sc, inc) x 6 (24)
5: (3 sc, inc) x 6 (30)
6: (4 sc, inc) x 6 (36)
7: (5 sc, inc) x 6 (42)
8: (6 sc, inc) x 6 (48)
9: (7 sc, inc) x 6 (54)
10: (17 sc, inc) x 3 (57)
11-13: 57 sc (57) for 3 rows
Switch to graphite yarn, do not cut the yellow yarn.
14: 57 sc in graphite yarn (57)
15: (17 sc, dec) x 3 (54)
16: 54 sc in graphite yarn (54)
17-18: 54 sc in yellow yarn (54) for 2 rows
19: (7 sc, dec) x 6 (48)
20-21: 48 sc in graphite yarn (48) for 2 rows
22: (6 sc, dec) x 6 (42)
23-24: 42 sc in yellow yarn (42) for 2 rows
25: (5 sc, dec) x 6 (36)
26: 36 sc in graphite yarn (36) Photo 16
Stuff the piece.
Next, we will attach the arms. Note! The row marker is located at the back in the middle of the torso. Thus, the color change line is at the back of the torso. Photo 17
When attaching the arms, pay attention to their placement. They should be symmetrical on the sides of the torso, with the thumbs facing forward. Photo 18
27: 8 sc in graphite color, 6 sc, incorporating loops from the torso and inner side of the first arm, 11 sc, 6 sc, incorporating loops from the torso and inner side of the second arm, 5 sc (36)
28: 8 sc in graphite color, 6 sc on the outer side of the first arm, 11 sc, 6 sc on the outer side of the second arm, 5 sc (36). Photo 19
29: (4 sc, dec) x 6 (30)
Cut the graphite yarn, secure it, then continue crocheting with the yellow yarn.
30: 30 sc (30)
31: (3 sc, dec) x 6 (24)
32: (6 sc, dec) x 3, sl st (21)
Cut the yarn, leaving a long end. Stuff the torso. Photo 20
Now, let’s work on the frame. Twist the ends of the wire, bend them, and wrap them with adhesive tape. Photo 21, 22
Assembling the Adorable Bee
Sew the head. Photo 23
Sew the legs on the sides of the torso above the eighth row (counting from the bottom). Photo 24
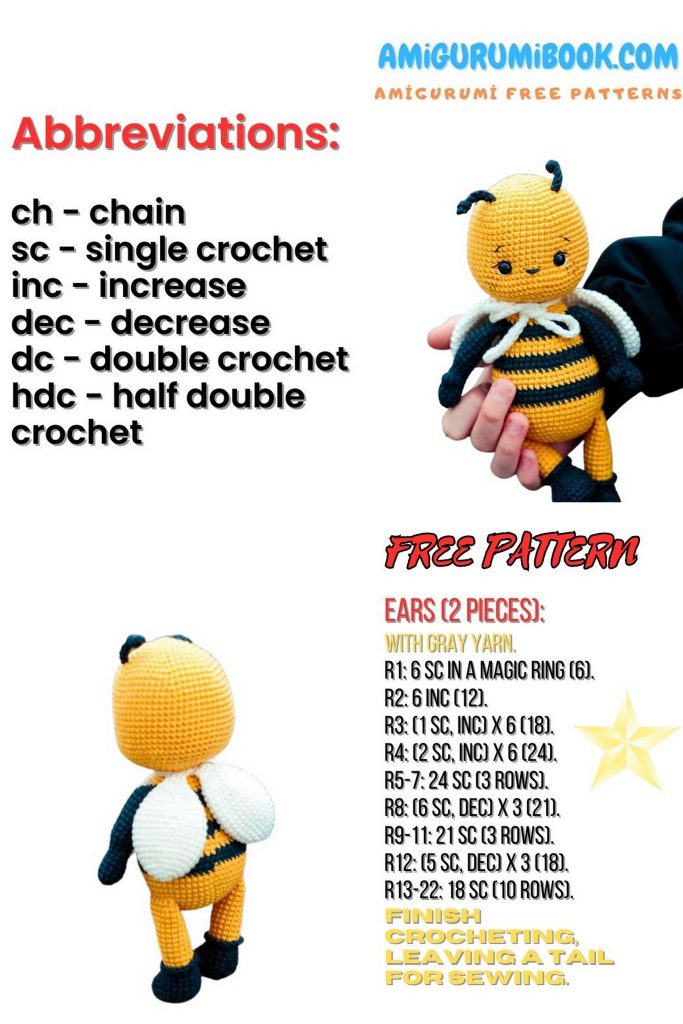
Wings
(2 pieces, milk color, 2 mm crochet hook, do not stuff)
1: 6 sc in magic ring (6)
2: (inc) x 6 (12)
3: (1 sc, inc) x 6 (18)
4: 18 sc (18)
5: (2 sc, inc) x 6 (24)
6: 24 sc (24)
7: (7 sc, inc) x 3 (27)
8-12: 27 sc (27) for 5 rows
13: (7 sc, dec) x 3 (24)
14: 24 sc (24)
15: (2 sc, dec) x 6 (18)
16: 18 sc (18)
17: (1 sc, dec) x 6 (12)
18: 12 sc (12)
19: (dec) x 6 (6)
20: Fold the piece in half and crochet 3 sc, working through both halves (3). Cut the thread.
Similarly, crochet the second wing, but do not cut the thread. Photo 25. Next, we will crochet ties and join the 2 wing pieces. Start with a chain of 35 ch. Turn the chain, there are loops on the back side (indicated by the arrow in photo 26). Insert the hook under these loops and, starting from the second loop from the hook, crochet 34 sl st. Crochet loosely, do not tighten the loops. Photo 27
Then, crochet 3 sc along the top of one wing, then 3 sc along the top of the first wing. Crochet the second tie similarly to the first one. Cut the thread, secure it. Photo 28
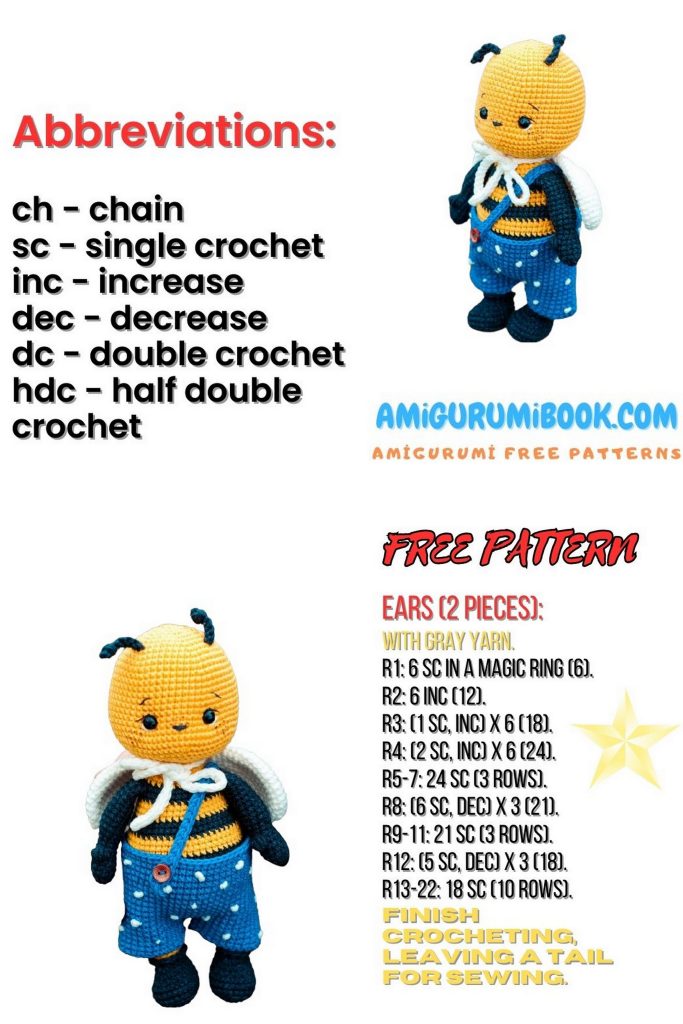
Pants – Adorable Bee
(Blue color, 2.5 mm crochet hook)
Note! If your bee’s waist circumference exceeds 21 cm at its widest part, use a 3 mm crochet hook for crocheting pants.
Crochet the pants from the bottom up. For the first pant leg, make a chain of 24 ch, join it in a circle with sl st (make sure the chain is not twisted).
1-2: 24 sc (24) for 2 rows
3: 24 sc, sl st (24)
Cut the yarn, hide the end in the piece.
Similarly, crochet the second pant leg (photo 29), but after the third row, do not cut the yarn; we will join both legs: 3 ch, join the first pant leg (photo 30), place the row marker (located behind the pants).
4: 24 sc on the first pant leg, 3 sc on the chain, 24 sc on the second pant leg, 3 sc on the chain (54) Photo 31
5-13: 54 sc (54) for 9 rows
14: (17 sc, inc) x 3 (57)
15-17: 57 sc (57) for 3 rows. Photo 32
Next, we will crochet the strap.
Make a chain of 30 ch. Try on the pants; you may need a different number of chains. Then, create a buttonhole. Starting from the second loop from the hook, crochet 2 sc, 2 ch, skip two loops, starting from the third loop, crochet 25 sc. Then, crochet 56 sc across the top of the pants, sl st. Photo 33
Note that the buttonhole on the strap is designed for a button with a diameter of 6-7 mm. If your button’s diameter is larger/smaller, you will need to calculate the number of loops yourself.
Sew the button, as shown in photo 34.
Embroidery on the pants
For the embroidery, I use YarnArt Jeans yarn in milk color. Execute the embroidery using the “French knot” technique.
Perform the embroidery on all sides. I placed the knots randomly. Photo 35-37