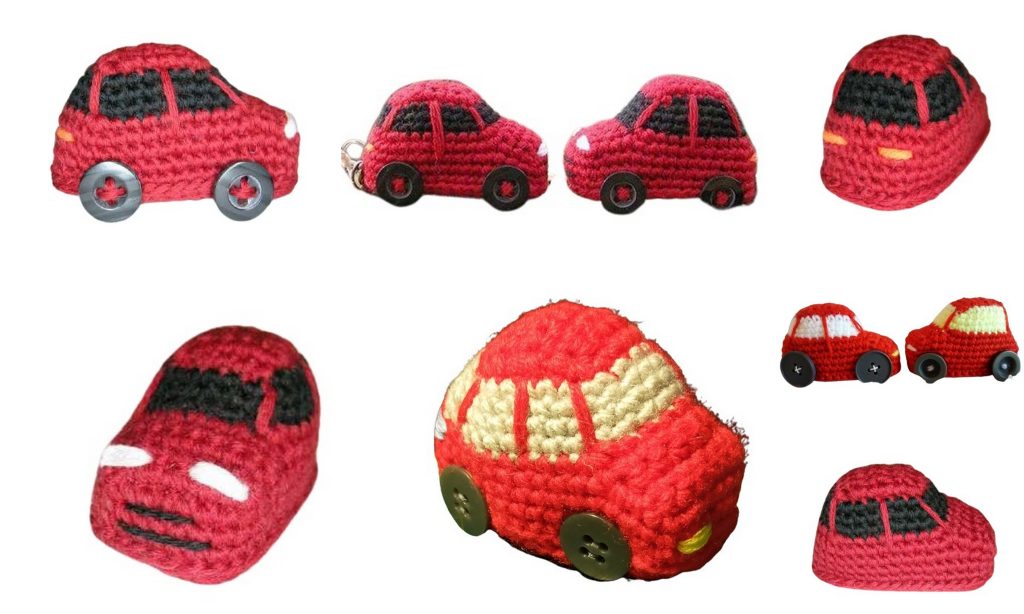
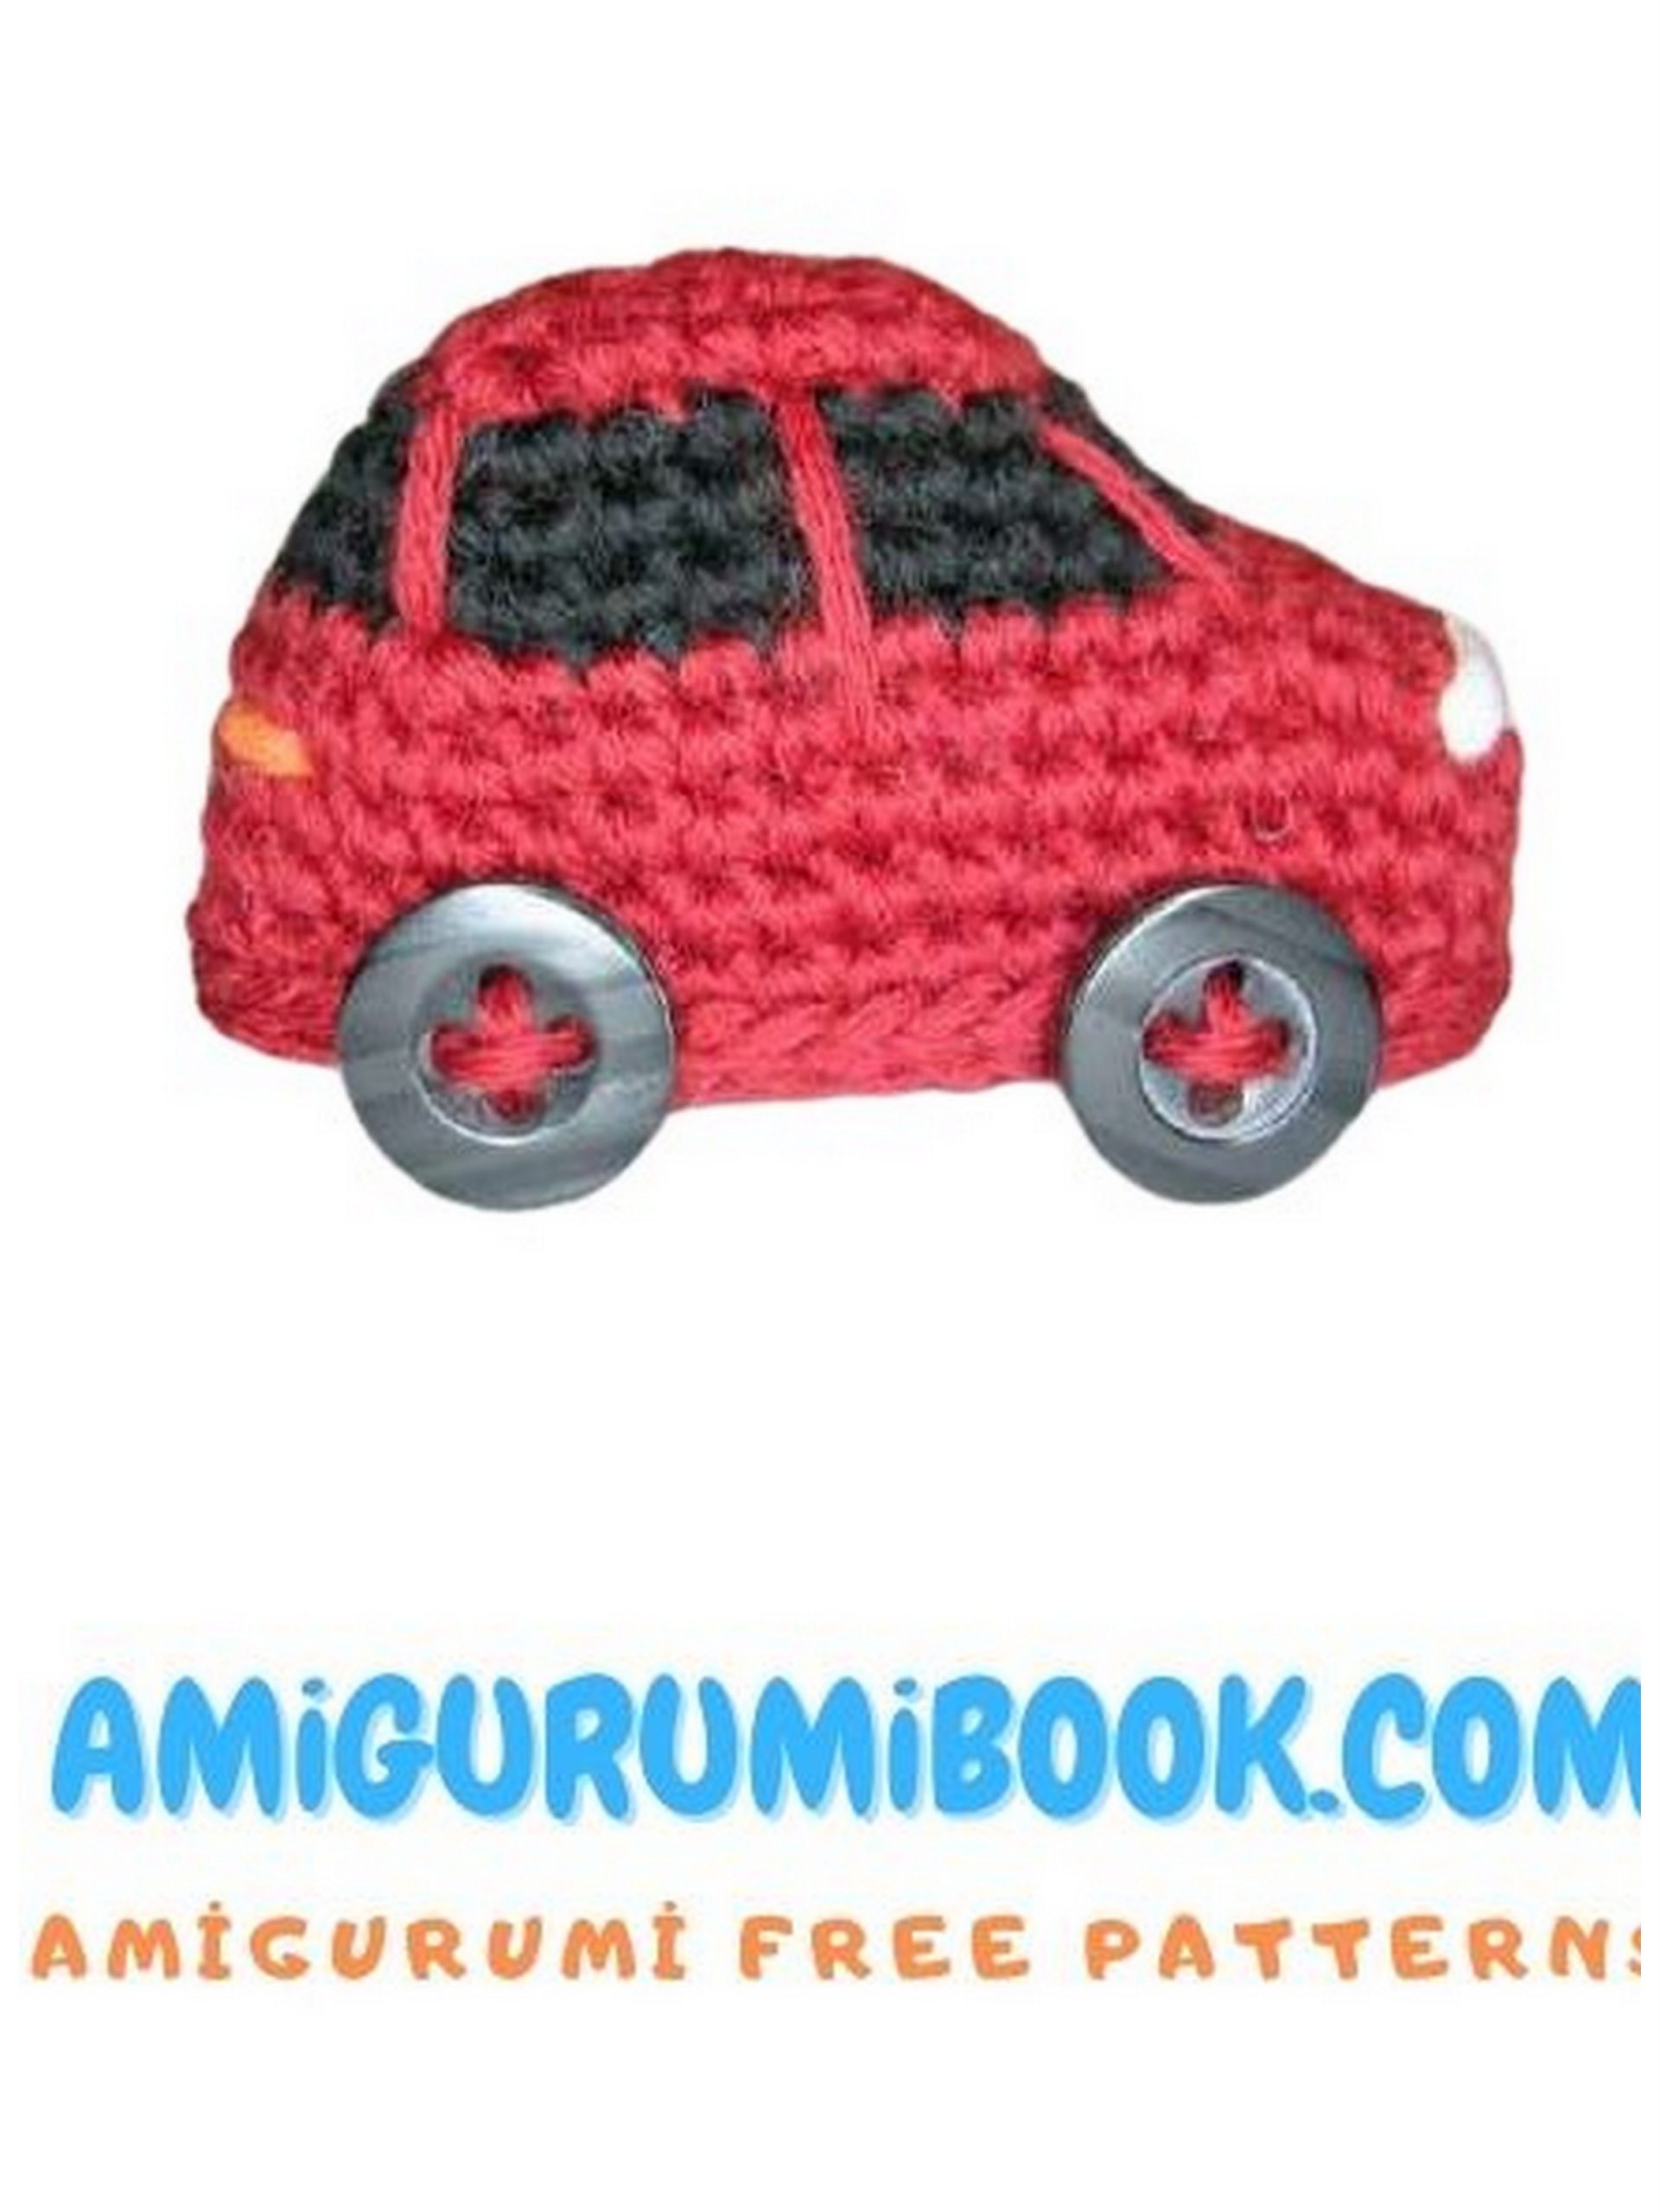
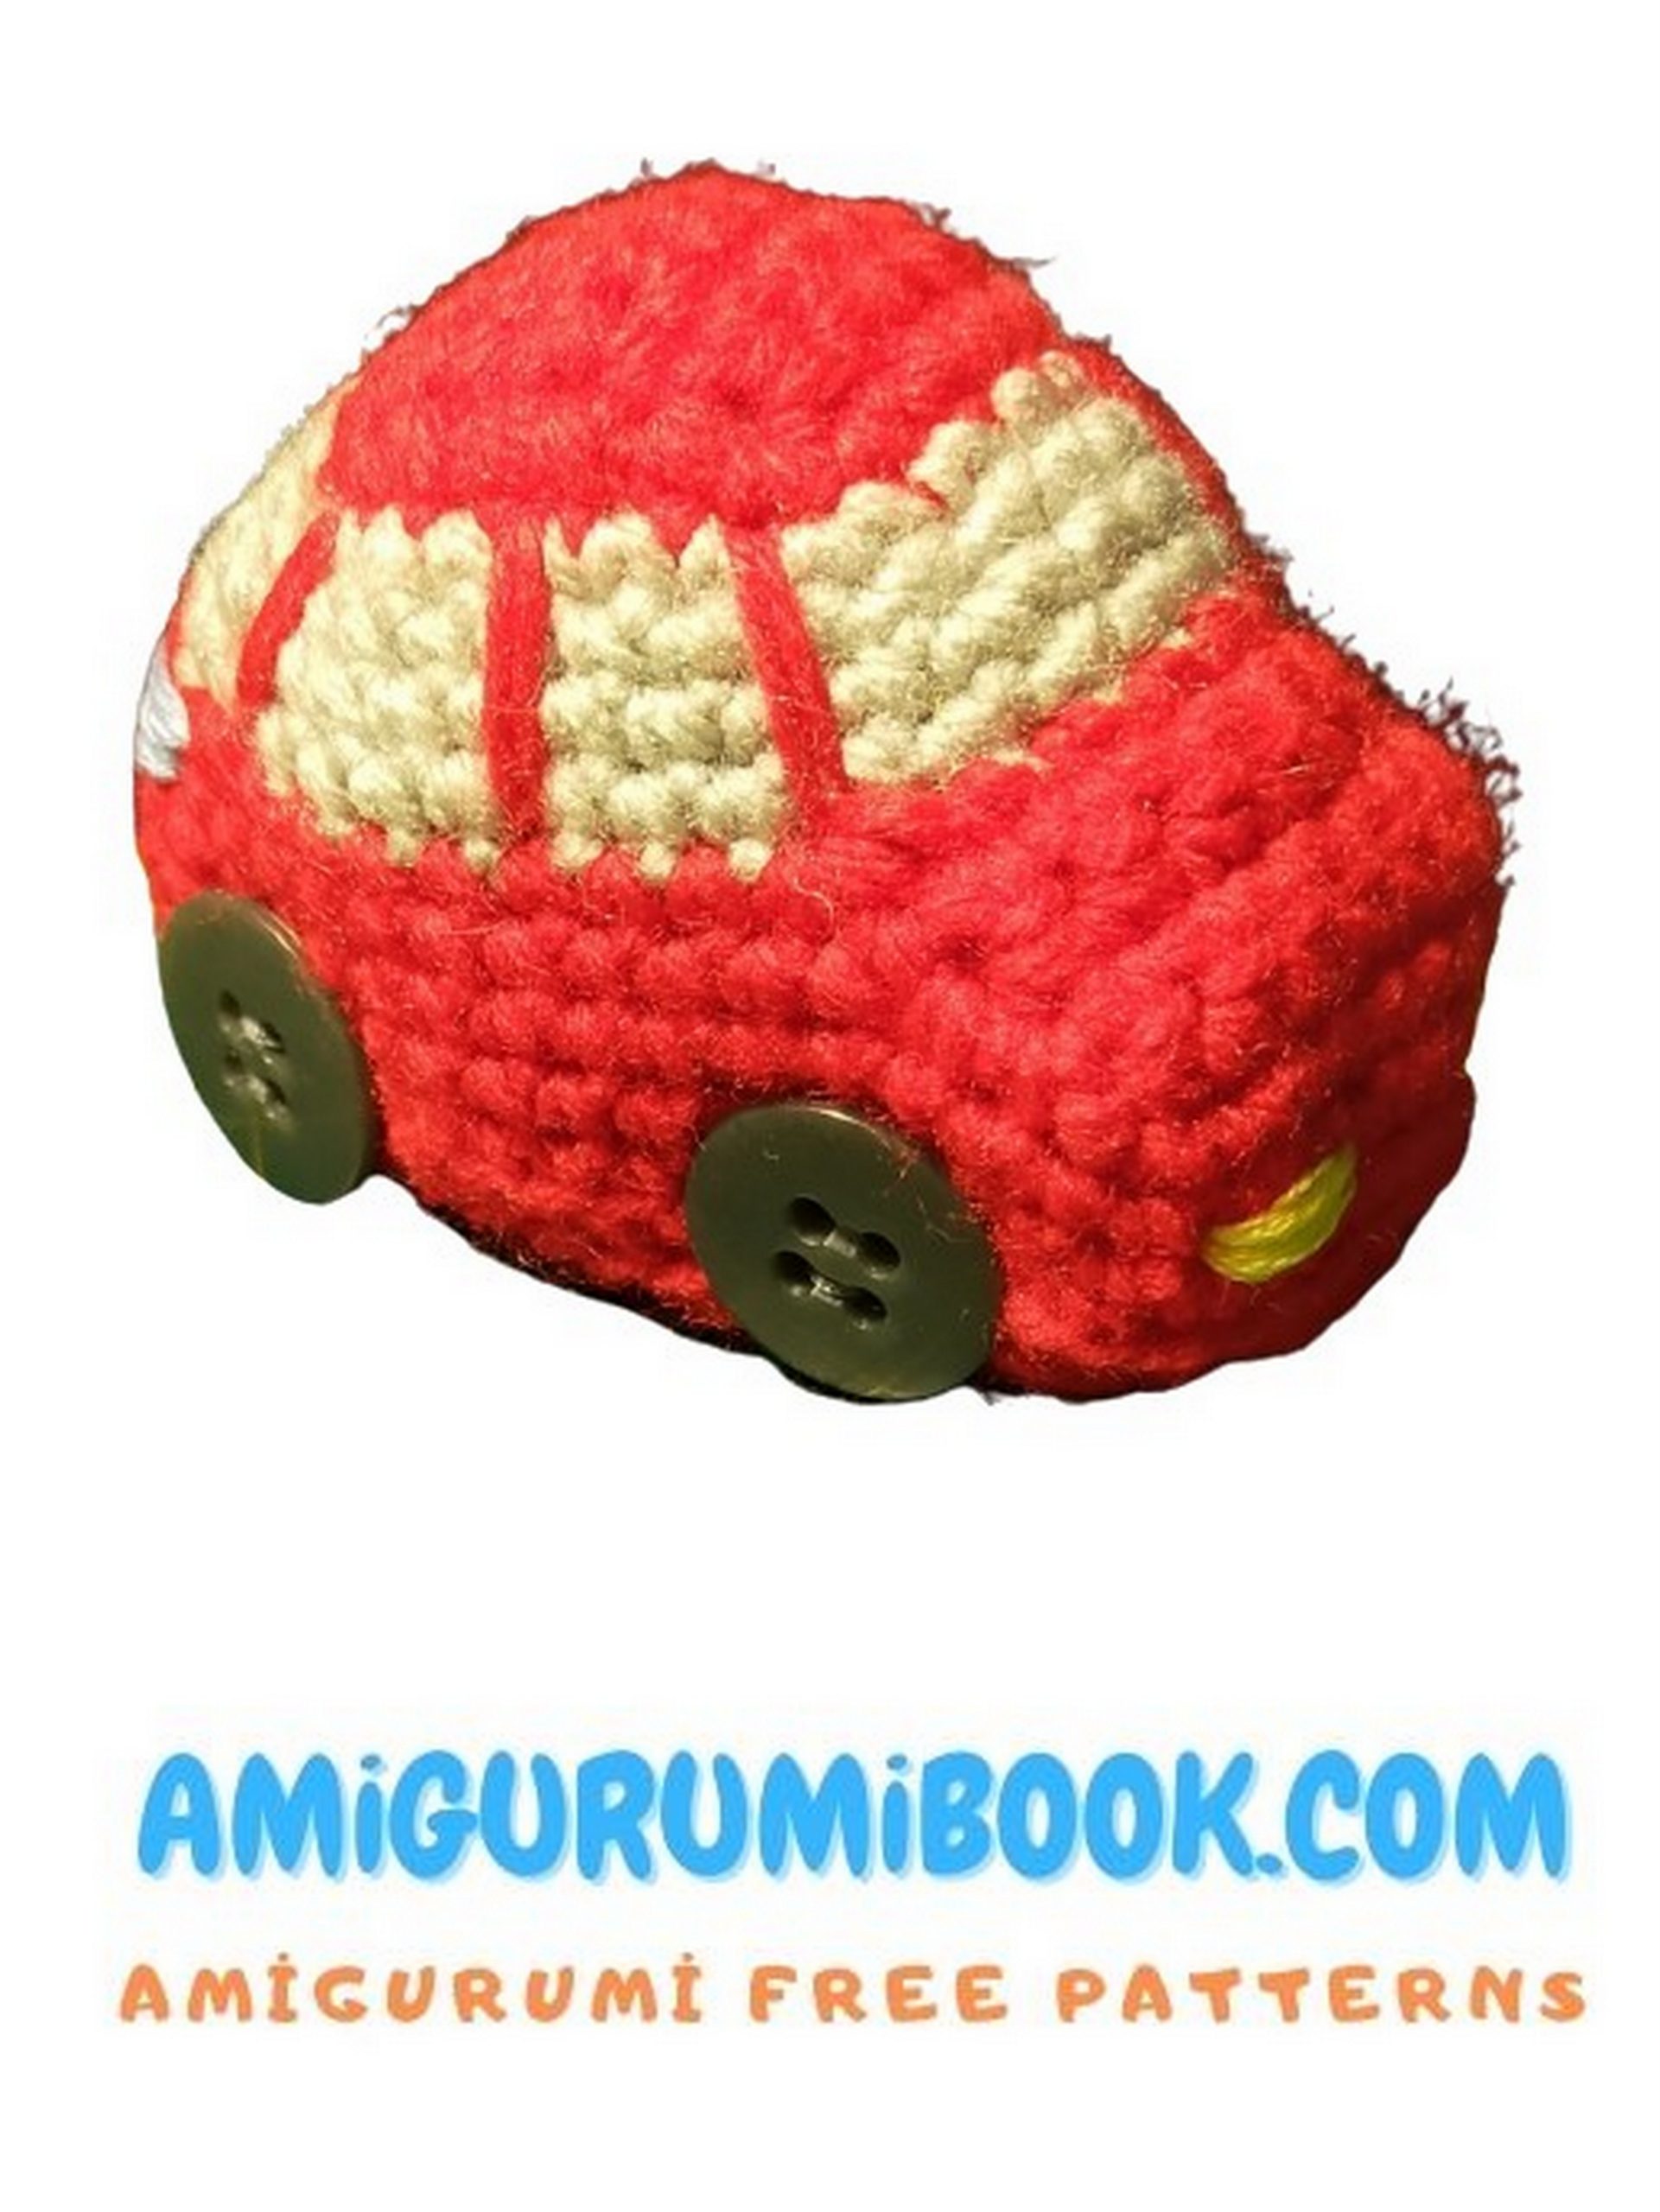
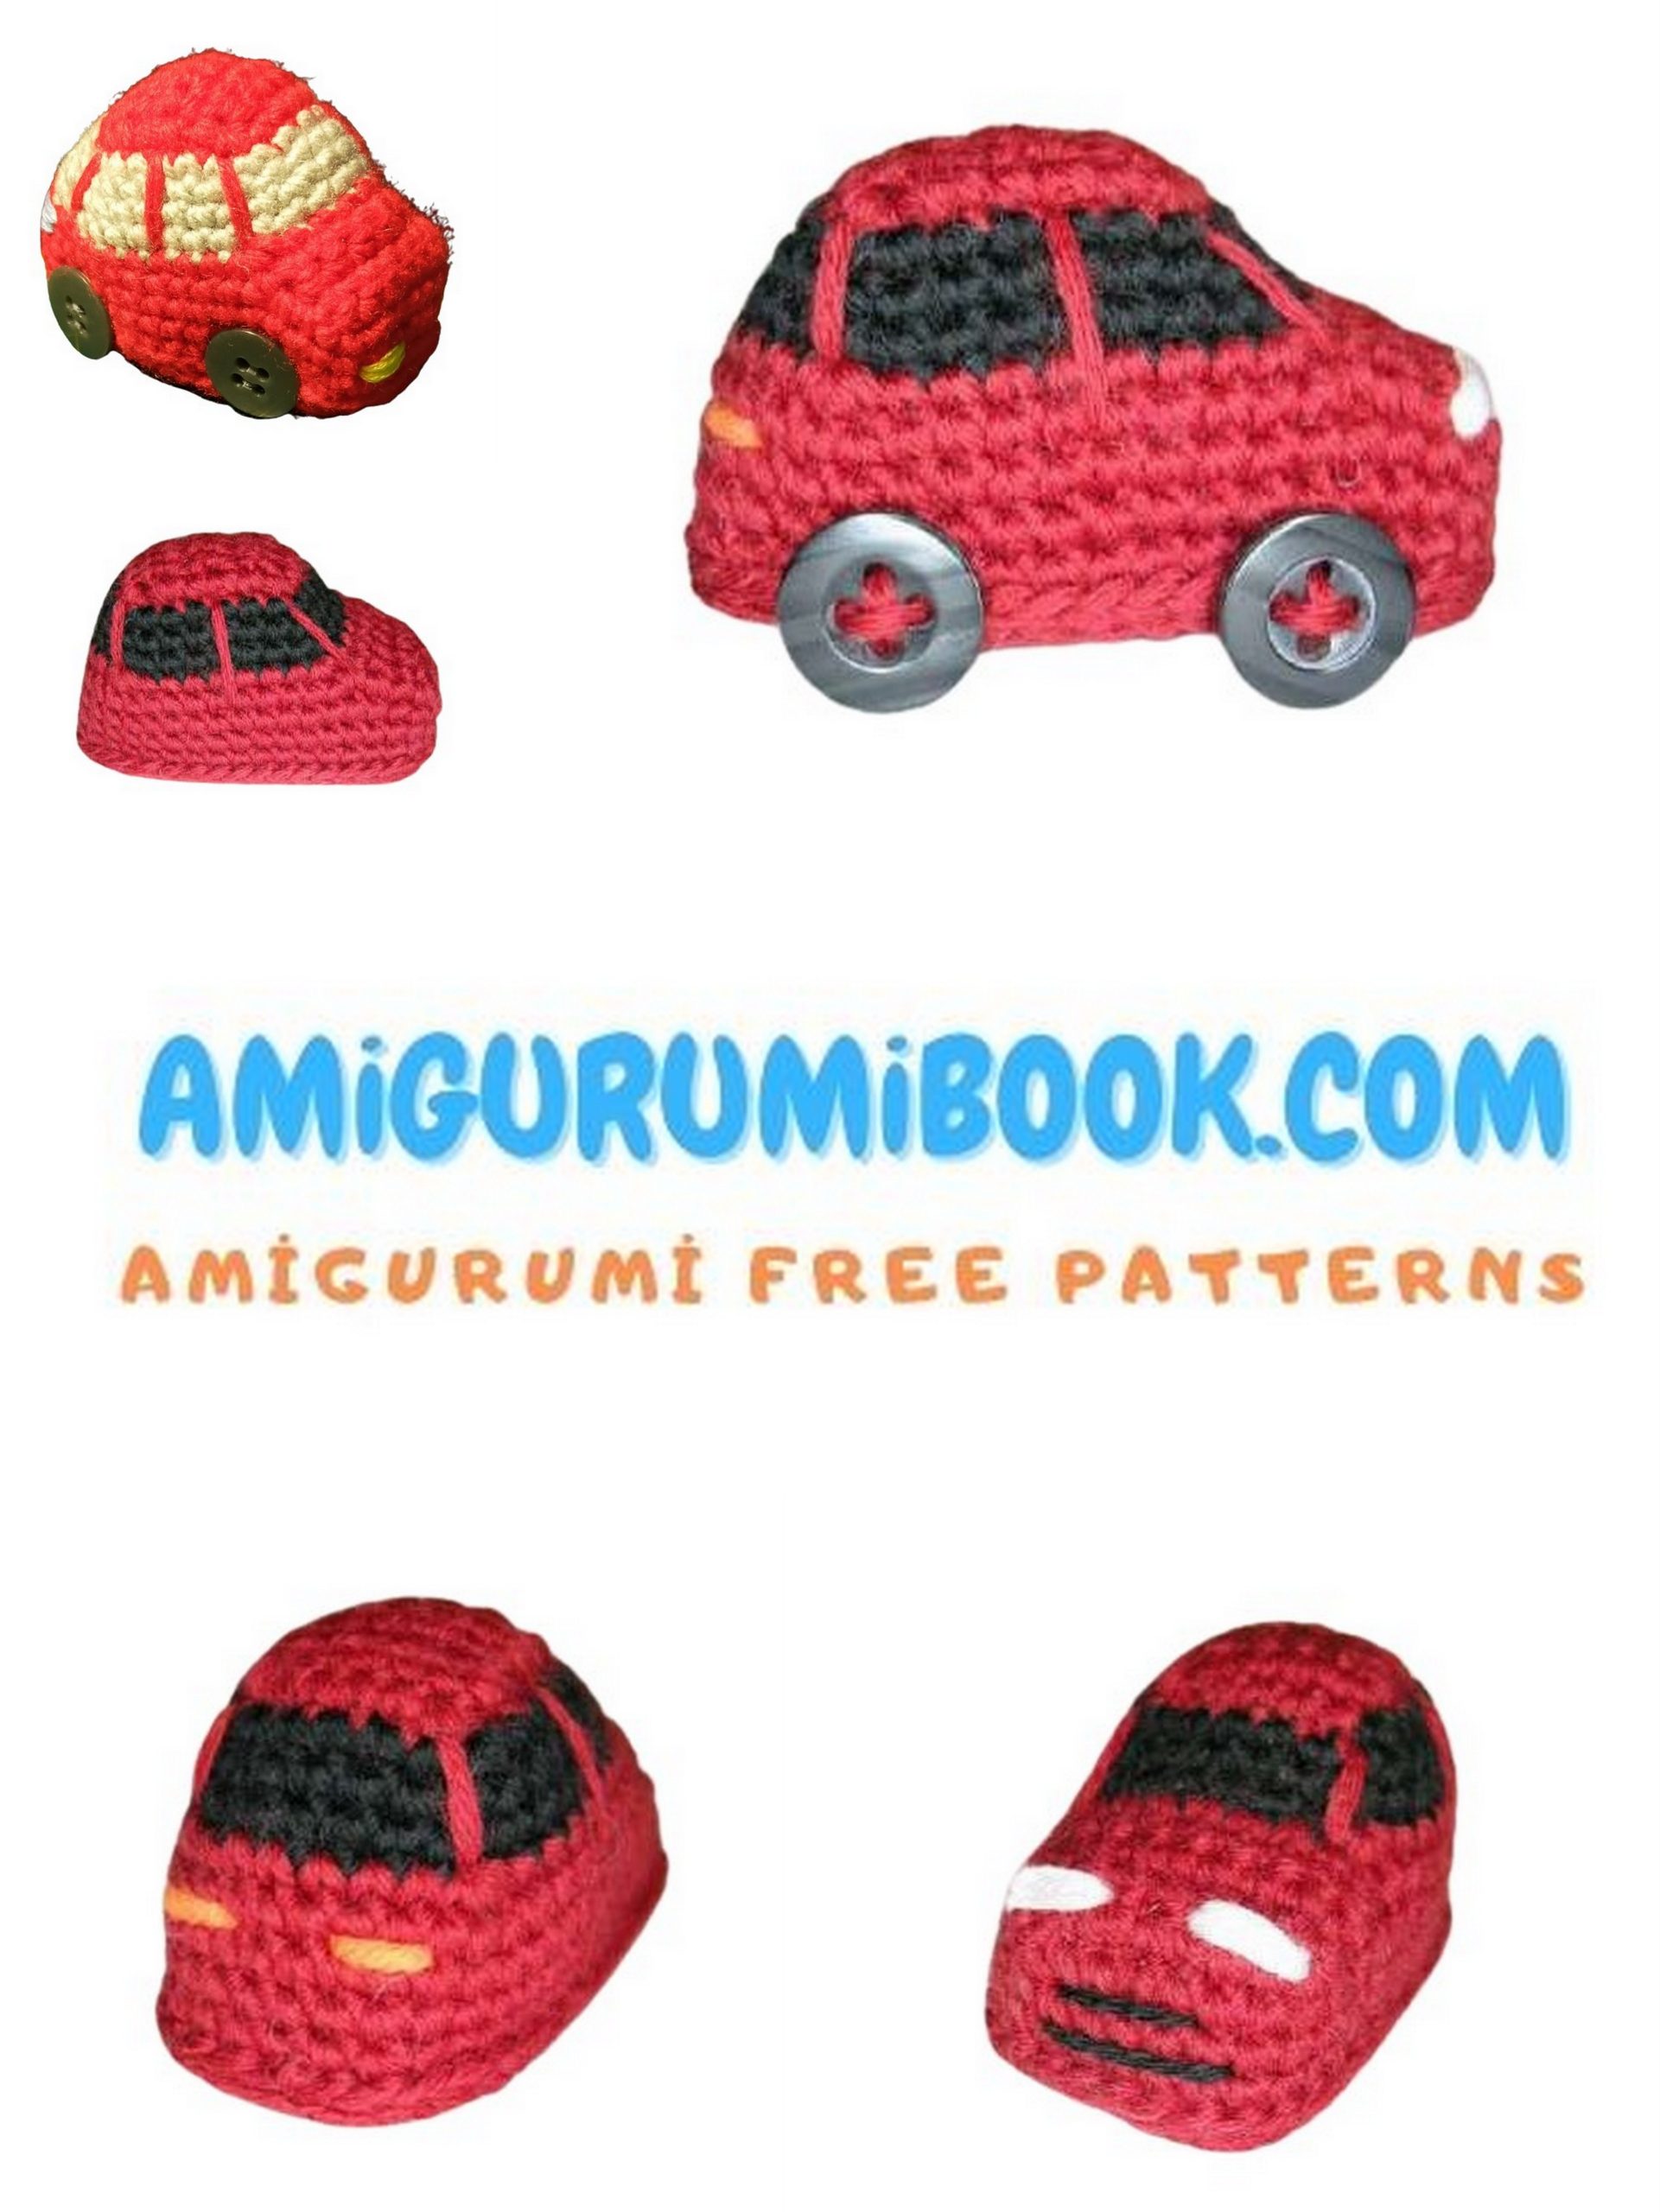
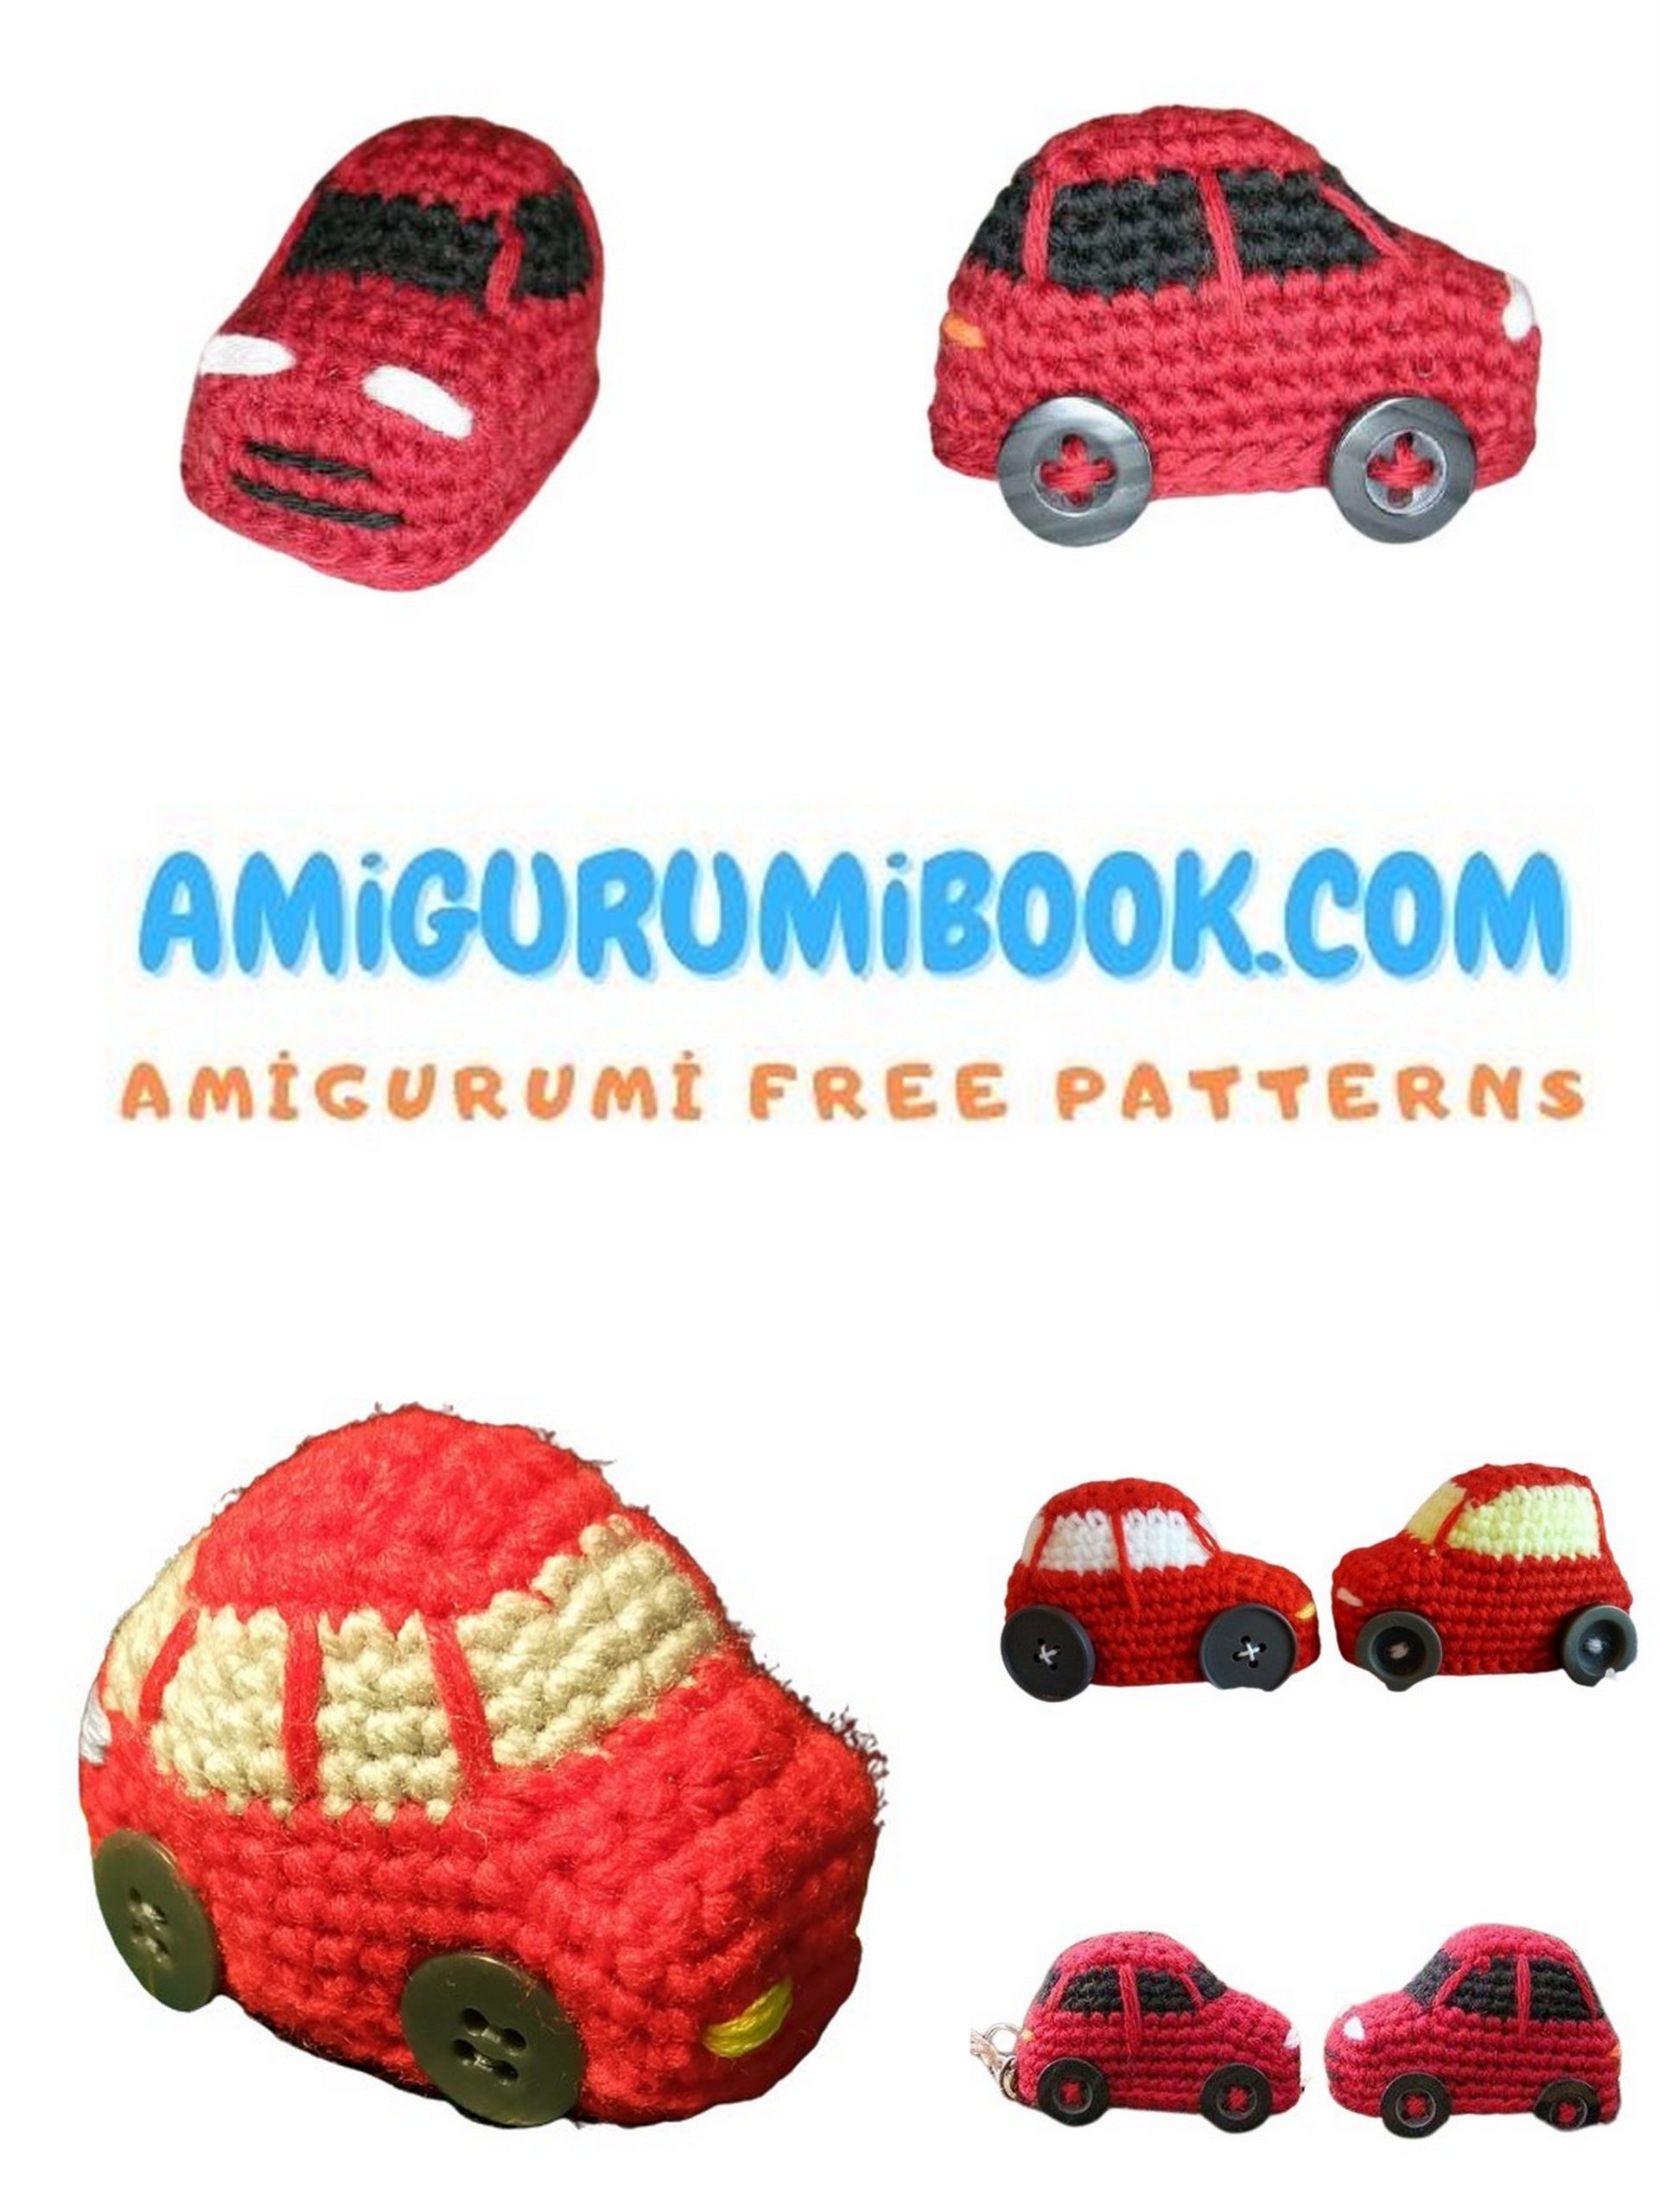
Get ready to crochet your way into fun with our delightful Little Car Amigurumi! This adorable free pattern brings joy to any crochet enthusiast. Whether you’re a beginner or an experienced crafter, this charming project is perfect for honing your skills and creating a cute toy. Follow our step-by-step instructions and dive into the world of amigurumi with this lovable little car!
If you want to access 1000+ free amigurumi patterns, you can download our application from this link!
The tutorial includes:
Detailed knitting instructions
Colorful step-by-step photos
Assembly and decoration
Difficulty level – low
The tutorial is intended for crafters who have basic crochet skills and does not contain crochet lessons.
Tools and materials:
Any yarn in two colors:
Main color of the car, any color of your choice (I have red)
Color for the car windows, any color of your choice (I have black)
Crochet hook.
Choose the hook size according to your yarn.
Embroidery thread:
White – for embroidering front lights
Black – for embroidering the radiator grille
Orange – for embroidering rear lights
Sewing needle for embroidery and sewing on wheels.
Filling.
A small piece of cardboard (if you want to make a rigid bottom).
Buttons of suitable size and color – 4 pieces – for making wheels.
Abbreviations:
ch – chain
sc – single crochet
inc – increase (two single crochets in one loop)
sl st – slip stitch
(3 sc in 1) – 3 single crochets in one loop
If necessary, use a marker to mark the beginning of the row.
Use any thin thread as a marker, contrasting with the color of the fabric.
PATTERN

Body: Little Car Amigurumi
Start with the yarn of the main color.
Chain 6.
Starting from the second loop from the hook, crochet in turning rows:
1 – 5: 5 sc, 1 ch, turn.
6: 5 sc.
Crochet around the resulting rectangle (fig.1).
7: 6 sc along the first side of the rectangle (arrow 1);
5 sc along the second side of the rectangle (arrow 2);
6 sc along the third side of the rectangle (arrow 3);
5 sc along the fourth side of the rectangle (arrow 4); = 22
On the last stitch of the 7th row, change the yarn color to the color of the windows.
Continue crocheting in rounds.
8: 1 inc, 5 sc, 1 inc, 4 sc, 1 inc, 5 sc, 1 inc, 4 sc = 26
9: 26 sc = 26 (Fig.2)
10: 1 inc, 7 sc, 1 inc, 4 sc, 1 inc, 7 sc, 1 inc, 4 sc = 30
(* If you want your car to be slightly taller, add one more row of 30 sc)
Add 1 or 2 turning chains to reach the corner of the cabin.
On the last turning chain, change the yarn color to the main color.
11: (3 sc in 1), 7 sc, (3 sc in 1), 6 sc, (3 sc in 1), 7 sc, (3 sc in 1), 6 sc = 38
Crochet 1 sc into the next loop, chain 1, and turn.
Continue crocheting in turning rows:
12 – 14: 8 sc, 1 ch, turn.
Crochet around the car:
15: 8 sc along the front of the hood (arrow 1),
3 sc along the side of the hood (arrow 2),
30 sc along the contour of the body (arrow 3),
3 sc along the side of the hood (arrow 4) = 44
Continue crocheting in rounds (Fig. 6):
16 – 18: 44 sc = 44
Add 1 sl st, fasten off the yarn, cut it, and hide the end of the thread inside the body.
The body is ready.
Bottom: Little Car Amigurumi
With yarn of the main color.
Chain 7.
Starting from the second loop from the hook, crochet in turning rows:
1 – 14: 6 sc, ch 1, turn.
Crochet around the resulting rectangle:
15: 6 sc – along the first side of the rectangle (arrow 1),
1 inc, 12 sc, 1 inc – along the second side of the rectangle (arrow 2),
6 sc – along the third side of the rectangle (arrow 3),
1 inc, 12 sc, 1 inc – along the fourth side of the rectangle (arrow 4) = 44
Add 1 sl st, fasten off the yarn, and cut it.
The bottom is ready.
Assembly and decoration: Little Car Amigurumi
You can glue a piece of cardboard to the inside of the bottom to prevent it from bending (or you can skip this step).
Fill the car body with filling.
Connect the body and the bottom using slip stitches.
(* Or you can sew the bottom to the body with yarn of the main color, sewing each of the 44 loops of the body to each of the 44 loops of the bottom)
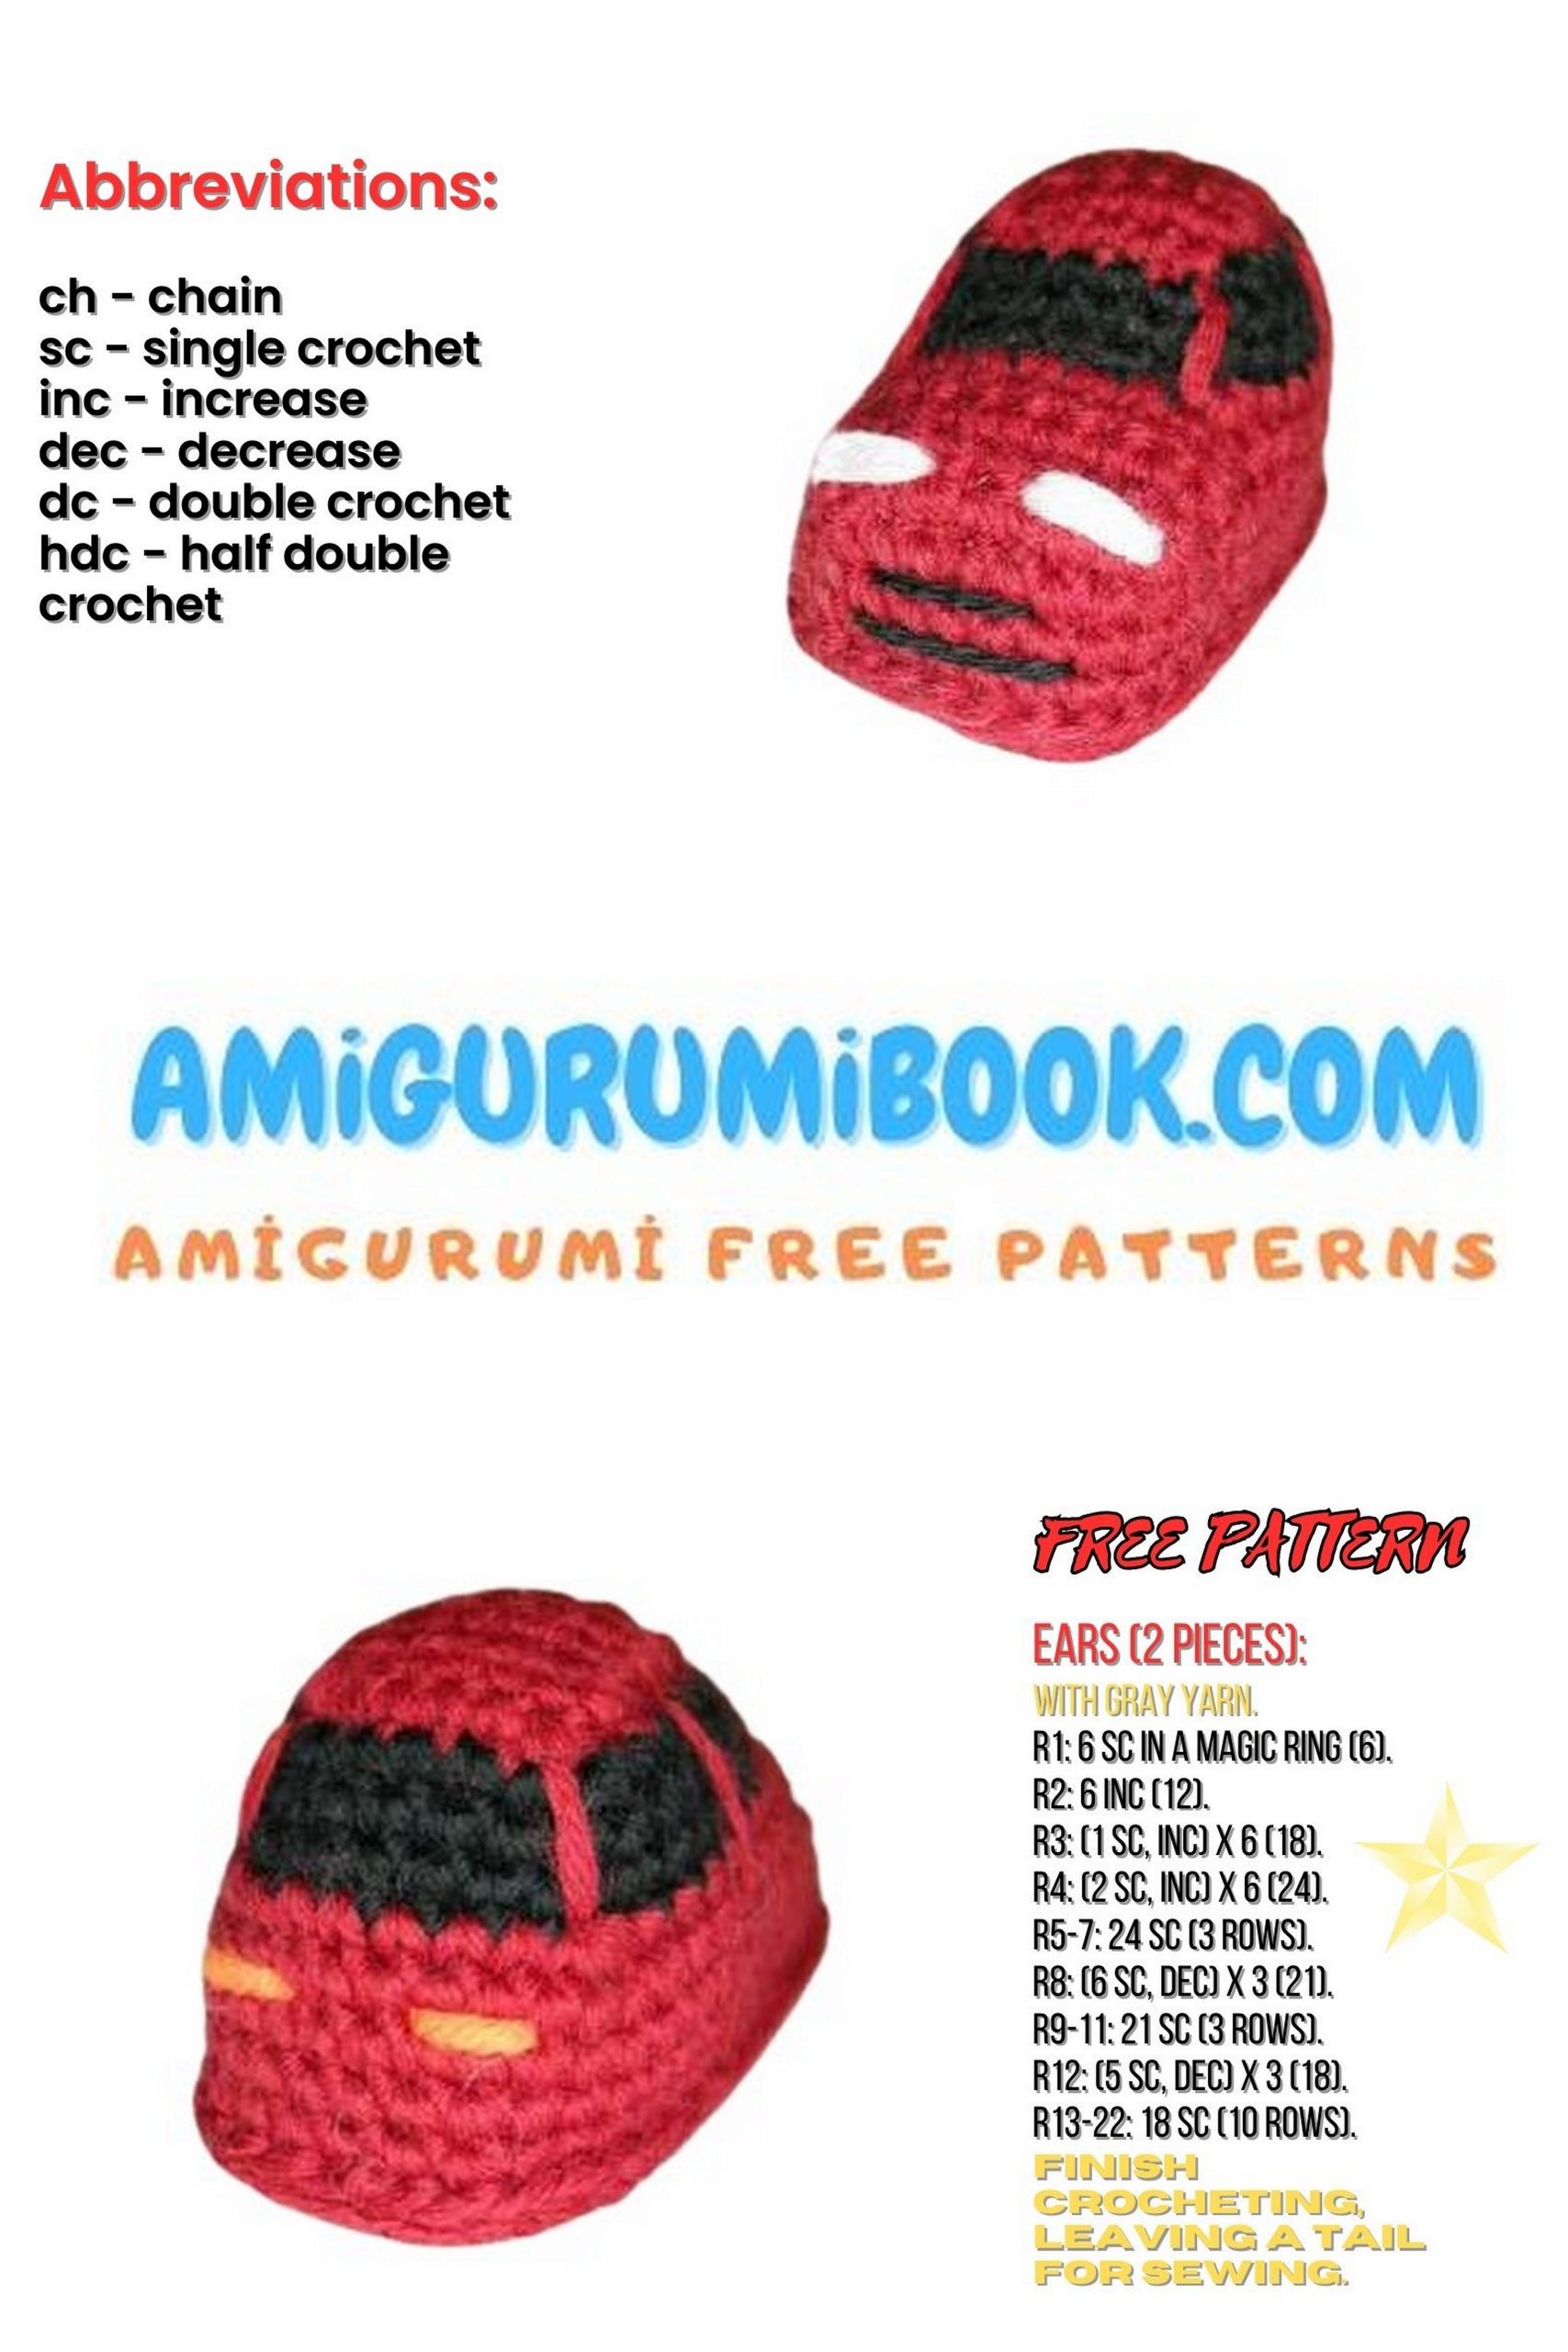
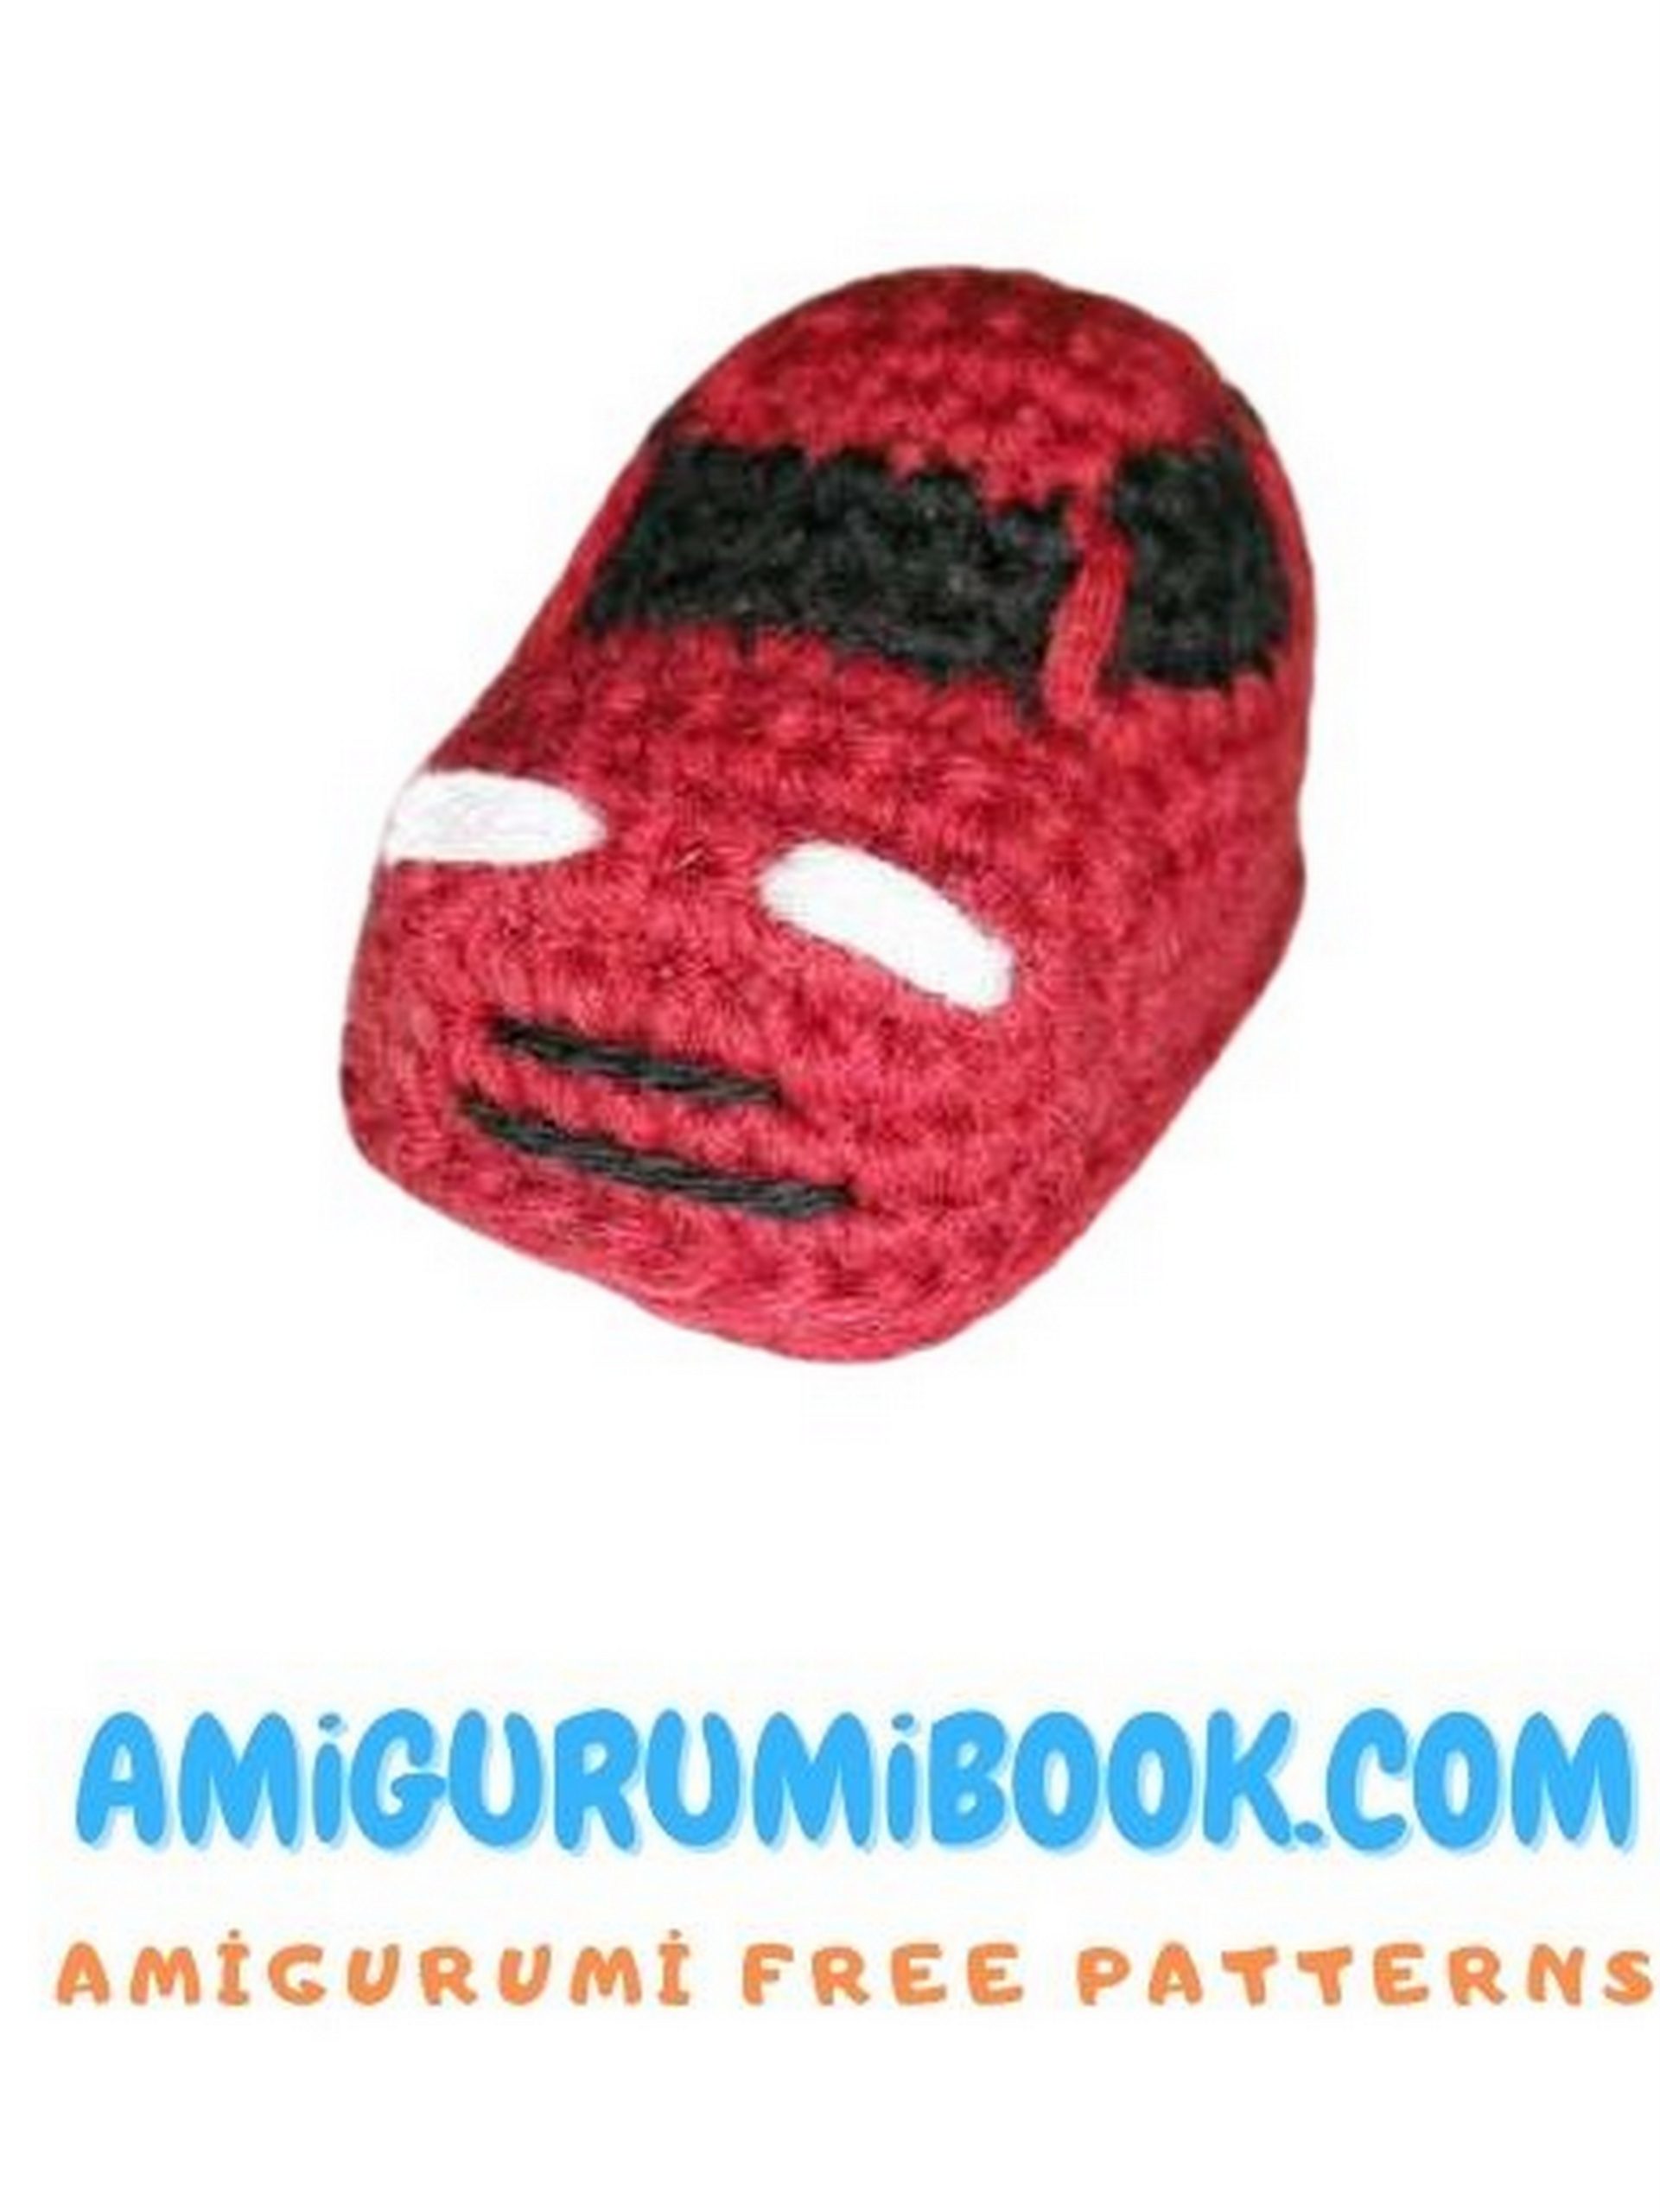
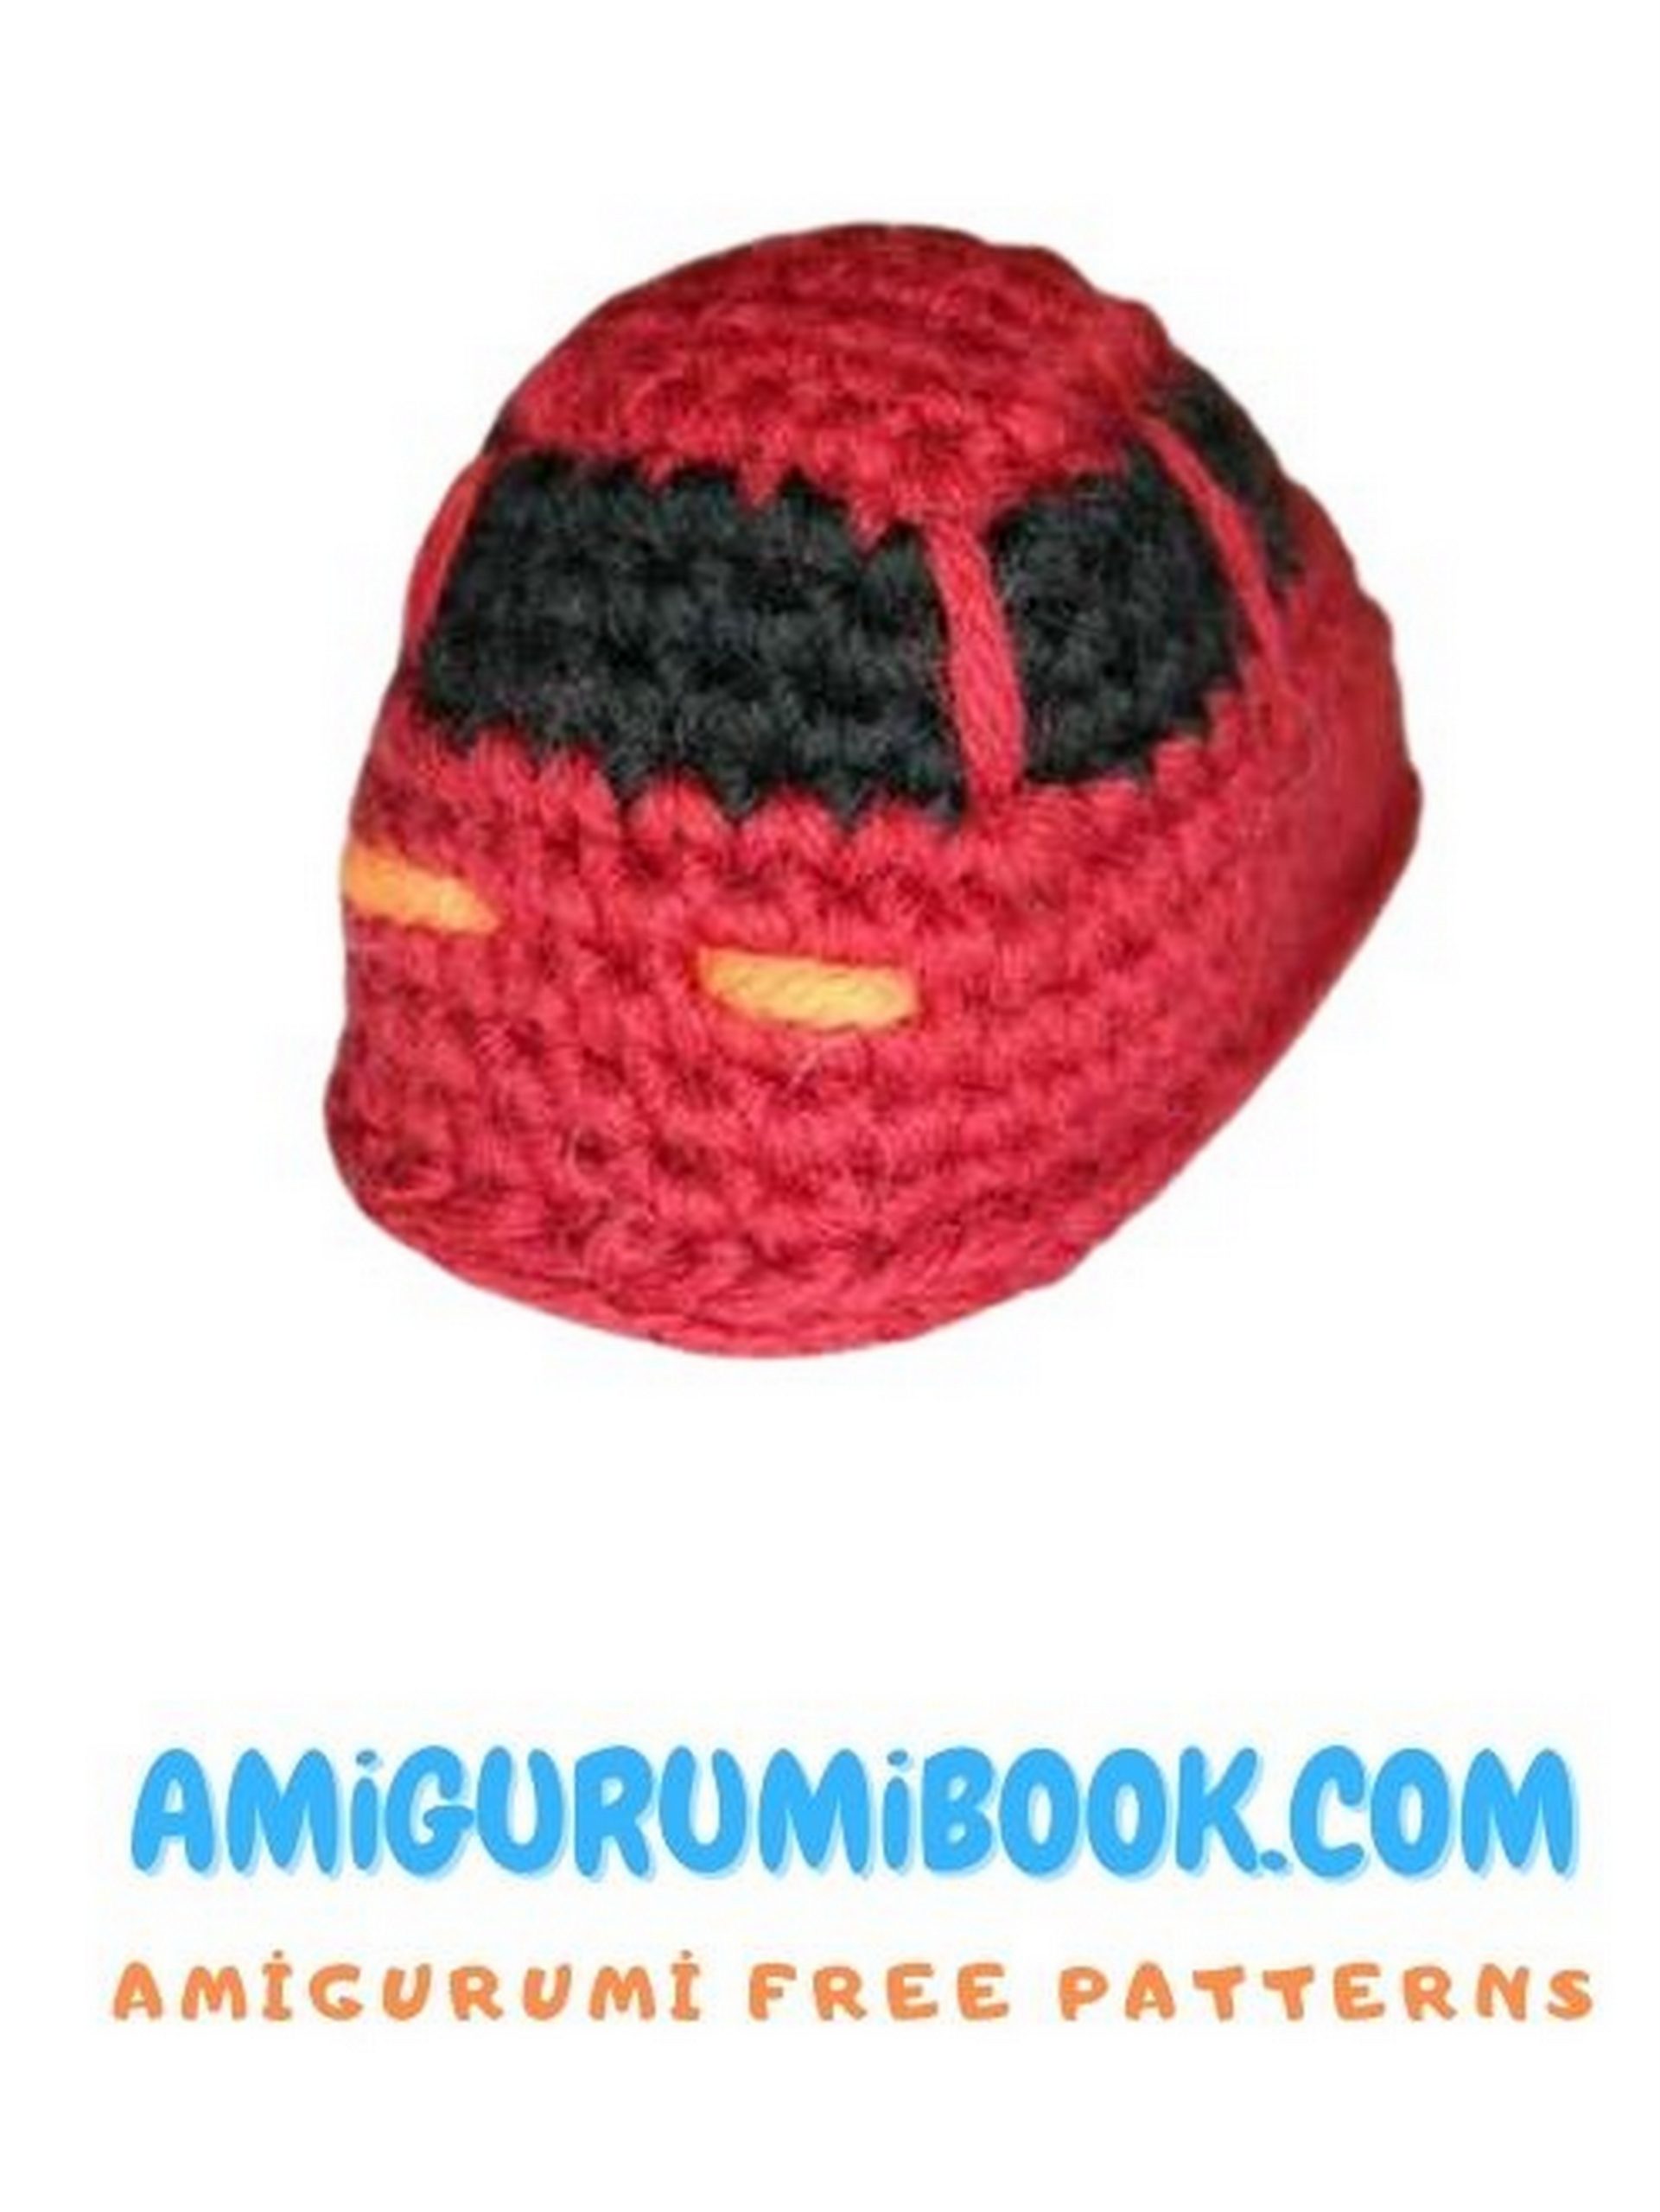
With yarn of the main color, embroider the windows and doors.
a)Use white thread to embroider the front lights.
b)Use black thread to embroider the radiator grille.
c)Use orange thread to embroider the rear lights.
Sew buttons as wheels.
Your little car is ready!