
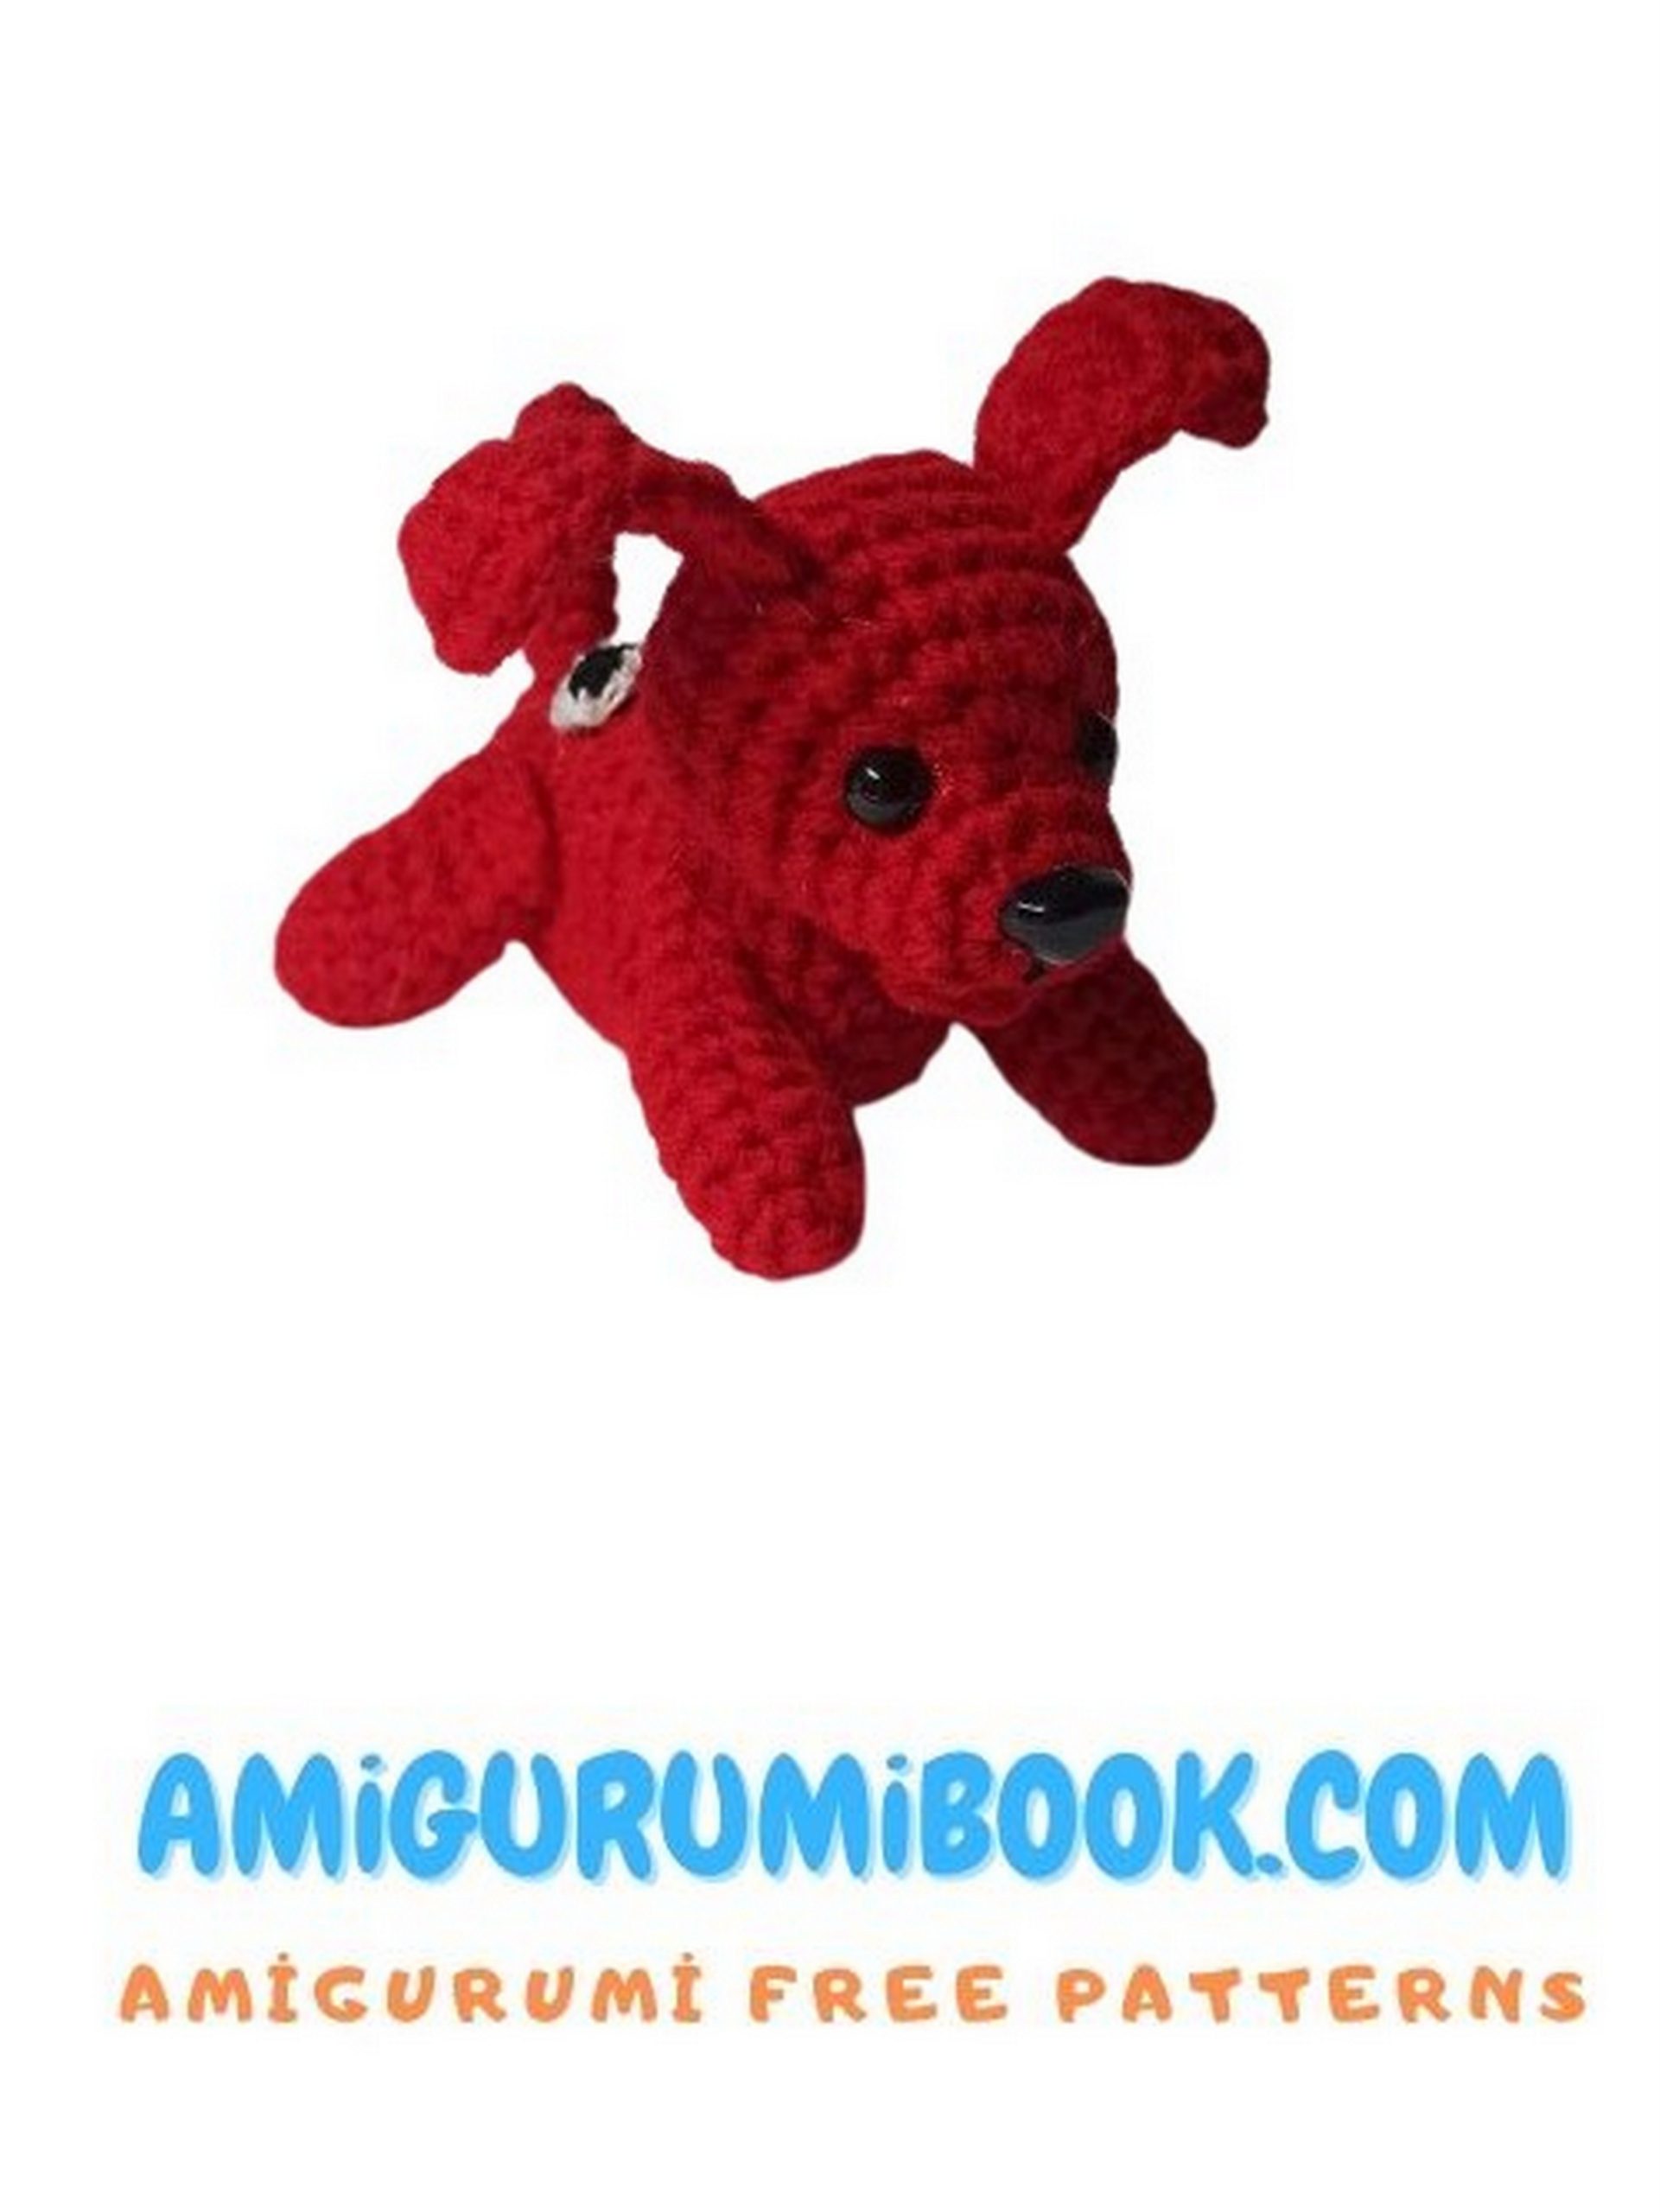
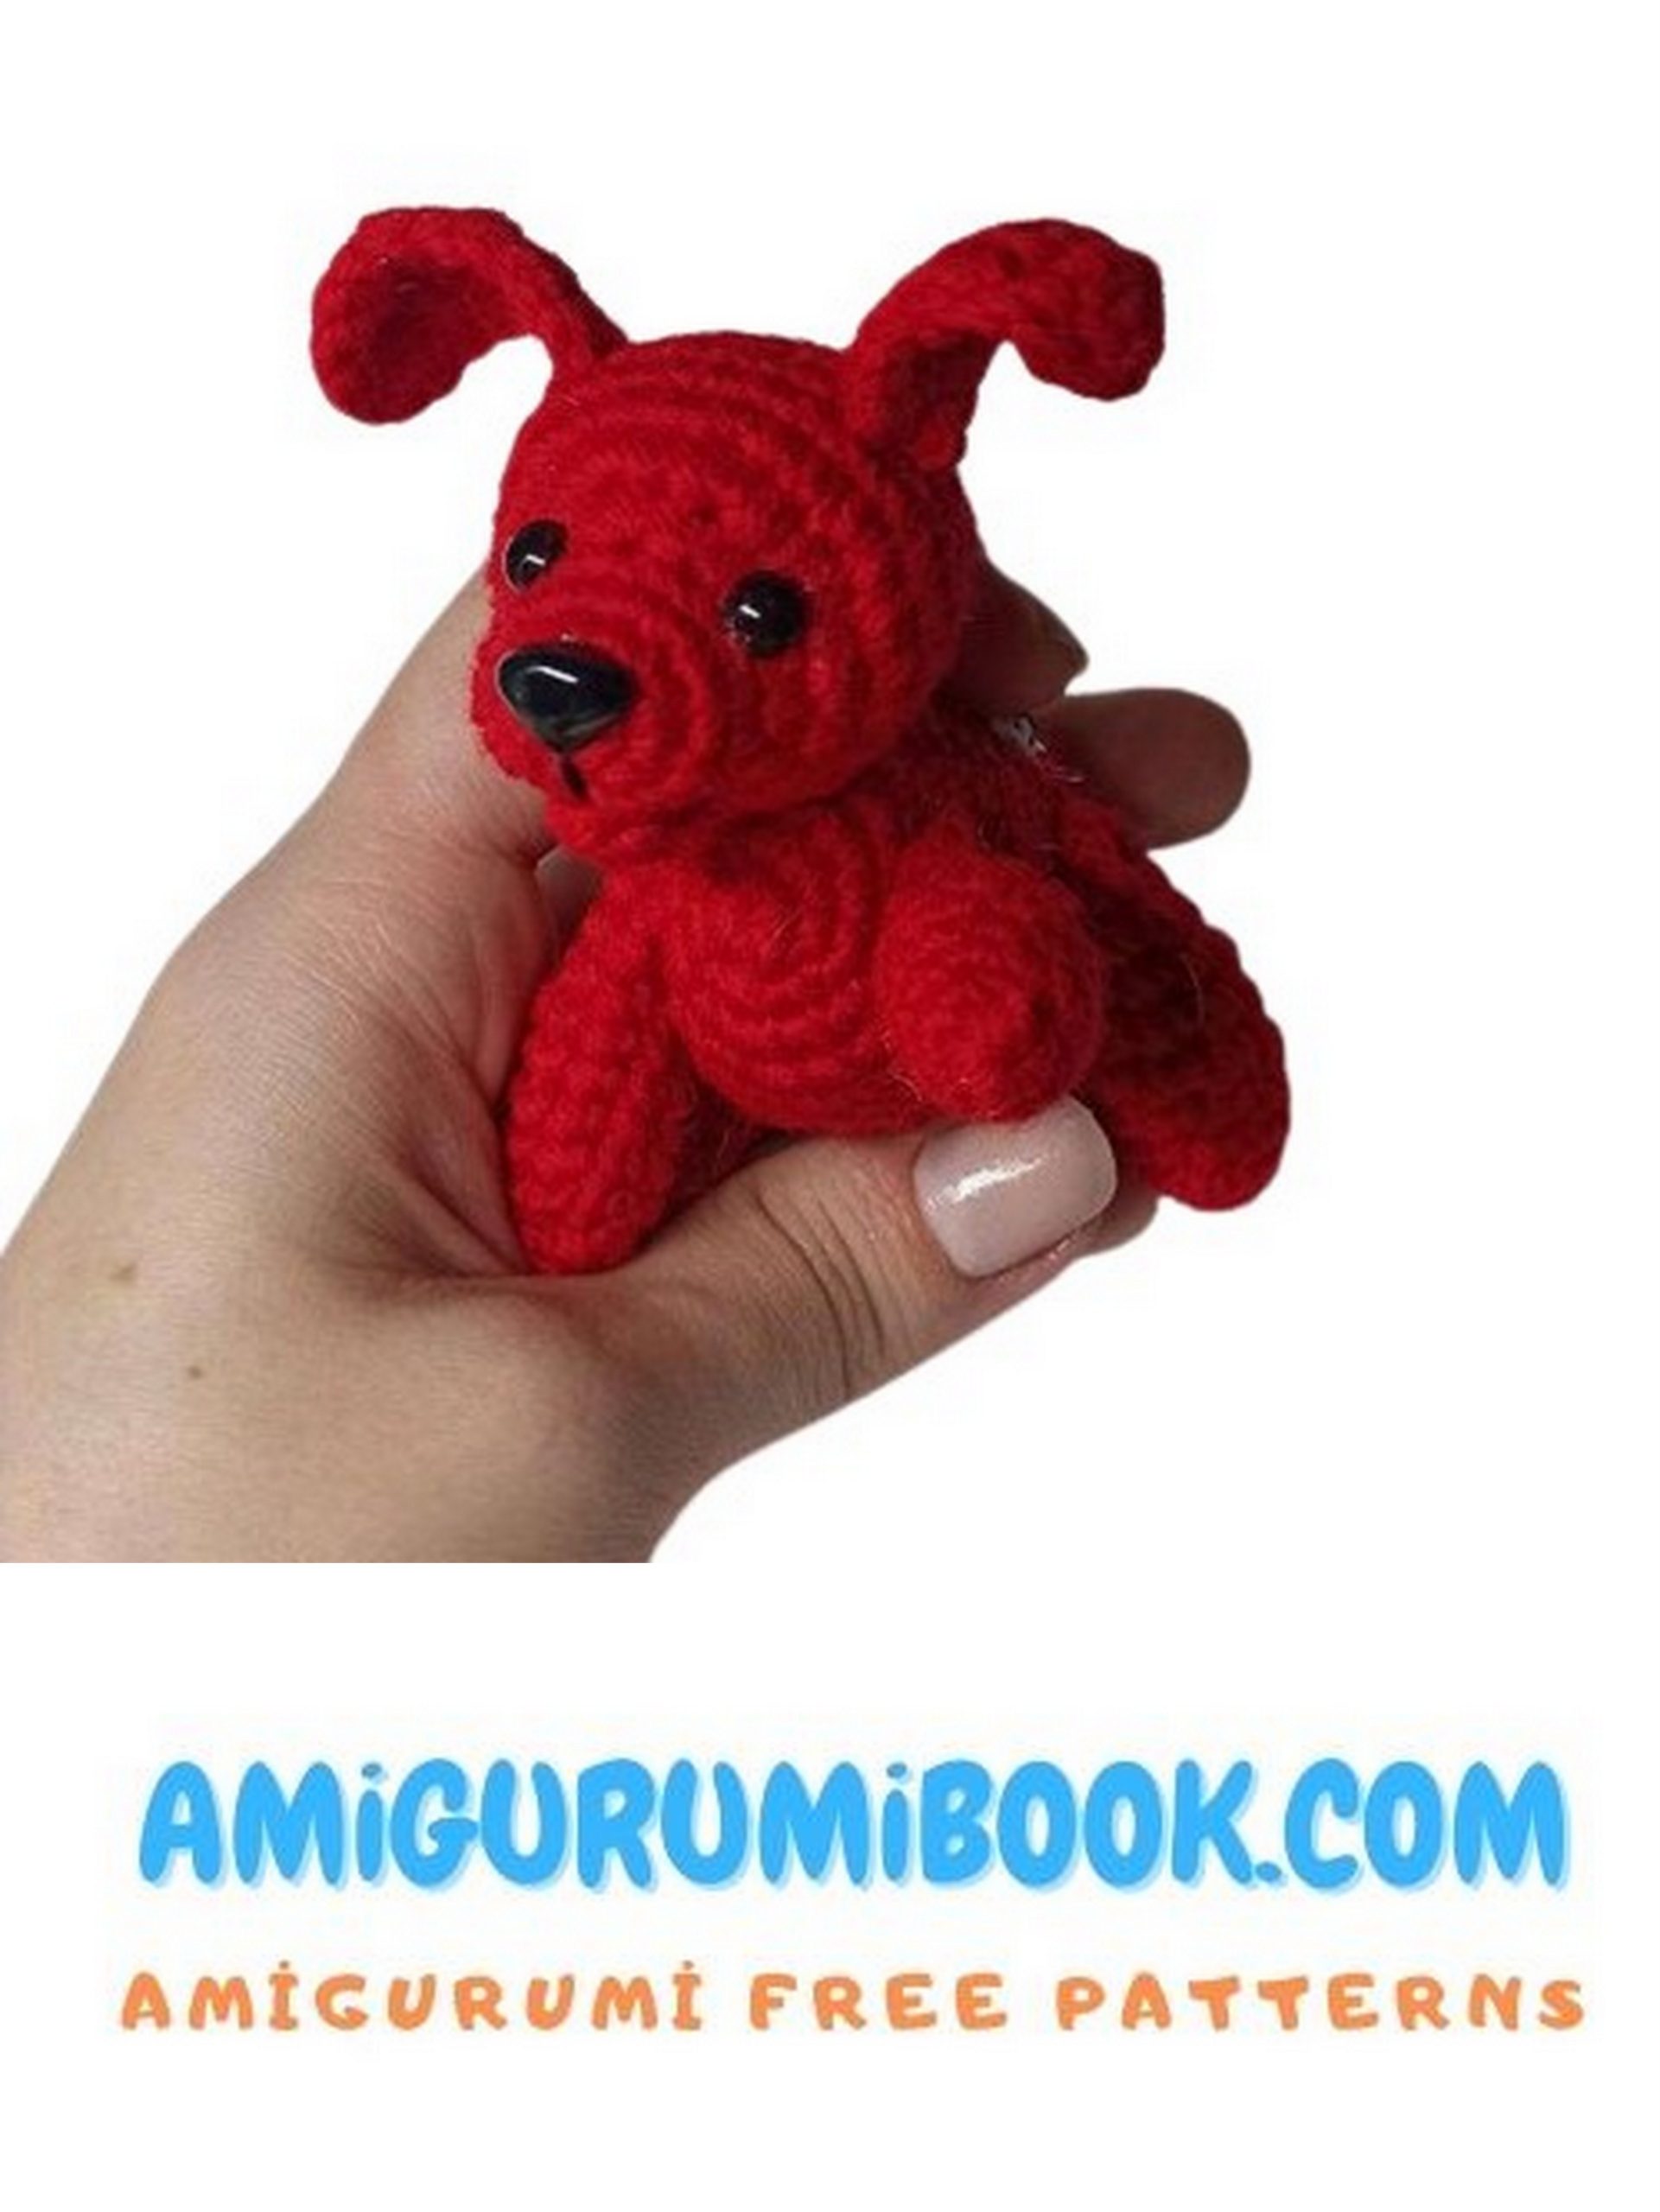
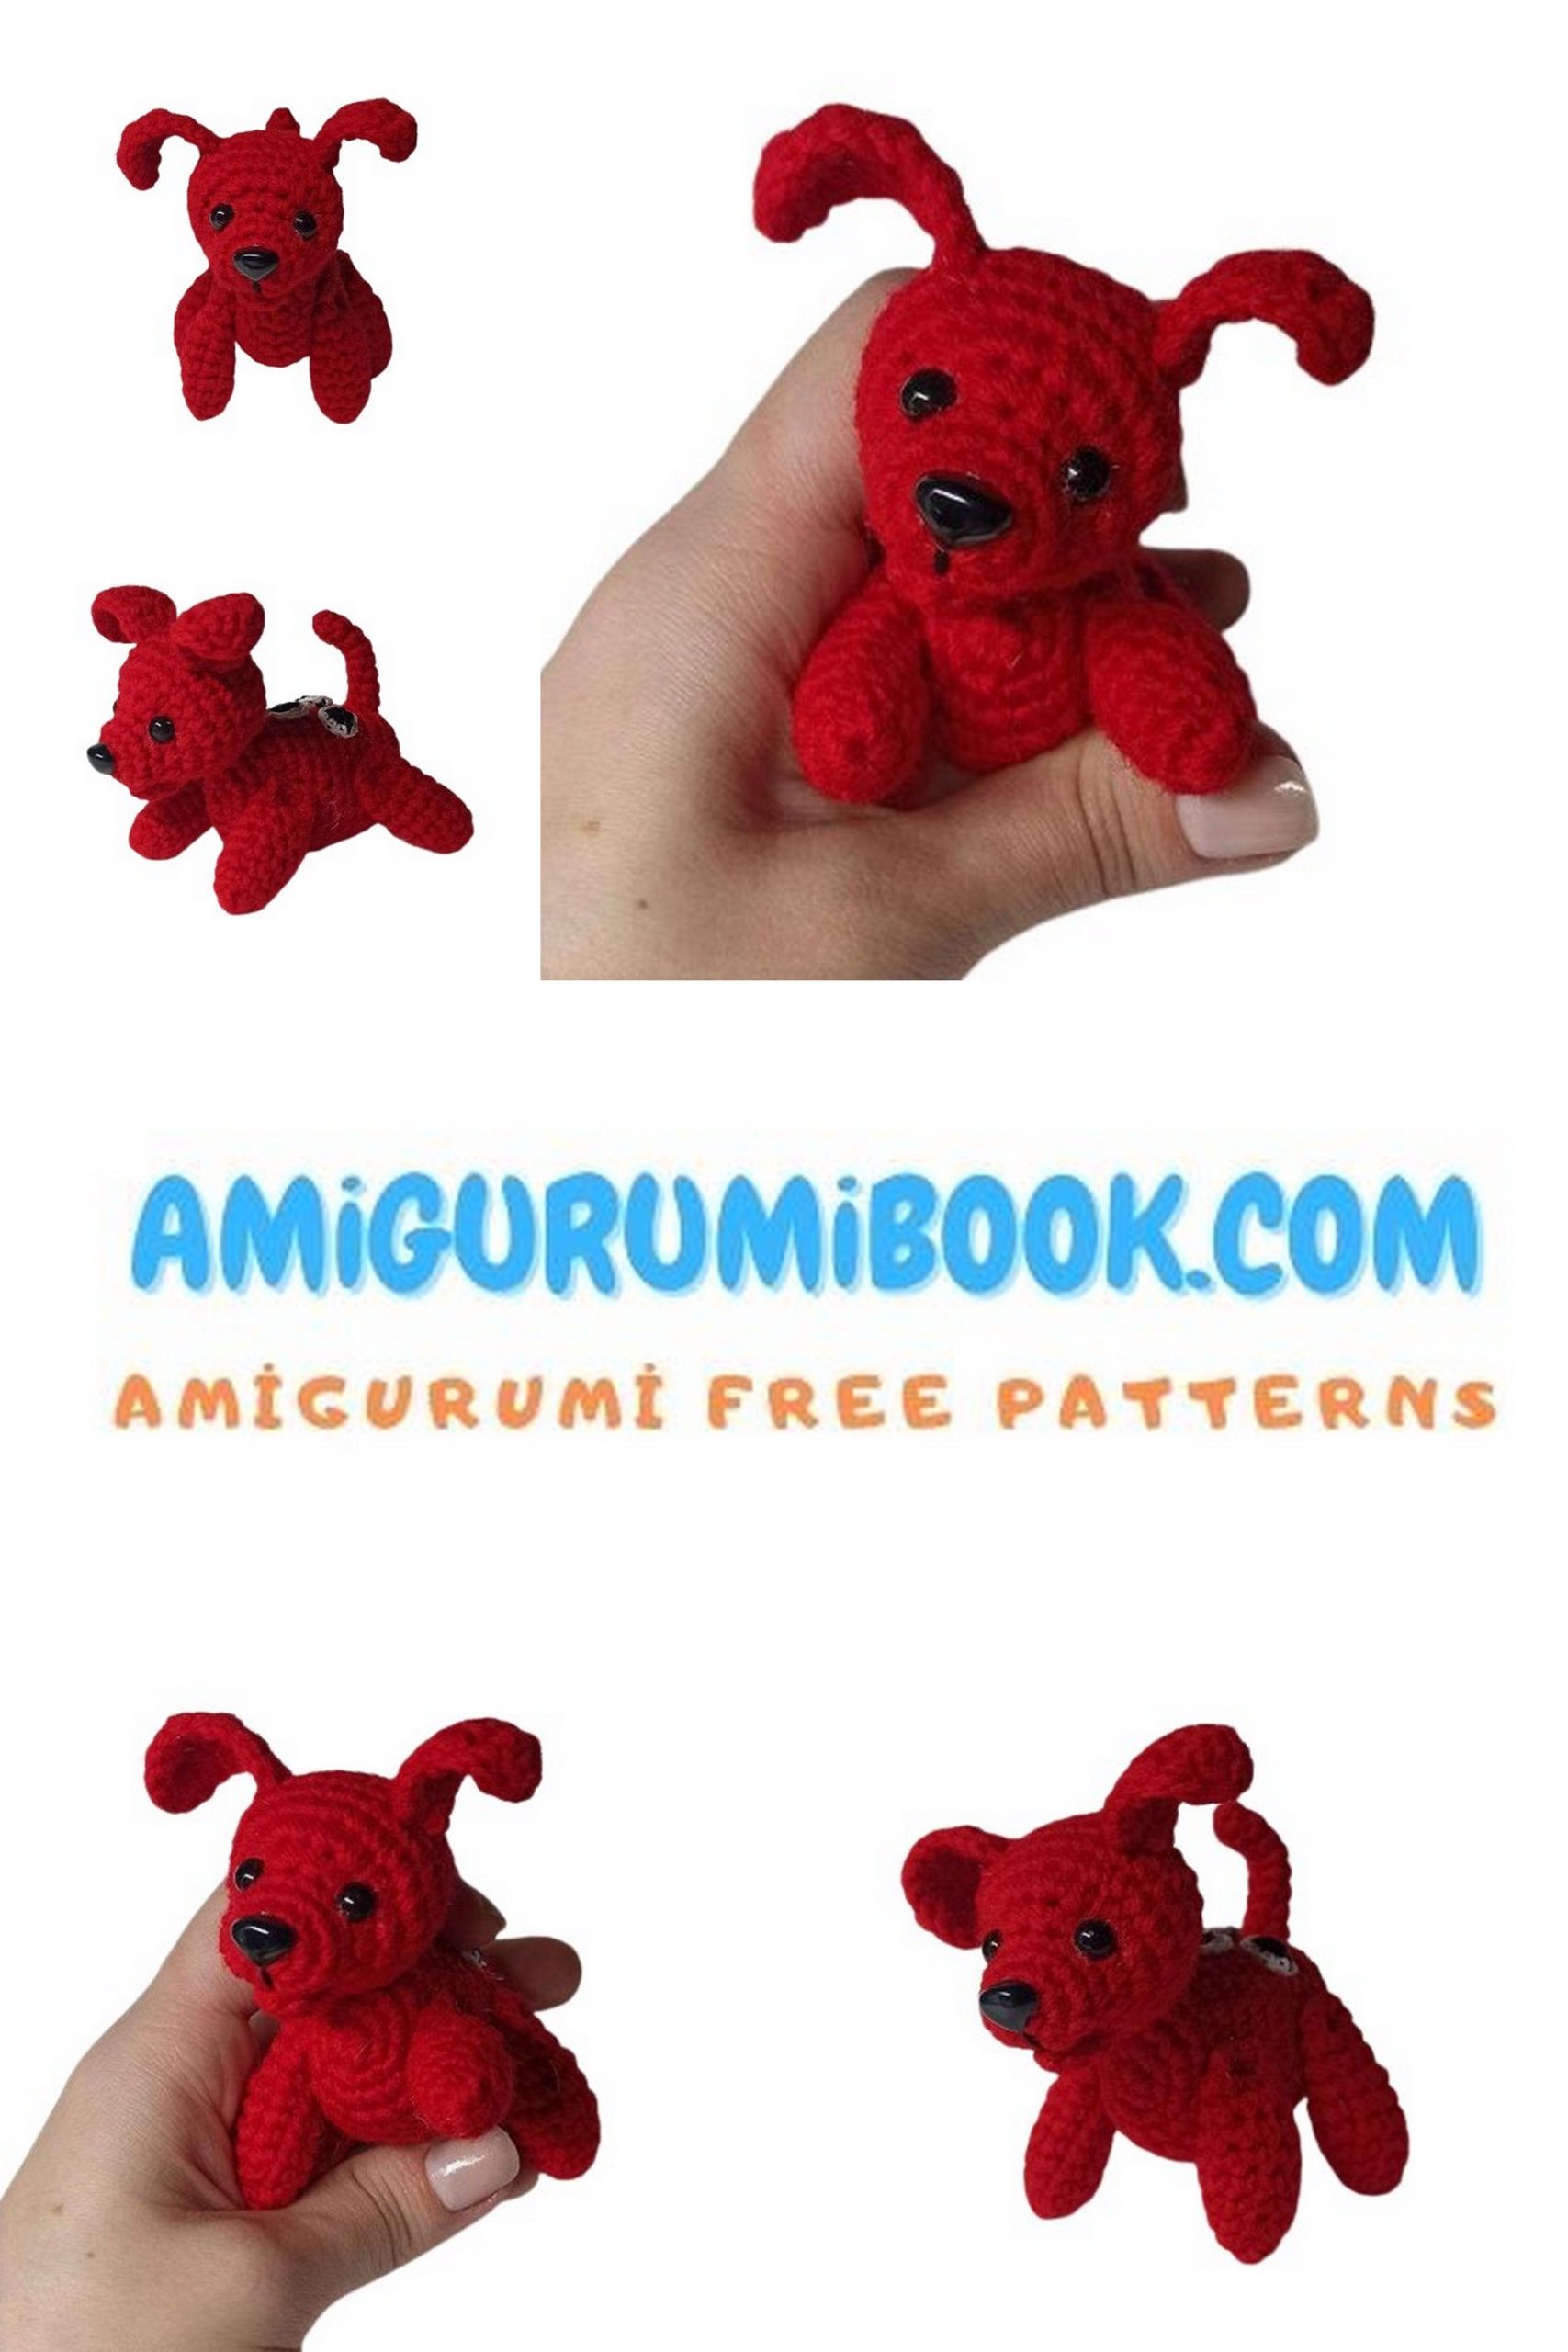
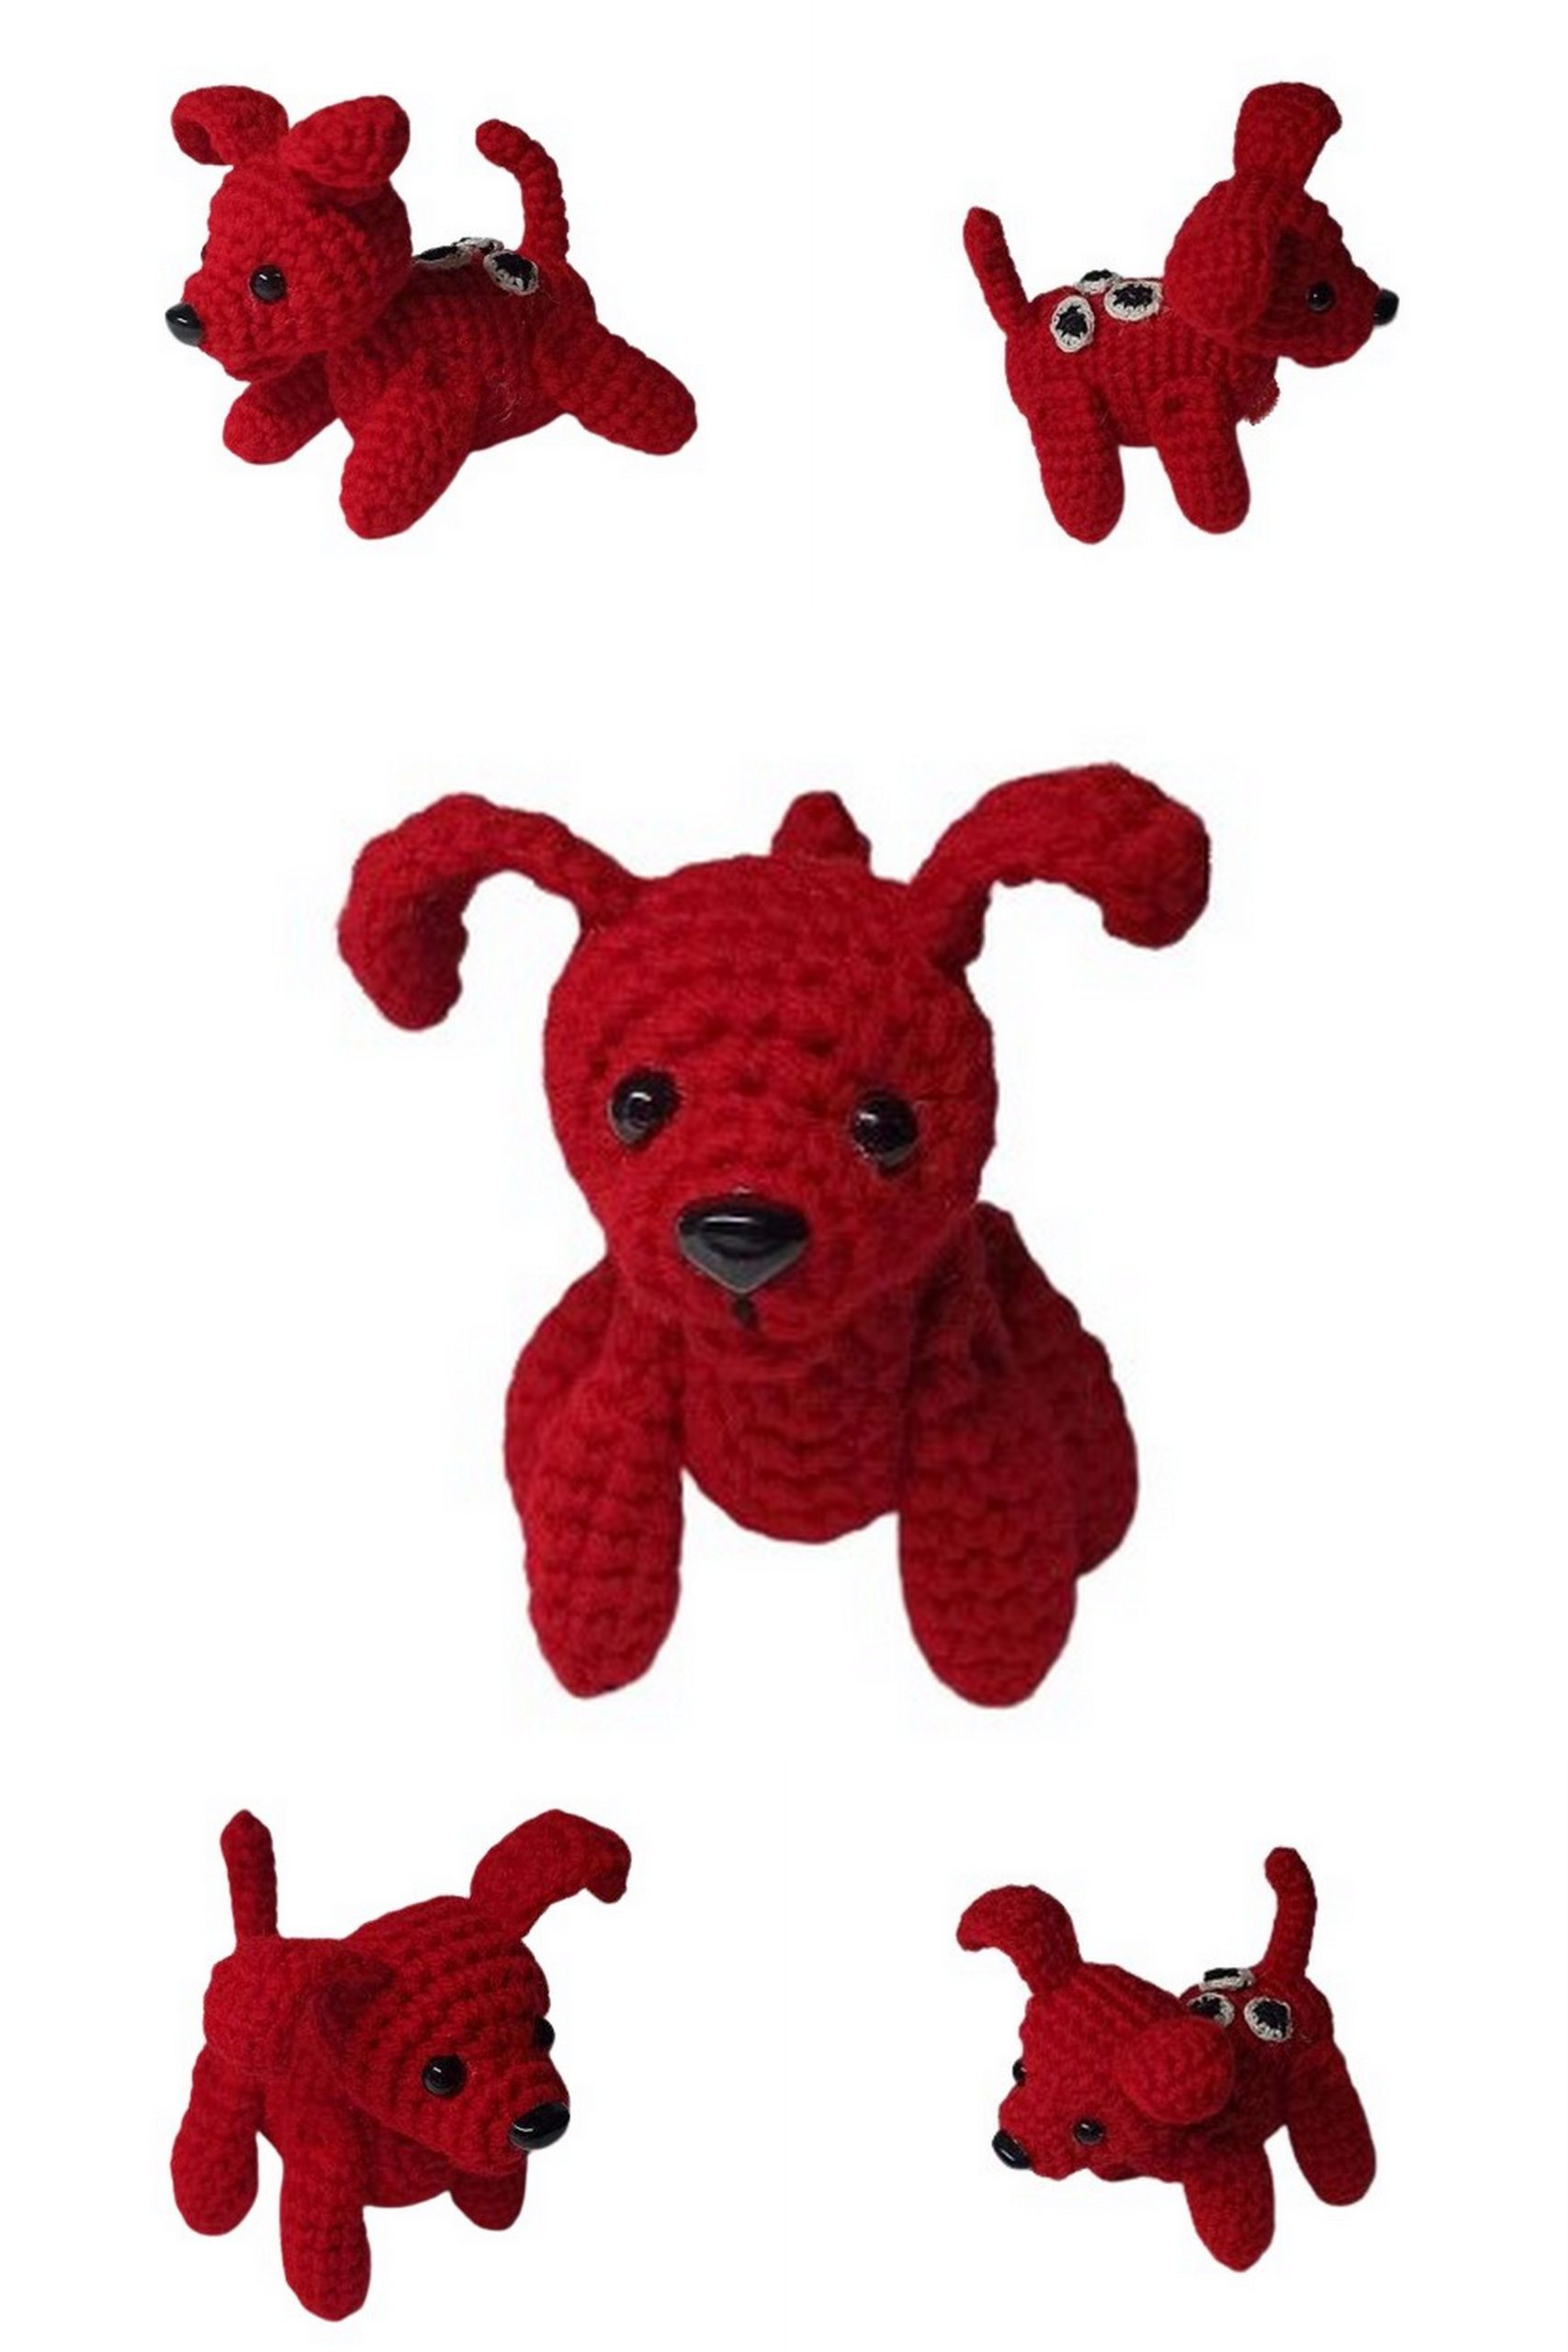
Welcome to our delightful collection of amigurumi free crochet patterns! If you’re a fan of amigurumi and love crafting cute creatures, you’re in for a treat. In this post, we’re excited to share a step-by-step guide for creating your very own adorable puppy dog amigurumi. Whether you’re an experienced crocheter or just starting out, this project is perfect for all skill levels. Grab your crochet hook and yarn, and let’s get started on making a cuddly companion that will steal your heart!
A great suggestion for your amigurumi dog collection. You will love amigurumi snoopy dog very much.
If you want to access 1000+ free amigurumi patterns, you can download our application from this link!
LIST OF NECESSARY MATERIALS:
Red yarn (“Children’s novelty”, a small amount of white and black yarn (Vita Coco).
Crochet hook of suitable size (I use No. 1.5 and No. 1 for patches).
Stuffing.
Black half beads (6 mm).
Plastic nose (can be embroidered).
Auxiliary tools: scissors, needle, threads, glue for attaching eyes and nose.
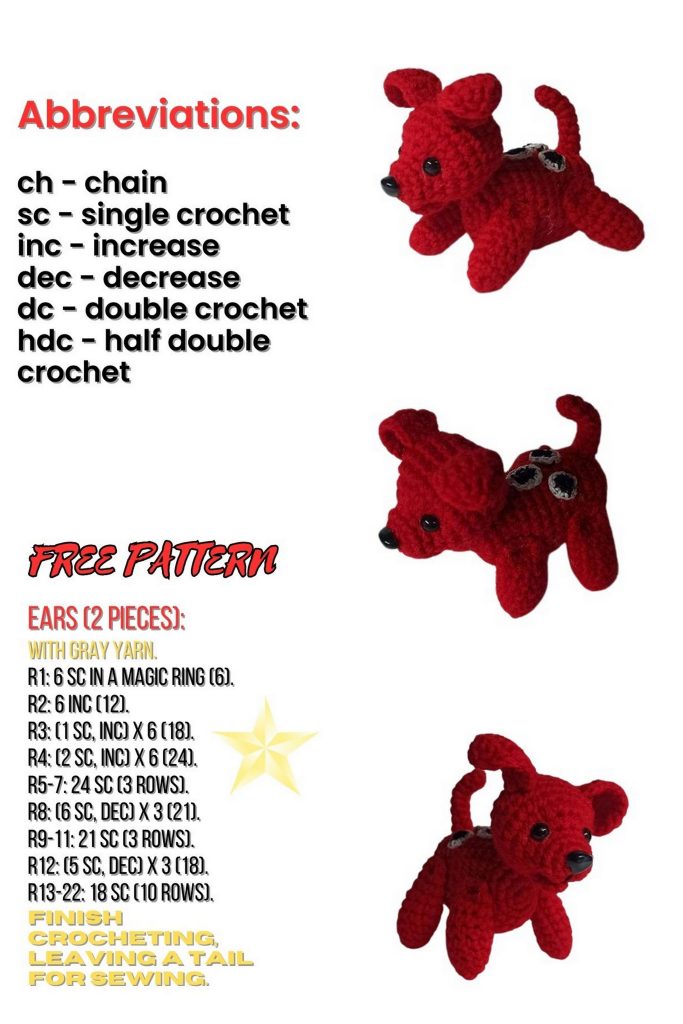
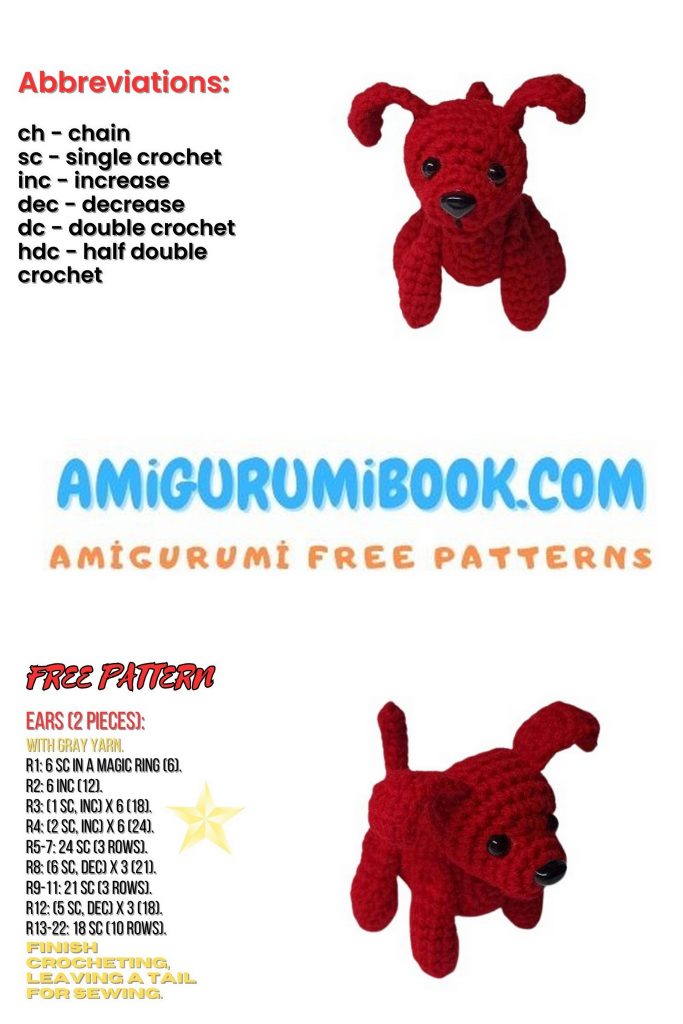
ABBREVIATIONS:
sc – single crochet
hdc – half double crochet
inc – increase (work 2 sc in one stitch)
dec – decrease (work 2 sc together)
ch – chain stitch
sl st – slip stitch
MR – magic ring
Let’s start crocheting! 😊

PATTERN
Puppy Dog Head
Using red:
1: 6 sc in MR (6)
2: inc in each st (12)
3-4: 12 sc (12) – 2 rows
5: 3 sc, 6 inc, 3 sc (18)
6: 3 sc, (sc, inc) x 6 times, 3 sc (24)
7: 24 sc (24)
Embroider the nose (if not using plastic).
8-11: 24 sc (24) – 4 rows
12: (2 sc, dec) x 6 times (18)
Stuff the head.
13: (sc, dec) x 6 times (12)
14: dec in each st (6)
Pull the hole closed (through the front loops), hide the yarn tail.
Puppy Dog Mouth
Using red:
1: 6 sc in MR (6)
2: 6 sc (6)
Fold, crochet 3 sc through both layers of the piece.
Leave a yarn tail for sewing.
Puppy Dog Ears (2 pieces)
Using red:
Work in turned rows. Chain 3.
1: 2 sc (starting from the second ch from the hook), 1 ch, turn.
2: 2 sc (starting from the first st), 1 ch, turn.
3: 2 sc (starting from the first st), 1 ch, turn.
4: 2 inc, 1 ch, turn.
5: 4 sc, 1 ch, turn.
6: 4 sc, 1 ch, turn.
7: 4 sc, 1 ch, turn.
8: 4 sc, 1 ch, turn.
9: 2 dec, fasten off, cut the yarn.
Attach the yarn at the bottom, on one side, and single crochet around the ear’s perimeter (arc).


Puppy Dog Body
Using red:
1: 6 sc in MR (6)
2: inc in each st (12)
3: (sc, inc) x 6 times (18)
4: (2 sc, inc) x 6 times (24)
5-15: 24 sc (24) – 11 rows
16: (2 sc, dec) x 6 times (18)
Stuff the body.
17: (sc, dec) x 6 times (12)
18: dec in each st (6)
Pull the hole closed, hide the yarn tail.

Puppy Dog Legs (4 pieces)
Using red:
1: 9 sc in MR (9)
2-10: 9 sc (9) – 9 rows
Stuff the legs. Fold the edge of the leg in half, crochet 4 sc through both layers.
Repeat to make 3 more legs.
Tail
Using red:
1: 5 sc in MR (5)
2-9: 5 sc (5) – 8 rows
Leave a yarn tail for sewing.
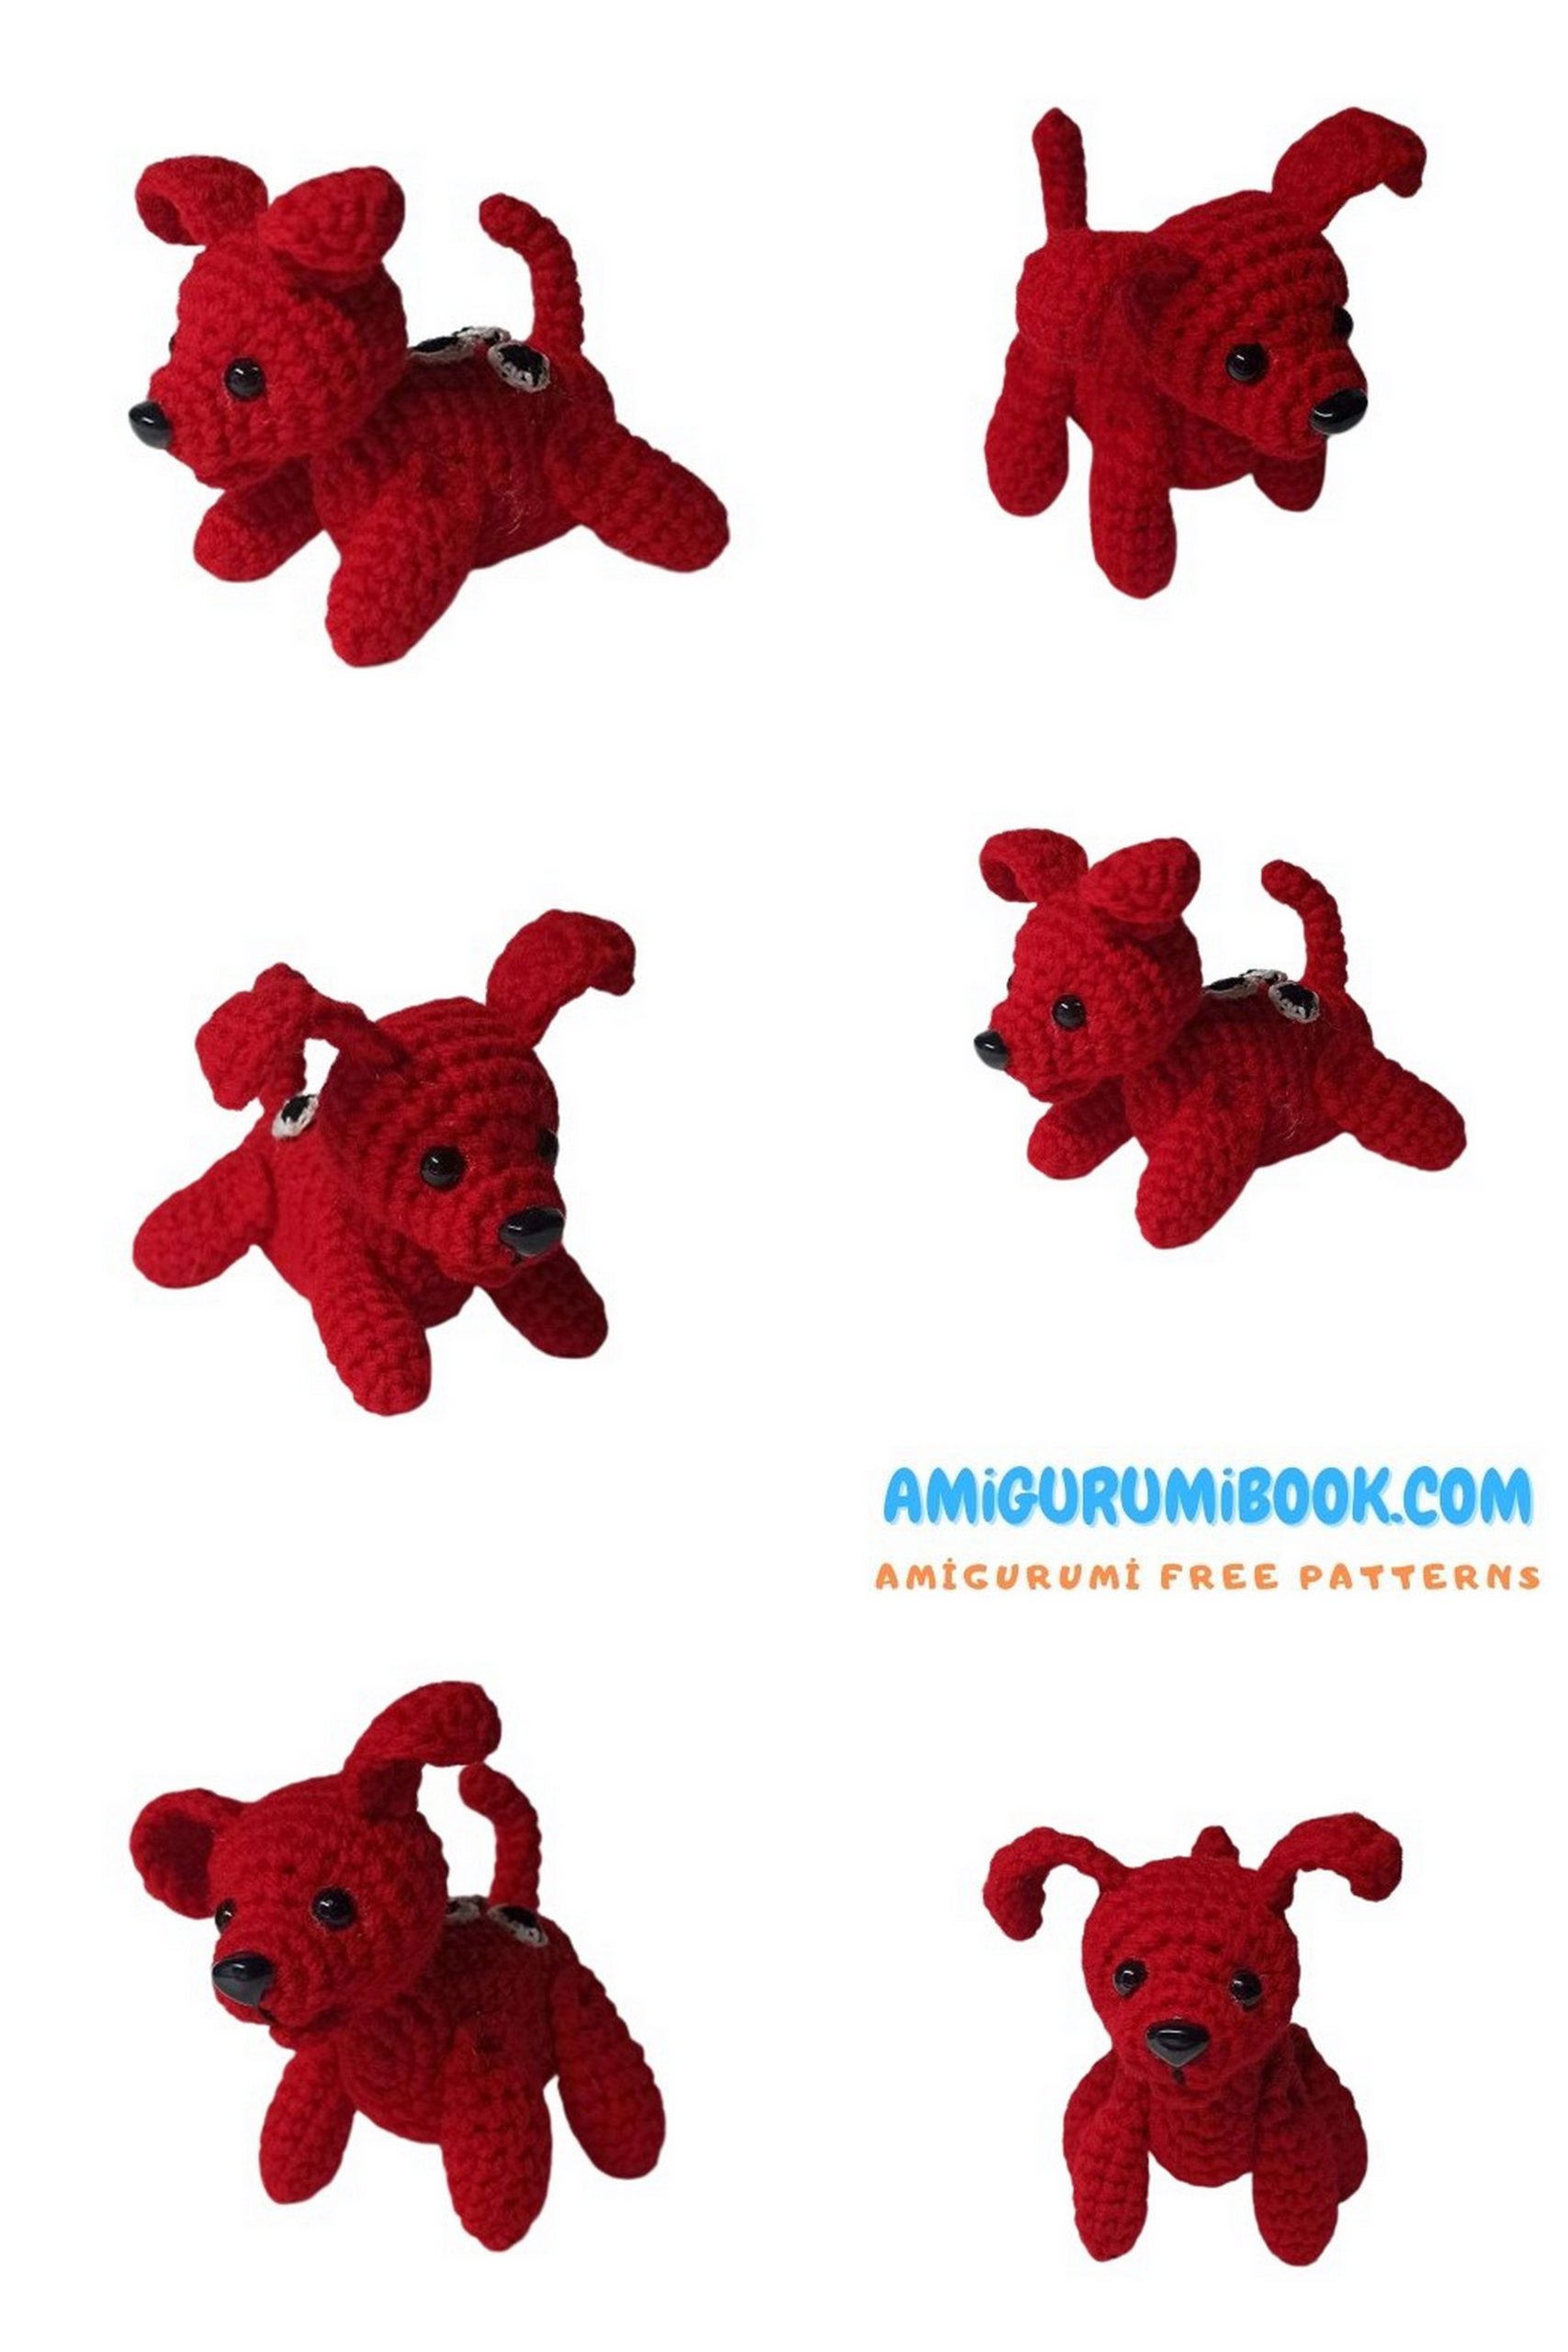
a)Sew on the ears, embroider facial features (eyes and mouth).
b)Sew the crocheted mouth.
c)Sew on the head.
d)Sew on the legs (they can be made poseable, using thread attachment).
e)Sew on the tail.


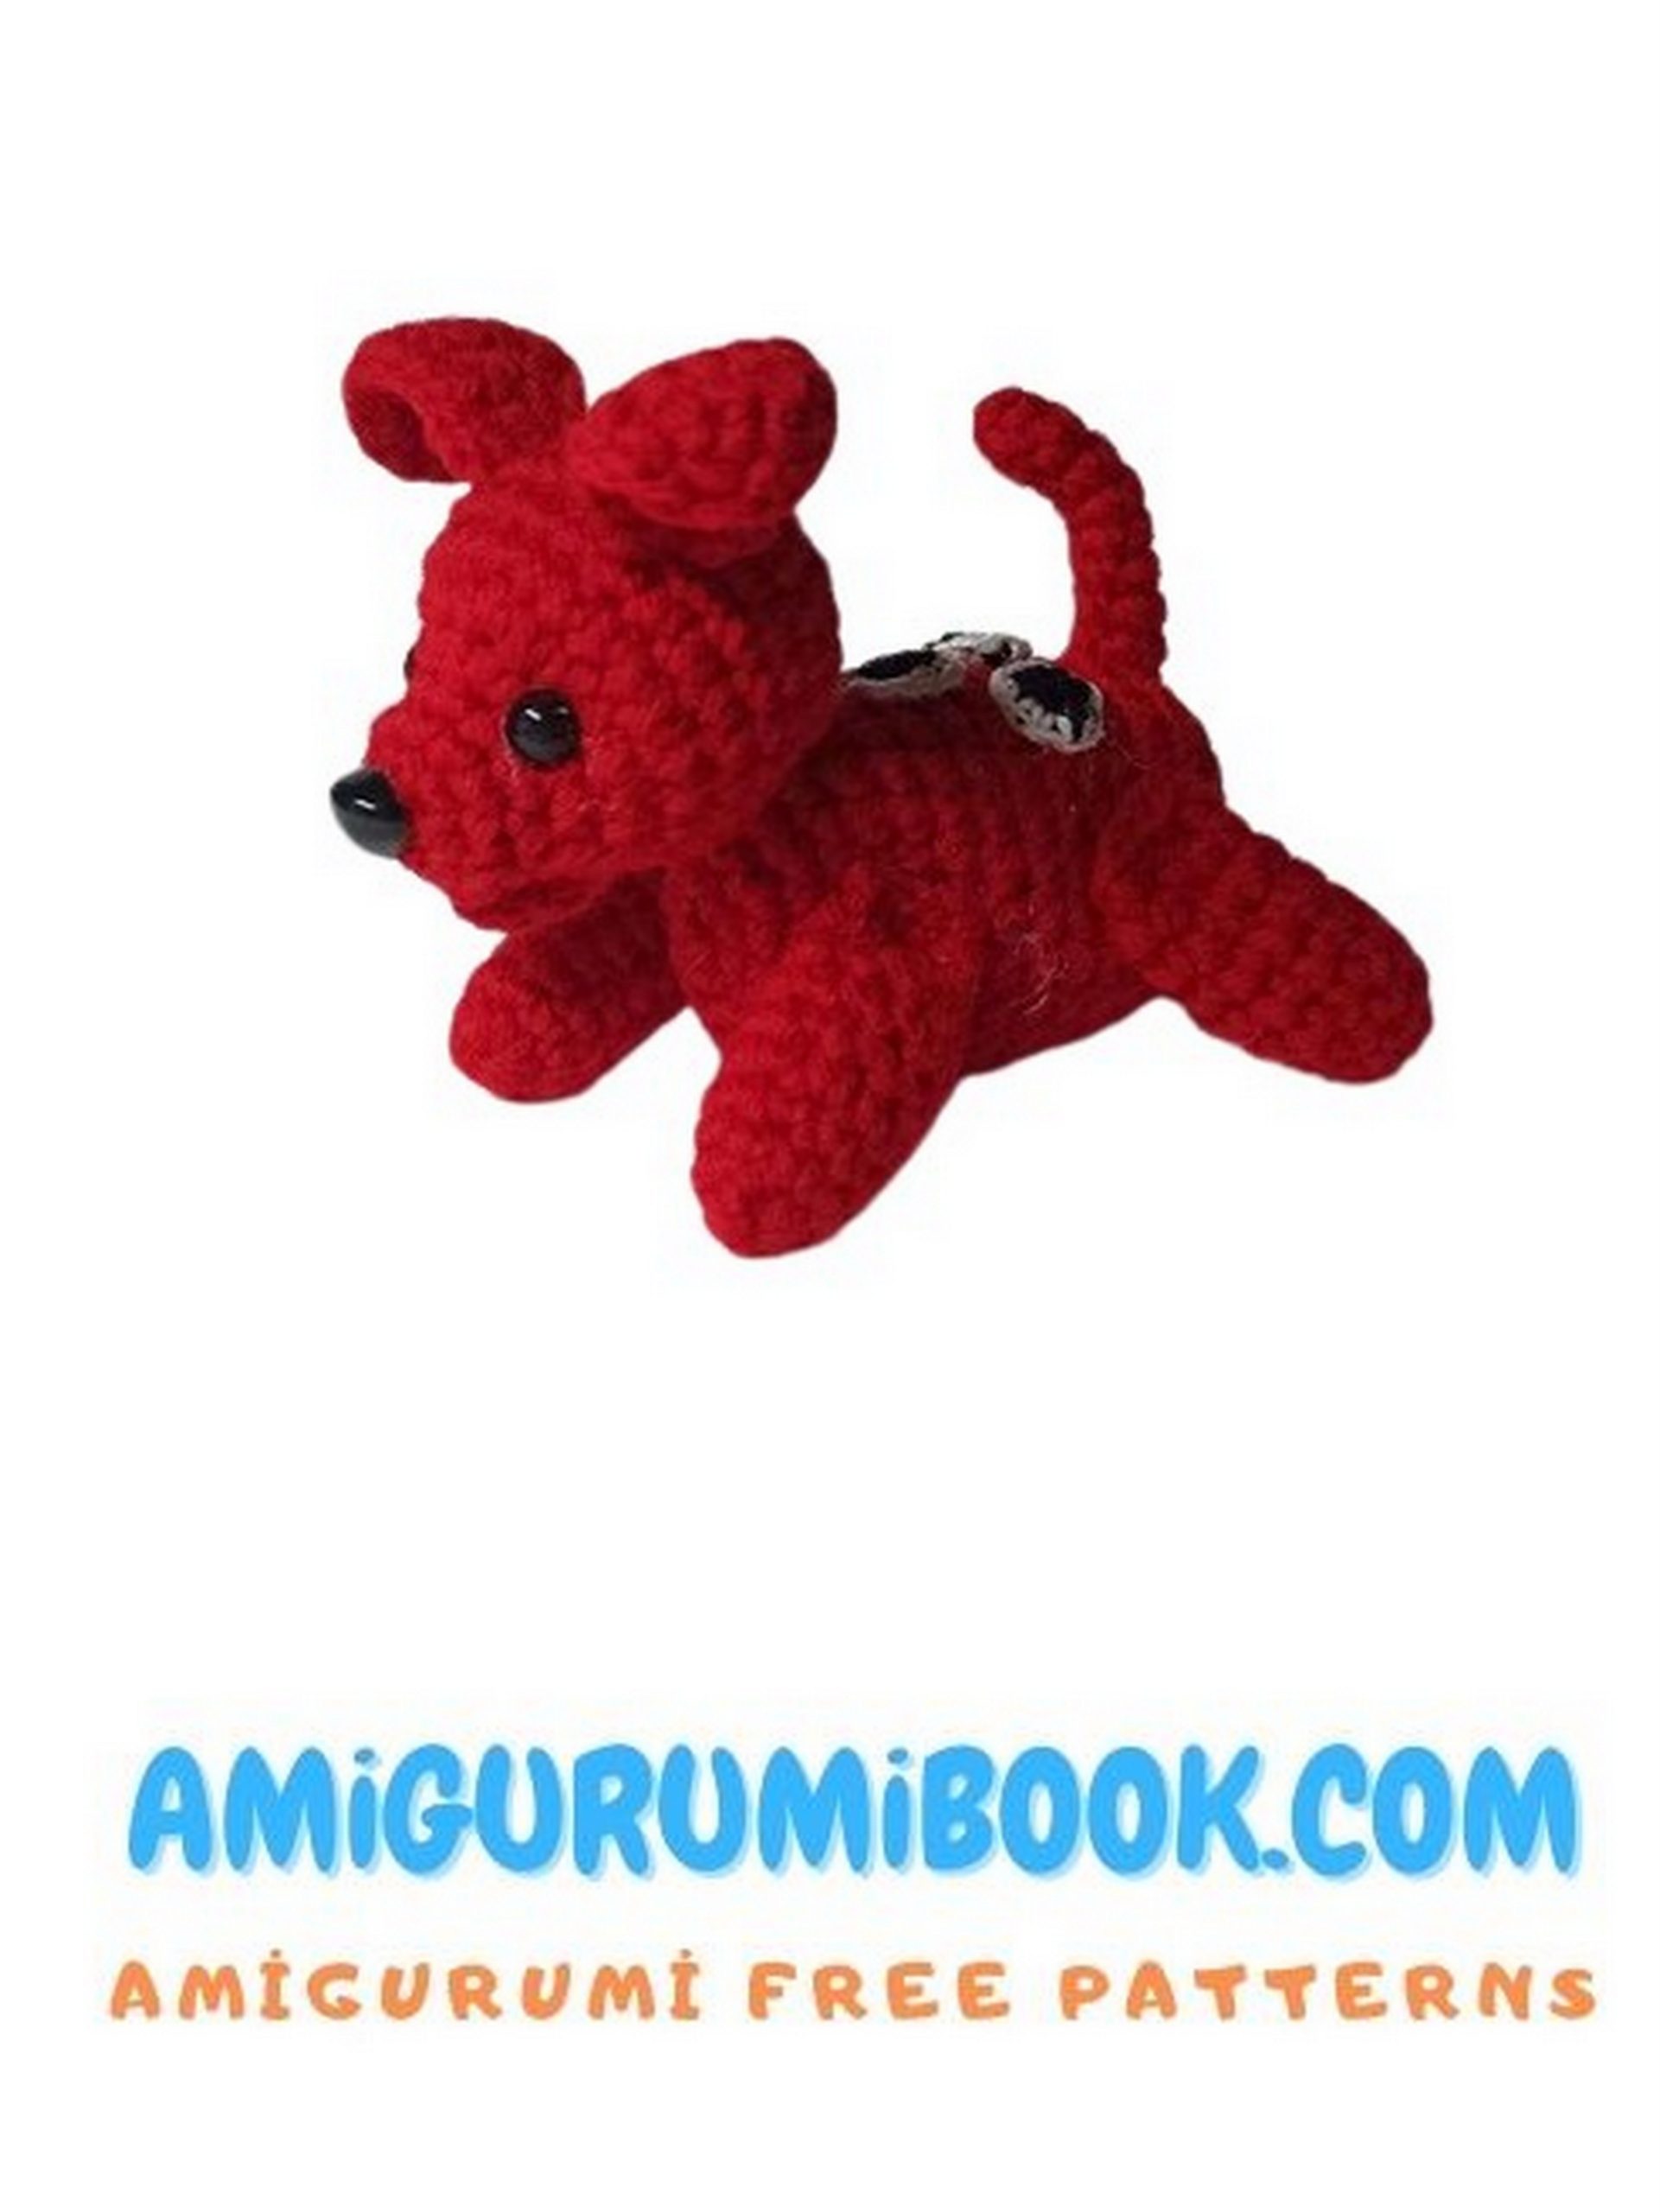
Puppy Dog Patches (3 pieces)
Using black yarn, crochet hook No. 1:
1: Chain 4, starting from the second ch from the hook, crochet 3 sc, 1 ch, turn.
2: 3 sc.
Edge with white yarn (sc). Crochet 2 more patches similarly.
Sew them onto the back. Alternatively, they can be embroidered directly onto the back.