
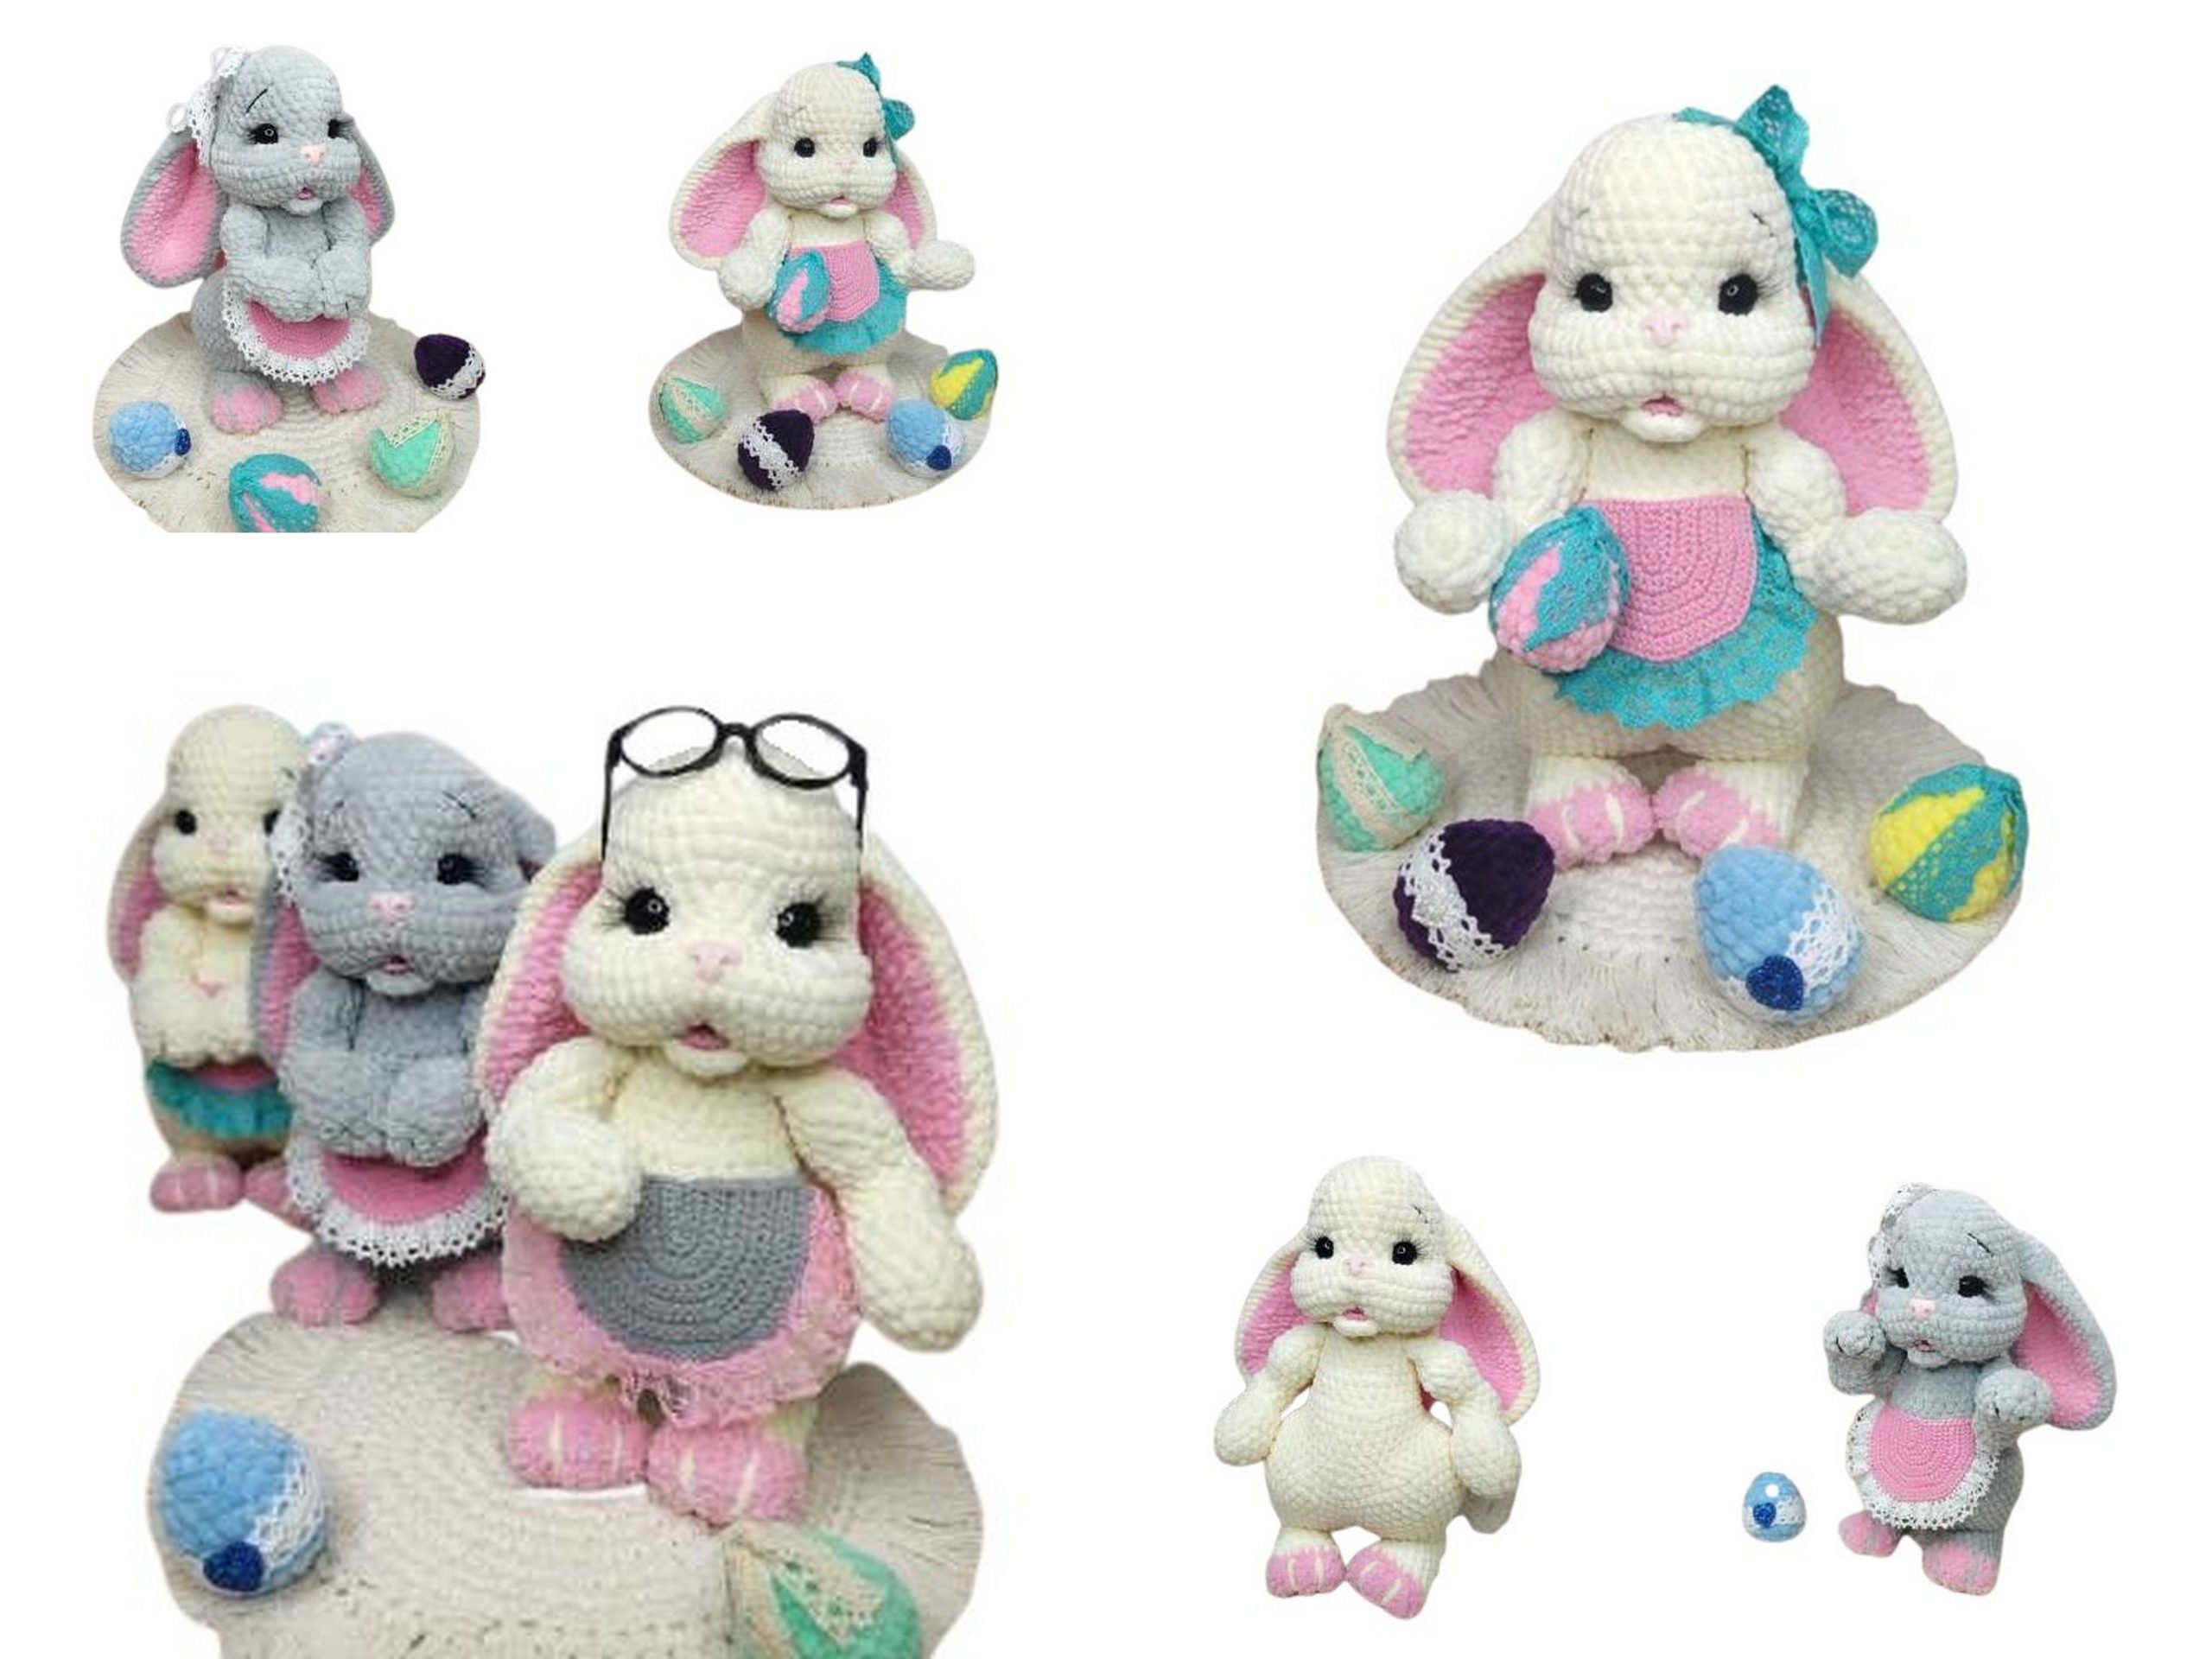
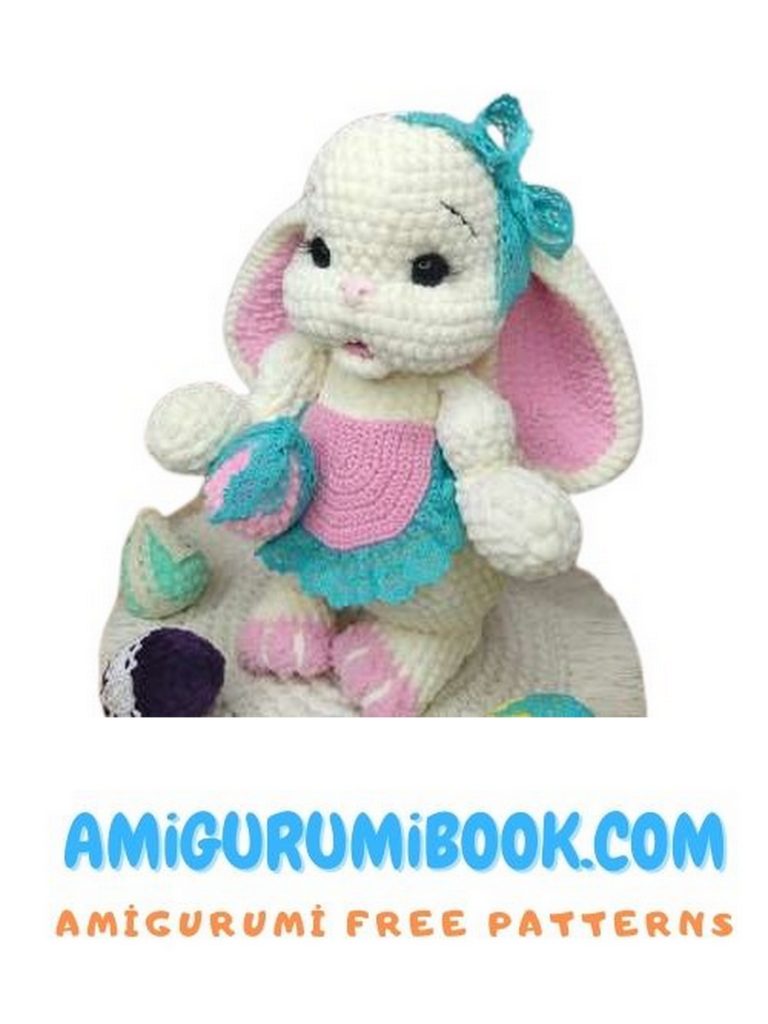
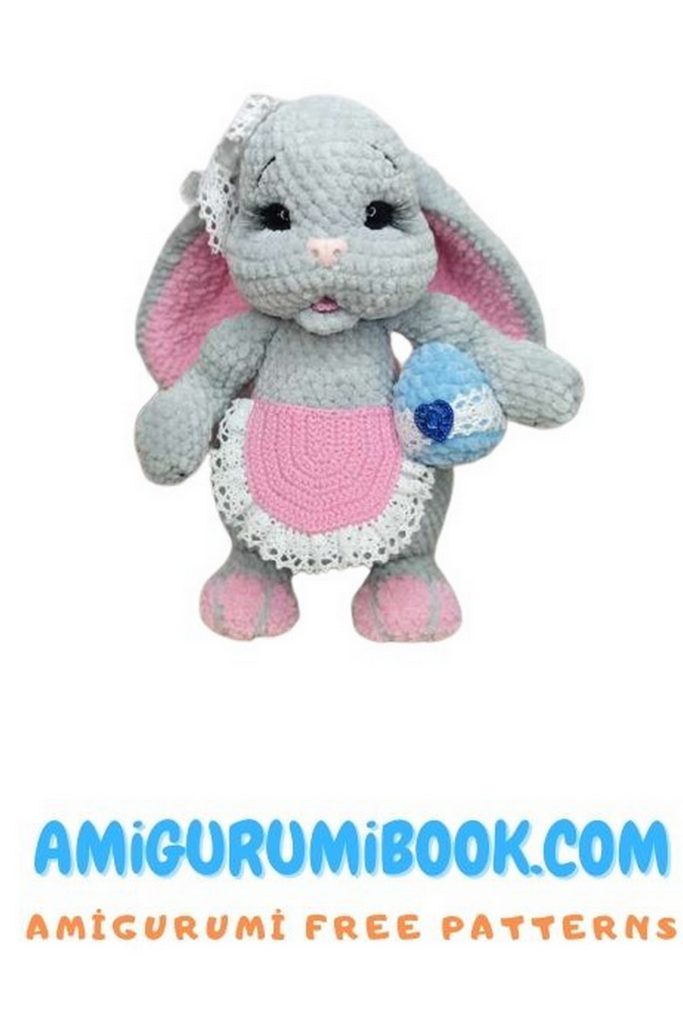
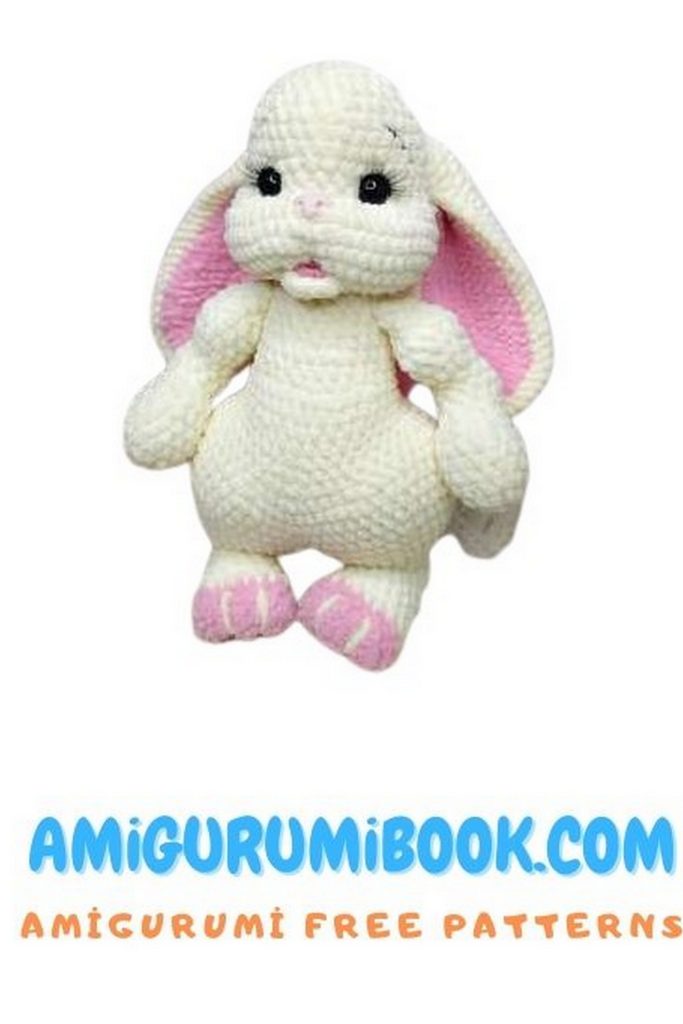
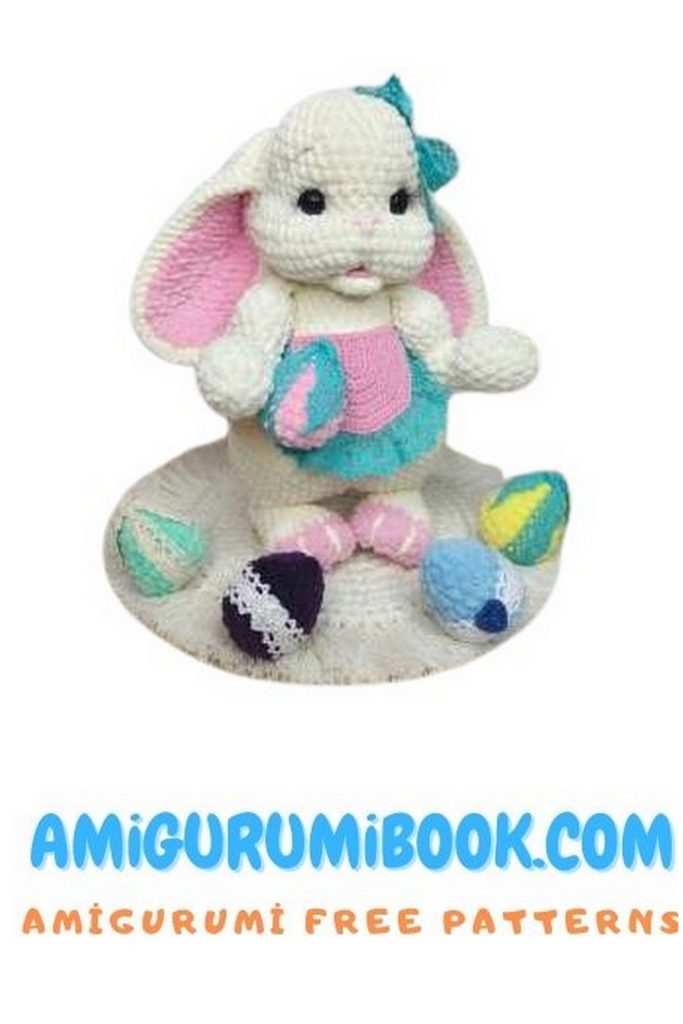
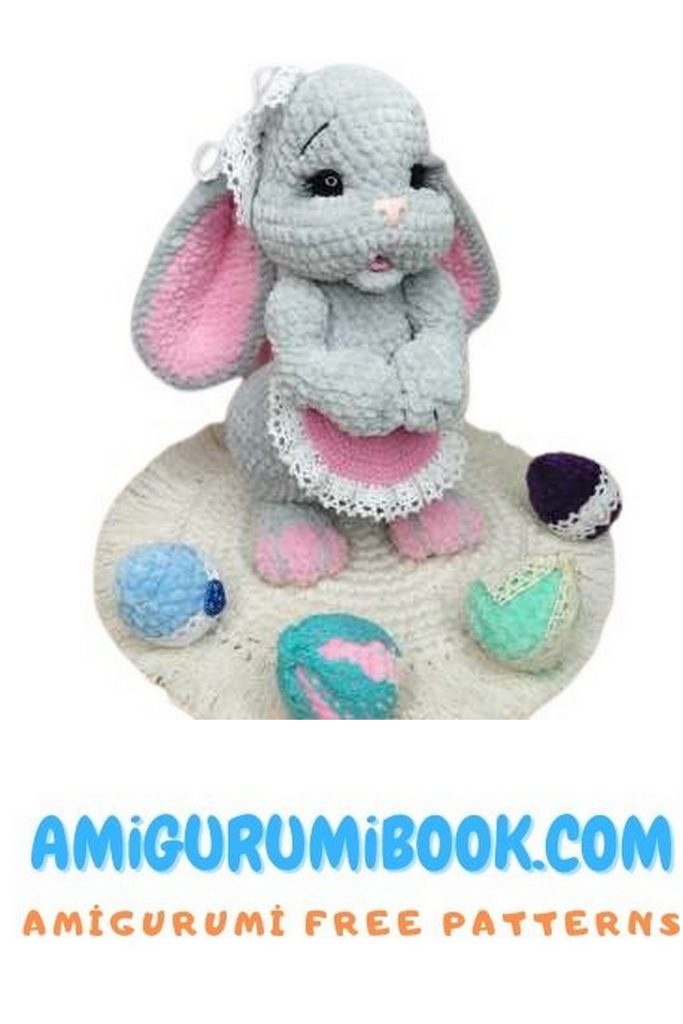
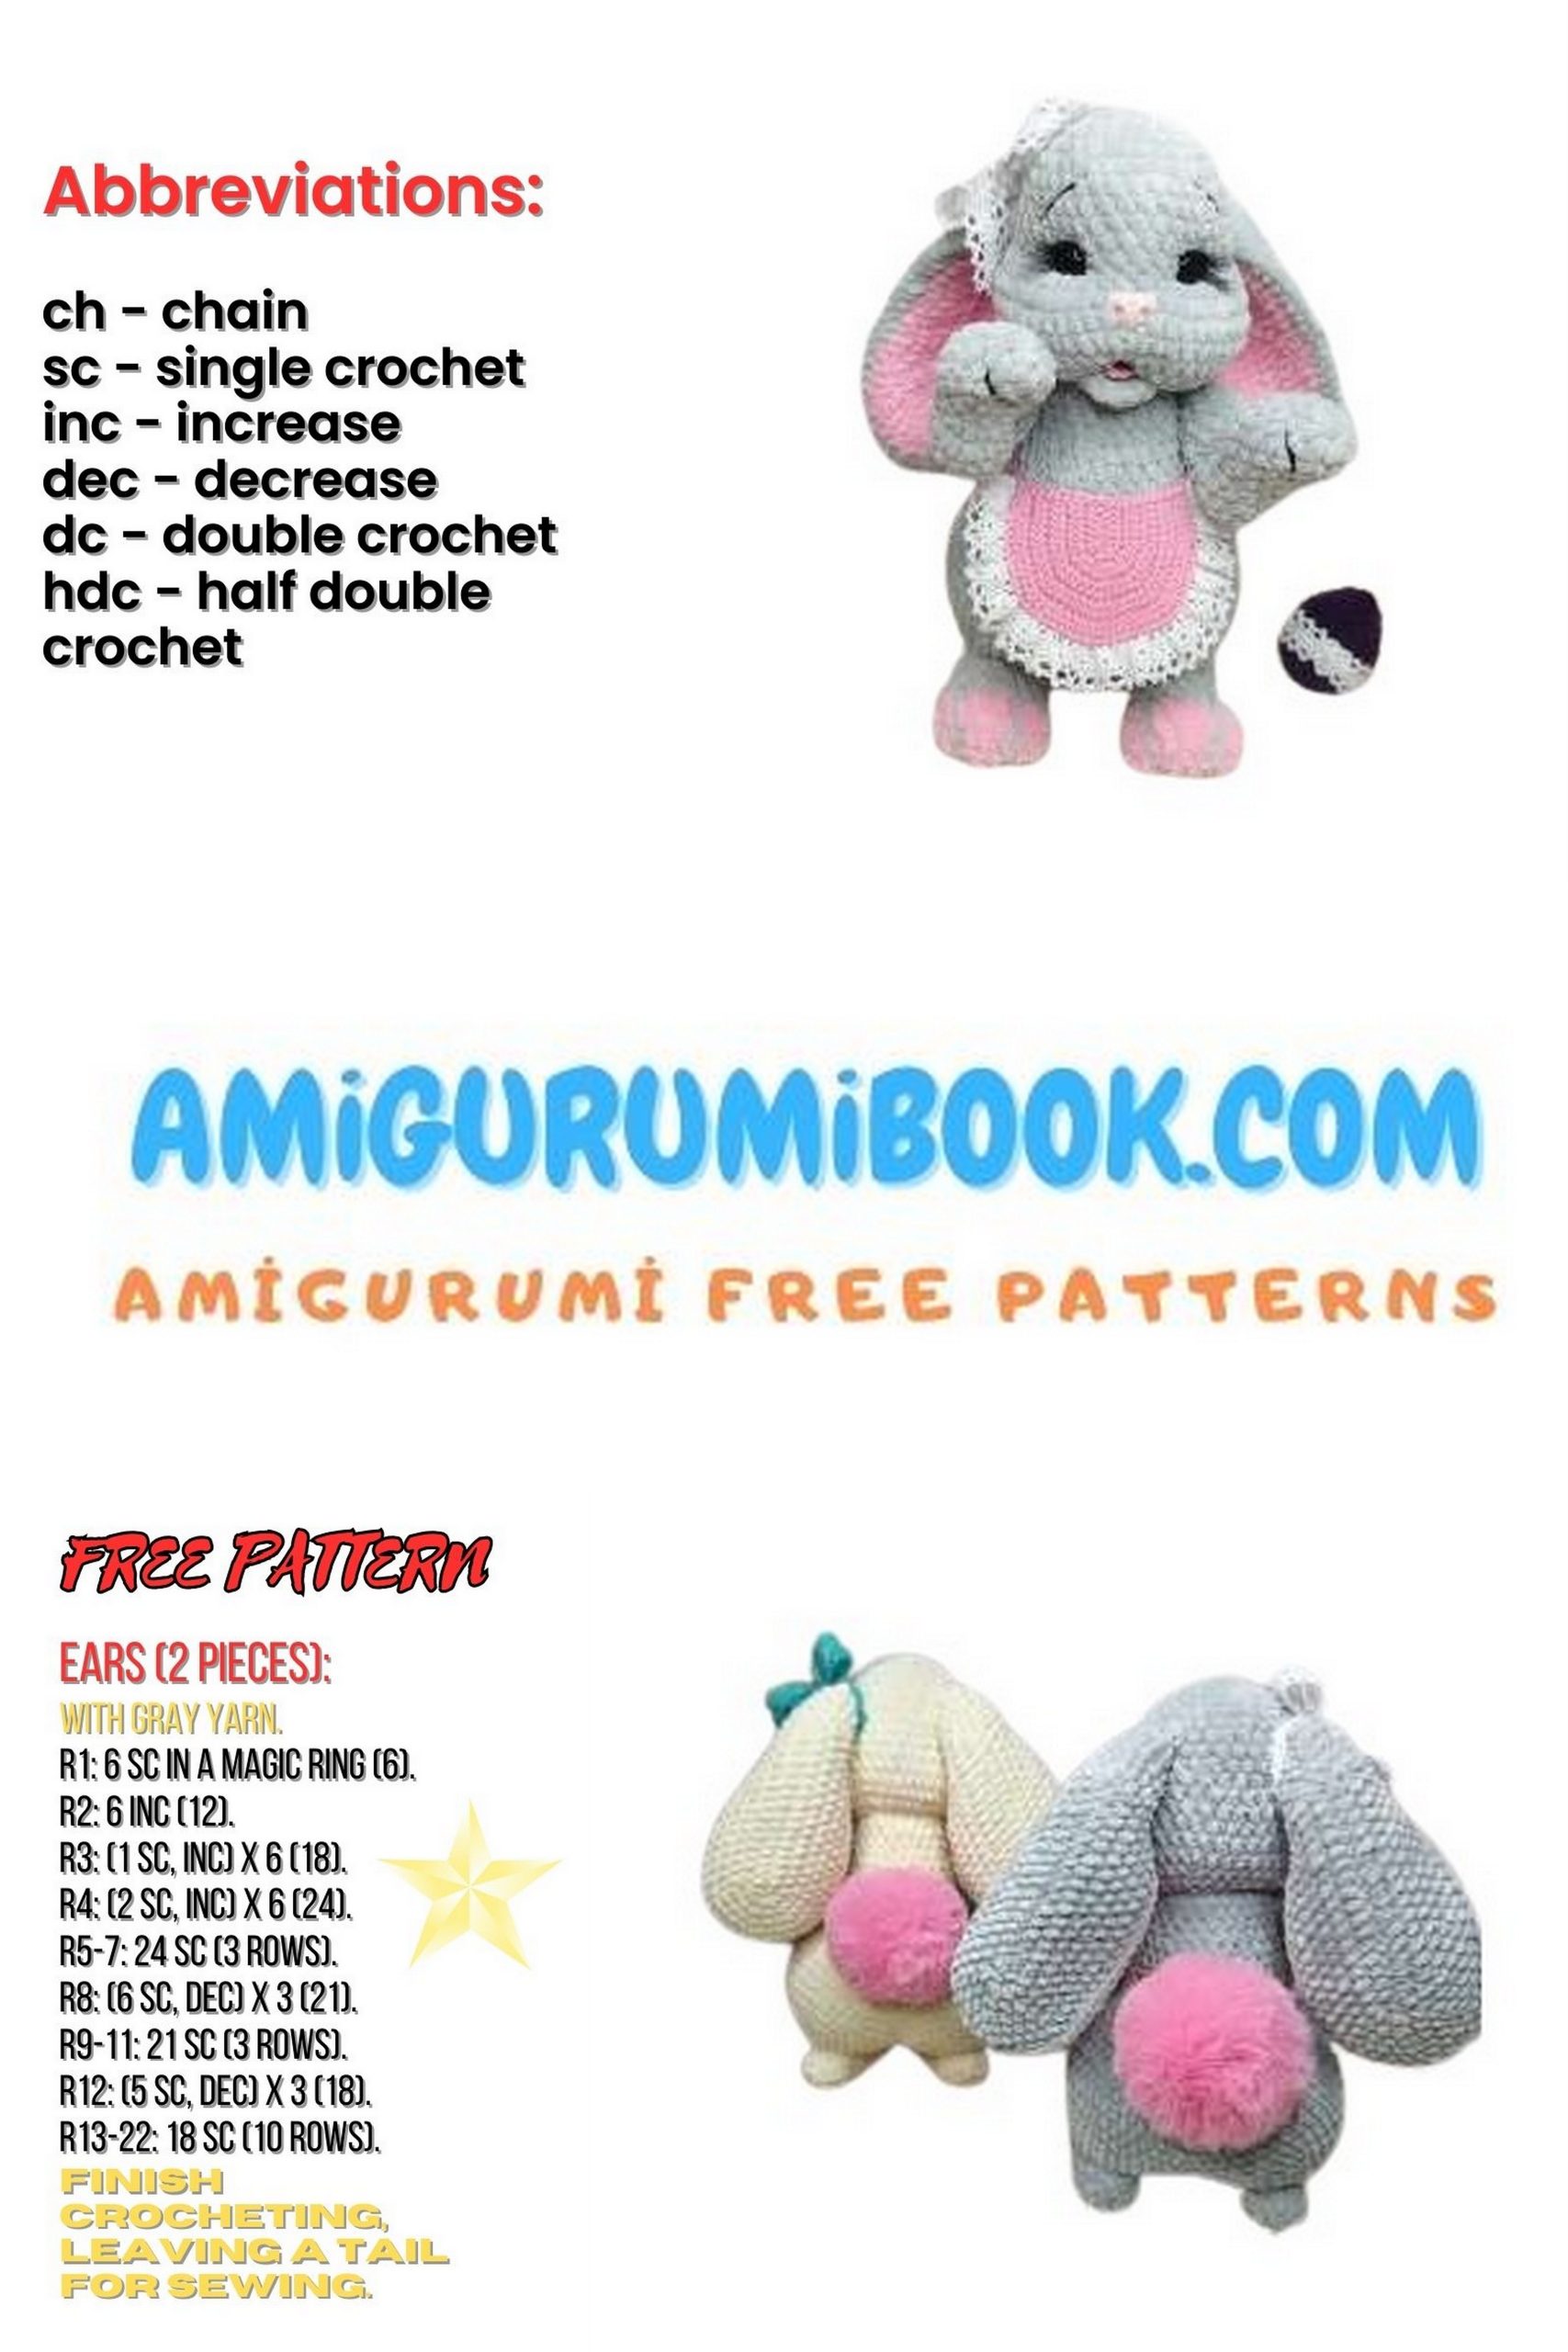
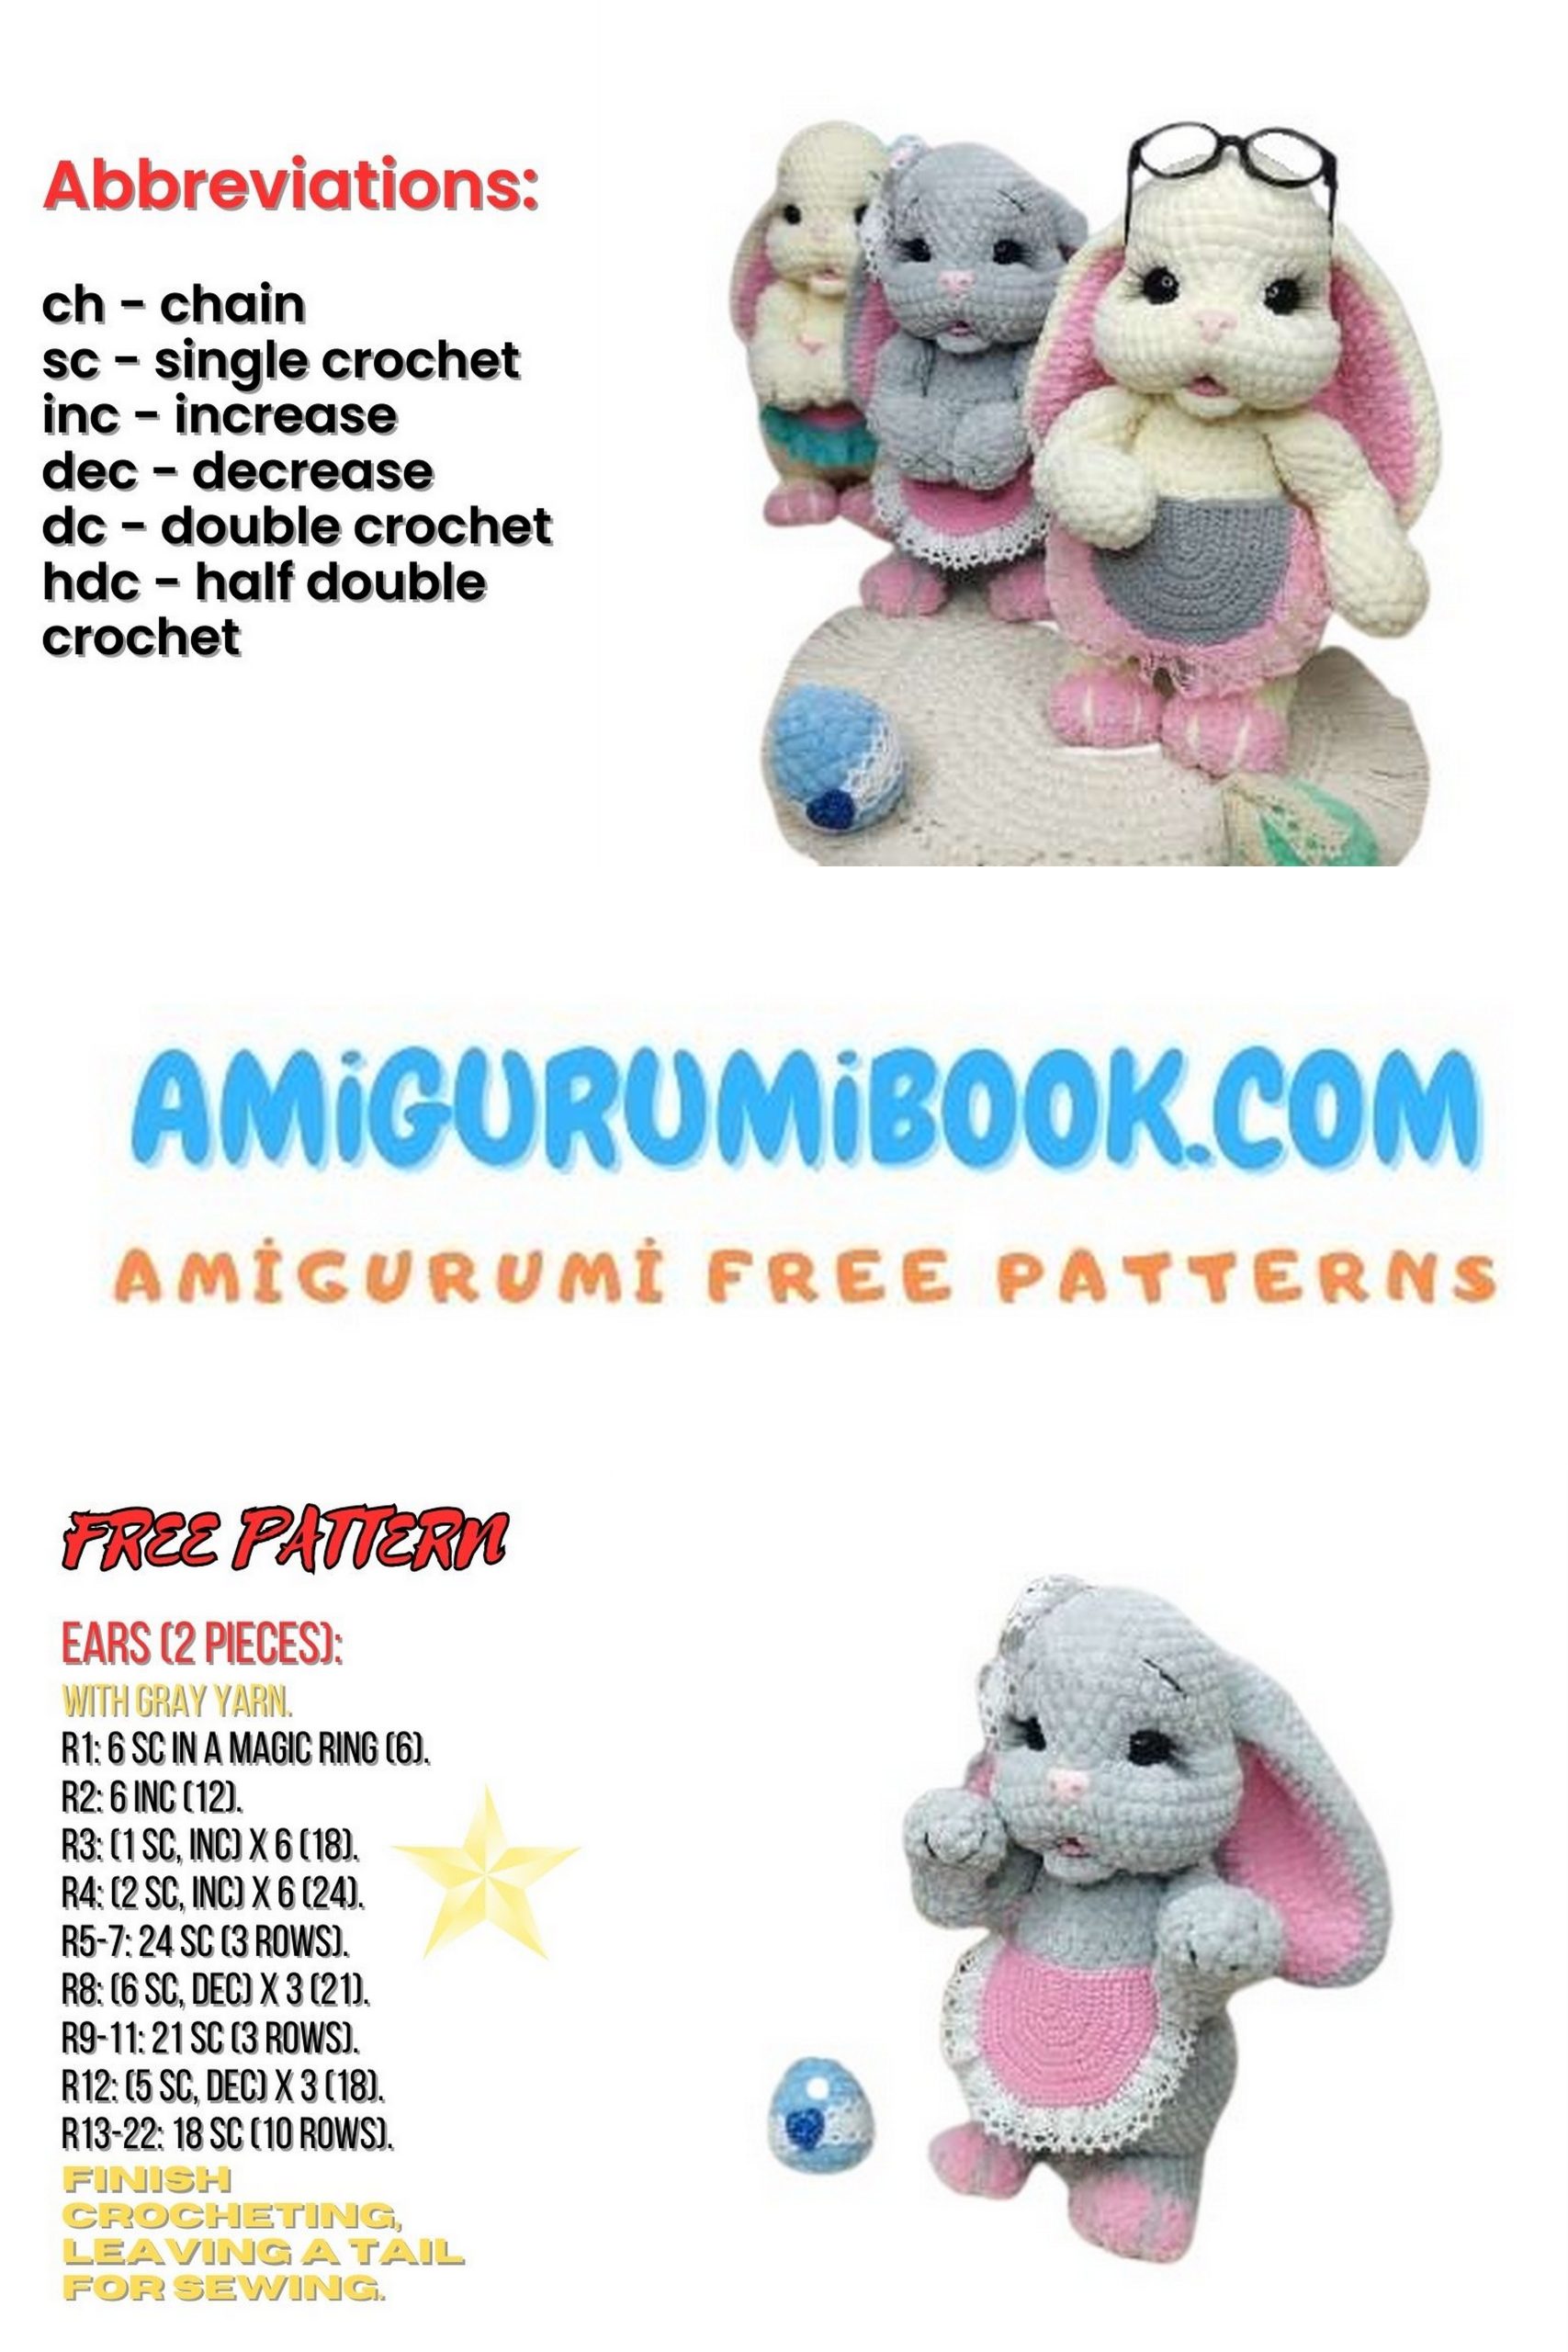
Welcome to the joyful world of crochet! With Easter around the corner, it’s the perfect time to dive into our free Easter Bunny Amigurumi pattern. This delightful project allows you to create your very own festive amigurumi bunny companion, complete with floppy ears and a fluffy tail. Whether you’re an experienced crocheter or just starting out, this pattern offers a fun and rewarding way to celebrate the season. Join us as we embark on a crochet adventure filled with pastel yarn, creative stitches, and Easter joy!
A great suggestion for your amigurumi bunny collection. You will also love the amigurumi overalls bunny content.
If you want to access 1000+ free amigurumi patterns, you can download our application from this link!
Materials and Tools
Main yarn: Himalaya Dolphin Baby or any other equivalent with a length of 120m per 100g. Any color – 150-160g.
Additional yarn: Alize Softy Plus, pink color (185 or 31) or any other, 30g.
Yarn for details: Yarnart Jeans – 10g for the apron, a small amount for shaping the muzzle and accents.
Crocheted lace: 70cm long, width 1:5-2.5cm.
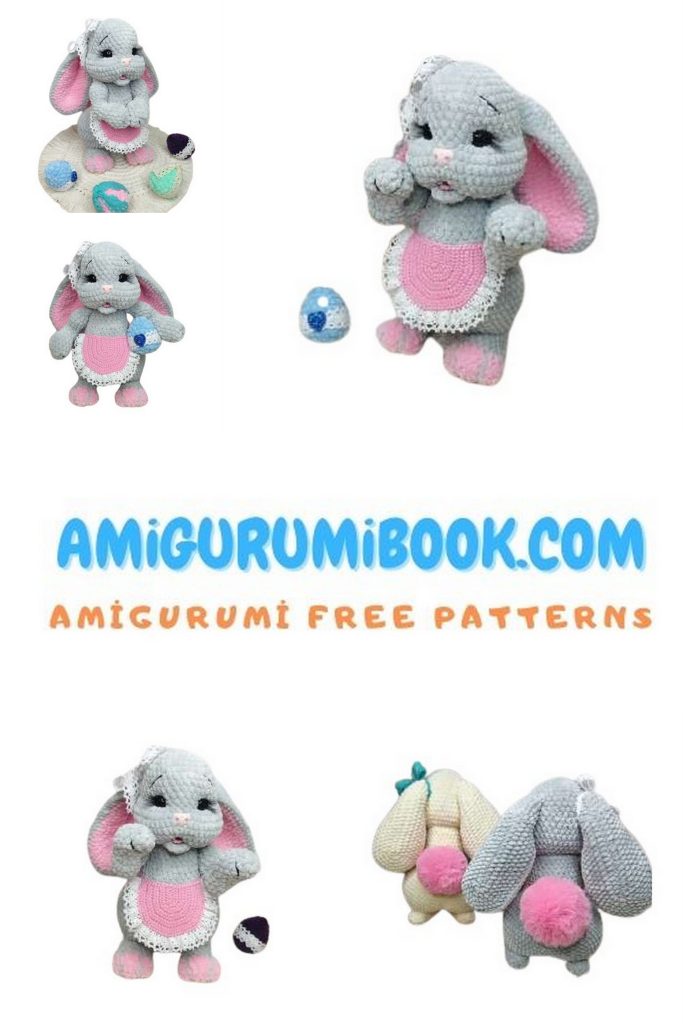
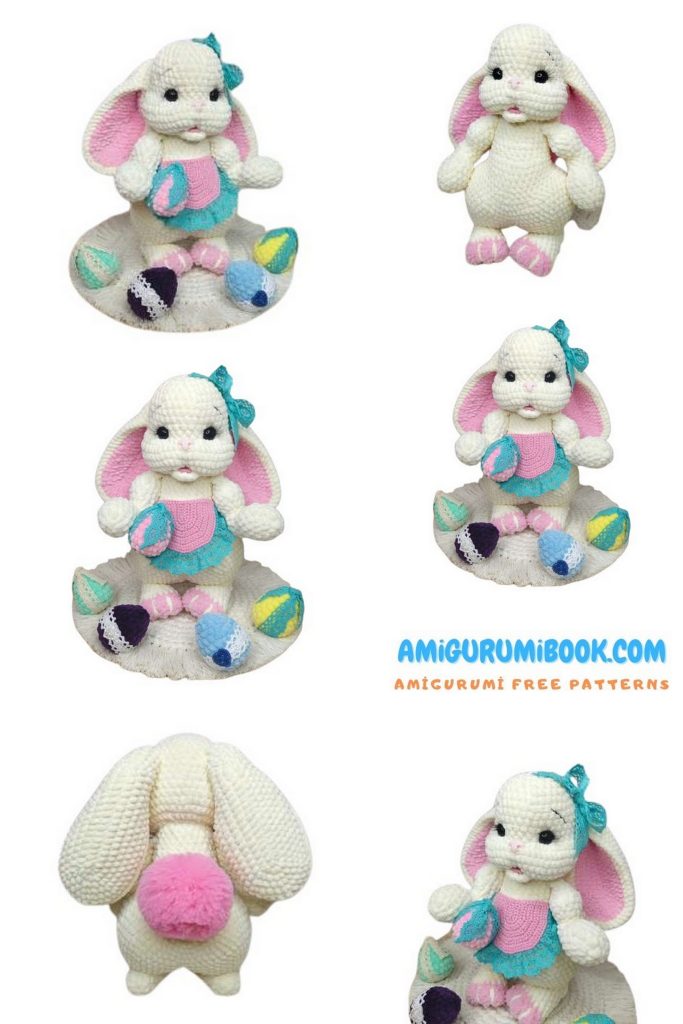
Pom-pom for the tail: 4-6cm.
Black safety eyes: 14mm half spheres.
Nose: 1:7×1:3mm.
Eyelashes.
Glue for the nose and eyelashes.
Crochet hooks: 3.75mm and 1.75mm.
Sewing needles for assembling the parts.
Abbreviations:
MR – magic ring
sl st – slip stitch
sc – single crochet
hdc – half double crochet
dc – double crochet
inc – increase
dec – decrease
ch – chain stitch
(…) X… – repeat the action in parentheses X times
PATTERN
Easter Bunny Arms (2 pieces)
No need to adjust the marker during the crochet process!
1: 6 sc in MR
2: 6 inc (12)
3: (3 sc, inc) x 3 (15)
4-6: 15 sc (3 rows)
7: (3 sc, dec) x 3 (12)
8: 3 inc, 2 sc, 3 dec, 1 sc (12)
9: 2 sc, 3 inc, 1 sc, 3 dec (12)
10-11: 12 sc (2 rows)
12: 3 sc, 3 dec, 1 sc, 2 inc (11)
13: 1 inc, 1 sc, 3 dec, 2 sc, 1 inc (10)
14: 2 inc, 8 sc (12)
15: (3 sc, inc) x 3 (15)
16: 15 sc
17: (3 sc, dec) x 3 (12)
18: (2 sc, dec) x 3 (9)
19: 9 sc
Stuff the piece. Fold the crochet in half and crochet 4 sc through both sides of the crochet. Cut and fasten off the yarn.
Easter Bunny Feet (2 pieces)
Begin crocheting with Alize Softy Plus yarn.
1: Chain 8, starting from the second chain from the hook, crochet: 6 sc, 3 sc in the last chain, 5 sc along the opposite side of the chain, inc (16)
2-3: 16 sc (2 rows)
Switch to the main color yarn.
4: 16 sc
5: (6 sc, dec) x 2 (14)
6-8: 14 sc (3 rows)
9: (5 sc, dec) x 2 (12)
10-12: 12 sc (3 rows)
Stuff the piece.
13: 6 dec, pull the hole closed, cut the yarn and fasten off.
Create accents to emphasize the separation of toes.


Easter Bunny Body
1: 5 sc in MR
2: 5 inc (10)
3: (1 sc, inc) x 5 (15)
4: (2 sc, inc) x 5 (20)
5: (3 sc, inc) x 5 (25)
6: (4 sc, inc) x 5 (30)
7: (5 sc, inc) x 5 (35)
8: (6 sc, inc) x 5 (40)
Crochet 2 such pieces. Cut the yarn on one piece, leave the yarn on the second piece. Attach the first piece and crochet:
9: 32 sc, skip the last 8 stitches according to the first piece, then the first 8 stitches according to the second piece, continue crocheting on the second piece 32 sc (64)
Set the marker; it should be in the center of the belly during crocheting.
10: 64 sc
11: 15 sc, inc, 31 sc, inc, 16 sc (66)
Adjust the marker.
12: 4 sc, dec, 21 sc, dec, 8 sc, dec, 21 sc, dec, 4 sc (62)
13: 4 sc, dec, 9 sc, dec, (8 sc, dec) x 3, 9 sc, dec, 4 sc (56)
Adjust the marker.
14: (dec, 12 sc) x 4 (52)
15: (dec, 11 sc) x 4 (48)
16: (dec, 10 sc) x 4 (44)
Adjust the marker.
17: 11 sc, dec, 20 sc, dec, 9 sc (42)
Adjust the marker.
18: 17 sc, skip 8 stitches, 17 sc (34)
19: 34 sc
20: 28 sc, (dec, 1 sc) x 2 (32)
Adjust the marker.
21: dec, 1 sc, dec, 27 sc (30)
22: 30 sc
23: 27 sc, dec, 1 sc (29)
Adjust the marker.
24: dec, 1 sc, dec, 24 sc (27)
25: (7 sc, dec) x 3 (24)
Sew up the hole in the 18th row.
Stuff the body.
Adjust the marker.
Continue by attaching the arms:
26: 17 sc, 4 sc with the first arm, 3 sc (24)
27: 3 sc, 4 sc with the second arm, 17 sc (24)
28: 17 sc (partial row)
Cut the yarn and fasten off.
Stuff the body.


Easter Bunny Head
1: 6 sc in MR
2: 6 inc (12)
3: (1 sc, inc) x 6 (18)
4: (2 sc, inc) x 6 (24)
5: (3 sc, inc) x 6 (30)
6: (4 sc, inc) x 6 (36)
7-12: 36 sc (6 rows)
Adjust the marker.
13: 8 sc, 8 inc from hdc, 4 sc, 8 inc from hdc, 8 sc (52)
14-16: 52 sc (3 rows)
Adjust the marker.
17: (11 sc, dec) x 4 (48)
18: (6 sc, dec) x 6 (42)
Install the eyes between rows 11 and 12; the distance between the eyes after installation is 6 sc.
19: (5 sc, dec) x 6 (36)
20: (4 sc, dec) x 6 (30)
21: (3 sc, dec) x 6 (24)
22: (2 sc, dec) x 6 (18)
23: (1 sc, dec) x 6 (12)
24: 6 dec
Pull the hole closed, cut the yarn, and fasten off.


Easter Bunny Ears (2 pieces)
Inner part:
Crochet with Alize Softy Plus yarn.
1: Chain 18, starting from the second chain from the hook, crochet: 16 sc, 3 sc in the last chain, 15 sc along the opposite side of the chain, inc (36)
2: 1 inc, 15 sc, 3 inc, 15 sc, 2 inc (42)
3: 1 sc, inc, 15 sc, (1 sc, inc) x 3, 15 sc, (1 sc, inc) x 2 (48)
4: 2 sc, inc, 15 sc, (2 sc, inc) x 3, 15 sc, (2 sc, inc) x 2 (54)
5: 3 sc, inc, 15 sc, (3 sc, inc) x 3, 15 sc, (3 sc, inc) x 2 (60)
Cut the yarn.
Outer part:
Crochet with the main color yarn.
1: Chain 18, starting from the second chain from the hook, crochet: 16 sc, 3 sc in the last chain, 15 sc along the opposite side of the chain, inc (36)
2: 1 inc, 15 sc, 3 inc, 15 sc, 2 inc (42)
3: 1 sc, inc, 15 sc, (1 sc, inc) x 3, 15 sc, (1 sc, inc) x 2 (48)
4: 2 sc, inc, 15 sc, (2 sc, inc) x 3, 15 sc, (2 sc, inc) x 2 (54)
5: 3 sc, inc, 15 sc, (3 sc, inc) x 3, 15 sc, (3 sc, inc) x 2 (60)
6: 28 sc, hdc, dc, hdc, 29 sc (60)
Do not cut the yarn.
Next, connect the pieces. Place the inner part on top of the outer part, wrong sides facing each other, and crochet around both pieces: 60 sc. Then, fold the crochet in half and crochet 5 sc through both sides of the crochet. Cut and fasten off the yarn, leaving 20-30cm for sewing the ear to the head.
Easter Bunny Mouth
Crochet with the main yarn.
1: 3 sc in MR, turn.
2: 3 inc (6)
Cut the yarn and fasten off, leaving 20-30cm for sewing the mouth to the head.
Easter Bunny Tongue
Crochet with Yarnart Jeans yarn.
1: 6 sc in MR
2: 6 inc (12)
Cut the yarn and fasten off, leaving 20-30cm for sewing the tongue to the head.
Shaping and decorating the head
1: Shape the eye sockets.
2: Shape the mouth in the 15th row.
3: Glue the nose between rows 13 and 14.
4: Sew on the mouth.
5: Sew on the tongue.
6: Embroider eyebrows.
7: Embroider eyelashes or attach eyelashes.


Easter Bunny Assembly
1: Sew the head, first securing it with pins to the body. Sew in a circle, ensuring to add stuffing at the end.
2: Sew on the feet, first securing them with pins to the body.
3: Sew on the ears, first securing them with pins and needles to the head. Position the ears between rows 6 and 13, 6 stitches away from the eyes.
4: Sew on the tail.
5: You can shape the fingers on the hands.
Your bunny is ready!
Apron
Crochet in rows.
1: Chain 7, starting from the second chain from the hook, crochet: 5 sc, 4 sc in the last chain, 5 sc, ch (14)
2: 5 sc, 4 inc, 5 sc, ch (18)
3: 5 sc, (1 sc, inc) x 4, 5 sc, ch (22)
4: 5 sc, (2 sc, inc) x 4, 5 sc, ch (26)
5: 5 sc, (3 sc, inc) x 4, 5 sc, ch (30)
6: 5 sc, (4 sc, inc) x 4, 5 sc, ch (34)
7: 5 sc, (5 sc, inc) x 4, 5 sc, ch (38)
8: 5 sc, (6 sc, inc) x 4, 5 sc, ch (42)
9: 5 sc, (7 sc, inc) x 4, 5 sc, ch (46)
10: 5 sc, (8 sc, inc) x 4, 5 sc, ch (50)
Next, you can either attach lace with sl st without cutting the yarn, or cut the yarn and sew on the lace. After attaching the lace, crochet a belt for the apron: ch 50, sc 22 along the top edge of the apron, ch 50. Cut the yarn.
Eggs
1: 8 sc in MR
2: (1 sc, inc) x 4 (12)
3: (2 sc, inc) x 4 (16)
4: (3 sc, inc) x 4 (20)
5: (4 sc, inc) x 4 (24)
6-7: 24 sc (2 rows)
8: (2 sc, dec) x 6 (18)
9: (1 sc, dec) x 6 (12)
Stuff the egg.
10: 6 dec
Pull the hole closed, cut the yarn, and fasten off.
Decorate the eggs with lace.
Dear crafters!
I believe you’ve created a wonderful toy!
Thank you for choosing my master class, and I wish you creative success!
I’m always happy to help and answer your questions on my account.