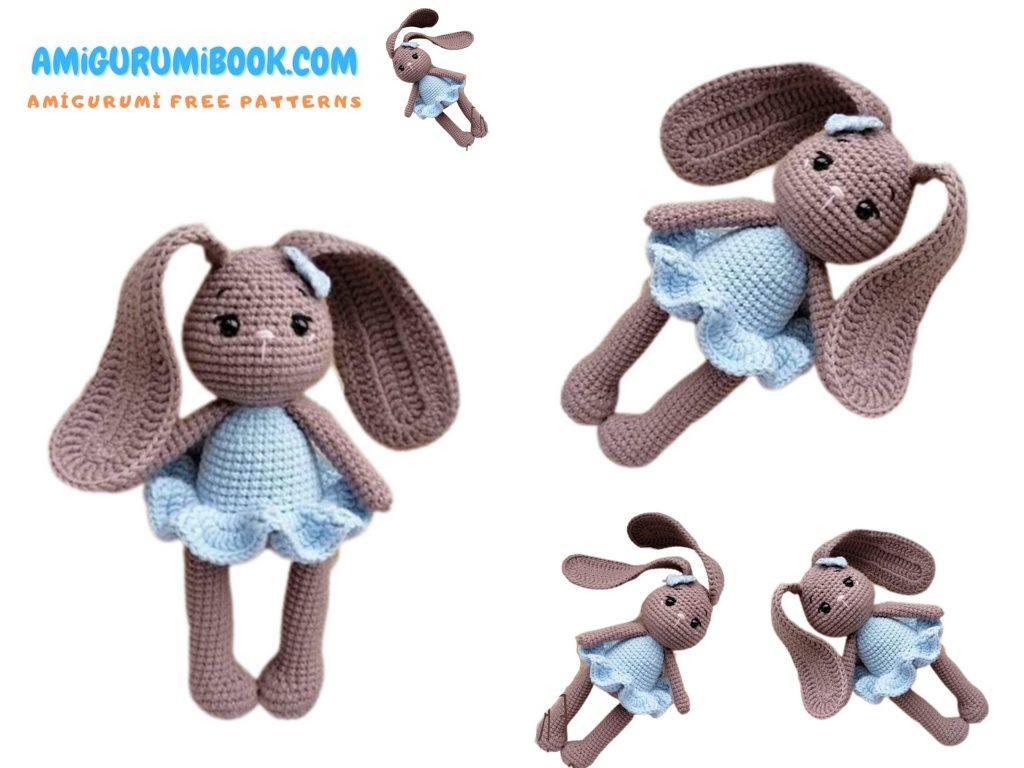
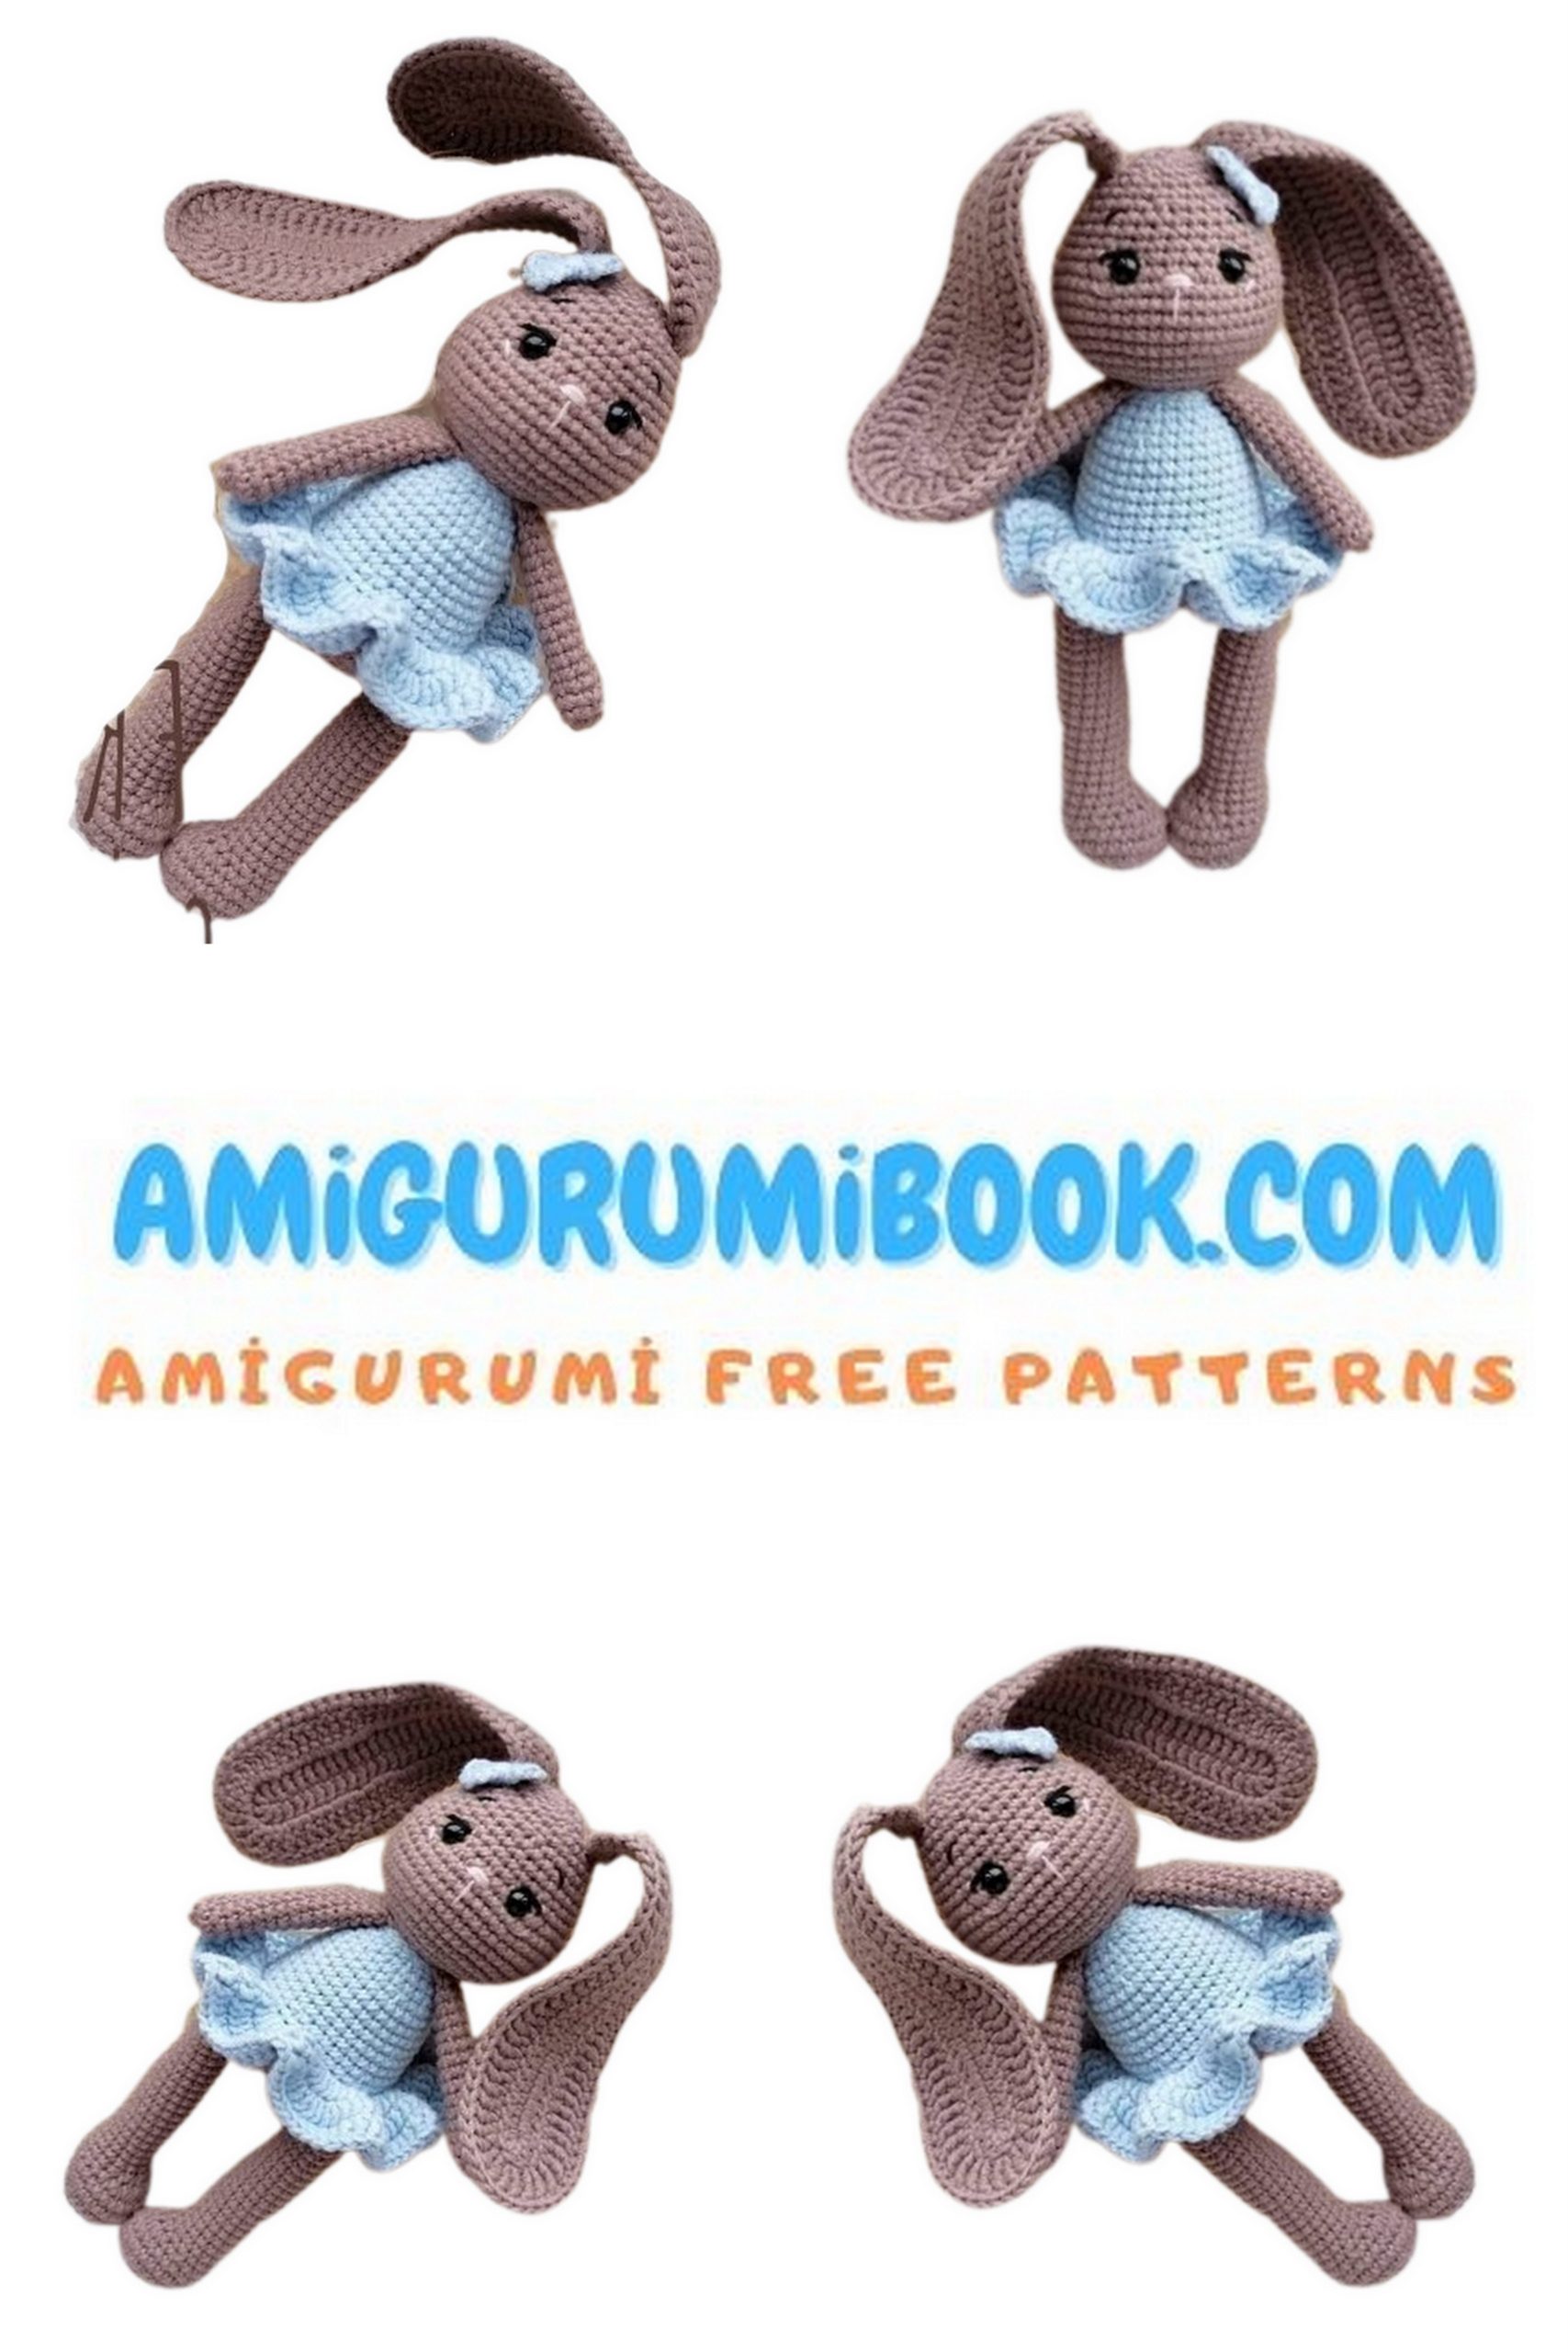
Discover the joy of creating your own adorable amigurumi bunny dressed in a charming outfit with this free pattern and tutorial. Perfect for beginners and experienced crafters alike, this step-by-step guide will help you crochet a cute and cuddly bunny that makes a delightful gift or decoration. free crochet patterns
You may also like more amigurumi patterns.
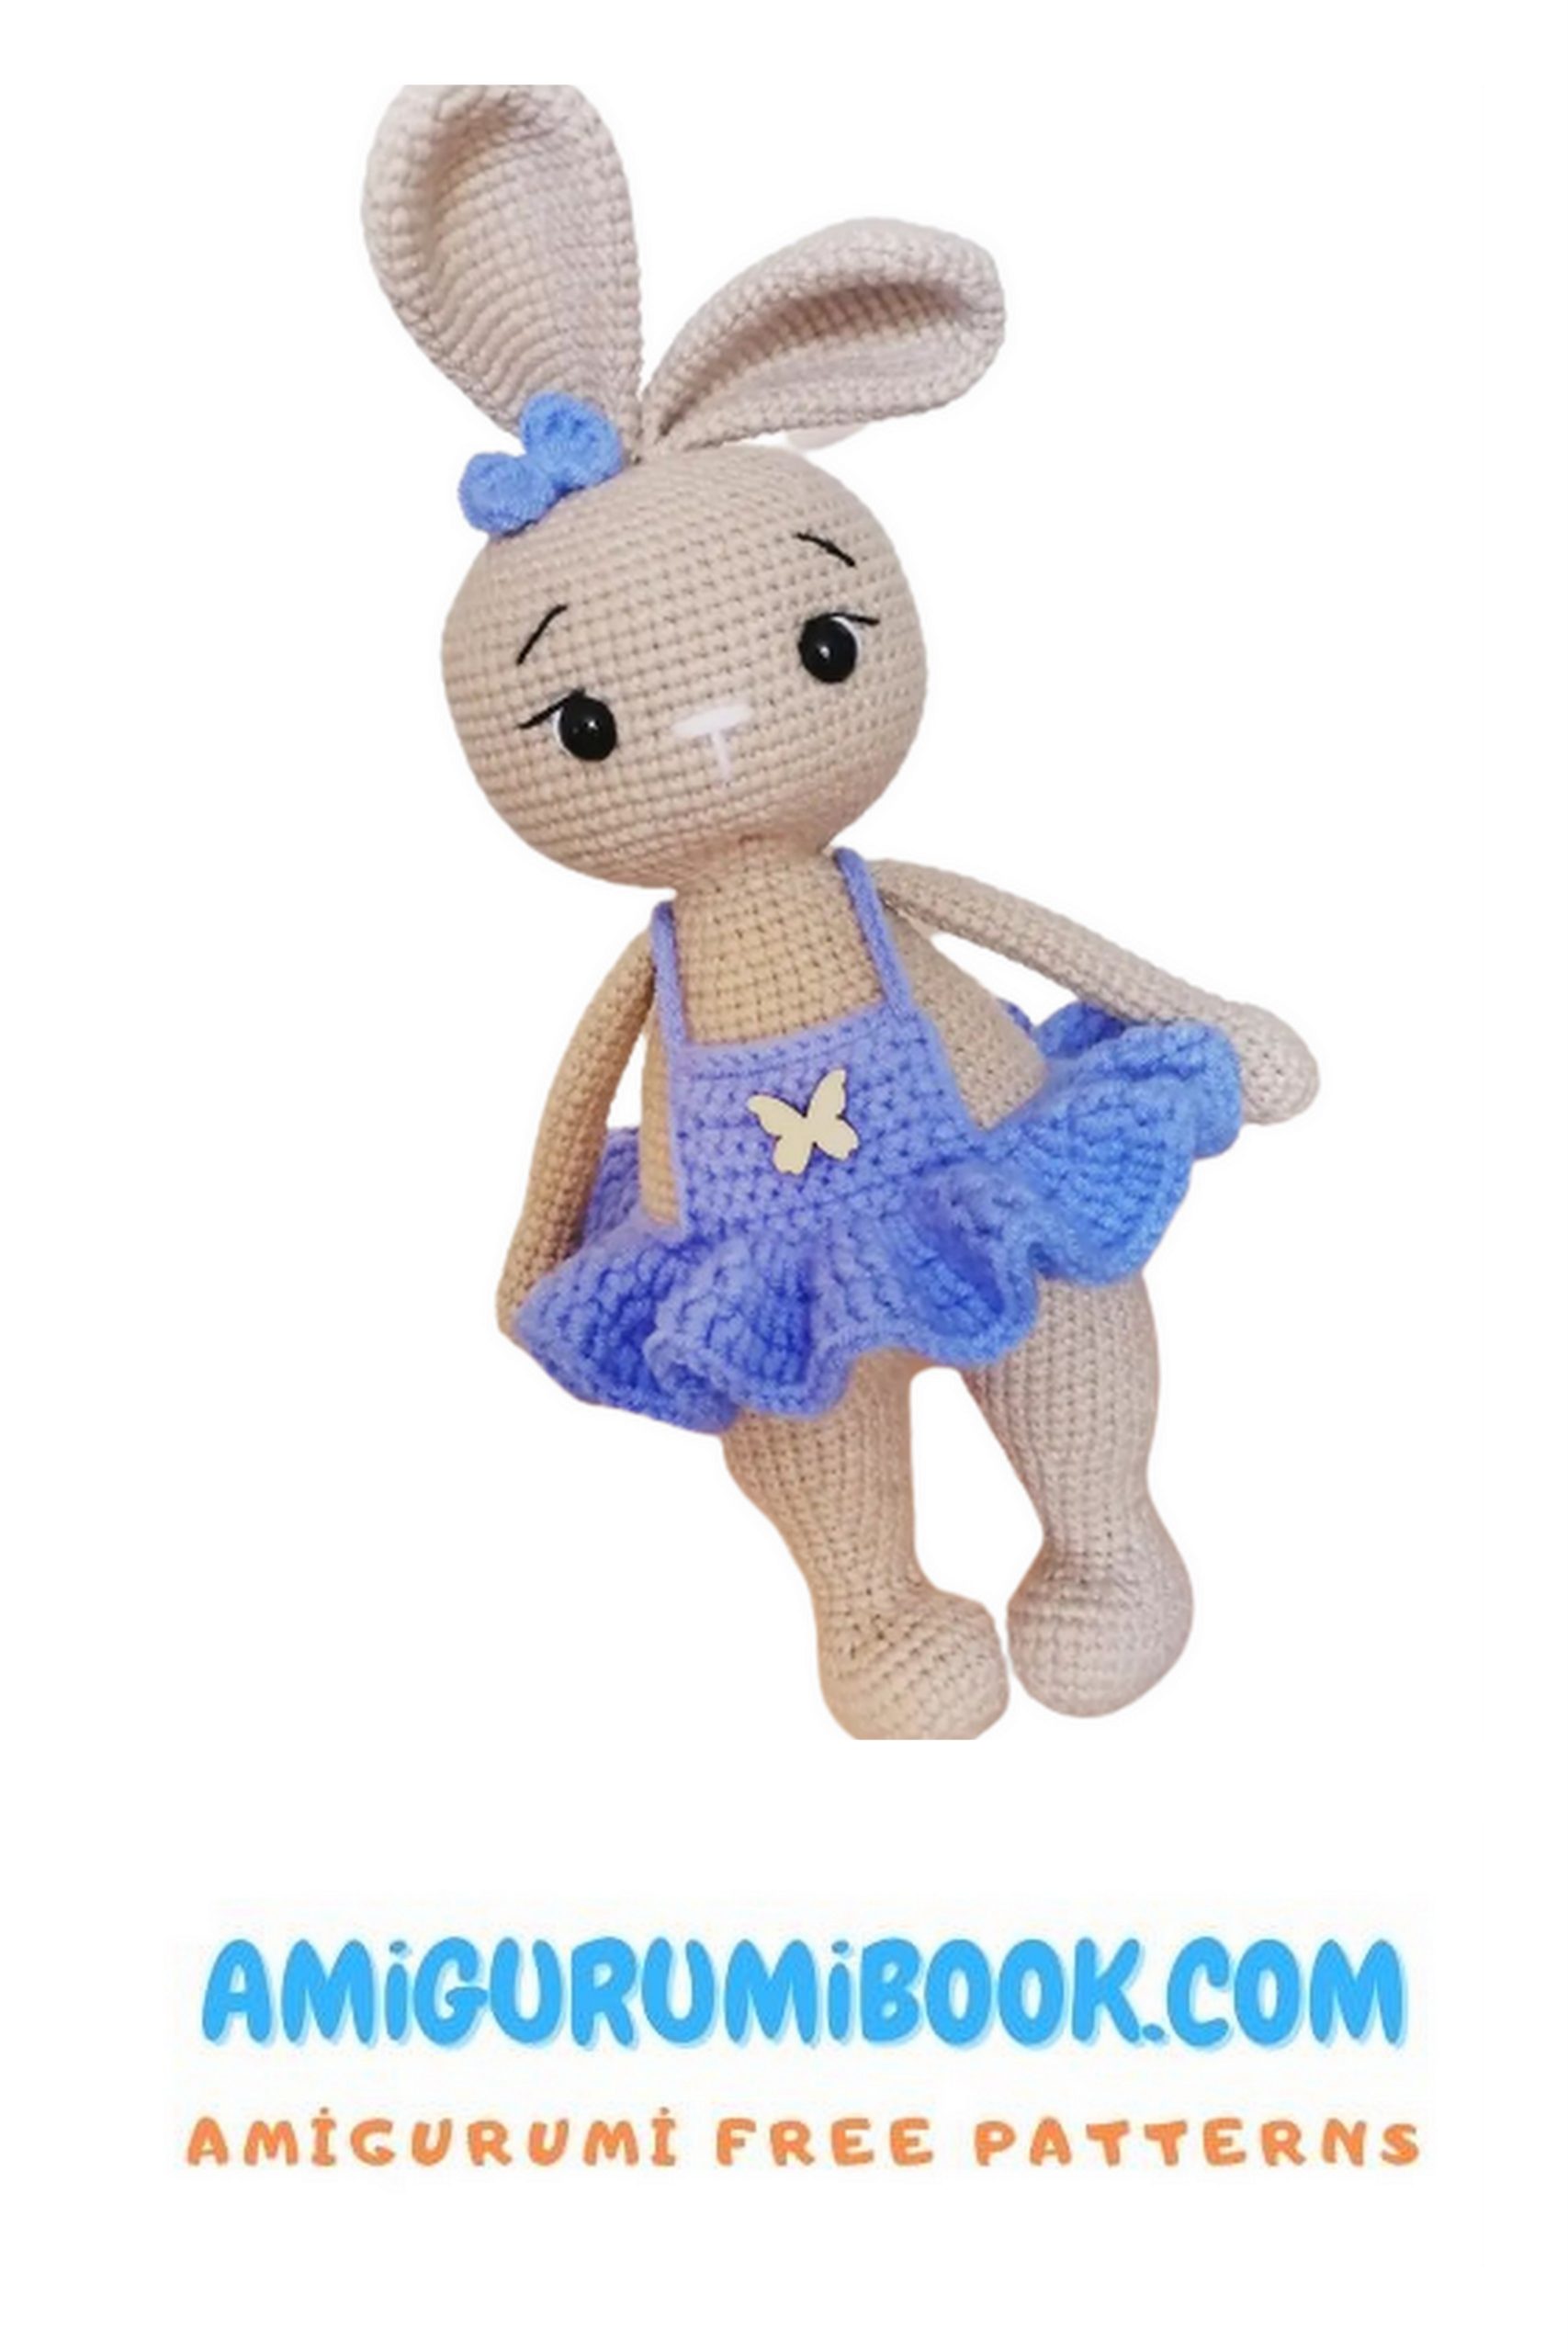
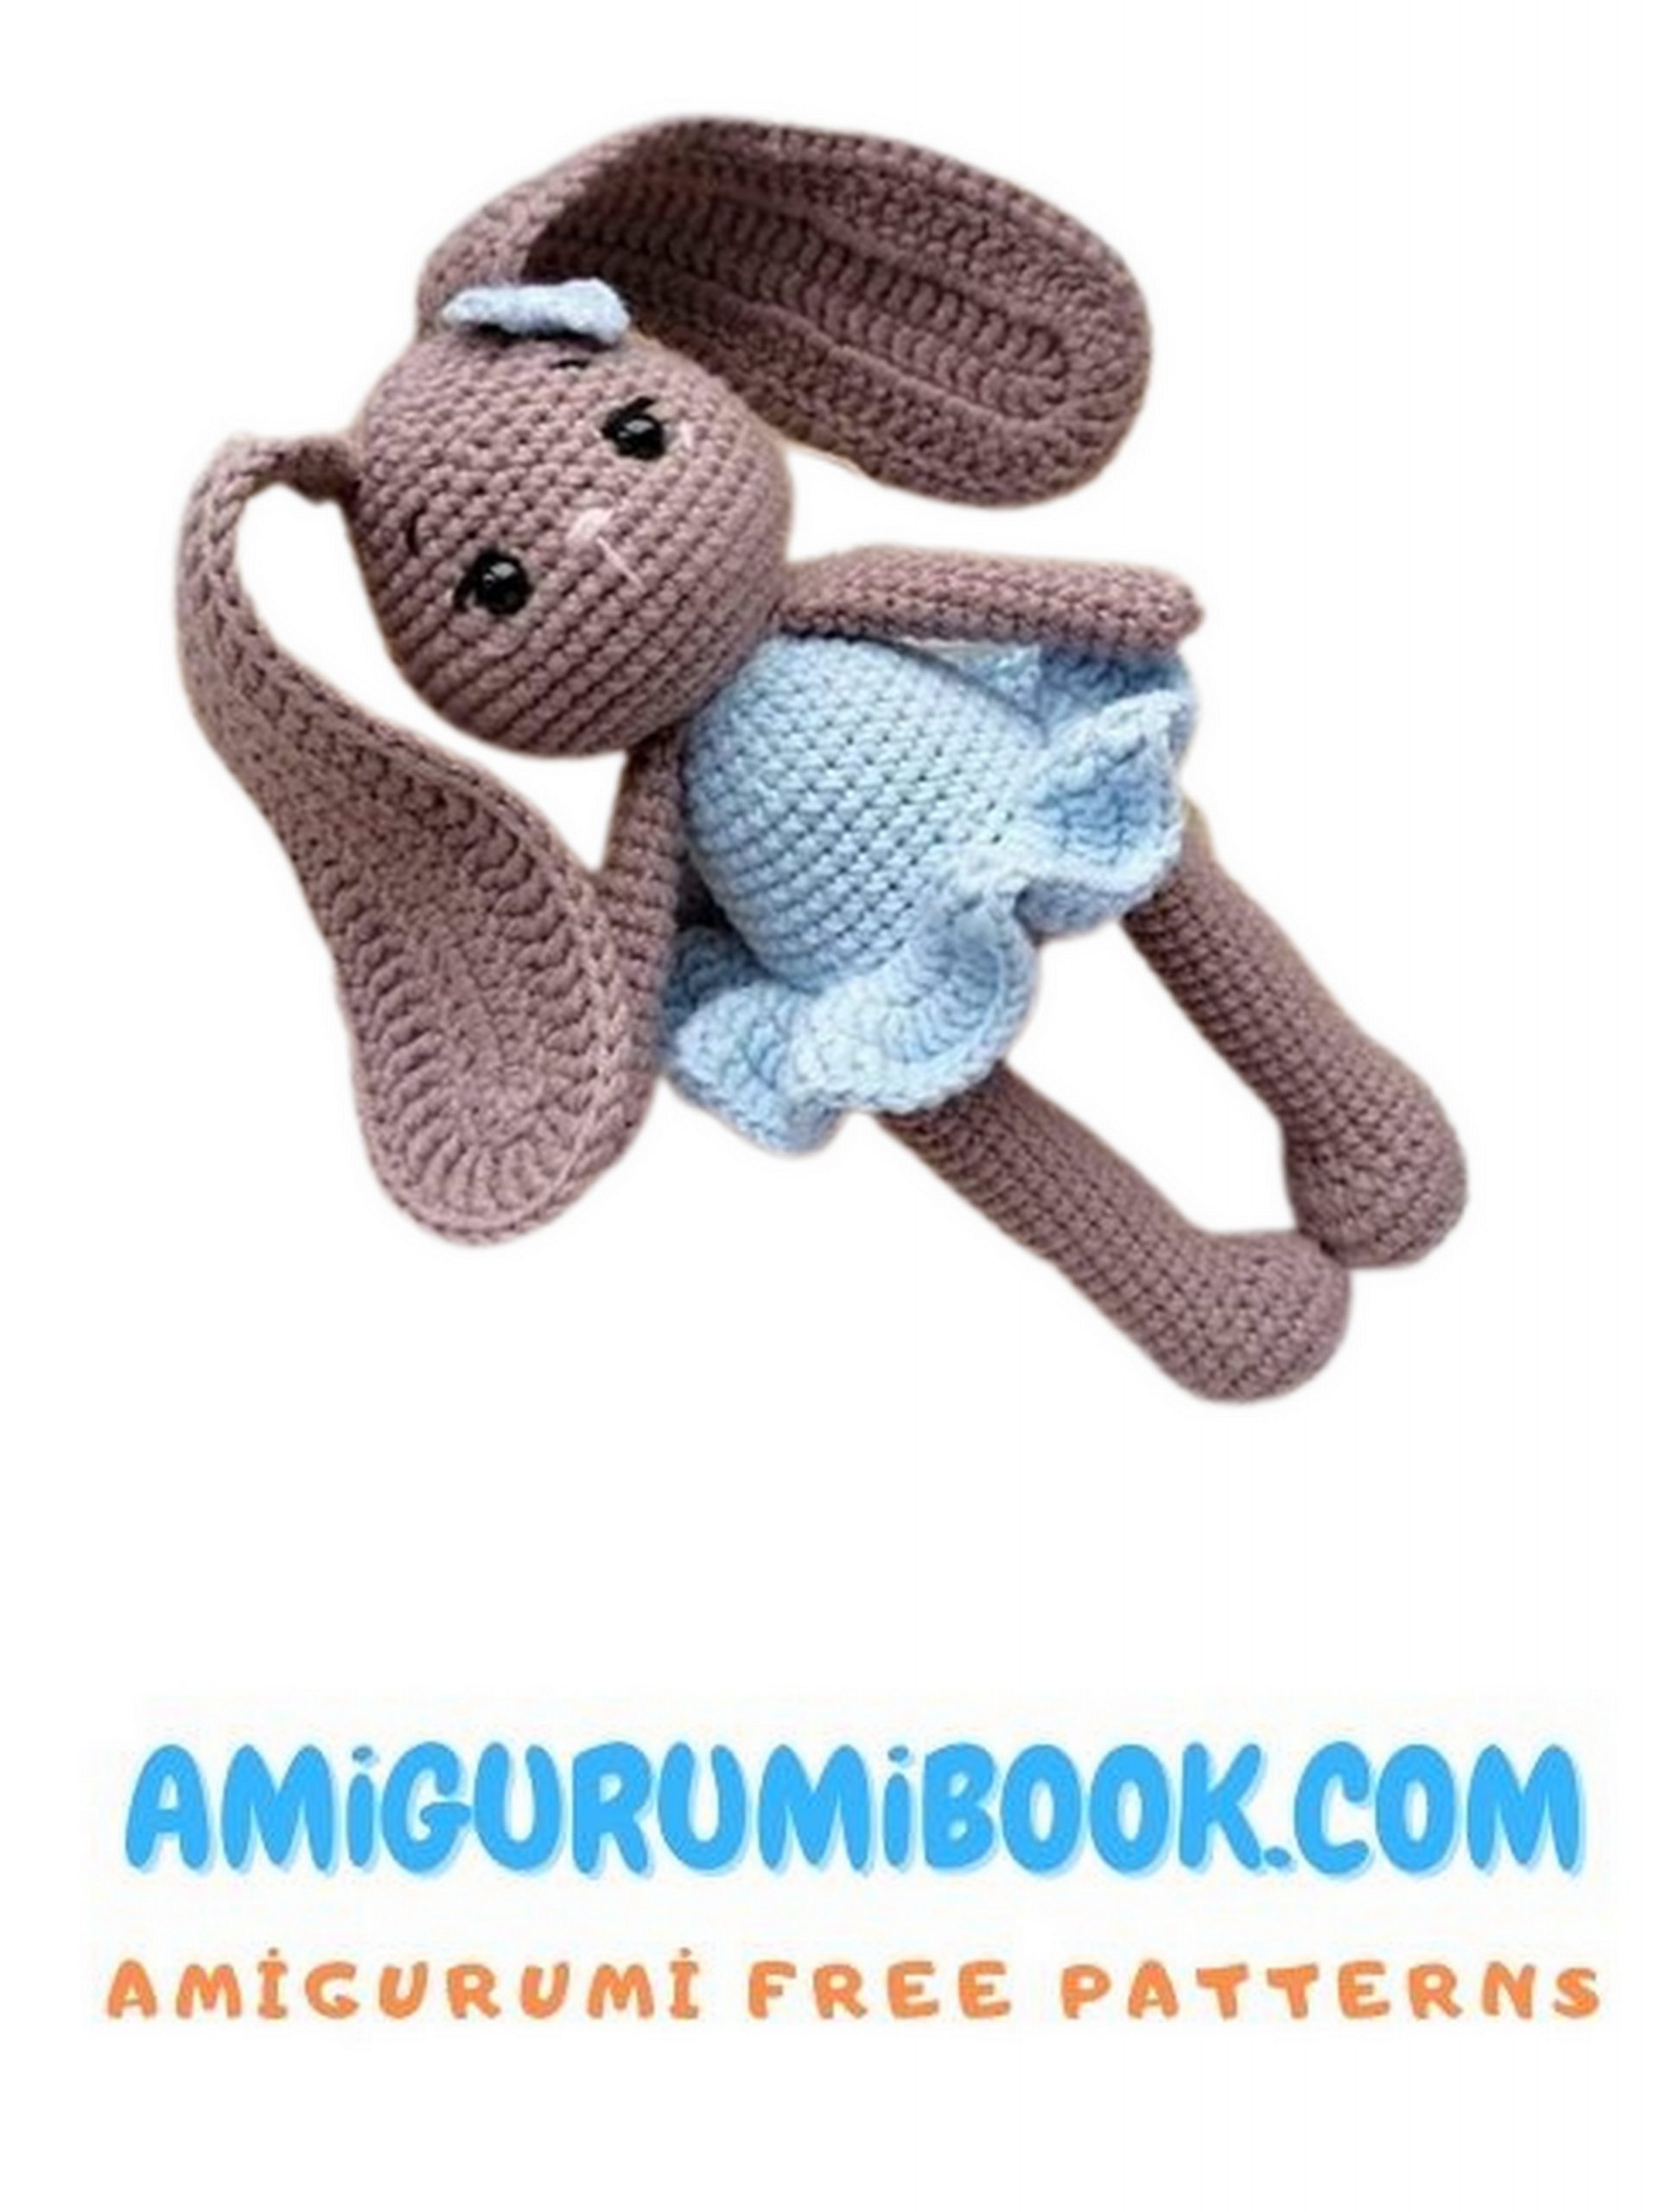
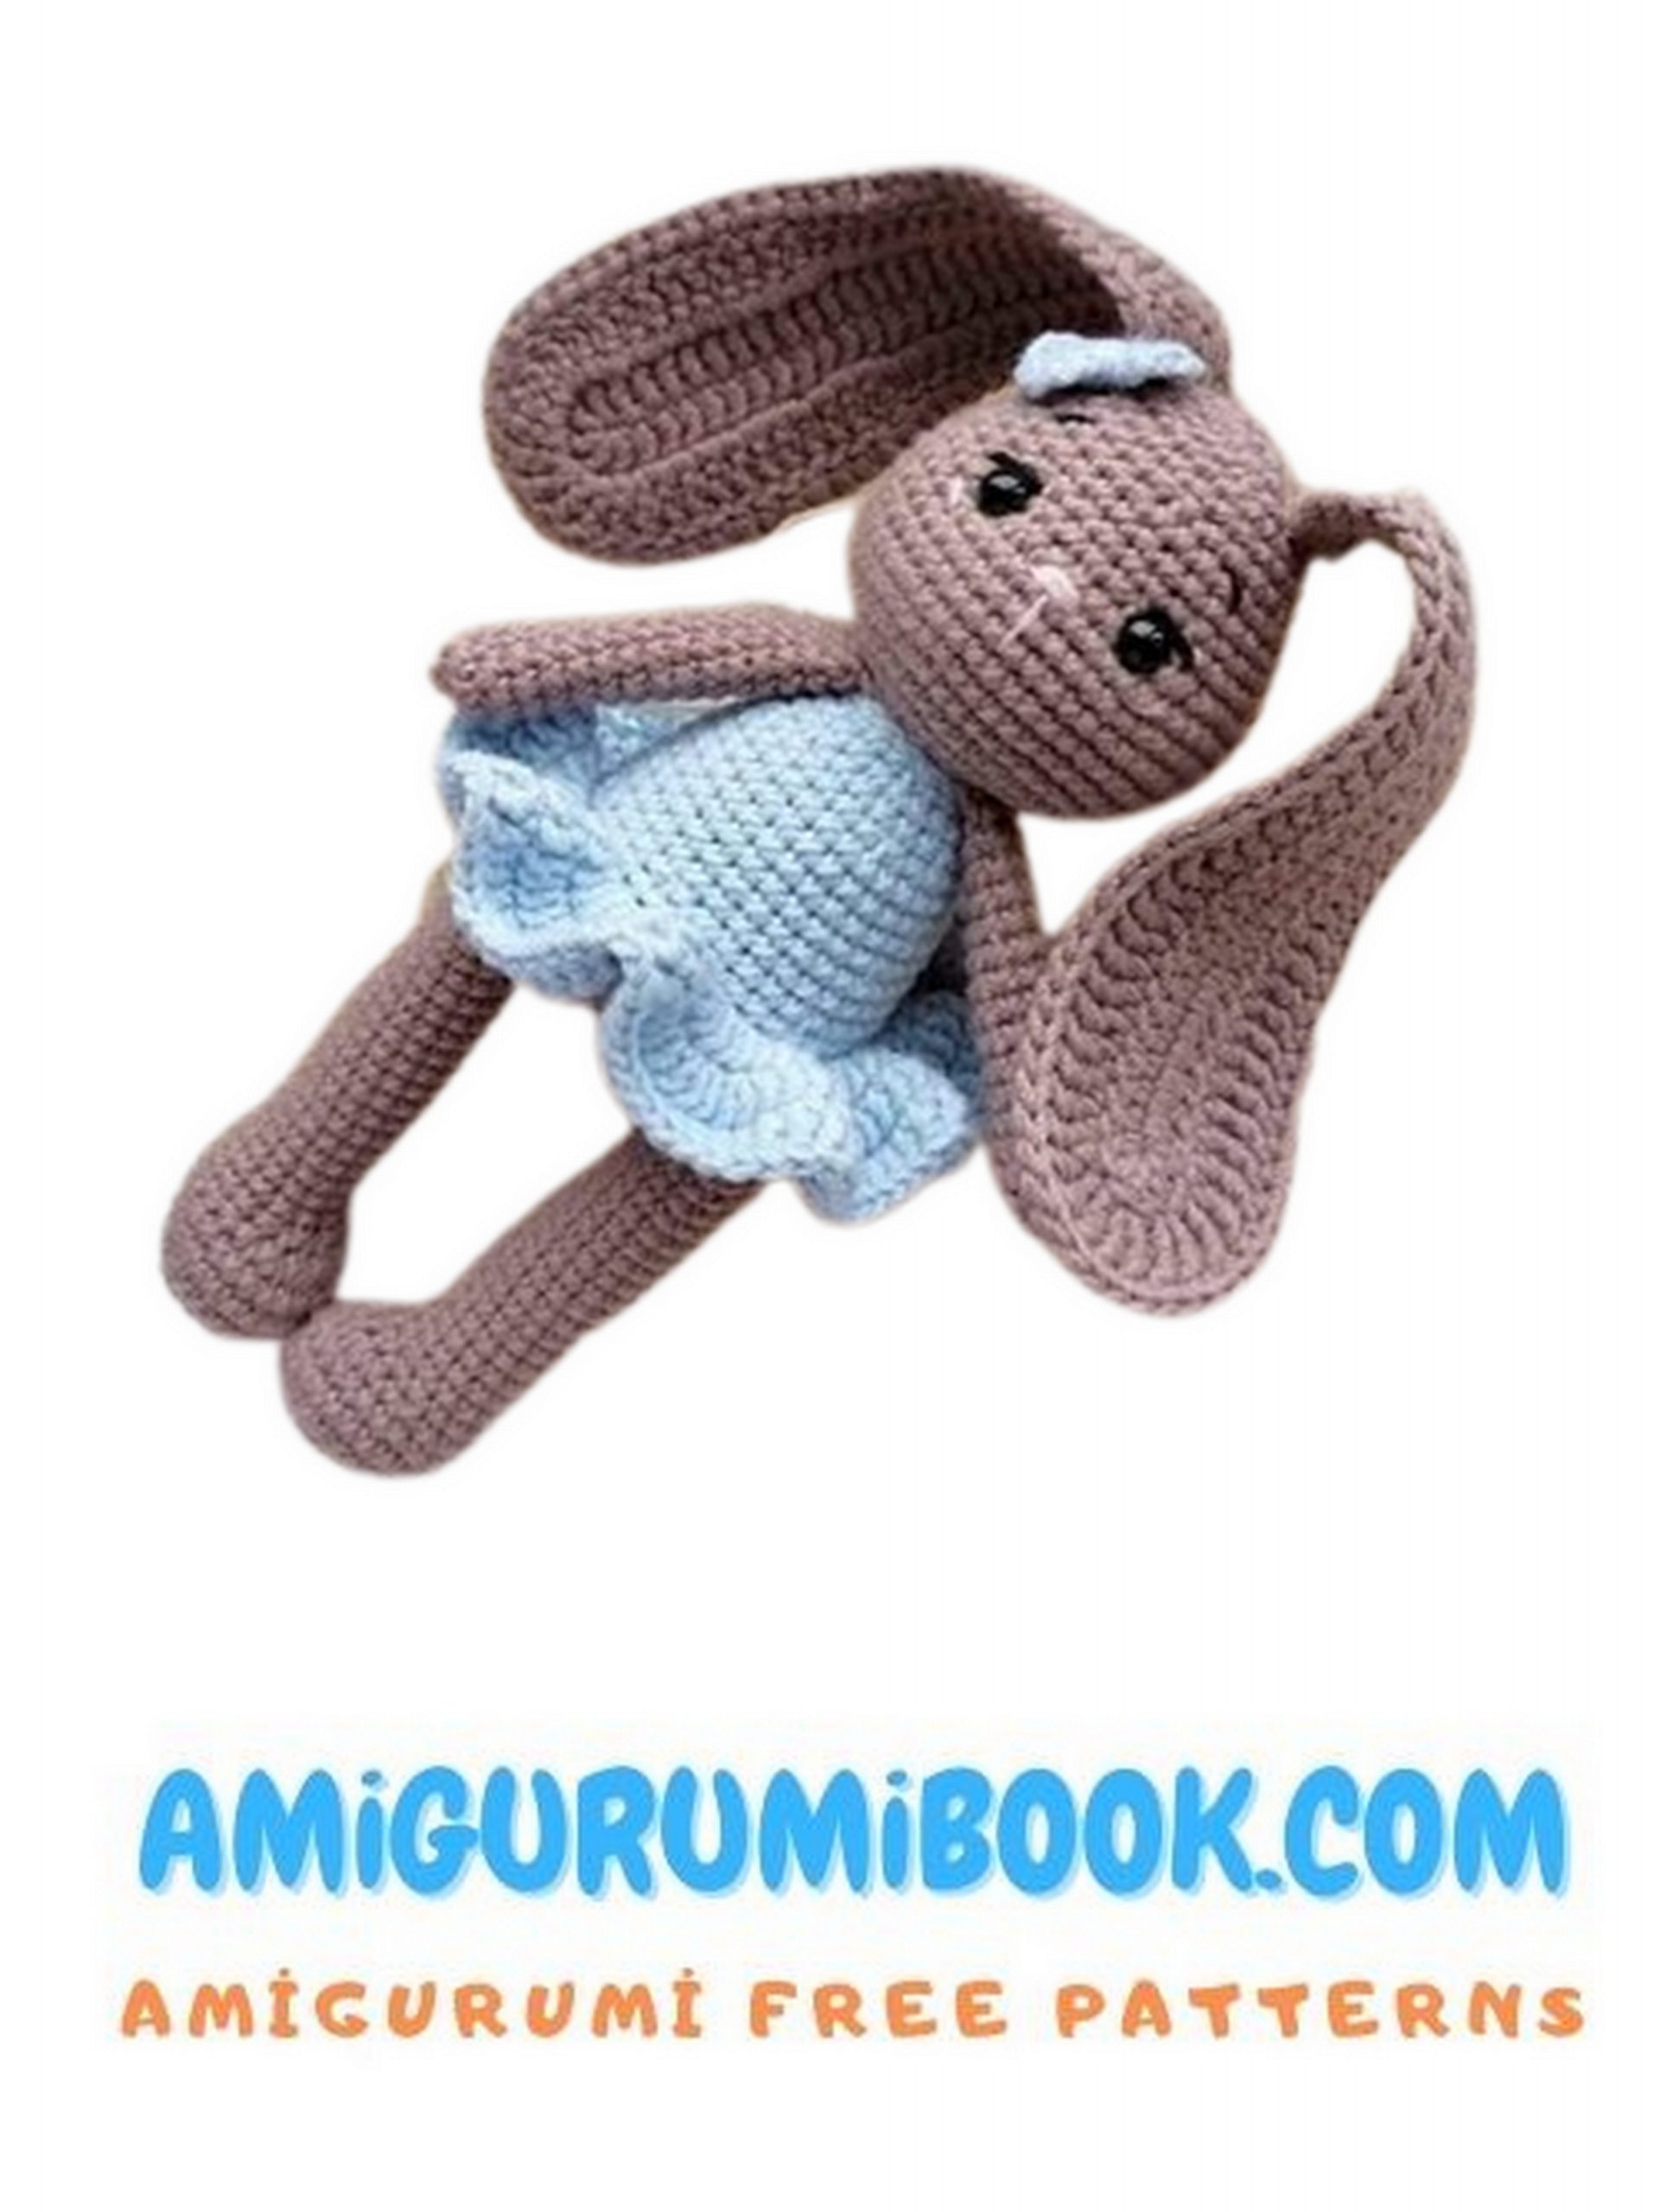
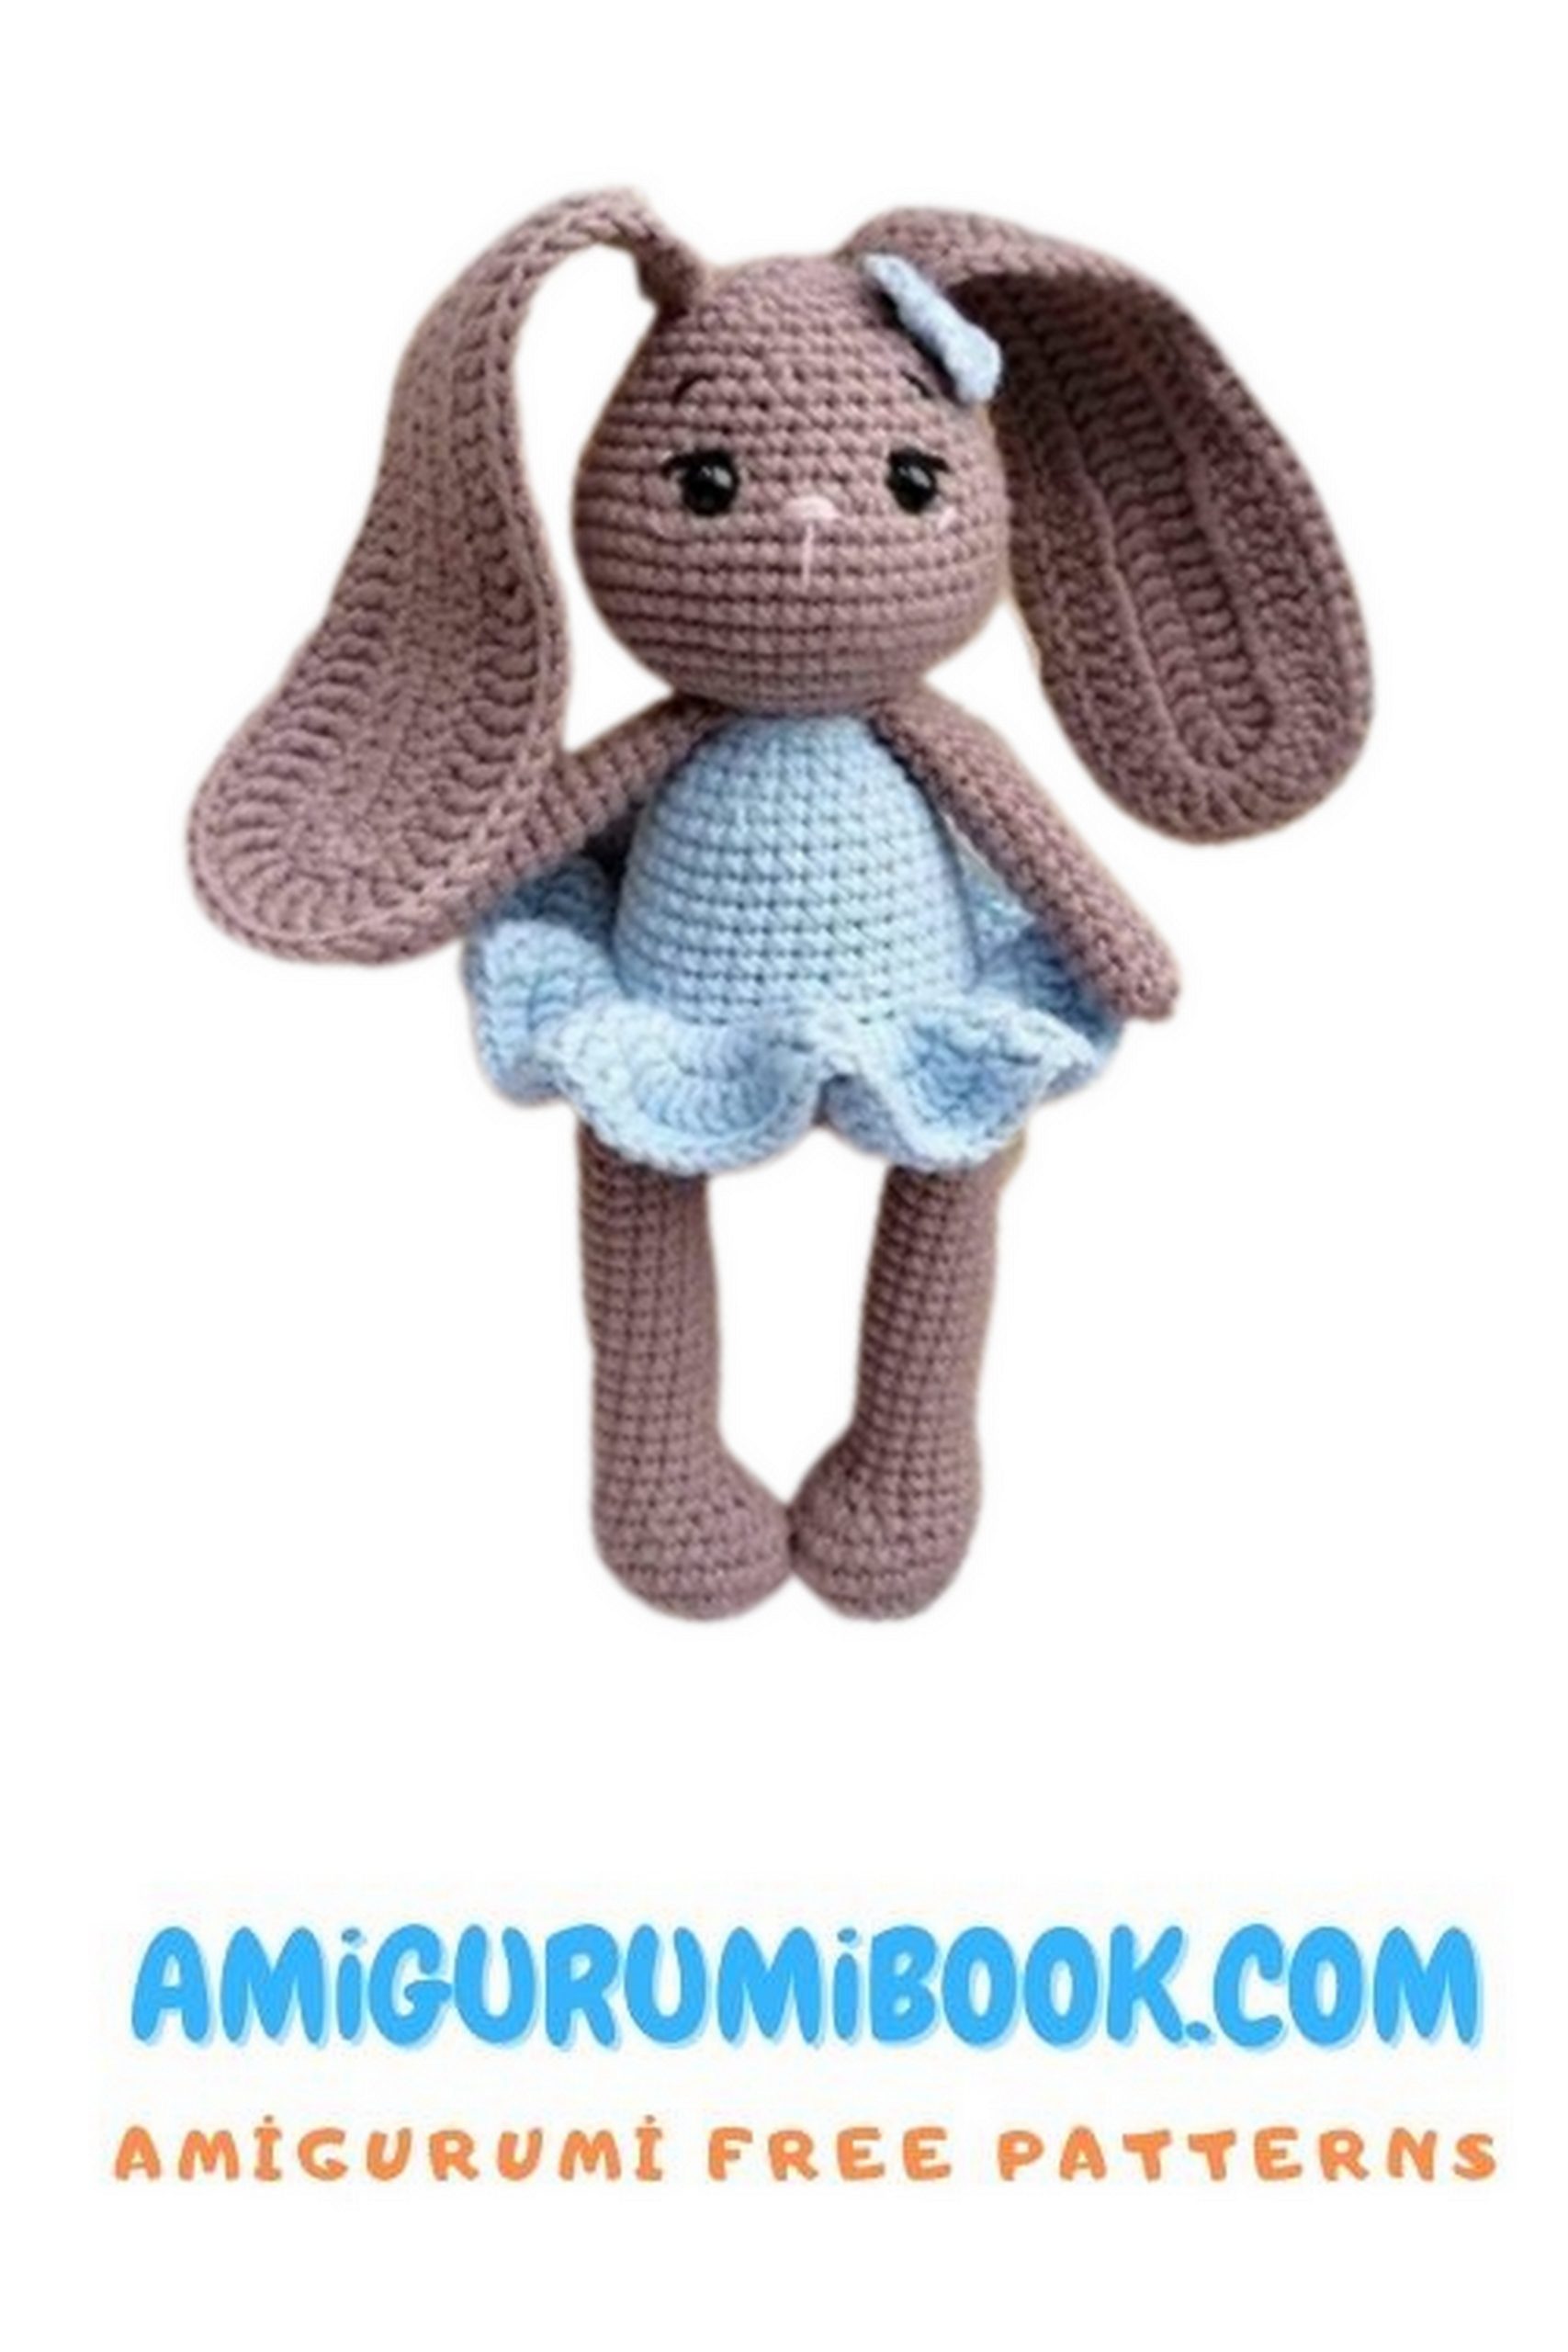
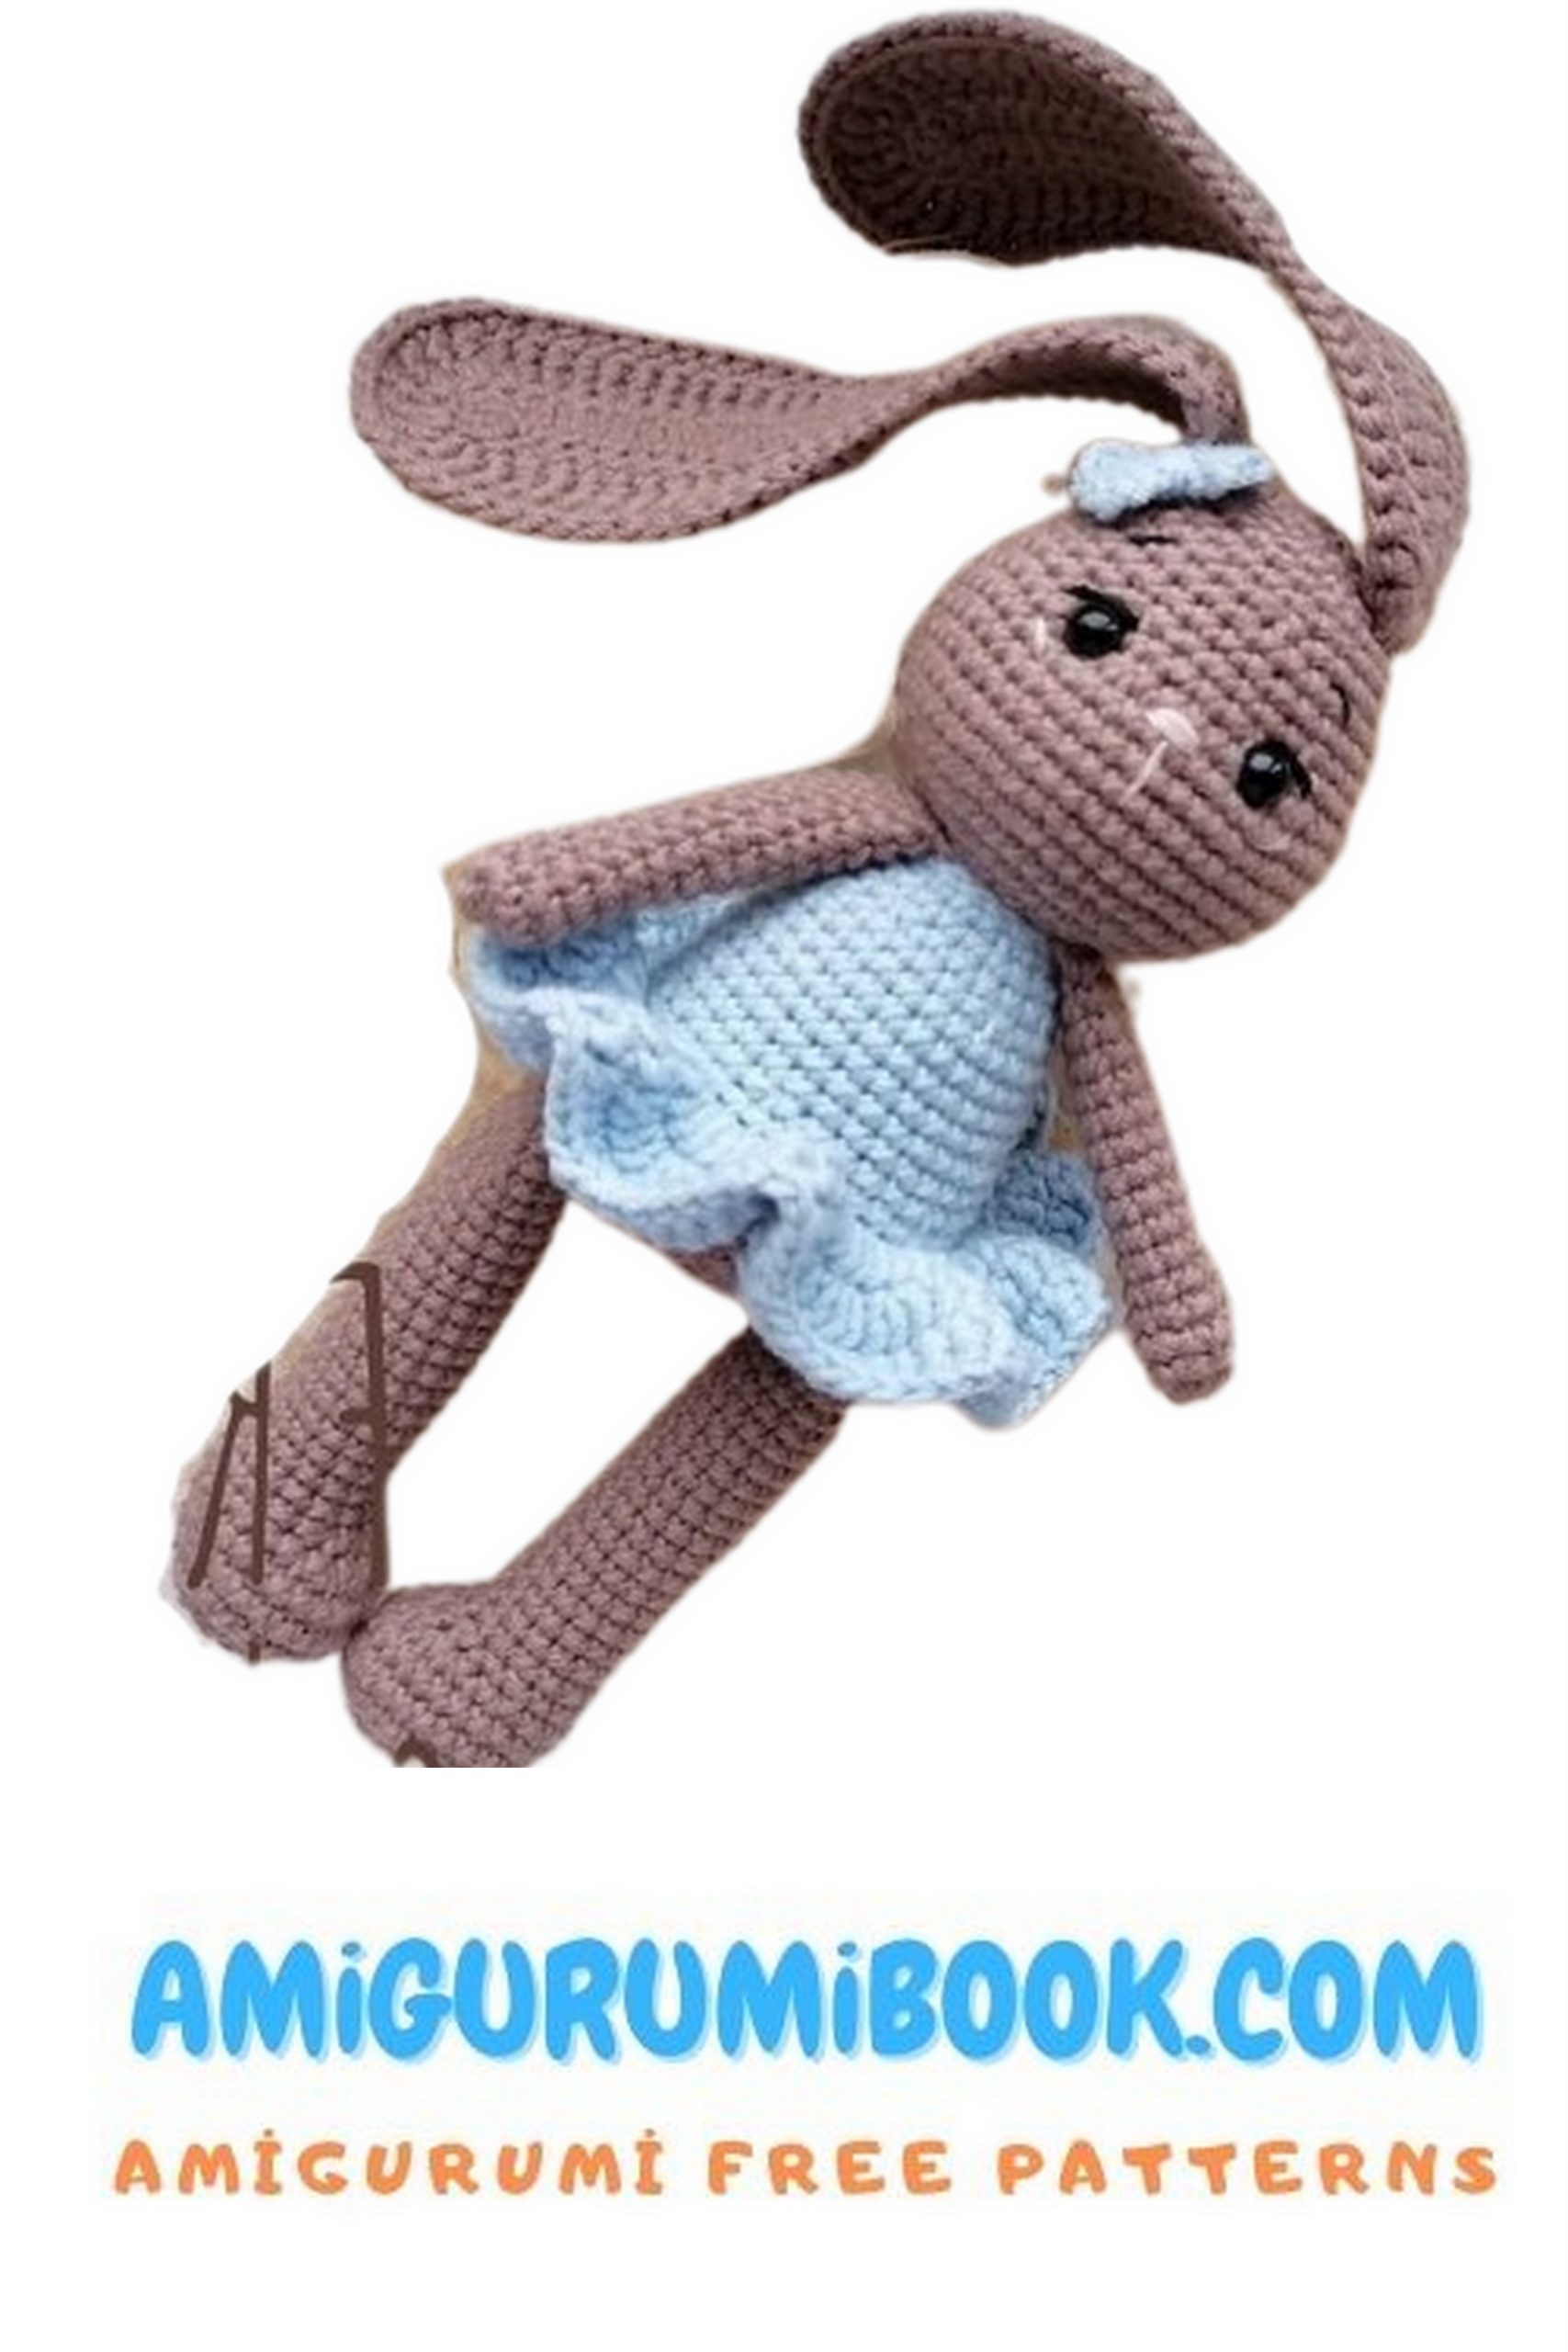
Learn how to make an adorable knitted bunny doll in a cute dress with this step-by-step amigurumi tutorial. The pattern is easy to follow and perfect for beginners who want to practice their knitting skills. The finished bunny doll makes a wonderful gift for kids or a charming addition to your home décor.
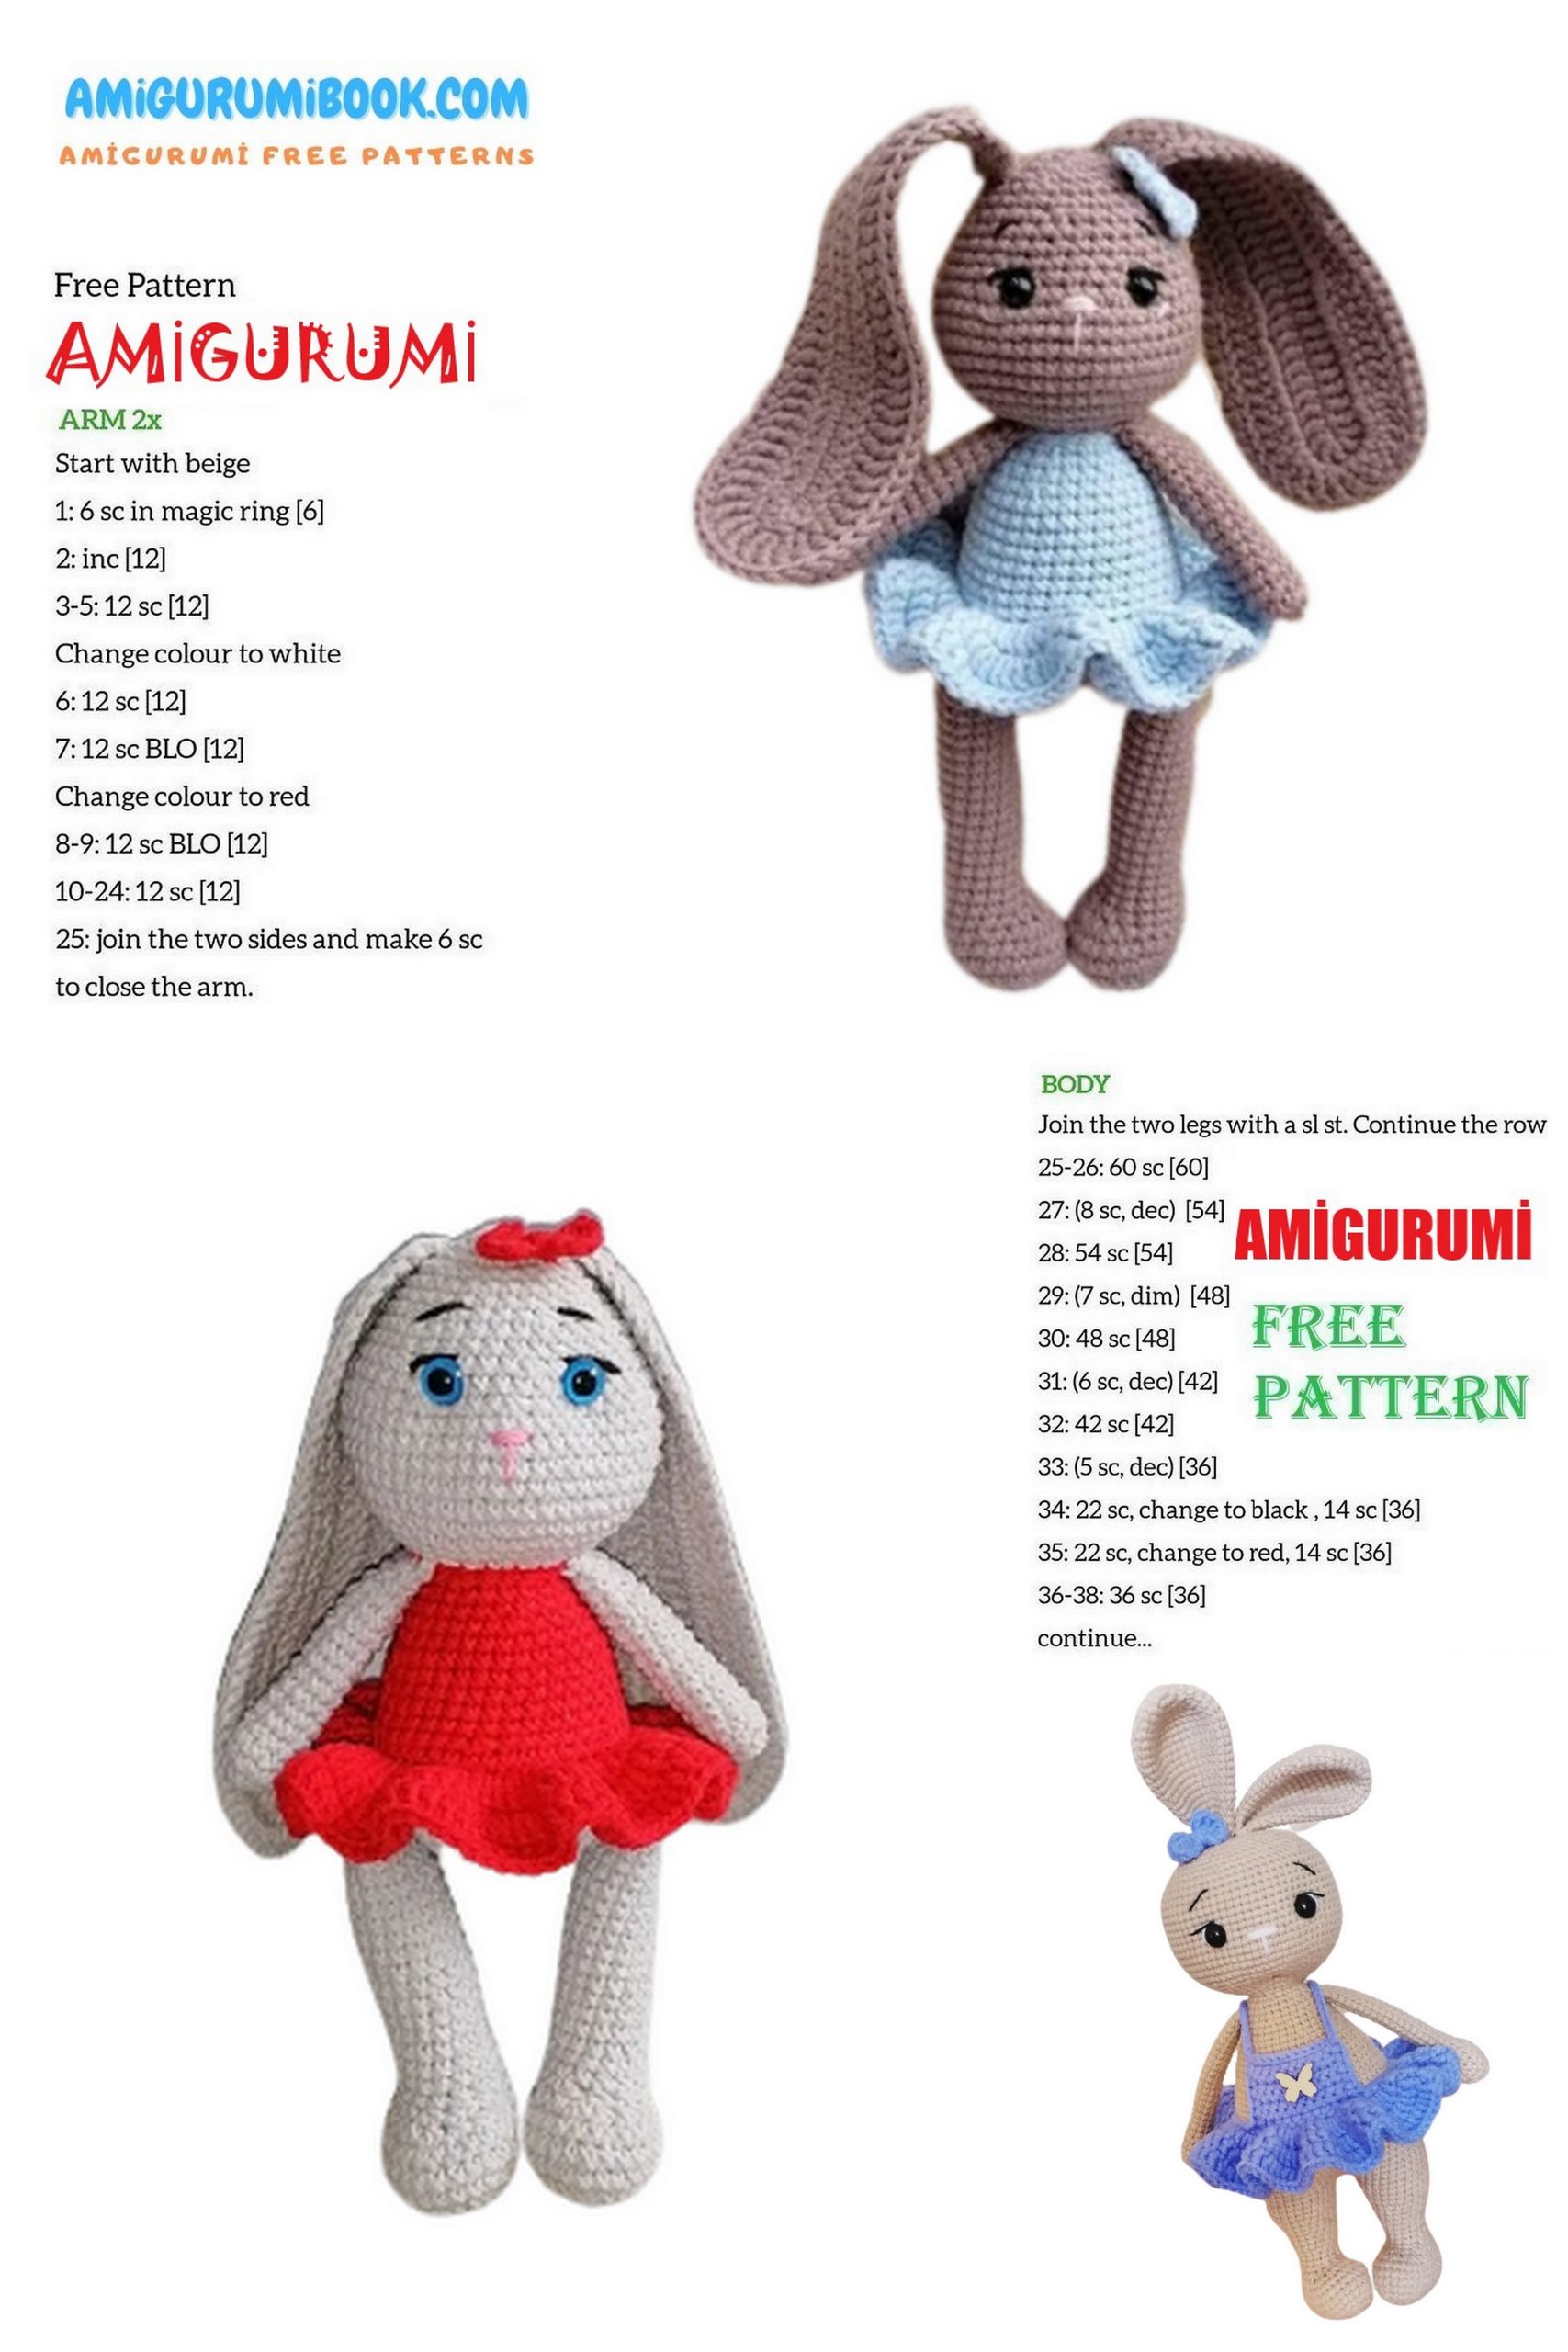
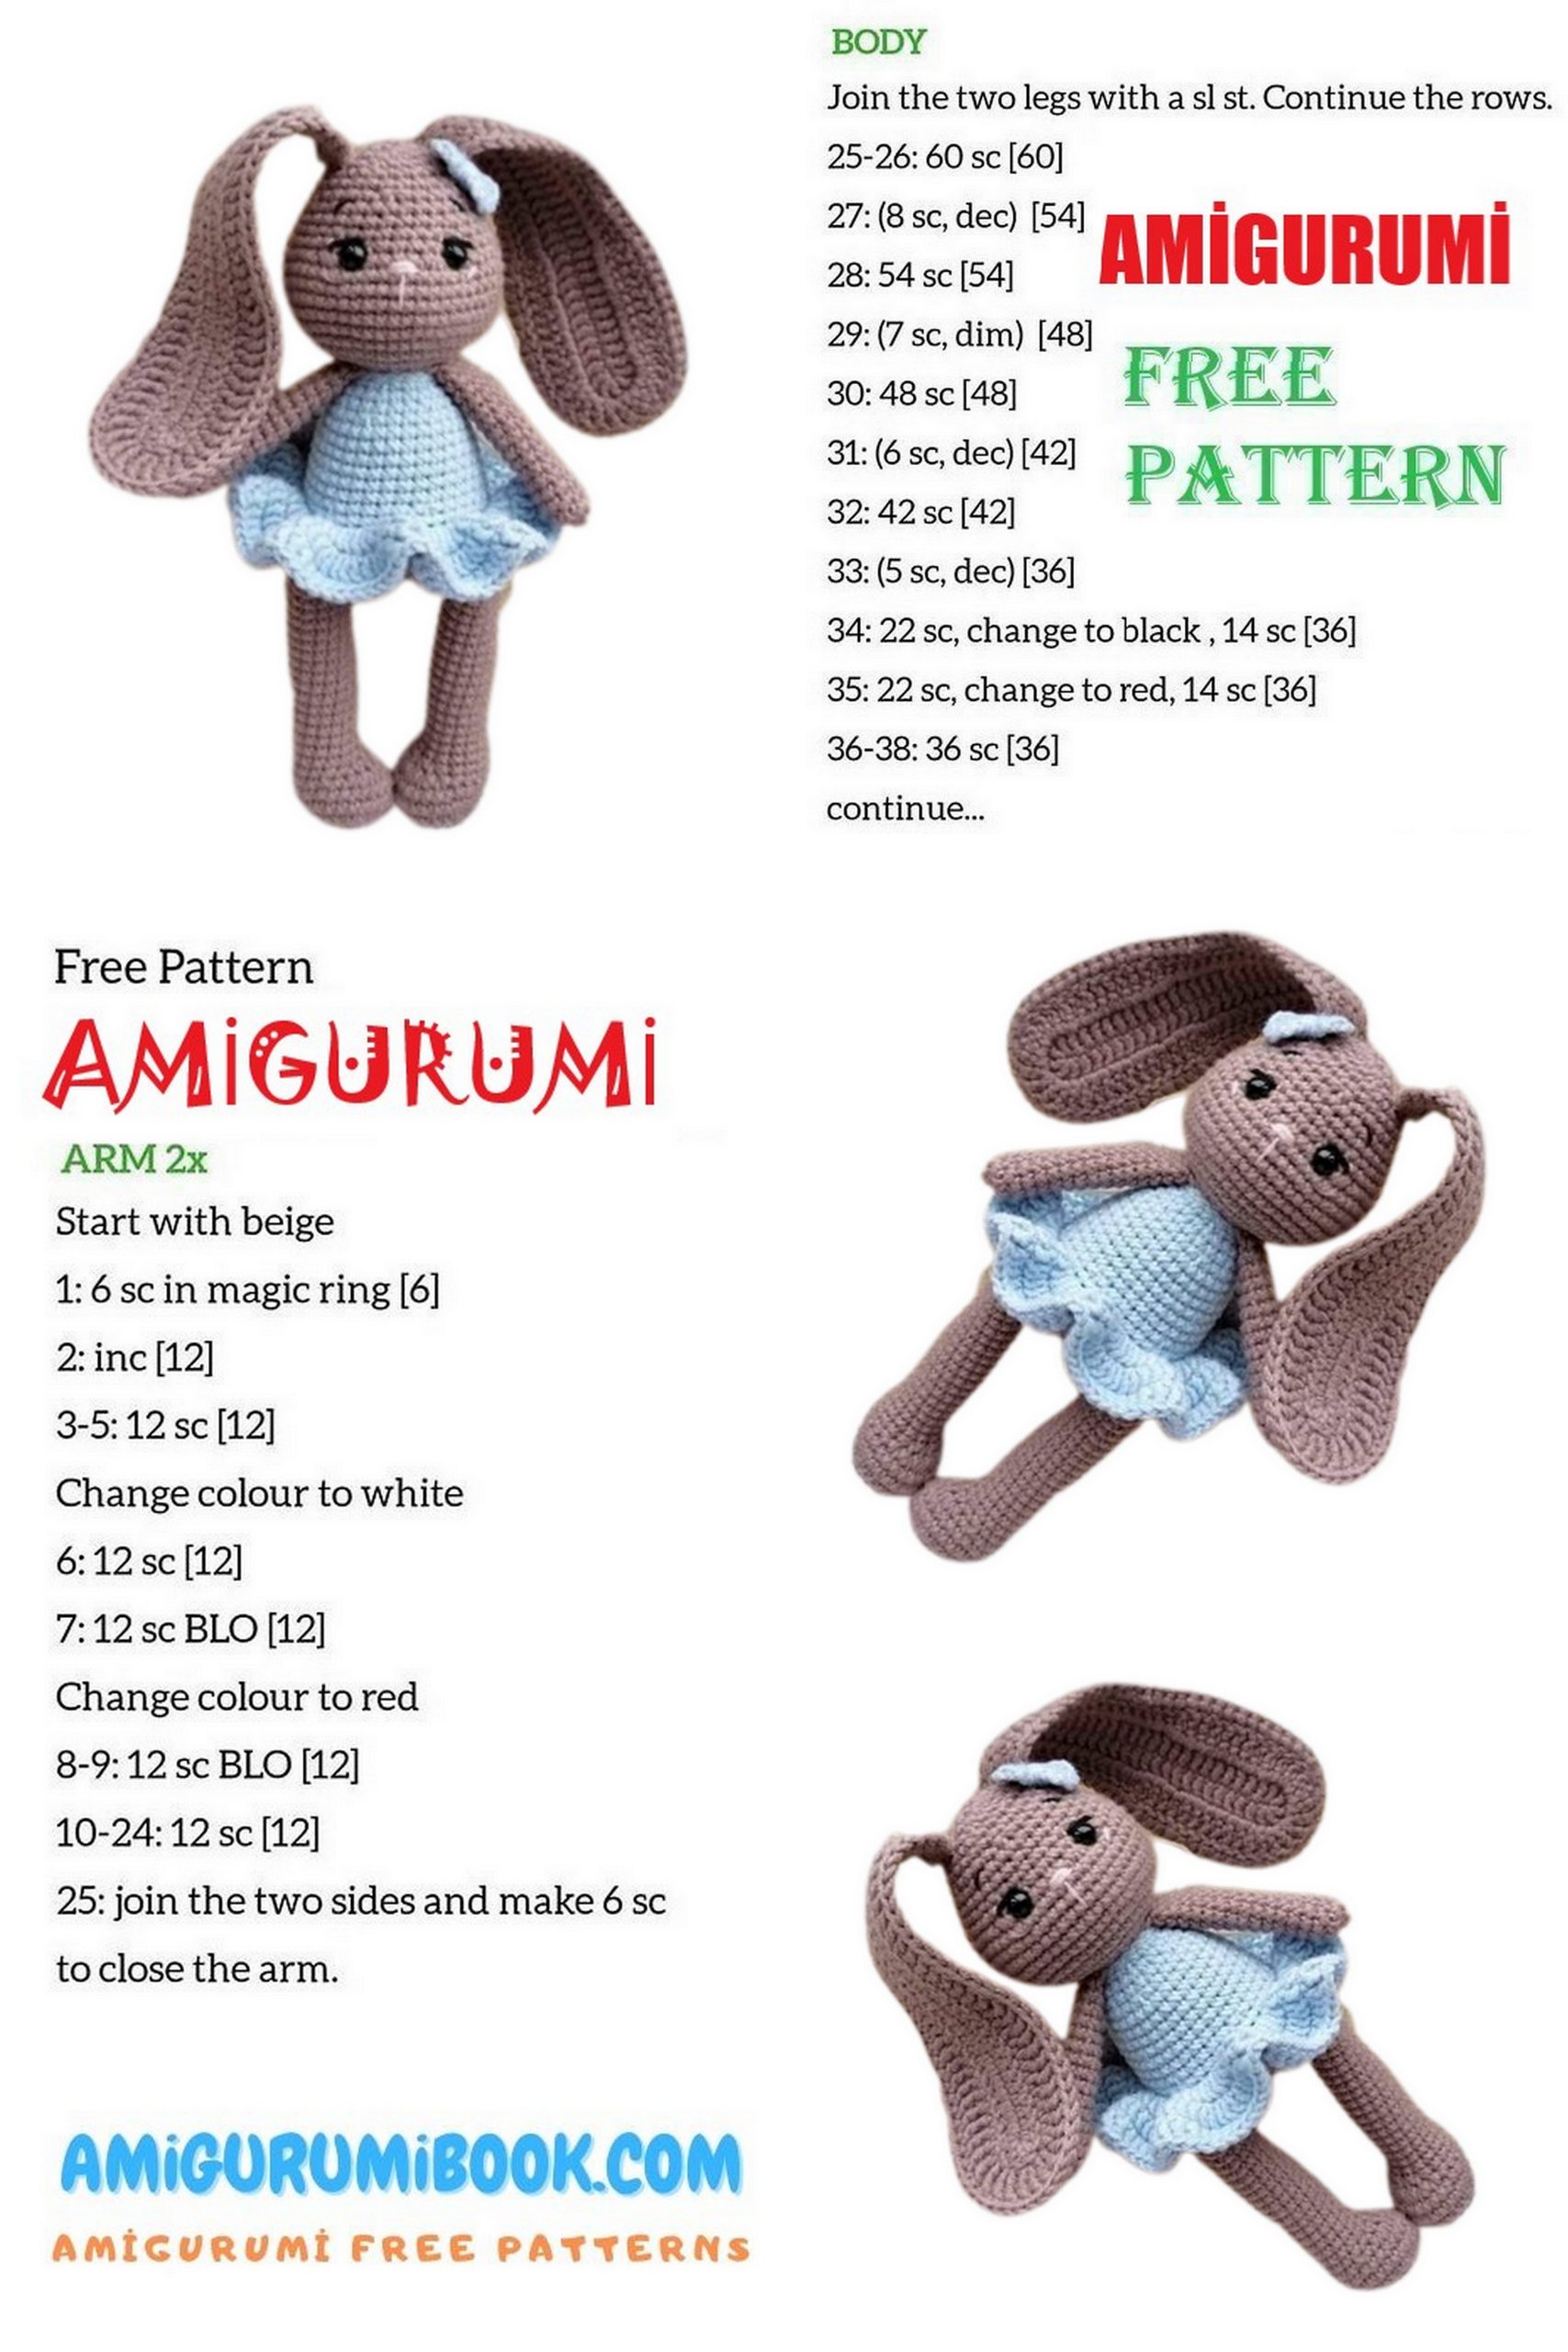
To make the bunny, the author used a 2.5 mm crochet hook and half-cotton yarn called YarnArt Jeans. Additionally, 6 mm safety eyes, thin yarn or embroidery floss for embroidering the eyebrows and muzzle, a needle, scissors, and stuffing are needed. From the schematic description, you’ll also learn how to crochet a skirt and bow to decorate the toy. The height of the knitted baby is approximately 17 cm.

Abbreviations:
MR – magic ring
ch – chain stitch
sc – single crochet
dc – double crochet
tr – triple crochet
hdc – half double crochet
sl st – slip stitch
inc – increase
dec – decrease
rep – repeat
(12) – number of stitches at the end of the row.
PATTERN

Legs (2 parts):
1: 8 sc in MR (8)
2: 8 inc (16)
3: (1 sc, inc) * 8 (24)
4-6: 24 sc (3 rows)
7: 6 sc, 6 dec, 6 sc (18)
8: 6 sc, 3 dec, 6 sc (15)
9-28: 15 sc (20 rows)
Fold in half and crochet 7 sc.
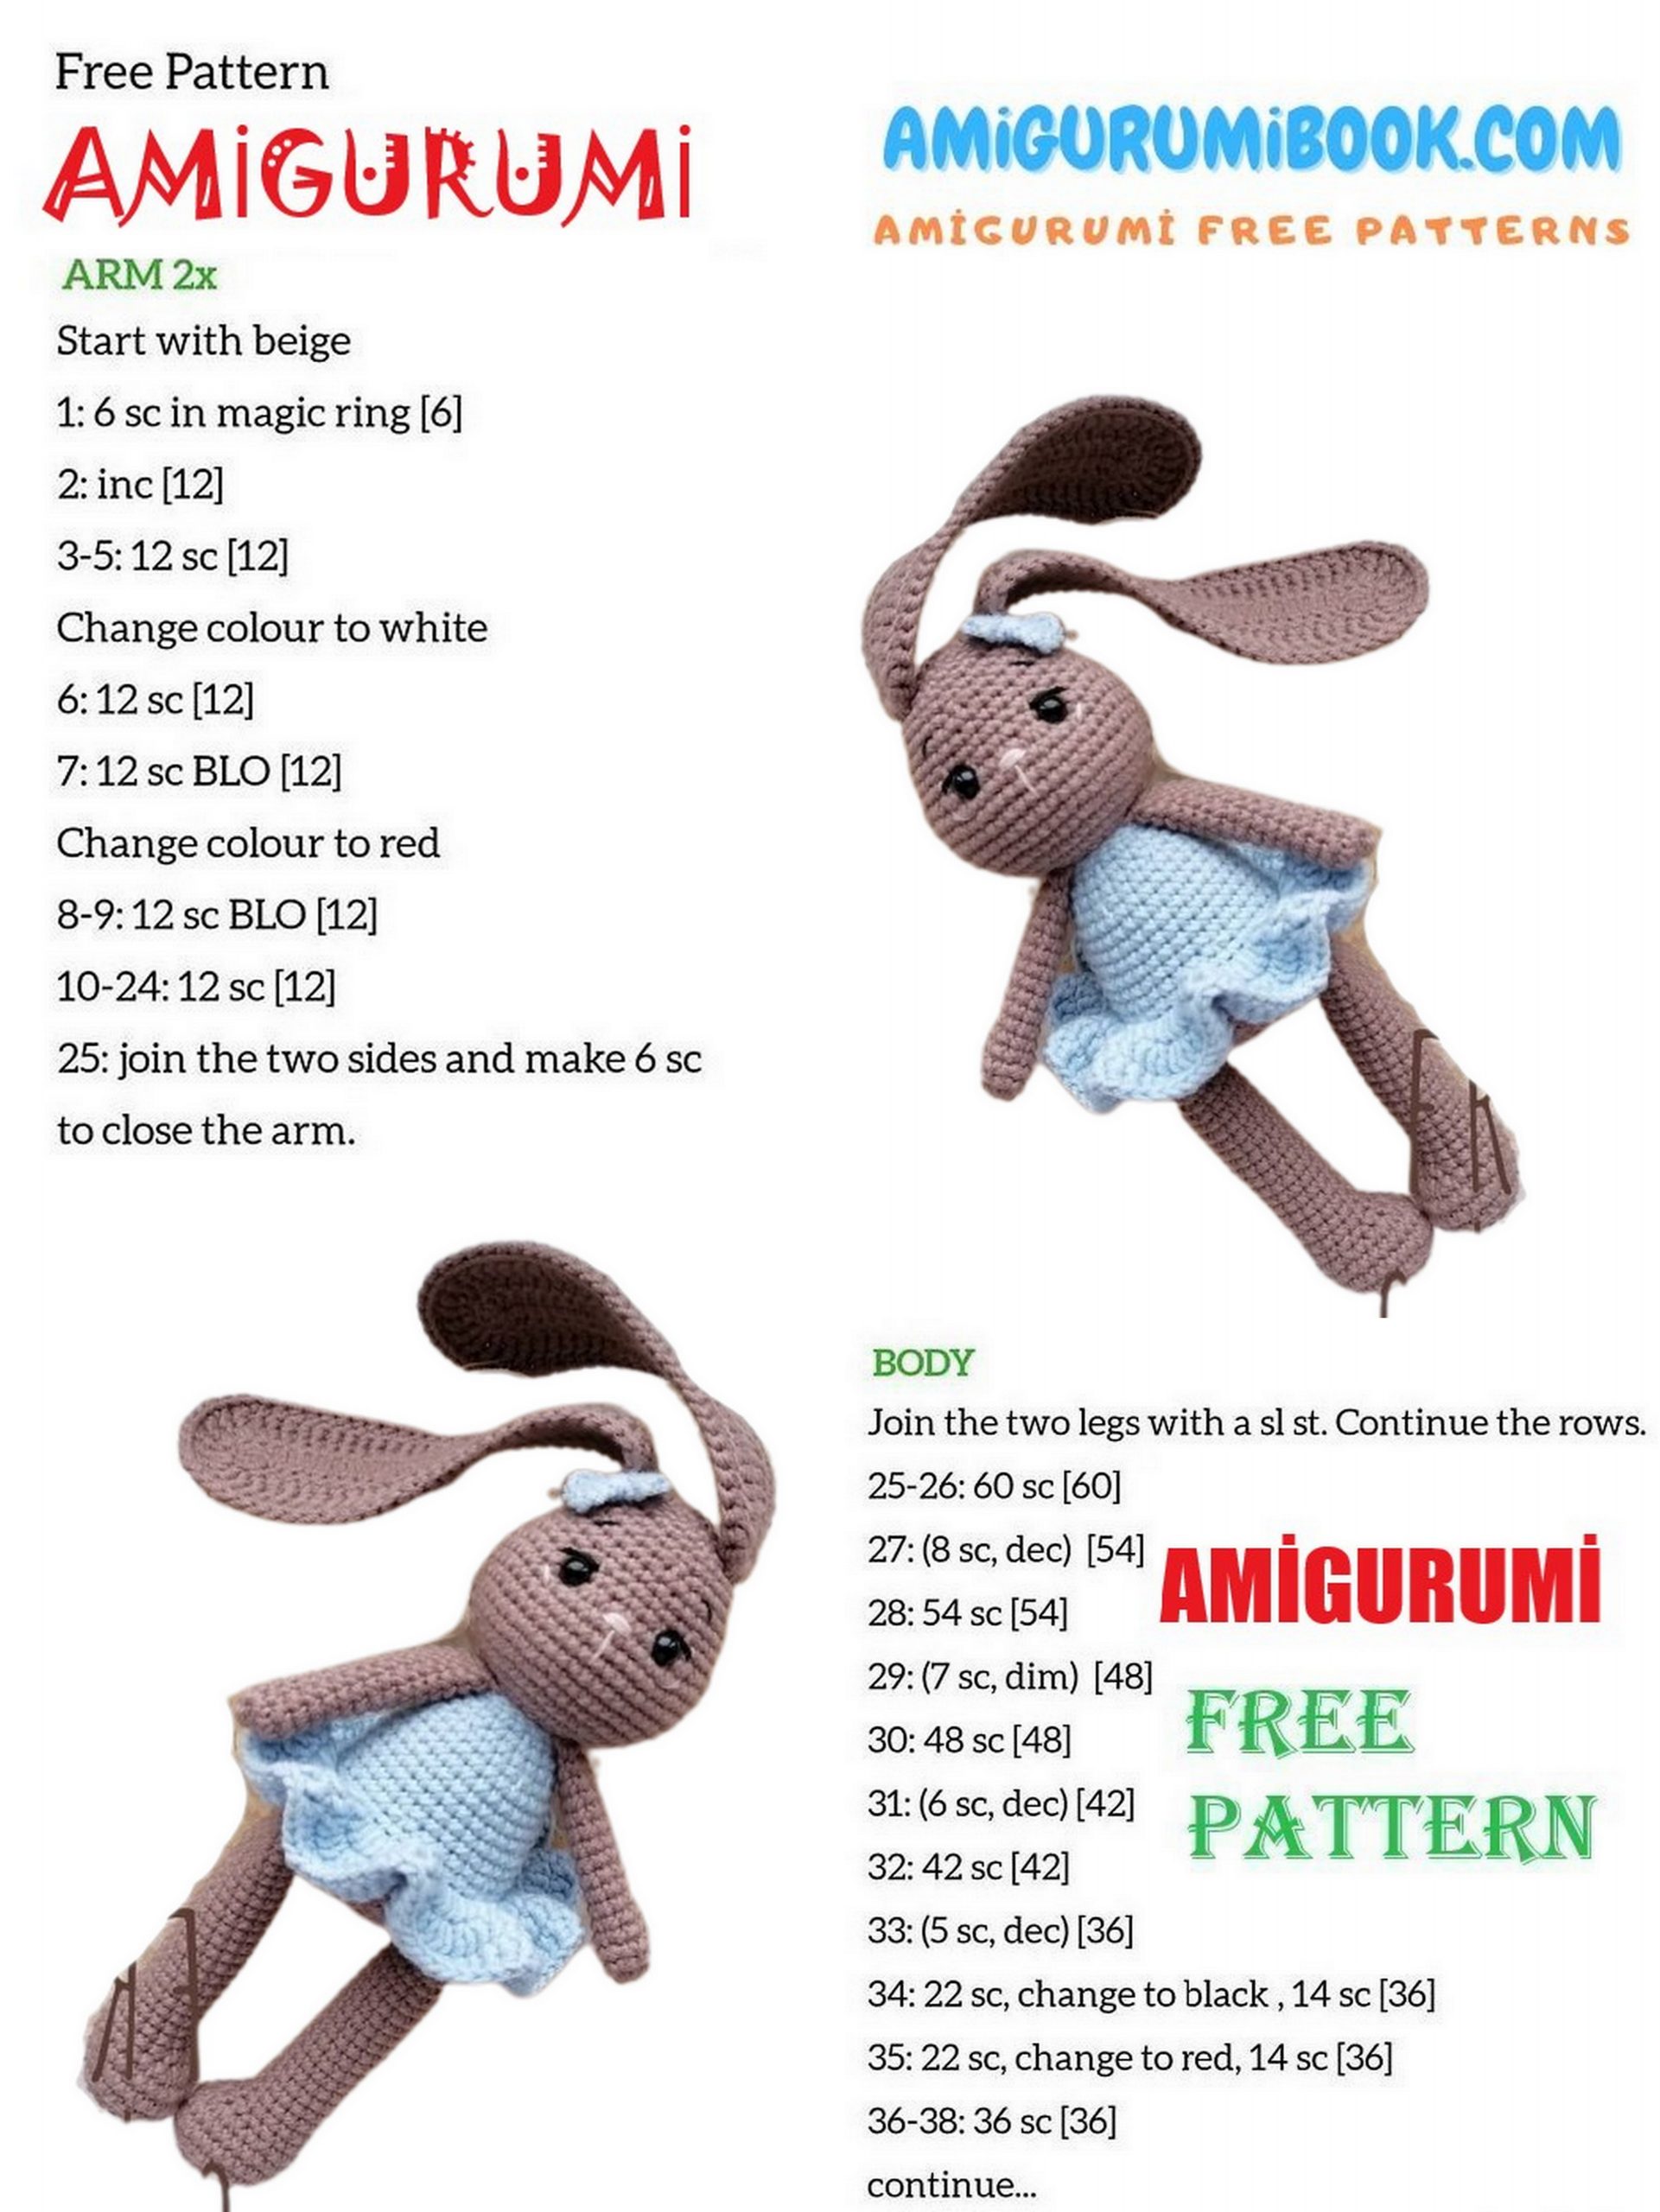
Arms (2 parts):
1: 6 sc in MR (6)
2: (1 sc, inc) * 3 (9)
3-16: 9 sc (14 rows)
Fold in half and crochet 4 sc.
Ears (2 parts):
Make a chain of 31 stitches.
1: Starting from the second chain from the hook: 2 sc, 1 hdc, 26 dc, 5 tr in one stitch, on the other side of the chain: 26 dc, 1 hdc, 2 sc (63)
2: Chain 1, turn, 2 sc, 1 hdc, 16 dc, 10 trtr, 5 inc from trtr, 10 trtr, 16 dc, 1 hdc, 2 sc (68)
3: Crochet 4 sc along the edge, then crochet 29 sc, 10 inc, 29 sc around the ear (78)
Fasten off and leave a long tail for sewing.
Steam the ears before sewing.
Body-Head
1: 6 sc in a magic ring (6)
2: 6 inc (12)
3: (1 sc, inc) * 6 (18)
4: (2 sc, inc) * 6 (24)
5: (3 sc, inc) * 6 (30)
6: (4 sc, inc) * 6 (36)
7: (4 sc, inc) * 6 (42)
8: 42 sc
9: Attach legs: 7 sc, 7 sc together with leg, 14 sc, 7 sc together with leg, 7 sc
10: 42 sc
Change to dress color:
11: 42 sc
12: 42 sc through the back loops
13: (5 sc, dec) * 6 (36)
14-15: 36 sc (2 rows)
16: 10 sc, dec, 12 sc, dec, 10 sc (34)
17: 34 sc
18: 8 sc, dec, 14 sc, dec, 8 sc (32)
19: 32 sc
20: (6 sc, dec) * 4 (28)
21: (5 sc, dec) * 4 (24)
22: 24 sc
23: (2 sc, dec) * 6 (18)
24: Attach arms: 3 sc, 4 sc together with arm, 5 sc, 4 sc together with arm, 2 sc
Change to main color:
25: 18 sc (36)
26: (5 sc, inc) * 6 (42)
27: (6 sc, inc) * 6 (48)
28: (7 sc, inc) * 6 (54)
29-33: 54 sc (5 rows)
34: (7 sc, dec) * 6 (48)
35: (6 sc, dec) * 6 (42)
36: (5 sc, dec) * 6 (36)
37-38: 36 sc (2 rows)
39: (4 sc, dec) * 6 (30)
Between rows 34 and 35, at a distance of 9 sc, insert safety eyes (6 mm).
40-41: 30 sc (2 rows)
42: (3 sc, dec) * 6 (24)
43: (2 sc, dec) * 6 (18)
44: (1 sc, dec) * 6 (12)
45: 6 sc (6)
Pull the hole closed and hide the thread.
Sew the ears to the head.
Bow:
Ch 4, sc in first ch, ch 3, sl st in first ch, ch 1, sc in first ch, ch 3, sl st in first ch.
Fasten off, wrap yarn around center of bow, leaving a tail for sewing.
Skirt:
Attach yarn at the beginning of round 12 of the body.
Round 1: Ch 1, sc in each half stitch around.
Round 2: Ch 3, *1 sc in next stitch, 1 sc-inc in next stitch; repeat from * around.
Round 3: Sc in each stitch around.
Fasten off and weave in ends.
Our bunny is ready!