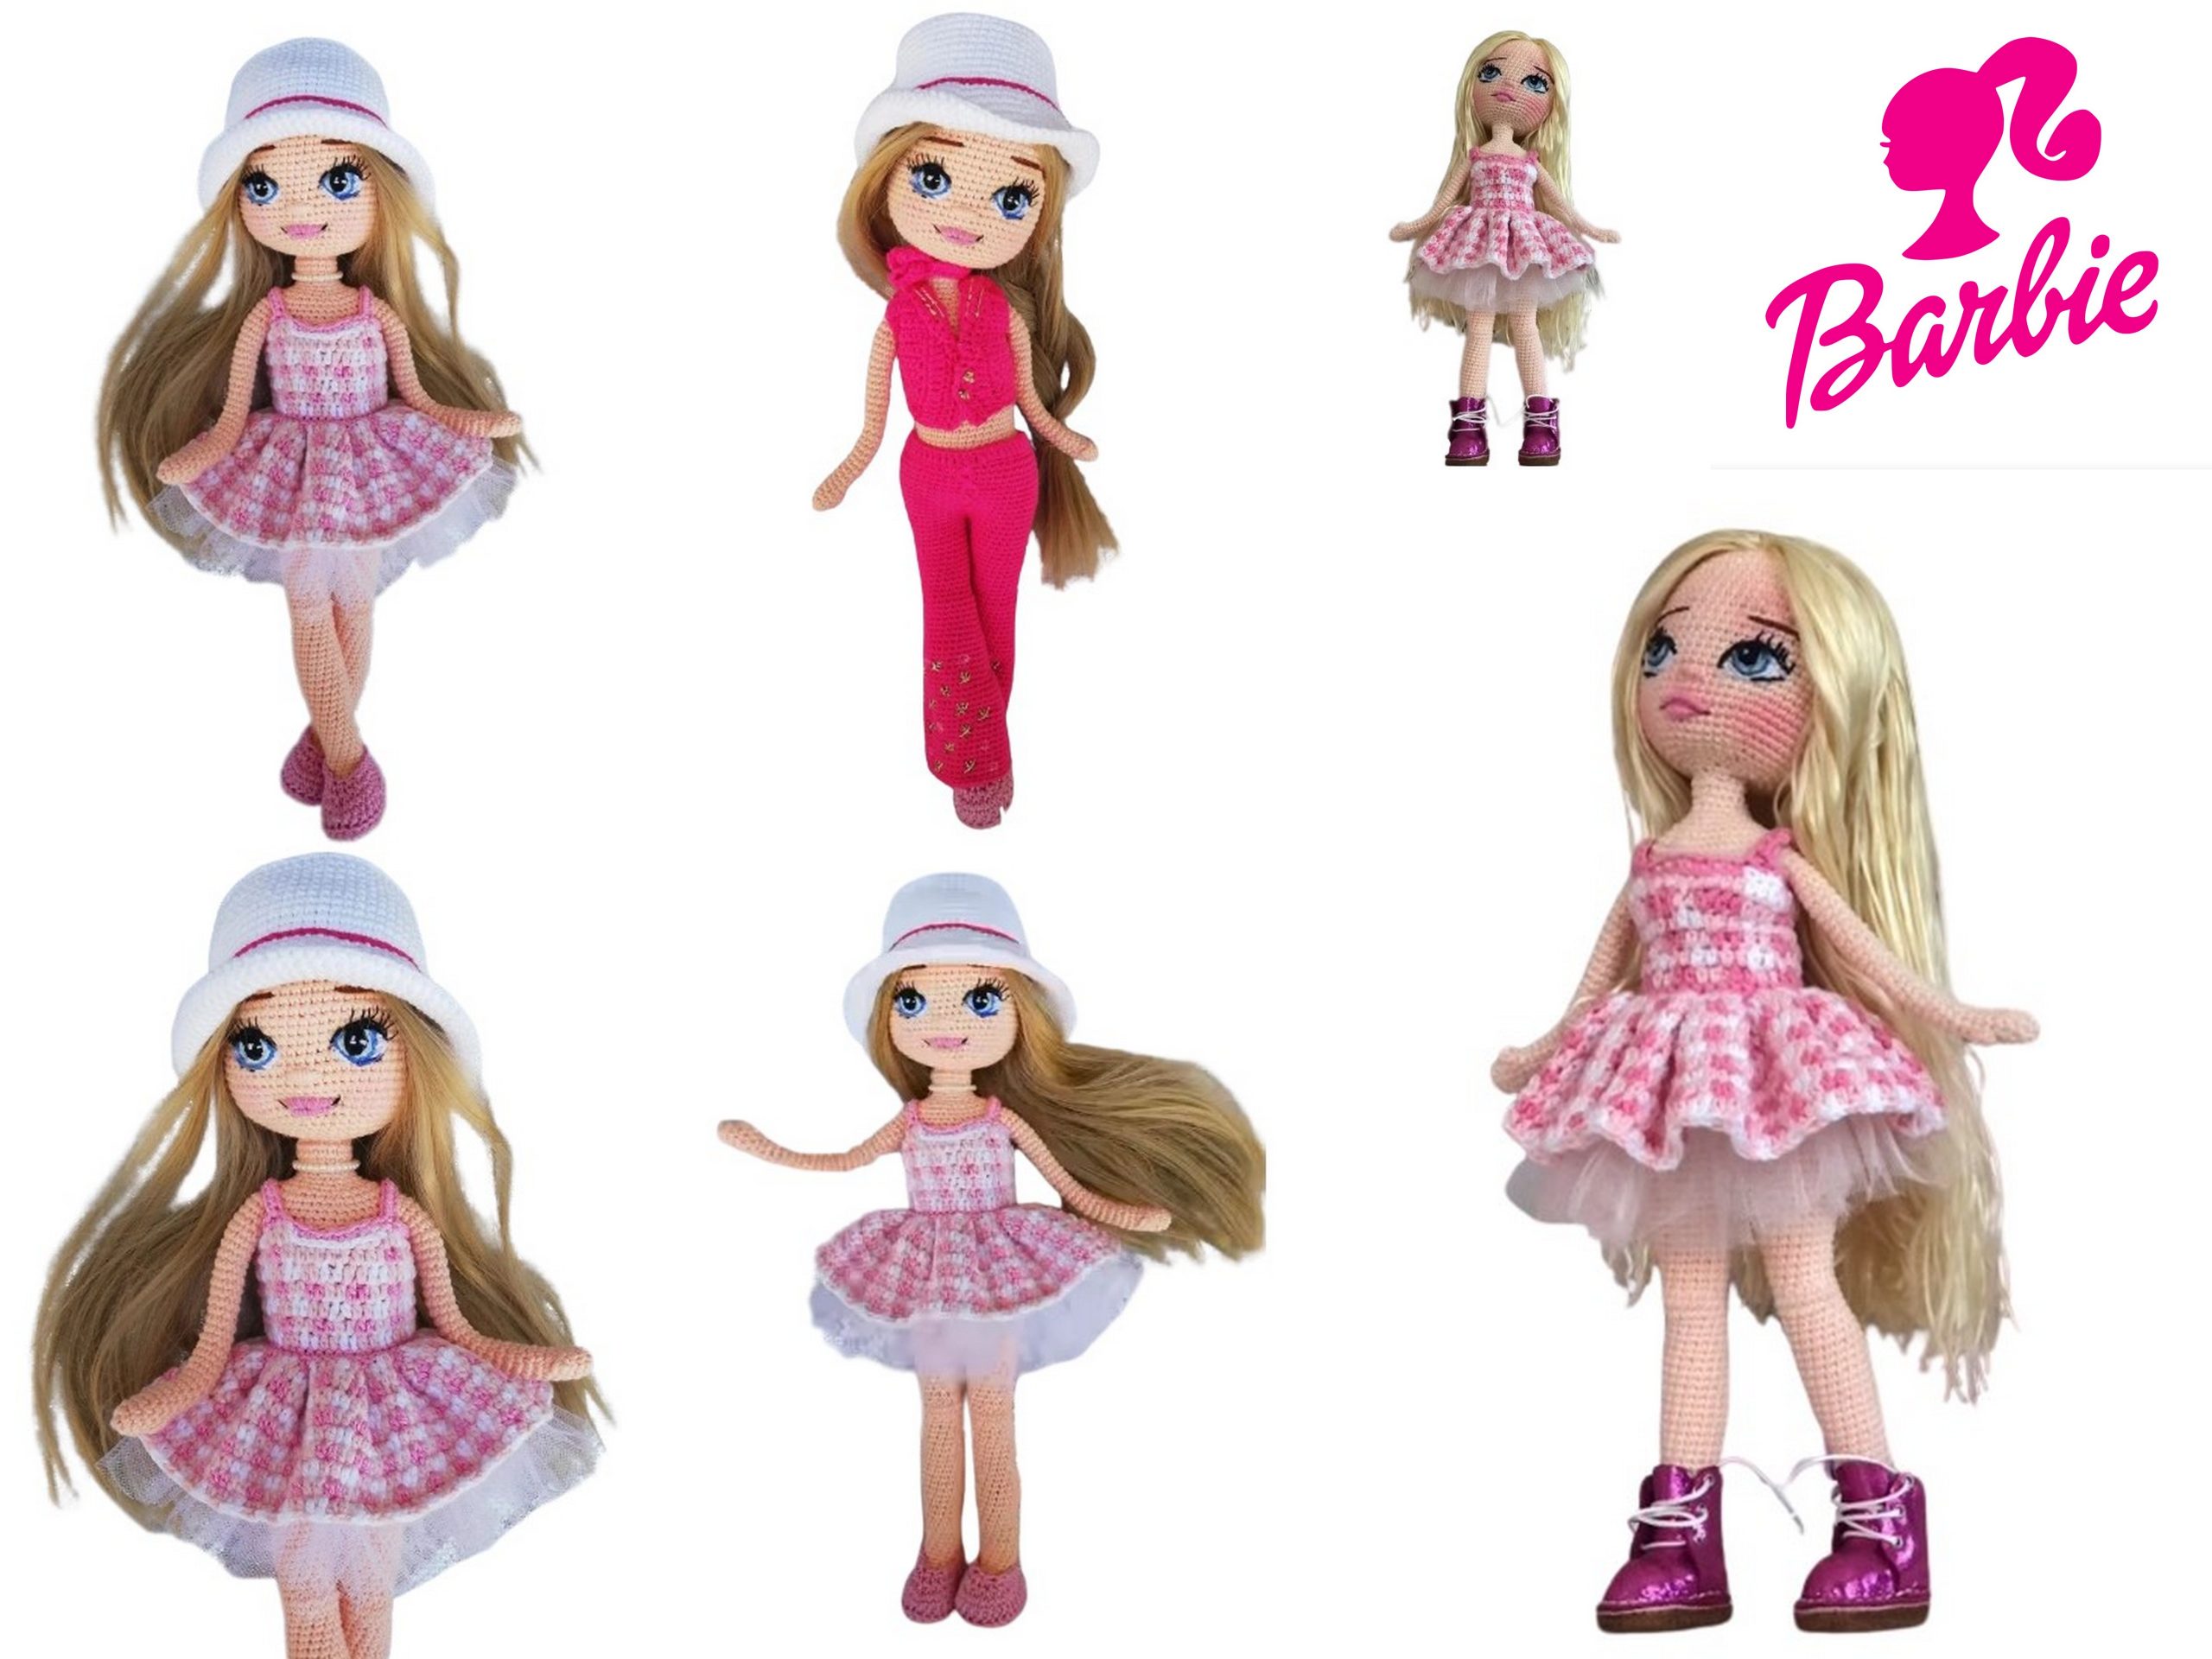
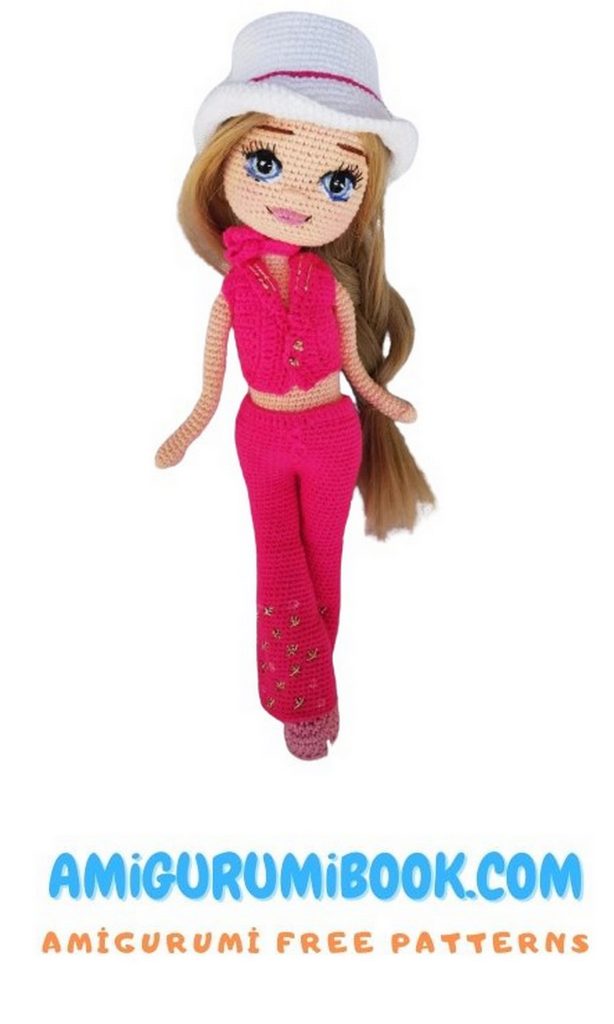
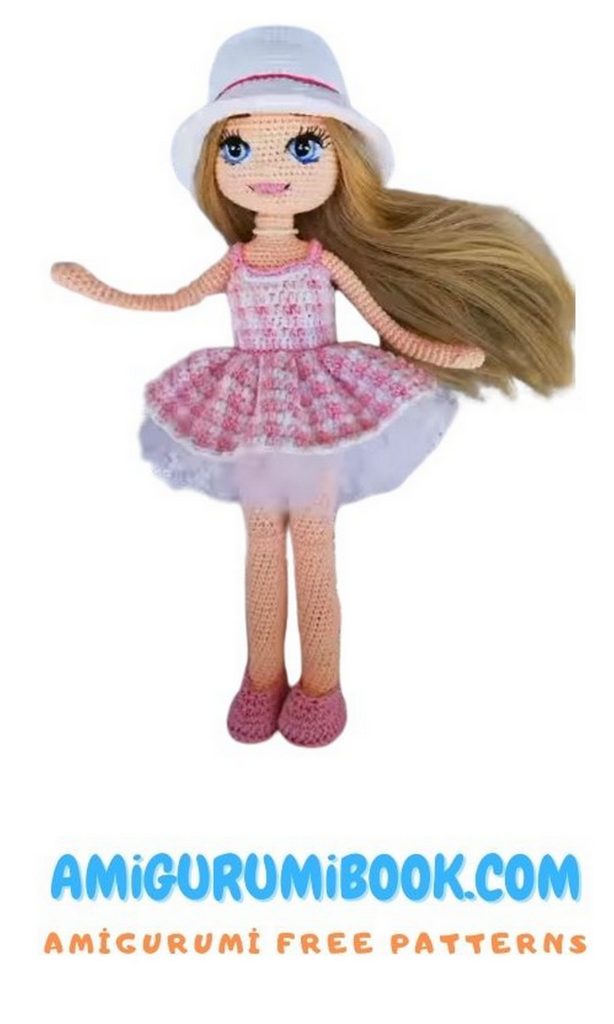
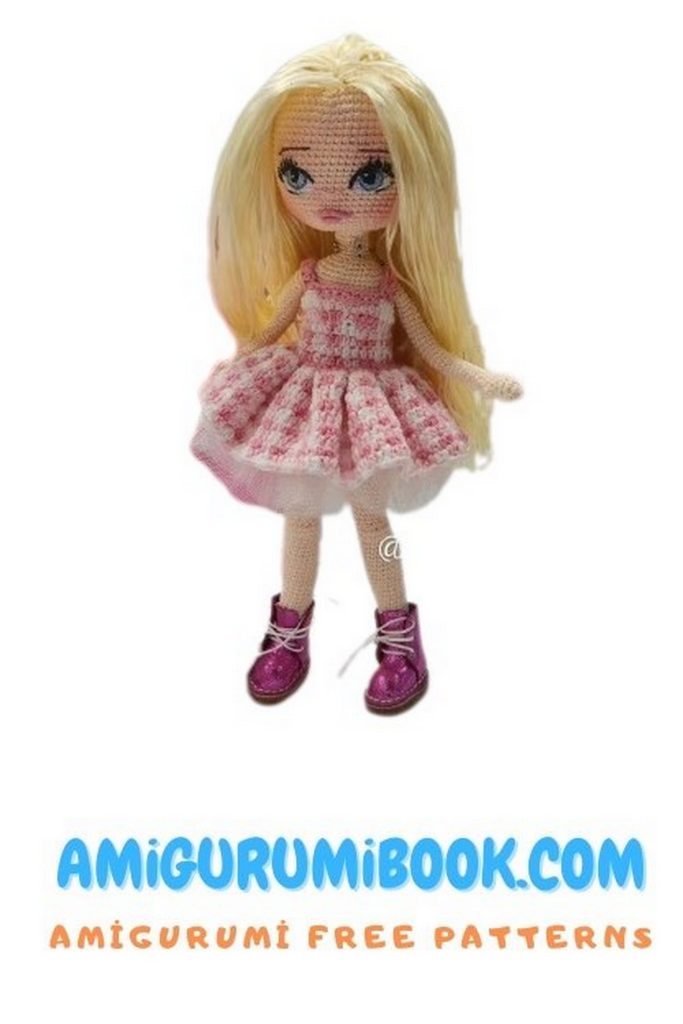
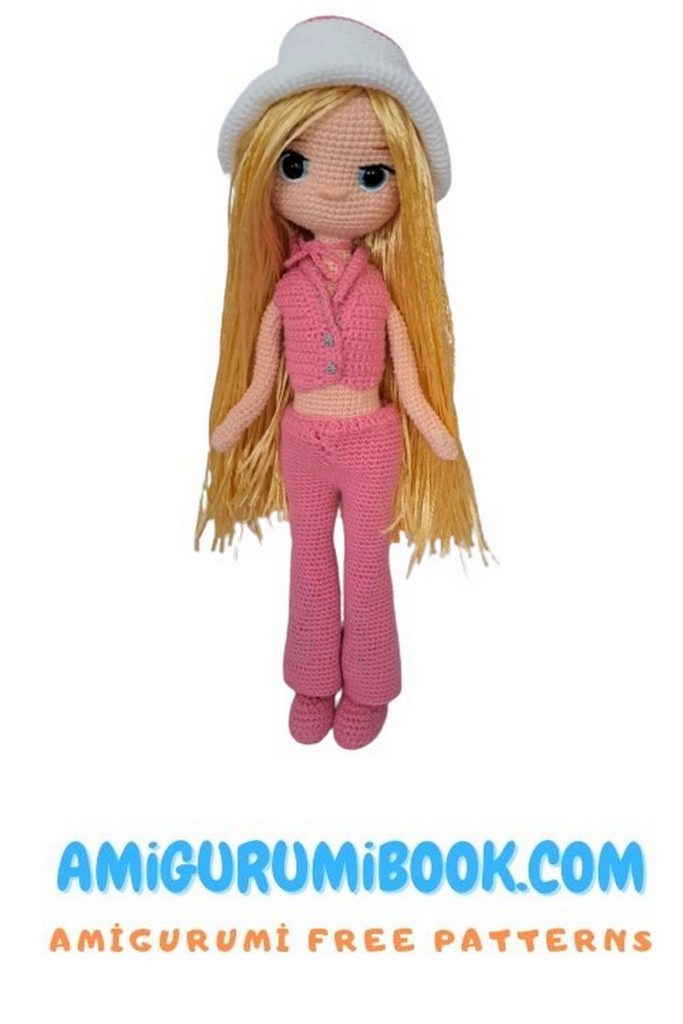
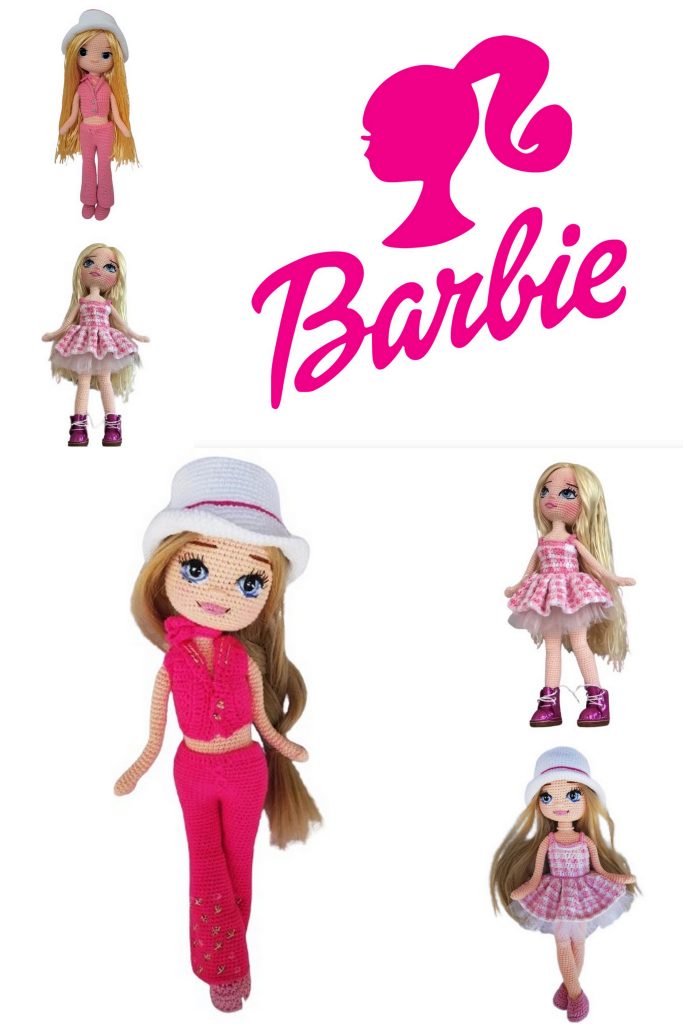
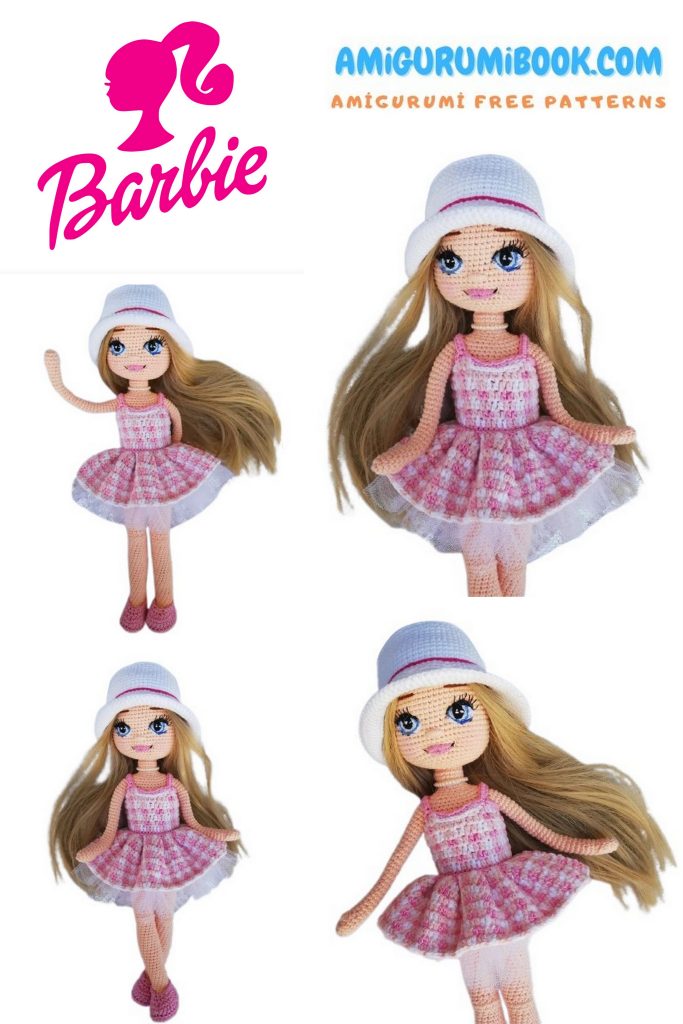
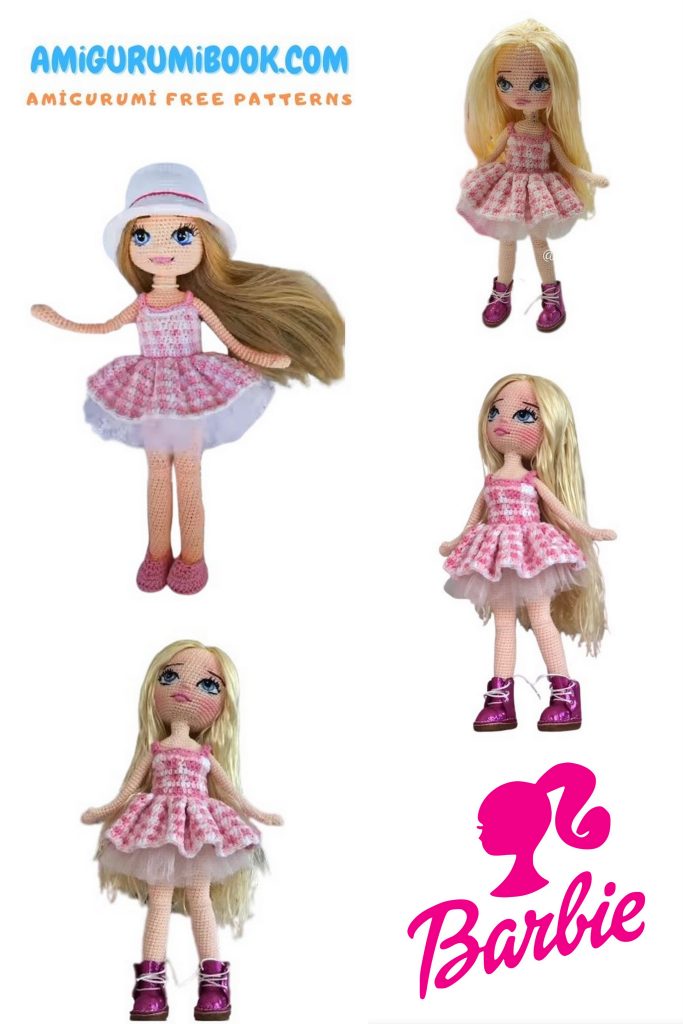
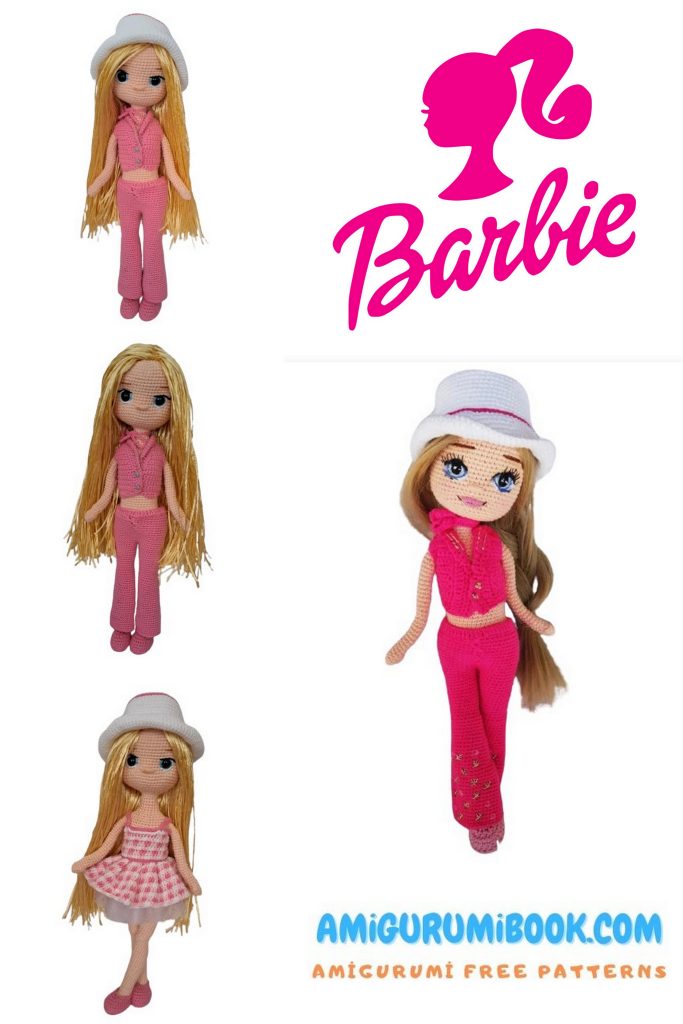
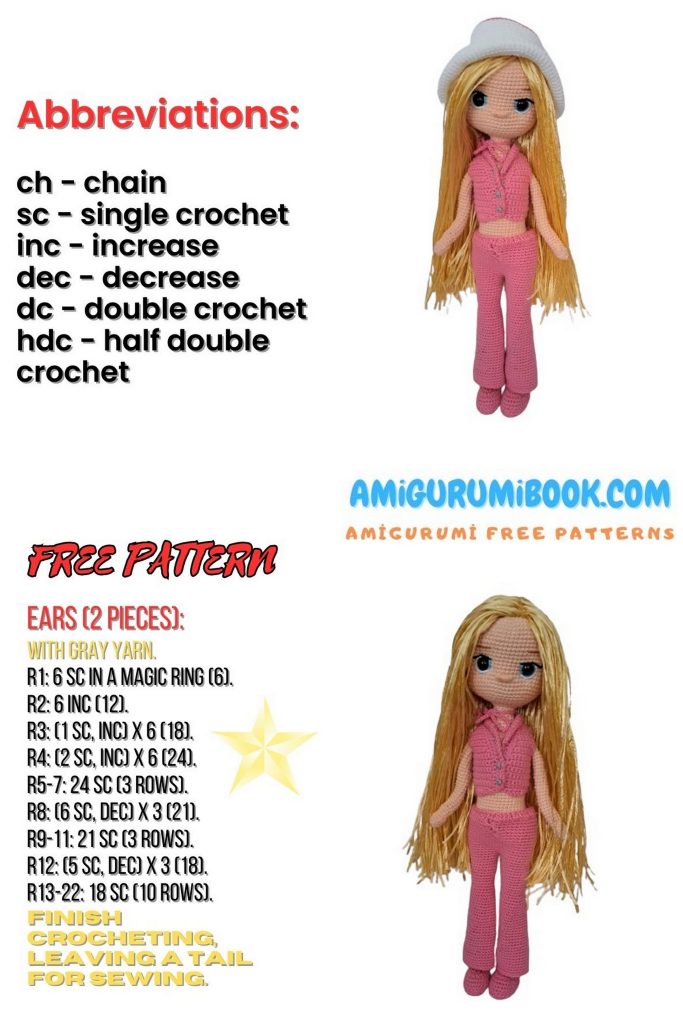
Looking to add a touch of charm to your crochet collection? Dive into the world of amigurumi with our free Barbie amigurumi doll pattern! Whether you’re a seasoned crocheter or just starting out, this delightful project is perfect for all skill levels. Create your very own miniature Amigurumi Barbie doll that can be customized with various outfits and accessories. This pattern is not only a great way to hone your crochet skills but also a fantastic gift idea for Barbie enthusiasts of all ages. Let’s get started on this fun and creative crochet adventure!
Materials Used
Skin color Catania tr263
Hat and underwear White Catania 106
Dress Gazzal Baby Cotton 3411
Gazzal Baby Cotton 3432
Gazzal Baby Cotton 3468
Hair Peria Hairstar Yellow 3 pieces Pink or white buttons
Ready-made boots
1m 1.5 mm wire
12mm safety eyes
1.75 mm crochet hook (2mm can also work)
Polyfill stuffing
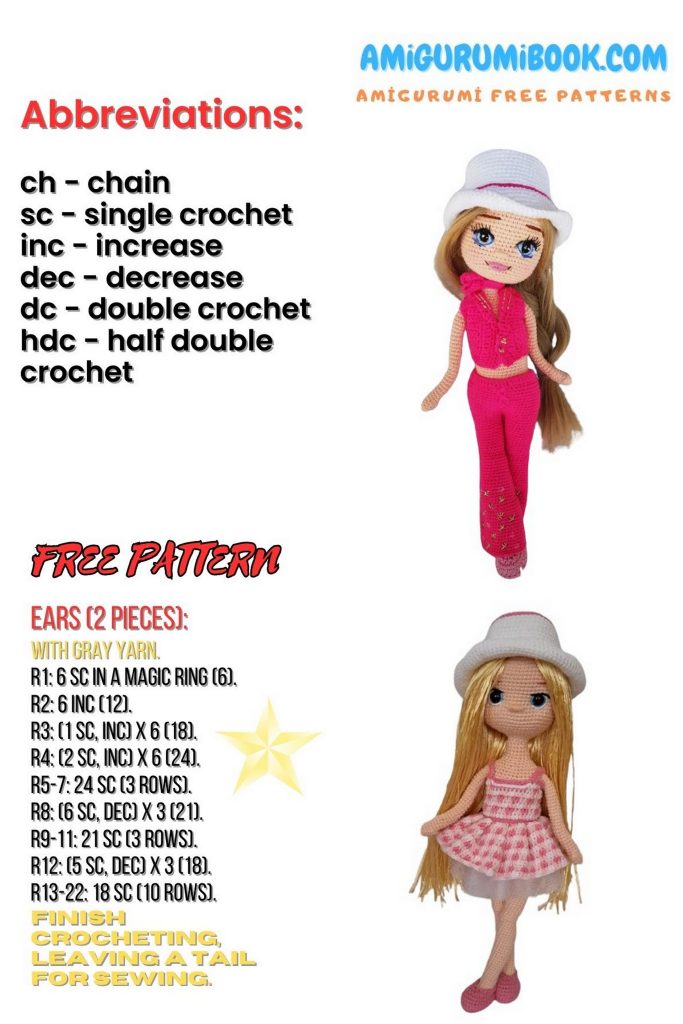
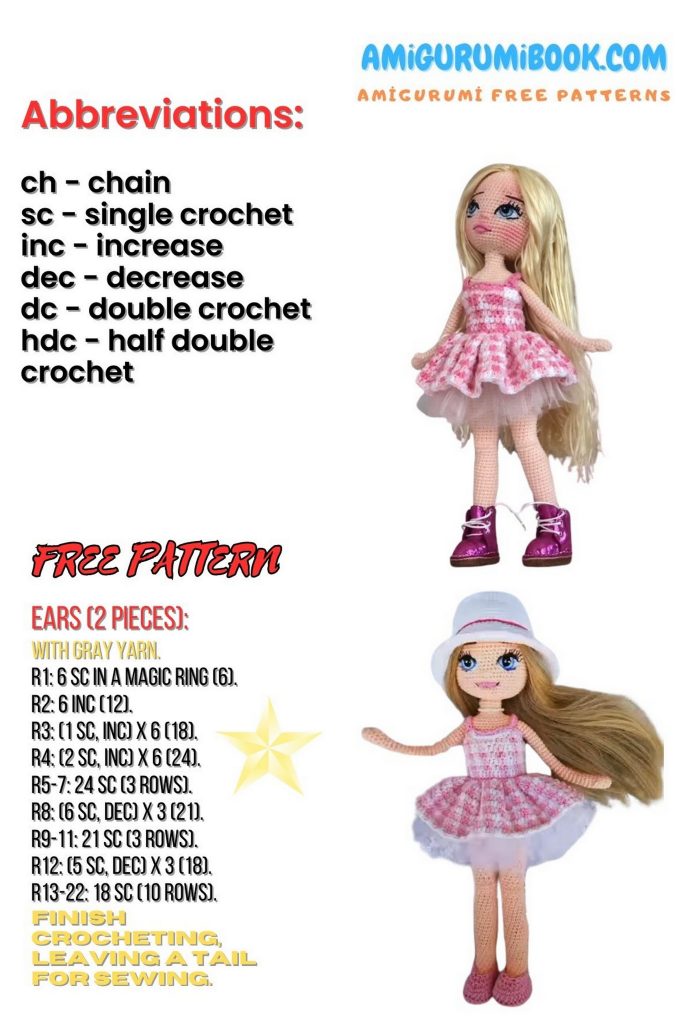
Abbreviations
Ch = chain
Sc = single crochet
Inc = increase
Dec = decrease
Sl st = slip stitch
Hdc = half-double crochet
Dc = double crochet
Blo = back loop only
Flo = front loop only
() = repeat the instructions within parentheses the specified number of times
PATTERN
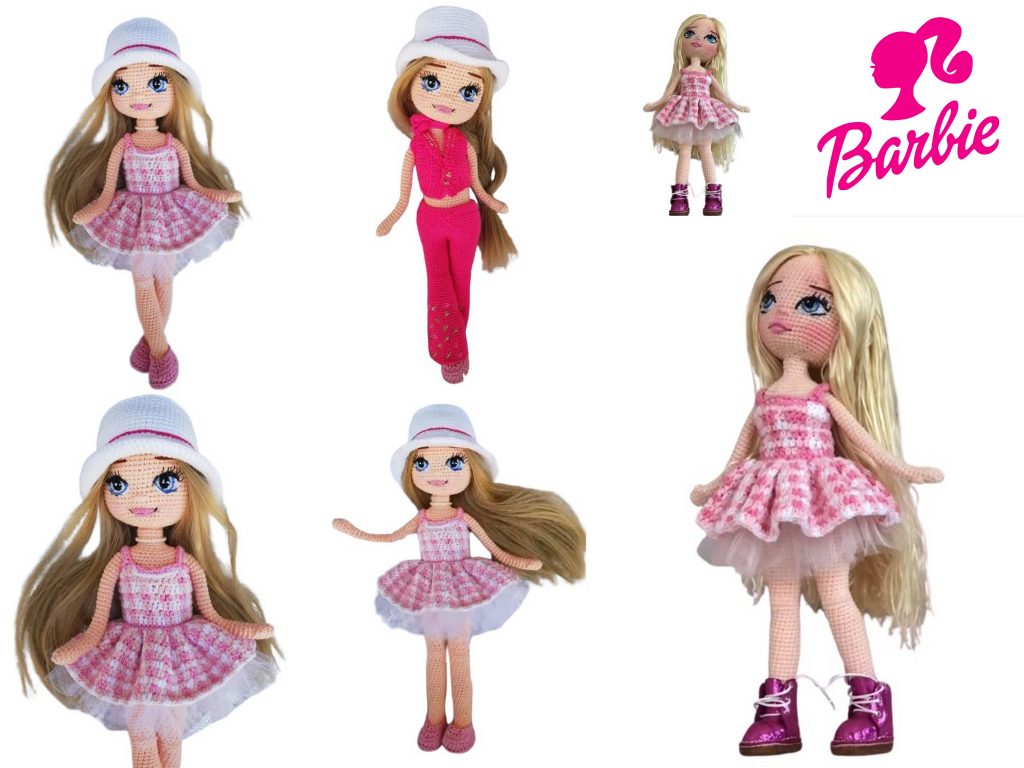
Amigurumi Barbie Head
1 Row: Magic ring, 6 sc (6)
2 Row: 6 inc (12)
3 Row: (1 sc, 1 inc) x 6 (18)
4 Row: (2 sc, 1 inc) x 6 (24)
5 Row: (3 sc, 1 inc) x 6 (30)
6 Row: (4 sc, 1 inc) x 6 (36)
7 Row: (5 sc, 1 inc) x 6 (42)
8 Row: (6 sc, 1 inc) x 6 (48)
9 Row: (7 sc, 1 inc) x 6 (54)
10 Row: (8 sc, 1 inc) x 6 (60)
11 Row – 20 Row: 60 sc (60)
21 Row: 24 sc, 1 ch, 1 sc skip, 10 sc, 1 ch, 1 sc skip, 24 sc (60)
22 Row – 27 Row: (6 rows) 60 sc (60)
28 Row: (8 sc, 1 dec) x 6 (54)
29 Row: (7 sc, 1 dec) x 6 (48)
30 Row: (6 sc, 1 dec) x 6 (42)
31 Row: (5 sc, 1 dec) x 6 (36)
32 Row: (4 sc, 1 dec) x 6 (30)
33 Row: (3 sc, 1 dec) x 6 (24)
34 Row: (2 sc, 1 dec) x 6 (18)
35 Row: (7 sc, 1 dec) x 2 (16)
*Note: If you want to add eye embroidery, do it in Row 21 with 60 sc.
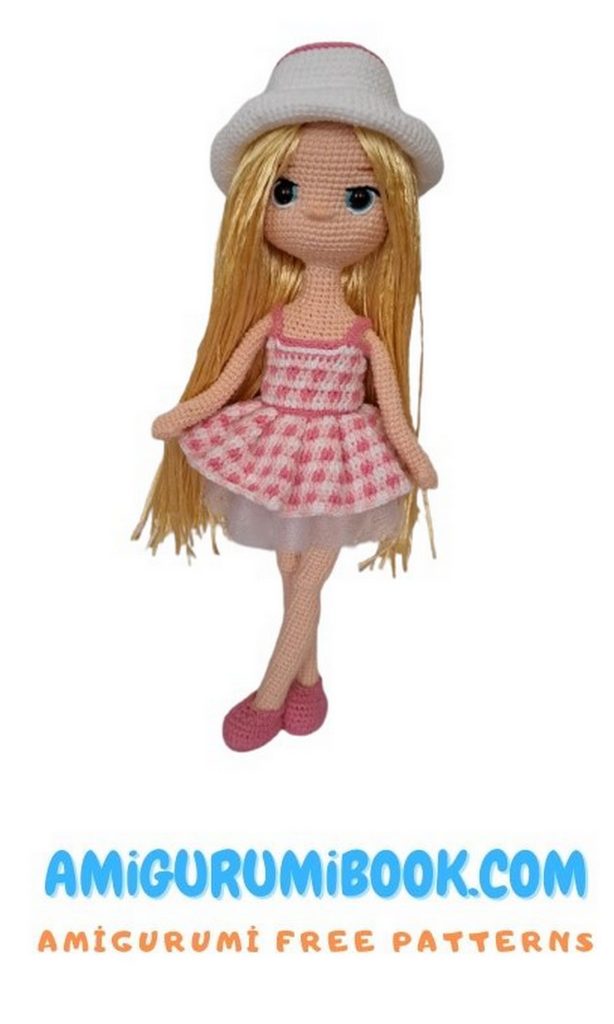
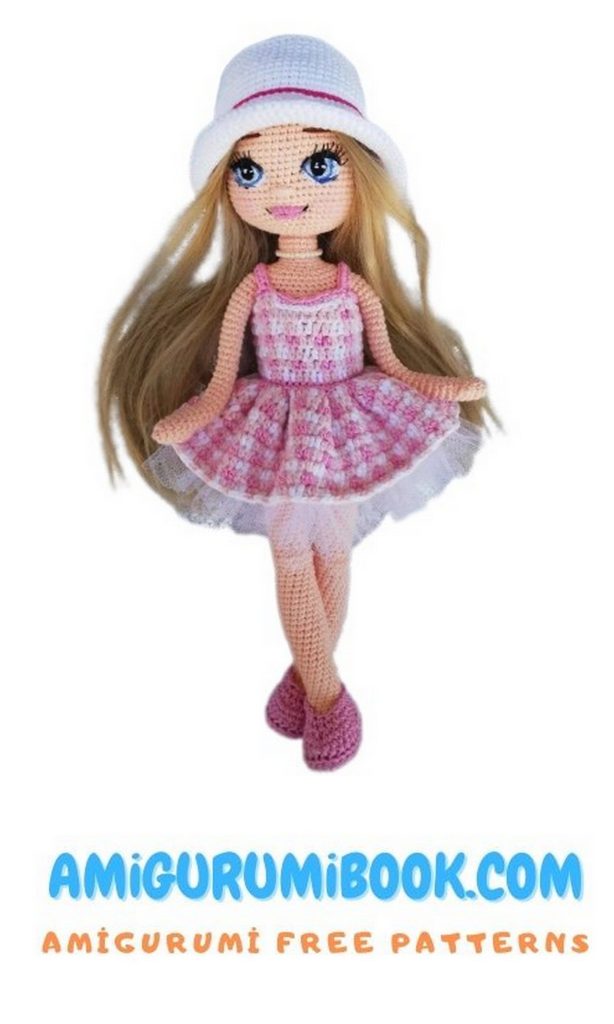
Amigurumi Barbie Arm
Use skin color yarn
1 Row: Magic ring, 5 sc (5)
2 Row: 5 inc (10)
3 Row – 10 Row: 10 sc (10)
11 Row: Make a popcorn stitch with 2 dc, 9 sc (10)
12 Row: 1 dec, 8 sc (9)
13 Row – 31 Row: 9 sc (9)
*Note: To add a 30 cm wire to each arm, bend the wire into shape and secure with tape. Do not stuff the arms.
Amigurumi Barbie Leg
Use skin color yarn, and if you want to add wire, use two 35 cm wires.
1 Row: Ch 6, starting from the 2nd ch from the hook, 4 sc, 1 inc, 4 sc (10)
2 Row: 1 inc, 4 sc, 1 inc, 4 sc (12)
3 Row – 7 Row: (5 rows) 12 sc (12)
8 Row: 7 sc, turn, skip 1 sc, 6 sc, turn, skip 1 sc, 5 sc, turn, skip 1 sc, 4 sc, turn, skip 1 sc, 3 sc, turn, skip 1 sc, 2 sc, turn, skip 1 sc, 1 sc, turn, skip 1 sc, 1 sc (15)
9 Row: 4 sc, 1 dec, 5 sc, 1 dec, 4 sc (13)
10 Row: 3 sc, 1 dec, 5 sc, 1 dec, 3 sc (11)
11 Row: 1 dec, 11 sc (12)
12 Row – 15 Row: (4 rows) 12 sc (12)
16 Row: 1 inc, 11 sc (13)
17 Row: 13 sc (13)
18 Row: 1 sc, 1 inc, 11 sc (14)
19 Row: 14 sc (14)
20 Row: 2 sc, 1 inc, 11 sc (15)
21 Row: 15 sc (15)
22 Row: 3 sc, 1 inc, 11 sc (16)
23 Row: 16 sc (16)
24 Row: 4 sc, 1 inc, 11 sc (17)
25 Row – 32 Row: (8 rows) 17 sc (17)
33 Row: 5 sc, 1 dec, 10 sc (16)
34 Row: 5 sc, 1 dec, 9 sc (15)
35 Row: 5 sc, 1 dec, 8 sc (14)
36 Row: 5 sc, 1 dec, 7 sc (13)
37 Row: 9 sc, 4 inc (17)
38 Row: 5 sc, 1 inc, 11 sc (18)
39 Row: 6 sc, 1 inc, 3 sc, 4 dec (15)
40 Row: 15 sc (15)
41 Row: 6 sc, 1 inc, 8 sc (16)
42 Row – 45 Row: 16 sc (16)
46 Row: 7 sc, 1 inc, 8 sc (17)
47 Row – 50 Row: 17 sc (17)
51 Row: 8 sc, 1 inc, 8 sc (18)
52 Row – 55 Row: (4 rows) 18 sc (18)
*Switch to white yarn
56 Row: 18 sc (18)
Combining the Legs and Making the Body
Continue with white yarn.
1 Row: Connect the right leg to the left leg using 3 ch.
2 Row: 18 sc on the left leg, 3 ch, 3 sc on the right leg, 3 ch, 3 sc on the left leg, 3 ch, 3 sc on the right leg (42)
2 Row: (1 sc, 1 inc) x 3, 27 sc, (1 sc, 1 inc) x 3, 3 sc (48)
3 Row – 8 Row: 48 sc (48)
9 Row: 9 sc, 1 dec, 26 sc, 1 dec, 9 sc (46)
10 Row: 8 sc, 1 dec, 26 sc, 1 dec, 8 sc (44)
11 Row: 2 sc, 1 dec, 3 sc, 1 dec, 26 sc, 1 dec, 3 sc, 1 dec, 2 sc (40)
12 Row: 6 sc, 1 dec, 24 sc, 1 dec, 6 sc (38)
Let’s continue with the skin color yarn.
13 Row: Blo 5 sc, 1 dec, 24 sc, 1 dec, 5 sc (36)
14 Row – 25 Row: (12 rows) 36 sc (36)
Now, continue with white yarn.
26 Row: Blo 15 sc, 5 inc, 5 sc, 10 inc (46)
27 Row – 28 Row: (2 rows) 15 sc, flo 10 sc, 10 sc (46)
29 Row: 15 sc, flo 5 dec, 5 sc, flo 5 dec, 10 sc (36)
30 Row: 36 sc (36)
Combining the Arms
Continue with skin color yarn.
1 Row: Blo 10 sc, 3 sc with the arm, blo 15 sc, 3 sc with the arm, 5 sc (36)
2 Row: 10 sc, place the arm on top, 6 sc, 15 sc (front), place the arm on top, 6 sc, 5 sc (42)
3 Row: 42 sc (42)
4 Row: 9 sc, (1 dec, 1 sc) x 2, 13 sc, (1 dec, 1 sc) x 2, 4 sc (36)
5 Row: 1 dec, 8 sc, m, 7 sc, 1 dec, 6 sc, m, 5 sc (30)
6 Row: (3 sc, 1 dec) x 6 (24)
7 Row: (2 sc, 1 dec) x 6 (18)
8 Row: (7 sc, 1 dec) x 2 (16)
9 Row – 12 Row: (4 rows) 16 sc (16)
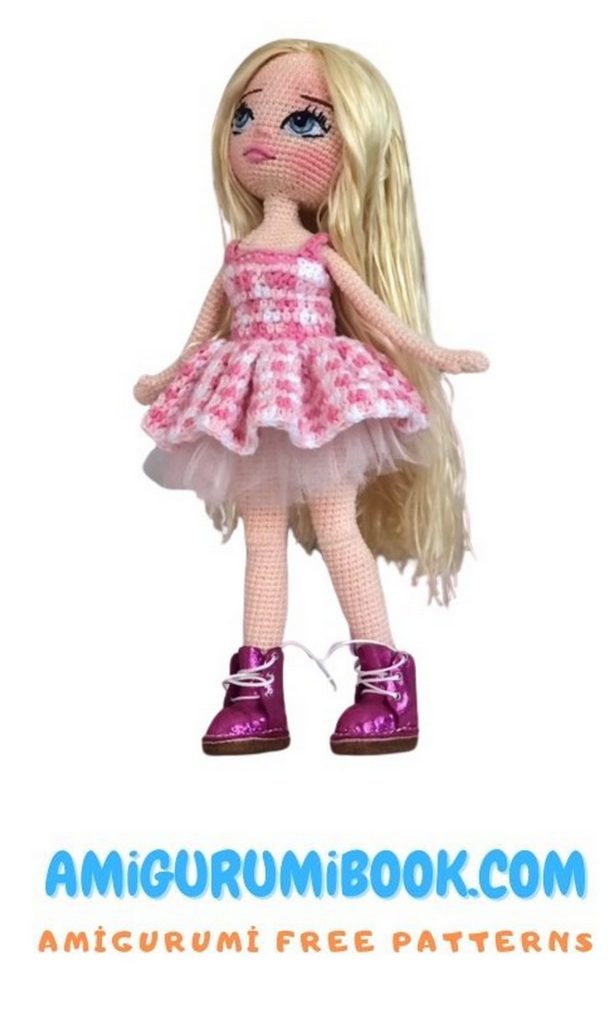
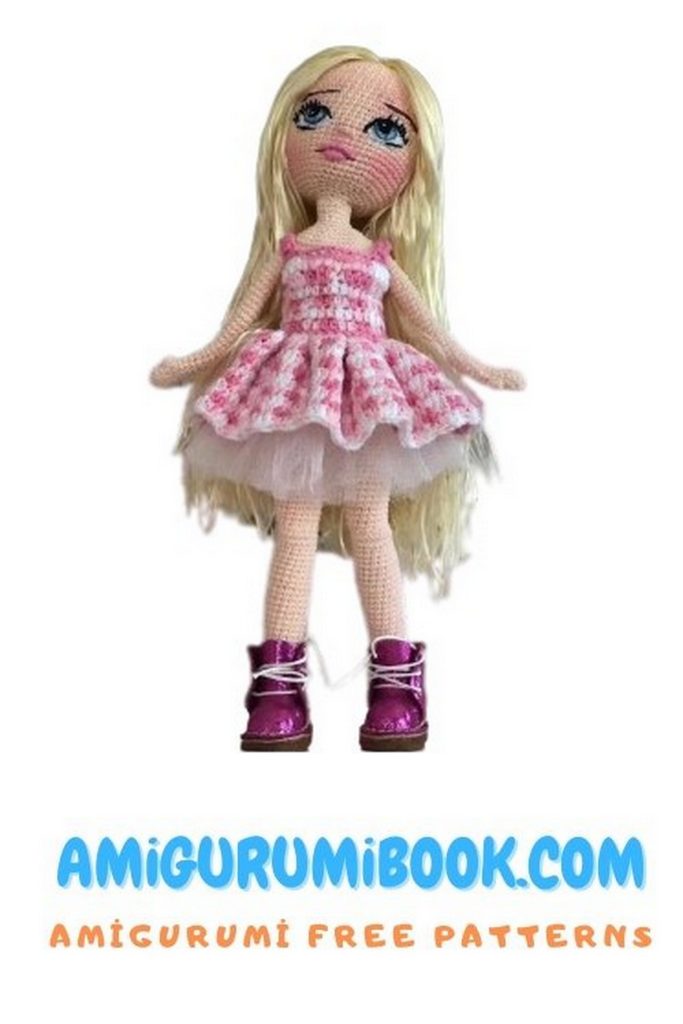
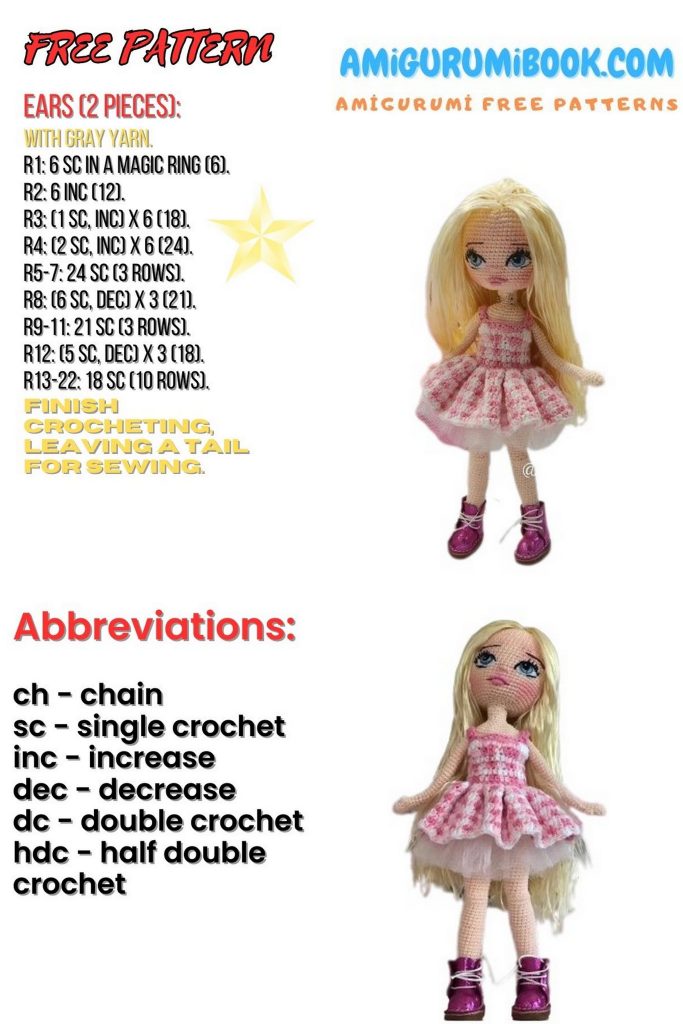
Amigurumi Barbie Dress
Start with pink yarn.
1 Row: Ch 39, starting from the 2nd ch from the hook, (4 sc, 10 ch, slip stitch to the base of the ch) 9 times, 4 sc.
*Continue towards the skirt, starting from where you began.
2 Row: Powder 2 hdc, white 2 hdc, 10 hdc over the ch loops (alternating 2 powder hdc, 2 white hdc), repeat until the end. After this, continue in a spiral.
3 Row: Finish the row by alternating 2 pink hdc, 2 powder hdc.
4 Row – 10 Row: Repeat 2nd and 3rd rows. There will be a total of 9 rows.
Cut the yarn and attach it to the waist.
1 Row: With pink yarn, 38 sc, cut the yarn.
2 Row: 2 ch, (2 powder hdc, 2 white hdc) 9 times, 2 powder hdc, cut the yarn.
3 Row: 2 ch, (2 pink hdc, 2 powder hdc) 9 times, 2 pink hdc, cut the yarn.
4 Row: Repeat the 2nd row.
5 Row: Repeat the 3rd row.
6 Row: Repeat the 2nd row.
7 Row: 2 ch, (2 pink hdc, 2 powder hdc) 3 times, 2 pink hdc, powder with 4 hdc, x, 4 hdc, (pink 2 hdc, white 2 hdc) 3 times, 2 powder hdc.
8 Row: (2 powder hdc, 2 white hdc) 3 times, 2 powder hdc, white with 9 hdc, cut the yarn.
9 Row: Pink with 12 sc, 10 ch, 8 sc, skip, 8 sc, 10 ch, 8 sc, skip, 12 sc (36)
4 sc, sl st, 4 sc, 8 ch, 8 sc, sl st, 8 ch, 8 sc, sl st, 4 sc.
*Note: For the back, make hdc stitches and skip the buttonhole.
Ballet Flats
End each row with sl st and one ch. Make two soles (insert a yogurt lid inside).
1 Row: Ch 8, starting from the 2nd ch from the hook, 5 sc, 2 hdc, 6 sc (16)
2 Row: 2 inc, 5 sc, 2 inc, 6 sc (21)
3 Row: 1 sc, 1 inc, 6 sc, (1 sc, 1 inc) x 3, 6 sc, 1 inc, 1 sc (26)
4 Row: 26 sc (26)
5 Row: Connect the two soles with 26 sl st from the back.
6 Row: 26 sc from the back loops of the sl st.
7 Row – 8 Row: 26 sc (26)
9 Row: 6 sc, 6 dec, 8 sc (20)
10 Row: 5 sc, 4 dec, 7 sc (16)
