
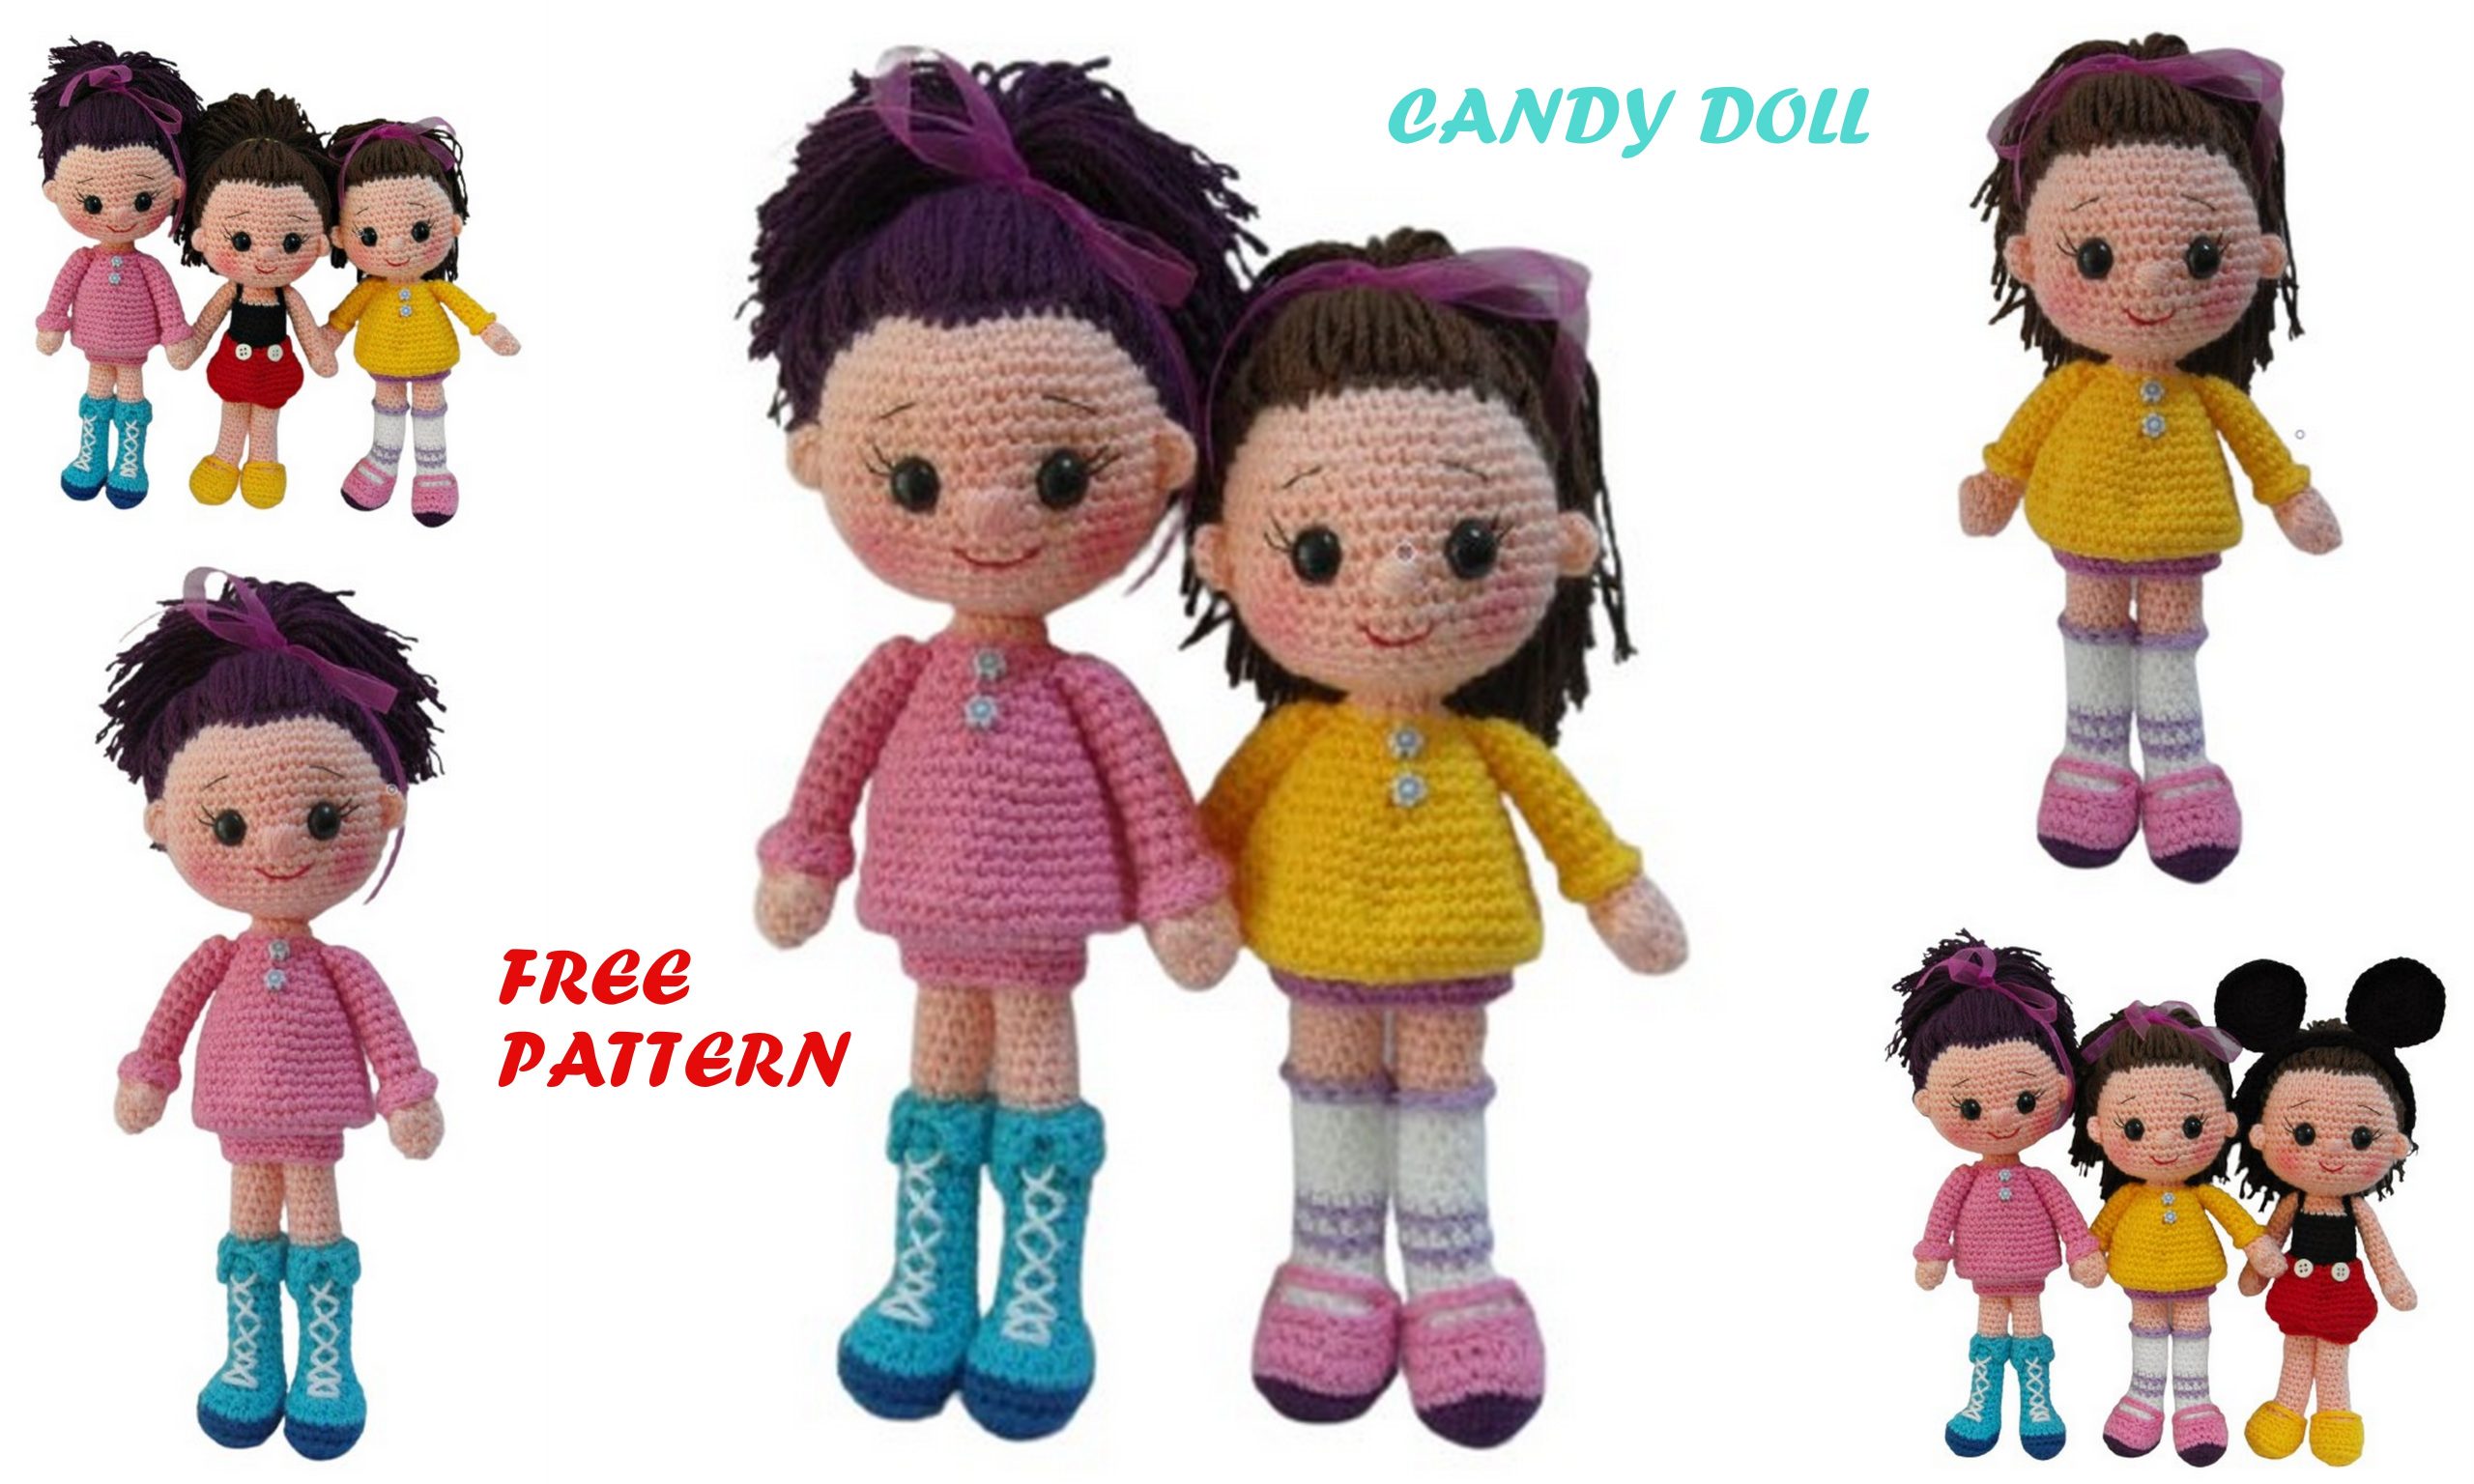
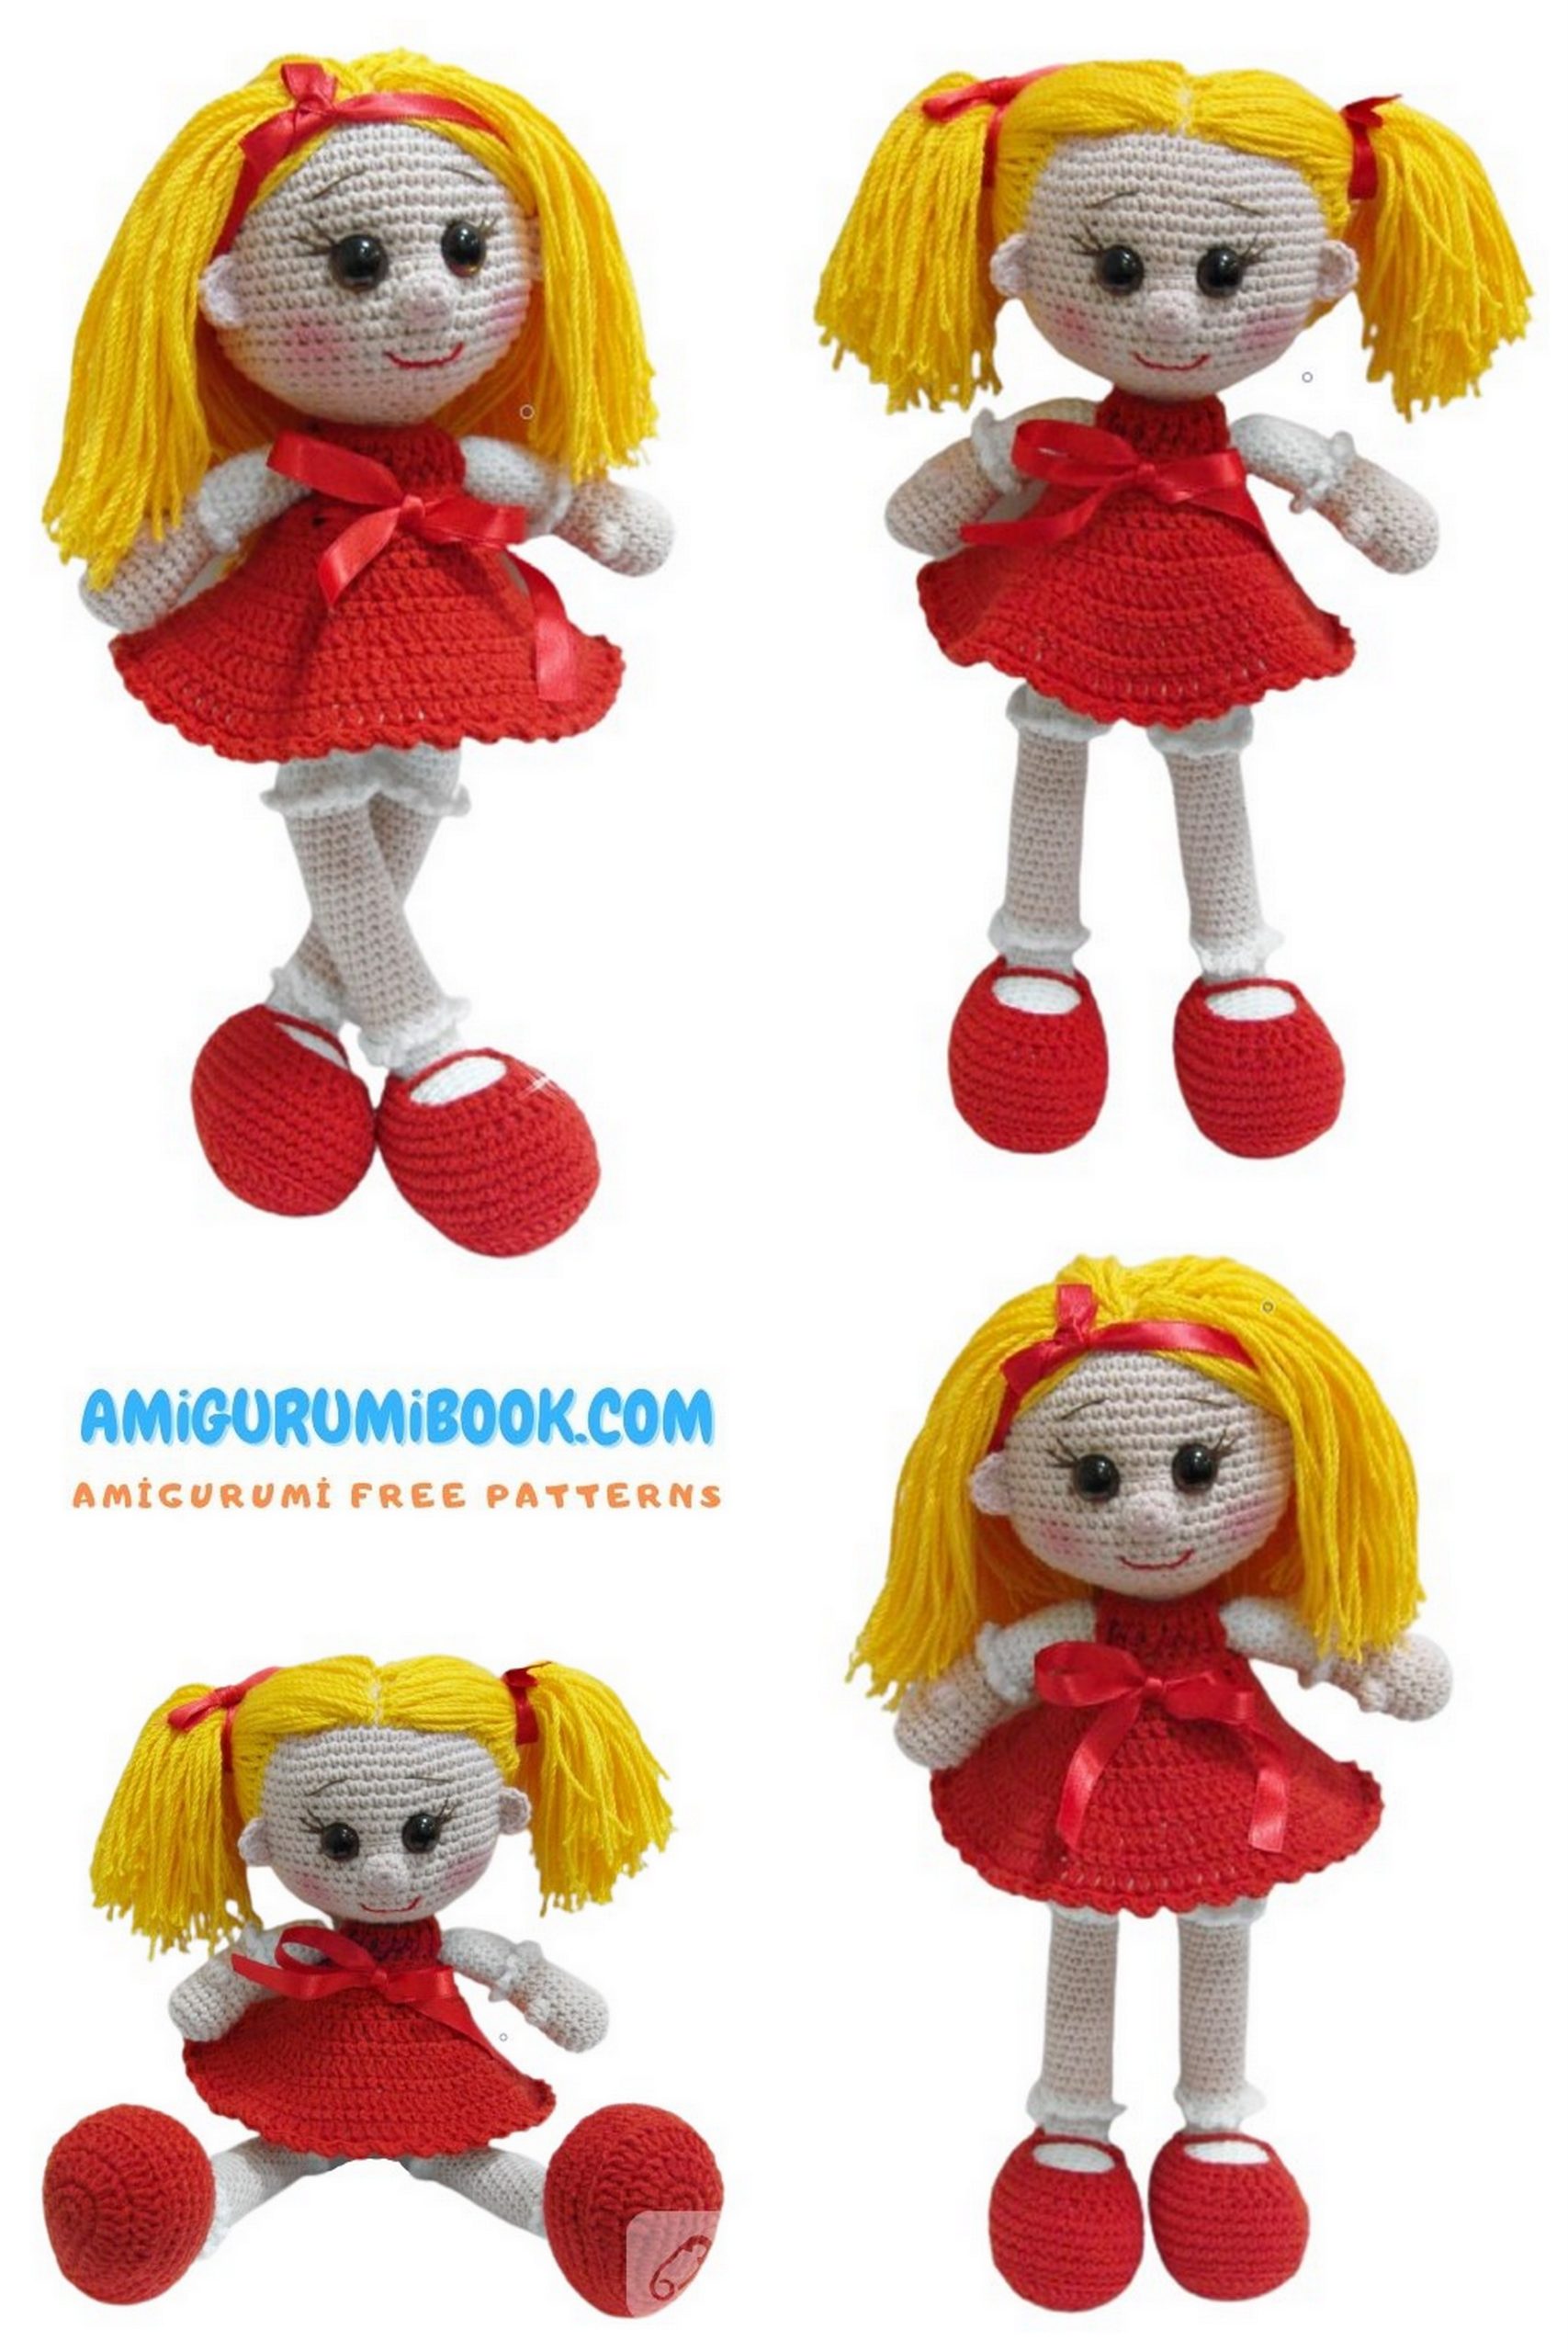
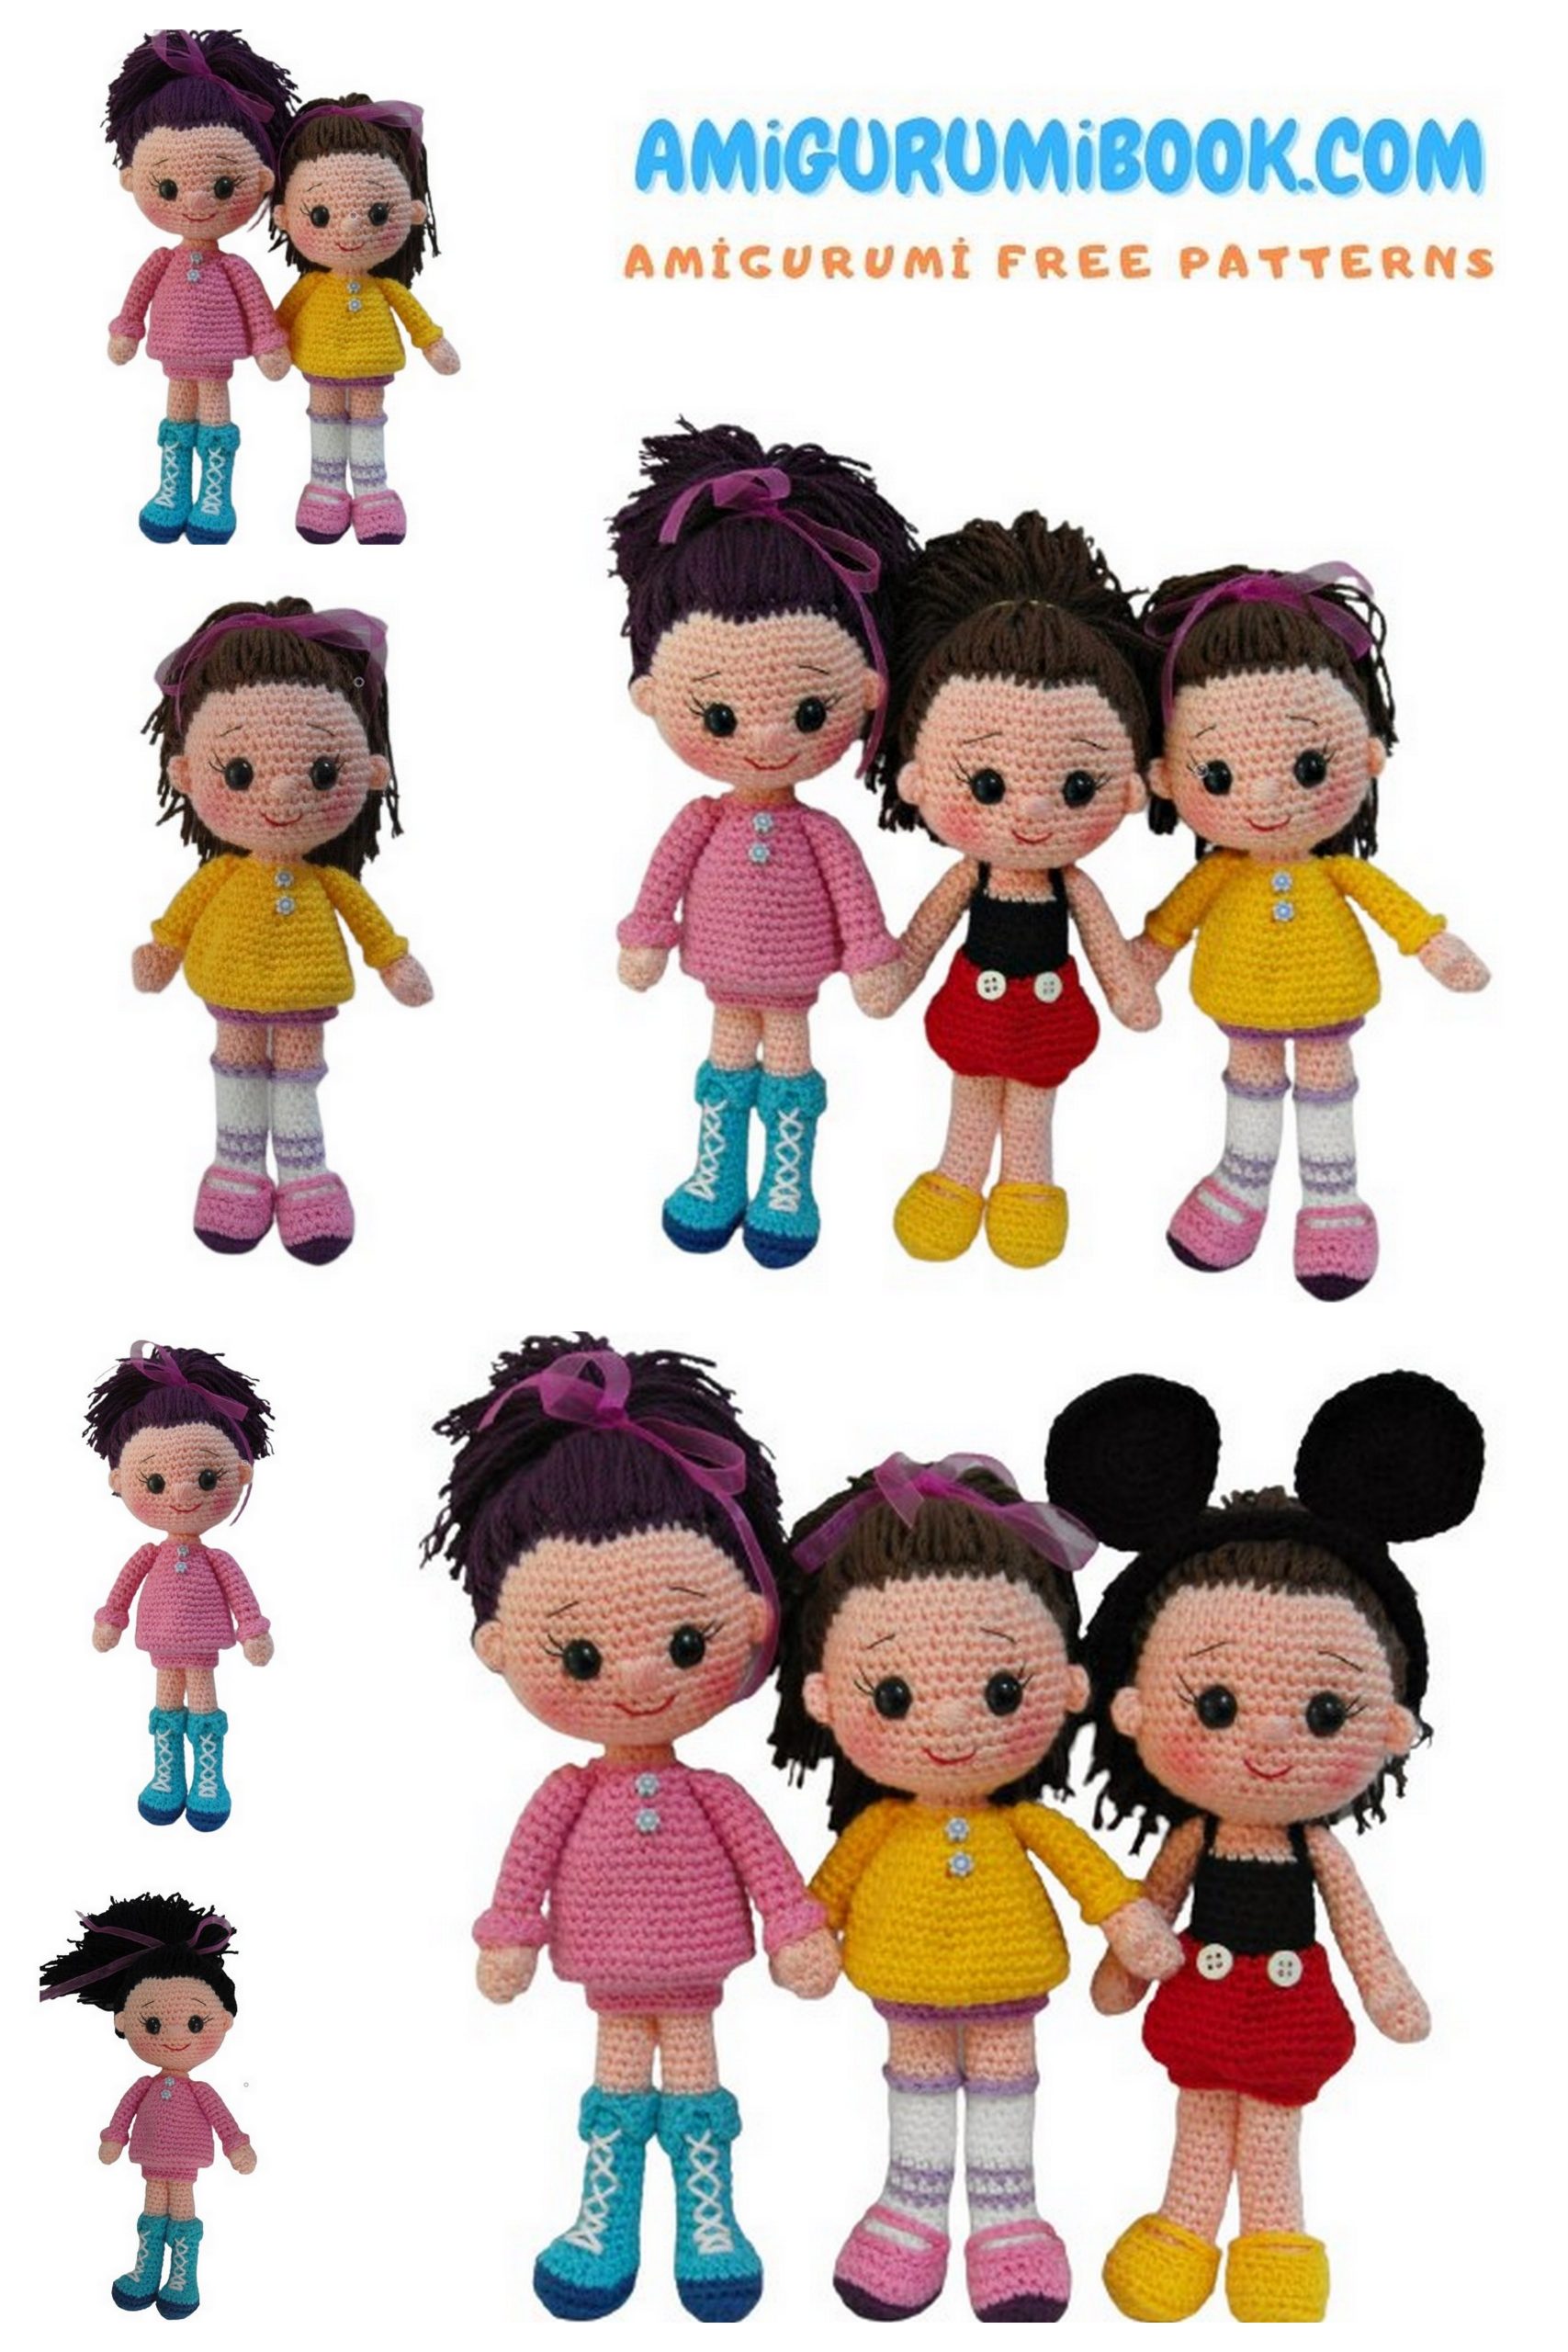
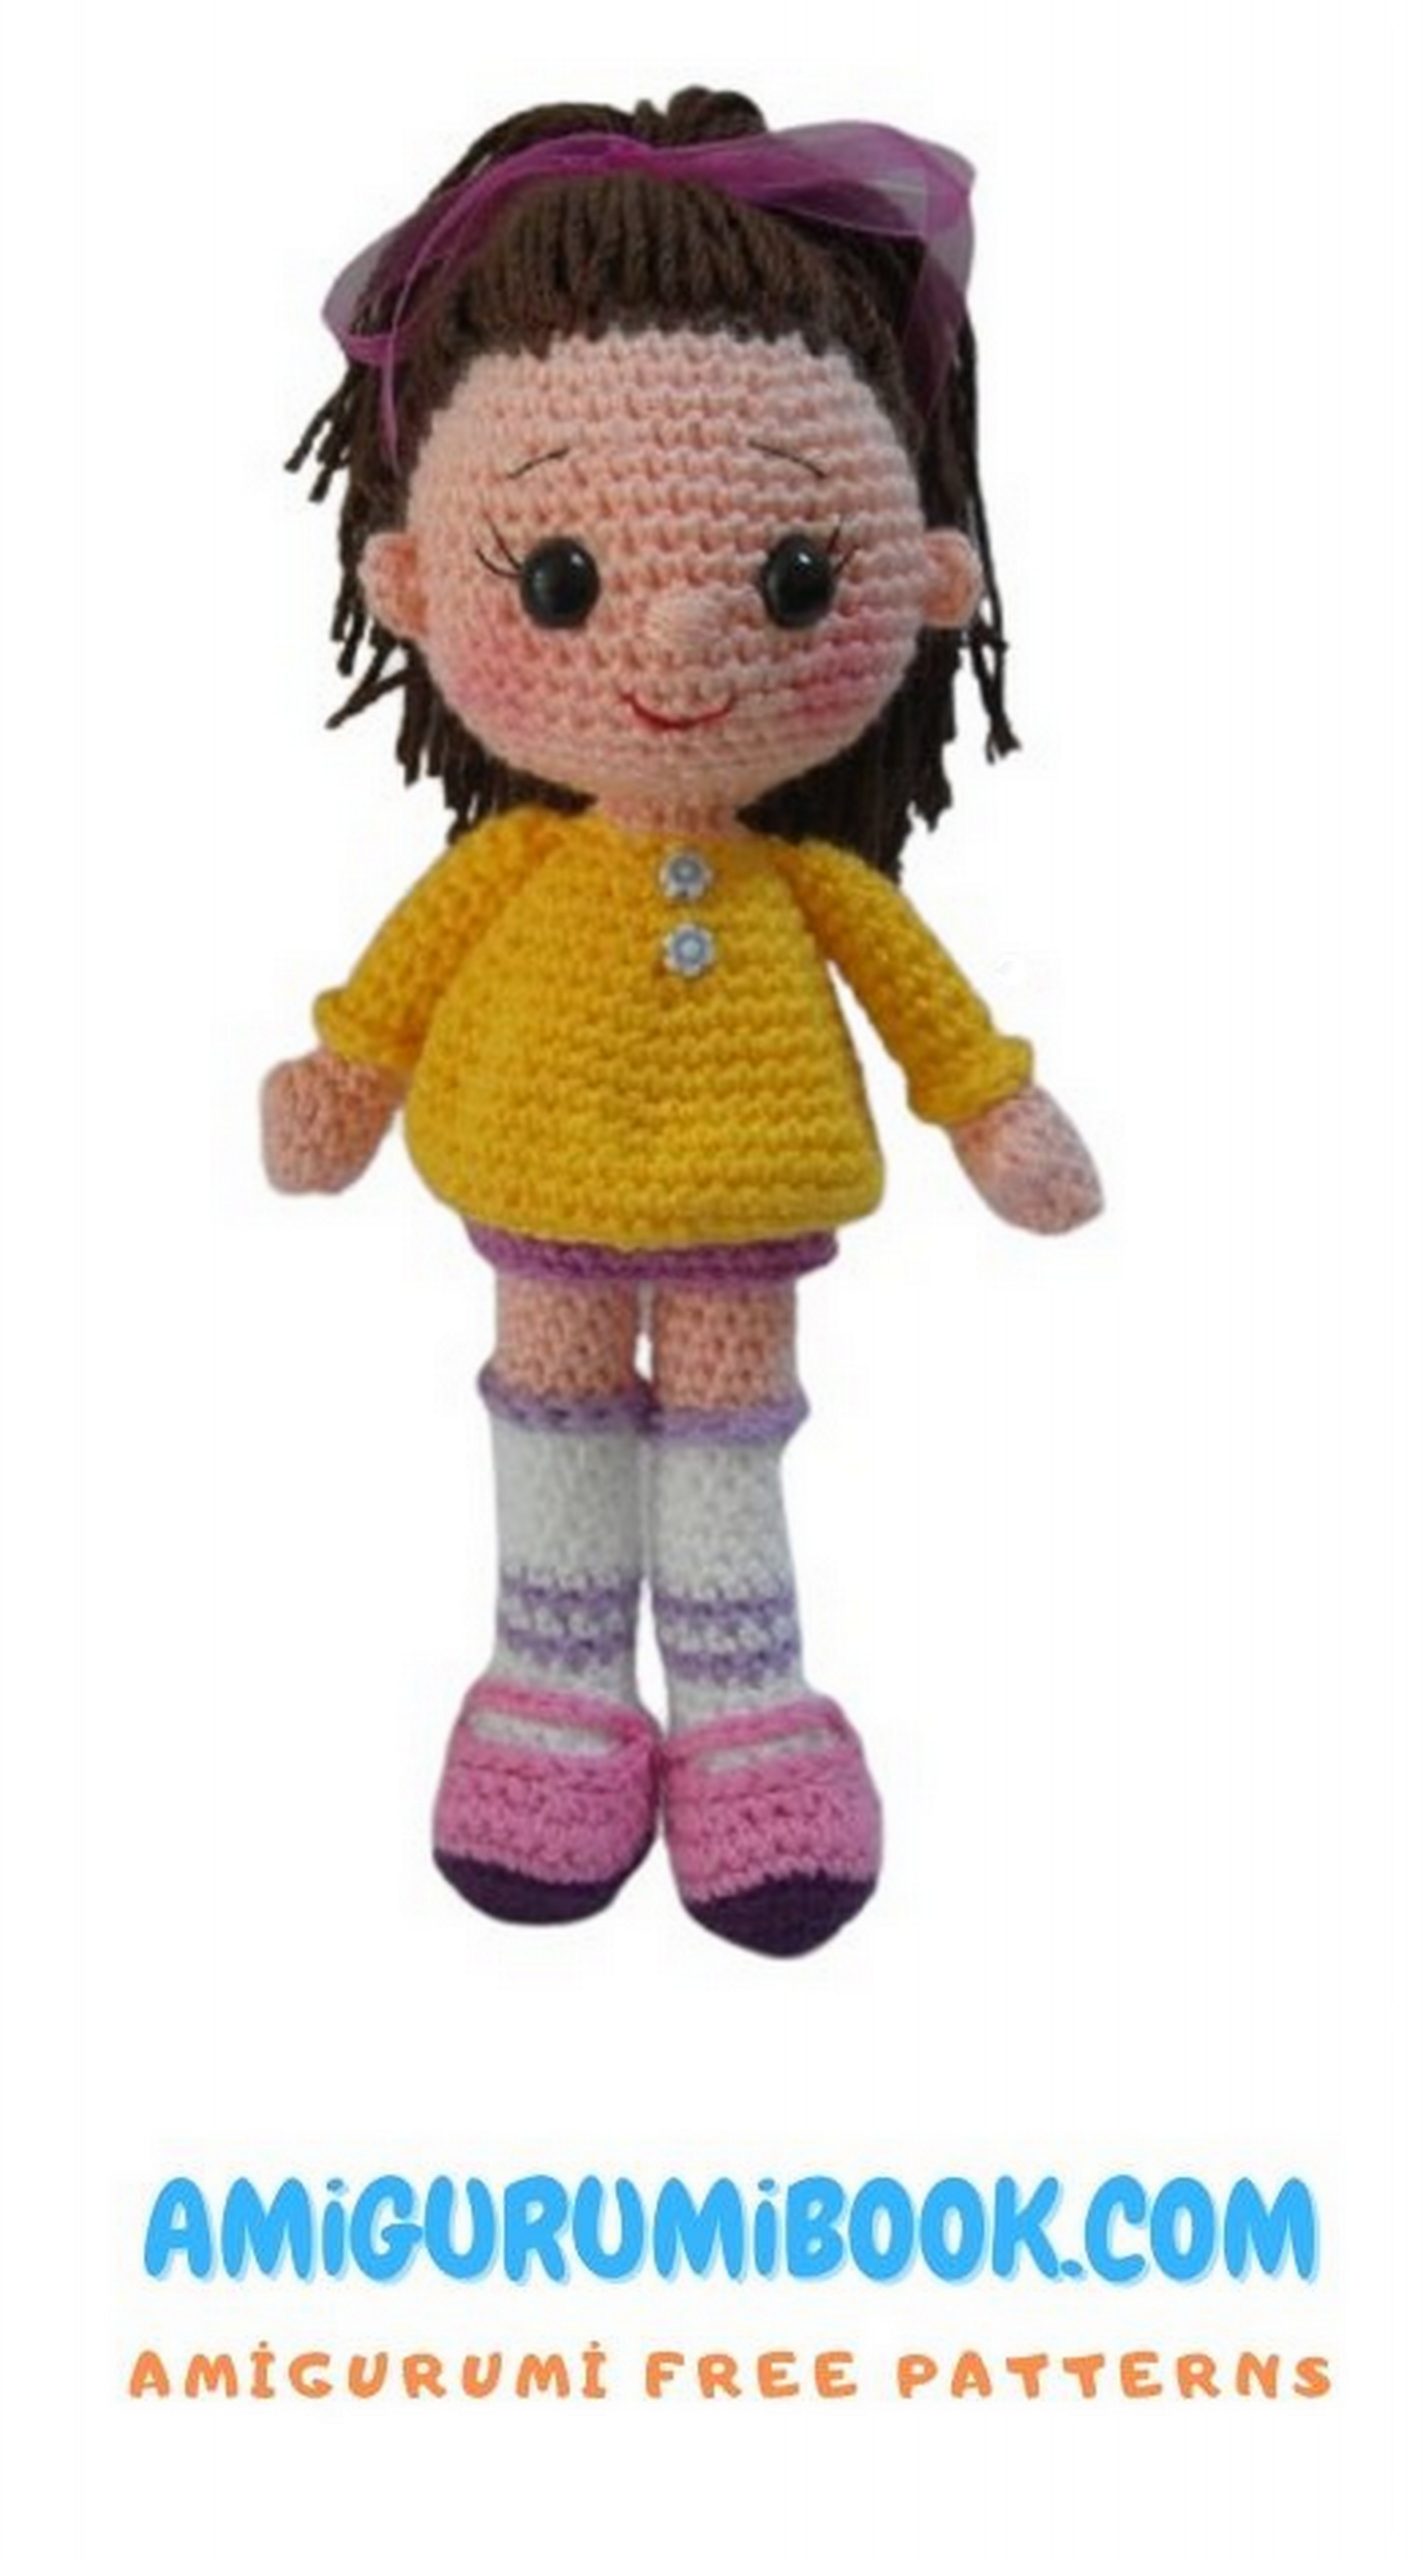
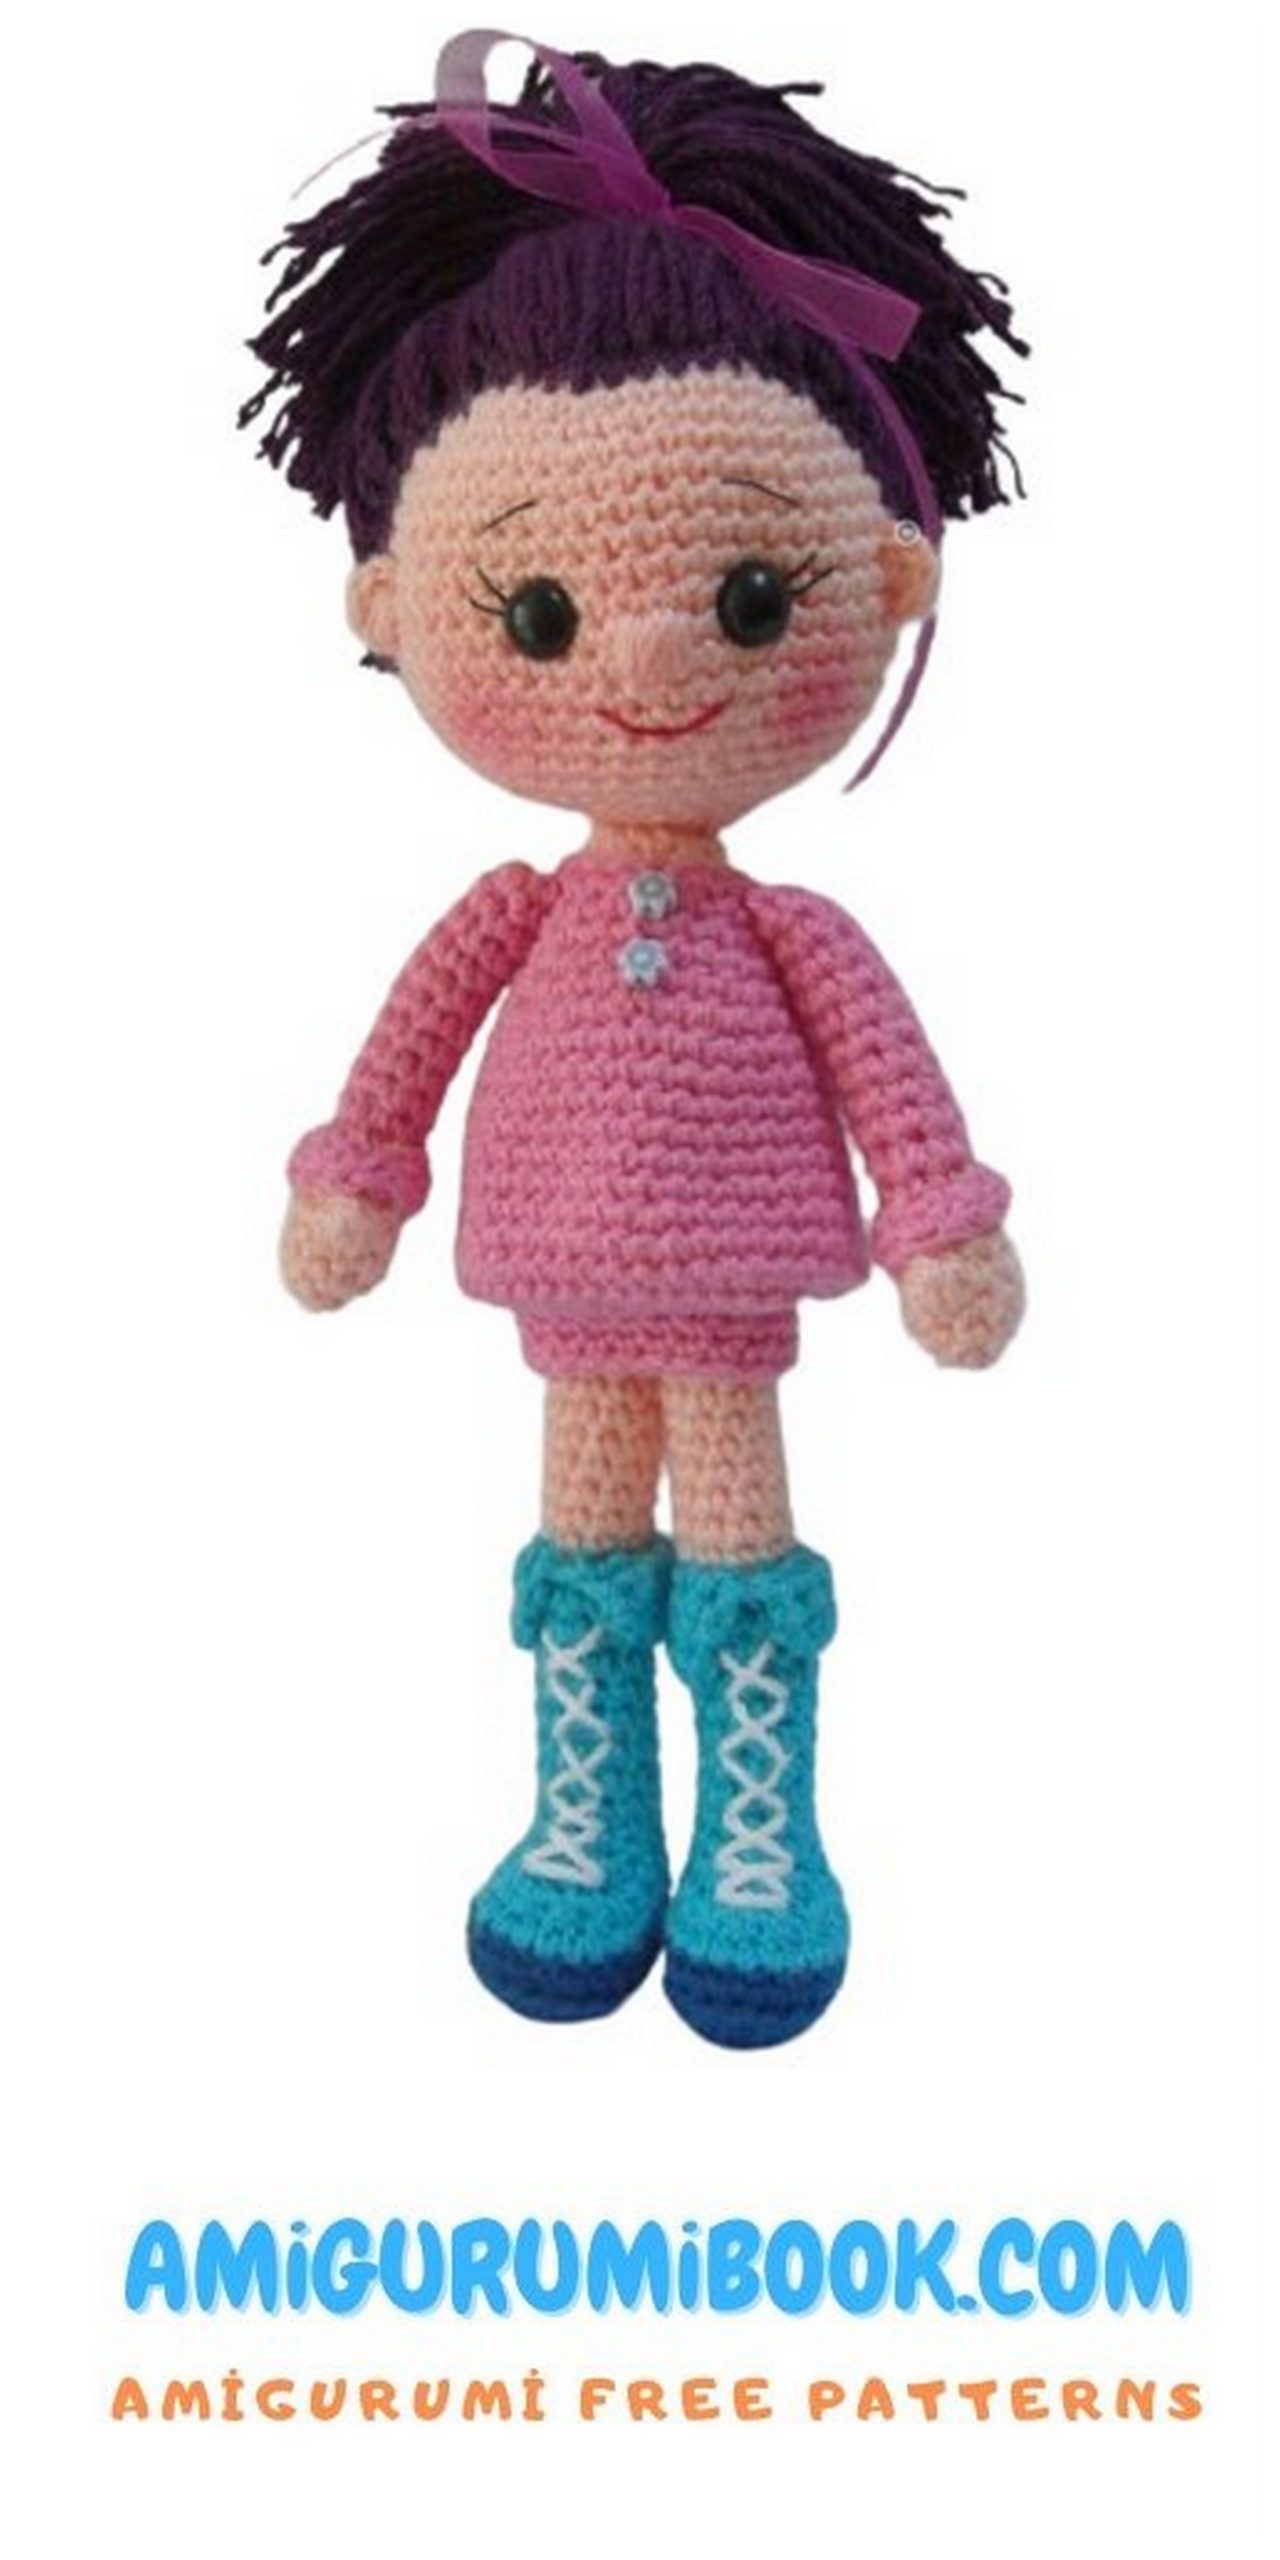
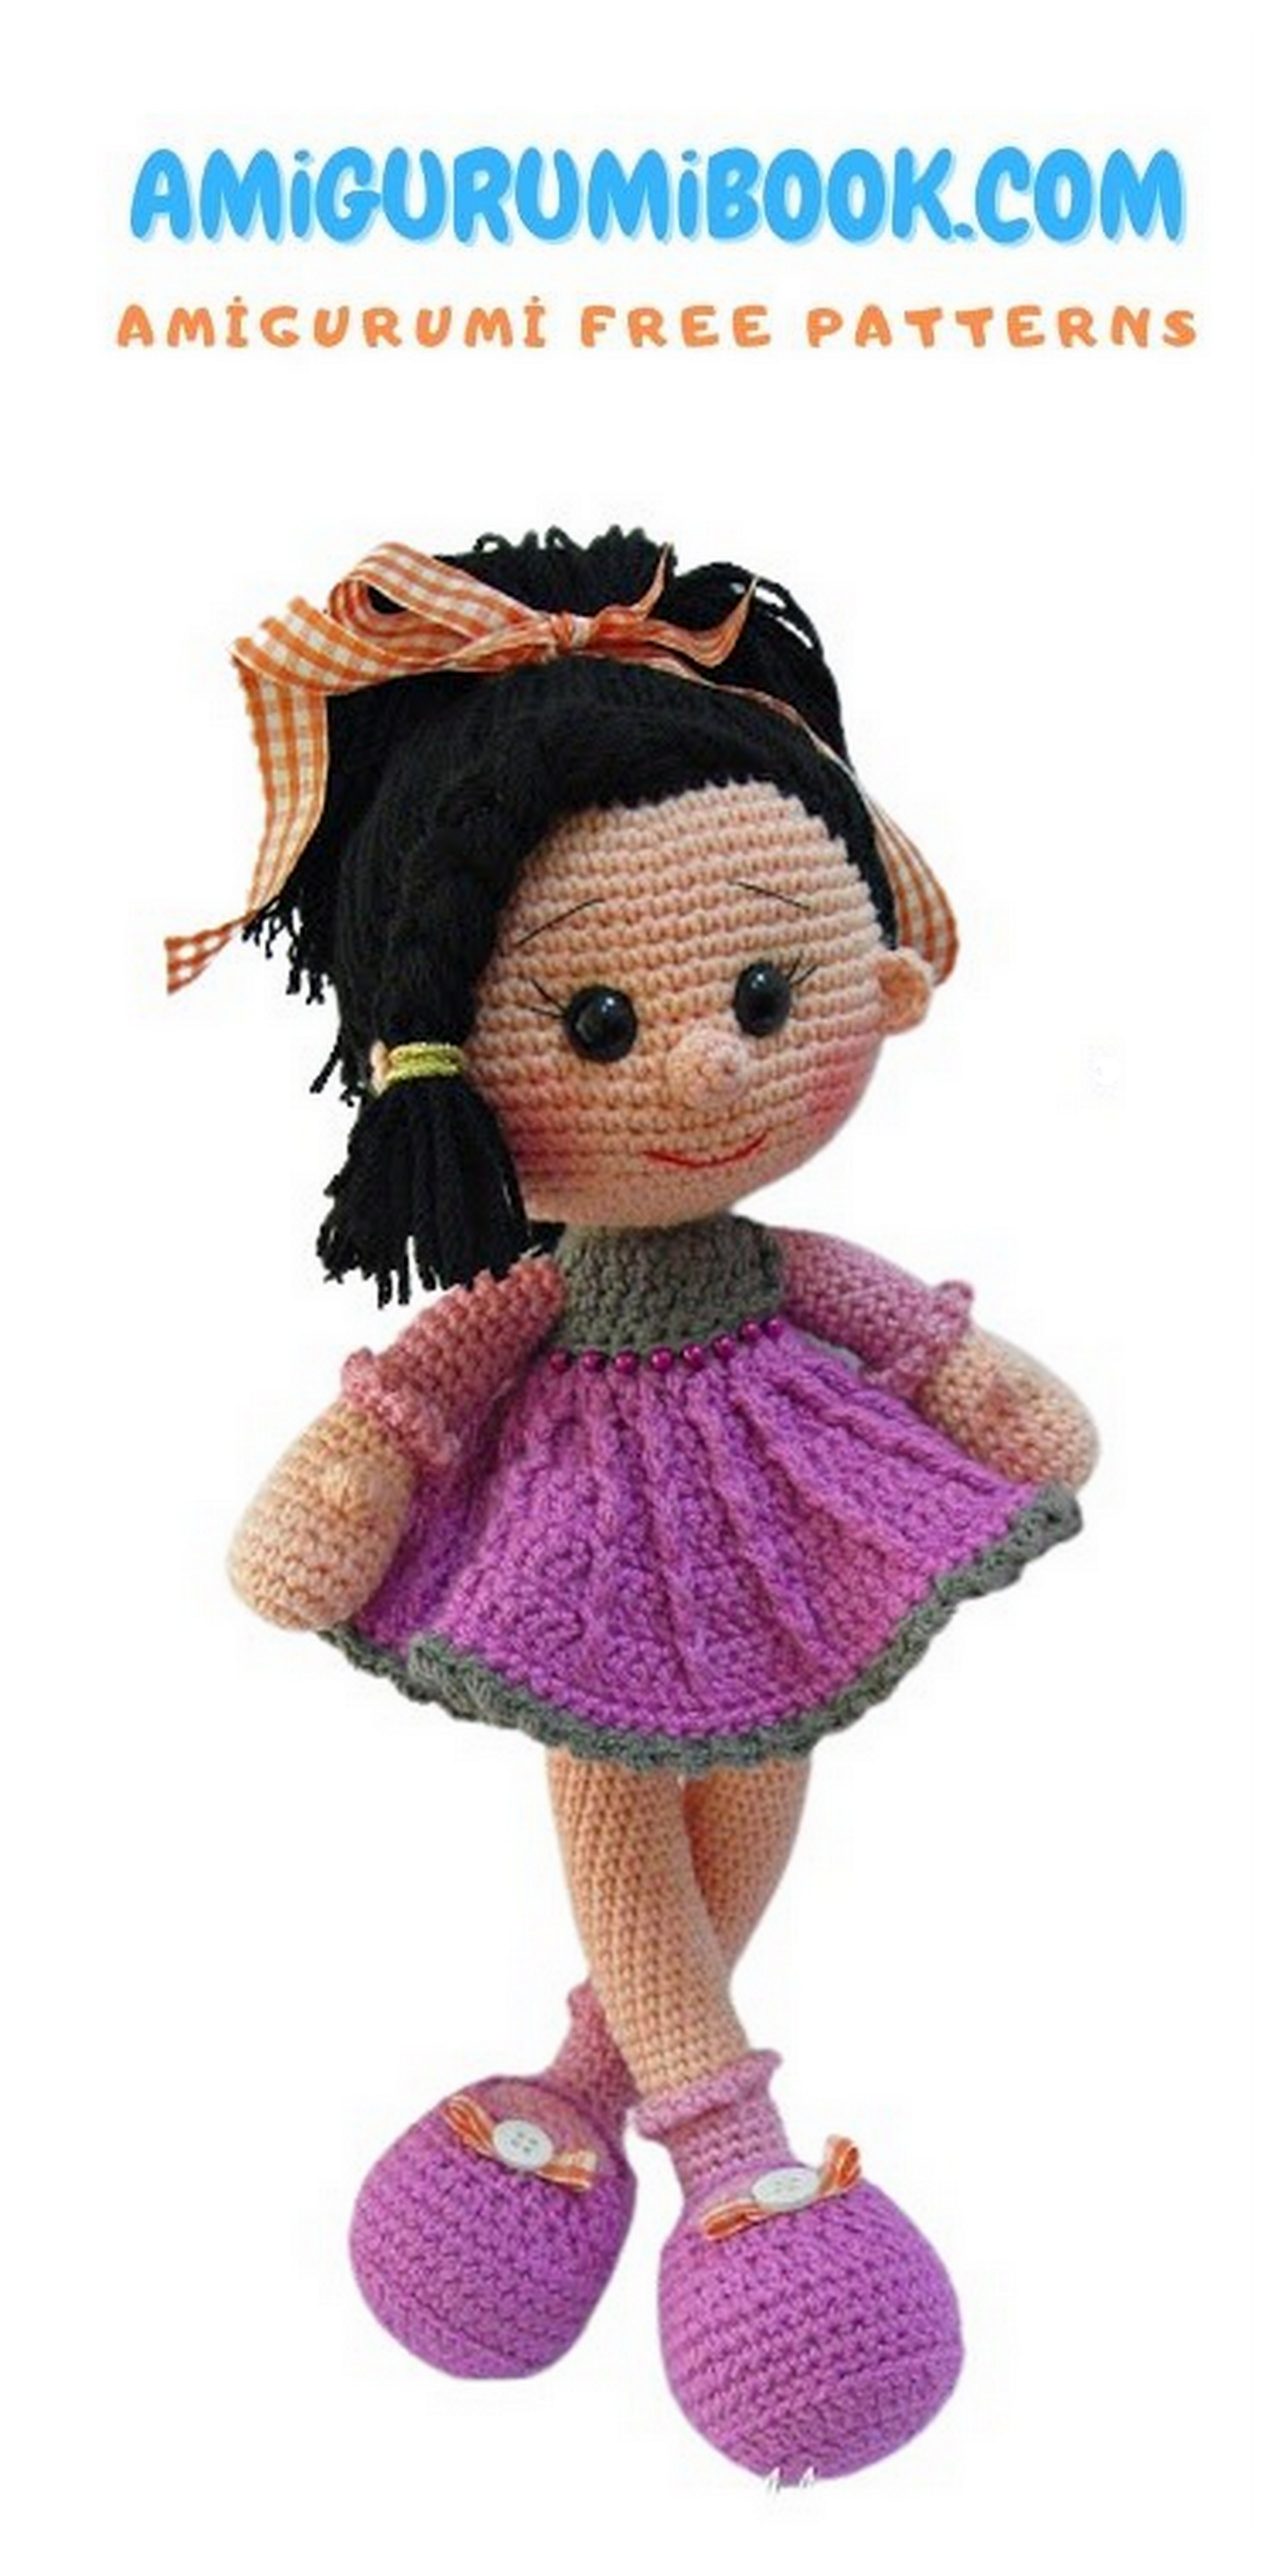
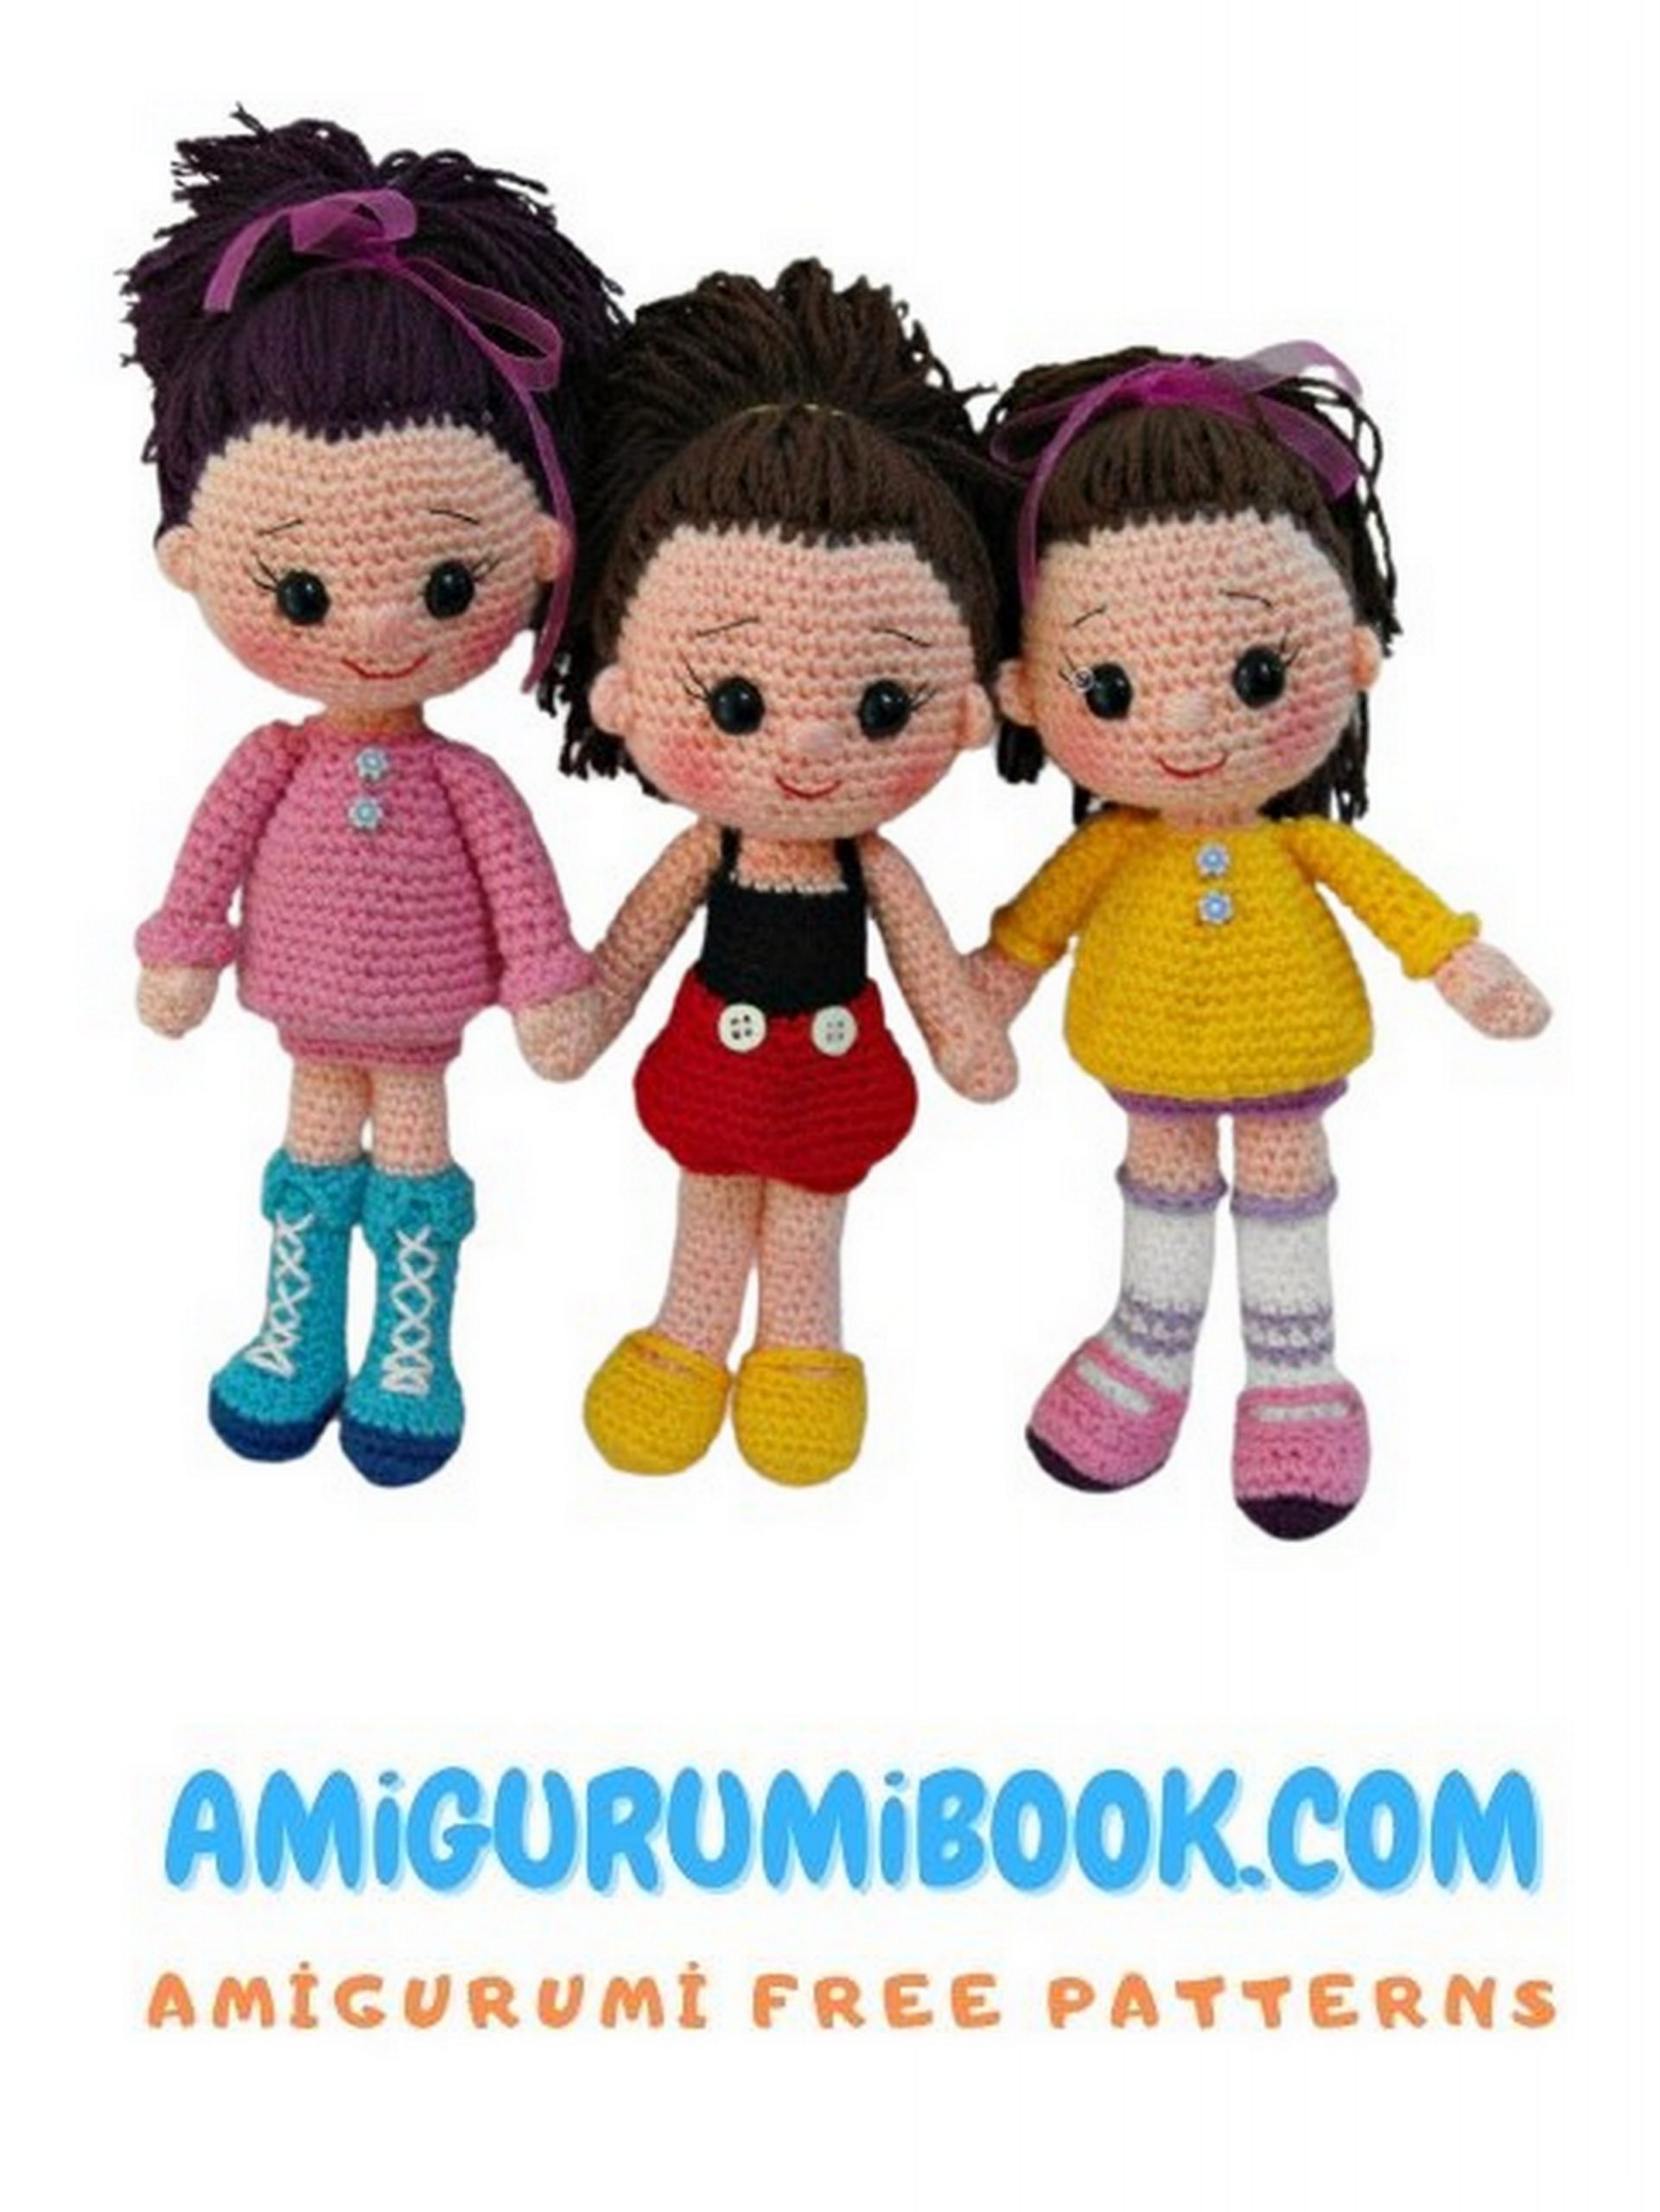
Candy Doll Amigurumi is a charming and delightful crochet project perfect for both beginners and experienced crafters. This free pattern guides you step-by-step to create an adorable, sweet-themed doll that makes a wonderful handmade gift or decoration. free crochet patterns – Traffic Light Controller Amigurumi Free Pattern
You may also like more amigurumi patterns.
I am sharing Amigurumi free patterns. Candy doll amigurumi free pattern is waiting for you in this article.
Materials:
– flesh-colored yarn,
– yarn (small hanks) for hair and clothes,
– hook
– filler for toys (holofiber),
– a needle for stitching,
– plastic eyes for dolls,
– beads or other decorative elements.
Abbreviations
ch – chain
sc – single crochet
inc- increase
dec – decrease
hdc – half double crochet
dc – double crochet
dtr – four double crochet
sl-st – slip stitch
One loop increase – knit two columns
Decrease – we knit two columns together (with a common vertex)
PATTERN

Head:
Knit with flesh-colored yarn.
1 row: 6 sc into magic ring
2 row: 6 increases (12)
3 row: (sc, increase) 6 times (18)
4 row: (2 sc, increase) 6 times (24)
5 row: (3 sc, increase) 6 times (30)
6 row: (4 sc, increase) 6 times (36)
7 row: (5 sc, increase) 6 times (42)
8 row: (6 sc, increase) 6 times (48)
9 row: (7 sc, increase) 6 times (54)
10 row: (8 sc, increase) 6 times (60)
11-23 row: 60 sc
24 row: (8 sc, decrease) 6 times (54)
25 row: (7 sc, decrease) 6 times (48)
26 row: (6 sc, decrease) 6 times (42)
27 row: (5 sc, decrease) 6 times (36)
28 row: (4 sc, decrease) 6 times (30)
29 row: (3 sc, decrease) 6 times (24)
30 row: (2 sc, decrease) 6 times (18)
31 row: (1 sc, decrease) 6 times (12)
After the head is tied, we stuff it and make a tightening in the eye area.
The tightening can be done with a thin thread of flesh-colored. Insert the needle from below into the unstitched
the opening of the head and bring it out in the center (approximately between 16-17 near the crown),
then through the row we bring the needle back inside the head, tighten it tightly and tie the knot
a dimple has formed. Bring the needle out at the site of the second eye (after about 9 loops) and
through a row they again pulled inward, tied a knot. Cut the excess thread, hide the ends of the threads
inside the head in padding.
Pull the hole in the head and remove the tail of the thread.

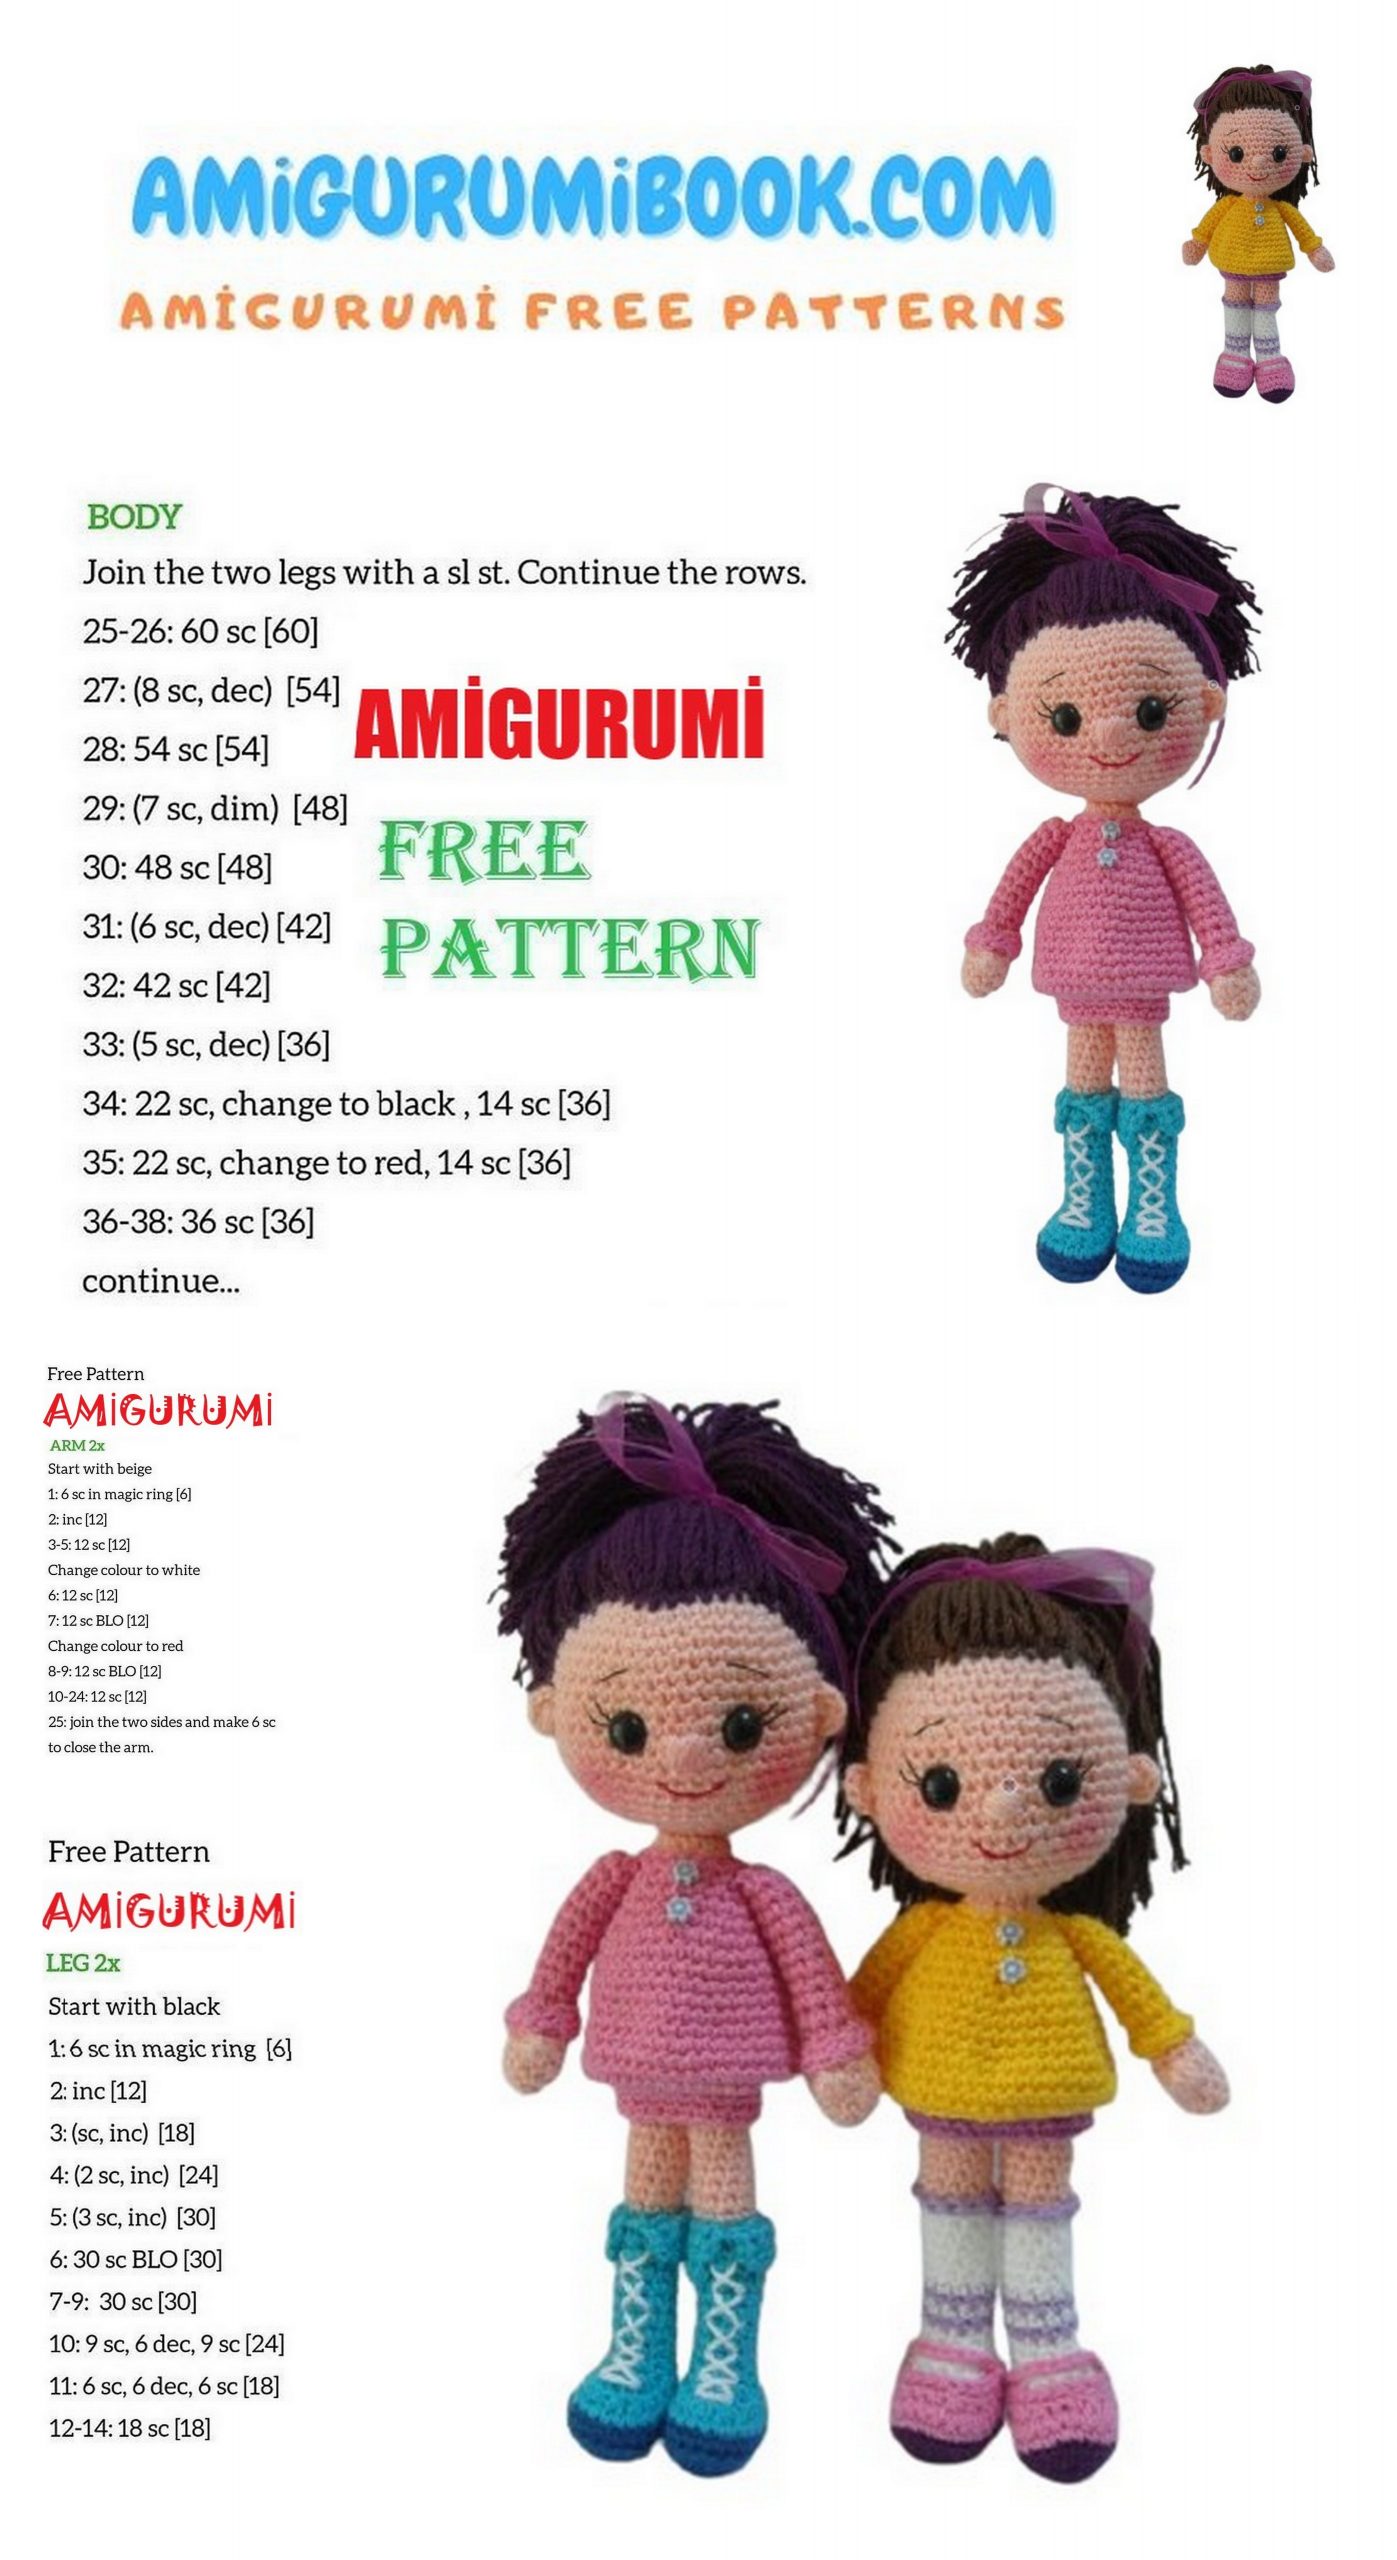
Body:
Since the doll will be in a sarafan and a blouse, we begin to knit the body with
the color chosen for the blouse.
1 row: 6 sc into magic ring
2 row: 6 increases (12)
3 row: (sc, increase) 6 times (18)
4-5 row: 18 sc
6 row: (2 sc, increase) 6 times (24)
7 row: 24 sc
8 row: (3 sc, increase) 6 times (30)
9 row: 30 sc
10 row: (4 sc, increase) 6 times (36)
11 row: 36 sc 12 row: (5 sc, increase) 6 times (42)
13-14 row: 42 sc 15 row: (6 sc, increase) 6 times (48)
16 row: 48 sc 17 row: (7 sc, increase) 6 times (54)
18th row: 54 sc
Change the color of the thread, take the color that the knickers will knit.
19 row: 54 sc
20 row: (8 sc, increase) 6 times (60)
21 row: 60 sc
22 row: (4 sc, decrease) 10 times (50)
23 row: (3 sc, decrease) 10 times (40)
24 row: (2 sc, decrease) 10 times (30)
25 row: (4 sc, decrease) 5 times (24)
26 row: (3 sc, decrease) 5 times (20)
27 row: (2 sc, decrease) 5 times (16)
28 row: decrease 8 times
We stuff the body, tighten and hide the tail of the thread inside.
Hands:
Hands are knitted from the palm, knitting with flesh-colored yarn begins.
1 row: 6 sc into magic ring
2 row: 6 increases (12)
3 row: (sc, increase) 6 times (18)
4 5 row: 18 sc
6 row: (7 sc, decrease) 2 times (16)
7 row: 16 sc
In the eighth row we knit a finger:
8 row: 6 sc, 4 dc with one vertex in the trace loop, 9 sc
9 row: (6 sc, decrease) 2 times (14)
10 row: 14 sc
11 row: (5 sc, decrease) 2 times (12)
Change the color of the thread to the color that was chosen for the blouse.
12 row: 12 sc
13 row: 12 sc behind the back of the loop
13 21 row: 12 sc, leave a long tail of thread so that you can sew the handle and sew to
to the body.
Fill the handle with filler. The cam needs to be filled tightly enough, the handle itself can be
make softer. Now fold the top of the handle flat and tie the edge.
It remains to tie the ruffle on the sleeve. In the place where they knitted for the back wall of the loop (13 row) on
to the handle, attach the thread (blouse color) and for the remaining front walls of the loop
knit quilling: 3 ch, 1 sc. Hide the tail of the thread inside the handle.
Similarly, tie the second handle to the doll.
Legs:
For the legs, you first need to tie the foot in the toe, and then the leg itself.
Foot:
1 row: 6 sc into magic ring
2 row: 6 increases (12)
3 row: (sc, increase) 6 times (18)
4 row: (2 sc, increase) 6 times (24)
5 row: (3 sc, increase) 6 times (30)
6-11 row: 30 sc
12 row: (13 sc, decrease) 2 times (28)
13 row: 28 sc 14 row: (12 sc, decrease) 2 times (26)
15 row: 26 sc
16 row: (11 sc, decrease) 2 times (24)
17 row: 24 sc
18 row: (10 sc, decrease) 2 times (22)
19 row: 22 sc
20 row: (9 sc, decrease) 2 times (20),
Fill the foot tightly.
21 row: (decrease) 6 times, pull the hole and hide the tip of the thread.
Now around the foot in the place of narrowing, dial 15 loops in a circle (the color is the same color as the socks).
Knit the top of the sock:
1 6 row: 15 sc
Change the color of the thread to flesh and then knit the doll’s leg.
7 row: 15 sc behind the back wall of the loop
8 19 row: 15 sc
Change the thread color to the one selected for the drawers.
20 row: 15 sc behind the back of the loop
21 row: (4 sc, increase) 3 times (18)
22-25 row: 18 sc
Fold the top of the legs and tie a flat edge (like hands).
Make a ruffle (3 ch, 1 sc) the color of the socks in the 7th row (where they were knitted for the back wall). Also quilling
make in row 20 in the color of knickers.
Shoes:
Tie the sole according to the pattern.
Further:
5 row: 43 sc behind the back wall of the loop
6-9 row: 43 sc
10 row: 8 sc, 2 hdc, 8 decreases hdc, 2 hdc, 15 sc (35)
11 row: 8 sc, 12 hdc, 15 sc (35)
12 row: 8 sc, 2 hdc, 4 decrease hdc, 2 hdc, 9 sc, 3 decrease sc (28)
Put the shoe on the leg, attach the thread on the side. Next, knit 8 ch, join
connecting column on the other side of the shoe, turn the knit and knit 8 hdc
strap. Fasten the thread and hide the tails. Similarly, tie the second shoe.
Nose:
Knit with flesh-colored yarn.
1 row: 6 sc into magic ring
2 row: 6 sc
Leave the tip sufficient for sewing and sew the nose onto your face.
Ears:
Knit with flesh-colored yarn. At eye level, back 9 sc, attach. Next 3 ch
lift, 8 dc.
Bring the tail of the thread 2 rows above (below) behind the ear, the tail of the thread that remains from
of joining the thread at the beginning of knitting the ear, hook on the third ch of lifting and withdraw in the same
the place where the tail ends. Tie the ends into a knot and hide inside the head. repeat for
second ear.
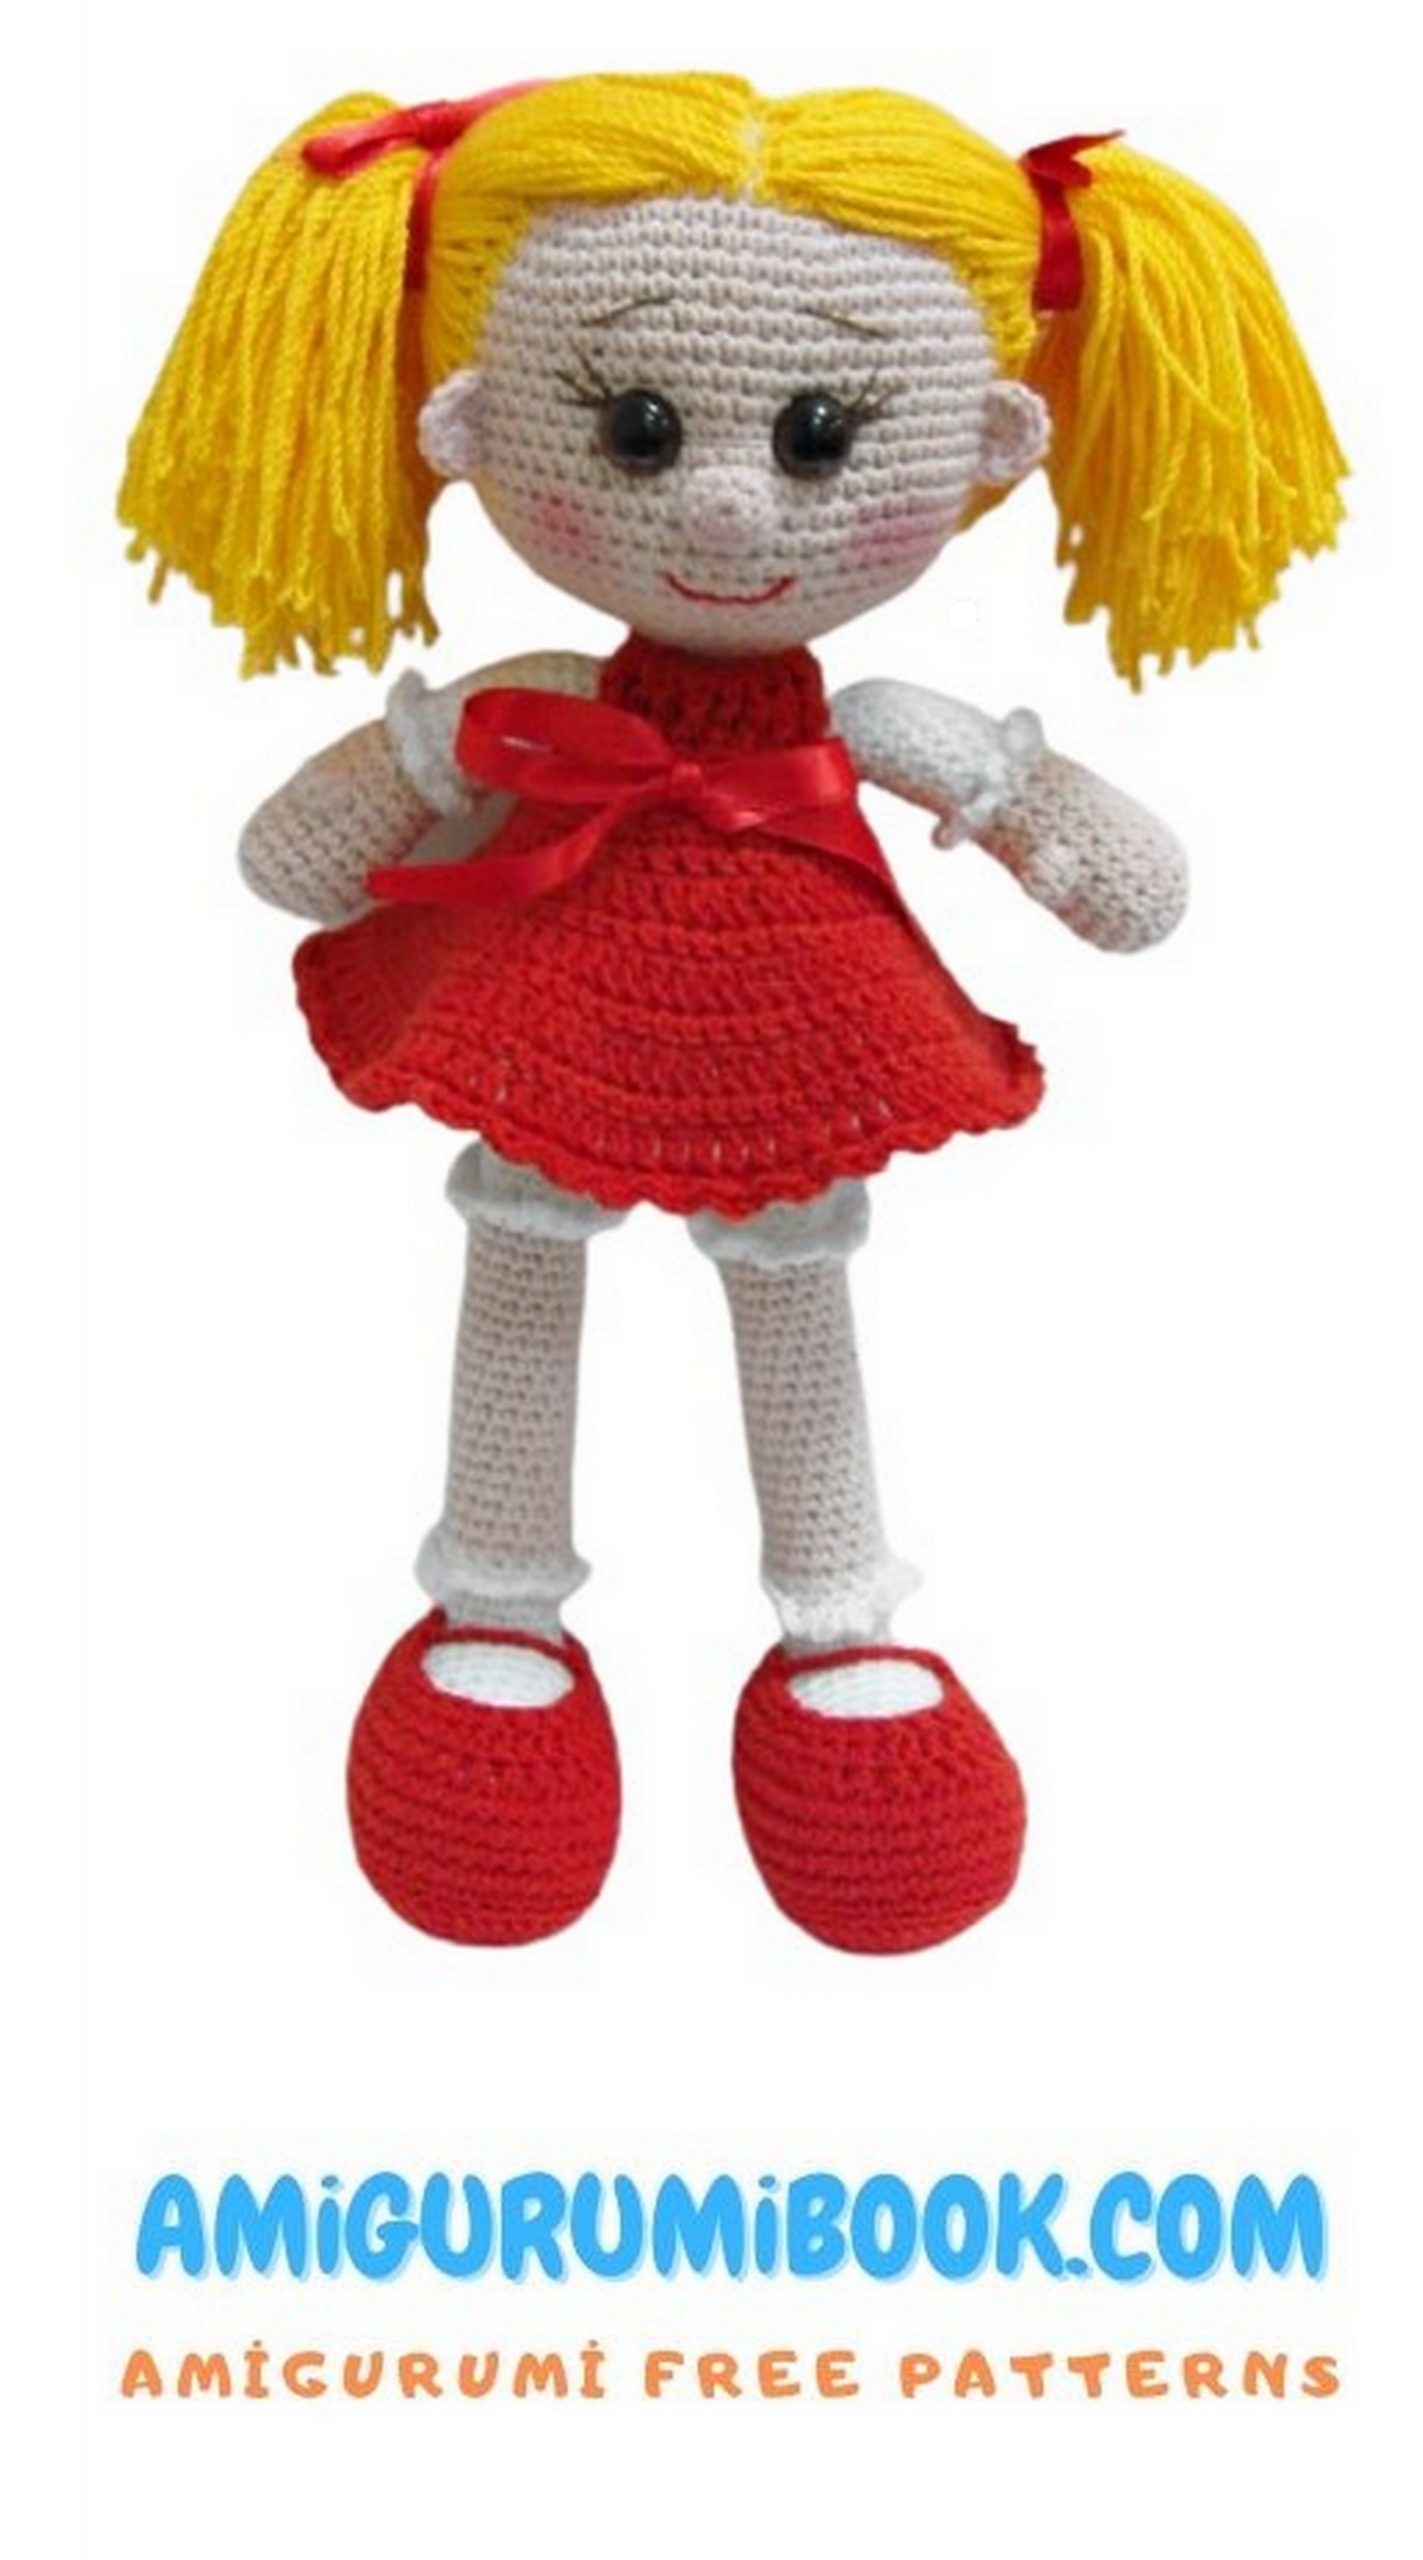
Dress:
For a yoke, dial 26 ch
1 row: 1 ch lift, 25 sc
2 row: 6 ch lift, 5 dtr, 2 ch, 10 dtr, 2 ch, 6 dtr
3 row: 1 ch lift, 25 sc
Next, tie the skirt according to the scheme:
For hair, cut a thread of the required length (depending on the desired hair length). Then
fasten each thread in a circle around the crown. Move in circular rows from the crown
to the sides.
To fasten the hair thread, insert the hook towards the crown, folded in half
hook the thread in the middle and pull. Then grab both ends of the thread and pull
through the loop. Tighten.
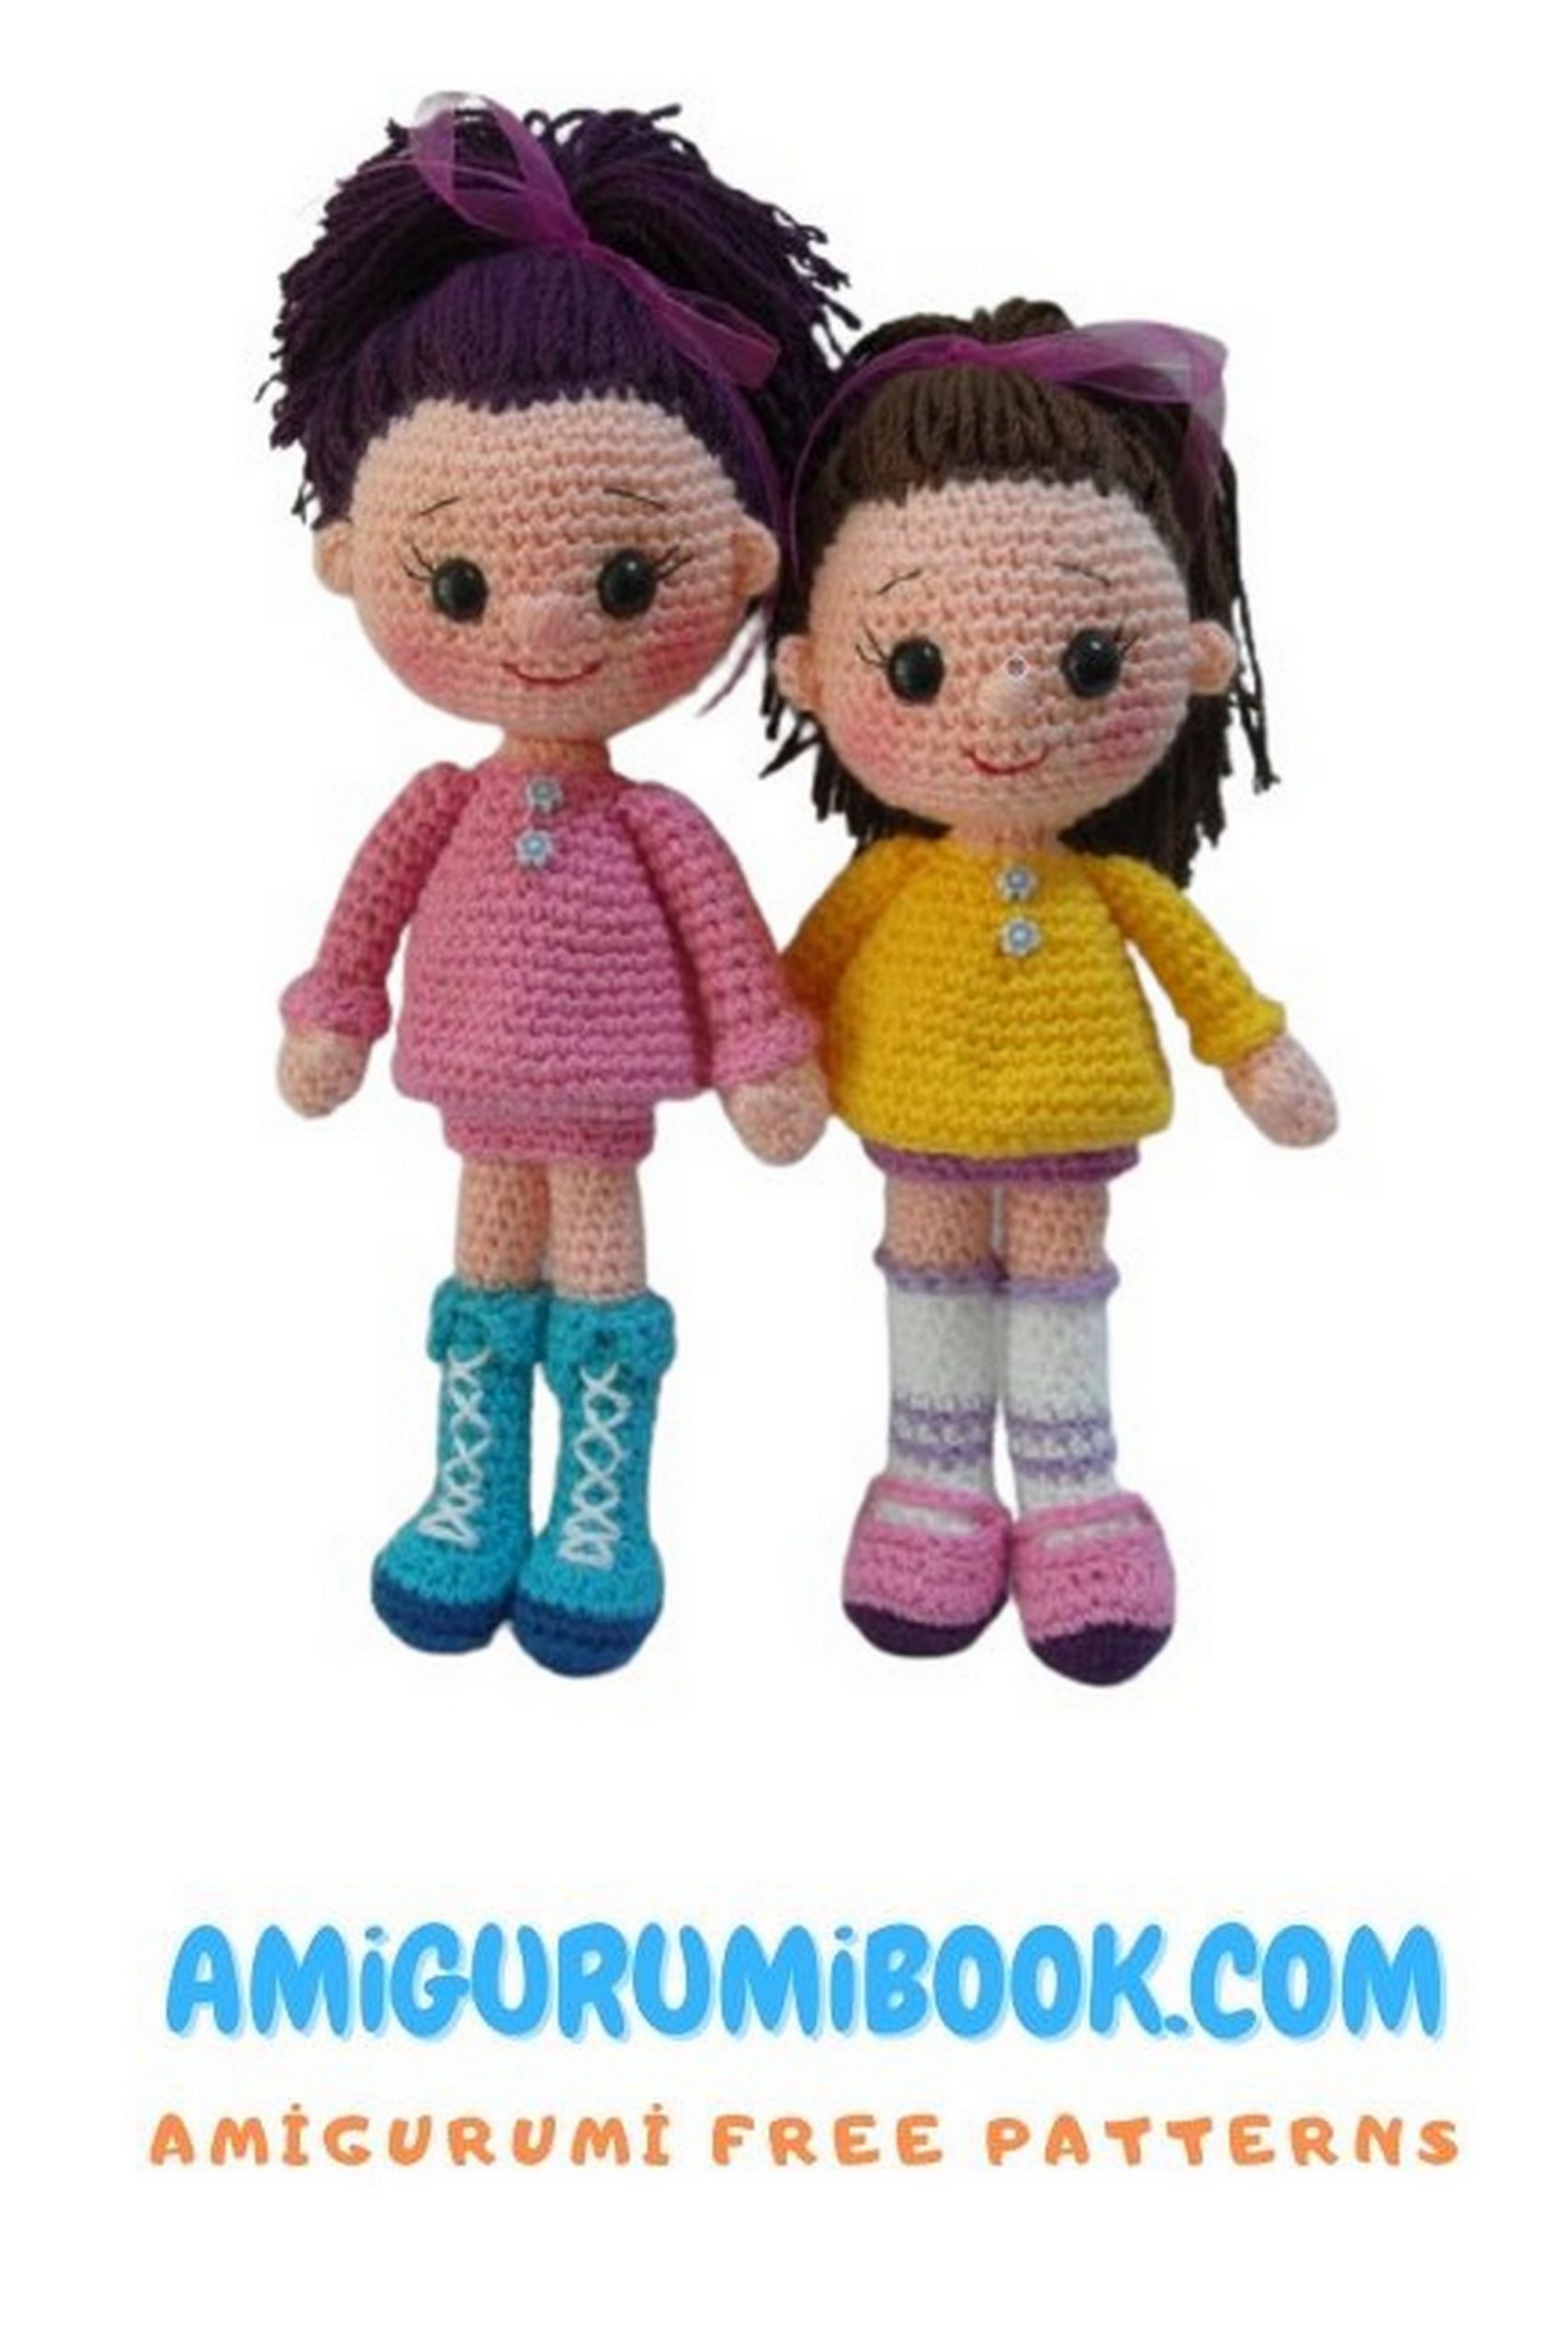
Now it remains to “assemble” the doll. Put on the dress, sew the head to the body, also arms and legs.
Sew hands between 4-5 next to the torso, and legs between 22-23.
Braid the doll’s hair, decorate the dress, shoes with beads or other jewelry.