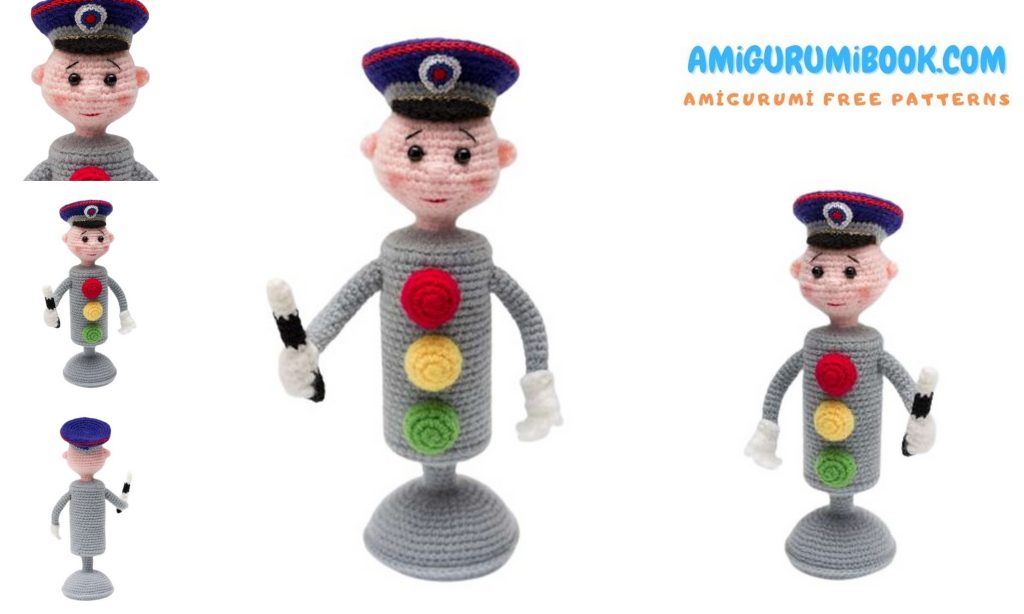
Discover the charming world of crochet with this Traffic Light Controller Amigurumi free pattern, perfect for both beginners and experienced crafters. This cute and colorful project brings a fun twist to your amigurumi collection while helping you practice your stitching skills. free crochet patterns
You may also like more amigurumi patterns.
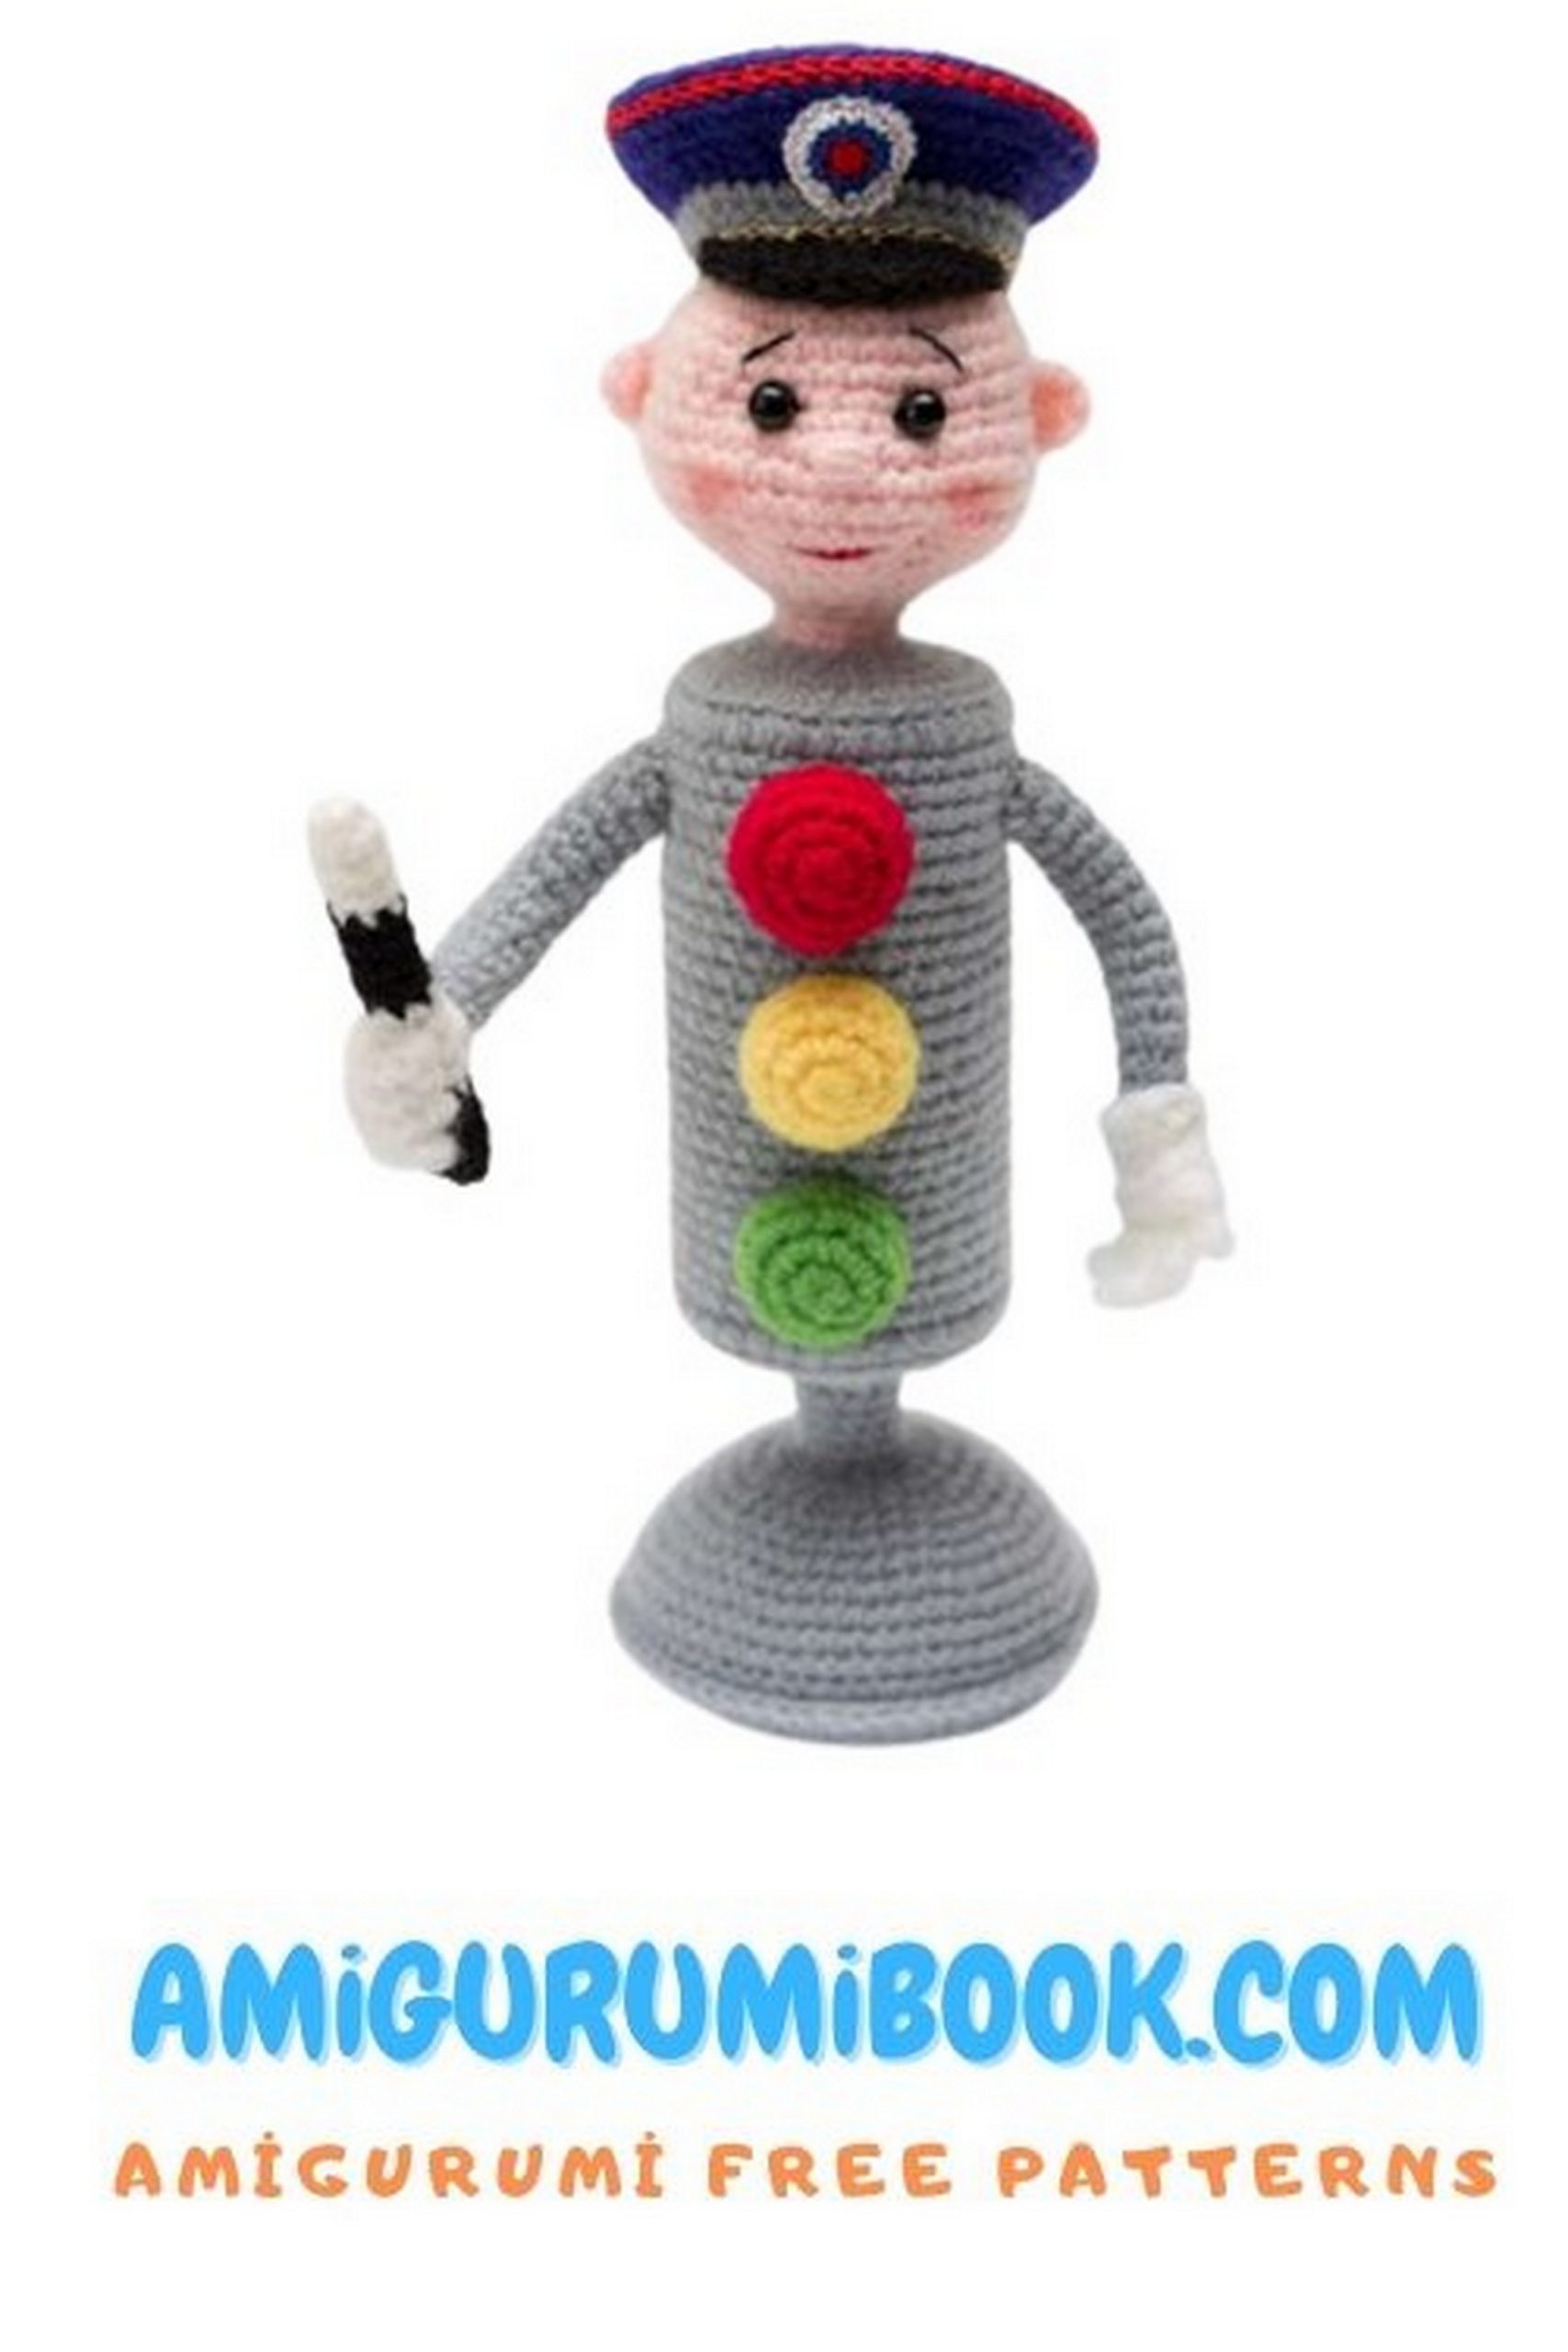
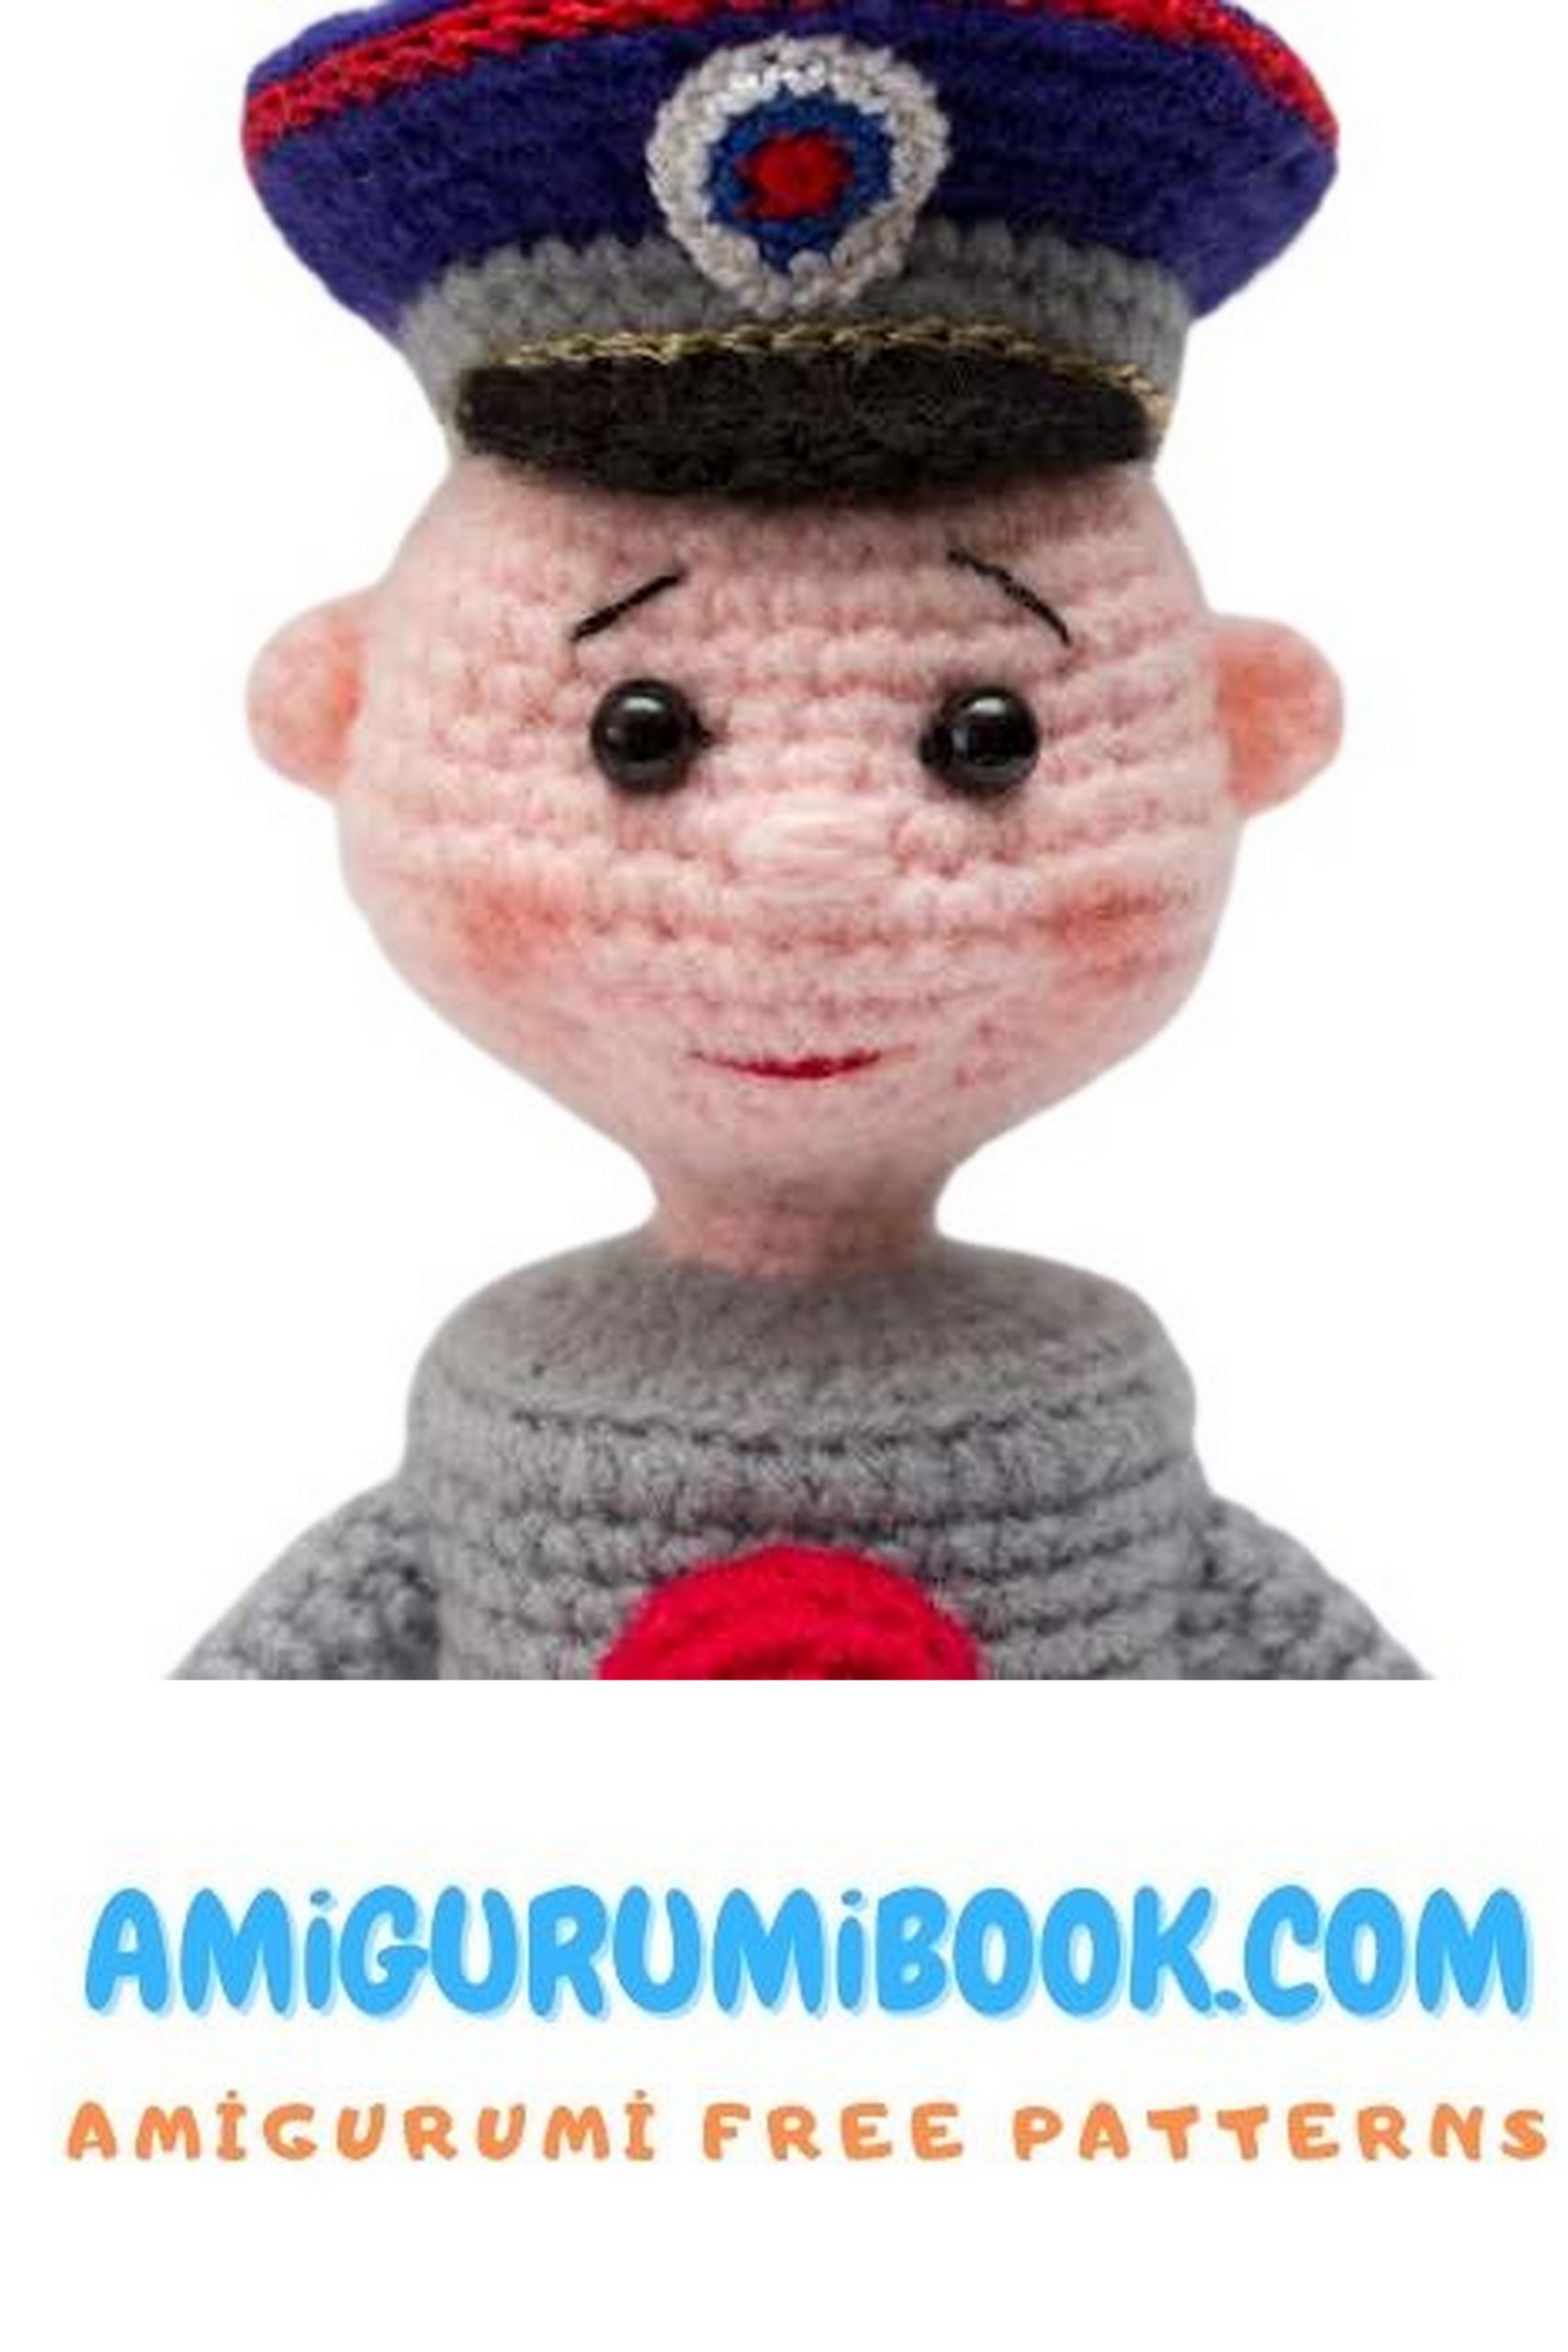
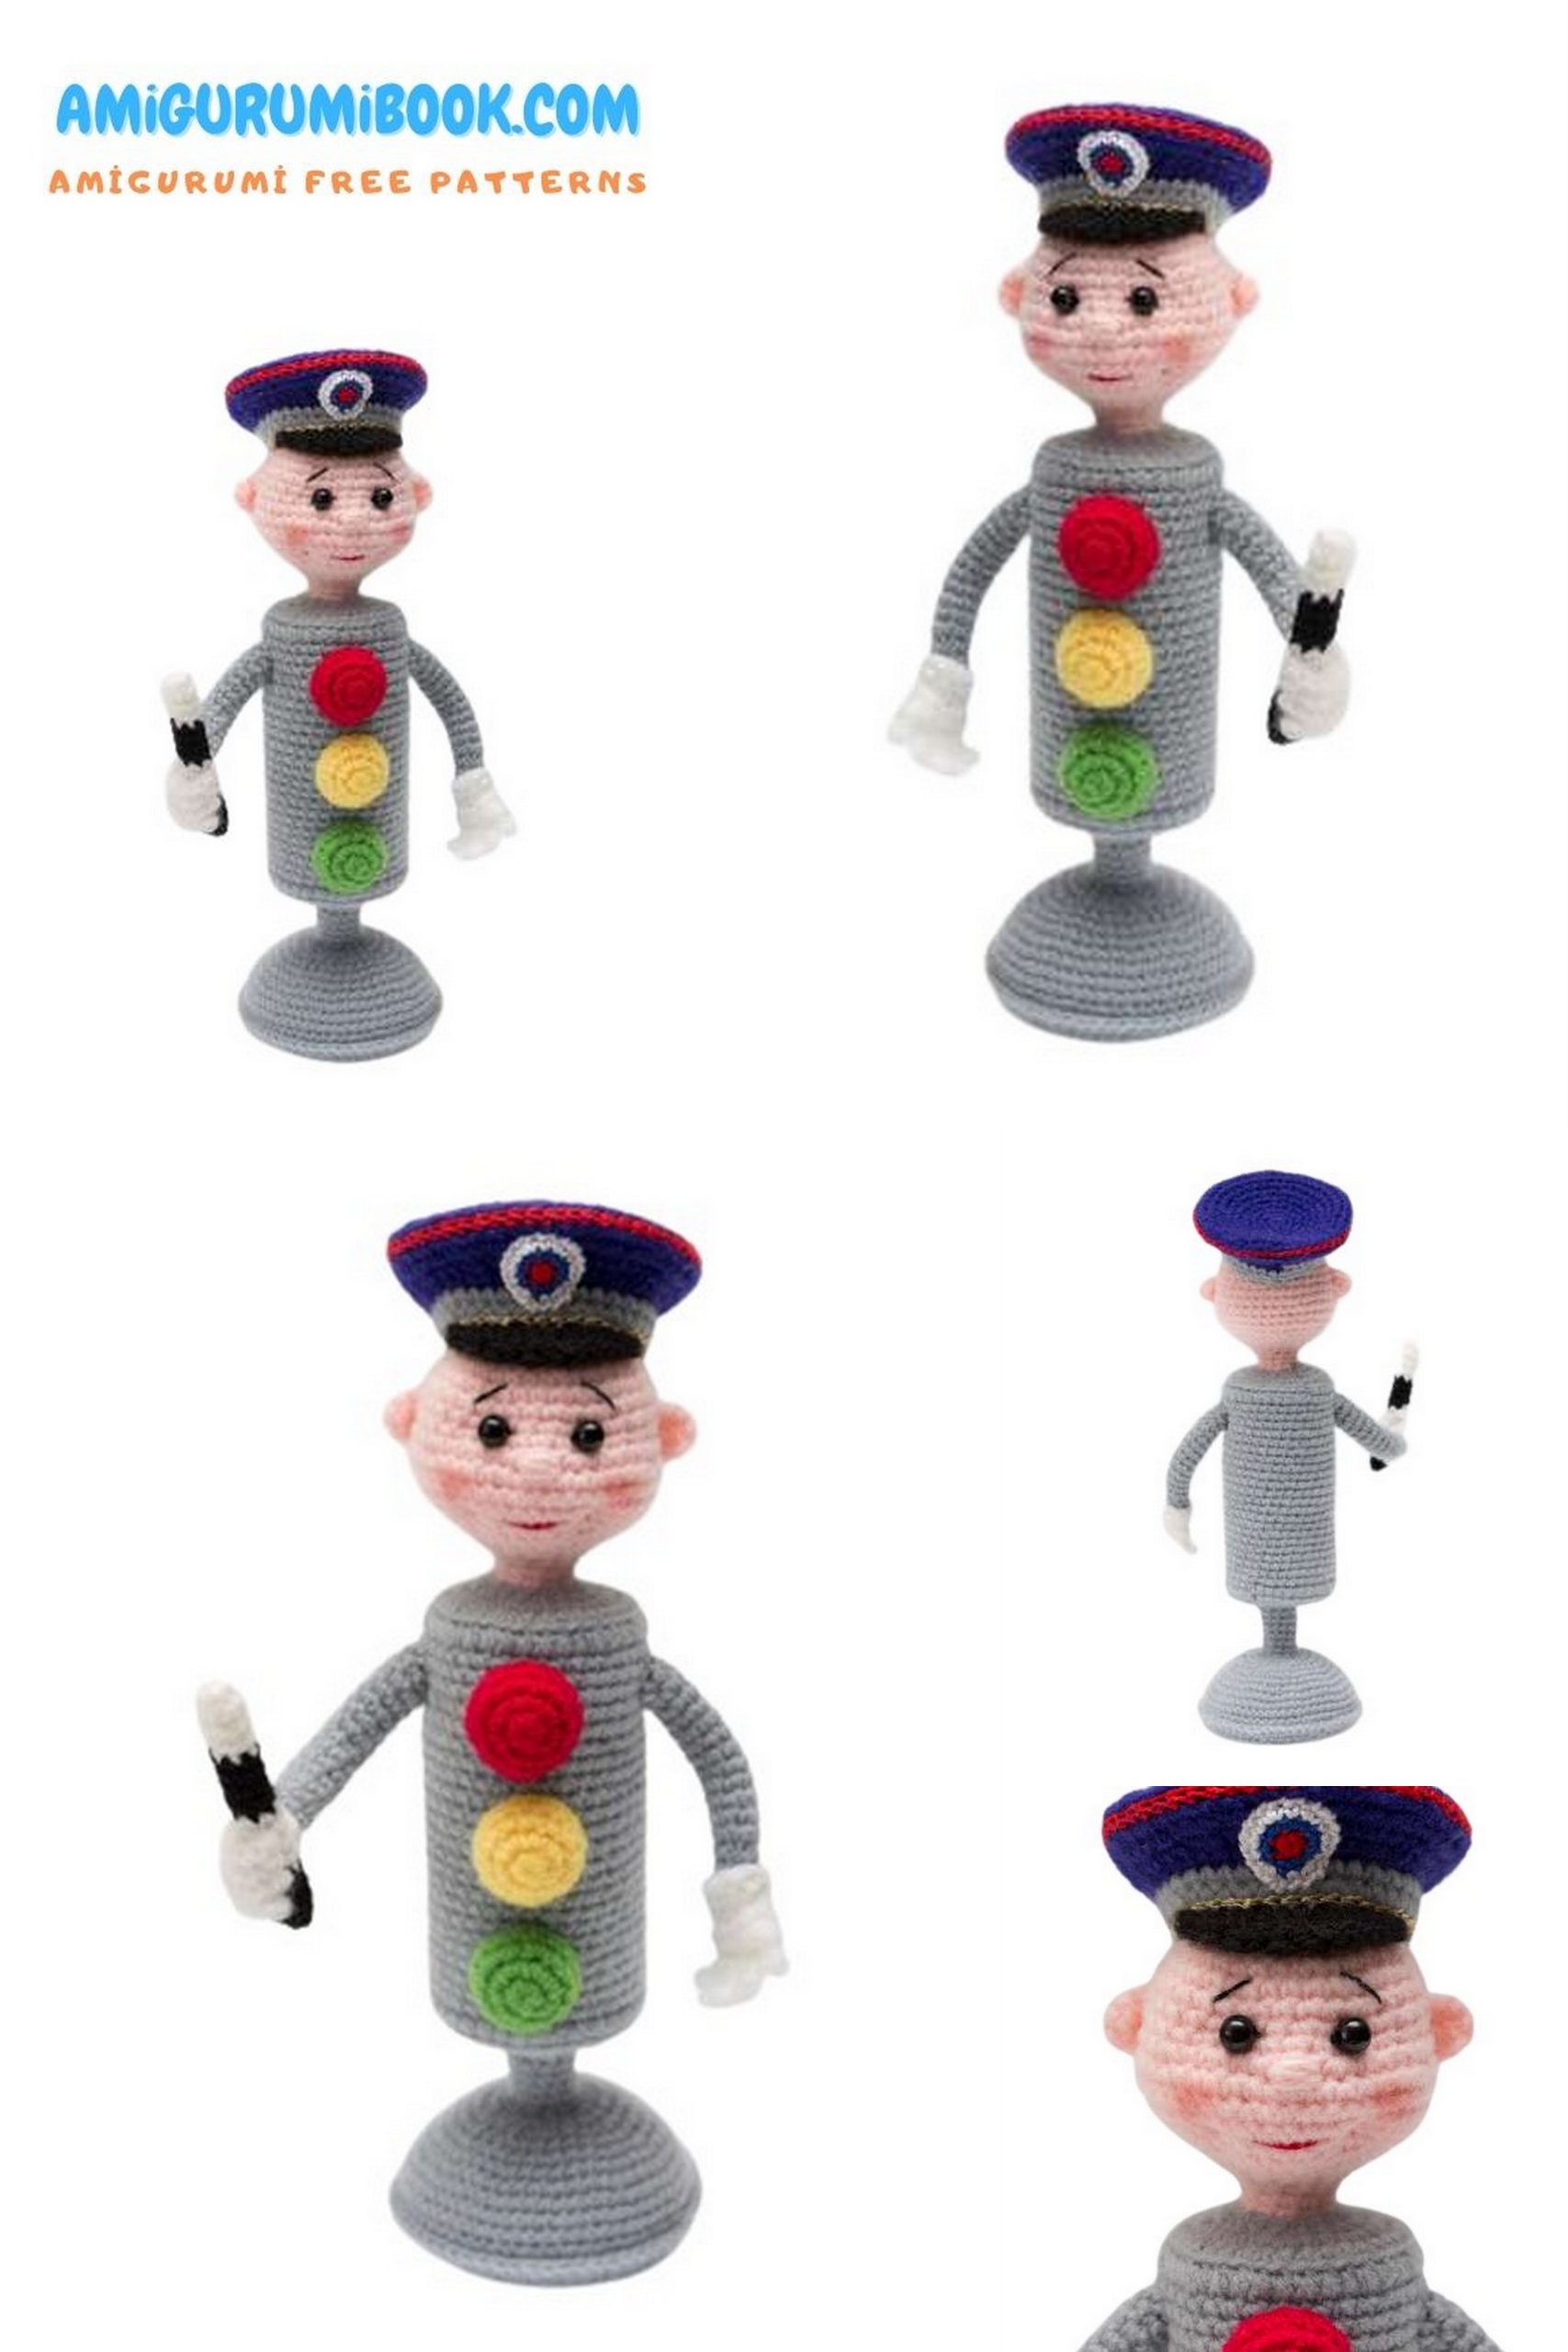
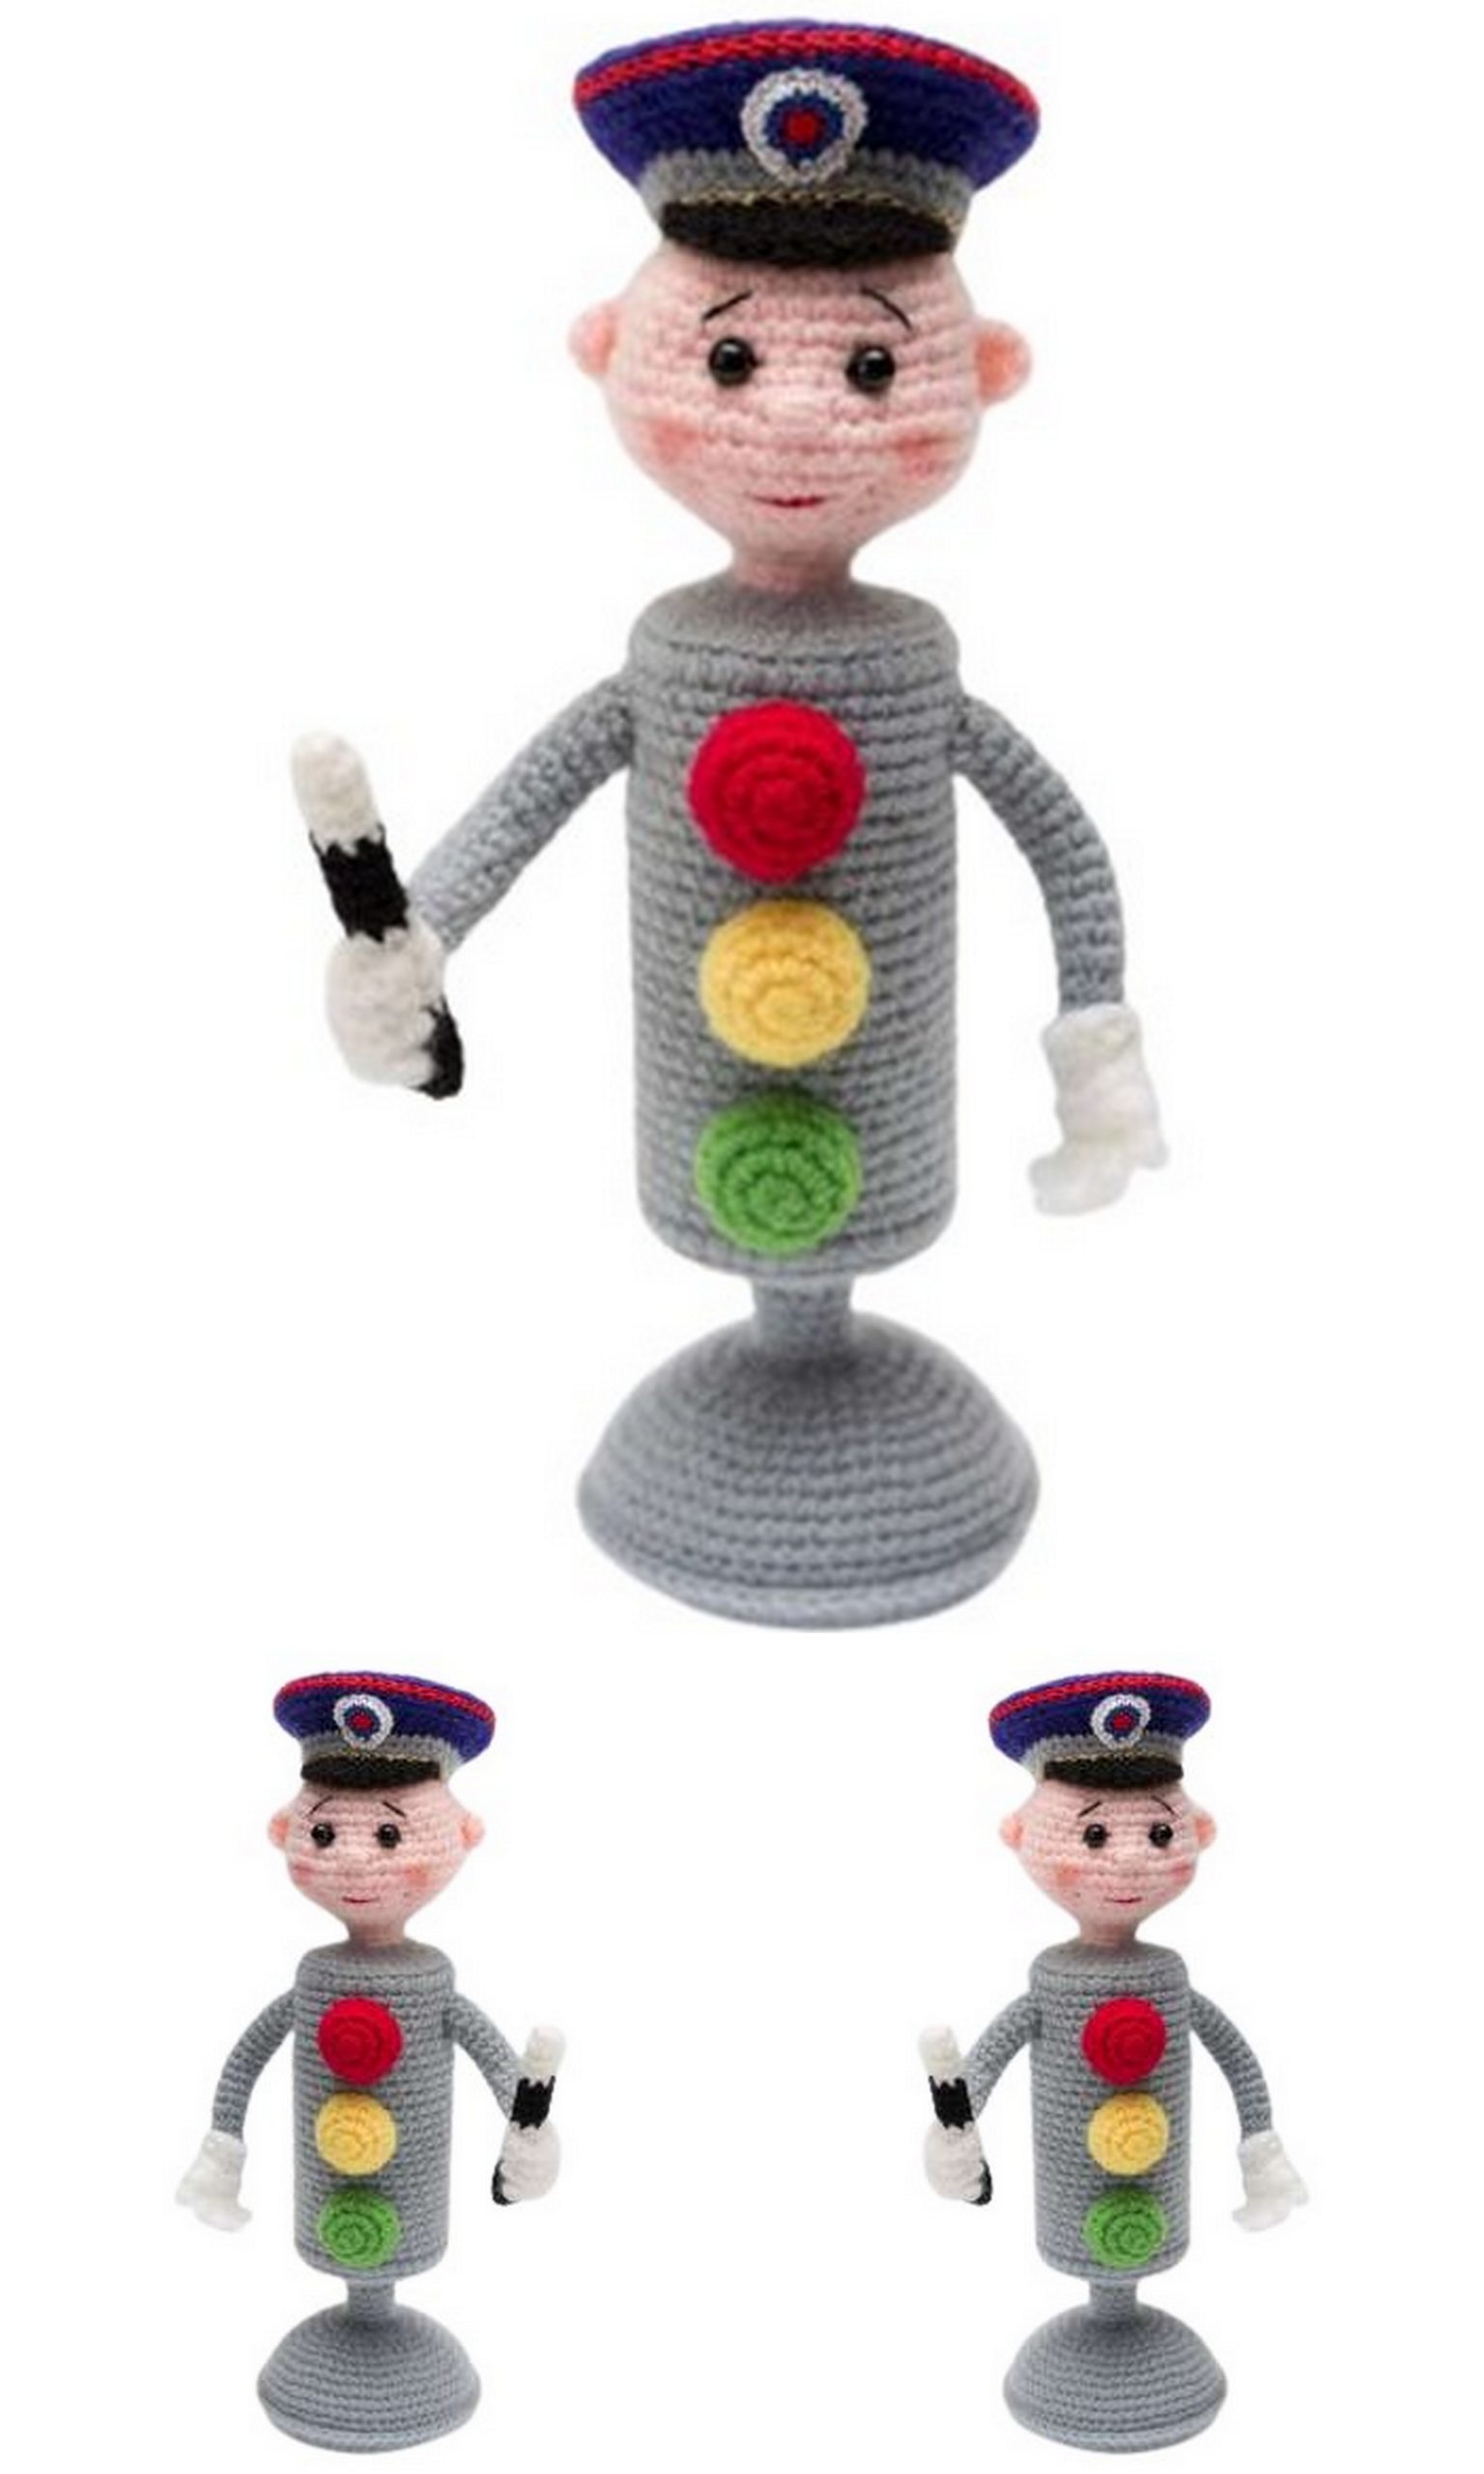
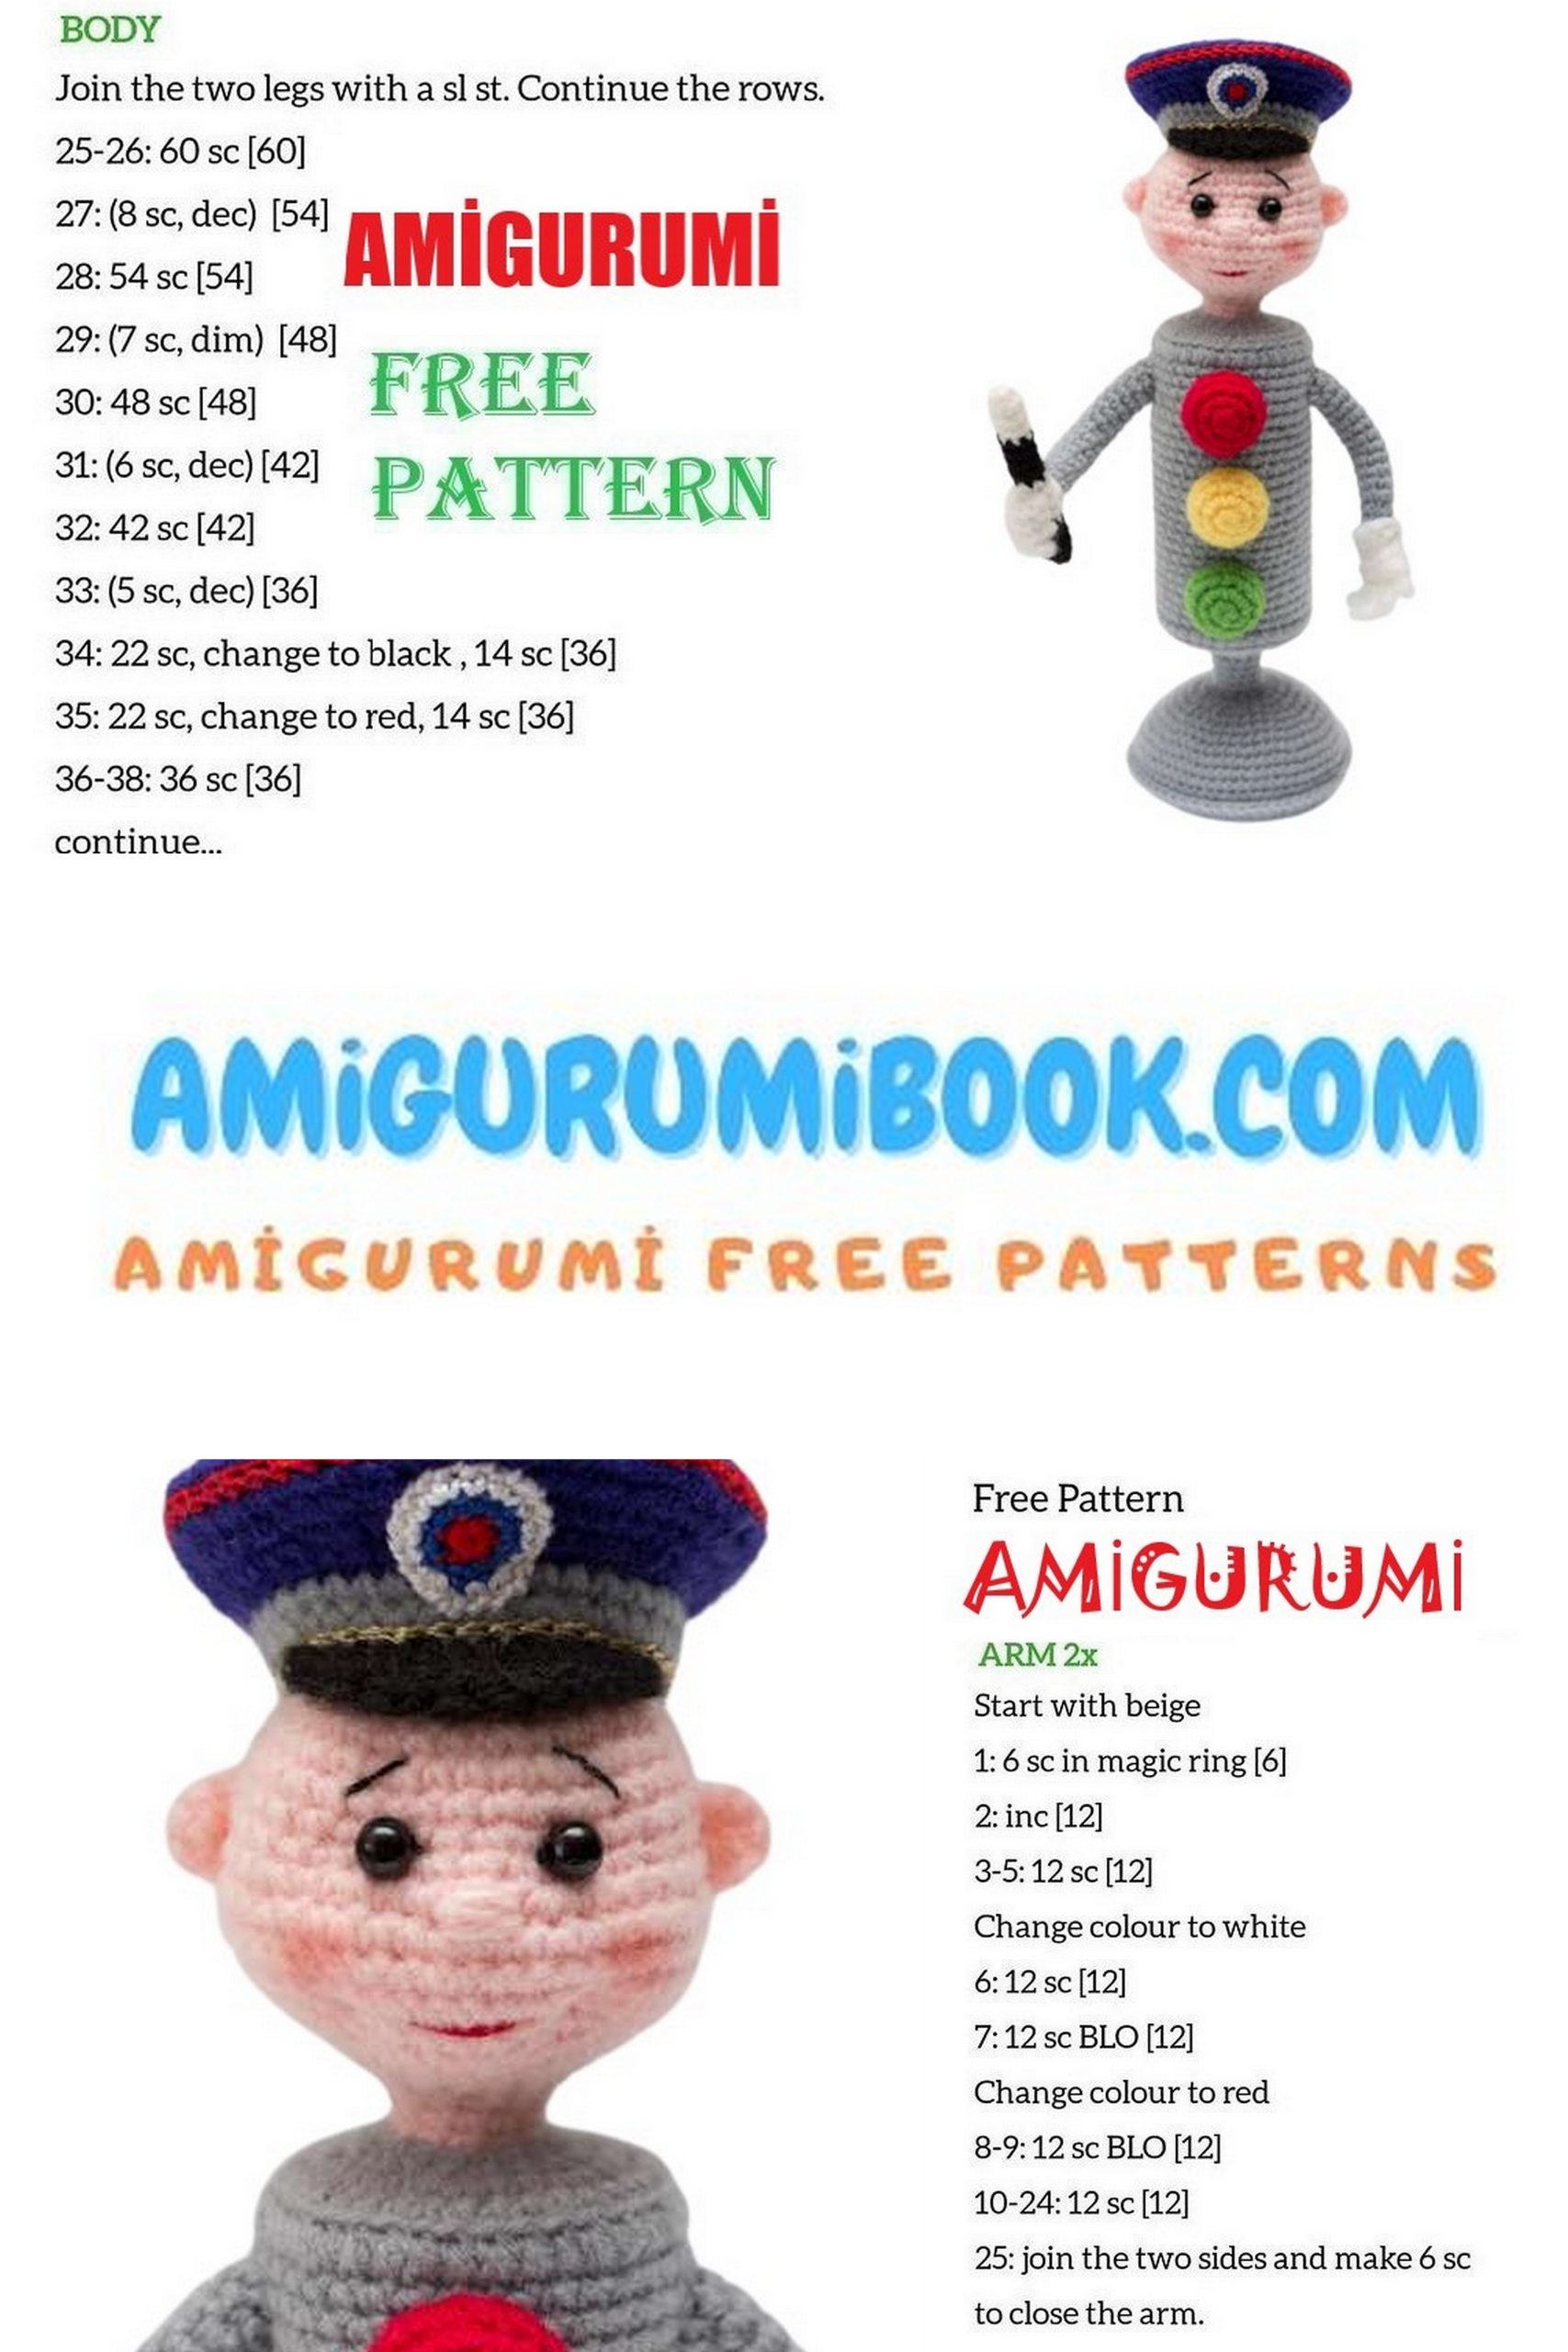
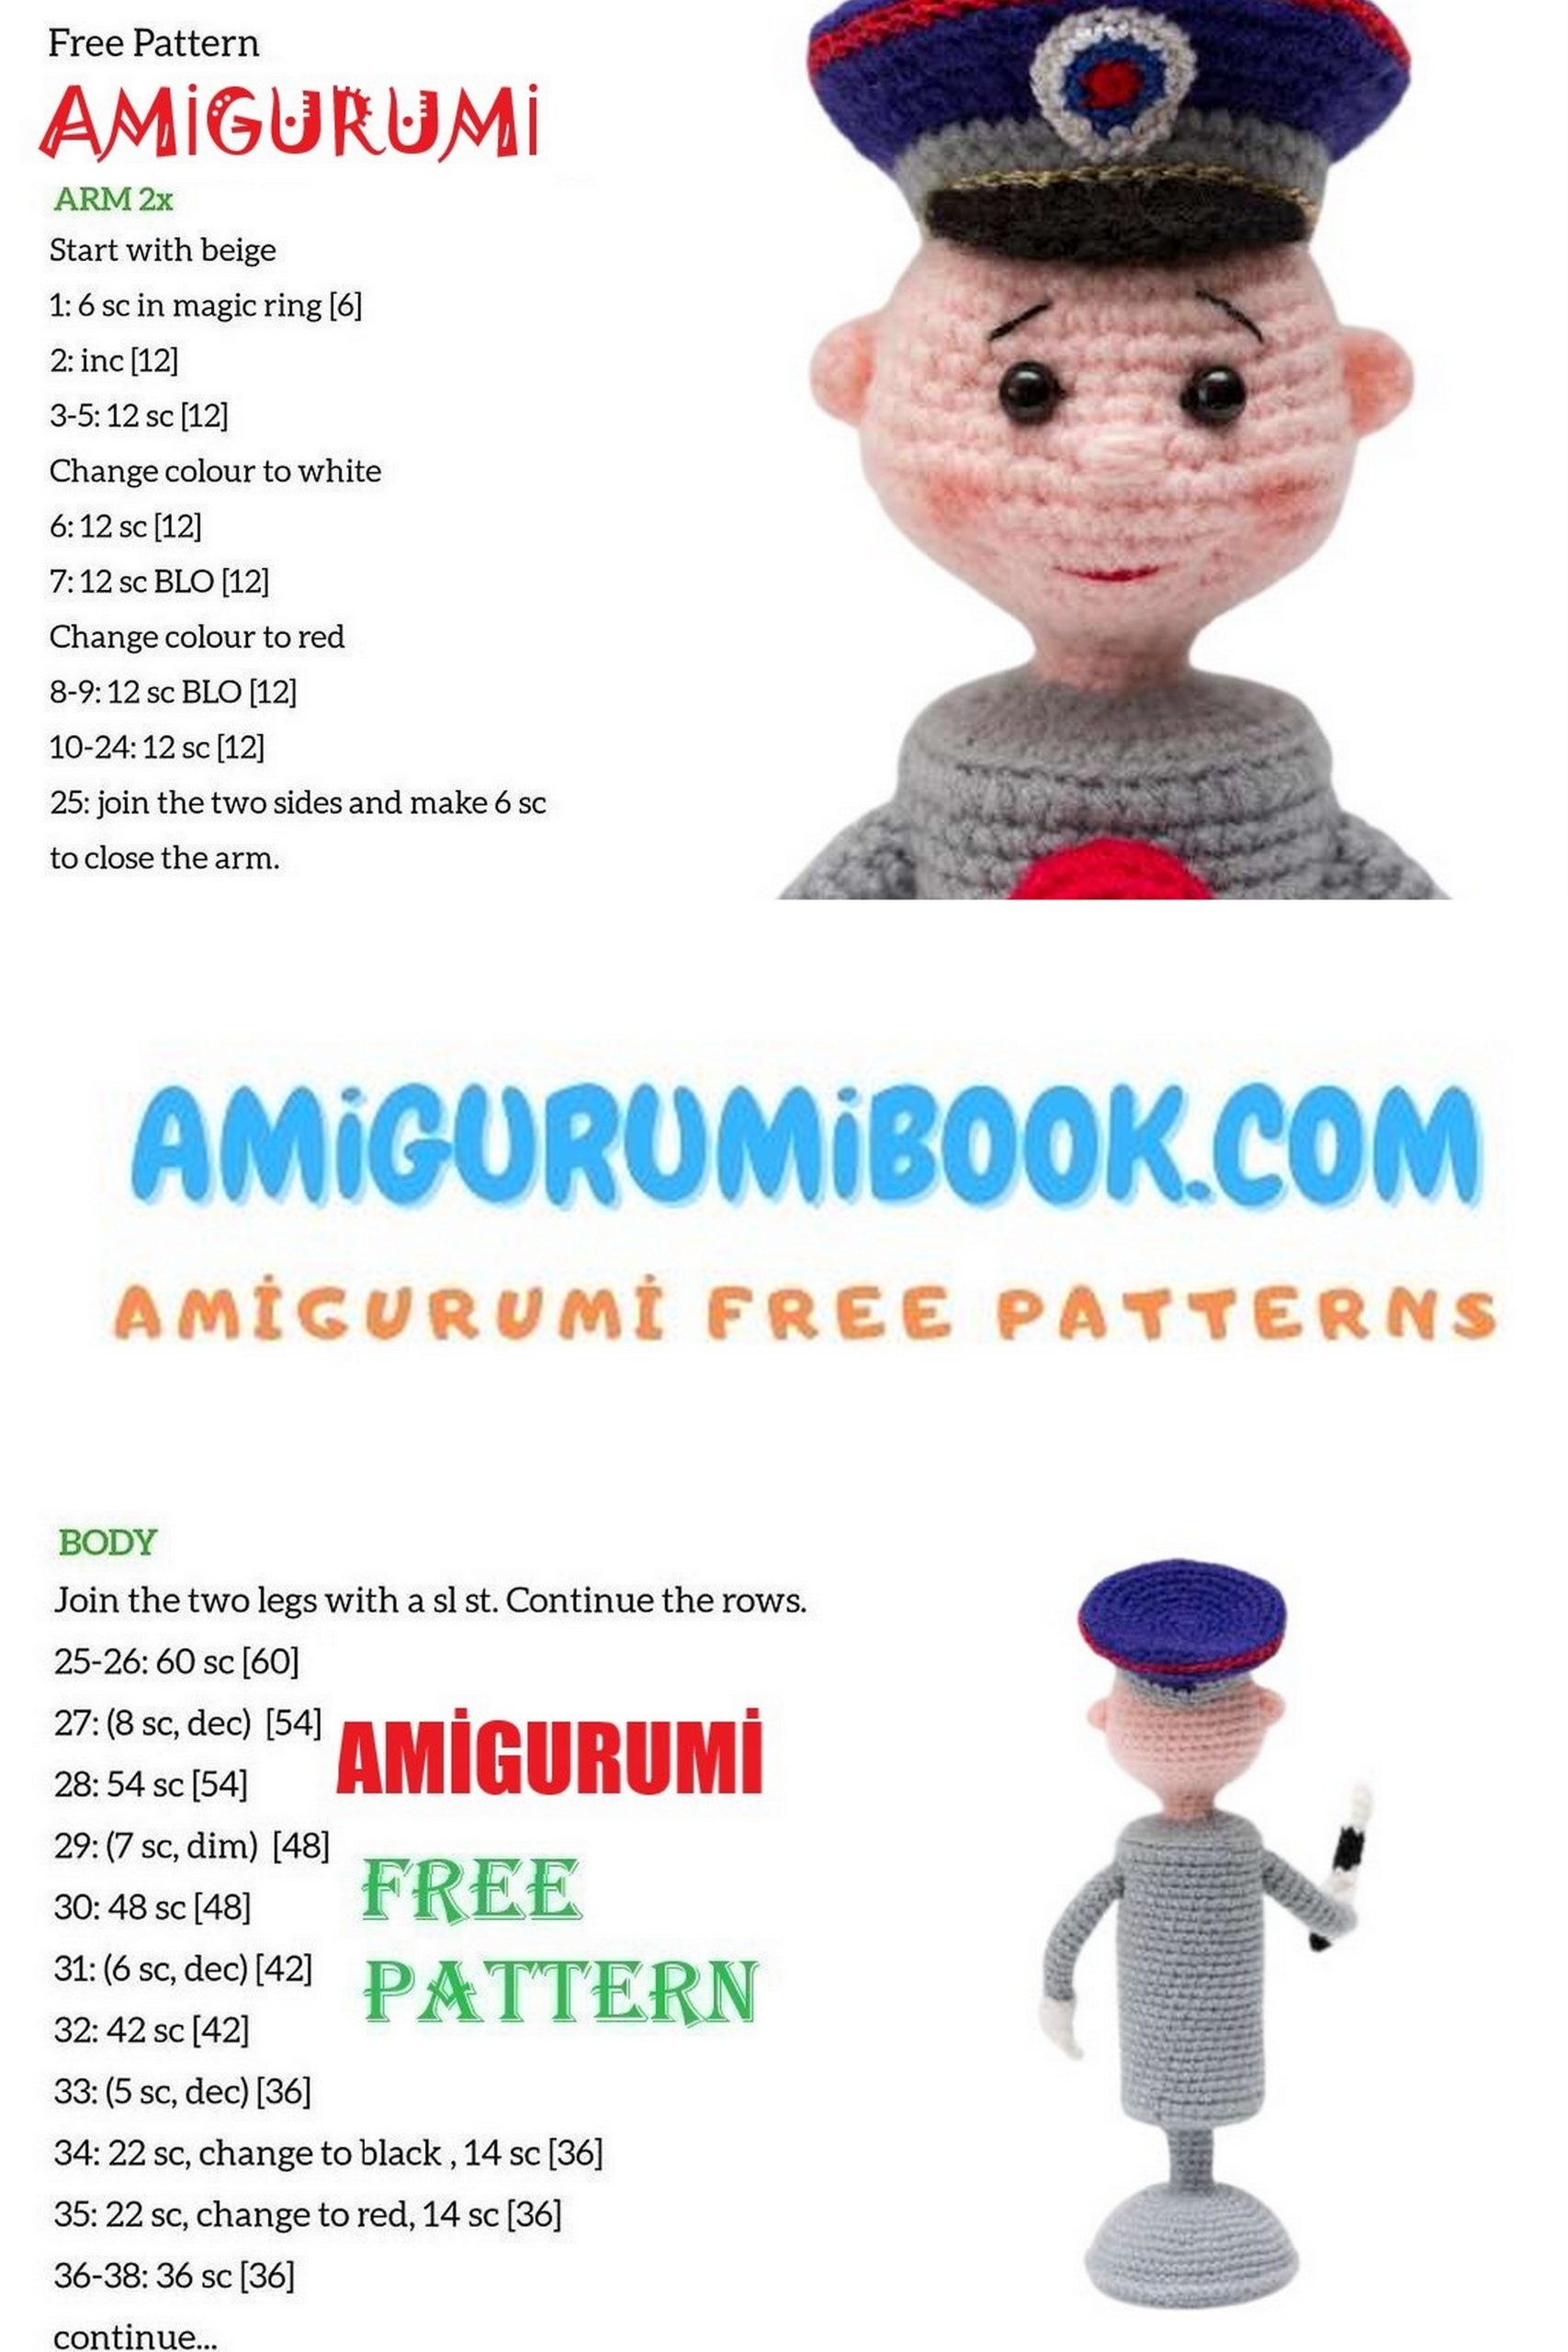
Discover the delightful world of crochet amigurumi with our free pattern for a Traffic Light Controller! This adorable amigurumi creation combines the charm of crochet crafting with the iconic traffic light design. Whether you’re a seasoned crocheter or new to the craft, this pattern offers step-by-step instructions to create a fun and colorful traffic light controller plushie. Get ready to bring a touch of whimsy to your crochet projects while adding a playful decorative piece to your space. Let’s dive into the exciting world of amigurumi and crochet your very own traffic light controller today!
Materials:
Yarn: Vita Baby (100% acrylic, 400m/100g) in gray, pink, red, yellow, green, white, blue, and black colors.
Iris yarn in red, blue, and white colors. Gold thread.
Crochet hook: No. 2 or slightly smaller.
Two 6mm black beads.
Wire – approximately 2mm in insulation.
Base – something round and heavy.
Abbreviations:
ch – chain
ss – slip stitch
sc – single crochet
hdc – half double crochet
dc – double crochet
inc – increase
dec – decrease
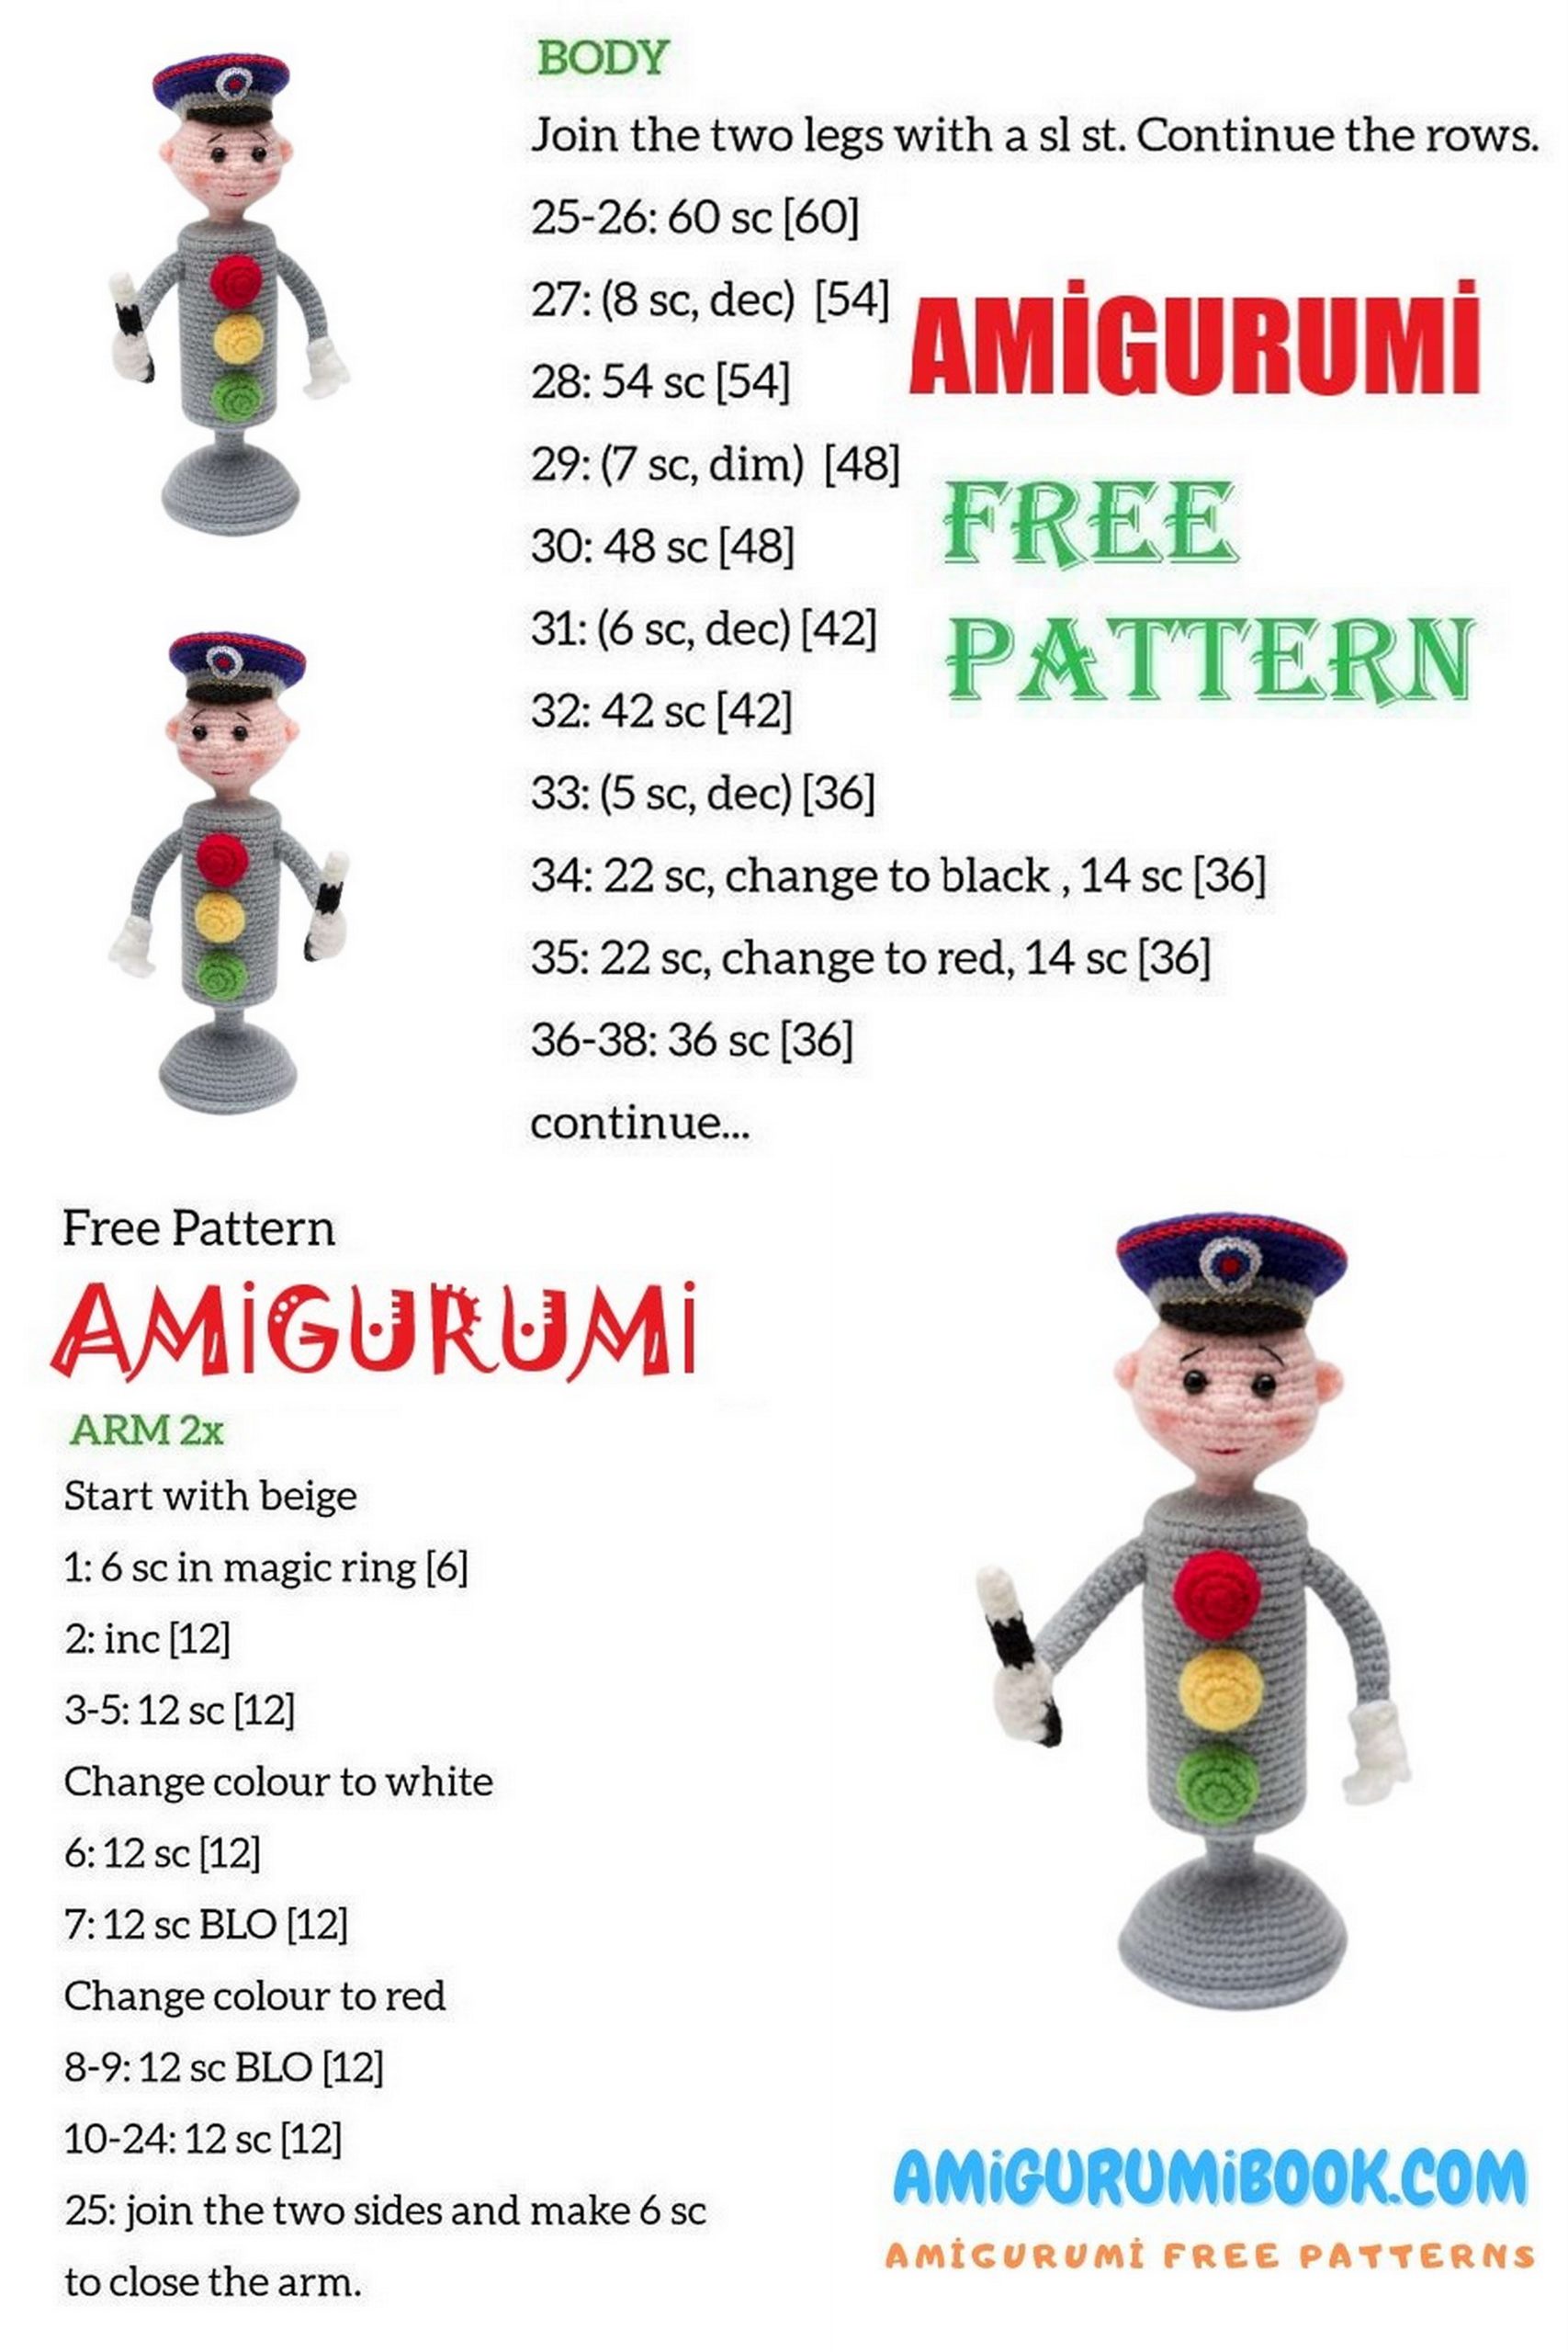
Head and Torso:
Pink yarn
1: 6 sc in magic ring
2: 6 inc (12)
3: (sc, inc) – 6 times (18)
4: (sc, inc, sc) – 6 times (24)
5: (3 sc, inc) – 6 times (30)
6: (2 sc, inc, 2 sc) – 6 times (36)
7-10: 36 sc (36)
11: 14 sc, (inc, sc) – 3 times (here will be the vertical axis of symmetry of the face), (sc, inc) – 3 times, 10 sc (42)
12-14: 42 sc (42)
15: (dec, 5 sc) – 6 times (36)
16: (2 sc, dec, 2 sc) – 6 times (30)
17: (3 sc, dec) – 6 times (24)
18: (sc, dec, sc) – 6 times (18)
19: (sc, dec) – 6 times (12)
20-22: 12 sc (12)
Stuff the head. Change color to gray at the back of the neck.
23: (sc, inc) – 6 times (18)
24: (sc, inc) – 9 times (27)
25: (sc, inc, sc) – 9 times (36)
26: 36 sc (36)
27: 36 sc in the back loops only (36)
28: 36 sc around the 27th row (36)
29-52: 36 sc (36)
53: 36 sc around the 52nd row (36)
54: 36 sc in the back loops only
Cut two circles from thin plastic with the same diameter as the torso. Make a hole in the center of each circle (at least 5mm wide) for the wire to pass through. Place the first circle at the base of the neck, stuff the torso, and place the second circle.
55: (sc, dec, sc) – 9 times (27)
56: (sc, dec) – 9 times (18)
57: (sc, dec) – 6 times (12)
58-64: 12 sc (12)
Insert wire through the torso. The wire passes through the right arm, then through the torso (at the level of the 30th row), and finally through the left arm. Attach the arms to the torso.
Traffic Lights (Red, Green, Yellow):
1: 6 sc in magic ring
2: 6 inc (12)
3: (sc, inc) – 6 times (18)
4: 18 sc (18)
Sew to the torso, slightly stuffing.
Traffic Light Wand:
White yarn
1: 6 sc in magic ring
2-4: 6 sc (6)
Black yarn
5-8: 6 sc (6)
White yarn
9-12: 6 sc (6)
Black yarn
13-16: 6 sc (6)
Insert wire or base of a cotton swab into the wand, tighten the hole, and secure the thread. Sew the wand to the hand using thin threads.
Cap:
Blue yarn
1: 6 sc in magic ring
2: 6 inc (12)
3: (sc, inc) – 6 times (18)
4: (sc, inc, sc) – 6 times (24)
5: (3 sc, inc) – 6 times (30)
6: (2 sc, inc, 2 sc) – 6 times (36)
7: (5 sc, inc) – 6 times (42)
8: (3 sc, inc, 3 sc) – 6 times (48)
9: (7 sc, inc) – 6 times (54)
10: 54 sc in the back loops only (54)
11: (7 sc, dec) – 6 times (48)
12: (3 sc, dec, 3 sc) – 6 times (42)
13: (5 sc, dec) – 6 times (36)
Change color to gray. You can crochet the next two rows with thin wire to help the cap maintain its shape.
14: 36 sc in the front loops only (36)
15: 36 sc (36)
Leave a long thread for sewing. For the visor, attach black yarn and crochet with the cap upside down (front side facing you): ss, sc, 2 hdc, inc from dc, 2 dc, inc from dc, 2 hdc, sc, 2 ss, turn, crochet in the opposite direction: ss, plus one more ss through the gray base of the cap. Secure, weave in the thread.
Sew the visor to the cap. Use gold thread to sew connector stitches around the cap and a strip above the visor. Use thread ends to sew buttons at the edges. Sew the cap to the head using the remaining gray thread.
Add blush and color the ears if desired.

Cockade (Kokarda):
The cockade is made using variegated Iris yarn. The rows with chain stitches:
1: 6 sc in magic ring – red color
2: 6 inc (12) – blue color
3: (sc, inc) – 6 times (18) – white color, leave thread for sewing
Use thin red thread to crochet a strip around the cap using slip stitches. Use gold thread to crochet a strip above the visor using slip stitches. Embroider “buttons” at the edges of the strip using thread tails. Sew the cockade to the cap.
Use the remaining gray thread to sew the cap to the head.
Note: Amigurumi patterns often require familiarity with crochet techniques and terminology. If you’re not experienced with crochet, you might find it helpful to learn basic crochet stitches and techniques before attempting this pattern. Additionally, following the provided link to the creator’s page could provide more context and possibly step-by-step images to assist with the process.