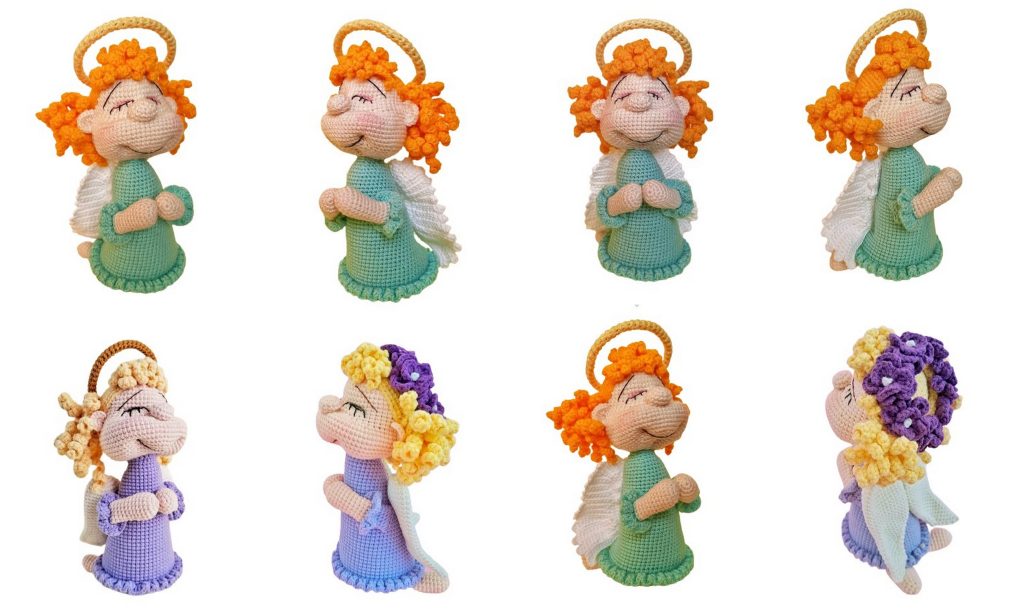
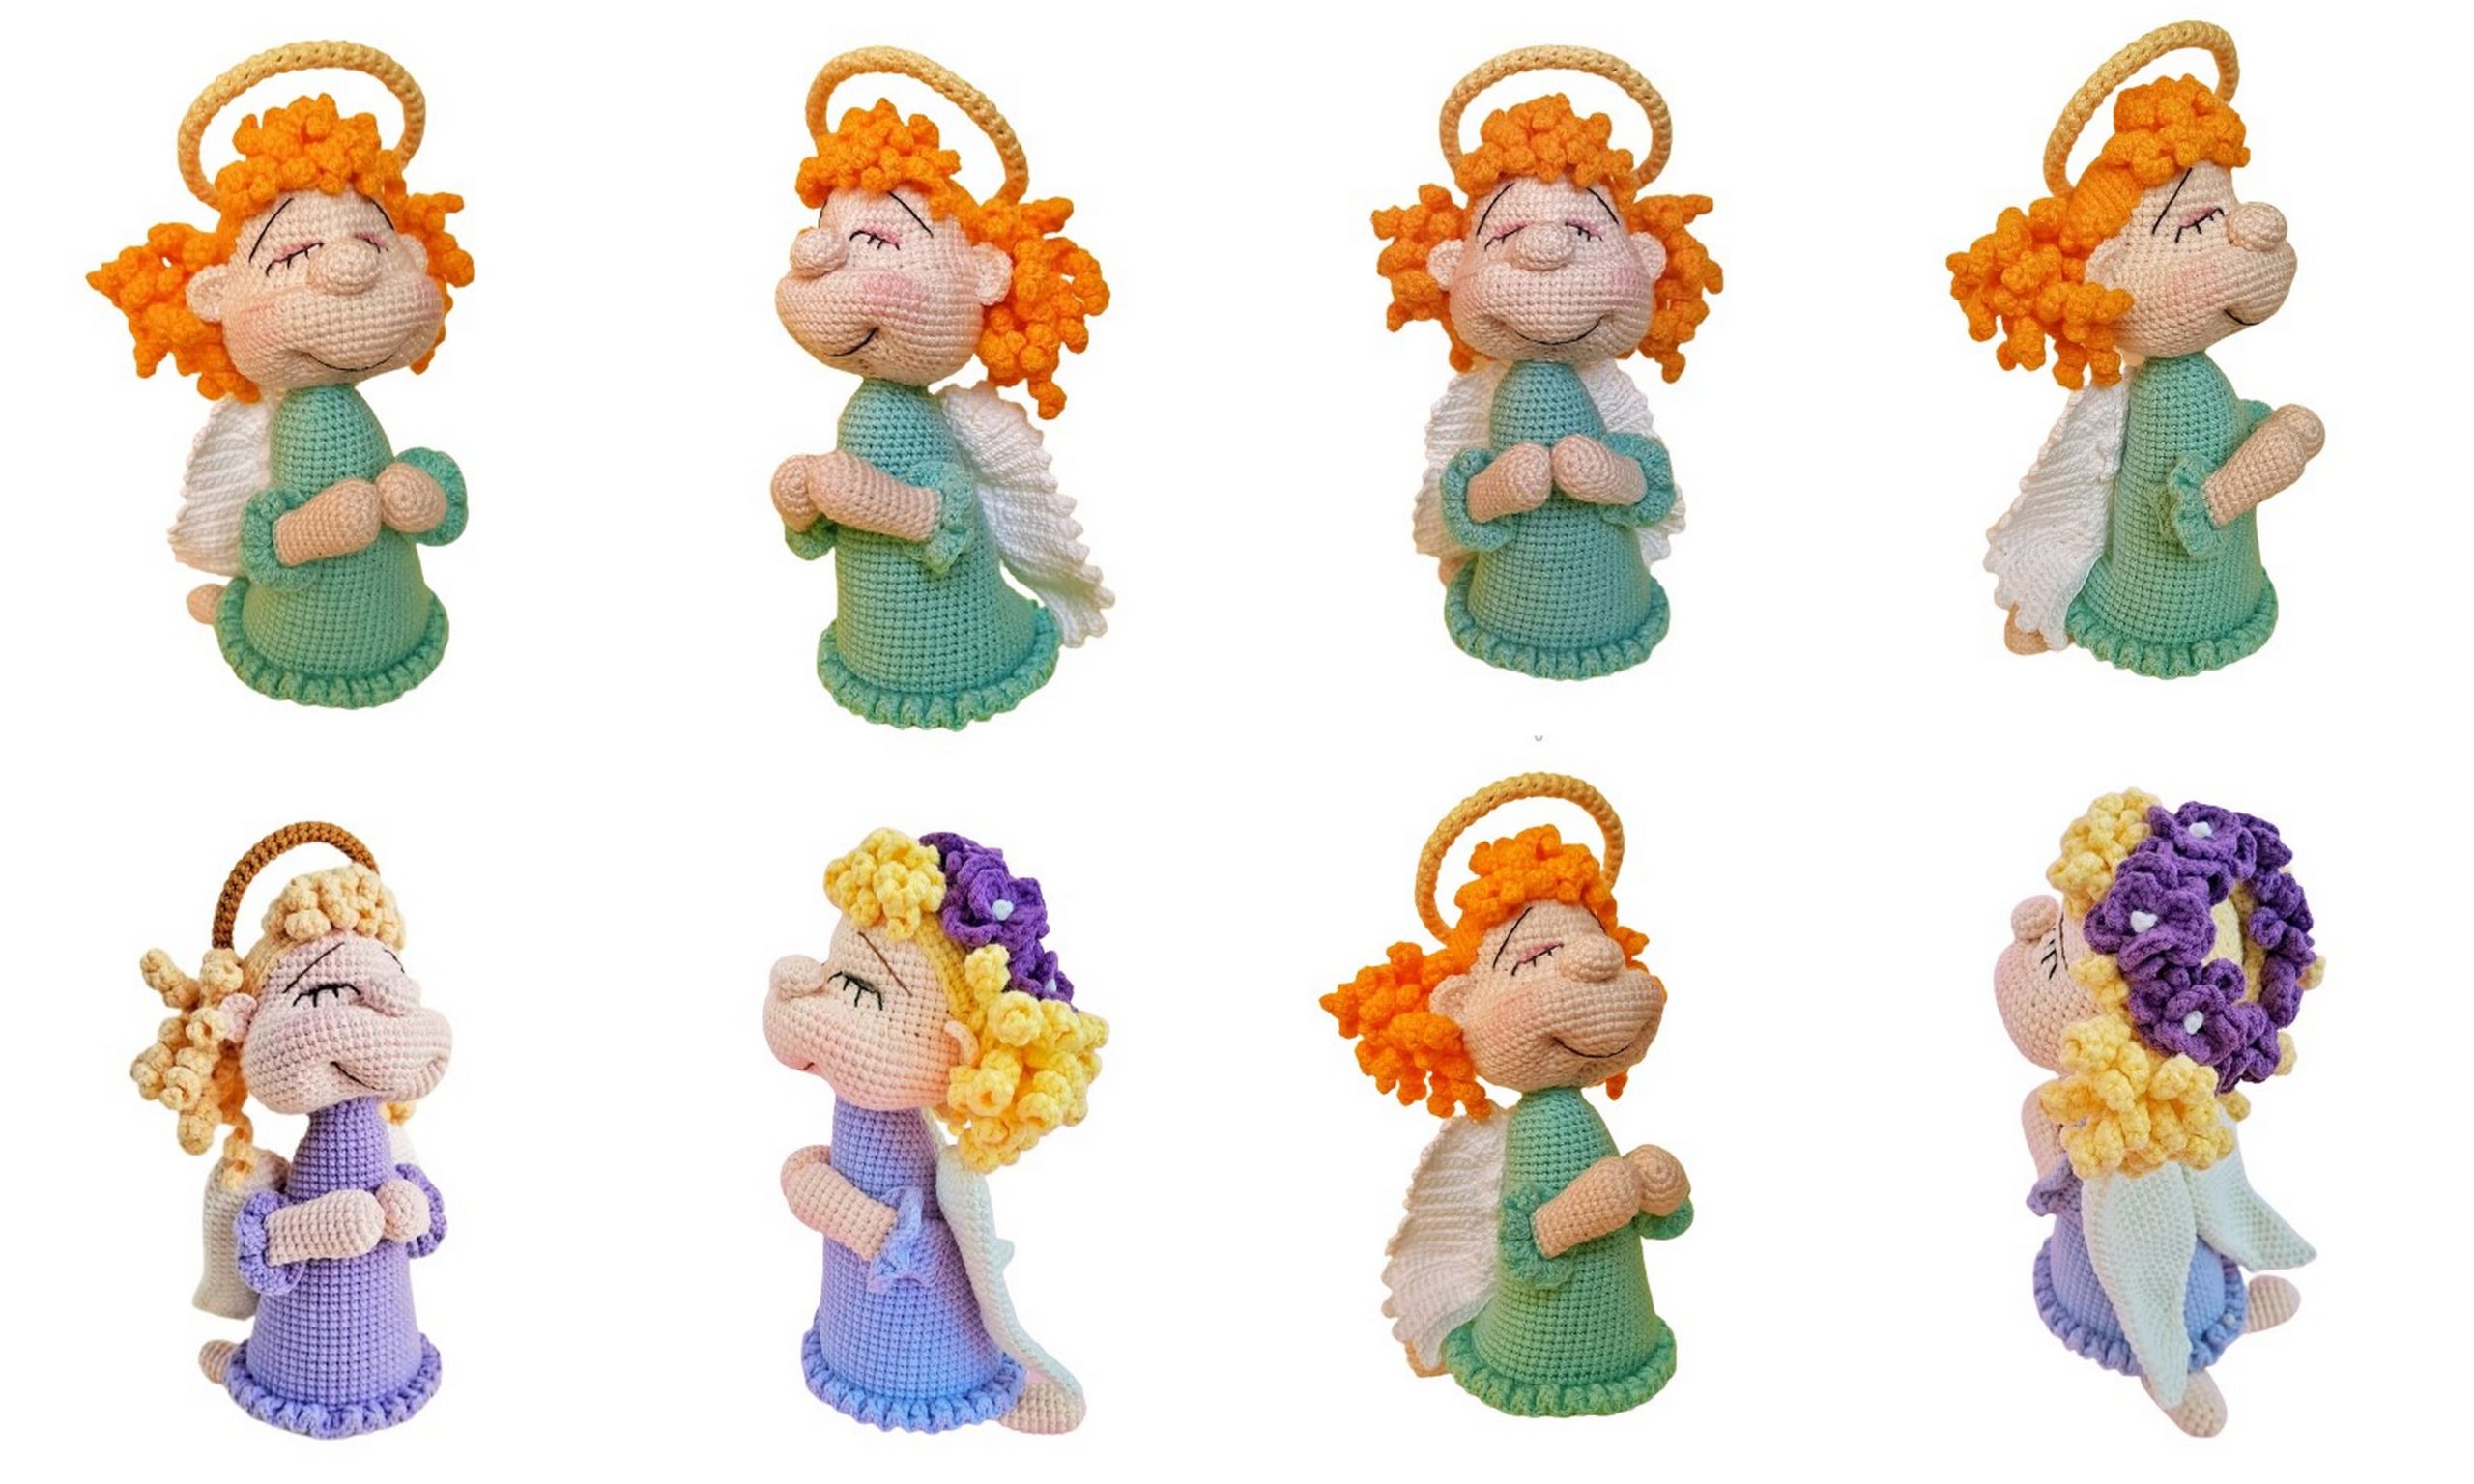
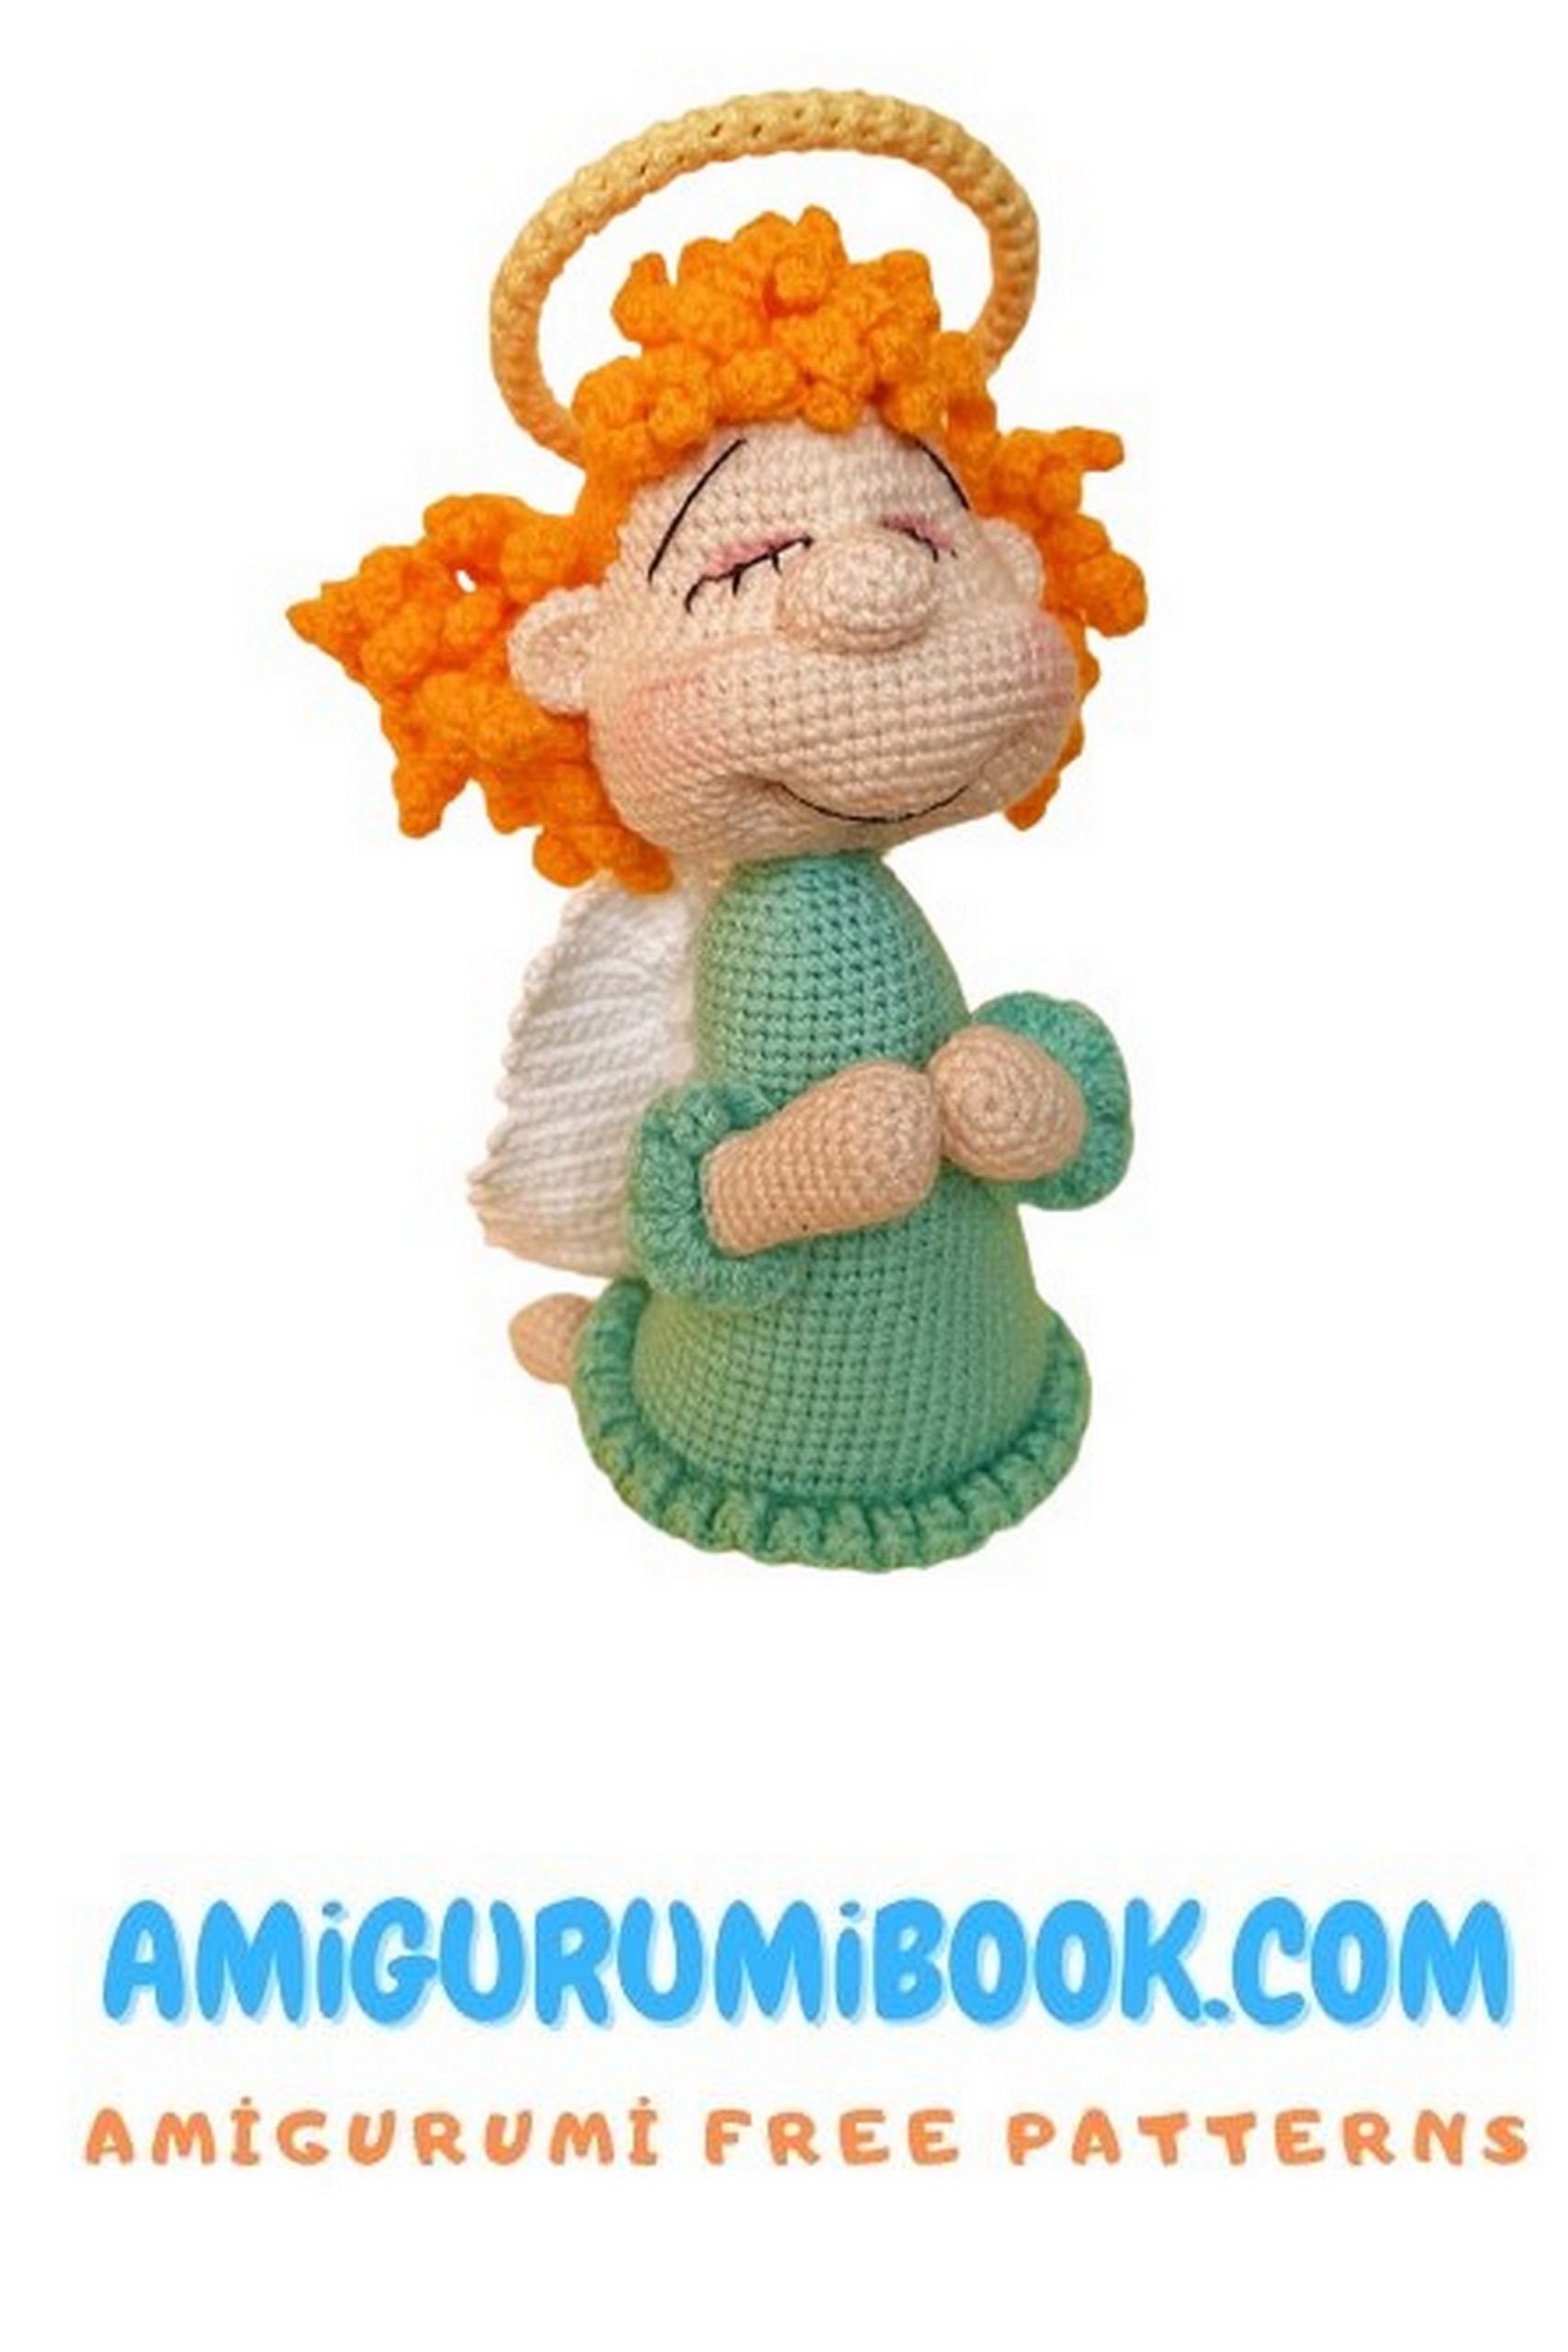
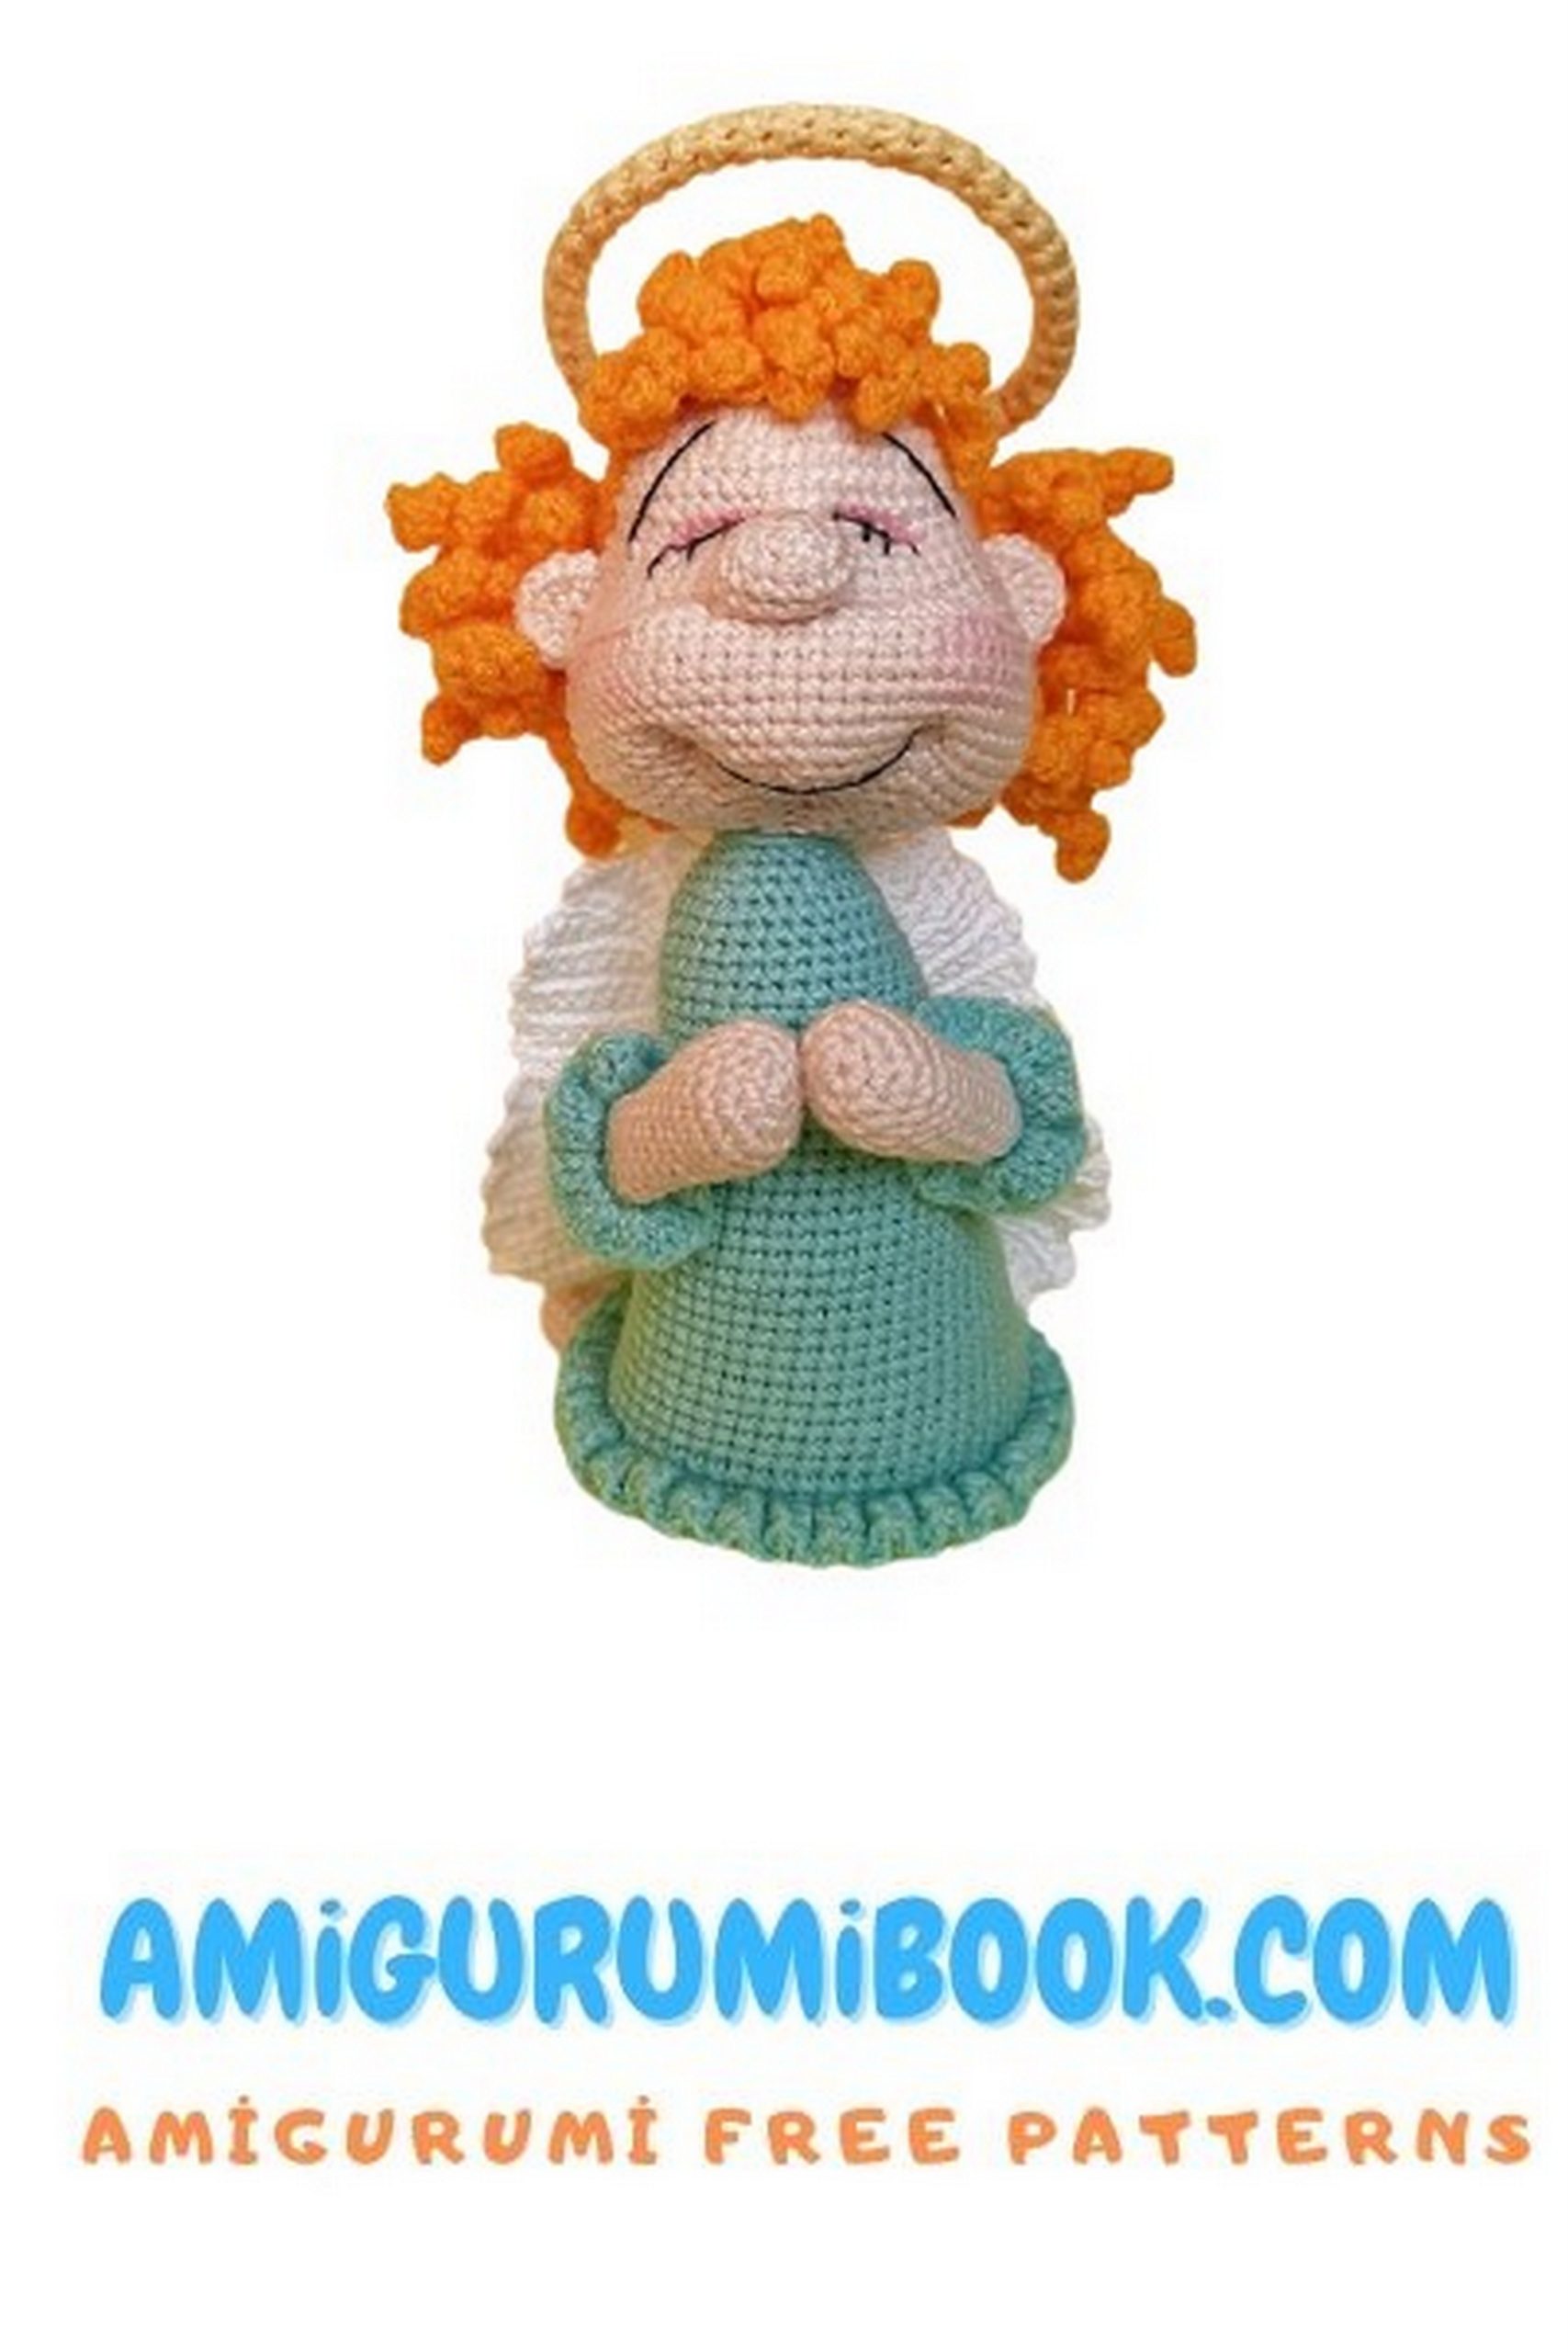
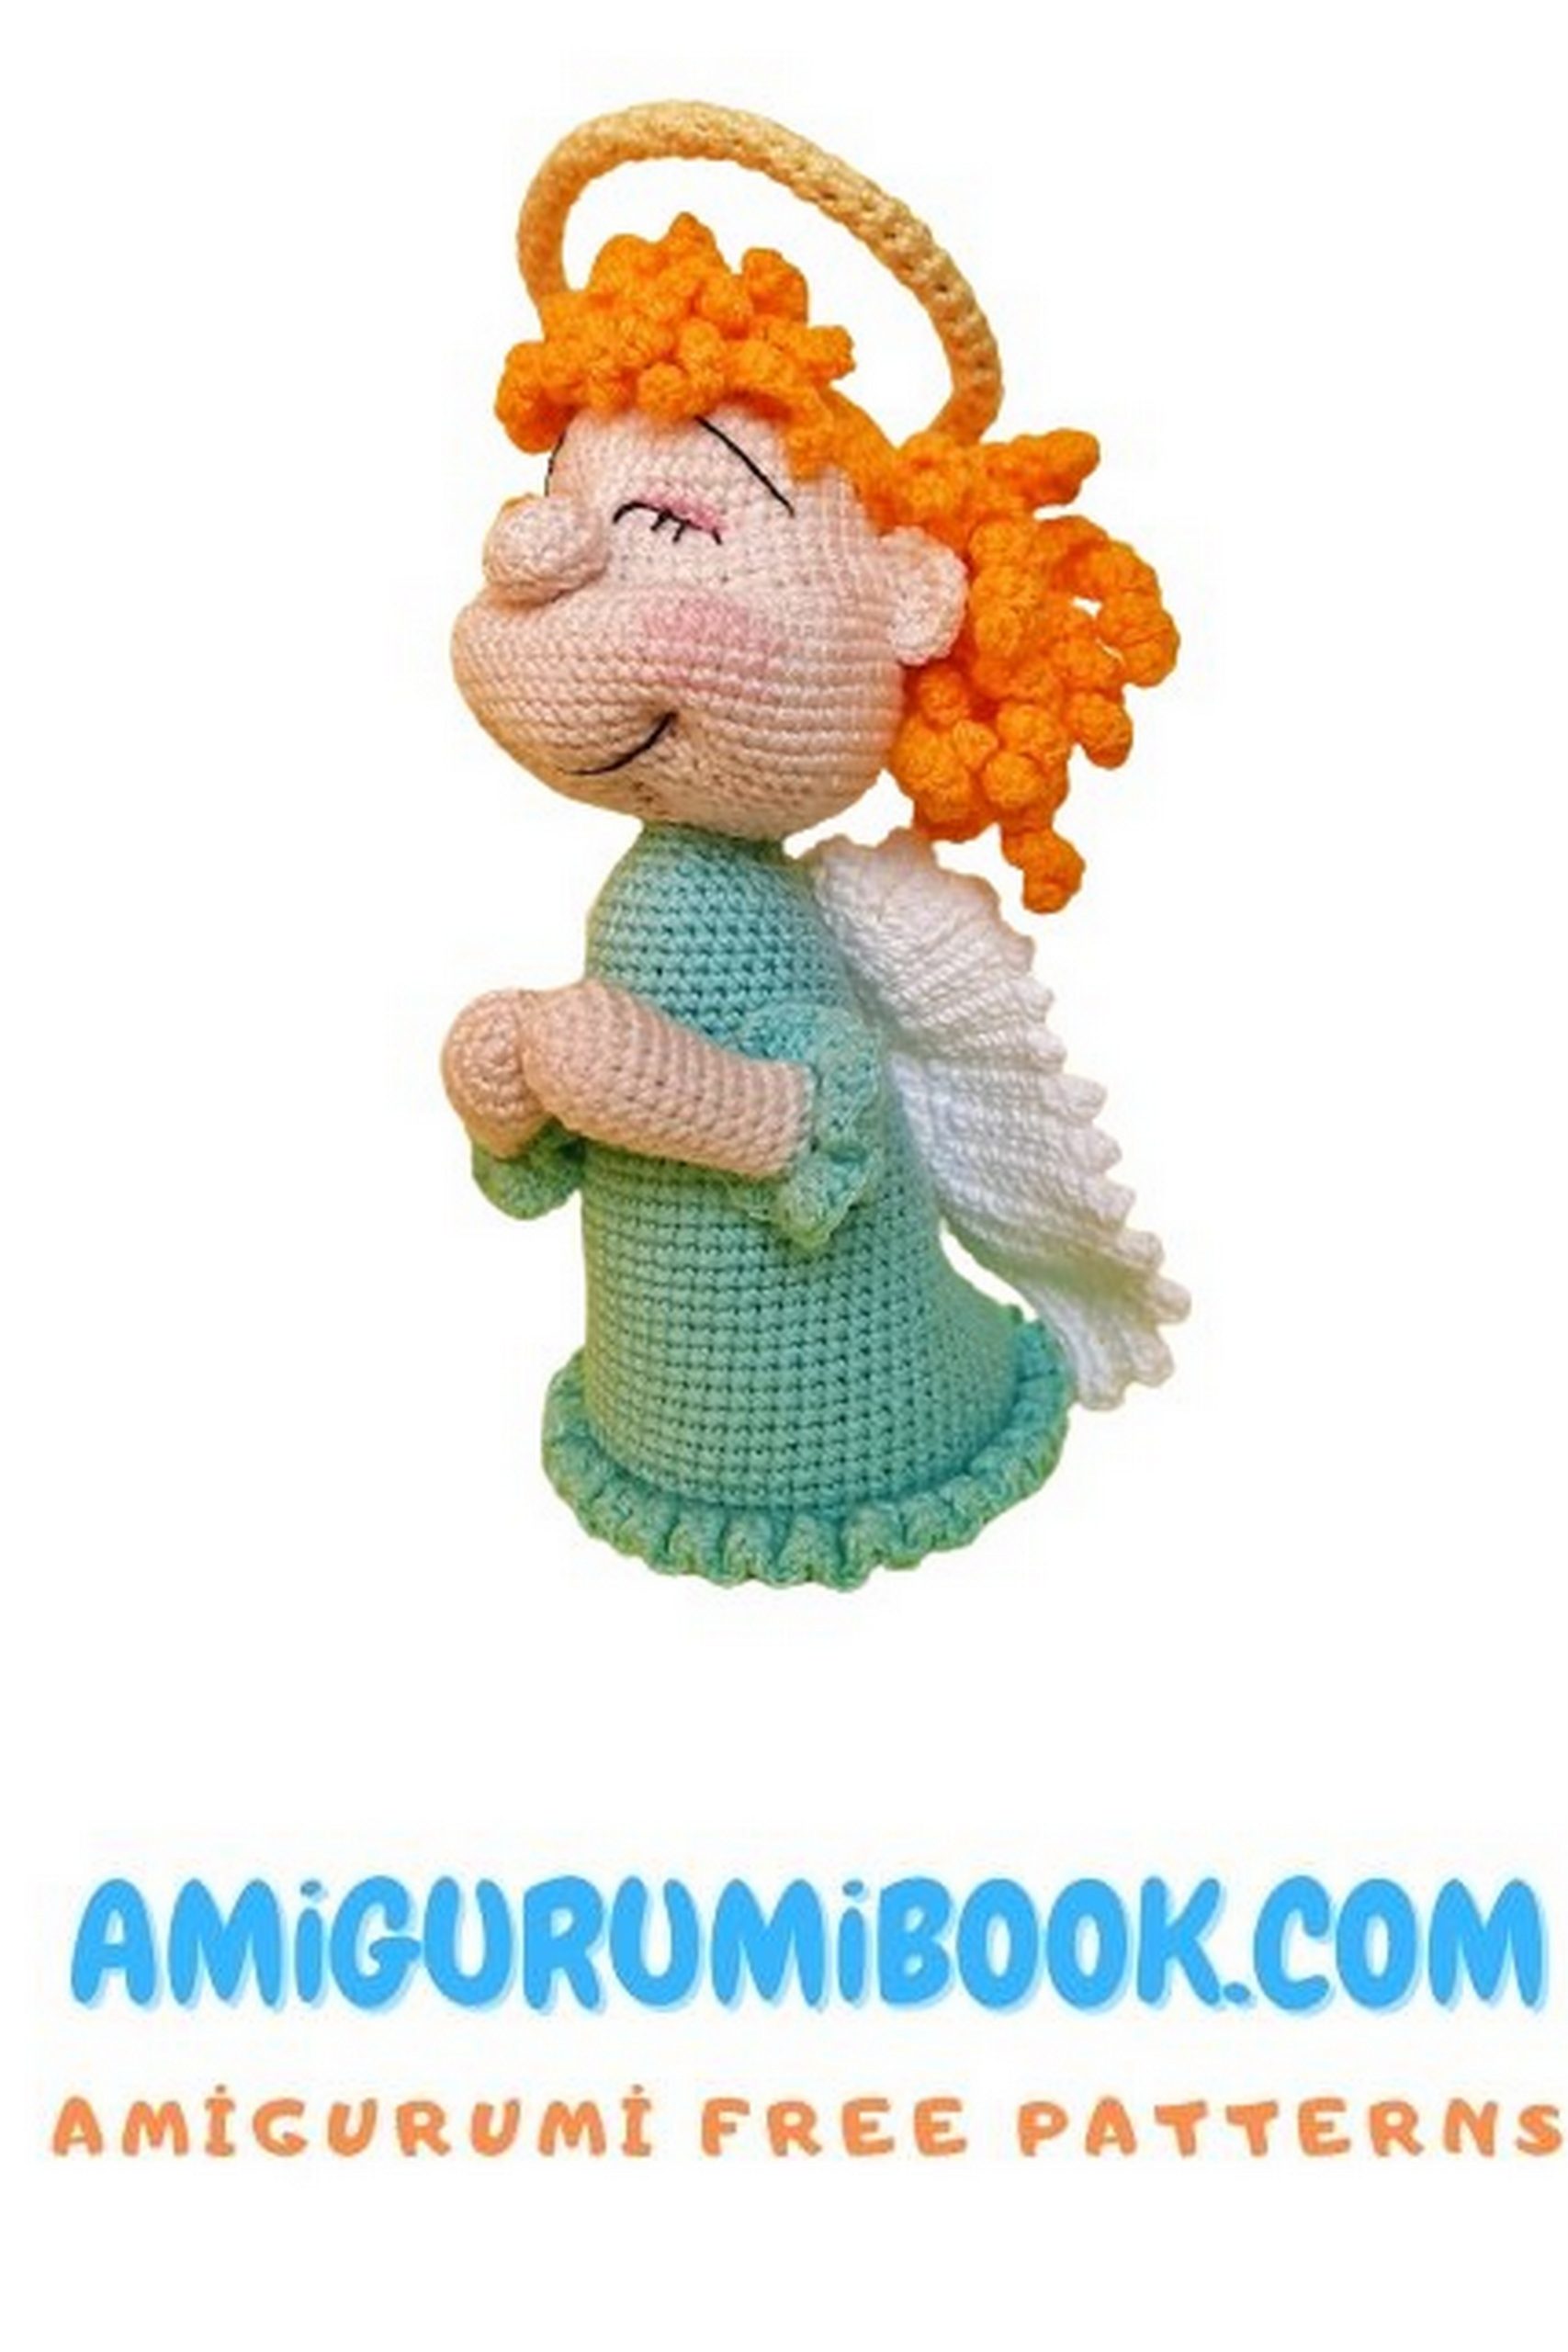
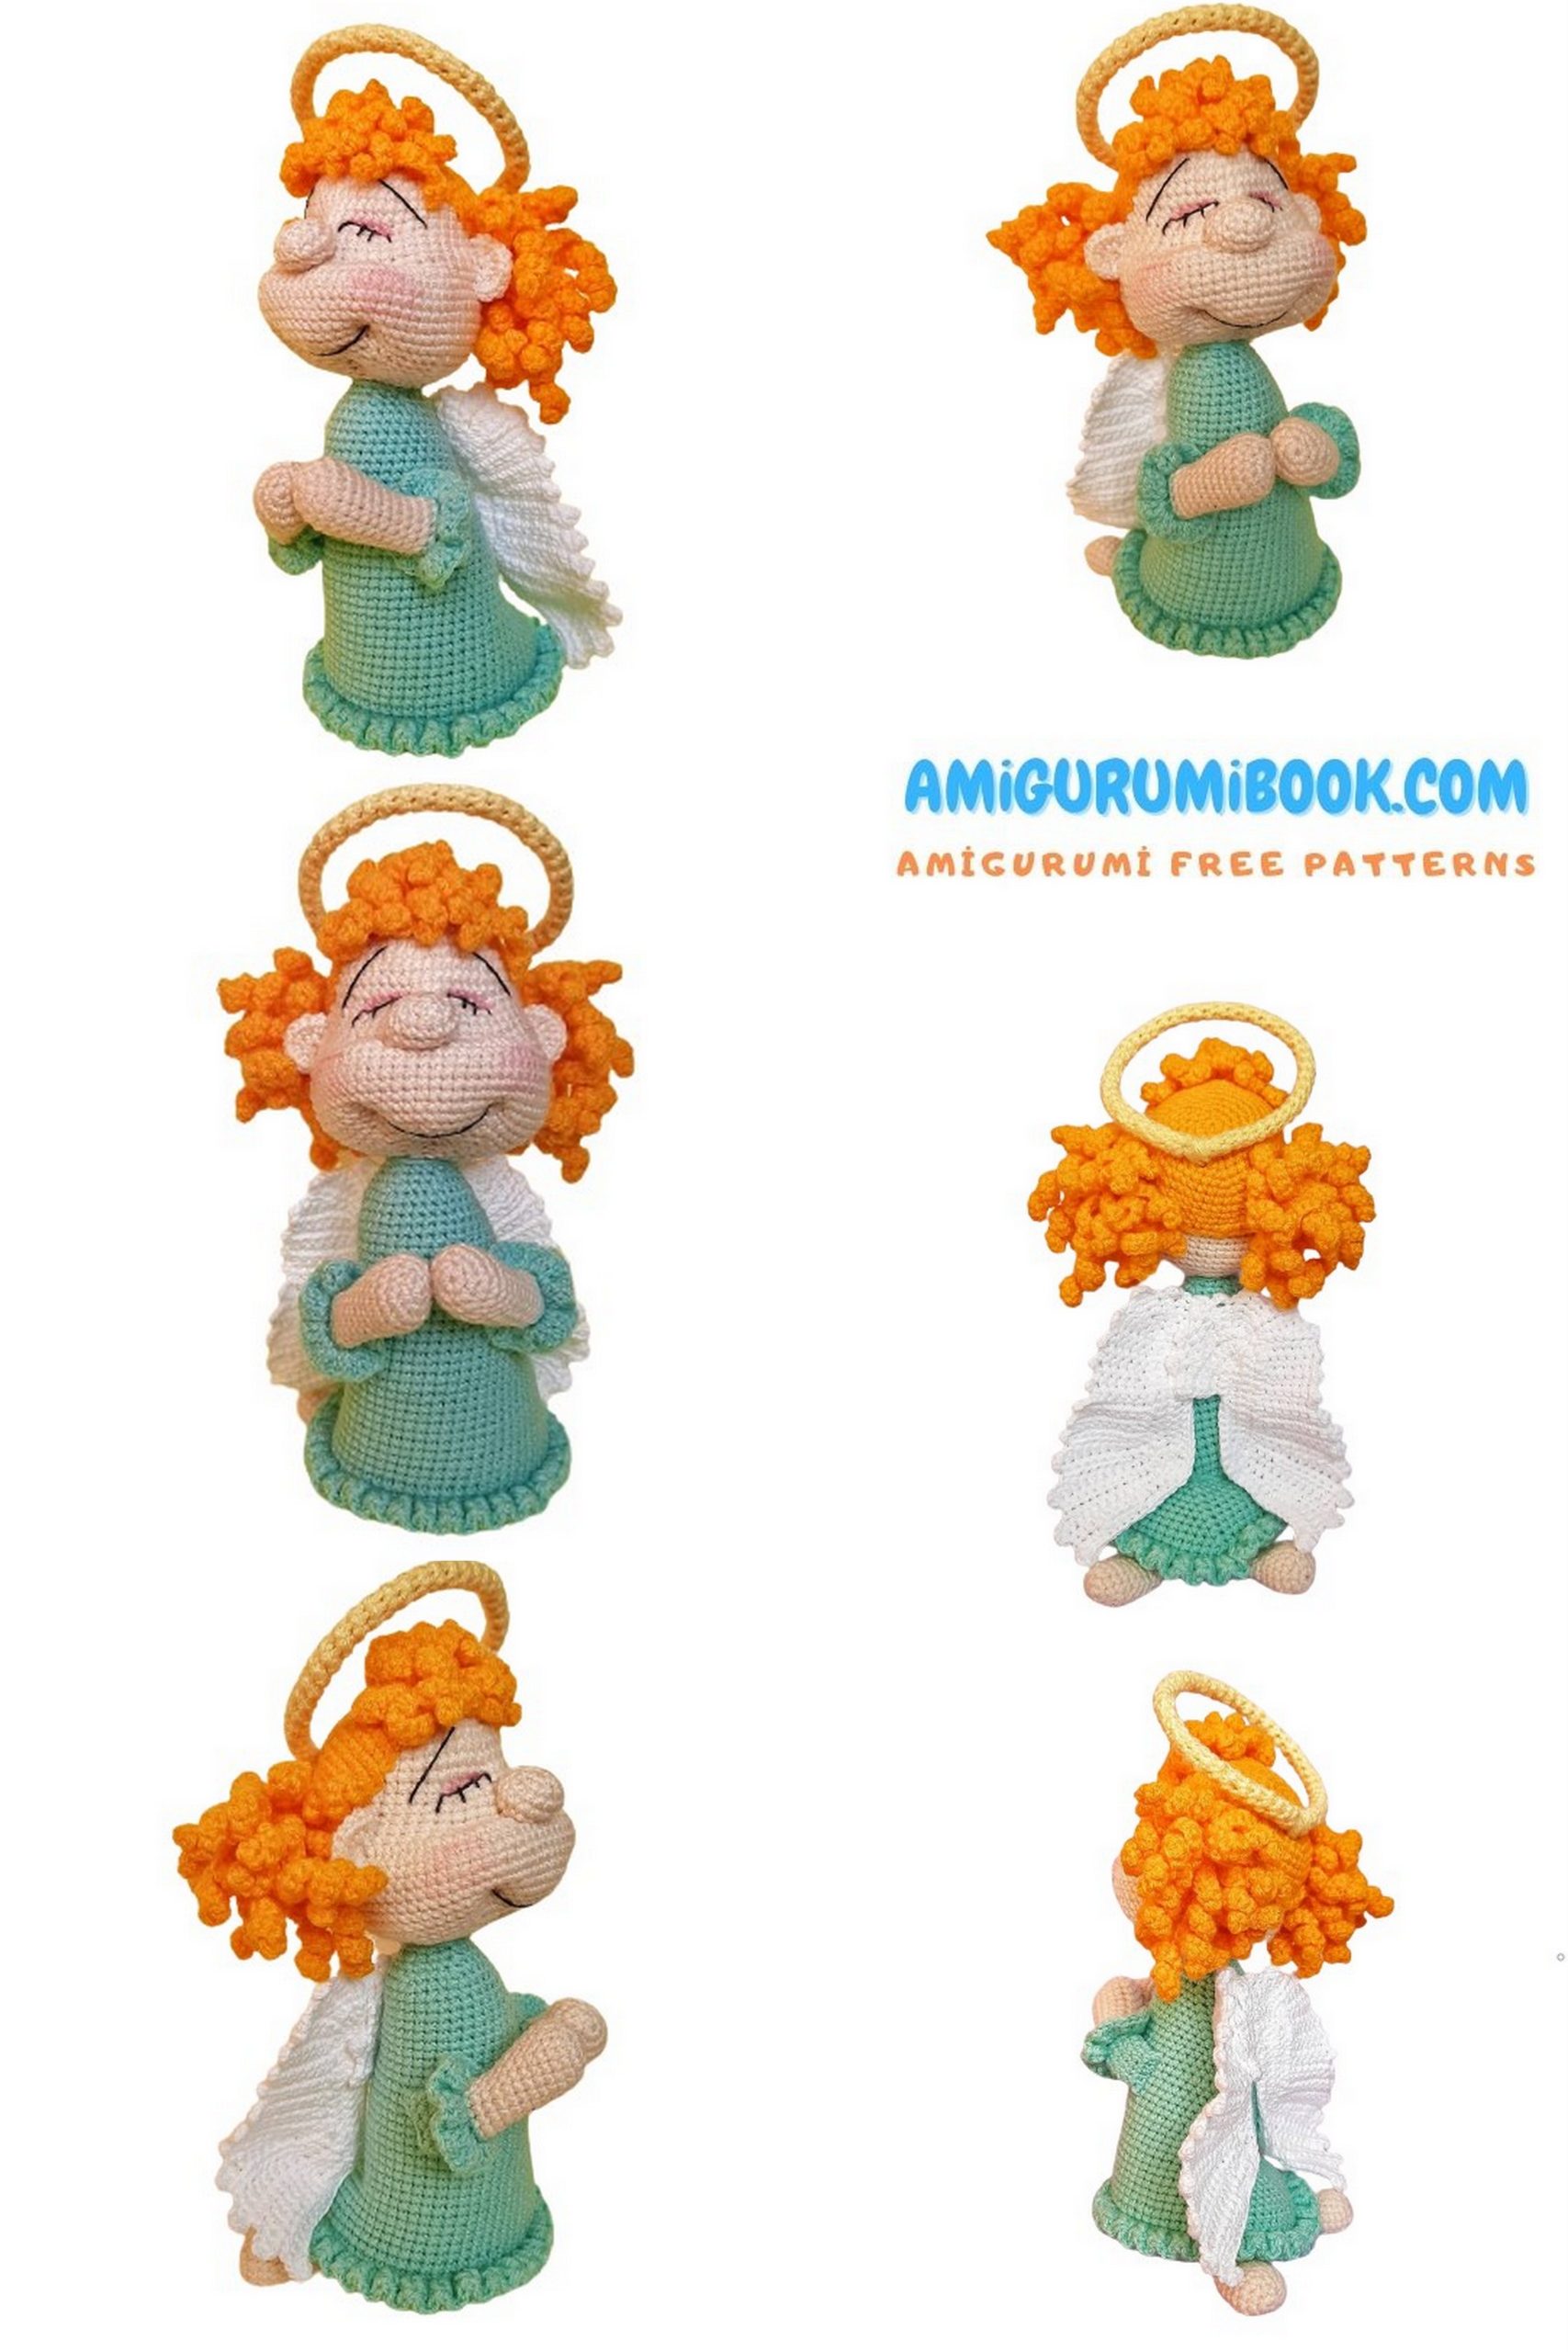
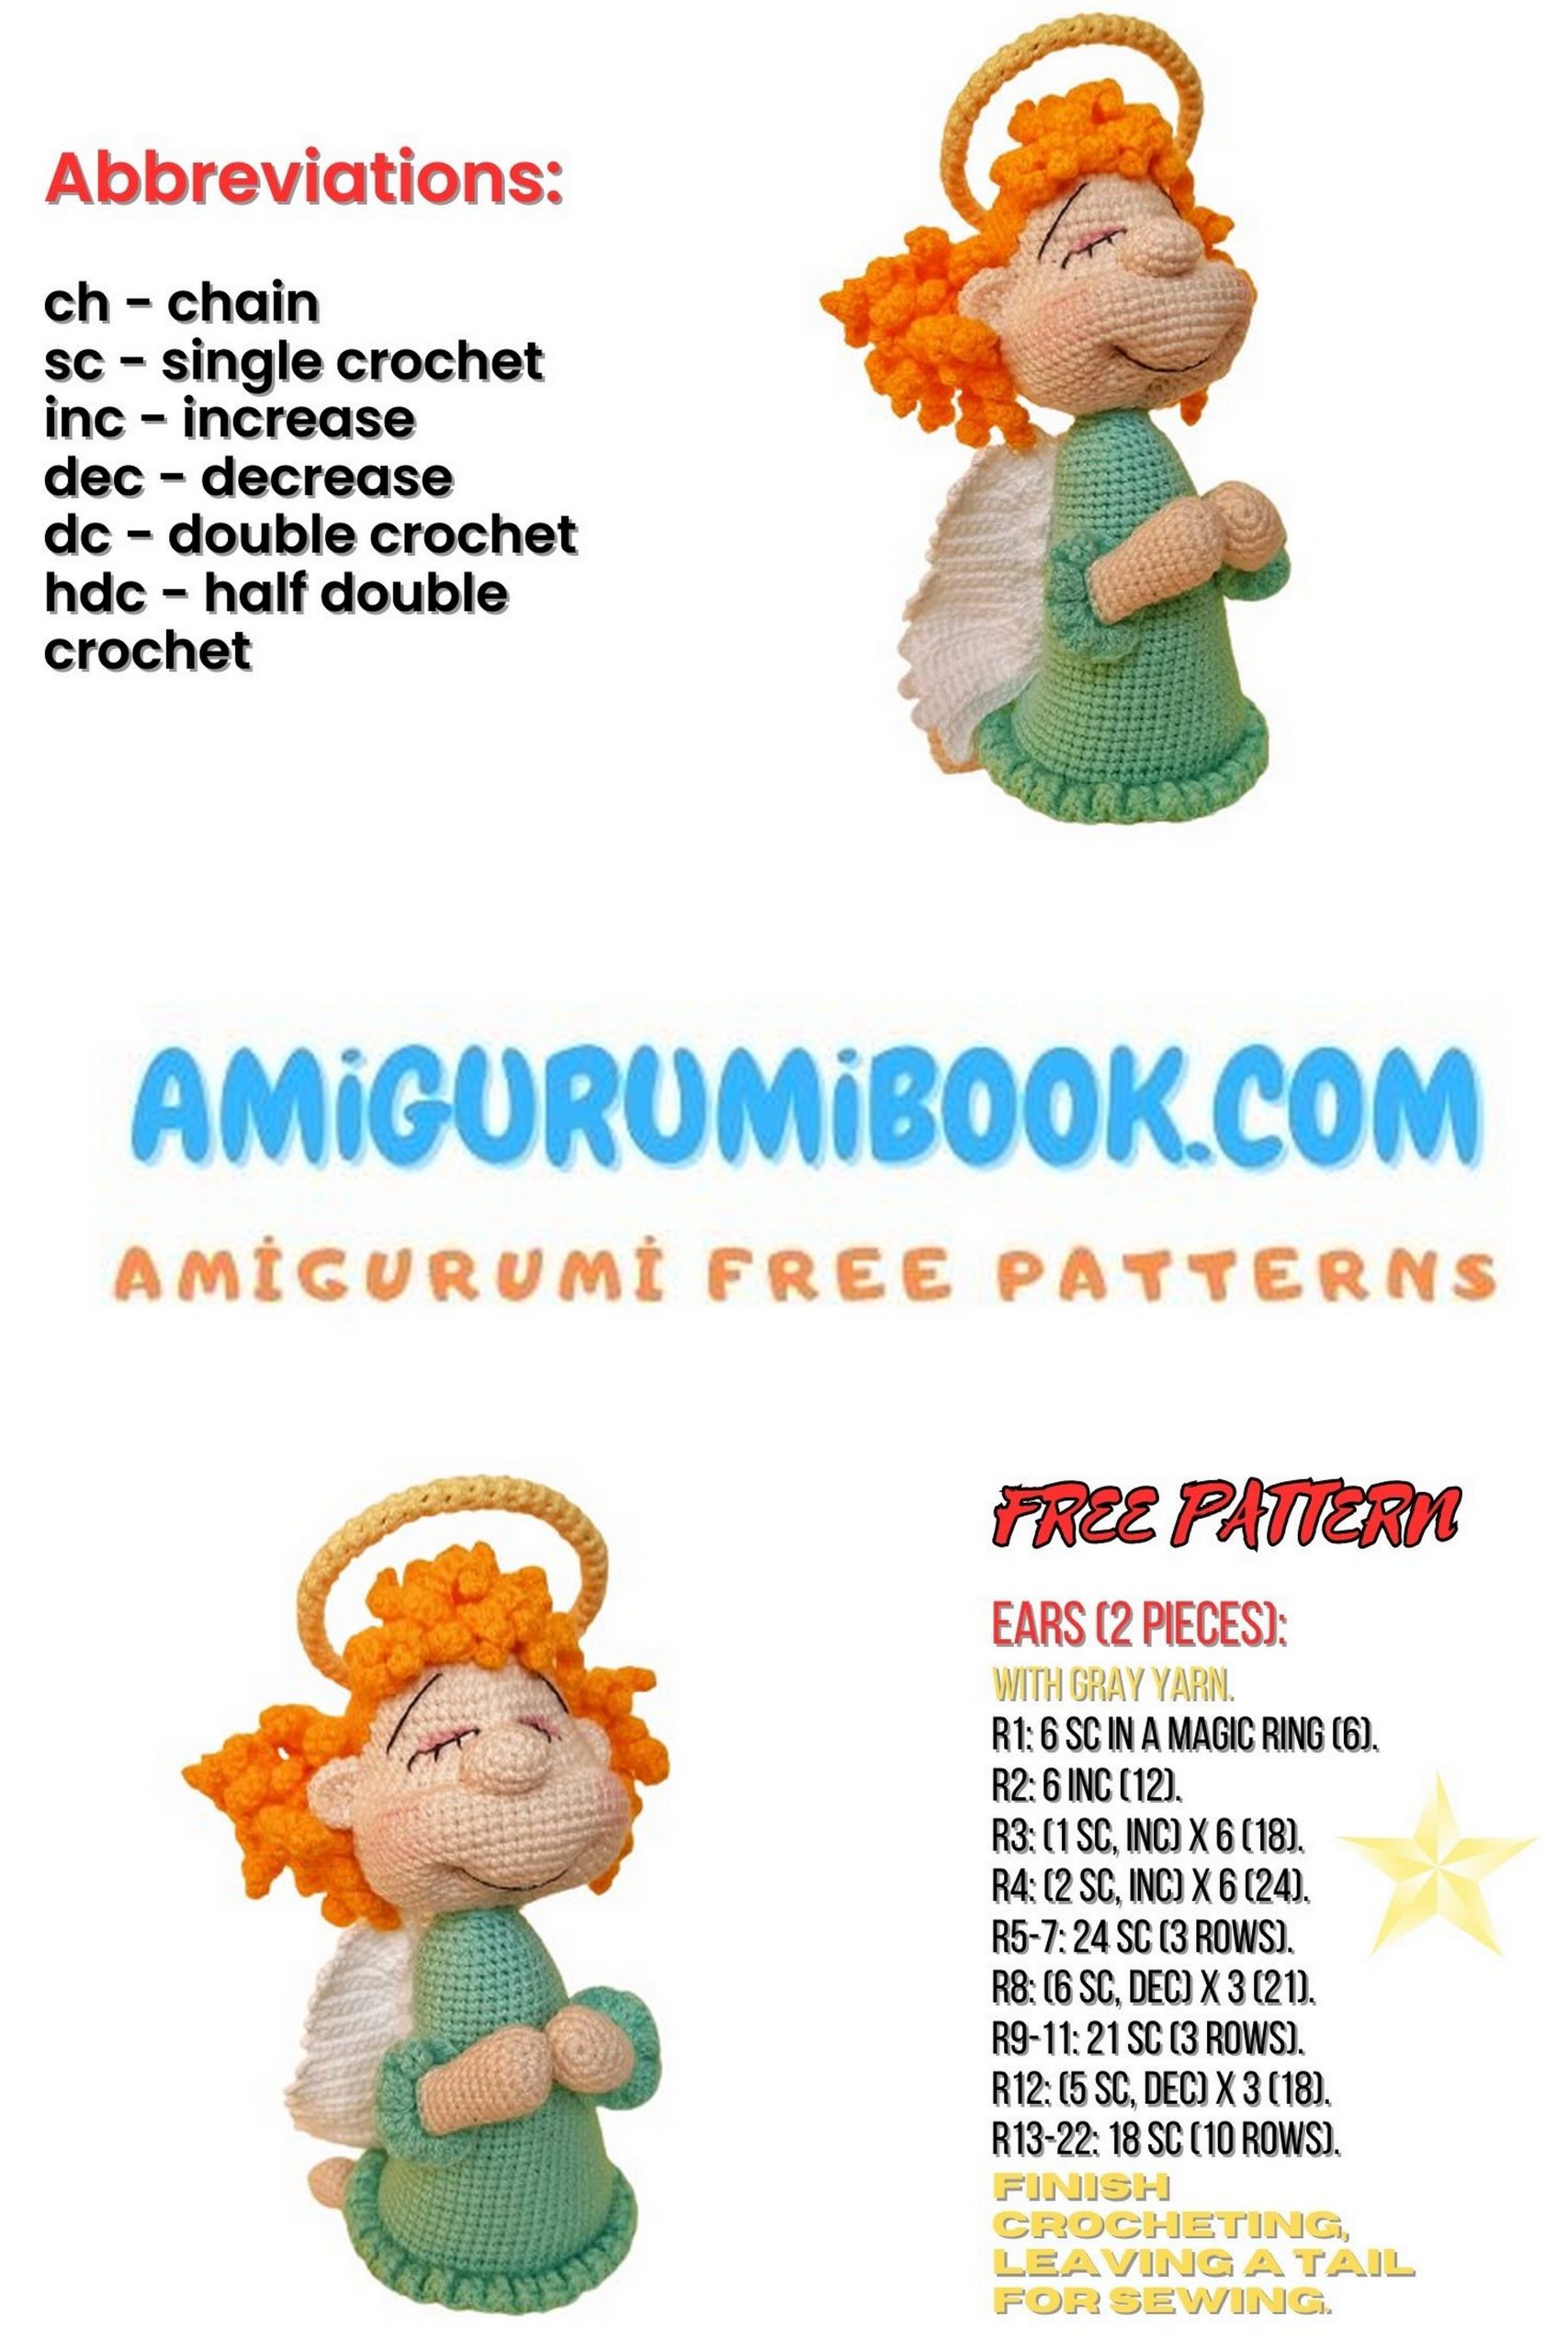
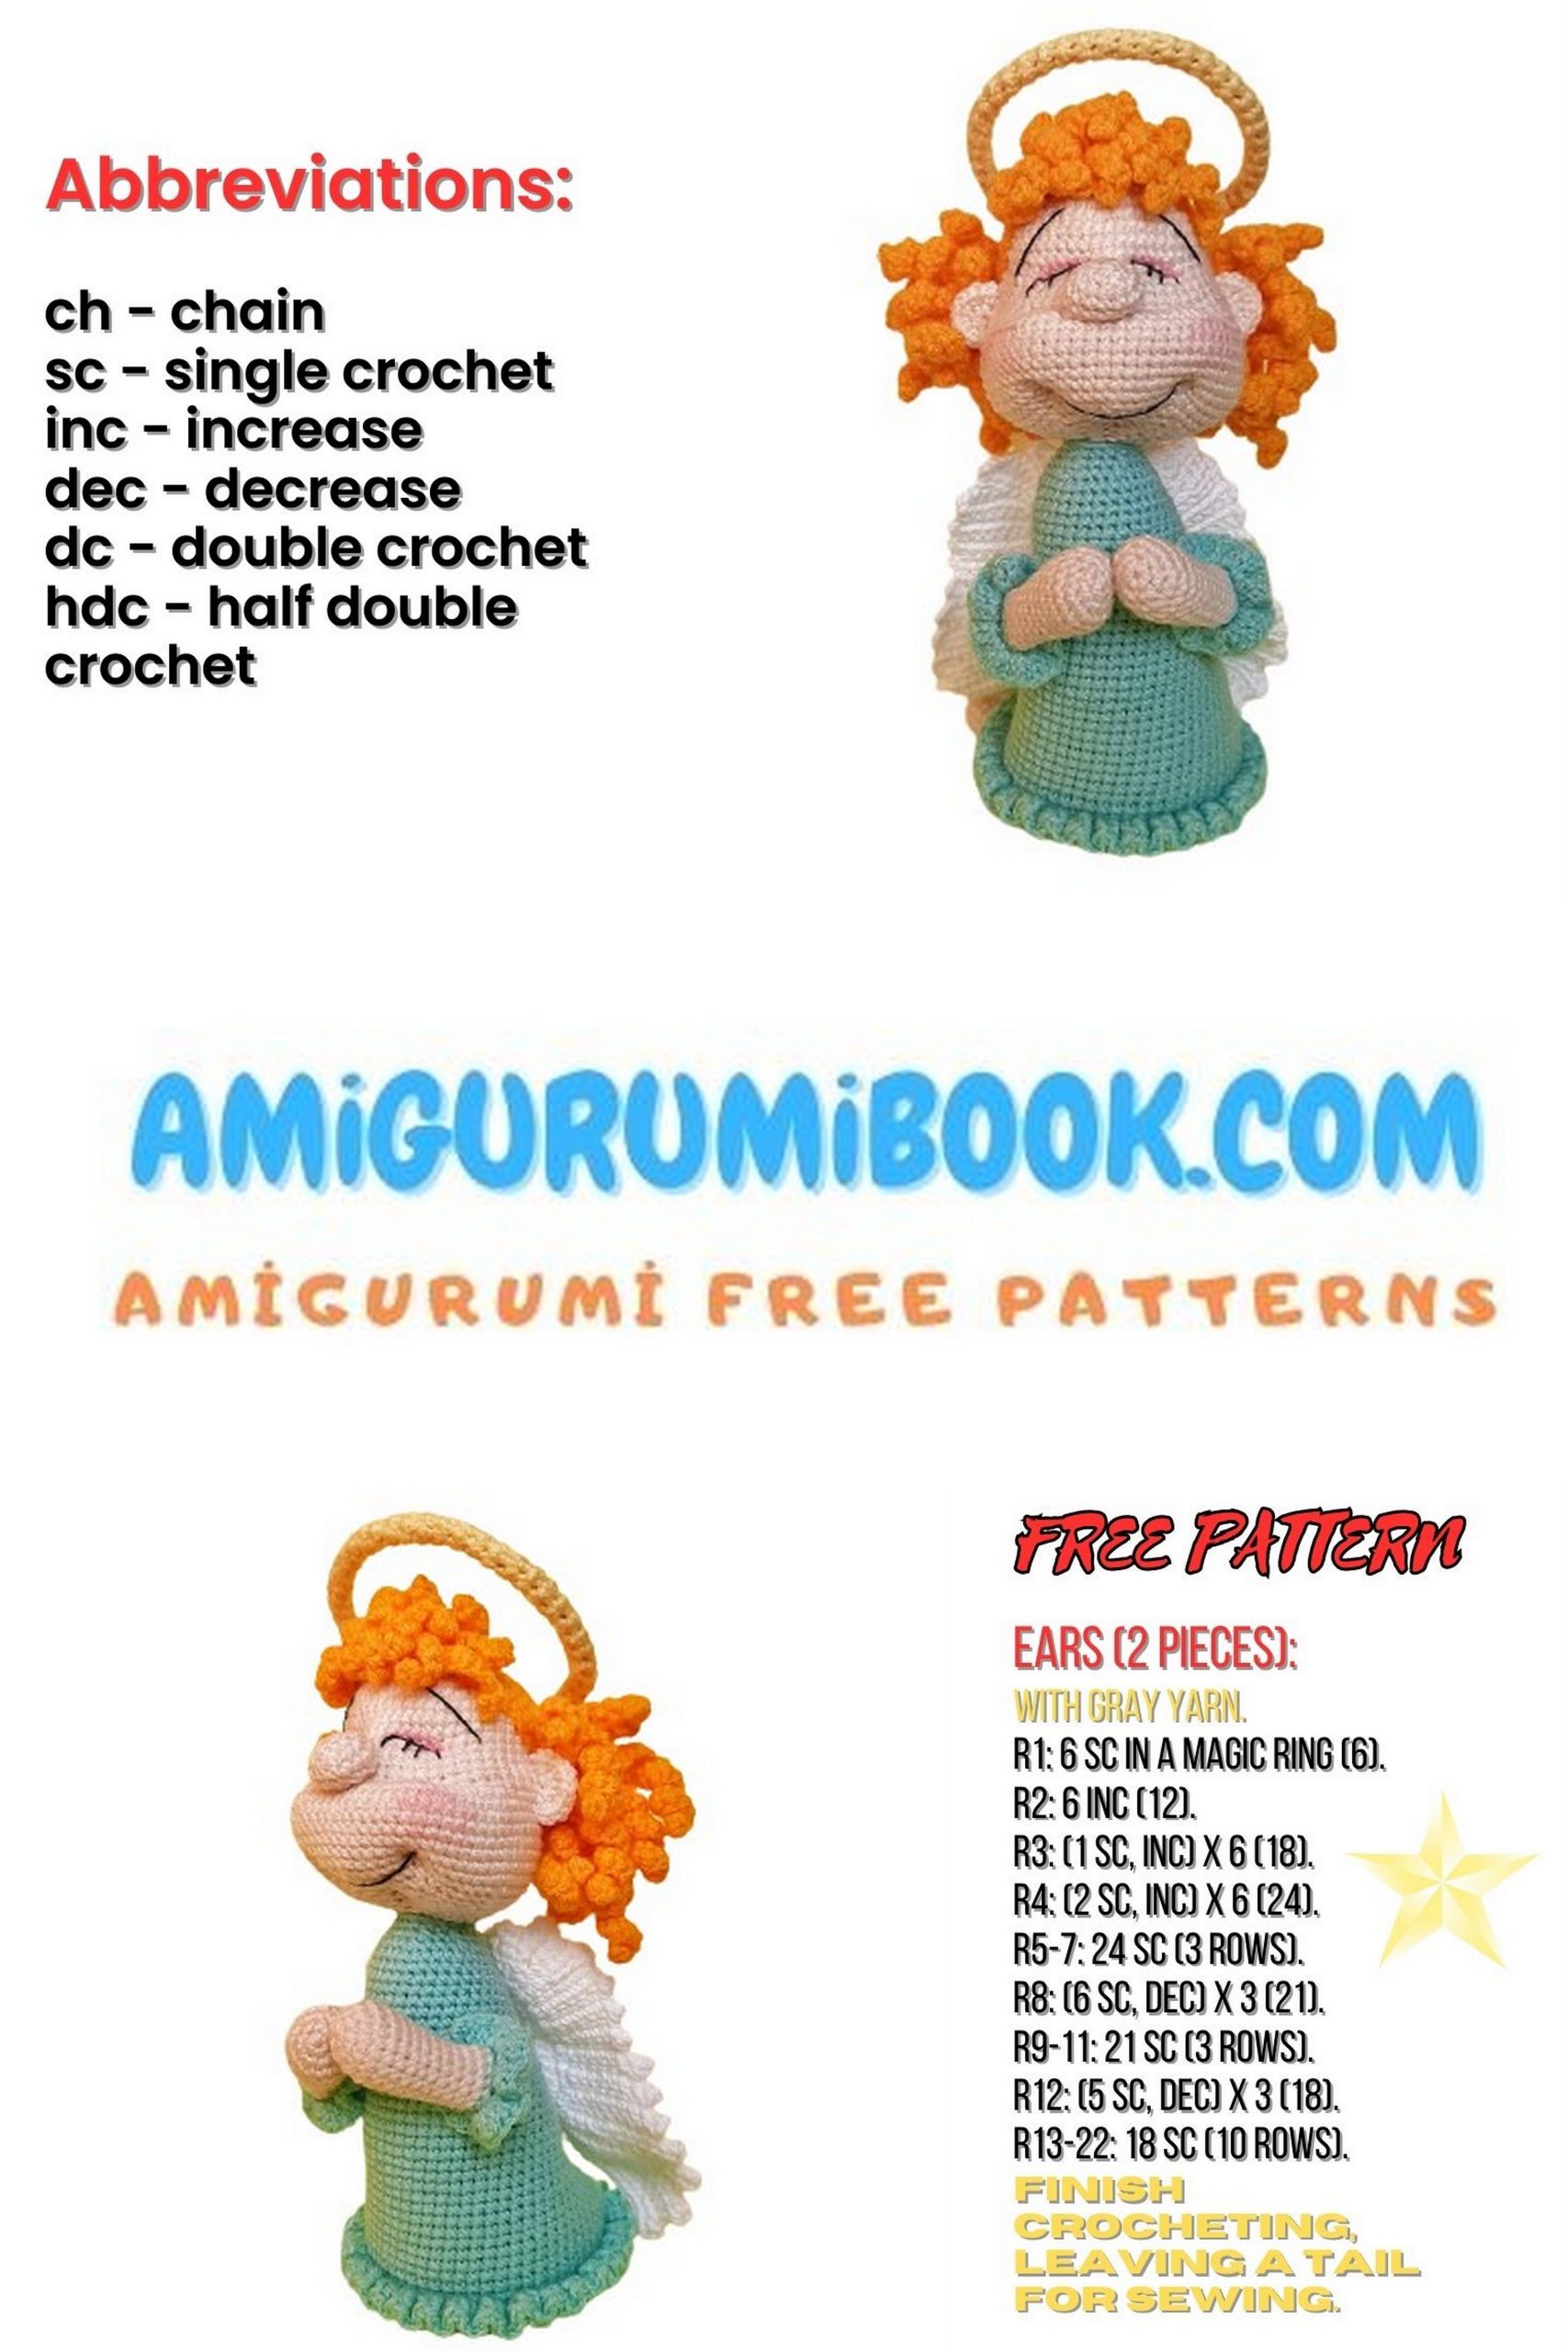
Create your own sweet little guardian with this adorable angel amigurumi doll pattern! Featuring delicate wings, a charming dress, soft sculpted cheeks, and a beautiful halo, this design is perfect for intermediate crocheters who love detailed handmade dolls.
The pattern includes step-by-step instructions for shaping the head, adding facial sculpting, attaching hair, and assembling the dress with a stable base. Whether you’re making a heartfelt gift, a nursery decoration, or a collectible piece, this angel will bring a touch of warmth and handmade magic to your crochet collection.
Get your hook ready and let’s create something heavenly ✨
If you want to access 1000+ free amigurumi patterns, you can download our application from this link!
MATERIALS & TOOLS
Yarn (YarnArt Jeans):
• No. 73 – Skin color (head & body)
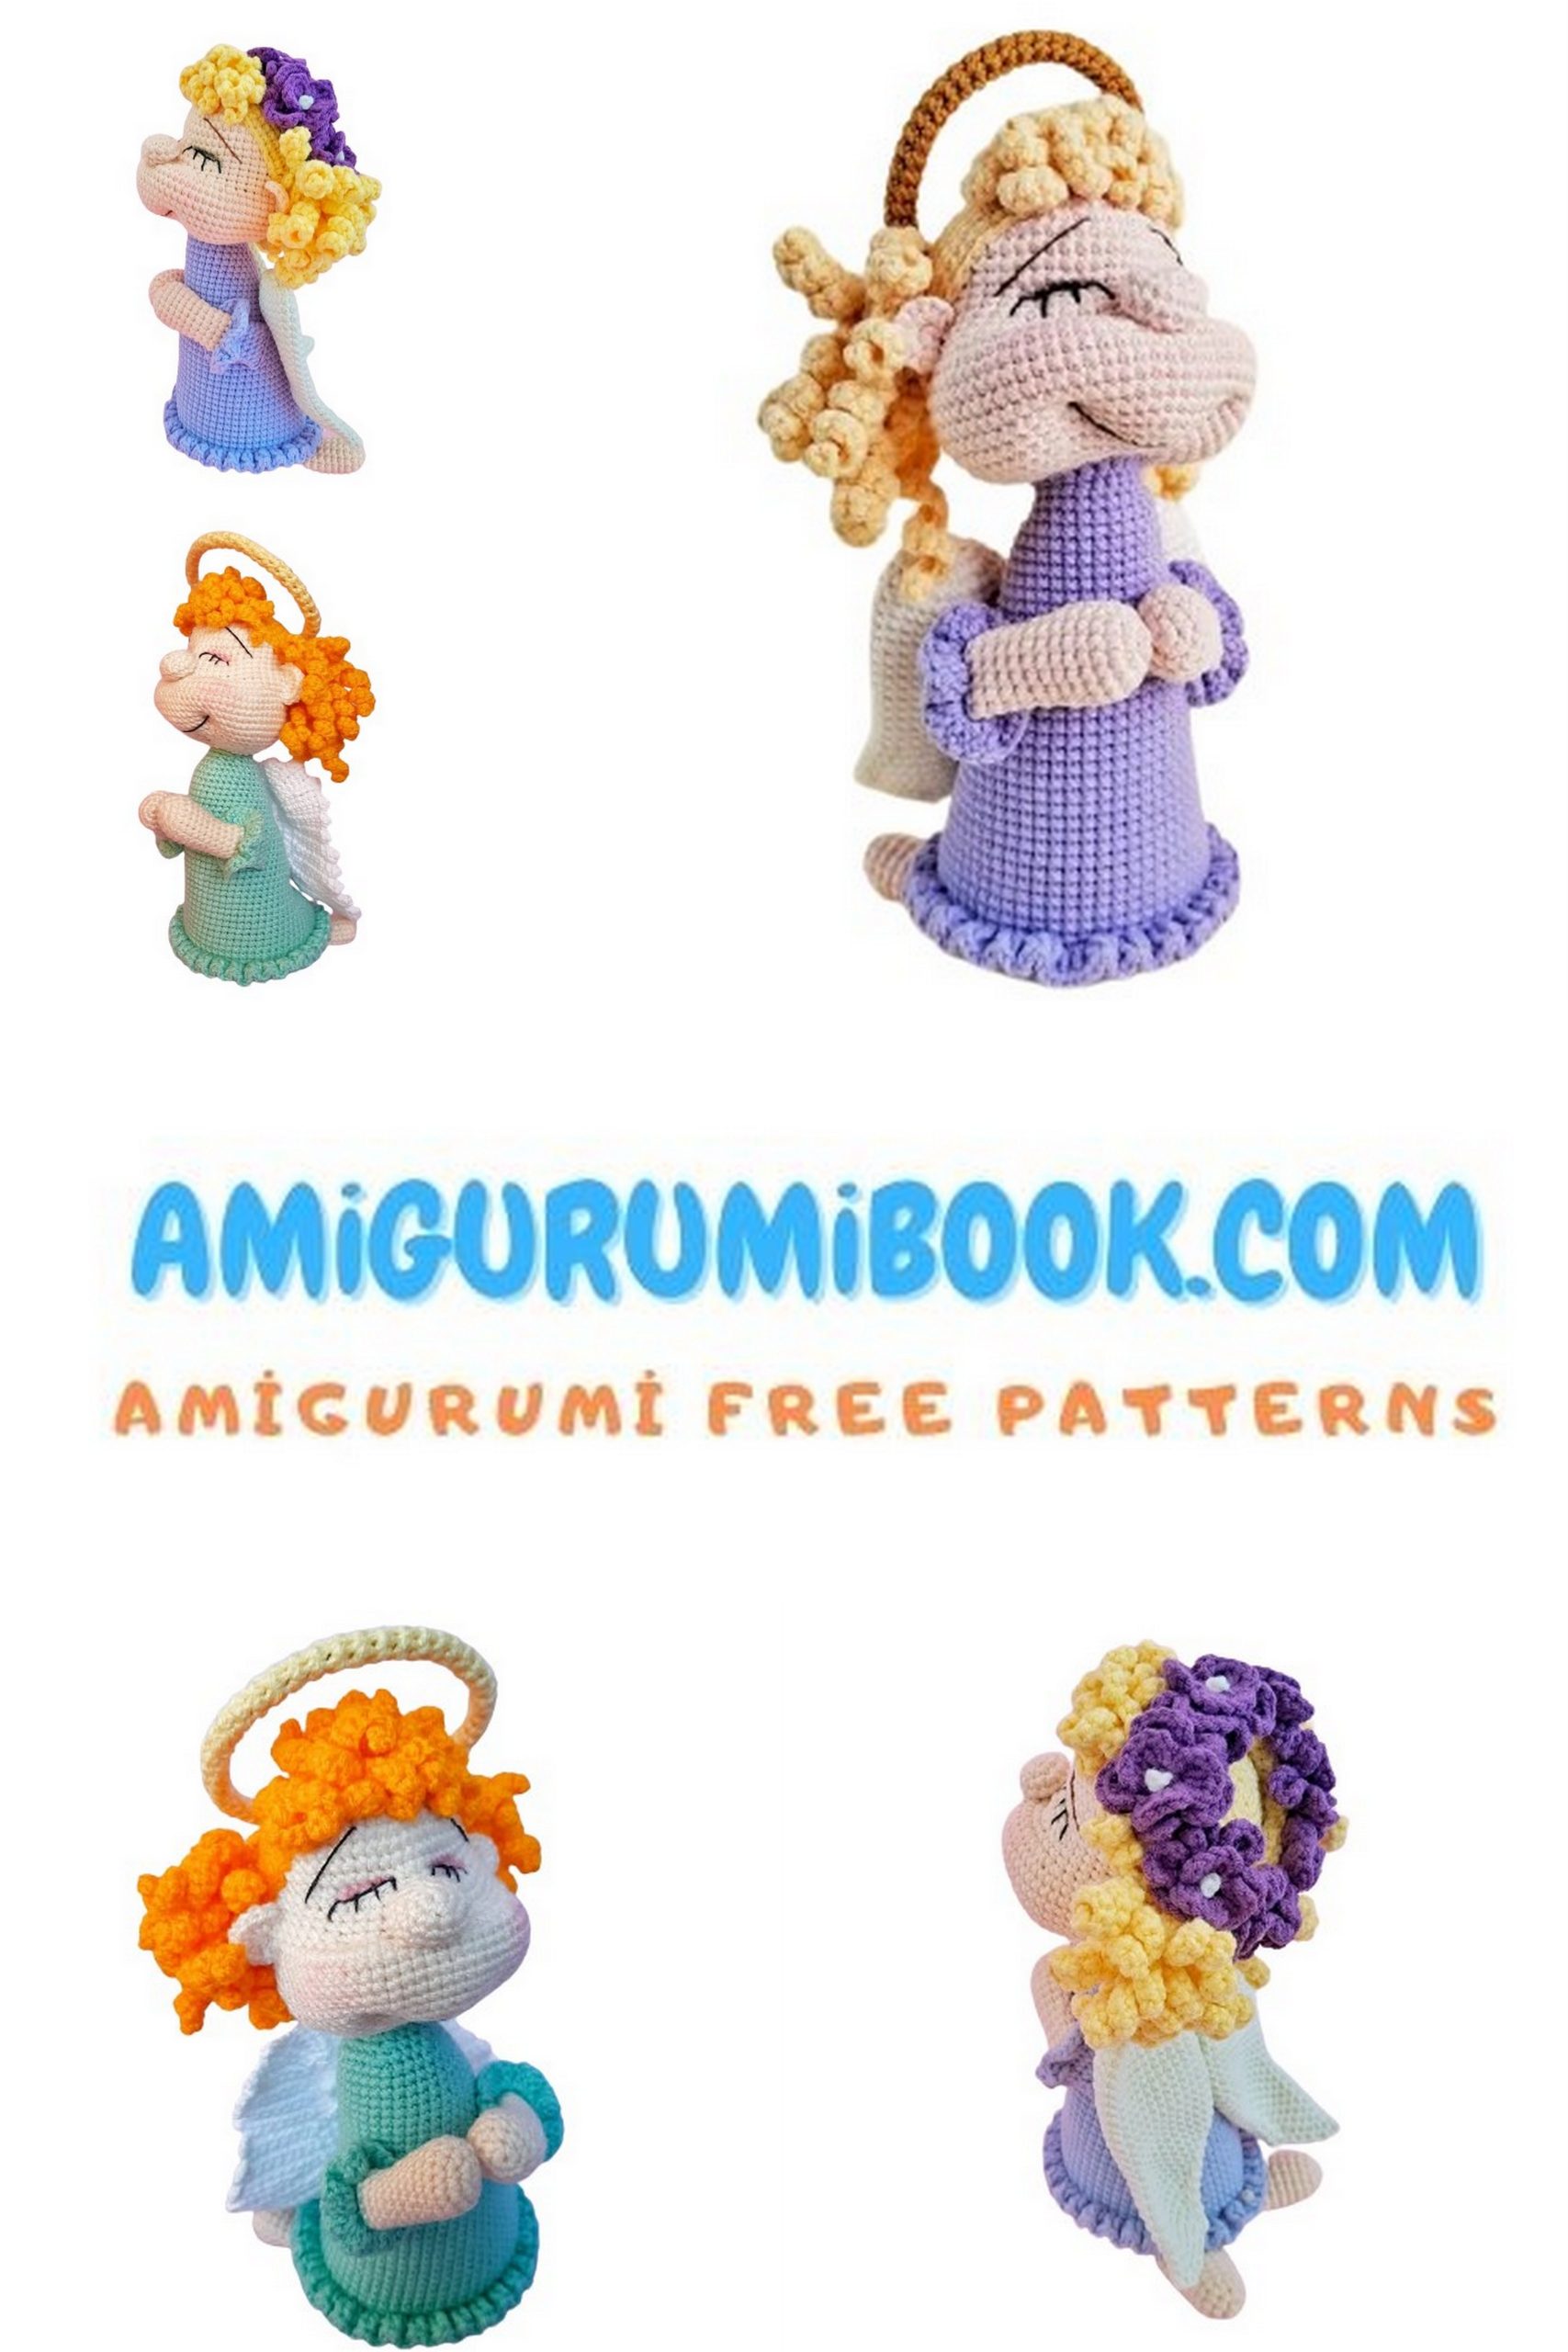
• No. 89 – Purple (dress)
• No. 88 – Yellow (hair)
• No. 84 – Mustard (halo)
• No. 40 – Brown (mouth & eyebrows)
Additional Yarn:
• YarnArt Iris – Black (eye embroidery)
Tools:
• 2 mm crochet hook
• Polyester fiberfill (stuffing)
• Sewing needle (assembly & sculpting)
• Sharp needle (facial contour tightening)
• Pins (marking & positioning details)
• Scissors
Stability Support:
• Thin plastic circle for the body base
(Cut from a plastic card, food container lid, etc.)
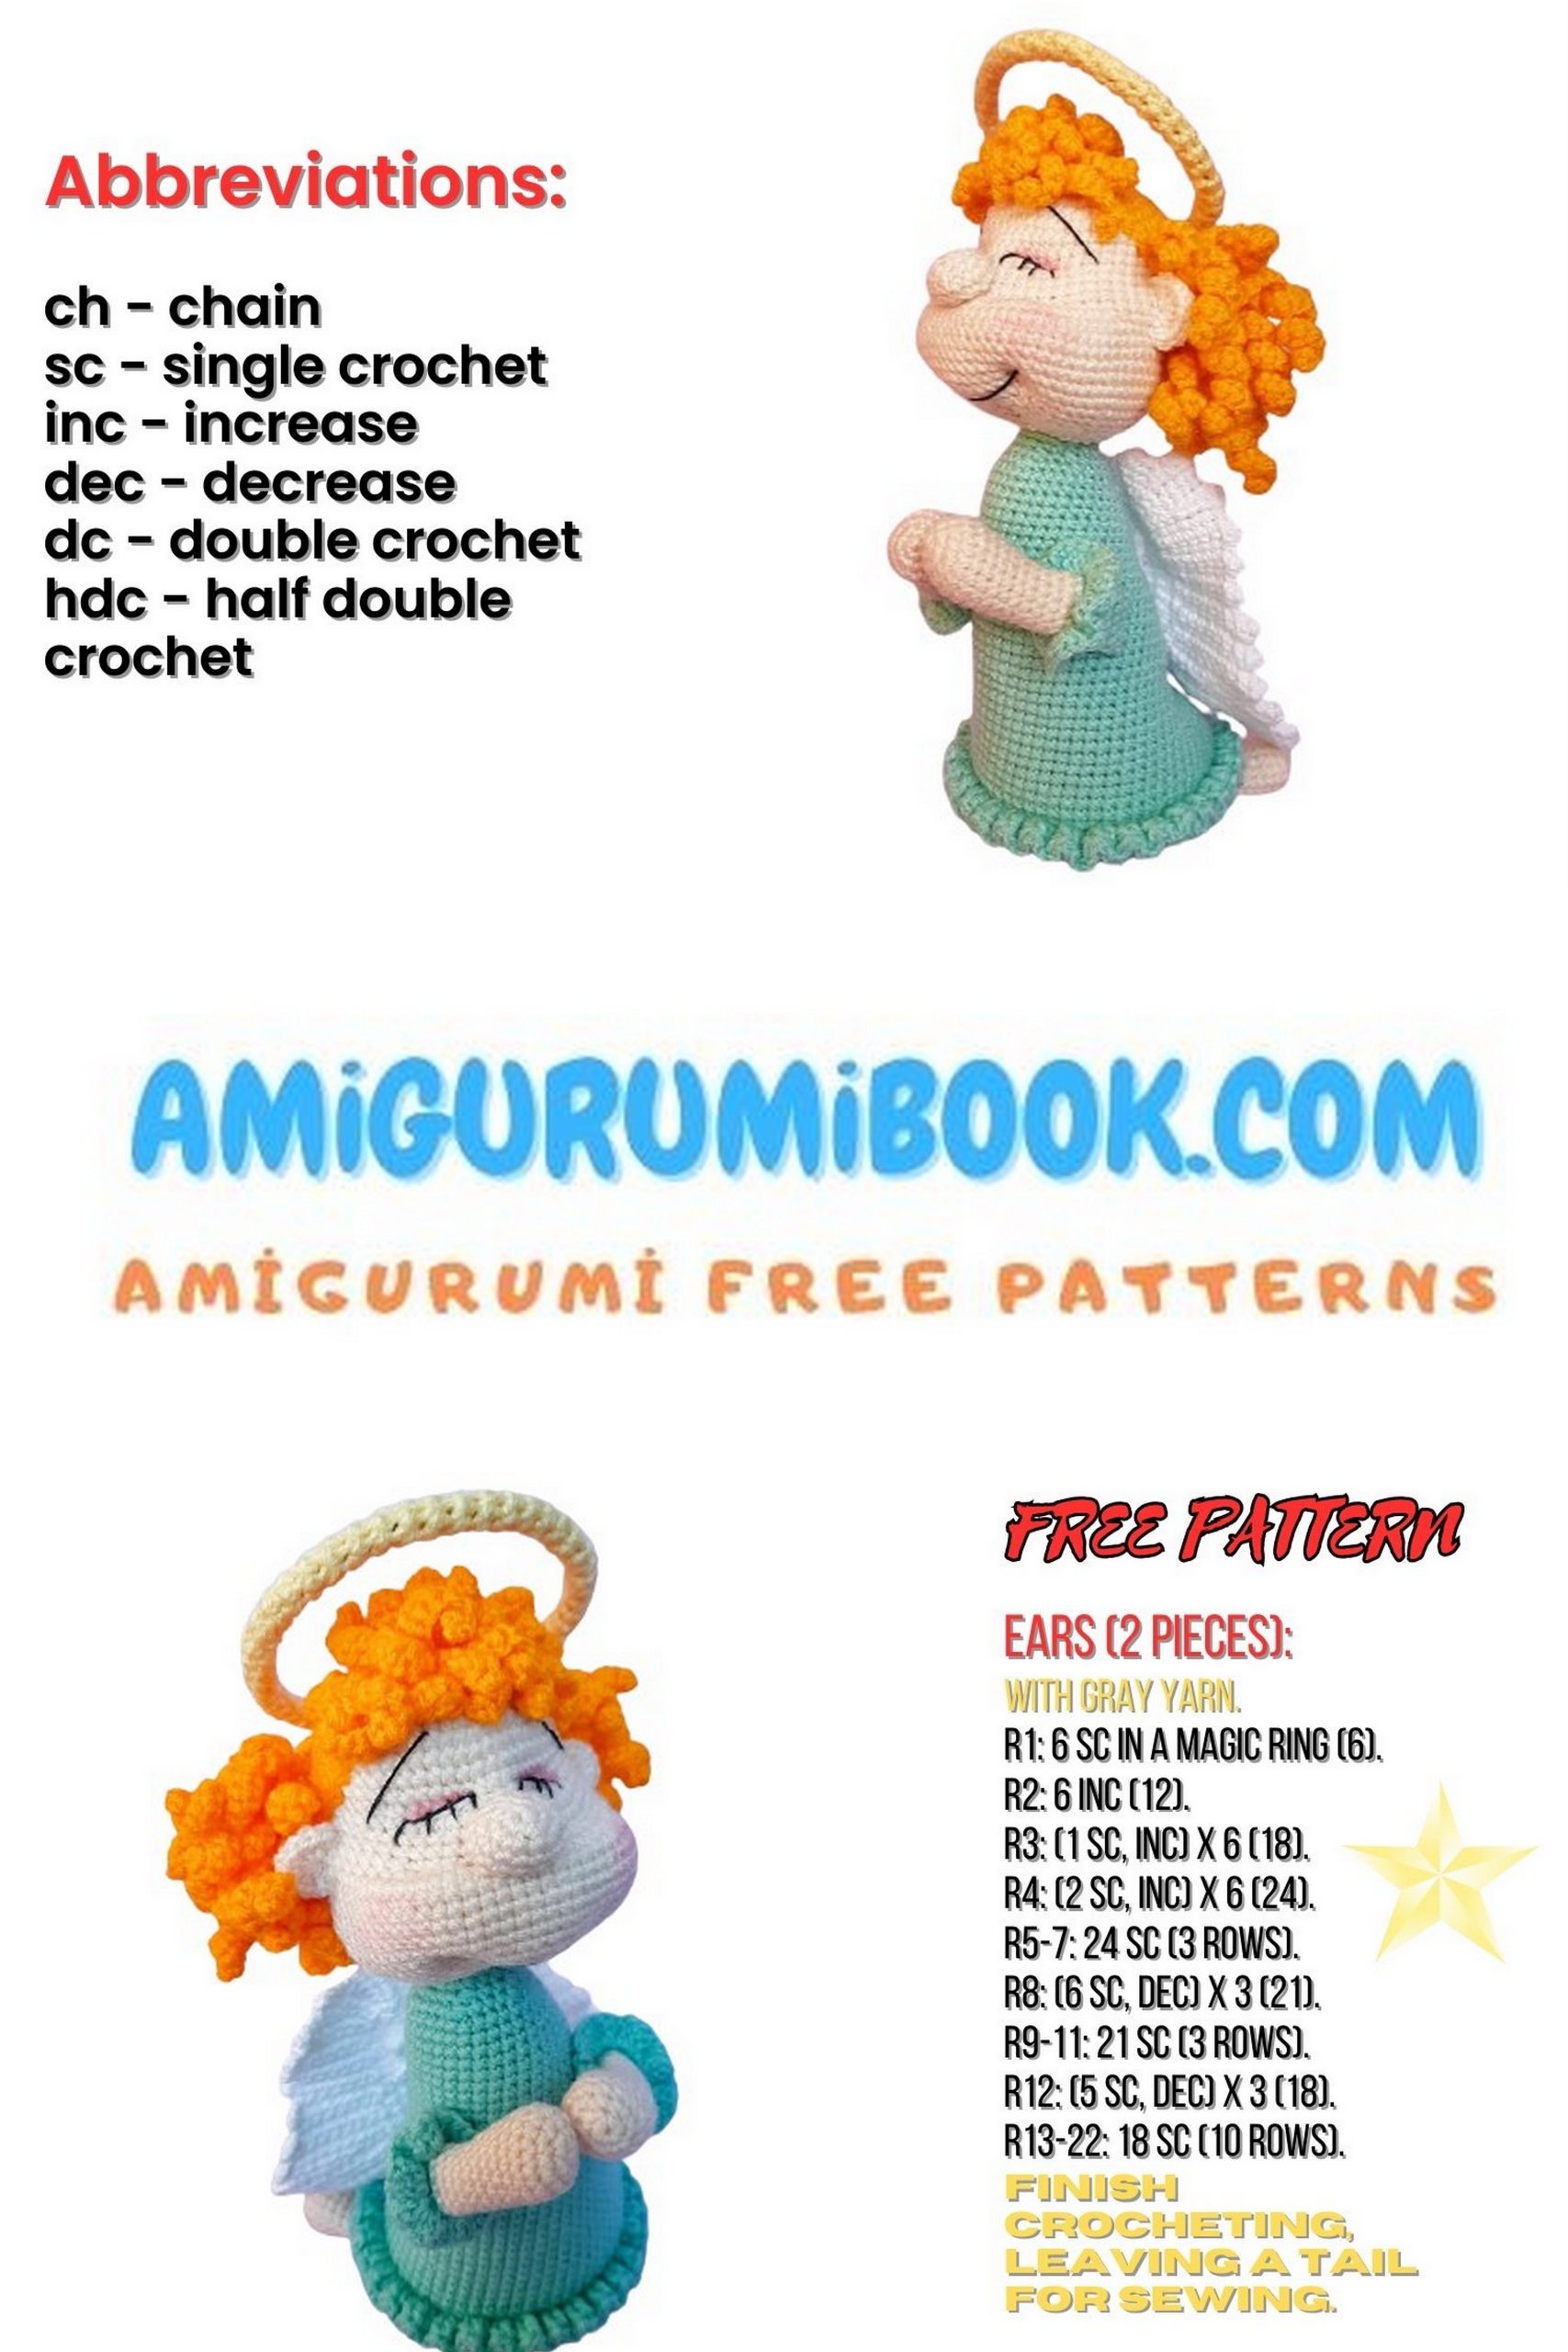
ABBREVIATIONS
MR – Magic Ring
ch – chain
sc – single crochet
inc – increase (2 sc in one stitch)
dec – invisible decrease (work through front loops)
sl st – slip stitch
hdc – half double crochet
HEAD
Work with skin color (No. 73) in continuous rounds (spiral).
Place the stitch marker at the center back of the head and move it as you go.
1: 6 sc in MR (6)
2: inc x6 (12)
3: inc x12 (24)
4: (3 sc, inc) x6 (30)
5: (2 sc, inc, 2 sc) x6 (36)
6: (5 sc, inc) x6 (42)
7: (3 sc, inc, 3 sc) x6 (48)
8–15: 48 sc (8 rounds) (48)
Cheek shaping increases
16: 18 sc, inc x4, 4 sc, inc x4, 18 sc (56)
17: 14 sc, inc x4, 20 sc, inc x4, 14 sc (64)
18–24: 64 sc (7 rounds) (64)
Shaping and closing
25: 7 sc, (dec, 6 sc) x6, dec, 7 sc (57)
26: 7 sc, (dec, 5 sc) x6, dec, 6 sc (50)
27: 6 sc, (dec, 4 sc) x6, dec, 6 sc (43)
28: 3 sc, (dec, 4 sc) x6, dec, 2 sc (36)
29: 7 sc, (dec, 2 sc) x5, dec, 7 sc (30)
30: 7 sc, (dec, 1 sc) x5, dec, 6 sc (24)
👉 Start stuffing firmly.
31: dec x12 (12)
32: dec x6 (6)
Fasten off. Pull the opening closed, secure and hide the yarn tail inside the head.

NOSE
Work with skin color (No. 73) in continuous rounds (spiral).
1: 6 sc in MR (6)
2: inc x6 (12)
3: 2 sc, inc x2, 4 sc, inc x2, 2 sc (16)
4: 16 sc (16)
5: 2 sc, dec x2, 4 sc, dec x2, 2 sc (12)
6: dec x6 (6)
Lightly stuff the nose.
Fasten off, leaving a long tail for sewing to the head.
LEGS (Make 2)
Skin color No. 73 – spiral
1: 6 sc in MR (6)
2: 6 inc (12)
3: (1 sc, inc) x6 (18)
4-6: 18 sc (3 rounds)
7: (4 sc, dec) x3 (15)
8-12: 15 sc (5 rounds)
Lightly stuff only the lower half.
Fold top flat and close with 7–8 sc.
Leave long tail for sewing.
📌 Attach between rounds 10–11 under the dress as mentioned in assembly.
ARMS (Make 2)
Skin color No. 73 – spiral
1: 6 sc in MR (6)
2: (1 sc, inc) x3 (9)
3-10: 9 sc (8 rounds)
11: (1 sc, dec) x3 (6)
Lightly stuff bottom only.
Fold flat and close with 3 sc.
Leave long tail.
📌 Sew between rounds 27–33 angled upward.
📌 Stitch palms together with matching yarn.
WINGS (Make 2)
White yarn – work in rows
1: 6 sc in MR, ch 1, turn (6)
2: 6 inc, ch 1, turn (12)
3: (1 sc, inc) x6, ch 1, turn (18)
4: (2 sc, inc) x6, ch 1, turn (24)
5: 24 sc, ch 1, turn
Scalloped edge:
6: (sl st, 2 hdc, 1 dc, 2 hdc, sl st) into same st, sl st next st — repeat 6 times.
Fasten off, leave tail.
📌 Lightly steam block for shape.
📌 Sew to back symmetrically.
HALO (Nimbus)
Mustard No. 84
Work around wire circle (approx. 6–7 cm diameter)
1: Attach yarn to wire ring.
2: Crochet 30–36 sc evenly around wire (depending on tension).
3: Sl st to first sc.
Fasten off, secure tightly.
Optional:
Wrap halo base with matching yarn for neat finish.
📌 Sew invisibly to top-back of head.
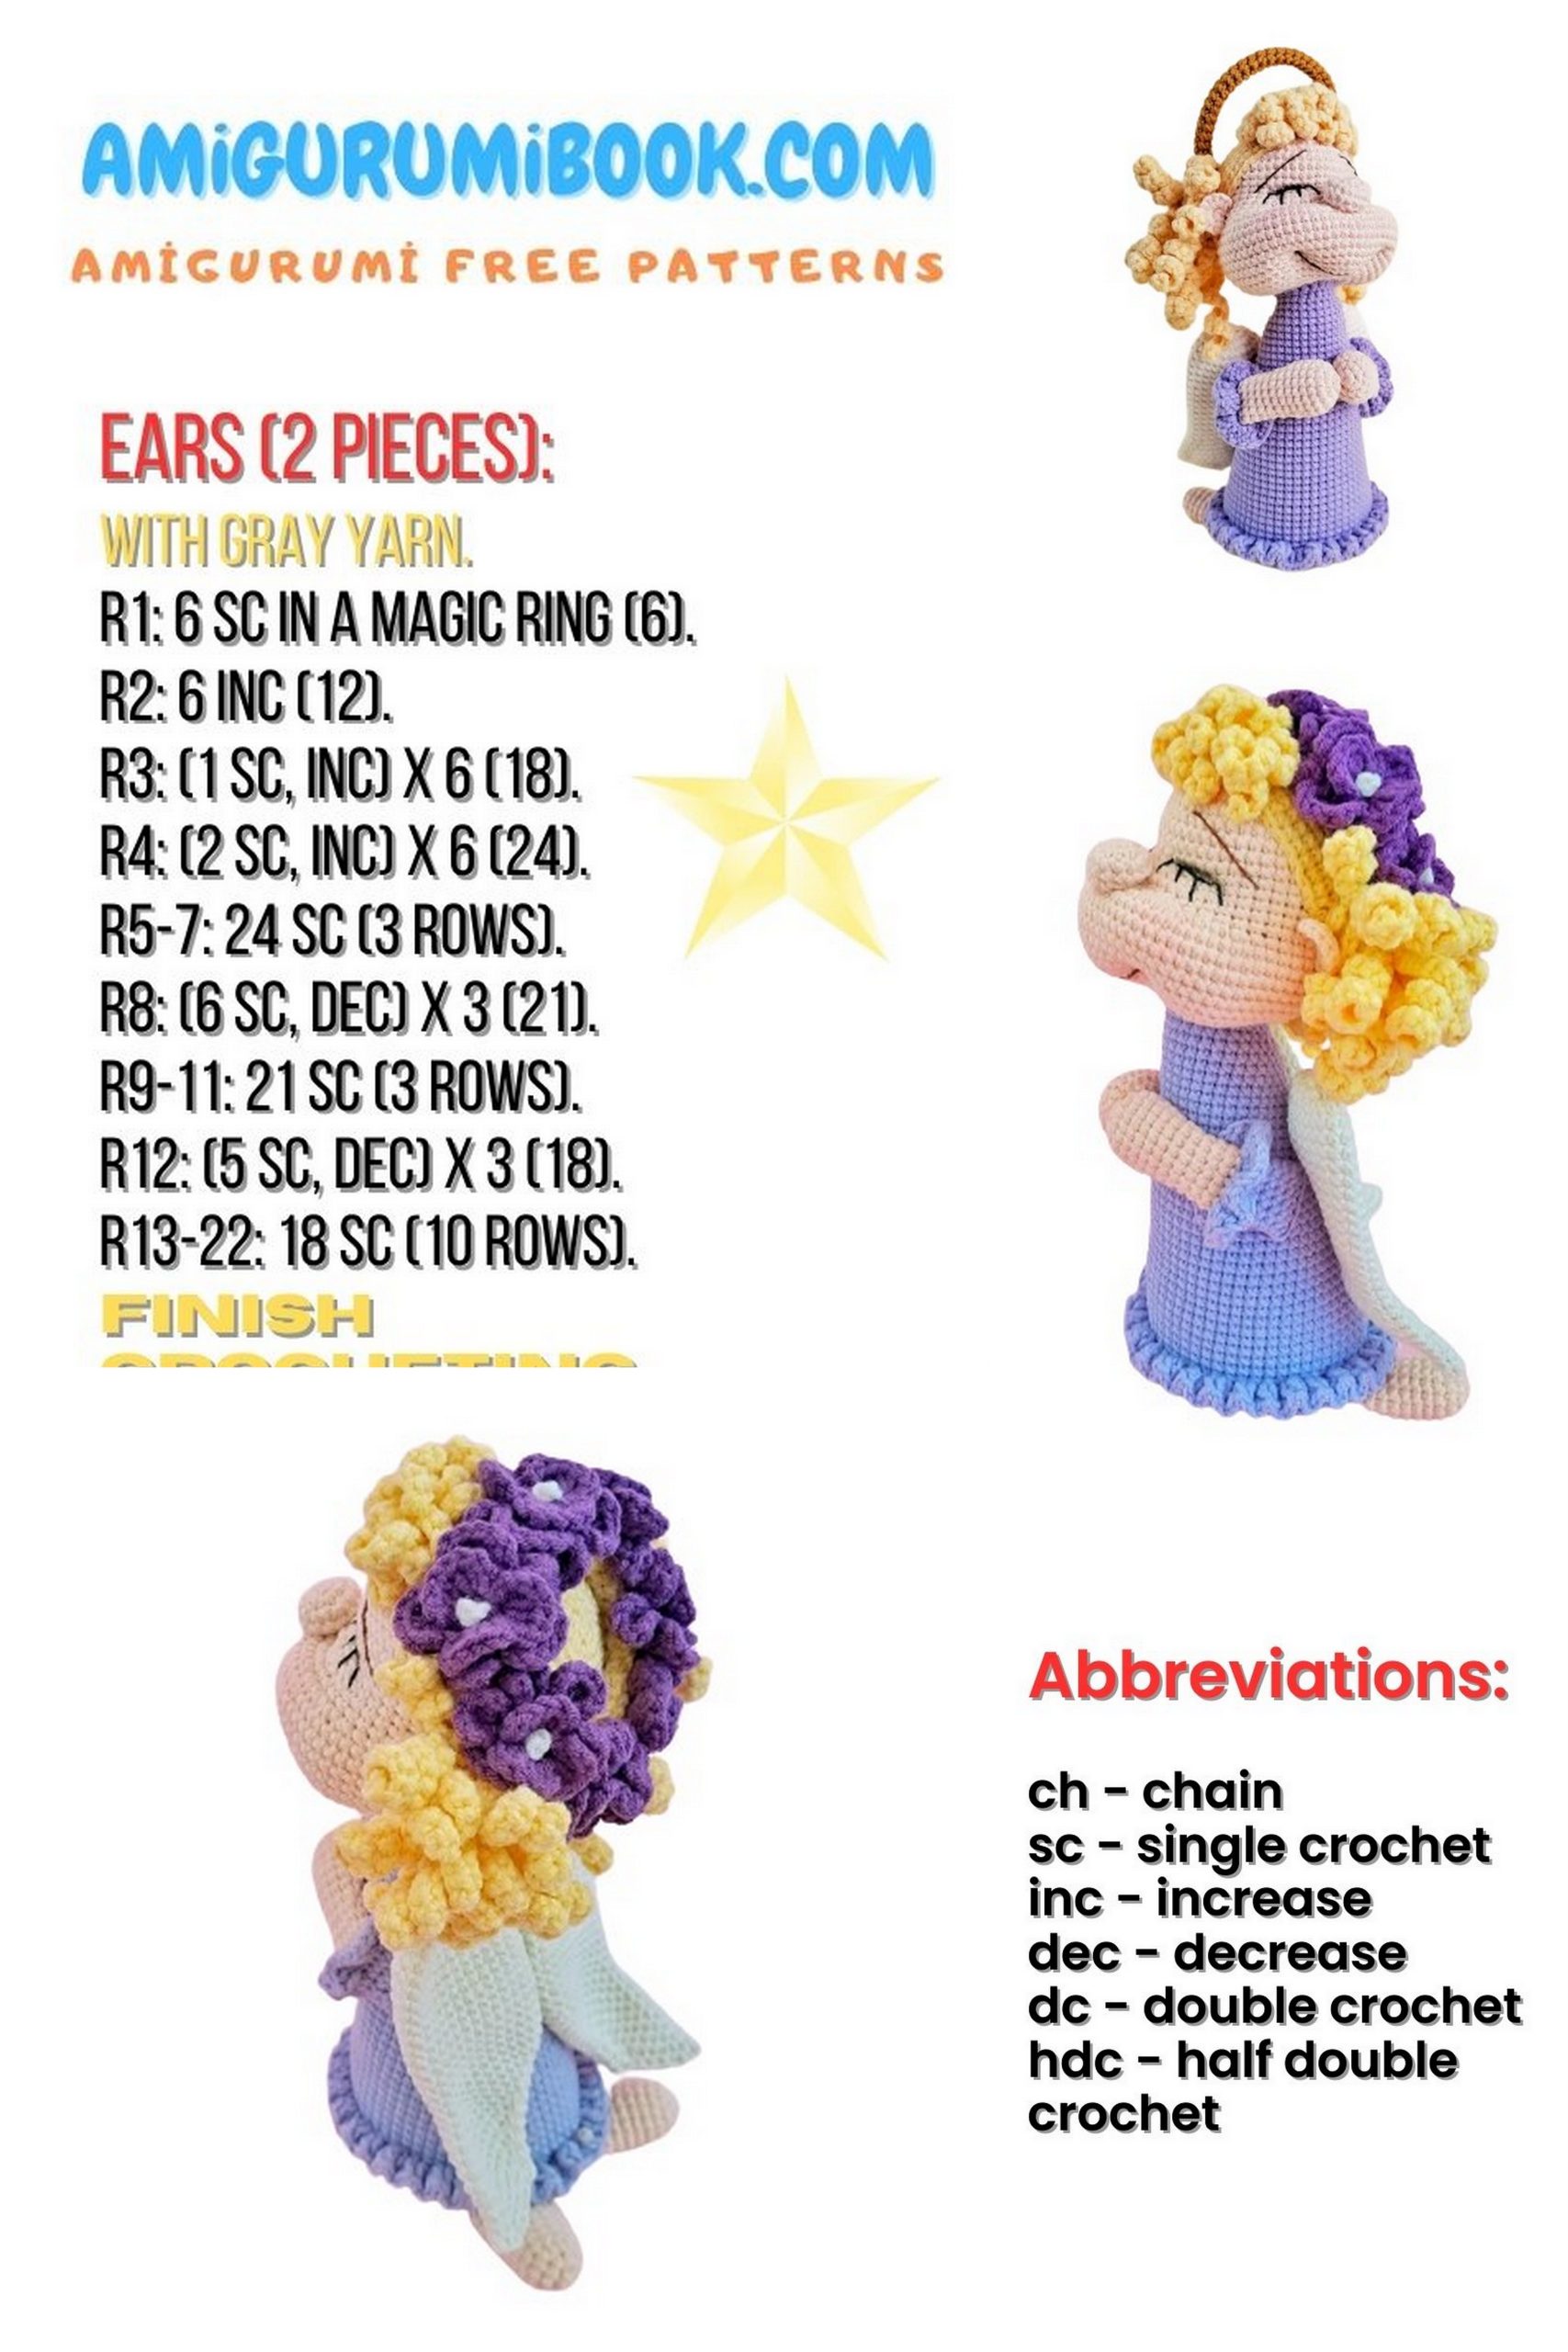
EARS (Make 2)
Work in rows with skin color (No. 73). Do not join into a round.
1: 6 sc in MR, ch 1, turn (6)
2: inc x6 (12)
Fasten off, leaving a long tail for sewing.
HAIR
Work with yellow yarn (No. 88) in continuous rounds (spiral).
1: 6 sc in MR (6)
2: inc x6 (12)
3: inc x12 (24)
4: (3 sc, inc) x6 (30)
5: (2 sc, inc, 2 sc) x6 (36)
6: (5 sc, inc) x6 (42)
7: (3 sc, inc, 3 sc) x6 (48)
8: (7 sc, inc) x6 (54)
9–11: 54 sc (3 rounds) (54)
Hair Strands – Front Loops of Round 12
12:
9 sc,
( ch 20, starting in 2nd ch from hook: 19 sc, sl st into front loop of rnd 12 ) x9,
9 sc,
( ch 10, starting in 2nd ch from hook: 9 sc, sl st into front loop of rnd 12 ) x9,
9 sc,
( ch 20, starting in 2nd ch from hook: 19 sc, sl st into front loop of rnd 12 ) x9
Hair Strands – Back Loops of Round 12
13:
9 sc,
( ch 30, starting in 2nd ch from hook: 29 sc, sl st into back loop of rnd 12 ) x9,
9 sc,
( ch 10, starting in 2nd ch from hook: 9 sc, sl st into back loop of rnd 12 ) x9,
9 sc,
( ch 30, starting in 2nd ch from hook: 29 sc, sl st into back loop of rnd 12 ) x9
Fasten off, leaving a long tail for sewing the hair to the head.
HEAD ASSEMBLY
Cheek & Mouth Sculpting (Tightening)
Use strong thread (matching skin tone or dental floss).
Step 1 – Marking Points
• Place markers Point 1 and Point 2 between Rounds 24–25.
Distance between them: 14 stitches.
• Place markers Points 3, 4, 5, 6 between Rounds 15–16.
Distance between each point: 4 stitches.
⚠ Important: Between Points 3–4 and 5–6 there must be the 4 increases made in Round 16 (cheek shaping round).
Right Cheek Tightening
- Insert needle at Point 1.
- Bring needle out at Point 3.
- Insert at Point 4.
- Bring needle out near Point 1, skipping every other stitch internally.
- Pull tightly to sculpt the cheek.
- Repeat once more for stronger shaping.
- Knot securely and hide the thread inside the head.
Left Cheek Tightening
- Insert needle at Point 2.
- Bring needle out at Point 5.
- Insert at Point 6.
- Bring needle out near Point 2, skipping every other stitch internally.
- Pull tightly to form the cheek.
- Repeat once more.
- Secure and hide the thread.
Eye Sculpting
Marking Points
• Point 1: Center of the previous cheek tightening (bottom center reference point).
• Between Rounds 10–11, place Points 2 and 3.
Distance between them: 4 stitches.
(These should align symmetrically with cheek markers 4 and 5.)
• Move 5 stitches outward from Points 2 and 3 and place Points 4 and 5 one round lower (between Rounds 11–12).
Right Eye Tightening
- Insert needle at Point 1.
- Bring out at Point 2.
- Insert at Point 4.
- Bring out again at Point 1, skipping every other stitch inside.
- Pull tight to form eye indentation.
- Repeat once more.
- Secure and hide thread.
Left Eye Tightening
- Insert needle at Point 1.
- Bring out at Point 3.
- Insert at Point 5.
- Bring out again at Point 1.
- Pull tight.
- Repeat and secure.
Face Finishing
• Sew the nose centered between the cheeks.
• Embroider eyes using black YarnArt Iris yarn. Add eyelashes.
• Separate brown yarn (No. 40) into thin strands and embroider eyebrows and mouth.
• Attach the hair securely to the head.
• Tie side strands into pigtails and secure with thread.
• Sew ears close to the hairline.
• Optionally apply blush to cheeks and eyelids.
TULUB DRESS (BODY)
Work with purple yarn No. 89 in continuous rounds (spiral).
Use a stitch marker and move it up each round.
1: 6 sc in MR (6)
2: 6 inc (12)
3: 12 inc (24)
4: 24 sc (24)
5: (1 sc, inc) × 12 (36)
6: (2 sc, inc) × 12 (48)
7: 48 sc (48)
8: (3 sc, inc) × 12 (60)
9: 60 sc (60)
➡ Cut a plastic circle matching this diameter.
(Set aside — it will be inserted later for stability.)
10: BLO 60 sc (60)
11: 60 sc (60)
12: 60 sc (60)
13: BLO 60 sc (60)
14: 2 sc, dec, 52 sc, dec, 2 sc (58)
15: 58 sc (58)
16: 2 sc, dec, 50 sc, dec, 2 sc (56)
17: 56 sc (56)
18: 2 sc, dec, 48 sc, dec, 2 sc (54)
19: 54 sc (54)
20: 2 sc, dec, 46 sc, dec, 2 sc (52)
21: 52 sc (52)
22: 2 sc, dec, 44 sc, dec, 2 sc (50)
23: 50 sc (50)
24: 2 sc, dec, 42 sc, dec, 2 sc (48)
25: 48 sc (48)
26: 2 sc, dec, 40 sc, dec, 2 sc (46)
27: 46 sc (46)
➡ Insert the plastic base at the bottom.
➡ Begin stuffing firmly and continue stuffing as you crochet.
28: 2 sc, dec, 38 sc, dec, 2 sc (44)
29: 44 sc (44)
30: 2 sc, dec, 36 sc, dec, 2 sc (42)
31: 42 sc (42)
32: 2 sc, dec, 34 sc, dec, 2 sc (40)
33: 40 sc (40)
34: 2 sc, dec, 32 sc, dec, 2 sc (38)
35: 38 sc (38)
36: 2 sc, dec, 30 sc, dec, 2 sc (36)
37: 36 sc (36)
38: 2 sc, dec, 28 sc, dec, 2 sc (34)
39: 34 sc (34)
40: 2 sc, dec, 26 sc, dec, 2 sc (32)
41: 32 sc (32)
42: 2 sc, dec, 24 sc, dec, 2 sc (30)
43: 30 sc (30)
44: 24 sc, 3 dec (27)
45: 3 dec, 21 sc (24)
46: 9 sc, 6 hdc, 9 sc (24)
47: 9 sc, 6 hdc, 9 sc (24)
Fasten off, leaving a long tail for sewing the body to the head.
TULUB ASSEMBLY
Legs
• Attach the legs between Rounds 10 and 11, underneath the dress.
• Make sure the doll can sit steadily before securing completely.
Arms
• Sew the arms between Rounds 27 and 33.
• Position them slightly angled upward.
• Join the palms together using a needle and matching yarn.
Wings
• Sew the wings securely to the back of the body.
• Align them symmetrically.
Head Attachment
• Attach the head firmly to the body.
• Check alignment before final tightening.
Halo (Nimbus)
• Sew the halo to the top of the head.
• Secure it well so it stands upright.
BEEHIVE WREATH
FLOWER (Make 7)
Work in continuous rounds.
1: 6 sc in MR (6)
2: BLO 6 inc (12)
3: Work in FLO of Round 2:
([sl st, 2 hdc, 2 sl st] in next st,
[2 sl st, 2 hdc, sl st] in next st) × 6
4: Work in FLO of Round 1:
([sl st, 2 hdc, 2 sl st] in next st,
[2 sl st, 2 hdc, sl st] in next st) × 3
Fasten off and hide ends.
BASE UNDER THE WREATH
1: 6 sc in MR (6)
2–40: 6 sc (39 rounds total, including Round 2)
Fasten off, leaving a long tail for sewing.
Join both ends together using a needle to form a circle.
WREATH ASSEMBLY
Flowers Placement
• Sew the 7 flowers evenly around the wreath base.
• Distribute them symmetrically for a balanced look.
Flower Centers
• Embroider the center of each flower using a French knot.
• Use contrasting yarn for a more defined detail.
Attach to Head
• Thread a needle with matching yarn.
• Sew through the center of the wreath base to secure it firmly to the doll’s head.
• Make sure it sits centered and straight before tightening completely.