
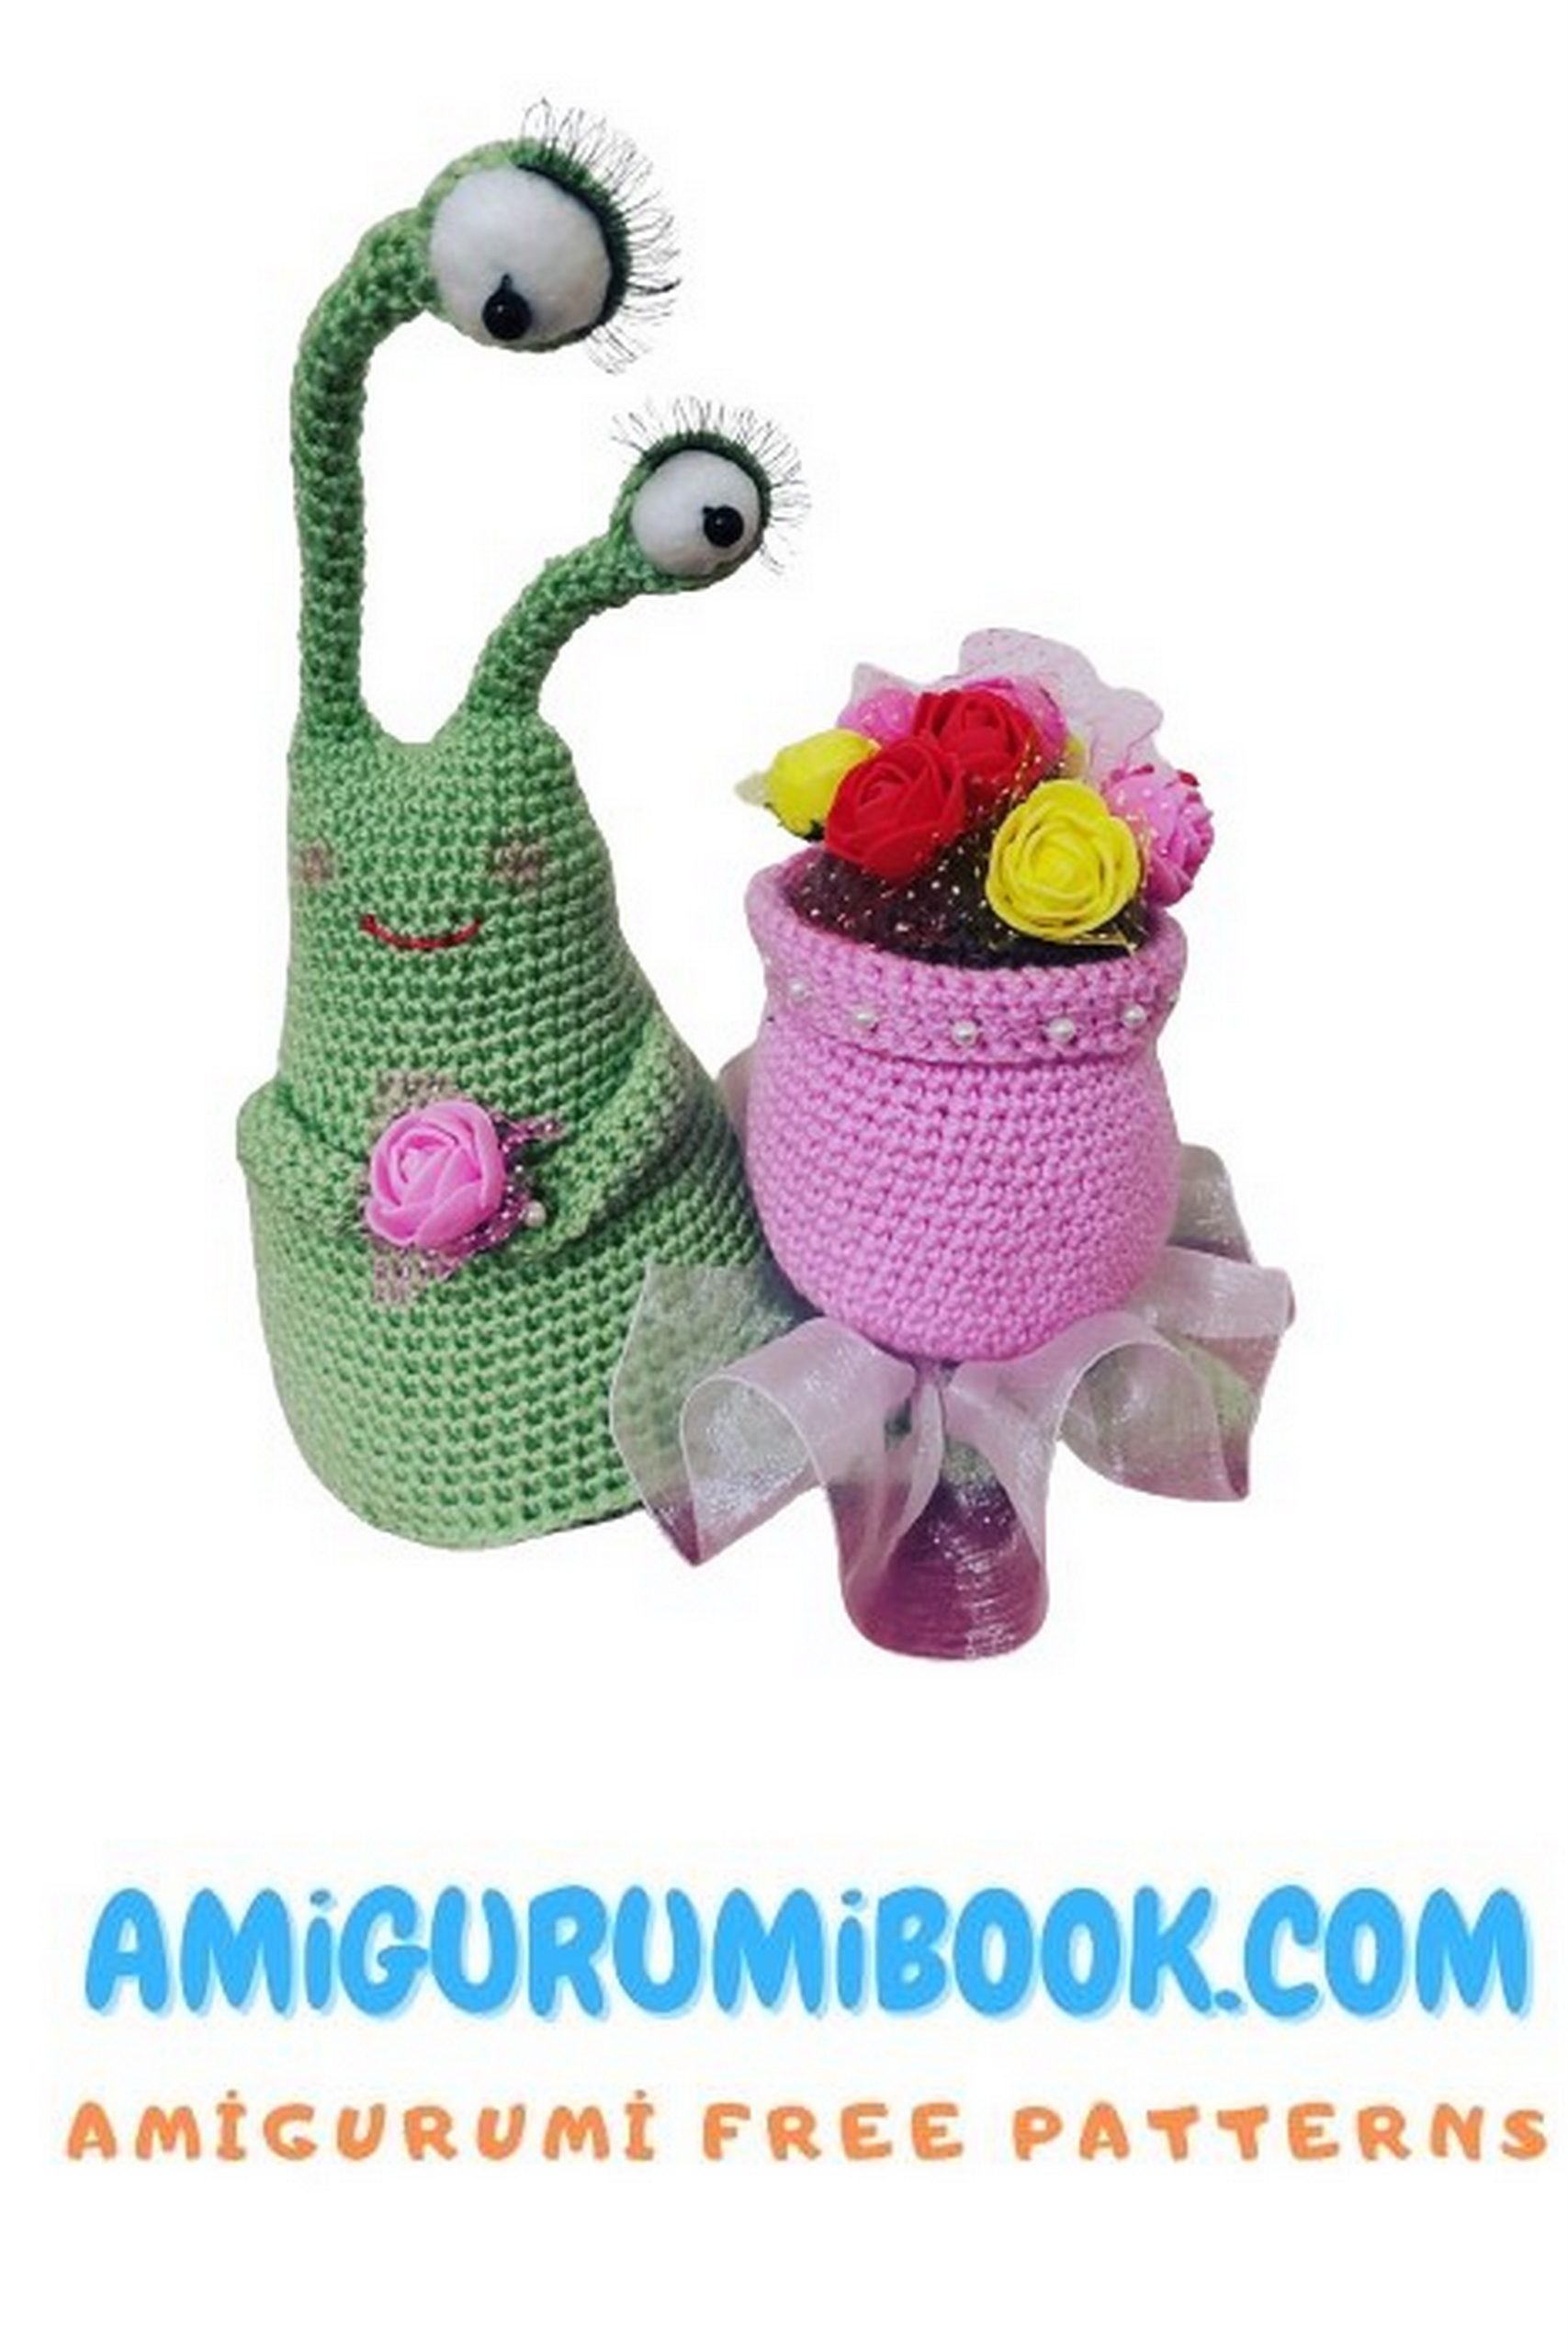
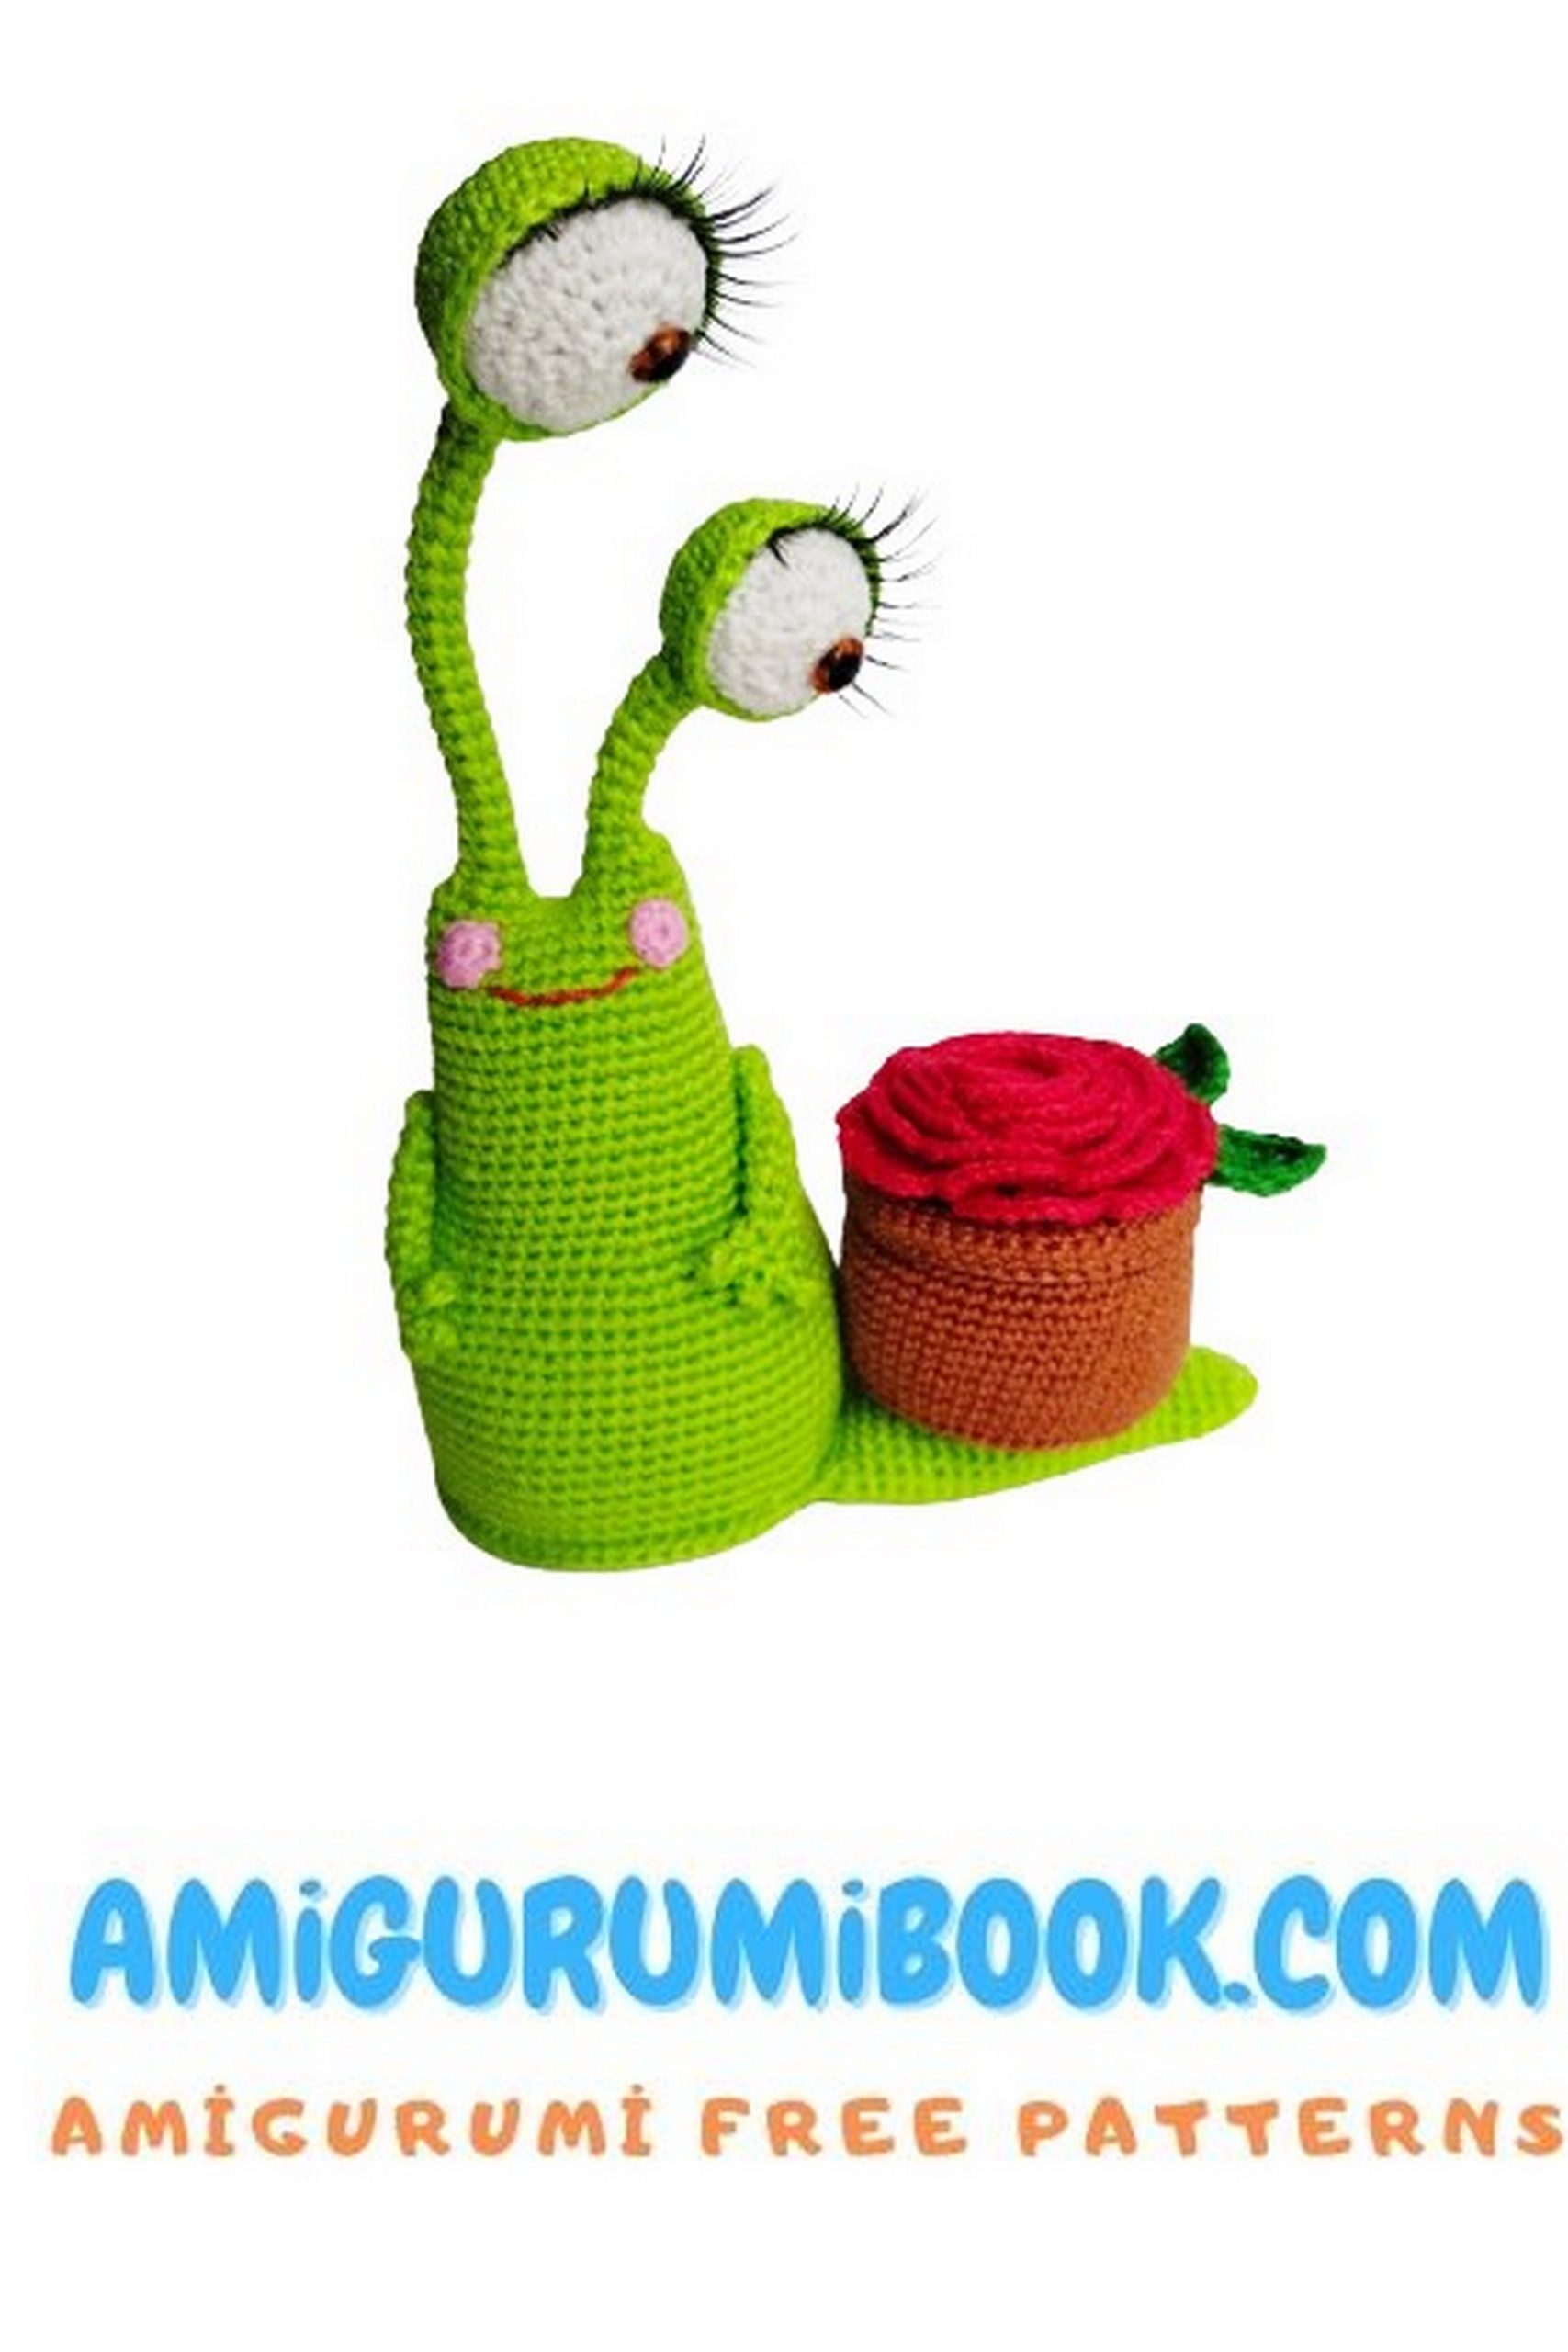
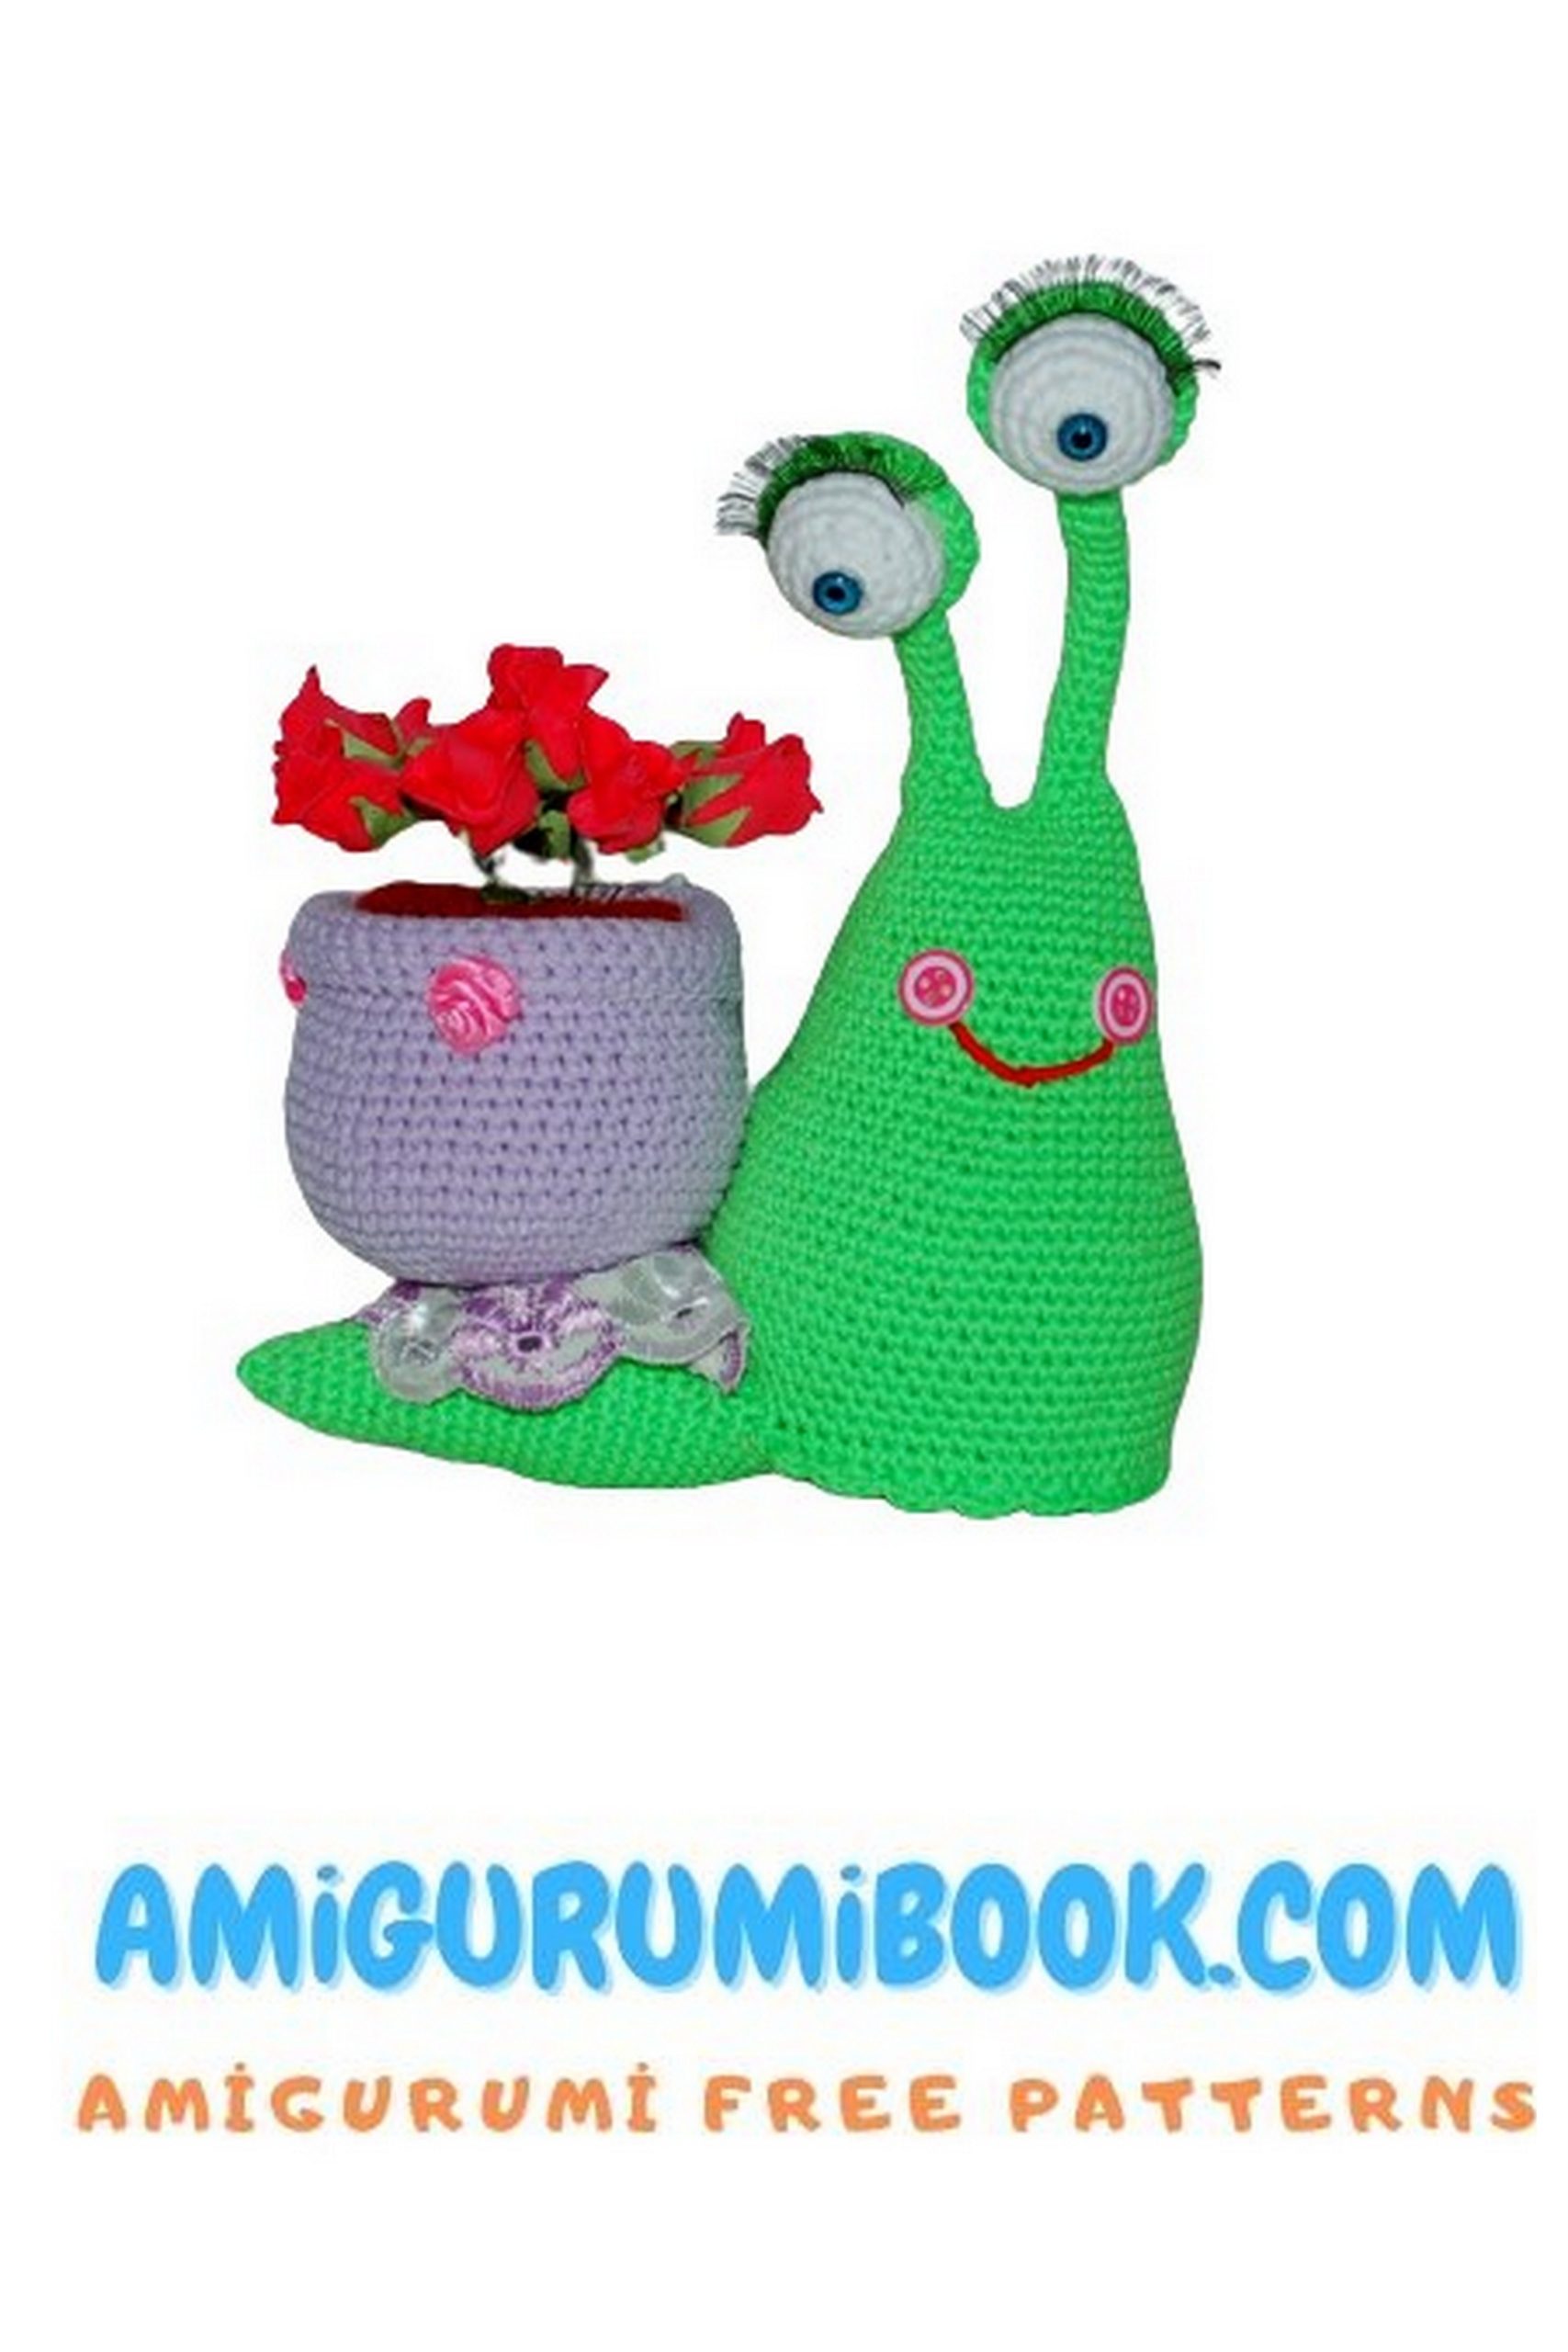
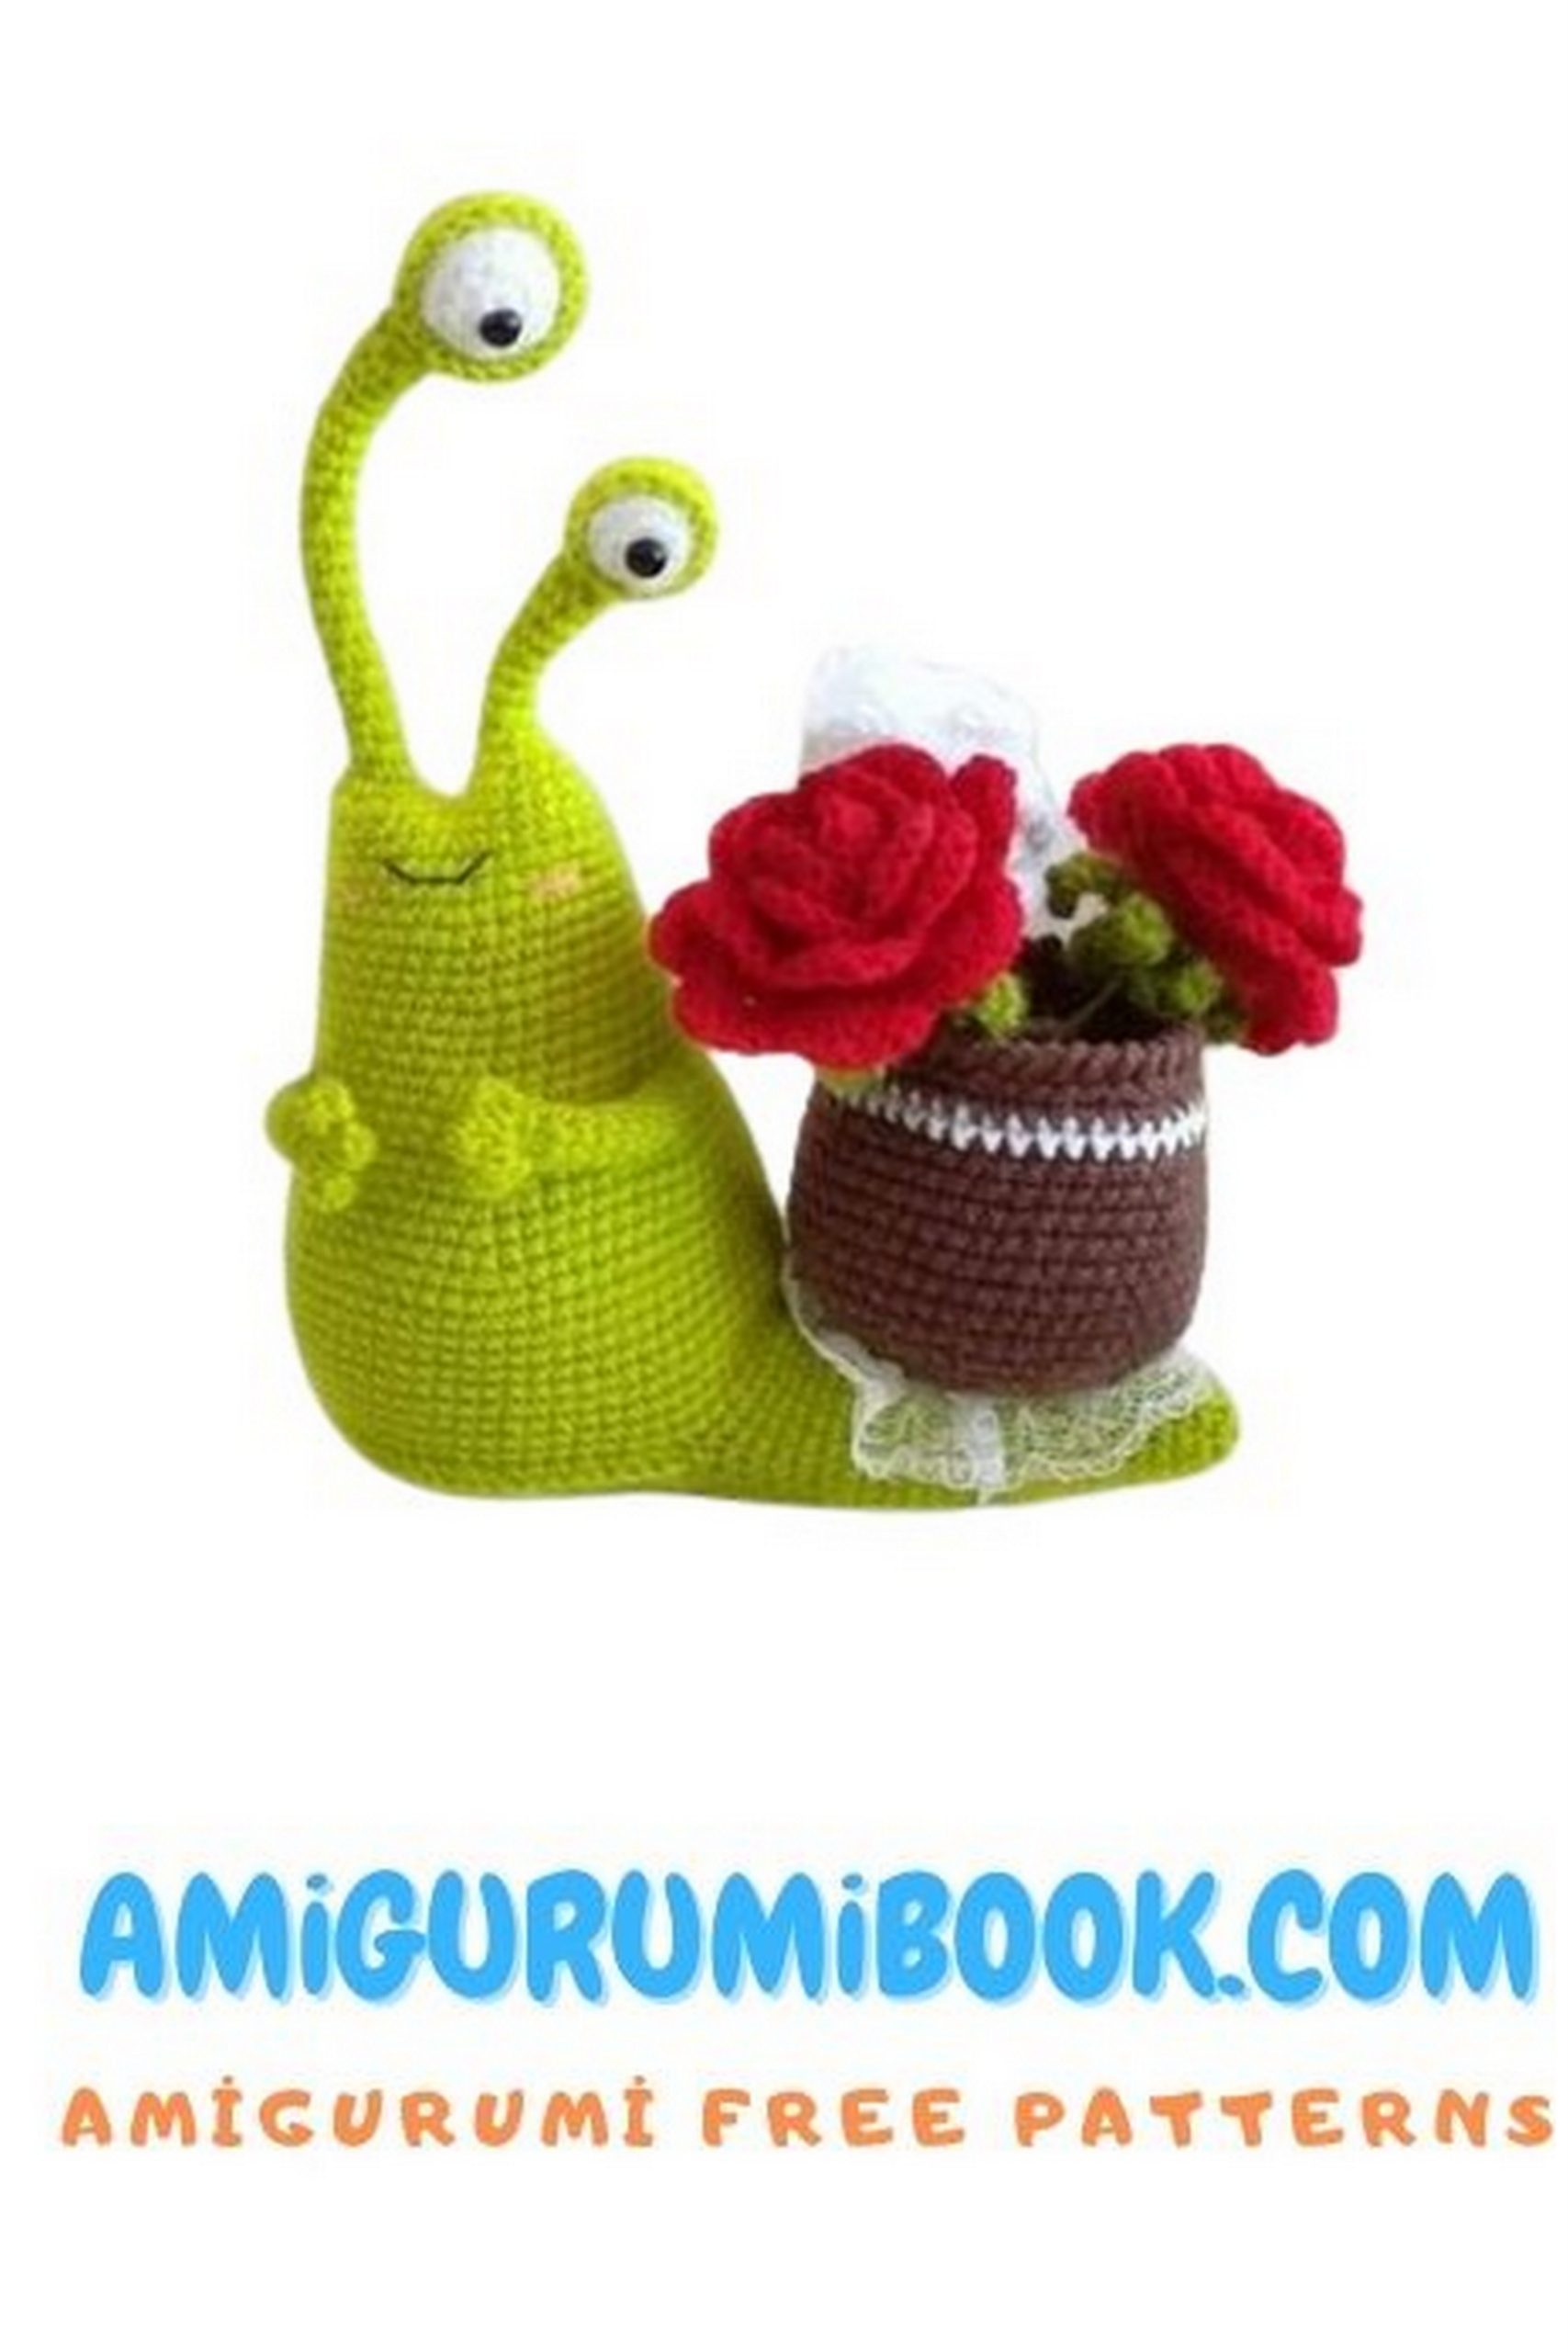
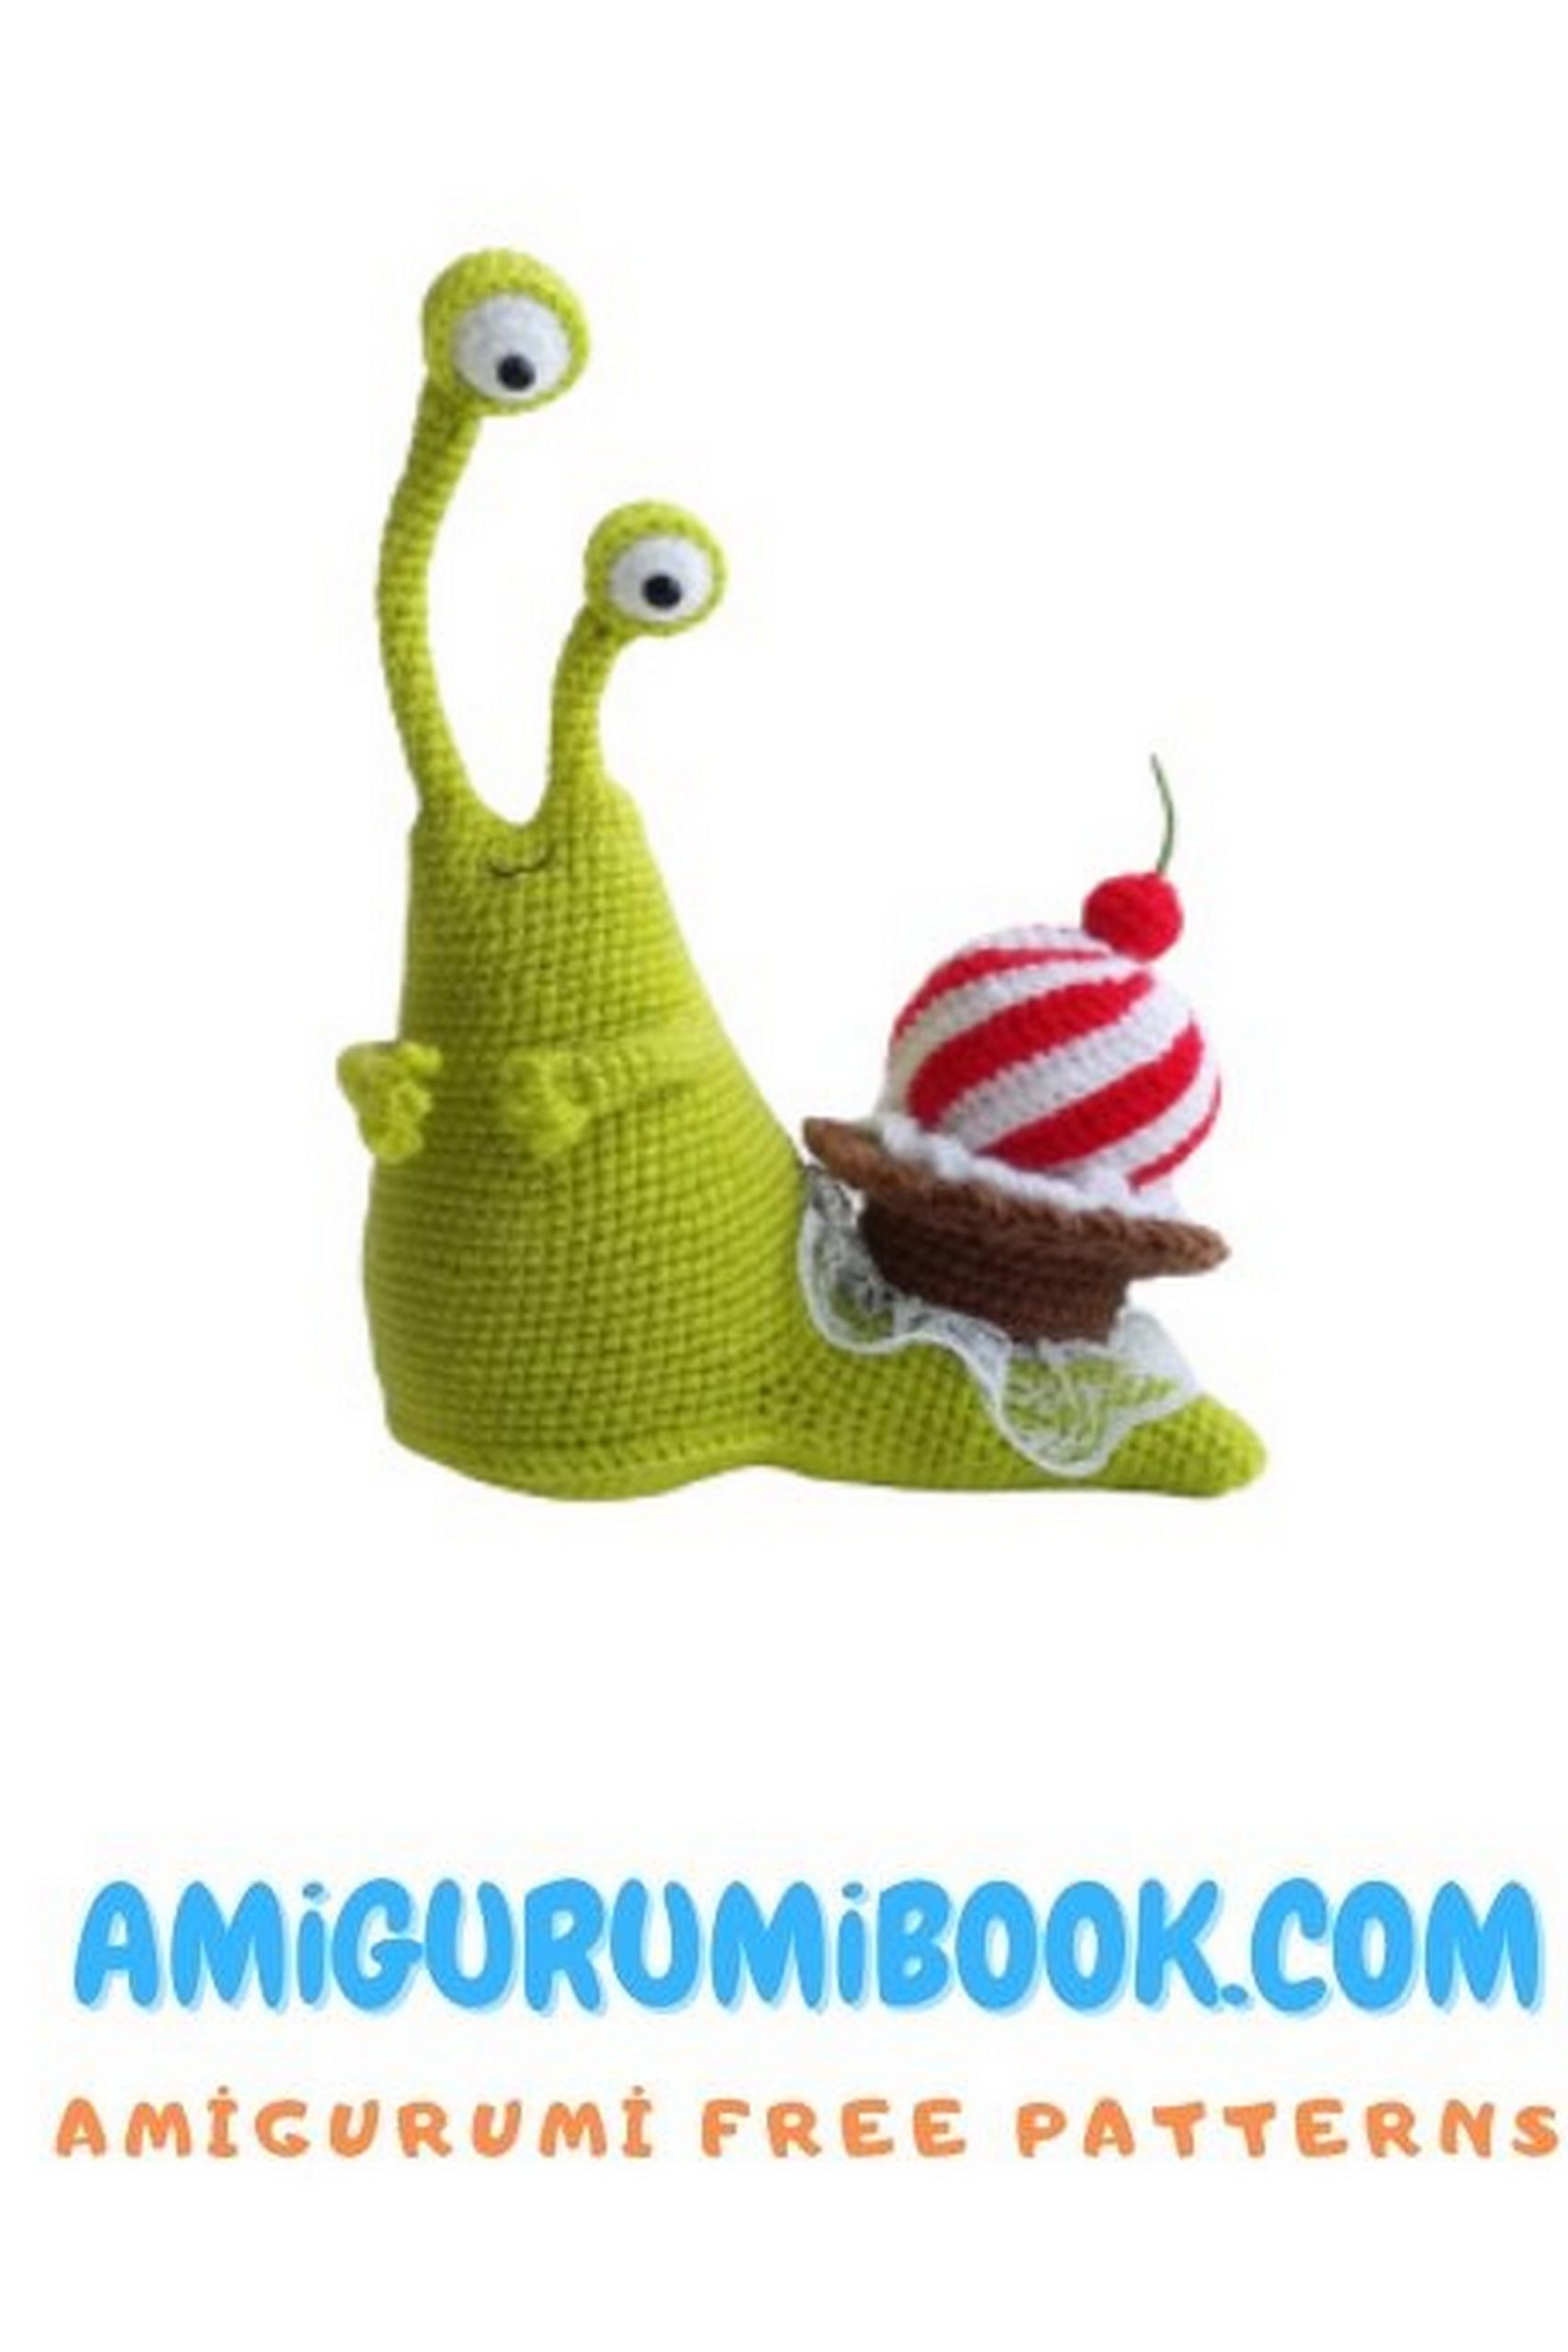
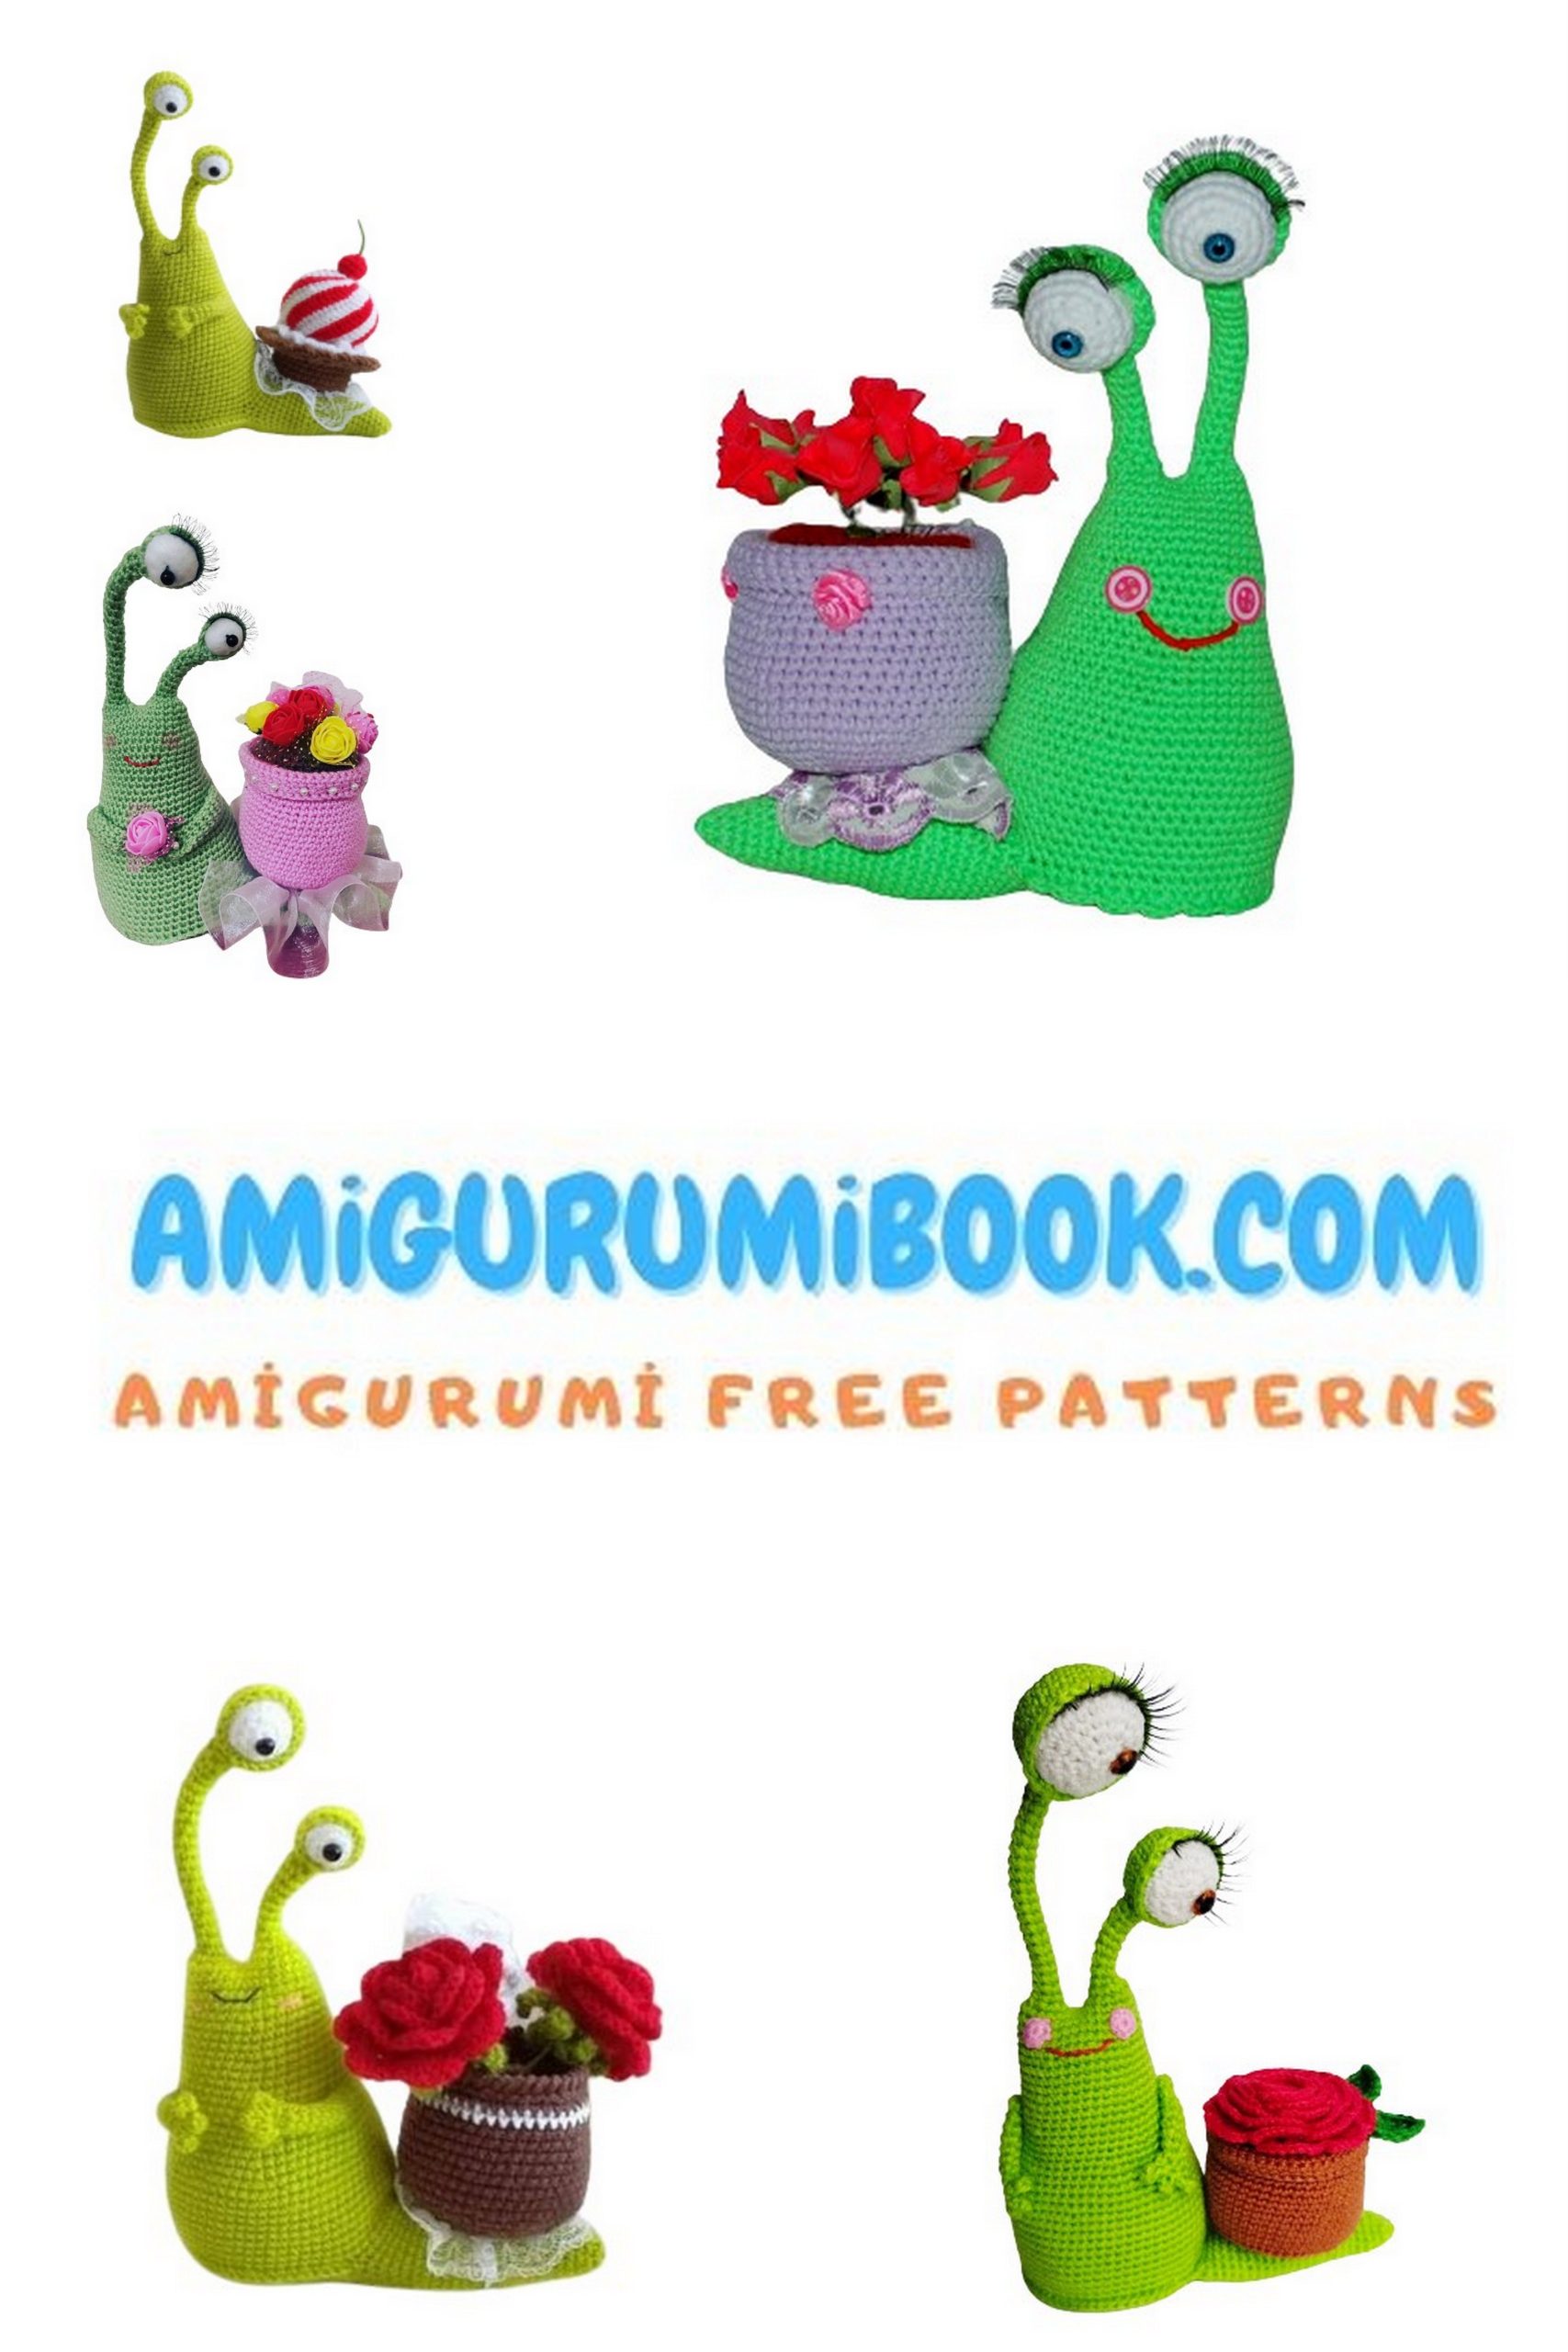
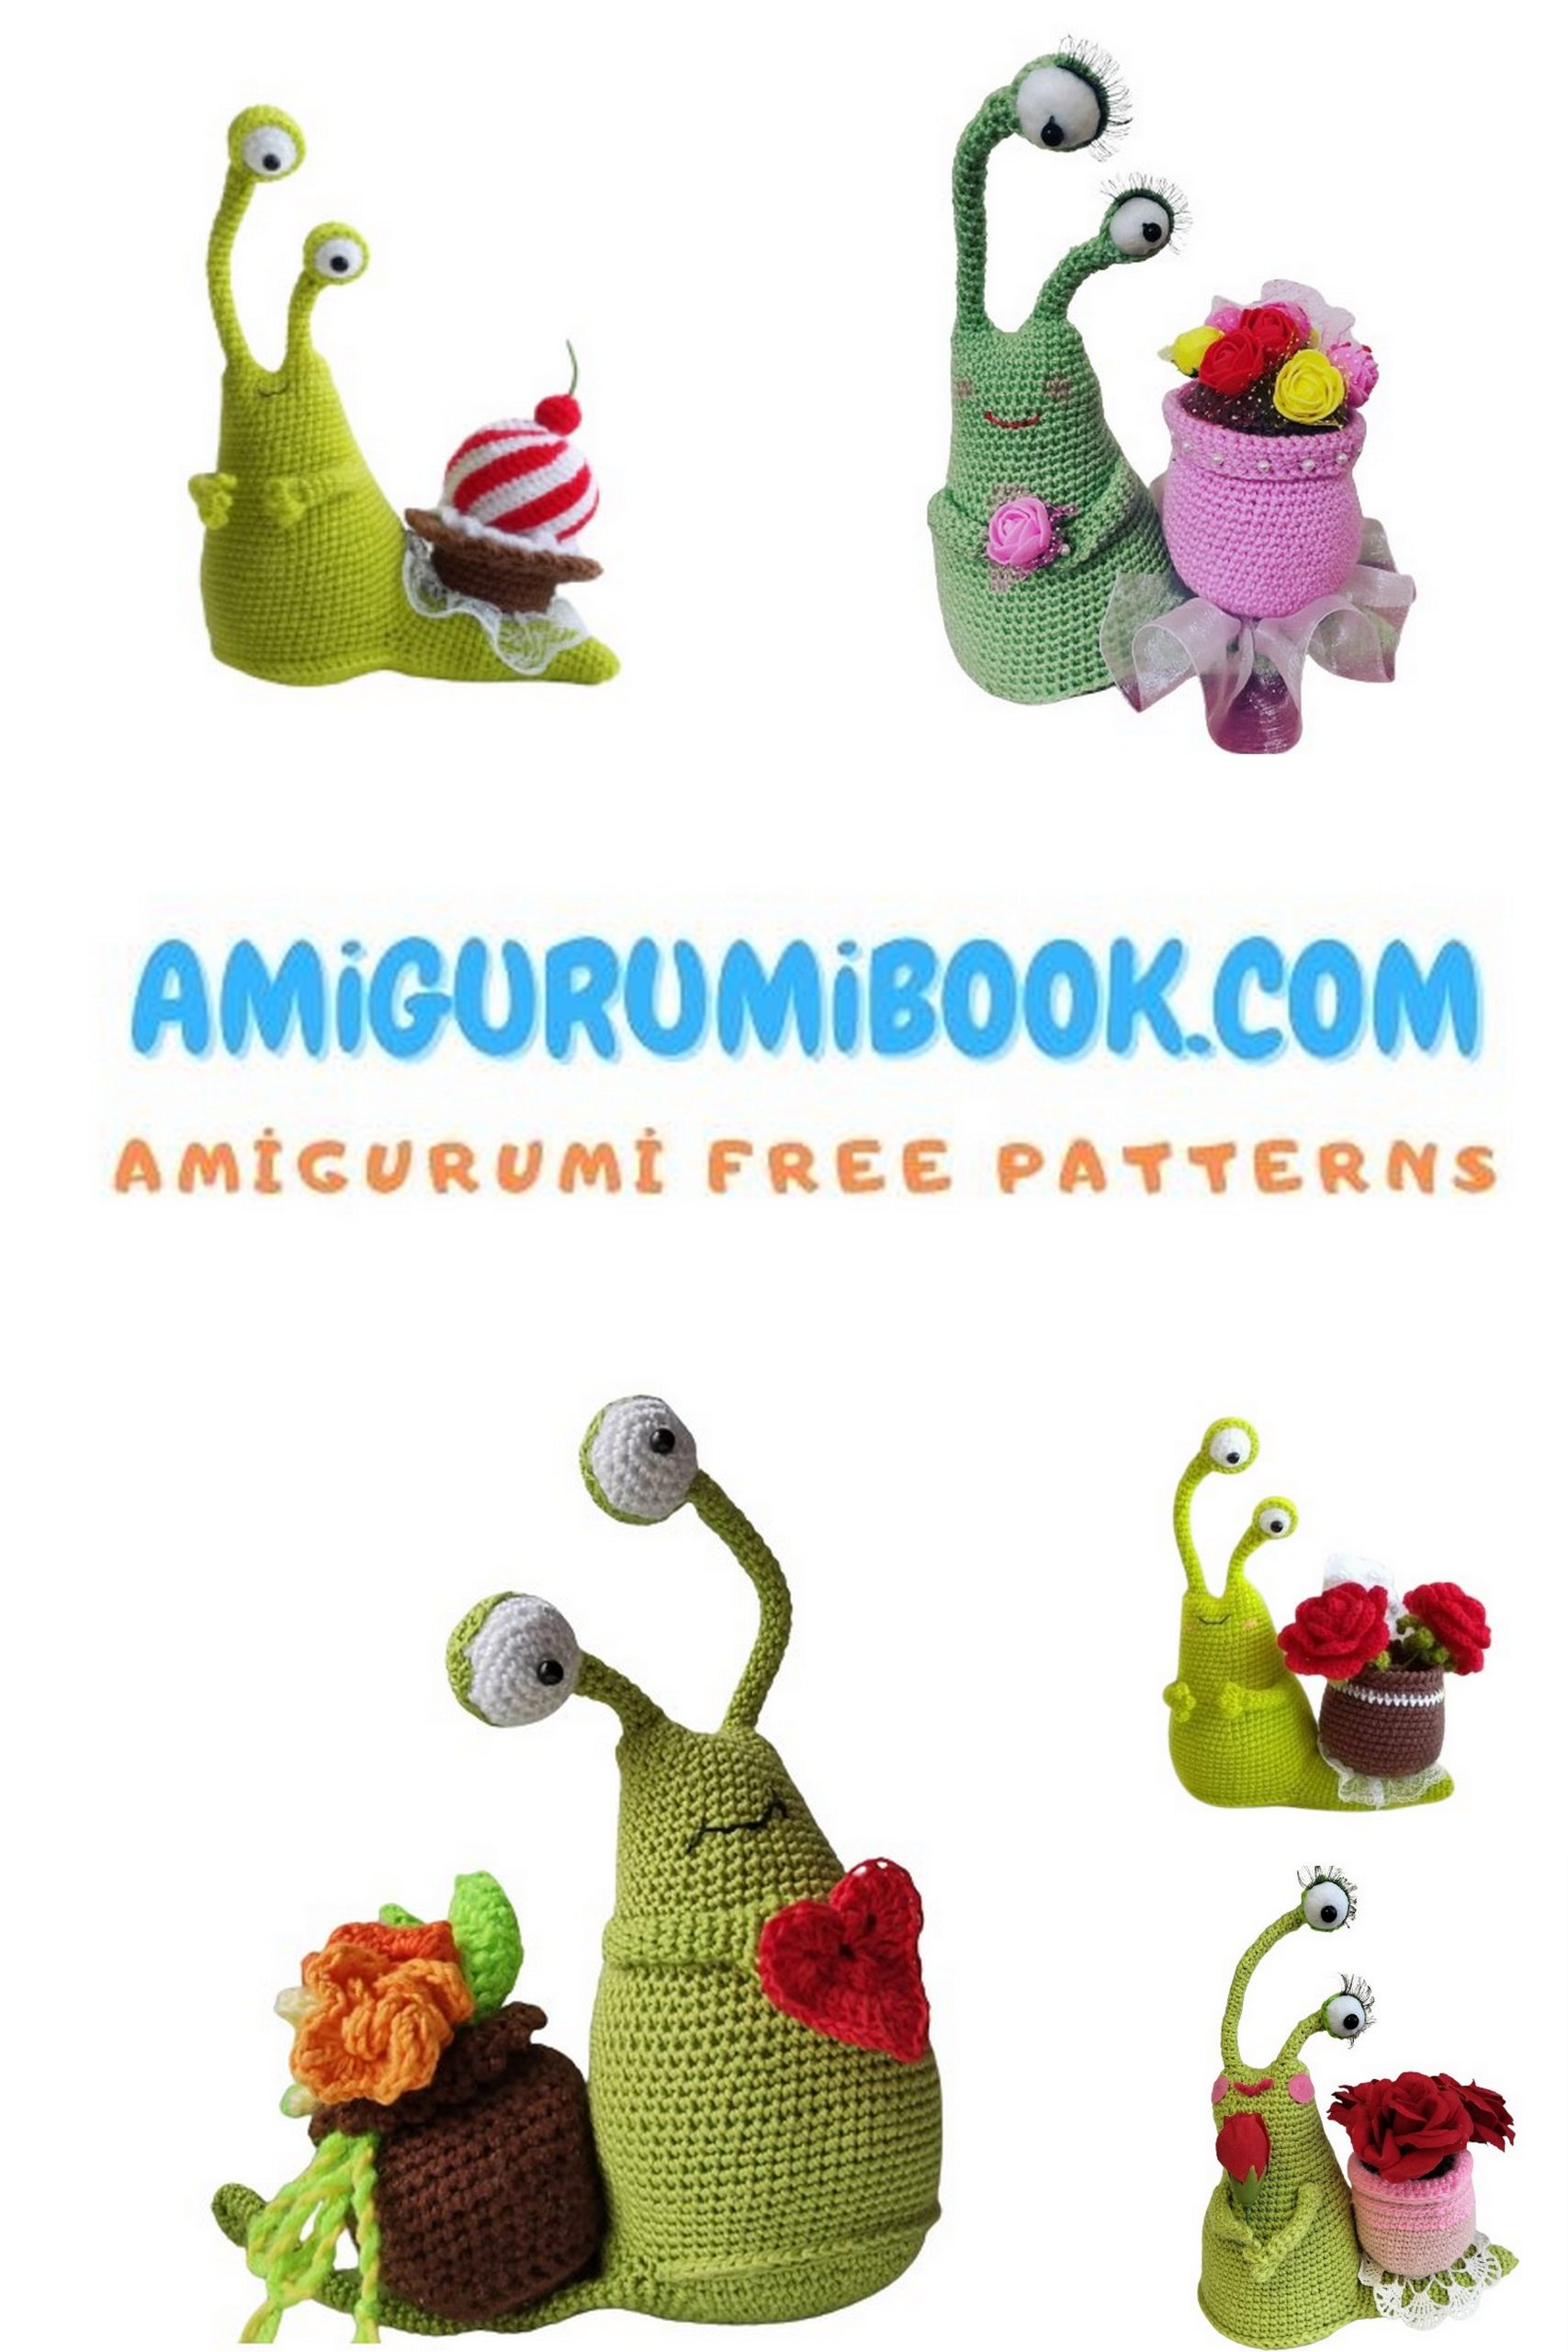
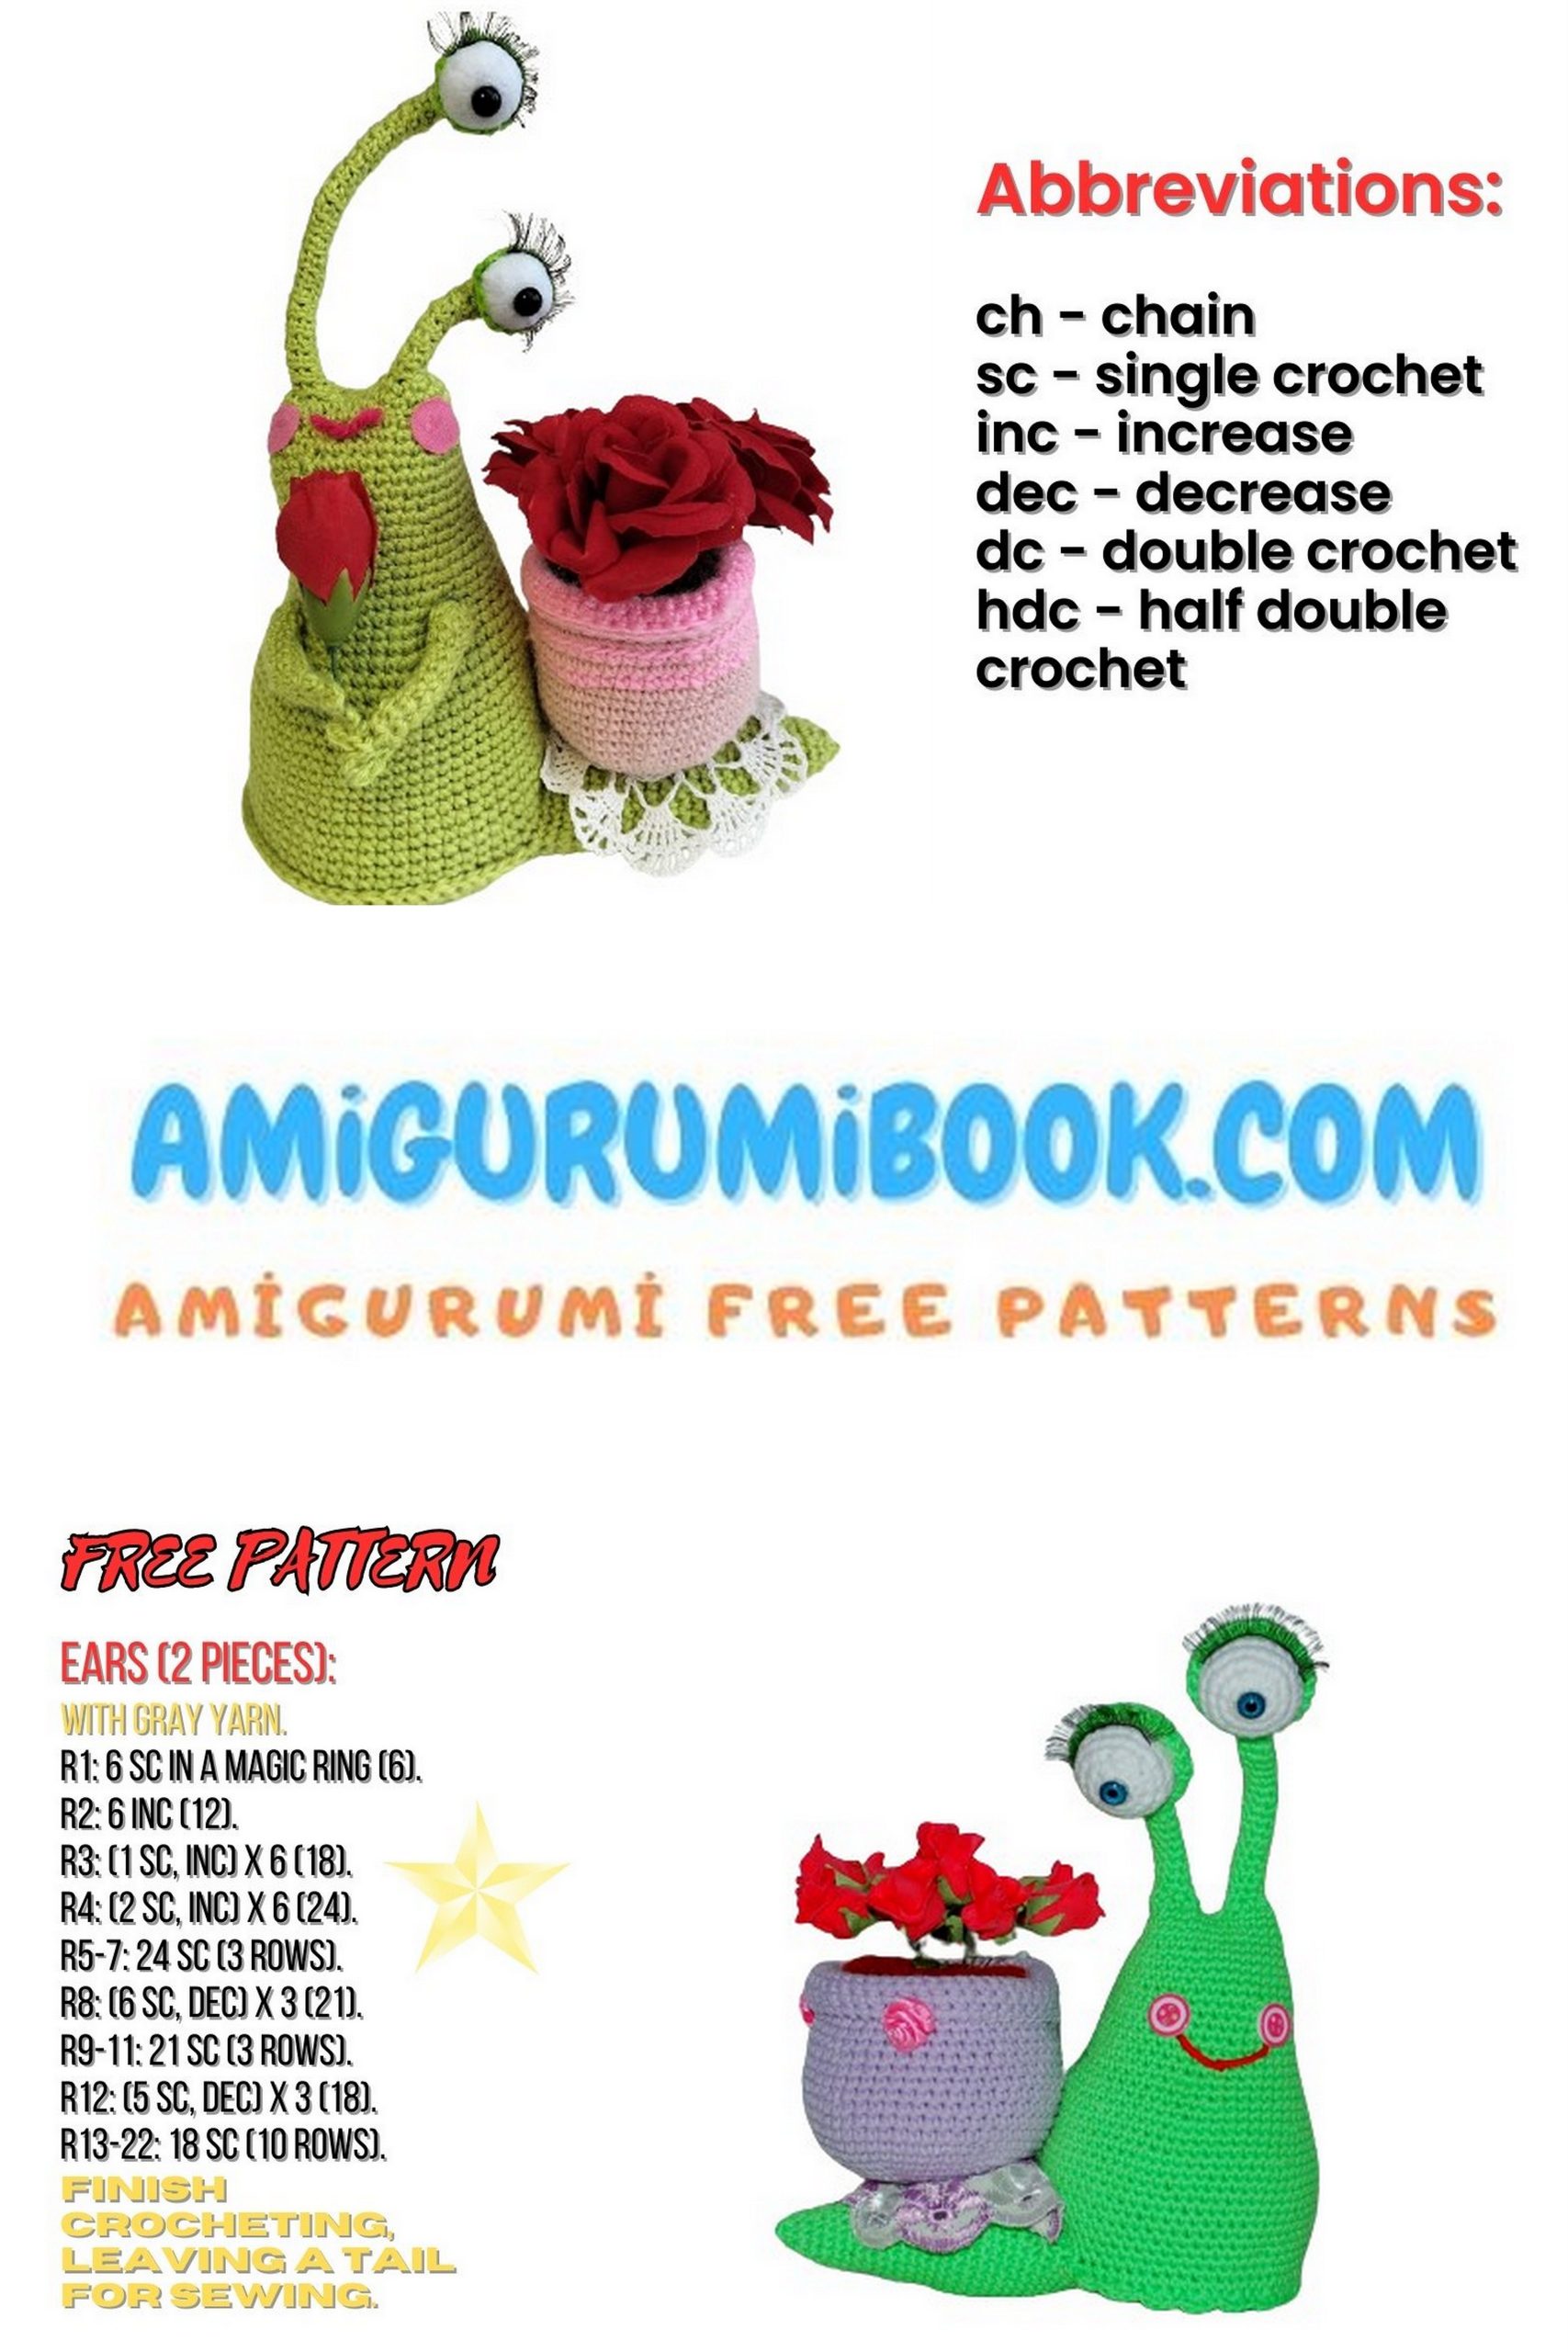
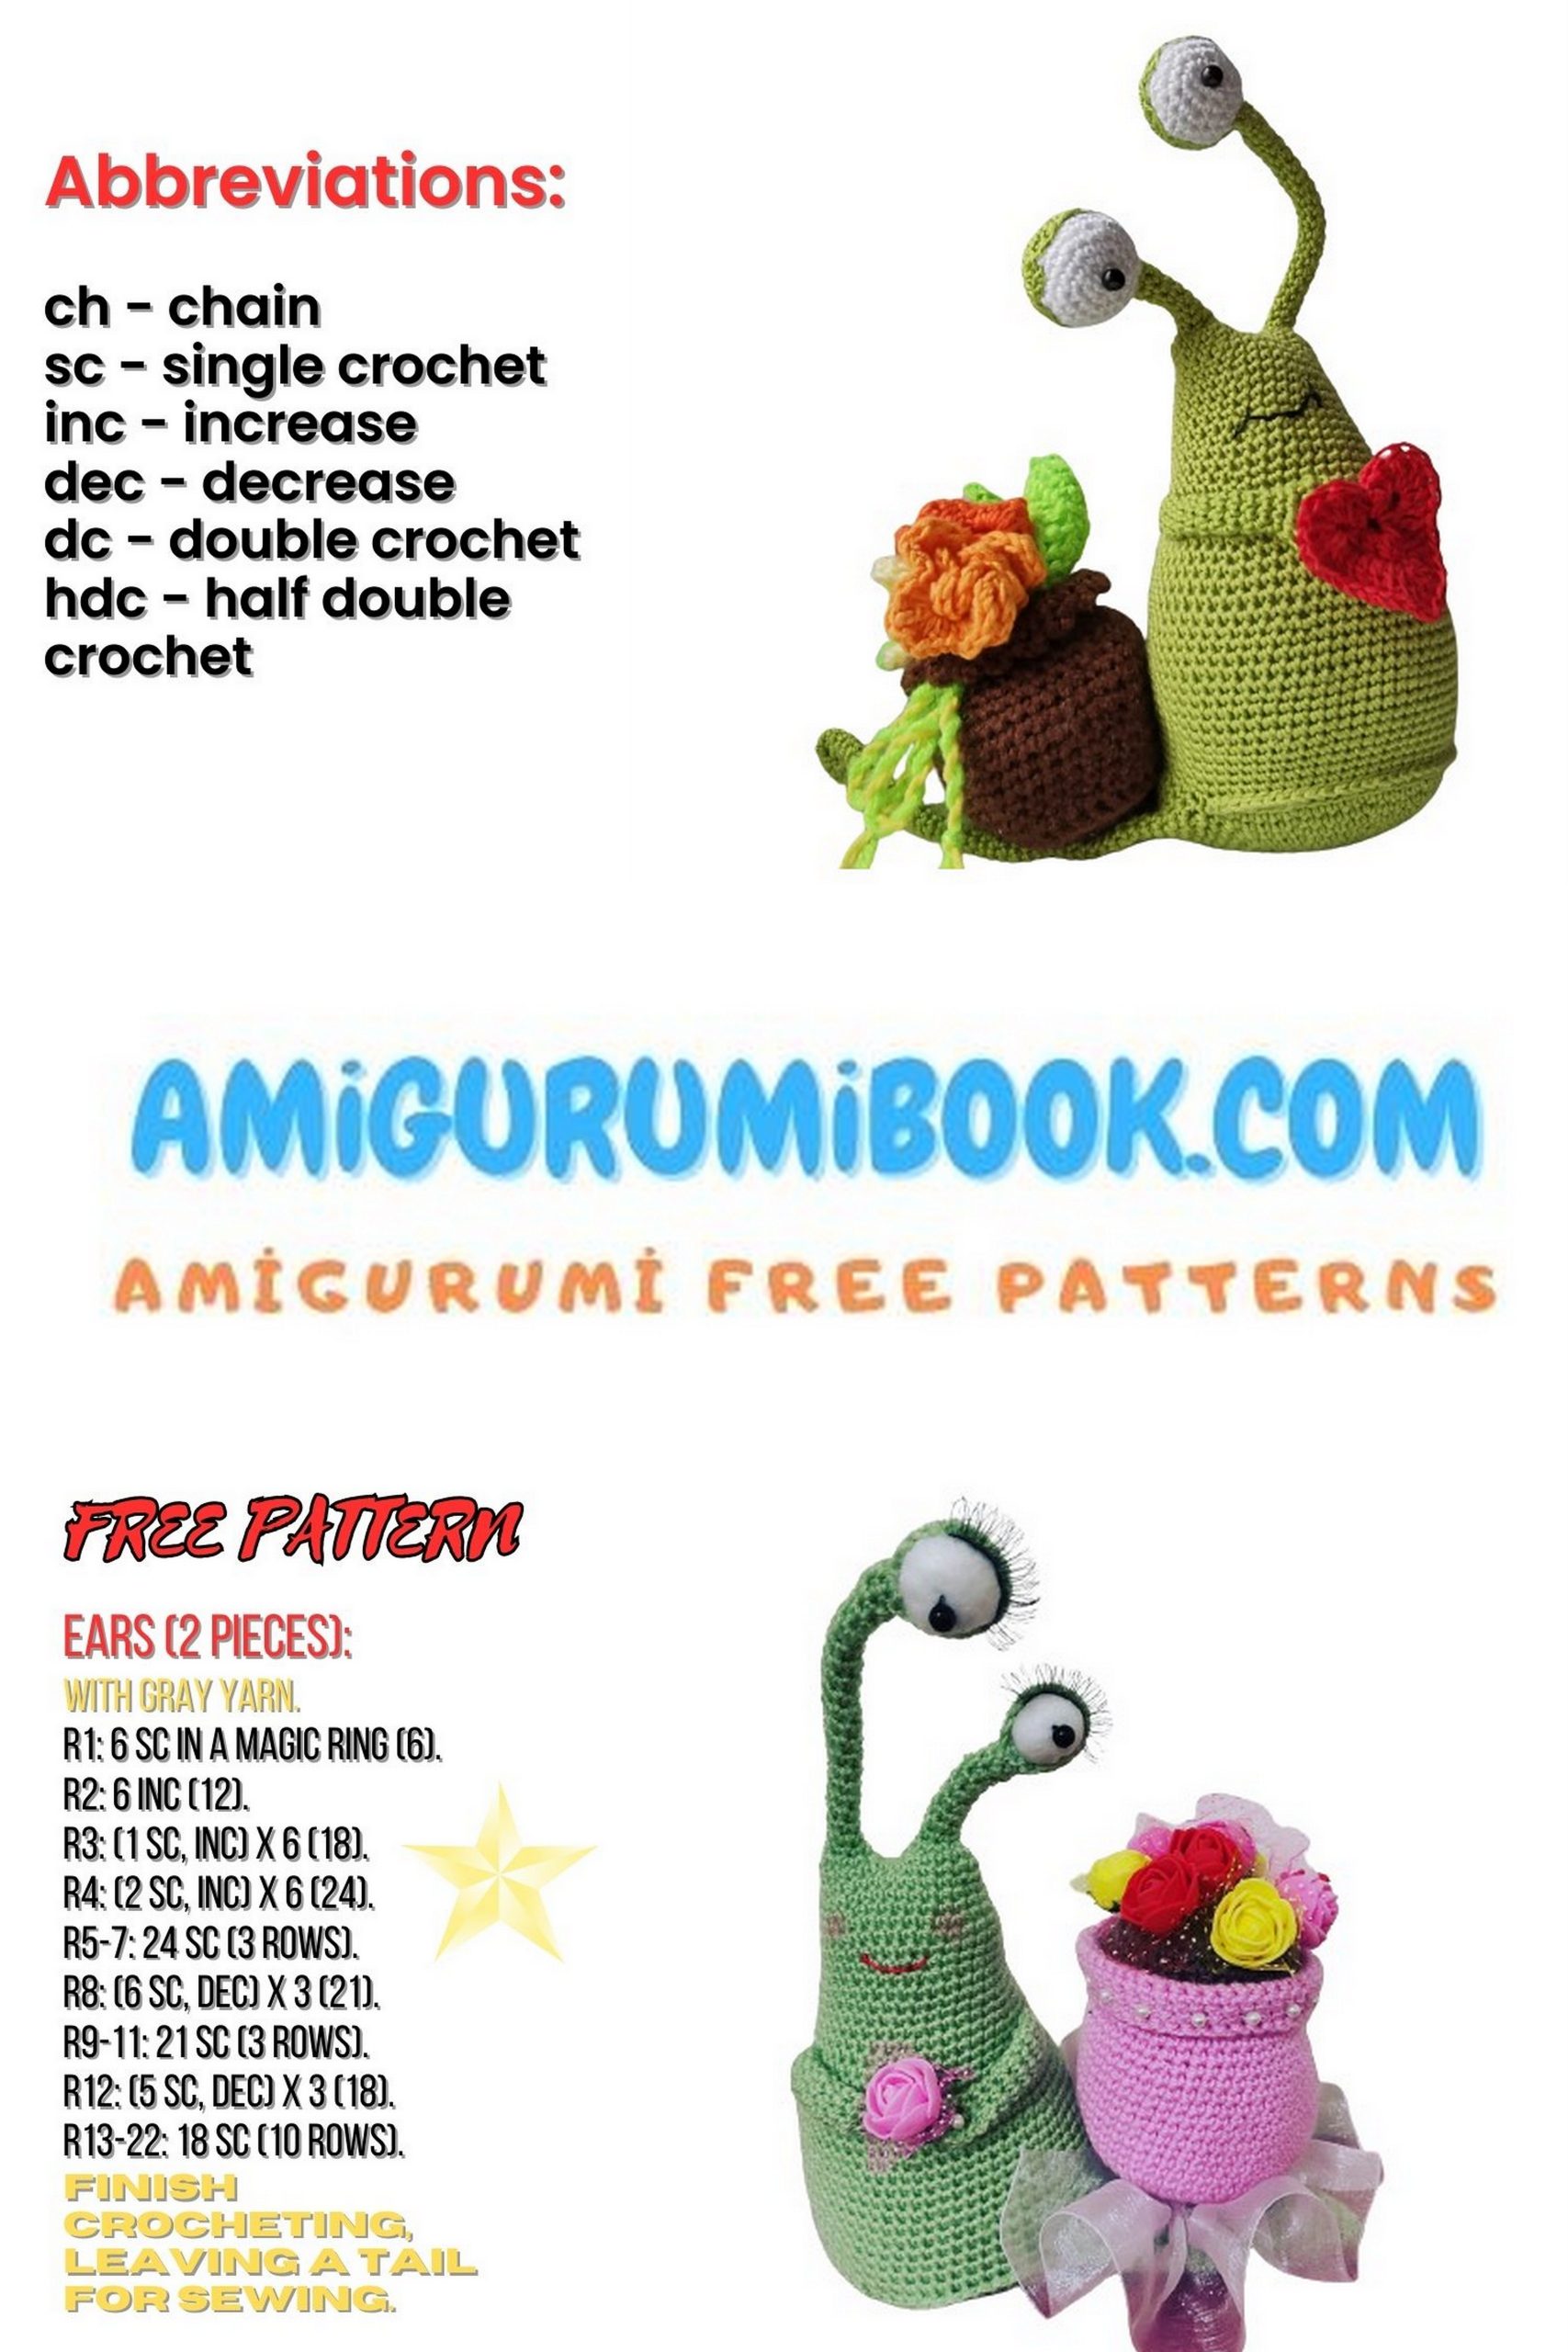
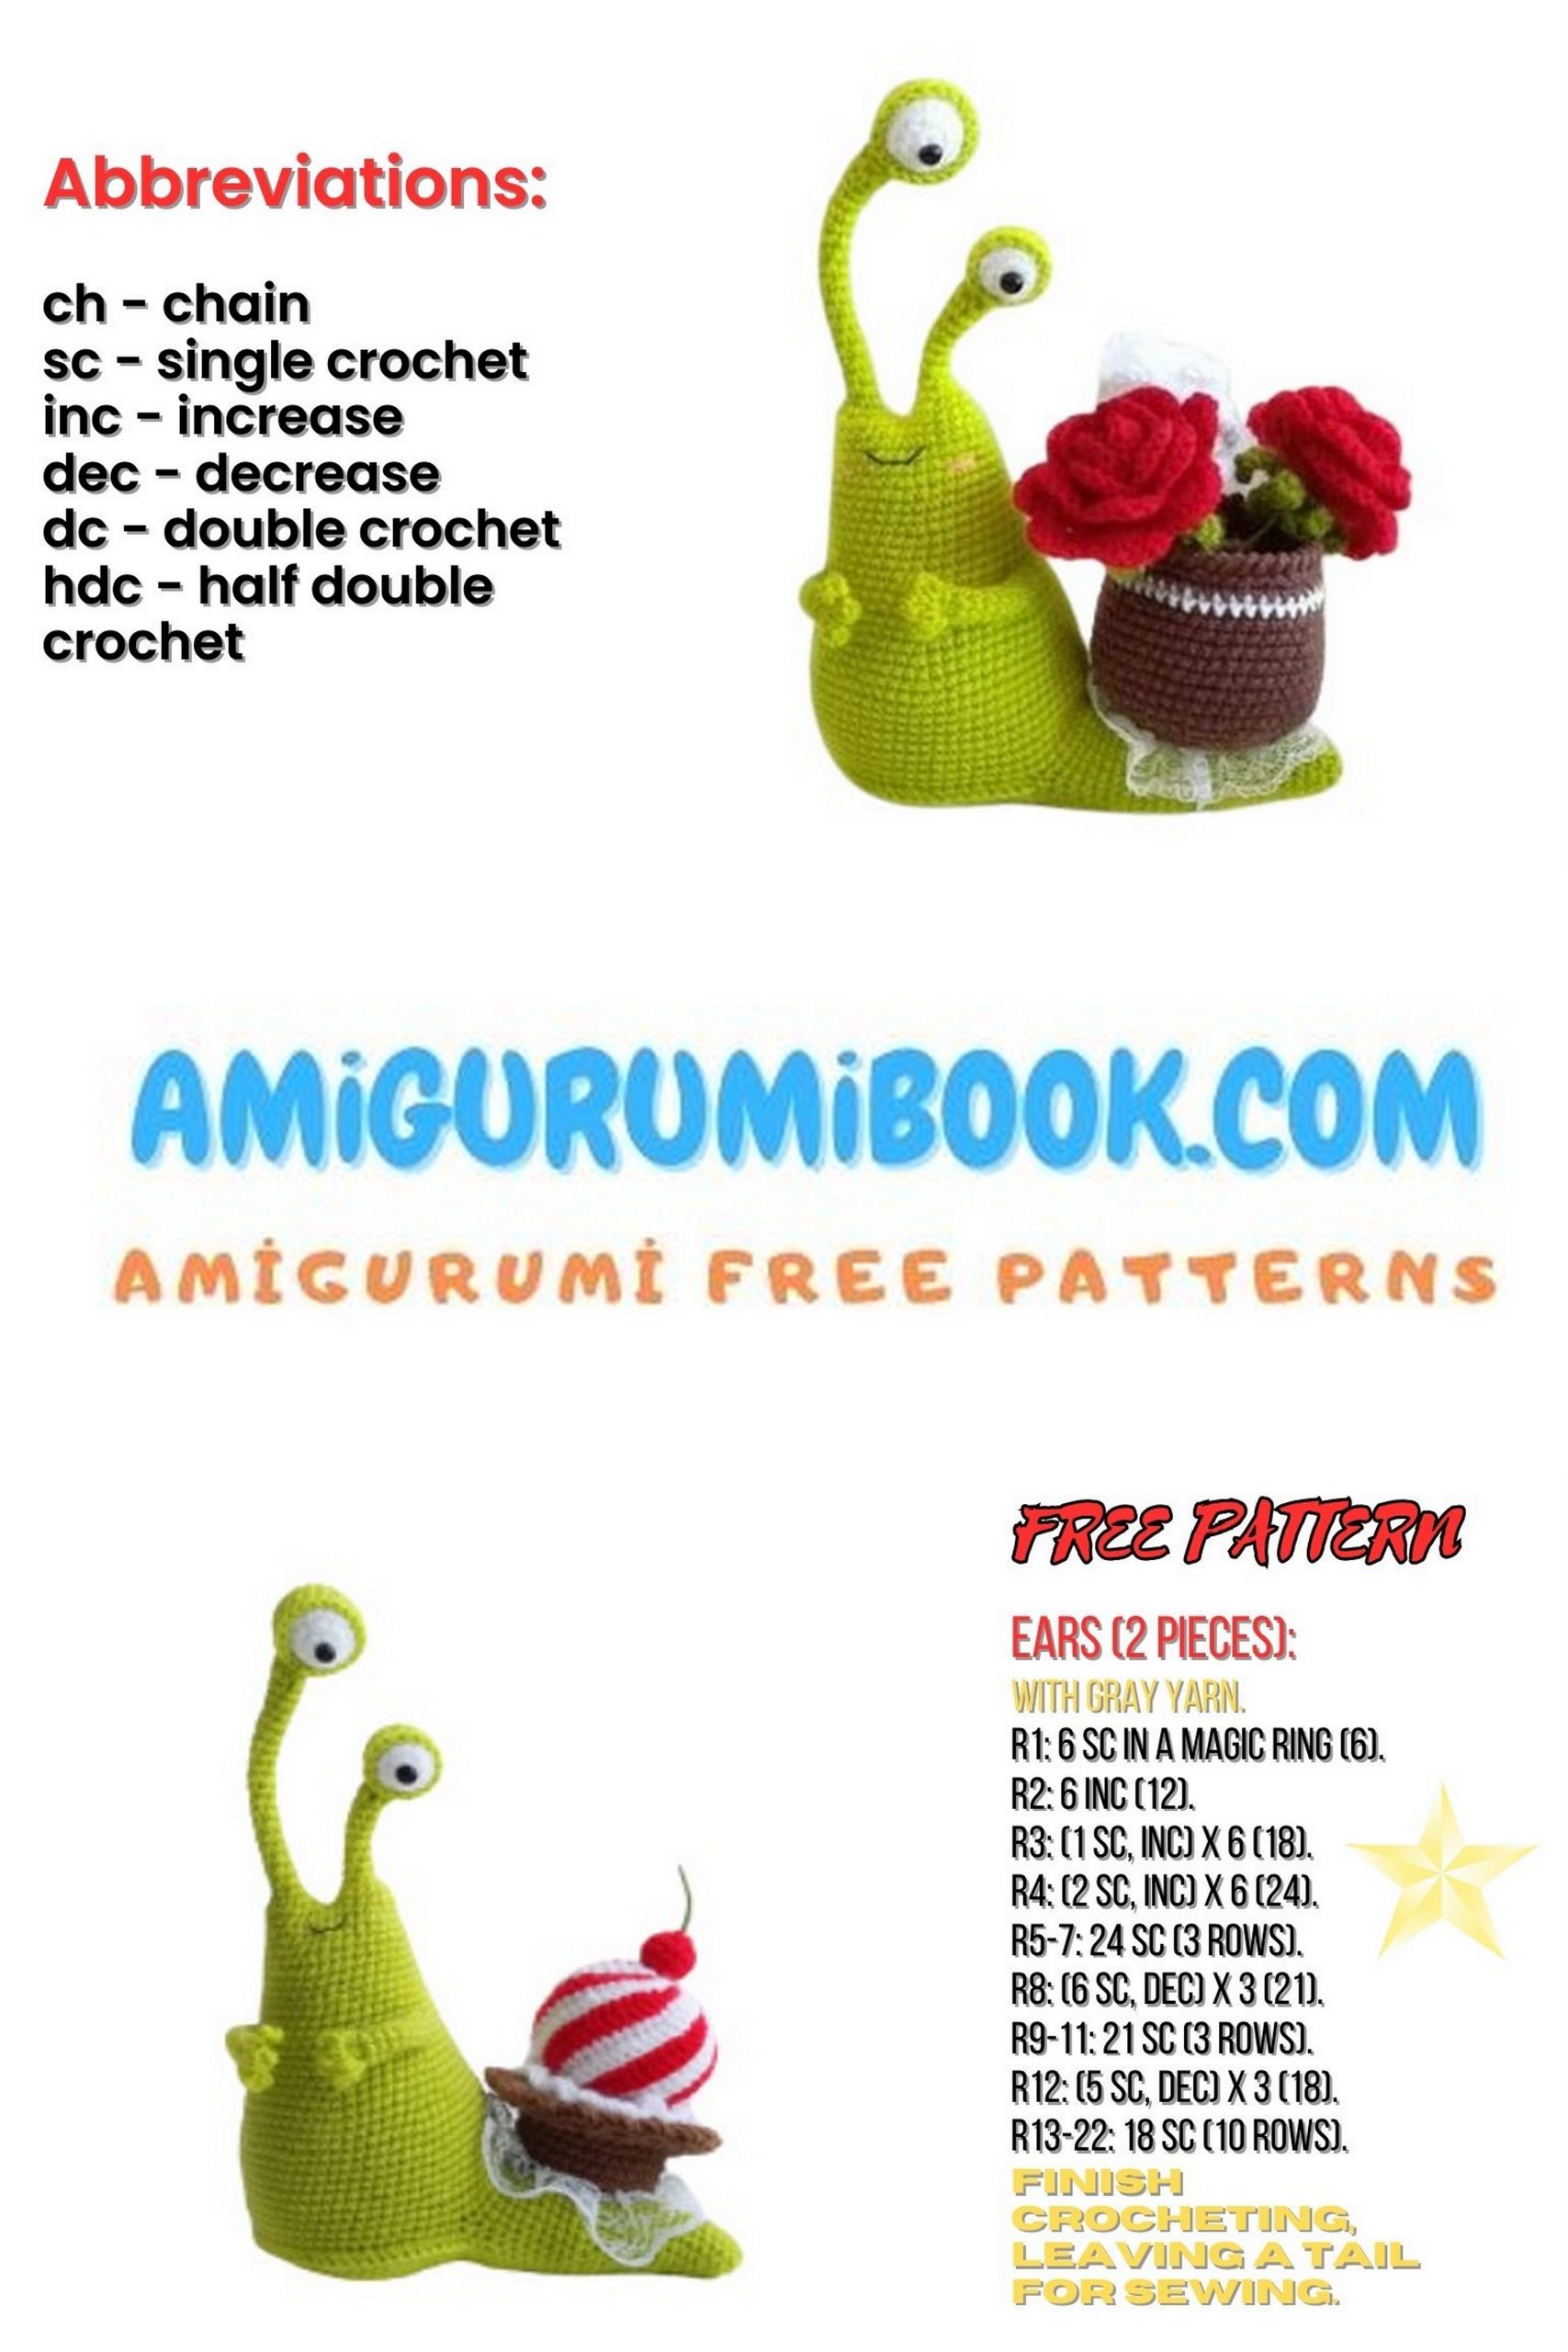
Bring a touch of springtime charm to your crochet collection with this Free Amigurumi Snail Rita Pattern! Rita is a sweet little snail with long playful horns, delicate lace detail, and her adorable flowerpot accessory. This intermediate-level pattern guides you step by step to create a beautifully shaped snail with sculpted features and decorative details.
Whether you’re making her as a gift, a seasonal decoration, or a unique handmade collectible, Snail Rita is sure to stand out. Grab your hook and yarn, and let’s bring this charming garden friend to life!
If you want to access 1000+ free amigurumi patterns, you can download our application from this link!
Finished size: approx. 14 cm (5.5″)
Difficulty: Intermediate
Work in continuous rounds unless otherwise stated.
MATERIALS
- Thin acrylic or cotton yarn:
- Light green (main color)
- Light pink
- Dark beige / brown
- Small amount light pink (cheeks)
- Small amount red (mouth embroidery)
- Brown yarn (soil)
- White & light green felt (eyes)
- Wide lace (3 cm wide, ~30 cm long)
- Thin wire (max 2 mm thick, ~20 cm total)
- Polyester stuffing
- 1.0 mm crochet hook
- Toy eyelashes
- Quick-drying glue
- Decorative flowers (optional)
- Acrylic paint (optional for pot decoration)
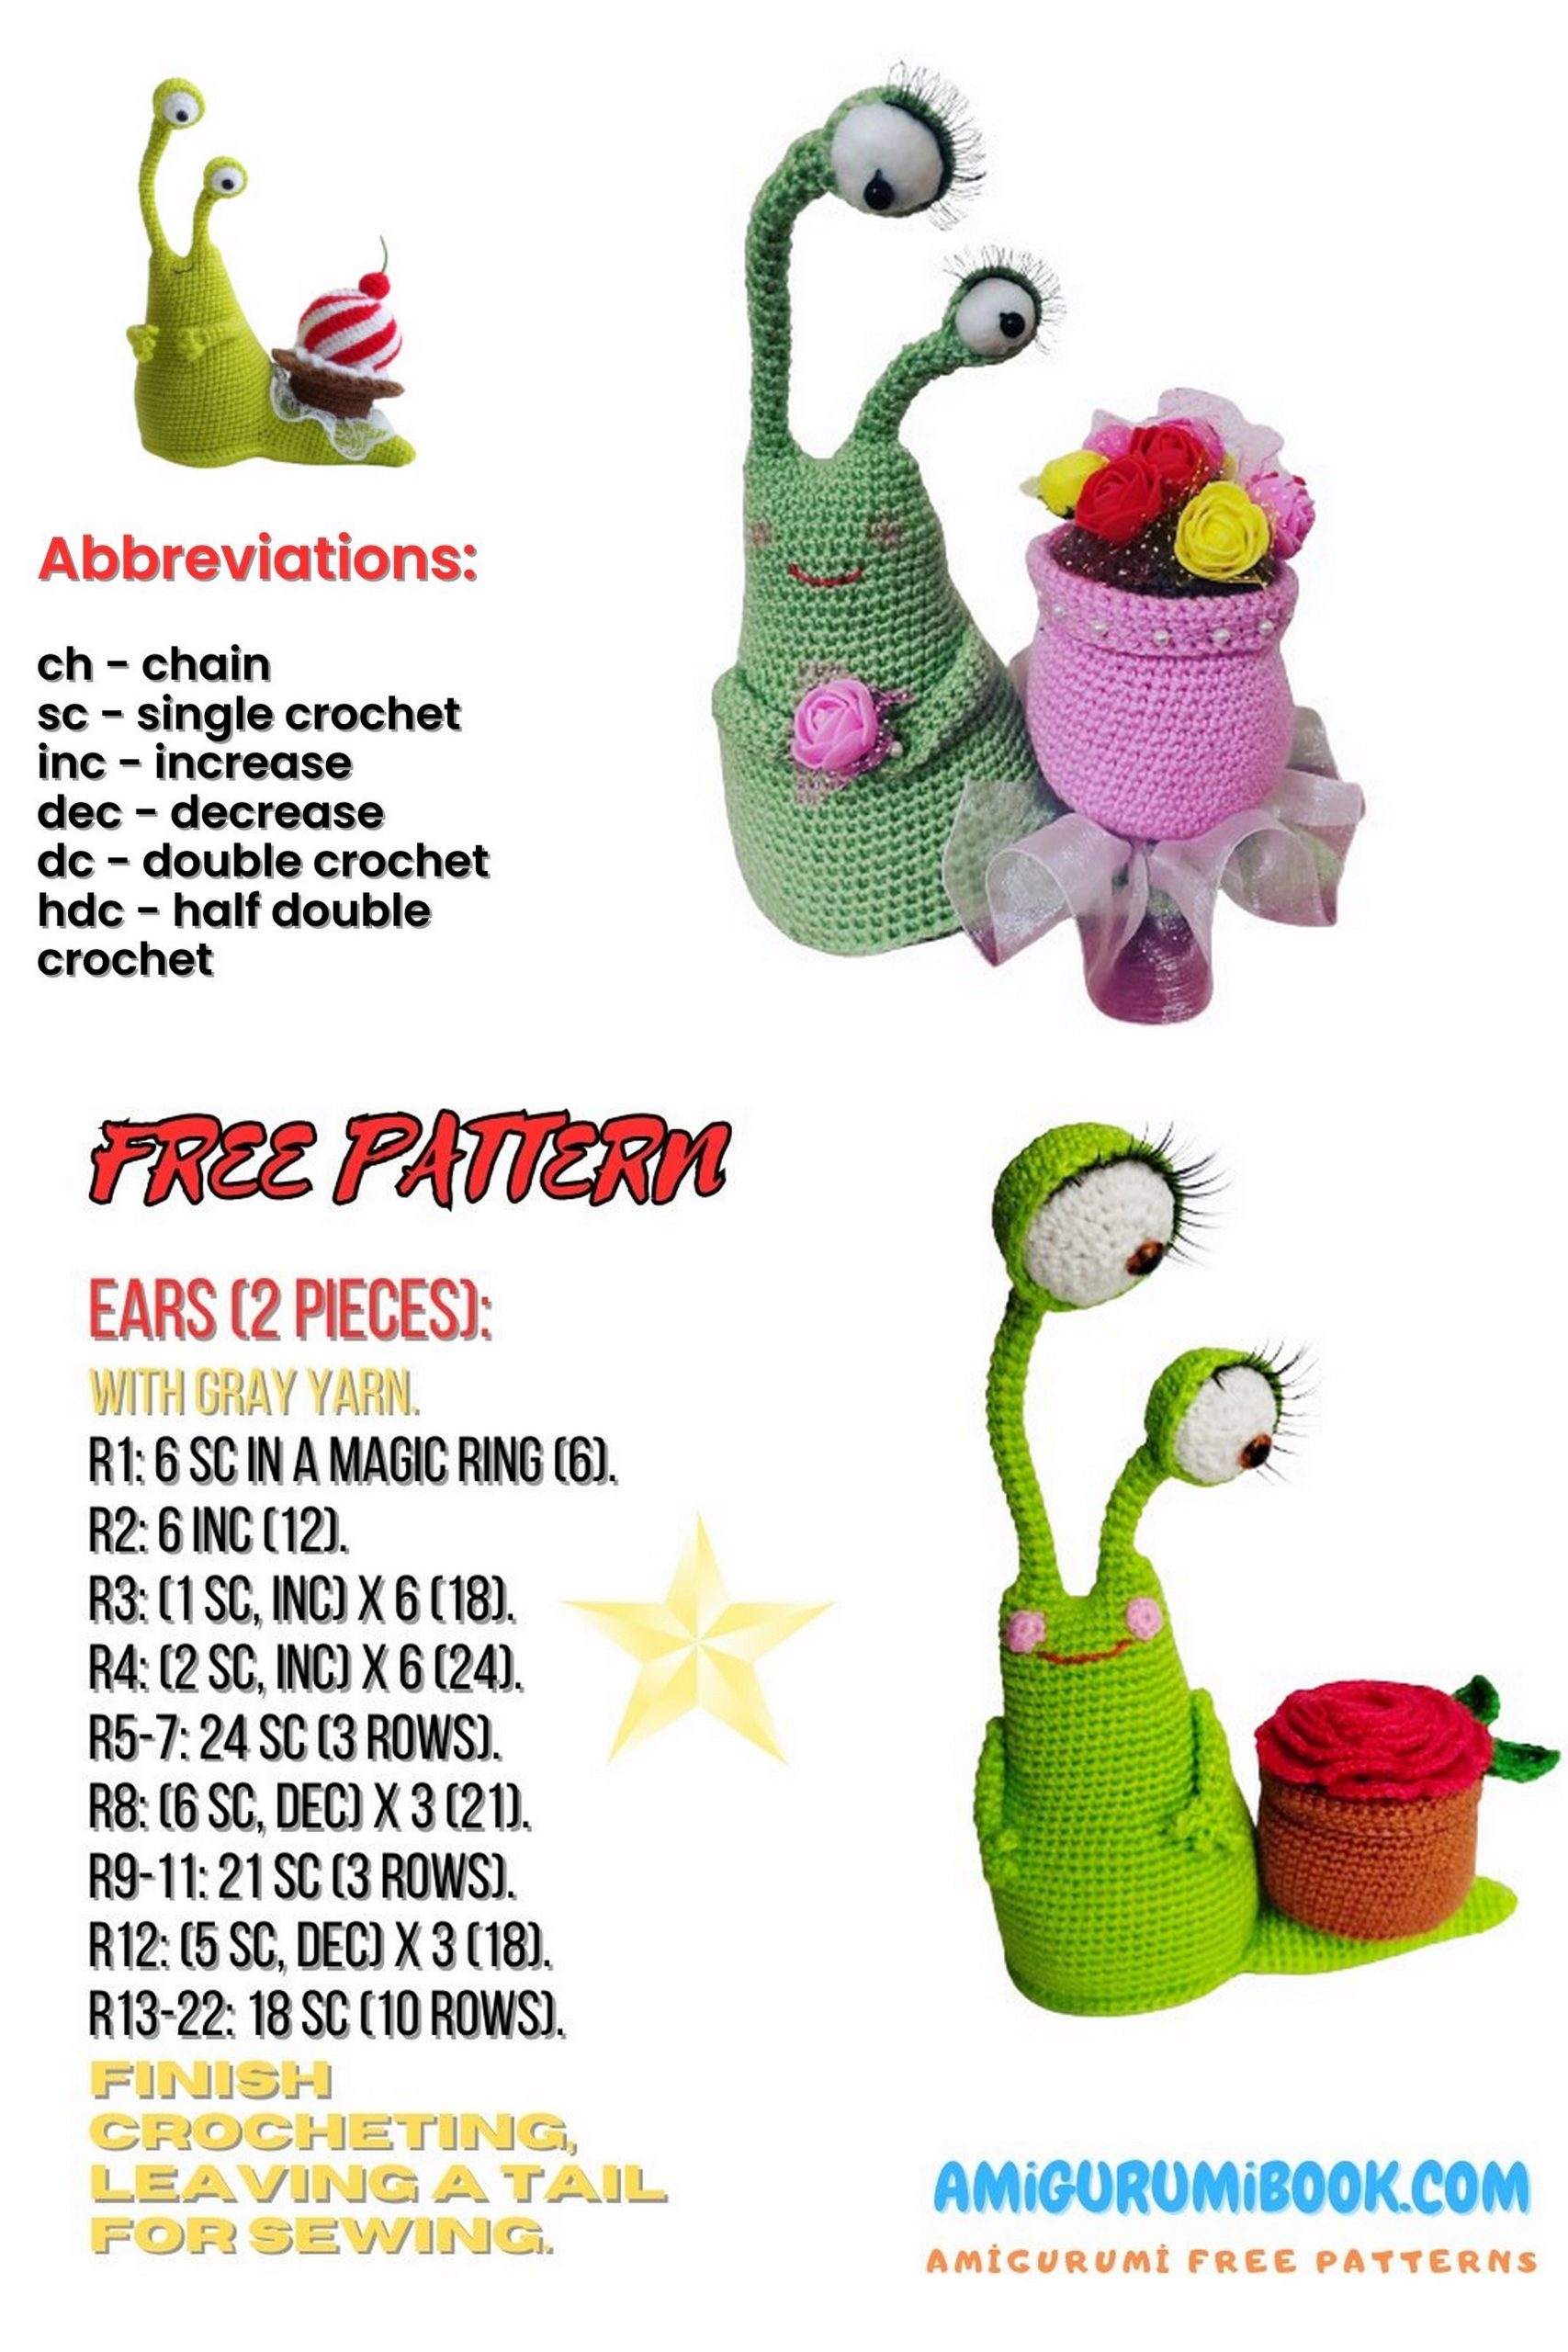
ABBREVIATIONS
MR – magic ring
ch – chain
sl st – slip stitch
sc – single crochet
inc – increase (2 sc in one stitch)
sc2tog – decrease

🐌 BODY (UPPER PART WITH HORNS)
Short Horn (light green)
1: 6 sc in MR (6)
2: 6 sc in BLO (6)
3–10: 6 sc (8 rounds)
11: 6 inc (12)
Fasten off.
Long Horn (light green)
1–2: Same as short horn (6)
3–22: 6 sc (20 rounds)
23: 6 inc (12)
Do not fasten off.
Join Horns
24: 1 sc on long horn, ch 2, join to short horn, 11 sc around short horn, 2 sc in ch, 11 sc around long horn (28)
25: 28 sc
26: (6 sc, inc) x4 (32)
27–28: 32 sc
29: (7 sc, inc) x4 (36)
30–32: 36 sc
33: (8 sc, inc) x4 (40)
34–36: 40 sc
37: (9 sc, inc) x4 (44)
38–39: 44 sc
40: (10 sc, inc) x4 (48)
41: 48 sc
42: (7 sc, inc) x6 (54)
43: 54 sc
44: (8 sc, inc) x6 (60)
45–46: 60 sc
47: 4 sc, inc, (9 sc, inc) x5, 5 sc (66)
48–57: 66 sc
58: 16 sc only (partial round)
Fasten off.
Mark:
- Last stitch = Point A
- Count 16 stitches forward, mark next stitch = Point B
Insert bent wire into both horns. Stuff firmly.

🟢 BOTTOM PIECE
(light green)
1: 6 sc in MR (6)
2: 6 inc (12)
3: (1 sc, inc) x6 (18)
4: (2 sc, inc) x6 (24)
5: 1 sc, inc, (3 sc, inc) x5, 2 sc (30)
6: (4 sc, inc) x6 (36)
7: 2 sc, inc, (5 sc, inc) x5, 3 sc (42)
8: (6 sc, inc) x6 (48)
9: 3 sc, inc, (7 sc, inc) x5, 4 sc (54)
10: (8 sc, inc) x6 (60)
11: 4 sc, inc, (9 sc, inc) x5, 5 sc (66)
Optional: Insert plastic circle inside for stability.
Join Bottom to Body
12: Join bottom from Point B to Point A (approx. 50 stitches)
Make sure tail opening stays on side.
🐌 TAIL
13: 16 sc (body edge), 16 sc (bottom edge) (32)
14–22: 32 sc
23: (6 sc, sc2tog) x4 (28)
24: 28 sc
25: (5 sc, sc2tog) x4 (24)
26–28: 24 sc
29: (4 sc, sc2tog) x4 (20)
30: 20 sc
31: (3 sc, sc2tog) x4 (16)
32–34: 16 sc
35: (2 sc, sc2tog) x4 (12)
36: 12 sc
37: 6 sc2tog (6)
Close and hide yarn.
👀 EYES (FELT VERSION)
Cut from white felt:
- 2 circles (4 cm)
- 2 circles (3 cm)
Gather edges with running stitch, lightly stuff, close.
Cut eyelids from green felt.
Sew eyelids.
Glue eyelashes.
Optional: add pupils with black paint or beads.
😊 CHEEKS
(light pink)
1: 6 sc in MR
Fasten off. Make 2.
💚 ARMS (Make 2)
1: 6 sc in MR
2–8: 6 sc
Insert 12 cm wire.
Flatten and crochet 3 sc across to close.
Fingers:
(3 ch, 2 sl st in ch, sl st to base) x2
Repeat once more for third finger.
Attach wire through body and secure.
🌸 FLOWERPOT (light pink)
1: 6 sc in MR
2: 6 inc (12)
3: (1 sc, inc) x6 (18)
4: (2 sc, inc) x6 (24)
5: 1 sc, inc, (3 sc, inc) x5, 2 sc (30)
6: (4 sc, inc) x6 (36)
7: 2 sc, inc, (5 sc, inc) x5, 3 sc (42)
8: (6 sc, inc) x6 (48)
9: 3 sc, inc, (7 sc, inc) x5, 4 sc (54)
10–14: 54 sc
15: (16 sc, sc2tog) x3 (51)
16–18: 51 sc
19: (15 sc, sc2tog) x3 (48)
20–22: 48 sc
23: 48 sc in BLO
24: 48 sc in FLO
25–29: 48 sc
Fold top edge down and join to row 23.
🟤 SOIL (brown)
Attach to row 24 back loops.
1: 48 sc
2: (6 sc, sc2tog) x6 (42)
3: (5 sc, sc2tog) x6 (36)
4: (4 sc, sc2tog) x6 (30)
5: (3 sc, sc2tog) x6 (24)
6: (2 sc, sc2tog) x6 (18)
7: (1 sc, sc2tog) x6 (12)
8: 6 sc2tog (6)
Close.
🎀 LACE SKIRT
Sew lace into pleats.
Form circle.
Attach around tail.
✨ FINAL ASSEMBLY
- Sew eyes
- Sew cheeks
- Embroider mouth (backstitch)
- Attach arms
- Attach flowerpot
- Insert decorative flowers
- Position pupils looking toward pot