
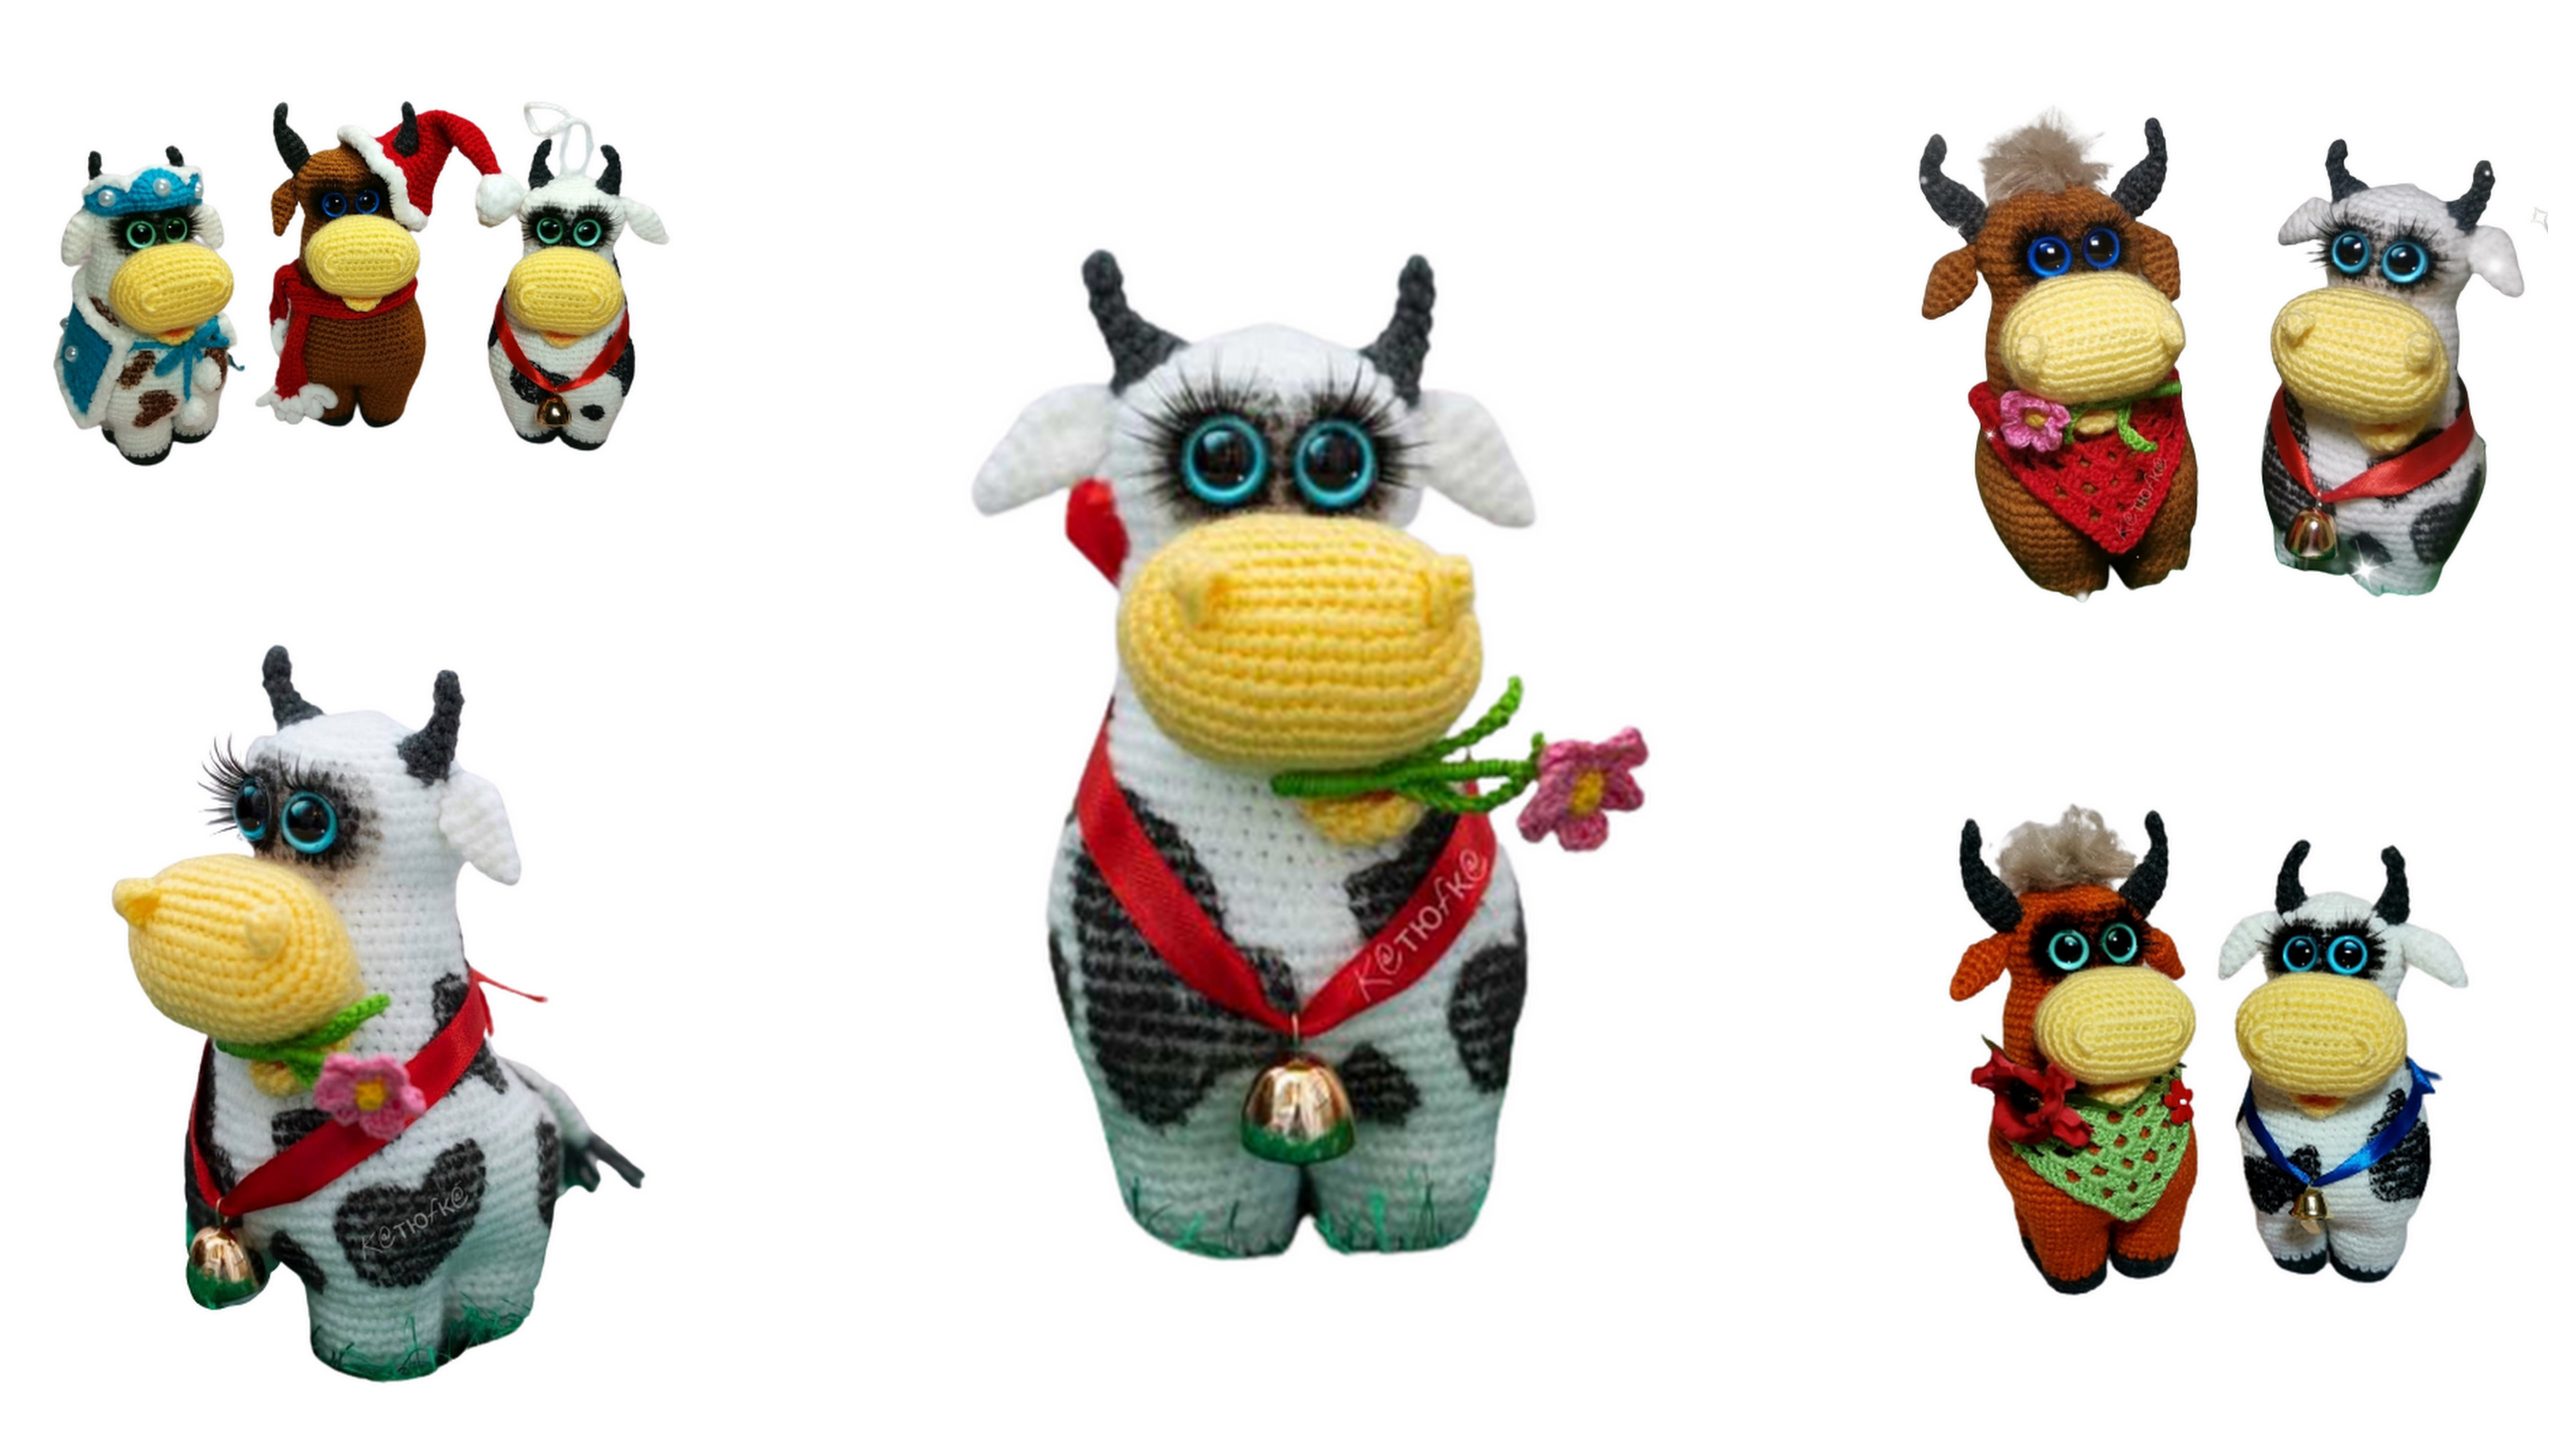
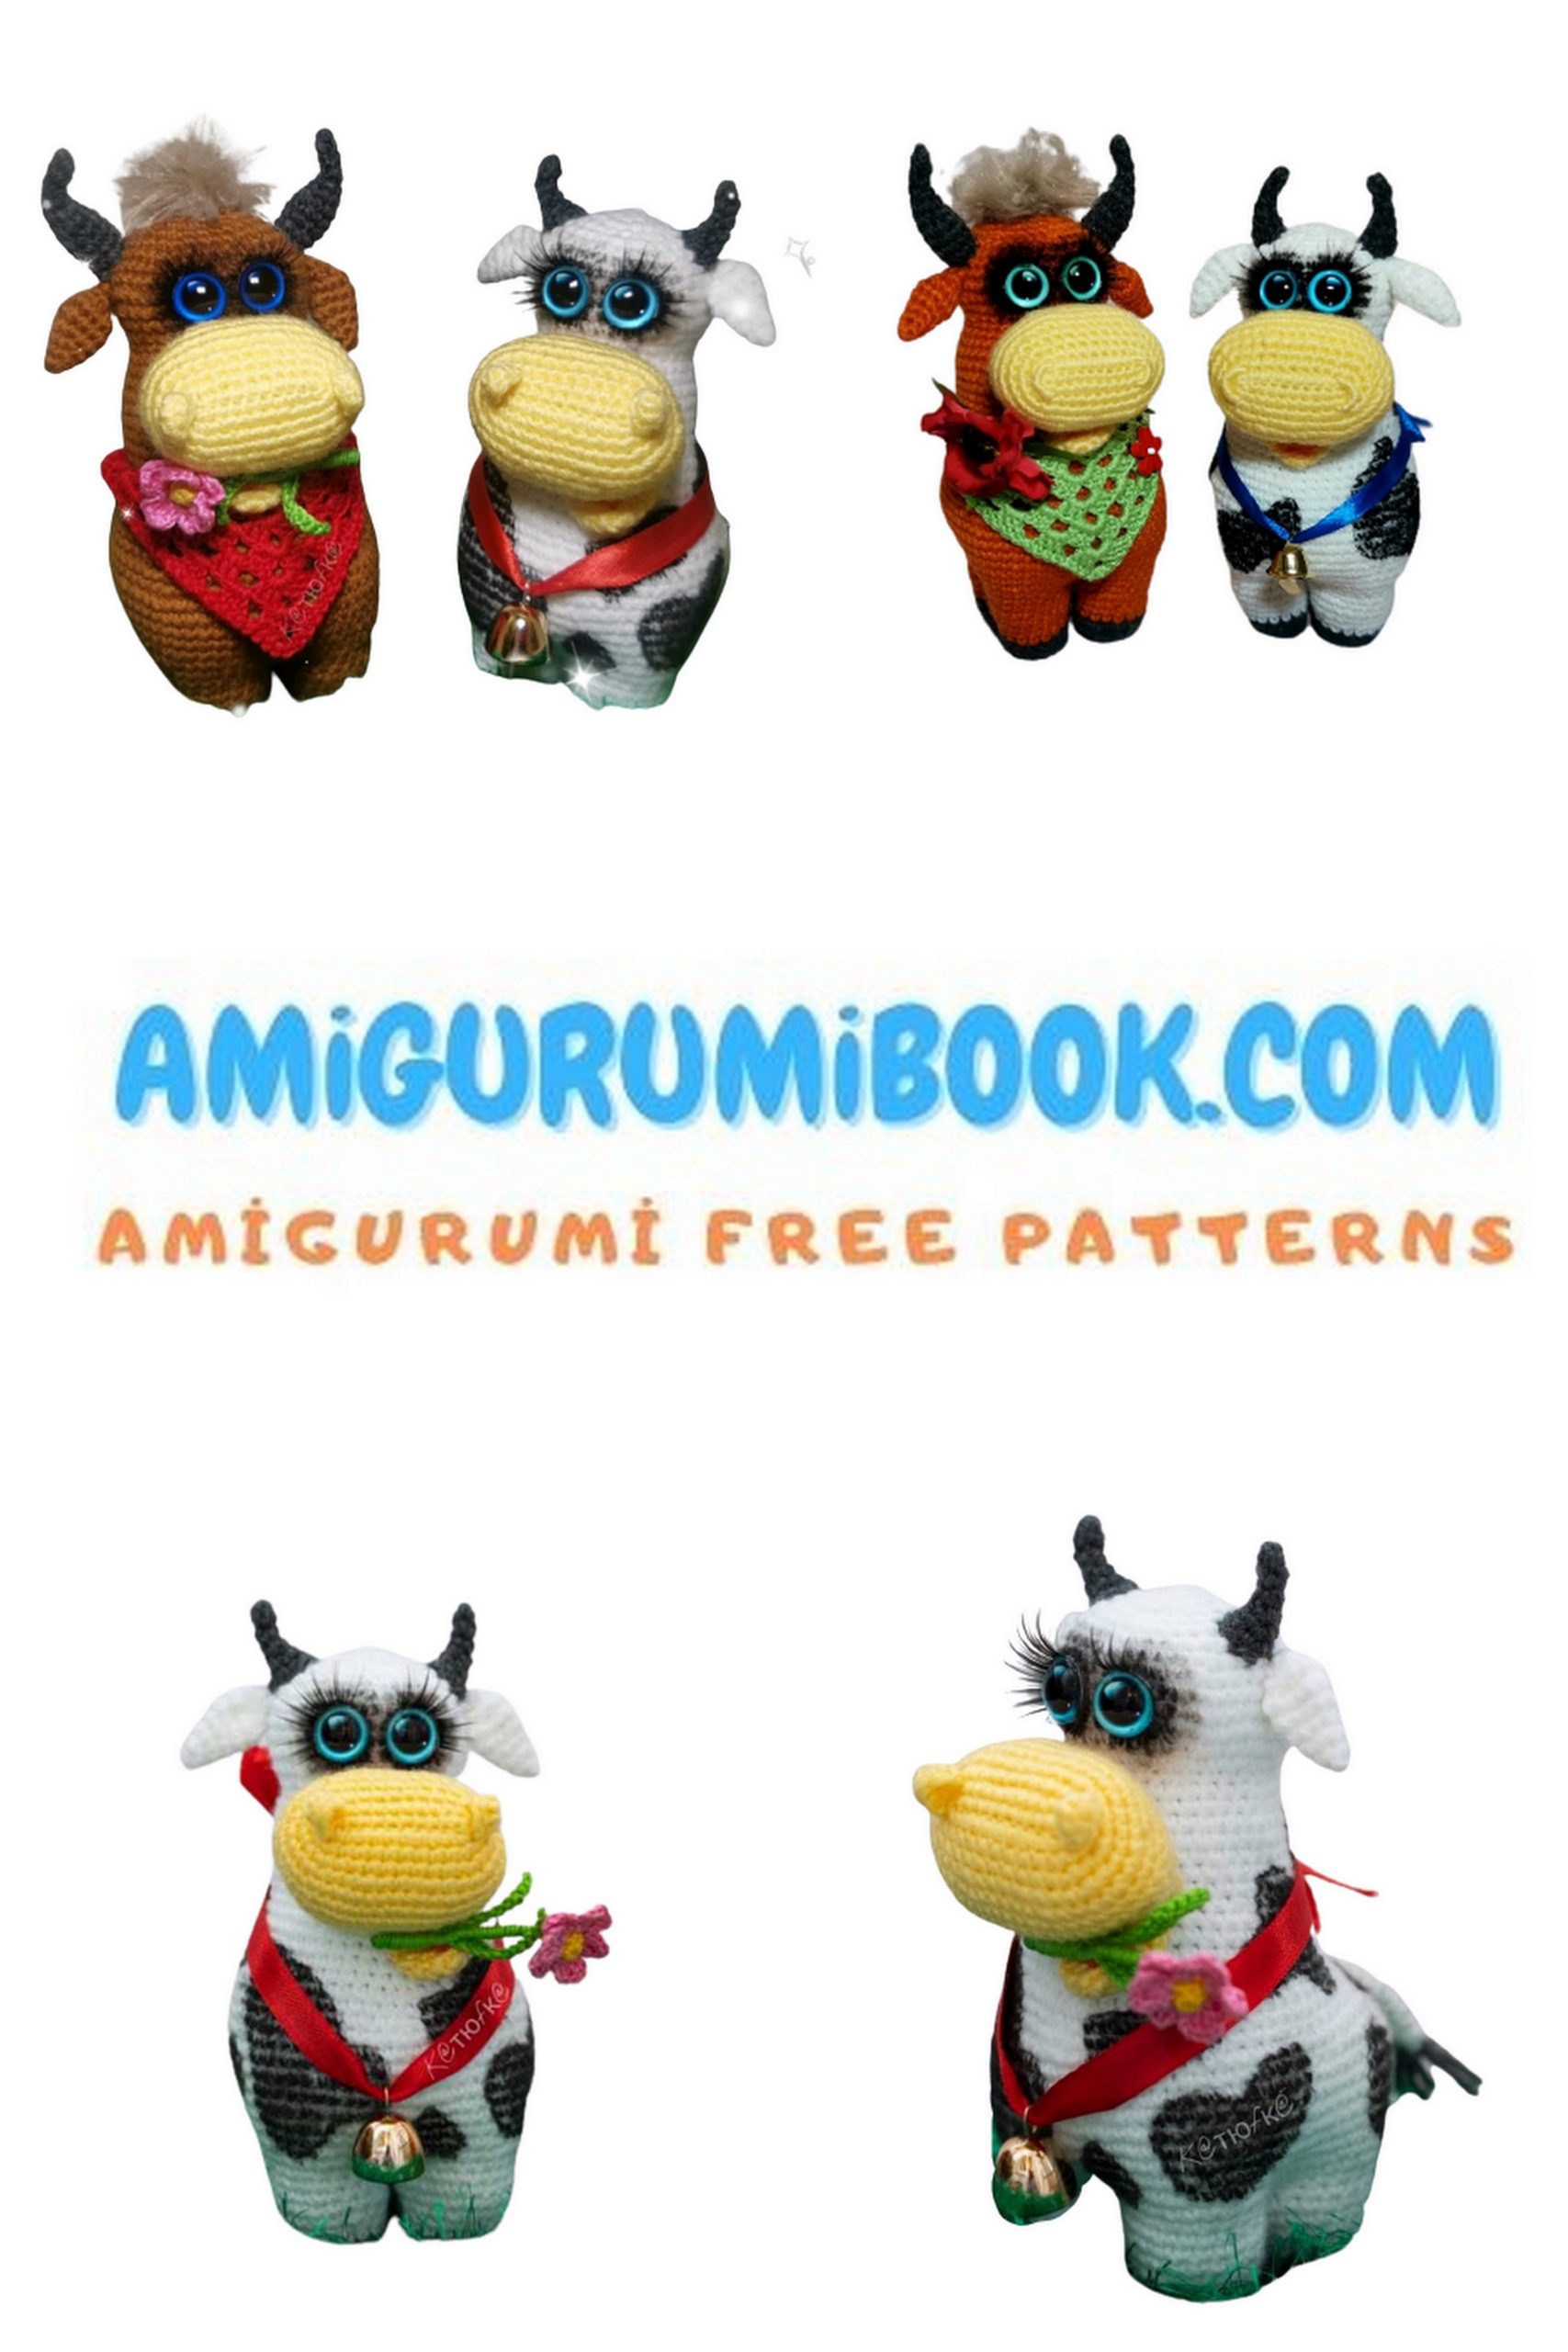
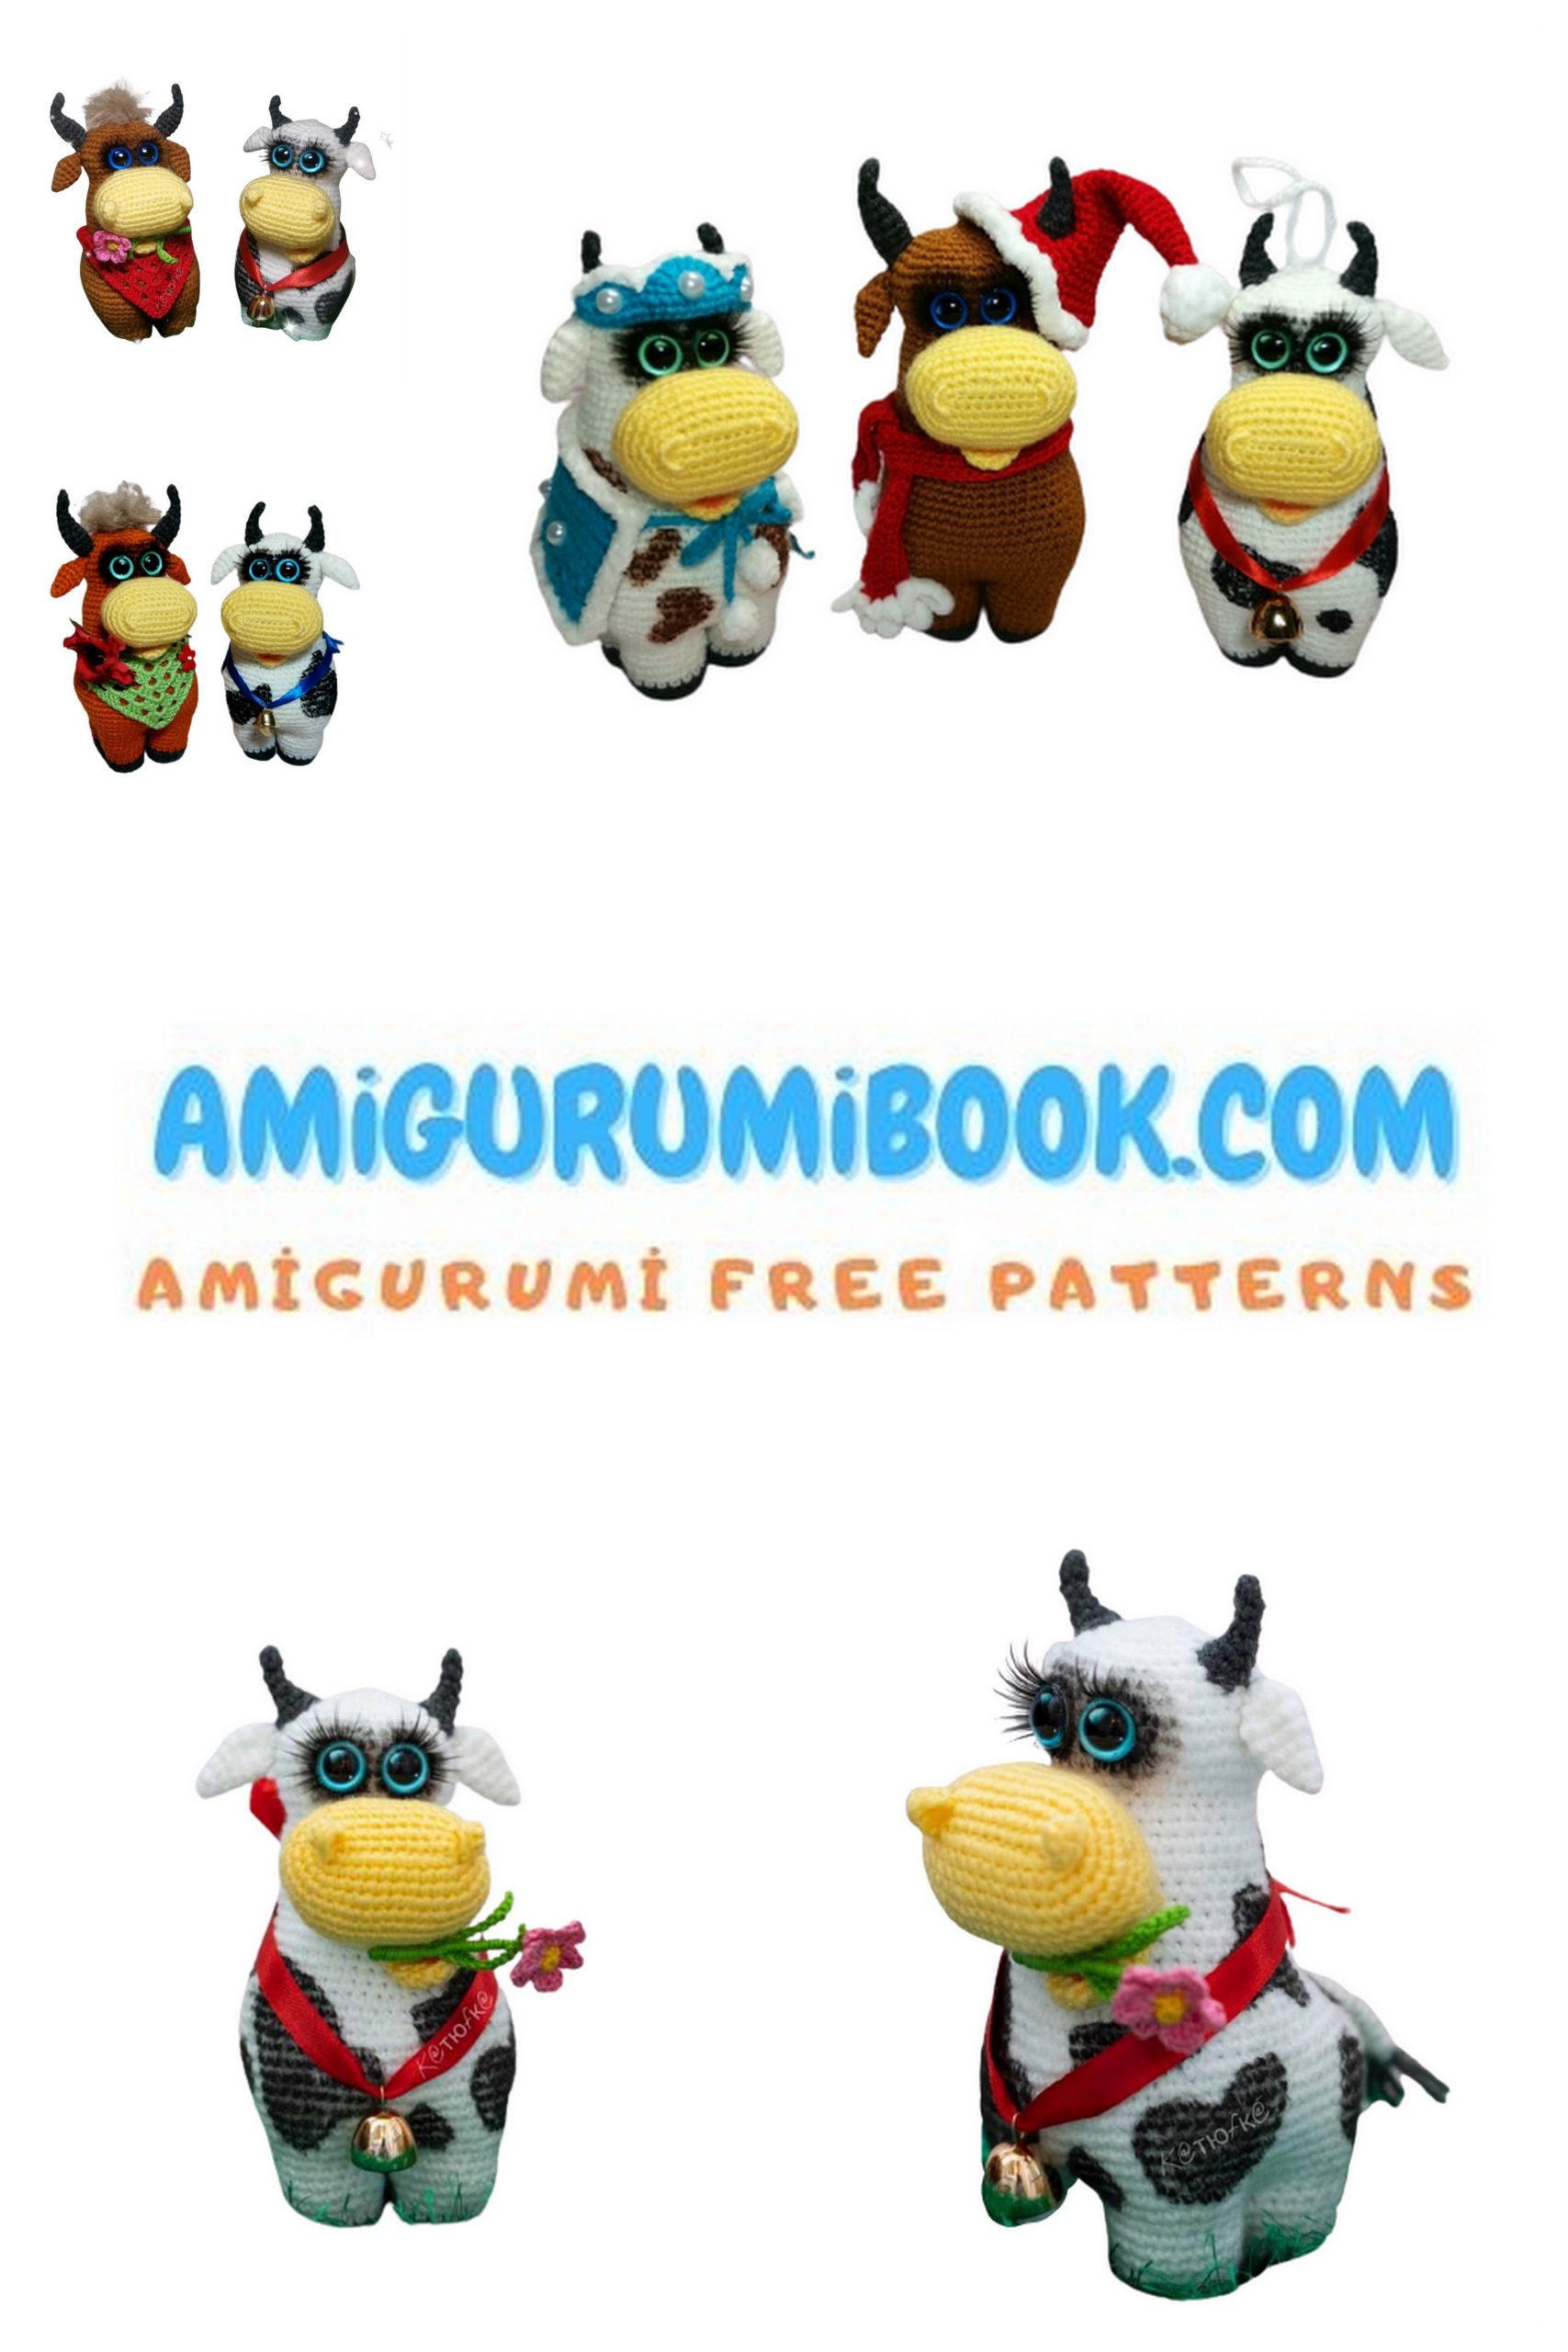
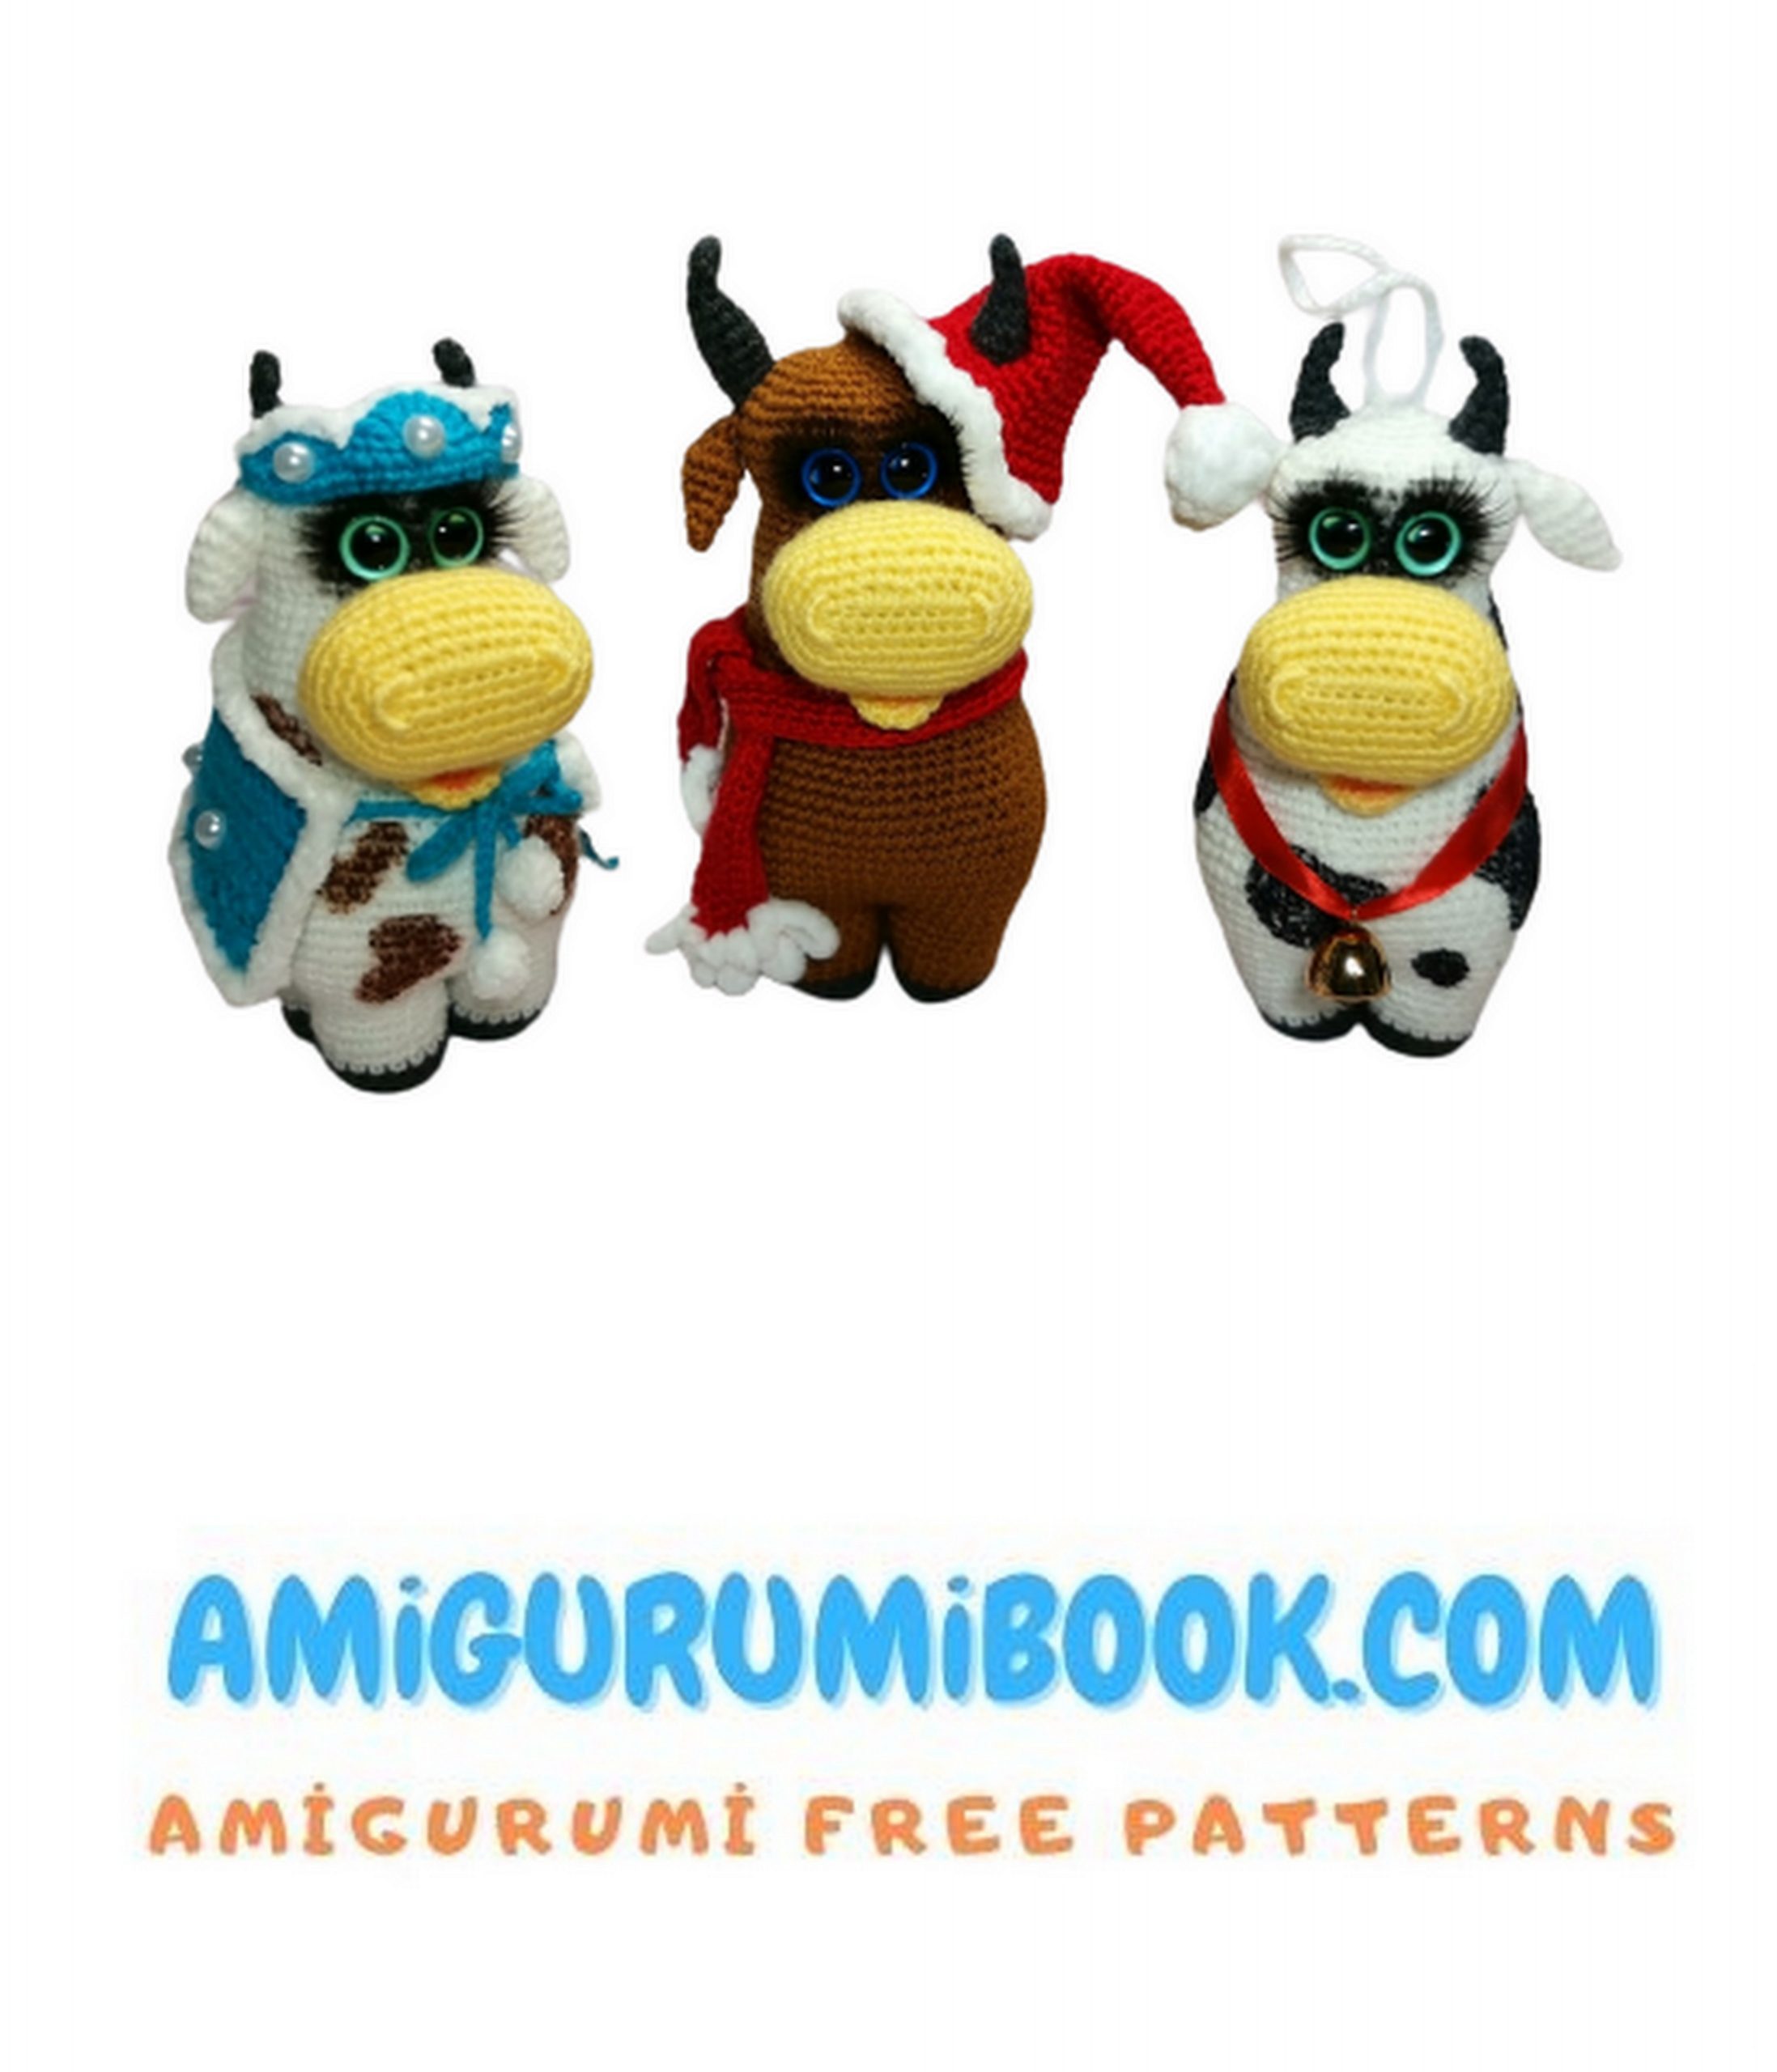
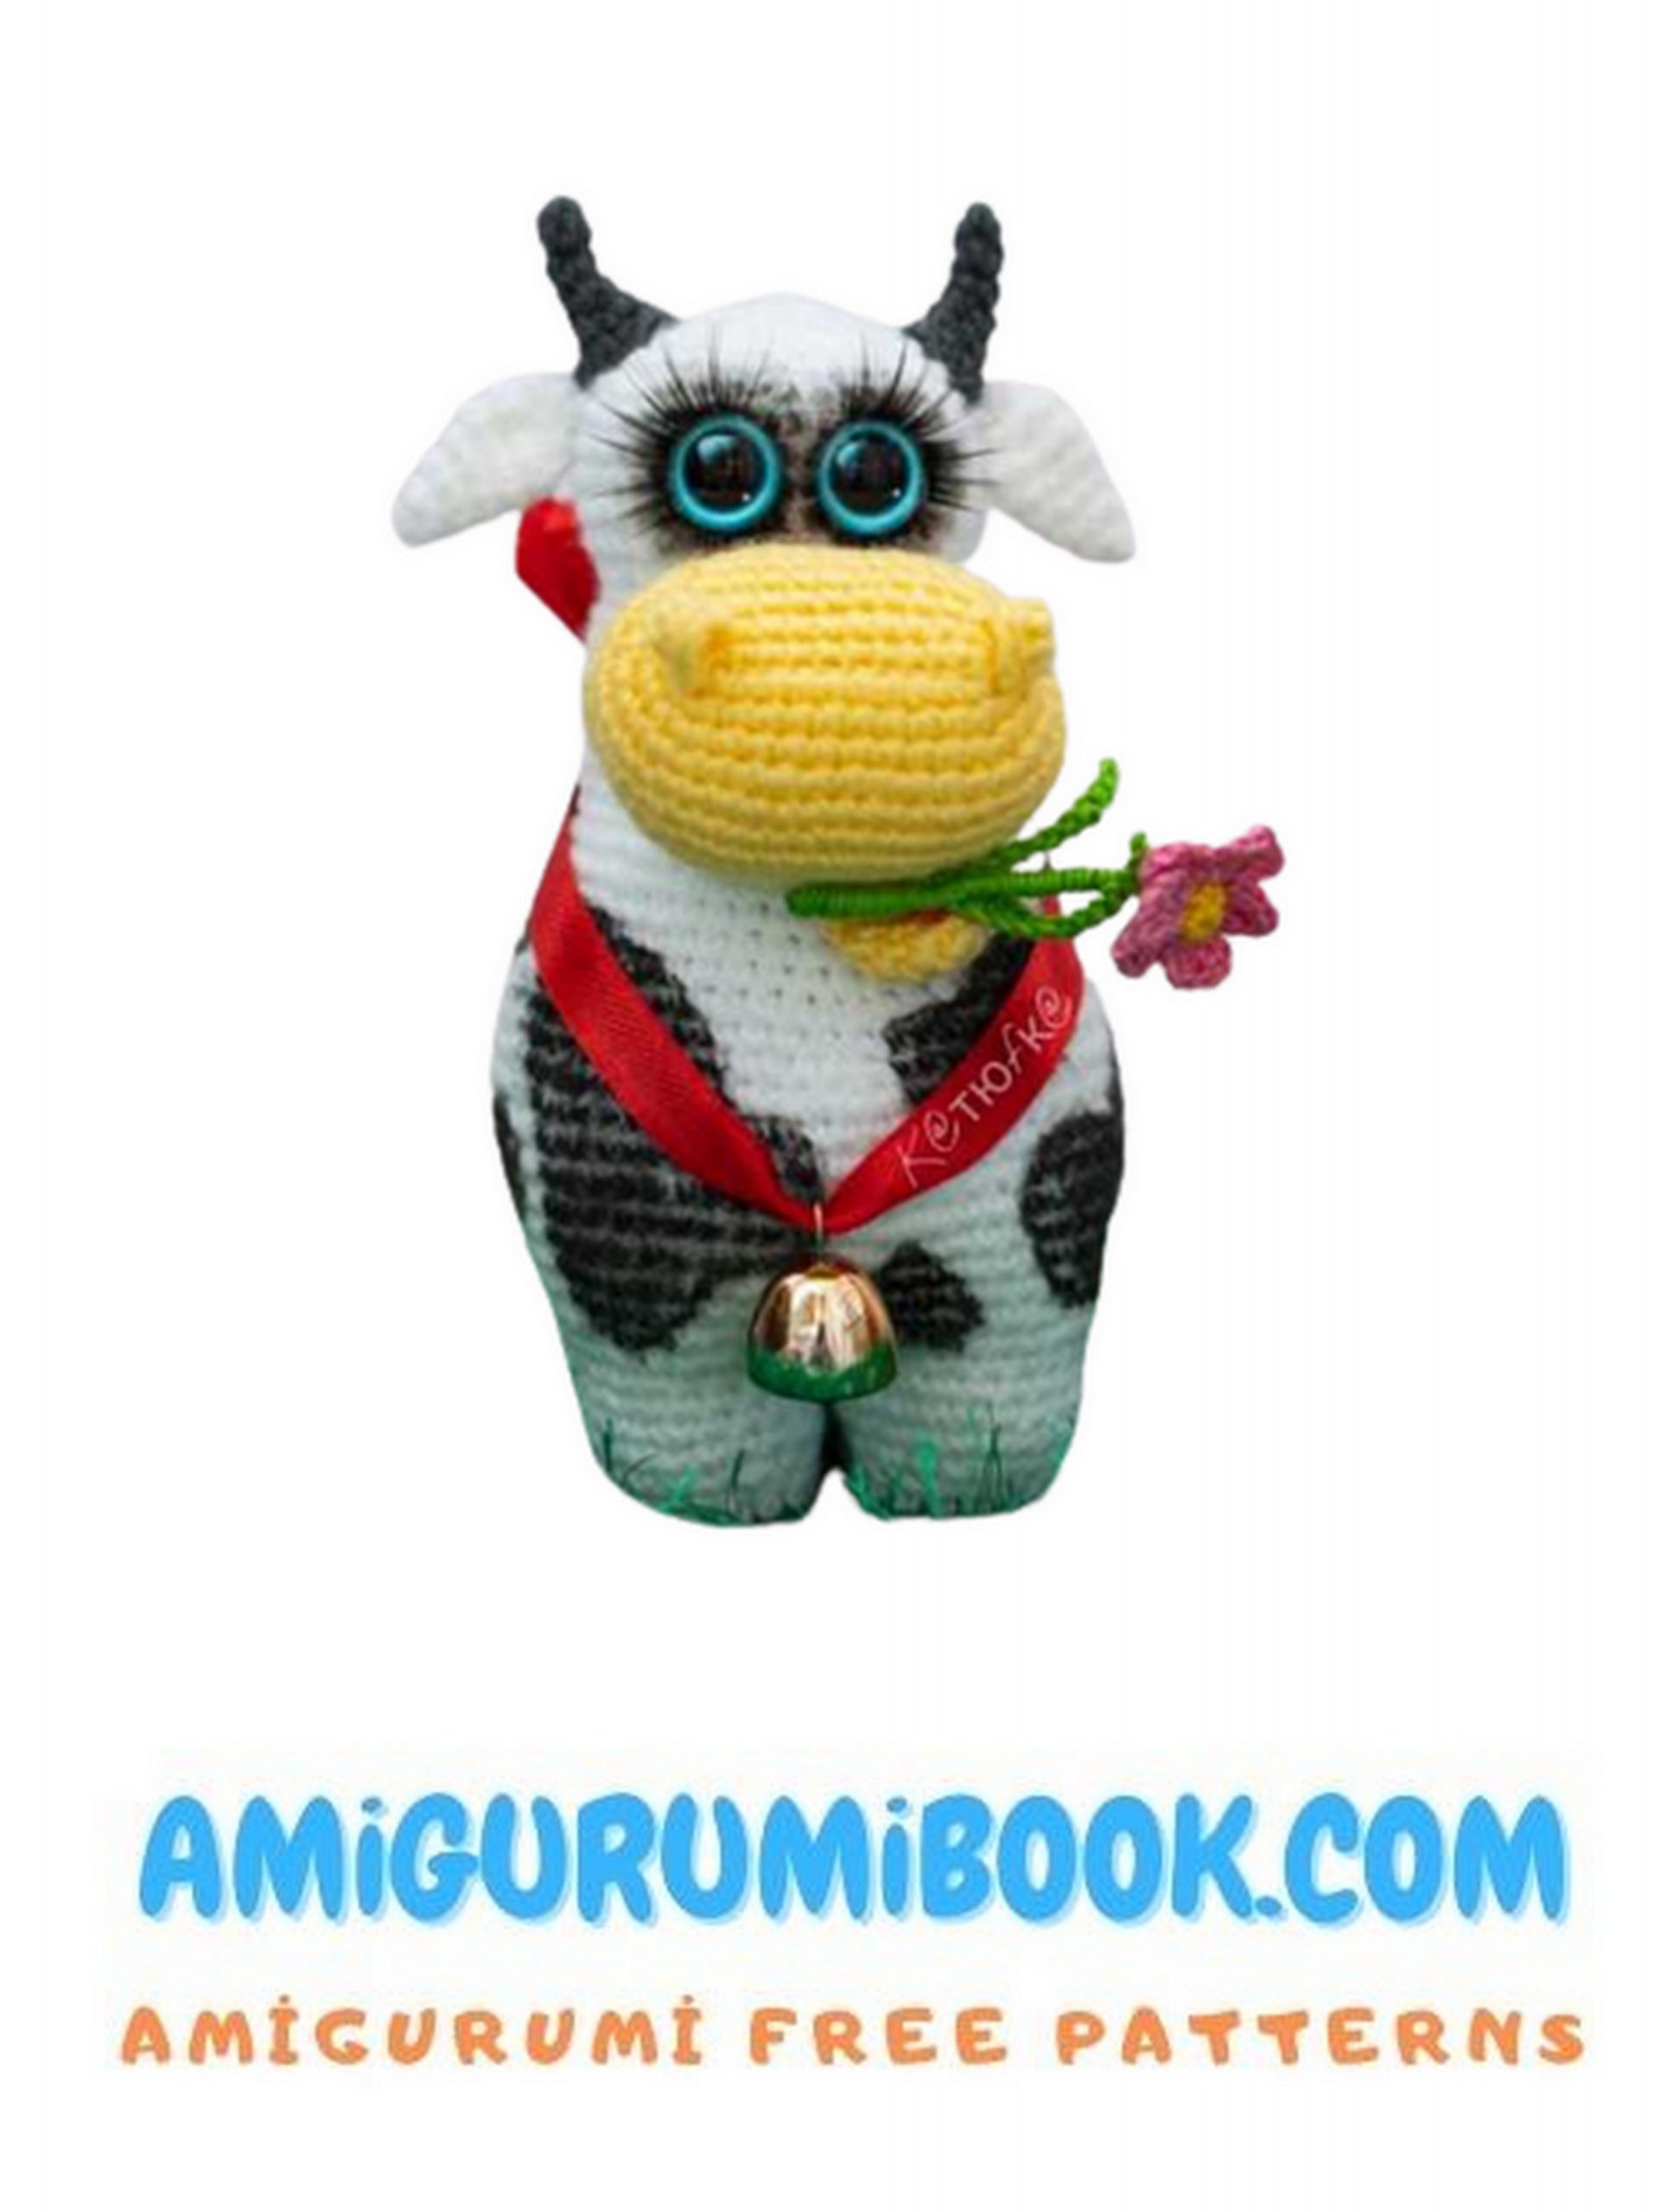
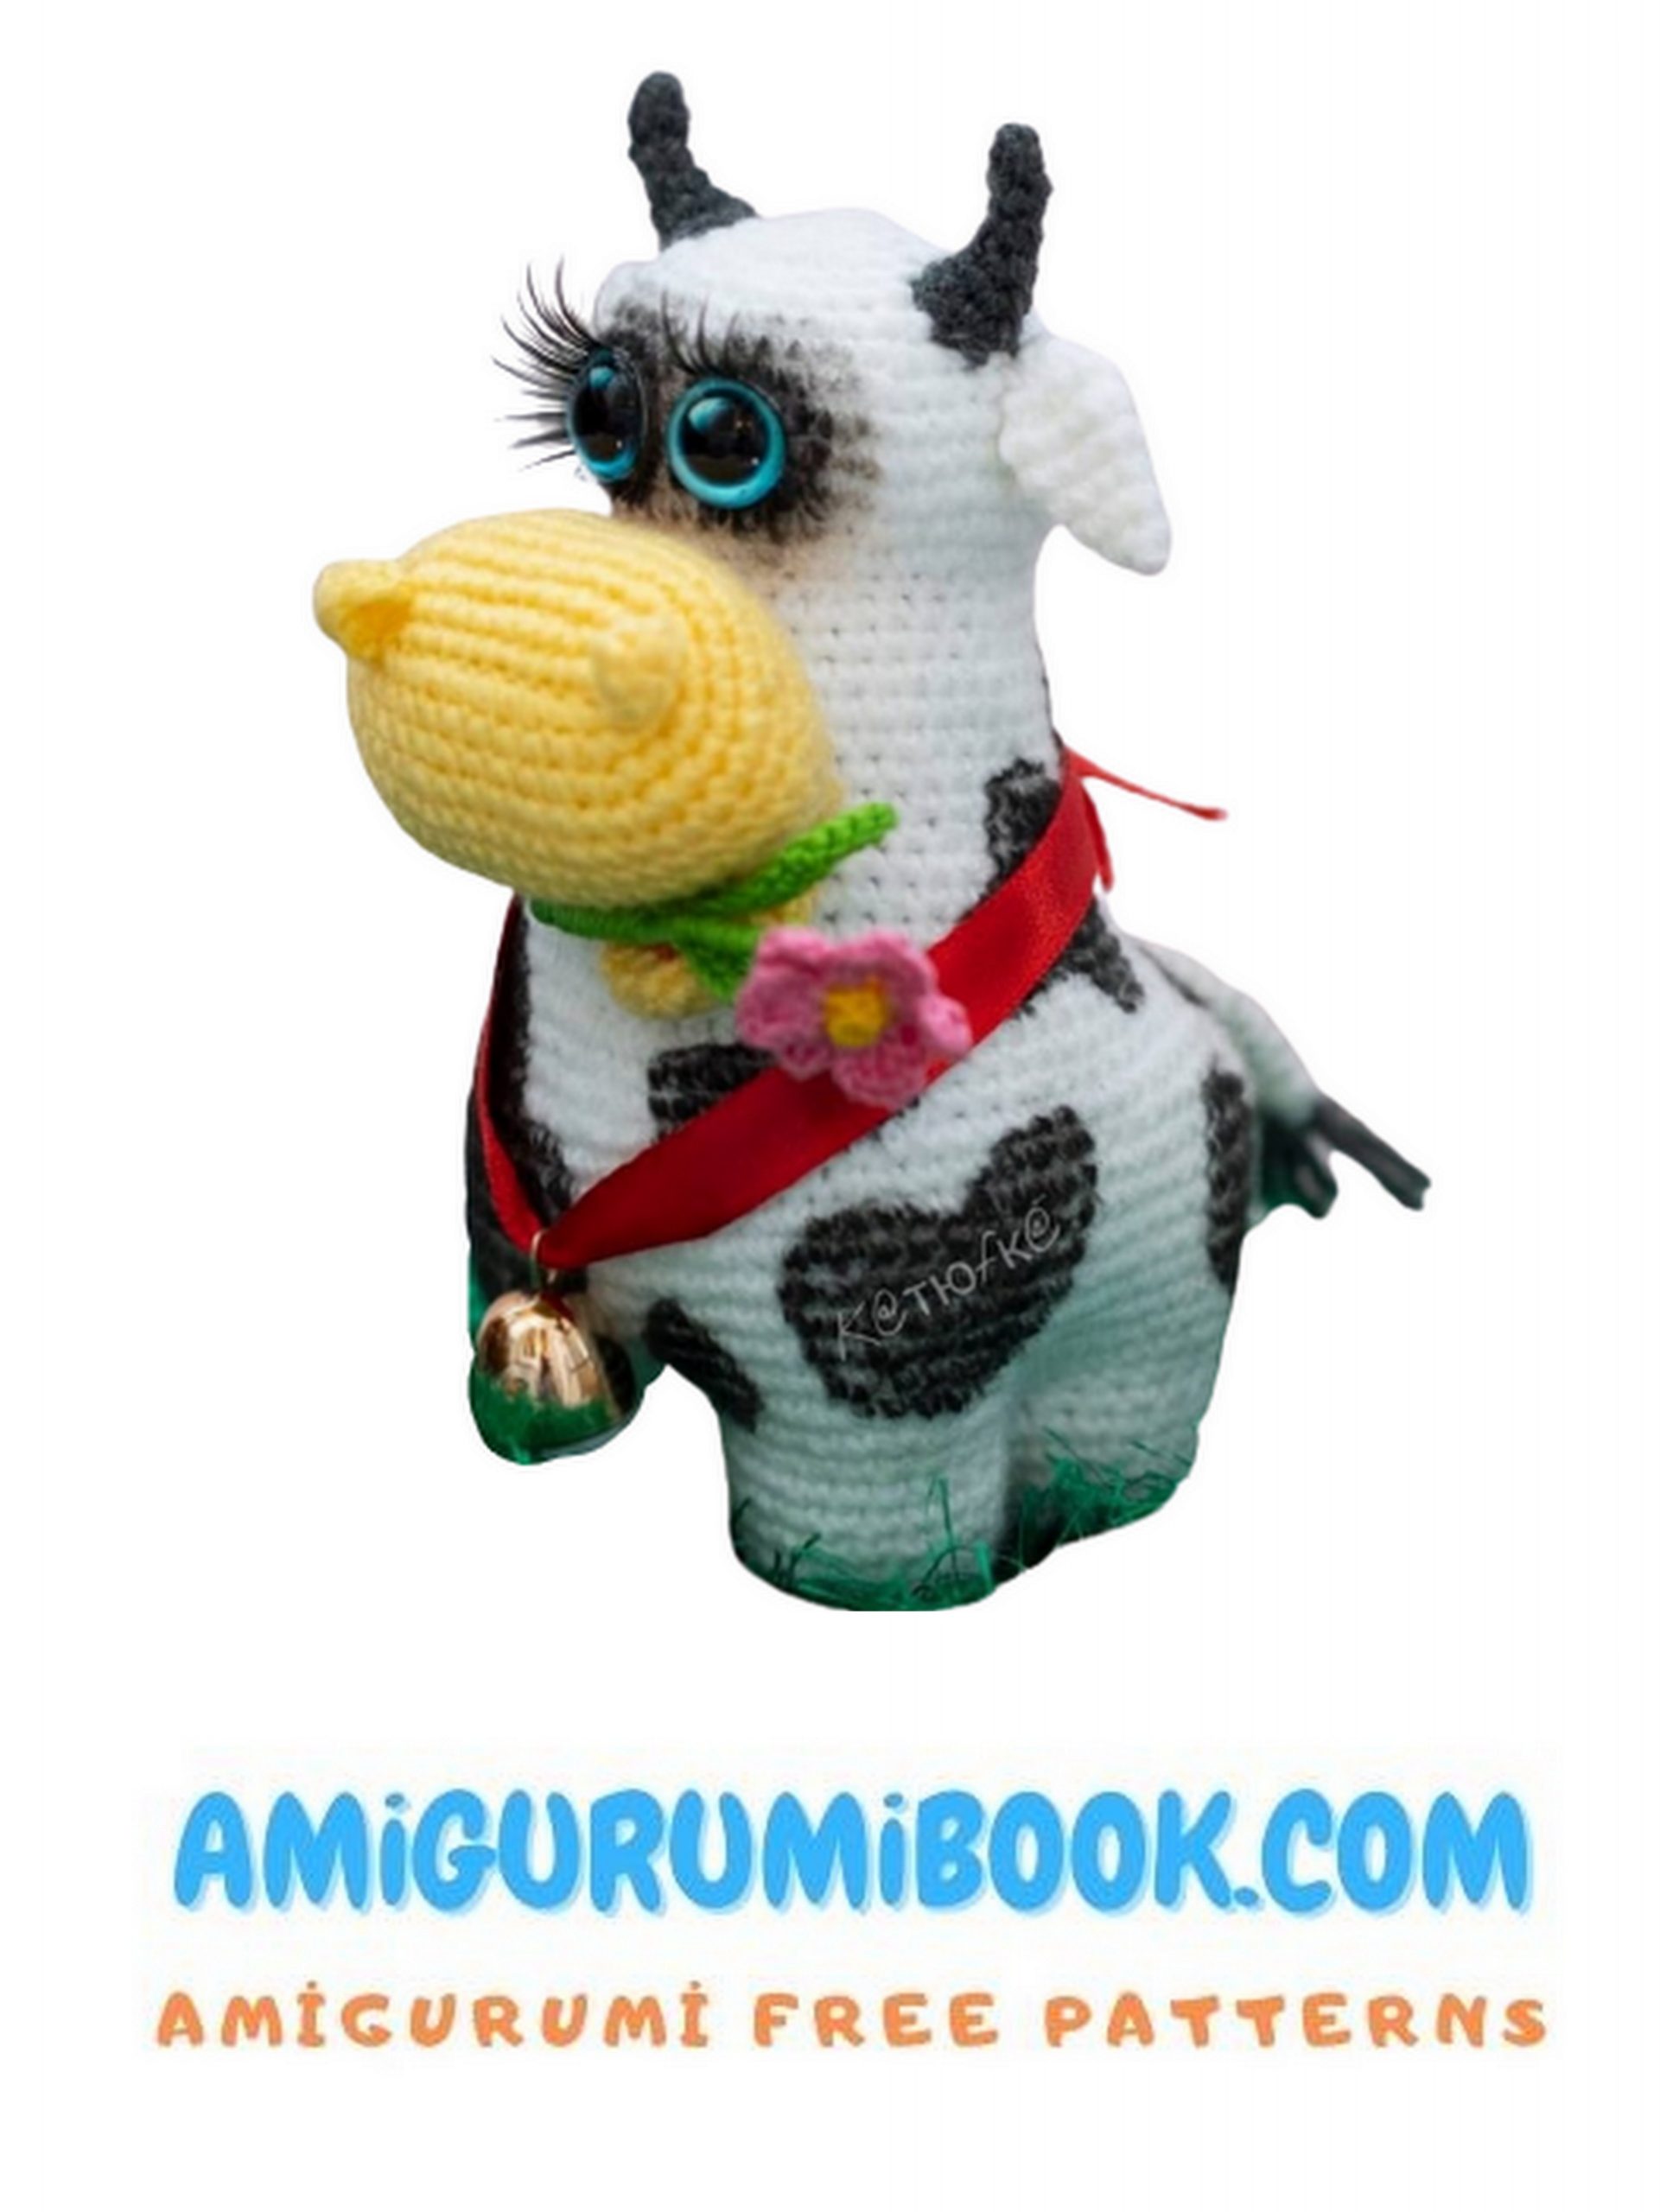
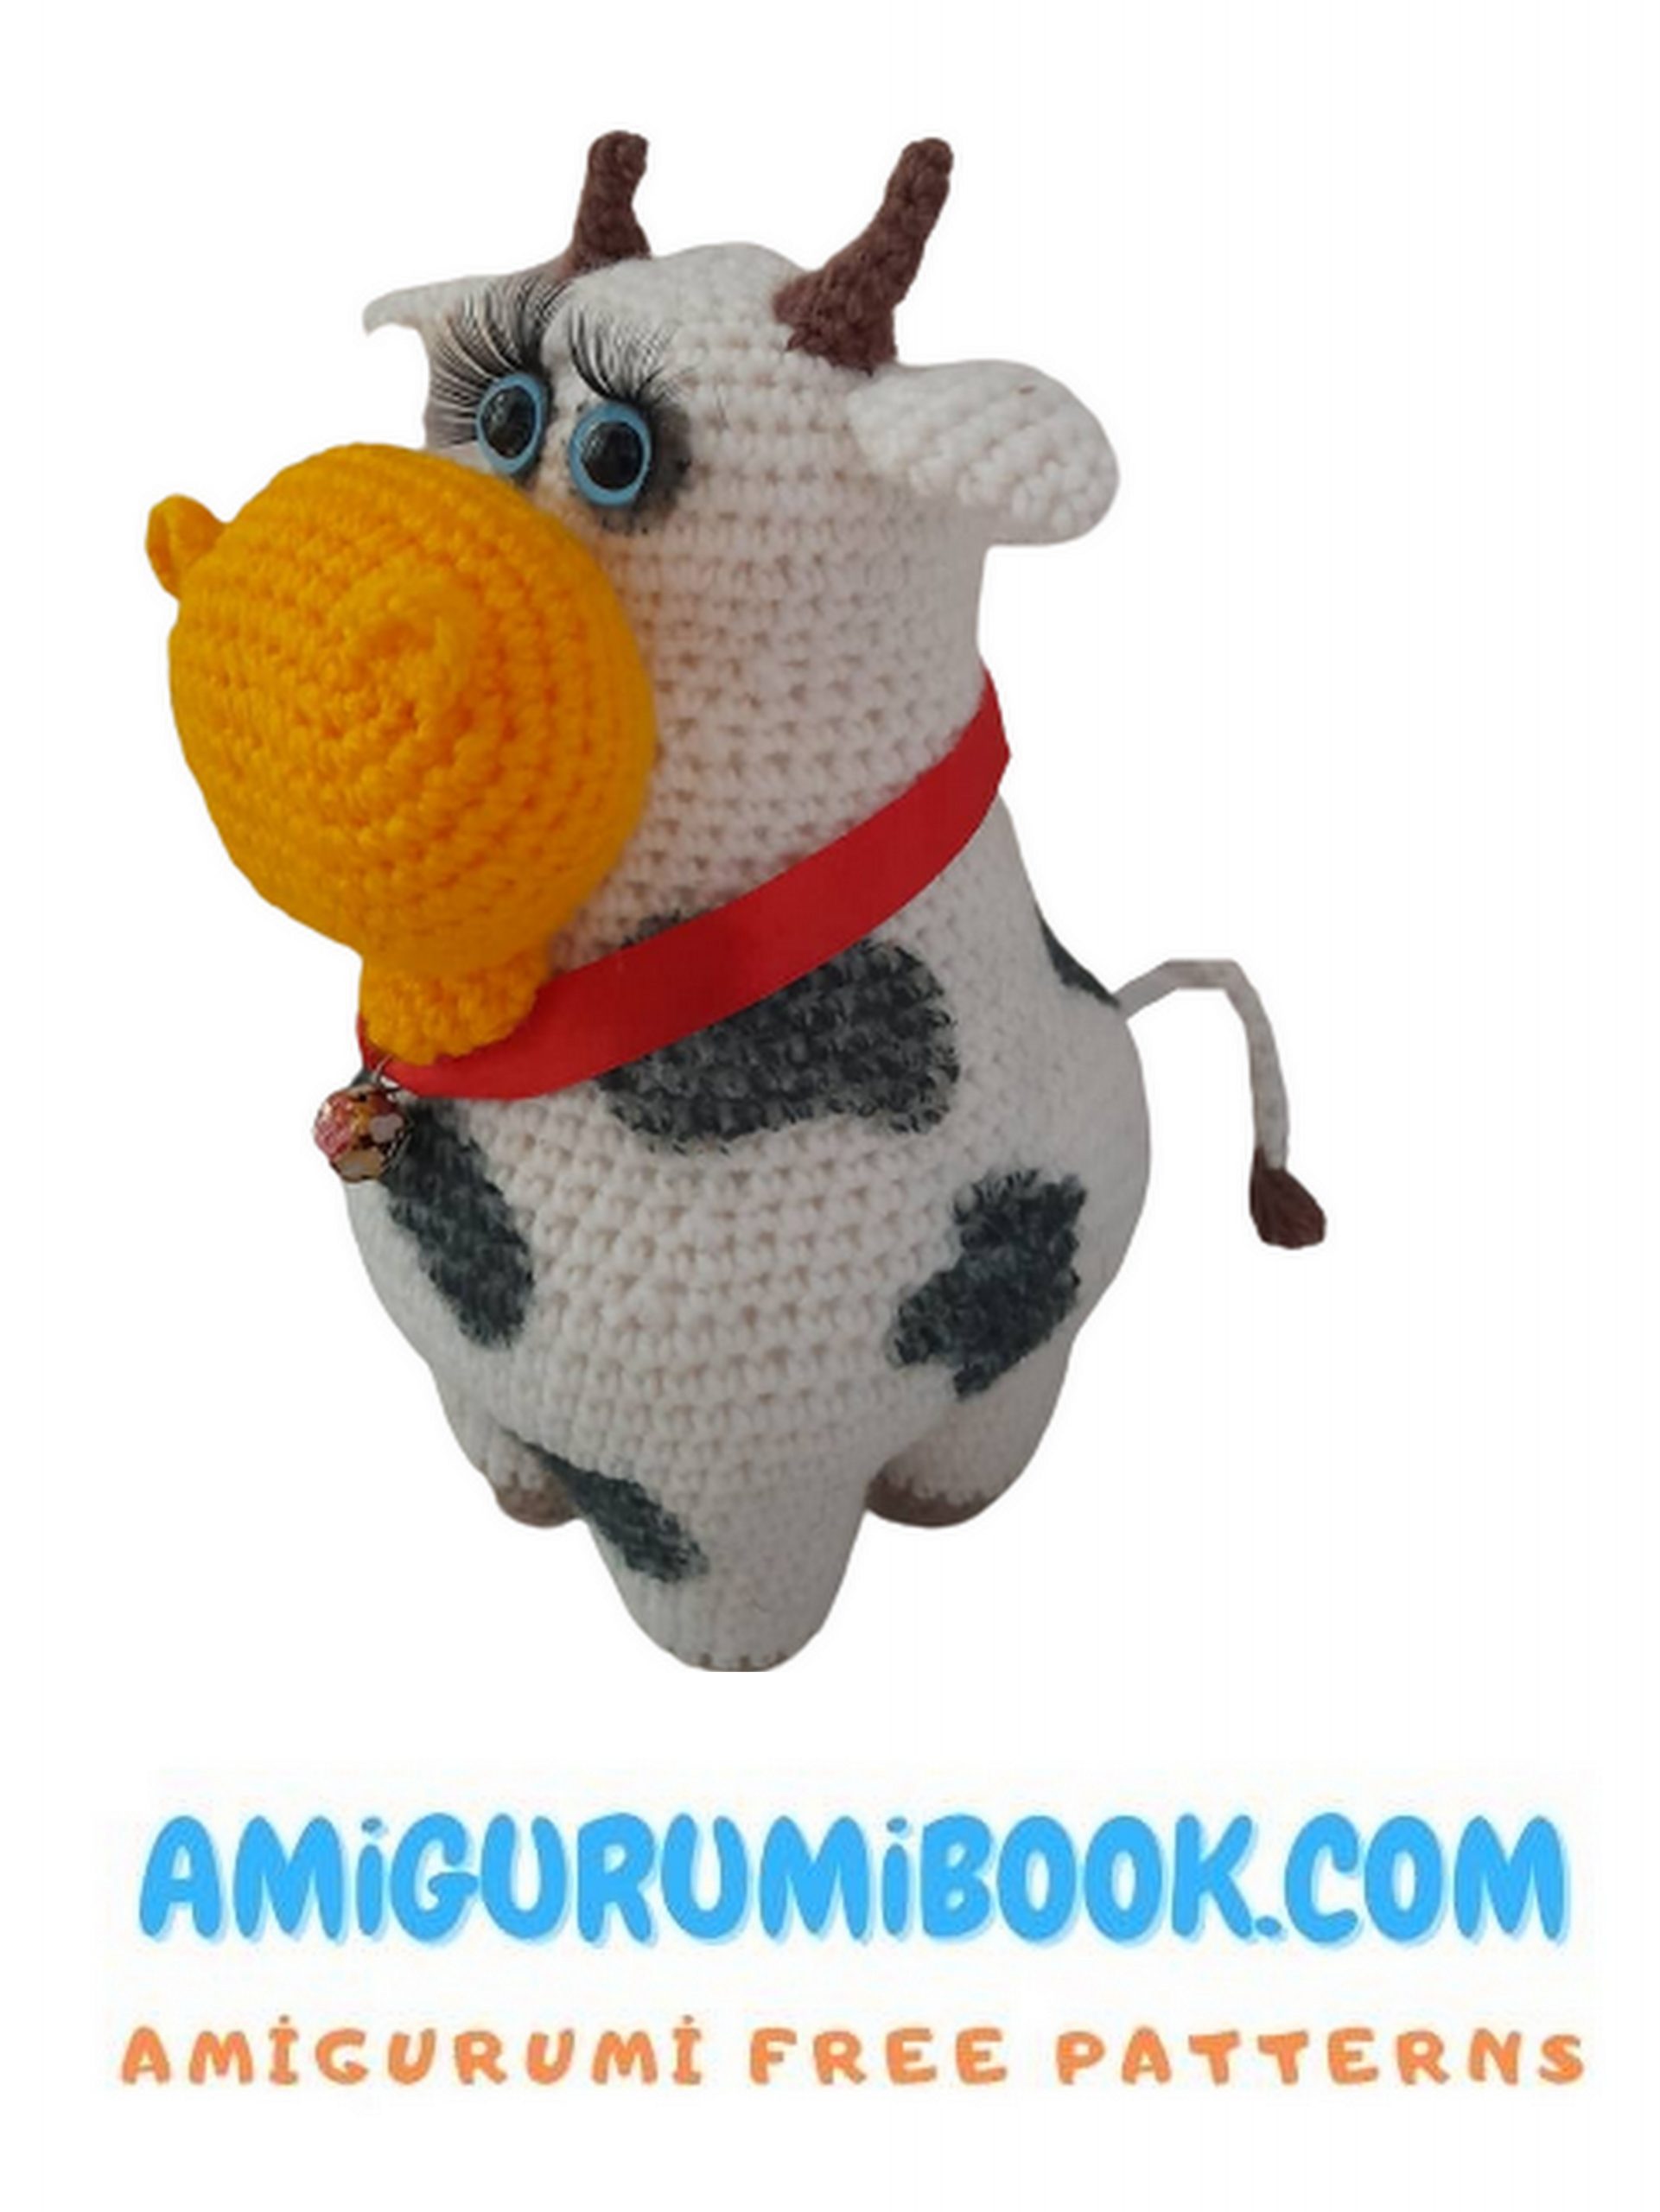
Discover the joy of crafting with this adorable fat cow amigurumi free pattern, perfect for both beginners and experienced crocheters. This charming handmade toy makes a delightful gift or a cozy decoration for any space. free crochet patterns – Scarf Cat Amigurumi Free Pattern – Crochet Tutorial
You may also like more amigurumi patterns.
I continue to share amigurumi free patterns. In this article, cute fat cow amigurumi free pattern is waiting for you.
Materials
1) YARN Pekhorka “Children’s Novelty” (250m / 50gr)
– main color ~ 25gr;
– dark gray and light yellow ~ 10-15g
2) Filler;
3) Scissors;
4) Needle for stitching parts;
5) Marker (you can use a thread of a contrasting color);
6) Eyelashes (1 pair)
7) Glue glass eyes with a diameter of 12mm (1 pair)
8) Optional Satin ribbon and bell
9) I painted the spots with a marker on the fabric and dry oil pastels. You can also try
paint with acrylic.
10) Glue moment “crystal”
Abbreviations
sc – single crochet;
dc – double crochet;
hdc – half double crochet;
inc – increase;
dec – decrease;
sl-st – slip-stitch
ch – chain
PATTERN
Ears – 2 parts
We knit in the main color. Do not fill!
1st row: 4sc in ka (4)
2nd row: (sc, inc) * 2 (6)
3rd row: (2sc, inc) * 2 (8)
4th row: (3sc, inc) * 2 (10)
5th row: (4sc, inc) * 2 (12)
6th row: sc (12)
7th row: dec * 6 (6)
Fold the piece in half and knit in two
hand 2sc, do sl-st. Fasten the thread,
crop and hide.
Horns – 2 pieces
We knit in a dark gray color. Fill.
1st row: 3sc into magic ring (3)
2nd row: sc (3)
3rd row: 2sc, inc (4)
4th row: (sc, inc) * 2 (6)
5th row: (2sc, inc) * 2 (8)
6th row: (3sc, inc) * 2 (10)
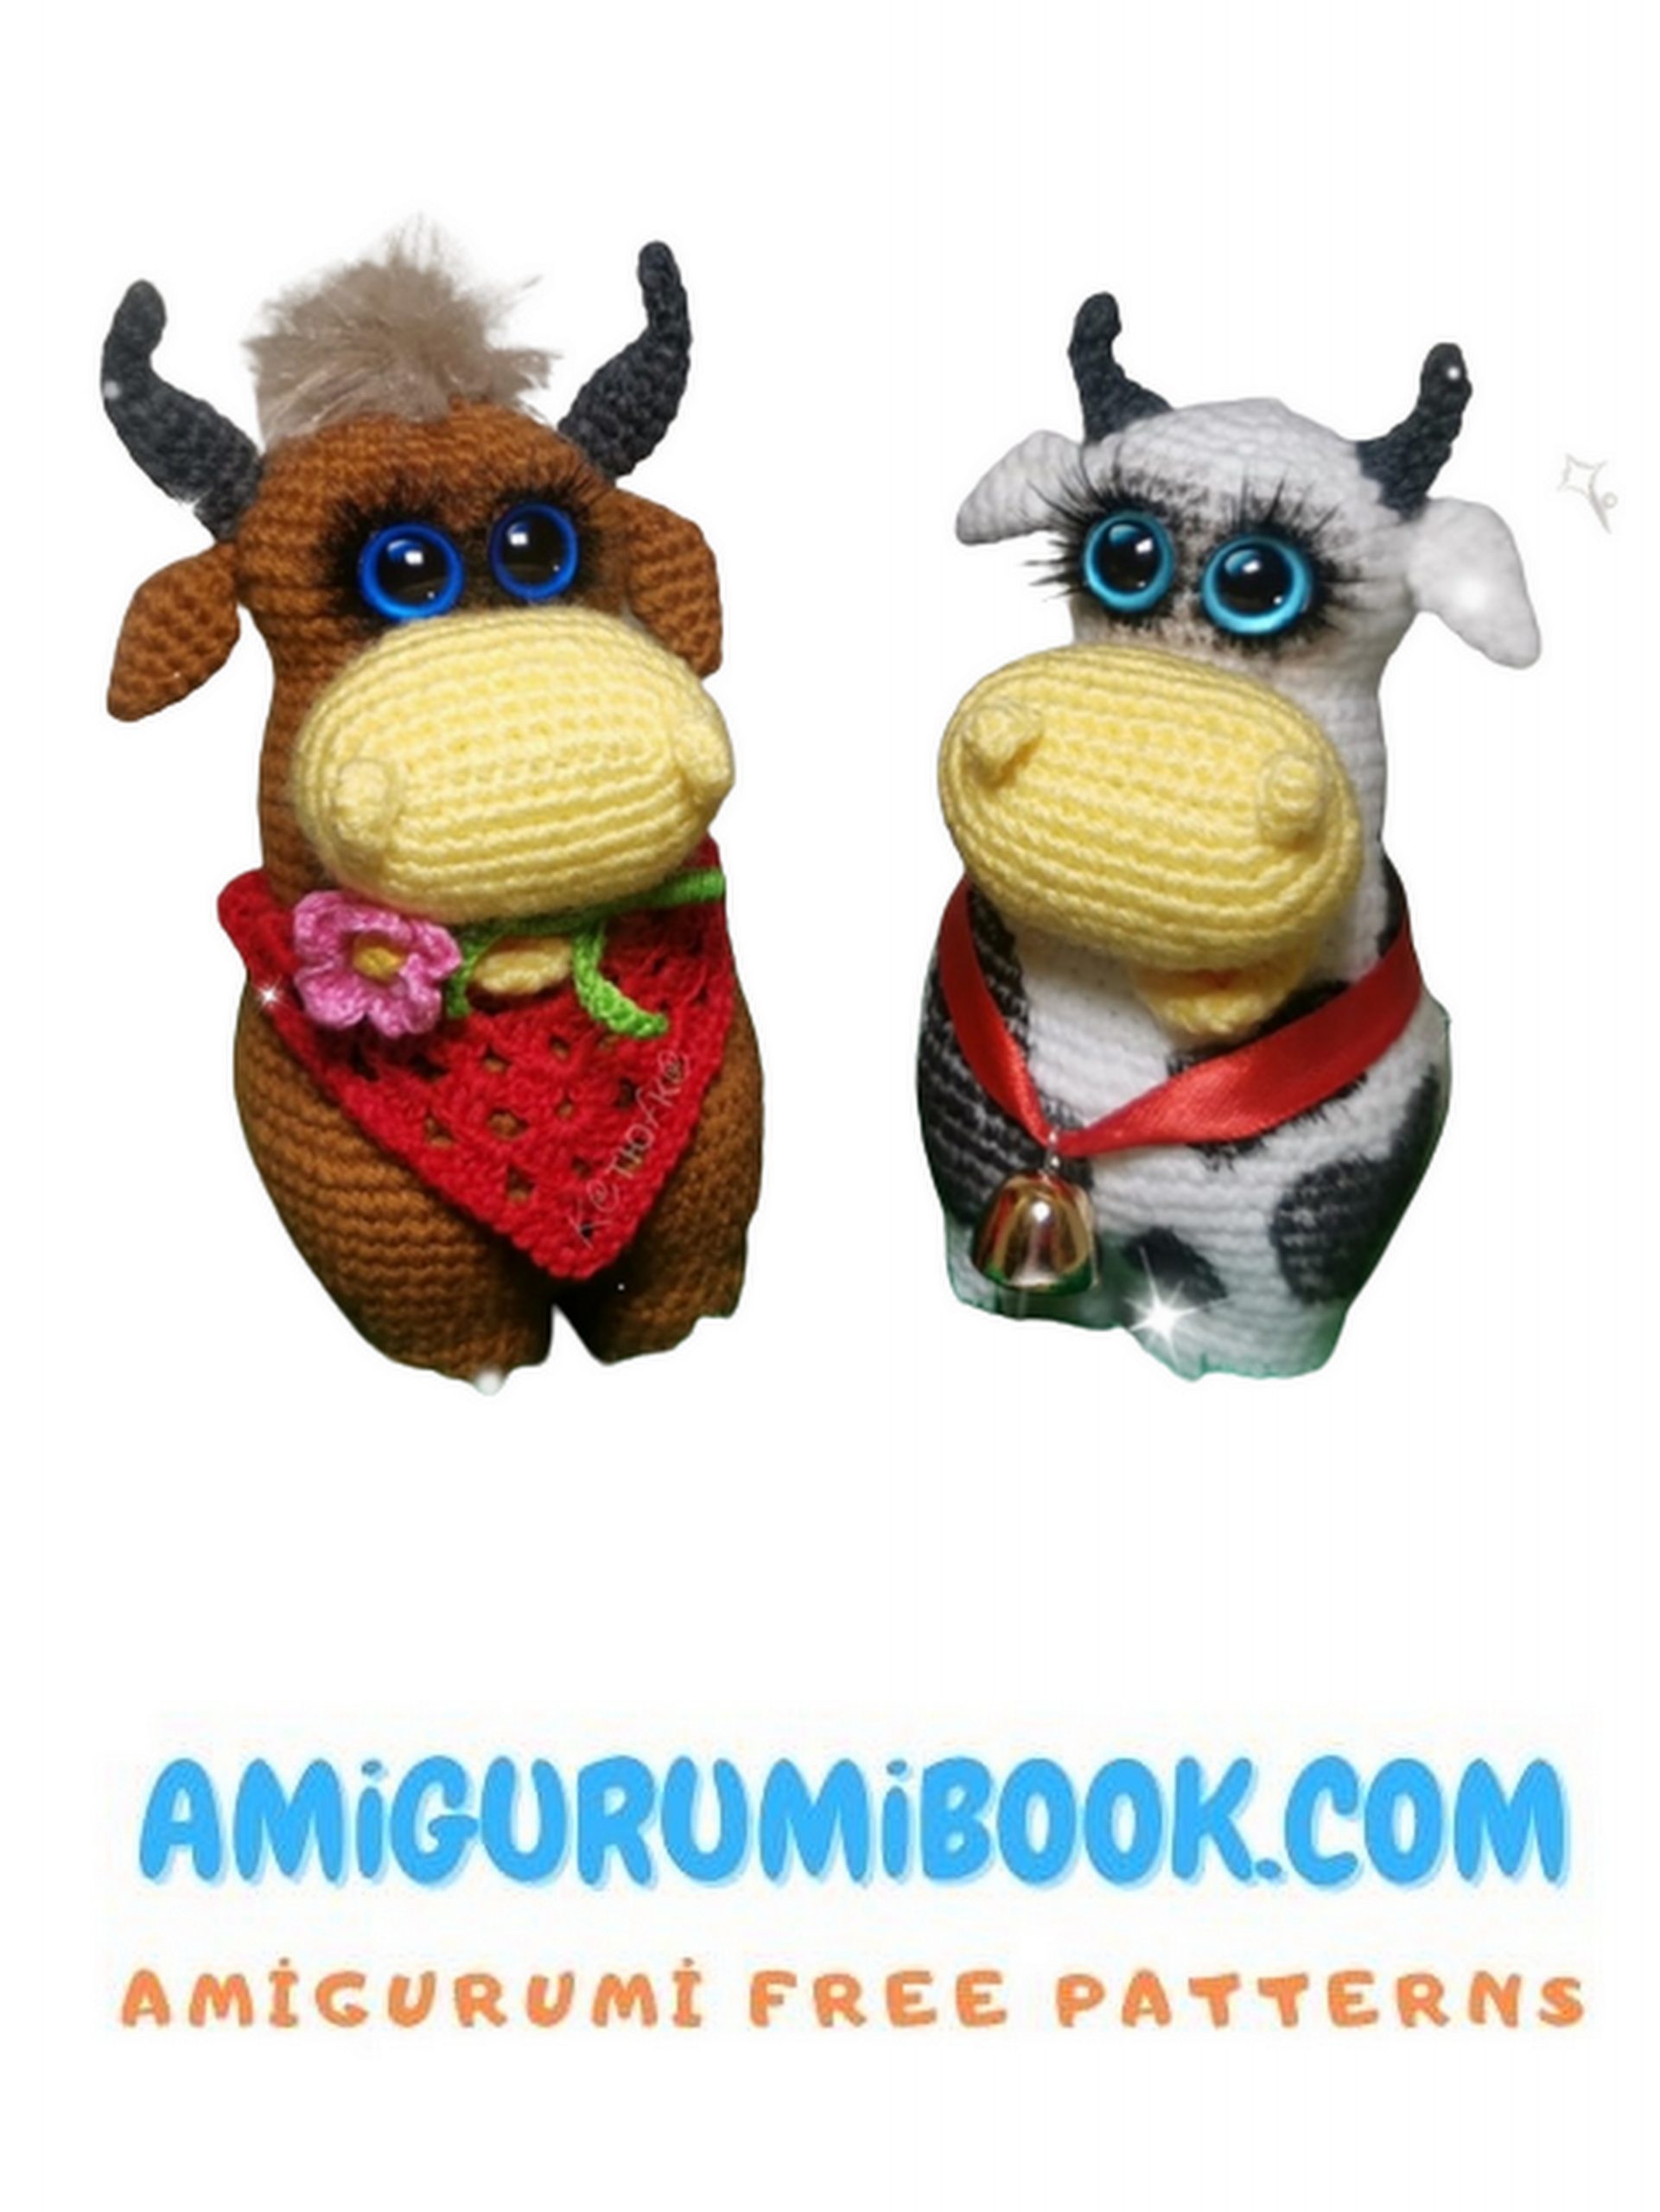
For a cow:
Make ss. Fasten the thread and leave for
sewing.
For the bull, we knit further:
7-10 row: sc (10)
Make ss. Fasten the thread and leave for
sewing.
(photo given by bull horns)
Tail
We knit in the main color. Do not fill!
1st row: 4sc into magic ring (4)
2-13 row: sc (4)
Fold the piece in half and knit in two
sides 2sc. Fasten and cut the thread.
Form a tassel from the side of the 1st row
in dark gray by the “fringe” method.
Mouth
We knit in light yellow. Do not fill!
1st row: 6sc into magic ring (6)
2nd row: inc * 6 (12)
3rd row: (5sc, inc) * 2 (14)
4th row: sc (14)
Fold the piece in half and knit in two
sides 7sc. Fasten, cut and hide the thread.
Muzzle
We knit in light yellow.
1st row: Dial 11ch (11)
Starting from the 2nd loop from the hook, knit:
2 row: 9sc, 3sc in one loop, on the other side: 8sc, inc (22)
3rd row: inc, 8sc, inc * 3, 8sc, inc * 2 (28)
4th row: (sc, inc), 8sc, (sc, inc) * 3, 8sc, (sc, inc) * 2 (34)
5th row: (3sc, inc) * 6, 2sc, (inc, 3sc) * 2 (42)
6th row: (6sc, inc) * 6 (48)
7-9 row: sc (48)
10th row: (6sc, dec) * 6 (42)
11th row: (5sc, dec) * 6 (36)
12th row: (4sc, dec) * 6 (30)
Next, we knit the mouth. To do this, fold the part along and mark 7 on one of the sides
loops in the center.
13th row: We knit 30sc (when we reach the marked loops, then we knit 7sc together with the loops
mouth and muzzle) (30)
Make sl-st. Fasten the thread and leave for sewing.
Nostrils – 2 parts
We knit in light yellow.
1st row: 6sc into magic ring, loop, turn (6)
2nd row: dec, 2sc, dec (4)
Fasten the thread and leave for sewing.
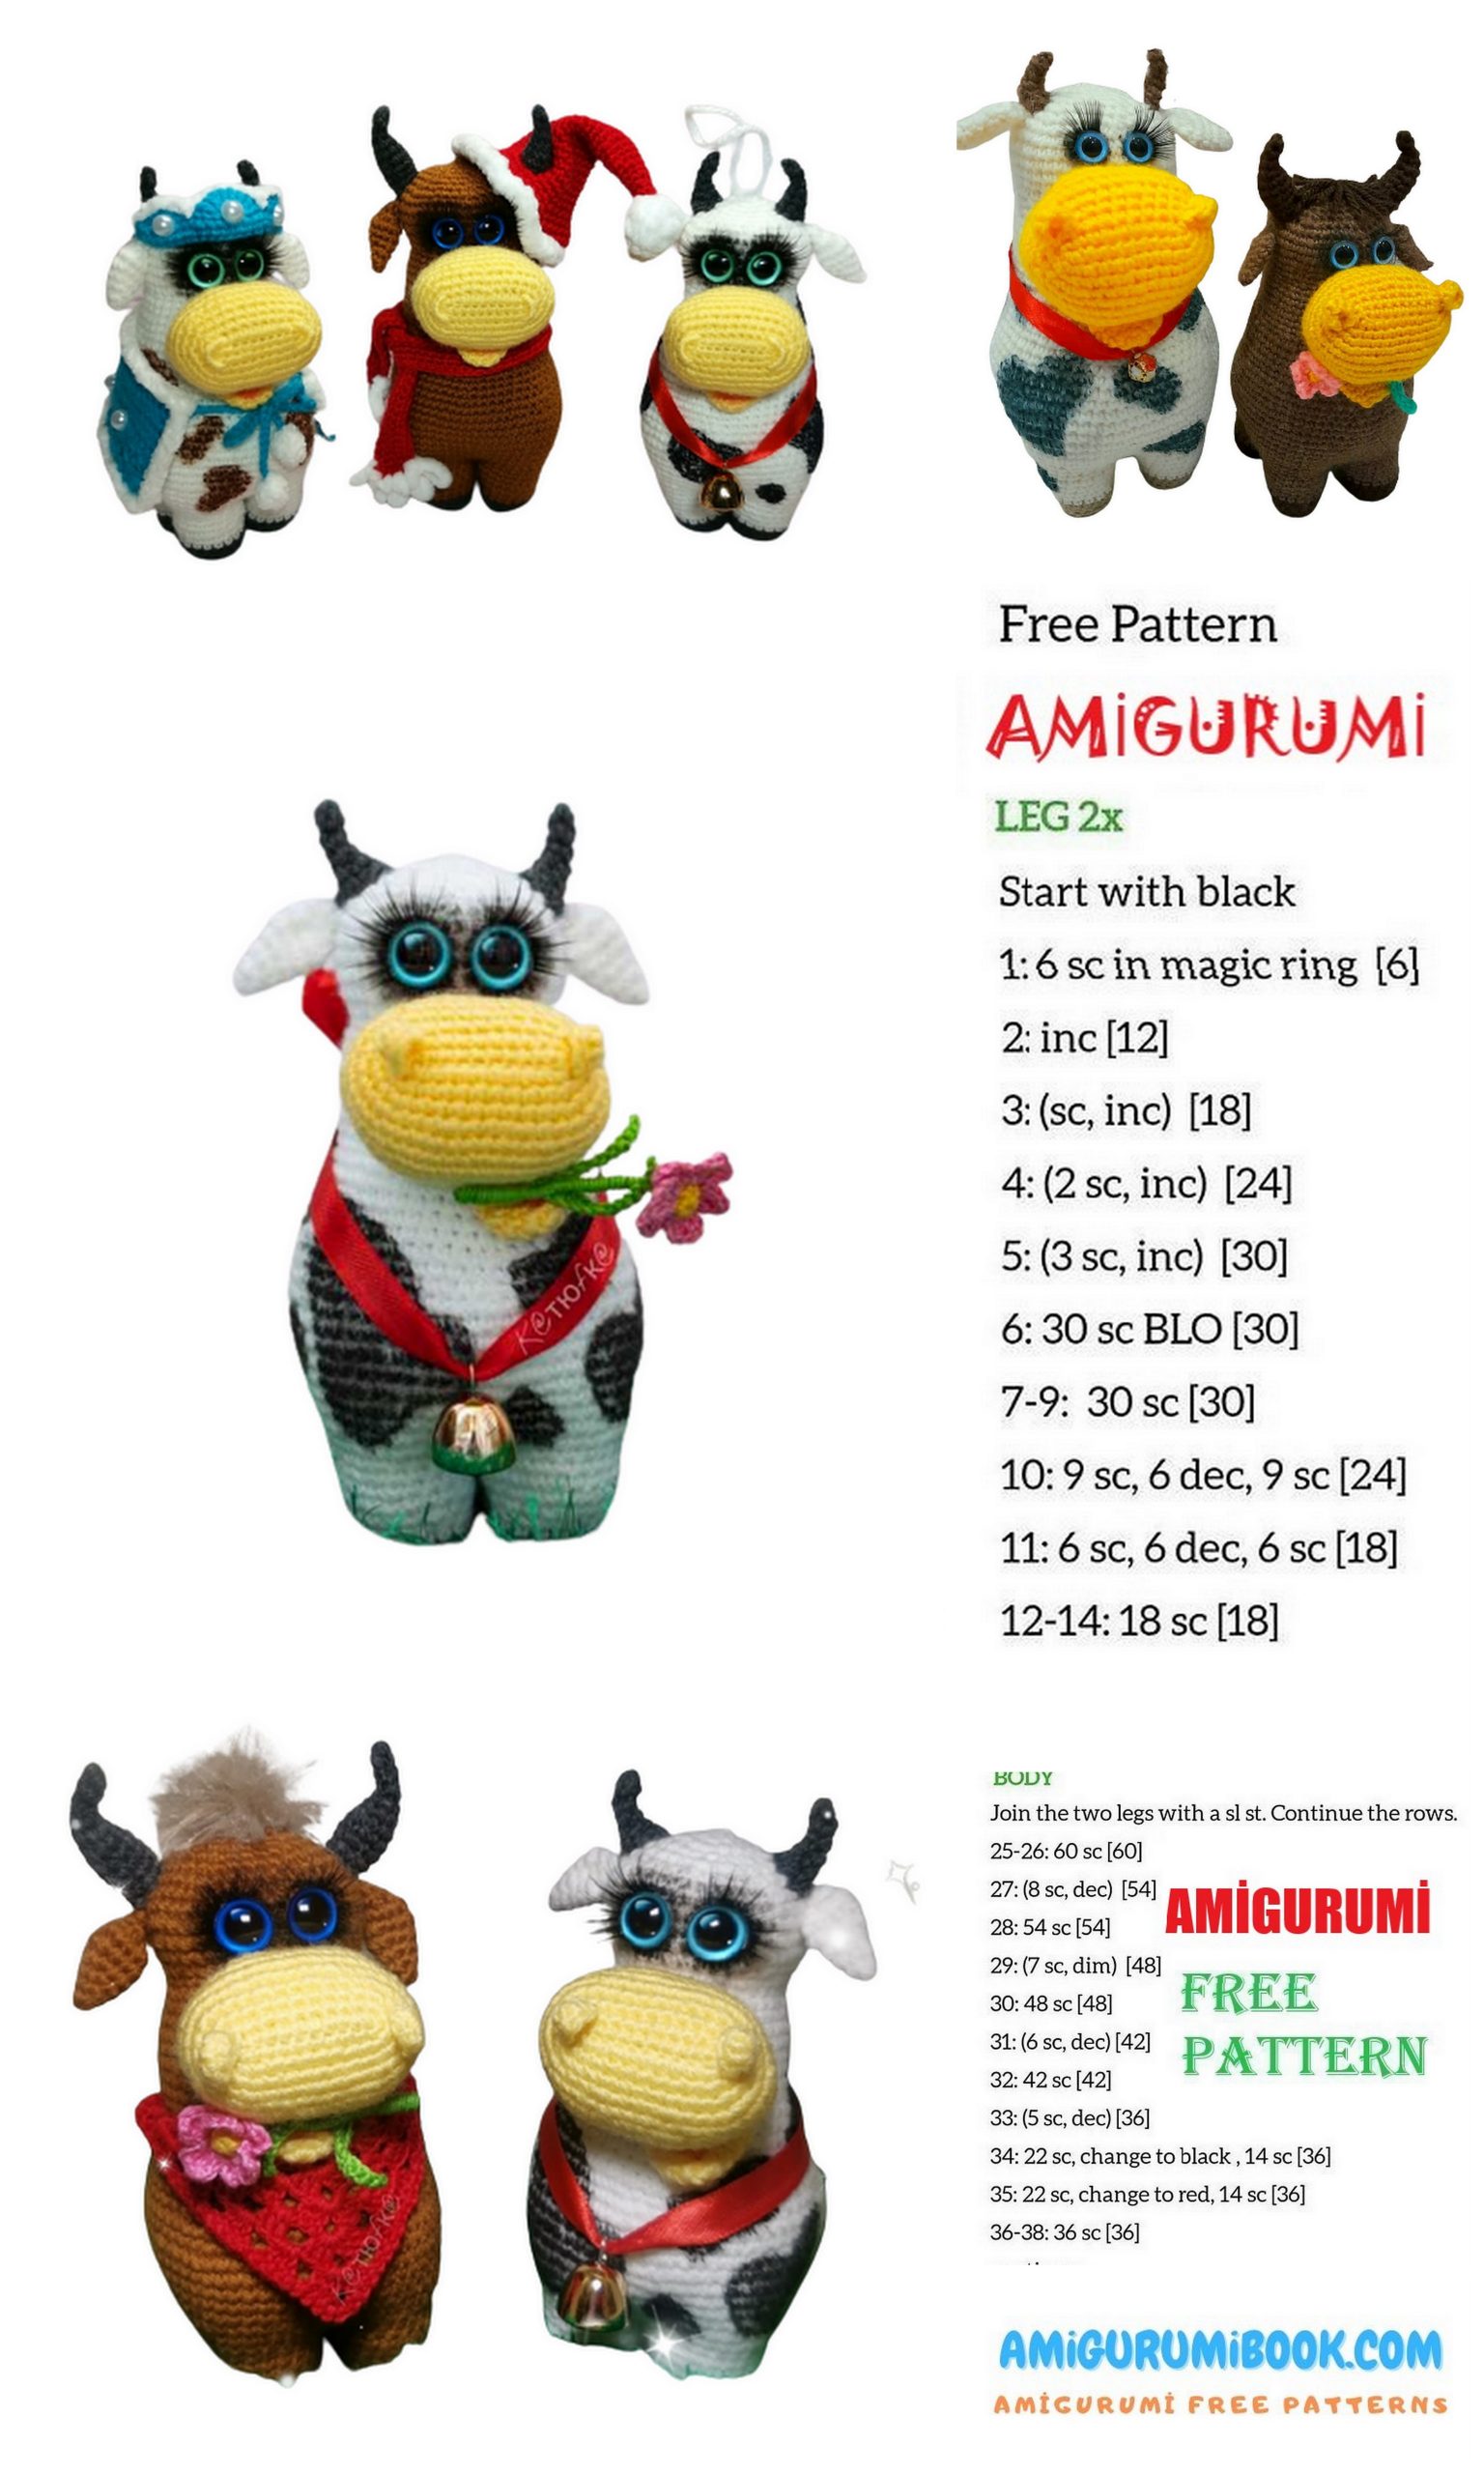
Legs – 4 pieces
We knit in a dark gray color.
1st row: 6sc into magic ring (6)
2nd row: inc * 6 (12)
3rd row: (sc, inc) * 6 (18)
We knit for the back half-loops:
4th row: sc (18)
We knit for both half loops:
5th row: sc (18)
Change to base color:
6-7 row: sc (18)
8th row: (5sc, inc) * 3 (21)
9-10 row: sc (21)
Fasten the thread, cut it and hide it inside. On the
DO NOT stuff your legs at this stage.
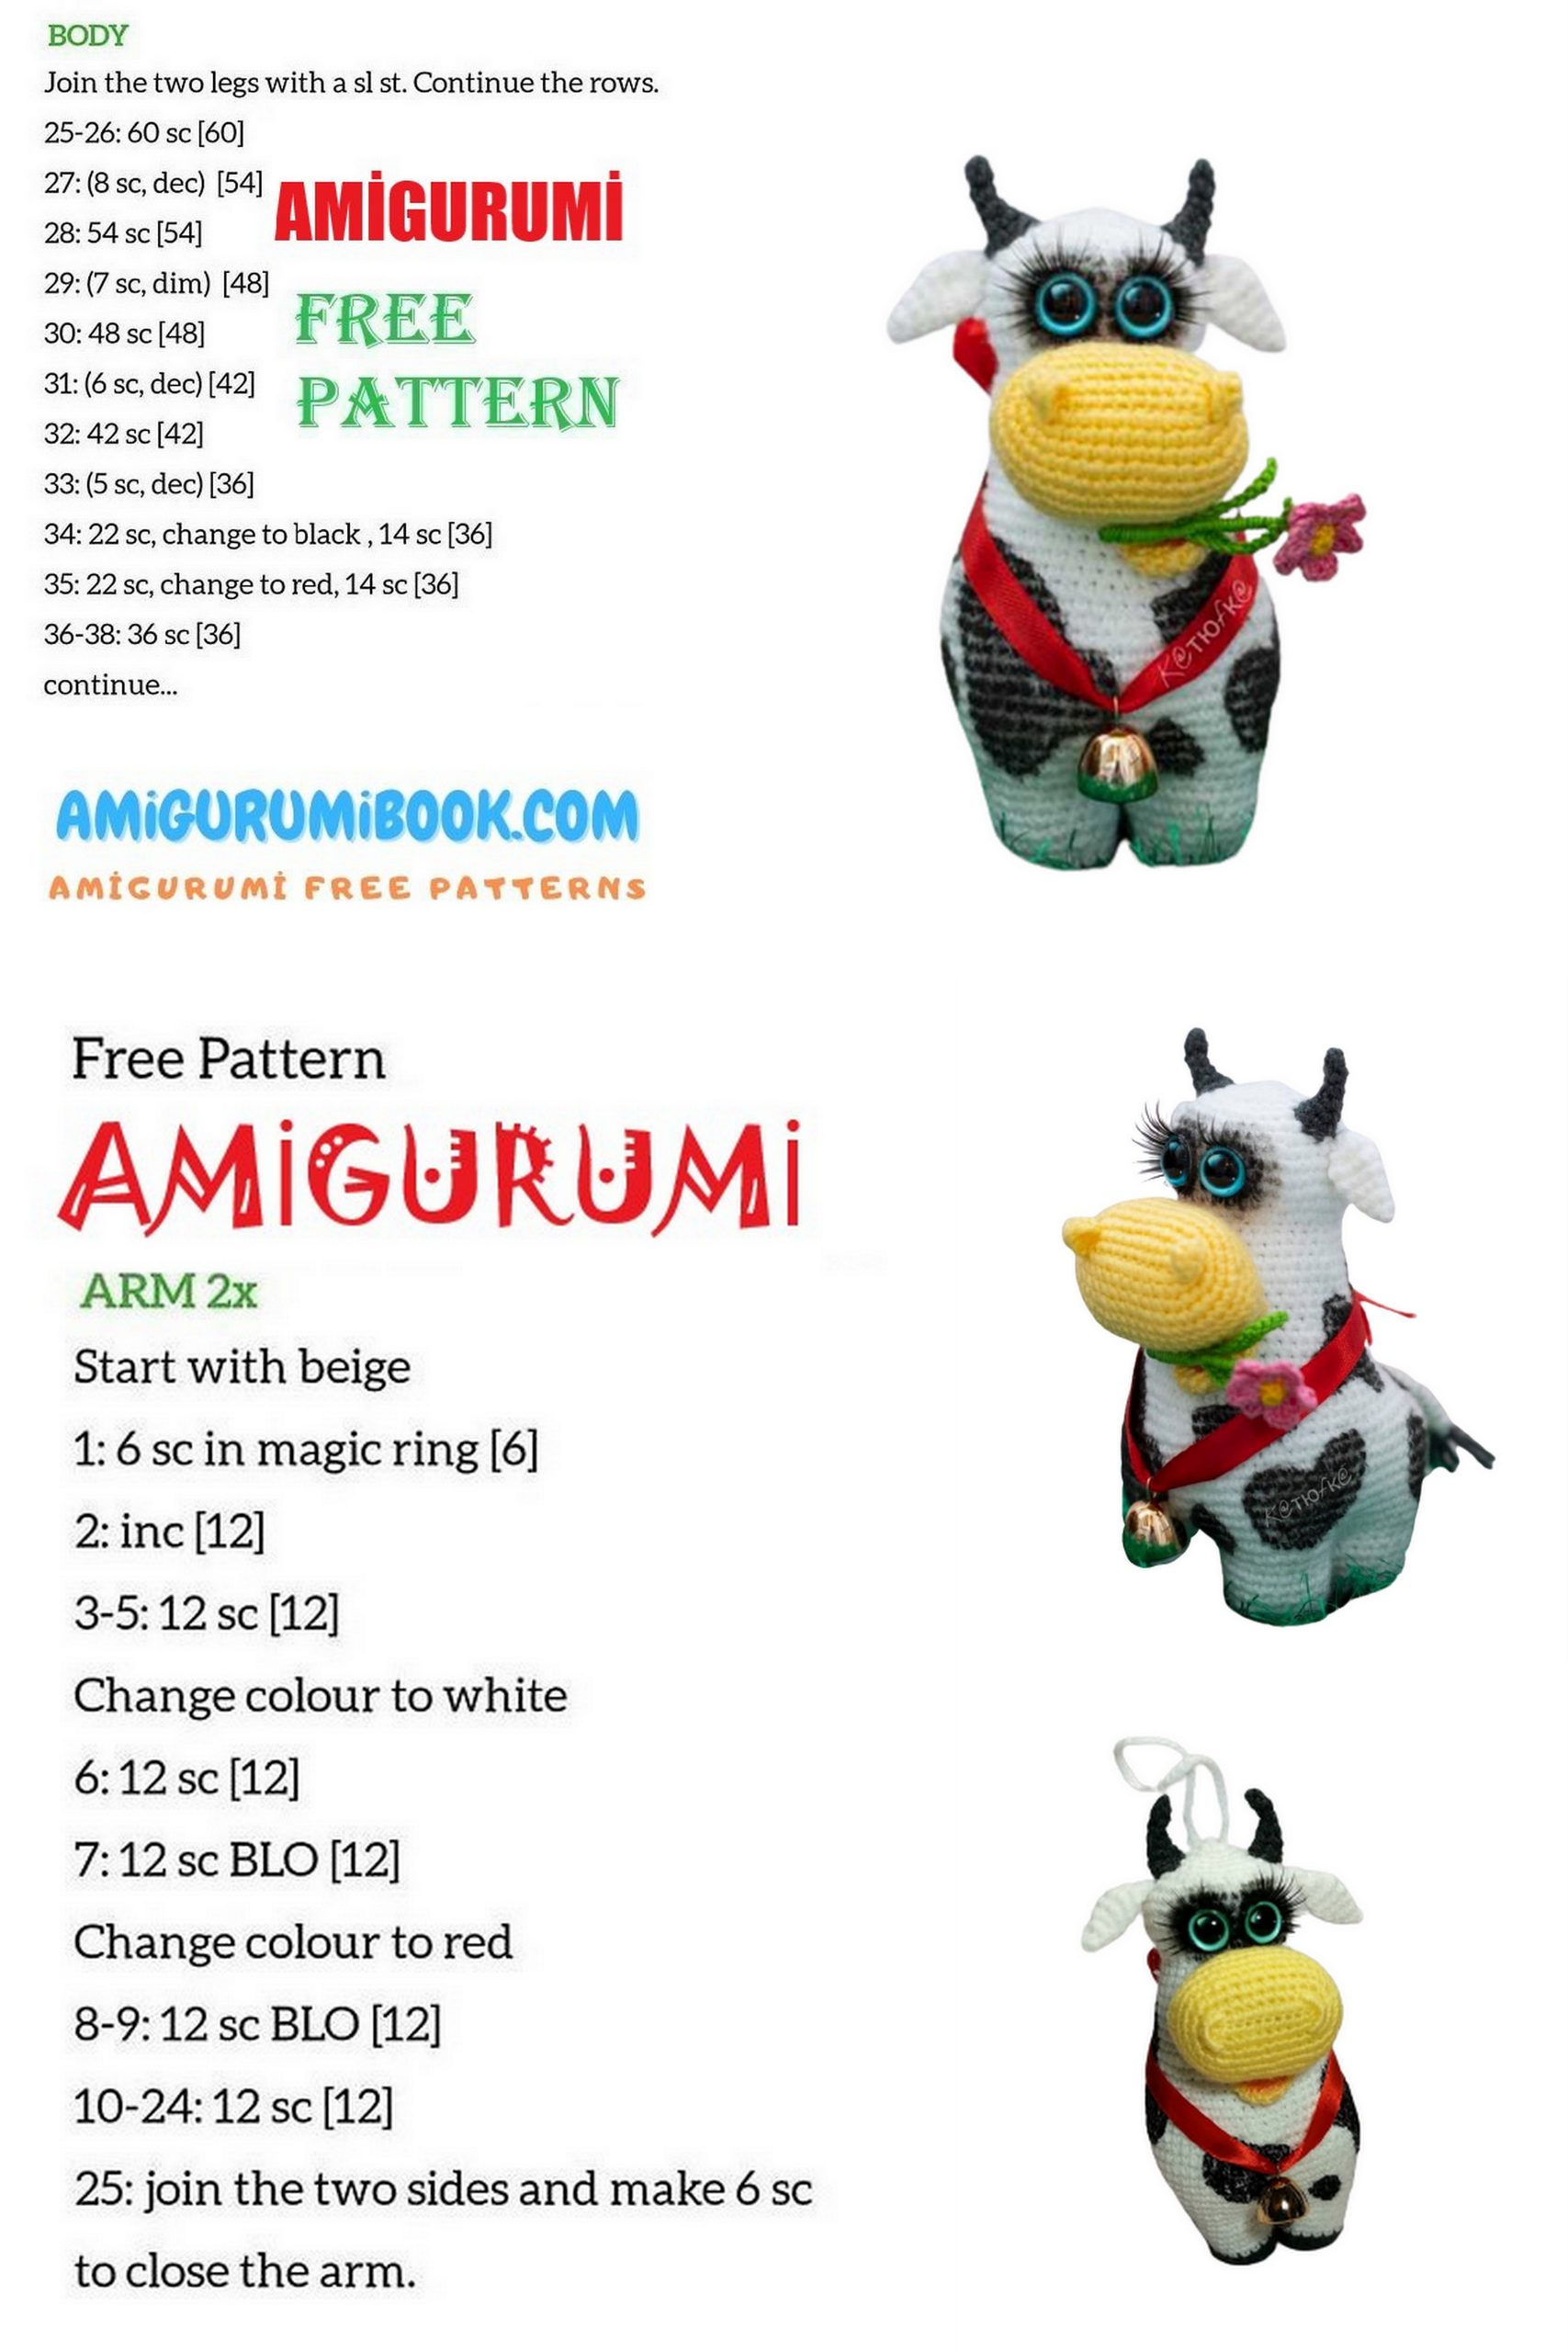
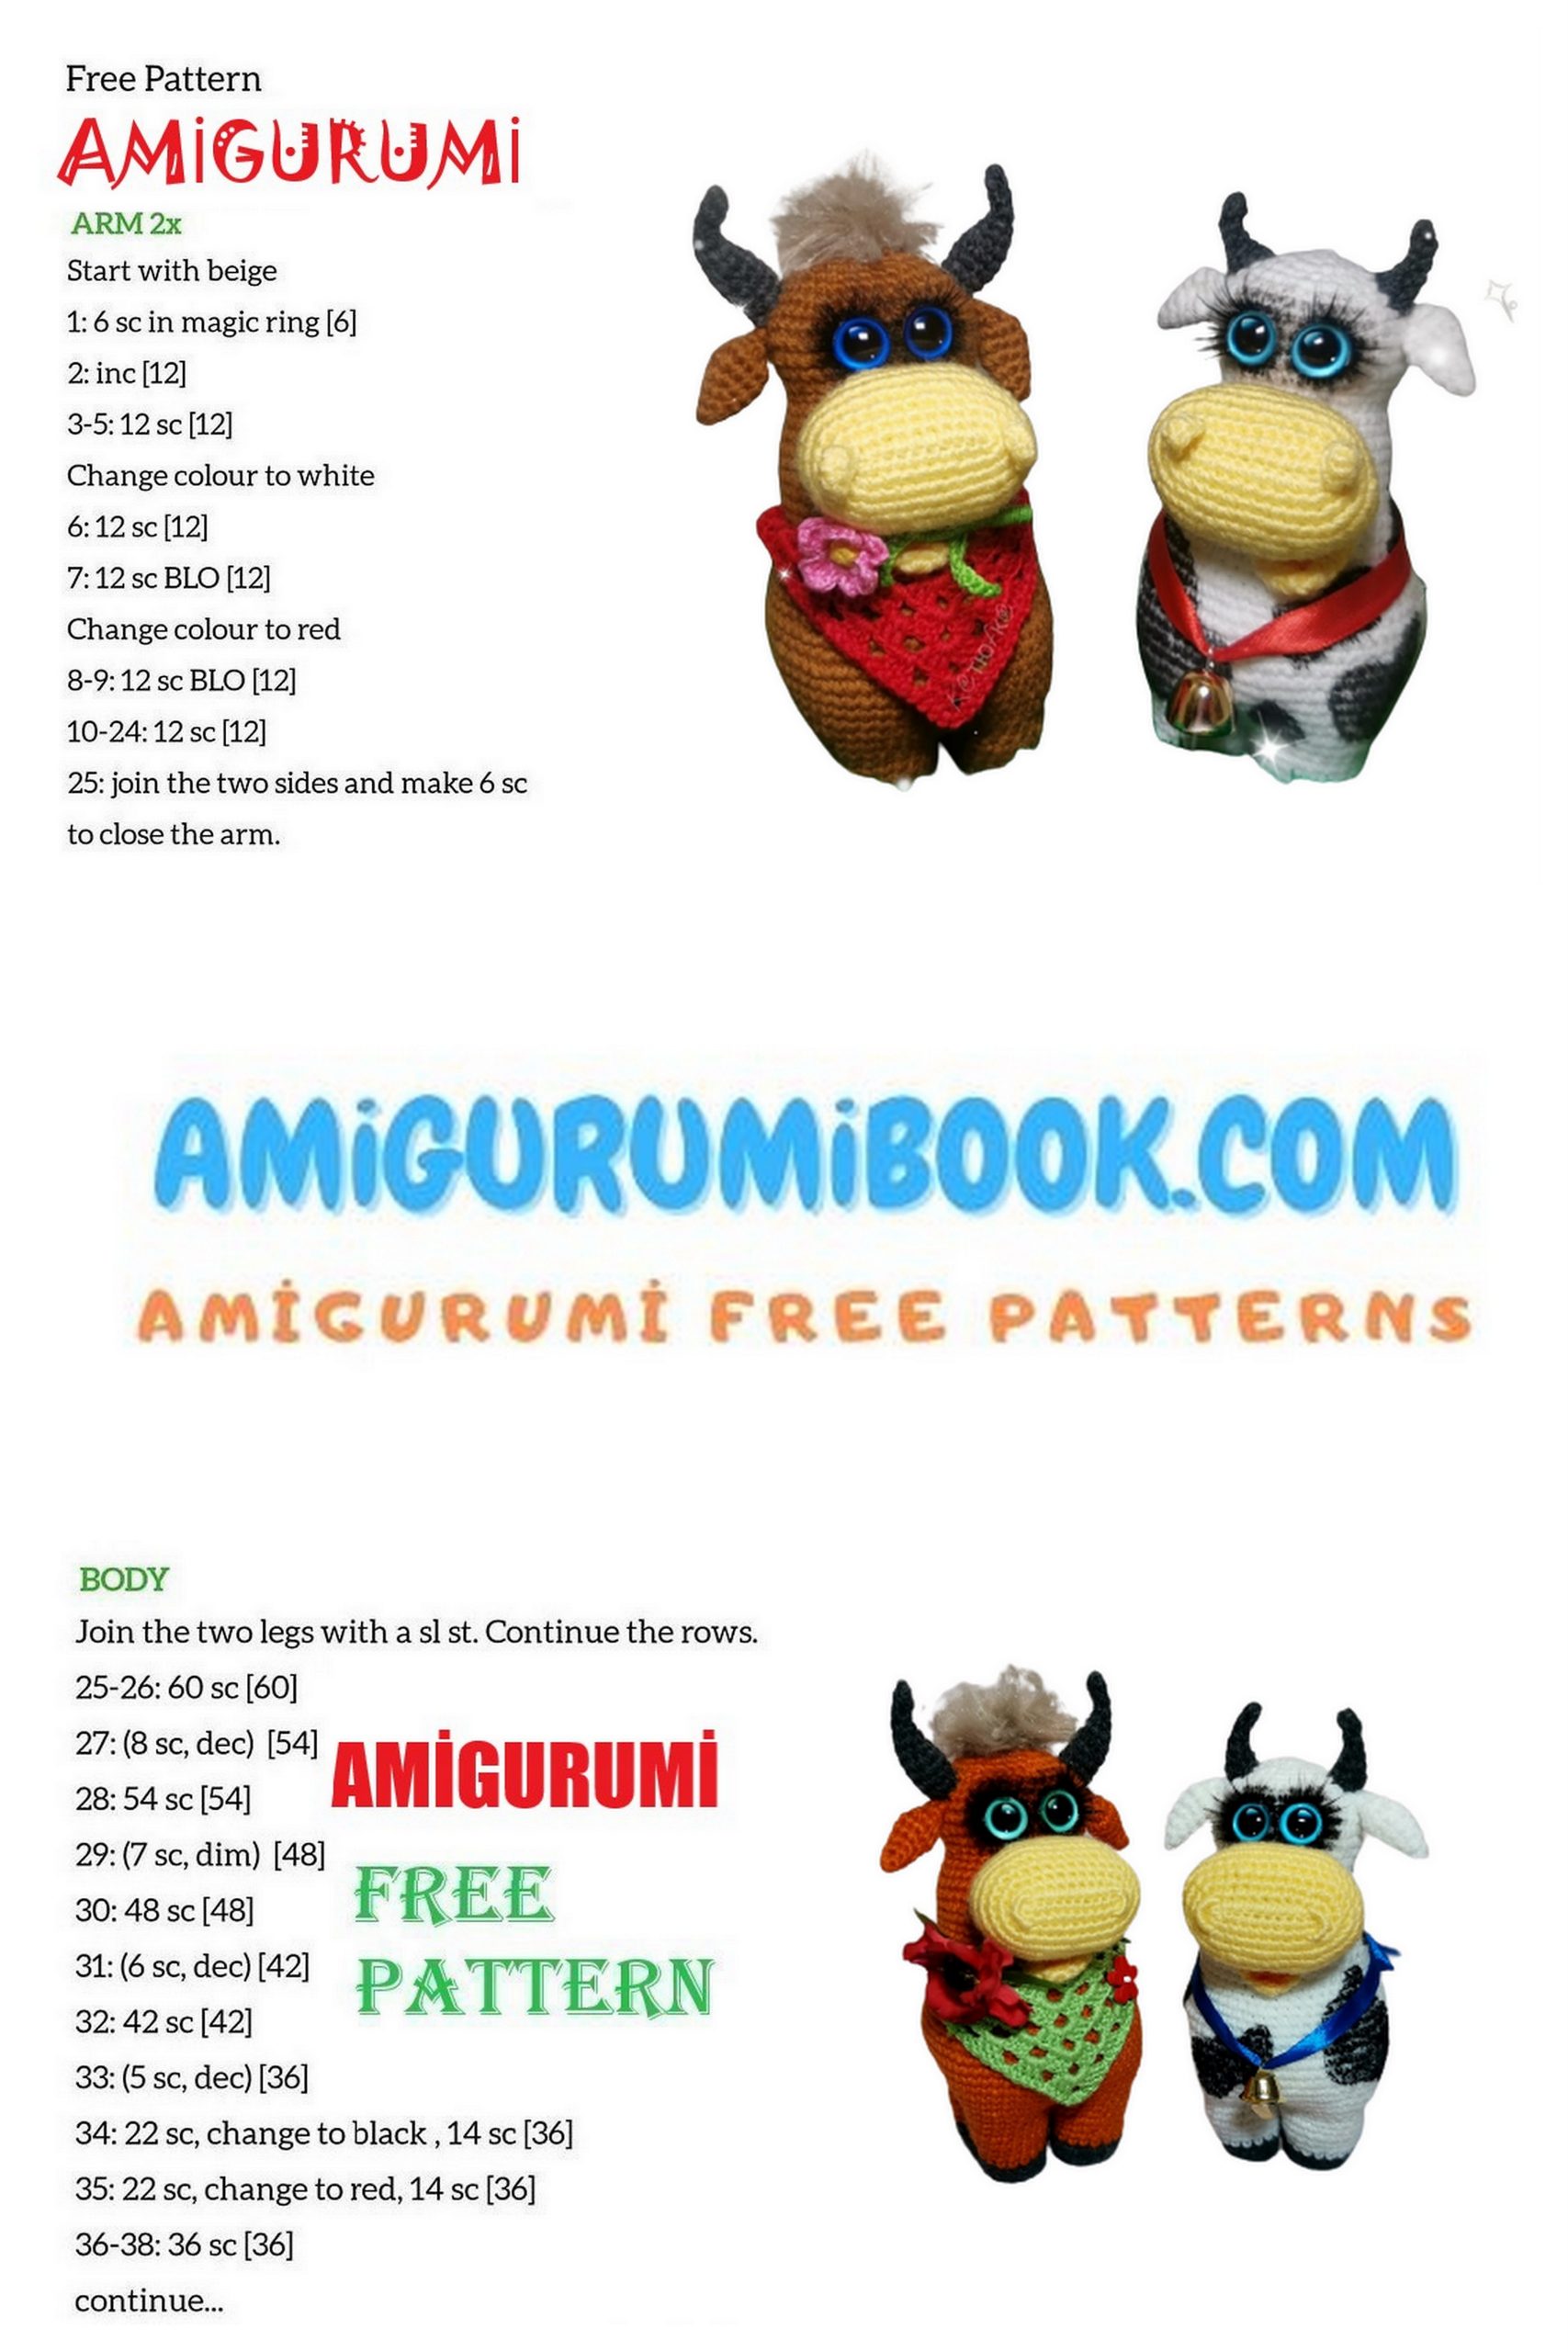
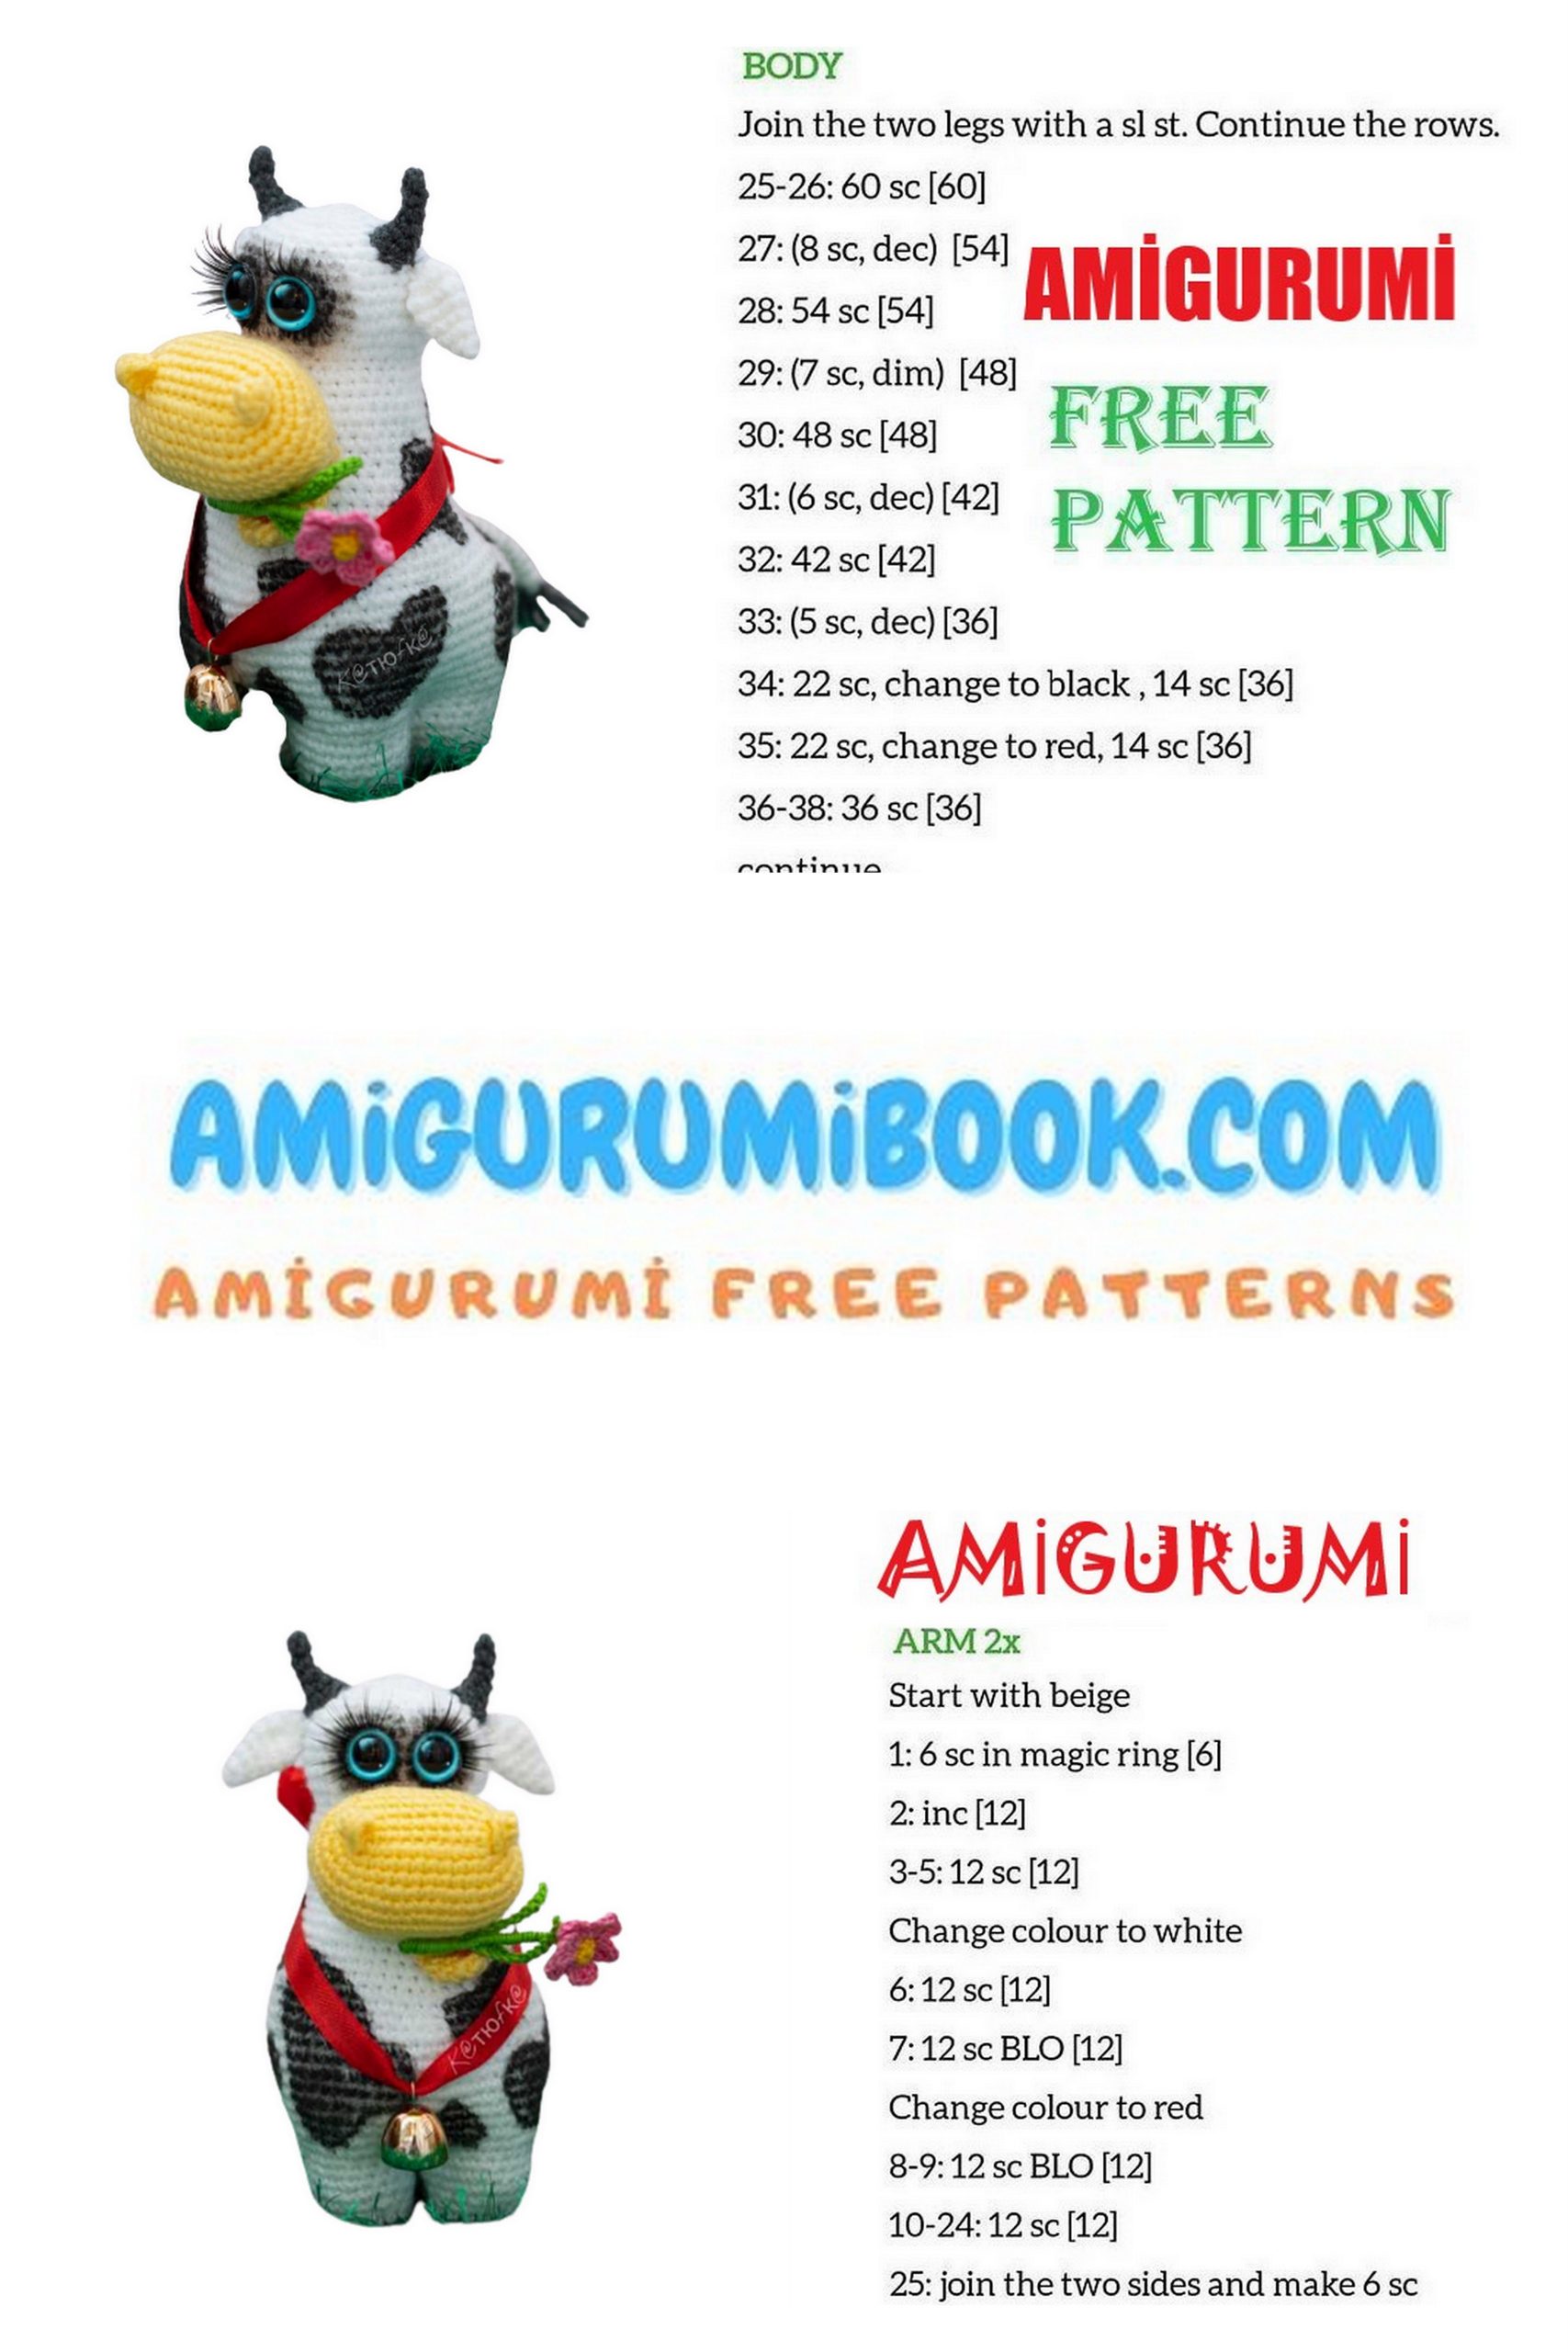
Torso – Head
We knit in the main color. Stuff gradually as you knit.
1st row: 6sc into magic ring (6)
2nd row: inc * 6 (12)
3rd row: (2sc, inc) * 4 (16)
In the next row, you need to knit your legs.
4th row: 4sc together with the loops of the first leg and base (the part that began to knit), 4sc together
with loops of the second leg and base, 4sc together with the loops of the third leg and base, 4sc together with
loops of the fourth leg and base (16)
Next, we work with free leg loops.
5th row: (dec, 13sc, dec) * 4 (60)
If there are holes left during knitting of the 5th row,
you need to sew them up. You can also use
double decreases in the corners of the legs with the capture of the part –
grounds.
6th row: sc (60)
7th row: (5sc, inc) * 10 (70)
8-9 row: sc (70)
Make the required number of offset loops.
The marker must be exactly centered between
2 with your close feet.
10th row: (inc, sc) * 3, 58sc, (sc, inc) * 3 (76)
11th row: (18sc, inc) * 4 (80)
12-14 row: sc (80)
Align the marker to the center of the back.
15th row: (dec, 8sc) * 4, (8sc, dec) * 4 (72)
16th row: 71sc, sc together with the first loop of the tail (72)
17th row: sc together with the second loop of the tail, 5dec, (4sc, dec, 4sc) * 5, 5dec, sc (57)
18th row: 28sc, dec, 27sc (56)
Align the marker to the center of the back.
19 row: (dec, sc) * 2, 44sc, (sc, dec) * 2 (52)
20 row: (11sc, dec) * 4 (48)
21-24 row: sc (48) – only 4 rows
At this stage, it is necessary to fill well
legs and lightly begin to stuff the torso.
25th row: (6sc, dec) * 6 (42)
26-30 row: sc (42) – total 5 rows
31 row: (5sc, dec) * 6 (36)
32 row: sc (36)
33 row: (4sc, dec) * 6 (30)
34th row: (2sc, inc) * 10 (40)
35th row: sc (40)
36th row: (3sc, inc) * 10 (50)
37th row: sc (50)
For the bull:
In the next row, you need to knit the ears. To do this, align the marker strictly to the center.
back (we tie the required number of offset loops)
38th row: 12sc, 2sc together with loops of one ear, 22sc, 2sc
with second ear loops, 12sc (50)
39 row: (23sc, dec) * 2 (48)
40th row: (6sc, dec) * 6 (42)
41 row: (5sc, dec) * 6 (36)
42 row: (4sc, dec) * 6 (30)
43 row: (3sc, dec) * 6 (24)
44th row: (2sc, dec) * 6 (18)
45 row: (sc, dec) * 6 (12)
46th row: dec * 6 (6).
Pass the needle through the front half loops. Pull the thread, fasten,
cut and hide inward.
For a cow:
38th row: sc (50)
39 row: (23sc, dec) * 2 (48)
In the next row, you need to knit the ears. For this
align the marker strictly in the center of the back (tie
required number of offset loops)
40 row: 6sc, dec, 2sc, dec, 2sc together with loops of one ear,
2sc, (6sc, dec) * 2, 2sc, 2sc together with single ear loops, dec,
8sc, dec (42)
41 row: (5sc, dec) * 6 (36)
42 row: (4sc, dec) * 6 (30)
43 row: (3sc, dec) * 6 (24)
44th row: (2sc, dec) * 6 (18)
45 row: (sc, dec) * 6 (12)
46th row: dec * 6 (6).
Pass the needle through the front half loops. Pull the thread, fasten,
cut and hide inward.
Registration
1. Horns must be sewn strictly above the ears. Use your fingers to shape them correctly.
2. Lightly fill the muzzle and place it between rows 25 and 33 using tailor’s pins.
head-torso. Sew on (in the process of sewing, fill the part with filler).
3. At the level of 2-3 rows of the muzzle, sew the nostrils. There are approximately 8-9 columns between the nostrils.
4. It is necessary to tighten the priests. Place 2 pins in the crease (one
a pin just under the tail, another one below). We introduce the needle and thread in the color of the toy (I used
a piece of yarn, which was knitted) to point 2, leave a piece of thread ~ 8cm long, we output to point 1.
We enter at point 2. We retreat from point 2 1 column and withdraw the needle. We pull up a little for
the segment left. We enter at point 1 and output at point 2. We make a knot. We tighten up. We do
second knot. Cut the threads and hide them inside.
nine
5. Above the muzzle at the level of 35-39 of the row of the head-body, tint under the eyes. For
I used dry oil pastels for toning.
Applied with a cotton swab, shading well.
The rotik was also tinted with red pastels.
6. Glue to the selected eyes along the edge
eyelashes. I use Moment “Crystal” glue.
Since the eyes themselves with the selected materials I
I use 12mm, then one was enough for me
cilia cut in half. Ready eyes
glue over the muzzle in the place where it was applied
toning.
Tip: If your eyes are black or dark, try gluing them onto white felt.
Then cut them out, glue the eyelashes, and glue the finished eyes over the muzzle.
7. The spots on the ladybug were painted with dry oil pastels, and the contour was drawn with a black marker along
fabrics.
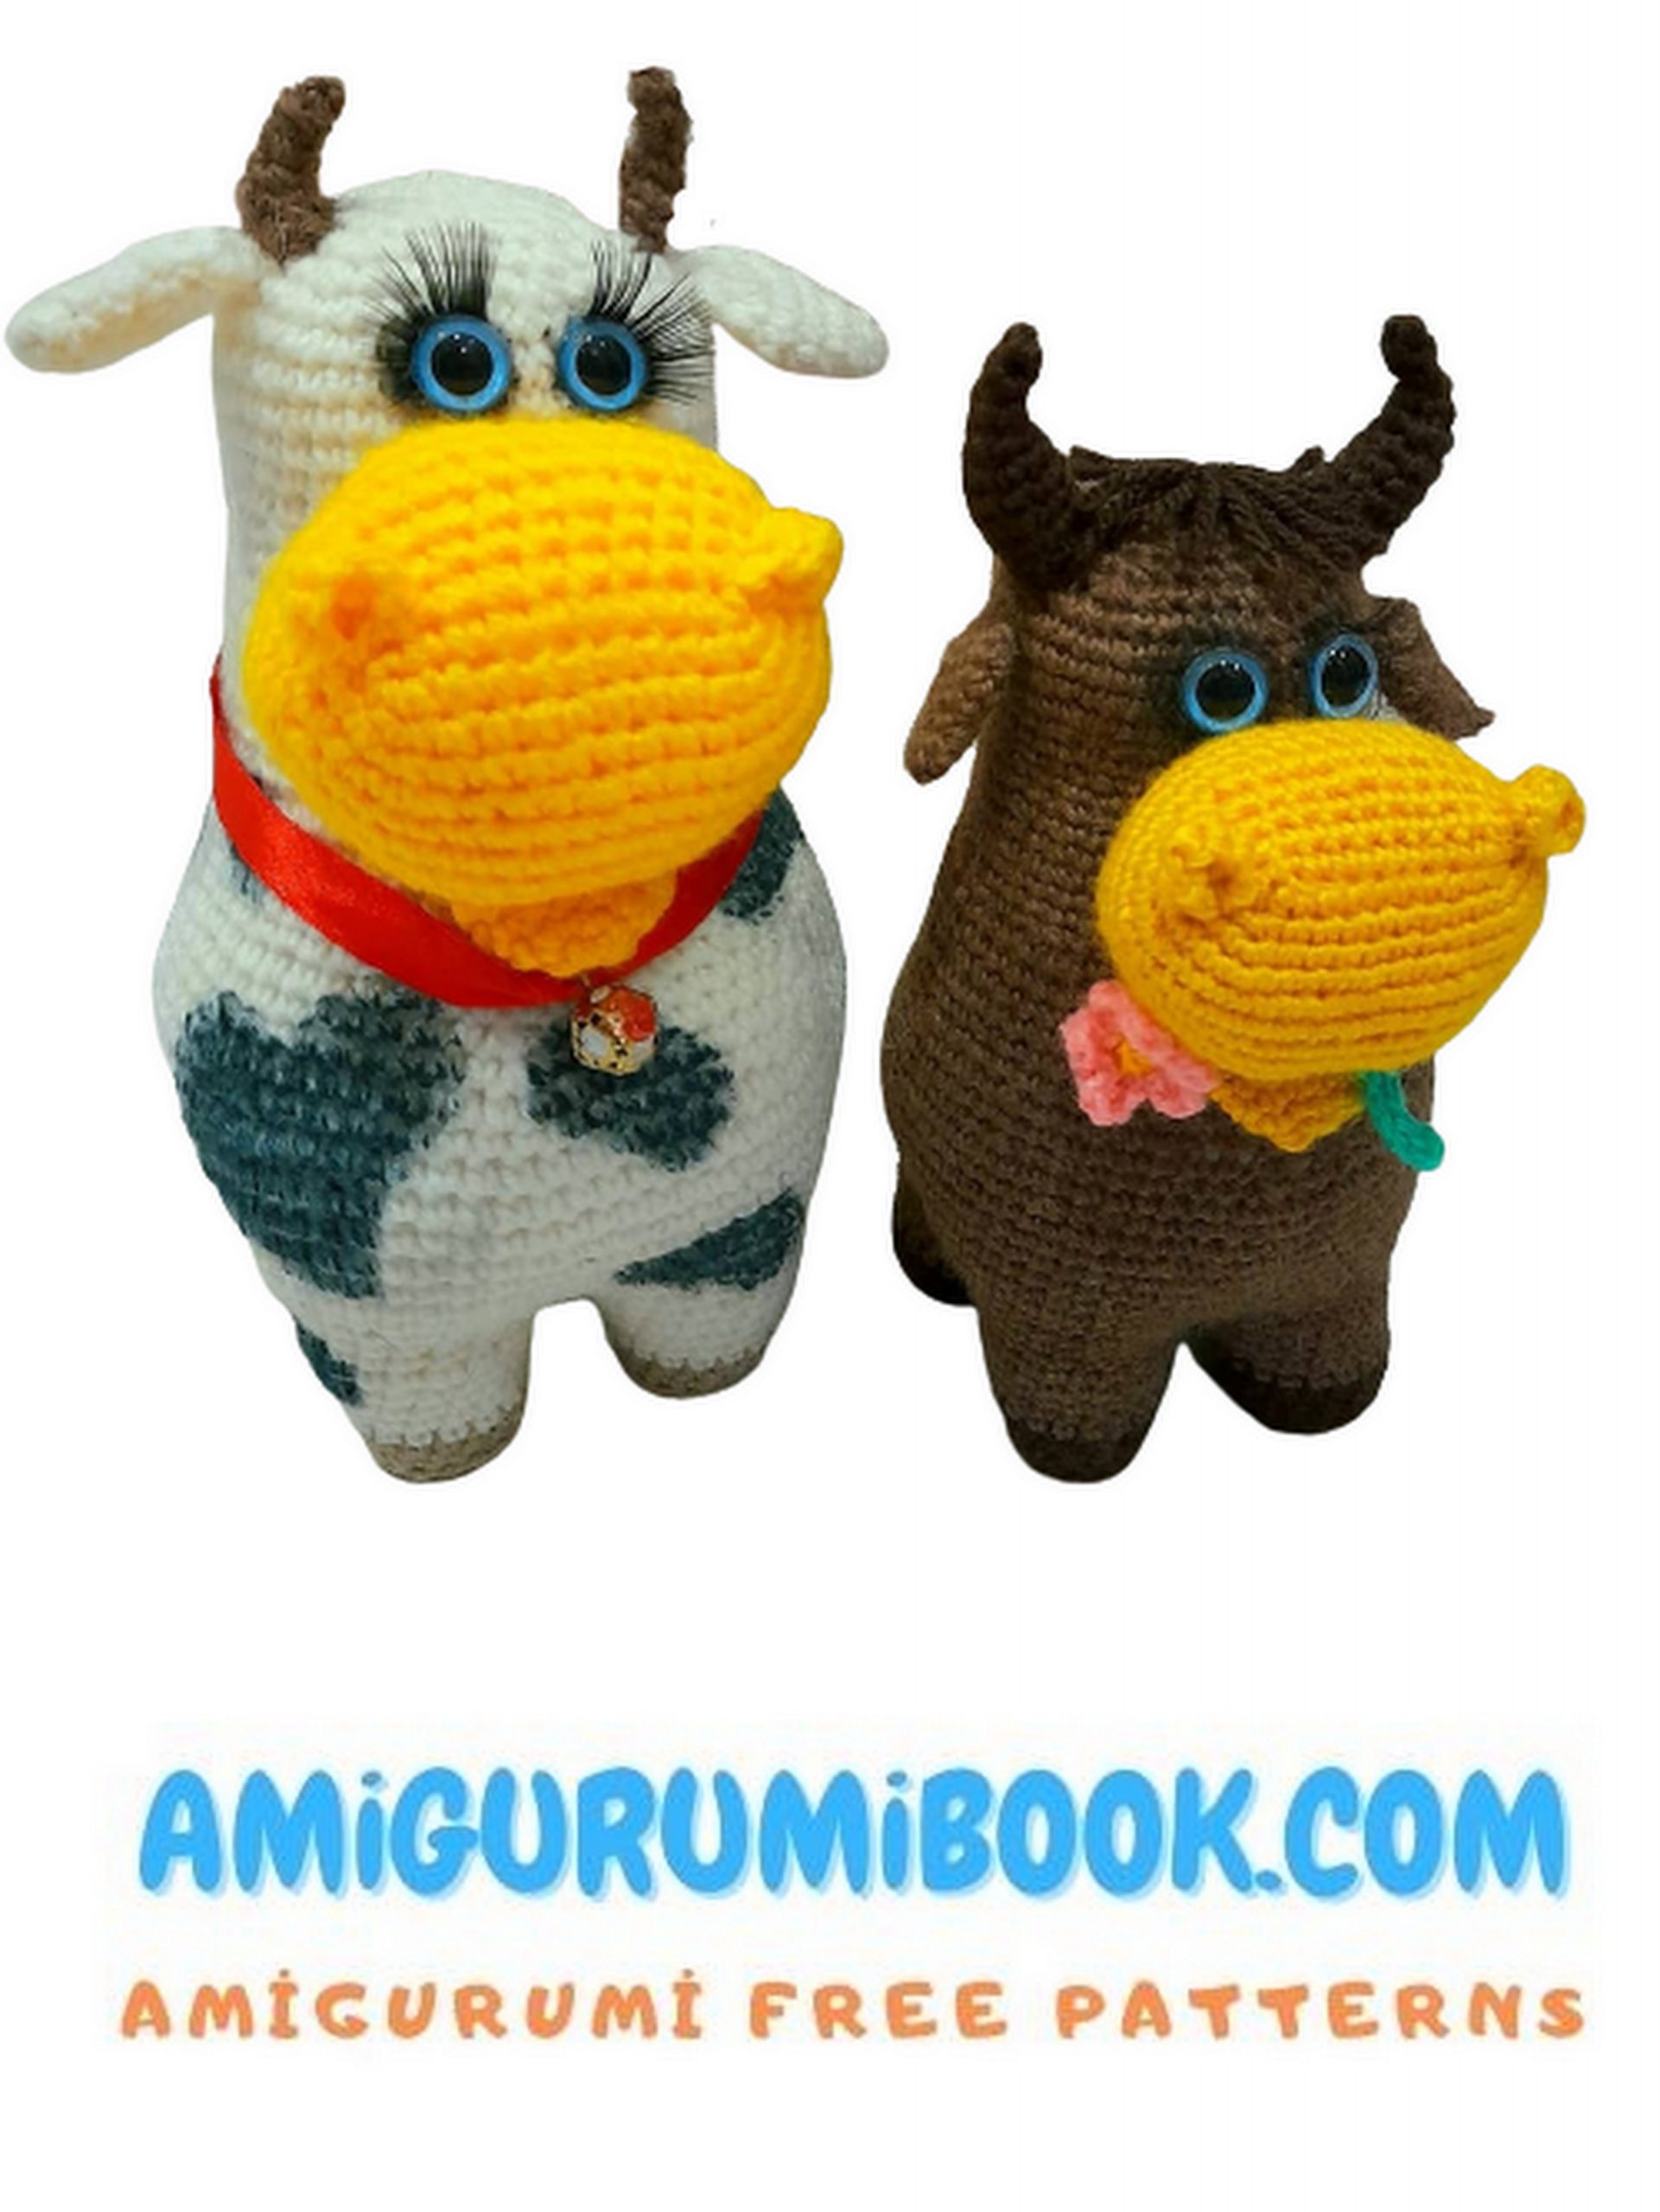
8. For Borka’s goby, you can make a forelock from “hairy” yarn. I knitted from VITA yarn
“Fluffy”. 1st row: 6sc into magic ring (6), 2nd row: inc * 6 (12). After sewing to the head, I did a little fleece.
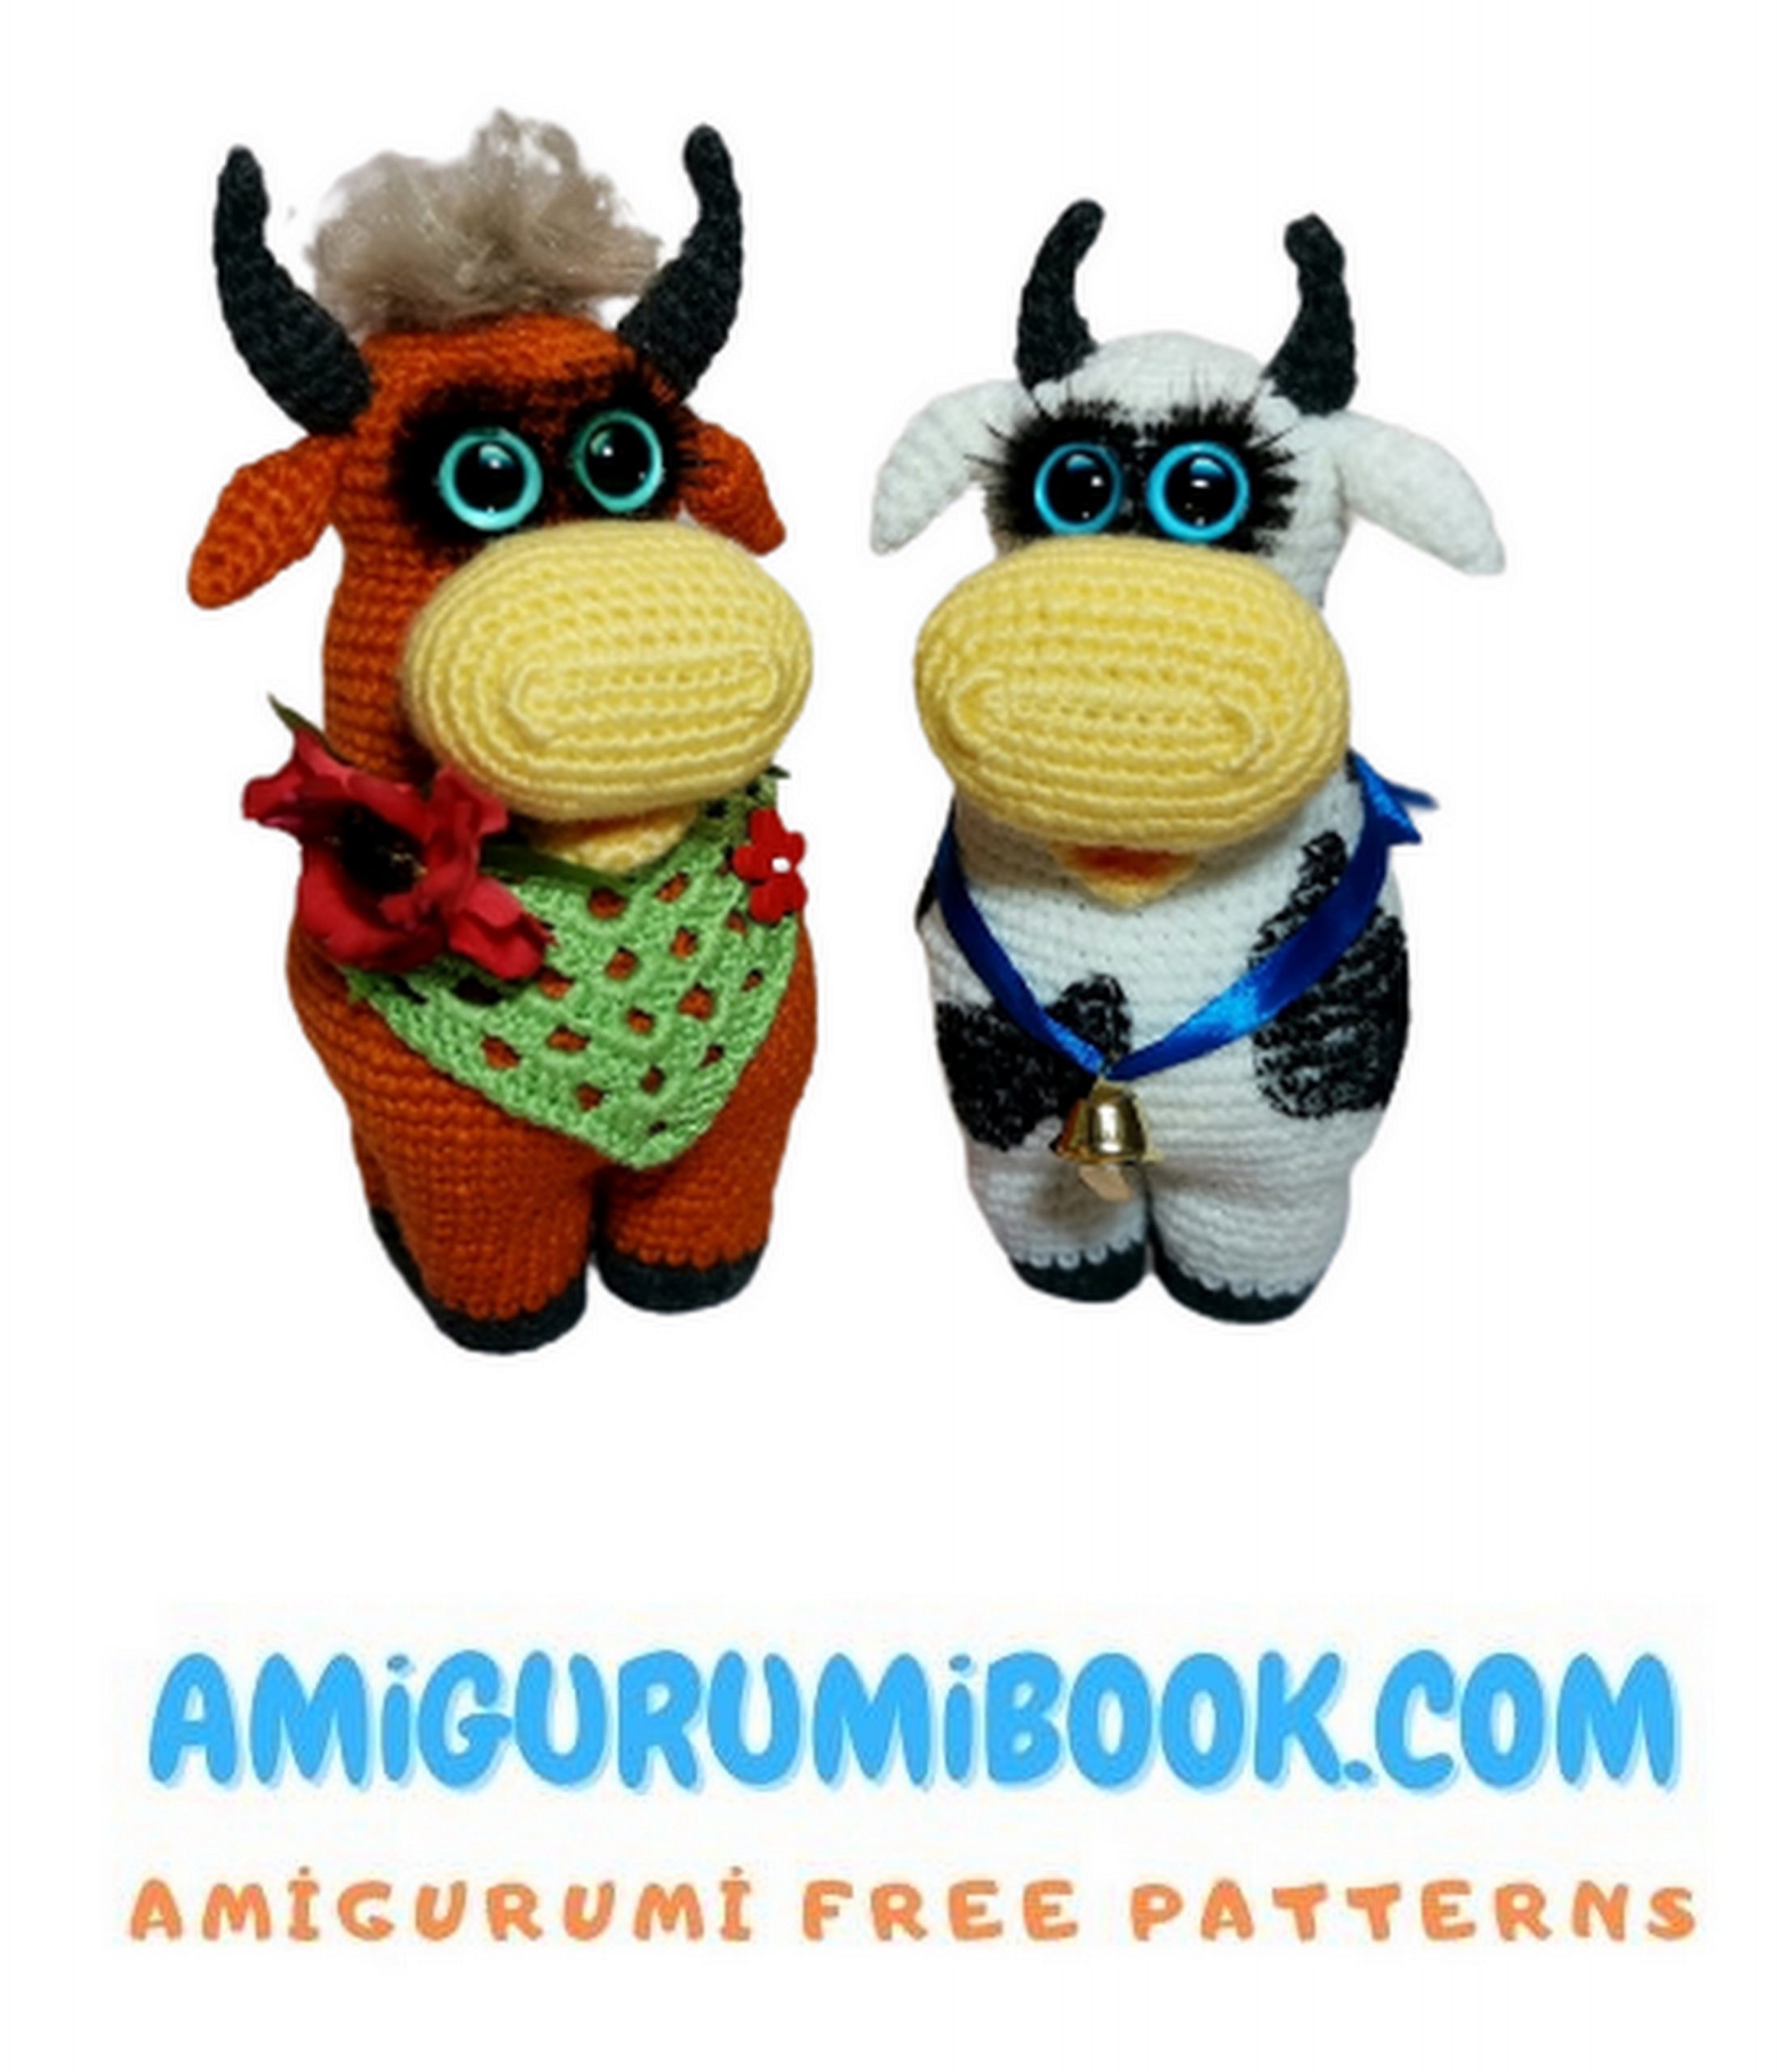
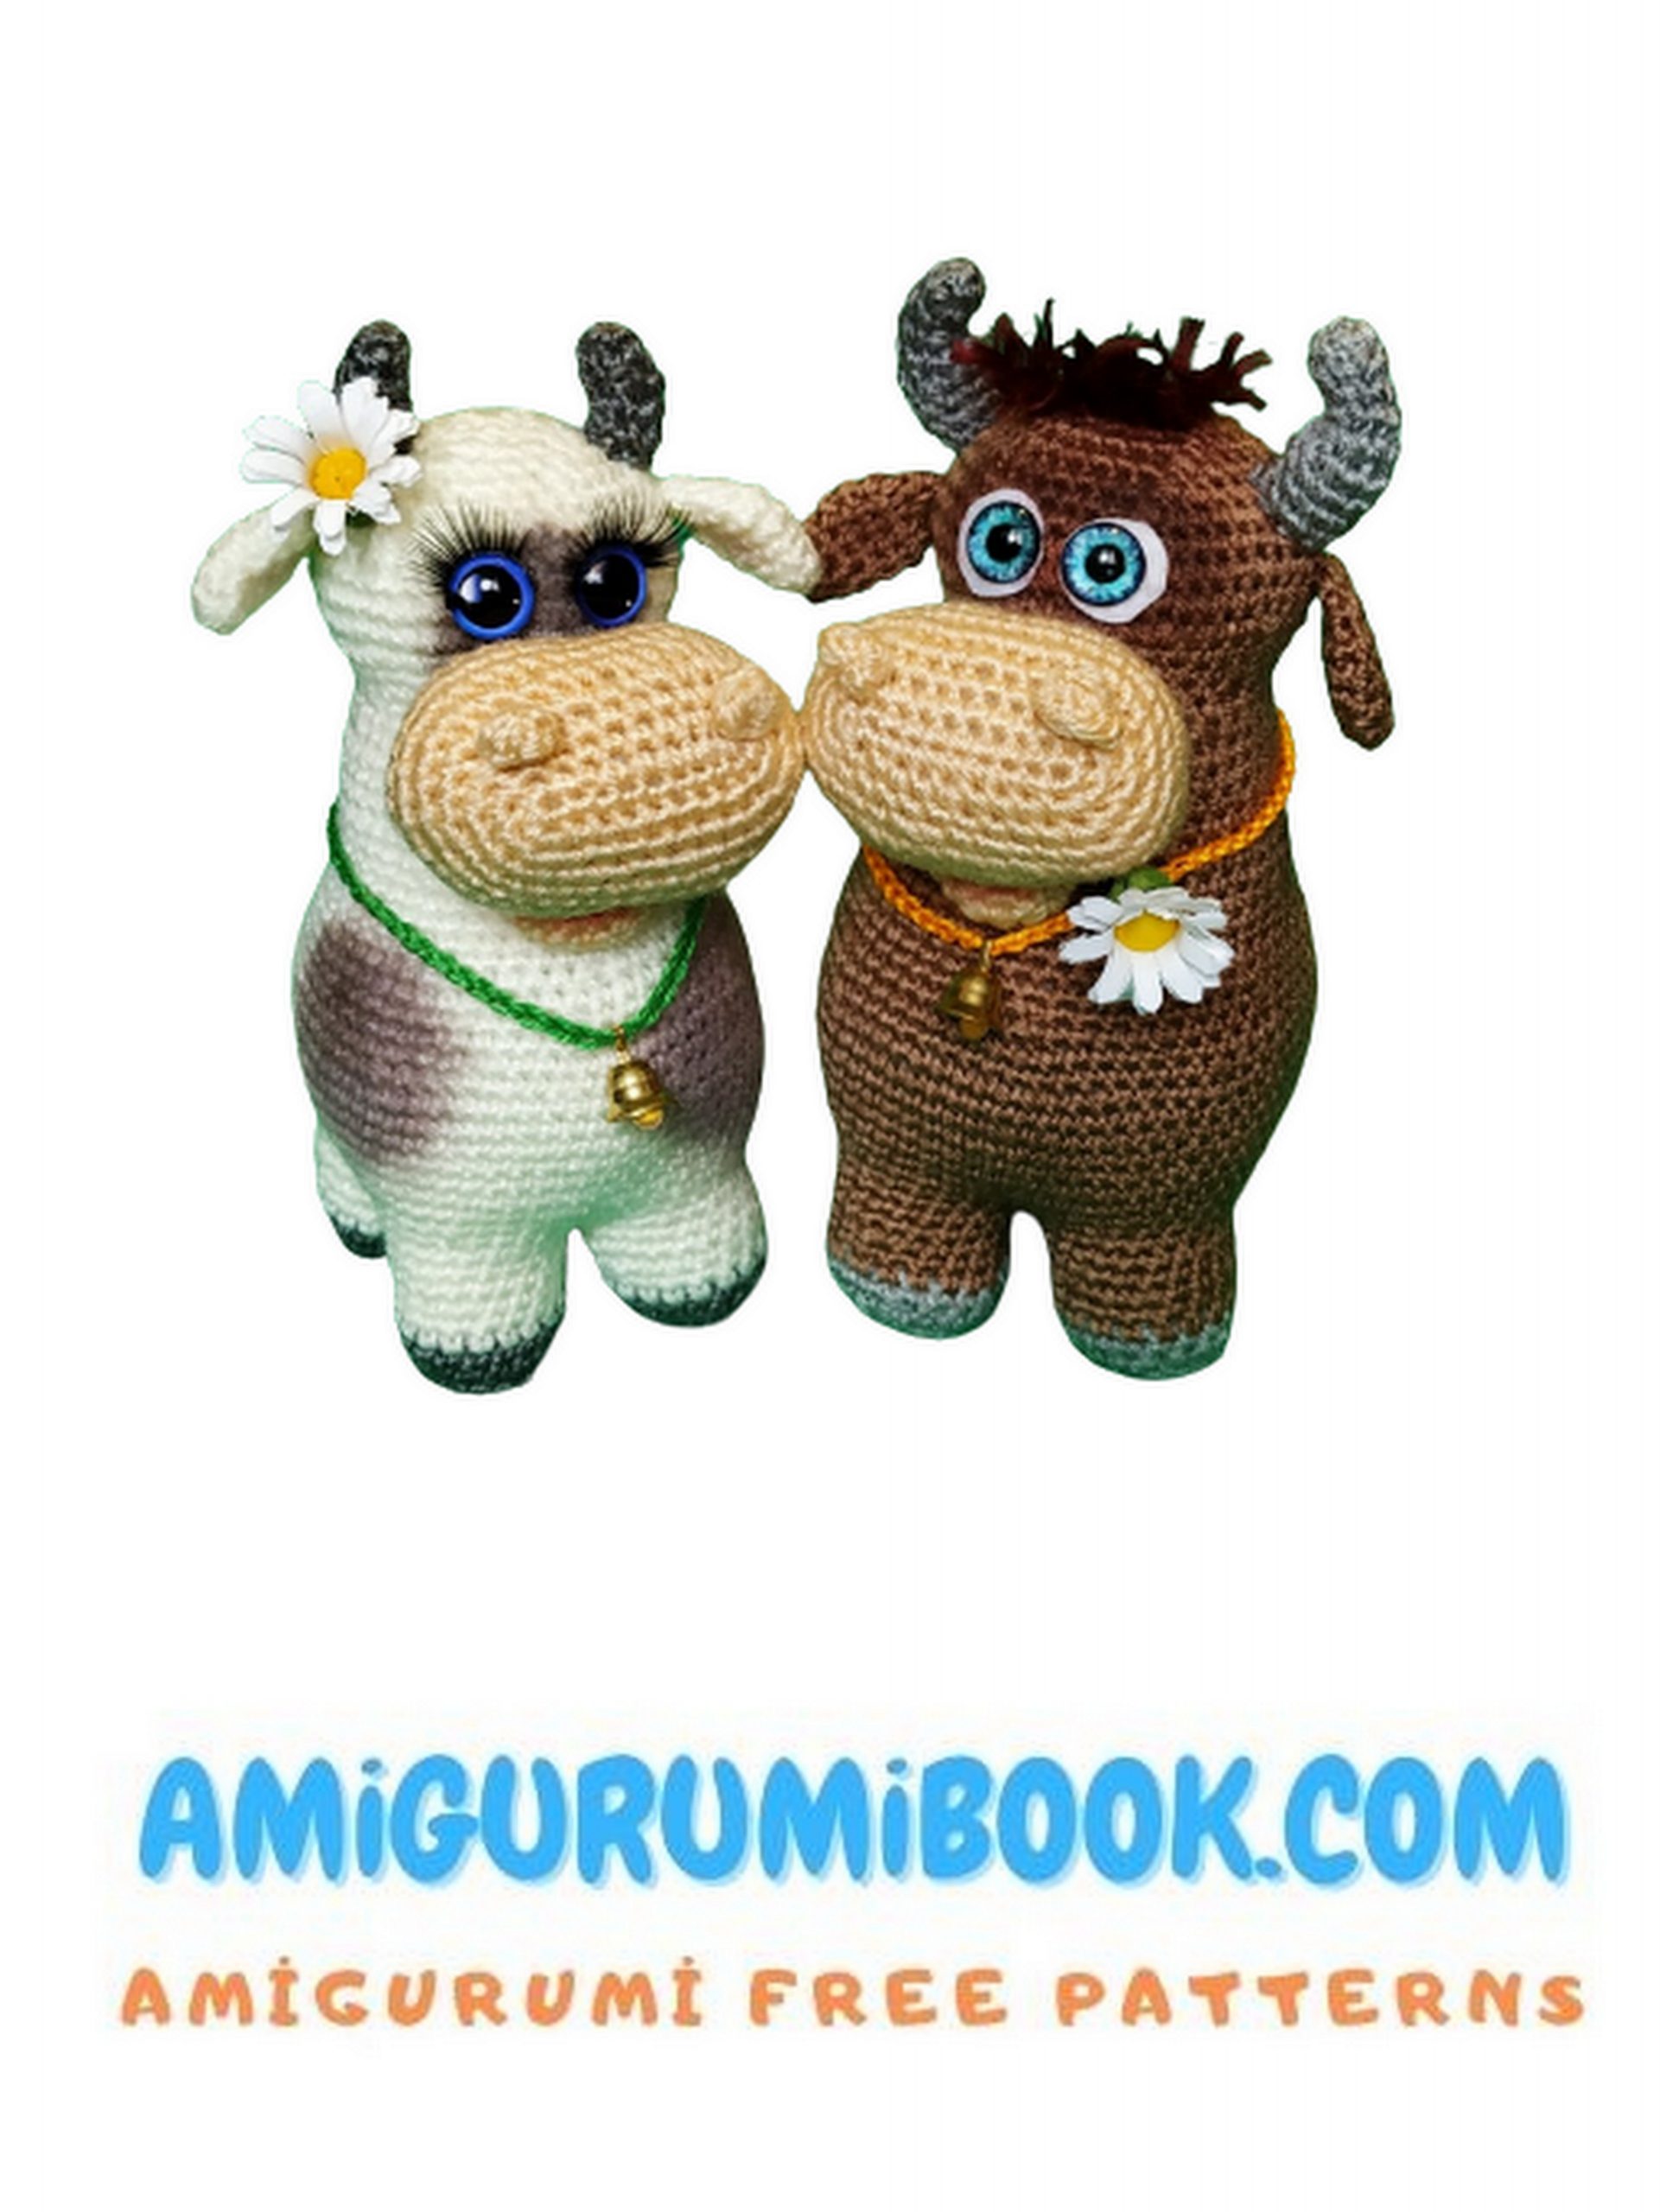
9. Decorate the Burenka Zorka and the bull Borka with additional elements of your choice.
ten
Sweet couple is ready!