
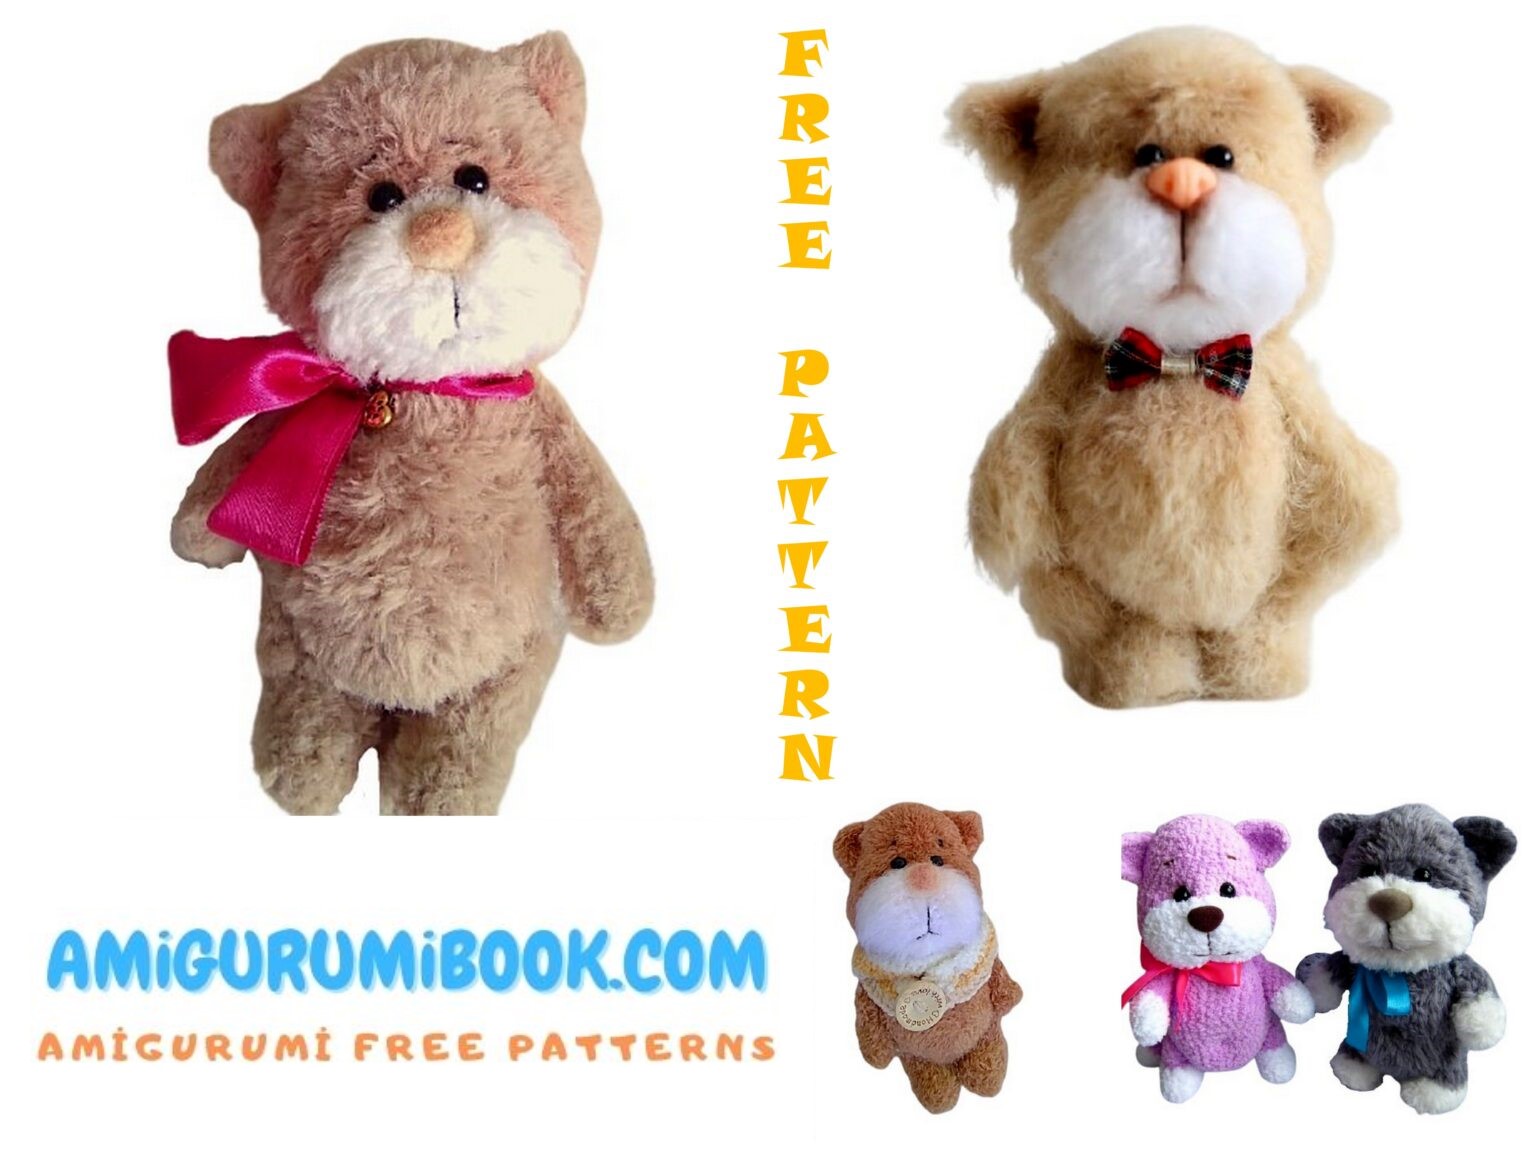
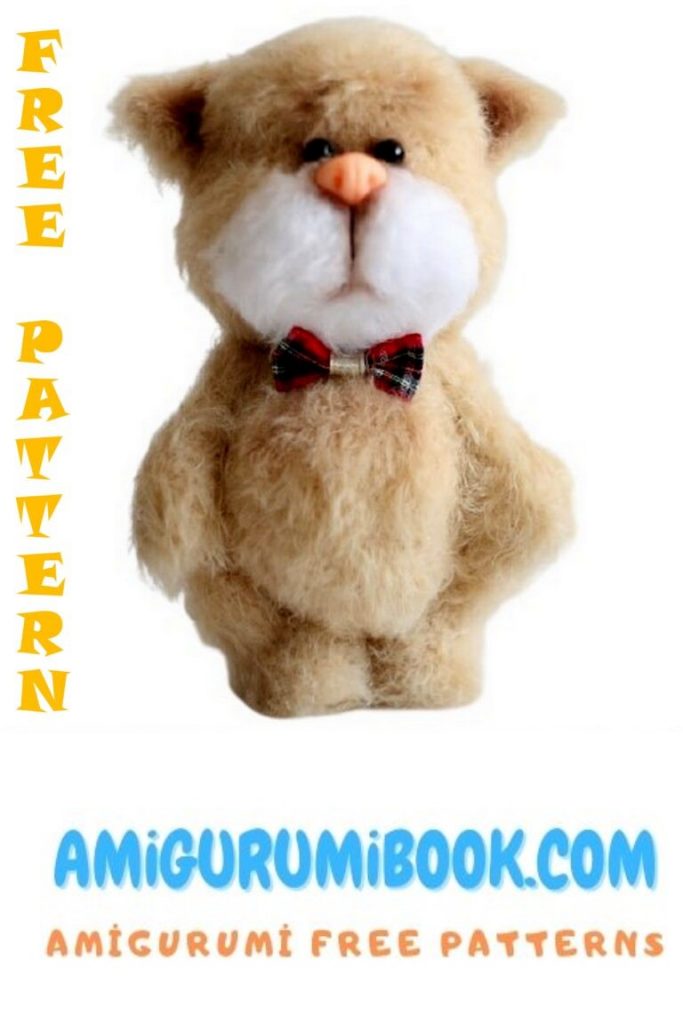
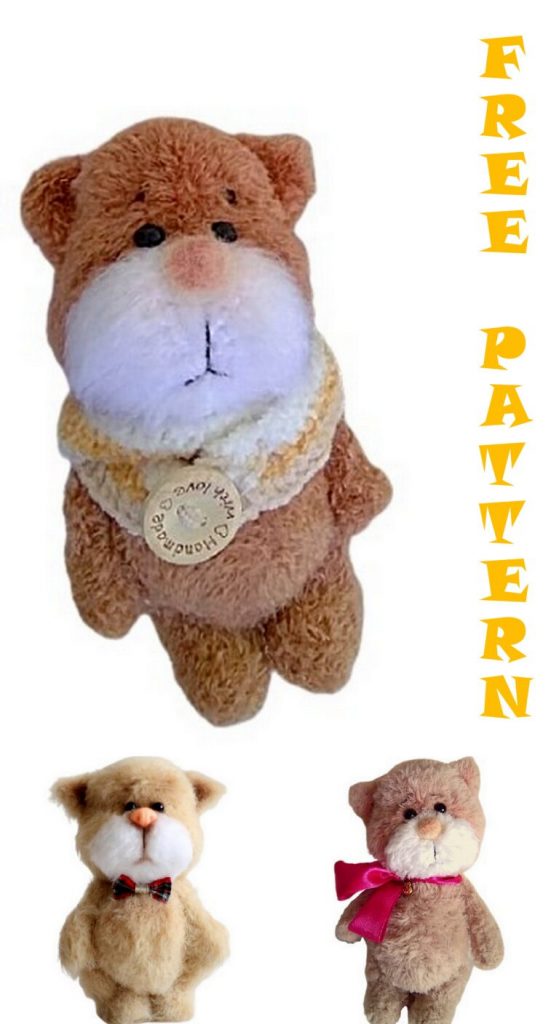
If you love adorable handmade crafts, this cute fluffy cat amigurumi free pattern is perfect for you. Easy to follow and fun to make, it’s a delightful project for both beginners and experienced crocheters. free crochet patterns – Sweet Little Bunny and Bear Amigurumi Free Pattern with Hat
You may also like more amigurumi patterns.
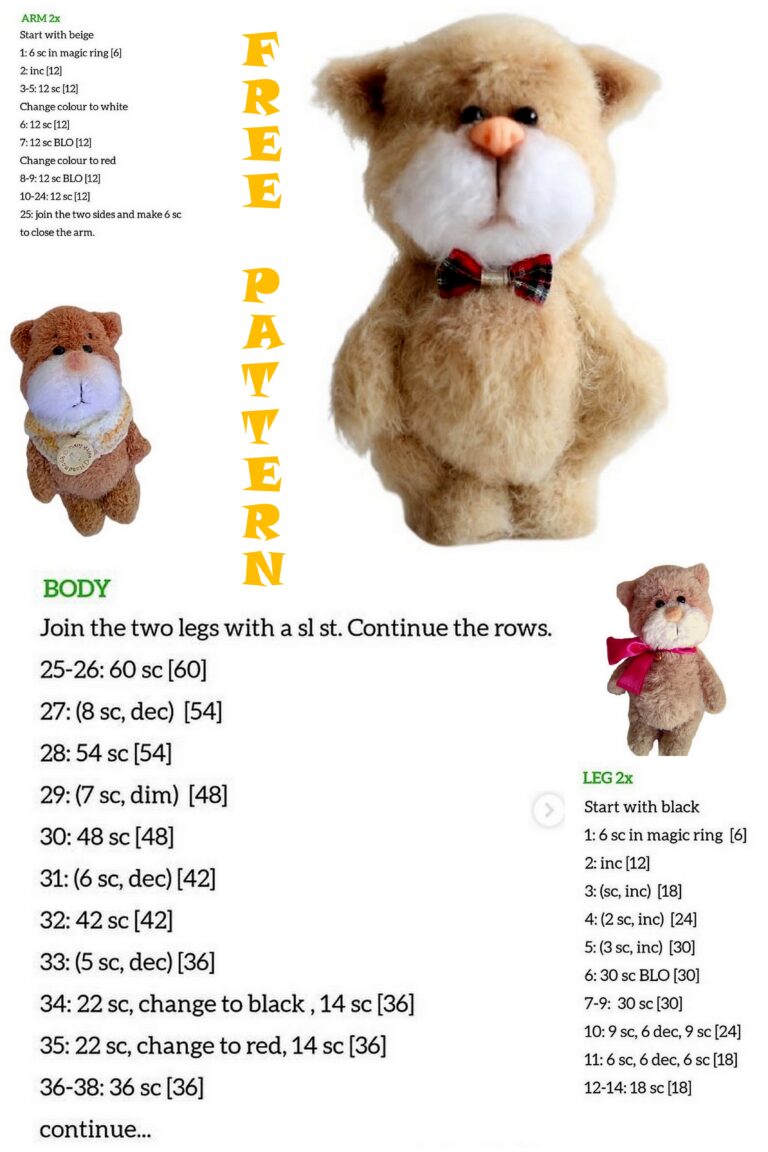
The most beautiful amigurumi cat patterns are on this site for free. I shared with you the amigurumi fluffy cat pattern in this article.
Necessary materials.
Mink yarn beige – 1 skein, white – just a little bit or Koala yarn beige – half winding, white – a little bit.
Or any other textured wool effect yarn in two colors.
Black thread for eyebrow embroidery, mouth – I have it Iris.
A hook suitable for your threads – for Mink it is 1.5 Clover Cupid, for Koala – 1.5 Clover is usual.
• Filler – I have holofiber.
• Eyes plastic or glass, suitable in size for your kitten (can be determined by the method of matching to a ready-made head).
• A small piece of white, brown or pink wool for felting, # 38 needle and finishing.
Oil pastels are a couple of shades darker than the main threads.
Strong thread for sewing parts
Glue Moment Crystal.
All details are knitted inside out, counterclockwise.
The toy from Mink turned out to be 17 cm tall, from the Koala – 12 cm.
Abbrevations:
Ch – chain
Sc – single crochet
Inc – increase
Dec – decrease
X – number of repetitions
At the end of each row, the number indicates the total number of loops in the row.
Increases and decreases match sc.
Ears – 2 parts.
We do not follow the marker.
The ears are knitted in a circle, without turning rows.
1.2 ch, in the second loop – 3 sc
2.3 inc – 6
3. (1 sc, inc) x 3 times – 9
4. (2 sc, inc) x 3 times -12
5. (3 sc, inc) x 3 times – 15
6. (4 sc, inc) x 3 times – 18
Fasten the thread, leave it for sewing, comb and cut the part, if necessary.
Head.
The marker runs from the side.
1.6 sc into magic ring
2.6 inc – 12
3. (1 sc, inc) x 6 times – 18
4. (2 sc, inc) x 6 times – 24
5. (3 sc, inc) x 6 times – 30
6. (4 sc, inc) x 6 times – 36
7-12. 36 sc – 6 rows
13. (1 sc, inc) х 3 times, 1 sc, 2 inc, inc (we put an additional marker in the center of the increase), 2inc, 1 sc, (inc, 1 sc) х 3 times, 16 sc, inc – 48
14. (7sc, inc) x 6 times – 54
15-18. 54 sc – 4 rows
19. (7 sc, dec) x 6 times – 48
20. (6 sc, dec) x 6 times – 42
21. (5 sc, dec) x 6 times – 36
22.36 sc
23. (4 sc, dec) x 6 times – 30
24. (3 sc, dec) x 6 times – 24
Fill tightly with filler, paying particular attention to the cheeks. The head should be tightly packed in the back of the head. The cheeks can be slightly pulled up when stuffing, the main thing is to maintain symmetry.
25. (2 sc, dec) x 6 times – 18
26. (1 sc, dec) x 6 times – 12
Donate by filling all the voids tightly.
Decreases to the end, fasten the thread, leave for sewing.
Combing.
Try on the ears, fasten as you like, slightly pulling the back part back so that the ear is voluminous, sew to the head.
Muzzle.
We do not follow the marker
1.6 sc into magic ring
2.6 inc – 12
3.12 inc – 24
4.44 inc – 48
5. 48 sc, do not pull the thread off yet.
Attach the muzzle to the head clearly in the center, starting from the additional marker.
The size of the muzzle should exactly match from the beginning of the marker (top) to the end of the knitting of the head – where we left the thread for sewing on the head. If the size is too small, knit another row 48 sc on the face. If everything coincides, fasten and cut the thread on the face, comb the detail, pin it to the head from the additional marker to the thread of the end of the knitting of the head. I advise you to secure with pins around the entire circumference, slightly stretching on the cheeks, just a little. Make sure that it is fixed evenly, without layers and shifts, clearly in the center, symmetrically. Be guided by the photo. If you like everything, sew it on. I sewed it on with Iris – it turns out more accurately.
Head decoration.
You can do this both before sewing on the head and after. I did it before sewing on the Koala and after sewing on the Minke.
Nose
Mark the center at the top on the white part – where the extra was. marker. Step 1 sc down, weld on a small piece of wool, giving it a round or oval shape – this will be the nose. I rolled it out of white wool, first with a 38 needle, then slightly sanded with the finishing one.
Tinted with oil pastels. You can take a ready-made spout or knit – as you like.
Mark a place under the spout in the center with a pin, step back down about 4-5 sc, trim the fur with sharp scissors while embroidering the future mouth, embroider the mouth.
The upper part, just above the white muzzle, tint with pastel – draw along the entire upper part with brown pastel chalk, slightly rounding the lines downward, also tint the forehead – draw a line in the center from the top of the white lining to the very top of the head. Blend in the way you are accustomed to, being careful not to touch the white part. I blend with a soft toothbrush. Do not overdo it, start with a narrow, not very bright strip, gradually building up color if necessary. You can also tint the inner part of the ears.
Choose a soft pastel so that it blends well. I have Mungyo pastels.
When toning, keep in mind that Mink has a rather long coat, and if you overdo it with paint, the villi will grow fat and will look sloppy.
Body
The marker runs from the side.
1.6 sc into magic ring
2.6 inc – 12
3. (1 sc, inc) x 6 times – 18
4. (2 sc, inc) x 6 times – 24
5.24 sc
6. (3 sc, inc) x 6 times – 30
7. (4 sc, inc) x 6 times – 36
8. (1 sc, inc) x 6 times, 24 sc – 42
9-14. 42 sc – 6 rows
15. (5 sc, dec) x 6 times – 36
16.36 sc
17. (4 sc, dec) x 6 times – 30
18.30 sc
19. (3 sc, dec) x 6 times – 24
Fill tightly with filler
20. (2 sc, dec) x 6 times – 18
21. (1 sc, dec) x 6 times – 12
Donate by filling all the voids tightly.
Decreases to the end, fasten the thread, cut.
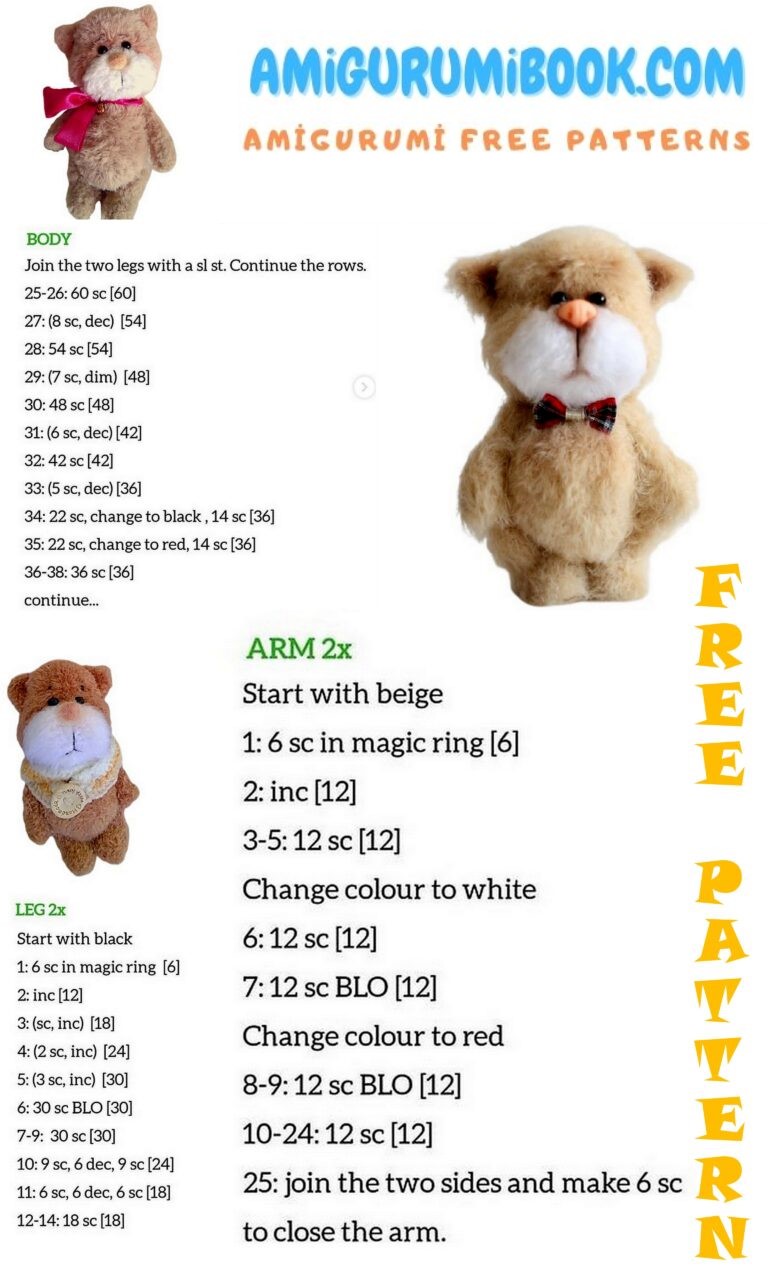
Upper legs – 2 parts.
We do not follow the marker.
1.4 ch, from the second loop – inc, 1 sc, 3 sc into the last loop, without turning – 1 sc, inc – 9
2.3 sc, inc, 4 sc, inc – 11
3.5 sc, inc, 4 sc, inc – 13
4.13 sc
5.13 sc
6.5 sc, dec, 4 sc, dec – 11
Slightly fill the bottom of the foot, do not fill the top.
7-14. 11 sc – 8 rows
15. Decreases to the end, fasten the thread, leave for sewing. Comb the detail and cut the bottom (for Mink)
Lower legs – 2 parts
The marker runs clearly in the center from the back, note ch.
1.8 ch, from the second loop – inc, 5 sc, 3 into the last loop, without turning – inc, 4 sc, inc – 18
2.8 sc, inc, sc, inc, 7 sc – 20
3.20 sc + ch
4.8 sc, dec, sc, dec, 7 sc – 18
5.7 sc, 2 dec, 7 sc – 16 + ch
6.5 sc, 3 dec, 5 sc – 13
7.13 sc
8.13 sc
9.5 sc, 3 inc, 5 sc – 16
10.16 sc
Fill the foot – the bottom is very tight, but without stretching, the top is very loose.
11. Decreases to the end, fasten the thread, leave for sewing. Comb the detail and cut the bottom (for Mink)
Tail.
1.2 ch, in the second loop – 3 ch
2.3 inc – 6
3. (1 sc, inc) x 3 times – 9
4. (2 sc, inc) x 3 times -12
5. (3 sc, inc) x 3 times – 15
6-11. 15 sc
Optionally, you can lengthen or shorten the tail – as you like.
Fill the tail very loosely, you don’t need to stuff it.
Decreases to the end.
Compete, sew to the body last.
Assembly.
Fasten the head to the torso, as in the photo, slightly at an angle, not directly in the center of the end of the knitting of the head – so that the torso begins under the white part. Sew on.
Fasten the lower legs so that the cat’s belly appears slightly – slide them back a little.
Sew on with a thread fastening, make a few additional stitches lower – then the legs will not part to the sides.
Fasten the upper legs, taking into account the appearance of the belly. Sew on.
Glue eyes, suitable in size, embroider eyebrows.
Decorate with whatever you like. That’s it, the cat is ready!
Happy knitting))