
Discover the charm of creating your own Dream Bunny amigurumi with this easy-to-follow crochet tutorial. Perfect for beginners and experienced crafters alike, this free pattern guides you step-by-step to bring a cute, cuddly bunny to life. free crochet patterns
You may also like more amigurumi patterns.
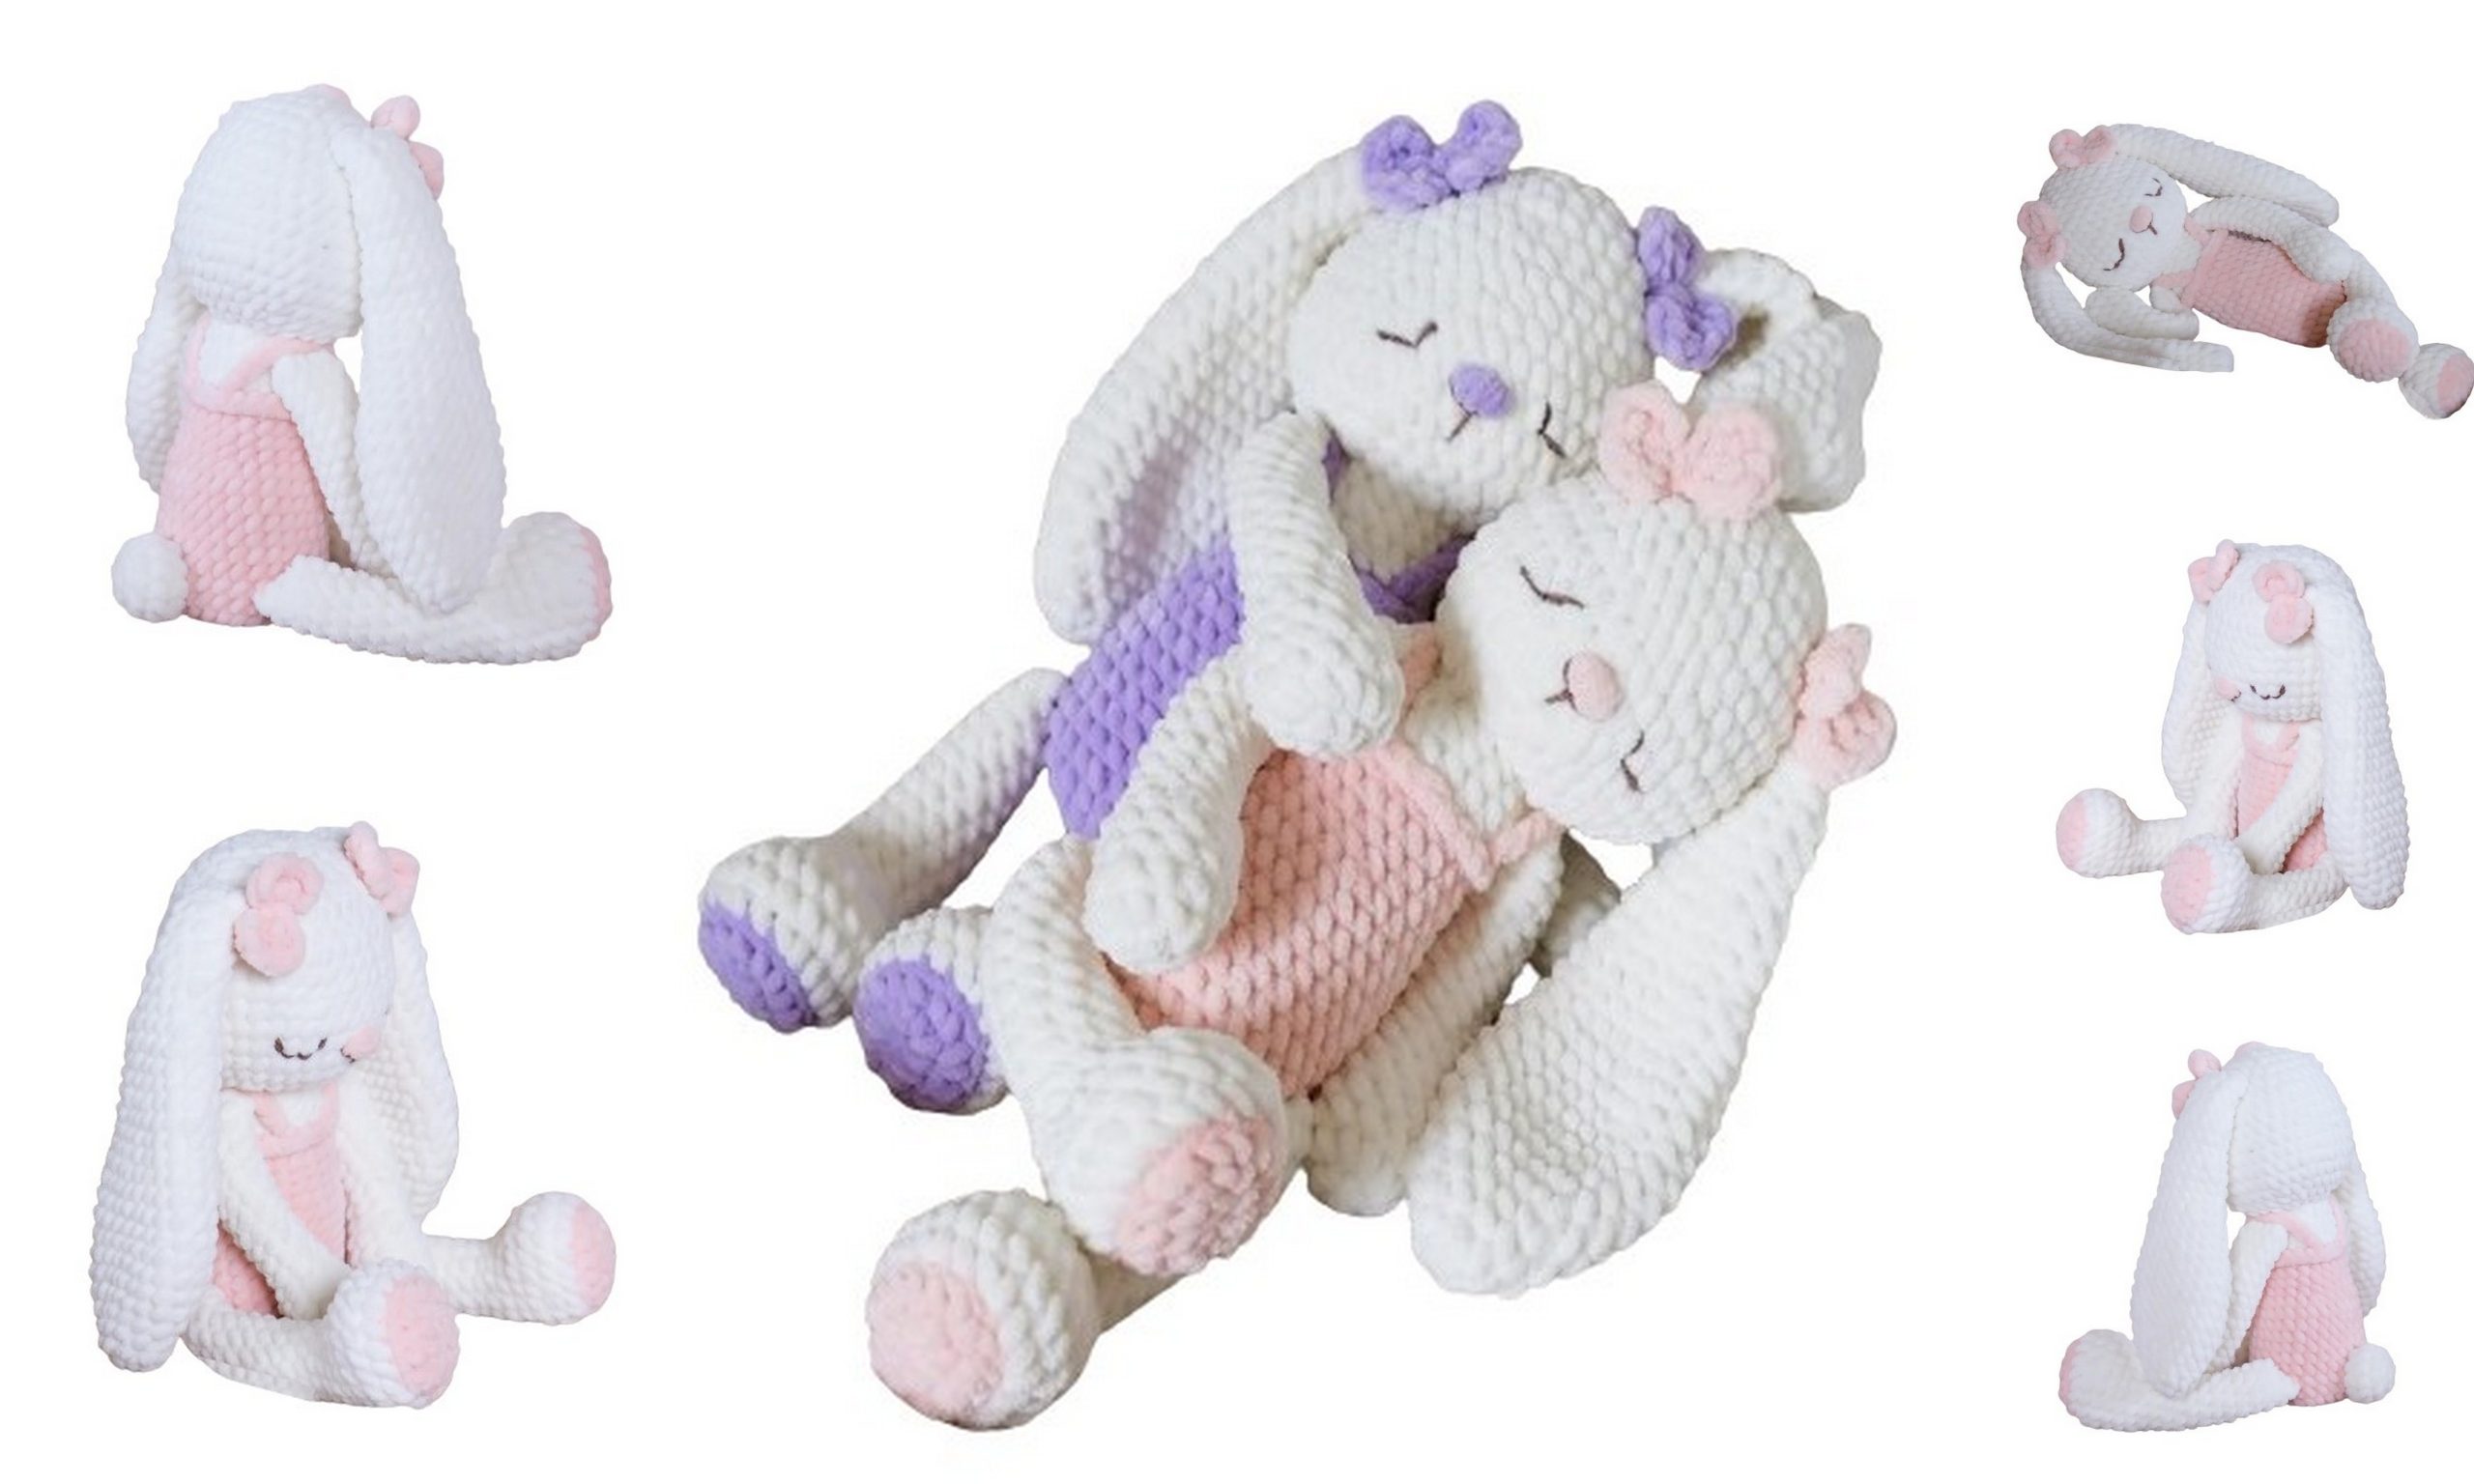
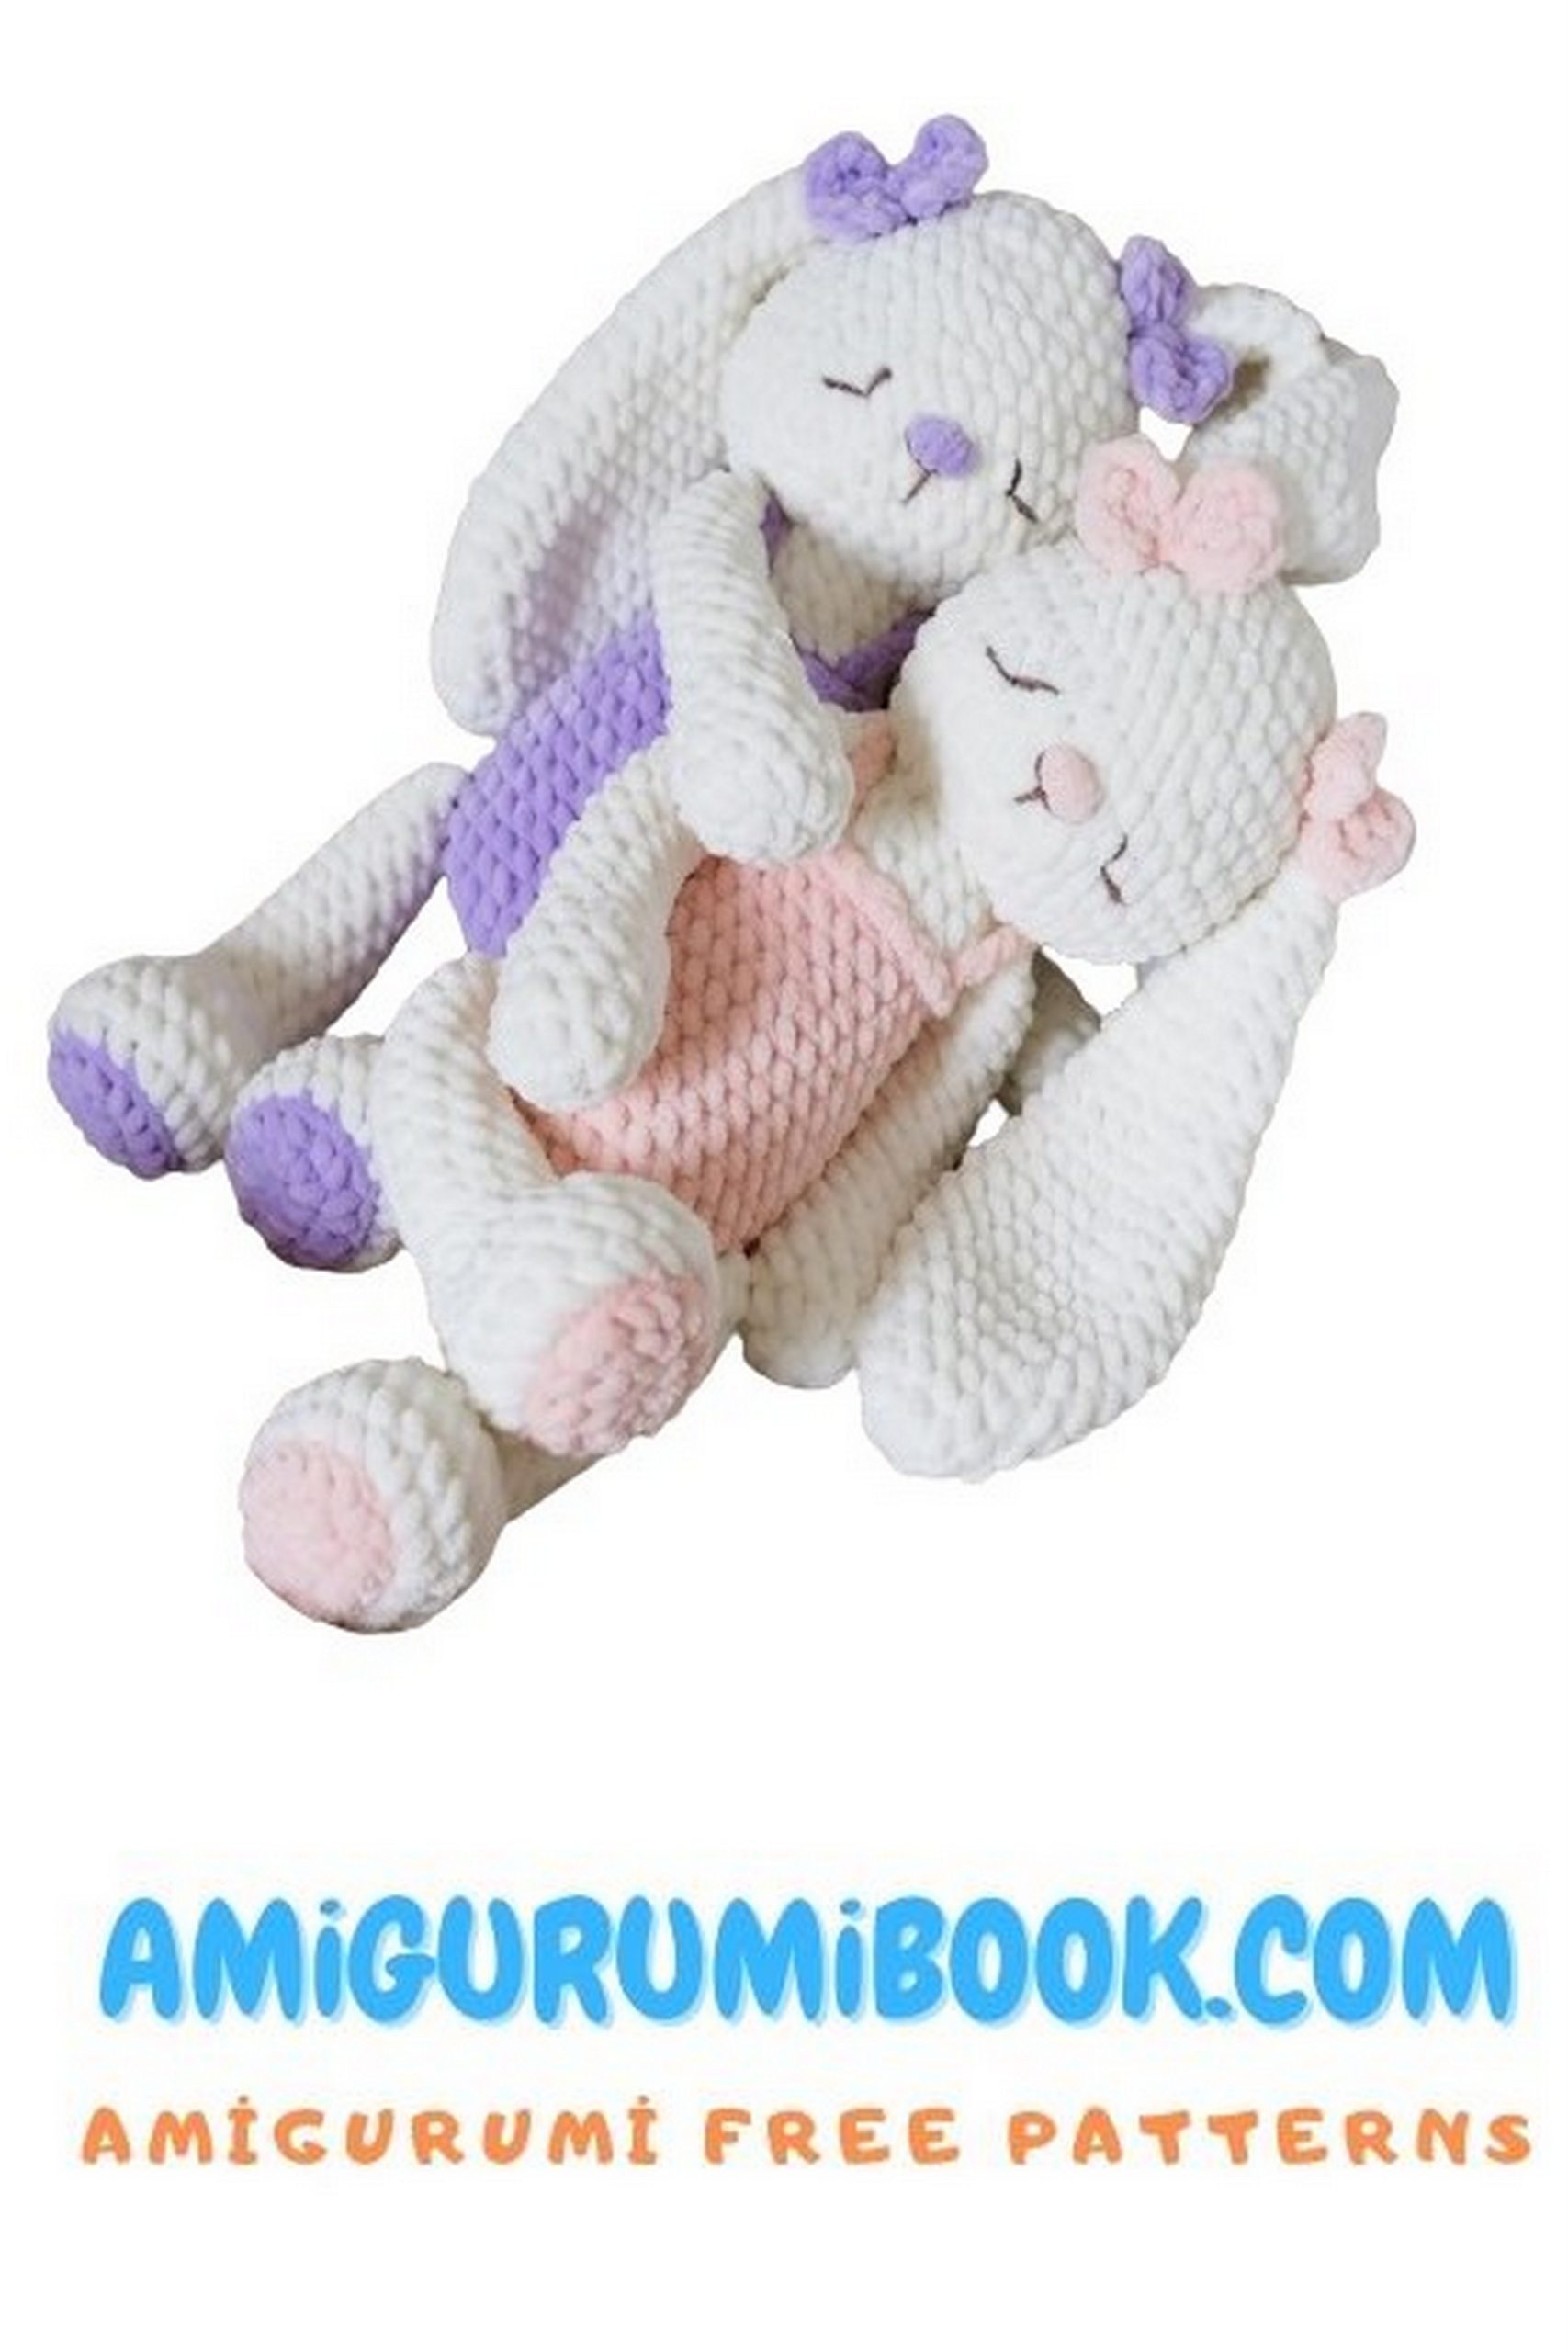
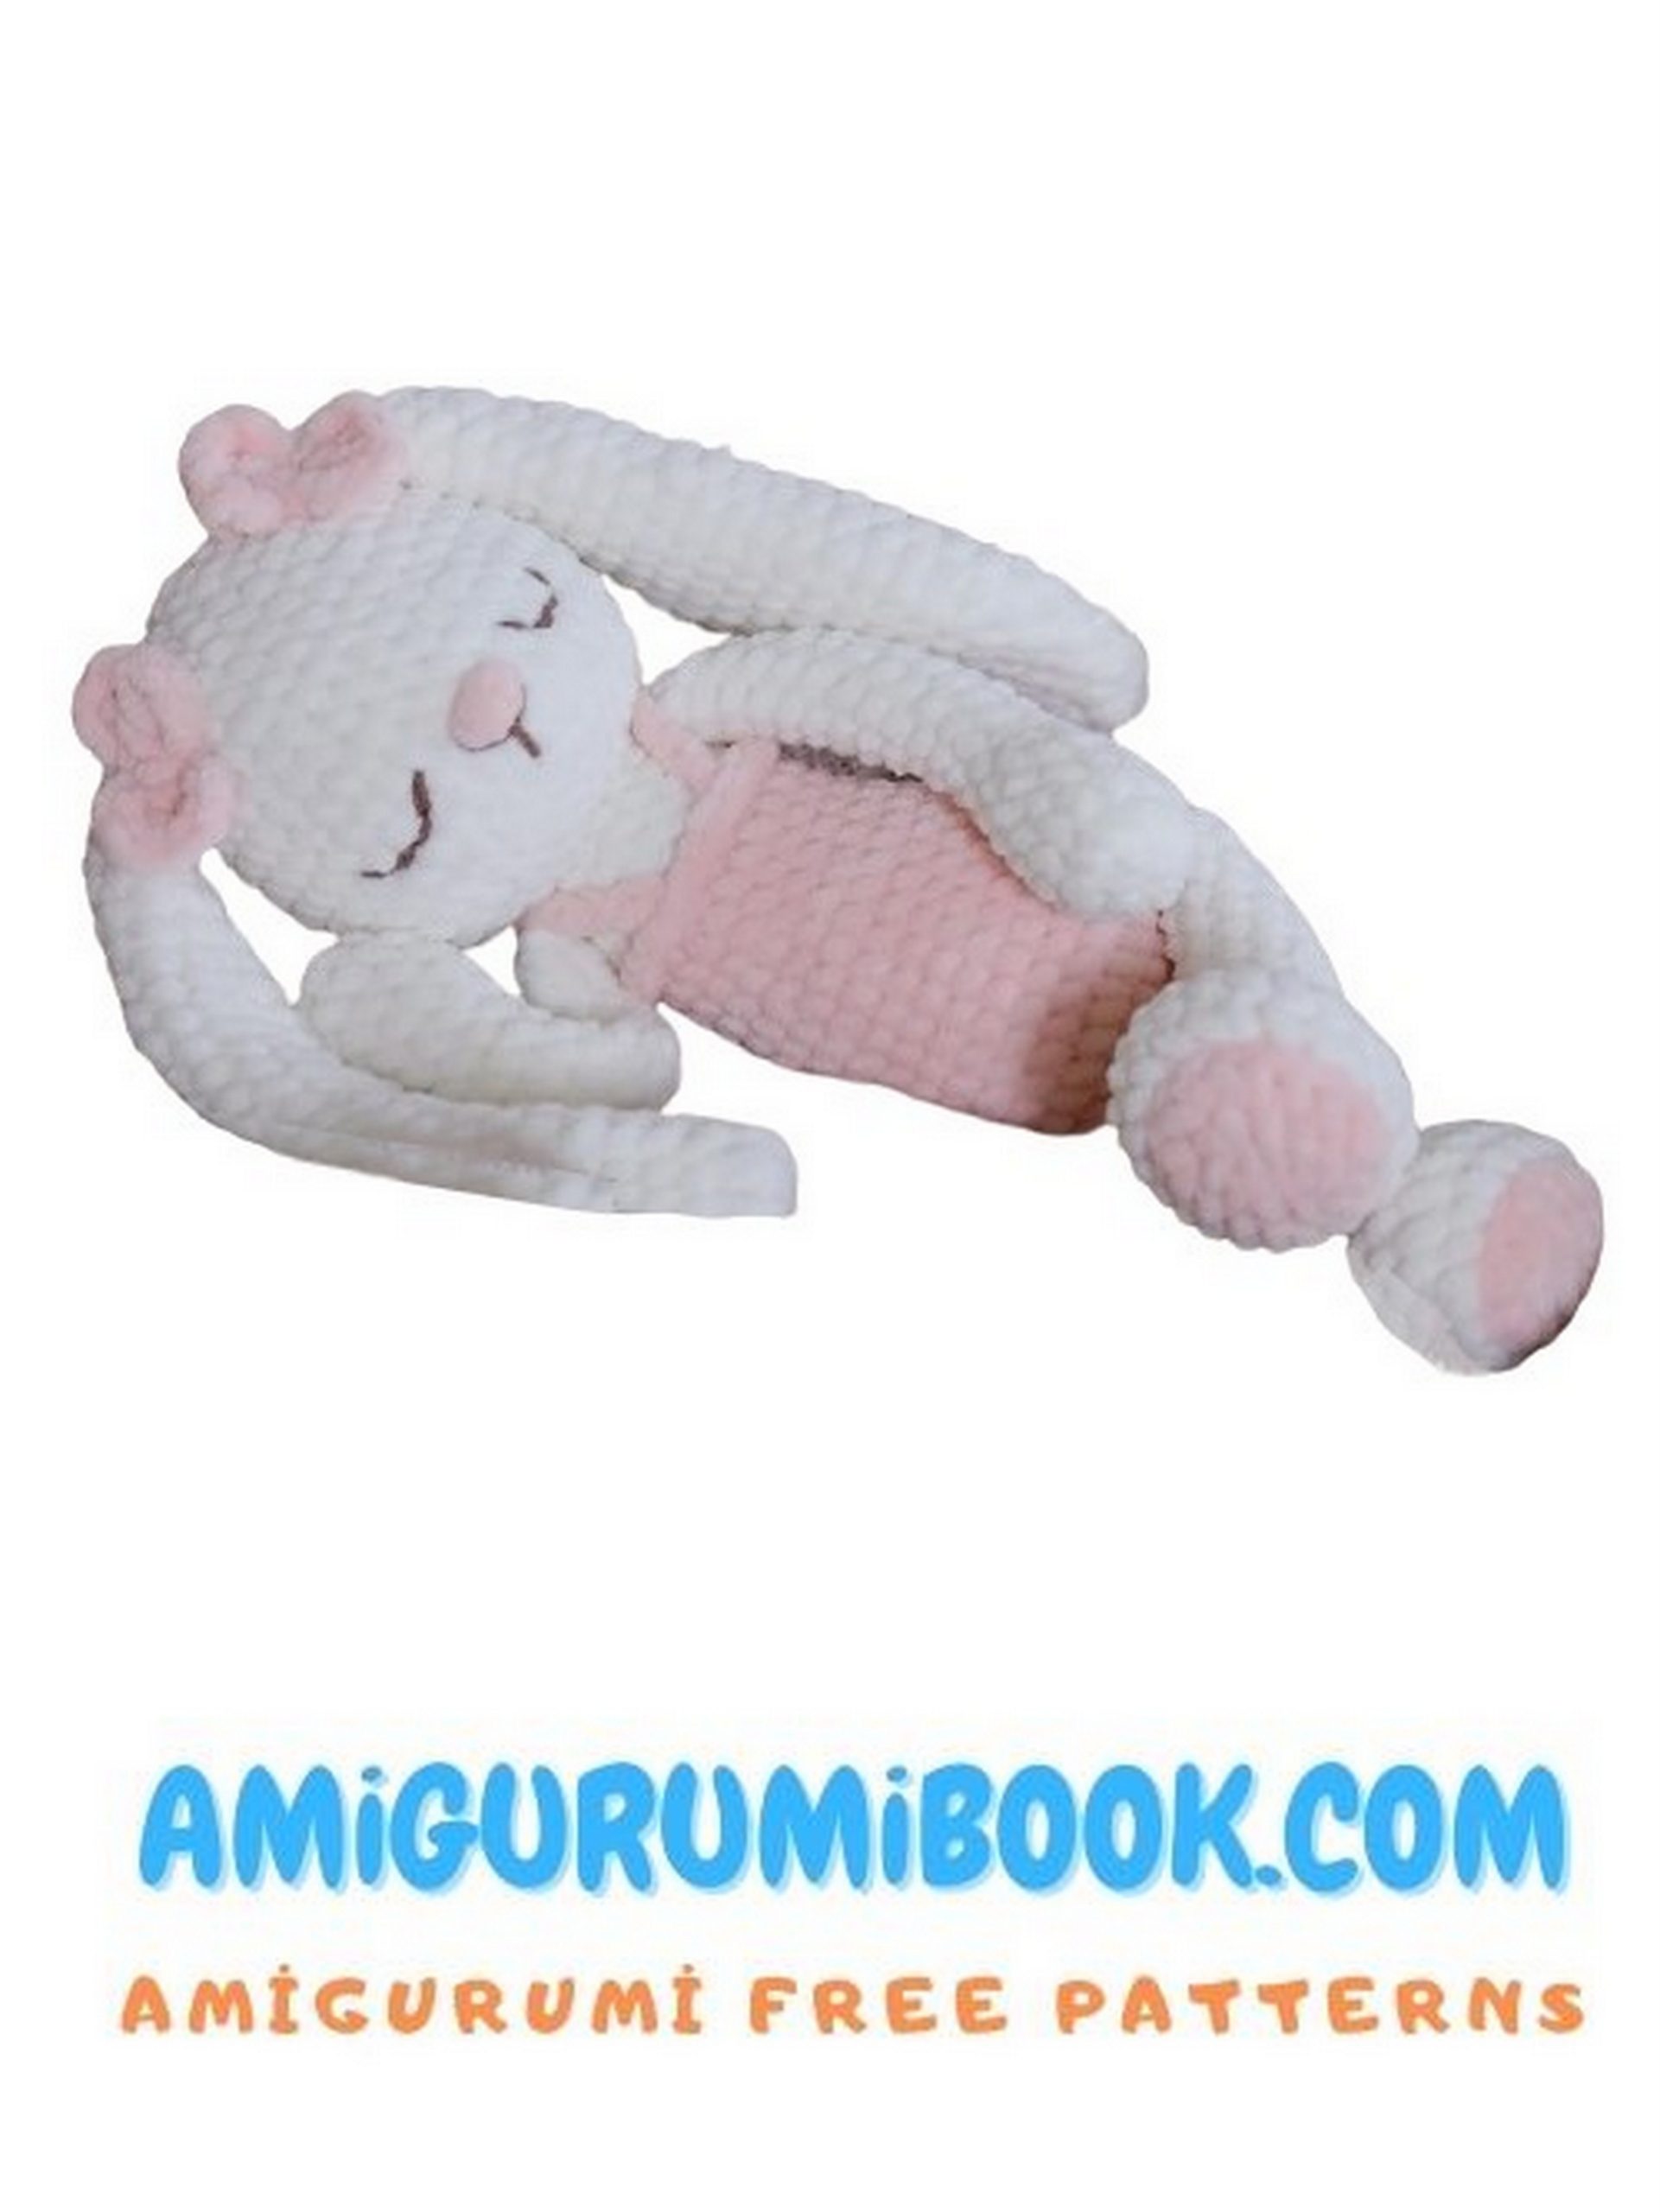
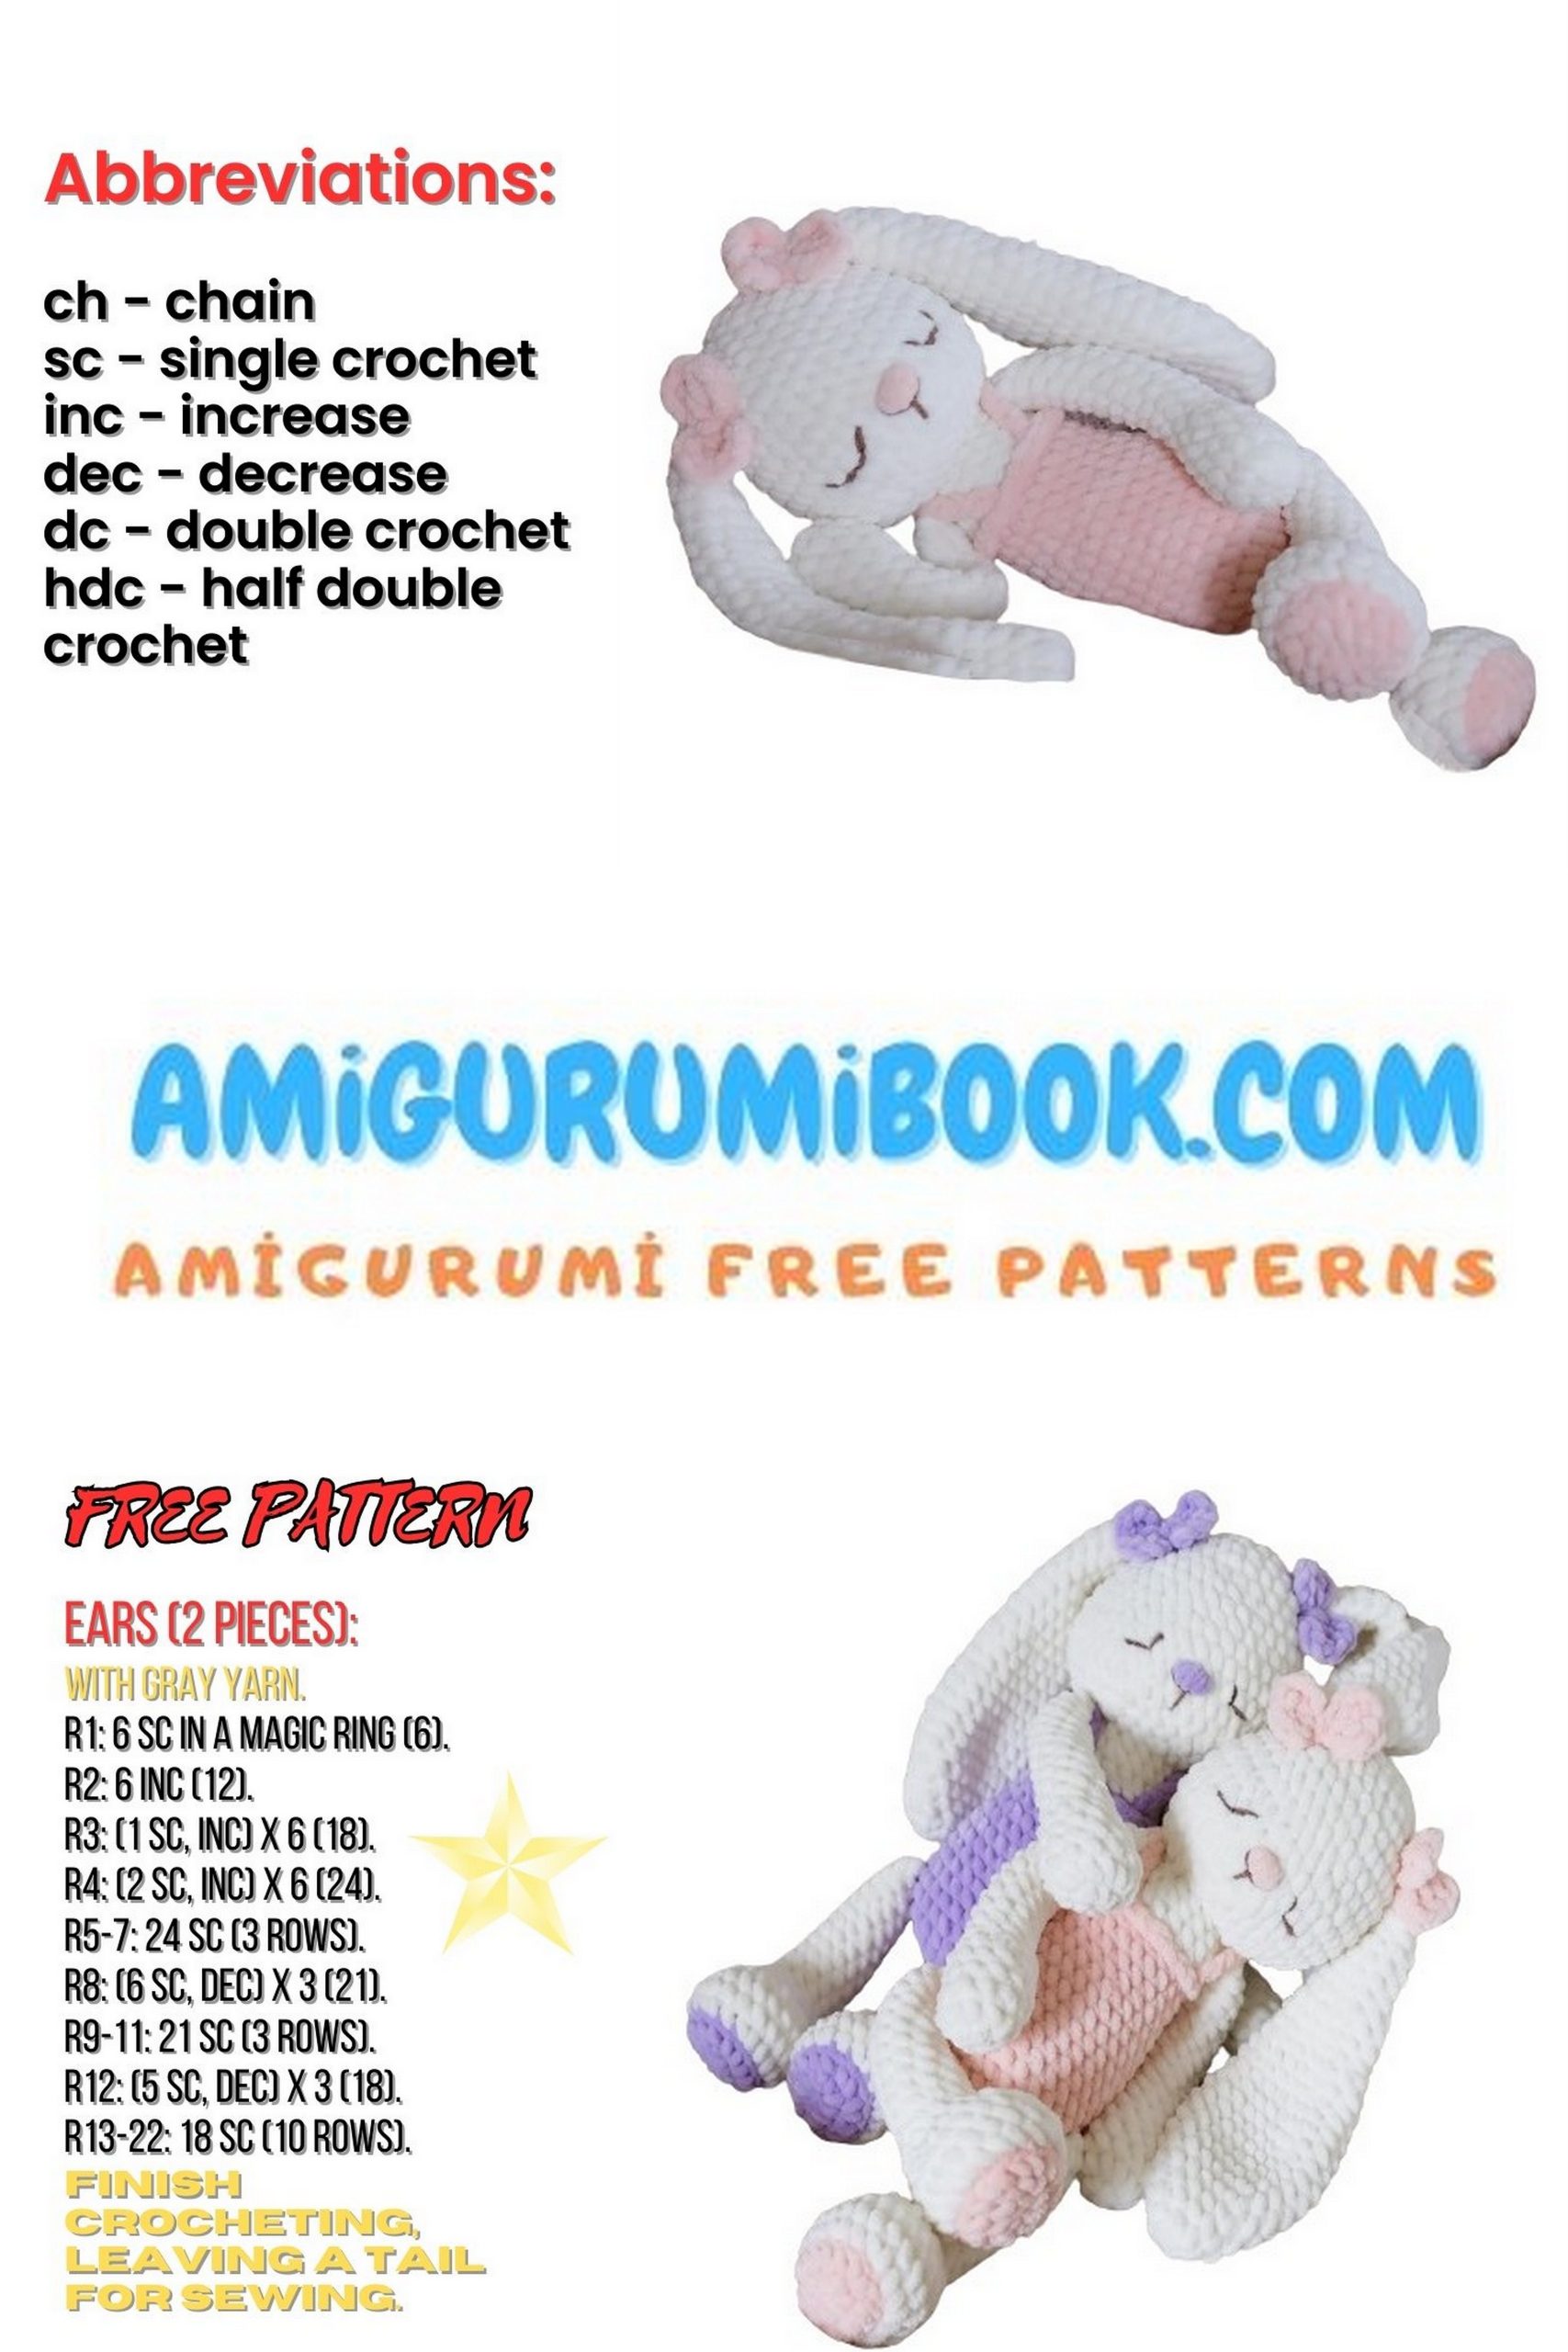
Enter the enchanting world of crochet with our free Dream Bunny Amigurumi pattern and crochet tutorial.
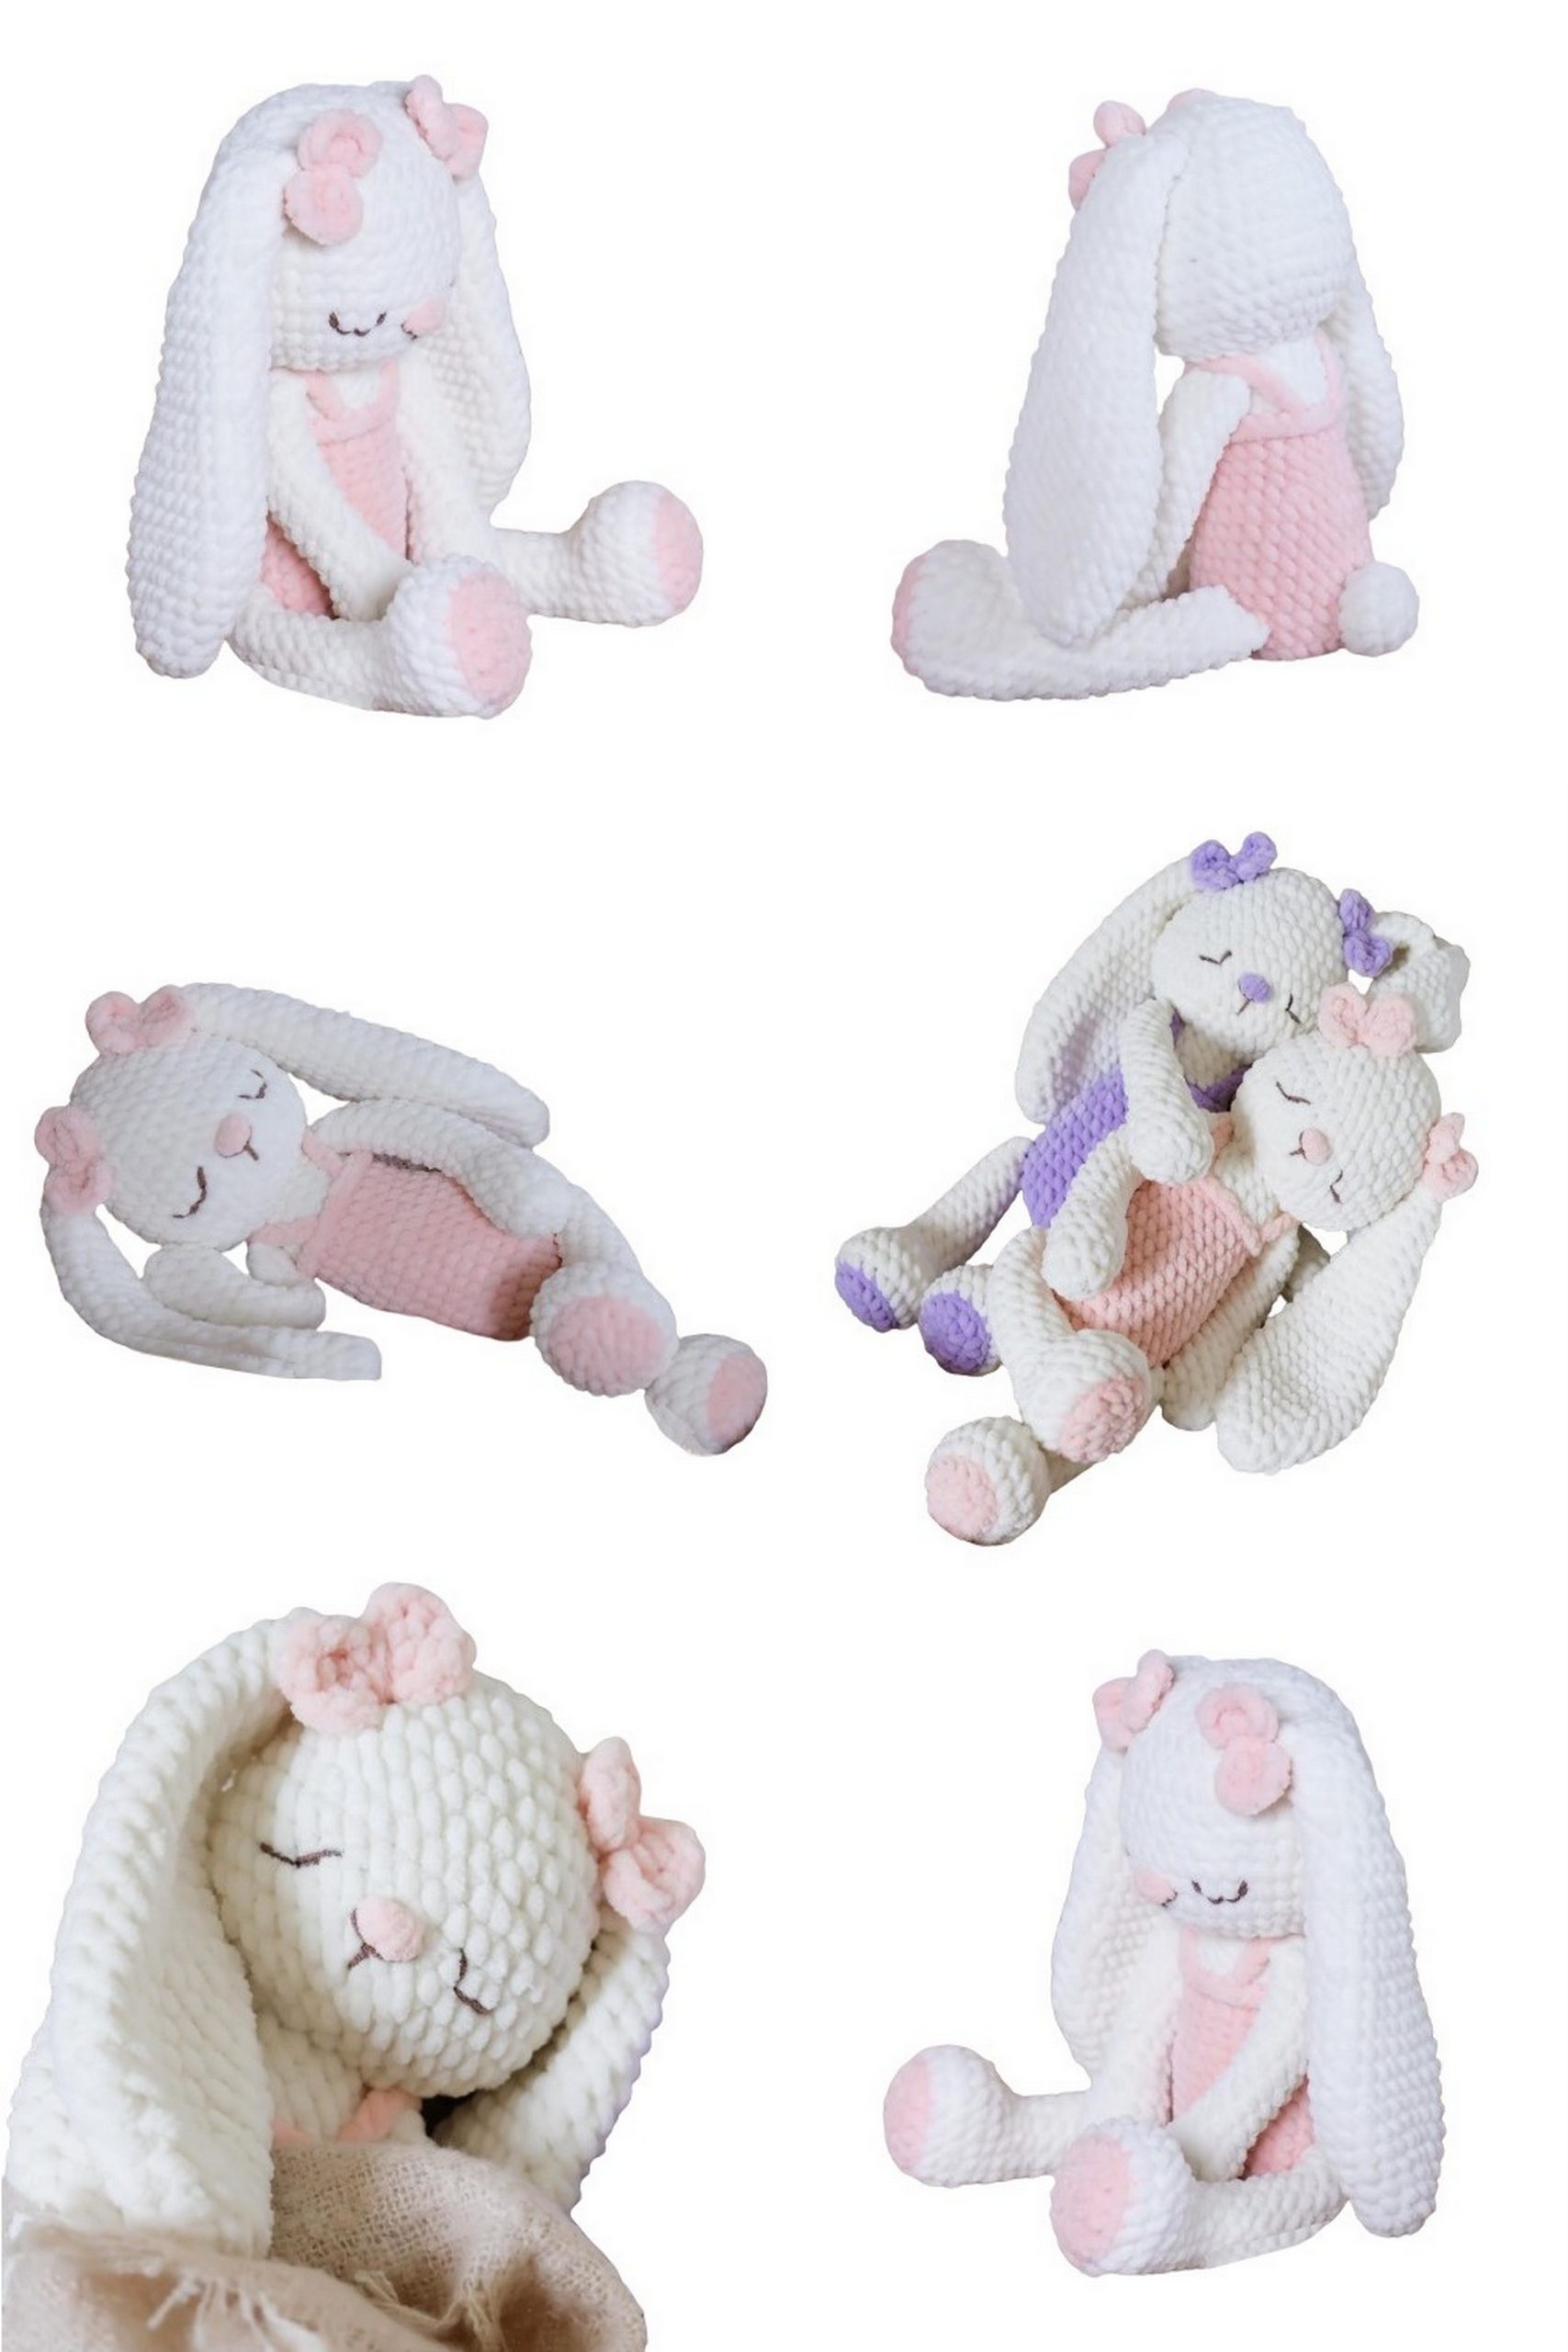
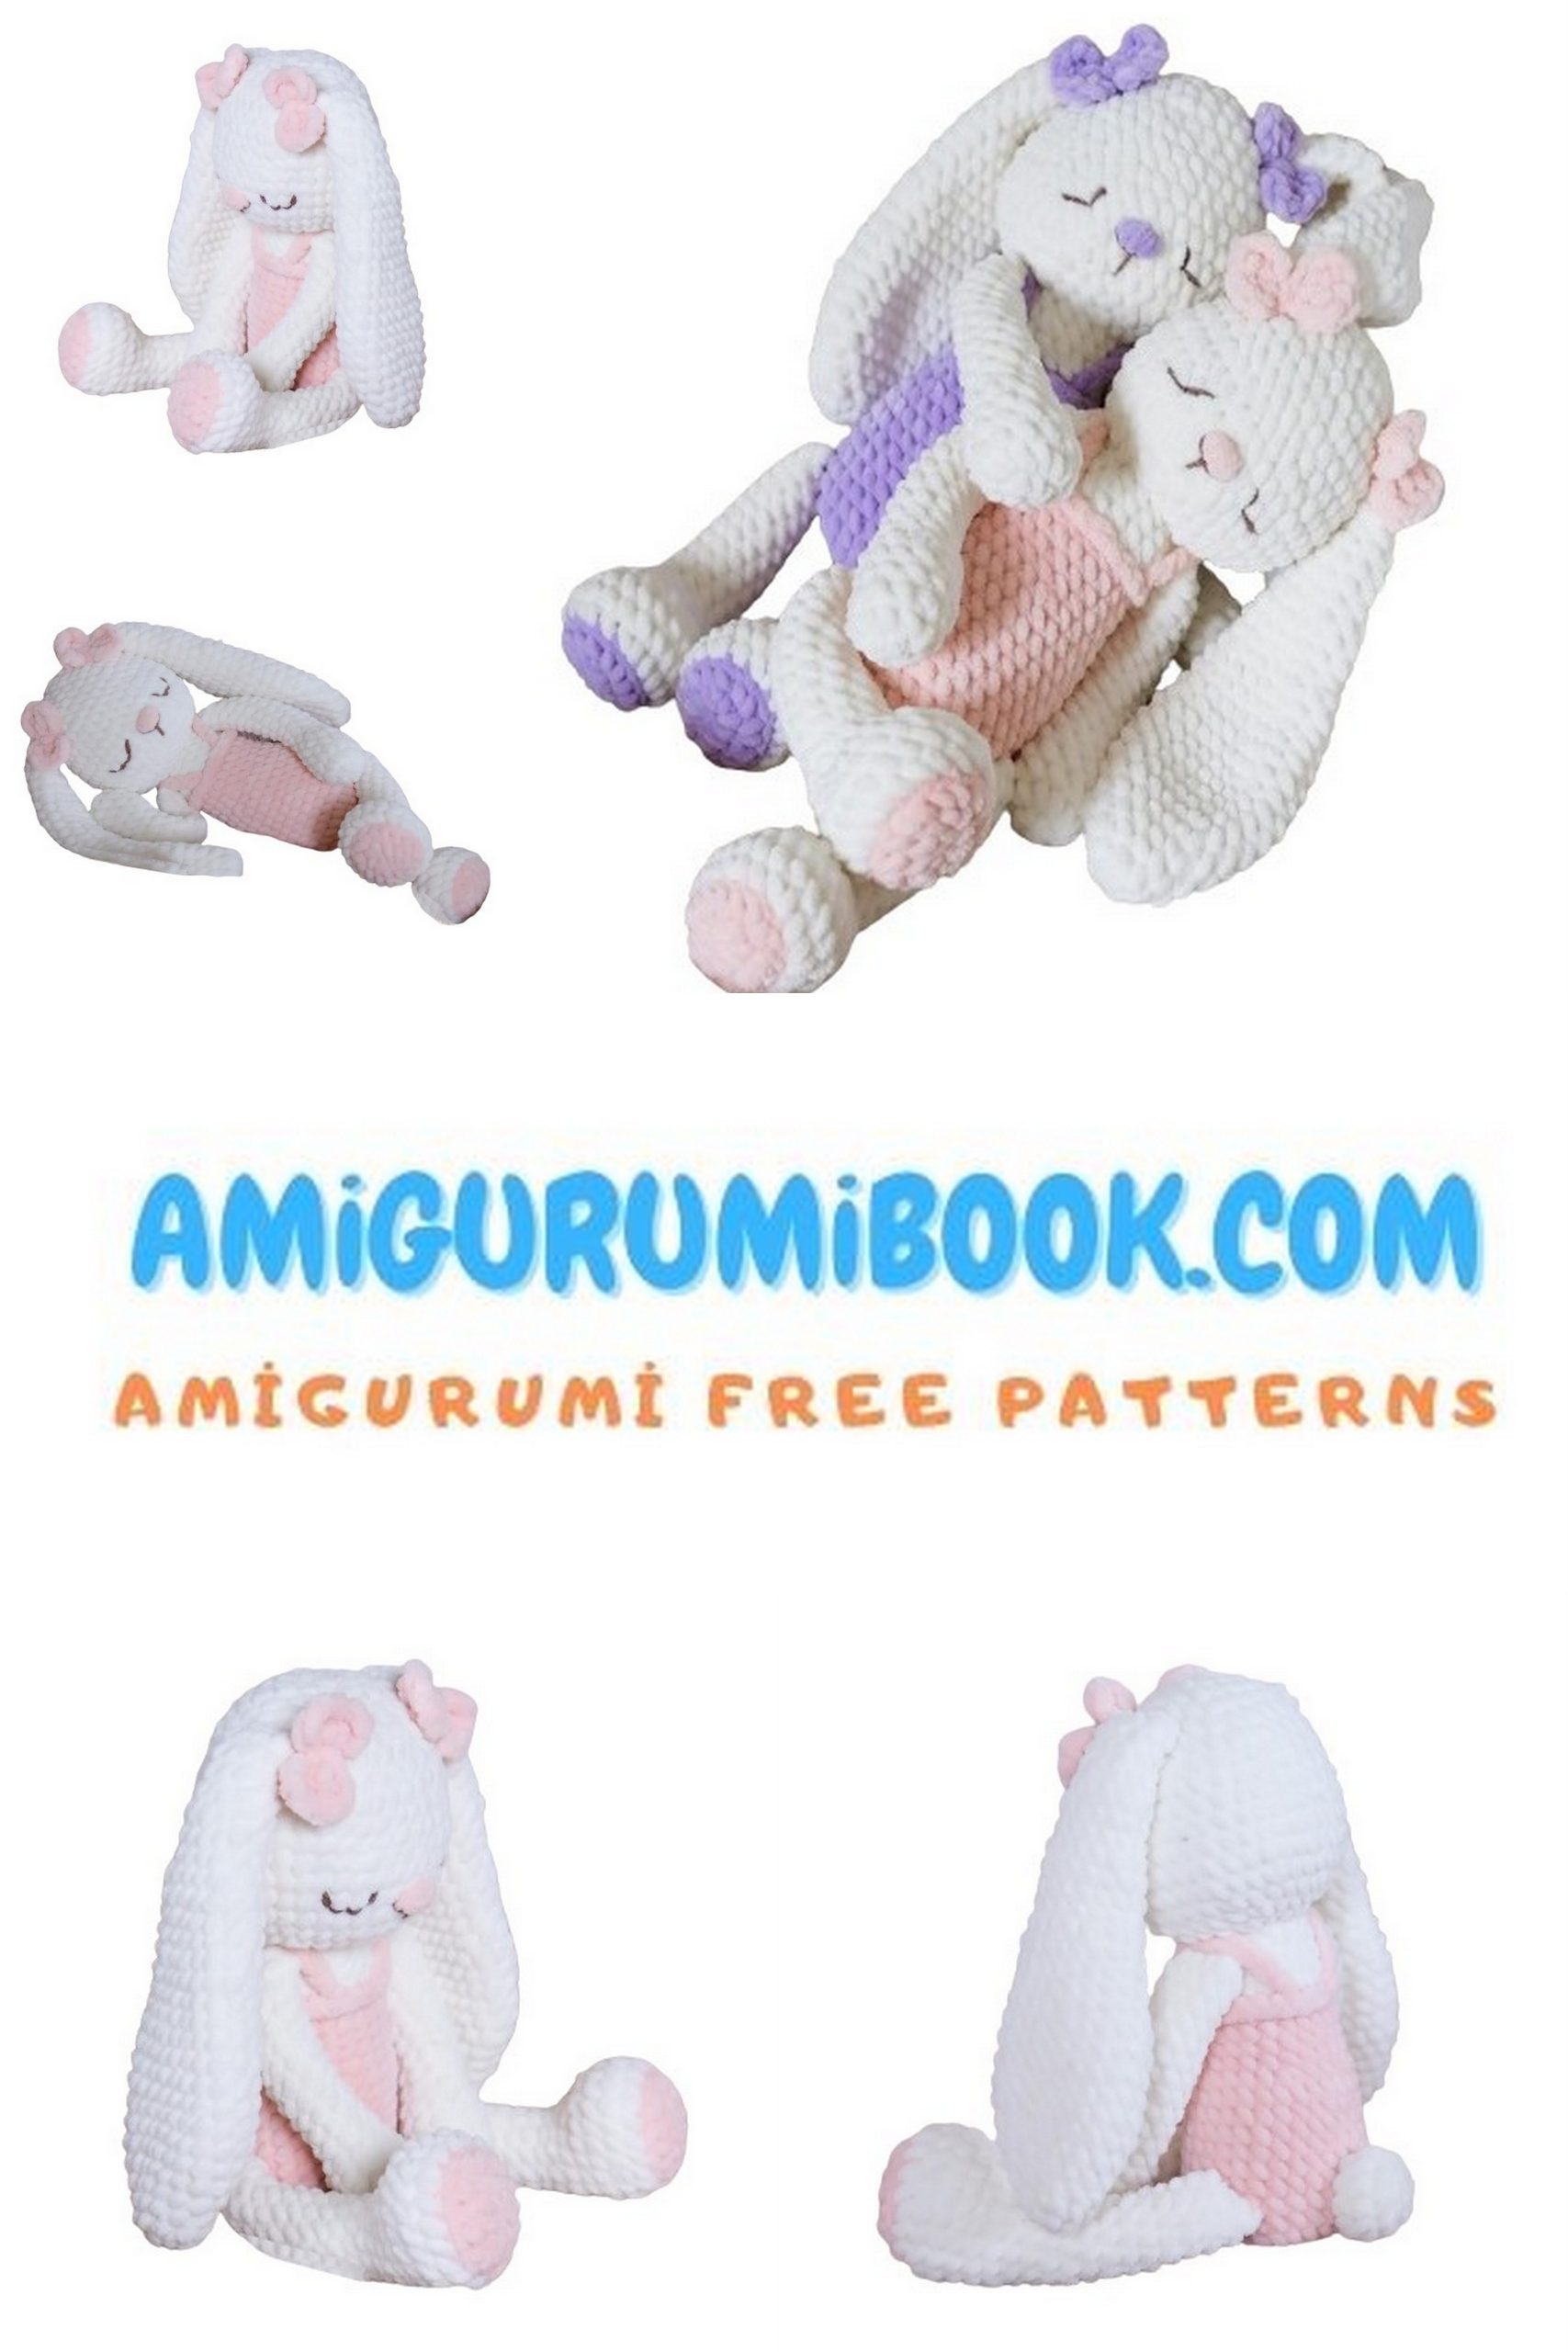
Whether you’re a beginner or an experienced crocheter, this comprehensive guide provides step-by-step instructions and clear photos to help you craft a whimsical Dream Bunny.
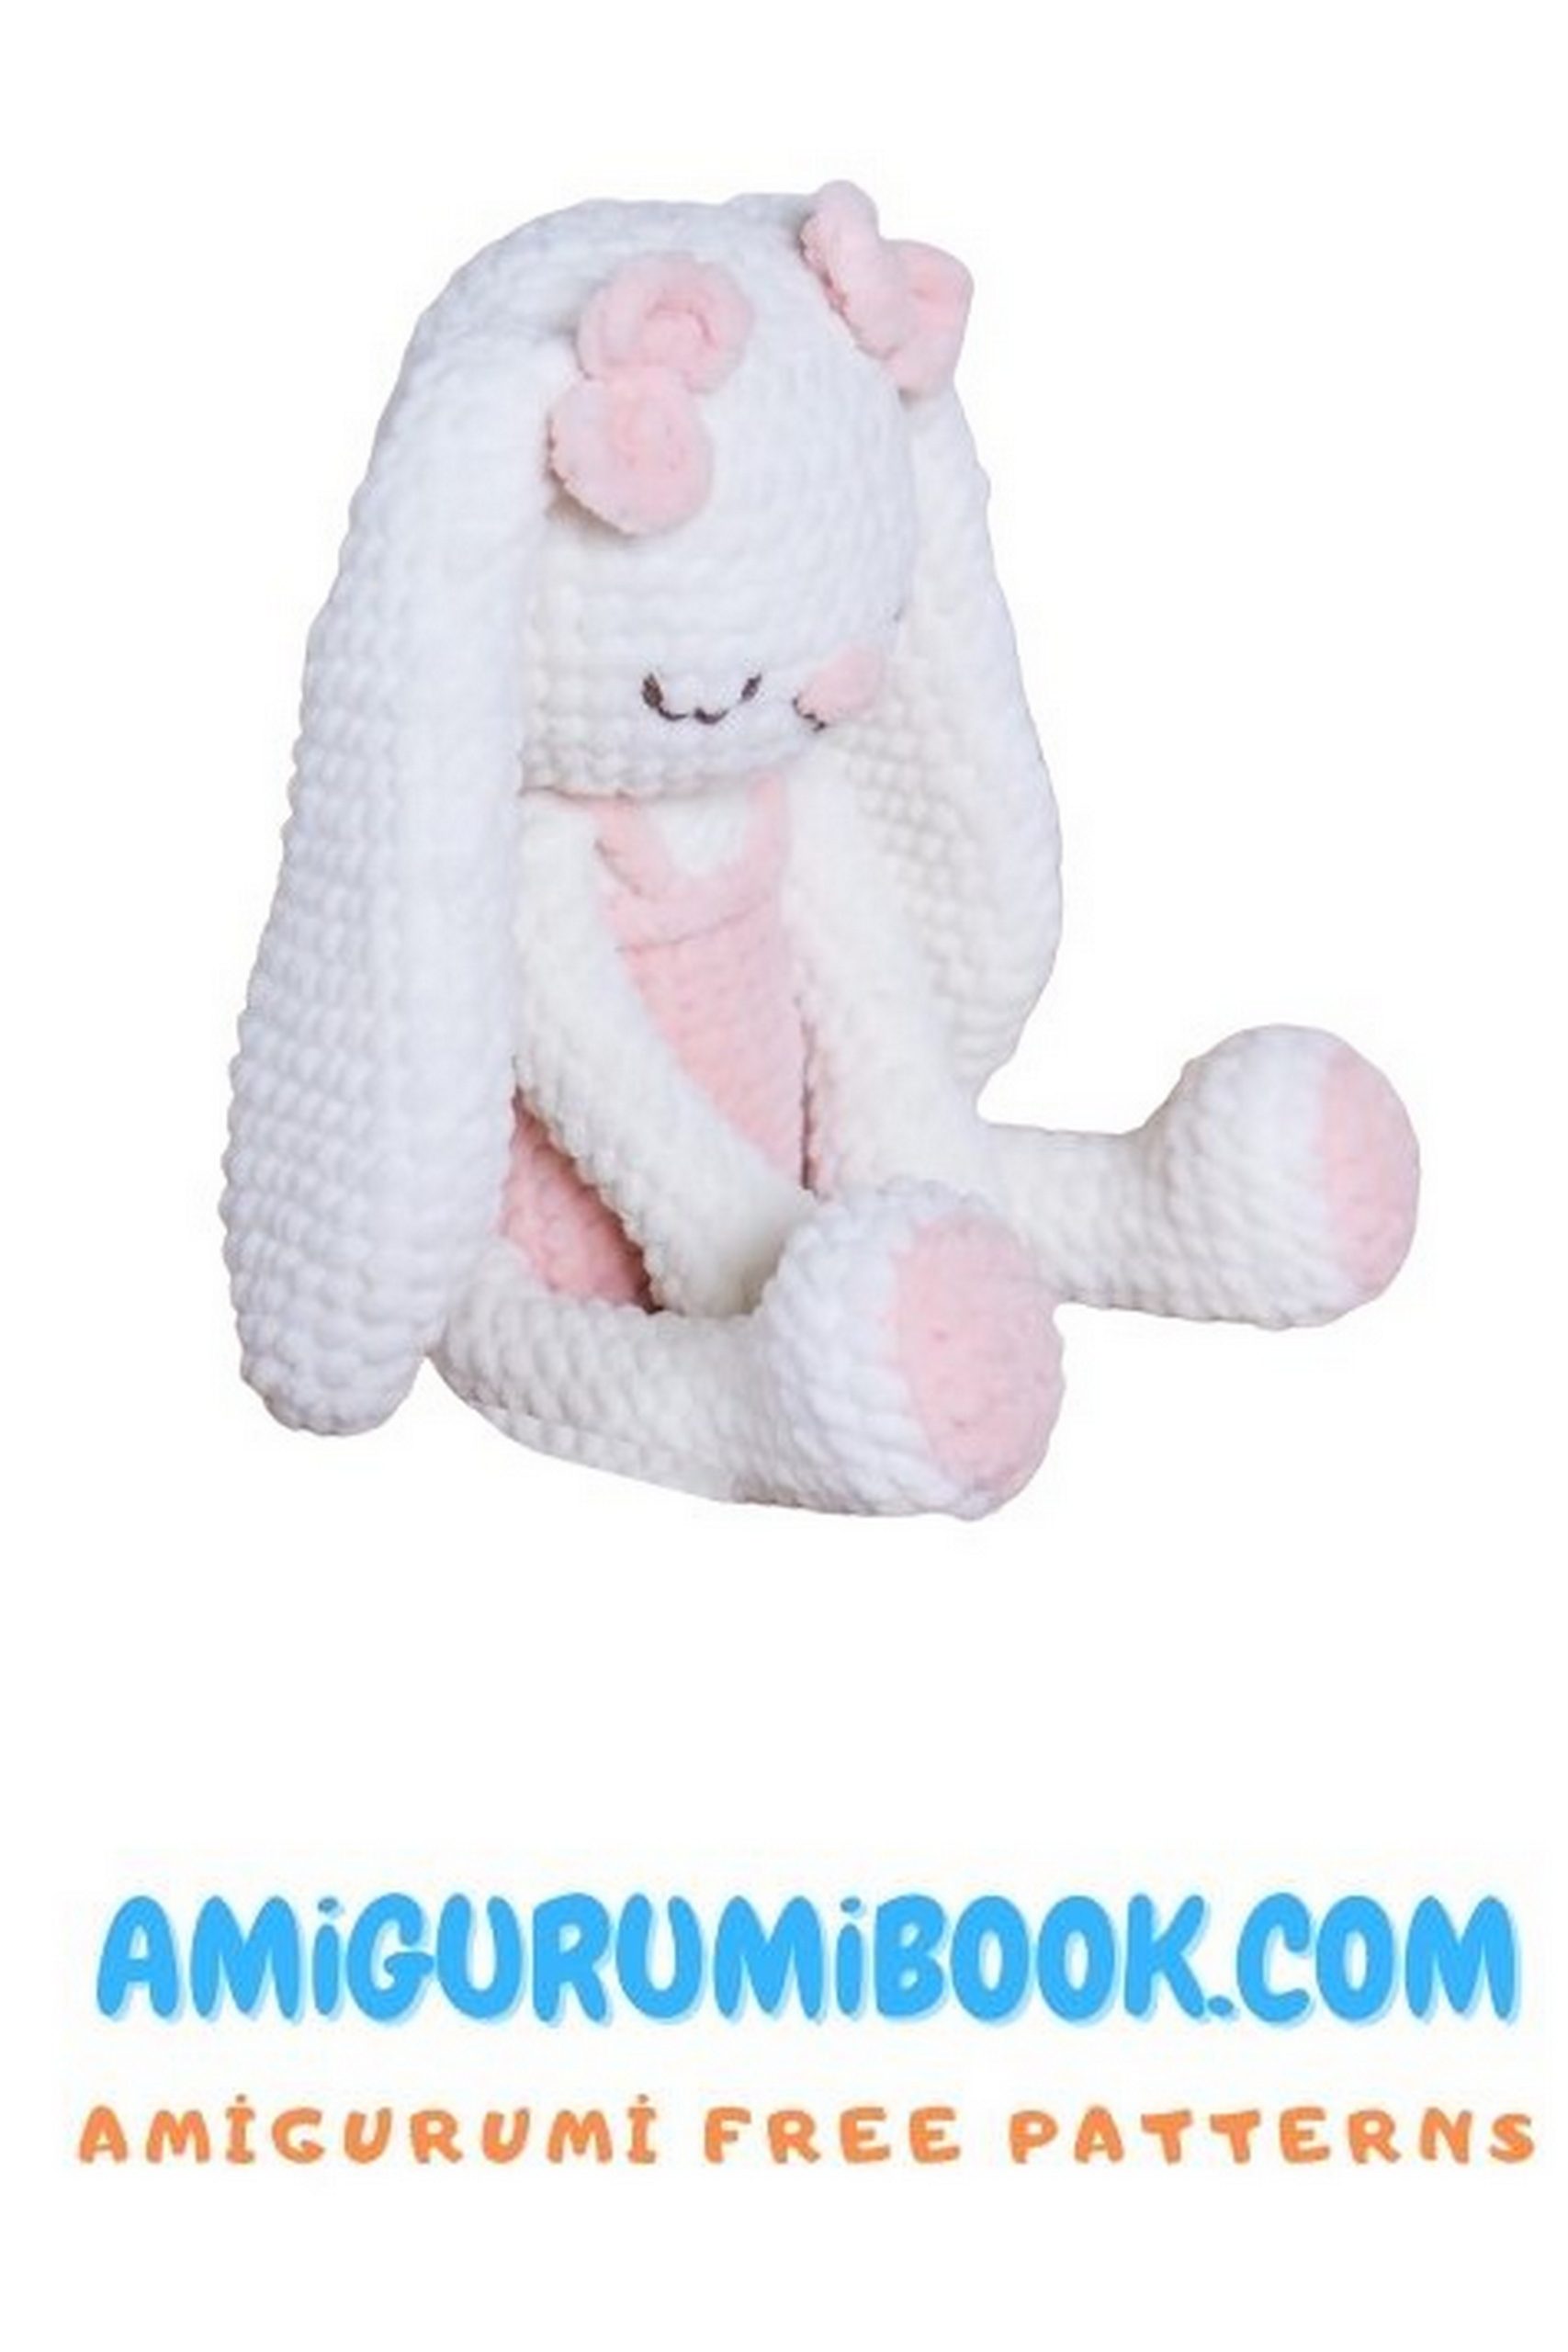
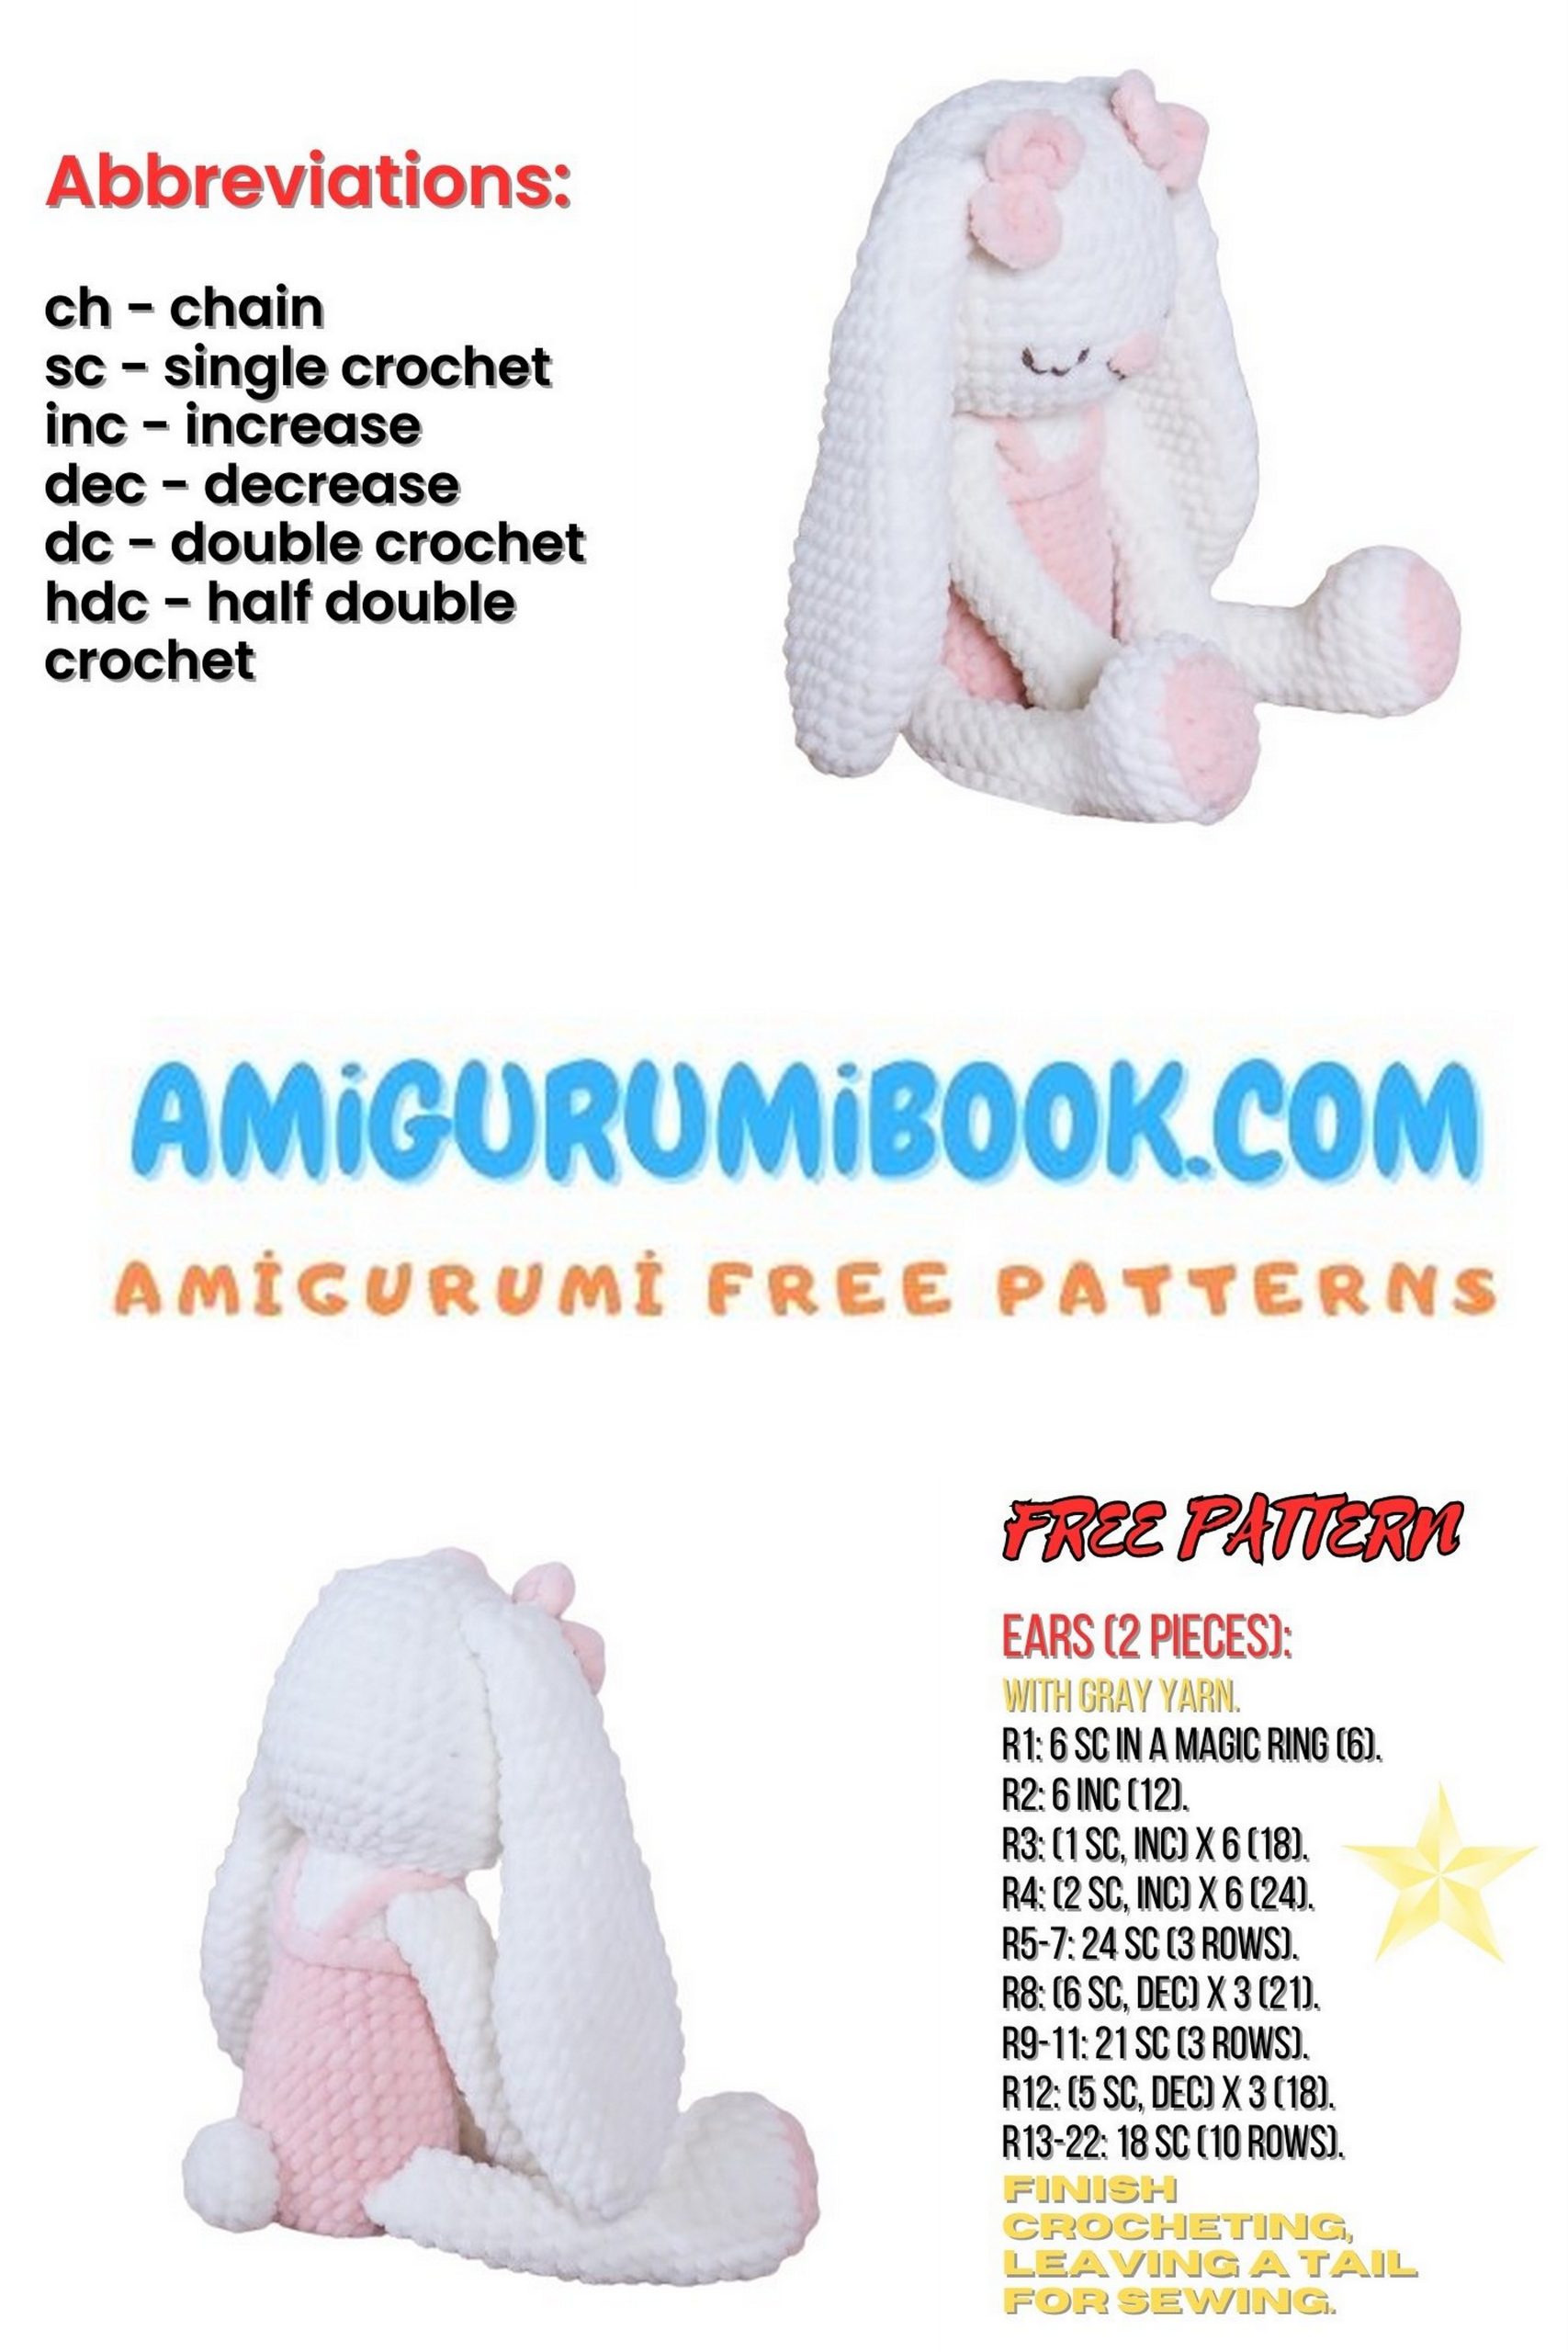
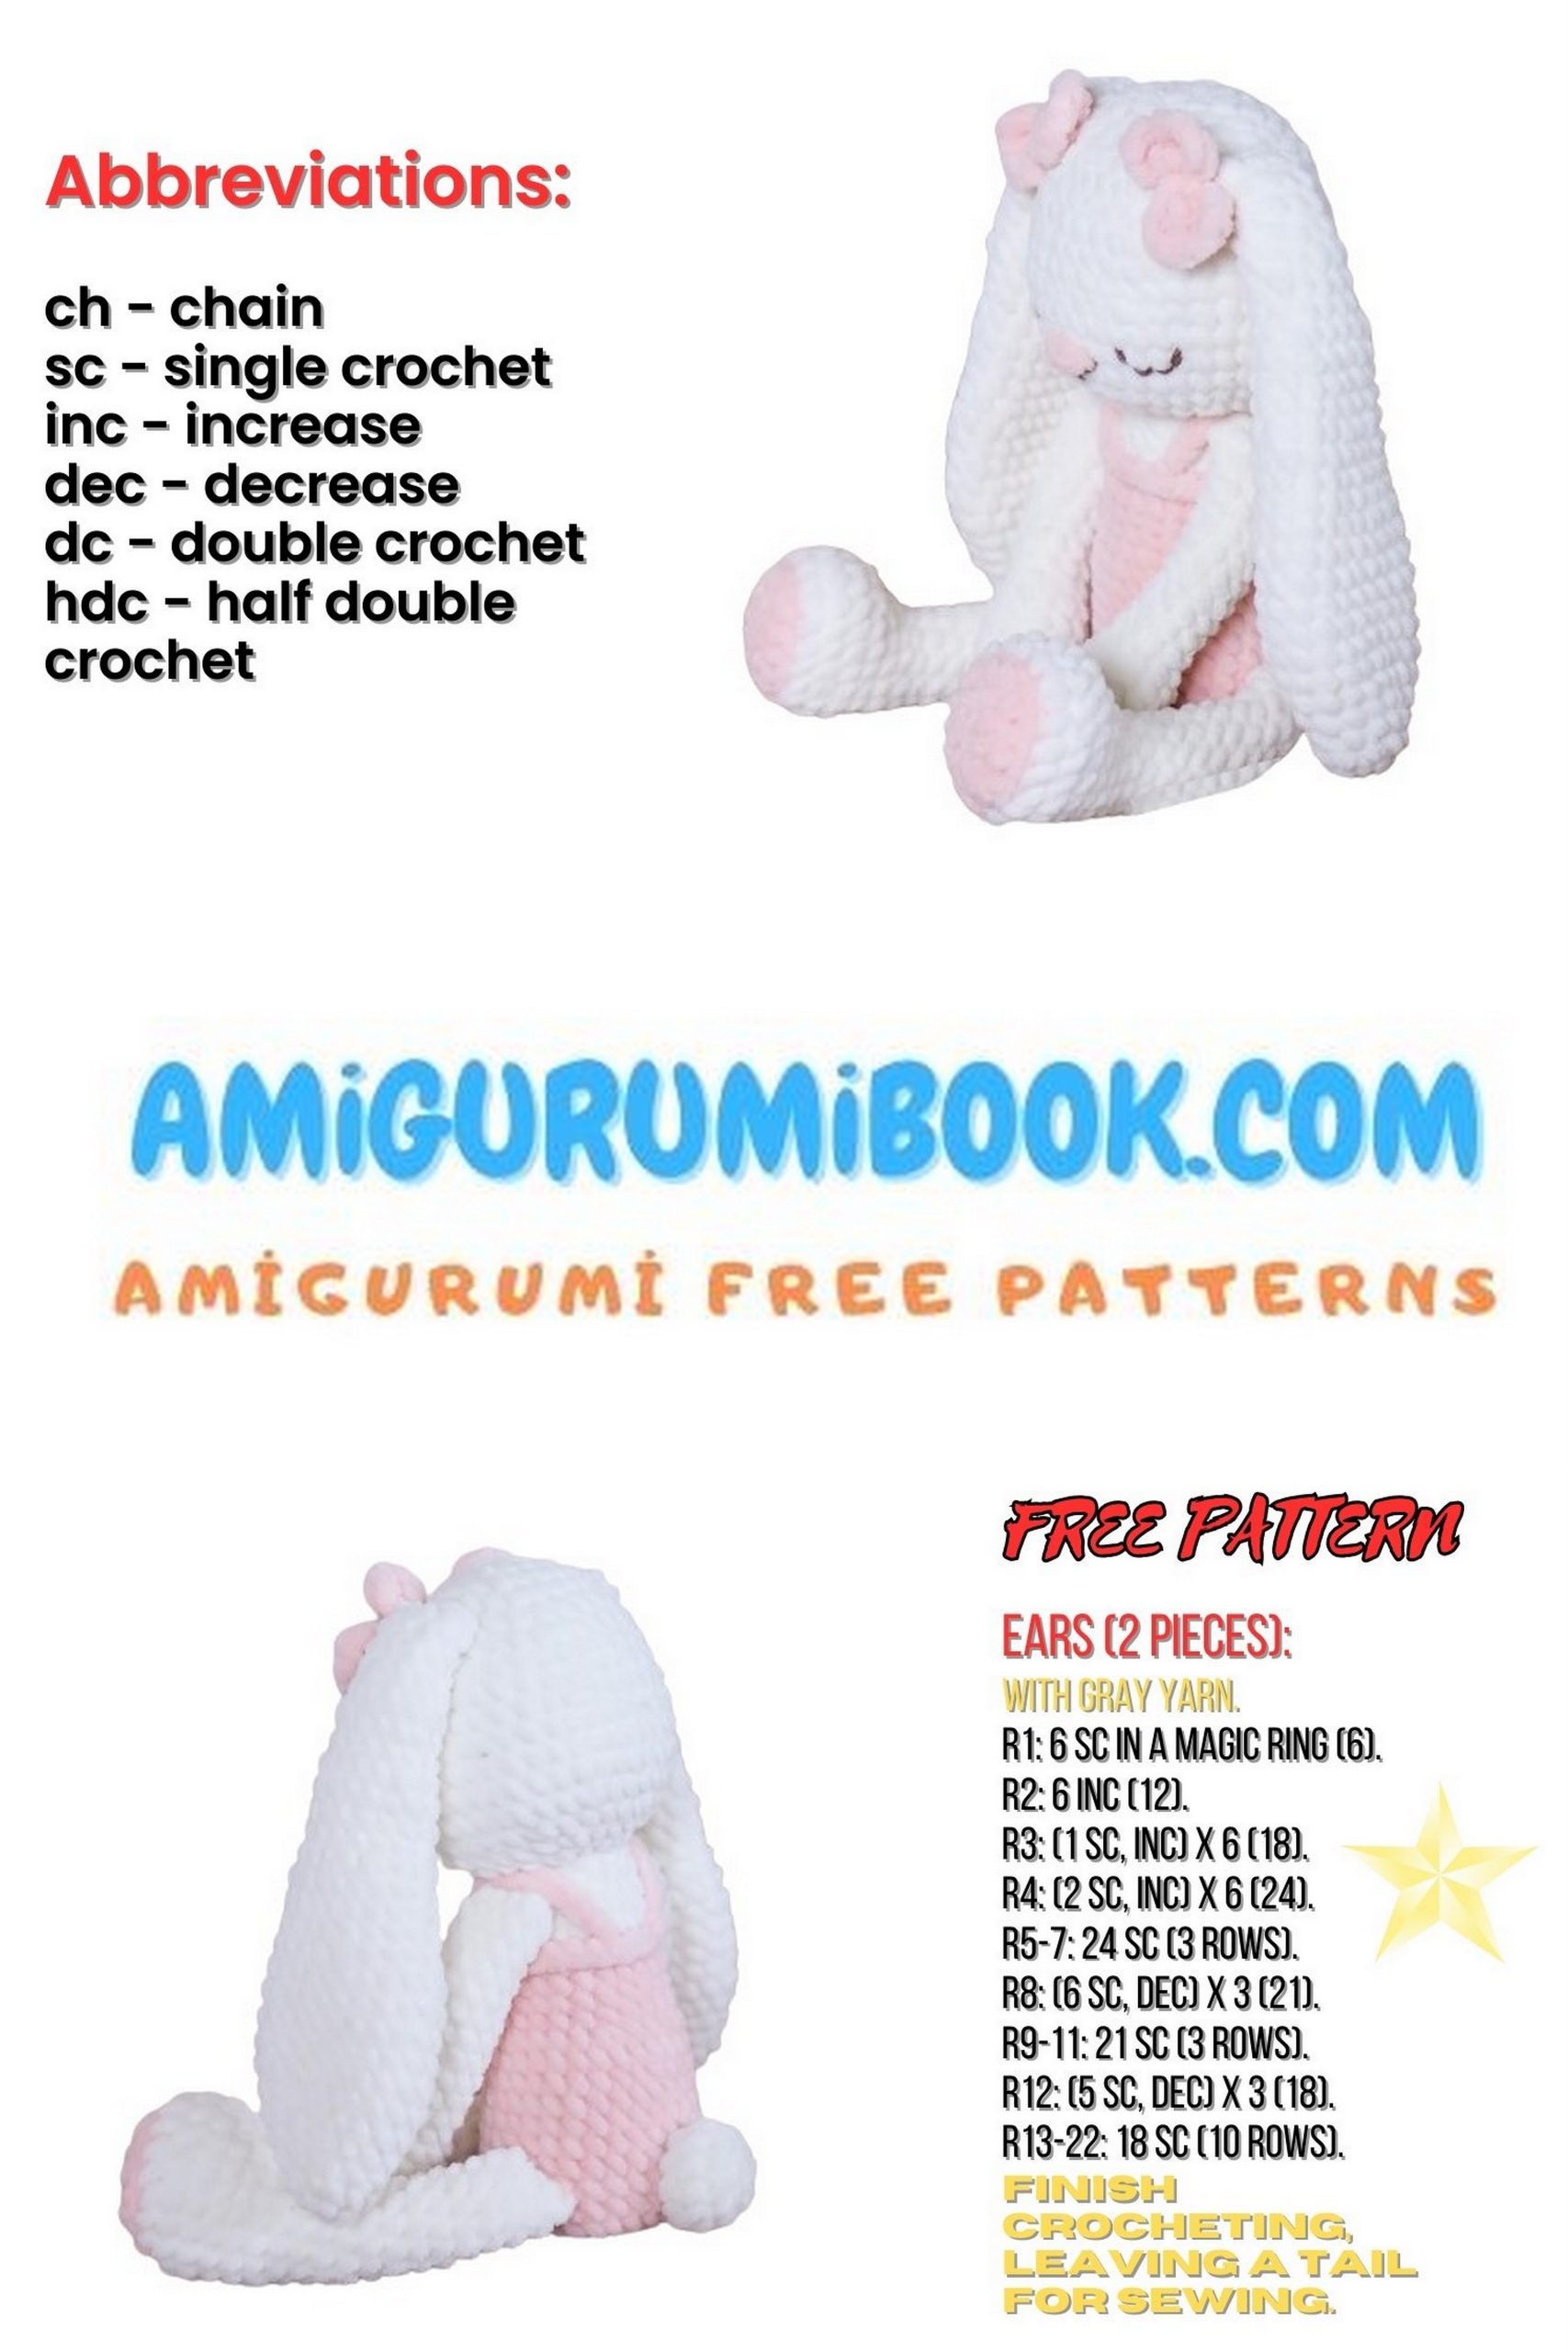
Perfect for cuddling or as a delightful gift, this bunny amigurumi embodies sweetness and charm.
Start your Dream Bunny Amigurumi project today and let your imagination take flight!
If you want to access 1000+ free amigurumi patterns, you can download our application from this link!
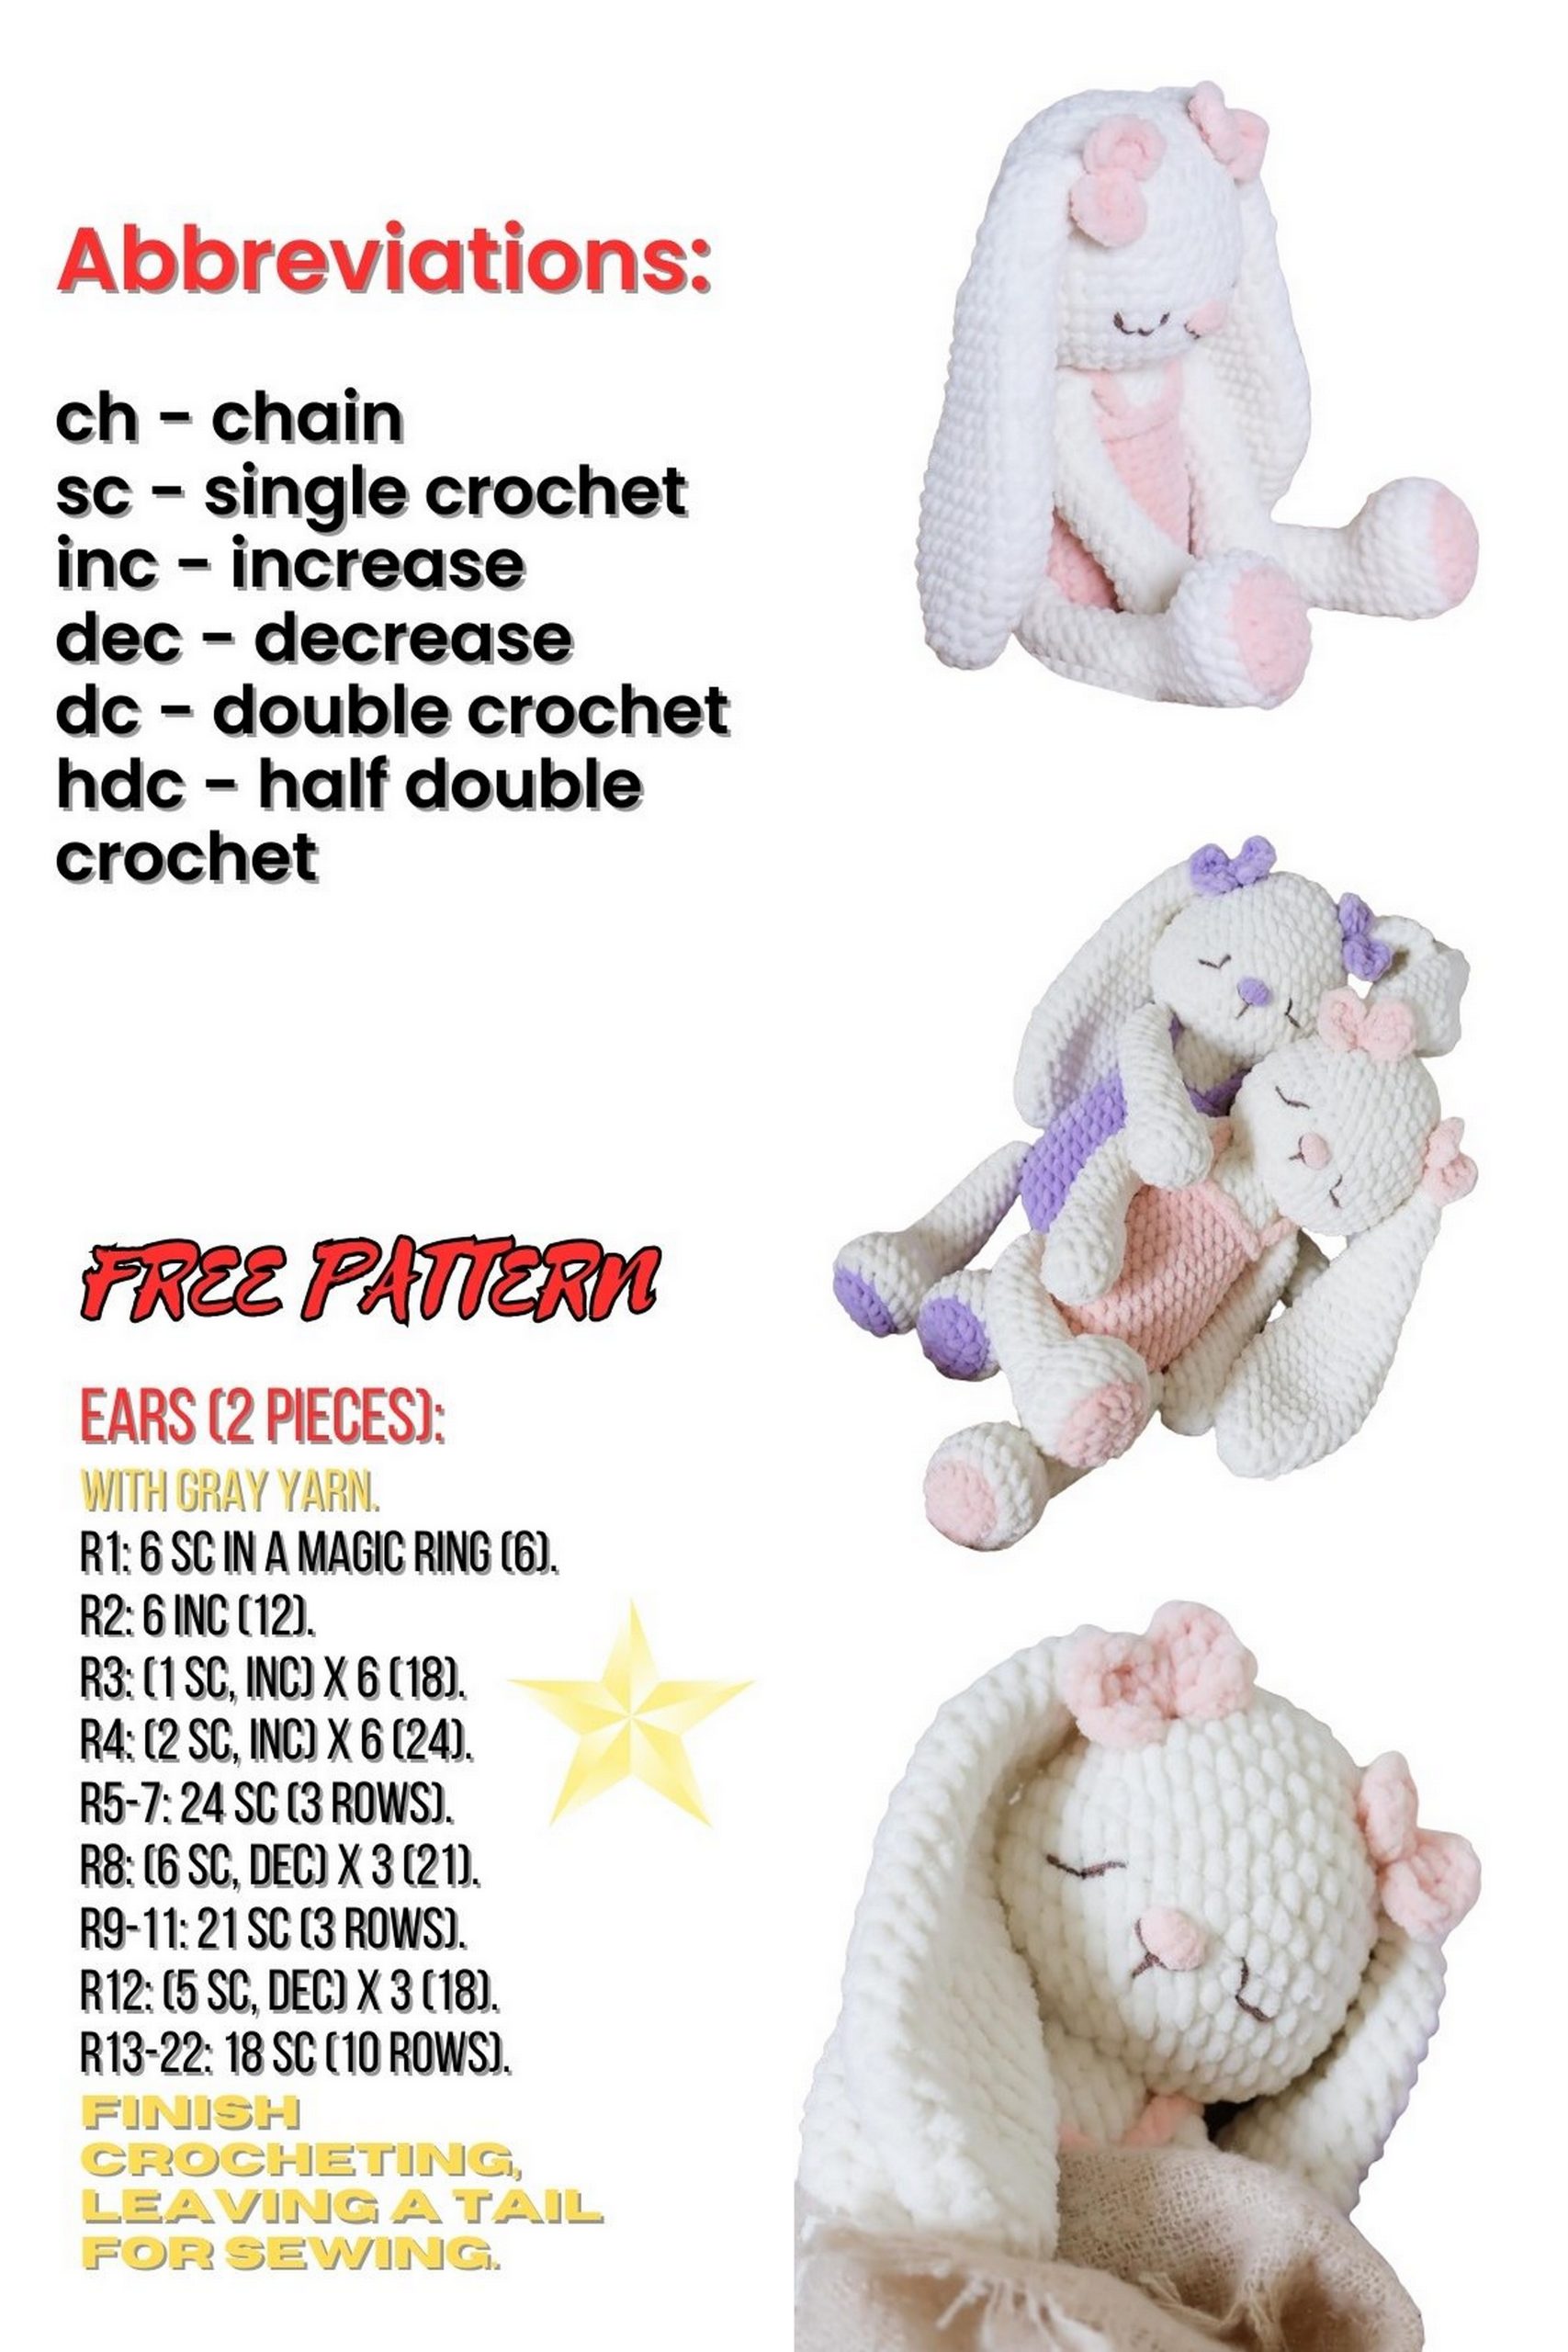
Abbreviations
mr– amigurumi ring;
ch – chain stitch;
ss – slip stitch;
sc – single crochet;
dc – double crochet;
Inc – increase (2 stitches in one stitch);
Dec – decrease (crochet 2 stitches together);
(sc, inc) х n – repeat the sequence in parentheses n times.
Materials Needed
1: Plush yarn Himalaya Dolphin Baby or Yarn Art Dolce
about 100 g cream color (1 skein)
about 30 g peach color
2: Crochet hook 3.5 mm (results in a toy about 30 cm)
3: Stuffing (hollowfiber)
4: Smooth threads matching the main plush yarn for sewing ears, such as iris or semi-cotton thread.
5: A bit of brown yarn for embroidering eyes, e.g., Alize Cotton Gold 688.
6: Tapestry needle with a wide eye.
Toy Size and Notes
Finished toy height approximately 30 cm (with 3.5 mm hook).
All toy parts are crocheted in continuous rounds. Arms and legs are crocheted into the body.
Crochet Tips
Start crocheting not from the usual amigurumi ring, but with 2 chain stitches (ch), and crochet the first row into the second chain stitch from the hook.
Alternatively, use smooth thread for the amigurumi ring. See example in the photo.
Dream Bunny Pattern
Legs (Make 2) – Dream Bunny
Use peach color. Stuff as you go.
Chain 5 ch.
1: Starting from the 2nd ch from the hook, 3 sc, 3 sc in the last ch. Continue on the other side of the chain, 2 sc, inc (10).
2: Inc, 2 sc, 3 inc, 2 sc, 2 inc (16).
Switch to cream color.
3: (Sc in next st, inc) repeat 3 times, 2 sc, (sc in next st, inc) repeat 2 times (22).
4-5: 2 rows – sc in each st (22).
6: 6 sc, 4 dec, 8 sc (18).
7: 5 sc, 3 dec, 5 sc, dec (14).
8: 5 sc, dec over 3 sc, 6 sc (12).
9-10: 2 rows – sc in each st (12).
11: 10 sc, dec (11).
12-13: 2 rows – sc in each st (11).
14: dec, 9 sc (10).
15-16: 2 rows – sc in each st (10).
17: dec, 8 sc (9).
18-19: 2 rows – sc in each st (9).
Crochet 7 sc to position hook above the toe.
Fold the leg in half and sew the edges with 4 sc. Cut the thread, hide the end inside.
Arms (Make 2) – Dream Bunny
Use main color. Stuff as you go.
1: 6 sc in ring (6).
2: 6 inc (12).
3-5: 3 rows – sc in each st (12).
6: (2 sc, dec) repeat 3 times (9).
7-19: 13 rows – sc in each st (9).
Fold the arm in half and sew the edges with 4 sc. Cut the thread, hide the end inside.
Ears (Make 2) – Dream Bunny
Use main color. No stuffing needed.
1: 6 sc in ring (6).
2: (1 sc, inc) repeat 3 times (9).
3: (2 sc, inc) repeat 3 times (12).
4: (3 sc, inc) repeat 3 times (15).
5: (4 sc, inc) repeat 3 times (18).
7-11: 5 rows – sc in each st (21).
12: (5 sc, dec) repeat 3 times (18).
13-15: 3 rows – sc in each st (18).
16: (4 sc, dec) repeat 3 times (15).
17-19: 3 rows – sc in each st (15).
20: (3 sc, dec) repeat 3 times (12).
21-23: 3 rows – sc in each st (12).
24: (2 sc, dec) repeat 3 times (9).
25-27: 3 rows – sc in each st (9).
Fold the ear in half and sew the edges with sc. Cut the thread, hide the end inside.
Head – Dream Bunny
Use main color. Stuff as you go.
1: 6 sc in amigurumi ring.
2: 6 inc (12).
3: (1 sc, inc) repeat 6 times (18).
4: (2 sc, inc) repeat 6 times (24).
5: (3 sc, inc) repeat 6 times (30).
6: sc in each st (30).
7: (4 sc, inc) repeat 6 times (36).
8-9: 2 rows – sc in each st (36).
10: (5 sc, inc) repeat 6 times (42).
11-13: 3 rows – sc in each st (42).
14: (5 sc, dec) repeat 6 times (36).
15: (4 sc, dec) repeat 6 times (30).
16: (3 sc, dec) repeat 6 times (24).
17: (2 sc, dec) repeat 6 times (18).
Fasten off, hide the end inside.
Body – Dream Bunny
Use peach color. Start row is at the back. Stuff as you go.
1: 6 sc in amigurumi ring.
2: 6 inc (12).
3: (1 sc, inc) repeat 6 times (18).
4: (2 sc, inc) repeat 6 times (24).
5: (3 sc, inc) repeat 6 times (30).
6: sc in each st (30).
7: 5 sc, 4 sc attaching leg, 11 sc, 4 sc attaching leg, 6 sc (30).
8-13: 6 rows – sc in each st (30).
14: (3 sc, dec) repeat 6 times (24).
15-18: 4 rows – sc in each st (24).
Switch to cream color, leave peach thread outside.
19: (6 sc, dec) repeat 3 times (21).
20: sc in each st (21).
21: (5 sc, dec) repeat 3 times (18).
22: sc in each st, attaching arms on the sides. The distribution of stitches was like this for me: 5 sc, 4 sc together with the arm, 5 sc, 4 sc together with the arm (18).
Leave the thread for sewing.
Return to the peach thread and crochet a row of slip stitches behind the loops of the 18th row. Fasten off, hide the end inside.
Tail – Dream Bunny
Use main color.
1: 6 sc in amigurumi ring.
2: 6 inc (12).
3: sc in each st (12).
4: (2 sc, dec) repeat 3 times (9).
Leave the thread for sewing. Put the stuffing inside.
Bow
Use peach color.
In the ring: 3 ch, 2 ССН, 3 ch, ss, 3 ch, 2 ССН, 3 ch, ss.
Pull the loop. Leave the thread for sewing.
Straps
Use peach color.
Make a chain of 11 ch, leave tails for sewing on both sides of the chain.
Assembly
Sew the head to the body.
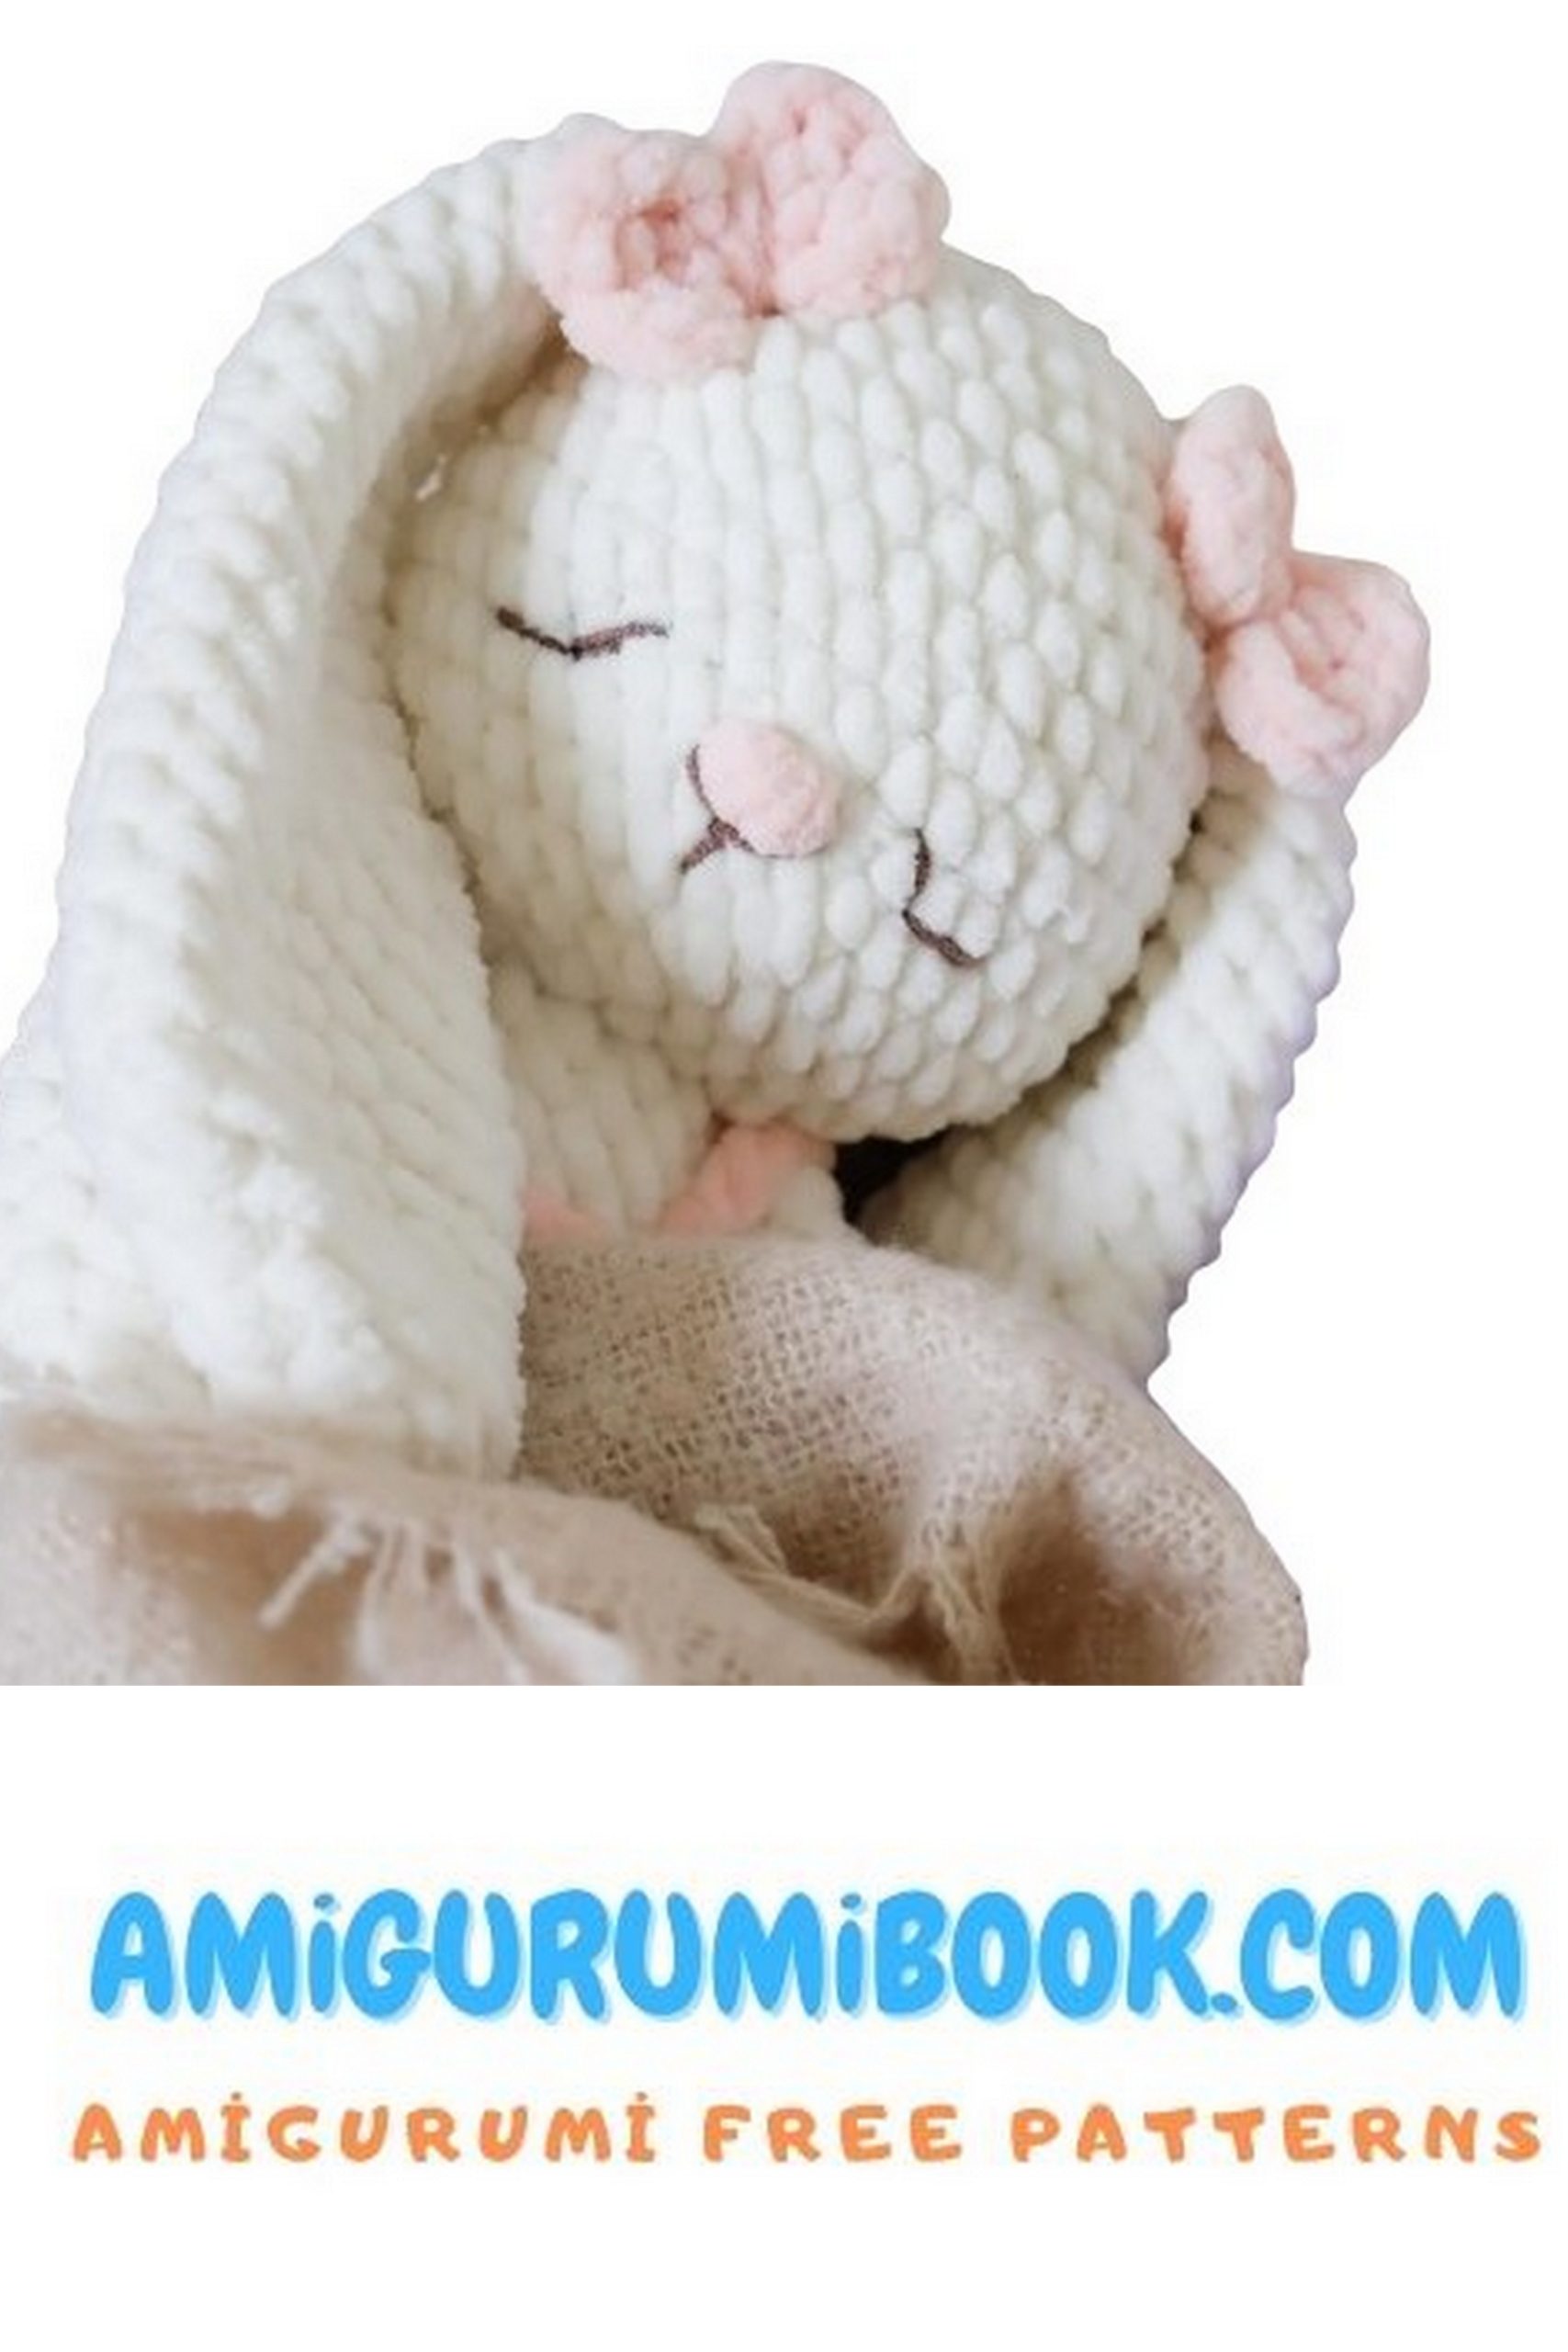
Embroider the nose between rows 12 and 13. Initially, with peach thread, make three horizontal stitches under two stitches. Then wrap the stitches with 6-8 vertical turns. Hold each turn with your finger to keep it straight.
Sew ears between rows 4 and 5 of the head using smooth threads matching the main yarn.
Embroider eyes with brown yarn.
Sew bows and straps.
Sew the tail so that the bunny can sit leaning on it.
Your Plush Dream Bunny is ready!