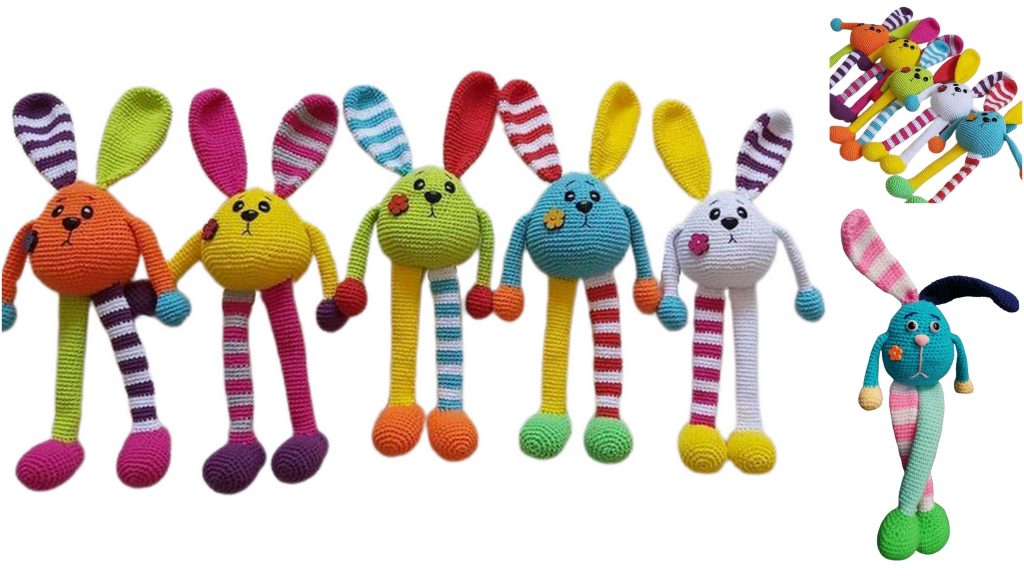
Looking for an adorable and fun craft project to celebrate Easter? Look no further than this free amigurumi pattern for a cuddly Easter bunny! This pattern is perfect for crocheters of all skill levels, from beginners to experienced crafters. In just a few steps, you’ll be well on your way to creating a charming Easter bunny that will be a cherished keepsake for years to come. So grab your yarn, crochet hook, and get ready to bring this springtime friend to life!
If you want to access 1000+ free amigurumi patterns, you can download our application from this link!
Abbreviations:
Inc – increase
Dec – decrease
Sl-st – slip stitch
Sc – single crochet
PATTERN
Easter Bunny Head
We stuff as we knit
1) MAGIC RING INTO 6sc = 6sc
2) (Inc)*6 = 12sc
3) (1sc, inc)*6 = 18sc
4) (2sc, inc)*6 = 24sc
5) (3sc, inc)*6 = 30sc
6) (4sc, inc)*6 = 36sc
7) (5sc, inc)*6 = 42sc
8) (6sc, inc)*6 = 48sc
9) (7sc, inc)*6 = 54sc
10-14) = 54sc (5 rows)
15) (7sc, dec)*6 = 48sc
16-17) = 48sc (2 rows)
18) (6sc, dec)*6 = 42sc
19-20) = 42sc (2 rows)
21) (5sc, dec)*6 = 36sc
22-23) = 36sc (2 rows)
24) (4sc, dec)*6 = 30sc
25-26) = 30sc (2 rows)
Insert eyelets (10mm) on secure fastening between 22nd and 23rd rows 5-6 sts apart.
In the 24th row, insert or embroider a spout between the eyes.
27) (3sc, dec)*6 = 24sc
28) = 24sc
29) (2sc, dec)*6 = 18sc
30) (1sc, dec)*6 = 12sc
31) (Dec)*6 = 6sc
Pull the hole, fasten the thread and hide inside.
Embroider the brows and mouth with black sewing thread.
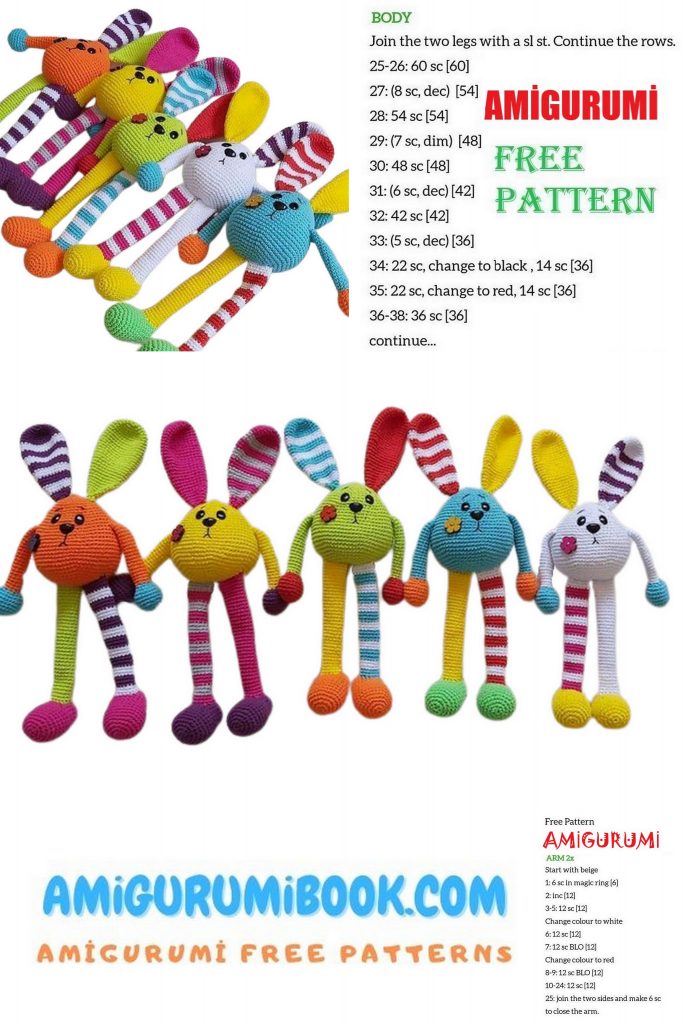
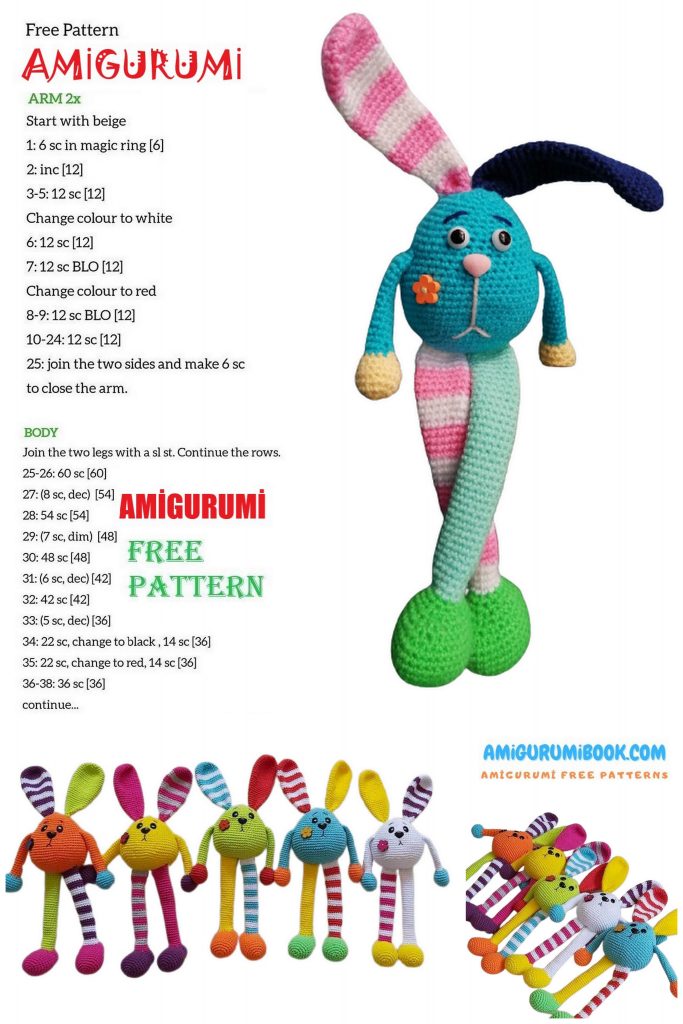
Easter Bunny Ears 2pcs
(we knit one in one color, and in the other we change the color every 4 rows)
DO NOT hit!
1) MAGIC RING INTO 6sc = 6sc
2) (2sc, inc)*2 = 8sc
3) (3sc, inc)*2 = 10sc
4) (4sc, inc)*2 = 12sc
5) (5sc, inc)*2 = 14sc
6) (6sc, inc)*2 = 16sc
7) (7sc, inc)*2 = 18sc
8) (8sc, inc)*2 = 20sc
9) (9sc, inc)*2 = 22sc
10-12) = 22sc (3 rows)
13) (5sc, dec)*2, 6sc, dec = 19sc
14) = 19sc
15) (4syun, dec)*2, 5sc, dec = 16sc
16-17) = 16sc (2 rows)
Fold the part in half and knit 8sl-st behind both walls, fasten the thread and sew on top of the easter bunny head.
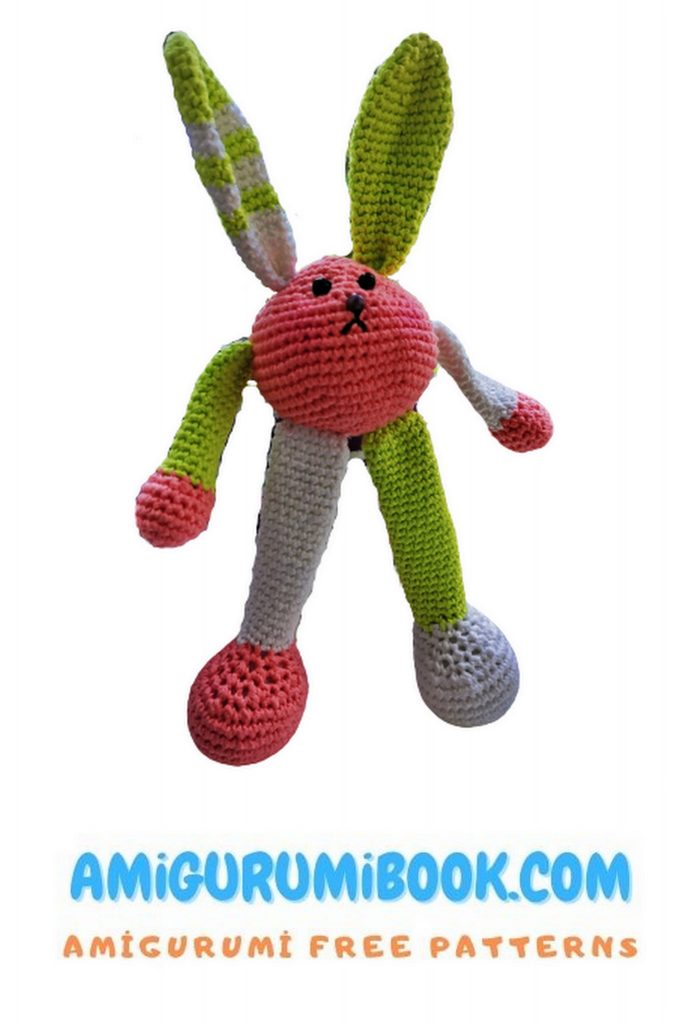
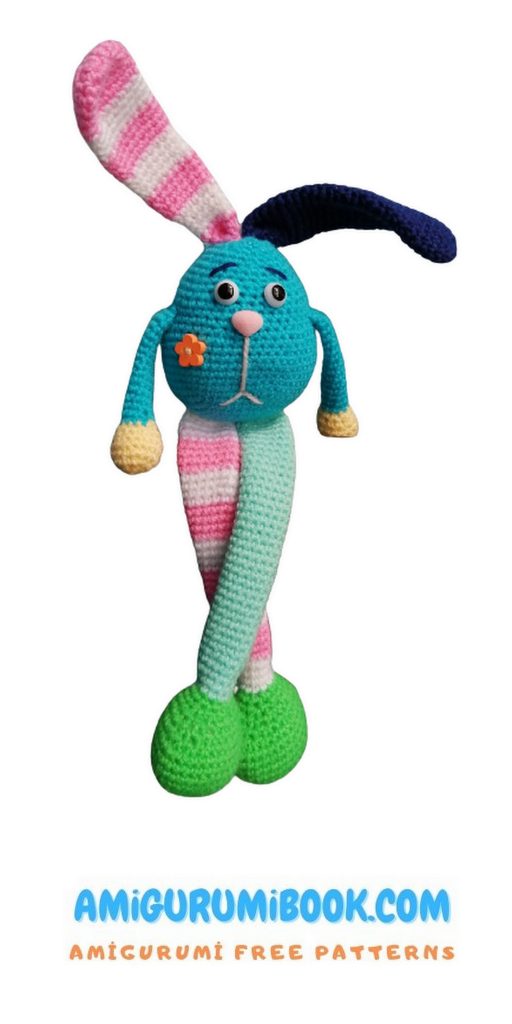
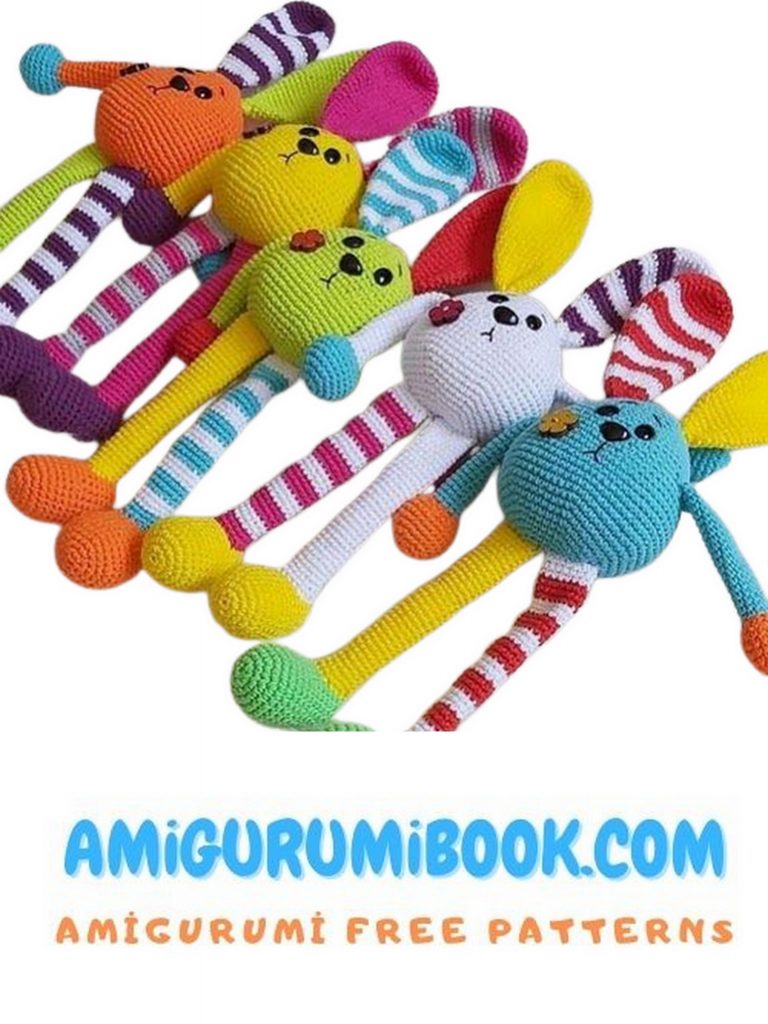
Easter Bunny Legs 2pcs
Stuffing only shoes
1) MAGIC RING INTO 8sc = 8sc
2) (Inc)*8 = 16sc
3) (3inc, 5sc)*2 = 22sc
4) (1inc, 1sc)*2, 1inc, 6sc, (1inc, 1sc)*2, inc, 6sc = 28sc
5) (1inc, 2sc)*2, 1inc, 7sc, (1inc, 2sc)*2, inc, 7sc = 34sc
6-9) = 34sc (4 rows)
10) 20sc, (dec)*4, 6sc = 30sc
11) 16sc, (1dec, 1sc)*3, 1dec, 3sc = 26sc
12) 5sc, 1dec, 6sc, (1dec, 1sc)*3, 1dec, 2sc = 21sc
13) 4sc, 1dec, 5sc, (dec)*4, 2sc = 16sc
14) 11sc, 1dec, 3sc = 15sc
We knit one leg in one color, and in the other we change the color every 4 rows
15-34) = 15sc (20 rows)
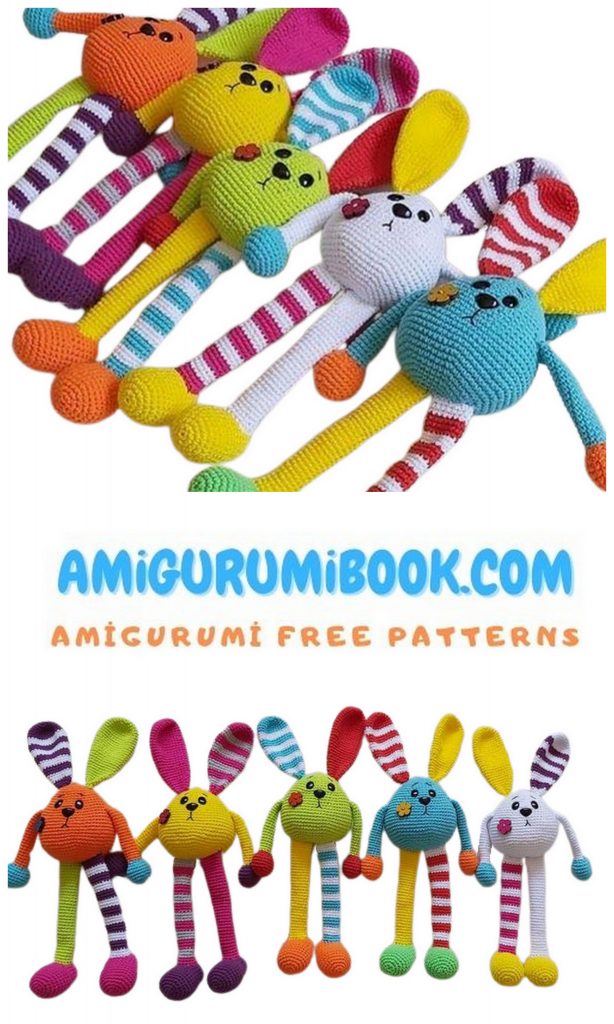
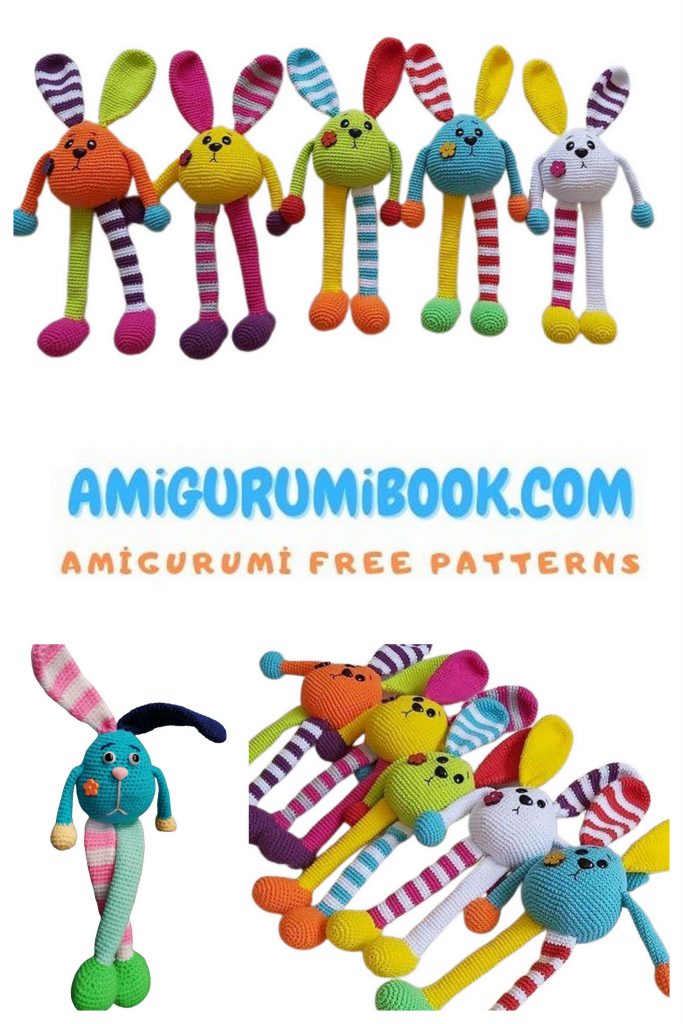
Fold the piece in half and knit 7sl-st behind both walls. Sew on the bottom of the easter bunny body as shown in the main photo.
Easter Bunny Handles 2pcs
(we knit the palm in one color, and the handle in another)
We fill only the palm
1) MAGIC RING INTO 6sc = 6sc
2) (Inc)*6 = 12sc
3) (1sc, inc)*6 = 18sc
4-6) = 18sc (3 rows)
7) (1sc, dec)*6 = 12sc
Change color
8-22) = 12sc (15 rows)
Fold the part in half and knit 6sl-st behind both walls. Sew on the sides of the body in the 25th row.
If desired, you can put a rattle inside the body, and tweeters in the legs. You can also decorate the toy with buttons or bows.
YOUR EASTER BUNNY IS READY!