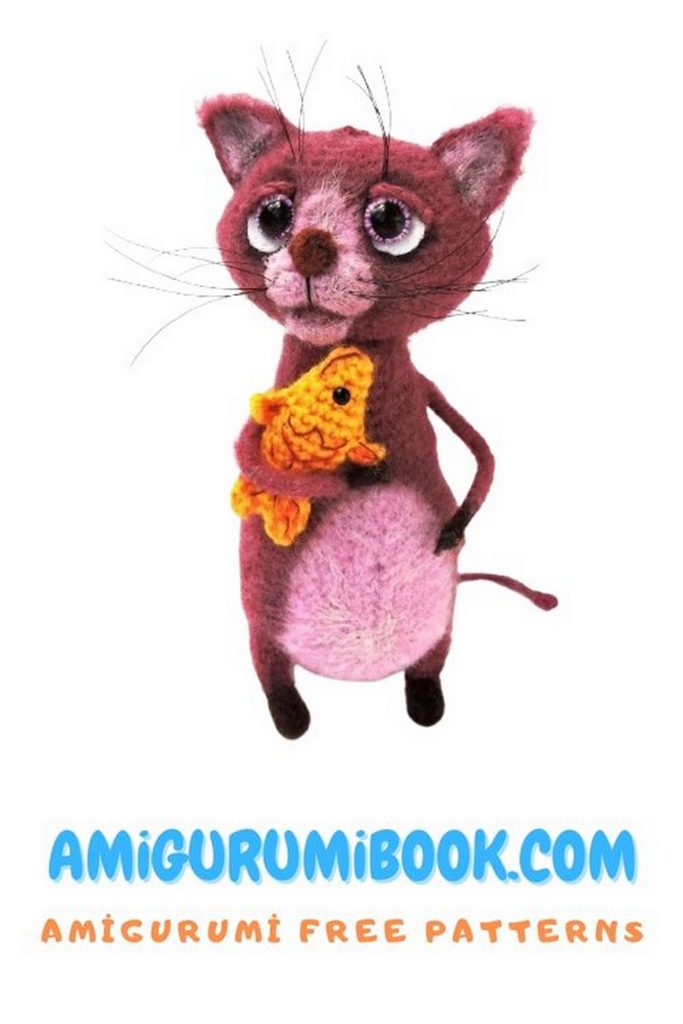
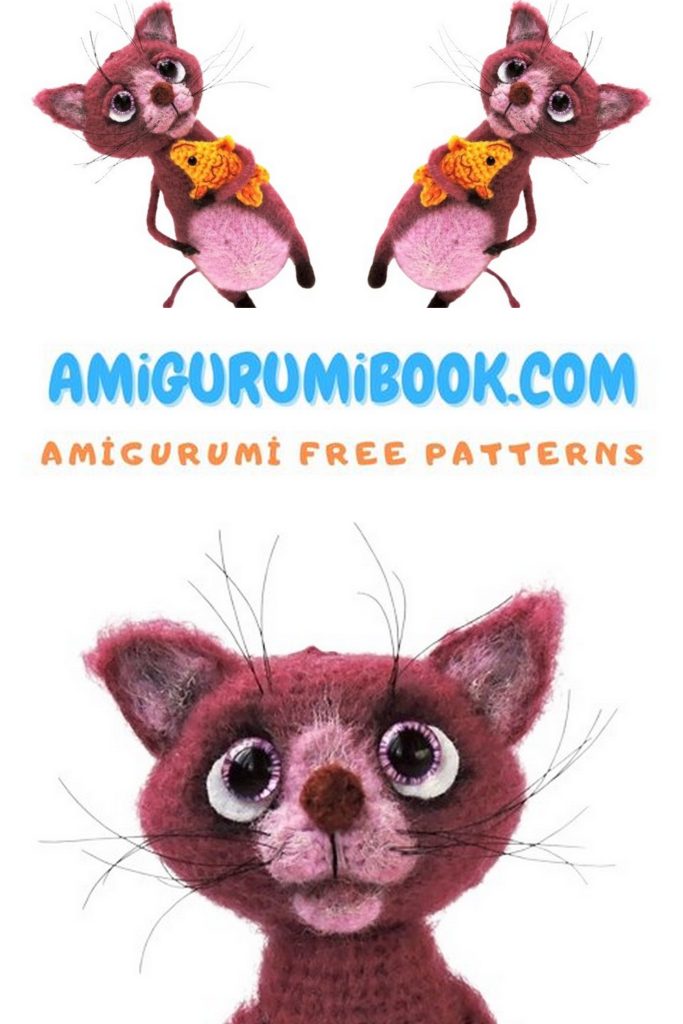
Unleash your creativity with this Fantasy Cat Amigurumi Free Pattern and detailed crochet tutorial! This magical cat design is perfect for amigurumi lovers who enjoy making unique and whimsical crochet toys. Whether you want to create a special handmade gift, a charming home decoration, or add to your amigurumi collection, this fantasy-inspired cat will surely bring joy. With step-by-step instructions and easy-to-follow stitches, this crochet pattern is suitable for both beginners and experienced crocheters. Bring your fantasy crochet world to life with this adorable cat amigurumi!
If you want to access 1000+ free amigurumi patterns, you can download our application from this link!
Materials Needed:
1: Yarn of your choice with the same thickness (acrylic, wool, cotton). Select 3 matching colors.
2: I used acrylic “Детский каприз” 225m/50g in raspberry, pink, and brown.
3: My cat is about 11 cm tall.
4: Main color yarn (Color A) – about 15 g
5: Additional colors (Colors B and C) – about 3–5 g each
6: Crochet hook matching your yarn (I used 1.25 mm)
7: Fiberfill stuffing
8: Sewing needle and matching thread
9: Long needle for sculpting, strong thread for sculpting
10: Safety eyes – 1 pair
11: Fishing line for whiskers
12: Wire 1 mm thick, about 50 cm long
13: Adhesive plaster tape
14: Transparent super glue
15: Optional: 1 plastic safety joint (I used 12 mm) for attaching the head. The head can also be sewn on.
Abbreviations:
ch – chain
sc – single crochet
sl st – slip stitch
hdc – half double crochet
dc – double crochet
inc – increase (2 sc in one st)
dec – decrease (sc2tog)
(…) x N – repeat the sequence in brackets N times
PATTERN – Amigurumi Cat

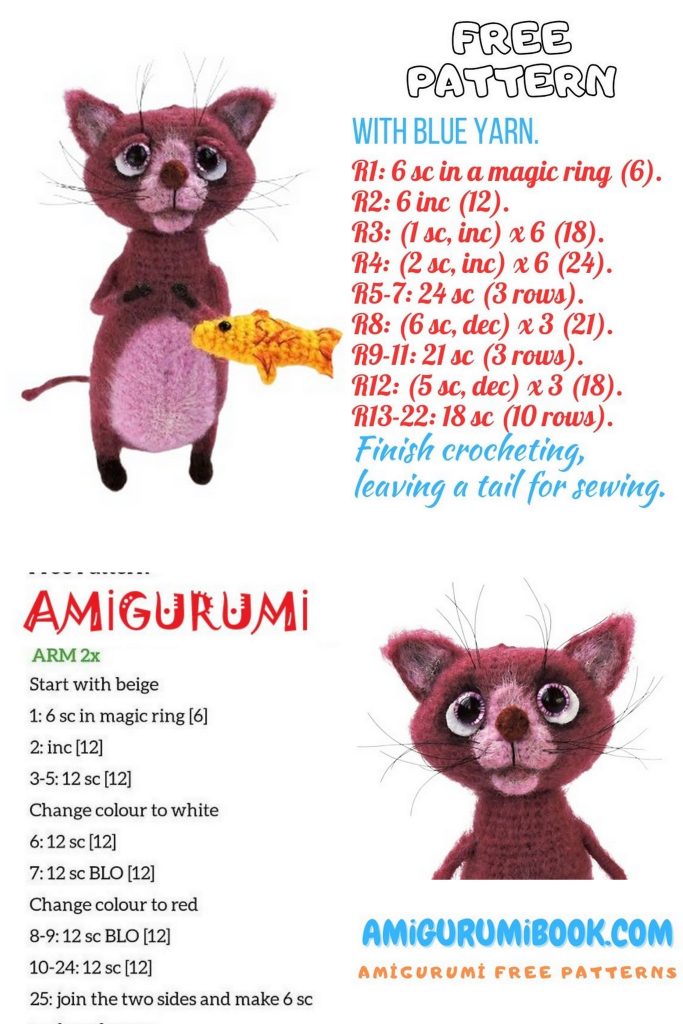
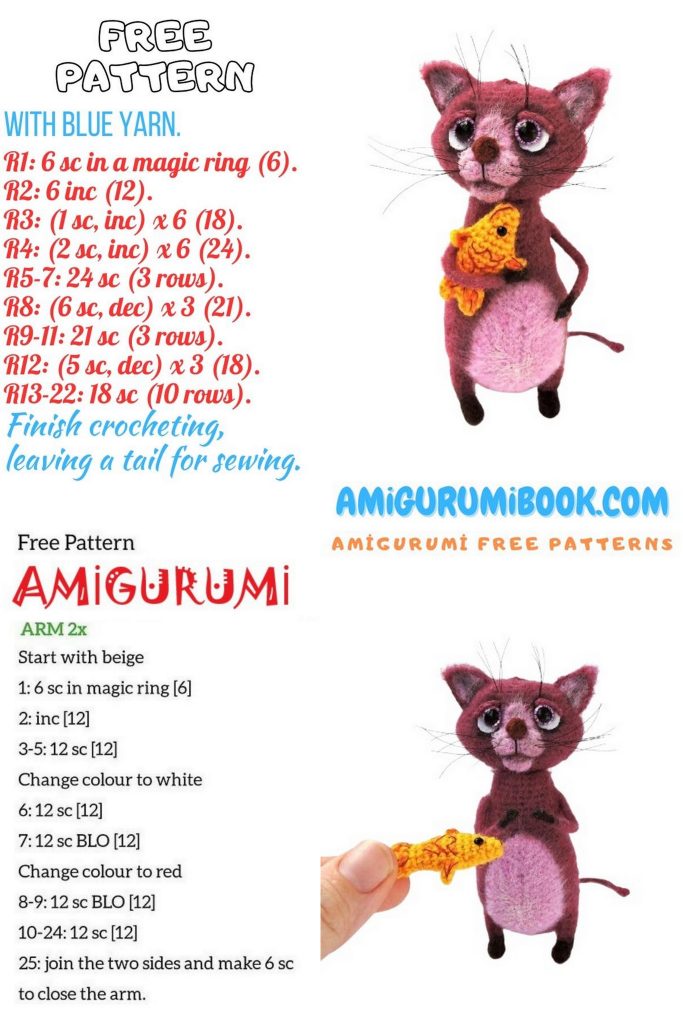
Upper Paw (make 2)
Prepare a wire, length about 9 cm. Bend one end into a small loop, coat with glue, wrap with yarn of Color B for about 1 cm. Wrap several times for bulk, secure with glue.
Take Color A yarn and continue wrapping to the middle of the wire. Wrap several times for bulk. Secure with glue.
Leg (make 2) – Amigurumi Cat
Start with Color B.
1: 6 sc in MR [6]
2–4: 6 sc
5: place an extra marker, ch 2, skip 2 sts, 4 sc [6]
6: along ch – 2 sc, then 3 sc, 1 sl st [6]
FO. Tighten all sts.
Attach Color A yarn near the marked stitch.
1: Around the hole from Row 5 of the foot, work 6 sc [6]
2: 6 sc
3: 4 sc, inc, 1 sc [7]
4: 7 sc
5: 2 sc, inc, 3 sc, 1 sl st [8]
Prepare 2 pieces of wire, bend loops at the ends, insert inside legs, add a little stuffing.

Tail
Prepare wire, length 14 cm. Bend one end into a loop, coat with glue, wrap with Color A yarn for about 9 cm. Wrap several times for bulk, secure with glue.
Body – Amigurumi Cat
With Color A.
The marker runs along the center of the back; adjust if needed.
1: 6 sc in MR
2: 6 inc [12]
3: (1 sc, inc) x 6 [18]
4: (1 sc, inc, 1 sc) x 6 [24]
5: (3 sc, inc) x 6 [30]
Attach legs in next row. Make sure they are symmetrical.
6: 6 sc, place leg heel to back (toward marker, see photo), crochet 3 sc through both body and leg sts, 12 sc, attach second leg the same way with 3 sc, 6 sc [30]
7: 6 sc, along remaining leg sts: 2 sc, inc, 2 sc, body: 12 sc, other leg: 2 sc, inc, 2 sc, 6 sc [36]
8: (2 sc, inc, 2 sc) x 6 [42]
9: 42 sc
Insert tail, twist leg and tail wires together, wrap with plaster tape.
10–18: 42 sc
19: (6 sc, dec, 6 sc) x 3 [39]
20: 39 sc
21: (11 sc, dec) x 3 [36]
22: 36 sc
23: (5 sc, dec, 5 sc) x 3 [33]
24: 33 sc
25: (9 sc, dec) x 3 [30]
26: 30 sc
27: (4 sc, dec, 4 sc) x 3 [27]
28: 27 sc
At Row 28, insert upper paws, twist wire ends together, wrap with plaster tape. Ensure symmetry.
29: (7 sc, dec) x 3 [24]
30–32: 24 sc
31: (1 sc, dec, 1 sc) x 6 [18]
Stuff body. Insert first part of the joint (disk with screw).
32: (1 sc, dec) x 6 [12]
33: (2 sc, dec) x 3 [9]
FO. Tighten sts well around joint screw.
Head – Amigurumi Cat
With Color A.
1: ch 8, from 2nd ch from hook: 6 sc, 3 sc in last st, on other side of chain: 1 sc, ch 3, skip 3 sts (this makes the hole for the joint), 1 sc, inc [16]
2: inc, 5 sc, (inc) x 3, 1 sc, along chain: 3 sc, 1 sc, (inc) x 2 [22]
3: inc, 1 sc, 5 sc, (1 sc, inc) x 3, 5 sc, (1 sc, inc) x 2 [28]
4: (1 sc, inc, 1 sc), 5 sc, (1 sc, inc, 1 sc) x 3, 5 sc, (1 sc, inc, 1 sc) x 2 [34]
5: 15 sc, 3 sc in one st, 17 sc, 3 sc in one st [38]
6: 16 sc, 3 sc in one st, 18 sc, 3 sc in one st, 2 sc [42]
7: 17 sc, 3 sc in one st, 20 sc, 3 sc in one st, 3 sc [46]
8: 18 sc, 3 sc in one st, 22 sc, 3 sc in one st, 4 sc [50]
Work 7 sc, move marker here – back of head center.
9–11: 50 sc
Place head on neck, insert joint screw into head hole. Firmly snap on washer (tip: heat in hot water or with hairdryer to soften before attaching).
12: 11 sc, dec, 24 sc, dec, 11 sc [48]
13: 10 sc, dec, 24 sc, dec, 10 sc [46]
14: 10 sc, dec, 22 sc, dec, 10 sc [44]
15: 9 sc, dec, 21 sc, dec, 10 sc [42]
16: 42 sc
17: (5 sc, dec) x 6 [36]
18: (2 sc, dec, 2 sc) x 6 [30]
19: (3 sc, dec) x 6 [24]
20: (1 sc, dec, 1 sc) x 6 [18]
21: (1 sc, dec) x 6 [12]
Stuff.
22: (dec) x 6 [6]
FO, leave open. Tighten after eye sculpting.
Belly Patch
With Color C.
1: ch 8, from 2nd ch: 6 sc, 3 sc in last st, other side: 5 sc, inc [16]
2: inc, 5 sc, (inc) x 3, 5 sc, (inc) x 2 [22]
3: 1 sc, inc, 8 sc, 3 sc in 1 st, 7 sc, (1 sc, inc) x 2 [27]
4: (1 sc, inc, 1 sc), 9 sc, 3 sc in 1 st, 8 sc, (1 sc, inc, 1 sc) x 2 [32]
5: 3 sc, inc, 9 sc, 3 sc in 1 st, 10 sc, (3 sc, inc) x 2 [37]
6: (2 sc, inc, 2 sc), 11 sc, 3 sc in 1 st, 10 sc, (2 sc, inc, 2 sc) x 2 [42]
7 (partial): 5 sc, 1 sl st
FO.
Muzzle
With Color C.
1: ch 5, from 2nd ch: 3 sc, 3 sc in last st, other side: 2 sc, inc [10]
2: inc, 2 sc, (inc) x 3, 2 sc, (inc) x 2 [16]
3–4: 16 sc
FO. Lightly stuff. Cinch middle with thread.
Lower Lip
With Color C.
1: 6 sc in MR
2: (1 sc, inc) x 3 [9]
3: 9 sc
FO.
Nose Bridge
With Color C.
1: ch 7, from 3rd ch: 1 dc, 1 hdc, 1 sc, in last ch: (1 sc, ch 2, 1 sc), then 1 sc, 1 hdc, 2 sl st in 1 st.
FO.
Ears (make 2 in Color A, 2 in Color C)
1: ch 7, from 2nd ch: 6 sc, ch 1, turn [6]
2: dec, 2 sc, dec, ch 1, turn [4]
3: dec, 2 sc, ch 1, turn [3]
4: dec, 1 sc, ch 1, turn [2]
5: dec [1]
Sew Color A + Color C pieces together, crochet across the top edge with Color A.
Assembly
1: Sew belly patch.
2: Sew nose bridge, muzzle, and lower lip.
3: Sew ears.
4: Mark eye sculpting points:
5: Point 0 = head opening.
6: Points 1 & 2; 3 & 4 = sides of nose bridge (3 sts apart).
7: Point 5 = back of neck.
8: Using strong thread and long needle:
9: Insert at Point 0, knot hidden inside. Bring out at Point 5.
10: Make a short stitch, secure. Go from Point 5 → 1 → 2 → 5. Pull thread tightly, knot. Repeat.
11: Do the same for second eye (5 → 3 → 4 → 5).
Nose
With Color B.
1: 6 sc in MR
2: 6 sc
FO, tighten hole. Sew nose in place.
Glue eyes. Add fishing line whiskers.