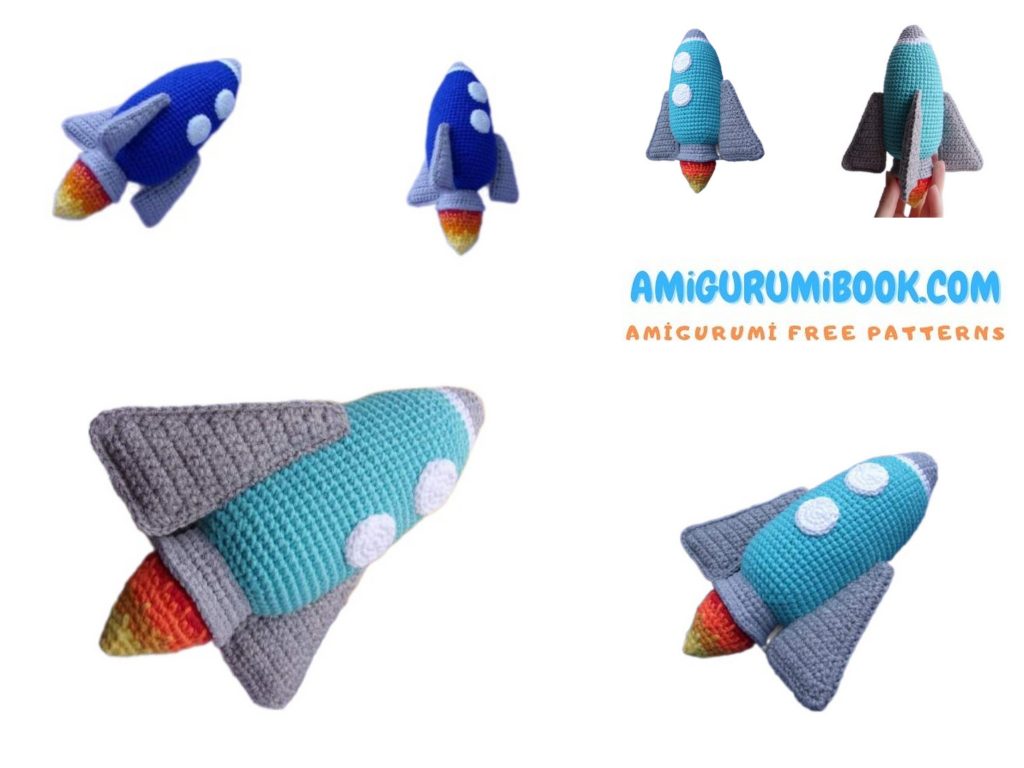
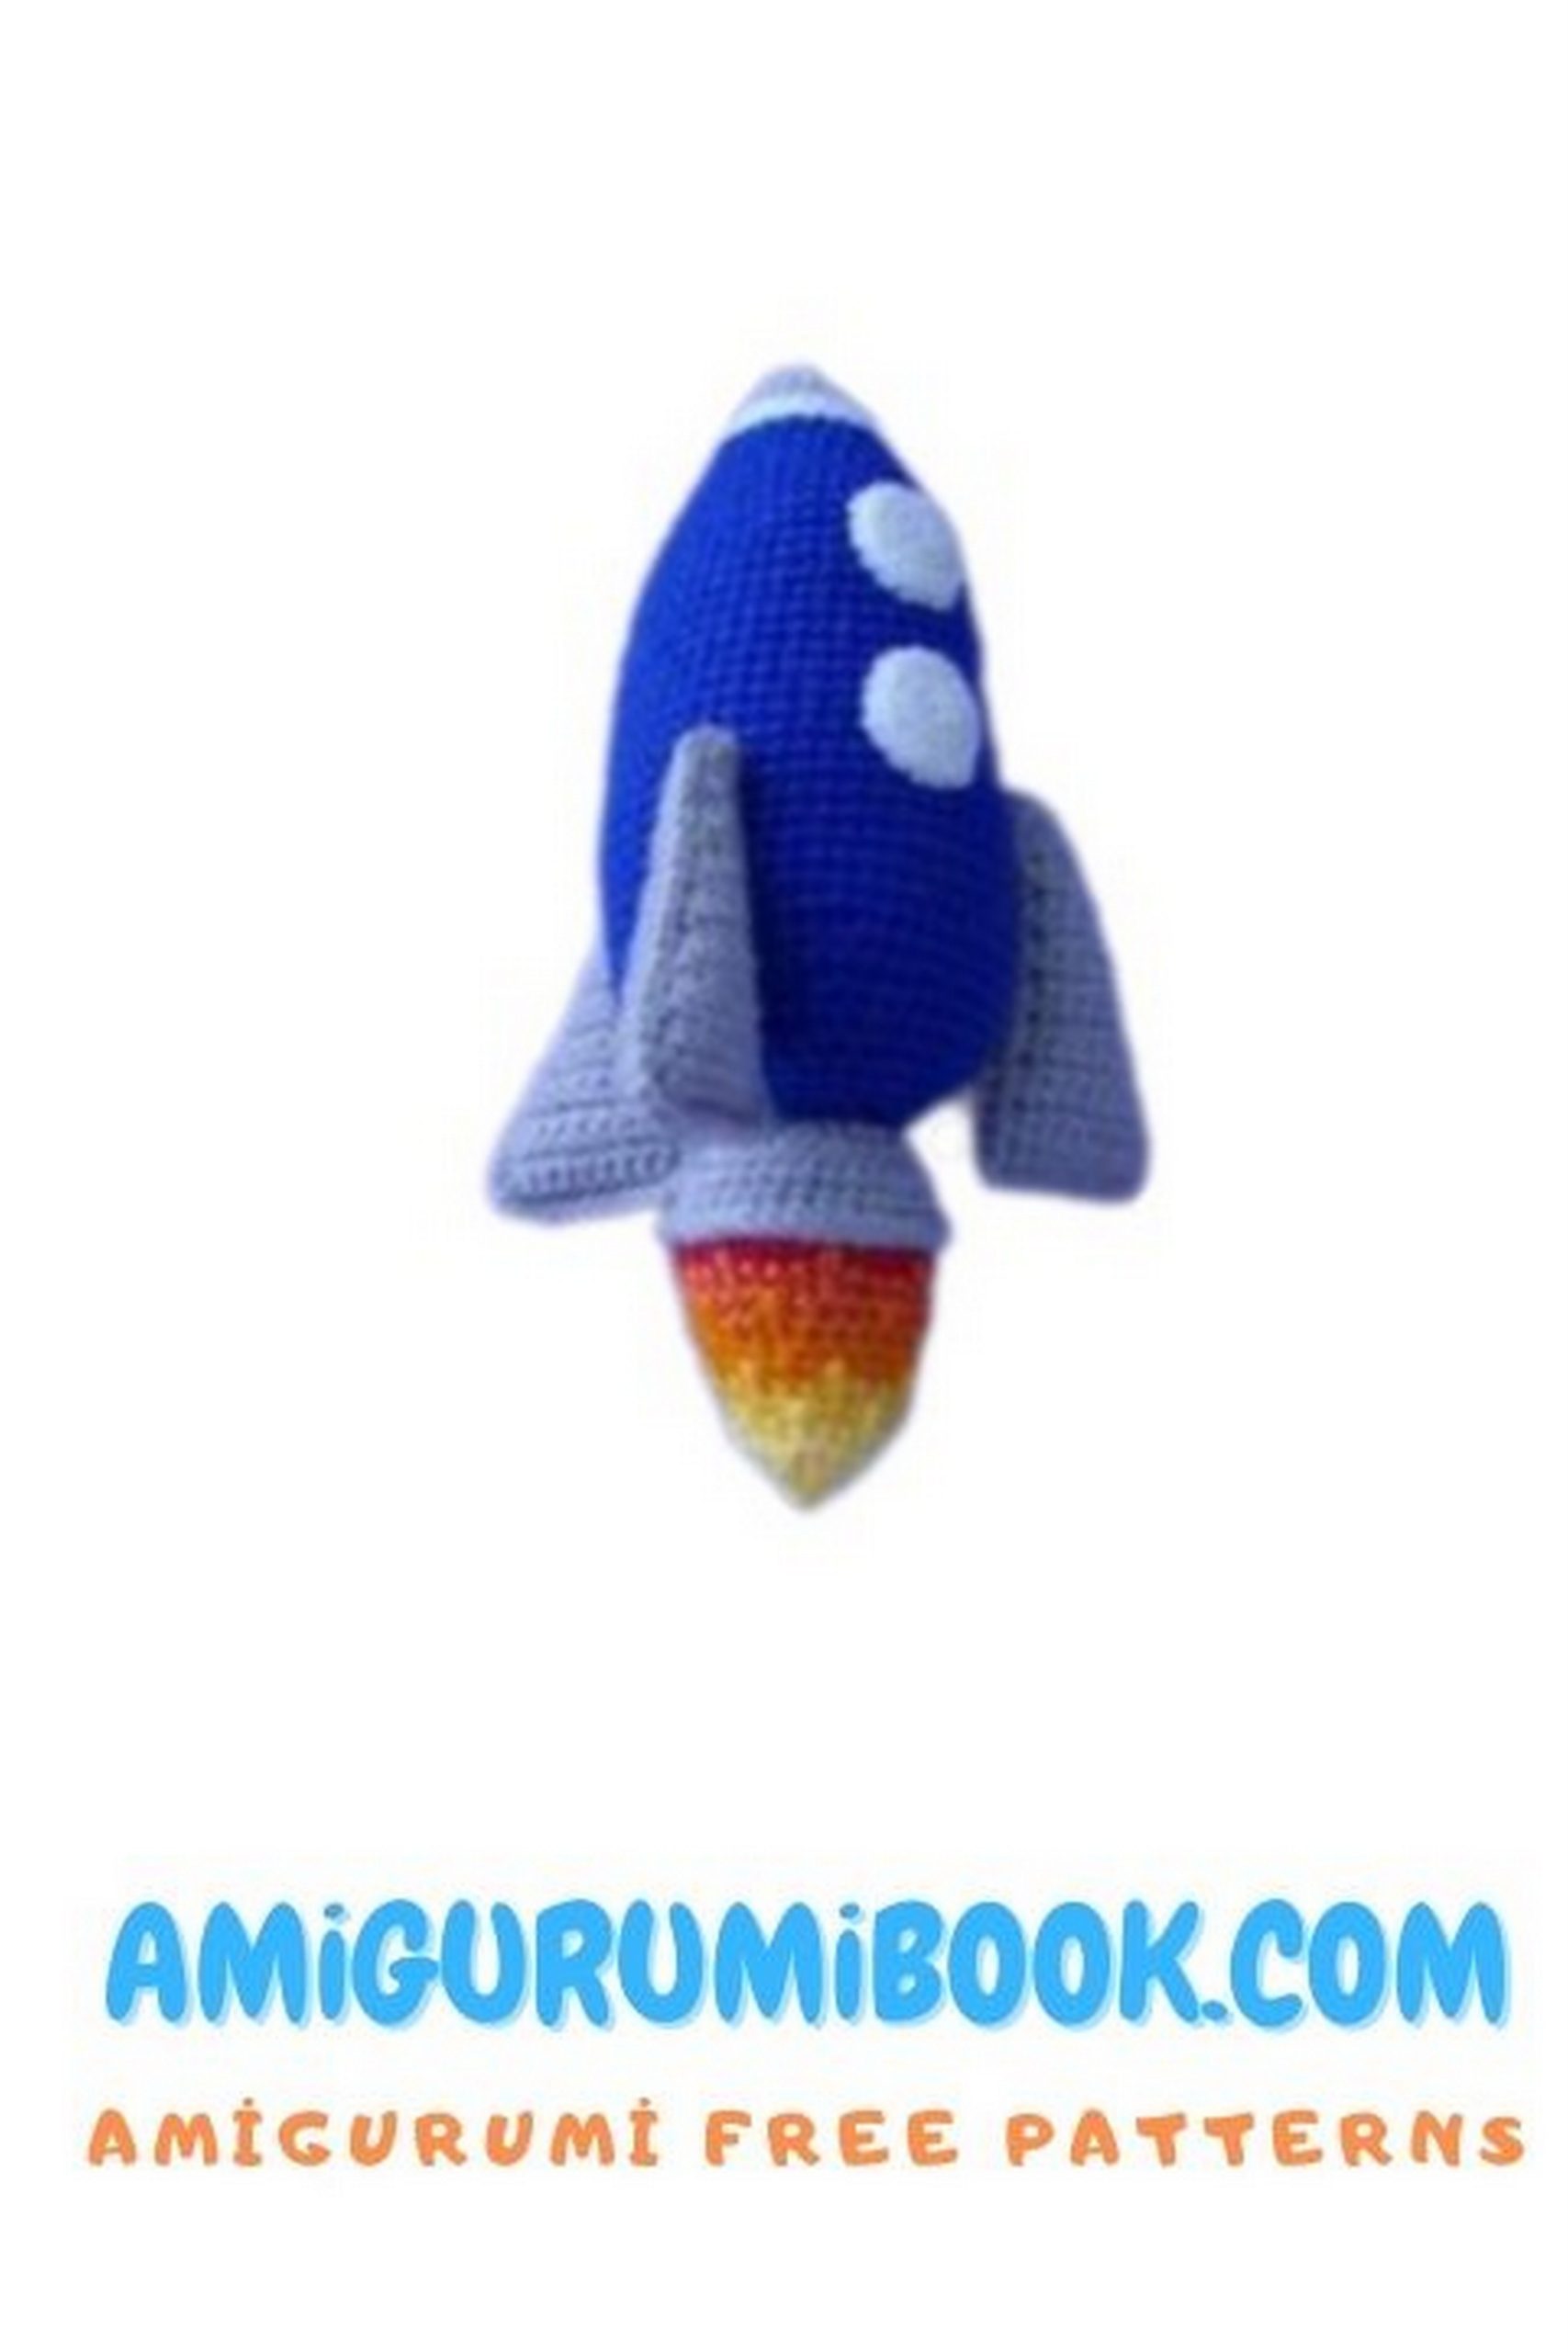
Embark on a cosmic journey with our free amigurumi rocket pattern! Whether you’re a crochet enthusiast or an aspiring astronaut, this tutorial will guide you through crafting your very own space-themed masterpiece. Blast off into creativity as you stitch together each component of this adorable amigurumi rocket, from the sturdy body to the flickering flame. Join us as we explore the galaxies of imagination and bring this charming spacecraft to life!
If you want to access 1000+ free amigurumi patterns, you can download our application from this link!
To create the rocket, you will need:
Yarn: In this master class, I use Alize Cotton Gold semi-cotton yarn (330/100g), but I also crocheted this rocket using acrylic yarn Pekhorka Children’s Novelty. Colors: blue (main color), gray, white, red, orange, yellow, light yellow. For the flame, you can use 2 colors and alternate them.
Stuffing (I use holofiber, but synthetic padding will also work);
Crochet hook No. 1.75 (I use Clover);
Scissors, needle, marker.
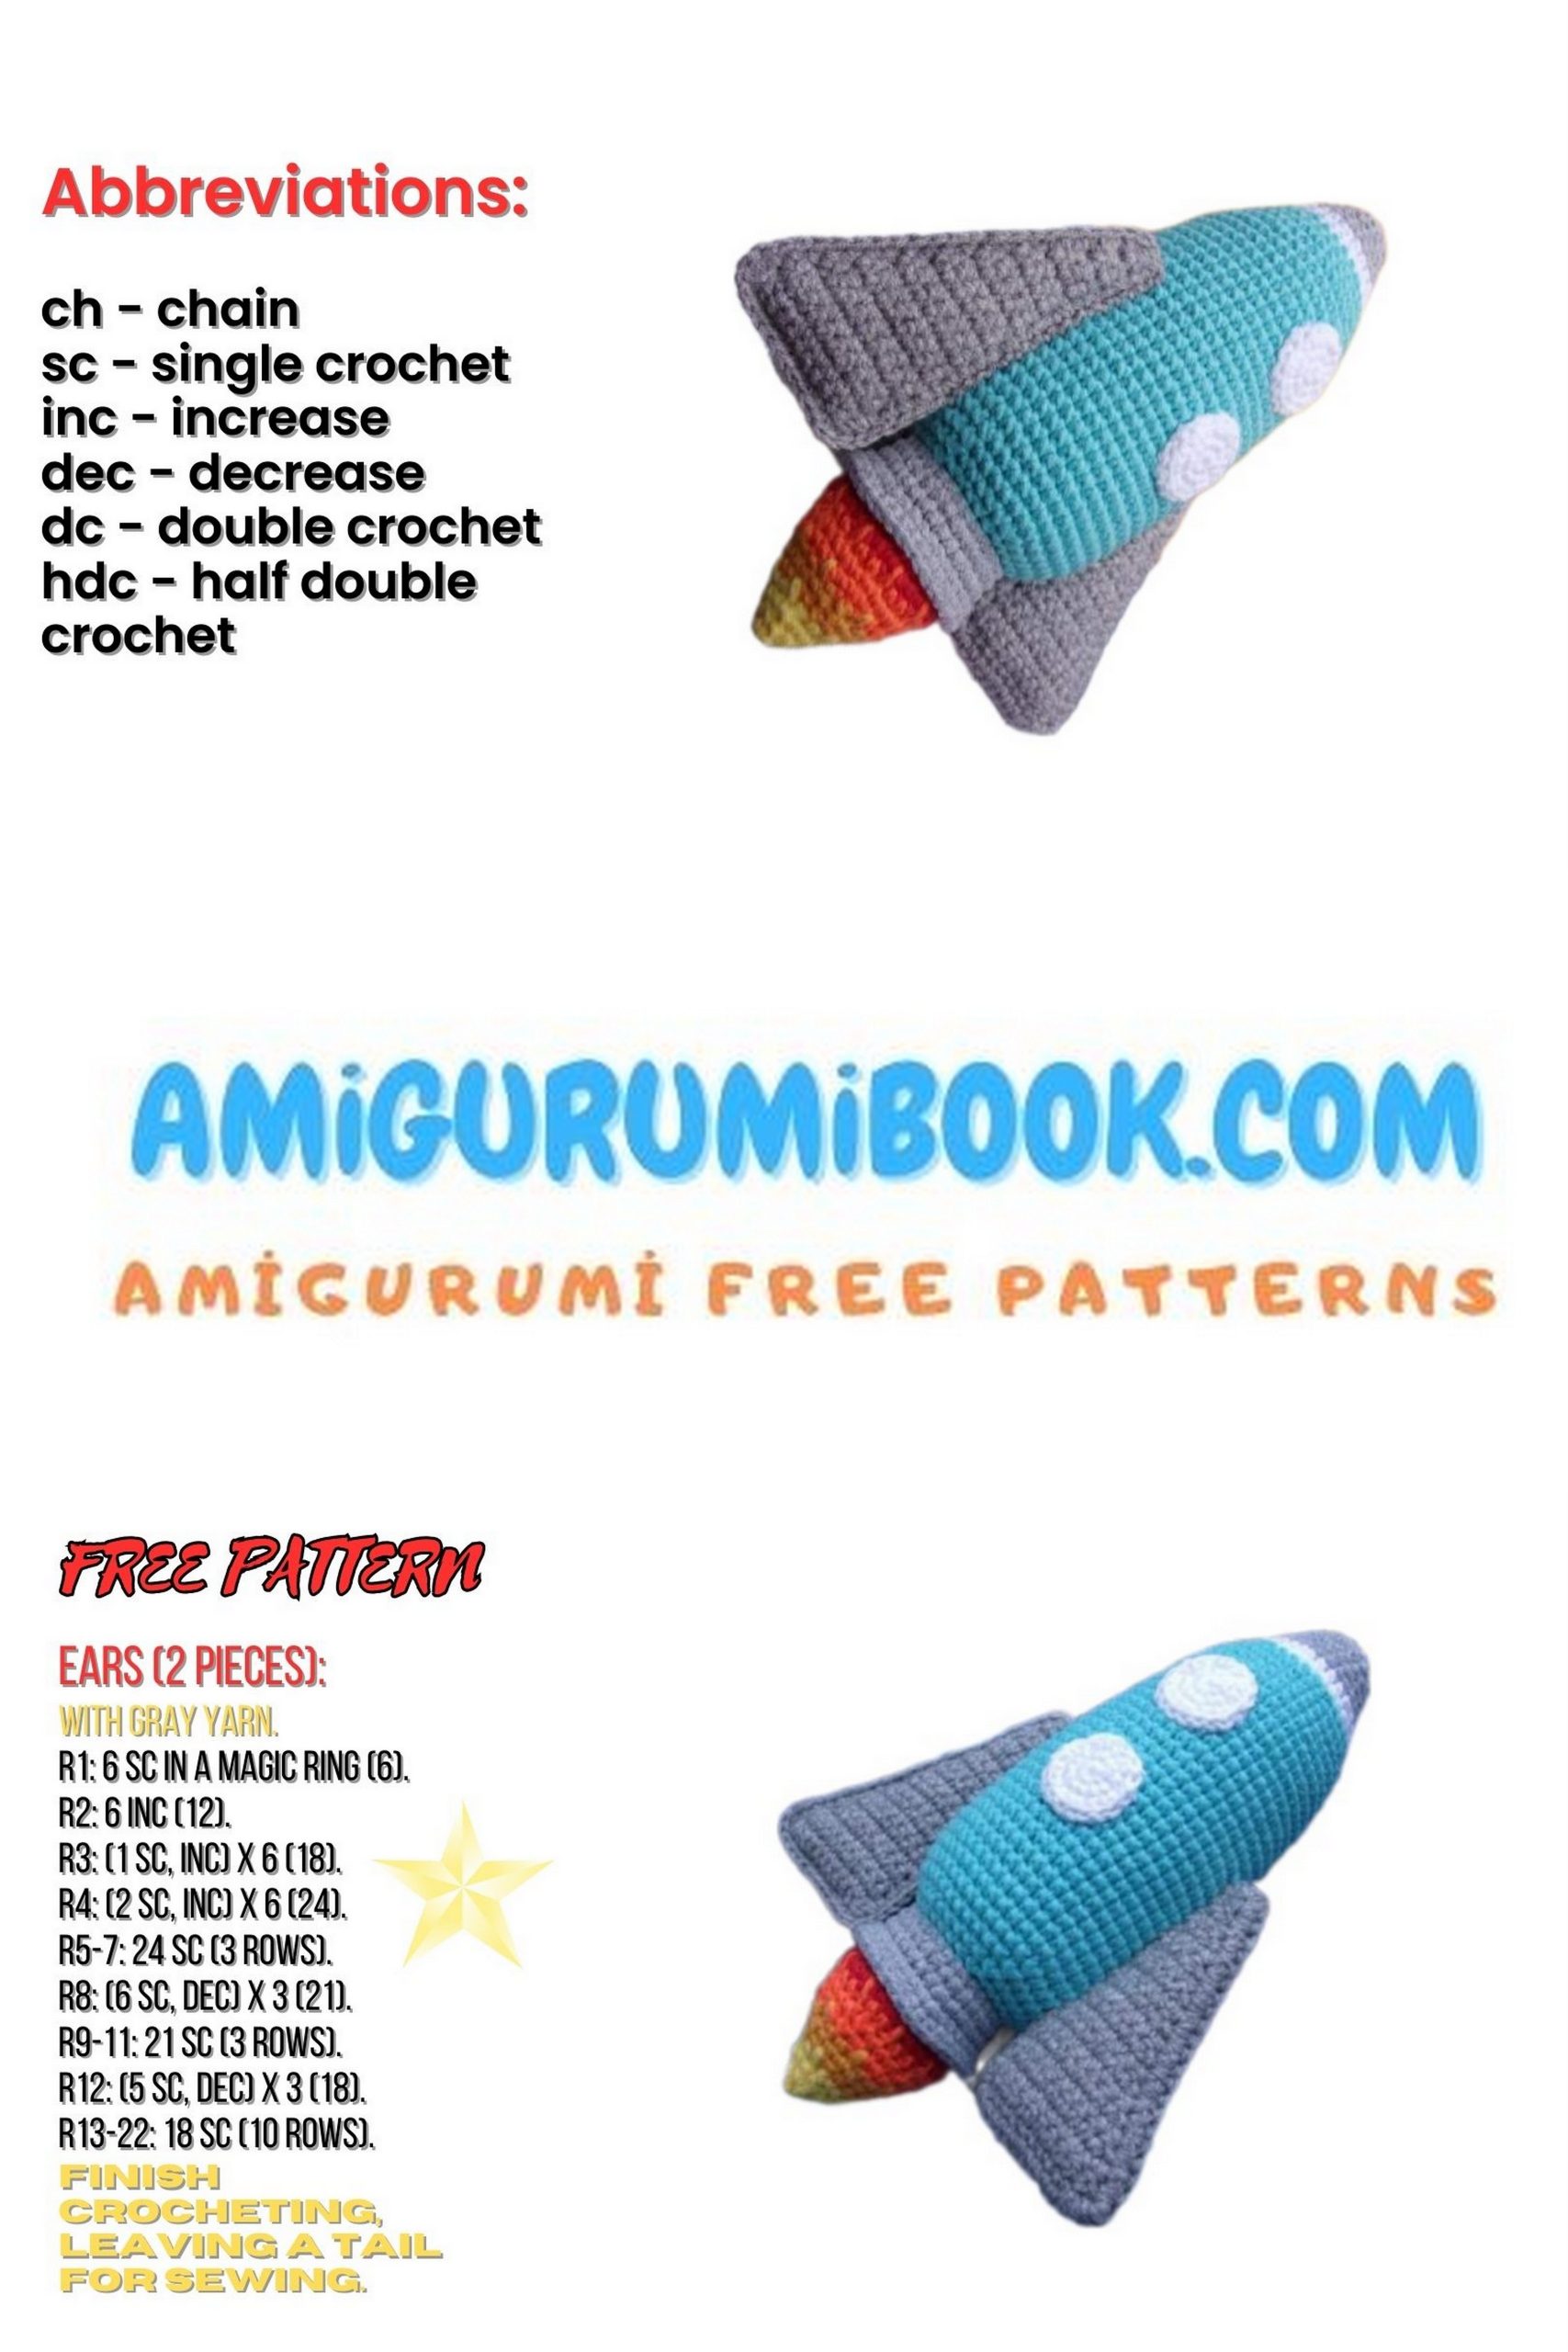
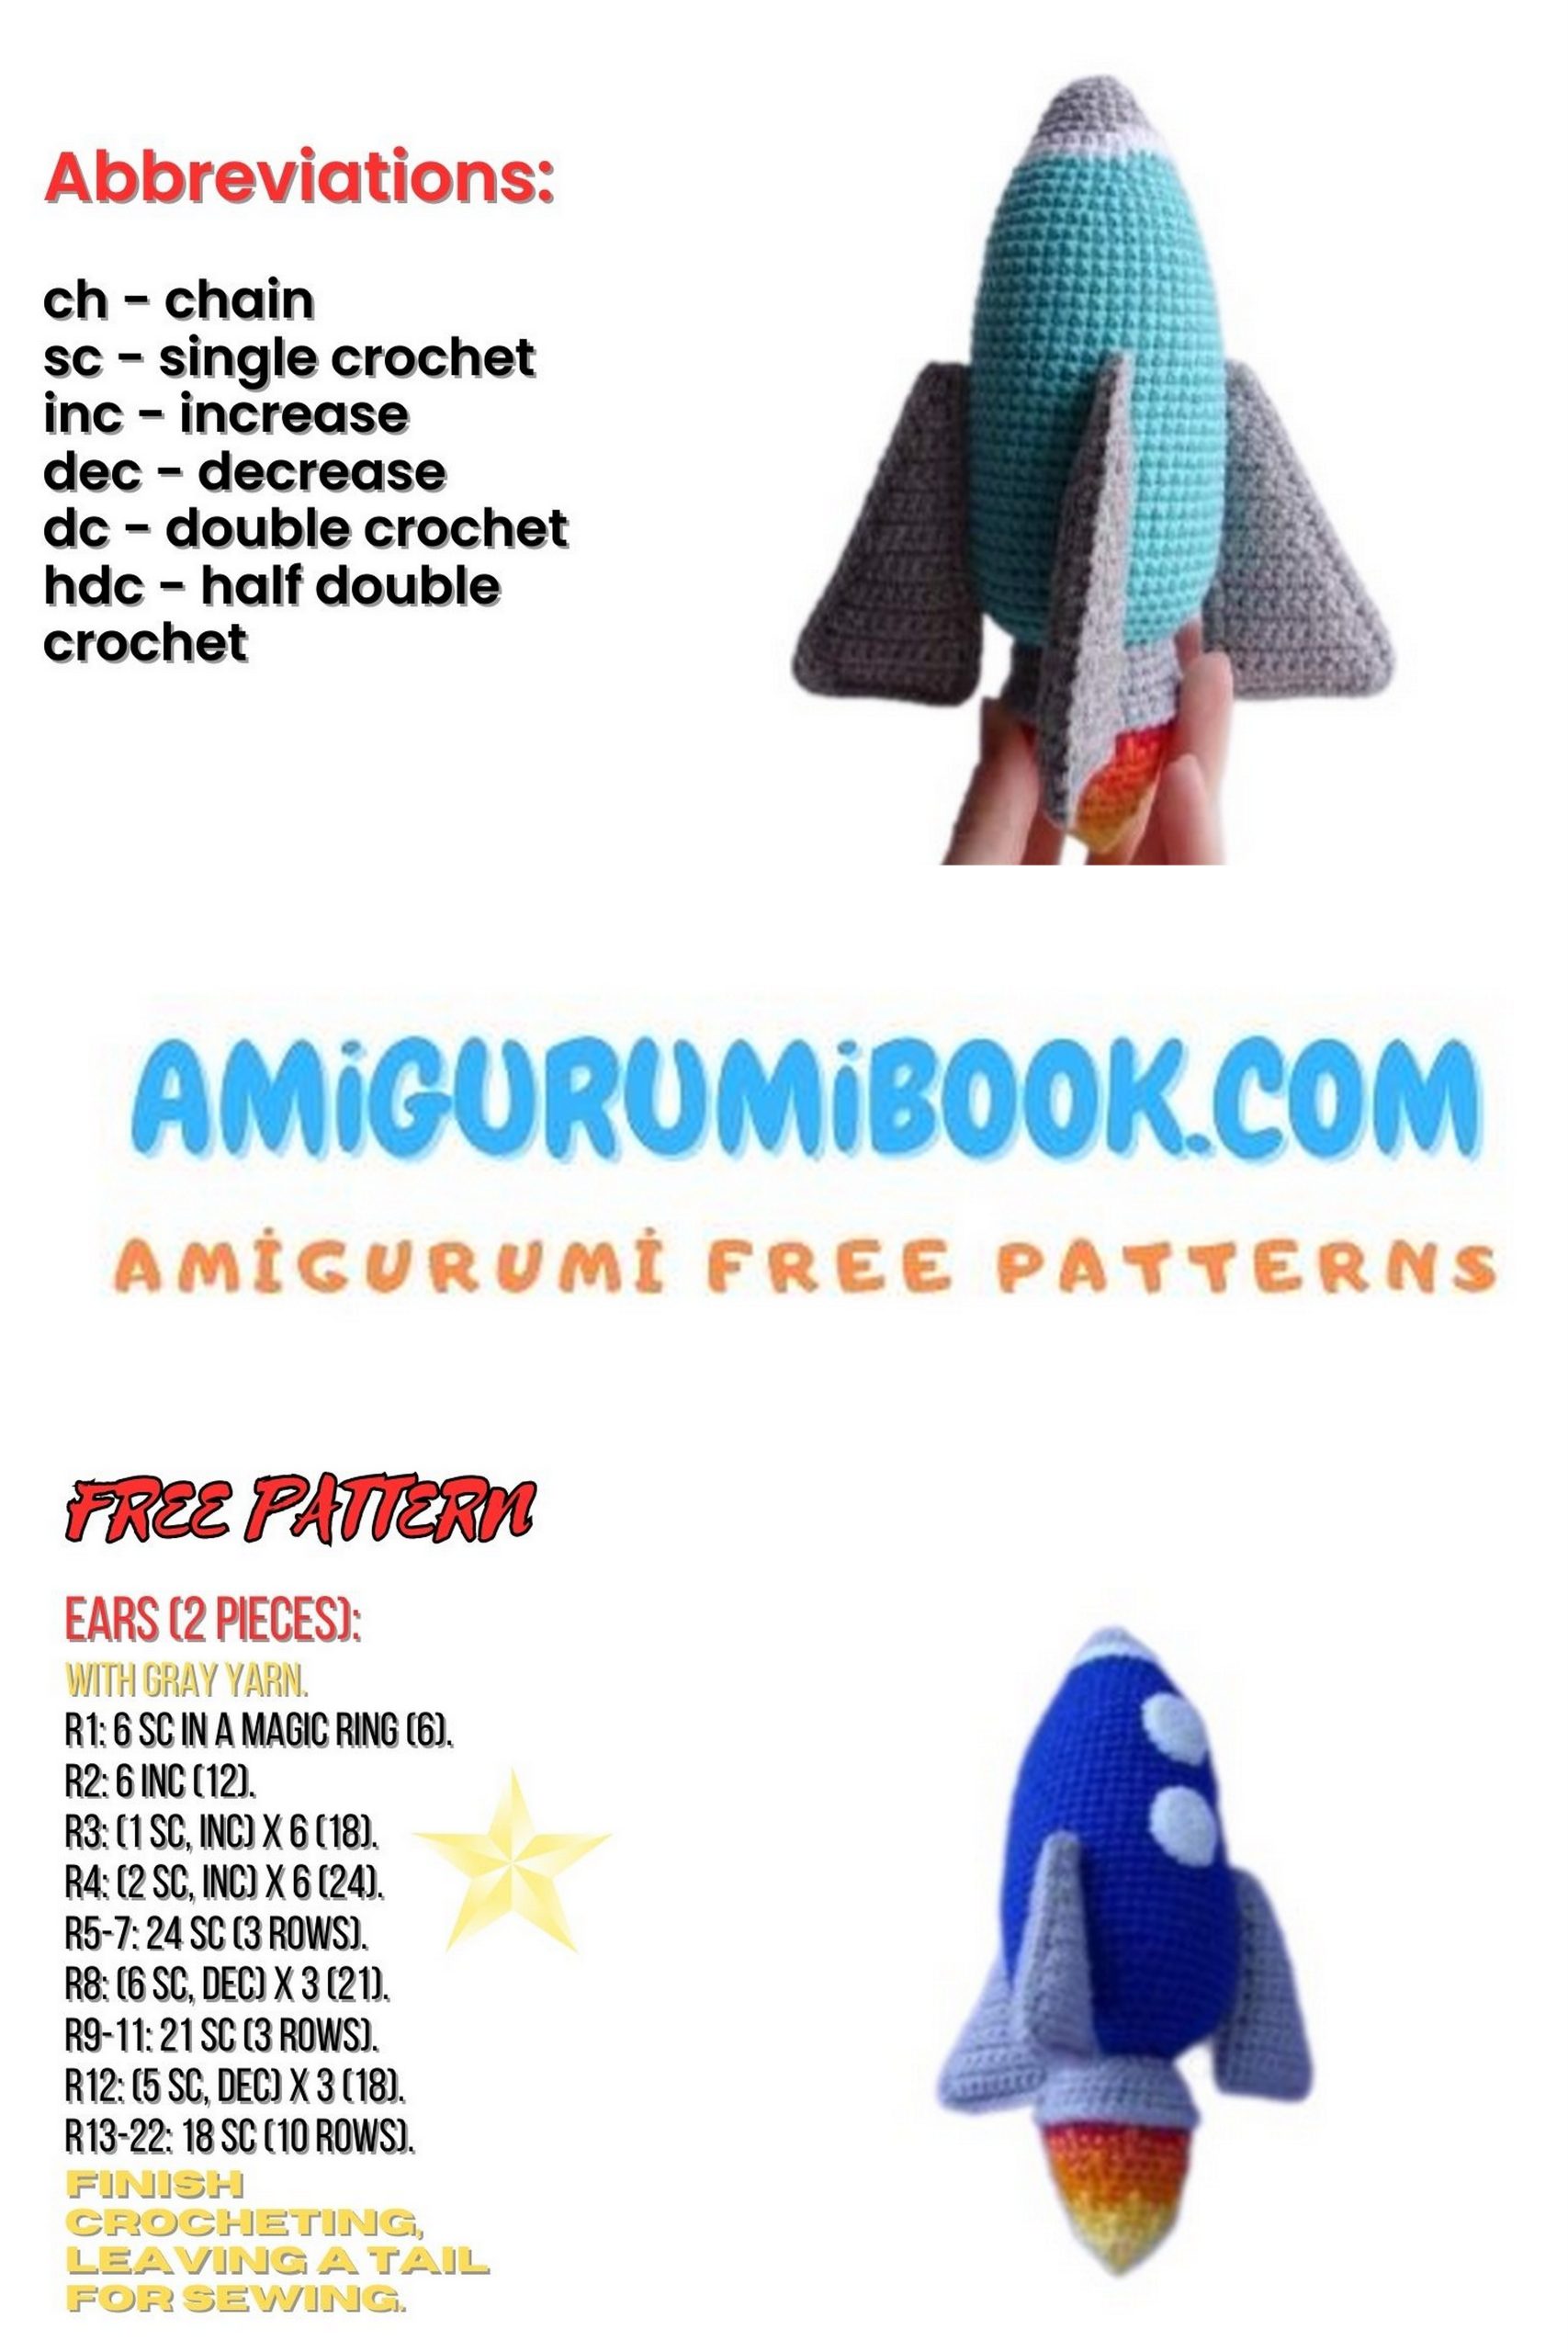
Abbreviations:
MR – magic ring (alternatively, adjustable ring);
ch – chain stitch;
ch-sp – chain space;
sl st – slip stitch;
sc – single crochet;
inc – increase (2 sc in one stitch);
dec – decrease (2 sc together);
PATTERN

Rocket Body:
Crochet in a spiral without turning chains. The number of stitches is indicated in parentheses at the end of each row.
Begin with the nose of the rocket using gray yarn.
1: 6 sc in MR;
2: 6 inc (12);
3: 12 sc (12);
4: (1 sc, inc) * 6 (18);
5: 18 sc (18);
6: (2 sc, inc) * 6 (24);
7: 24 sc (24).
Switch to white yarn:
8: (3 sc, inc) * 6 (30);
9: 30 sc (30).
Switch to the main color of the rocket. For me, it’s blue:
10: (4 sc, inc) * 6 (36);
11: 36 sc (36);
12: (5 sc, inc) * 6 (42);
13: 42 sc (42);
14: (6 sc, inc) * 6 (48);
15-36: Crochet without changes, 48 sc (22 rows) (48);
37: (14 sc, dec) * 3 (45);
38: (13 sc, dec) * 3 (42);
39: (5 sc, dec) * 6 (36); Start stuffing the toy.
40: (4 sc, dec) * 6 (30);
41: Crochet in the back loops only (3 sc, dec) * 6 (24);
42: (2 sc, dec) * 6 (18);
43: (1 sc, dec) * 6 (12)
44: 6 dec. Close the hole, fasten off, and hide the yarn.
Rocket Nozzle:
Attach gray yarn to the remaining loops in Row 41 and crochet
1: (9 sc, inc) * 3 (33);
2: 33 sc (33);
3: (10 sc, inc) * 3 (36);
4: Crochet in the front loops only (11 sc, inc) * 3 (39);
5: 39 sc, sl st, fasten off.
Wings (3 pieces):
Crochet with gray yarn in rows. Decreases will be made every other row. I make decreases by skipping the second-to-last stitch and not working two stitches together (this applies only to the wings).
Start each row with ch-sp.
You need to crochet 6 identical pieces according to the following pattern:
1: Ch 13, sc in the second ch from the hook, sc in each ch across (12);
2: 12 sc;
3: 10 sc, skip 11th st, sc in next st (11);
4: 11 sc;
5: 9 sc, skip 10th st, sc in next st (10);
6: 10 sc;
7: 8 sc, skip 9th st, sc in next st (9);
8: 9 sc;
9: 7 sc, skip 8th st, sc in next st (8);
10: 8 sc.
Continue alternating: decrease at the end of the row, next row without changes. In the last row, there is 1 stitch remaining.
Now you need to sc two pieces together. Make increases in the corners while crocheting. You can slightly stuff the wings with stuffing. Leave a long tail for sewing. You will get 3 wings.
Windows (2 pieces):
1: 6 sc in MR;
2: 6 inc (12);
3: (1 sc, inc) * 6 (18), sl st, leave a long tail for sewing.
Flame:
This part is the most complicated in crocheting the rocket. To resemble a flame, we will crochet “ticks”, which I denoted in the description as “Y” – it’s the same as sc, but it will be worked into the sc of the previous row. There will be a photo explanation below. We will crochet three rows with “ticks” in total. Each row ends with a sl st, and the next row starts with a ch.
For the flame of the rocket from the master class, I used 4 colors of yarn: red, orange, yellow, and light yellow. You can use 2 colors and alternate them (crochet 3 rows with one color, then 3 rows with another color, and repeat).
Begin:
Attach red yarn to Row 4 of the nozzle where we left the back loops.
1: (10 sc, dec) * 3 (33);
2: 33 sc (33);
Flame Row 3: (9 sc, dec) * 2, 8 sc, dec, sc (30);
Switch to orange yarn.
I have provided a photo sequence of how to change yarn color when crocheting with sl st and ch. In this example, I use yellow and orange yarn.
In this photo, the end of the 3rd row of the flame is shown.
Now change the yarn color to orange:
Row 4: (2 sc, Y) * 10 (30); i.e., sc in every third stitch of the previous row. Pay attention to the tension of the yarn while crocheting the “tick” to avoid creating holes.
5: (8 sc, dec) * 3 (27);
6: (7 sc, dec) * 3 (24);
Switch to yellow yarn.
7: sc, Y, 2 sc, Y, dec, sc, Y, 2 sc, Y, sc, dec, Y, 2 sc, Y, 2 sc, Y, dec (21);
8: (5 sc, dec) * 3 (18);
9: (4 sc, dec) * 3 (15);
Switch to light yellow yarn.
10: Y, sc, dec, Y, 2 sc, Y, dec, sc, Y, dec, sc (12), stuff the flame with stuffing.
11: (2 sc, dec) * 3 (9);
12: (sc, dec) * 3 (6);
Close the hole, fasten off, and hide the yarn.
Assembly:
Sew on the windows.
Sew on the wings.
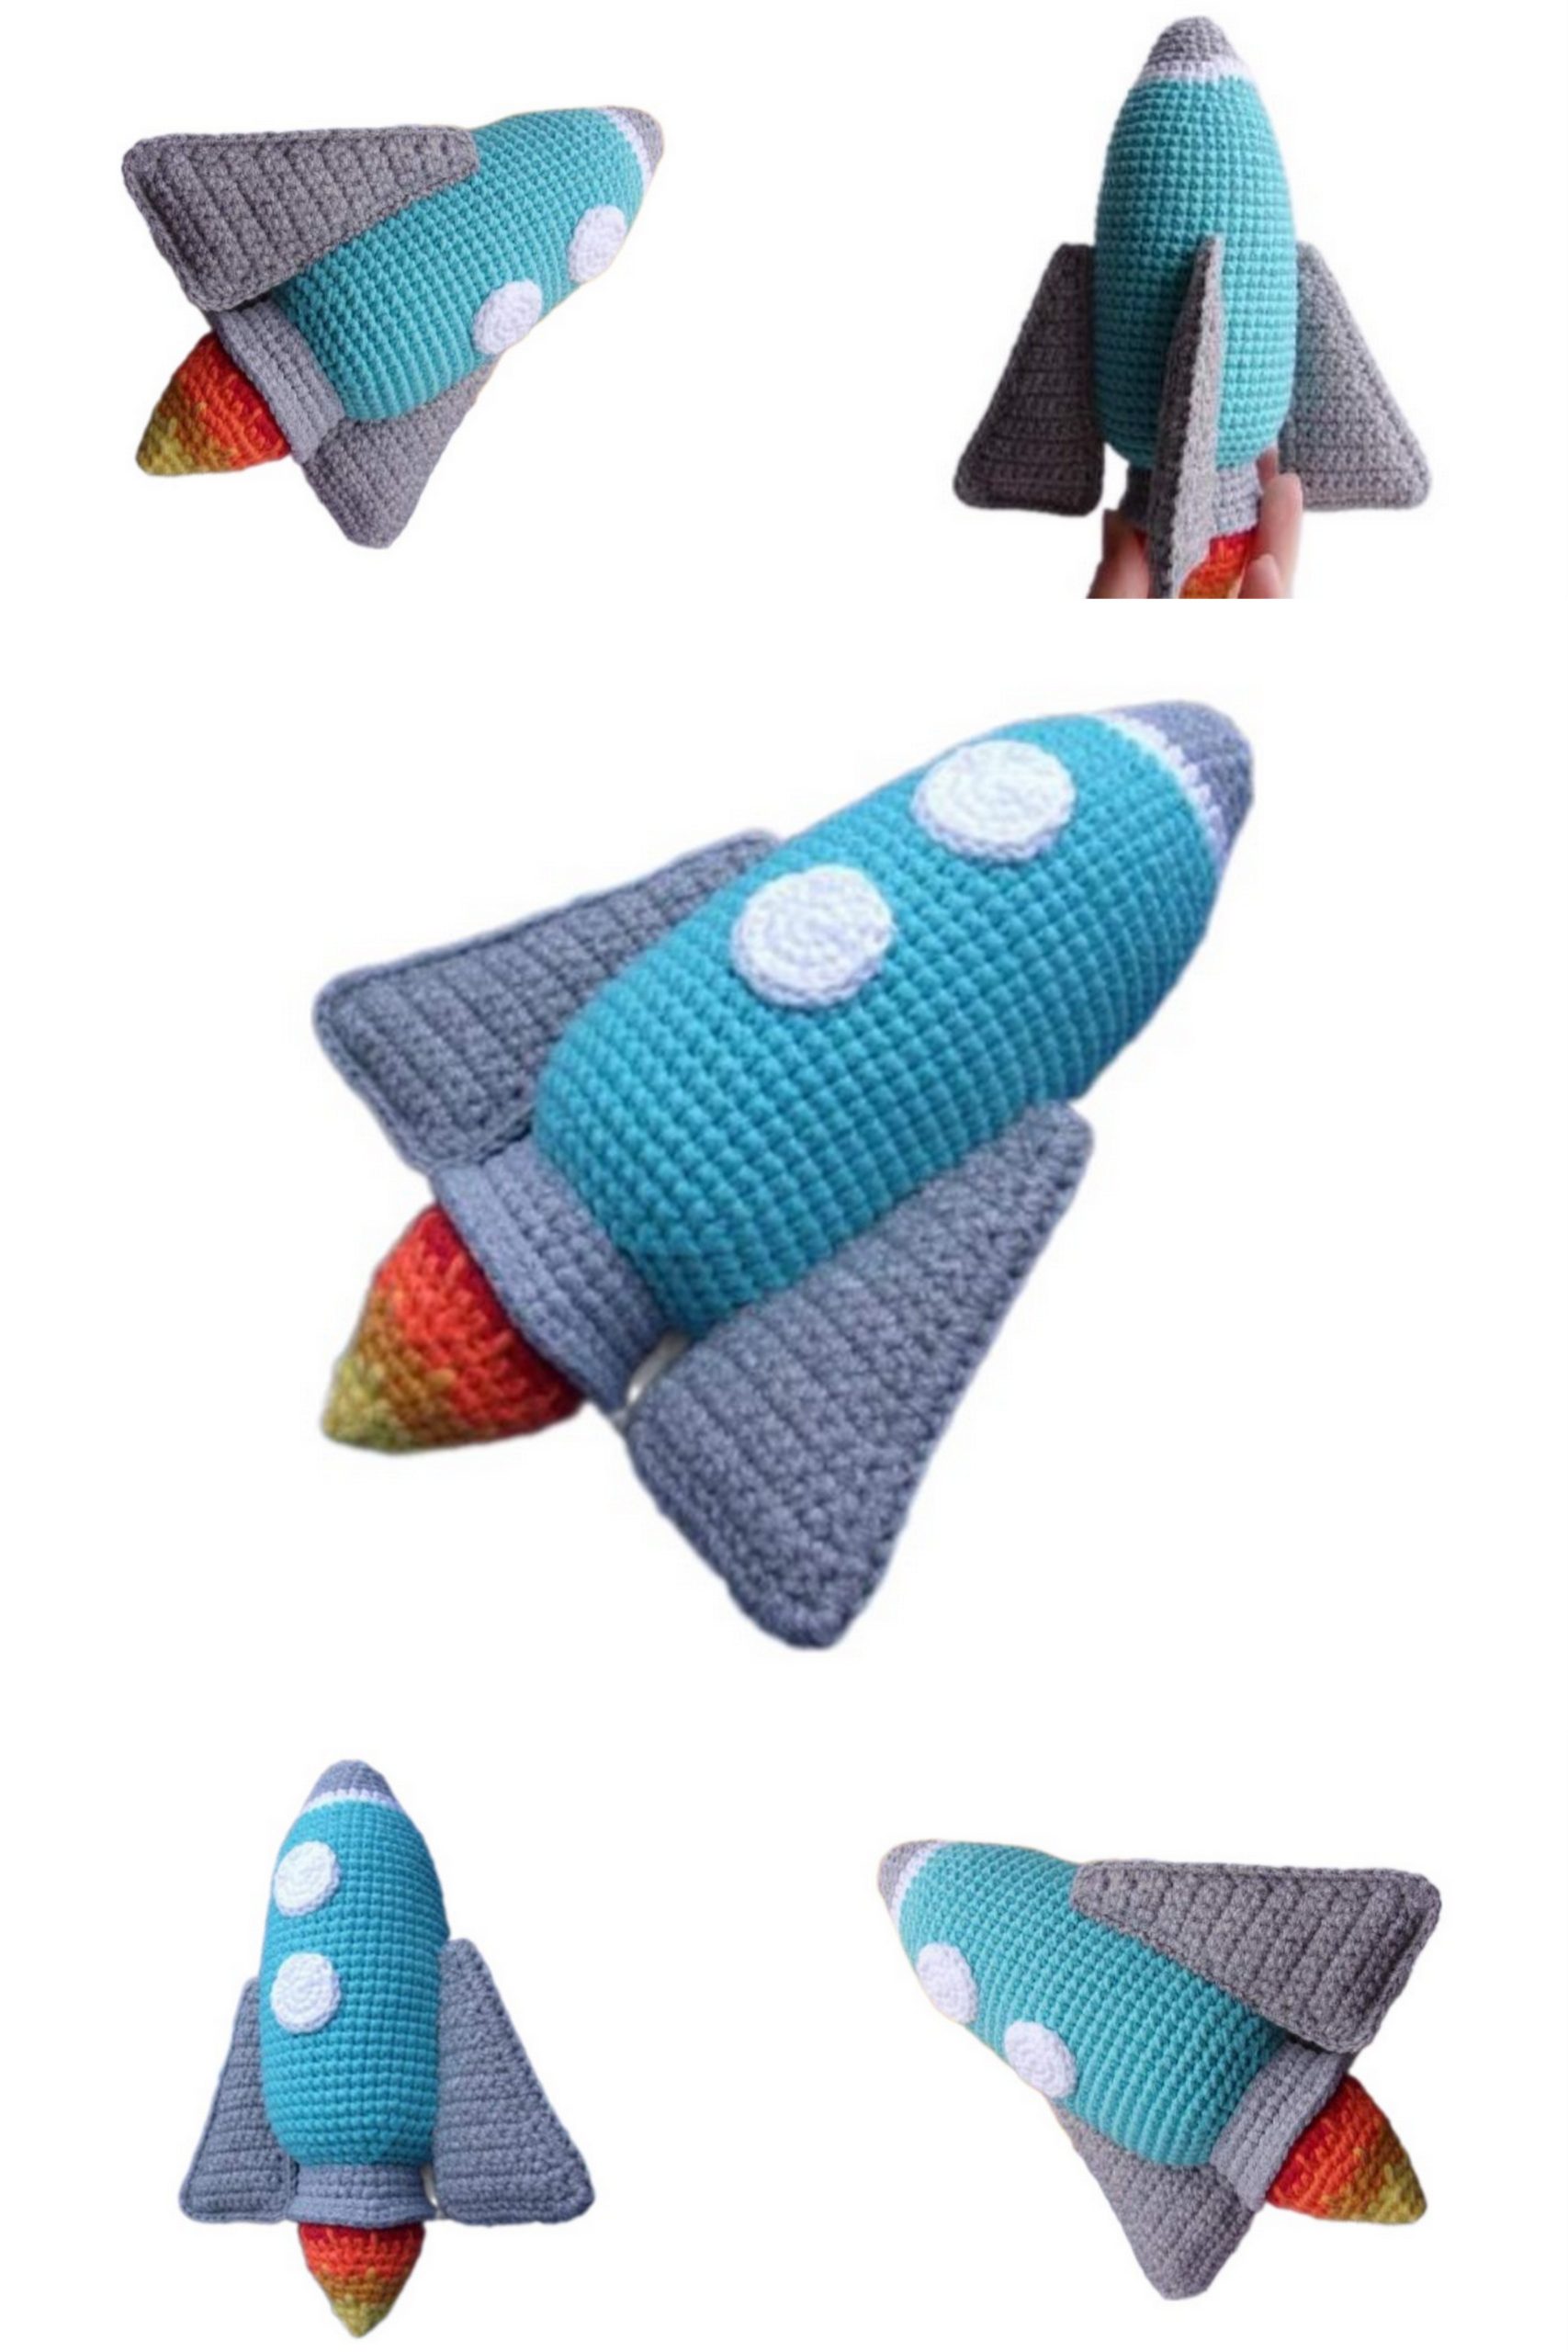
View from the back.
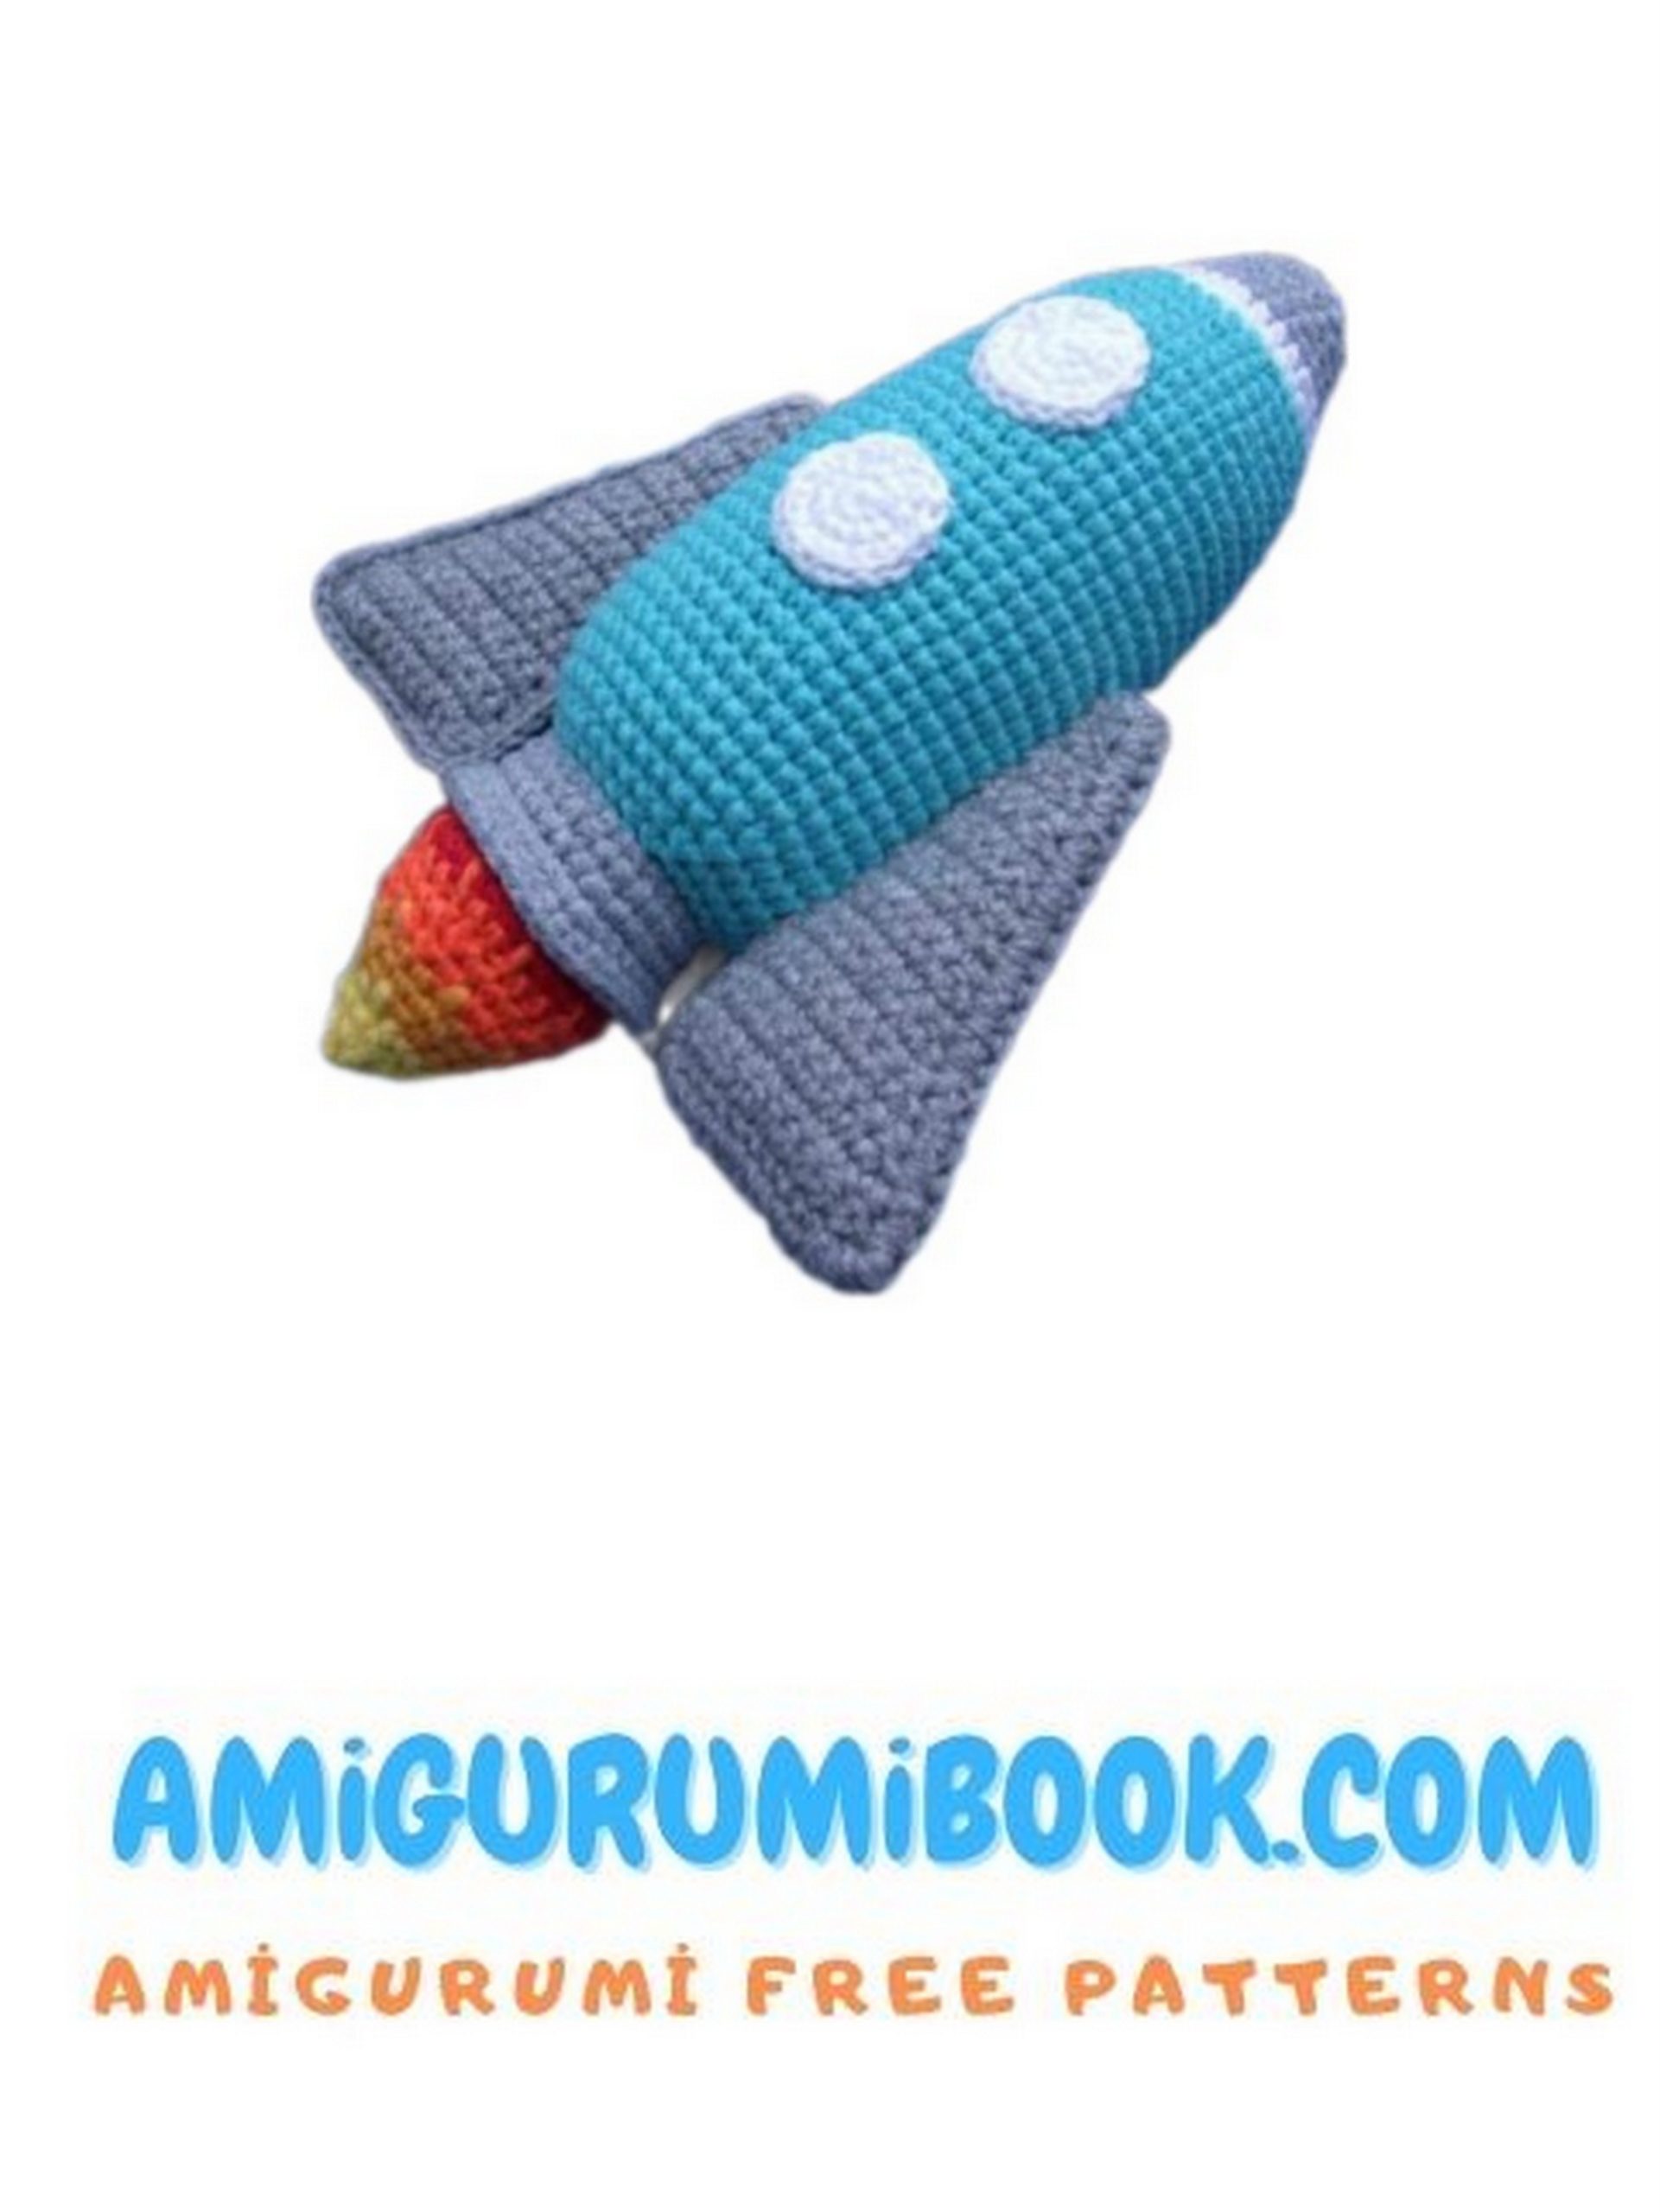
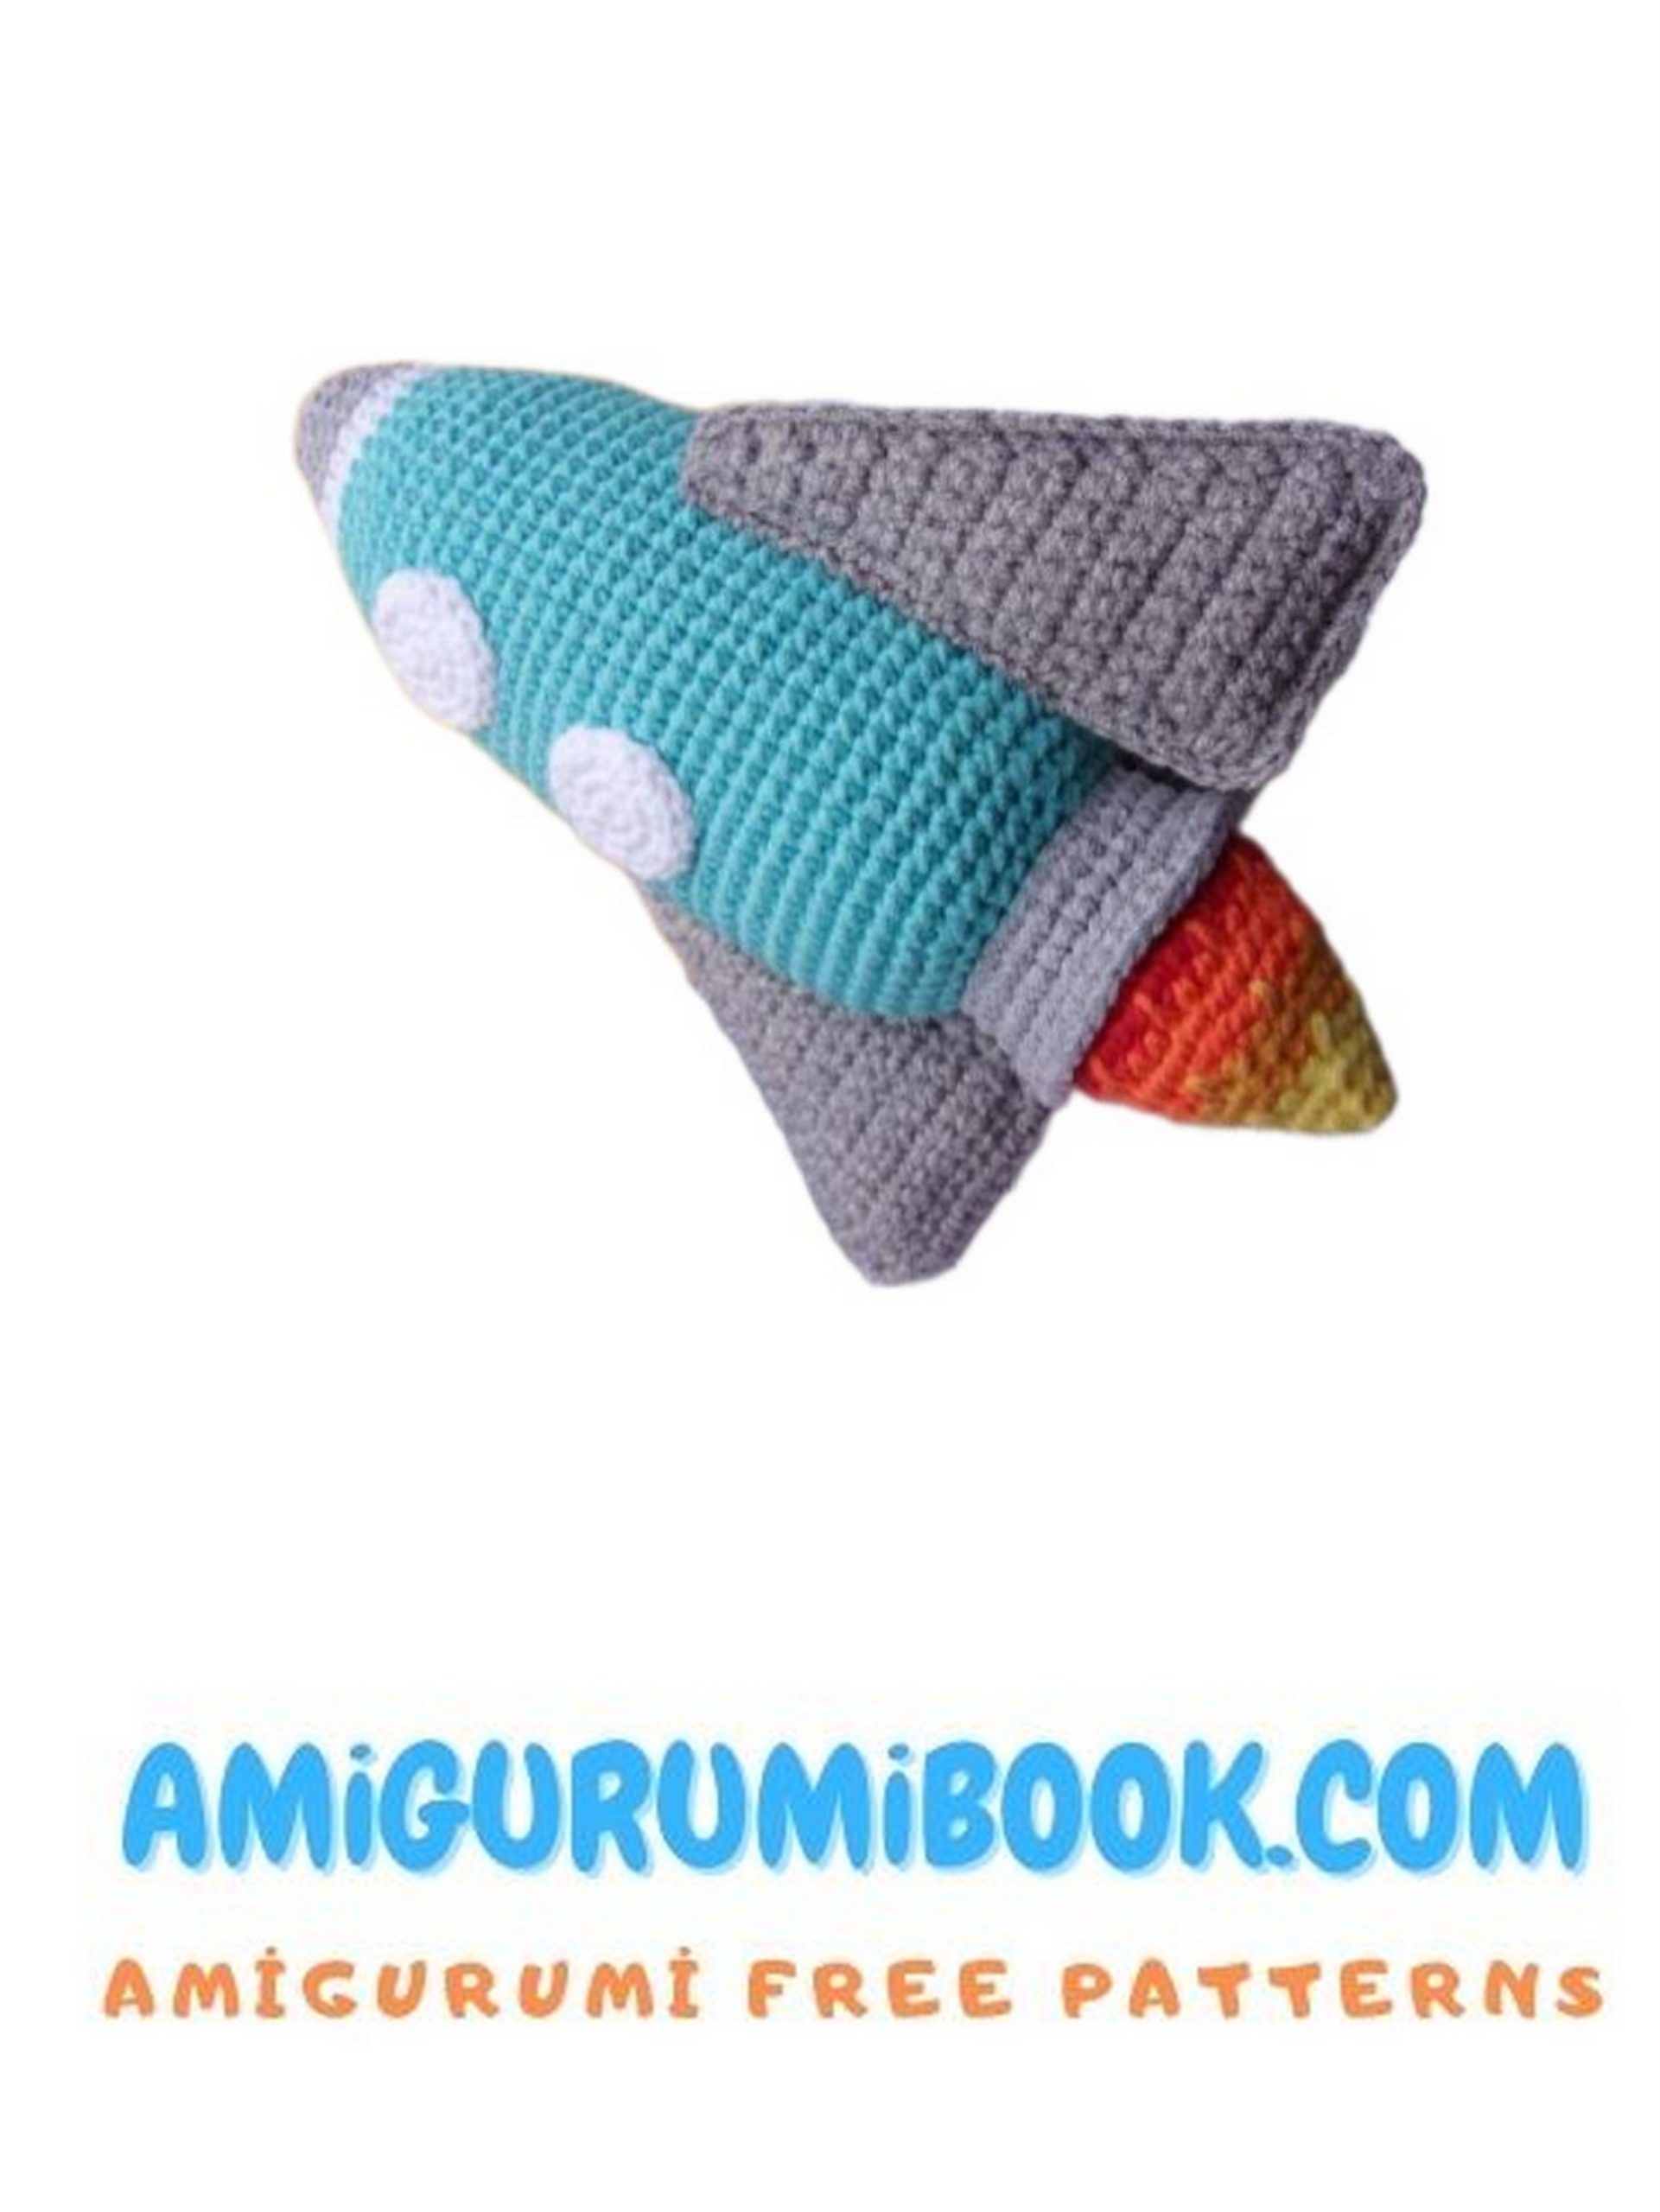
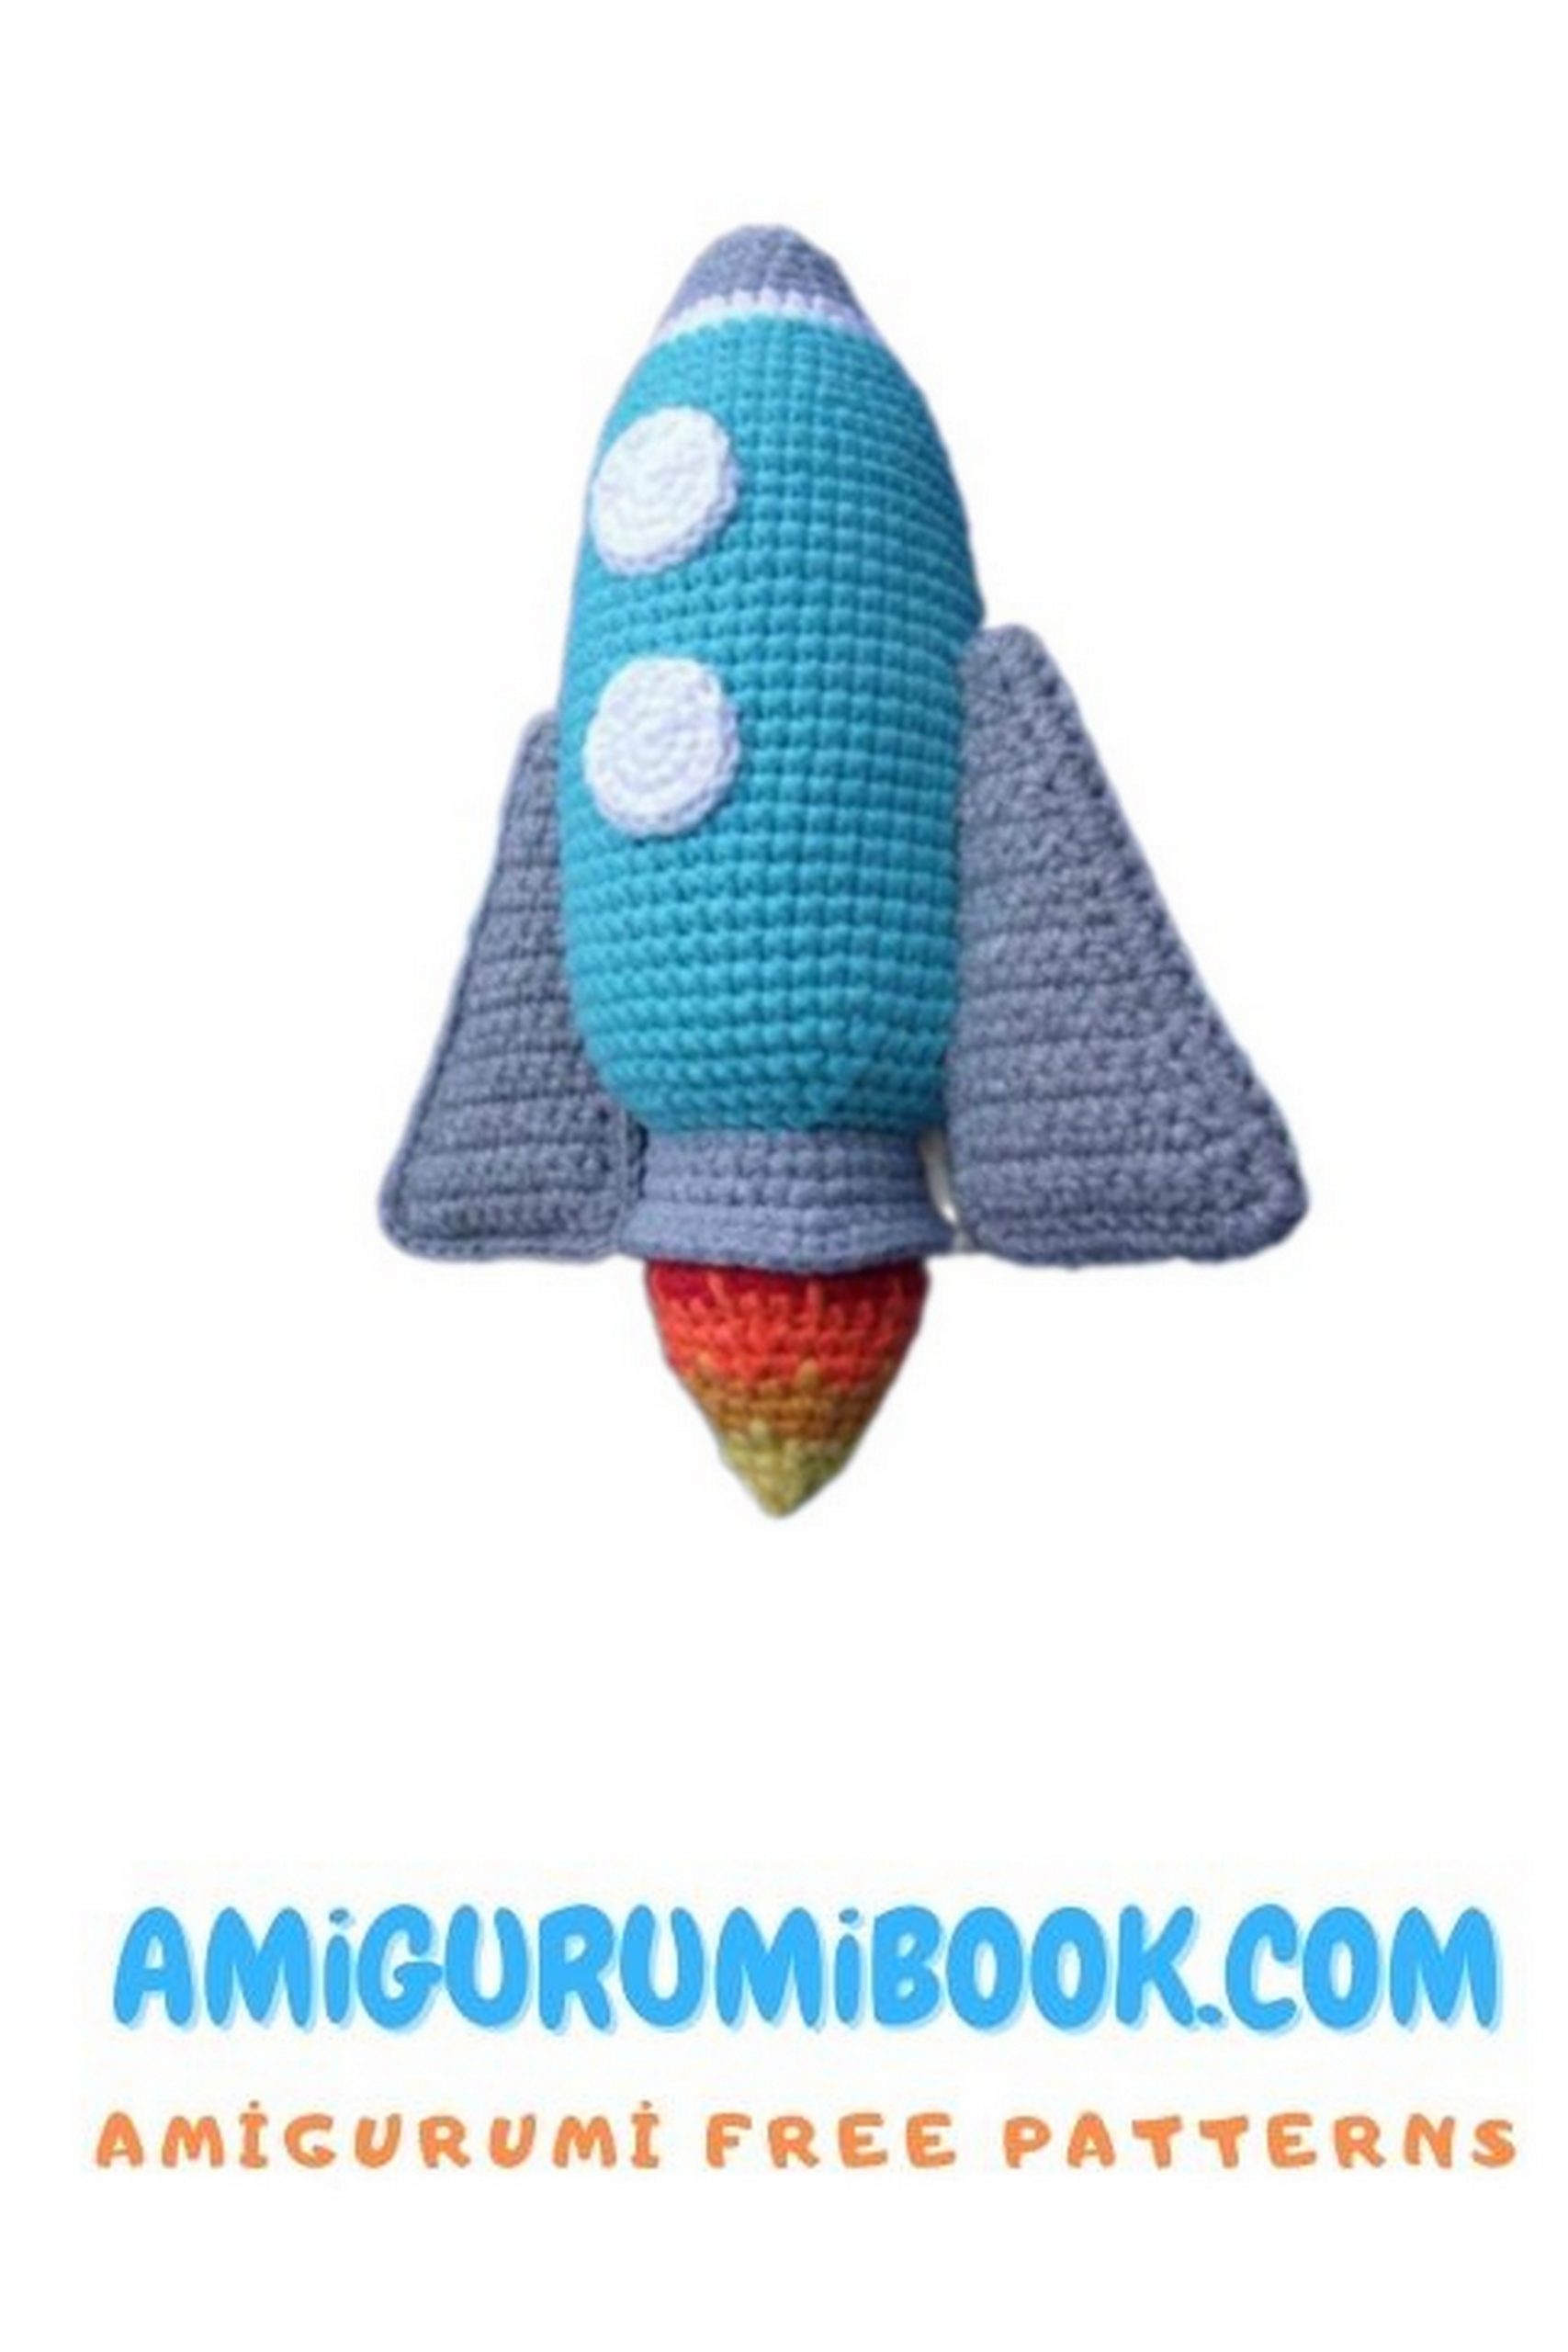
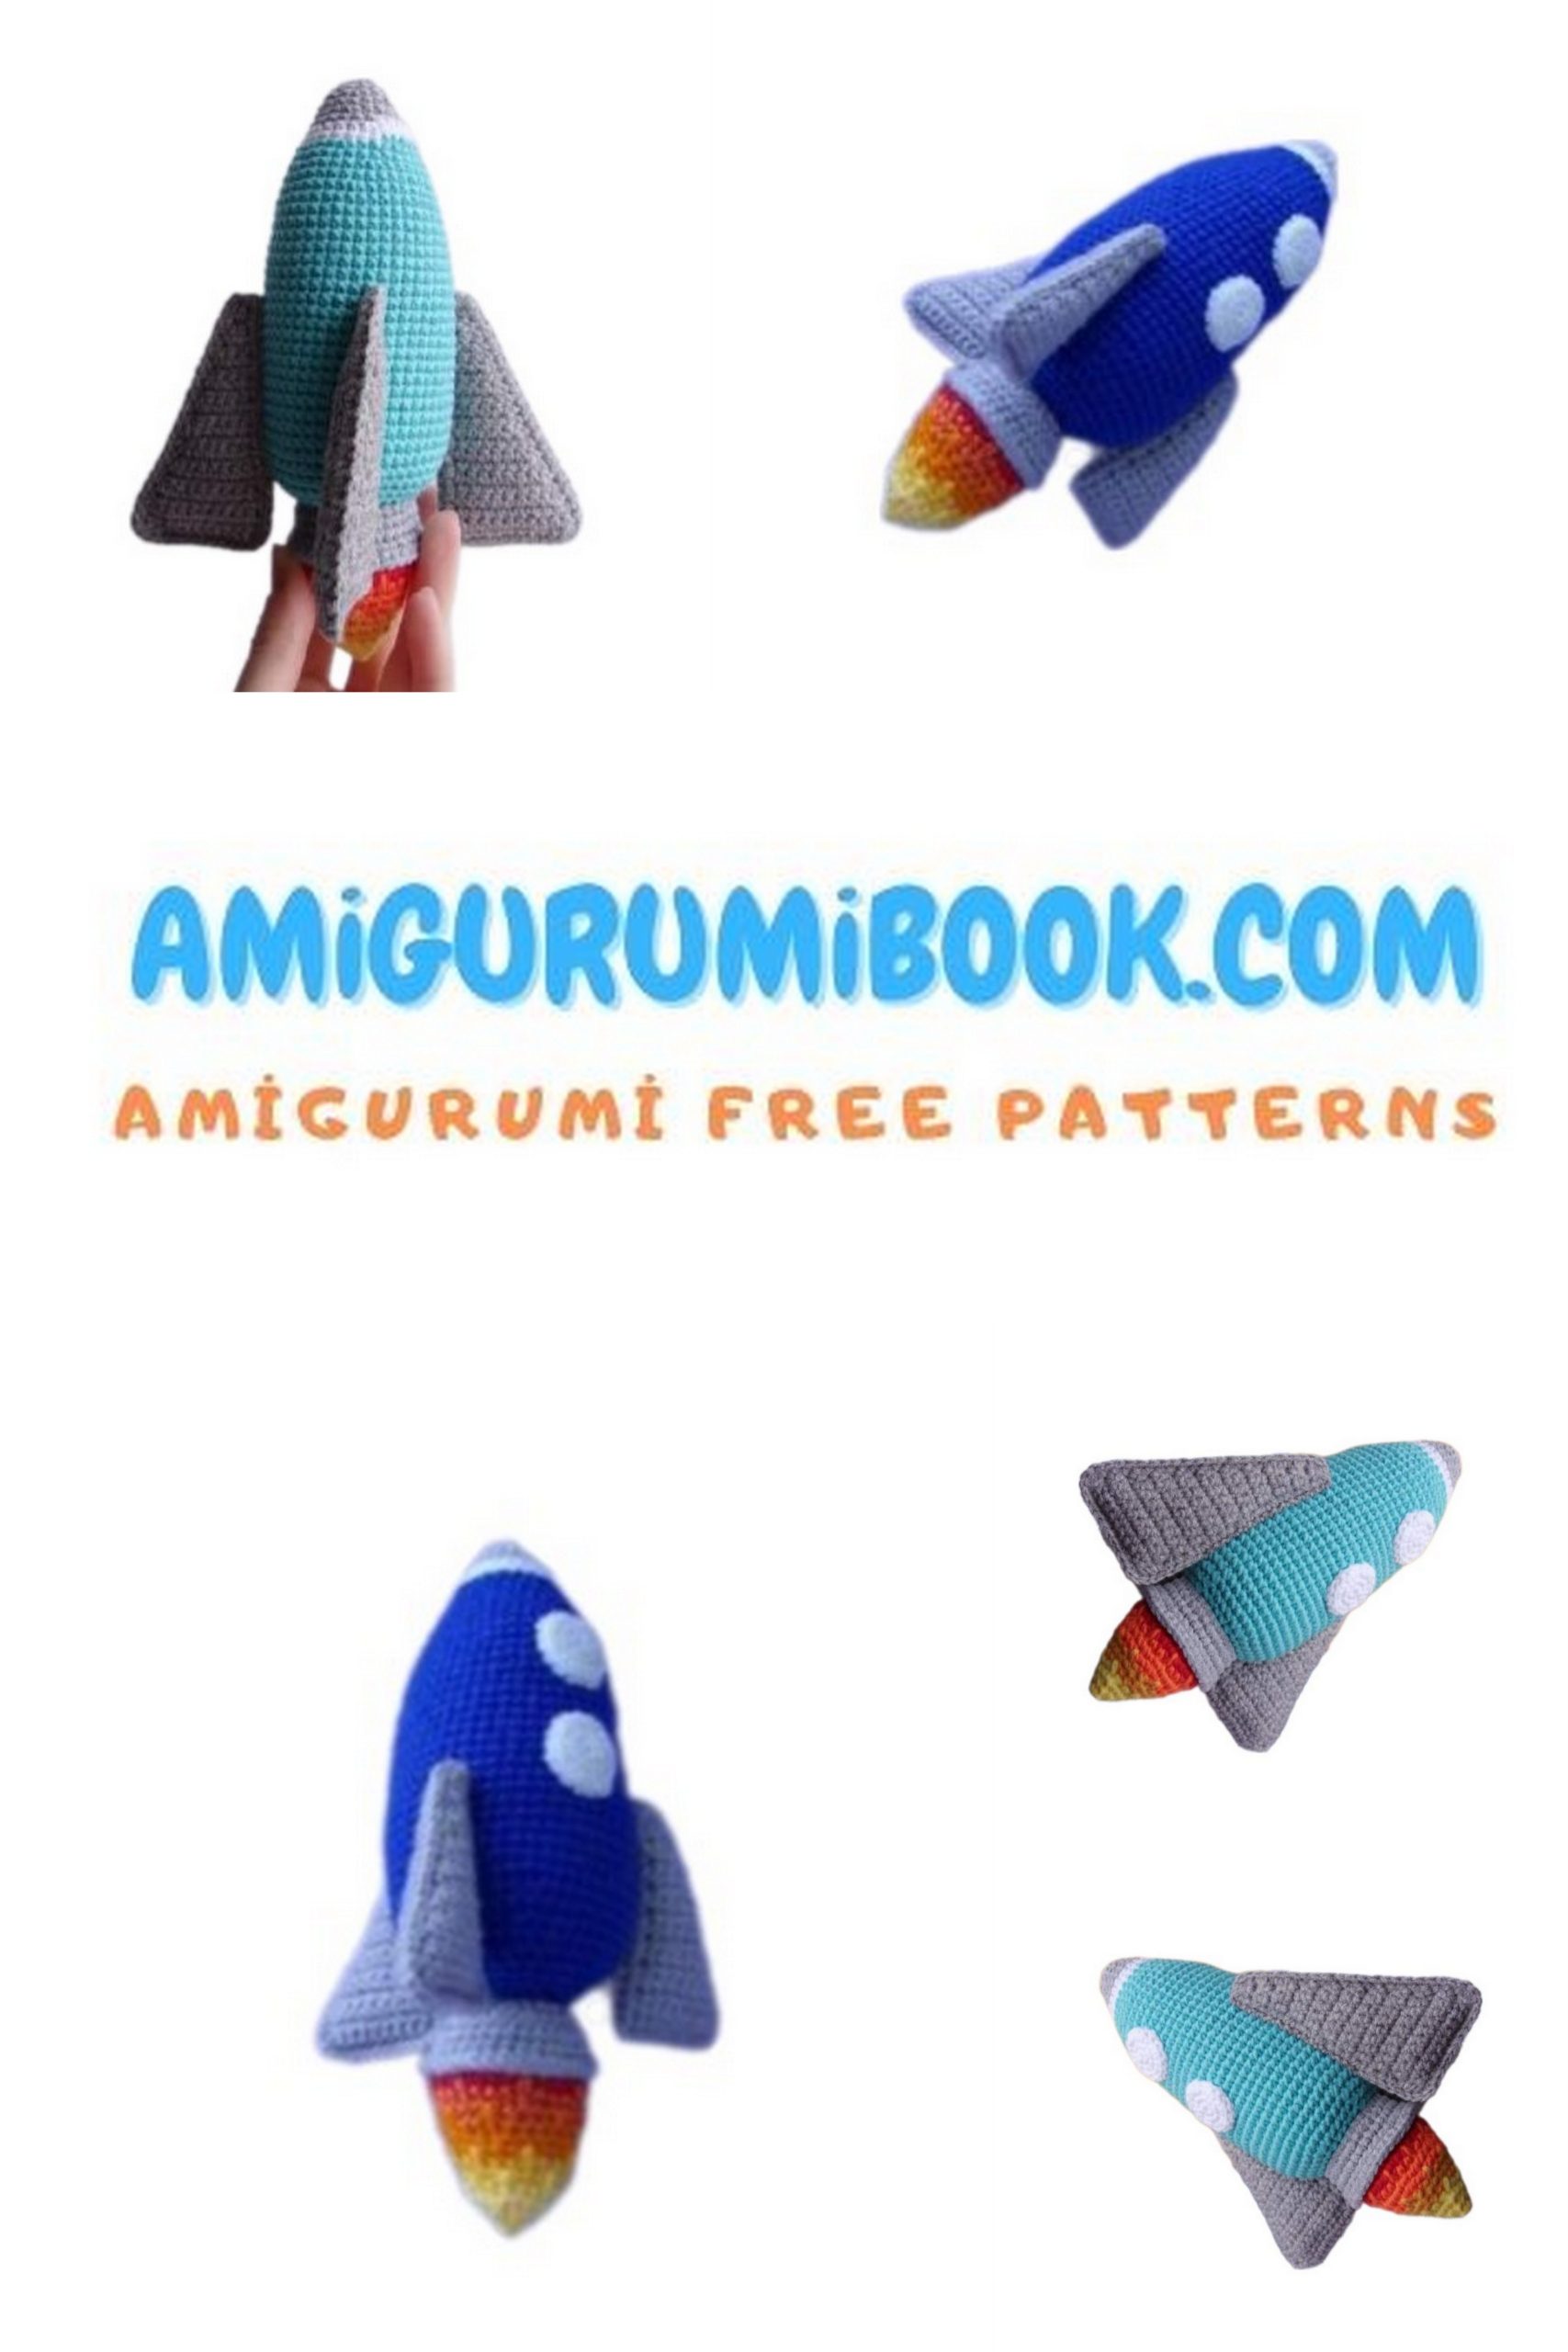
Our space rocket is ready!