
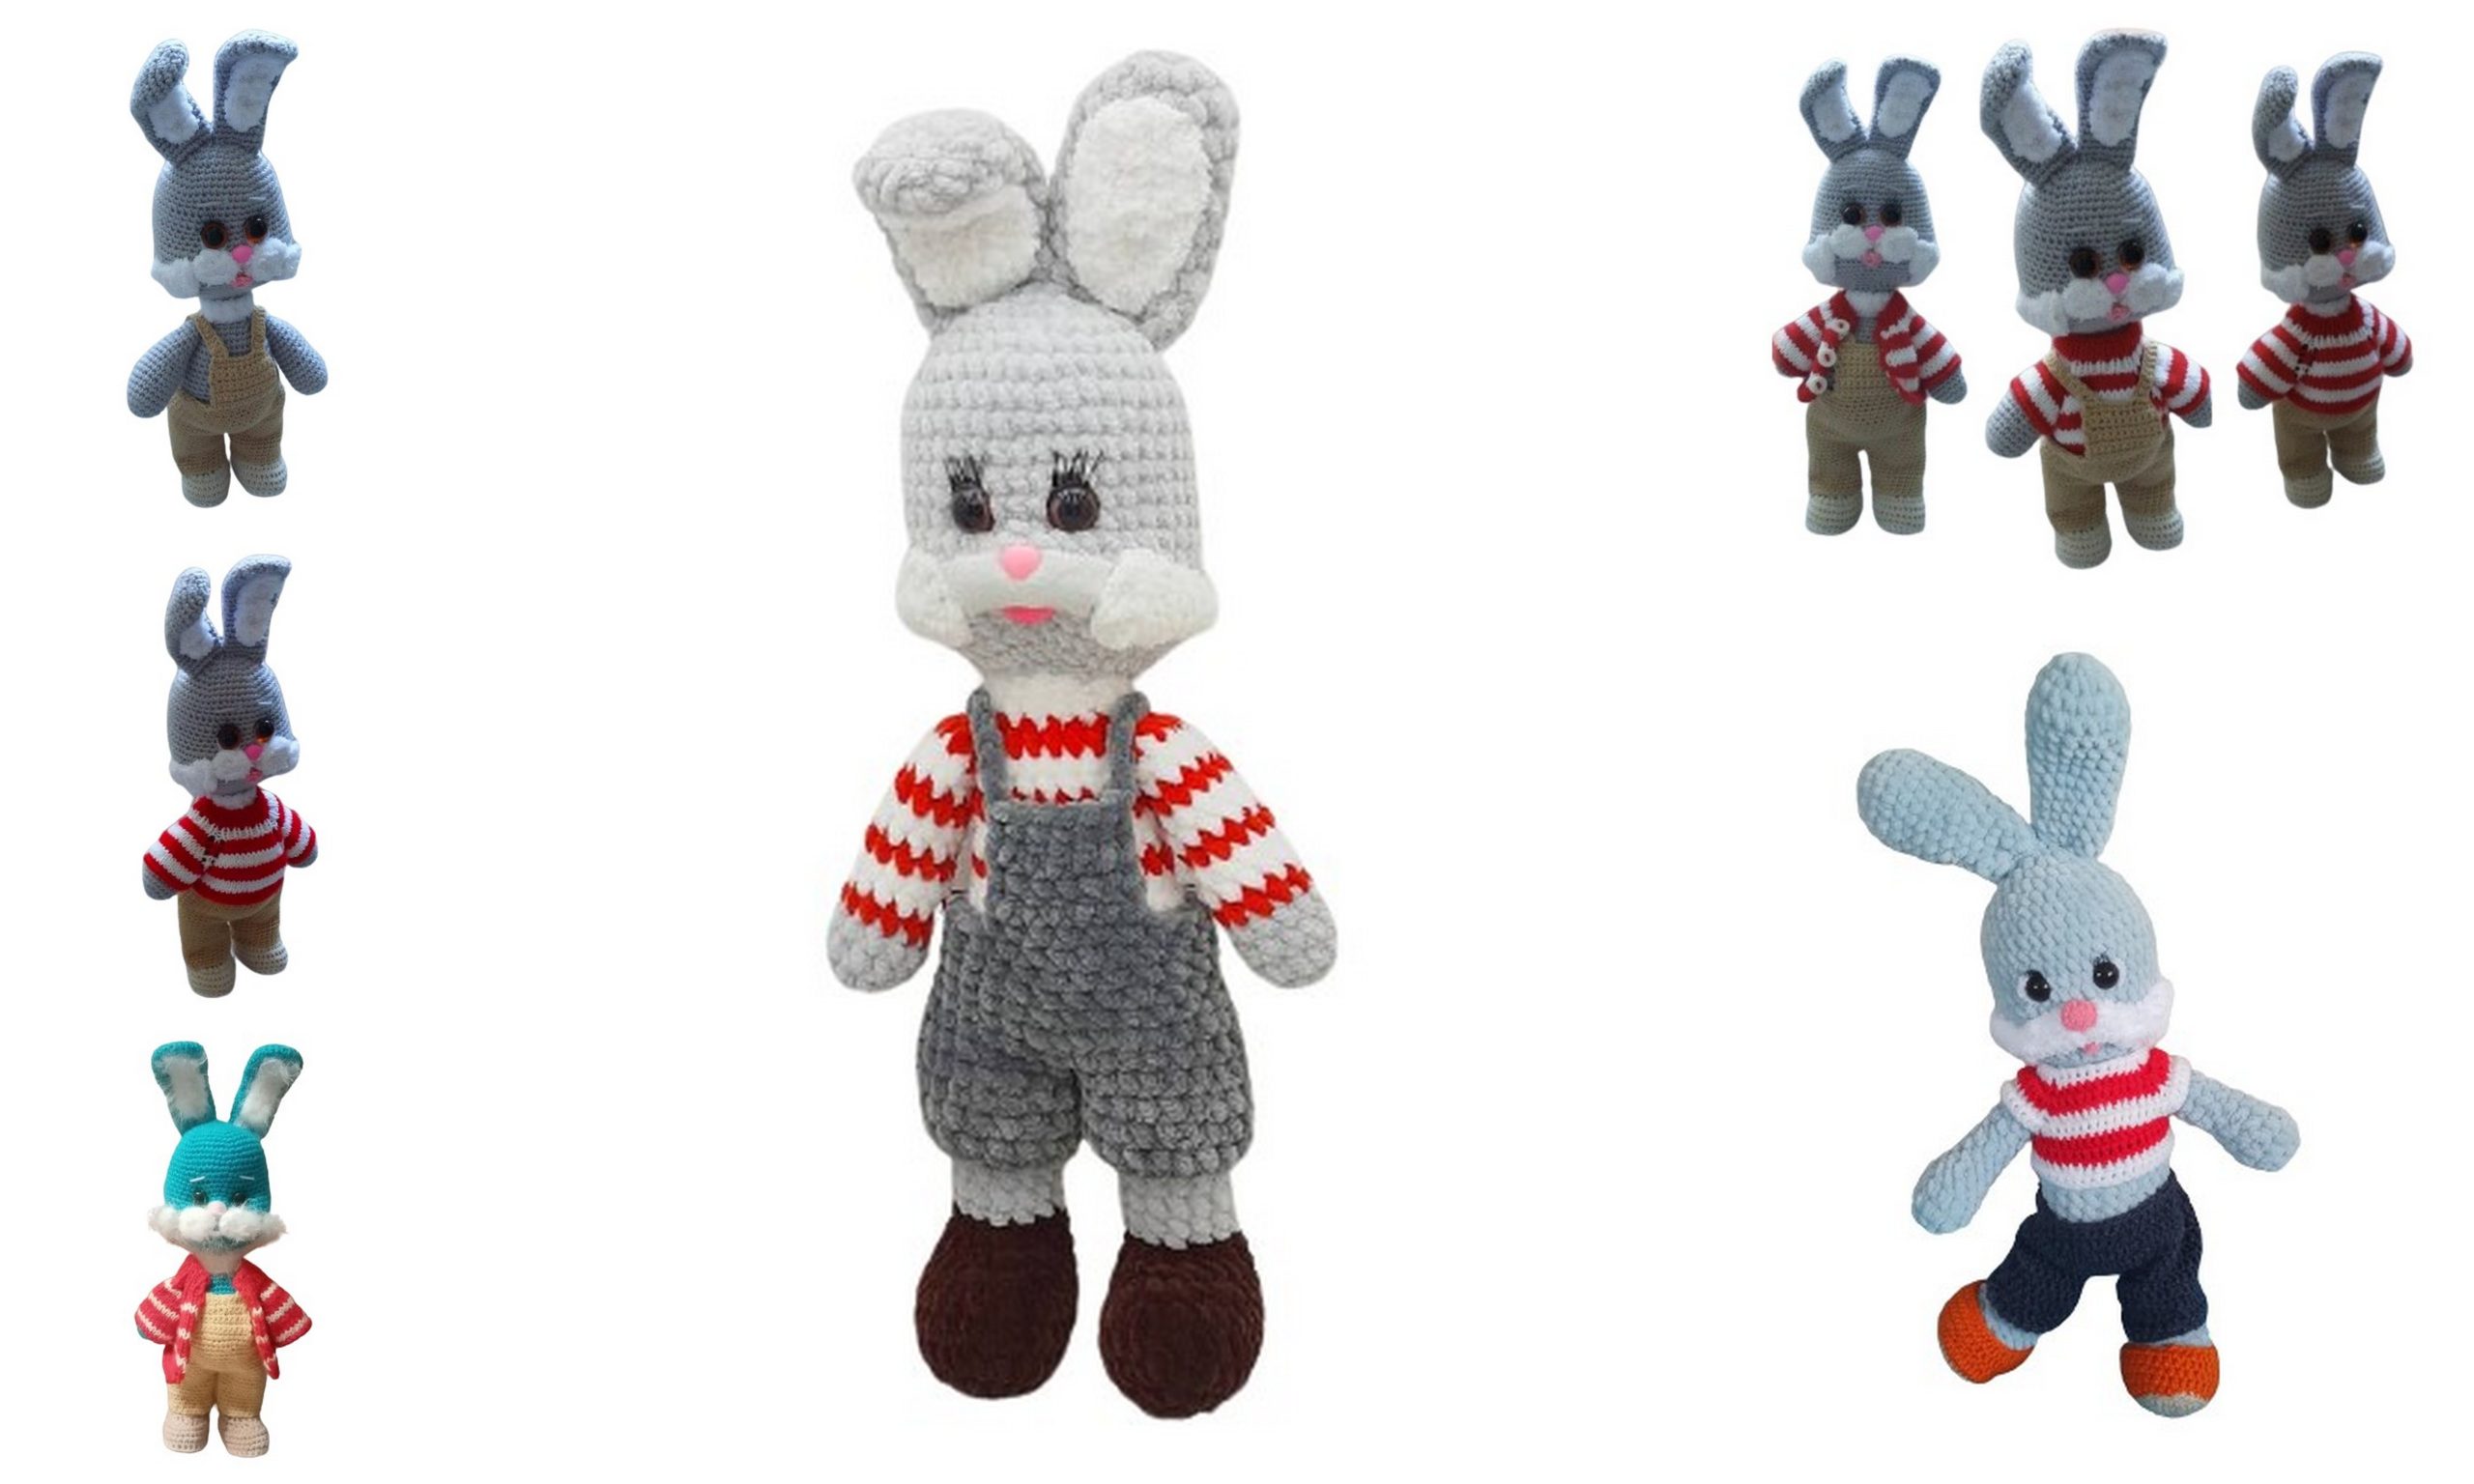
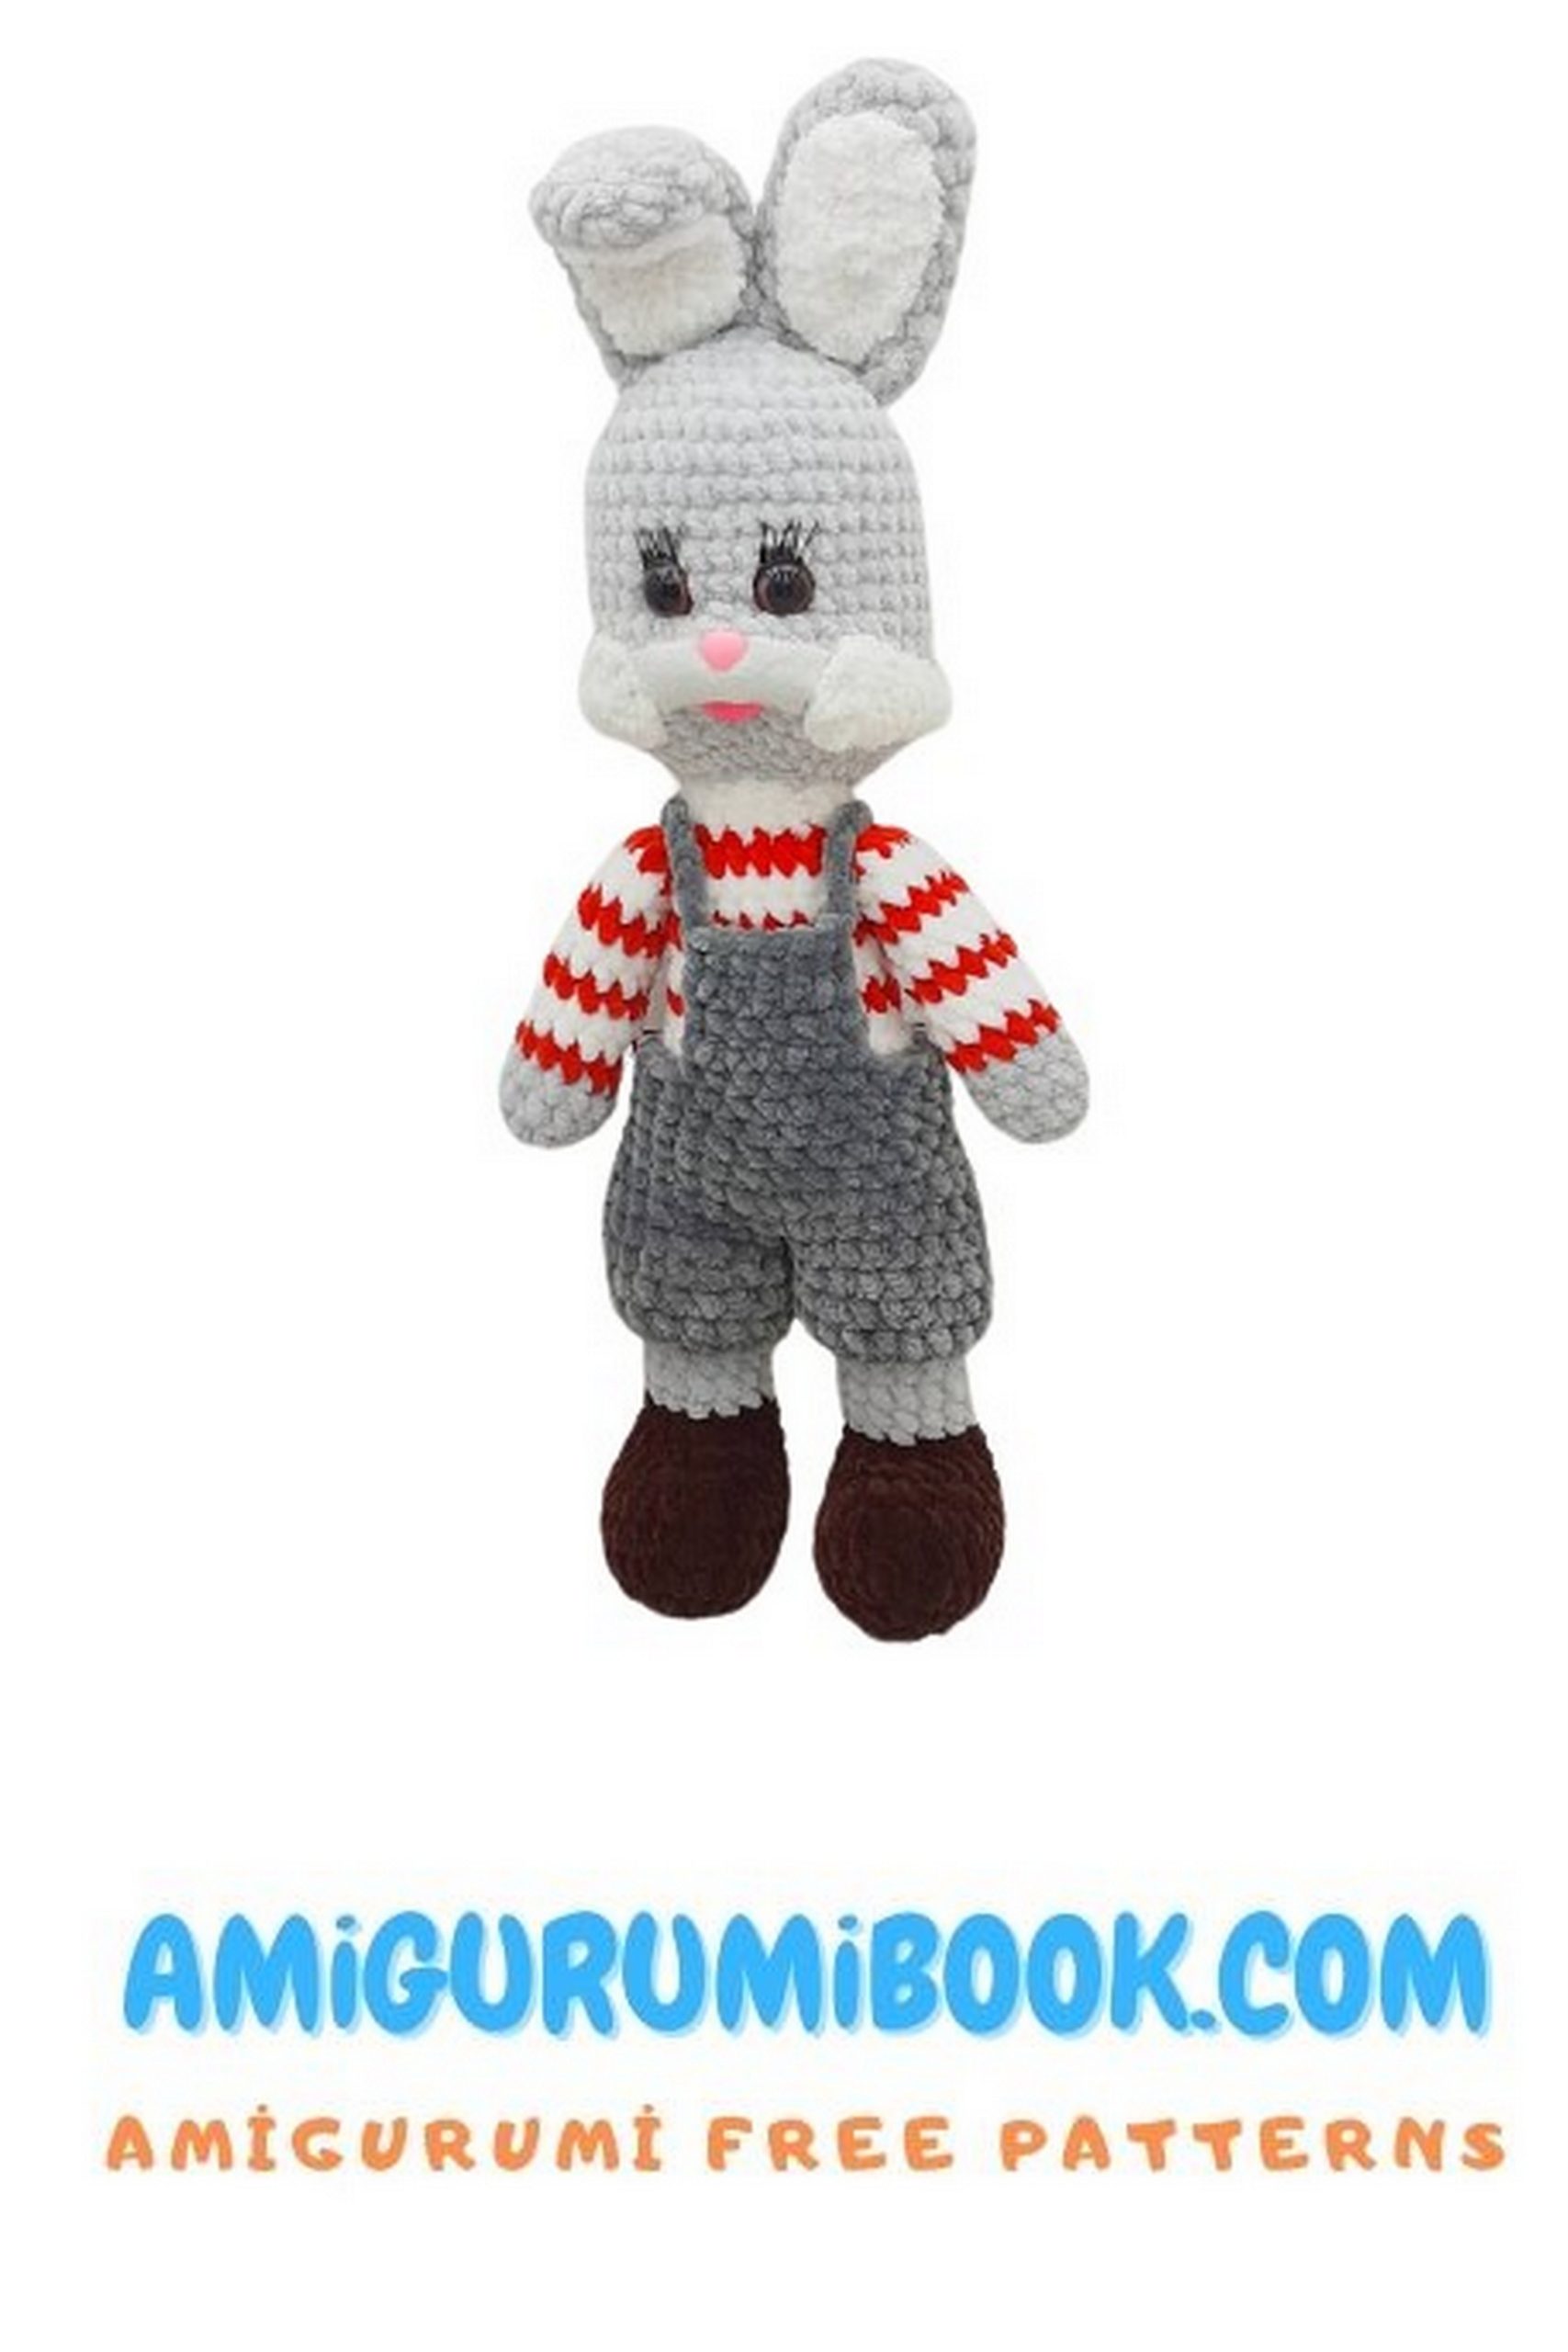
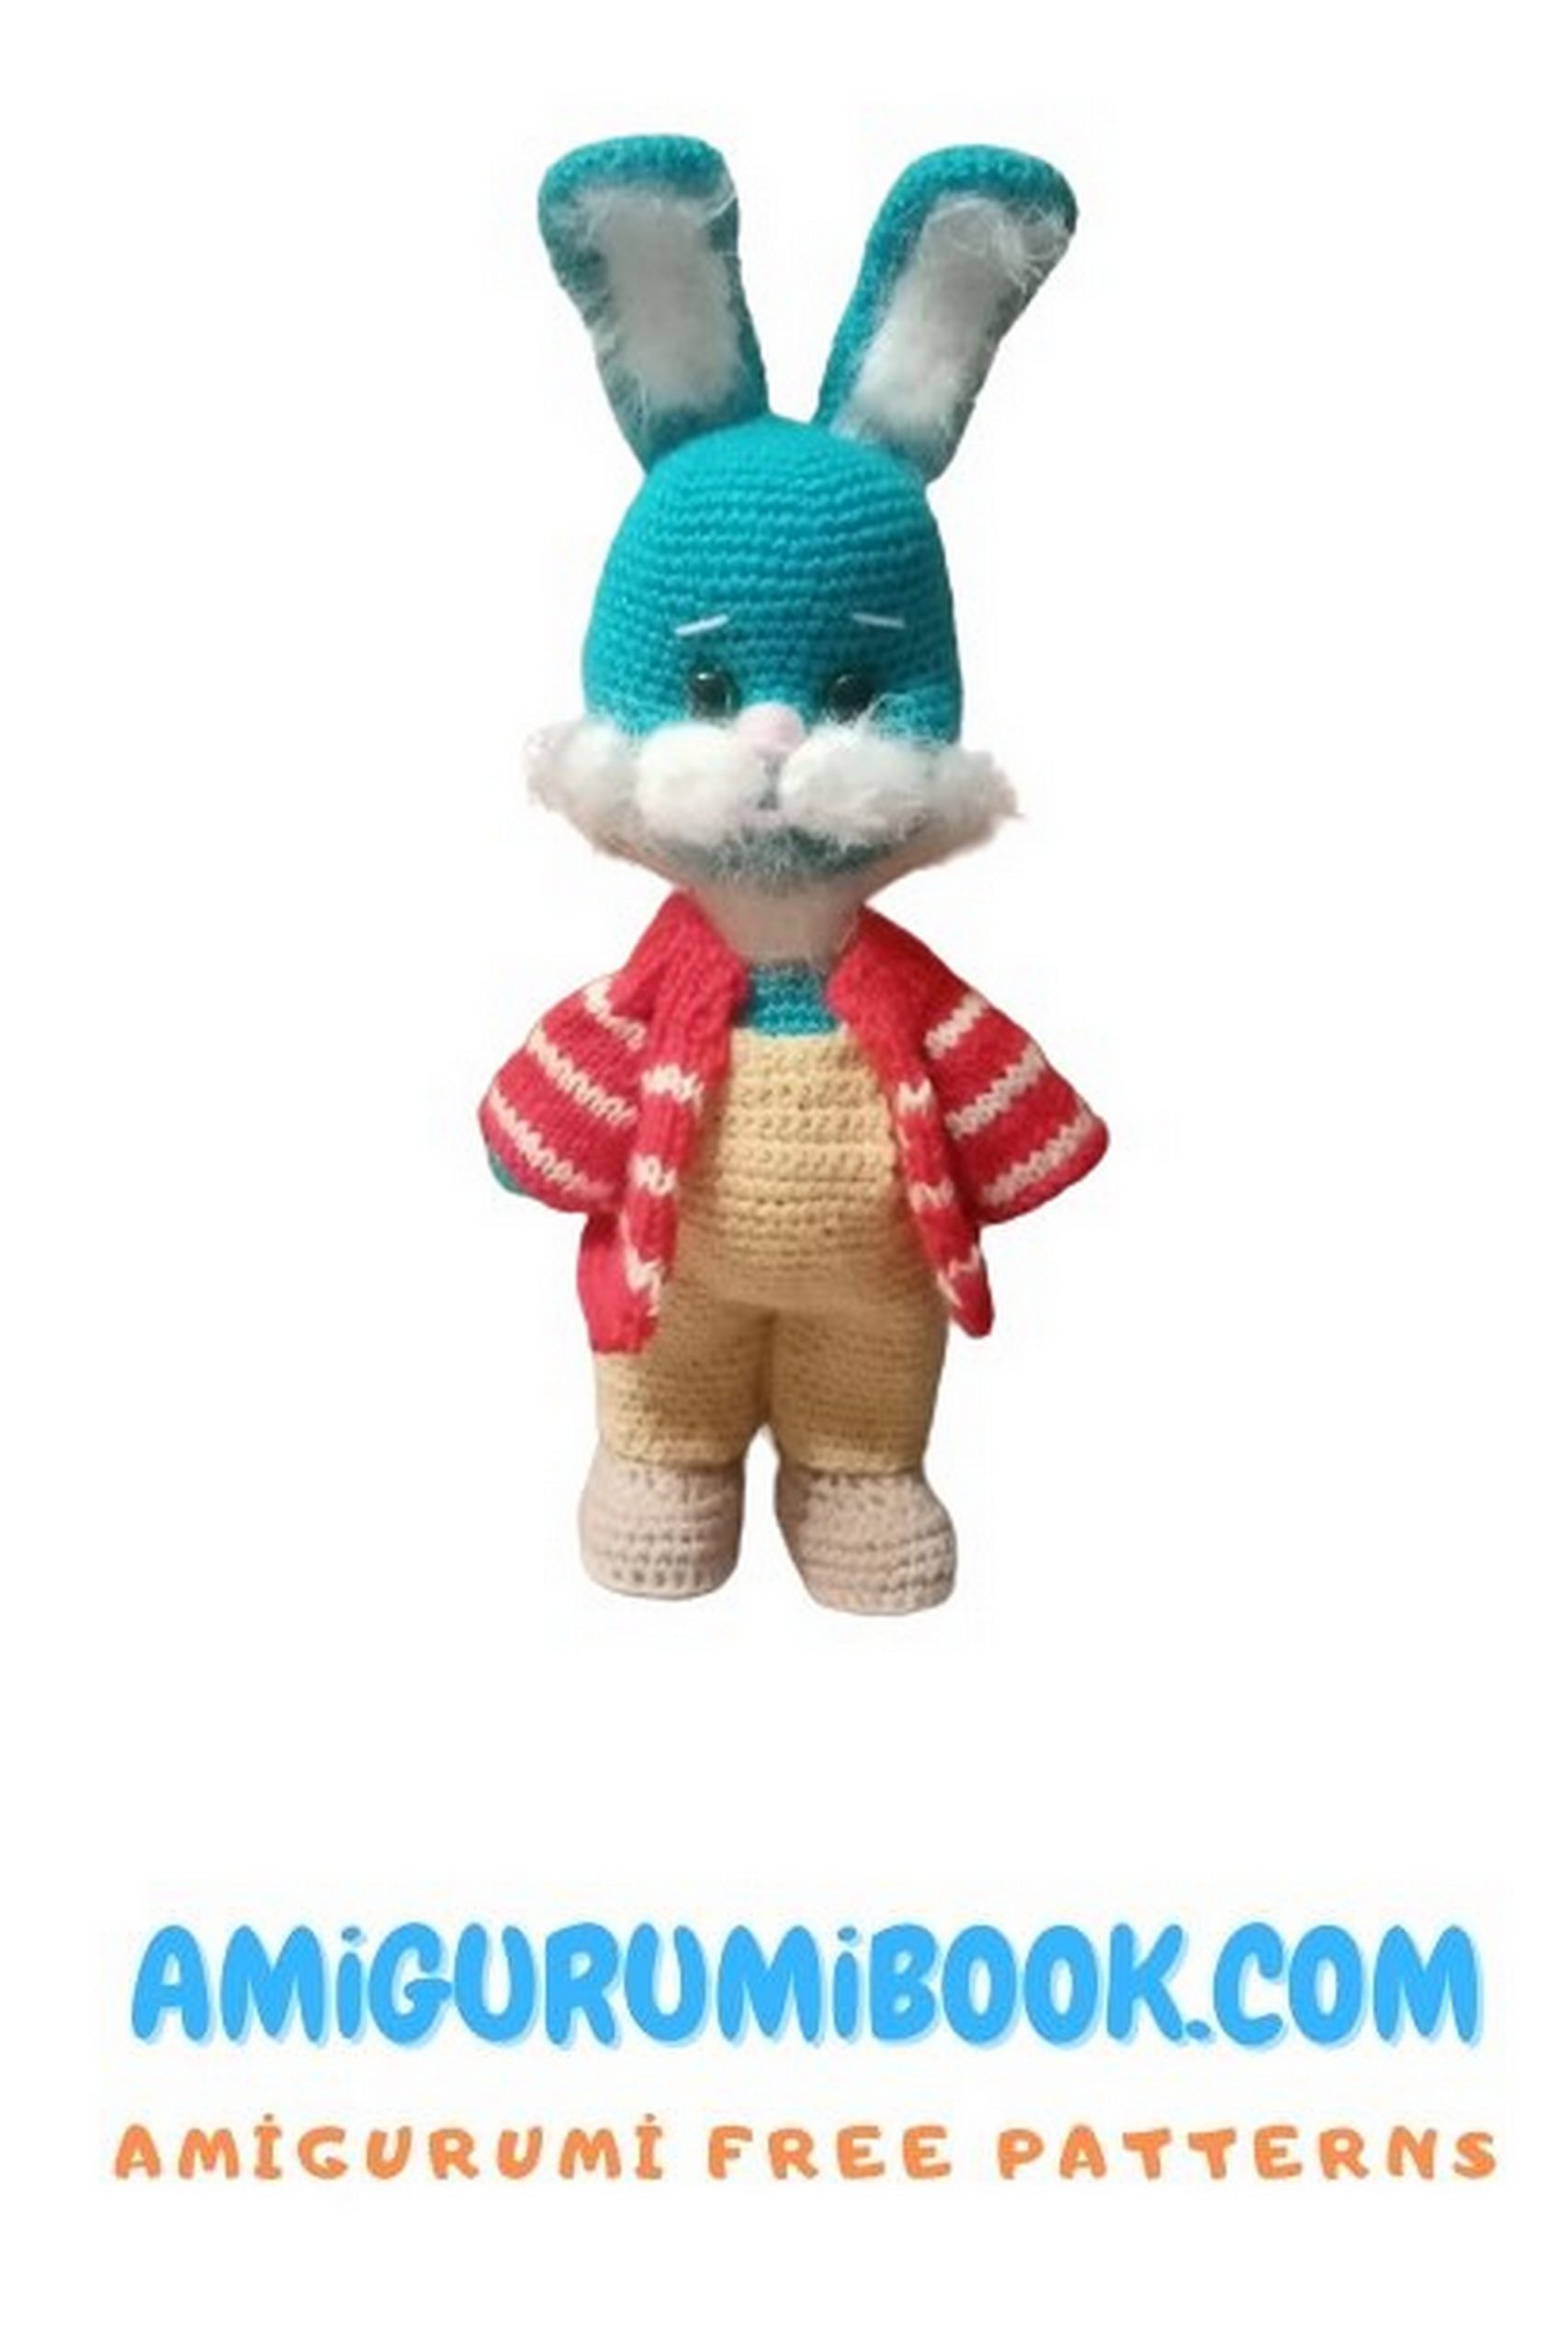
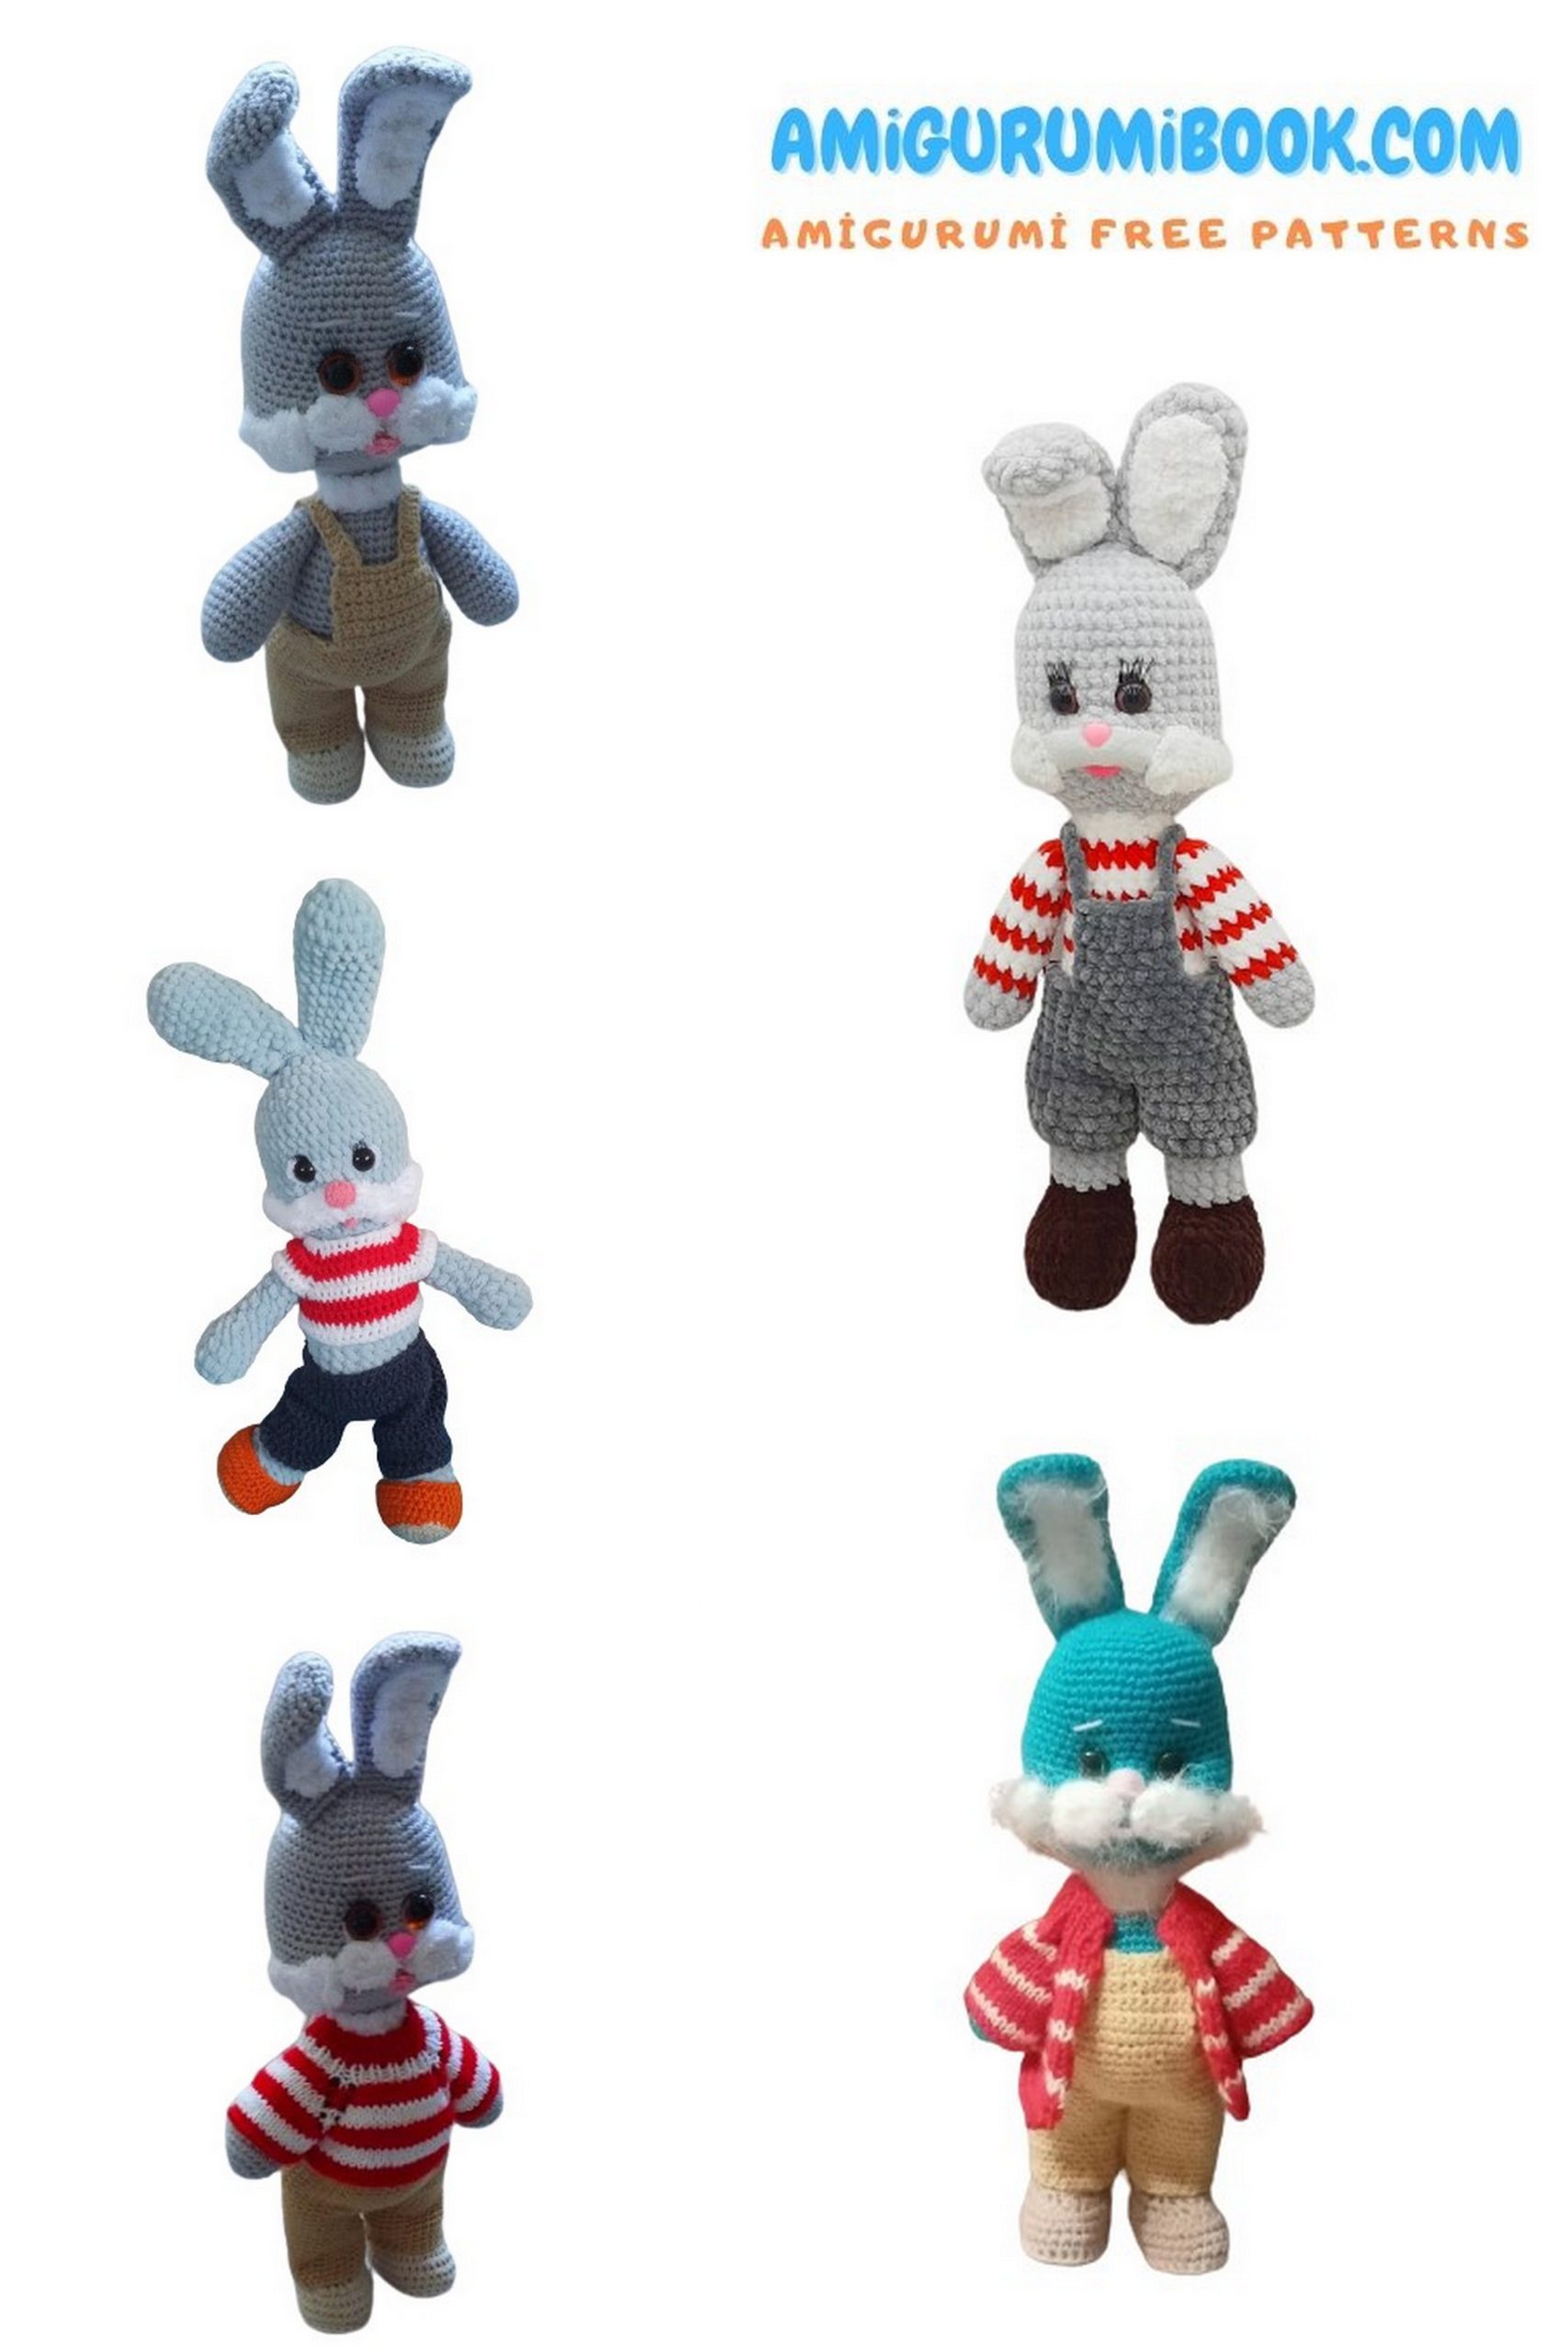
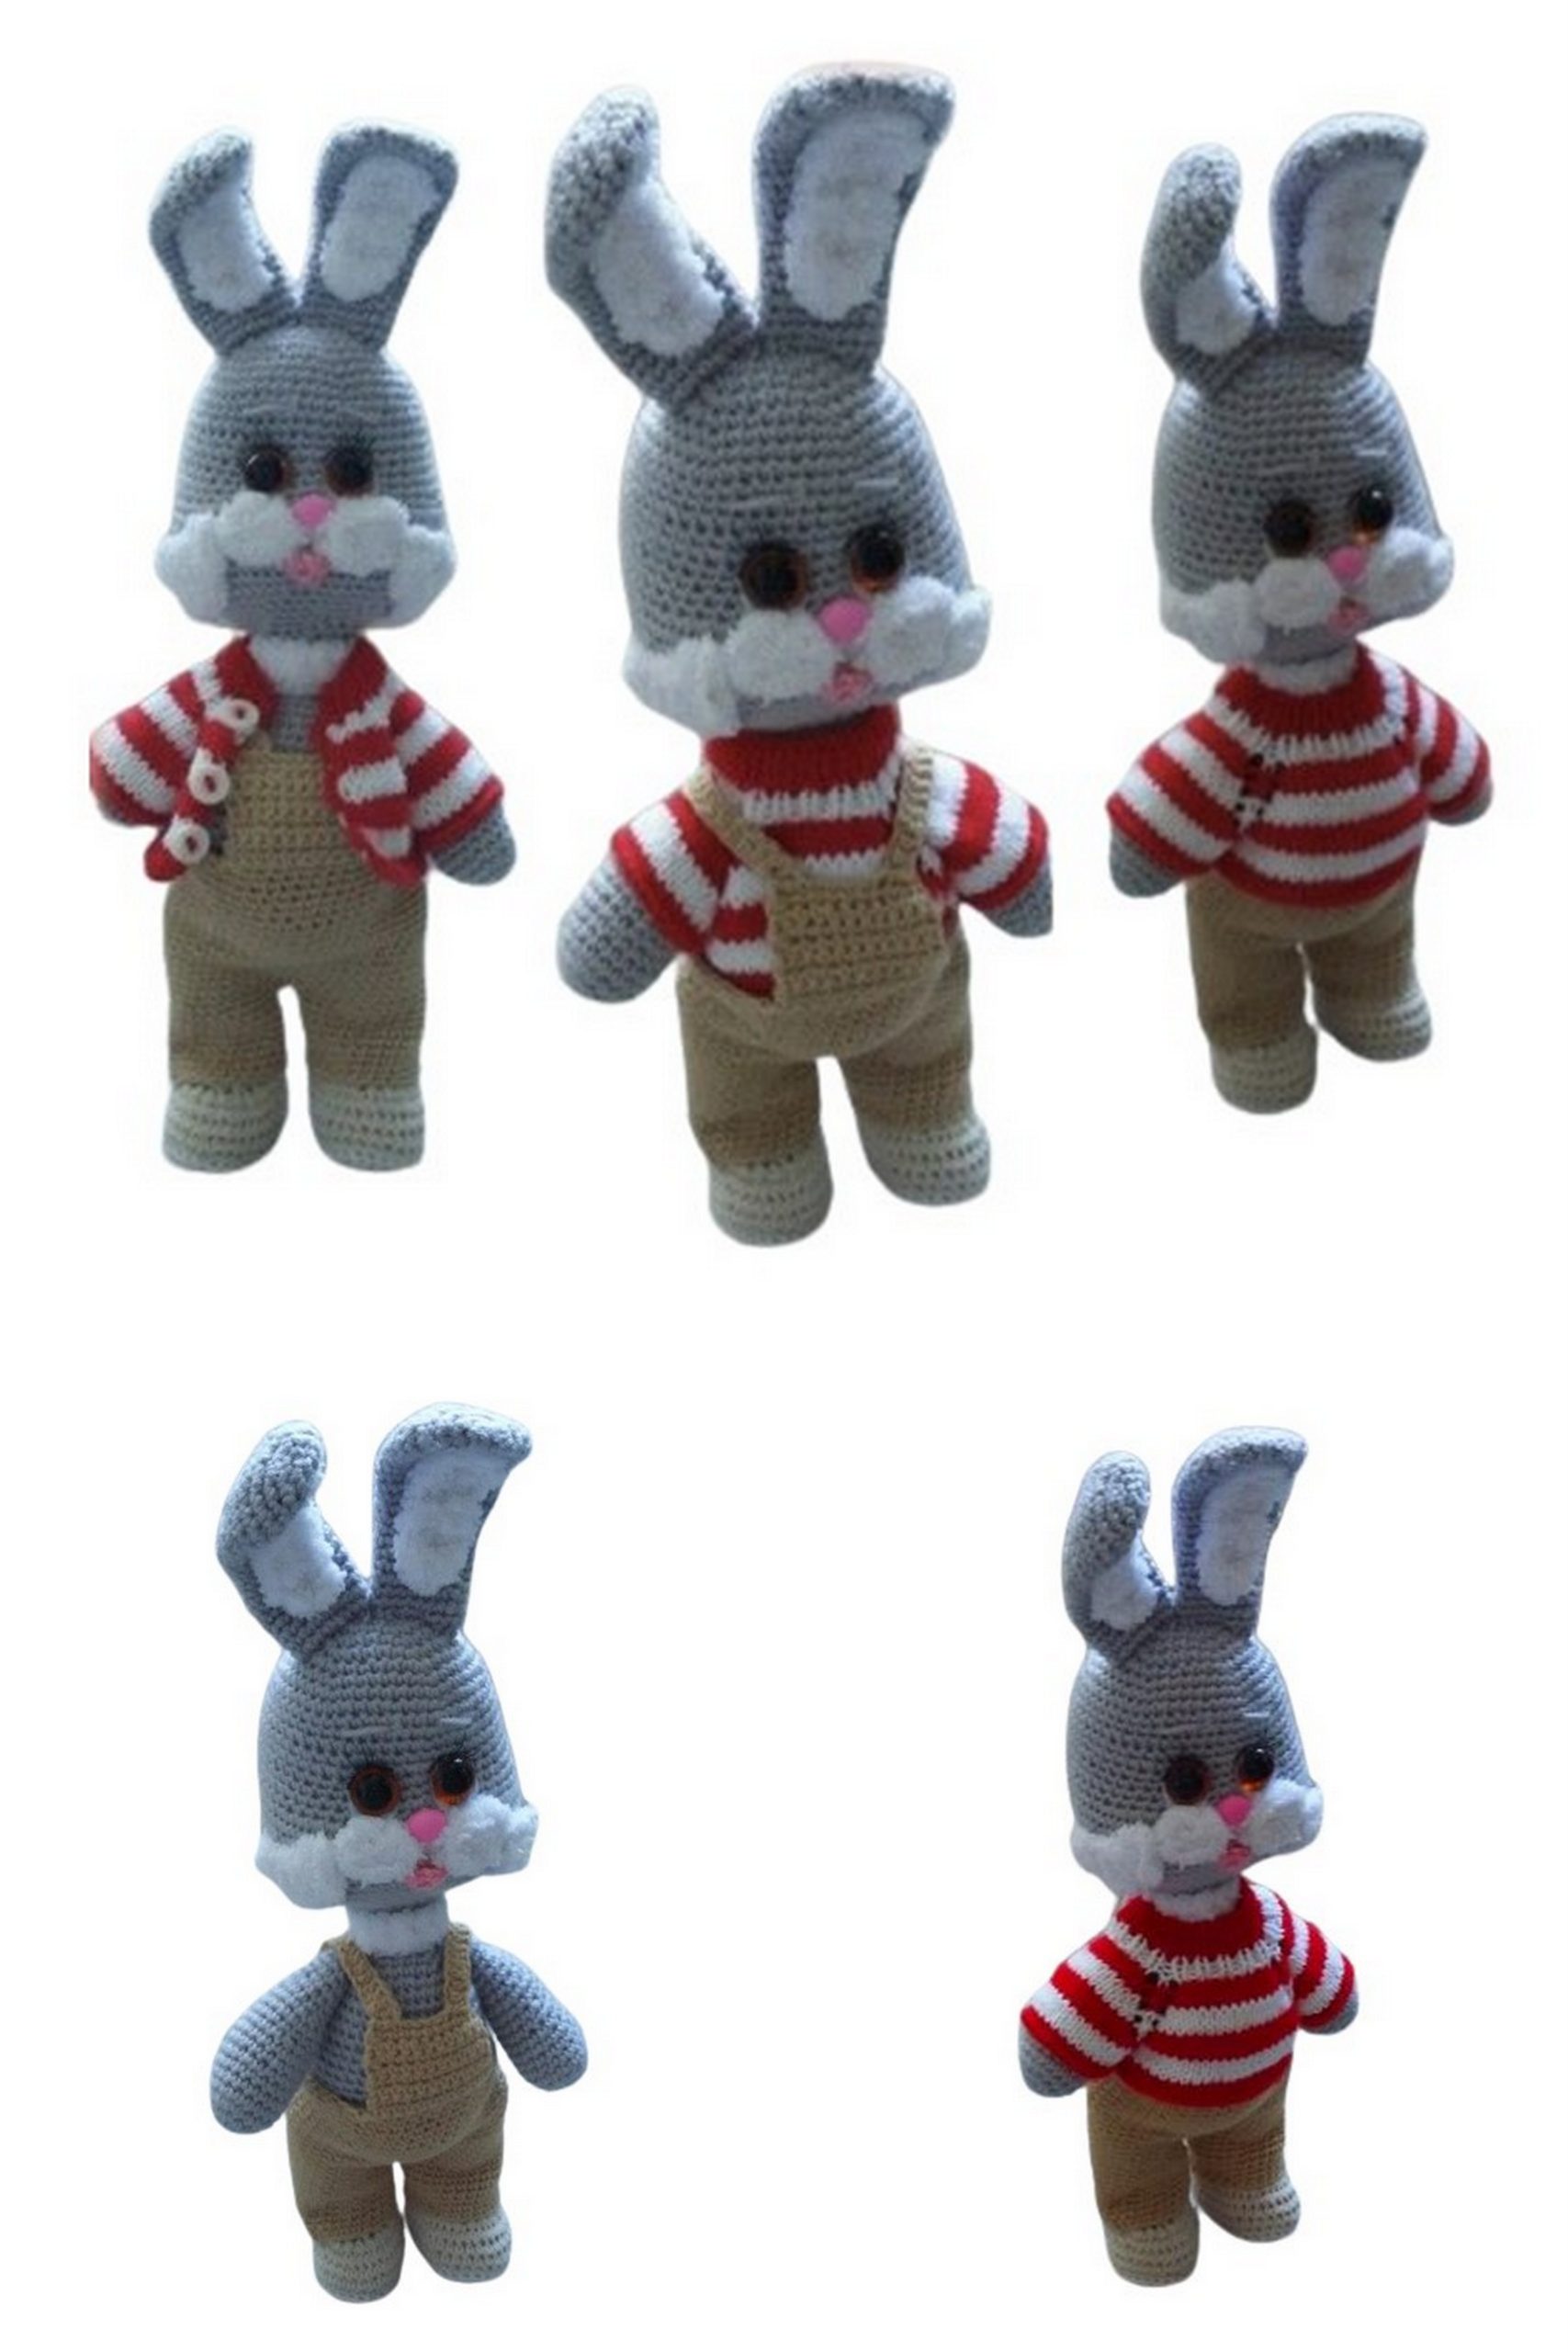
f you love soft and adorable handmade toys, this Free Cute Bunny Amigurumi Pattern is the perfect crochet project for you. With its long floppy ears, fluffy cheeks, tiny tail, and charming outfit details, this bunny is both playful and heartwarming.
This step-by-step crochet tutorial guides you through shaping the head, body, ears, and facial features, helping you create a beautifully balanced amigurumi bunny. Whether you’re making a nursery decoration, a baby gift, or adding a new piece to your collection, this bunny pattern is easy to follow and incredibly rewarding to complete.
Grab your yarn and hook and start crocheting your own sweet bunny today!
If you want to access 1000+ free amigurumi patterns, you can download our application from this link!
🧶 Materials
To make this amigurumi toy, you will need:
- Gray yarn (Bambino by Kamtex or similar DK/light worsted yarn)
- White yarn (for the face, e.g., Puf by Lanoso or similar soft yarn)
- Brown safety eyes
- Pink yarn (for embroidering the nose and mouth)
- Polyester fiberfill (stuffing)
- Cocktail straw or plastic tube (for head support and stability)
- Gel glue (such as Moment or similar strong craft glue)
- Crochet hook suitable for your yarn (usually 2.0–2.5 mm recommended)
- Yarn needle
- Scissors
📖 Abbreviations
- ch – chain
- sc – single crochet
- inc – increase (2 sc in one stitch)
- dec – decrease (invisible decrease recommended)
- dc – double crochet
- hdc – half double crochet
🐰 Ears (Make 2)
Using gray yarn.
Work in continuous rounds.
1: 6 sc in MR (6)
2: 6 inc (12)
3: (1 sc, inc) × 6 (18)
4: (2 sc, inc) × 6 (24)
5–7: sc in each st around (24) — 3 rounds
8: (6 sc, dec) × 3 (21)
9–11: sc in each st around (21) — 3 rounds
12: (5 sc, dec) × 3 (18)
13–22: sc in each st around (18) — 10 rounds
Fasten off and leave a long tail for sewing.
🐰 Ear Fluff (Make 2)
Using white yarn.
Ch 8, turn.
Starting from the 2nd ch from hook:
2 sc, 4 hdc, 4 sc, 2 inc.
Fasten off and leave a long tail for sewing.
🐰 Assembly of Ears
Sew the white ear fluff onto the gray ear pieces.
Flatten the base slightly.
Attach the ears symmetrically to the head once the head is completed.
😊 Mouth and Facial Features
Mouth
Using pink yarn.
1: 6 sc in MR (6)
2: Work back along the previous round, evenly increasing to 10 sc.
Fasten off and leave a tail.
Fold the mouth slightly and sew it below the eyes, approximately between rows 23–24, centered under the cheeks.
Cheeks (Make 2)
Using white yarn.
1: 6 sc in MR (6)
Fasten off and leave a tail for sewing.
Cheek Fluff (Make 2)
Using white yarn.
Ch 8, turn.
Starting from the 2nd ch from hook:
2 sc, 4 hdc, 4 sc, 2 inc.
Fasten off and leave a tail.
Sew the cheek fluff onto the small round cheeks, then attach them to the face.
Eyes
Attach the brown safety eyes around round 16.
Use strong thread to slightly indent the eye area for a more expressive look.
🤍 Neck Collar
Using white yarn.
Ch 13.
Starting from the 2nd ch from hook:
12 sl st.
Fasten off and leave a tail for sewing.
Sew the collar around the neck after the head and neck are completed.
🧸 Body and Head (Worked as One Piece)
30: (4 sc, dec) × 6 (30)
31: (3 sc, dec) × 6 (24)
Begin stuffing the head firmly.
Shape the face and sew on the ears before continuing.
32: (2 sc, dec) × 6 (18)
33: (1 sc, dec) × 6 (12)
34–35: sc in each st around (12)
Insert a cocktail straw for head stability.
Continue stuffing the neck firmly.
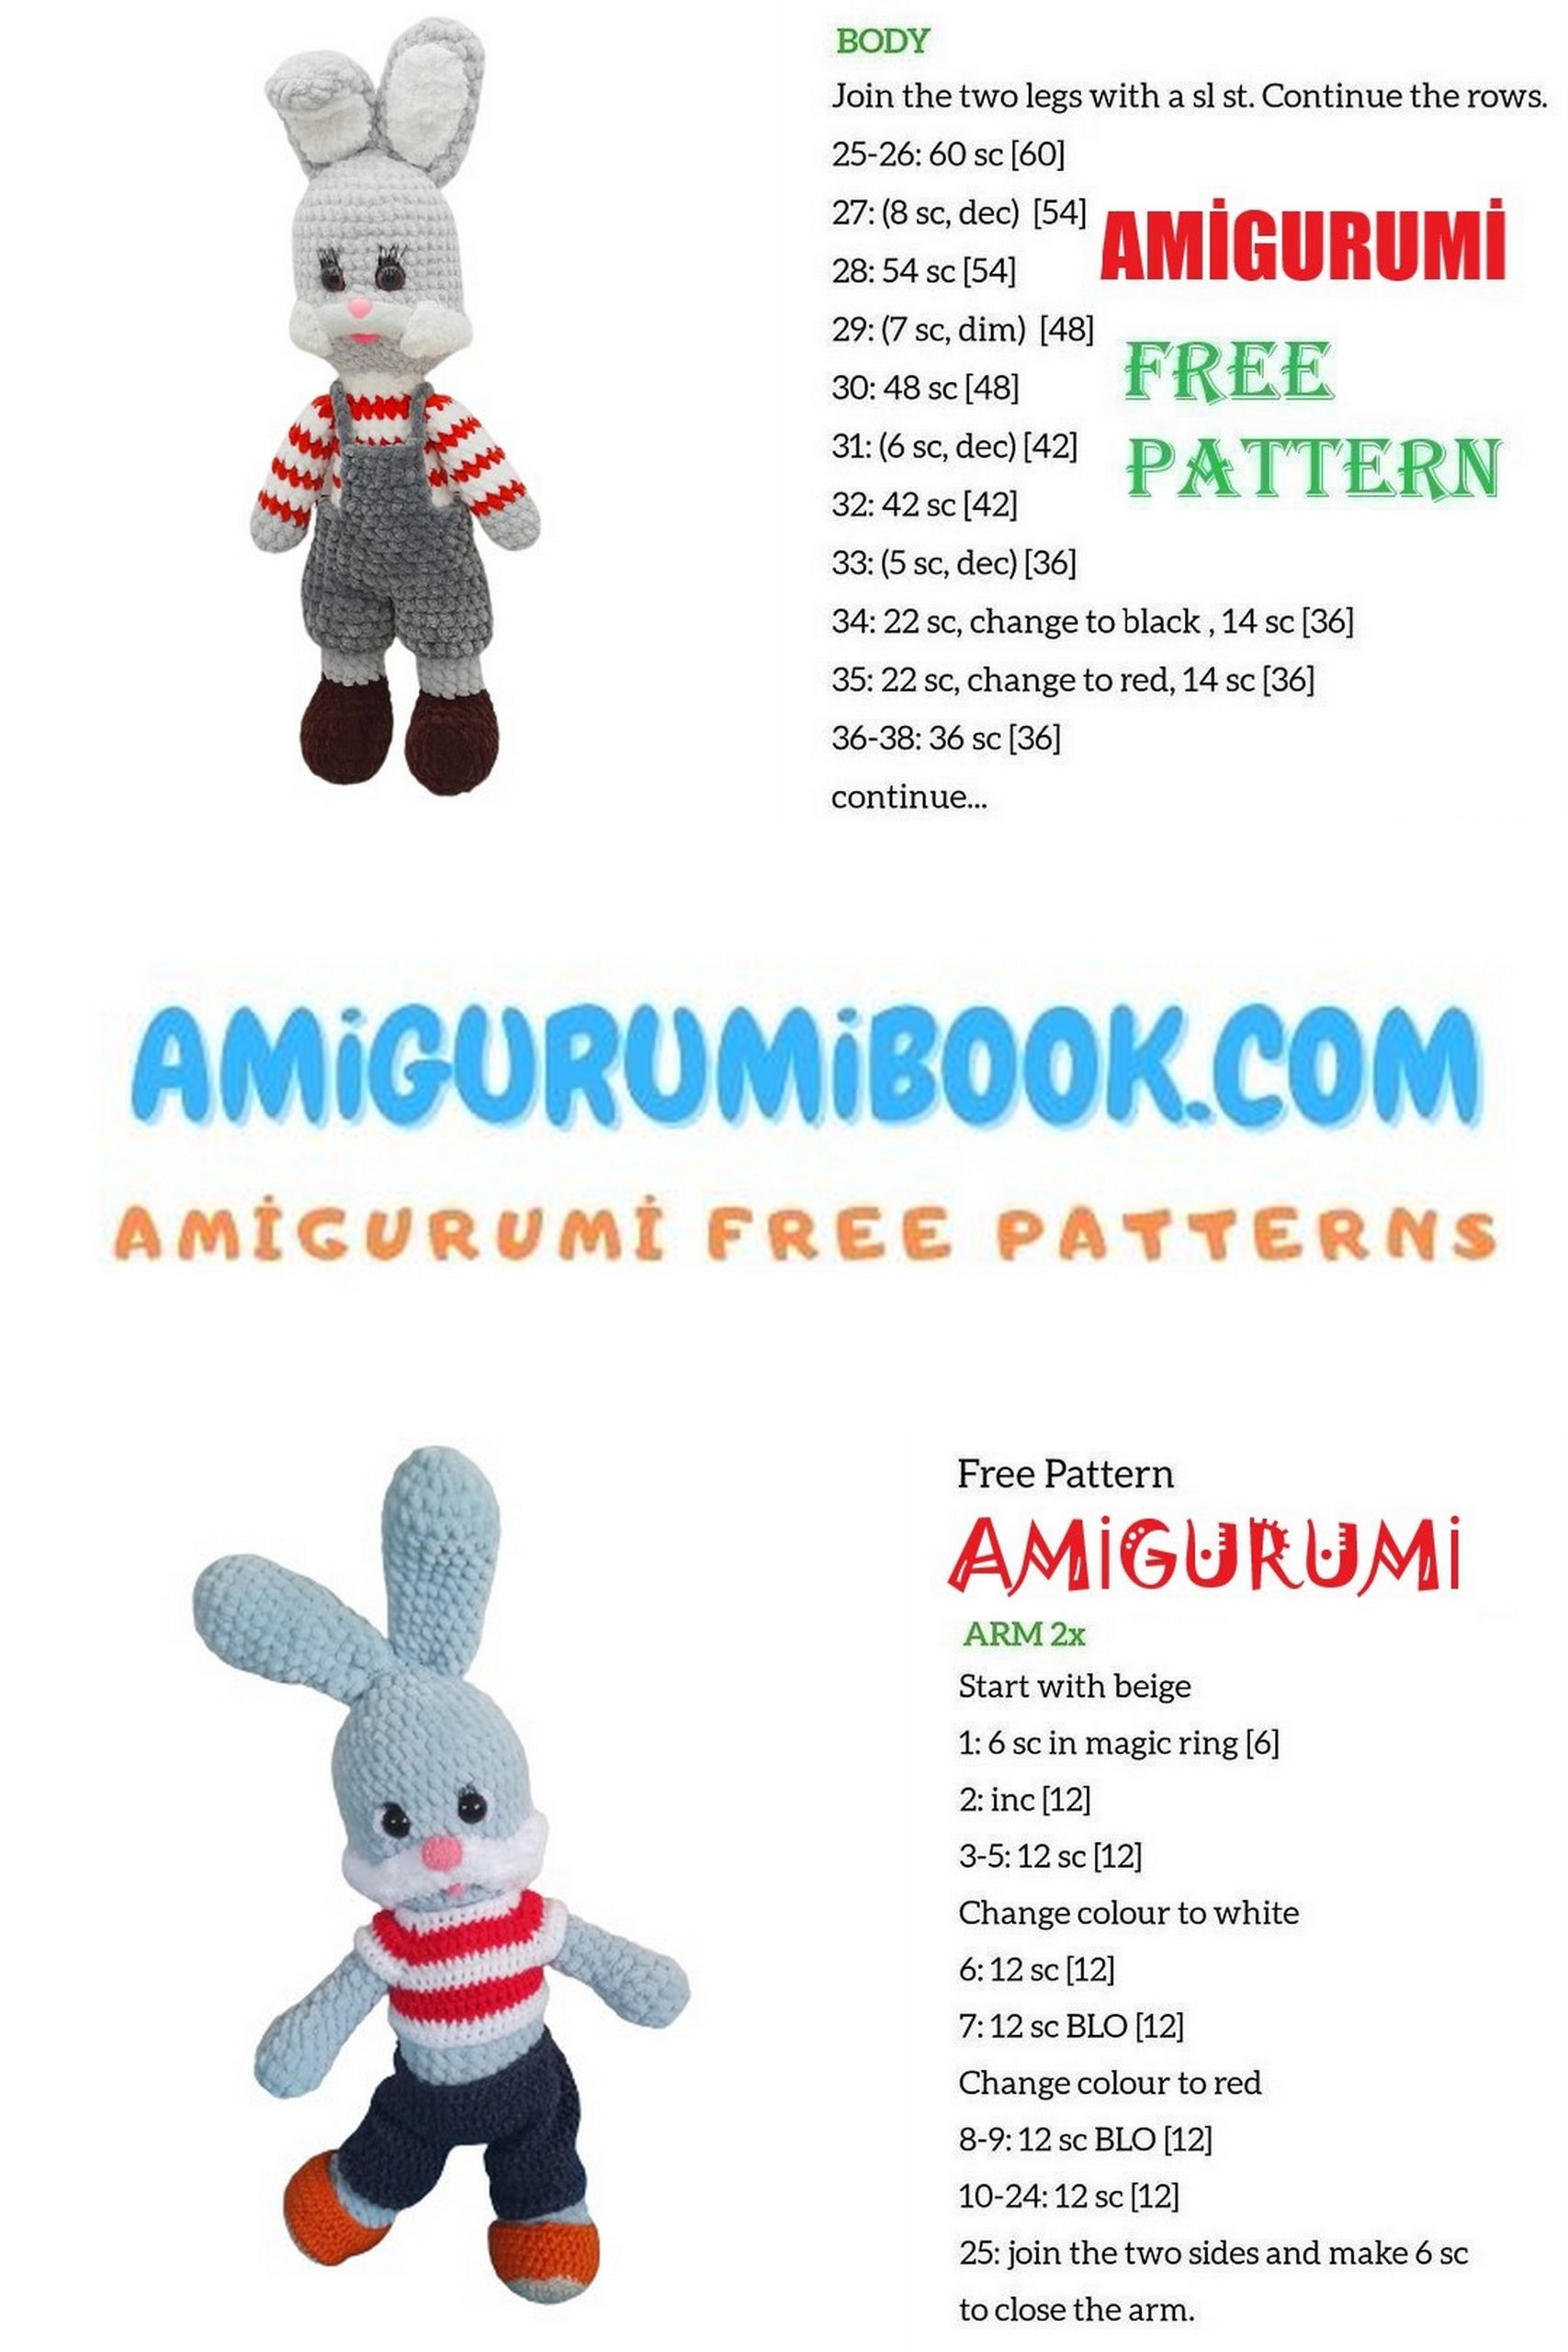
🧸 Body (Continued)
36: (2 sc, inc) × 6 (18)
37: (3 sc, inc) × 6 (24)
38: (4 sc, inc) × 6 (30)
39: (5 sc, inc) × 6 (36)
40: (6 sc, inc) × 6 (42)
41–49: sc in each st around (42)
50: (6 sc, inc) × 6 (48)
51–52: sc in each st around (48)
53: (6 sc, dec) × 6 (42)
54: (5 sc, dec) × 6 (36)
Body Continued
Using gray yarn. Work in continuous rounds.
1: 6 sc in MR (6)
2: 6 inc (12)
3: (1 sc, inc) × 6 (18)
4: (2 sc, inc) × 6 (24)
5: (3 sc, inc) × 6 (30)
6: (4 sc, inc) × 6 (36)
7: (5 sc, inc) × 6 (42)
8: (6 sc, inc) × 6 (48)
9: (7 sc, inc) × 6 (54)
10–19: sc in each st around (54)
20: 18 sc, 6 inc, 6 sc, 6 inc, 18 sc (66)
21–24: sc in each st around (66)
25: (9 sc, dec) × 6 (60)
26: (8 sc, dec) × 6 (54)
27: (7 sc, dec) × 6 (48)
28: (6 sc, dec) × 6 (42)
29: (5 sc, dec) × 6 (36)
30: (4 sc, dec) × 6 (30)
31: (3 sc, dec) × 6 (24)
32: (2 sc, dec) × 6 (18)
Stuff firmly.
33: (1 sc, dec) × 6 (12)
34: 6 dec (6)
Fasten off and close.
🤍 Tail
Using white yarn.
1: 6 sc in MR (6)
2: (1 sc, inc) × 6 (12)
3: sc in each st around (12)
Lightly stuff.
Sew to the body around rounds 50–54.
🐾 Front Legs (Make 2)
Using gray yarn.
1: 6 sc in MR (6)
2: 6 inc (12)
3: (1 sc, inc) × 6 (18)
4: (5 sc, inc) × 3 (21)
5–10: sc in each st around (21)
11: (5 sc, dec) × 3 (18)
12–13: sc in each st around (18)
14: (4 sc, dec) × 3 (15)
15–16: sc in each st around (15)
17: (3 sc, dec) × 3 (12)
18–19: sc in each st around (12)
20: 6 dec (6)
Lightly stuff and leave a tail for sewing.
🦵 Back Legs (Make 2)
Start with white yarn (shoes), then change to beige.
Ch 8. Starting from 2nd ch from hook:
2 sc, 4 hdc, 4 sc, 2 inc.
Continue working in rounds to desired height.
Stuff as you go.
Leave a tail for sewing.
Attach legs symmetrically to the body.
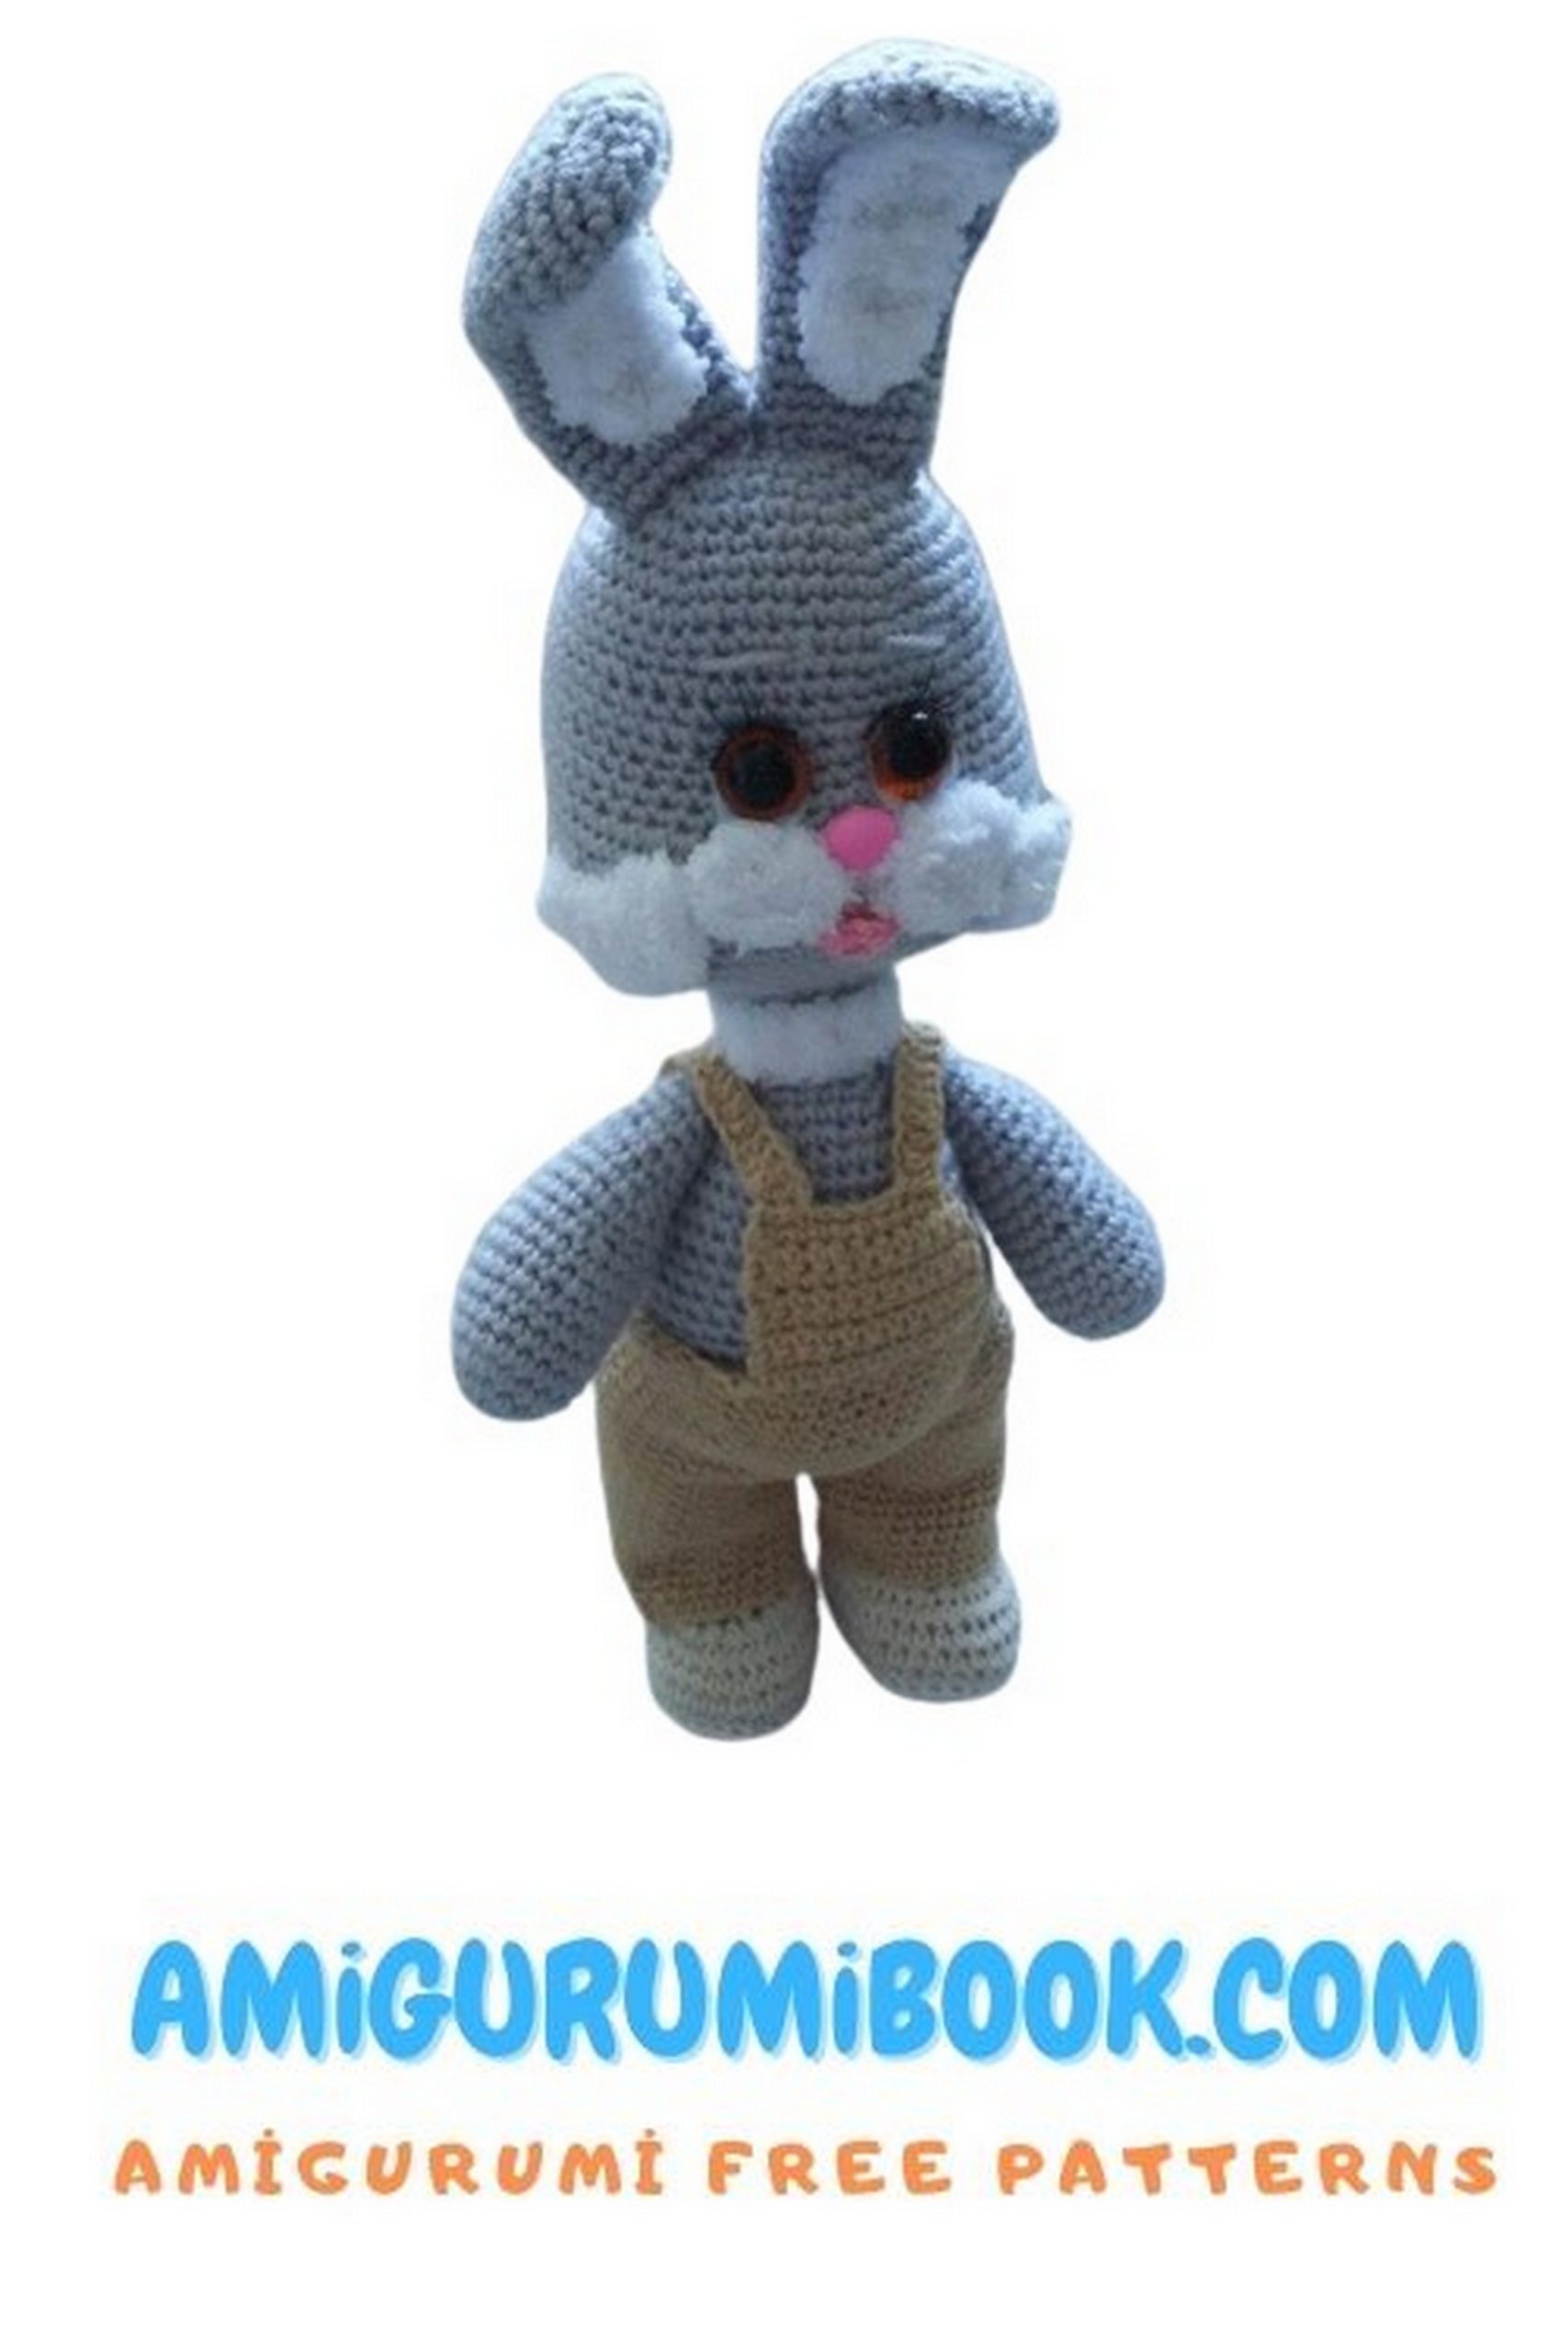
👖 Pants
Using beige yarn.
Ch 12 + 1 ch.
1: 12 sc, turn
2–9: 1 ch, 12 sc, turn
10–12: 12 sc
Join to work in the round.
13–30: 52 sc
Divide for legs:
31: 10 sc, skip 26 sts, 10 sc
32–40: 26 sc (first leg)
Join yarn to skipped stitches.
31–40: 26 sc (second leg)
Close any gaps if needed.
🎀 Straps (Make 2)
Ch 26.
Starting from 2nd ch from hook: 25 sl st.
Leave a tail for sewing.
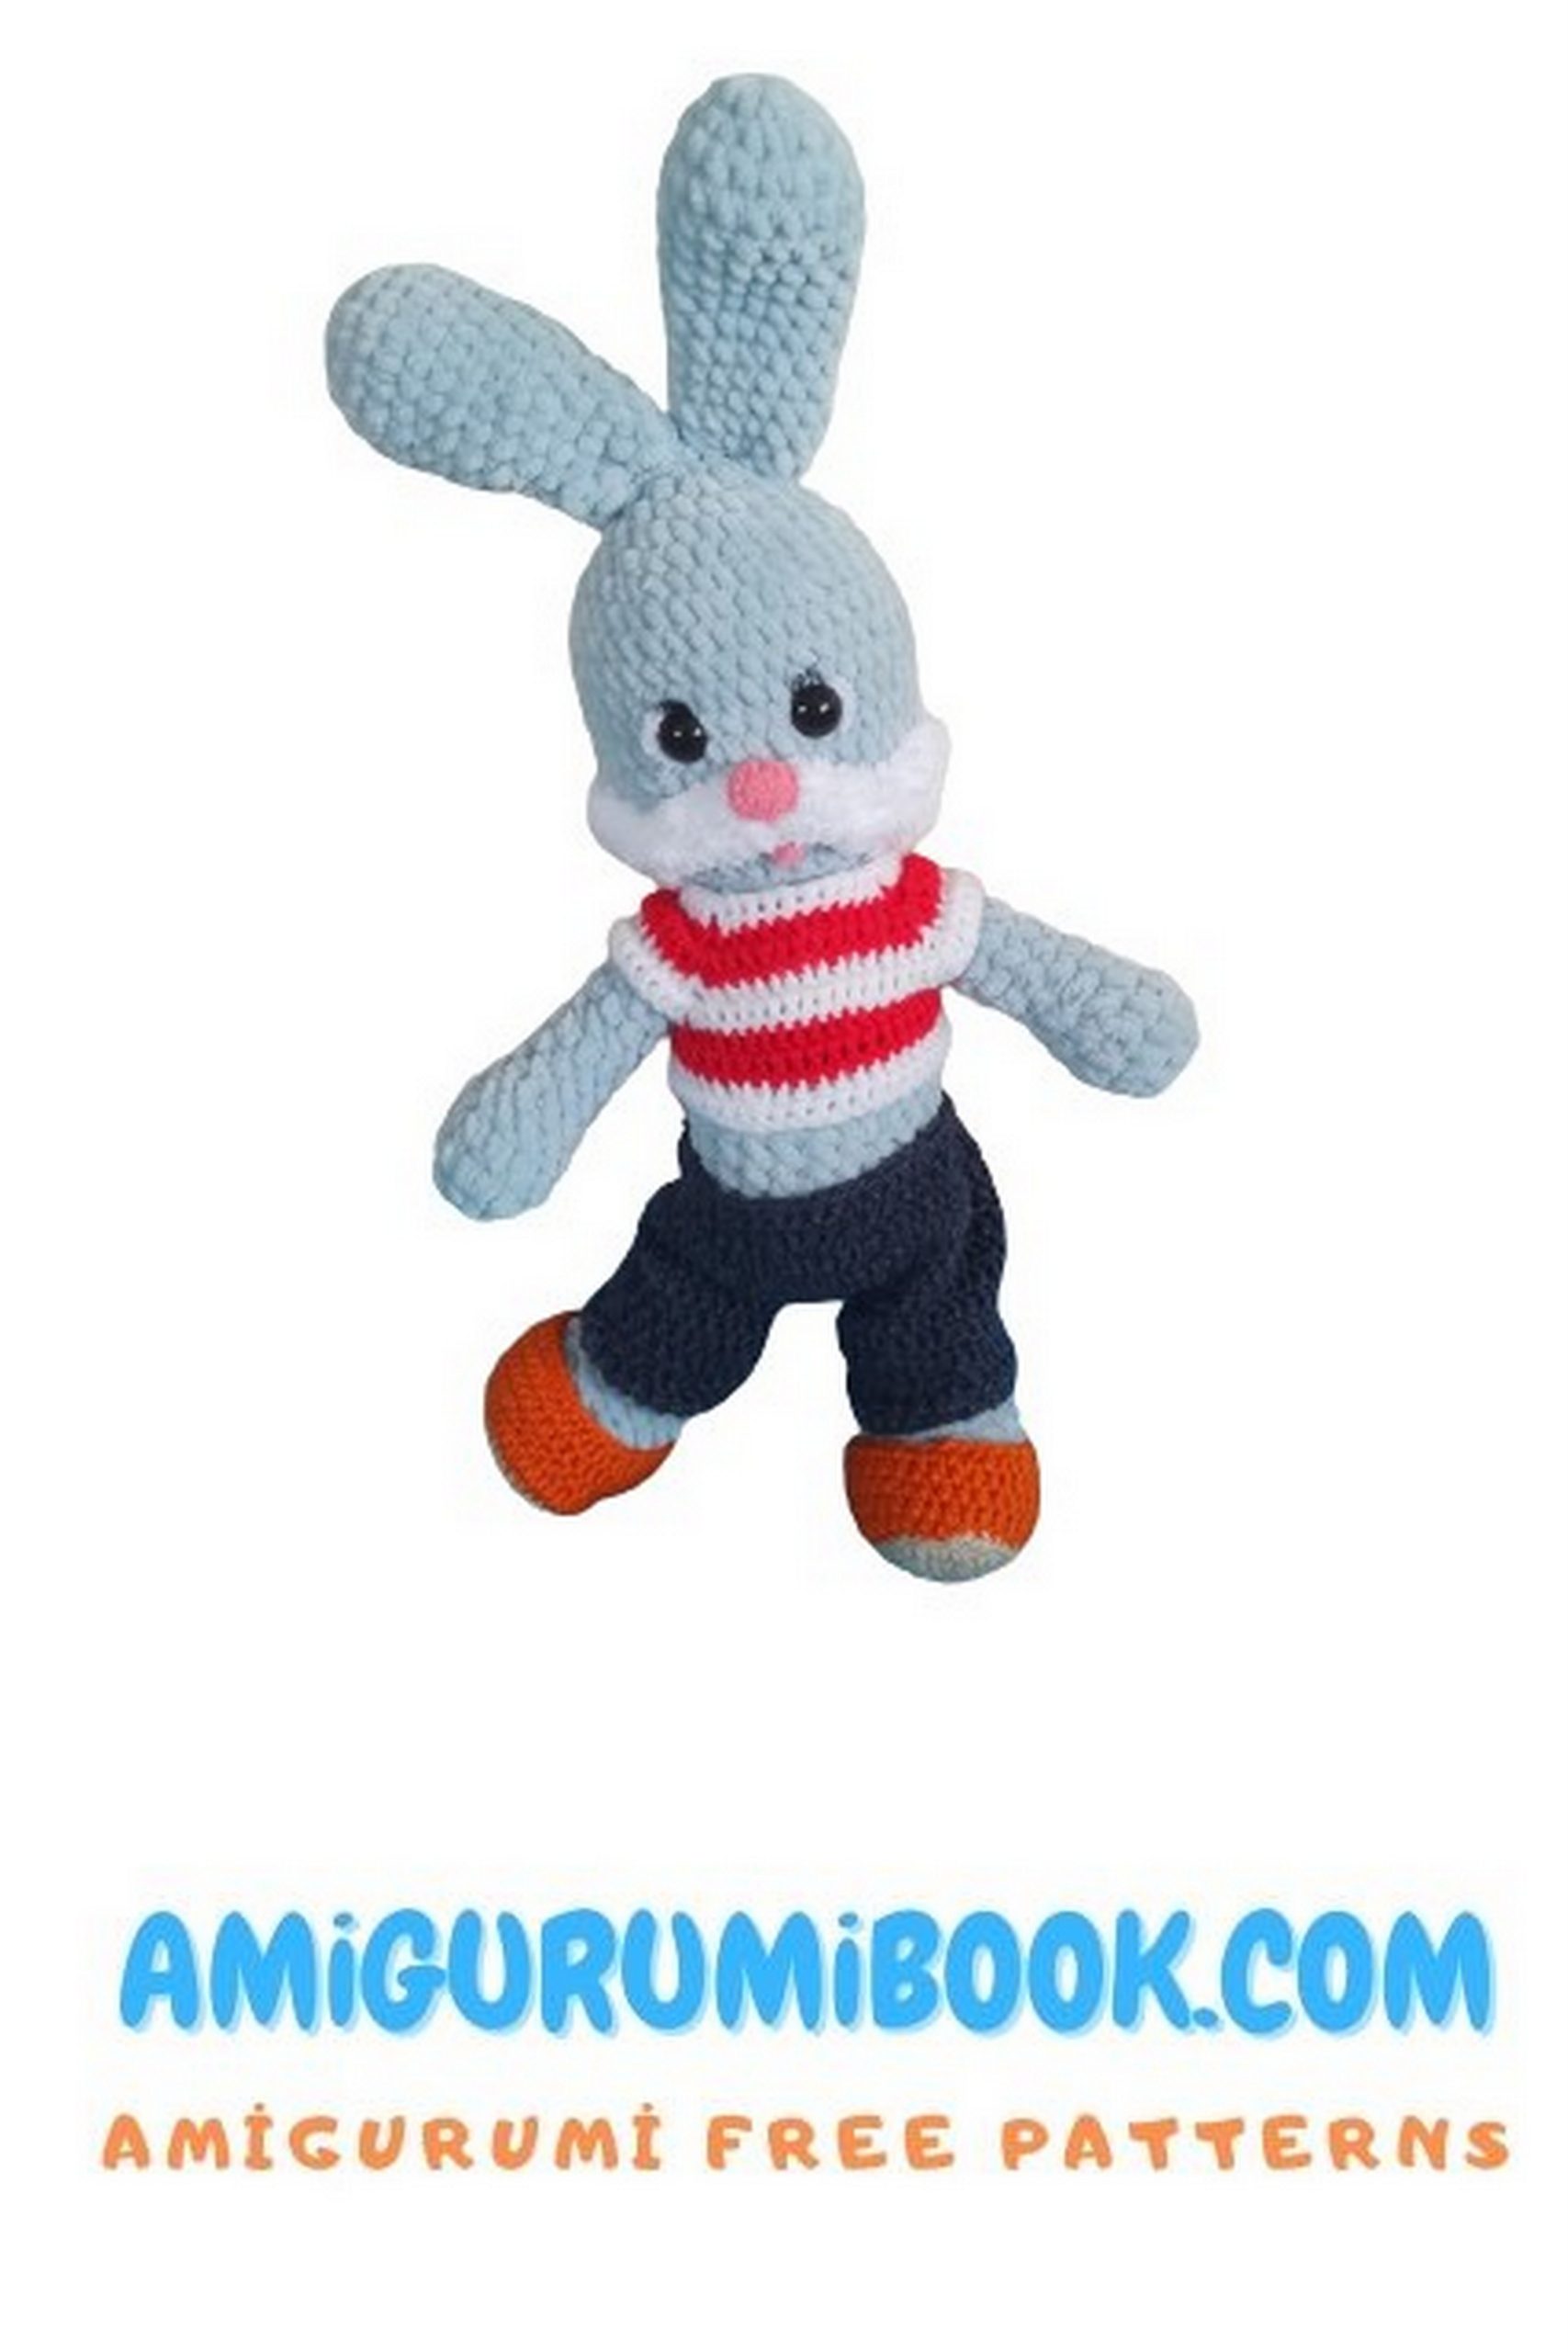
🧥 Sweater
Alternate 4 rows red and 4 rows white.
Ch 40 and work 8 rows of 1×1 ribbing.
Continue with raglan increases evenly spaced.
Shape sleeves and body as desired.
Bind off neatly and sew buttons if desired.
🐰 Your rabbit is now complete!