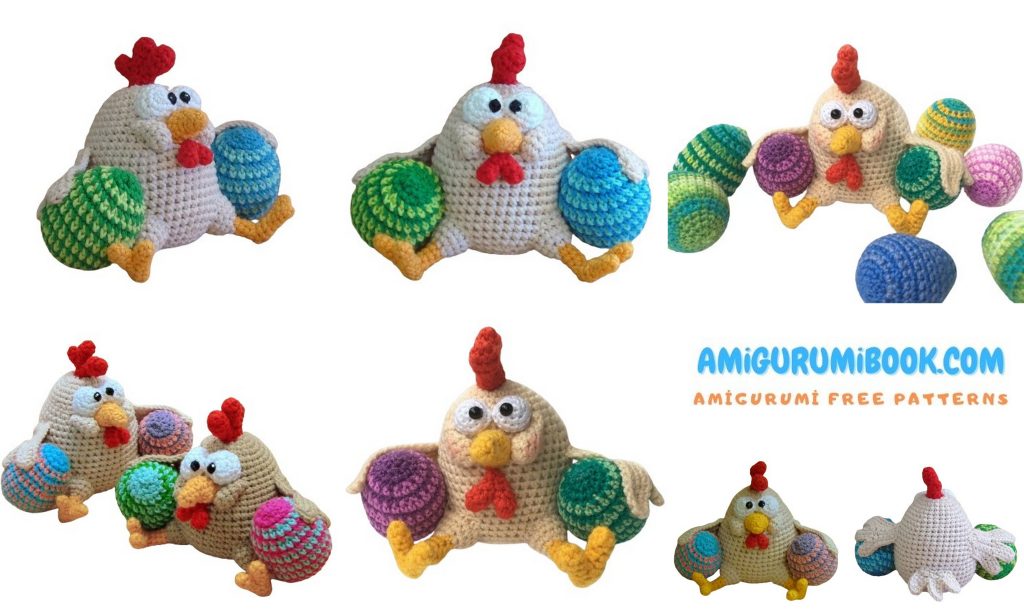
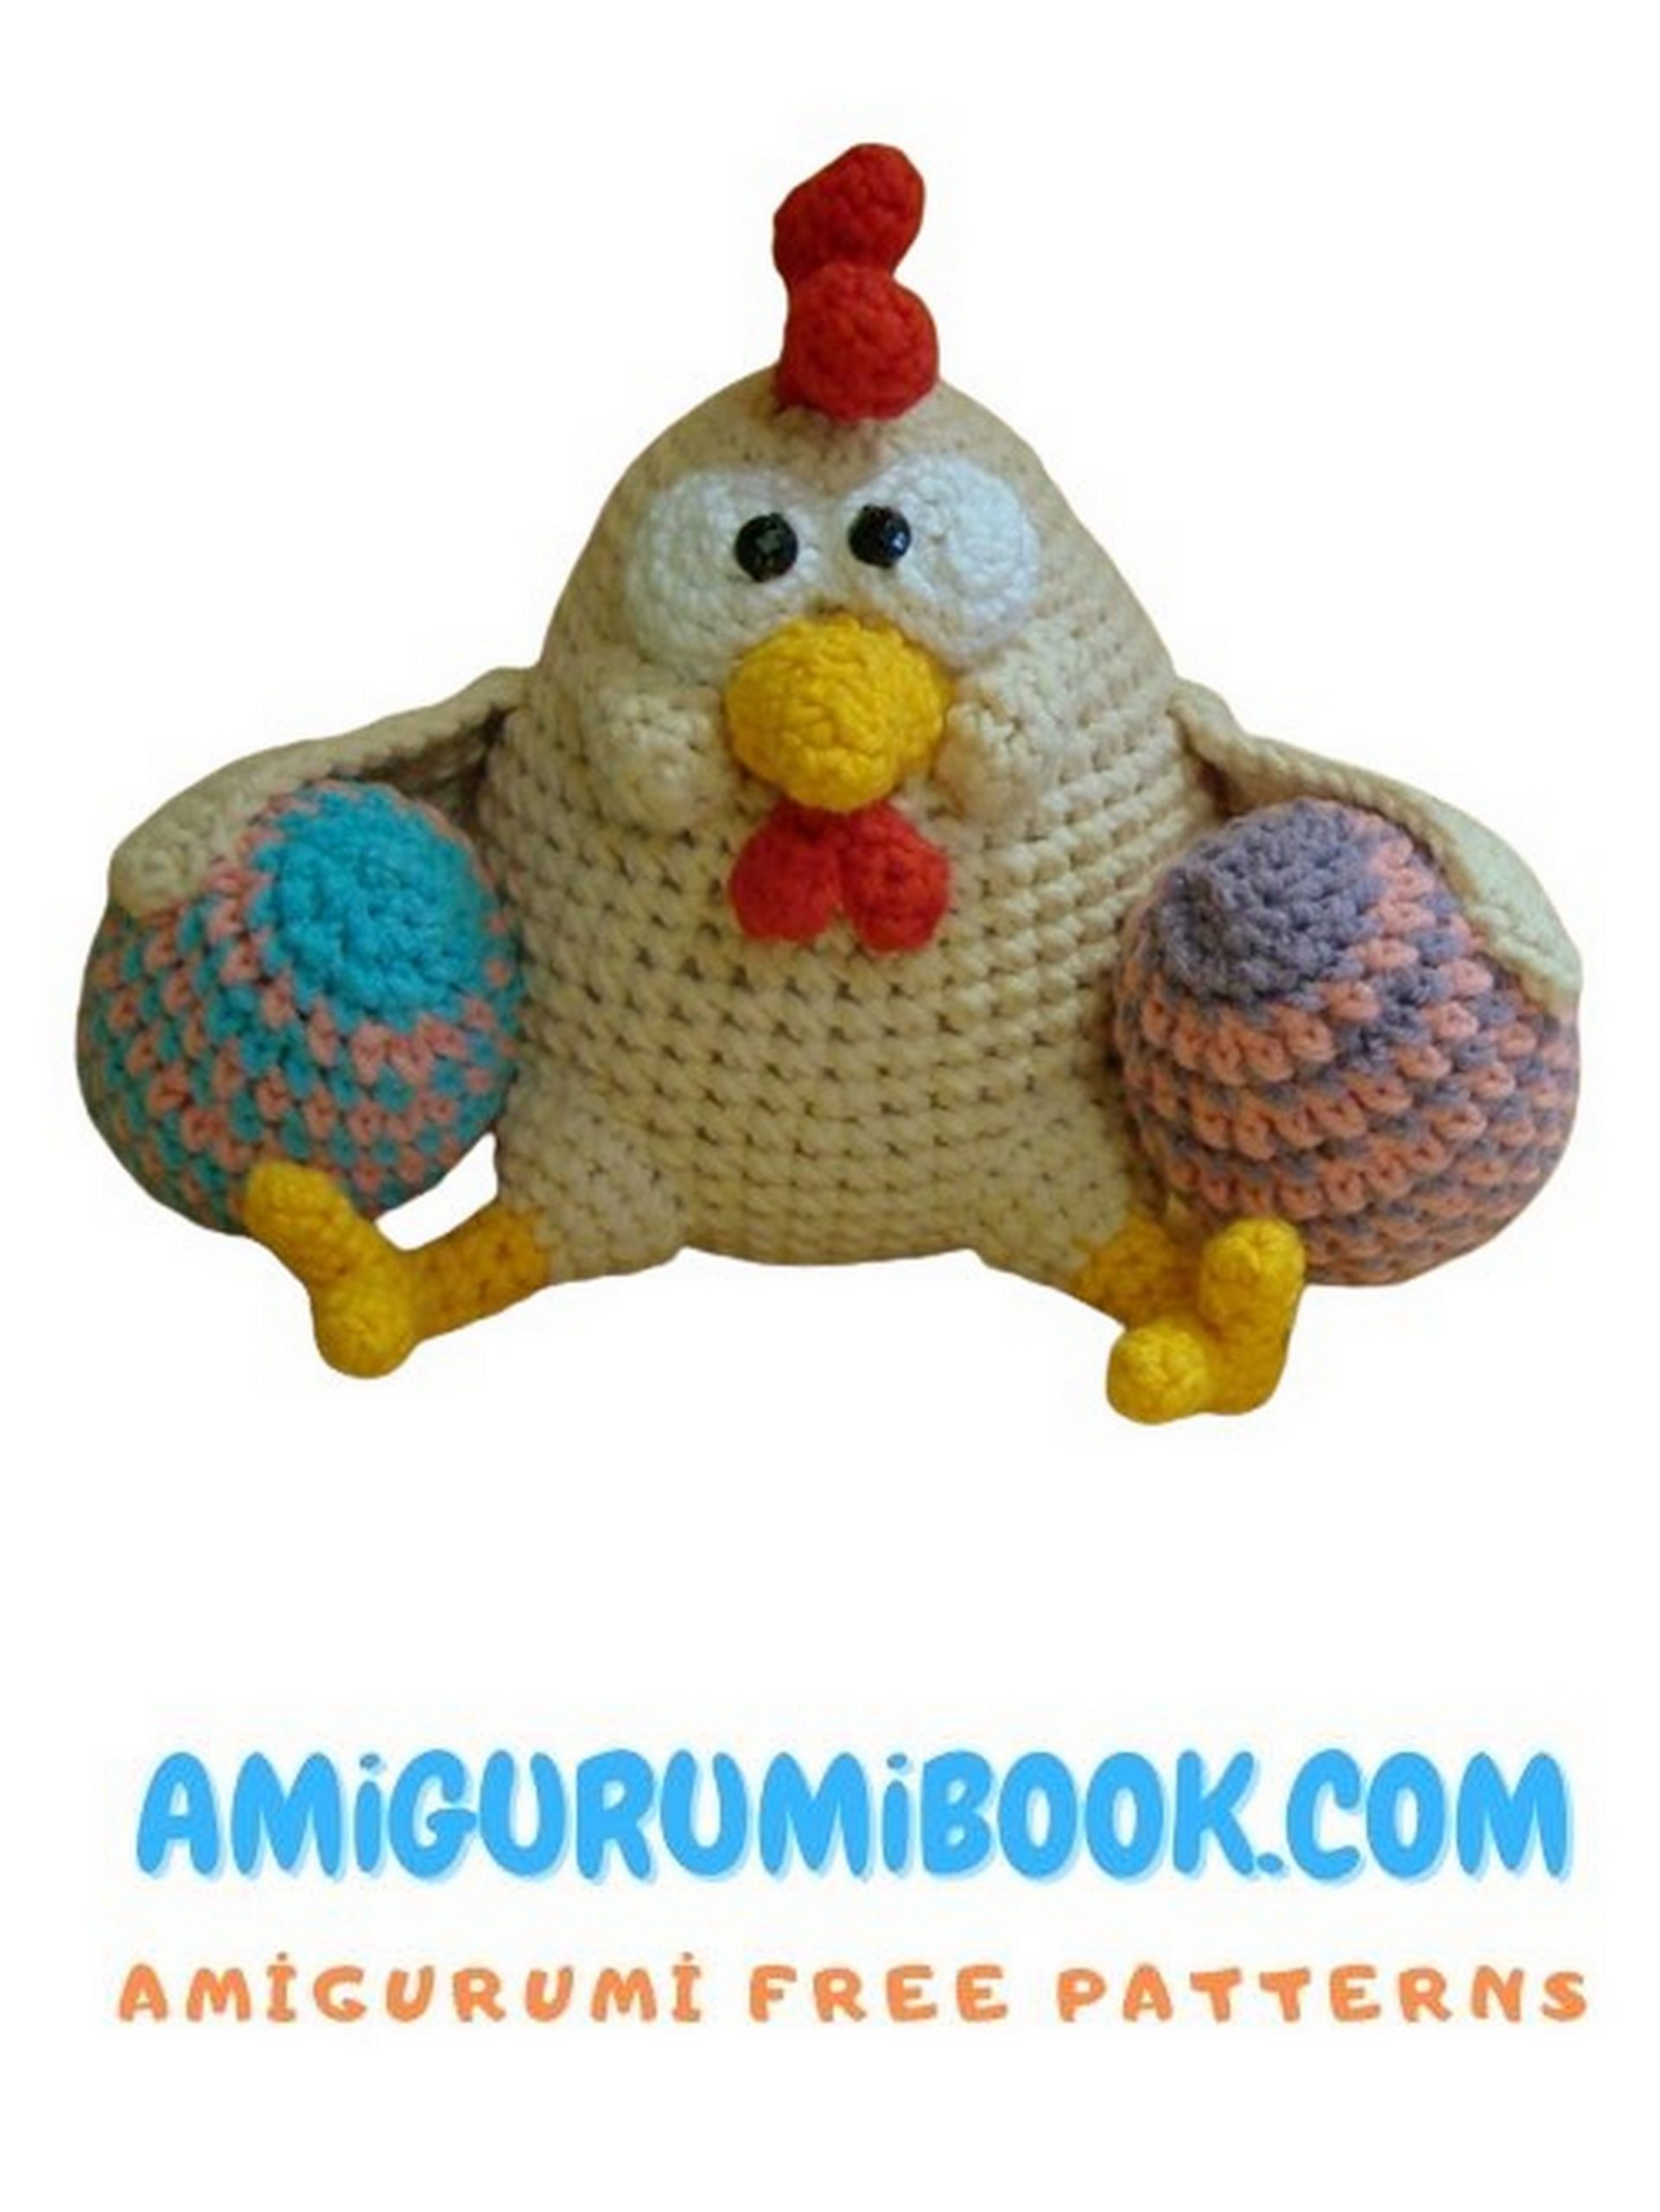
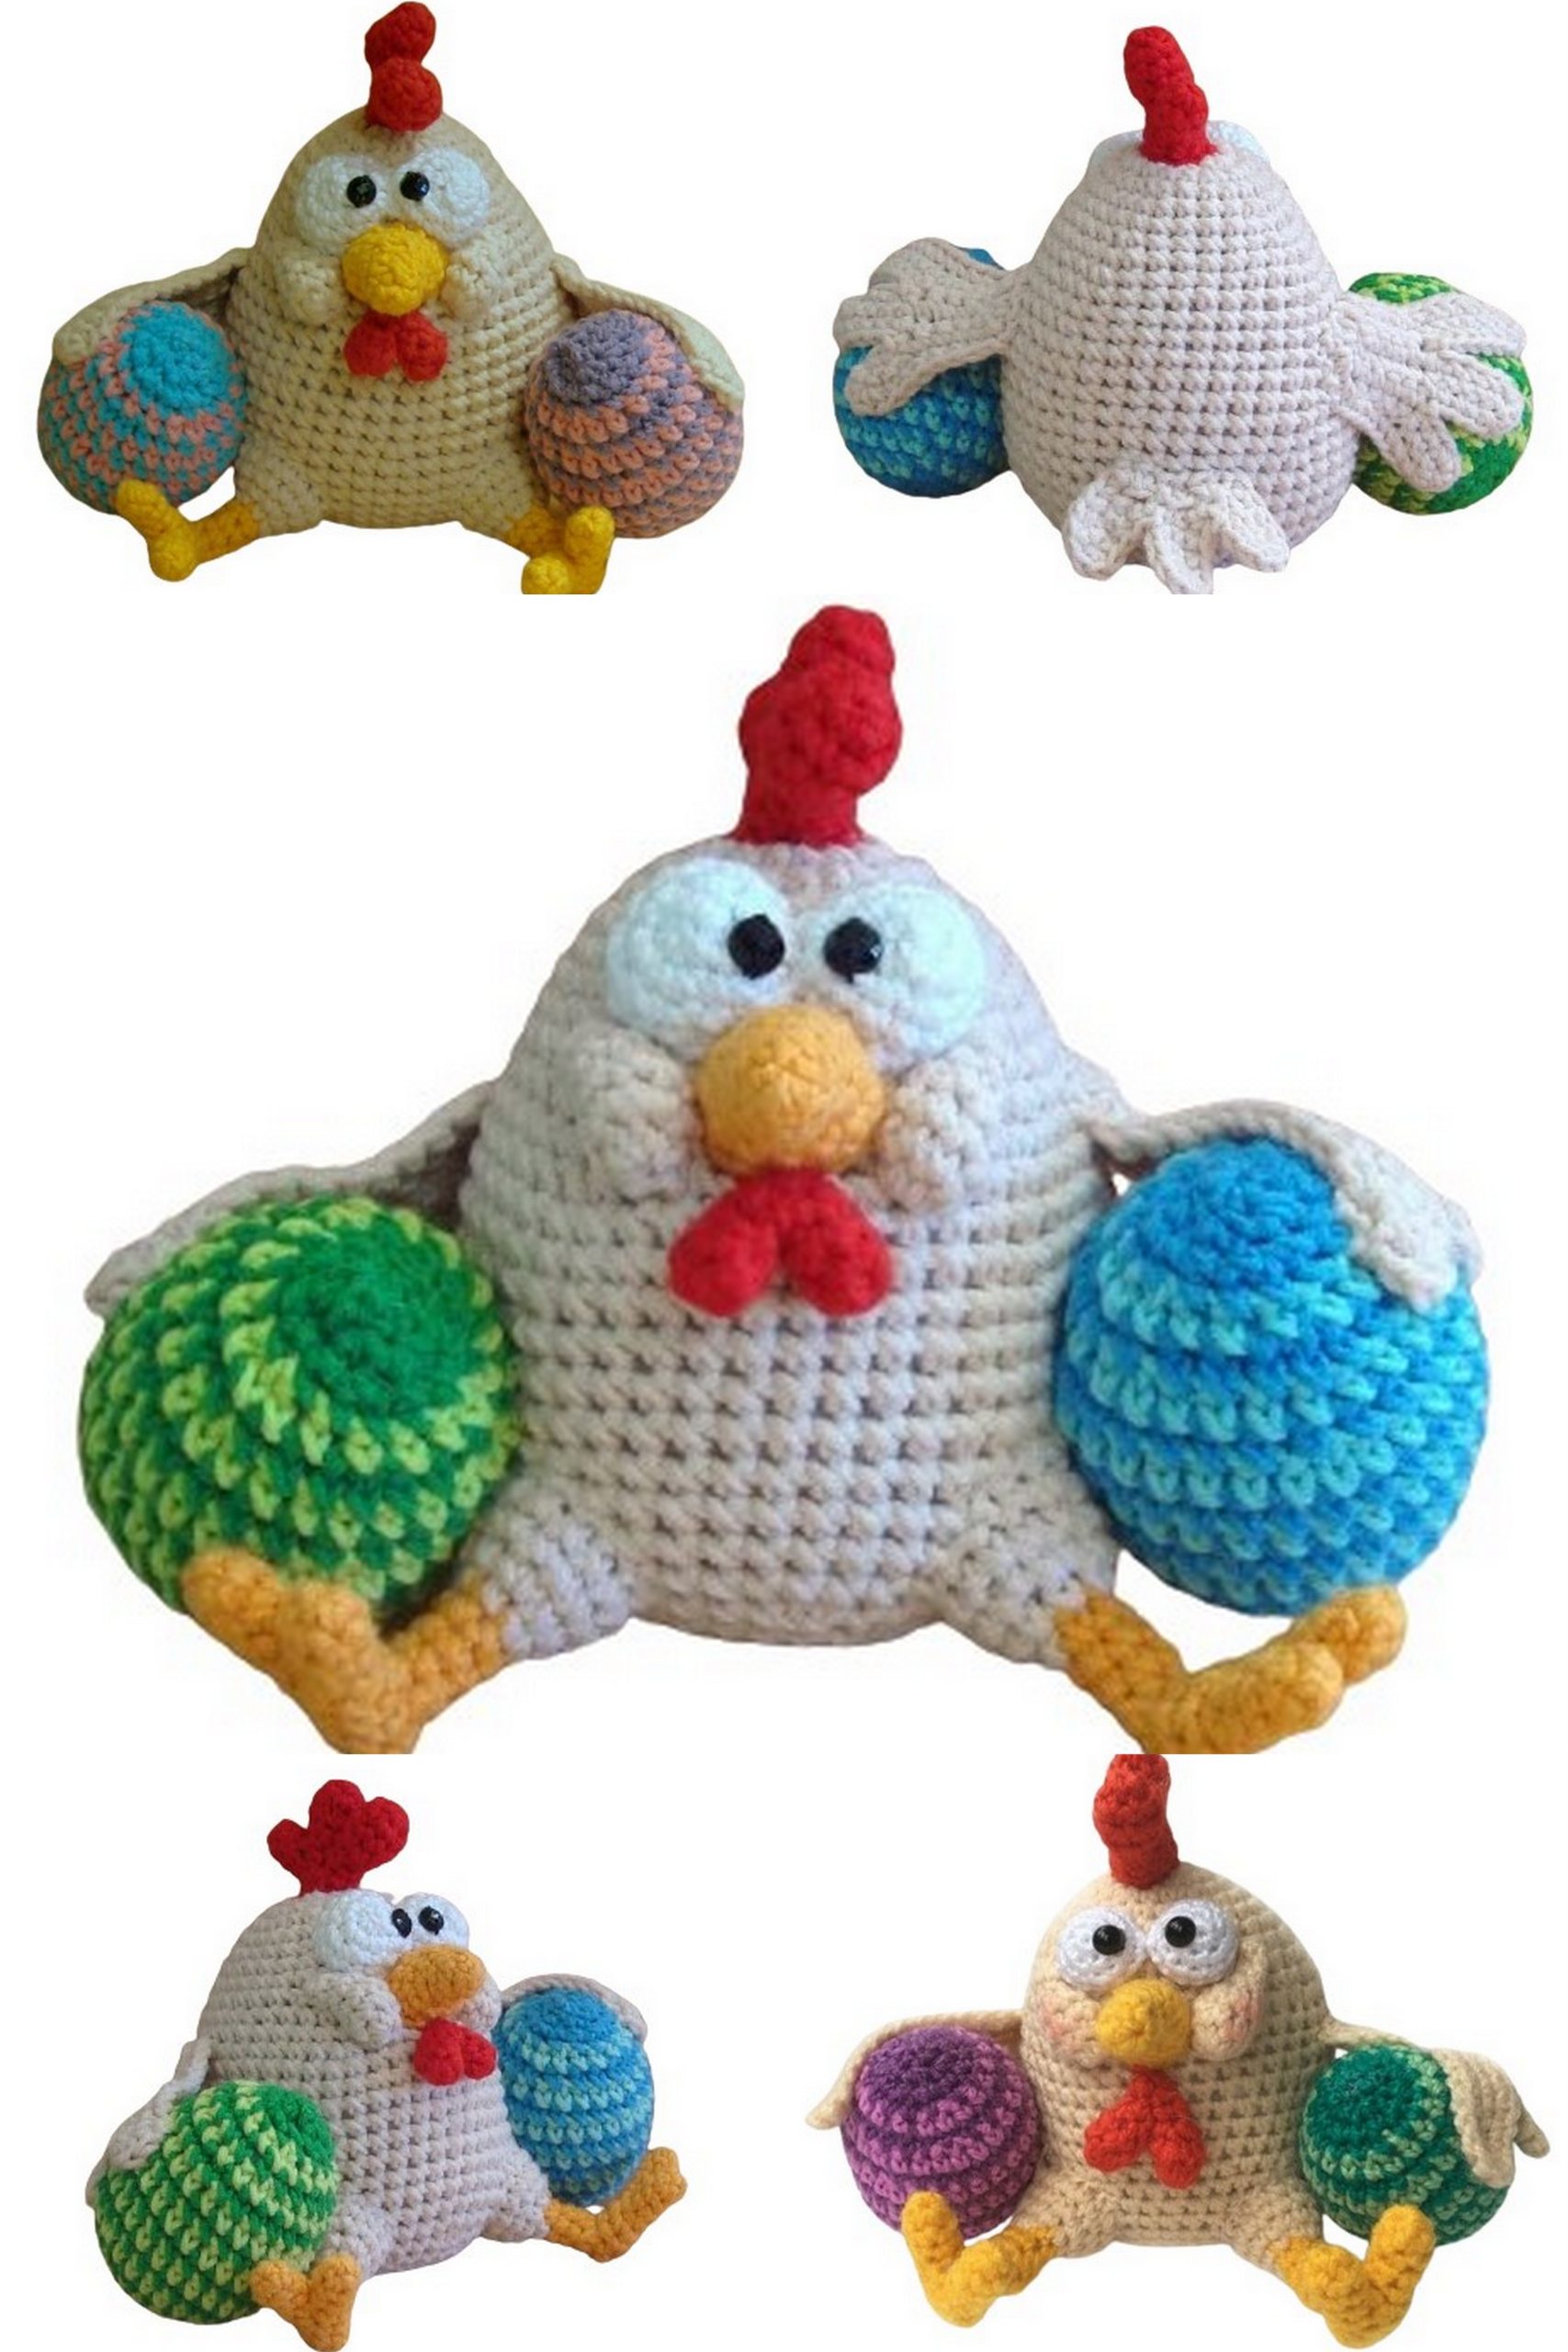
Welcome to our free chicken amigurumi pattern! Whether you’re a seasoned crocheter or just starting out, this adorable project is perfect for all skill levels. With this pattern, you can craft a cute and cuddly chicken toy that will bring joy to children and adults alike. These charming little chickens make wonderful gifts, decorations, or companions for imaginative play. So gather your crochet hooks and yarn, and let’s get started on creating your very own feathered friend!
Since you like amigurumi farm animals, you should also see amigurumi cute rooster hei hei, which can be a companion to this amigurumi chicken.
If you want to access 1000+ free amigurumi patterns, you can download our application from this link!
Height 11 cm.
Tools and materials:
Crochet hook 2.5 or 2 mm.
Filling – polyester fiberfill.
Yarn ALIZE Cotton Gold, 55% cotton, 45% acrylic, 330 m/100 g. An alternative to the specified yarn is YarnArt Jeans.
Colors: for the chicken, any light, not bright color, except white. We’ll use beige.
A bit of red and bright yellow.
For the eggs, any bright yarn leftovers.
Smoother white yarn (VITA cotton LIRA, GAZZAL BABY COTTON) for eyes.
Sew-on black rhinestones d = 6 mm for pupils.
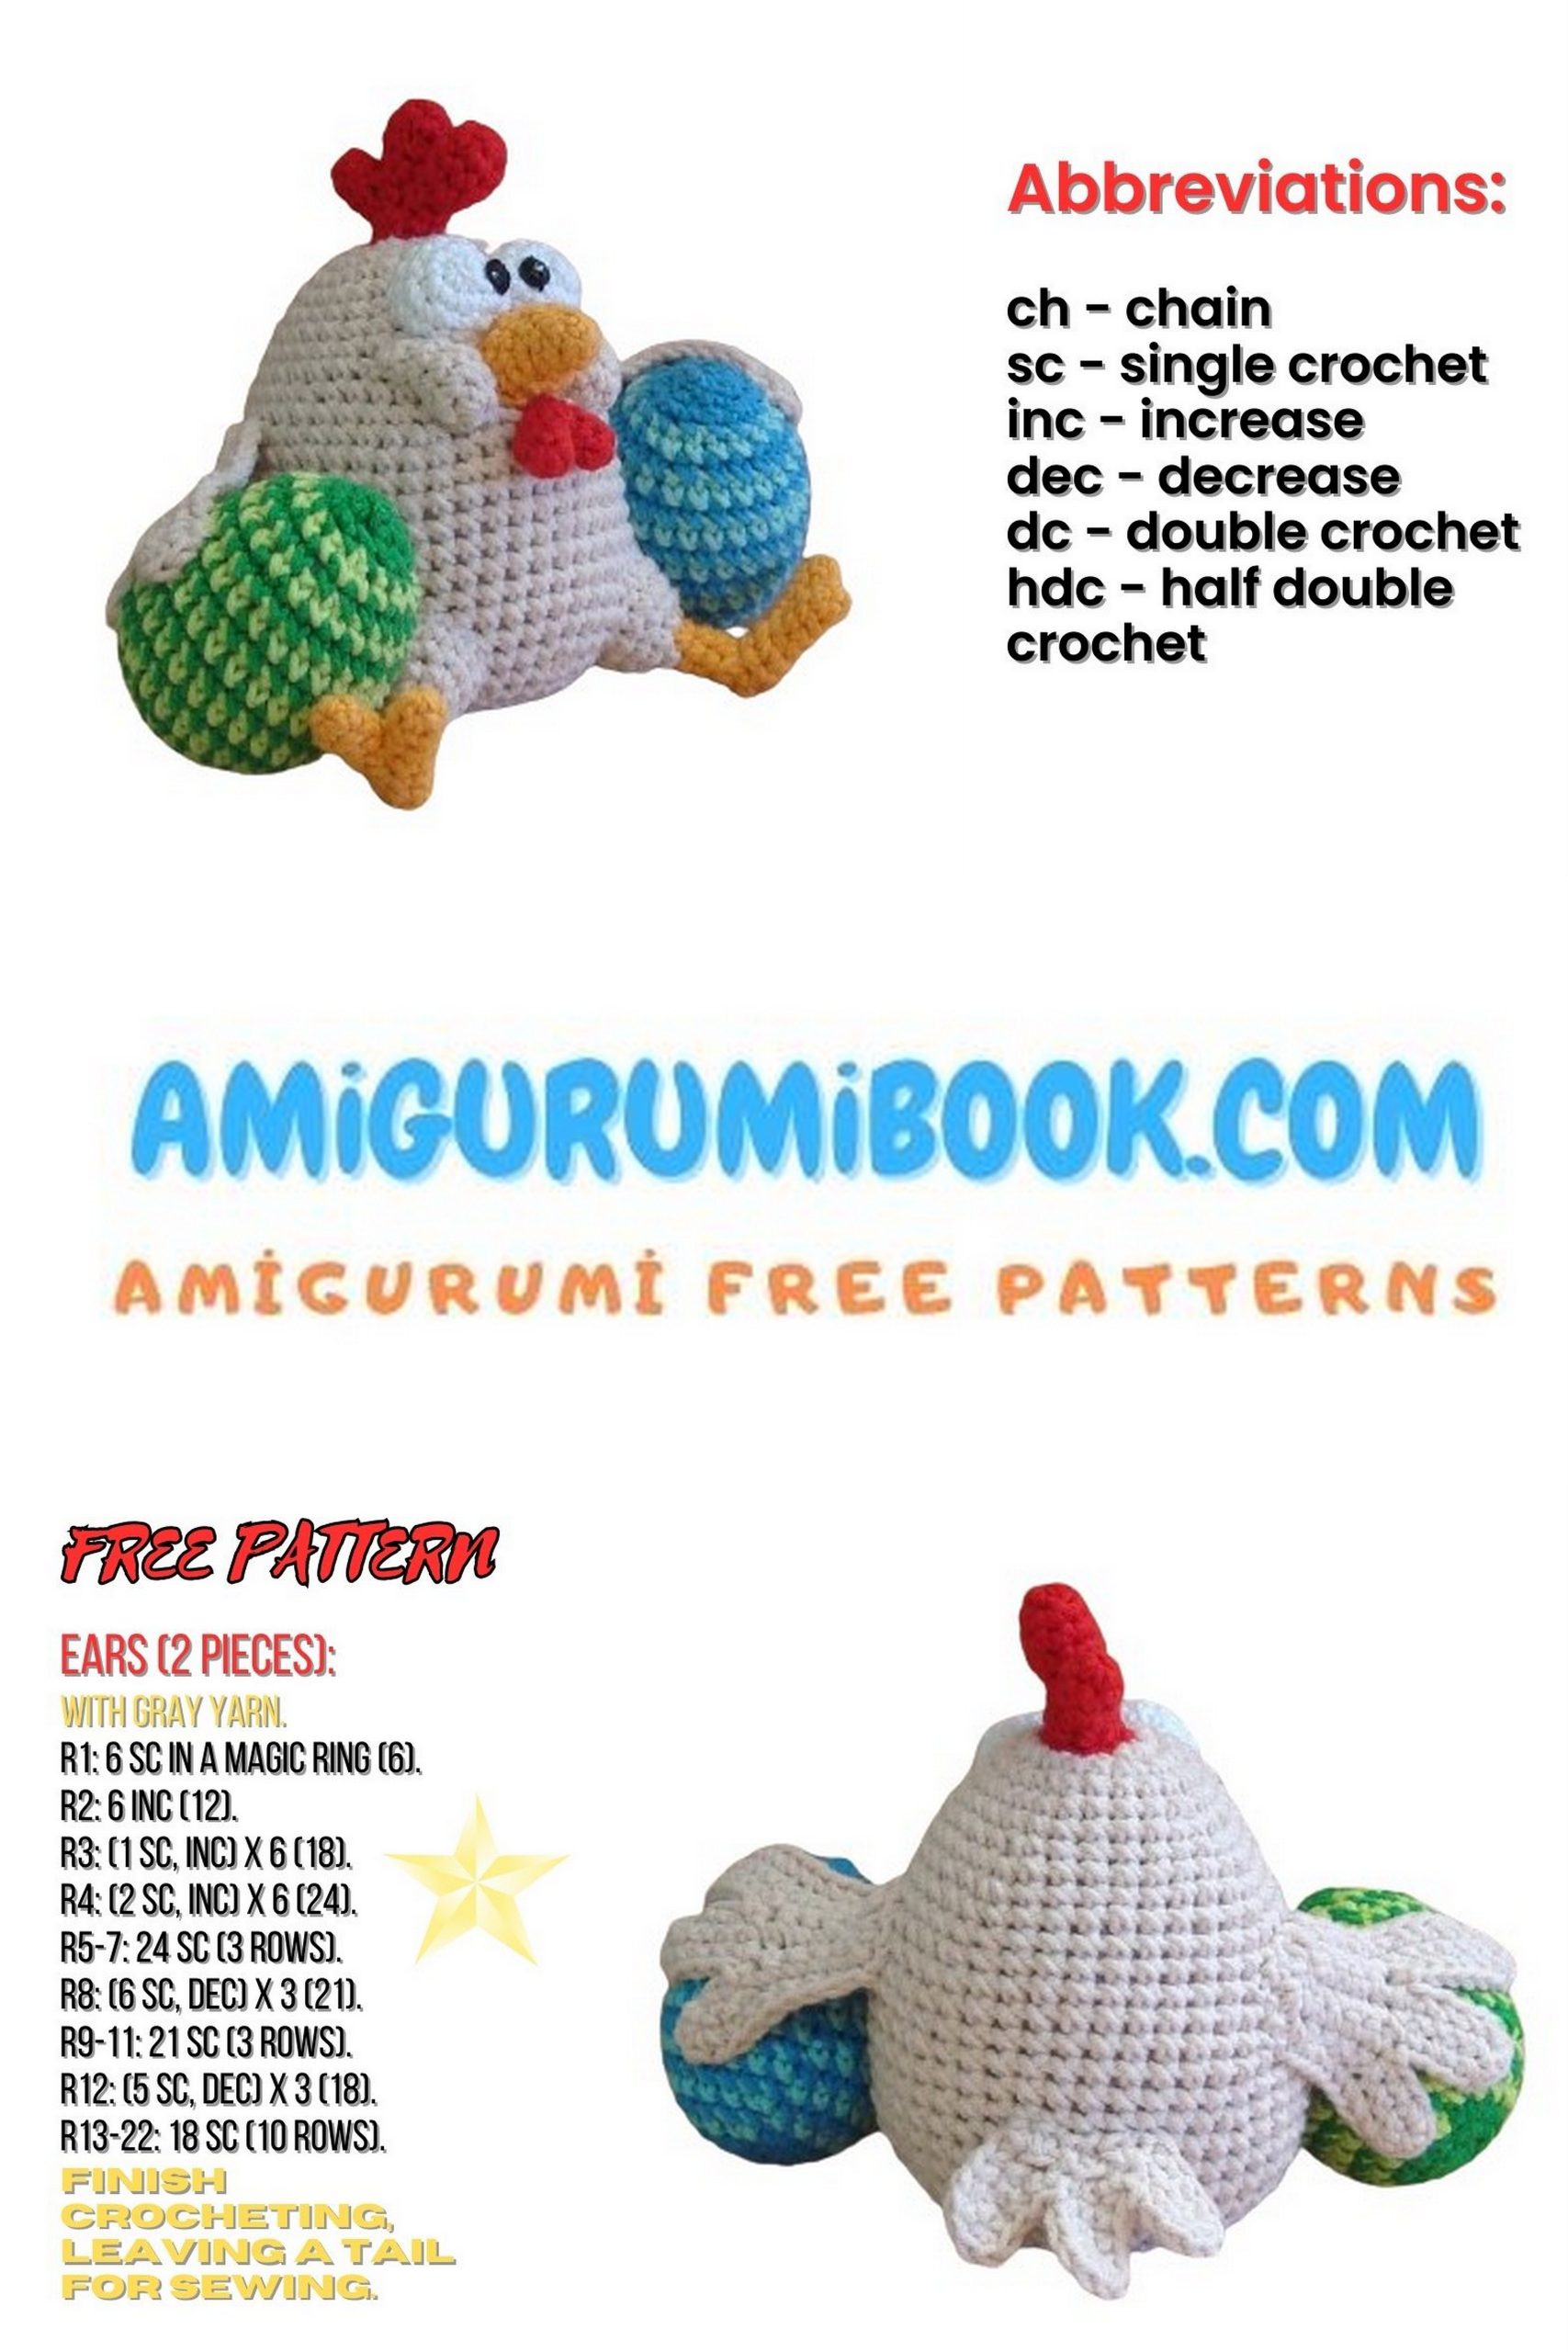
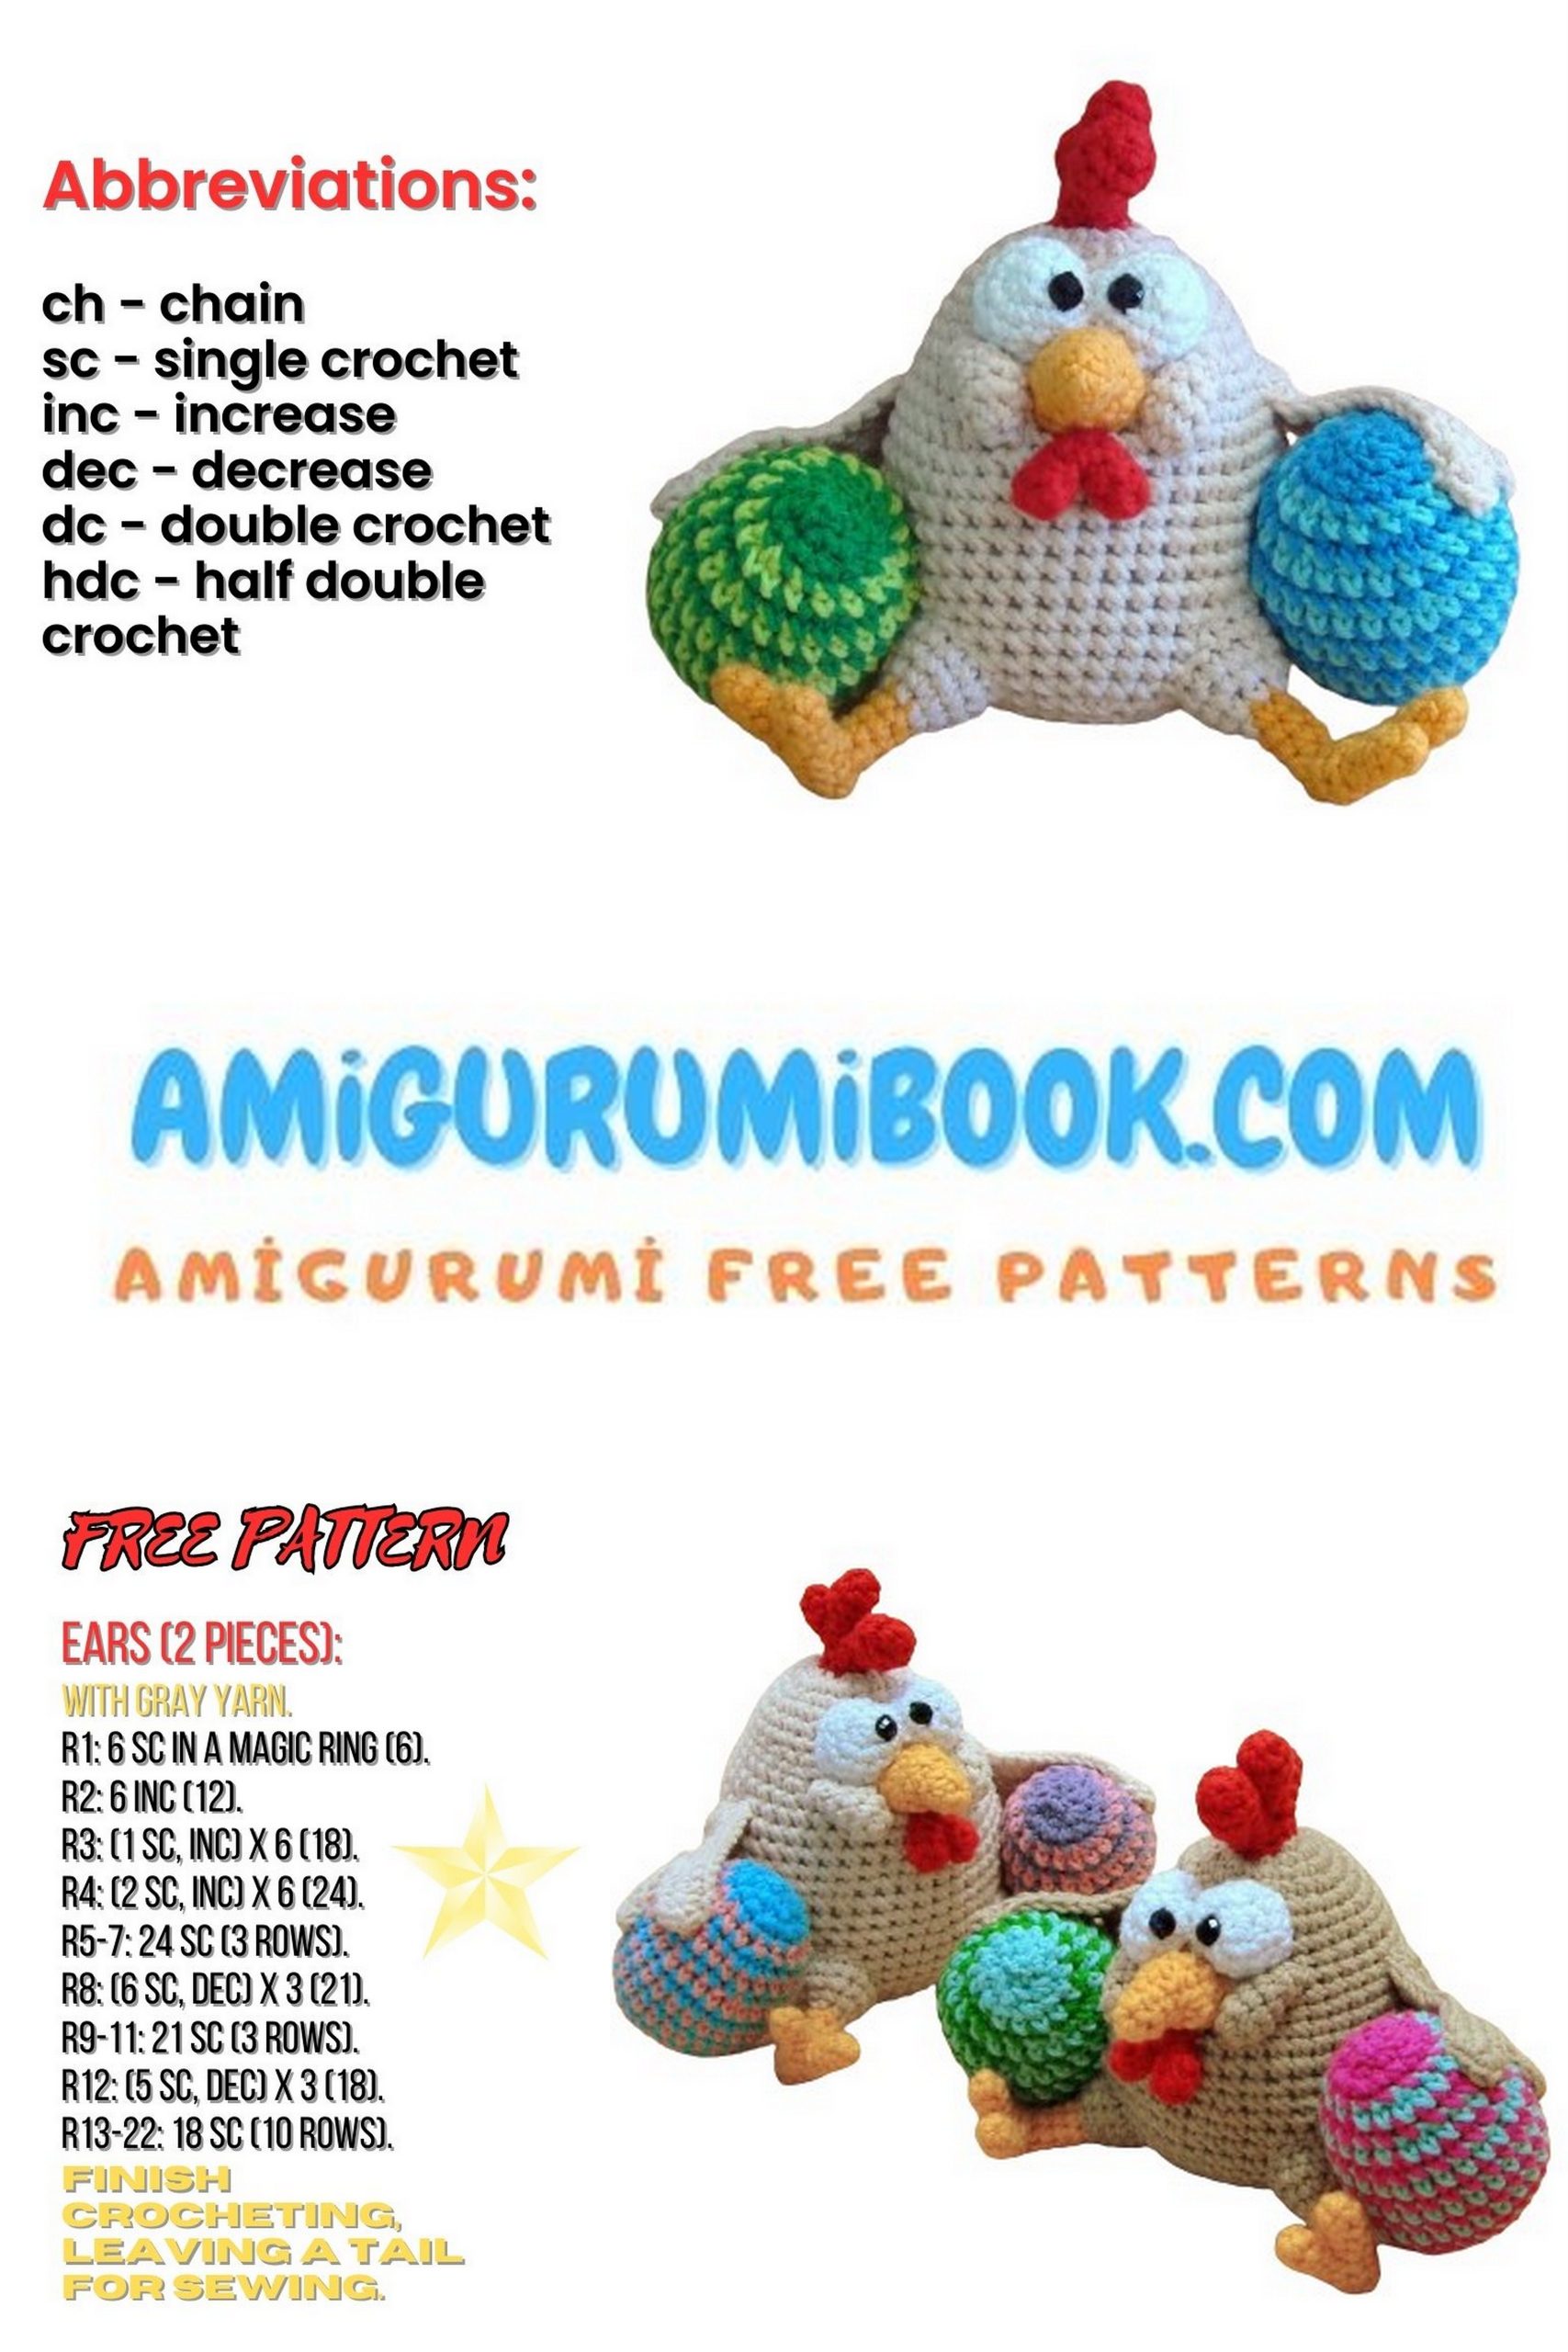
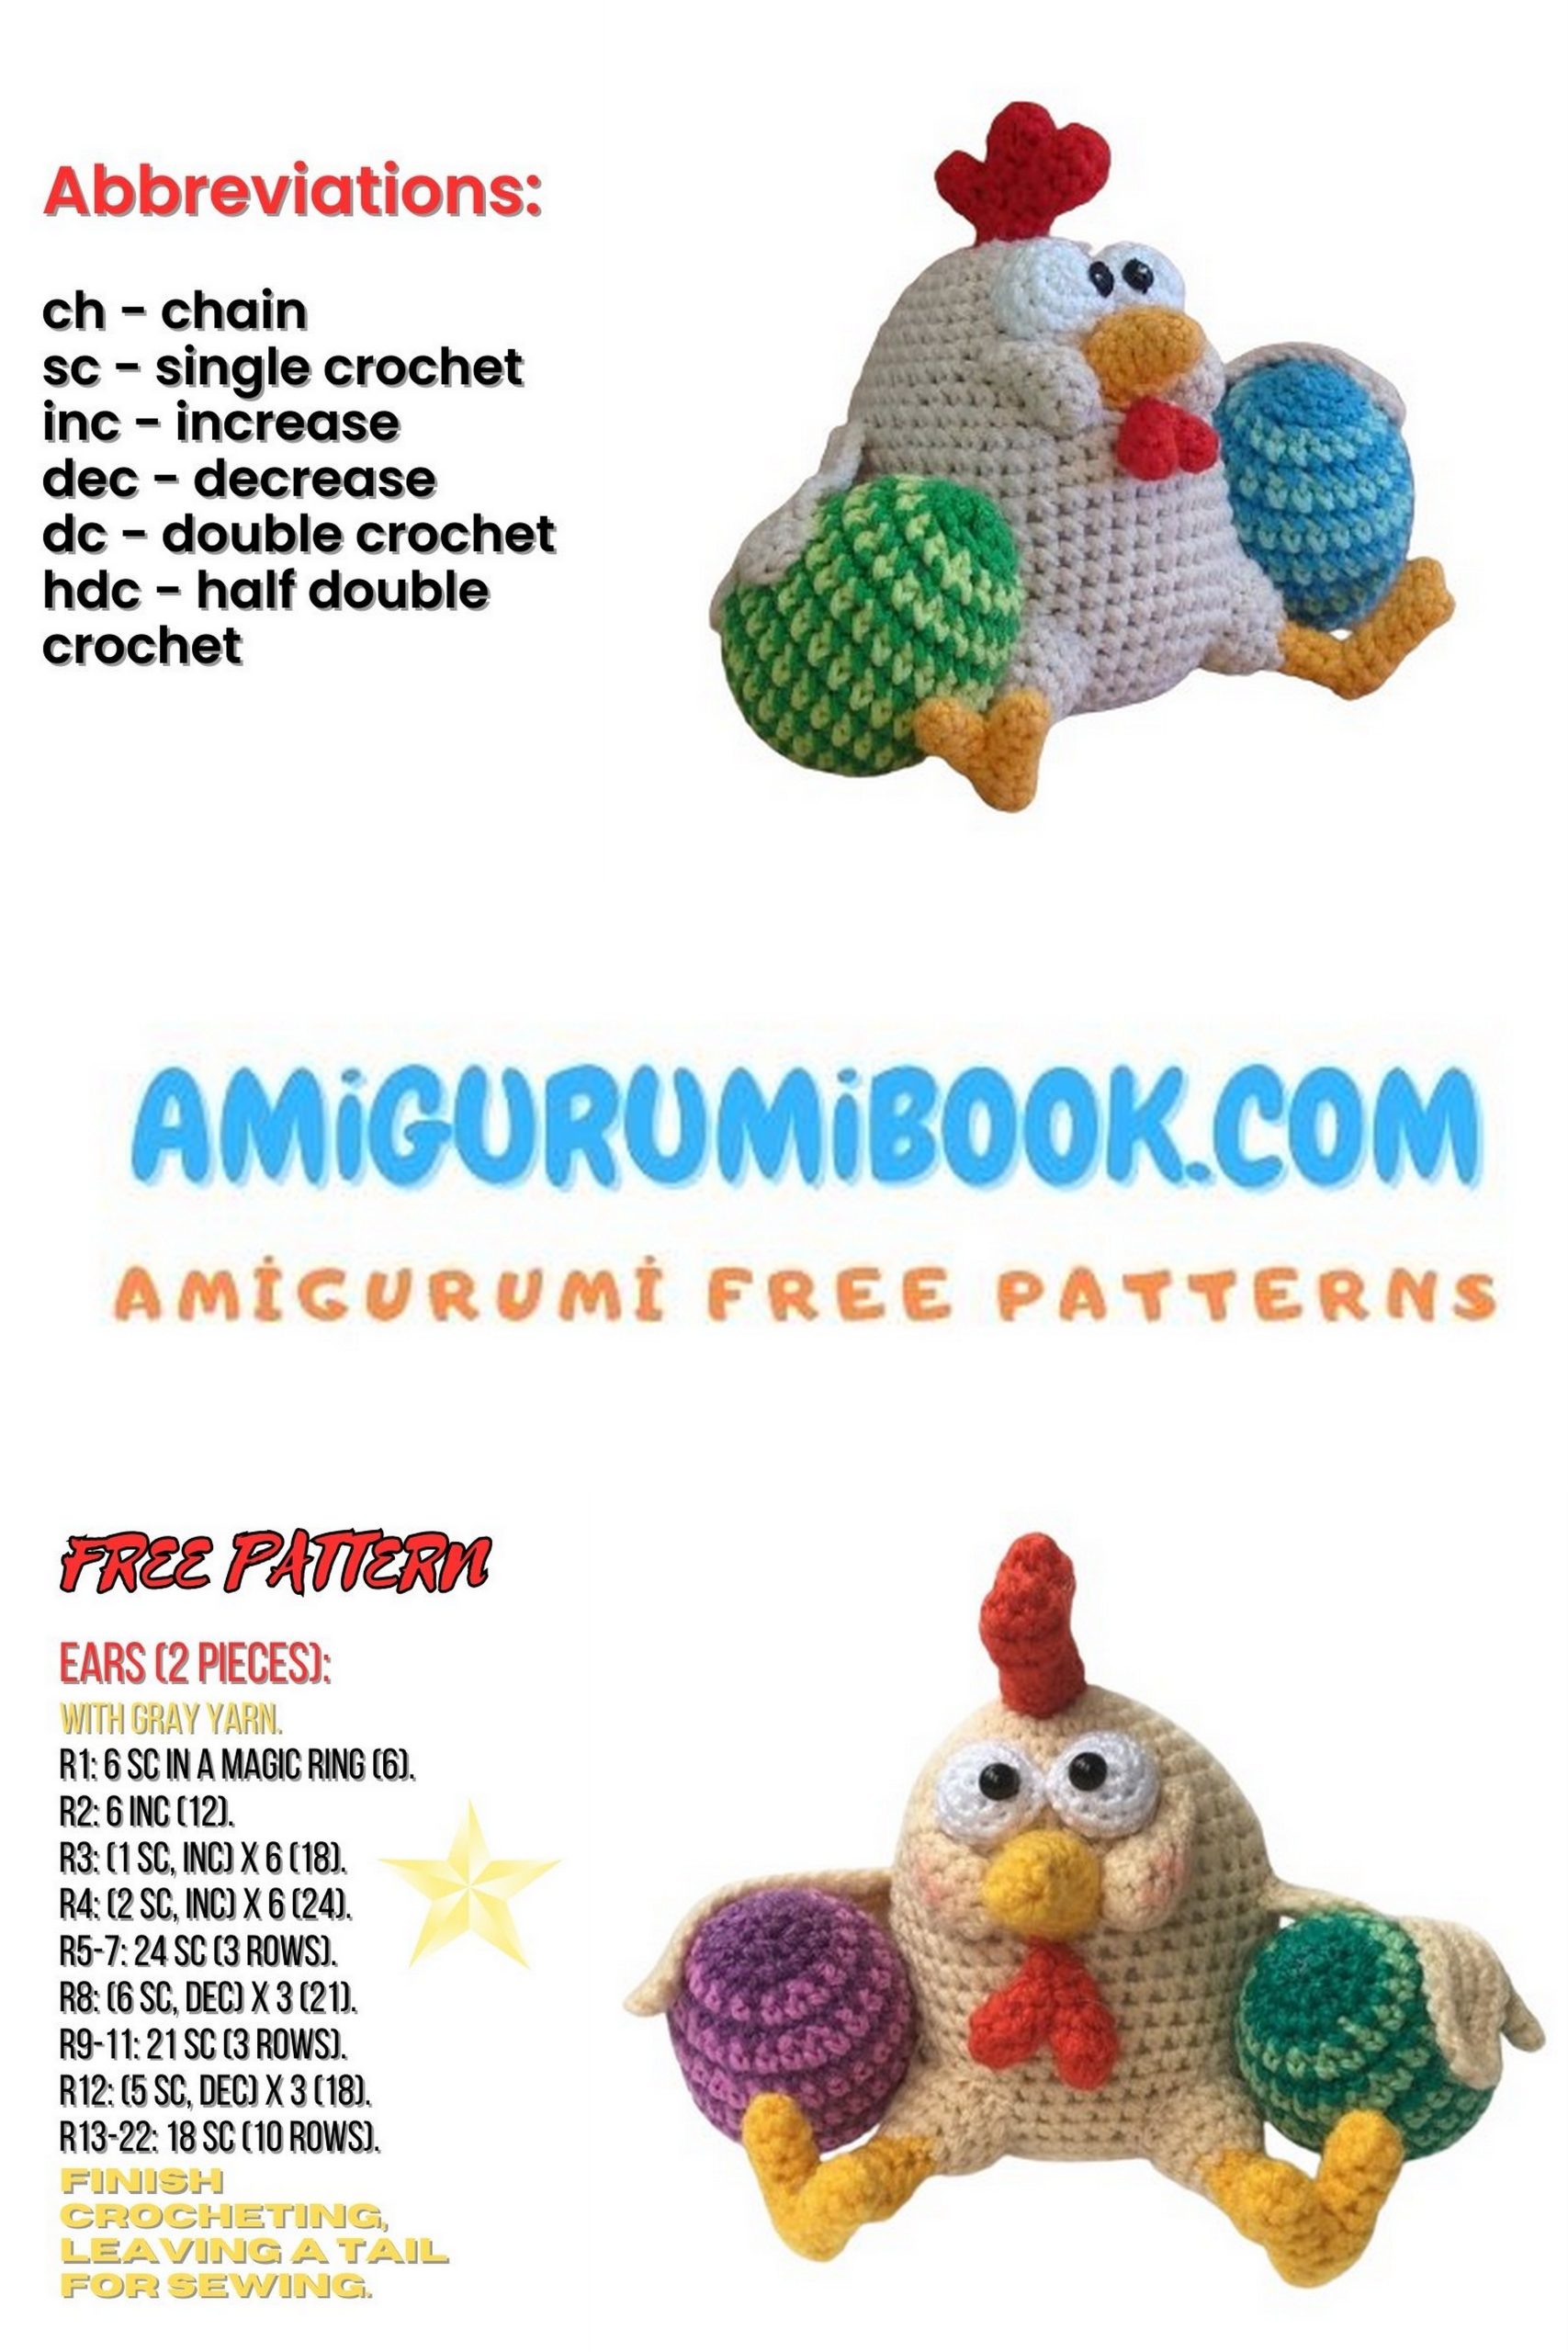
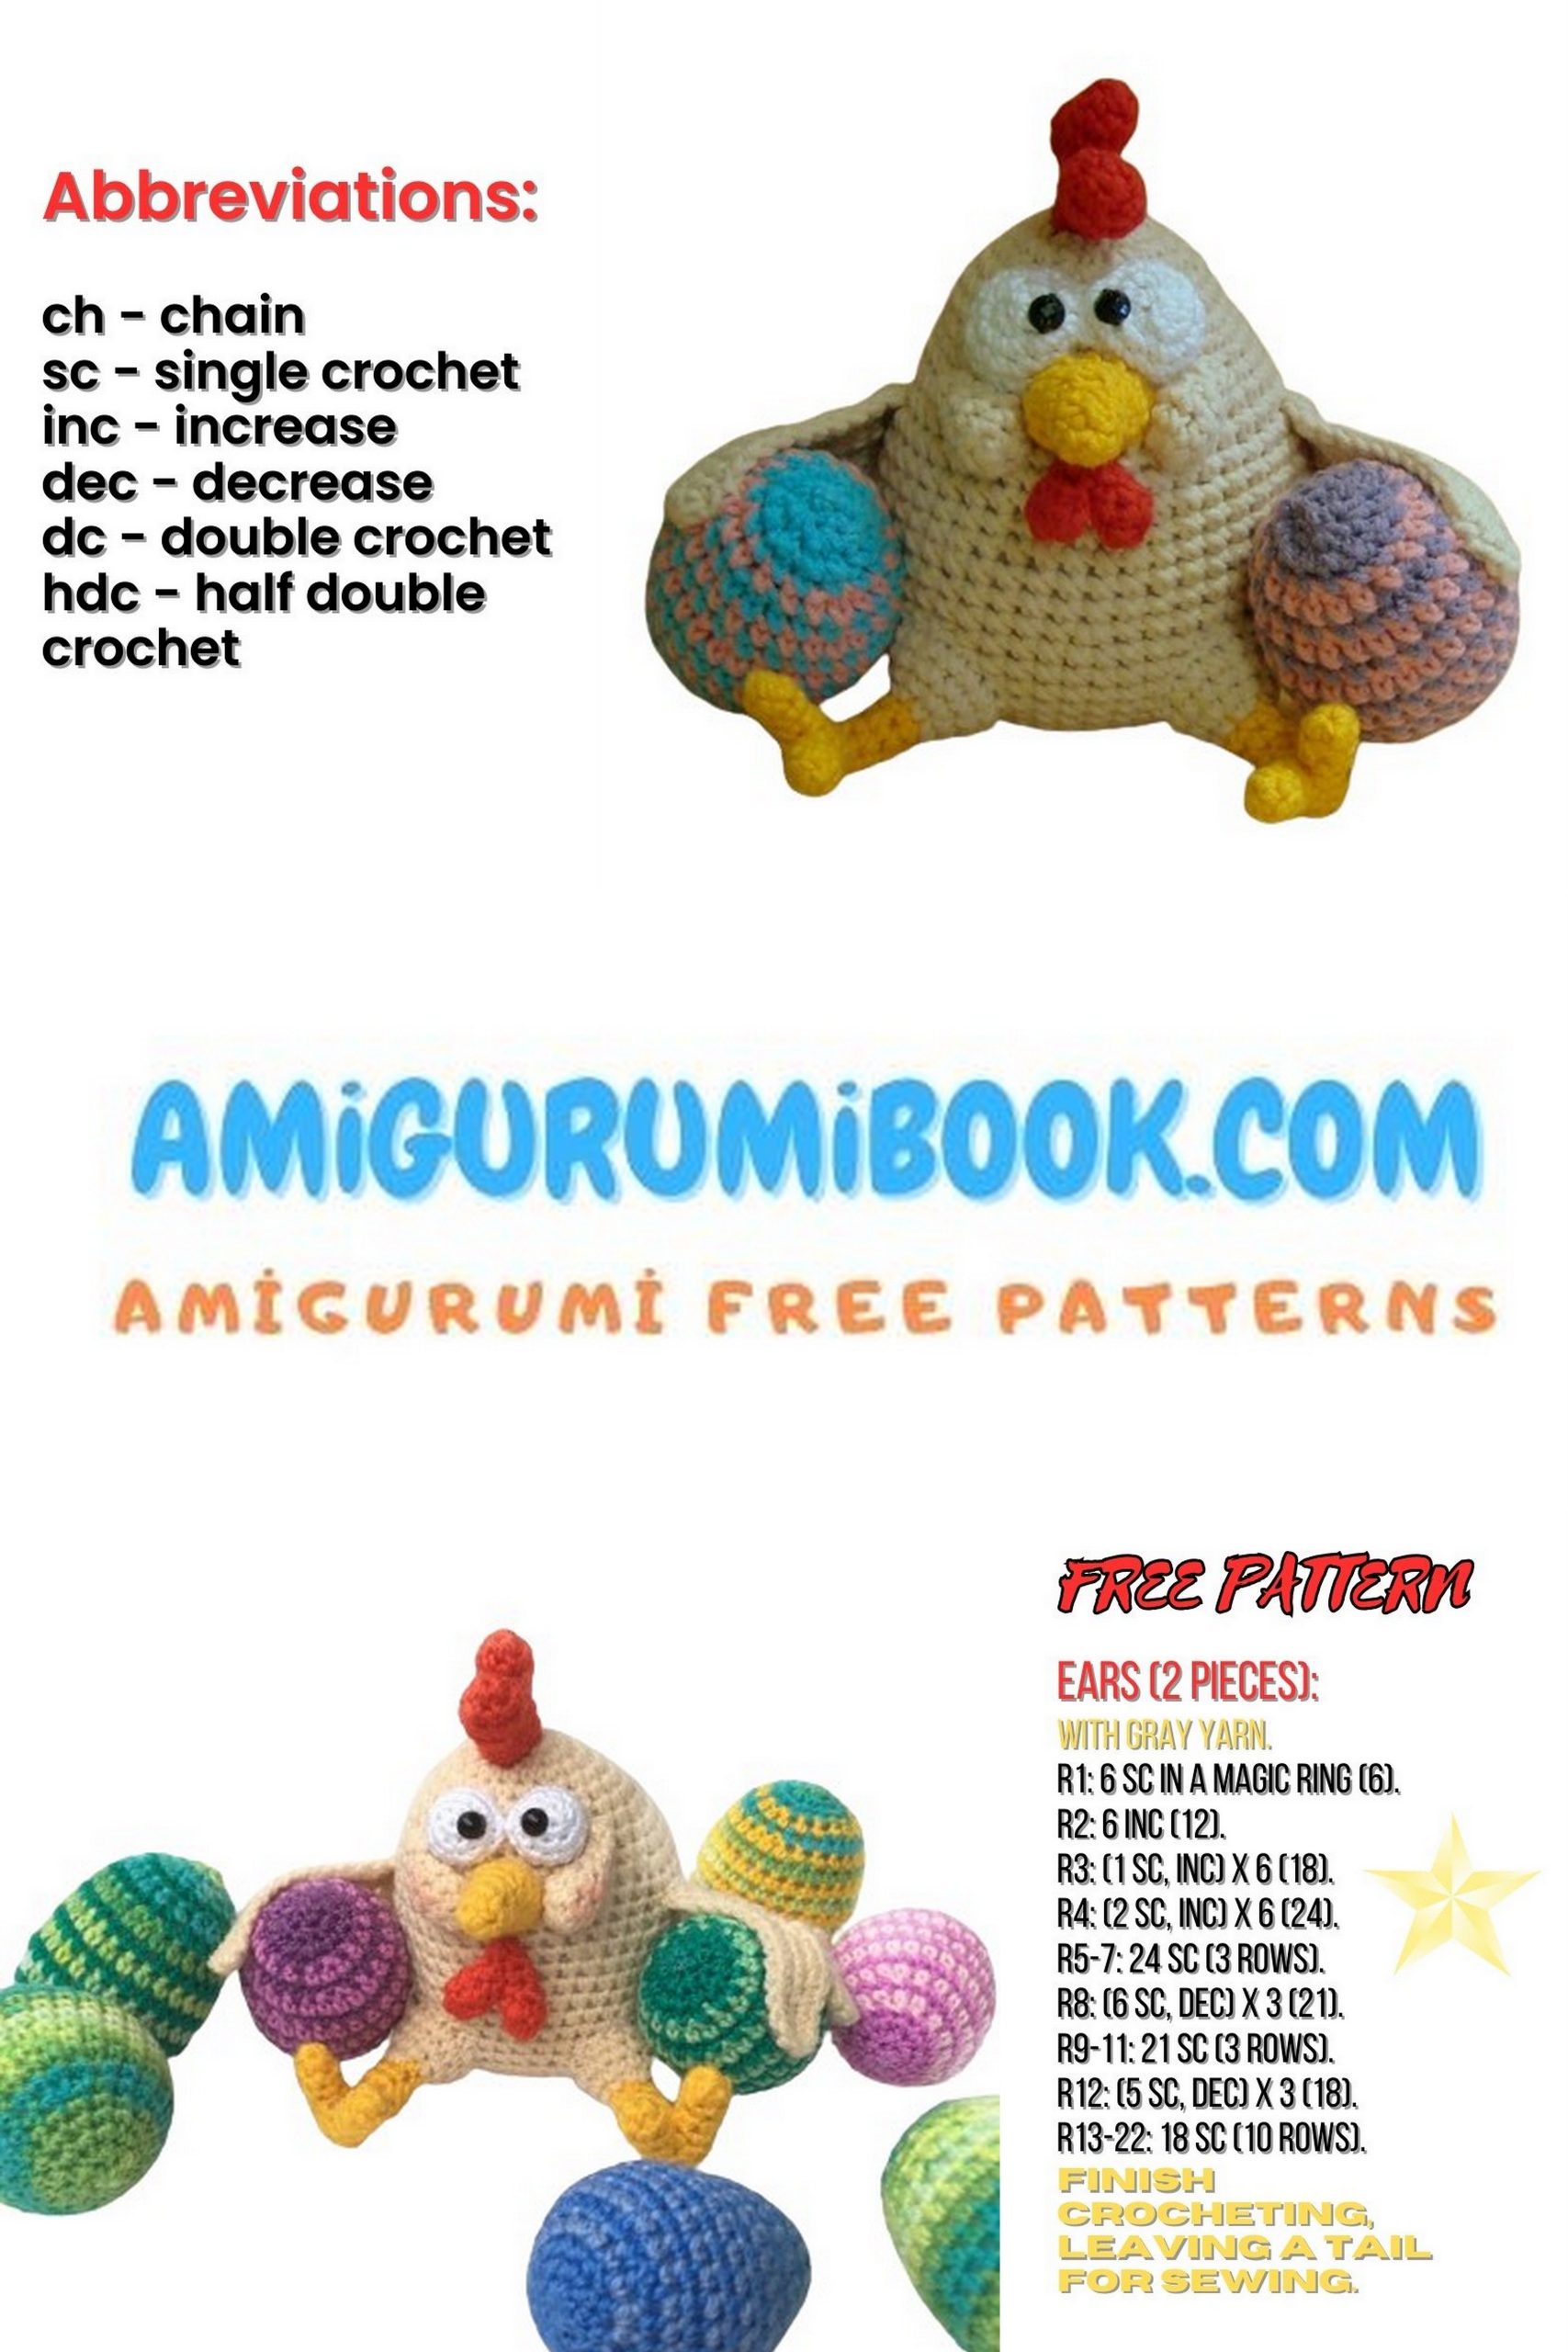
Abbreviations:
CH – chain stitch
SC – single crochet
SS – slip stitch
INC – increase
DEC – decrease
HDC – half double crochet
INC 3 in 1 – 3 single crochets in one stitch from the previous row
Unless otherwise specified, all parts are crocheted in a spiral.
PATTERN

Head-Torso (beige): Chicken Amigurumi
1: 6 SC in magic ring.
2: 6 INC = 12 SC.
3: (INC, 1 SC)*6 = 18 SC.
4: (2 SC, INC)*6 = 24 SC.
5: (INC, 7 SC)*3 = 27 SC.
6: (5 SC, INC, 3 SC)*3 = 30 SC.
7: (8 SC, INC, 6 SC)*2 = 32 SC.
8: (INC, 15 SC)*2 = 34 SC.
9: (9 SC, INC, 7 SC)*2 = 36 SC.
10: (INC, 17 SC)*2 = 38 SC.
11: (10 SC, INC, 8 SC)*2 = 40 SC.
12: 40 SC.
13: (INC, 19 SC)*2 = 42 SC.
14: 42 SC.
15: (11 SC, INC, 9 SC)*2 = 44 SC.
16: 44 SC.
17: (INC, 21 SC)*2 = 46 SC.
18: 46 SC.
19: (12 SC, INC, 10 SC)*2 = 48 SC.
20-23: 48 SC.
24: (DEC, 6 SC)*6 = 42 SC.
25: (DEC, 4 SC)*7 = 35 SC.
26: (2 SC, DEC, 1 SC)*7 = 28 SC.
27: (DEC, 2 SC)*7 = 21 SC.
Stuff the torso.
28: (1 SC, DEC)*7 = 14 SC.
29: 7 DEC = 7 SC.
Fasten off, cut the yarn leaving a tail for sewing and close the hole.

Beak (yellow): Chicken Amigurumi
1: 4 SC in magic ring.
2: (INC, 1 SC)*2 = 6 SC.
3: 2 HDC, INC, 2 SS, INC = 8.
4: 8 SC.
5: 3 HDC, INC 3 in 1, 3 SS, INC 3 in 1 = 12.
6: 12 SC.
7: 3 HDC, 3 SC, 3 SS, 3 SC = 12.
Fasten off, leaving a tail for sewing, and attach the beak ensuring it is curved downwards. Sew it approximately 8 rows from the top (starting ring), slightly stretching sideways. Sew not all the way, leaving a small hole, stuff it tighter, and finish sewing.
Wattle (red): Chicken Amigurumi
1: 6 SC in magic ring.
2: 6 SC.
3: (DEC, 1 SC)*2 = 4 SC.
Fasten off, leaving a bit longer tail, and make another identical piece, repeating rounds 1-3, do not cut the yarn, continue to connect the pieces together.
4: Join the pieces, working 3 SC on each, skip one stitch between them = 6 SC.
Pull out the end of the yarn from the first piece through the gap between the pieces; it will be sewn later. Continue to crochet 4 more rounds, single crochet each stitch.
After joining, stuff the wattle. Sew the opening between the pieces.
Sew under the beak, close to it. While sewing, slightly pull down to make the wattle lie close to the body.
Eyes (white), 2 pcs: Chicken Amigurumi
For smoother eyes, it’s better to use VITA cotton LIRA.
1: 6 SC in magic ring.
2: 6 INC = 12 SC.
3: (INC, 3 SC)*3 = 15 SC.
4: 15 SC.
Fasten off, leaving a tail for sewing, and attach the eyes close to the beak. Sew them not all the way, leaving a small hole, stuff it, then finish sewing. To prevent the eyes from looking in different directions, tighten them together with a couple of stitches.
Attach rhinestone pupils slightly diagonally inwards. Sew with a double thread, two stitches are enough. With each stitch, pull the thread tightly (but carefully) to make the rhinestone lie closer. You can secure the thread at the top, it will be covered with the crest.
Cheeks (beige), 2 pcs: Chicken Amigurumi
1: 6 SC in magic ring.
2: (INC, 2 SC)*2 = 8 SC.
3: 8 SC.
4: (DEC, 2 SC)*2 = 6 SC.
Add some stuffing to hold the shape; there’s no need to stuff too tightly.
5: (1 SC, DEC)*2 = 4 SC.
6: 4 SC.
Fasten off, leaving a tail for sewing, add a bit of stuffing, and close the hole. Sew it to the beak, curving slightly to follow along the beak, then along the eye (sew tightly everywhere). Sew from both sides in a circle.
Crest (red):
Piece 1:
1: 6 SC in magic ring.
2: (2 INC, 1 SC)*2 = 10 SC.
3: 10 SC.
4: (2 SC, DEC, 1 SC)*2 = 8 SC.
5: (DEC, 2 SC)*2 = 6 SC.
Fasten off, leaving a tail for sewing, and close the hole.
Piece 2:
1: 6 SC in magic ring.
2: (INC, 2 SC)*2 = 8 SC.
3: 8 SC.
4: (DEC, 2 SC)*2 = 6 SC.
Fasten off, leaving a tail for sewing, and close the hole.
Piece 3:
1: 6 SC in magic ring.
2-3: 6 SC, do not cut the yarn.
Next round: Join the second and third pieces together, working 4 SC on each, skipping two stitches between them = 8 SC.
Next round: Attach the first piece, skipping two stitches between the connected parts = 10 SC.
Pull out the tail (from the first piece) through the hole between the pieces.
Next round: 10 SC.
Fasten off, leaving a tail for sewing, and close the hole between the pieces. Stuff the crest.
Sew between the pieces.
Skip 2 stitches for each loop.
Sew the crest to the head ≈ 2 rows from the eyes, with the largest part facing forward.
Legs (yellow, beige), 2 pcs: Chicken Amigurumi
Crochet with yellow yarn.
1: 5 SC in magic ring.
2-4: 5 SC.
Fasten off, leaving a tail for sewing, and close the hole.
This is the toe.
Crochet another toe, repeating rounds 1-4, do not cut the yarn.
Stuff the toes.
5: Join the toes (like the wattle and crest pieces), working 4 SC on each toe, skipping one stitch between them = 8 SC.
6-7: 8 SC.
Stuff the foot.
8: (DEC, 2 SC)*2 = 6 SC.
Finish stuffing, fasten off, cut the yarn and close the hole.
Sew the hole between the toes.
Next, crochet the leg. Still using yellow yarn.
1: Attach the yarn right to the sole, slightly away from the heel, and make 6 SC: (attach yarn, CH) – this is the first stitch of the round, continue in the round.
It won’t be perfectly even, but it will even out as you go.
2-4: 6 SC.
On the last stitch of the 4th round, switch to beige color, cut the yellow yarn.
5: (INC, 1 SC)*3 = 9 SC.
6: (2 SC, INC)*3 = 12 SC.
7: (INC, 3 SC)*3 = 15 SC.
8: 15 SC.
Fasten off, leaving a tail for sewing, and close the hole.
Stuff the legs.
The chicken sits quite stably, so attach the legs where needed for it to sit properly, and sew them on. Leave 5-6 stitches between the legs. Sew not all the way, when there is a small hole left, stuff it tighter and finish sewing.
Wings (beige), 2 pcs:
We will crochet rows back and forth. After each row, turn the work, and start each subsequent row from the second loop from the hook (the loop on the hook is not counted).
Wing 1:
1: Chain 9, turn.
2: 8 SC, CH.
3: CH, 4 SC, 6 CH.
4: 11 SC, CH.
5: DEC, 4 SC, 8 CH.
6: 12 SC.
5-6 stitches.
Continue the row by crocheting around the wing. Make HDC in the side part, HDC 3 in 1, HDC.
Then continue with SC. Make SS between feathers, and at the ends of the feathers, crochet 4 SC in 1 loop. Finish the row with a slip stitch into the first loop, cut the yarn, leaving a tail for sewing, secure.
Wing 2:
1: Chain 13, turn.
2: 12 SC, CH.
3: CH, 4 SC, 6 CH.
4: 11 SC, CH.
5: DEC, 4 SC, 4 CH.
6: 8 SC.
Crochet the same way as the first wing, crocheting around. Make HDC in the side part, HDC 3 in 1, HDC, then SC. Make SS between feathers, and at the ends of the feathers, crochet 4 SC in 1 loop. Finish the row with a slip stitch into the first loop, cut the yarn, leaving a tail for sewing, secure.
We’ll sew them on a little later.
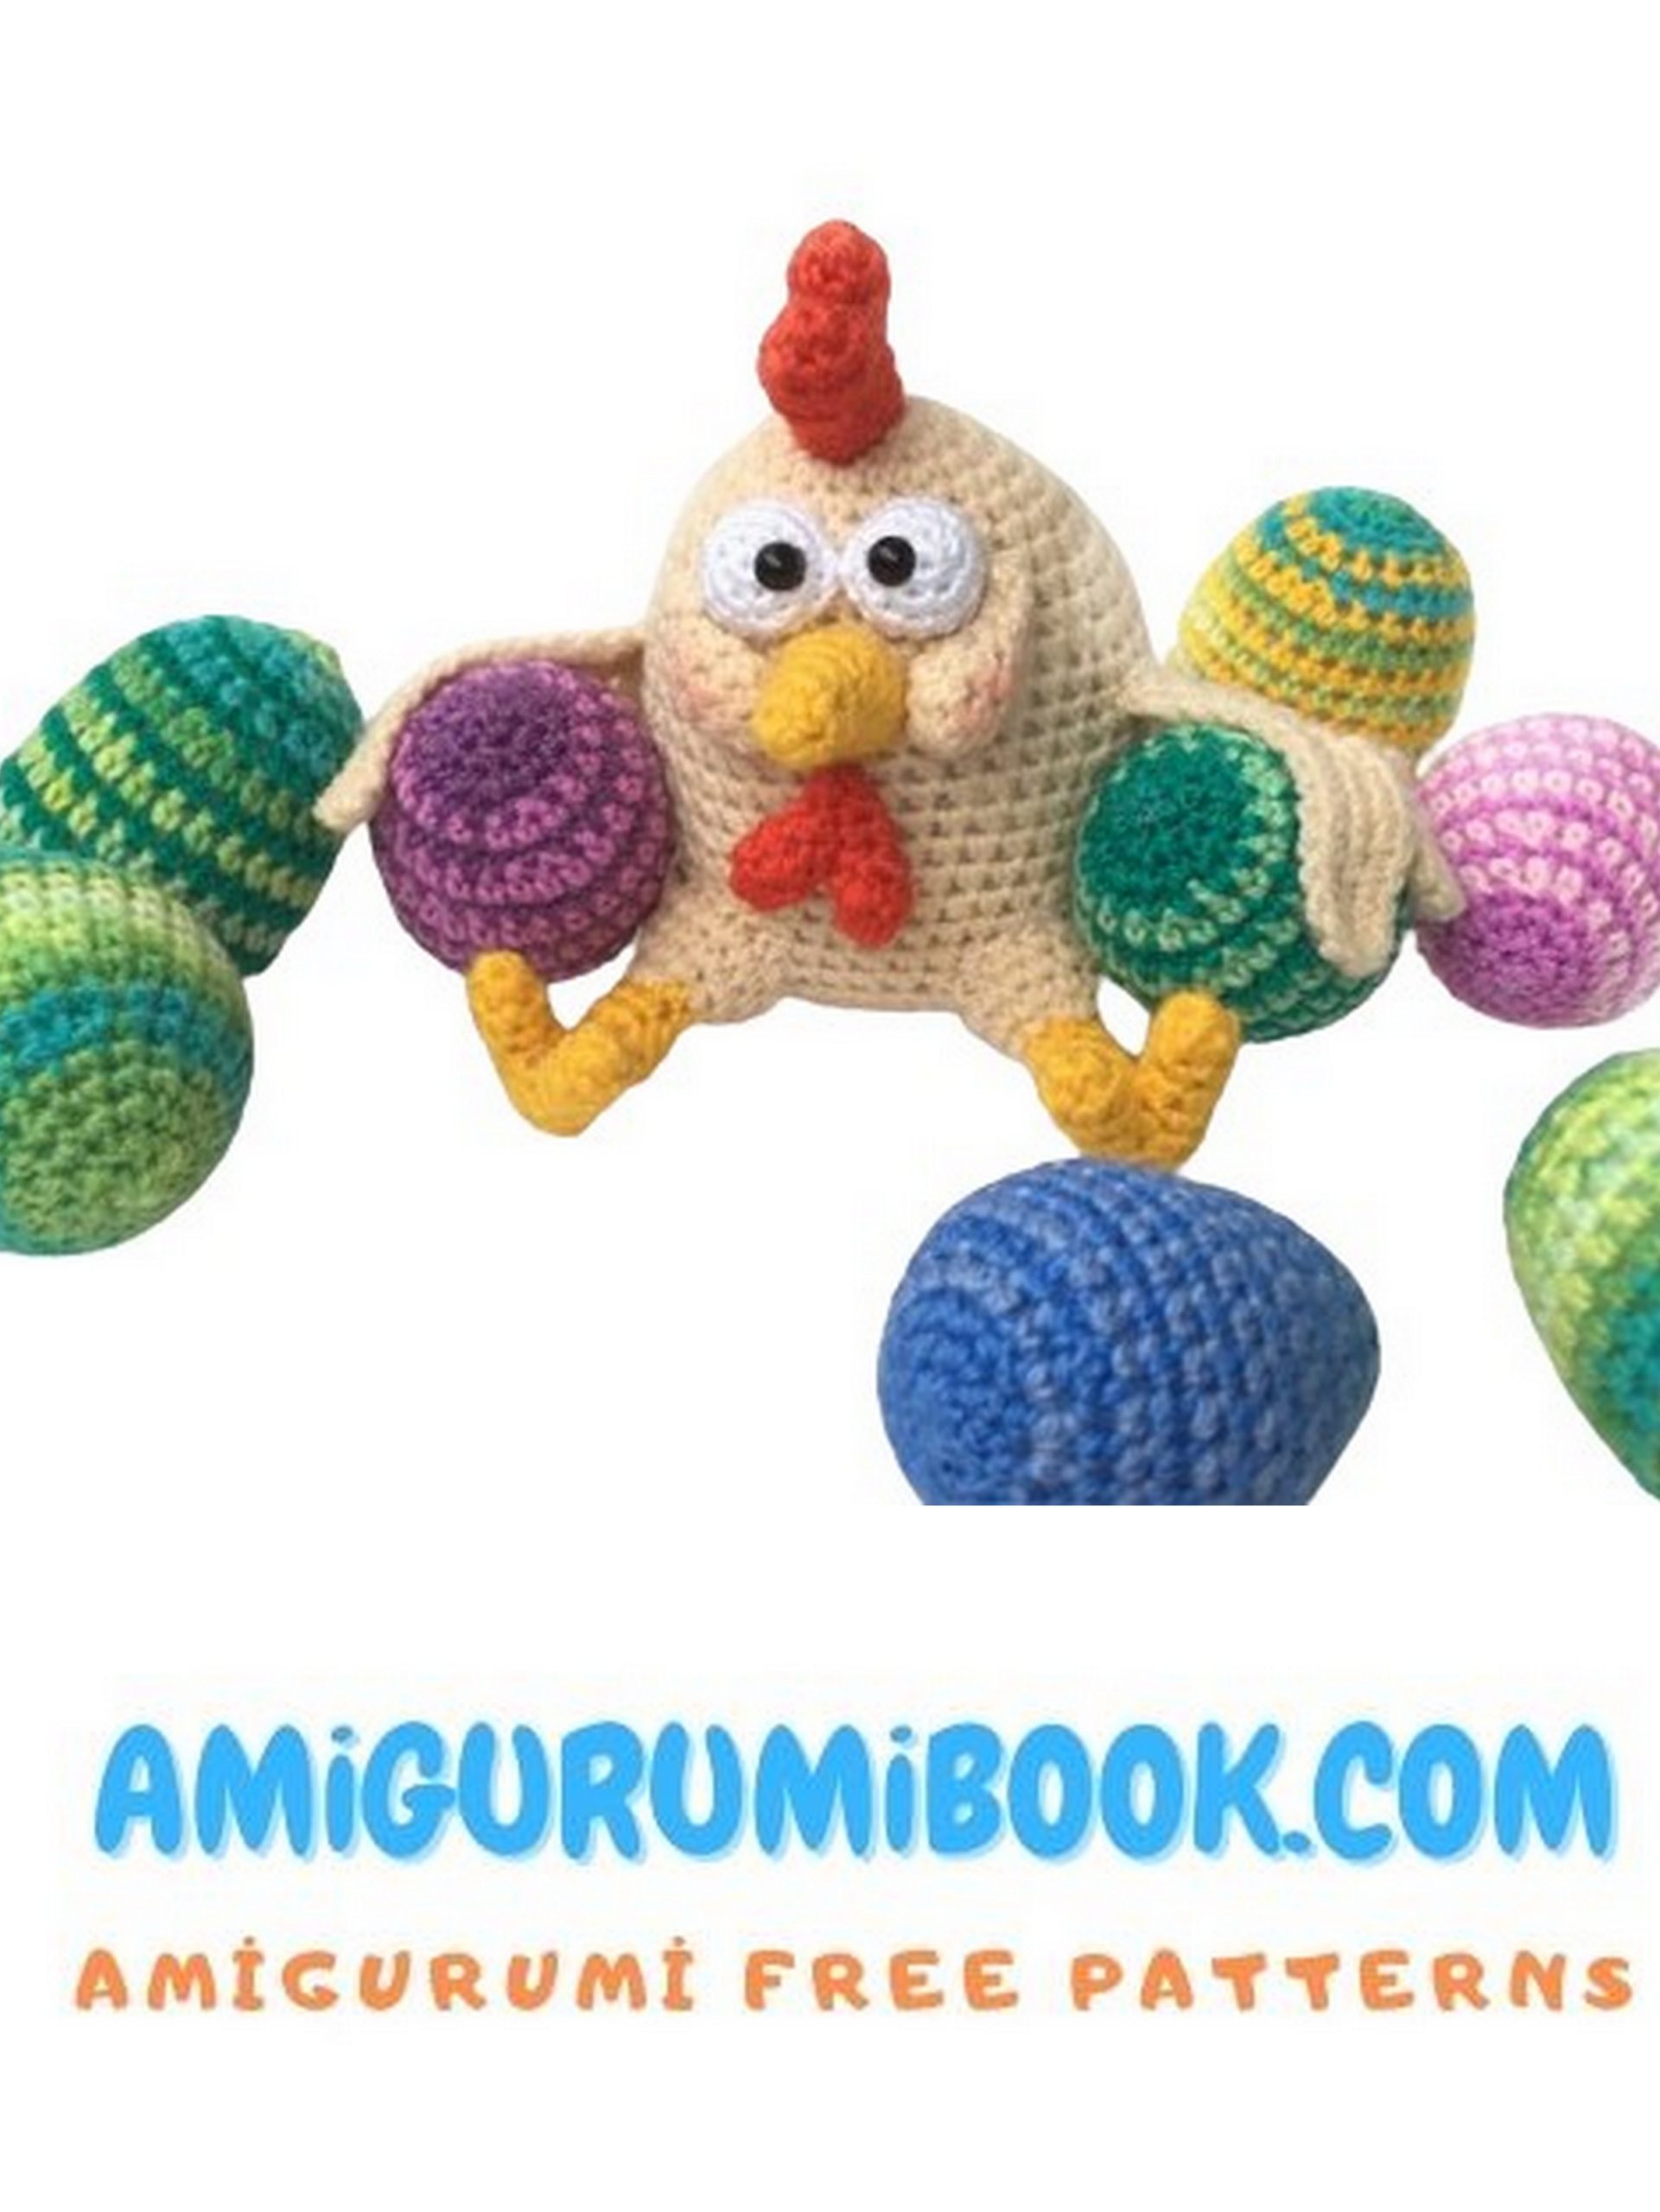
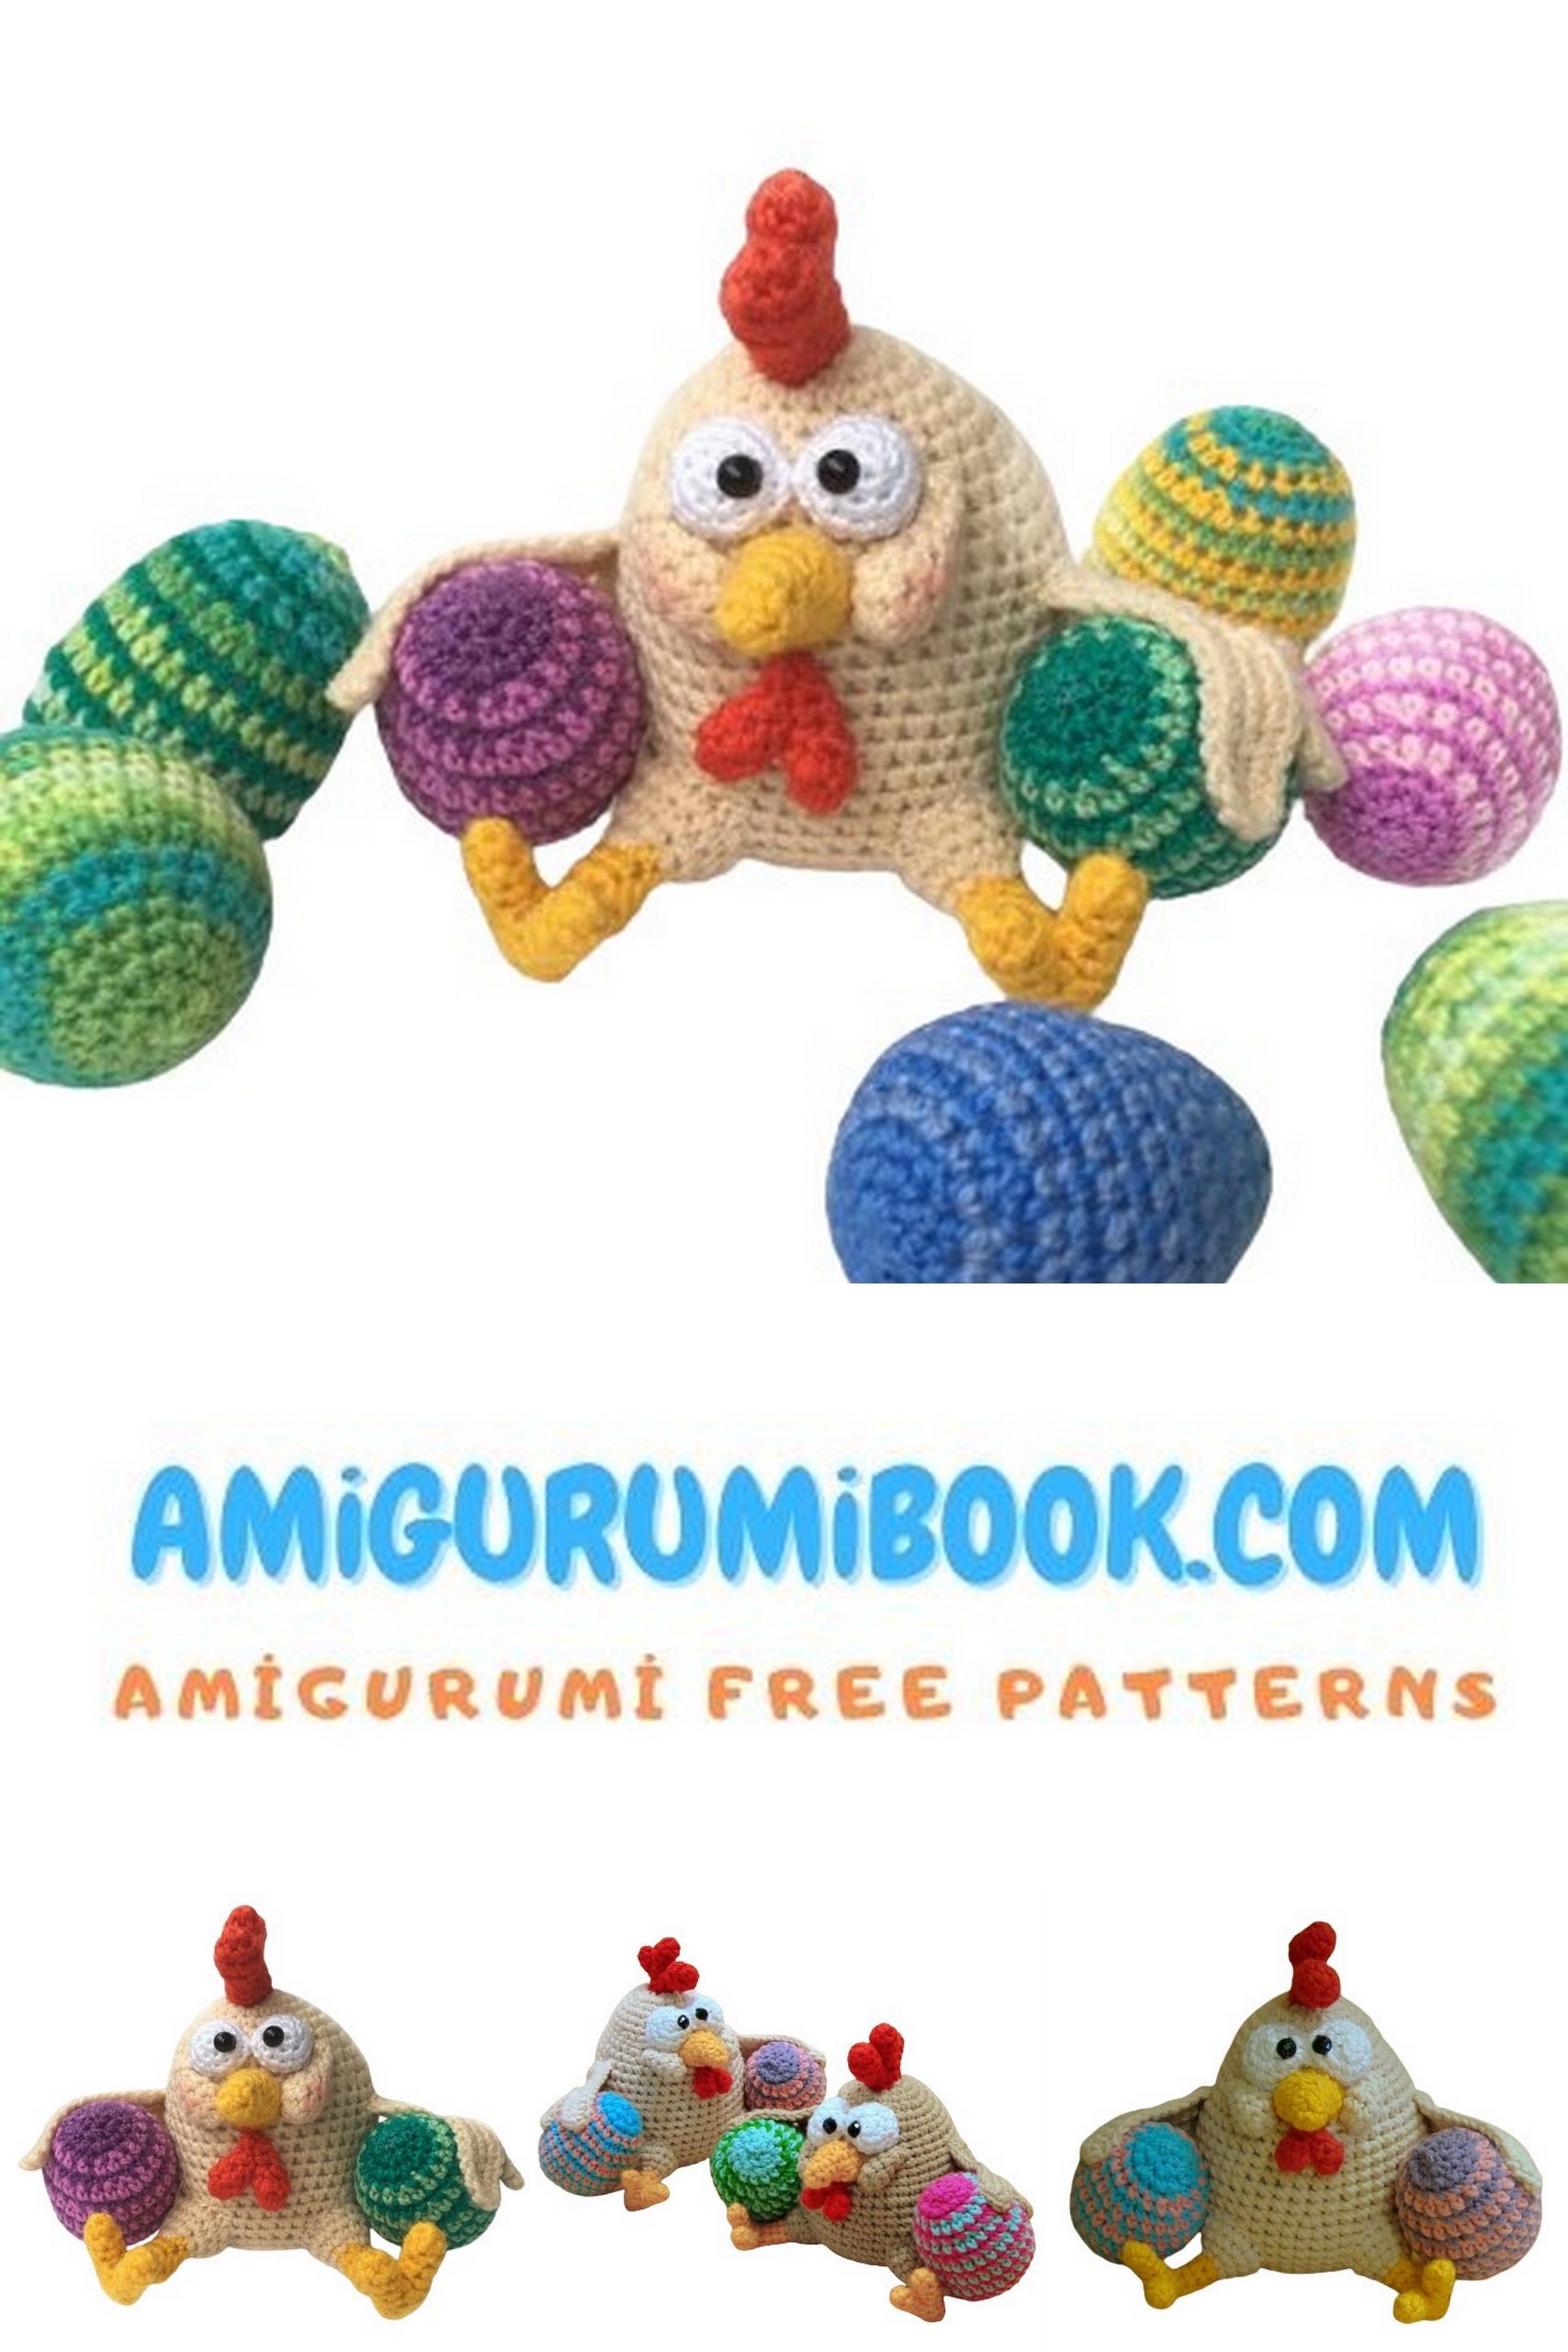
Eggs (multicolored), 2 pcs:
Use scraps of multicolored yarn, except for yellow (otherwise, it will blend in with the legs). In the description, there will be color 1 and color 2.
Color 1:
1: 6 SC in amigurumi ring.
2: 6 HDC = 12 SC.
3: (2 SC, HDC)*4 = 16 SC.
Switch to color 2 on the last stitch of the row.
Color 2:
4: (HDC, 3 SC)*4 = 20 SC.
Color 1:
5: (3 SC, HDC, 1 SC)*4 = 24 SC.
Color 2:
6: (HDC, 5 SC)*4 = 28 SC.
SS.
4 SC in 1 loop.
Color 1:
7: 28 SC.
Color 2:
8: 28 SC.
Color 1:
9-12: 28 SC.
Color 2:
13: (DEC, 12 SC)*2 = 26 SC.
14: (6 SC, DEC, 5 SC)*2 = 24 SC.
Color 1:
15: (DEC, 6 SC)*3 = 21 SC.
Color 2:
16: (3 SC, DEC, 2 SC)*3 = 18 SC.
Stuff the egg. From now on, crochet only with color 1, you can cut the second thread.
Color 1:
17: (DEC, 4 SC)*3 = 15 SC.
18: (2 SC, DEC, 1 SC)*3 = 12 SC.
19: 6 DEC = 6 SC.
Finish stuffing, make a slip stitch, cut the yarn, pull through the hole, close the opening.
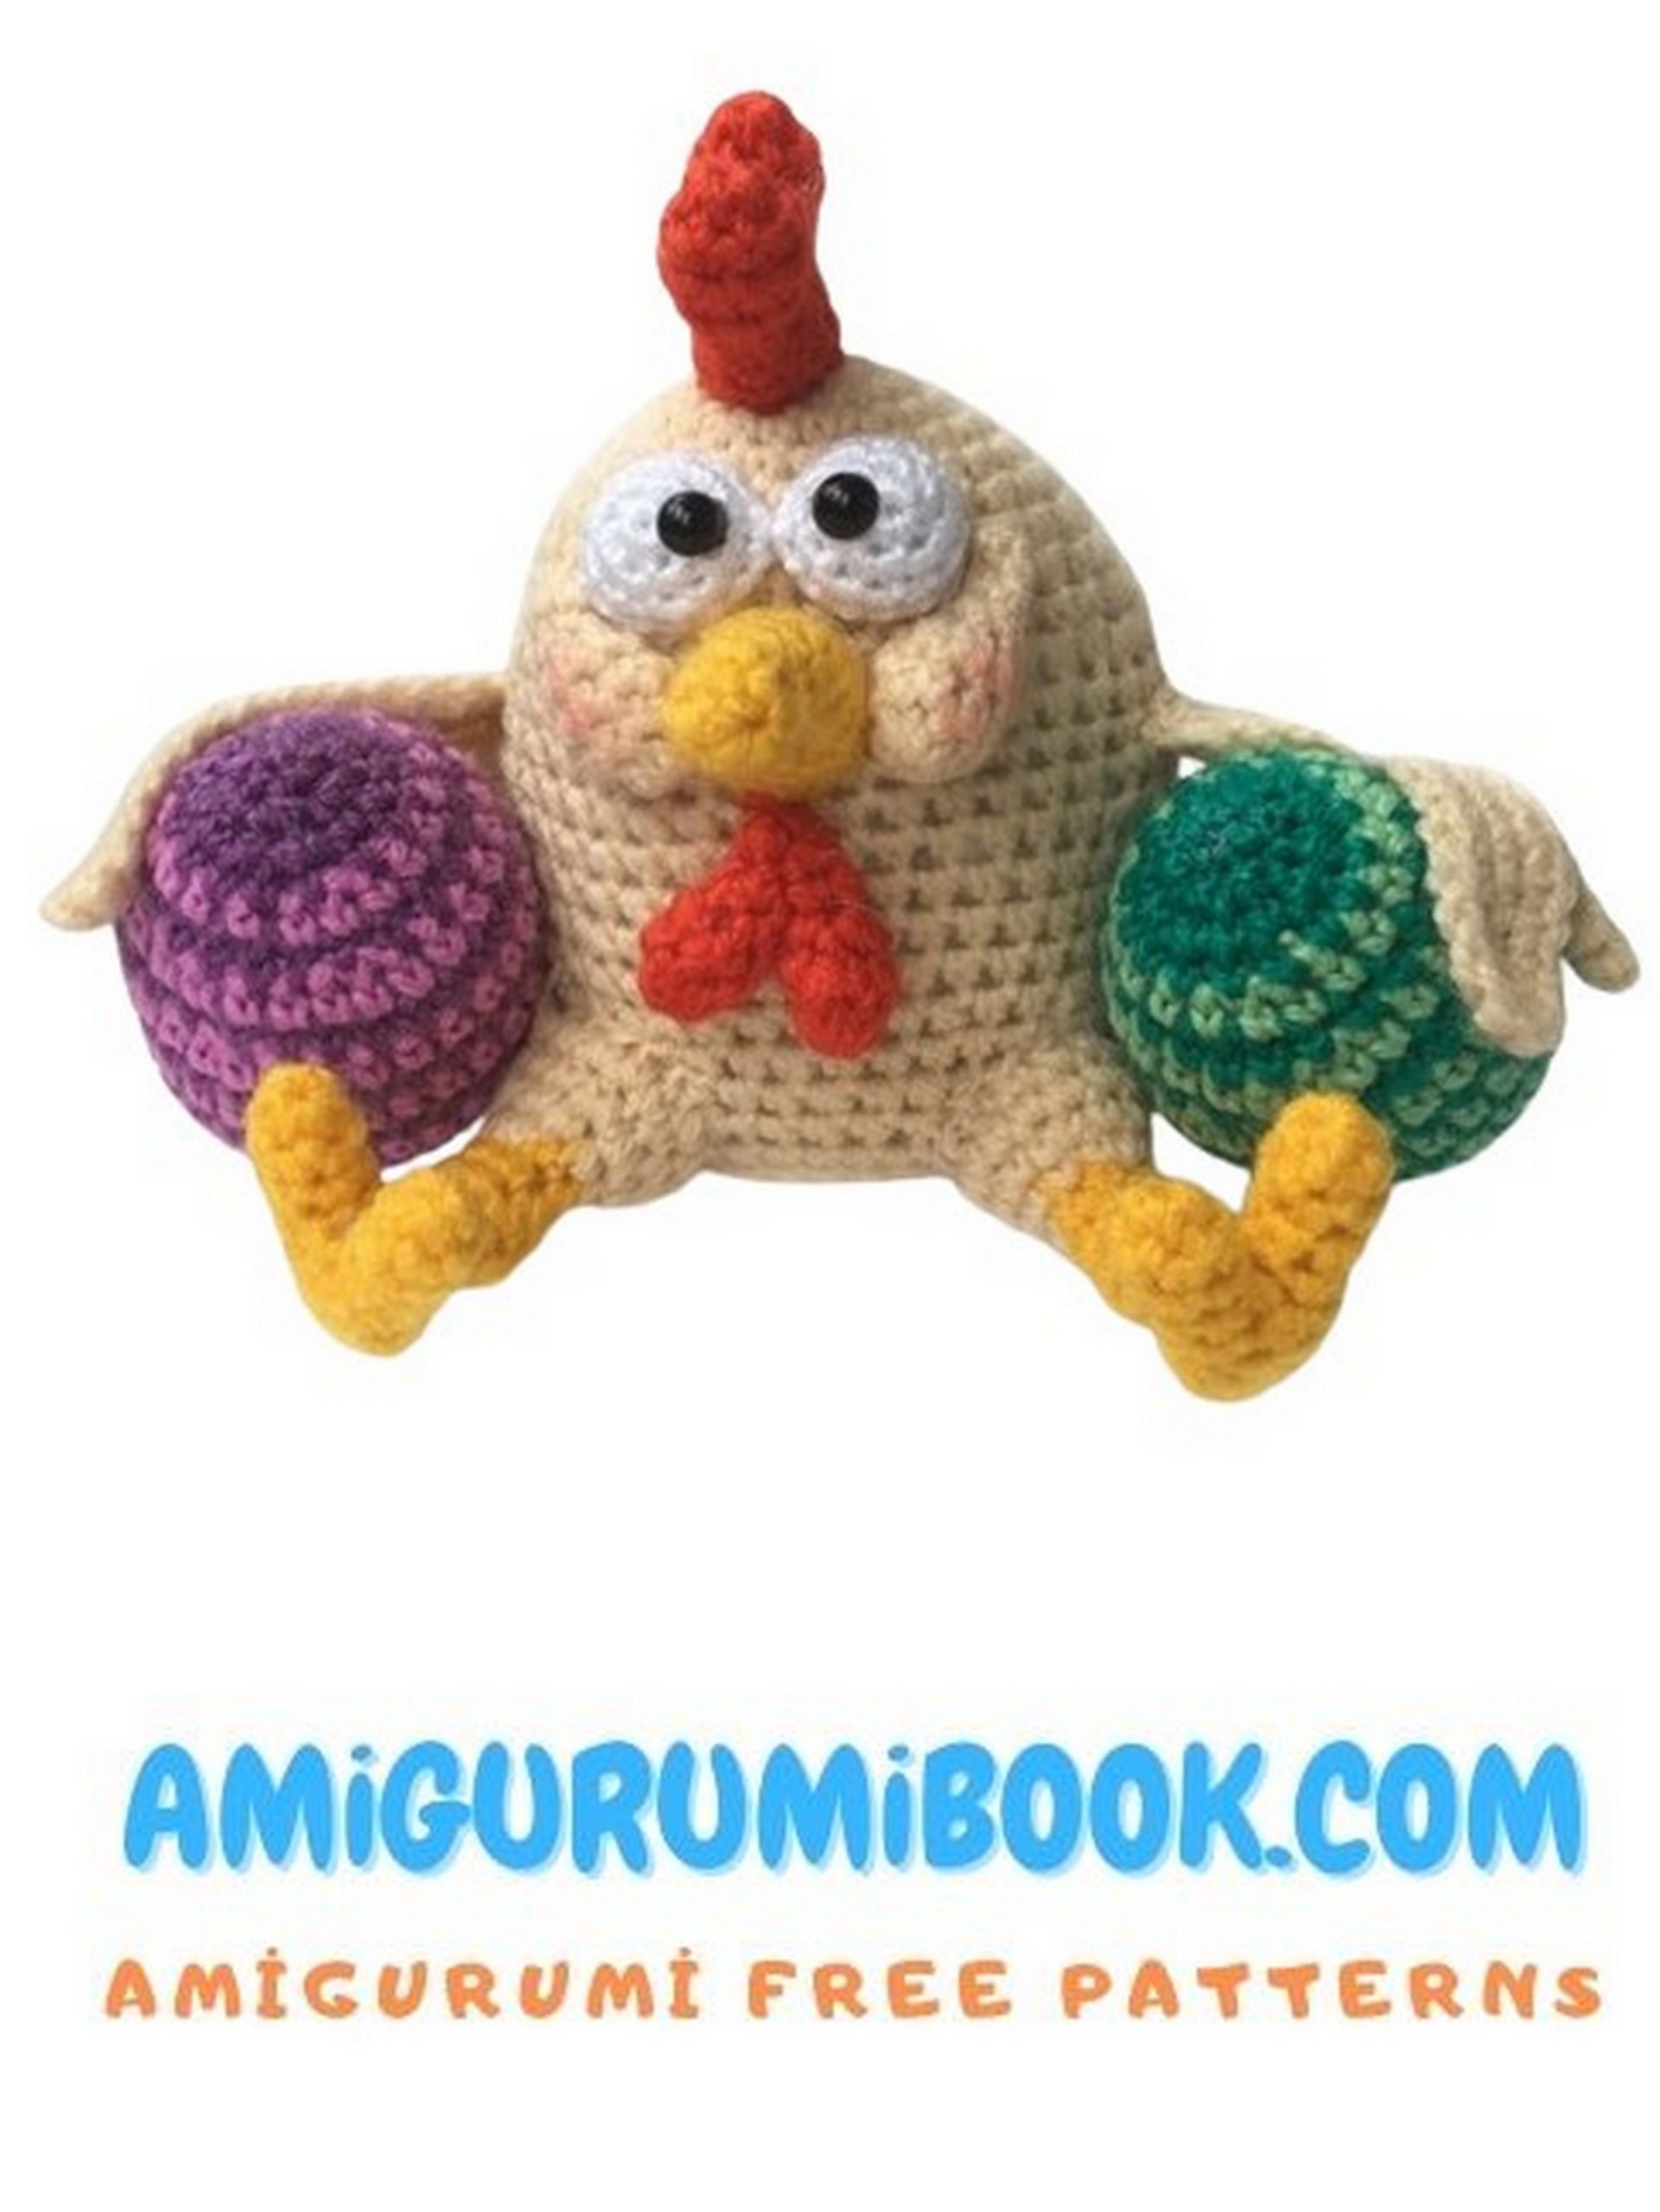
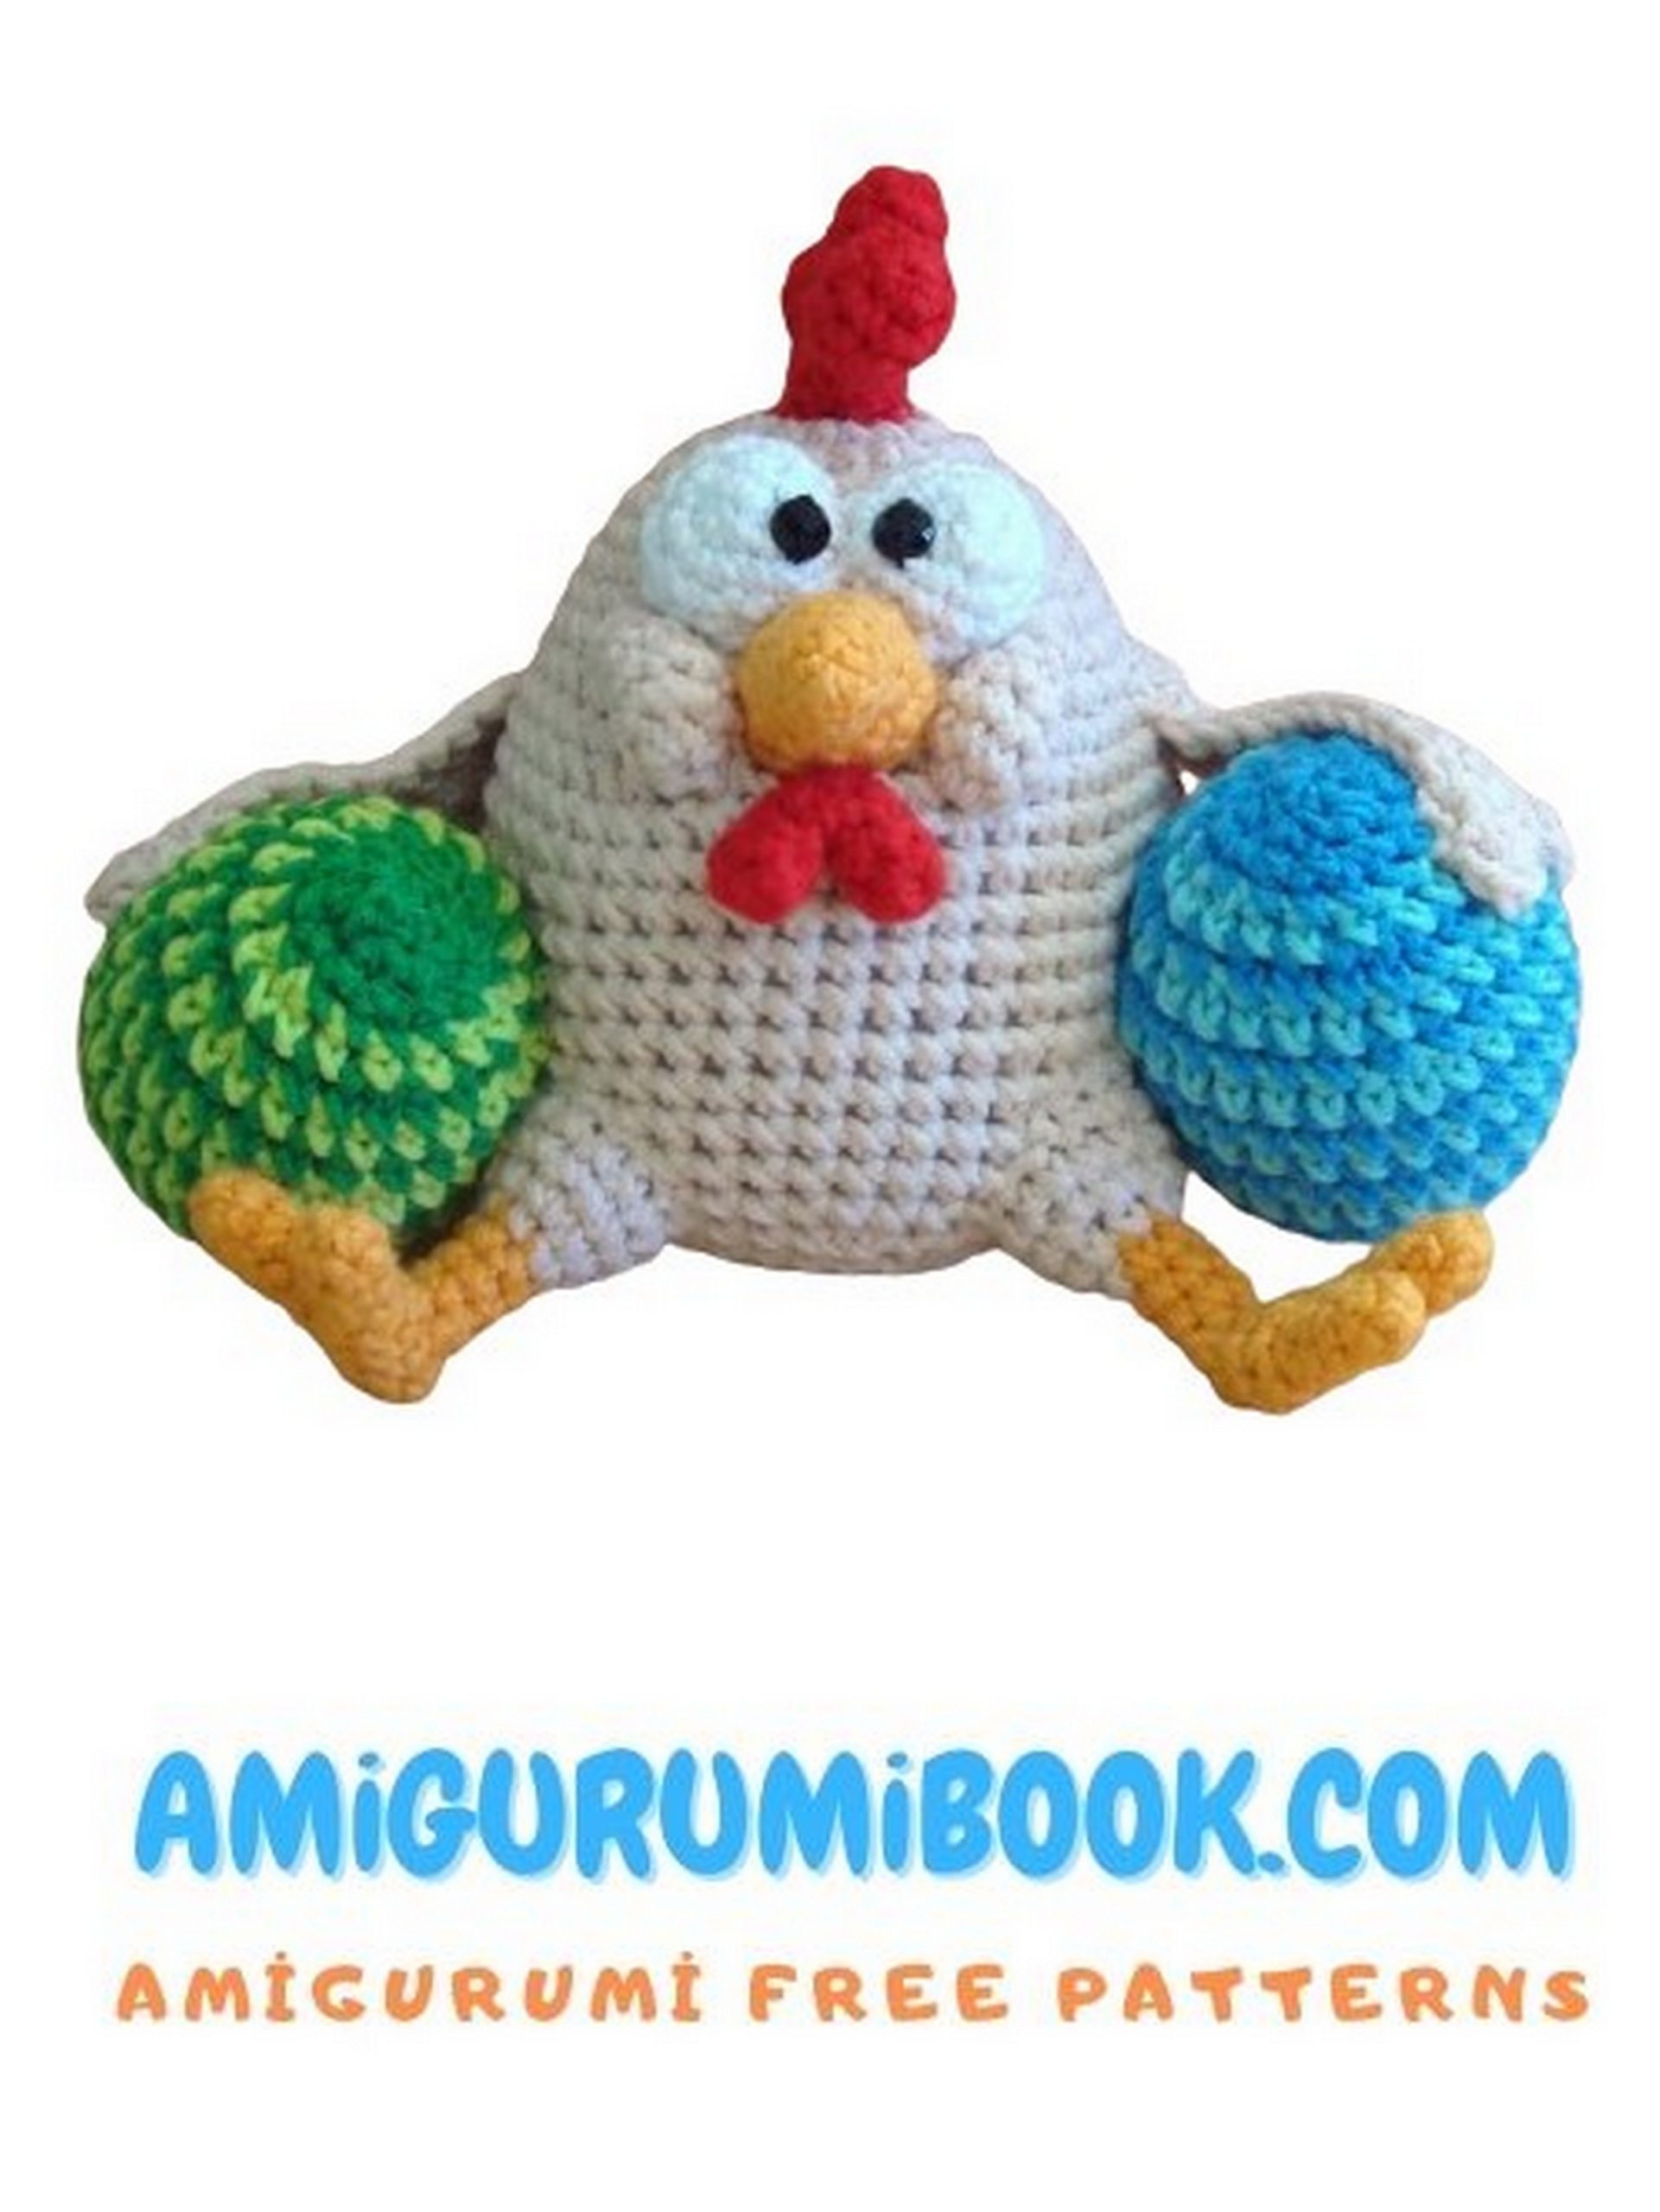
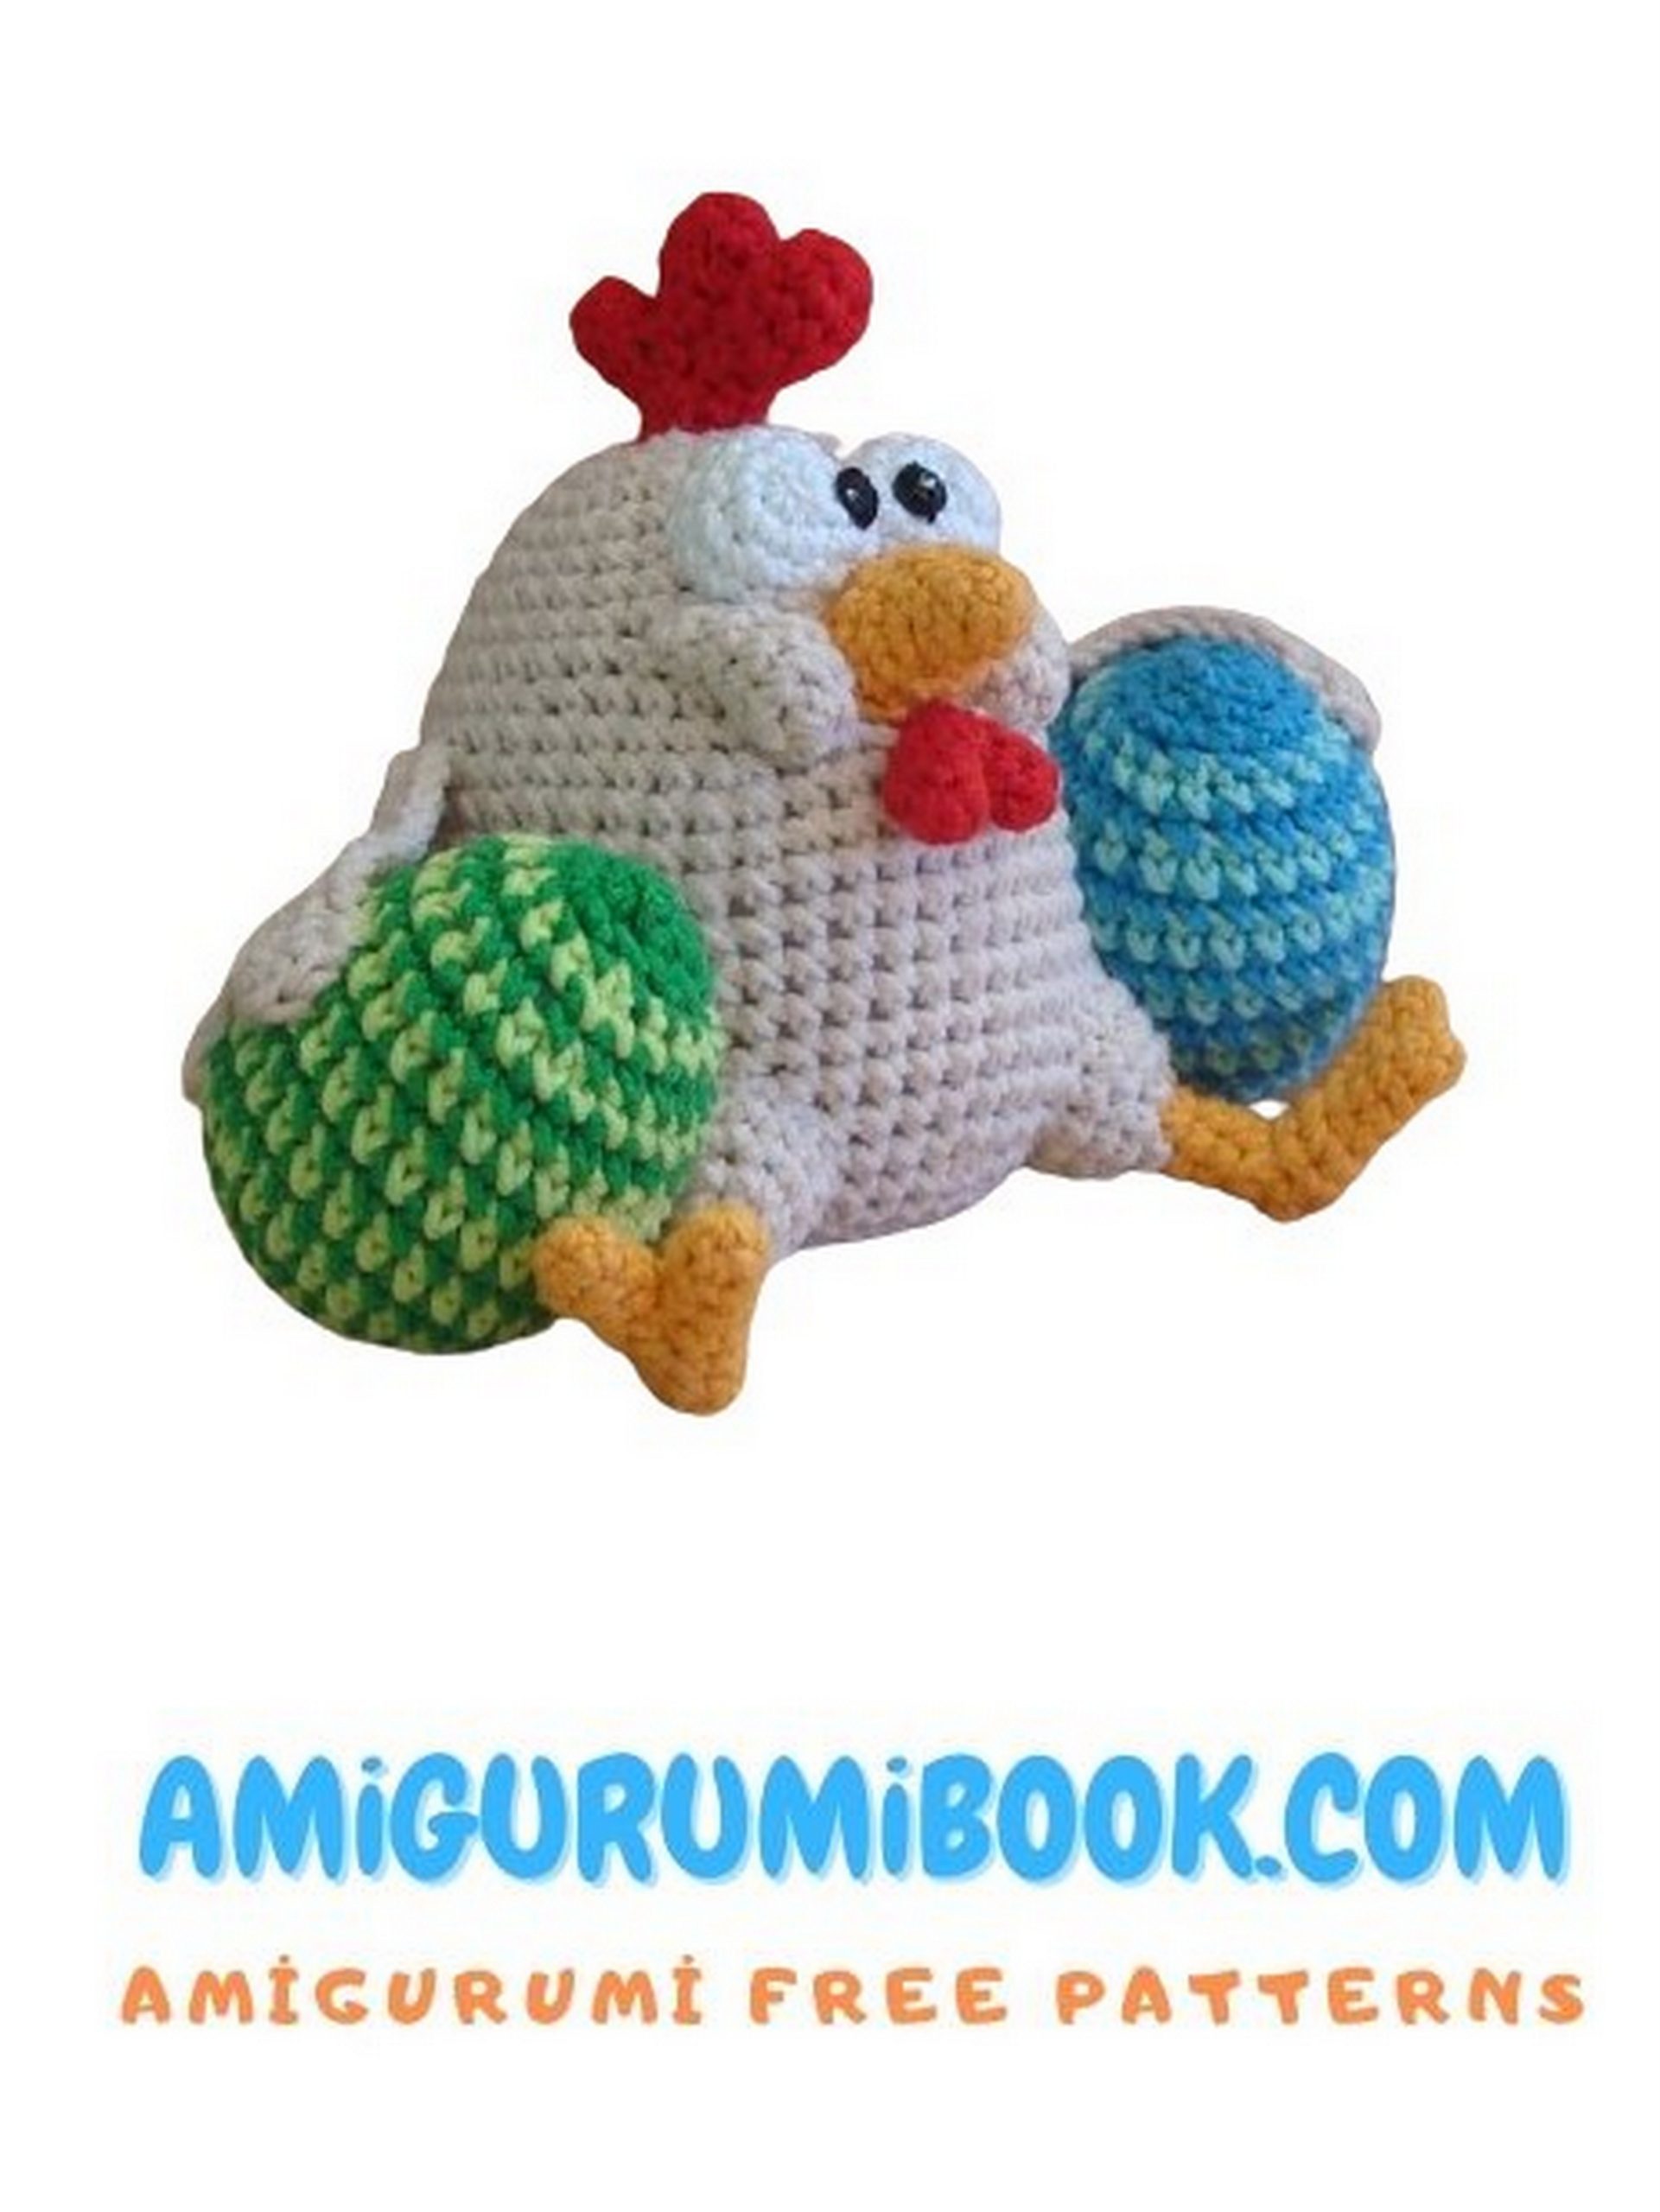
Sew the eggs to the chicken. Close to the legs, slightly diagonally.
Attach the wings so that they wrap around the eggs. Sew the wing to the body at the corner, then attach the feathers to the egg with several stitches. It doesn’t have to be perfectly even, do your best. Tuck the starting end of the wing into the body.
Tail (beige): Chicken Amigurumi
We will crochet rows back and forth. After each row, turn the work, and start each subsequent row from the second loop from the hook (the loop on the hook is not counted).
1: Chain 5, turn.
2: 4 SC, CH.
3: 1 SC, 5 CH.
4: 5 SC, CH.
5: 1 SC, 4 CH.
6: 4 SC.
Continue the row by crocheting around with SC. Make HDC 3 in 1 in the corners. Make SS between feathers, and at the ends of the feathers, crochet 4 SC in 1 loop. Finish the row with a slip stitch into the first loop, cut the yarn, leaving a tail for sewing, secure.
SS.
4 SC in 1 loop.
In the last crocheted stitch, make HDC, which results in HDC 3 in 1.
Sew it behind at the bottom. Don’t stretch it, make 2 stitches in one hole more often.
THE CHICKEN IS READY!