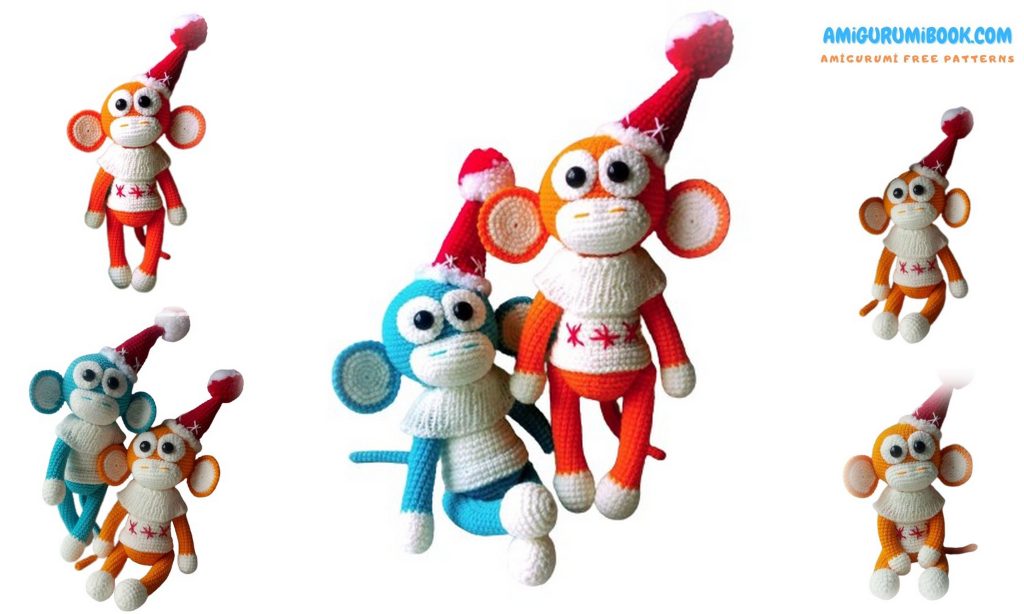
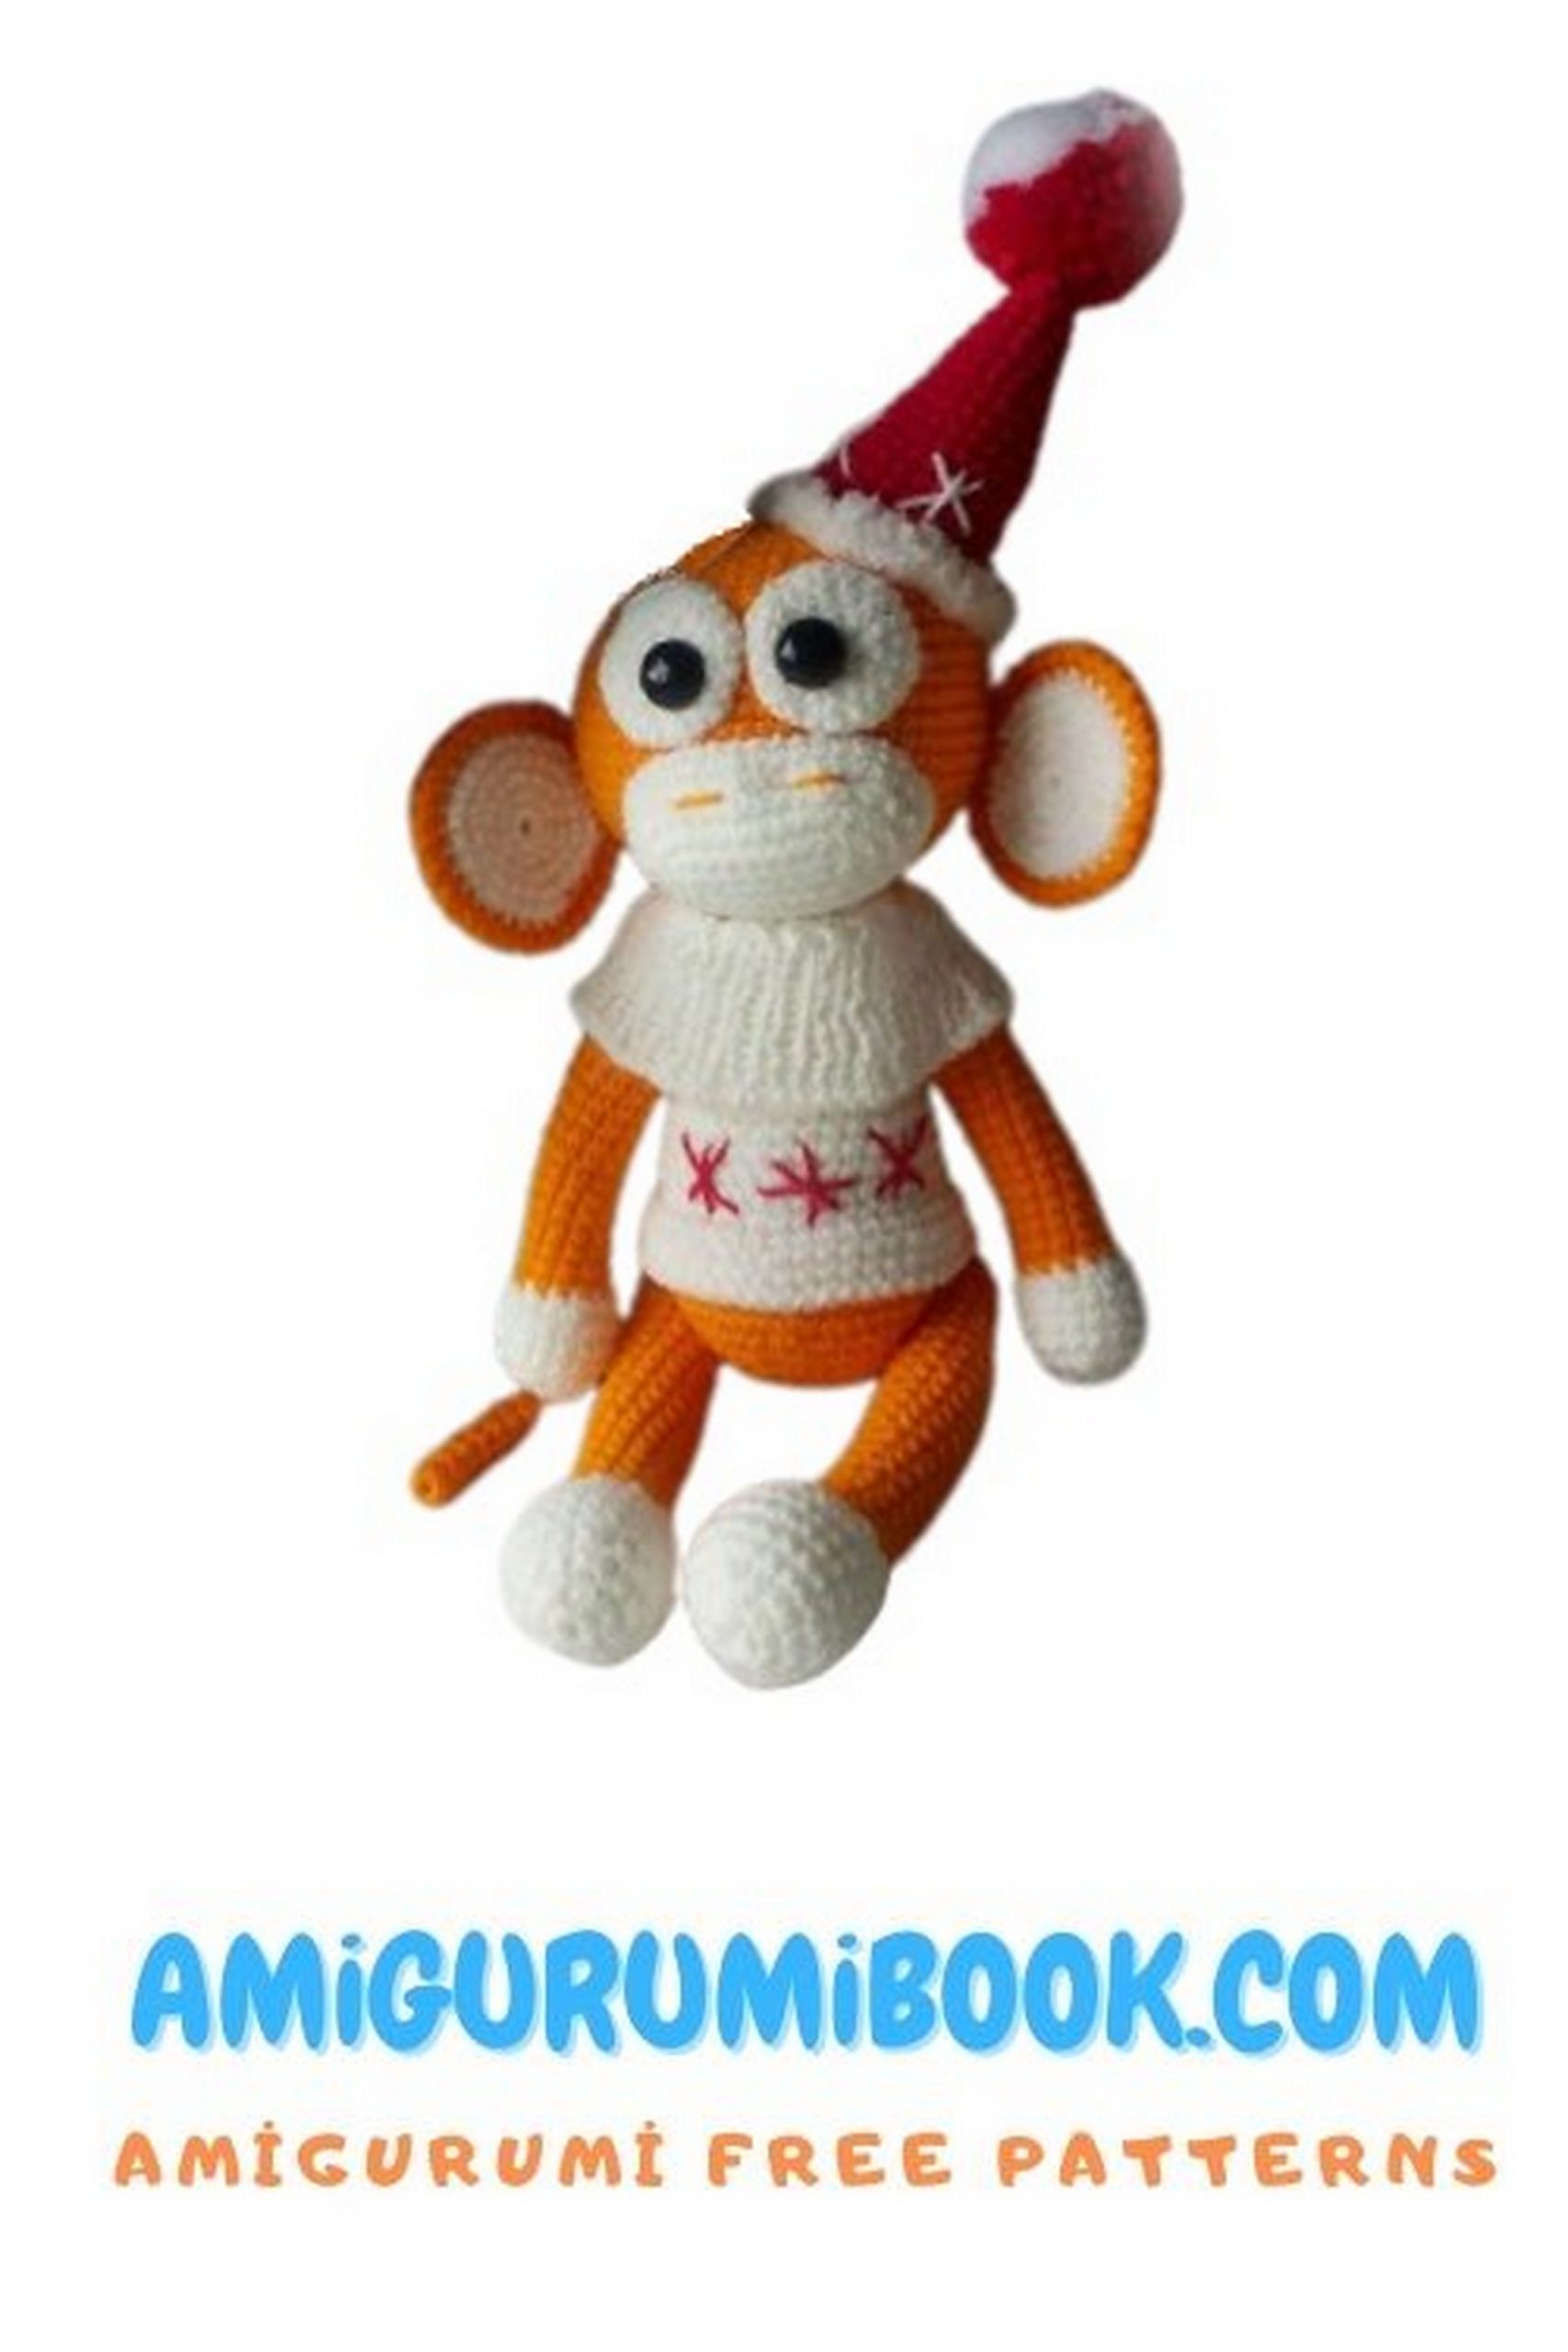
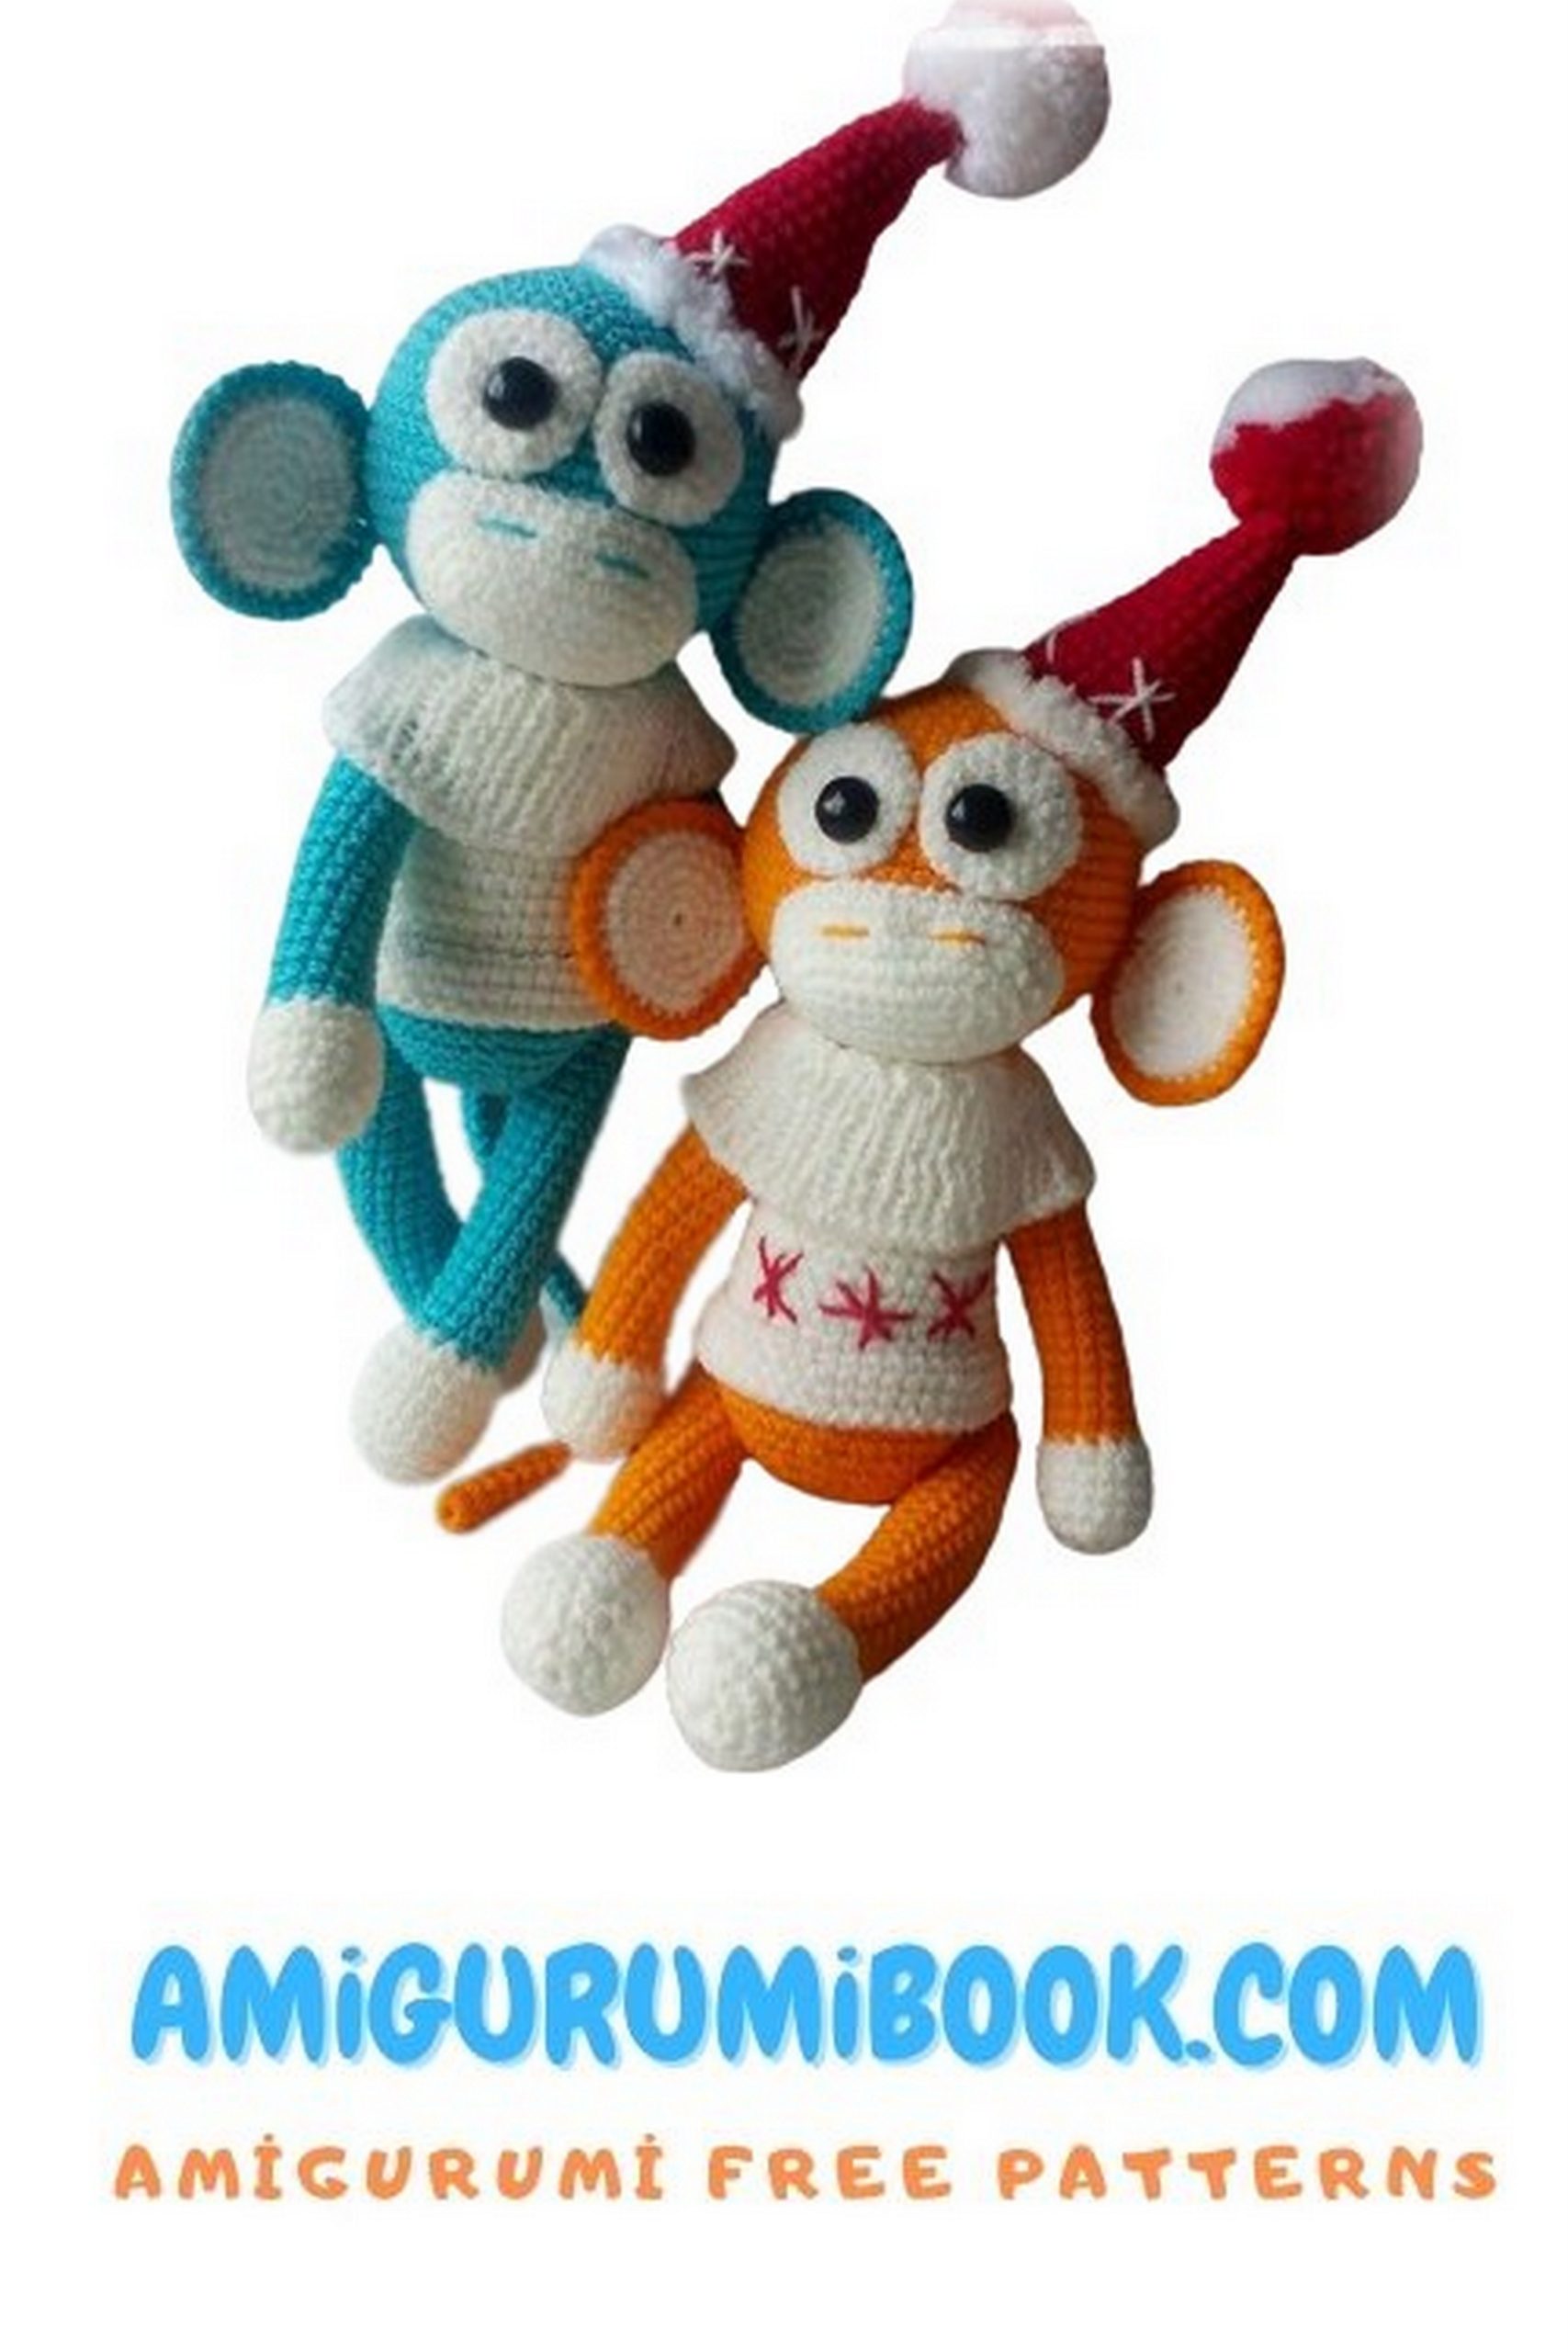
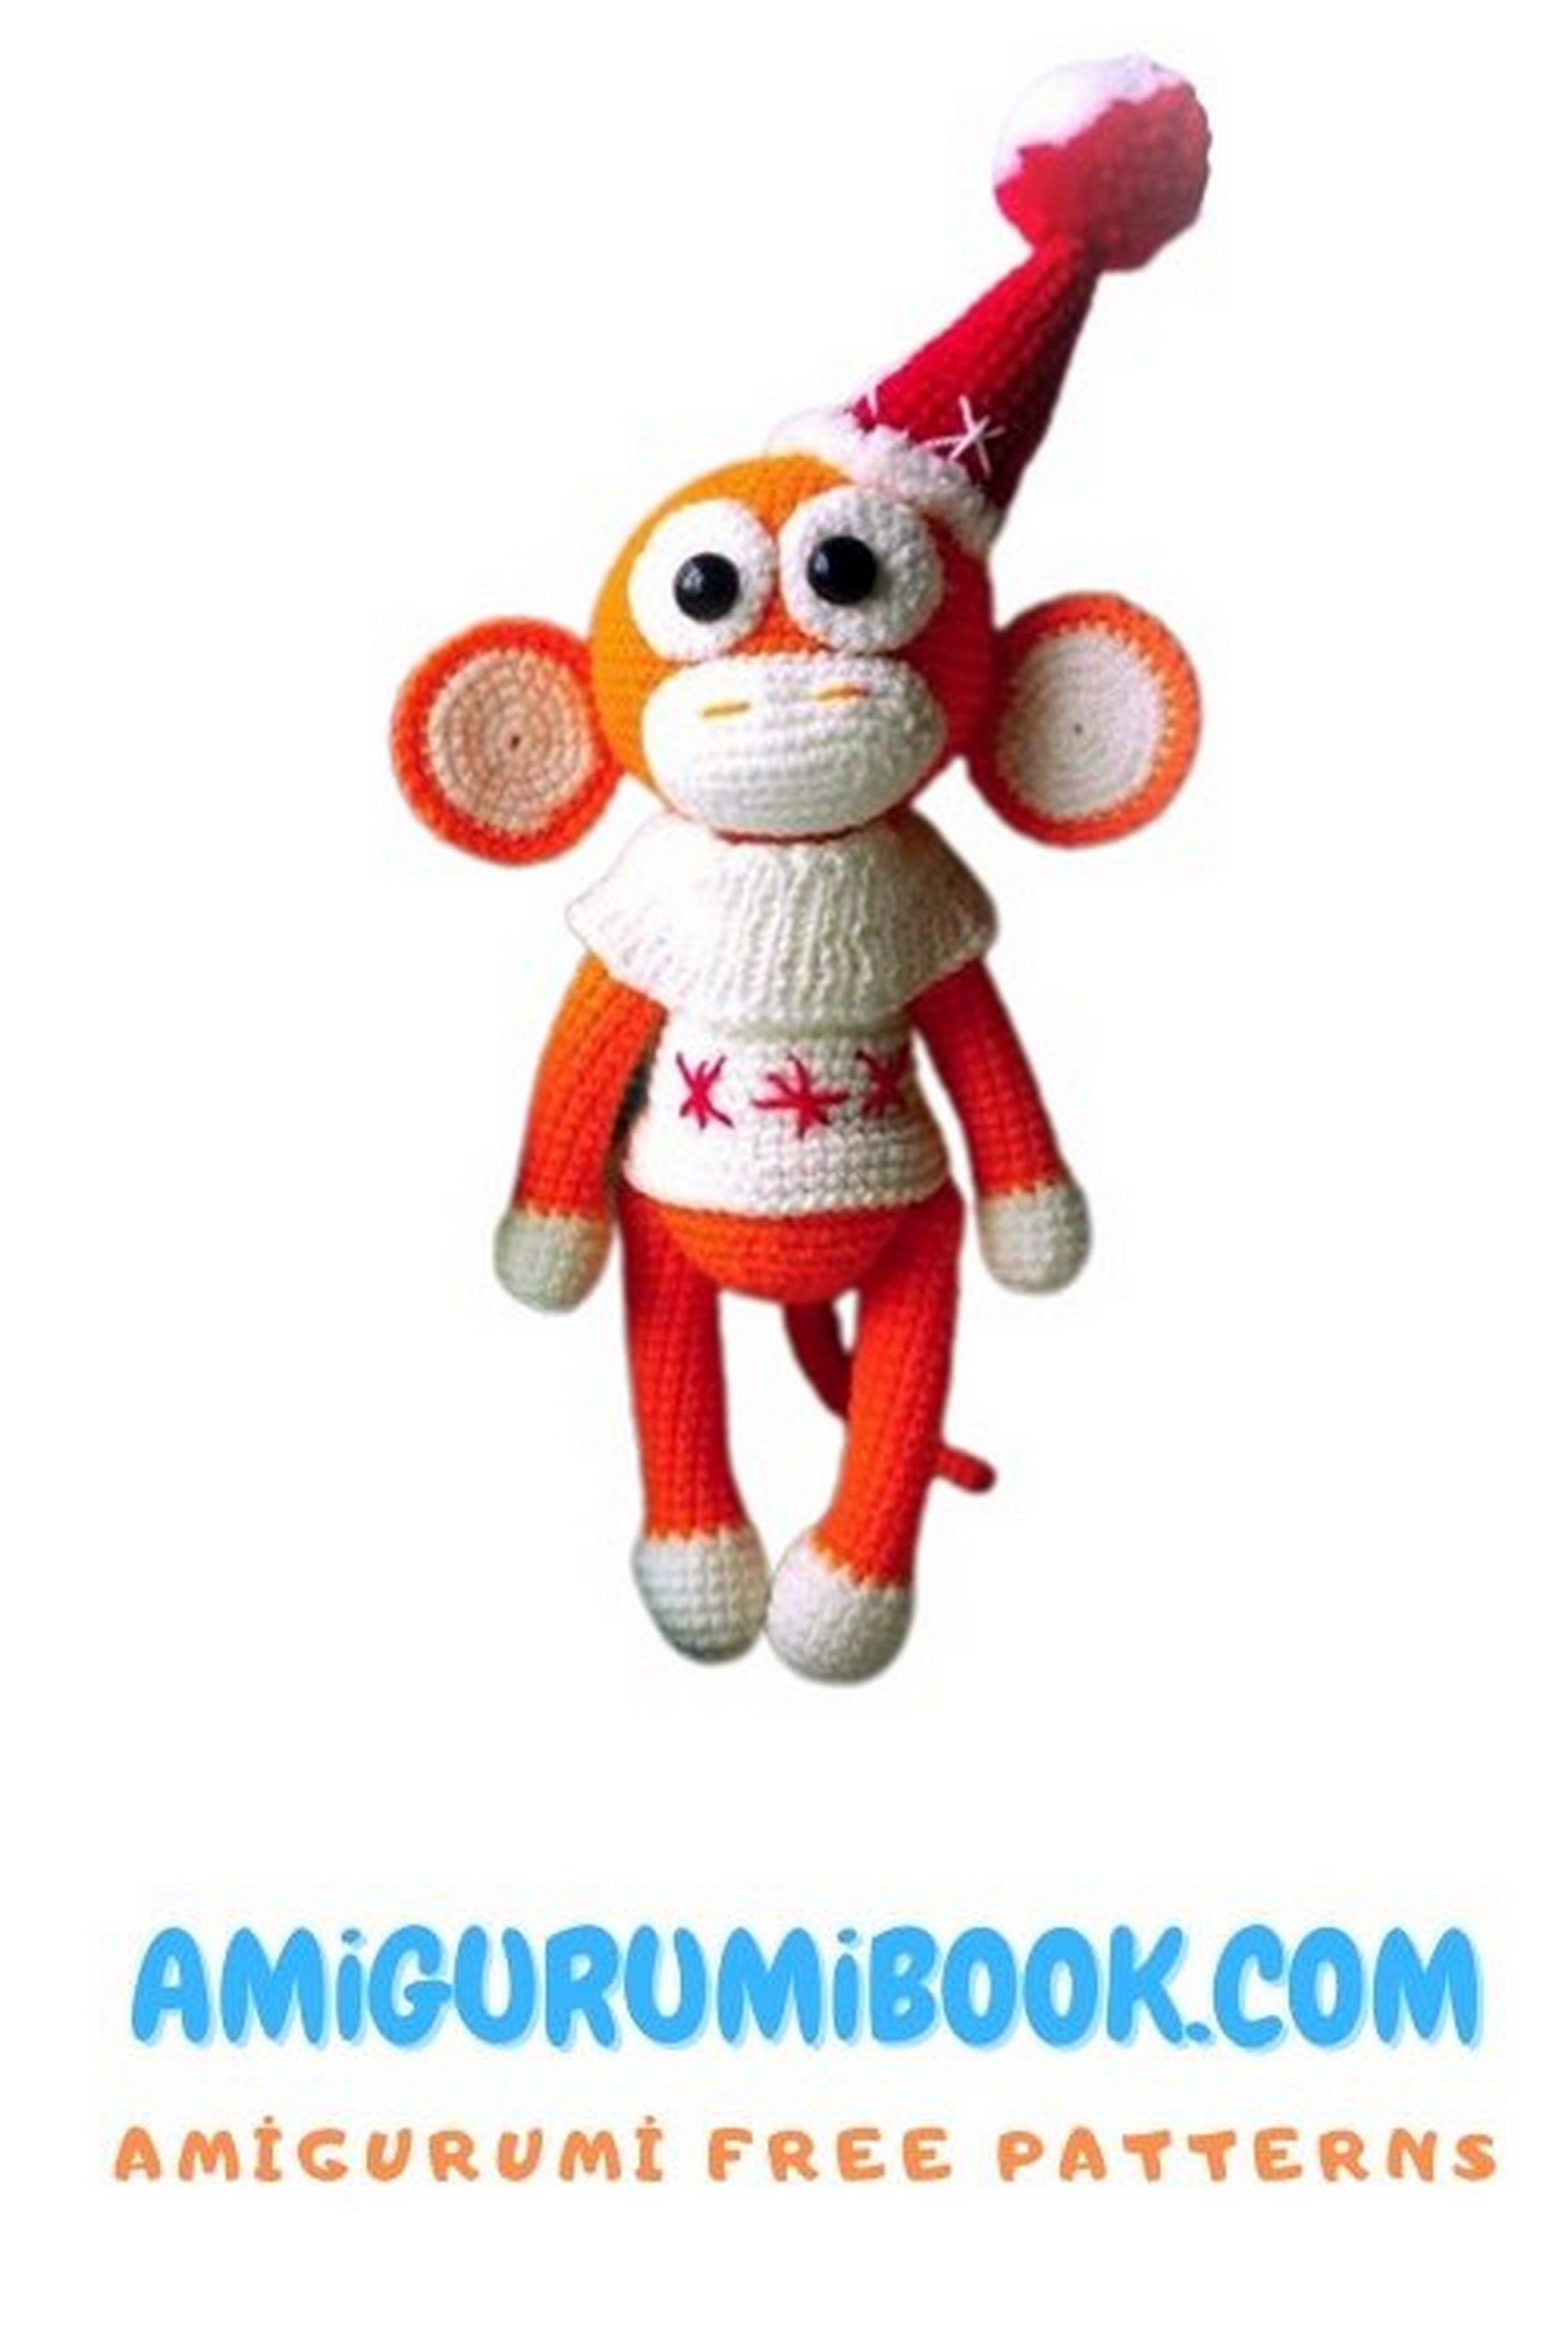
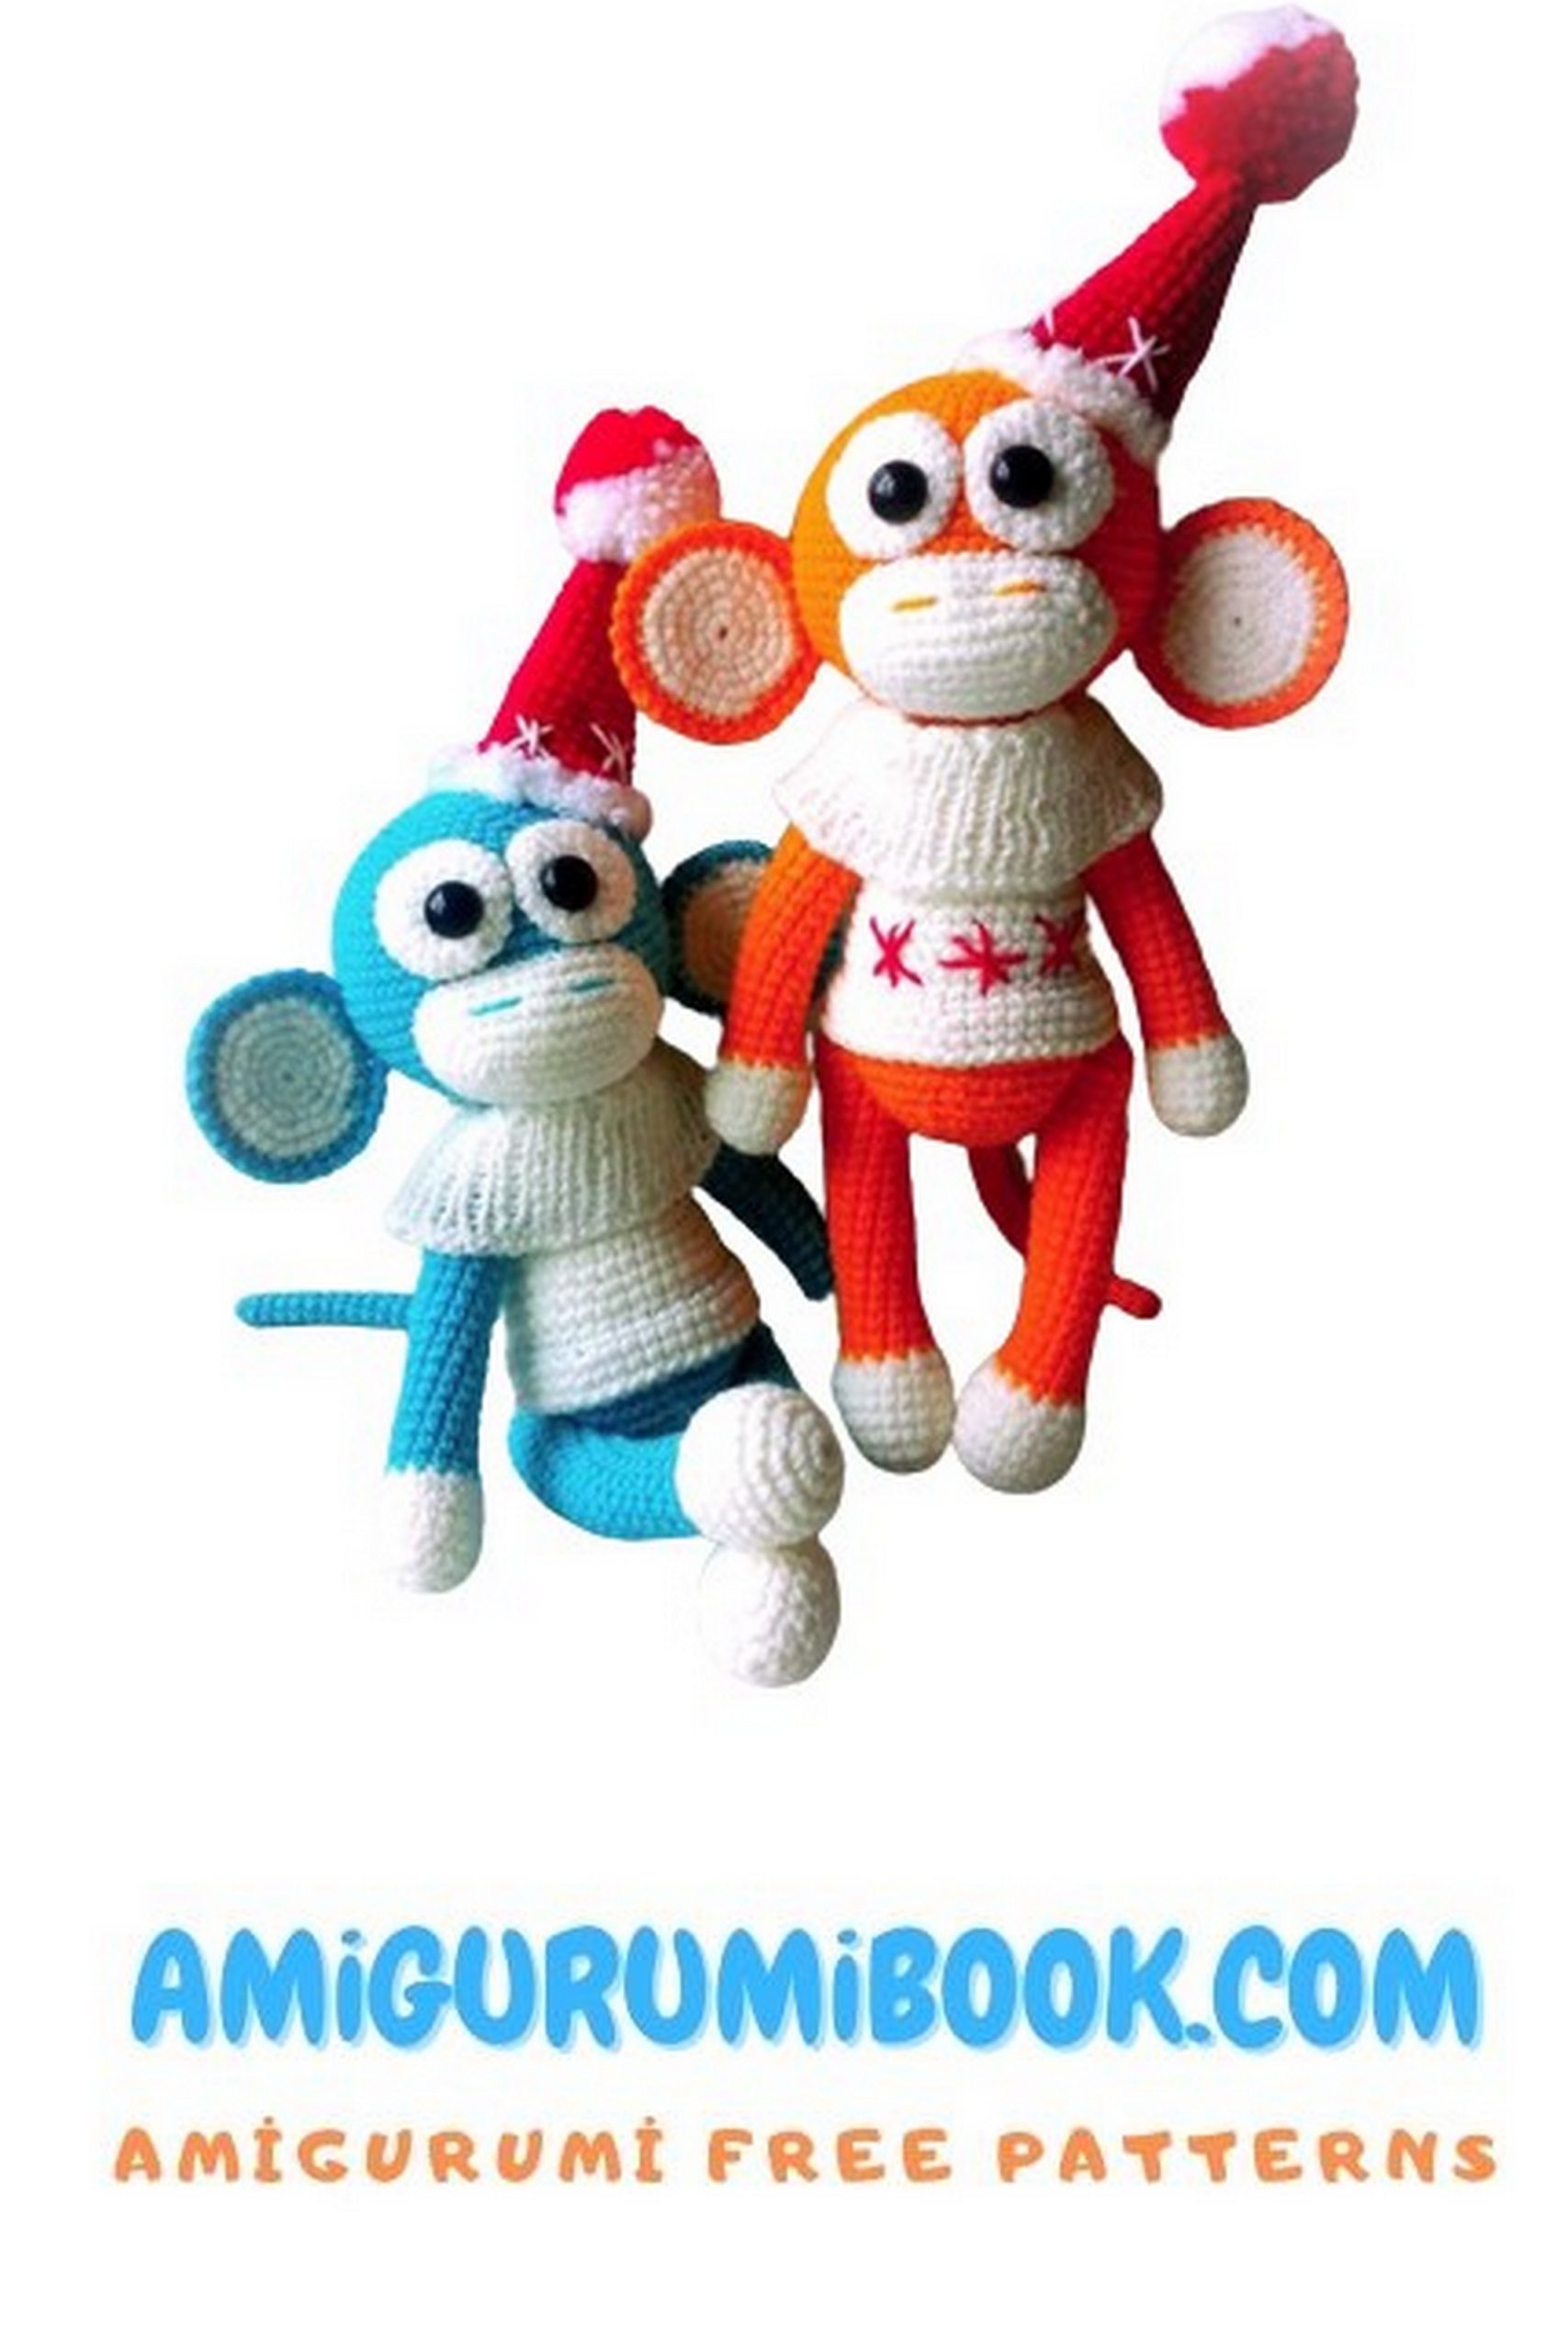
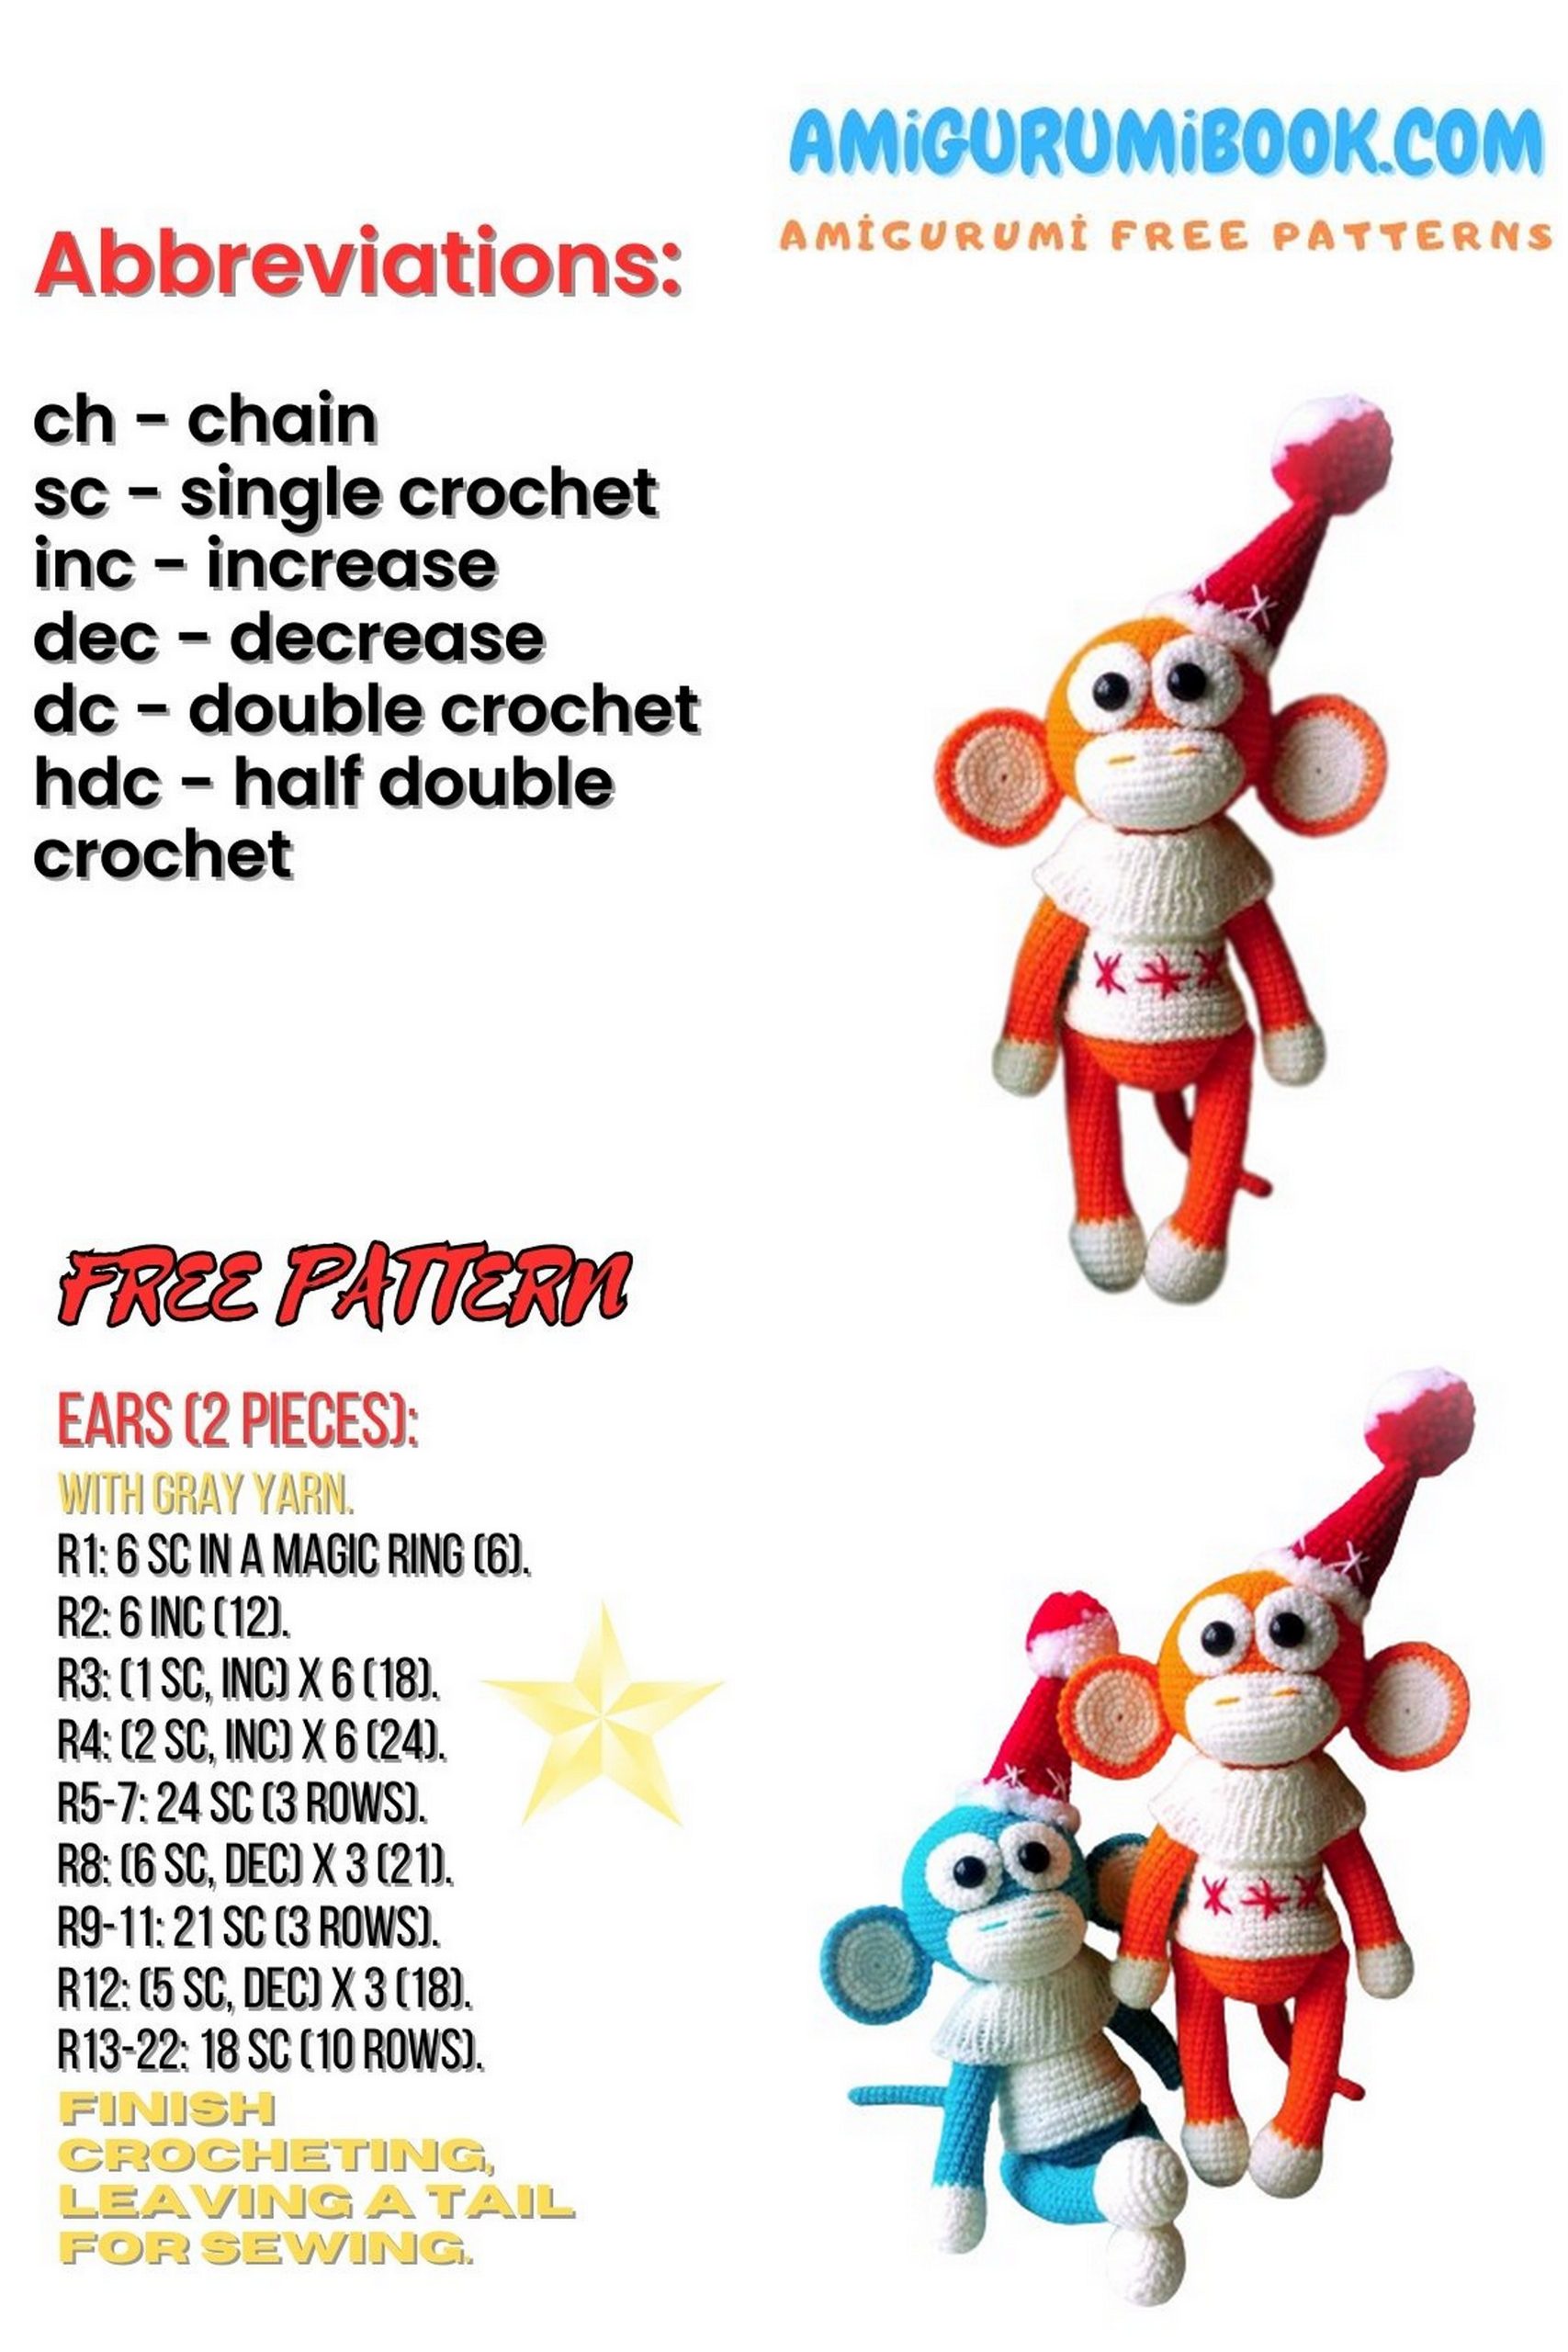
Celebrate the holiday season with a delightful free Christmas Monkey Amigurumi pattern that brings festive joy to your crochet projects. This charming handmade monkey is perfect for gifting or decorating, spreading warmth and cheer throughout the holidays. free crochet patterns
You may also like more amigurumi patterns.
Are you ready to infuse some holiday magic into your crochet projects? Look no further than our free Christmas Monkey Amigurumi pattern! This delightful pattern is the perfect way to add a touch of whimsy and cheer to your holiday decorations or gift-giving.
Our Christmas Monkey Amigurumi is not only cute but also incredibly fun to make. Whether you’re an experienced amigurumi artist or just starting your crochet journey, this pattern is designed to be accessible and enjoyable for all skill levels.
Imagine gifting a handmade Christmas monkey to a loved one or using it as a unique addition to your holiday decor. With its festive attire and playful expression, this amigurumi monkey is sure to bring smiles and warm hearts.
Materials Required:
Yarn “Acacia” (100% acrylic) or a similar one of your choice (230-250m/50g).
Colors are also your choice. A bit of textured yarn for edging the hat.
Crochet hook No. 1, knitting needles No. 1.5 (5 pieces), sewing needle.
Toy stuffing (synthetic stuffing).
Bead eyes/ready-made eyes/eyes on a stem (the stem can be cut later).
Moment “Crystal” glue (if you’re attaching eyes).
Black cotton thread for sewing eyes (if they’re sewn on).
Nylon thread for sewing legs and arms.
If you use a different yarn, the size of the toy may vary from the one specified.
Difficulty Level: EASY
Do not start crocheting without reading the tutorial to the end.
Crochet the toy in a spiral unless otherwise specified.
Crochet tightly to prevent stuffing from showing through the fabric. To crochet tightly, use a smaller hook size than what is recommended on the yarn label.
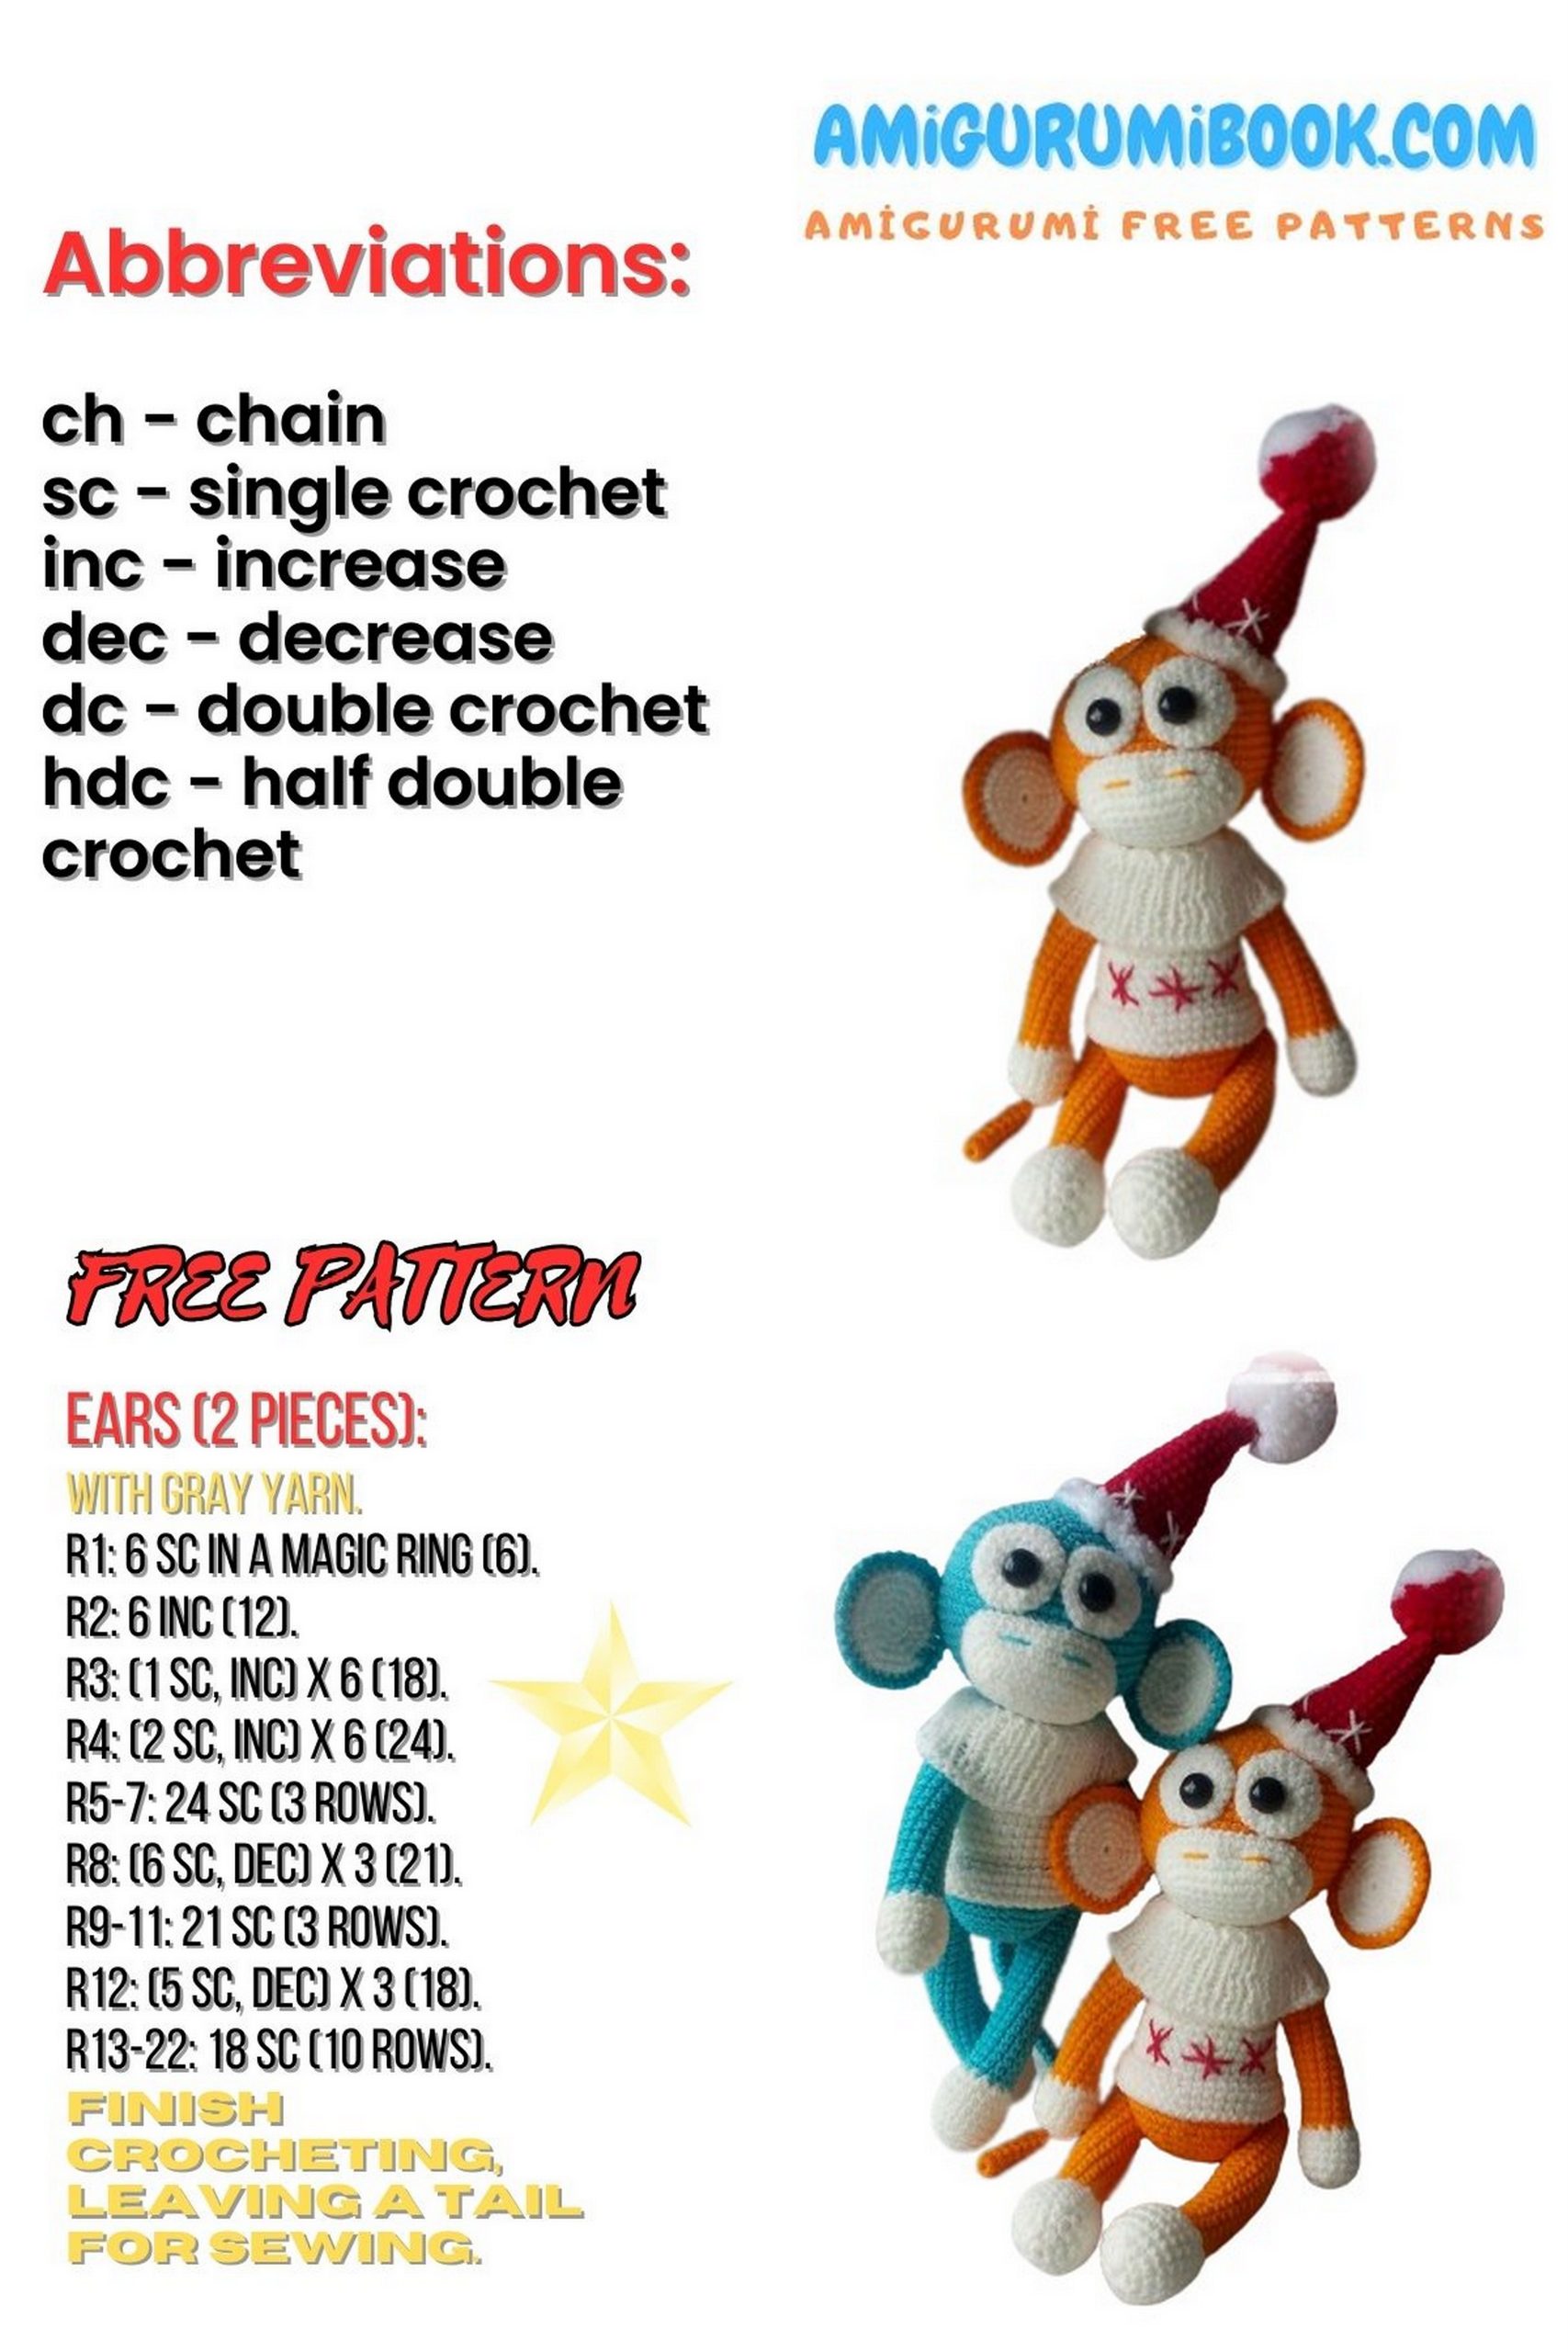
Abbreviations:
sc – single crochet
ch – chain
sl st – slip stitch
crab stitch – reverse single crochet
1×1 ribbing
dec – decrease (single crochet two stitches together)
inc – increase (make 2 single crochets in one stitch)
PATTERN

Ears:
Inner part of the ear, in white color. Make 2 pieces.
Chain 5, join to form a ring.
Row 1: Ch 1, 6 sc in the ring, sl st.
Row 2: 2 sc in each sc of the previous row (12).
Row 3: 1 sc, inc, repeat ** to end of row (18).
Row 4: 2 sc, inc, repeat ** to end of row (24).
Row 5: 3 sc, inc, repeat ** to end of row (30).
Fasten off and cut the yarn. Make two identical pieces.
Outer part of the ear, in the body color. Make 2 pieces.
Chain 5, join to form a ring.
Row 1: Ch 1, 6 sc in the ring, sl st.
Row 2: 2 sc in each sc of the previous row (12).
Row 3: 1 sc, inc, repeat ** to end of row (18).
Row 4: 2 sc, inc, repeat ** to end of row (24).
Row 5: 3 sc, inc, repeat ** to end of row (30).
Do not cut the yarn. Fold the inner and outer parts of the ear together with the wrong sides facing out and crochet them together with 30 sc. The outer part of the ear should be on the back.
Edging: Crochet 26 crab stitches around the ear. Leave a tail for sewing. Make a second ear in the same way.
Face:
Crochet in white color.
Chain 9.
Row 1: In the second chain from the hook, inc, 6 sc, 4 sc in the last chain, 6 sc, inc, sl st (20).
From here on, begin each row with a ch 1 and end with a sl st.
Row 2: Inc, 8 sc, inc, inc, 8 sc, inc (24).
Row 3: Inc, 10 sc, inc, inc, inc, 8 sc, inc, inc (30).
Row 4: Inc, inc, 11 sc, inc, inc, inc, inc, 11 sc, inc, inc (38).
Rows 5-6: 38 sc (38).
Leave a yarn tail for sewing.
Sweater Collar (Knitting Needles):
Using the sweater color, return to row 37 of crocheting and work on the front loops of the stitches left behind. Knit 30 sc around. Work in such a way that the top of your toy’s head is facing up.
Now, along the worked row, cast on 60 stitches in the round using 4 knitting needles (15 on each needle). This means you need to create 2 stitches from each crochet stitch. It may be a bit tricky for the first 3-4 rows. To make it easier, you can use a crochet hook to cast on stitches. Knit a 1×1 ribbing in the round.
Knit 7 rows of 1×1 ribbing.
Knit 2 rows of stockinette stitch (this will be where the collar folds).
Knit 11 rows of 1×1 ribbing. Bind off stitches.
Finish the Torso (Body Color):
Row 46: Attach the yarn to the back center of the torso, work 42 sc along the back loops of the stitches from the previous row (42).
Row 47: 6 sc, inc, repeat ** to end of row (48).
Row 48: 7 sc, inc, repeat ** to end of row (54).
Row 49: 54 sc (54).
Row 50: 7 sc, dec, repeat ** to end of row (48).
Row 51: 6 sc, dec, repeat ** to end of row (42).
Row 52: 5 sc, dec, repeat ** to end of row (36).
Row 53: 4 sc, dec, repeat ** to end of row (30).
Row 54: 3 sc, dec, repeat ** to end of row (24).
Fill the piece with stuffing firmly.
Row 55: 2 sc, dec, repeat ** to end of row (18).
Row 56: 1 sc, dec, repeat ** to end of row (12).
Row 57: Decrease to close. Fasten off, cut the yarn, and hide the end.
Arms:
Stuff the arms as you go.
Using white yarn, chain 5 and join to form a ring.
Row 1: Ch 1, 6 sc in the ring, sl st.
Row 2: 2 sc in each sc of the previous row (12).
Row 3: 1 sc, inc, repeat ** to end of row (18).
Rows 4-6: 18 sc (18).
Row 7: 1 sc, dec, repeat ** to end of row (12).
Row 8: Switch to body color. 12 sc (12).
Rows 9-27: 12 sc (12).
Row 28: Decrease to close. Fasten off, cut the yarn, and hide the end. Make the second arm in the same way.
Legs:
Stuff the legs as you go.
Using white yarn, chain 5 and join to form a ring.
Row 1: Ch 1, 6 sc in the ring, sl st.
Row 2: 2 sc in each sc of the previous row (12).
Row 3: 1 sc, inc, repeat ** 4 times, 6 sc (22).
Rows 5-8: 22 sc (22).
Row 9: Dec 9 times, 4 sc (13).
Row 10: Switch to body color. 13 sc (13).
Rows 11-29: 13 sc (13).
Row 30: Decrease to close. Fasten off, cut the yarn, and hide the end. Make the second leg in the same way.
Tail:
Do not stuff the tail.
Using body color yarn, chain 5 and join to form a ring.
Rows 1-27: 6 sc in each row (6).
Santa Hat:
Row 1: Chain 5, join to form a ring.
Row 2: 6 sc (6).
Row 3: 1 sc, inc, repeat ** to end of row (9).
Row 4: 9 sc (9).
Rows 5-17: Follow the pattern for your Santa hat design.
Sew the hat onto the monkey’s head, either in the center or near an ear. You can decorate the hat with a pompom or jingle bell. You can also embroider snowflakes on the hat and sweater.
Assembly:
Use tailor’s pins to mark the positions for sewing the arms and legs symmetrically. Sew the arms and legs using a long needle and nylon thread. Both arms and legs are attached with the same thread. Make sure to sew them securely. Cut and tie knots to secure the thread.
Sew the tail just below the lower edge of the sweater.
Your monkey toy is ready!
I hope this helps you complete your amigurumi monkey project. Good luck with your crafting!